motorman7
 Subscriber
-
Joined
-
Last visited
Everything posted by motorman7
-
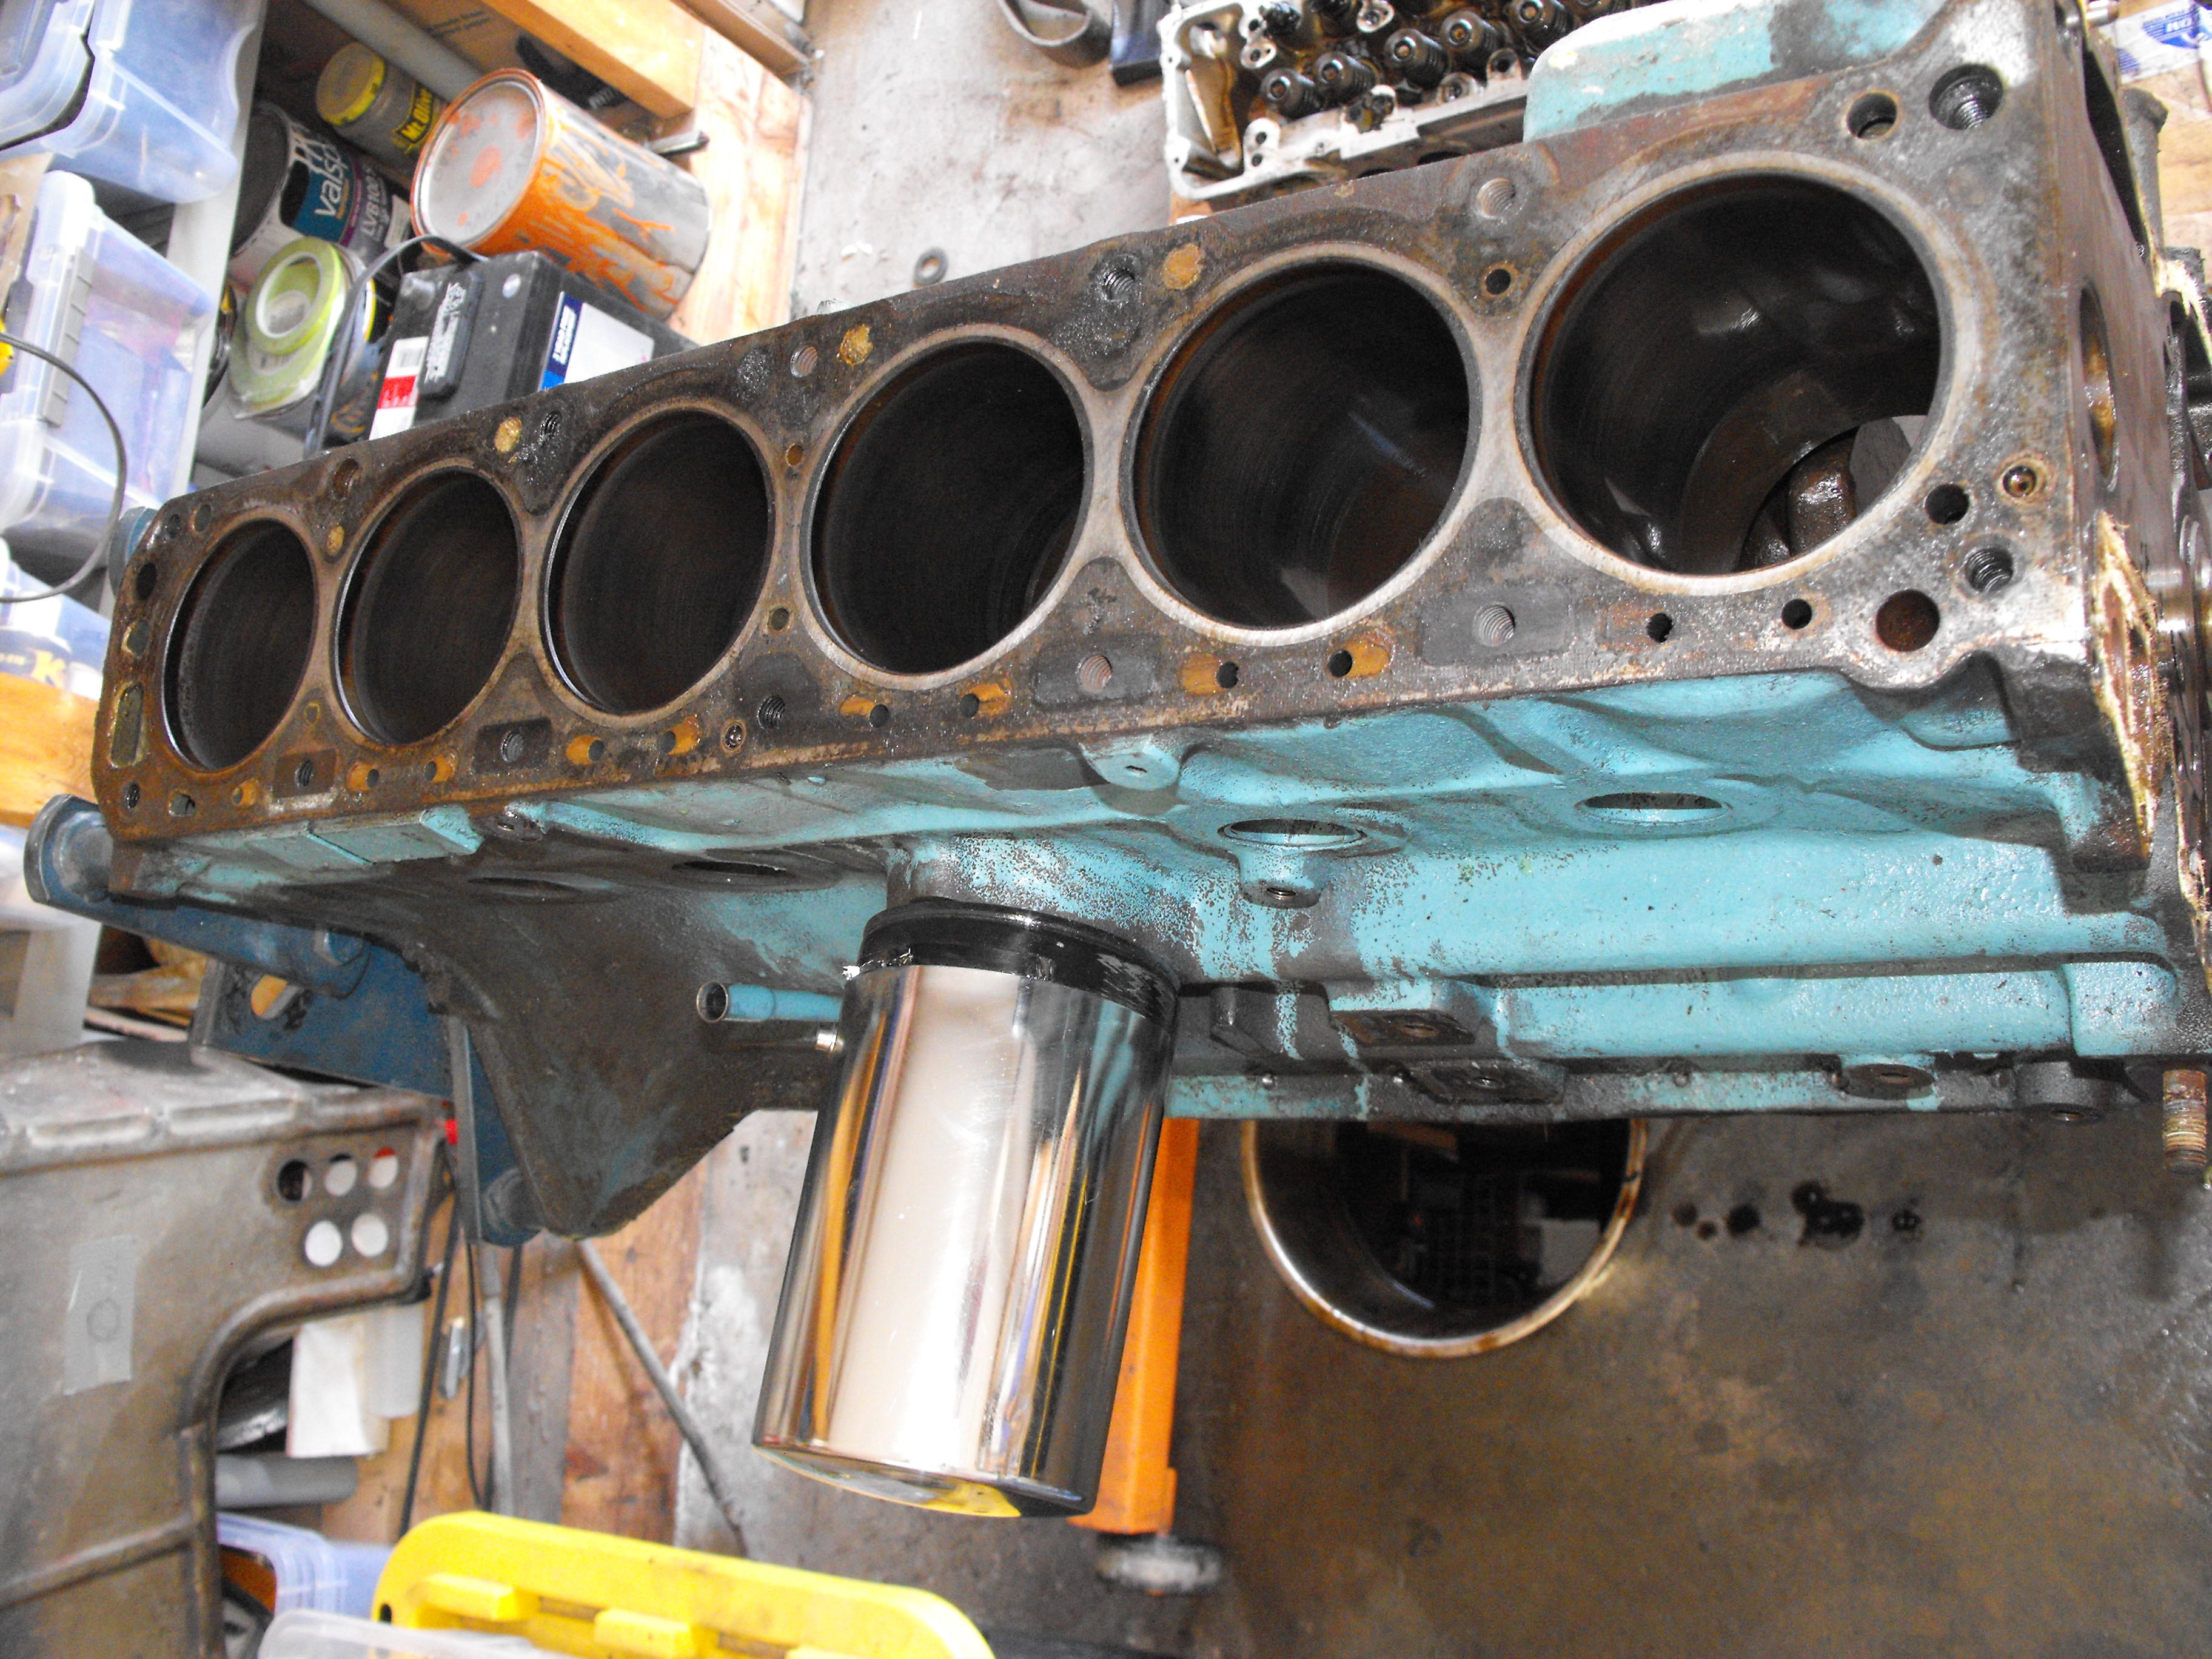
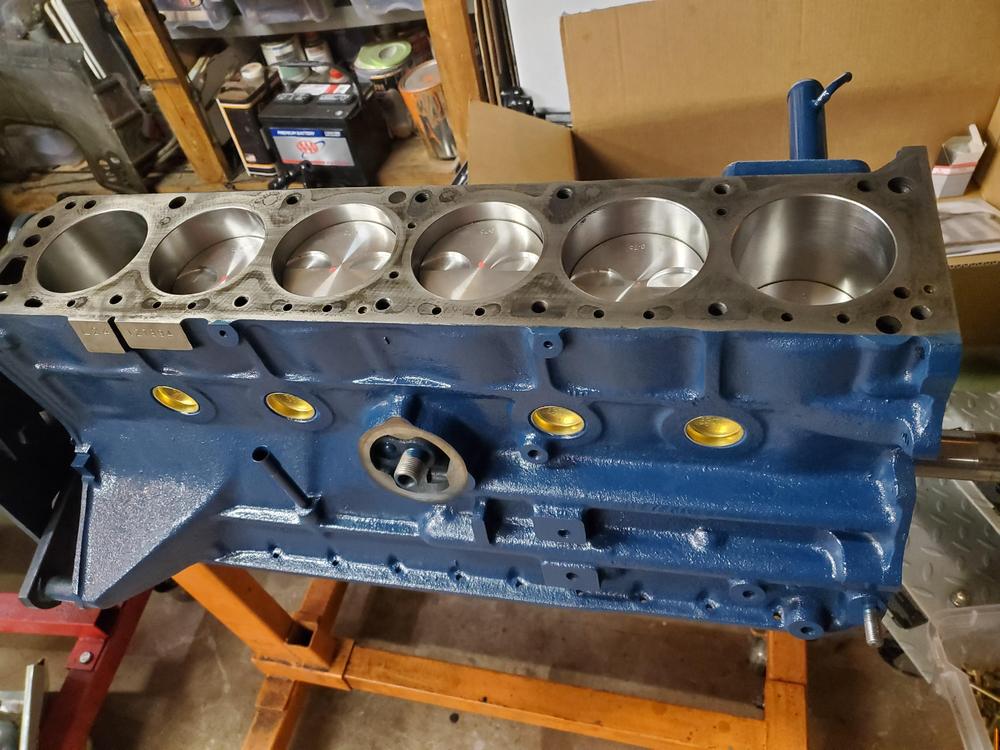
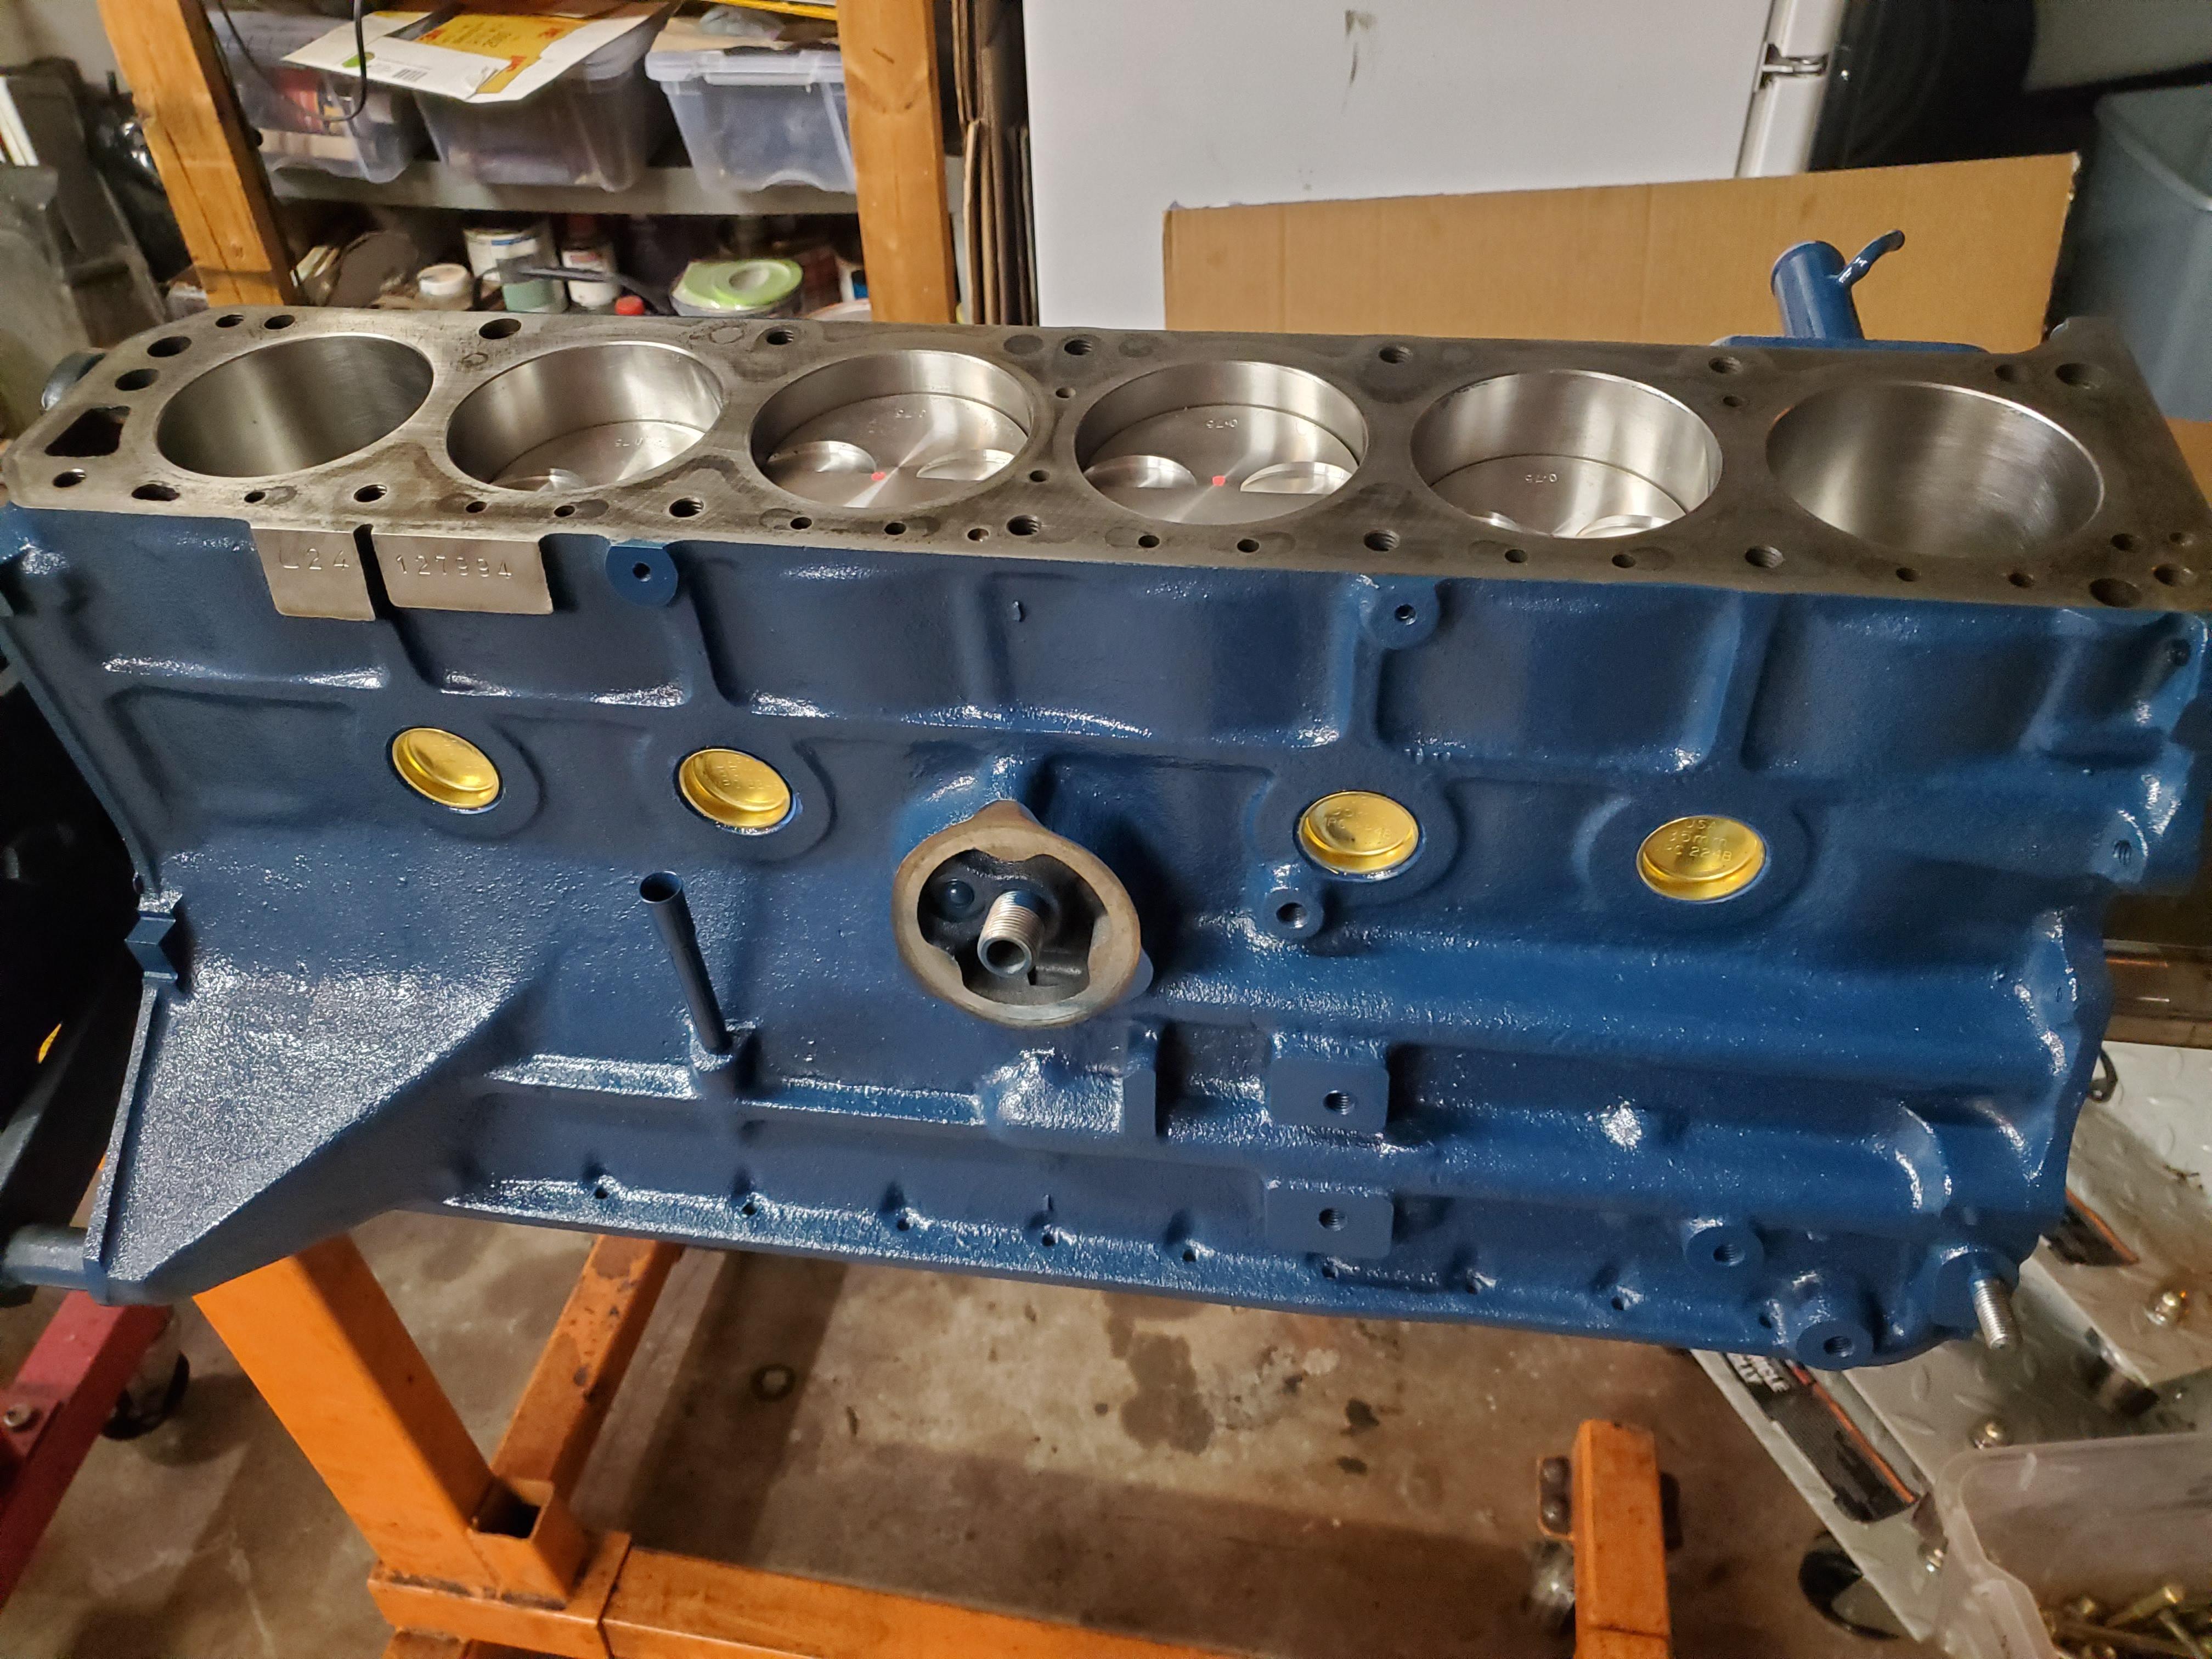
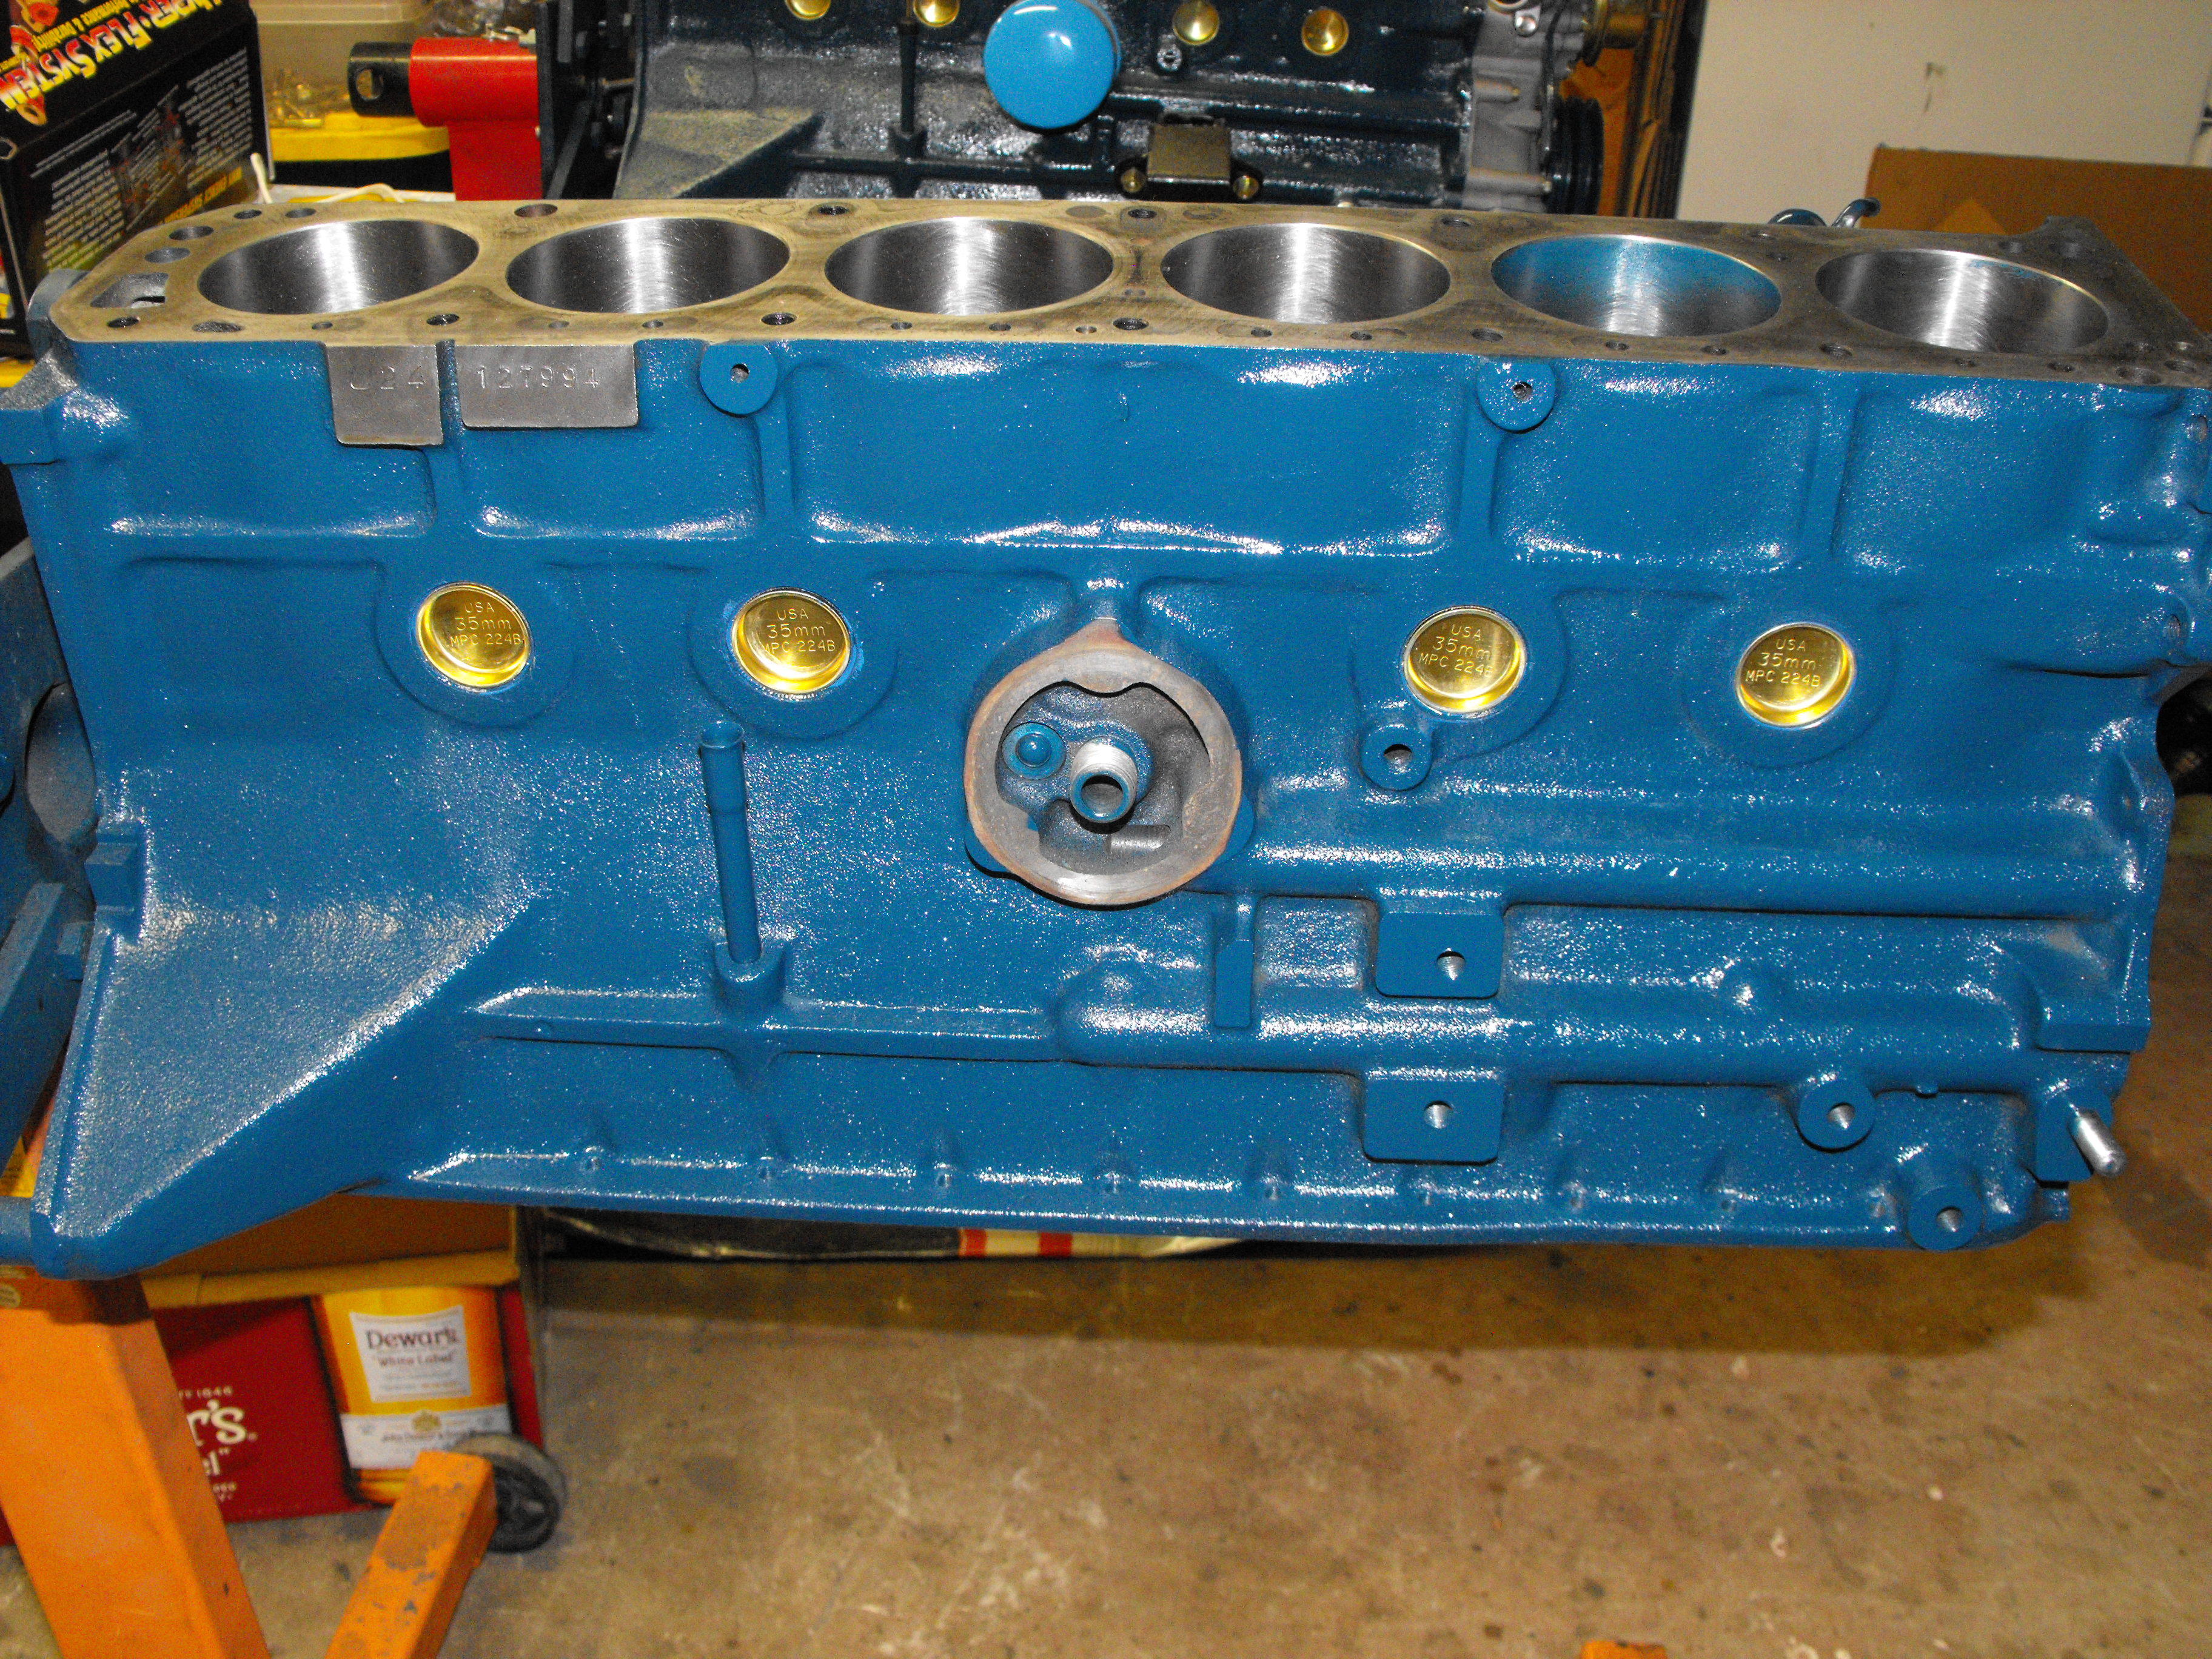
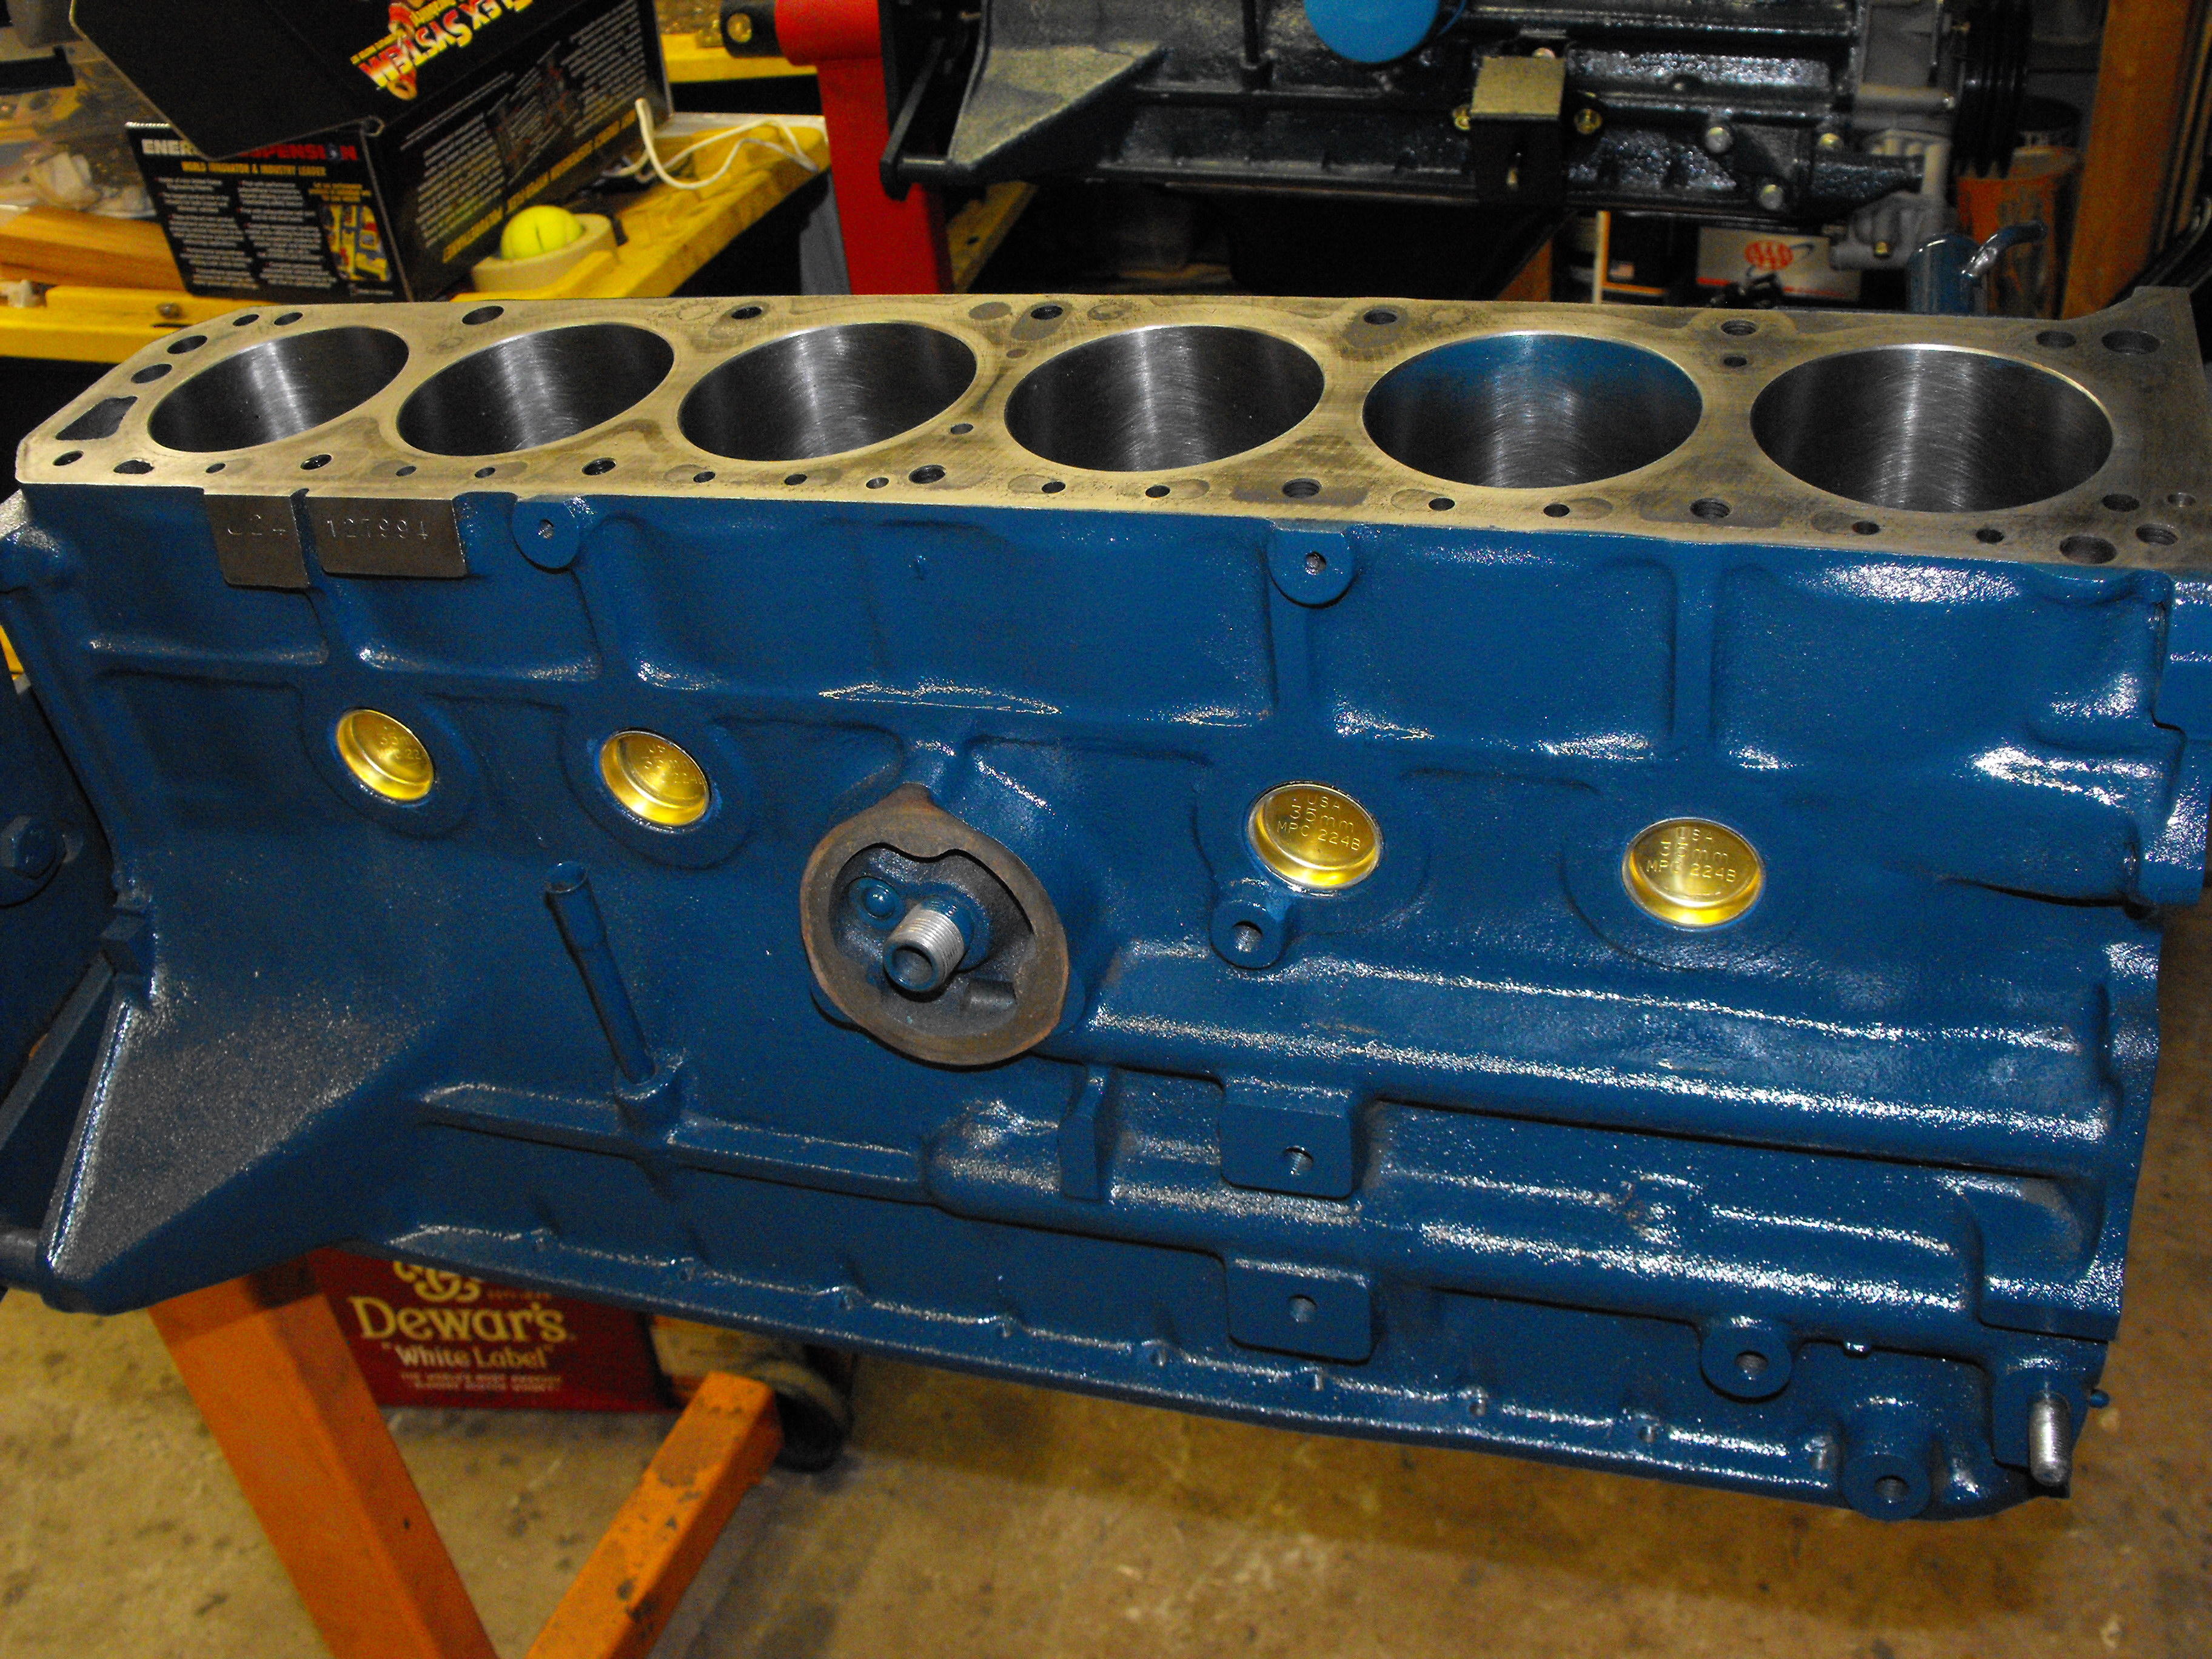
 Installed the crank and pistons last night. All new standard size bearings and .030" over pistons. Head should be ready early next week.
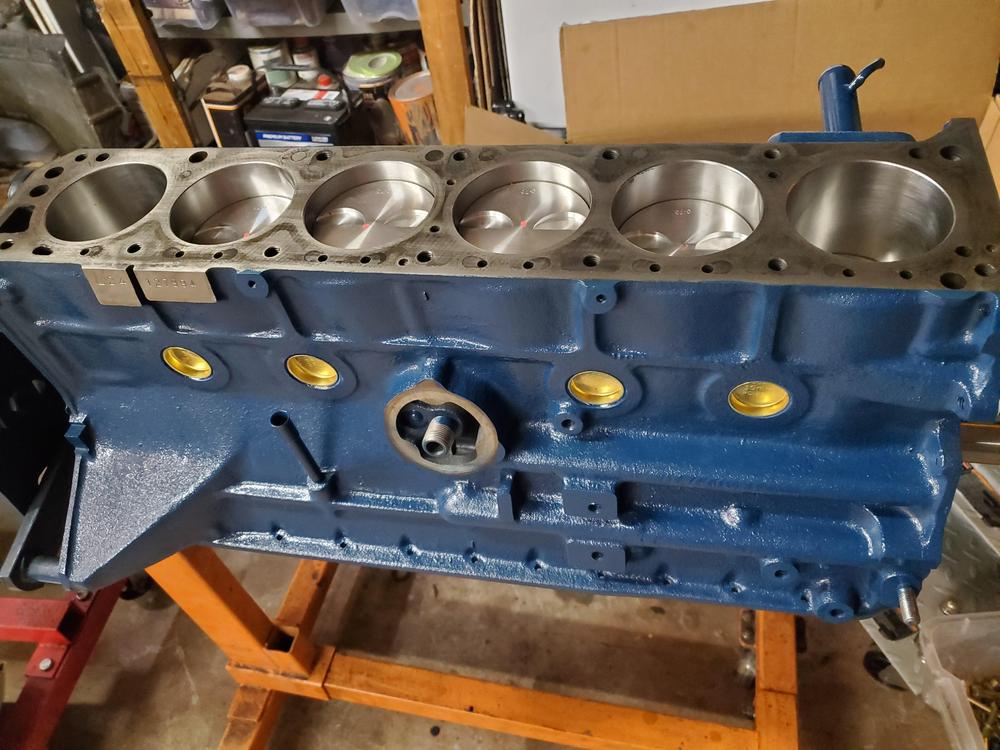


-
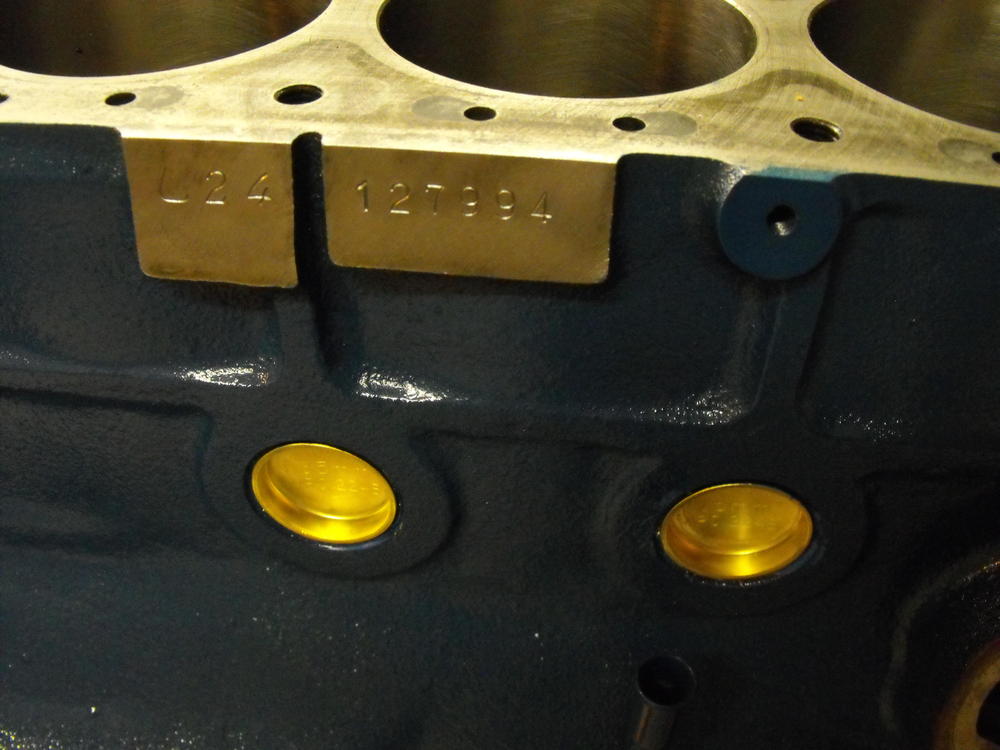
Yes, keeps it from rusting....and looks cool in the bare metal color.
-
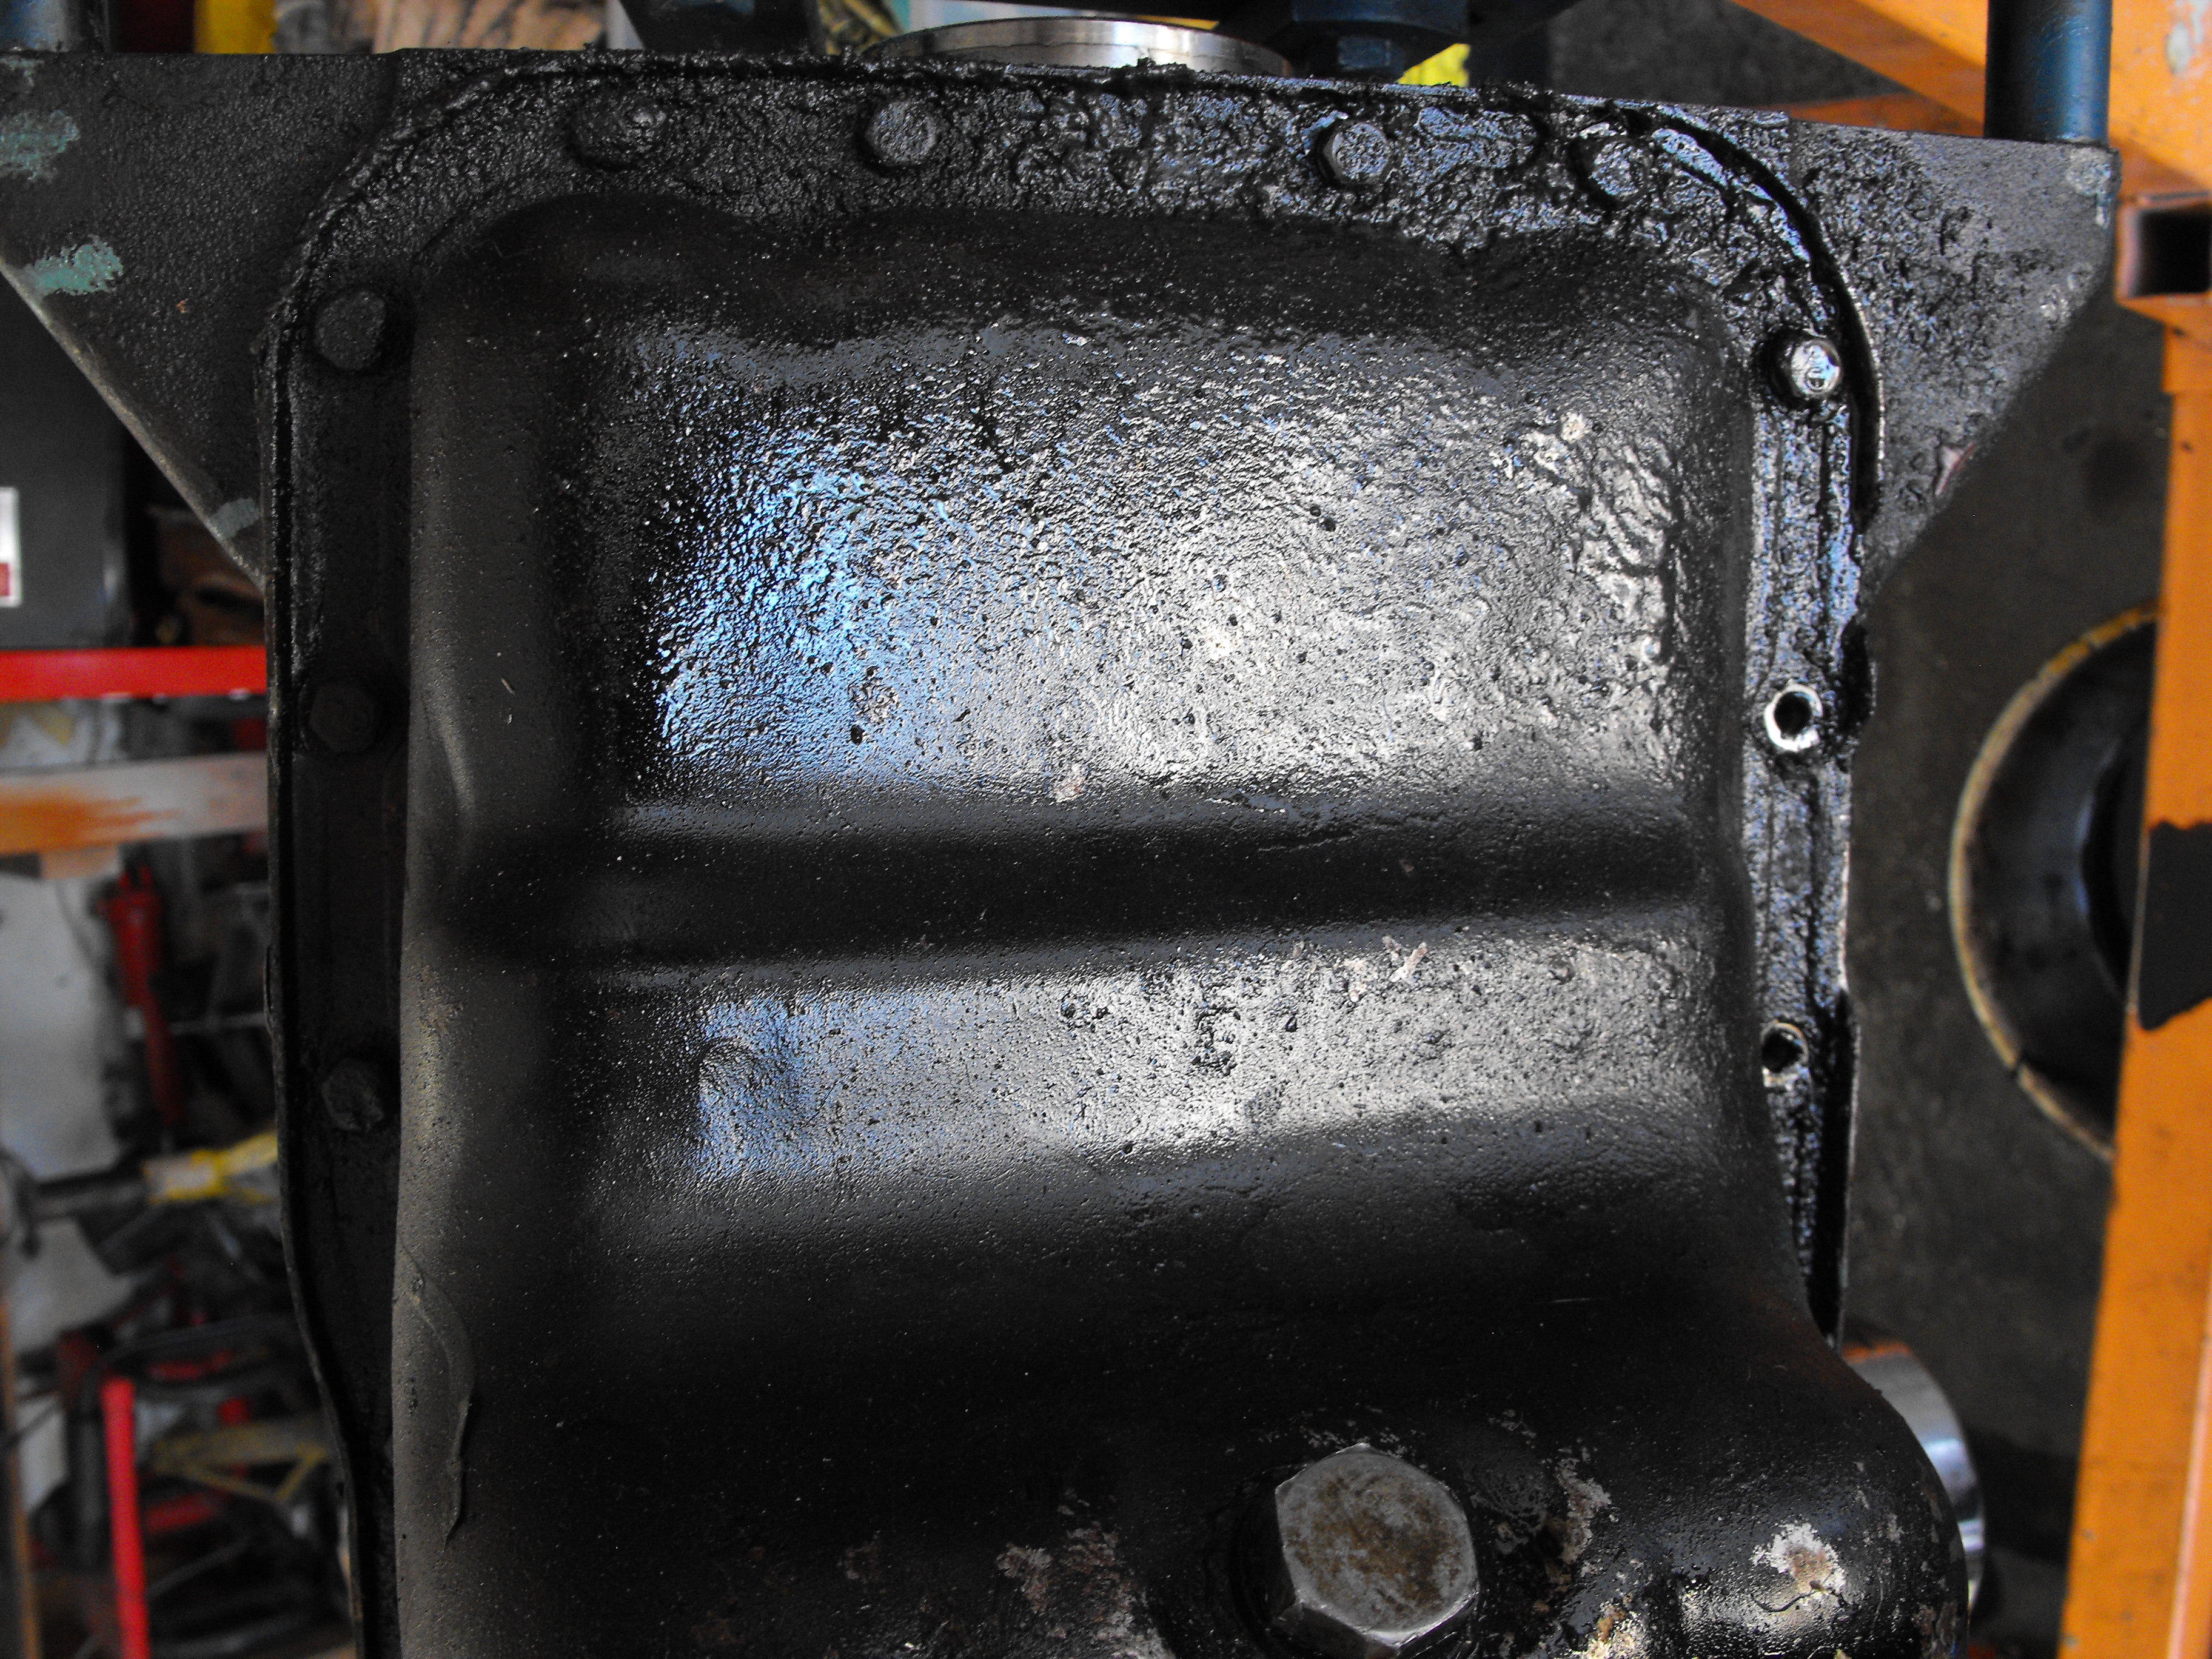
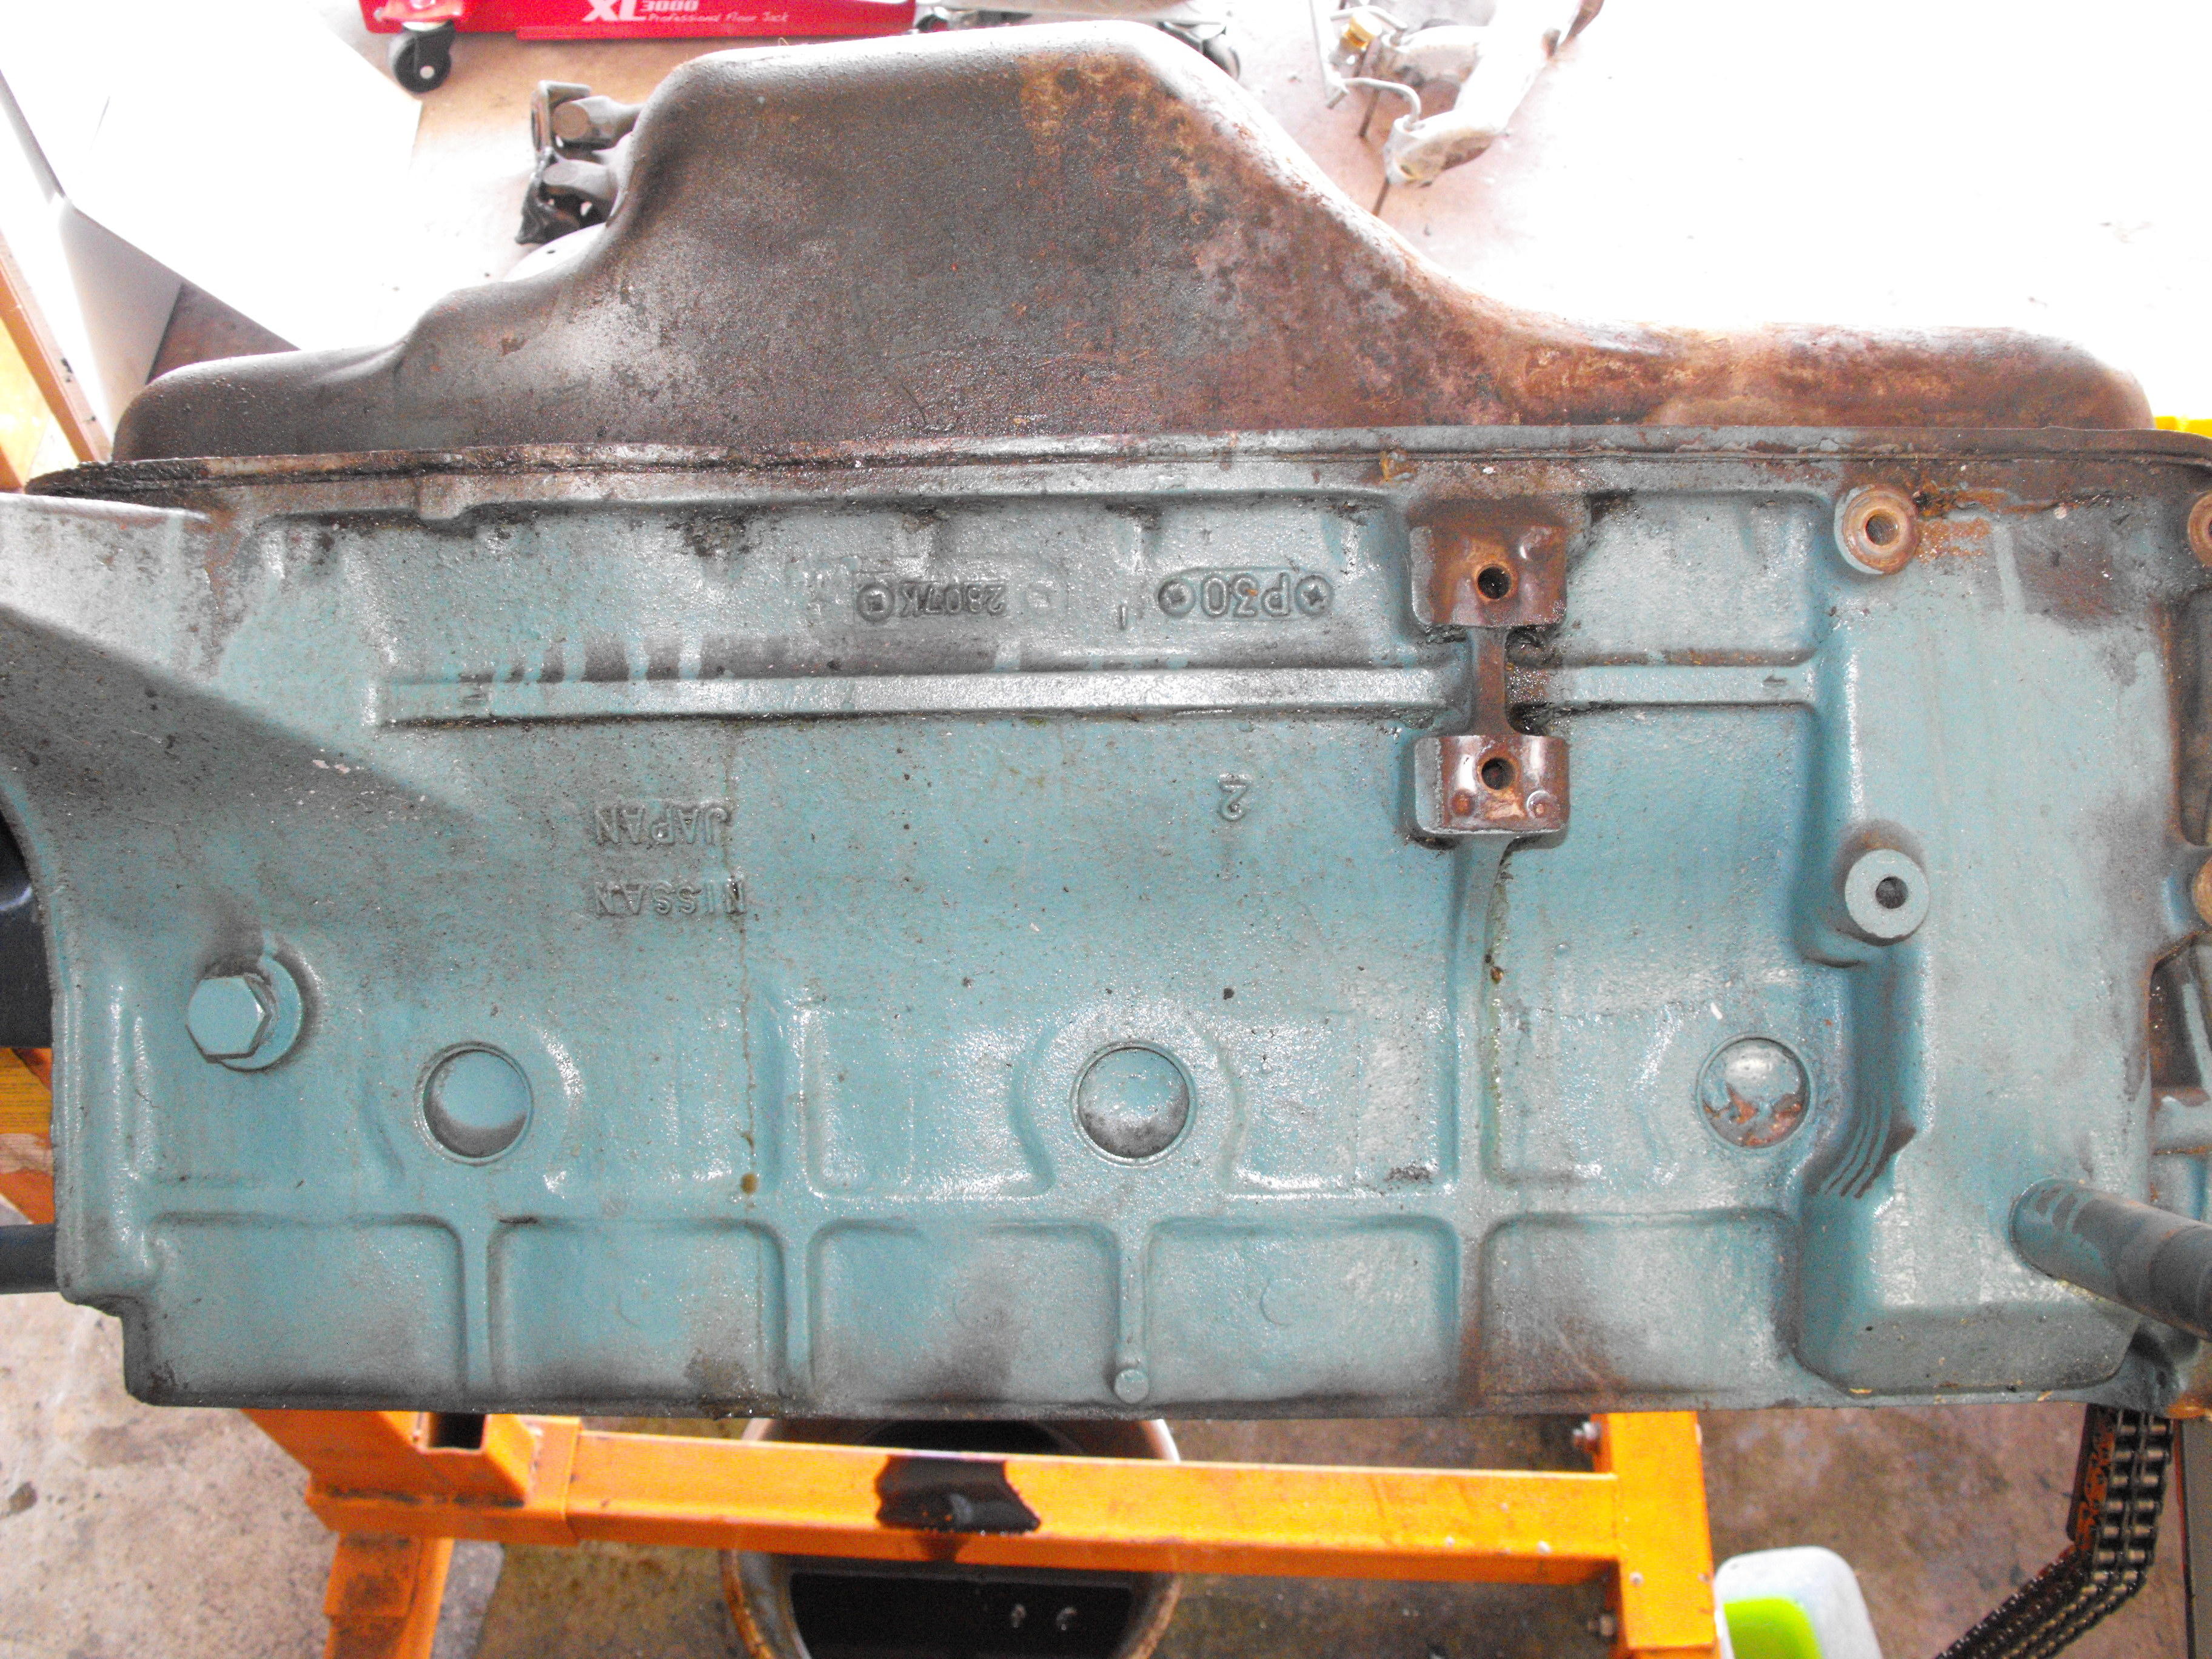
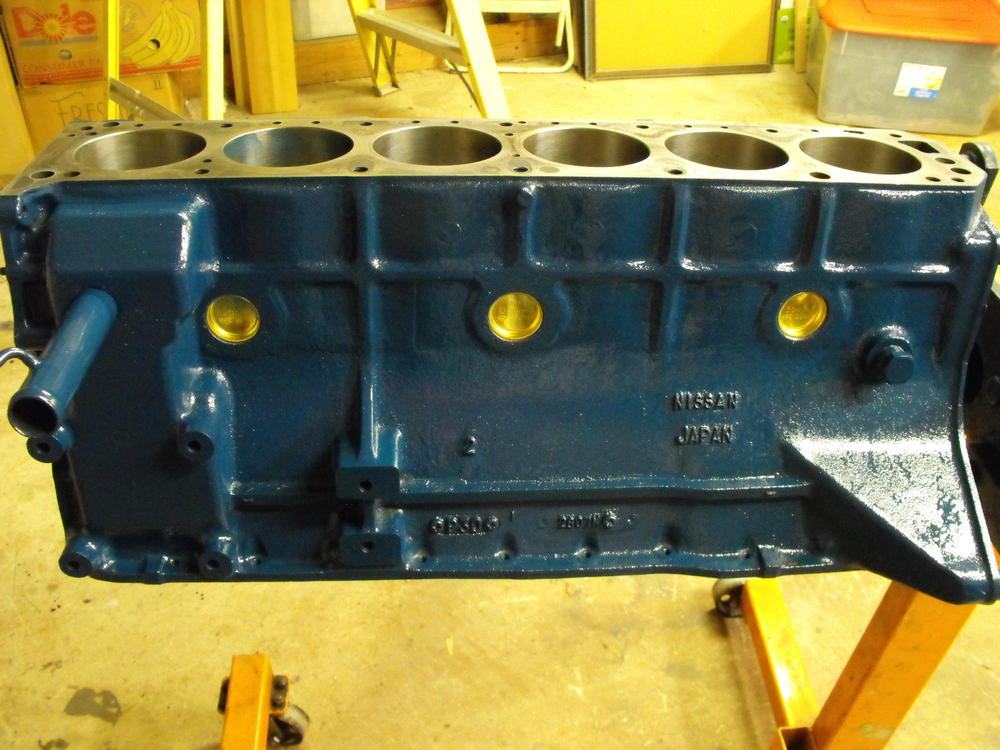
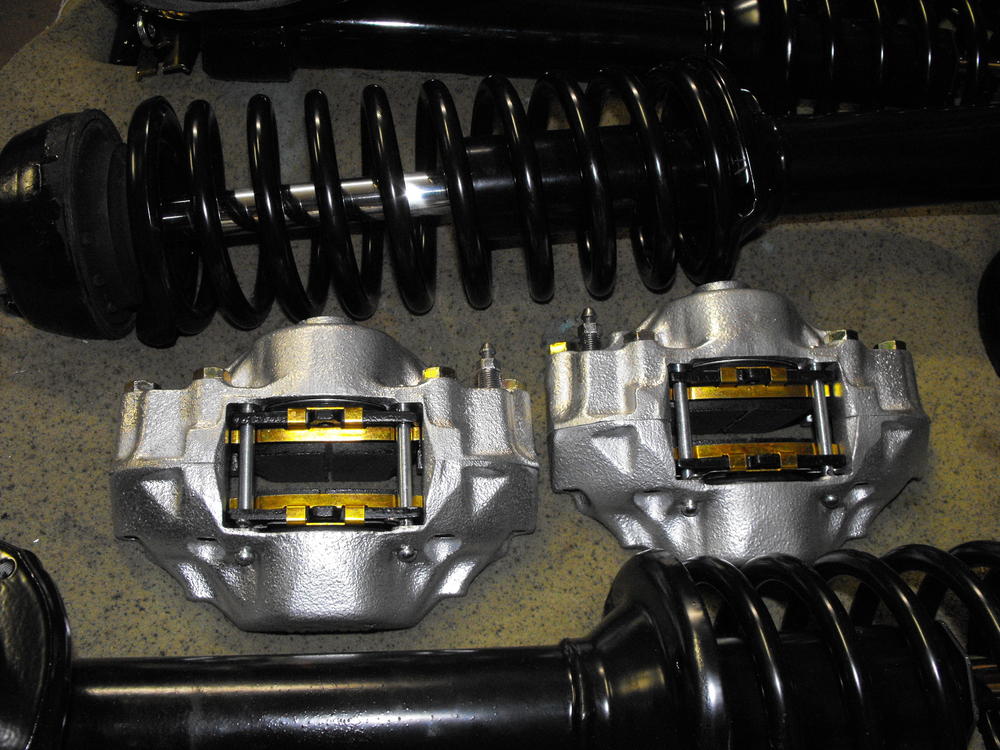
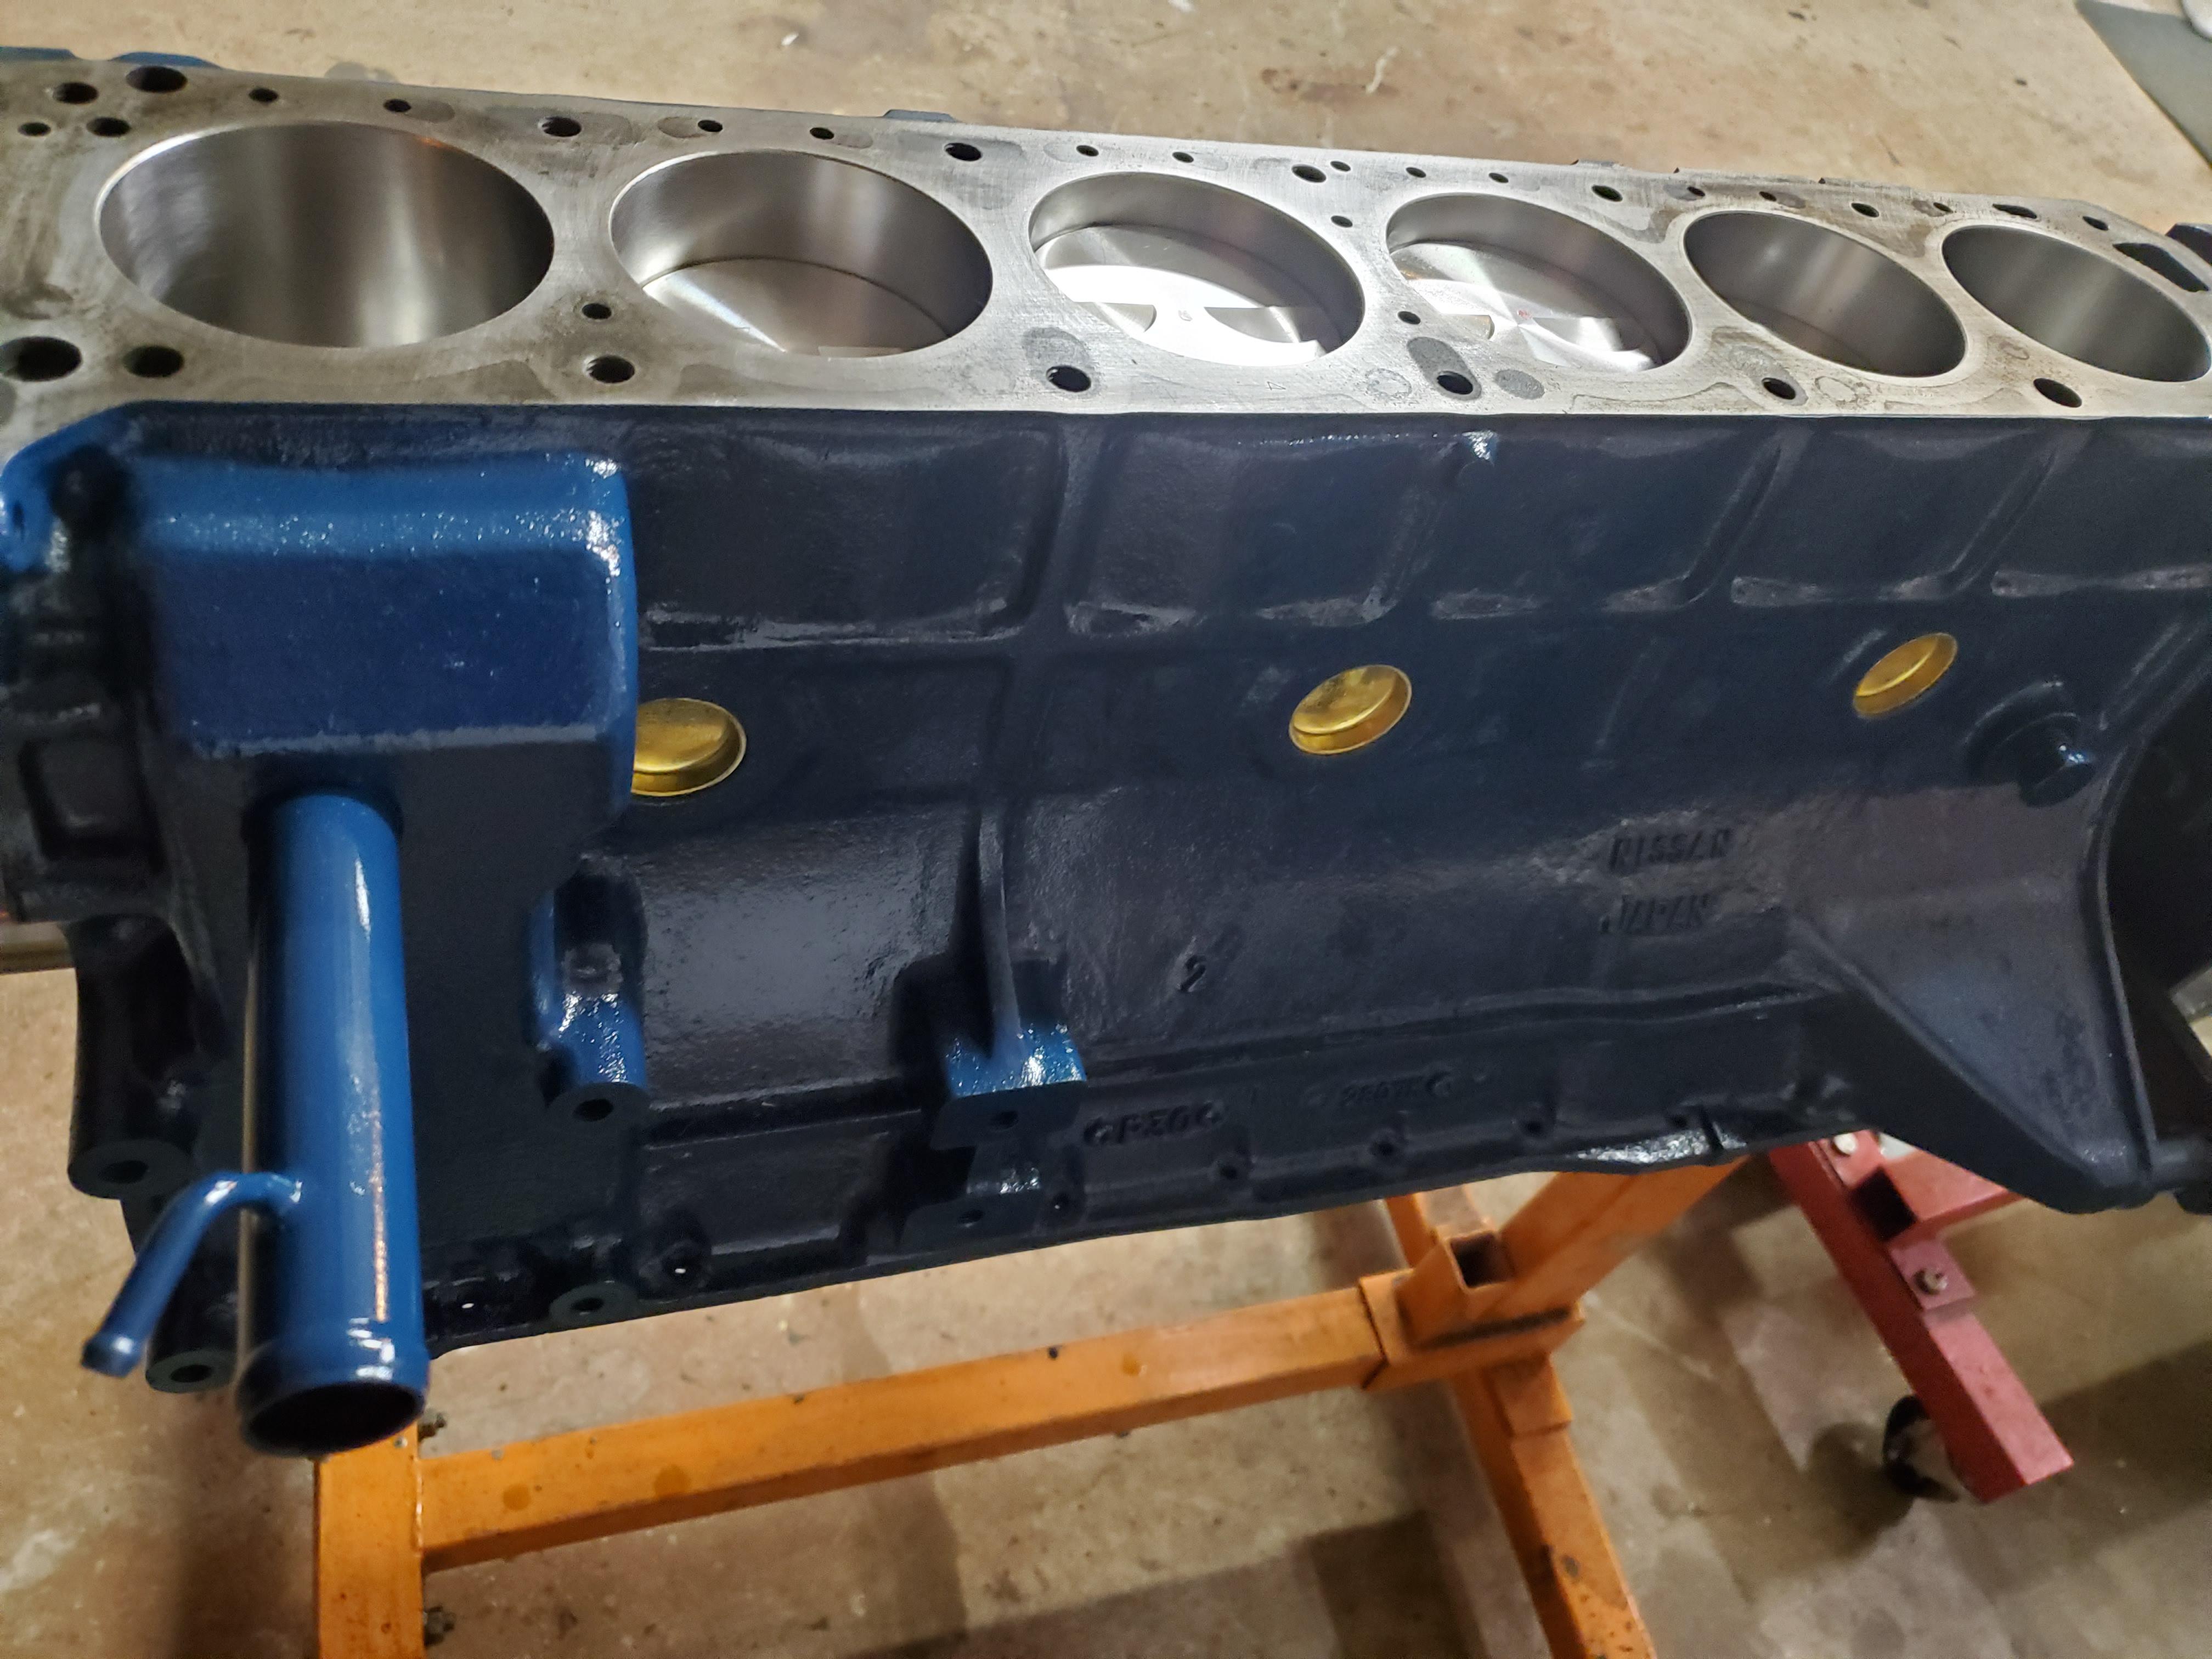
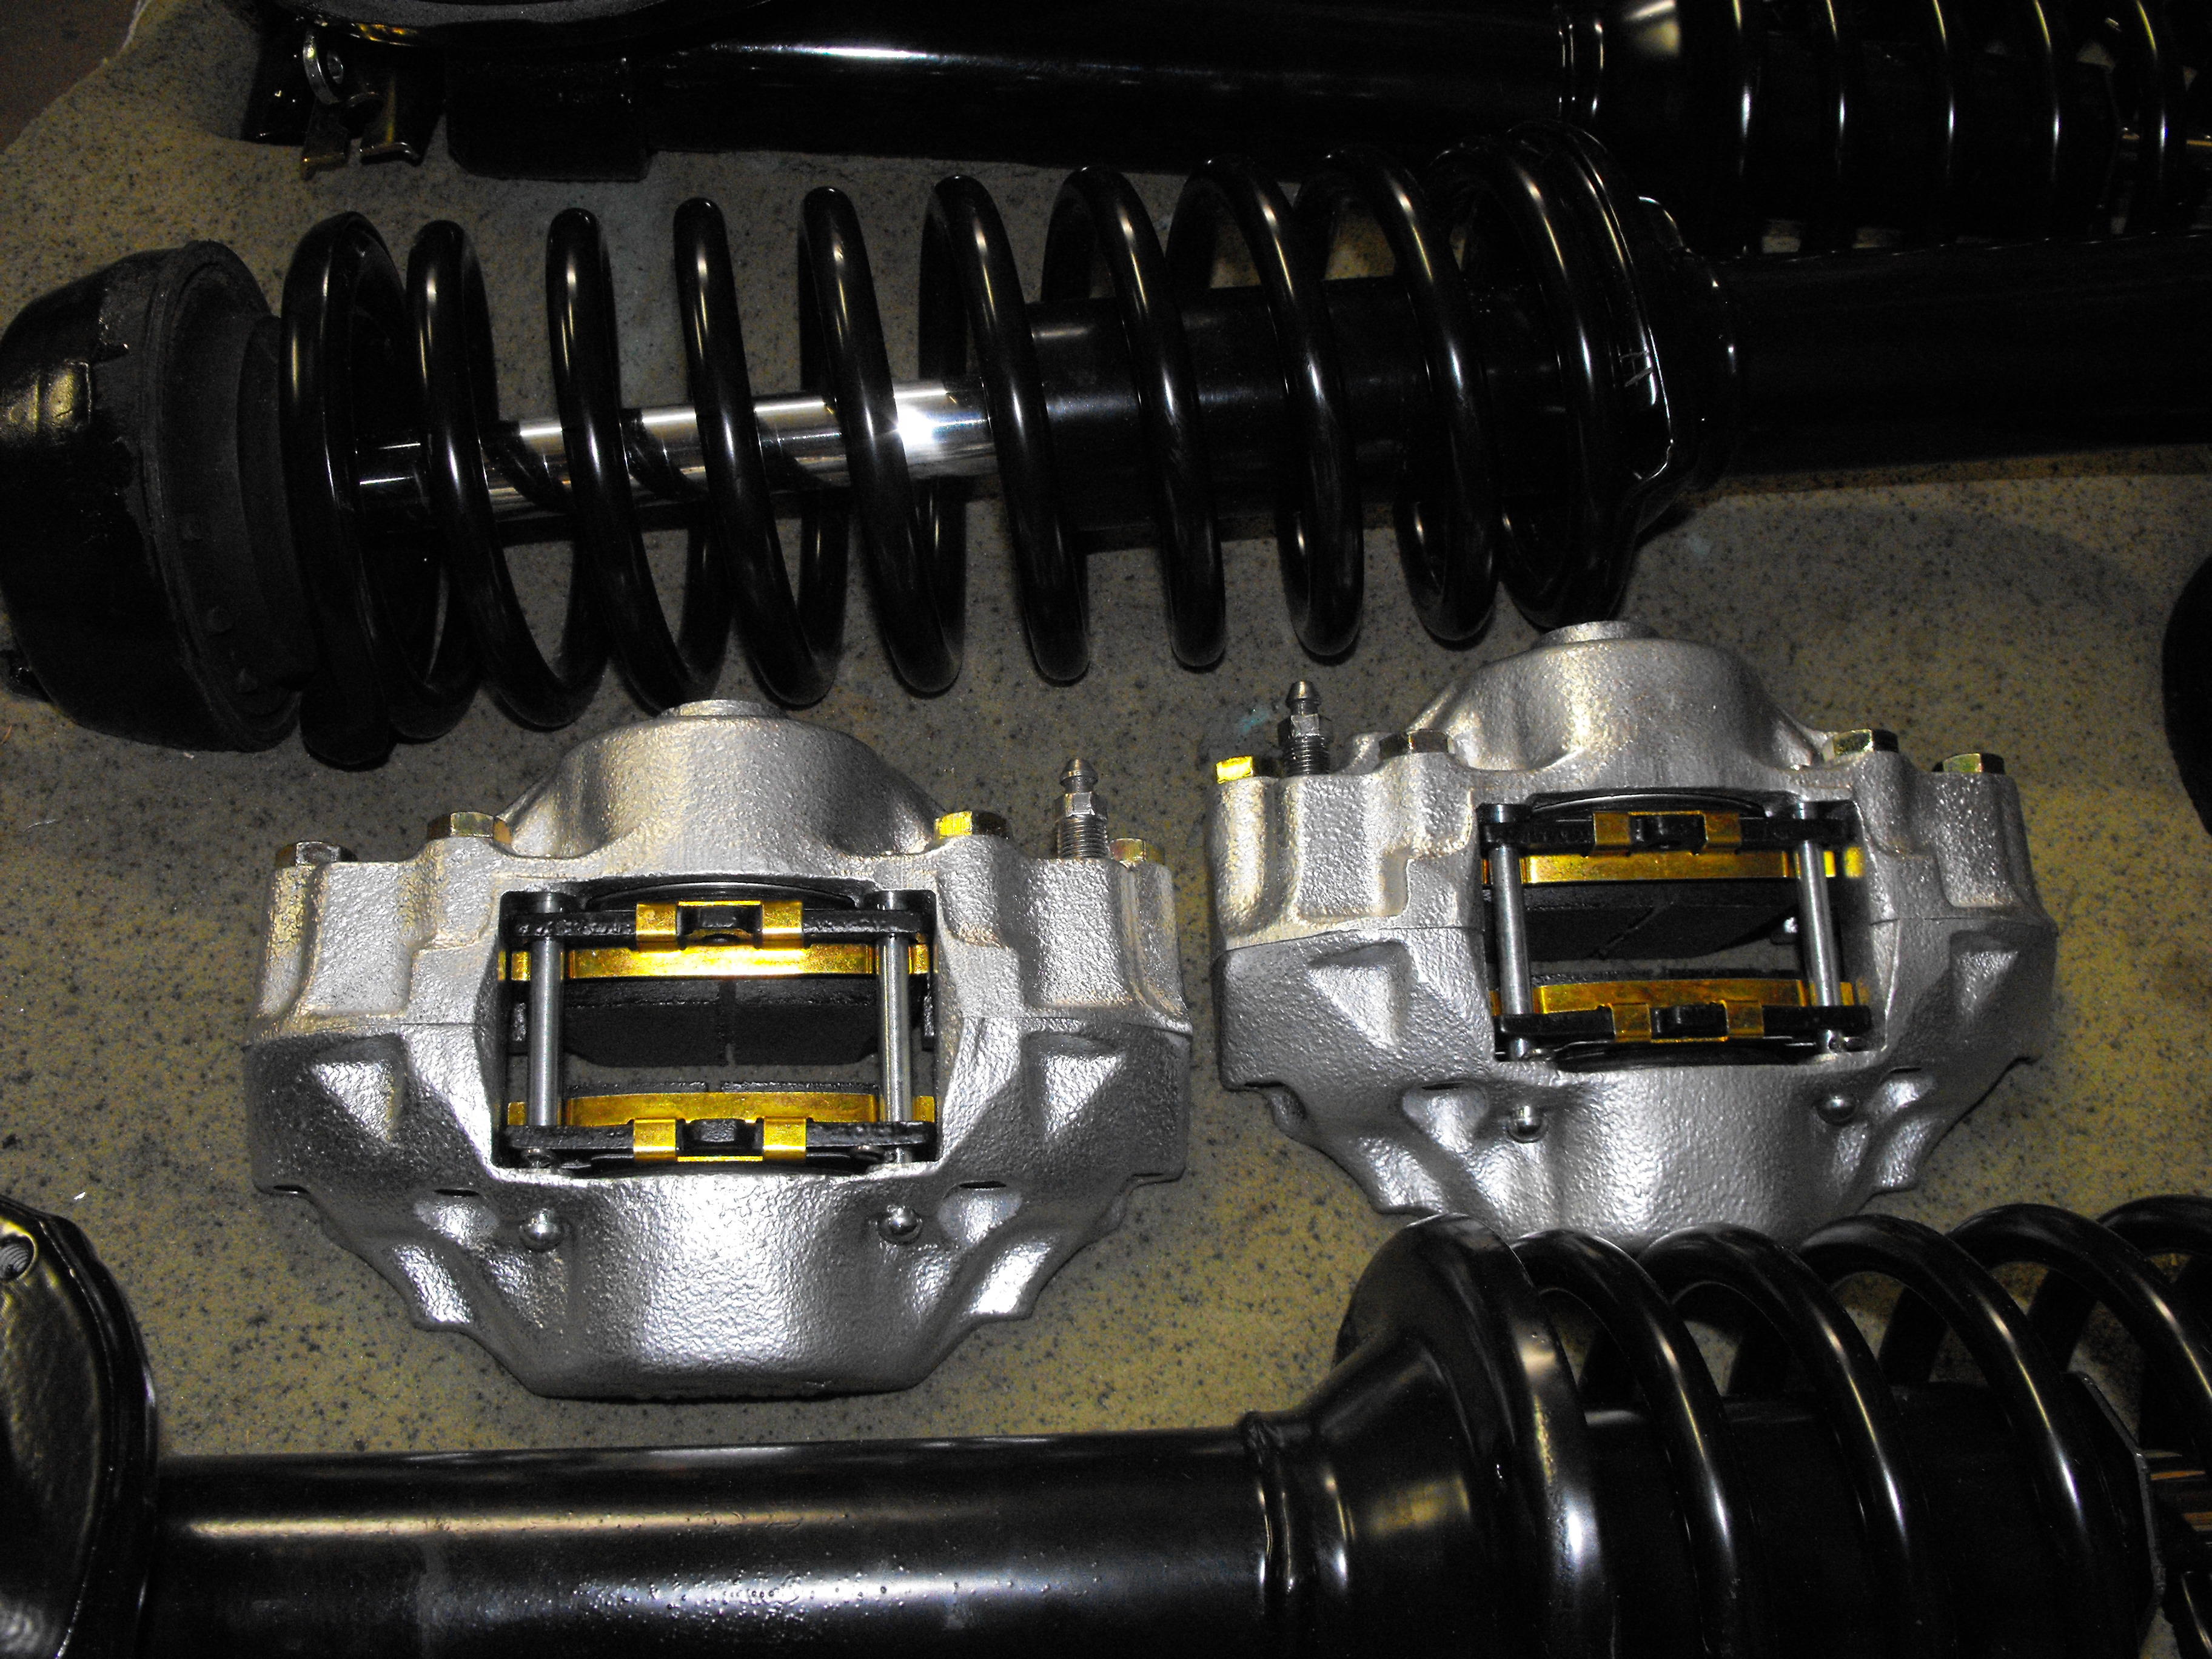
Got the block back from the machine shop. Head is waiting for hardened valve seats to come in. Got the block painted and freeze plugs installed. also finished rebuilding the second front caliper


-
Yes, I am planning on sending the larger parts (fuel and brake lines, etc) and parts that have cavities, like the emission valves, to a local plater. In the past, the 'cavity items' have leaked during shipping and stained the other parts. Pick-up at the local plater for these large and unique items works better.
-
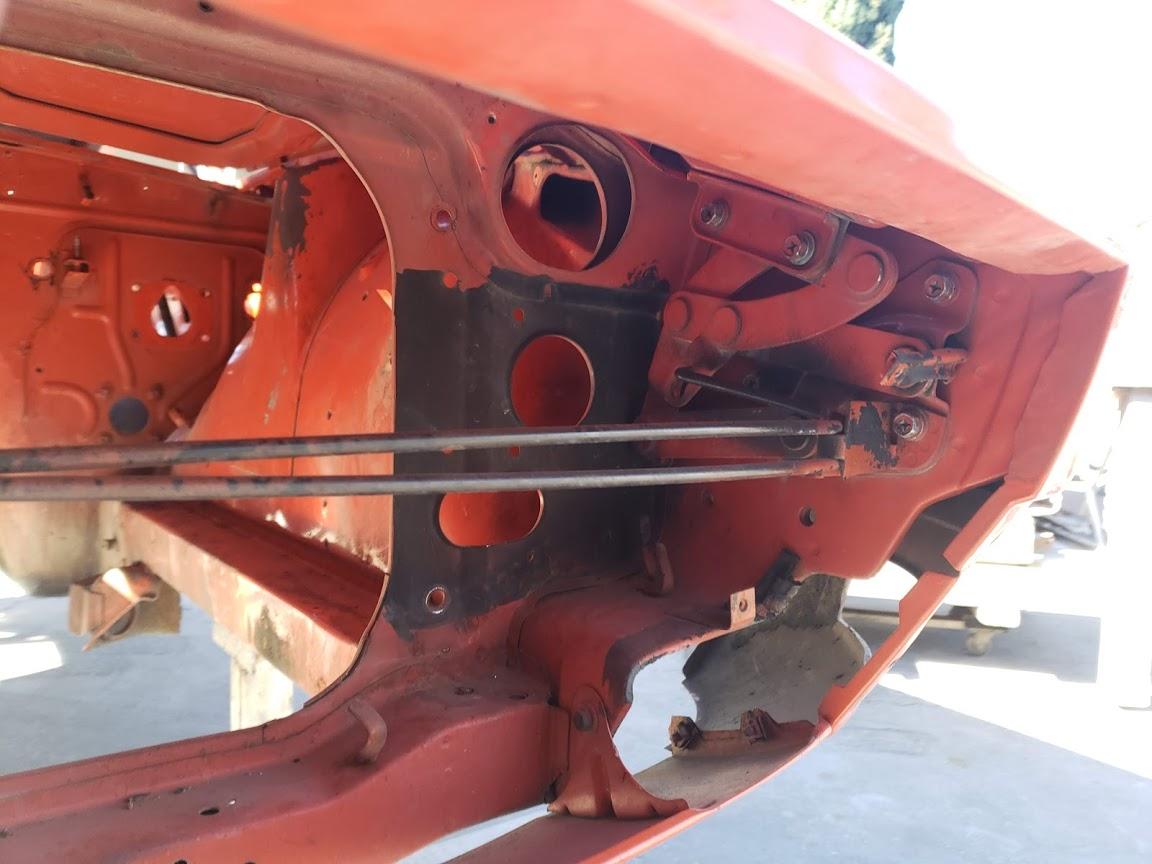
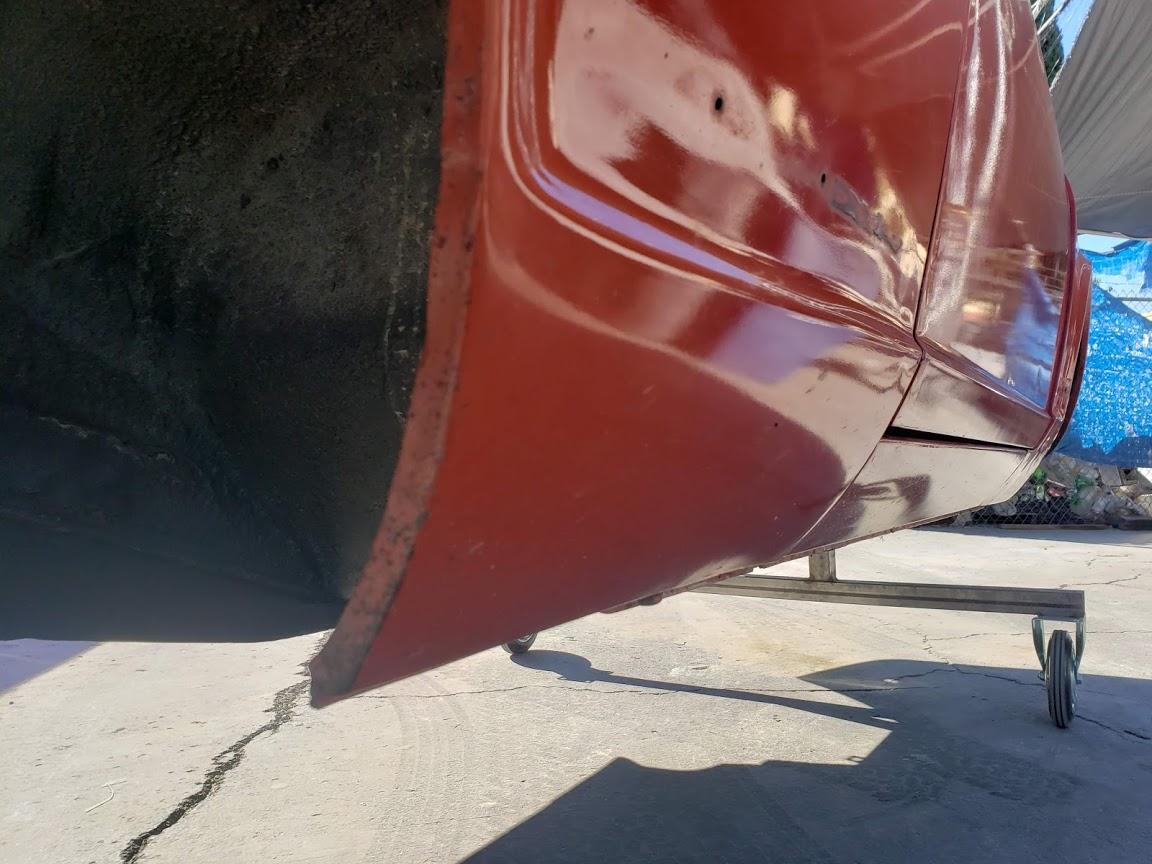
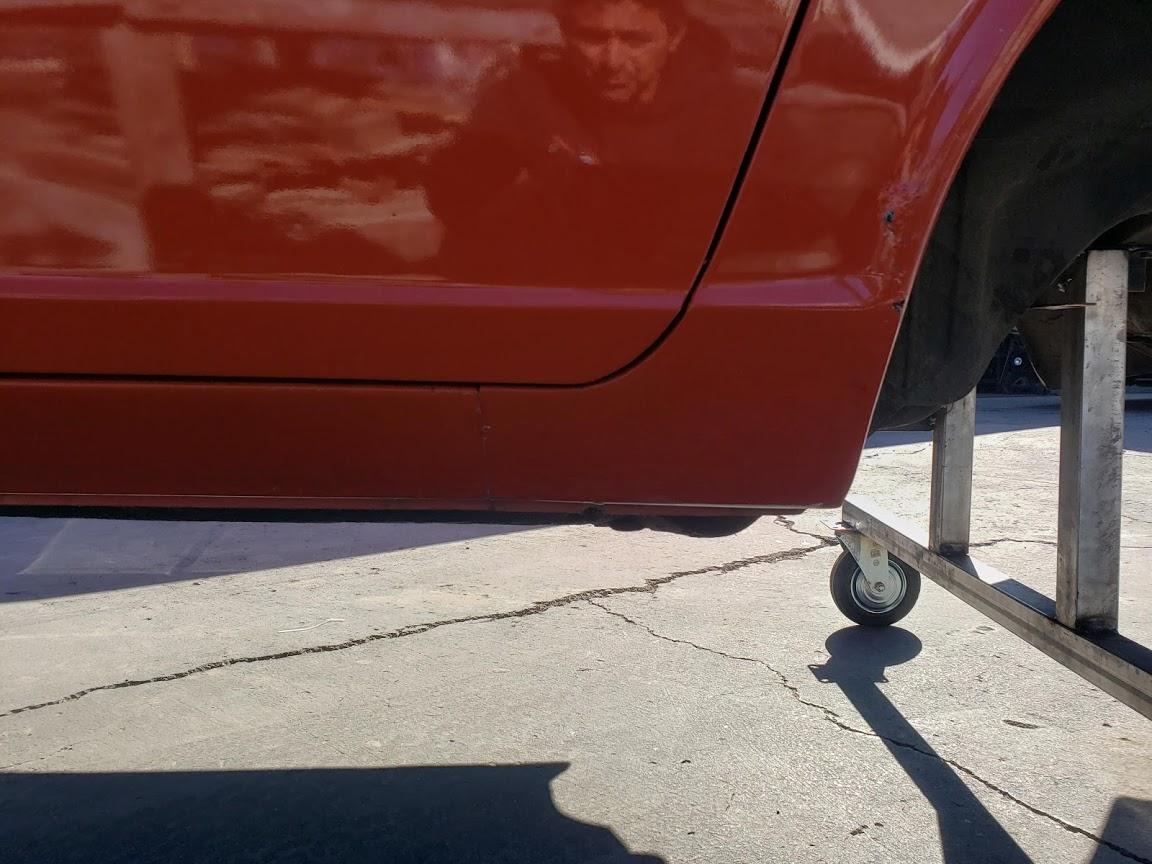
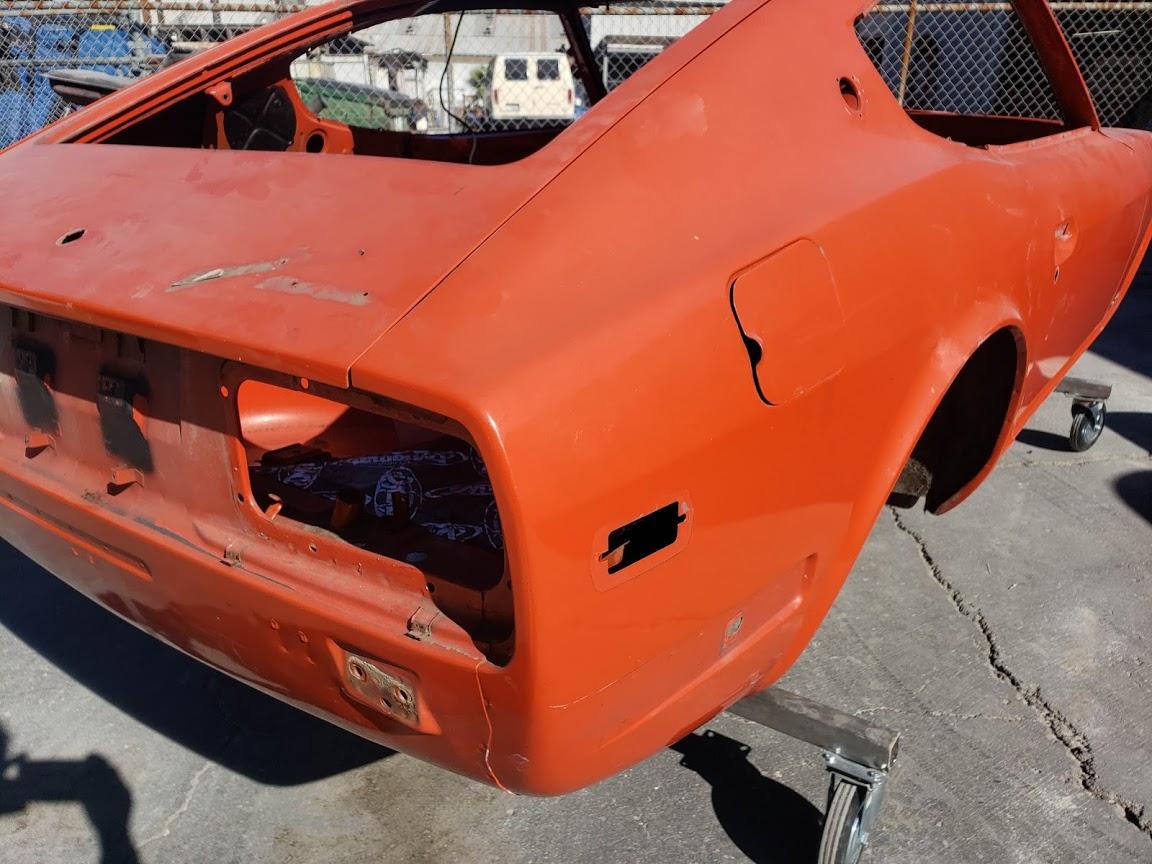
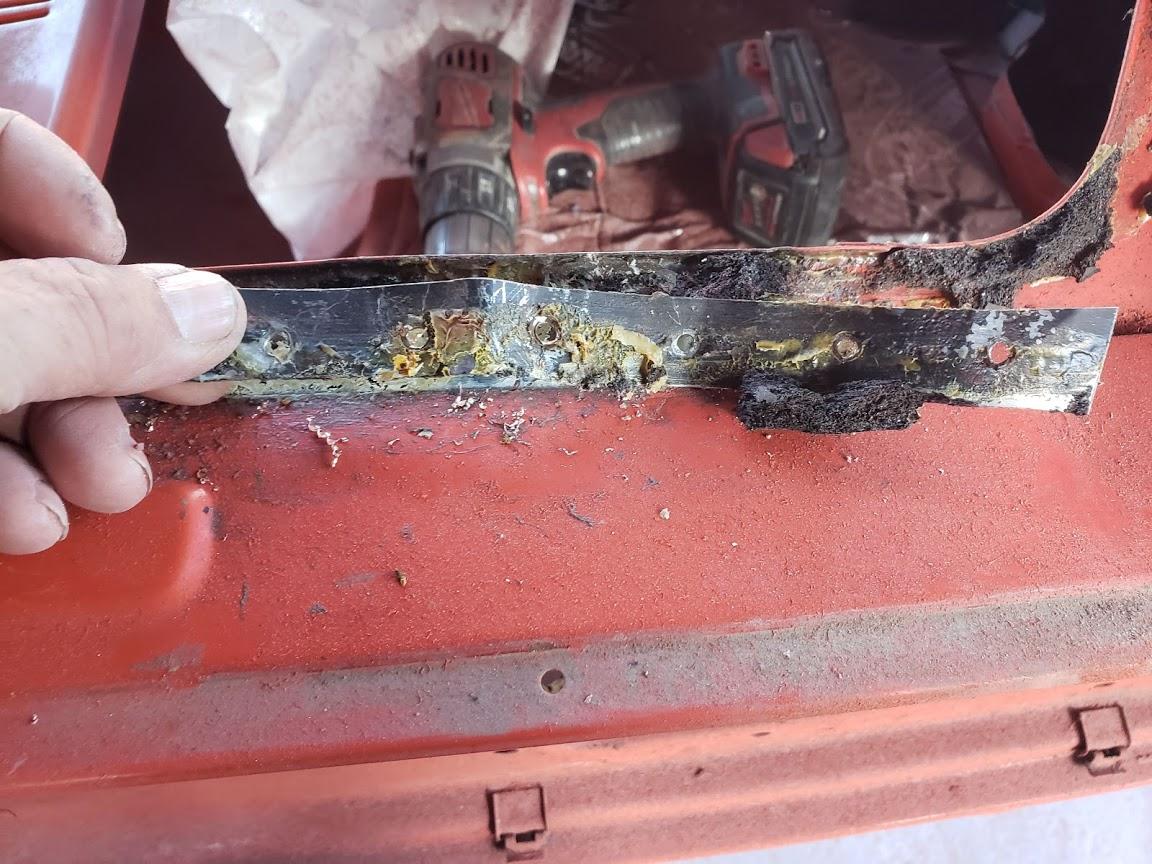
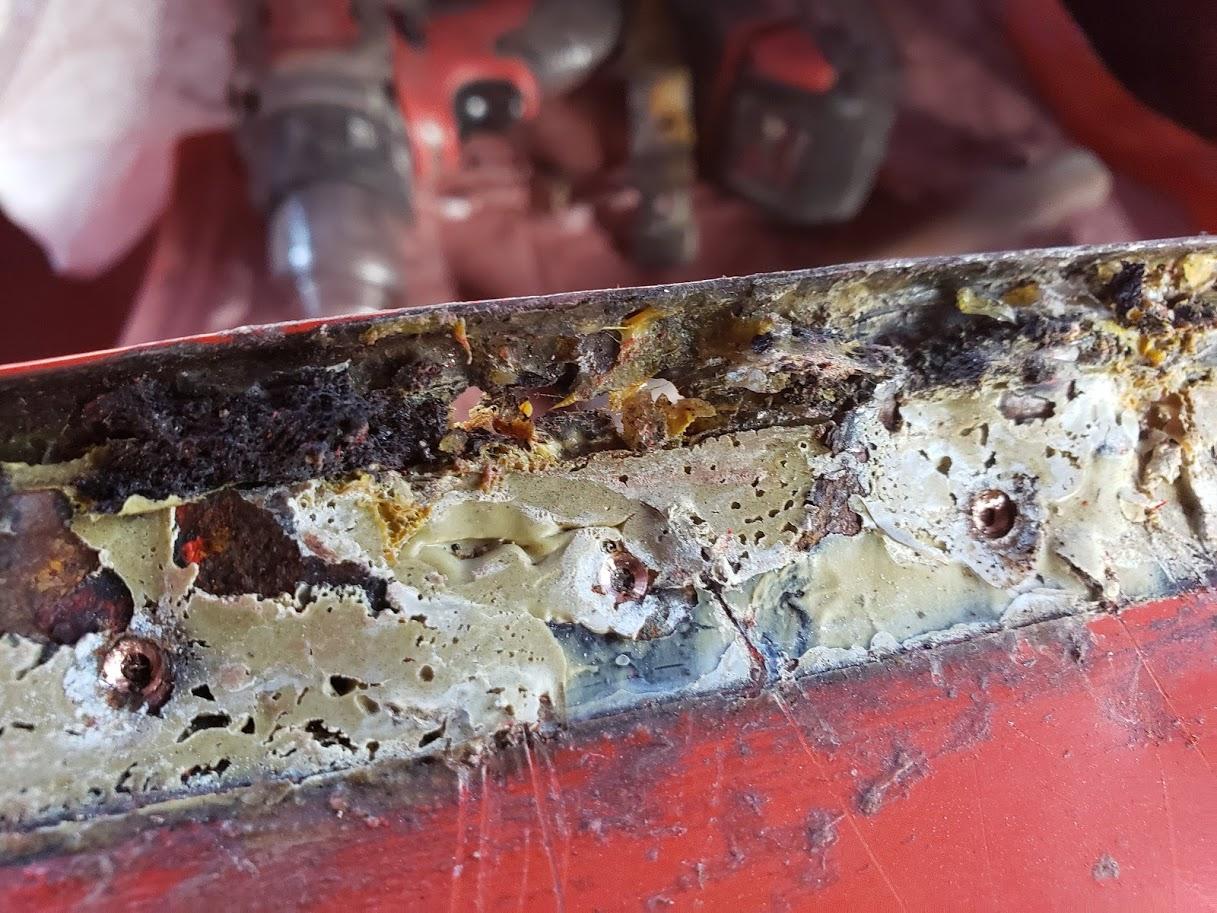
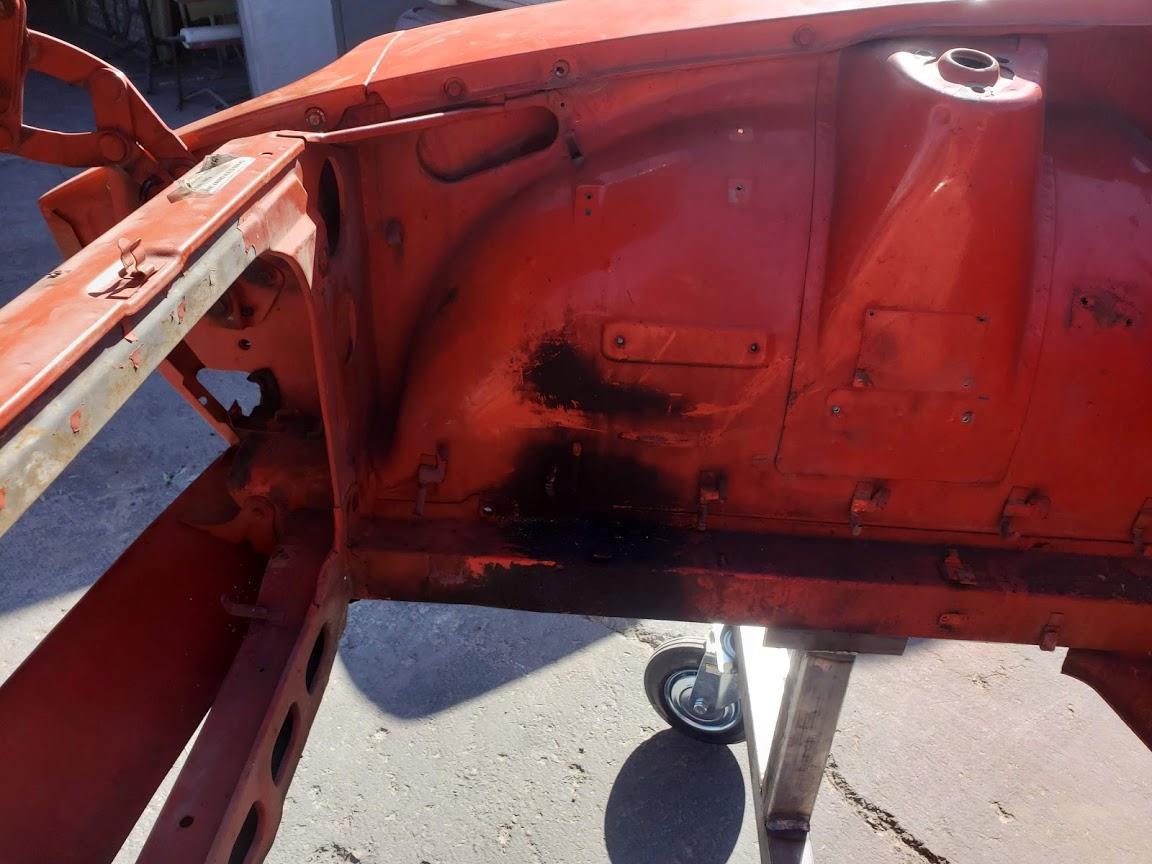
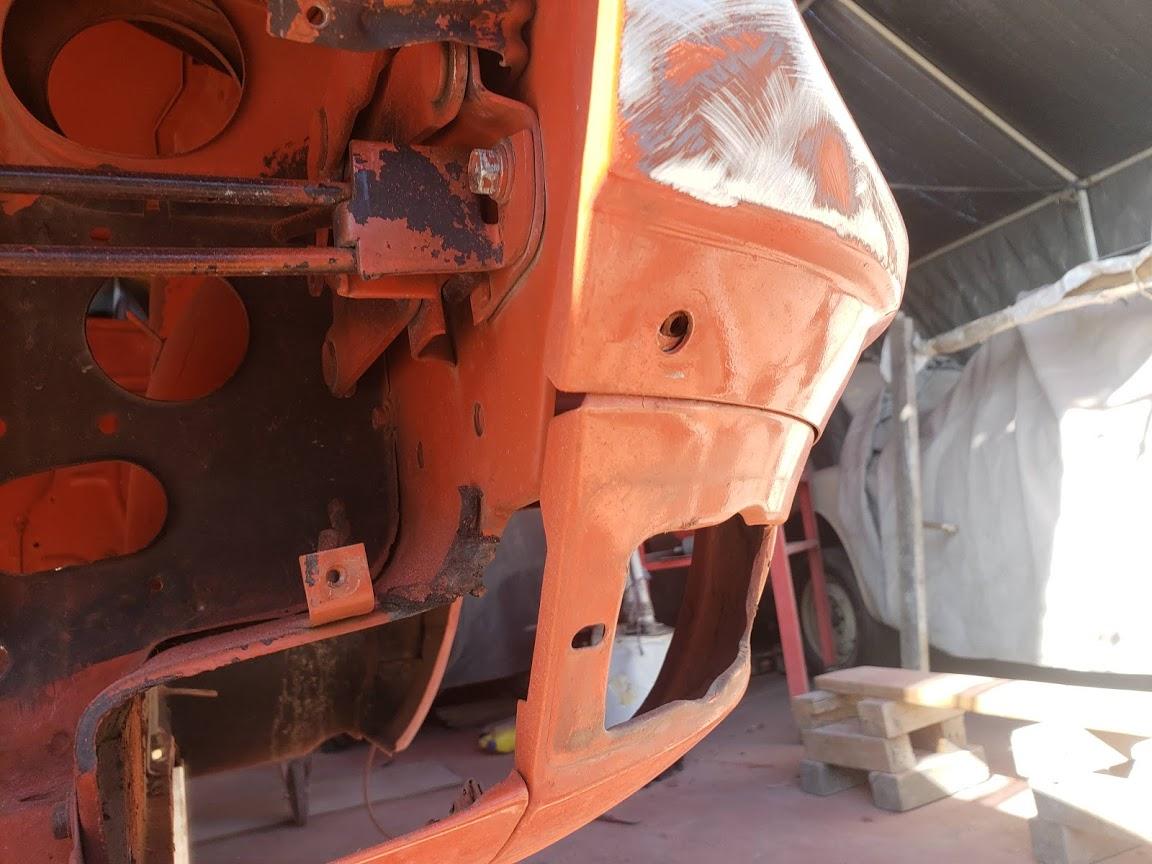
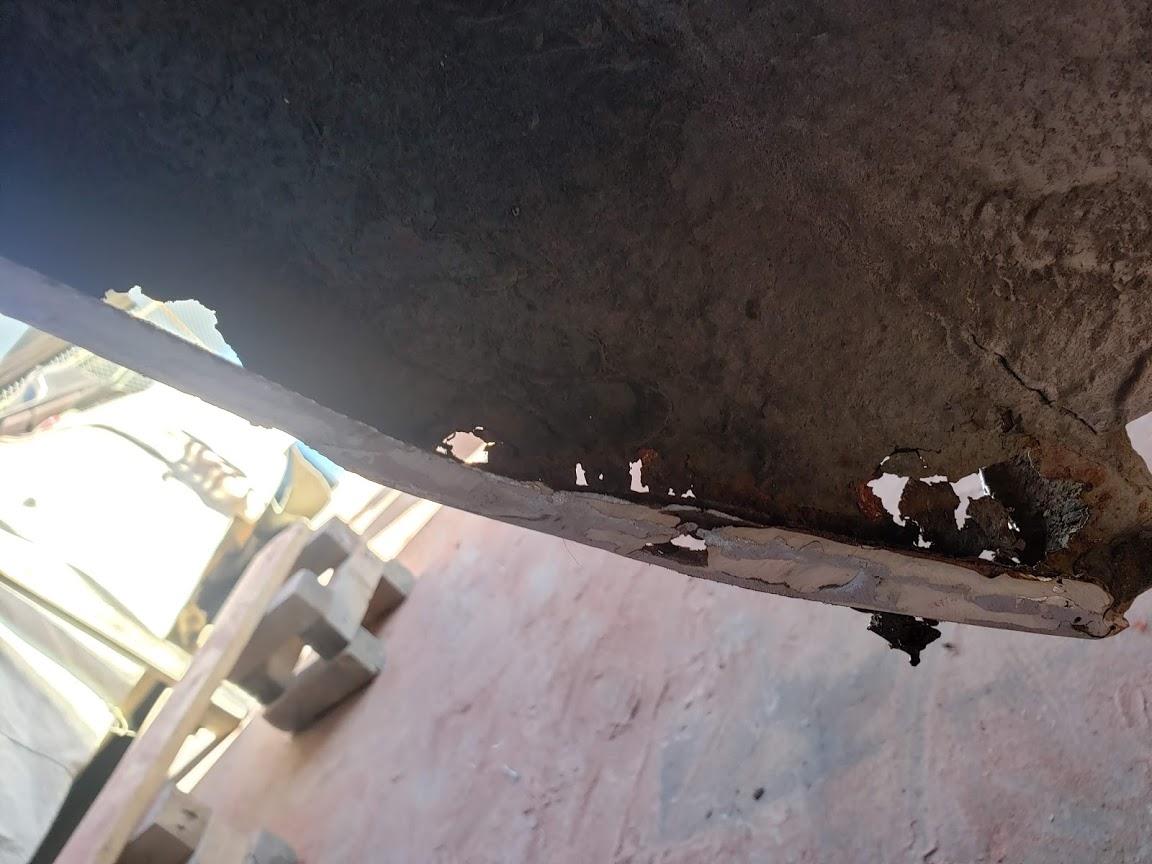
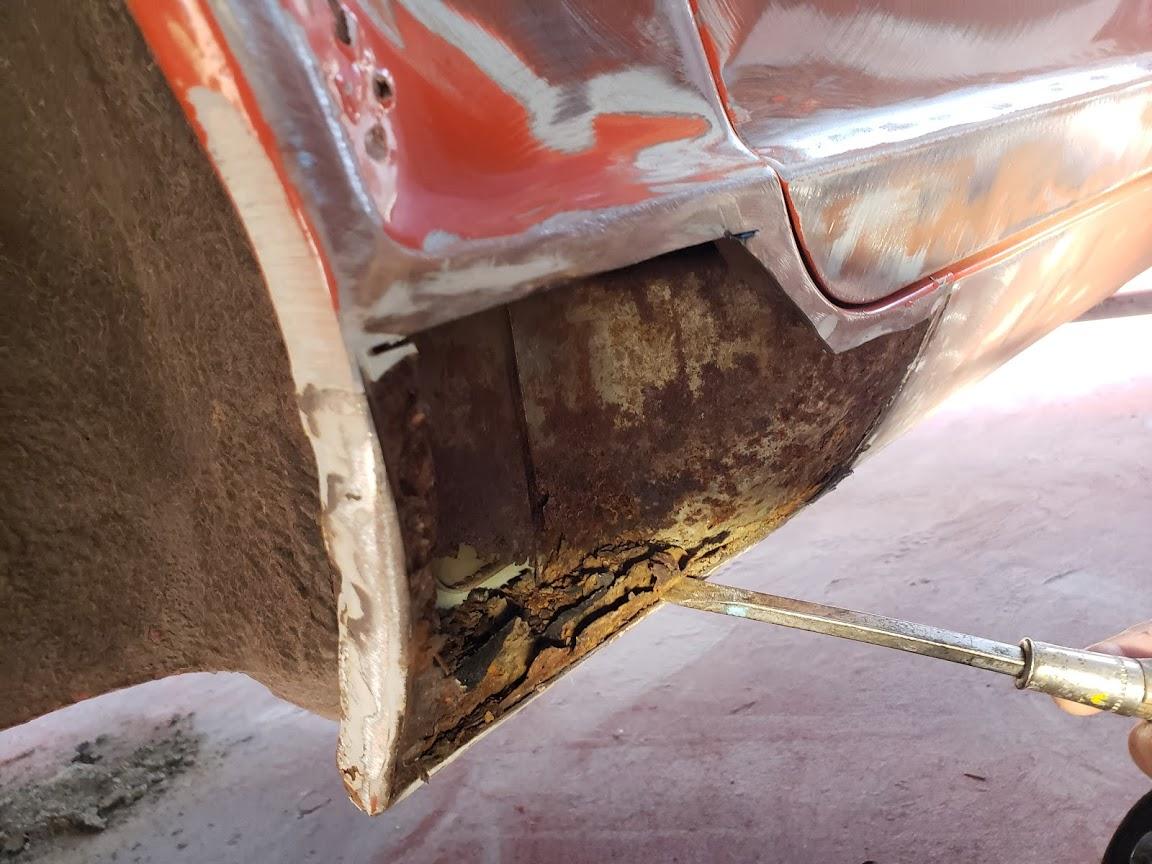
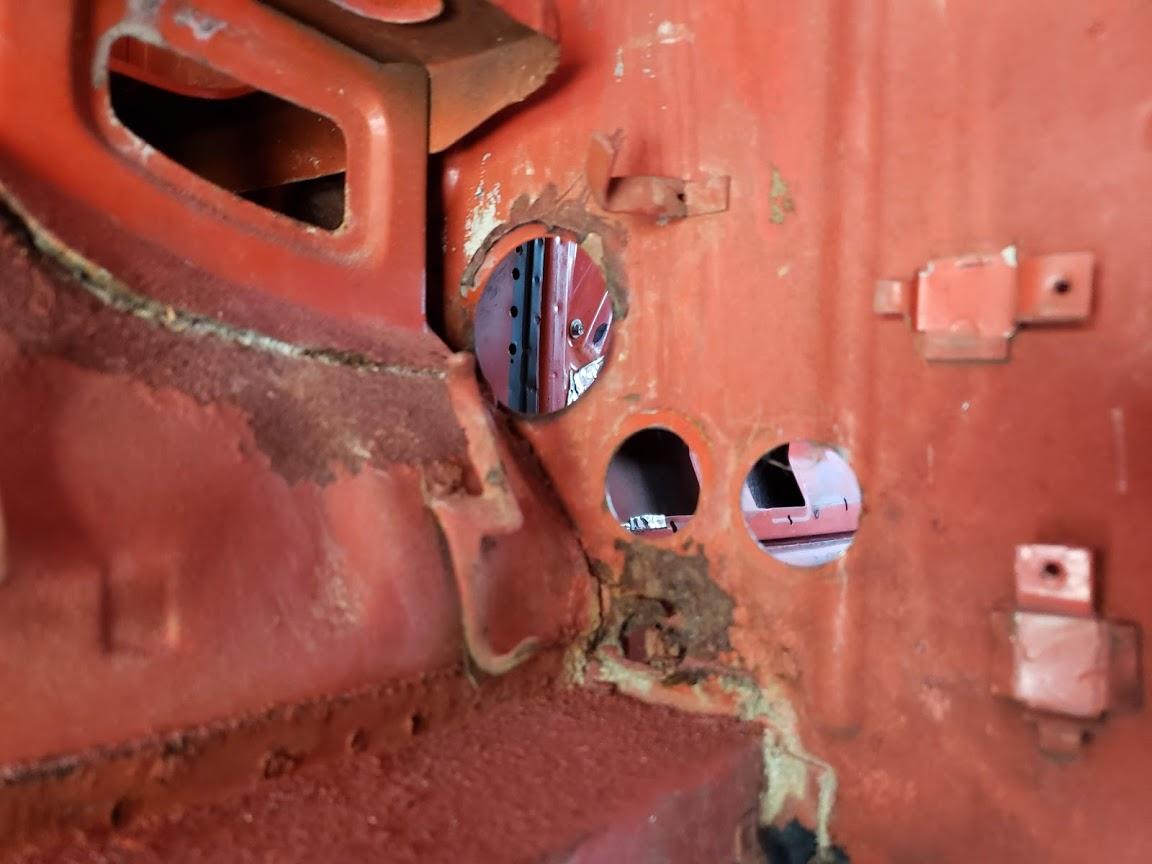
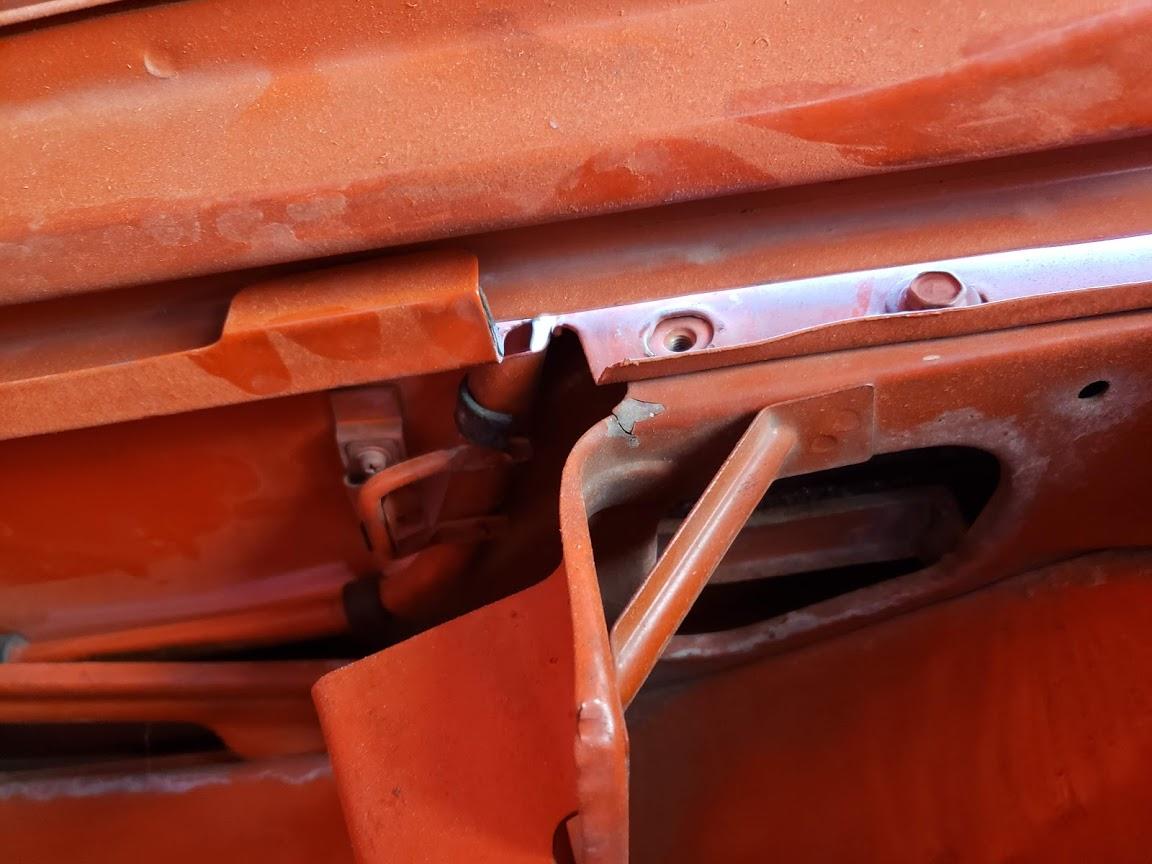
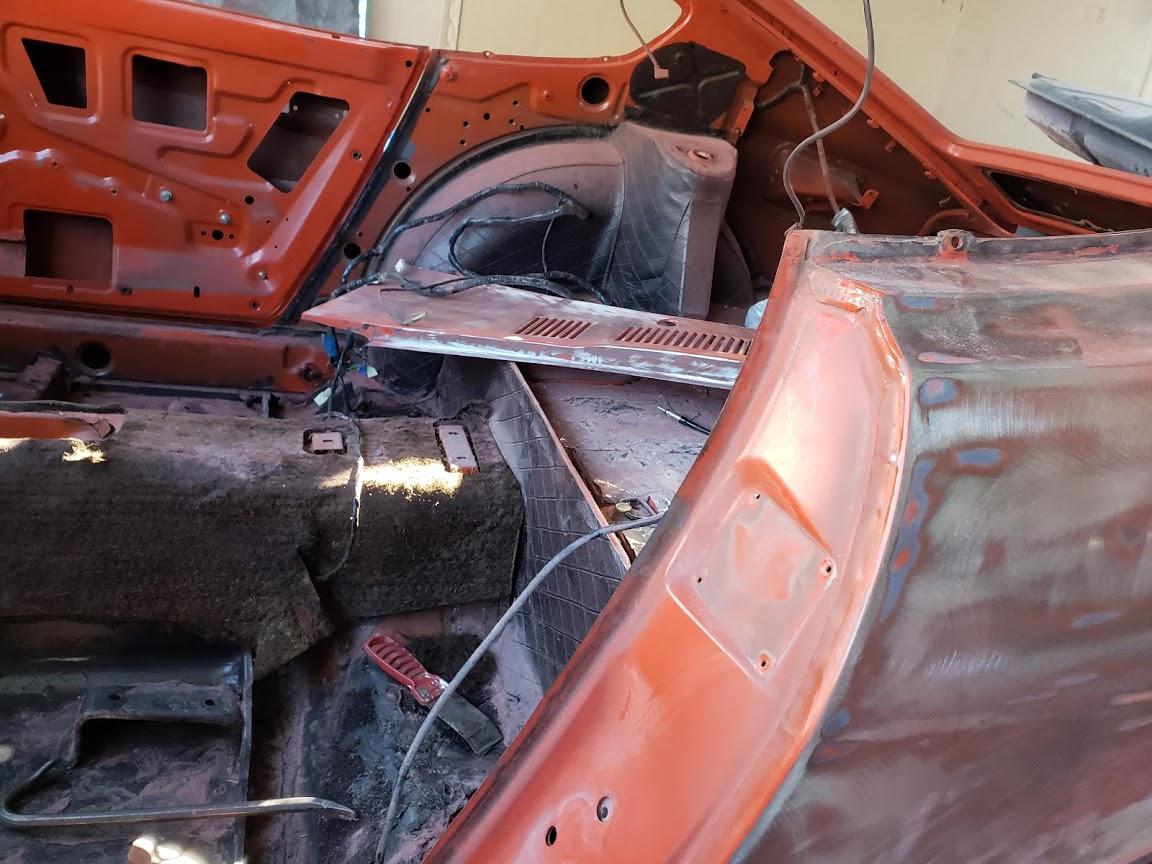
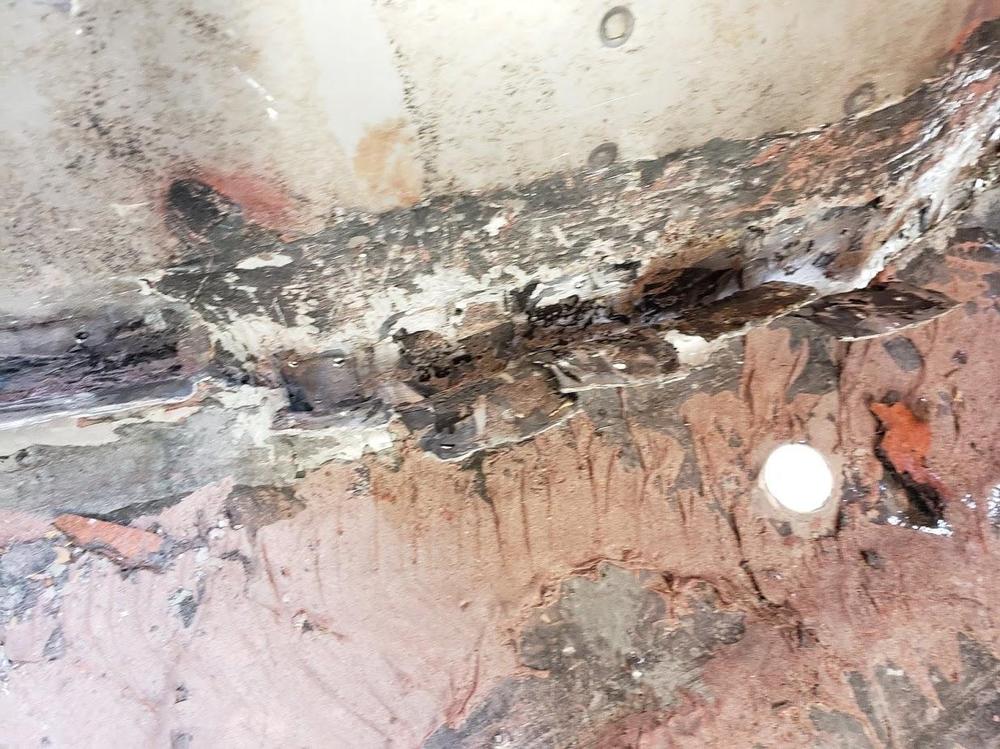
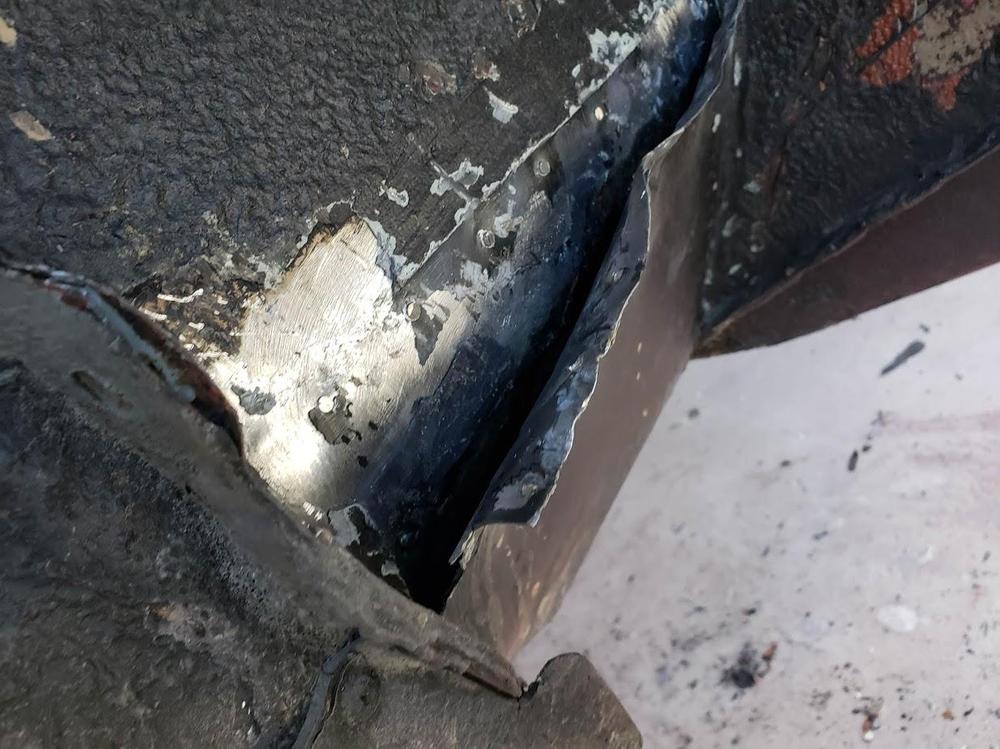
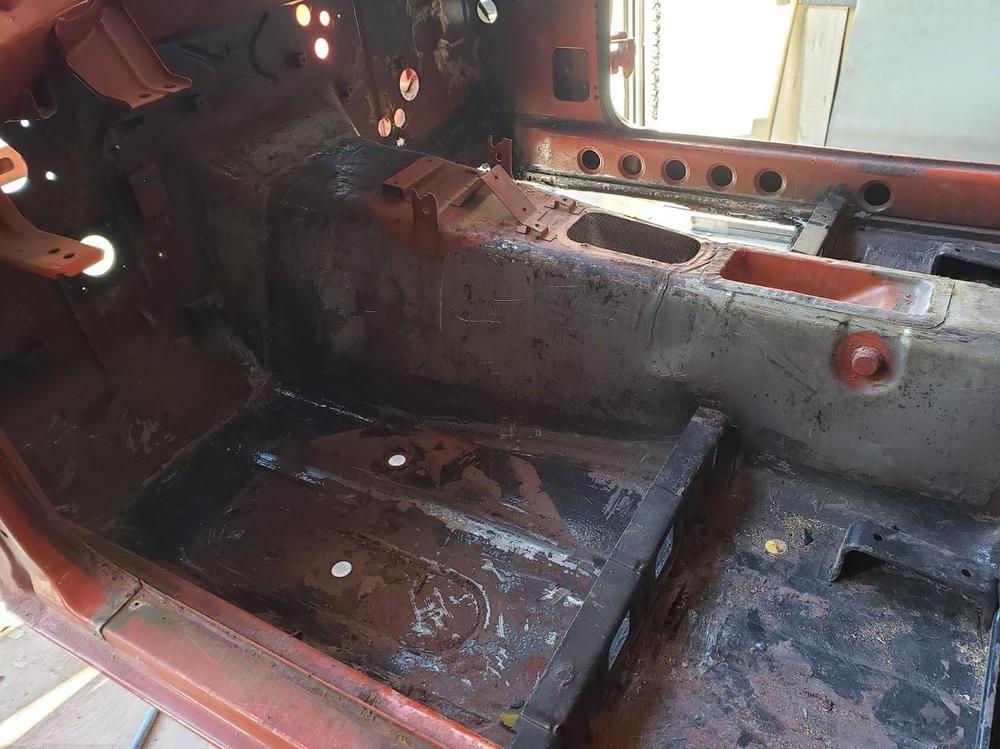
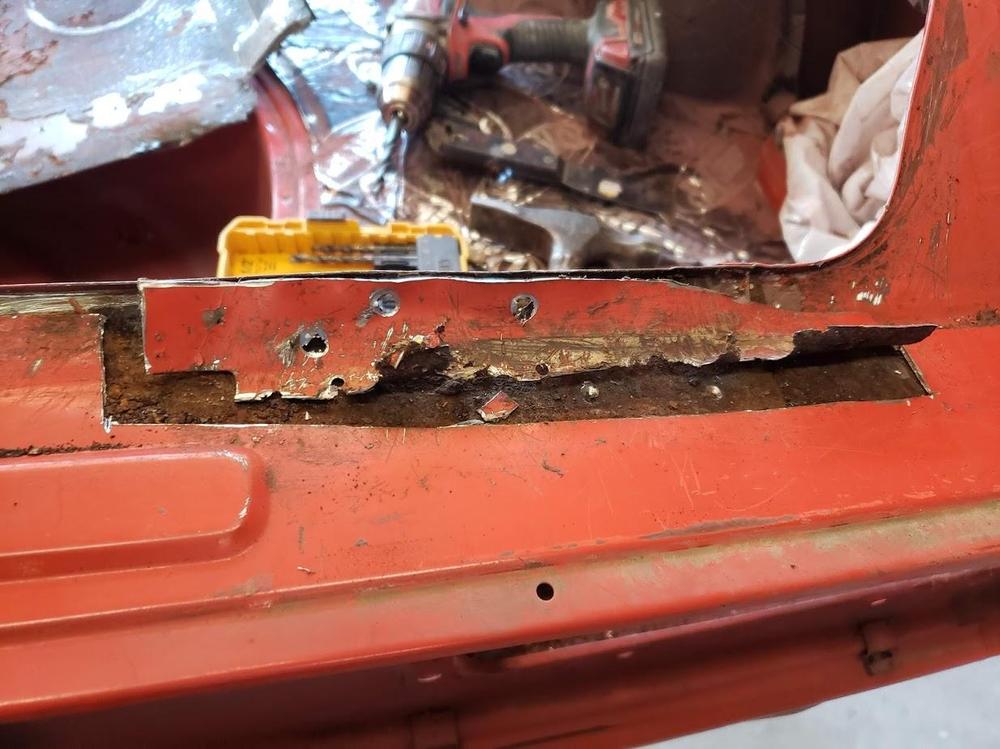
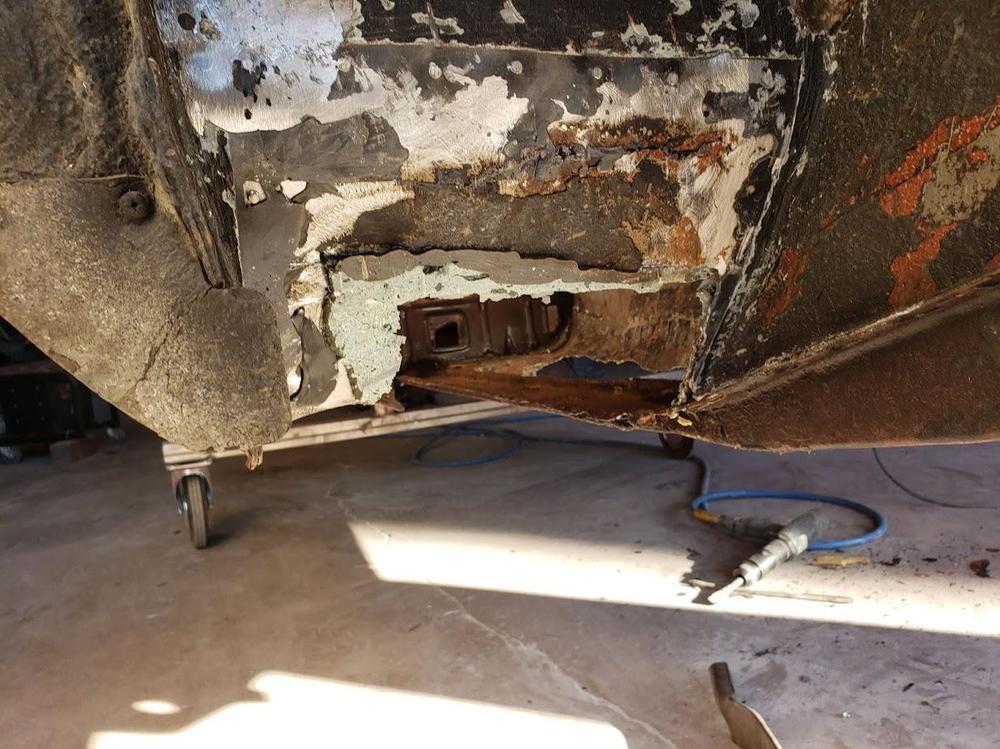
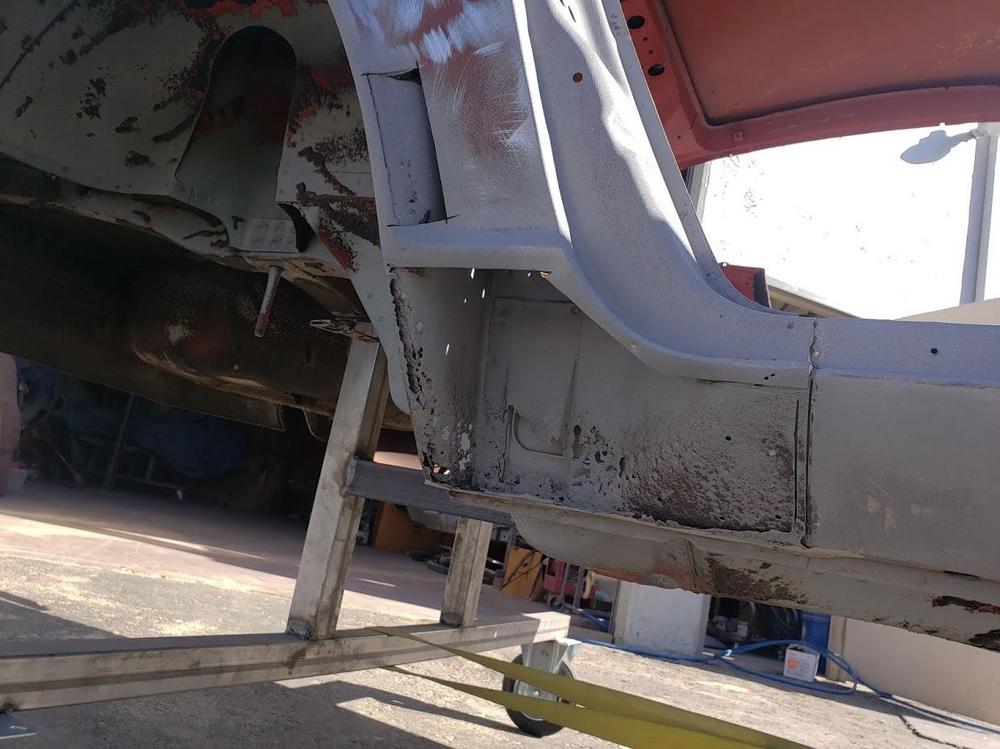
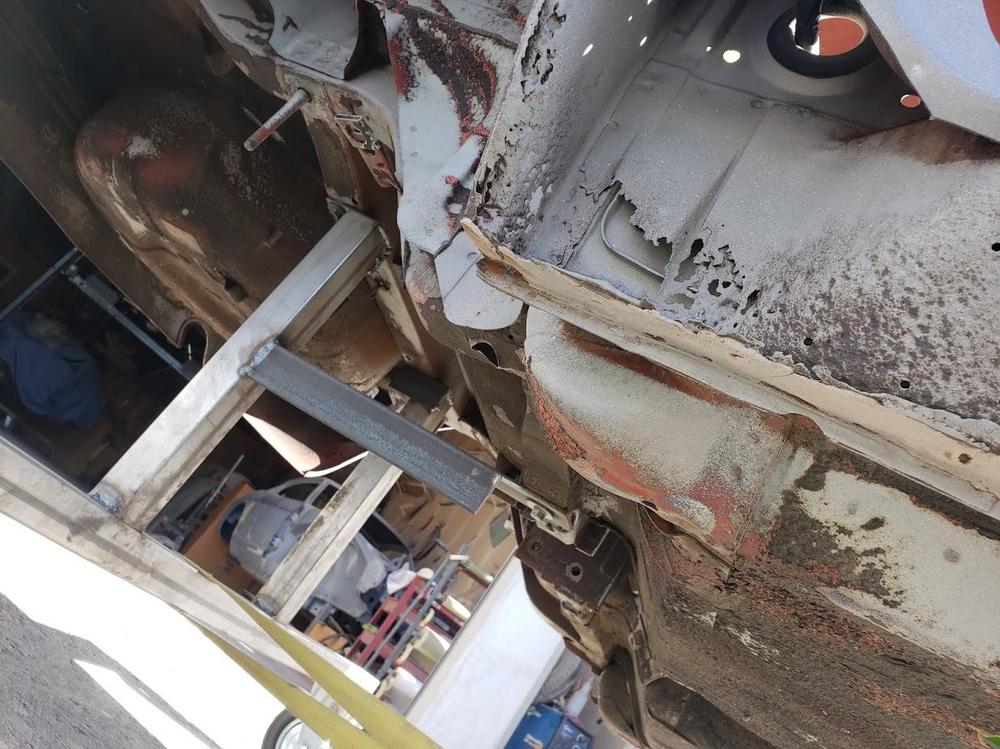
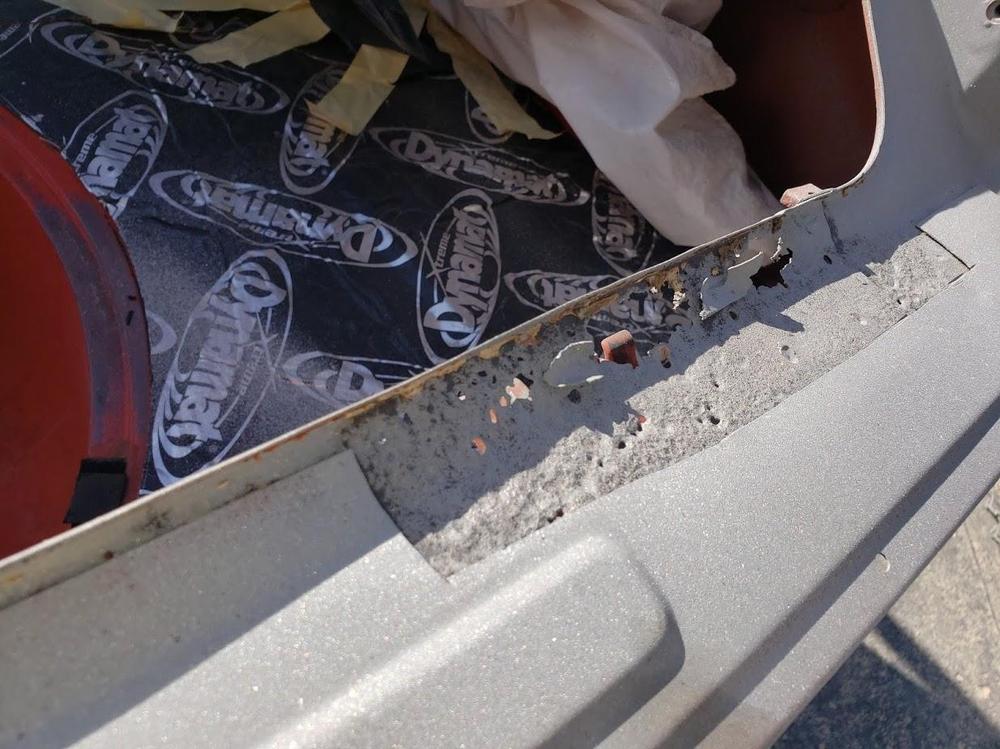
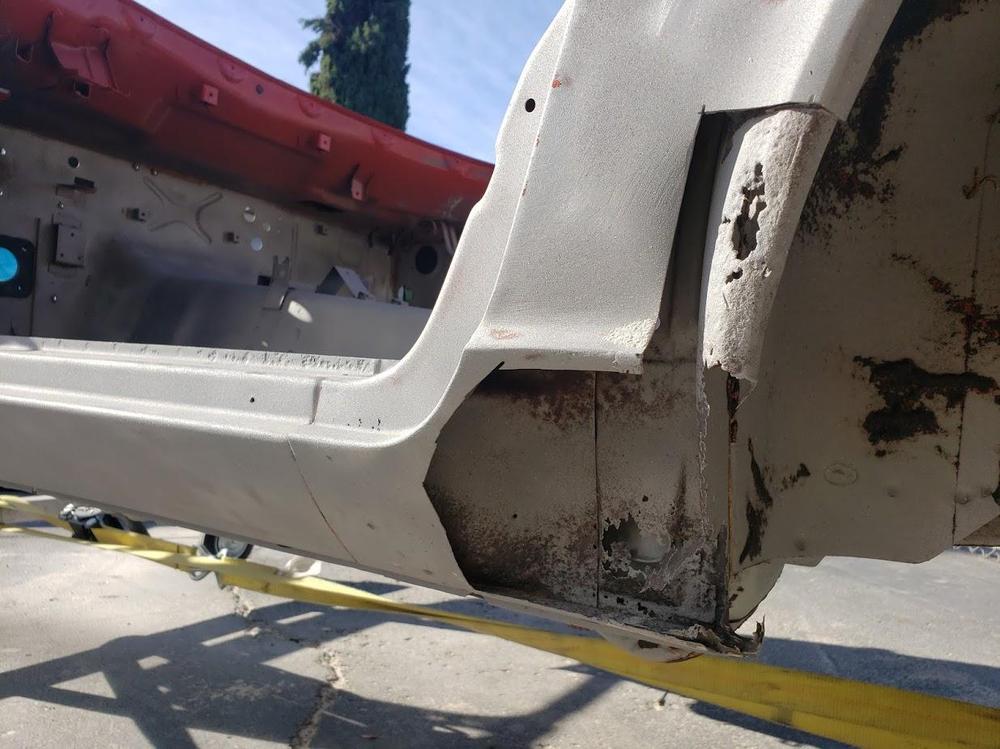
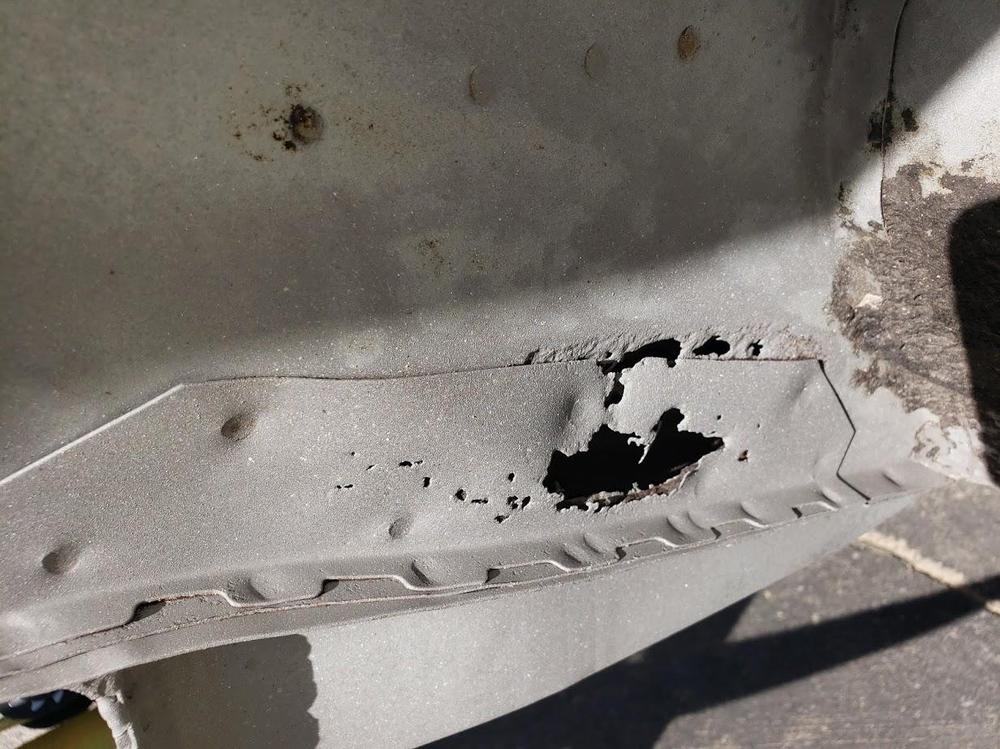
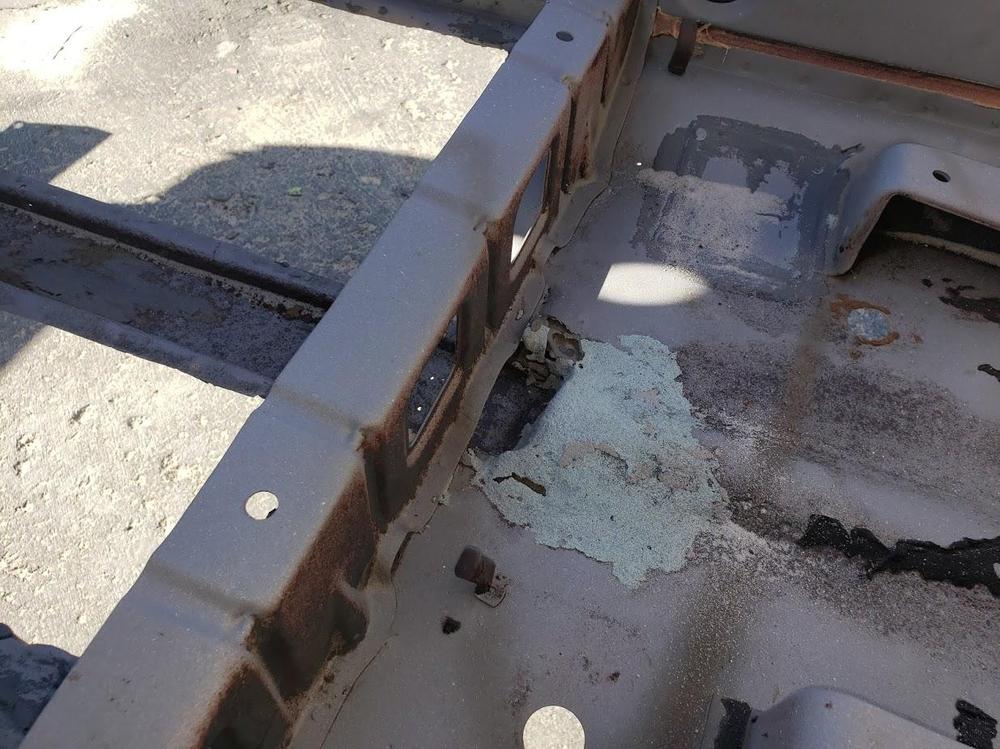
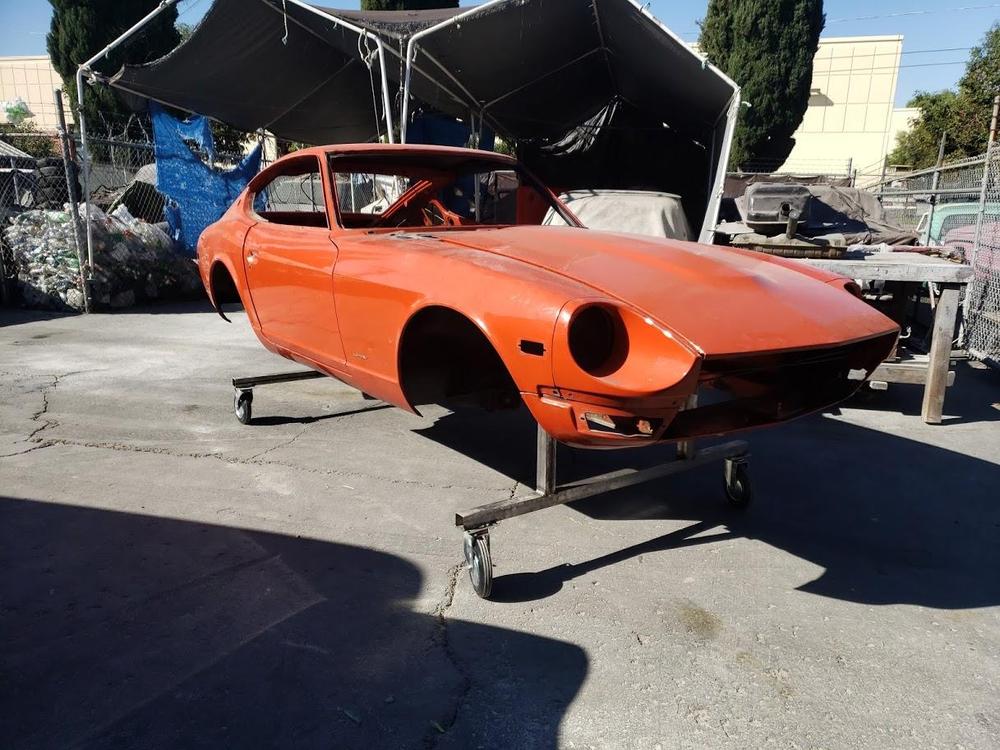
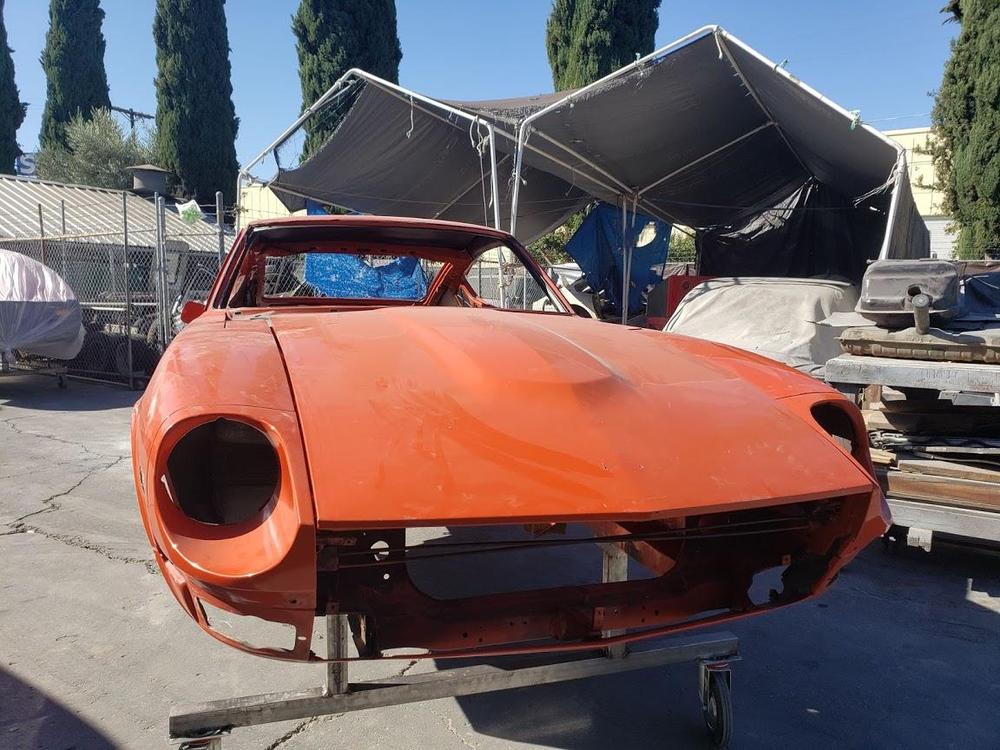
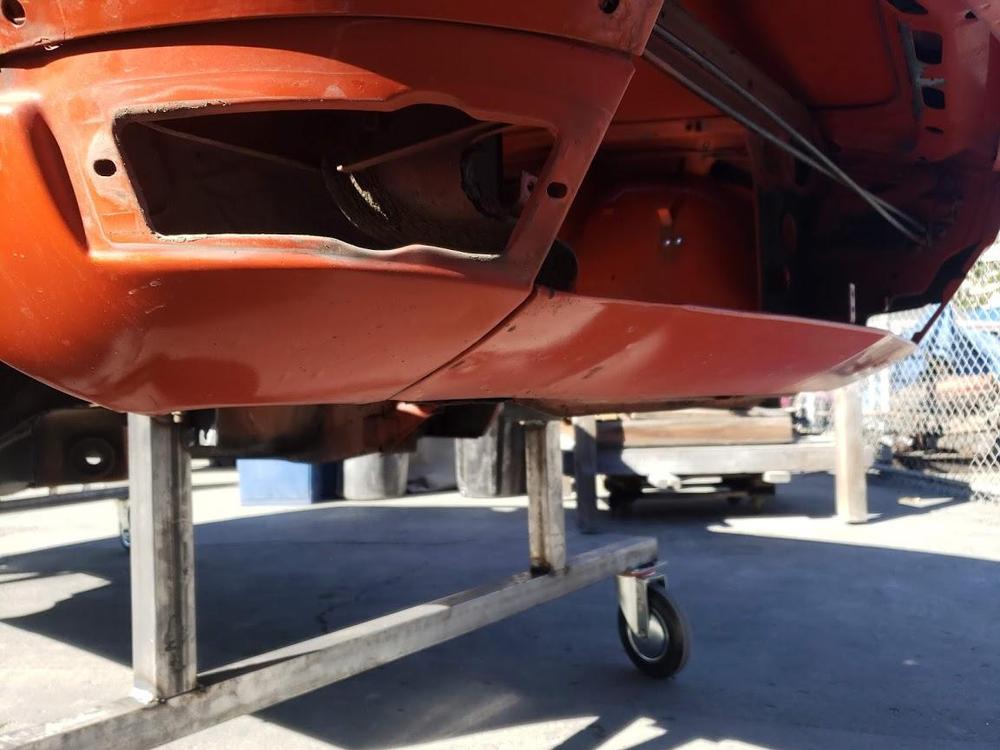
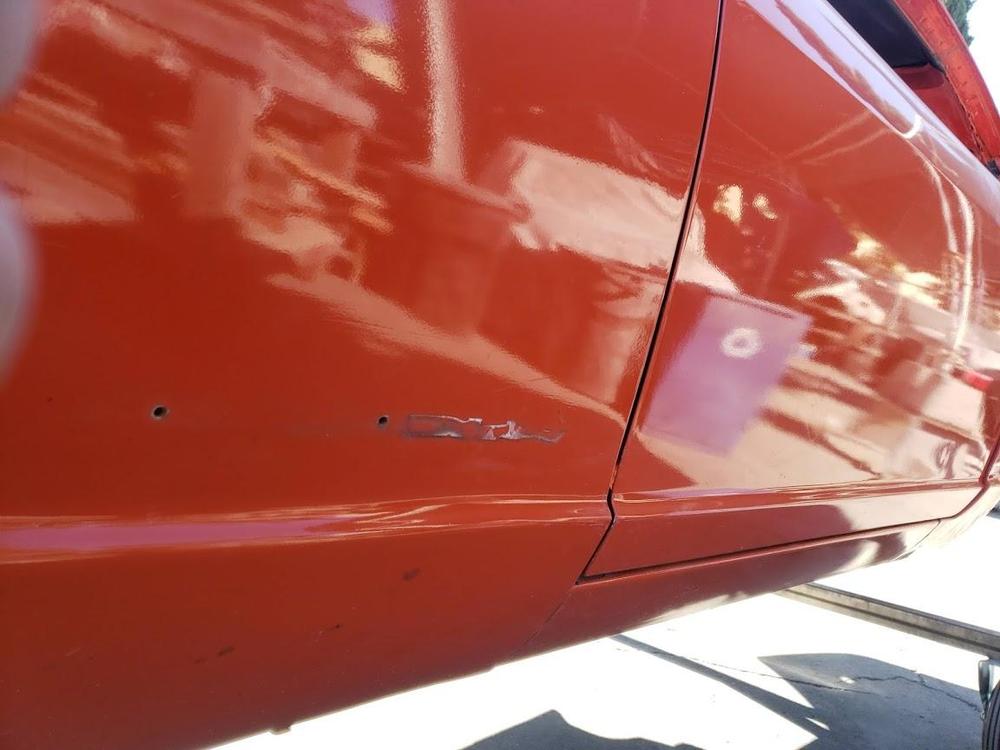
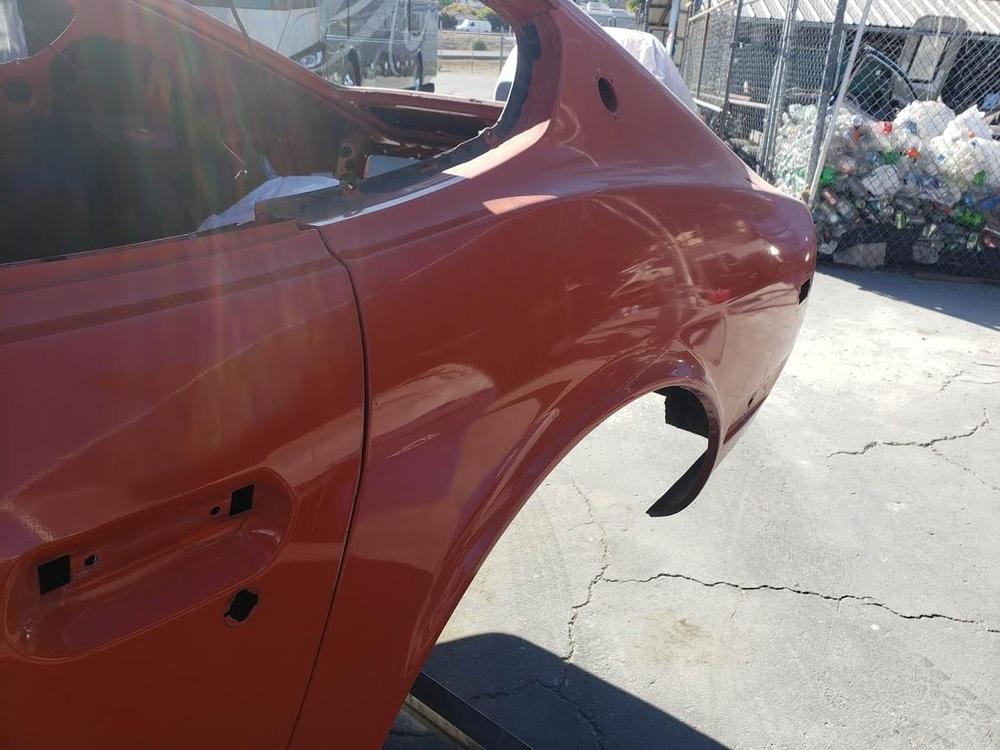
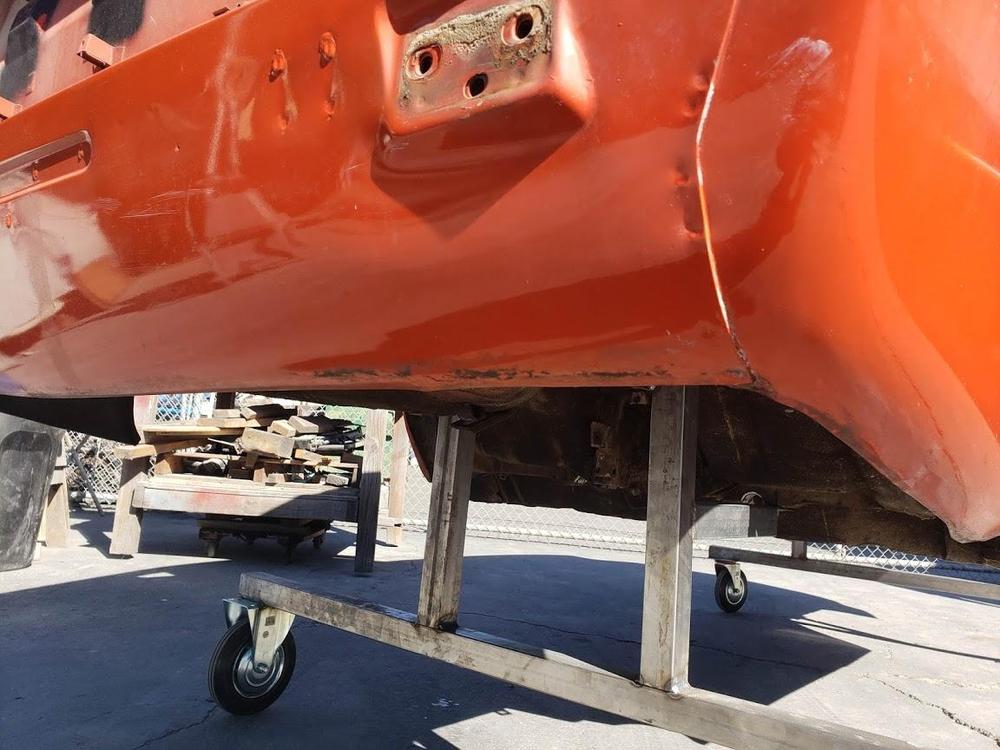
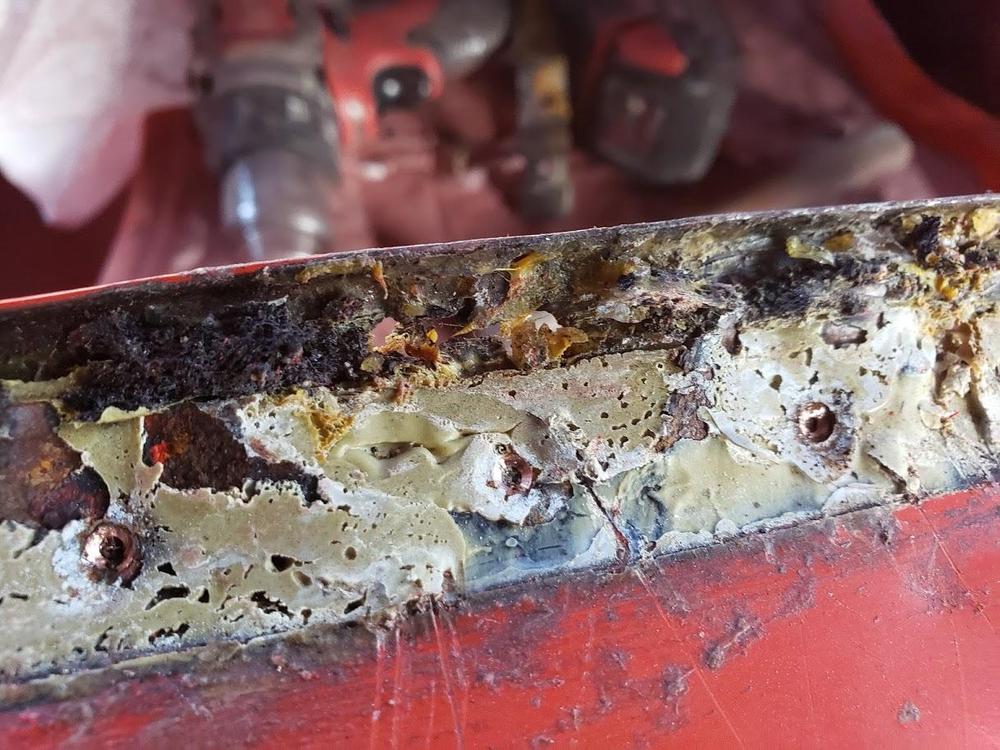
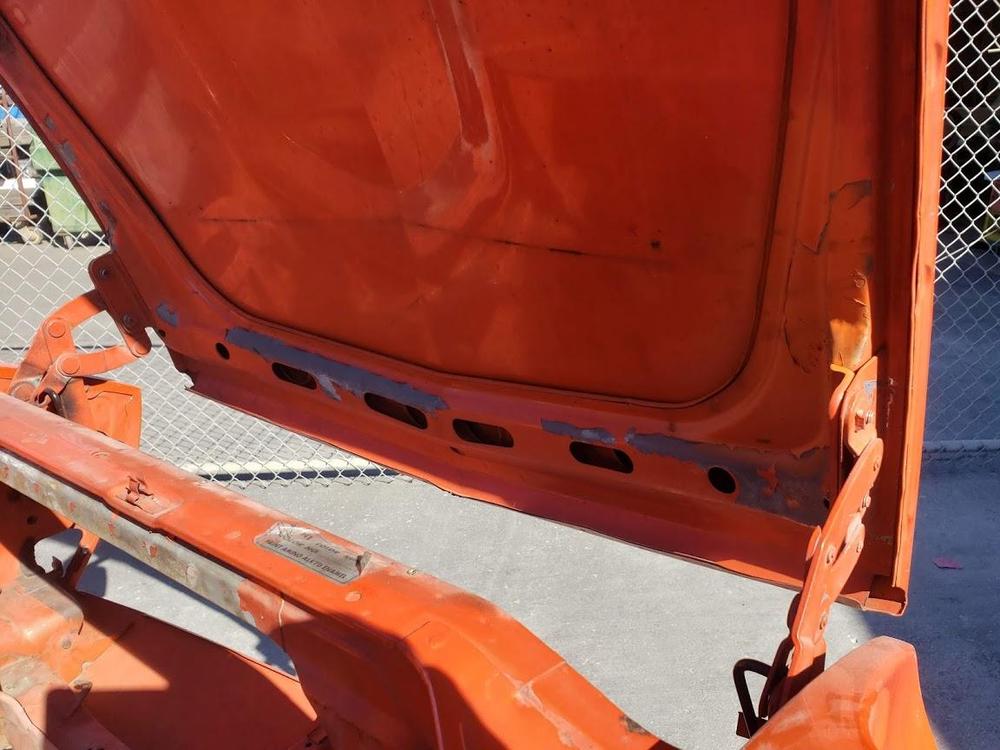
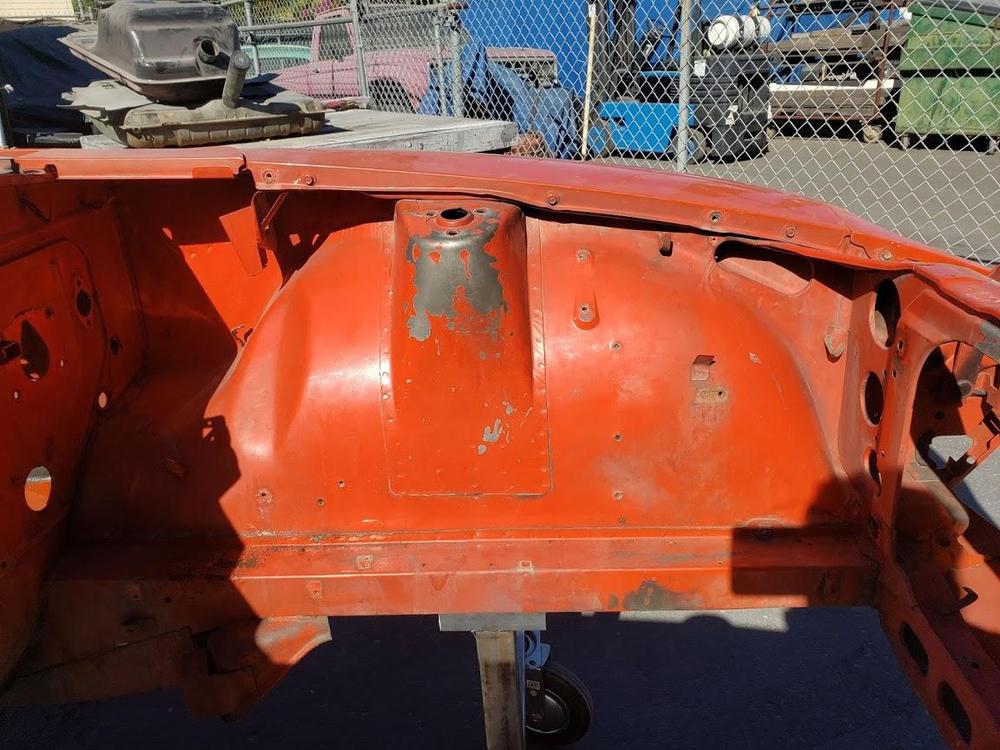
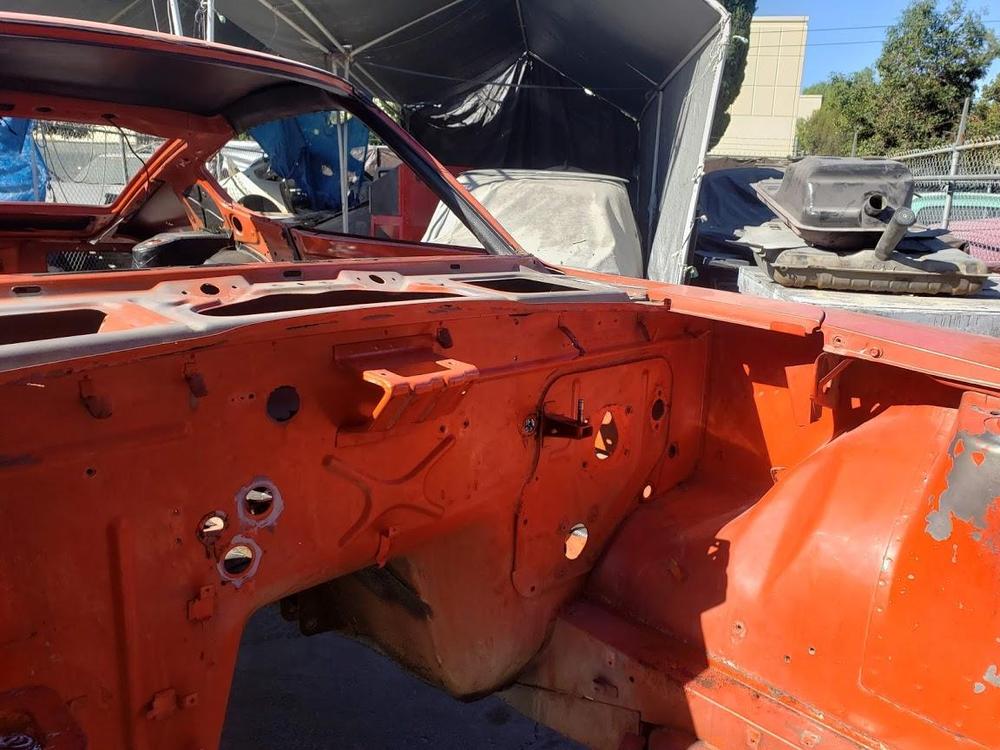
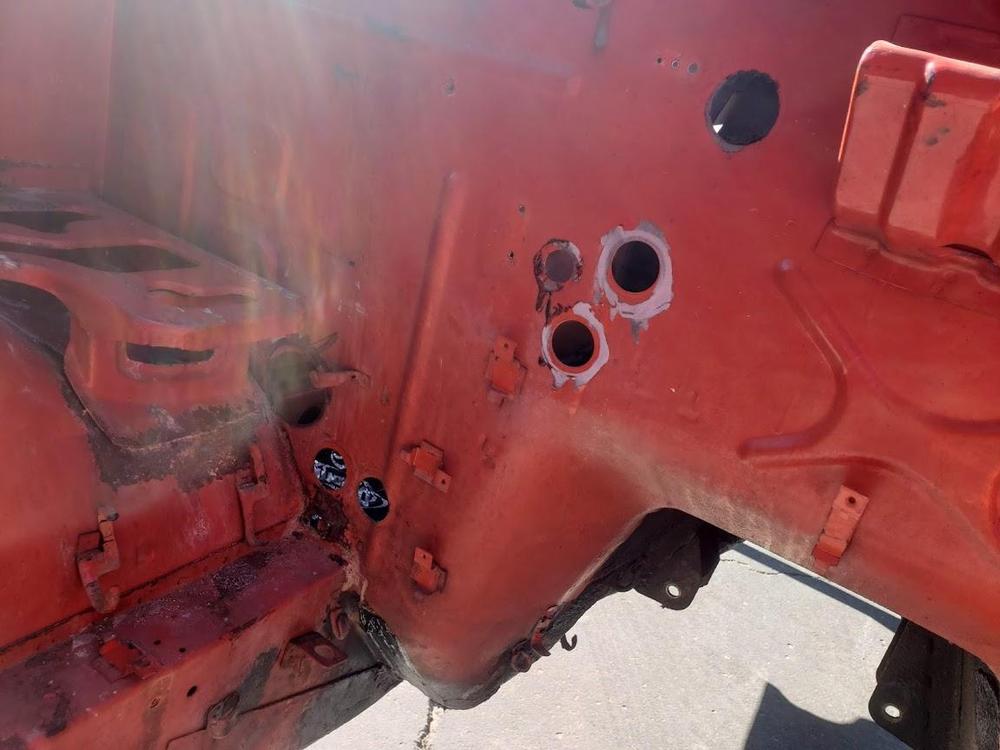
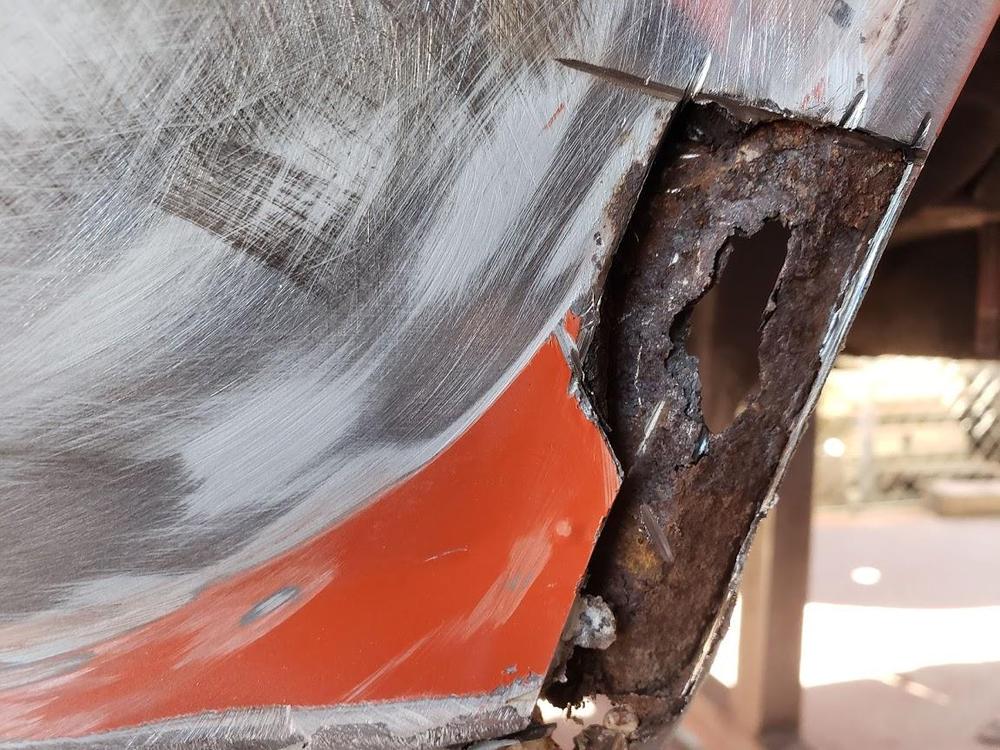
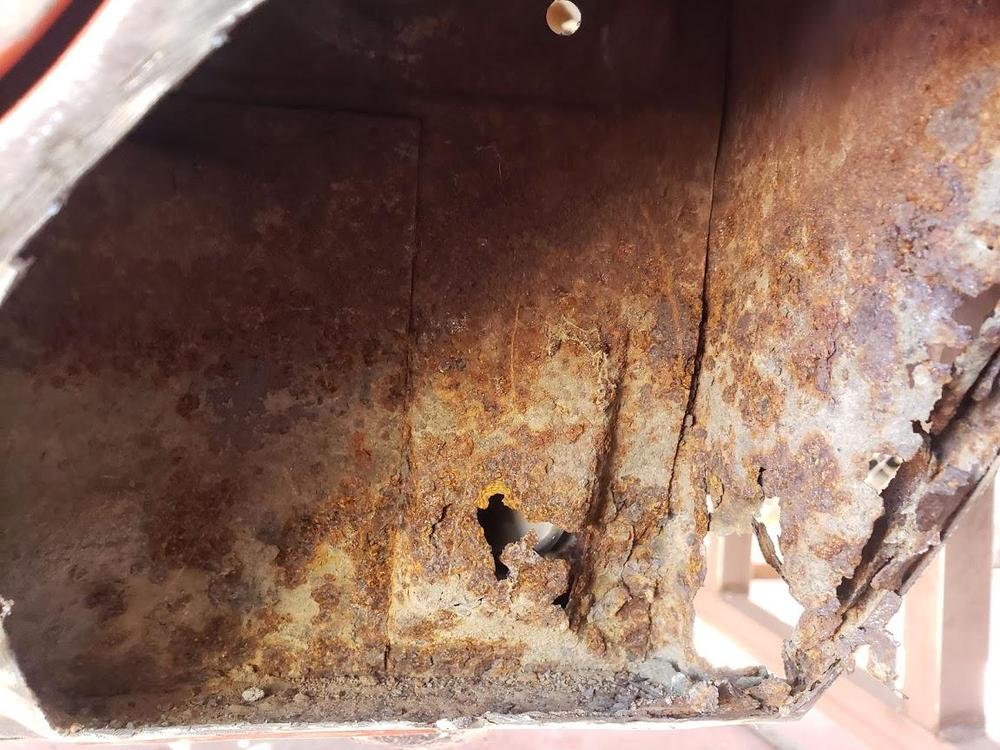
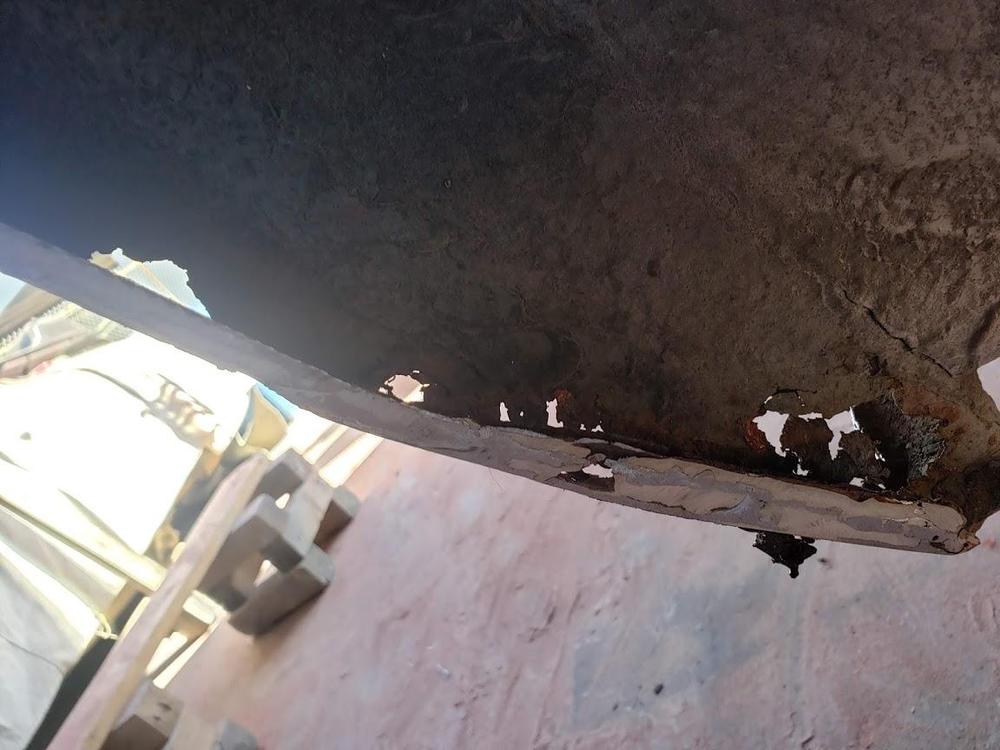
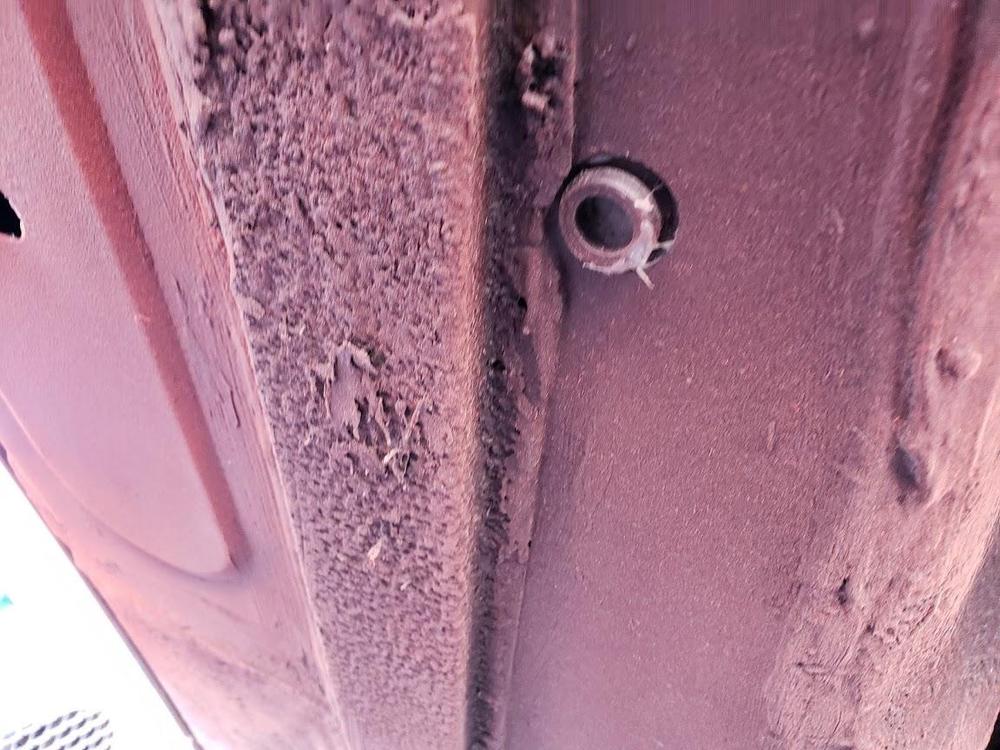
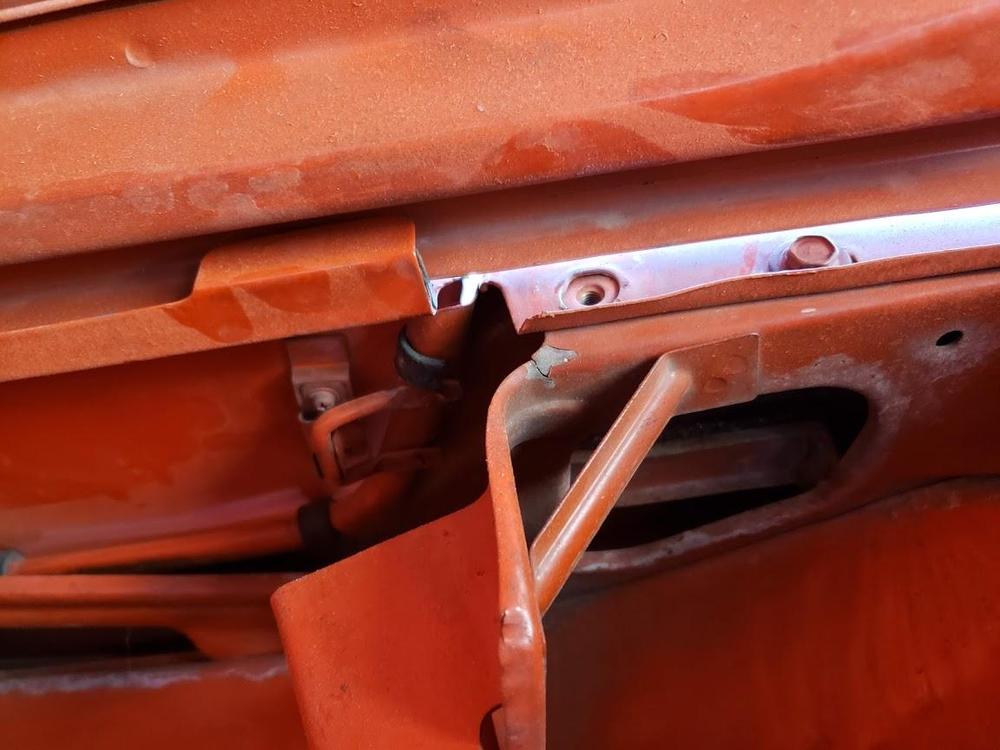
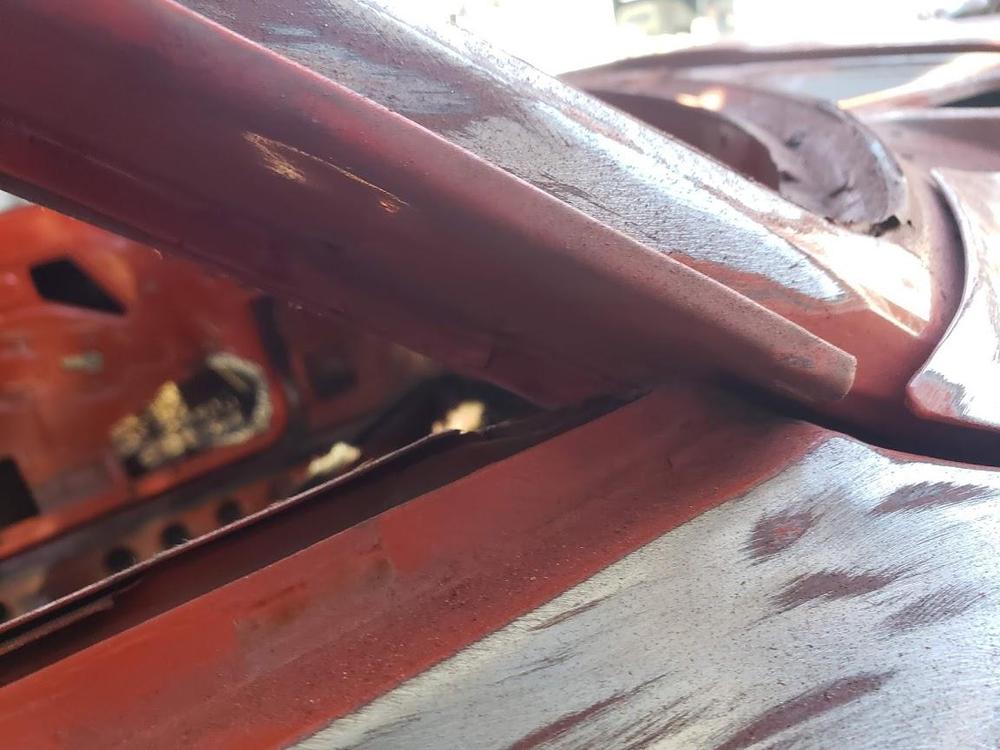
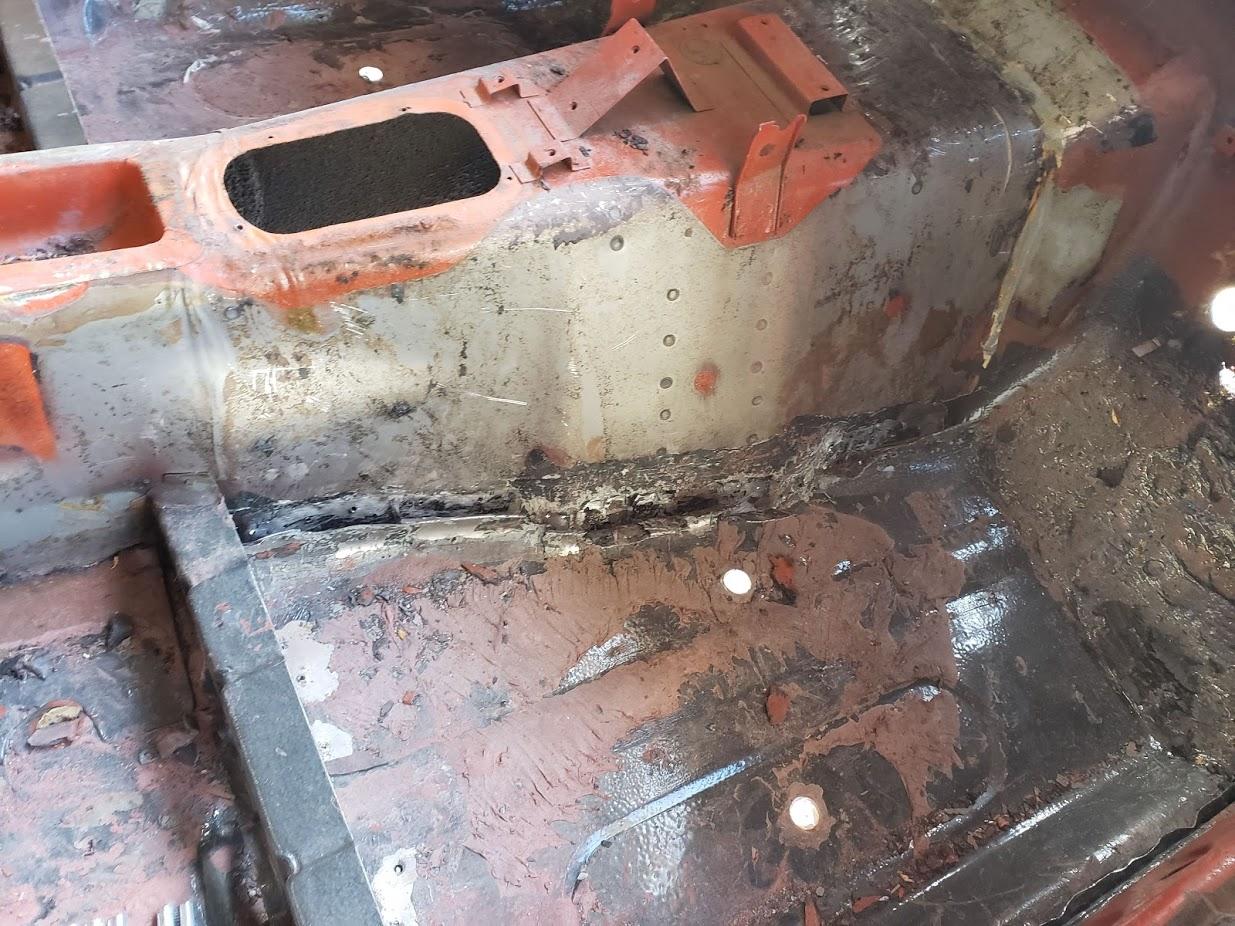
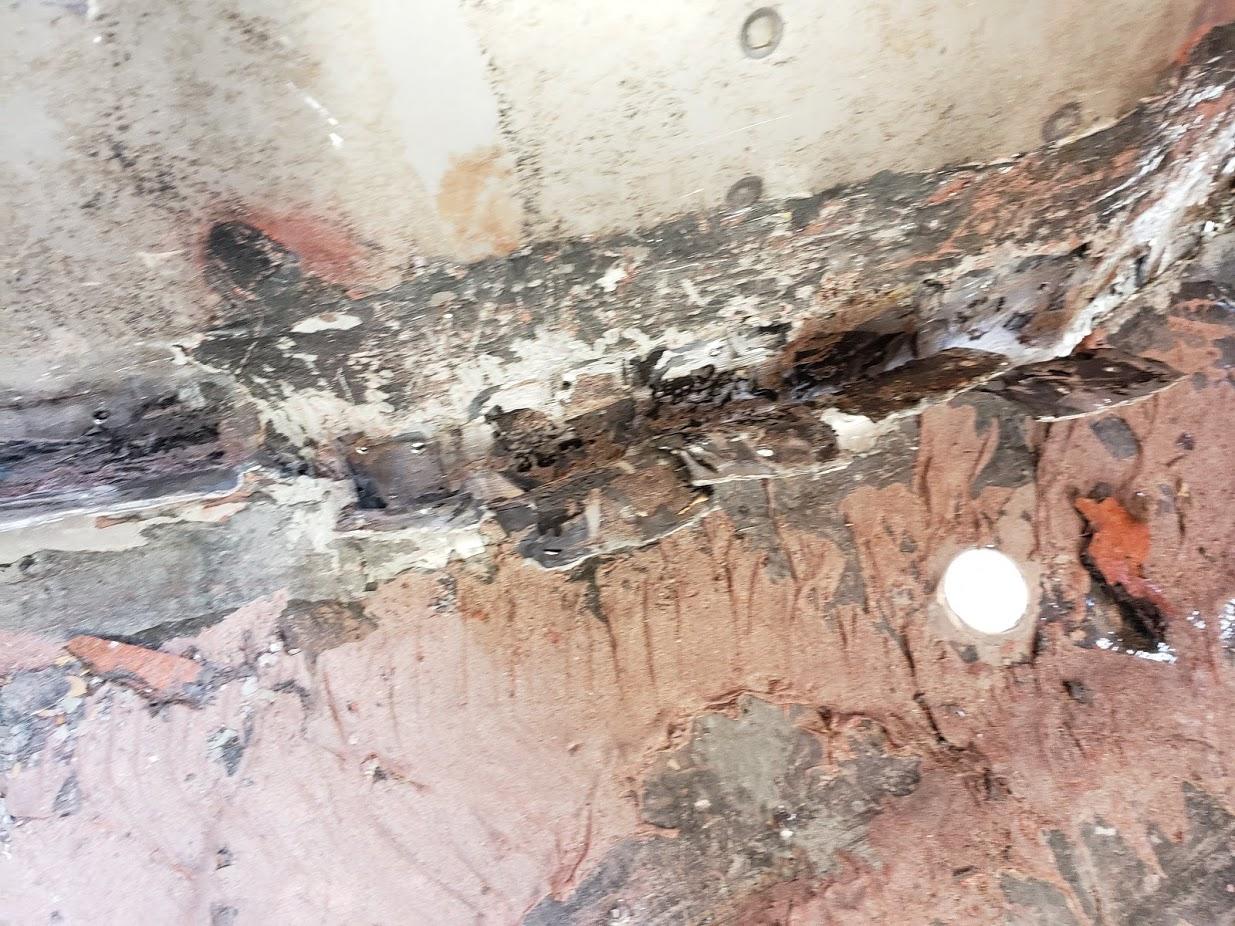
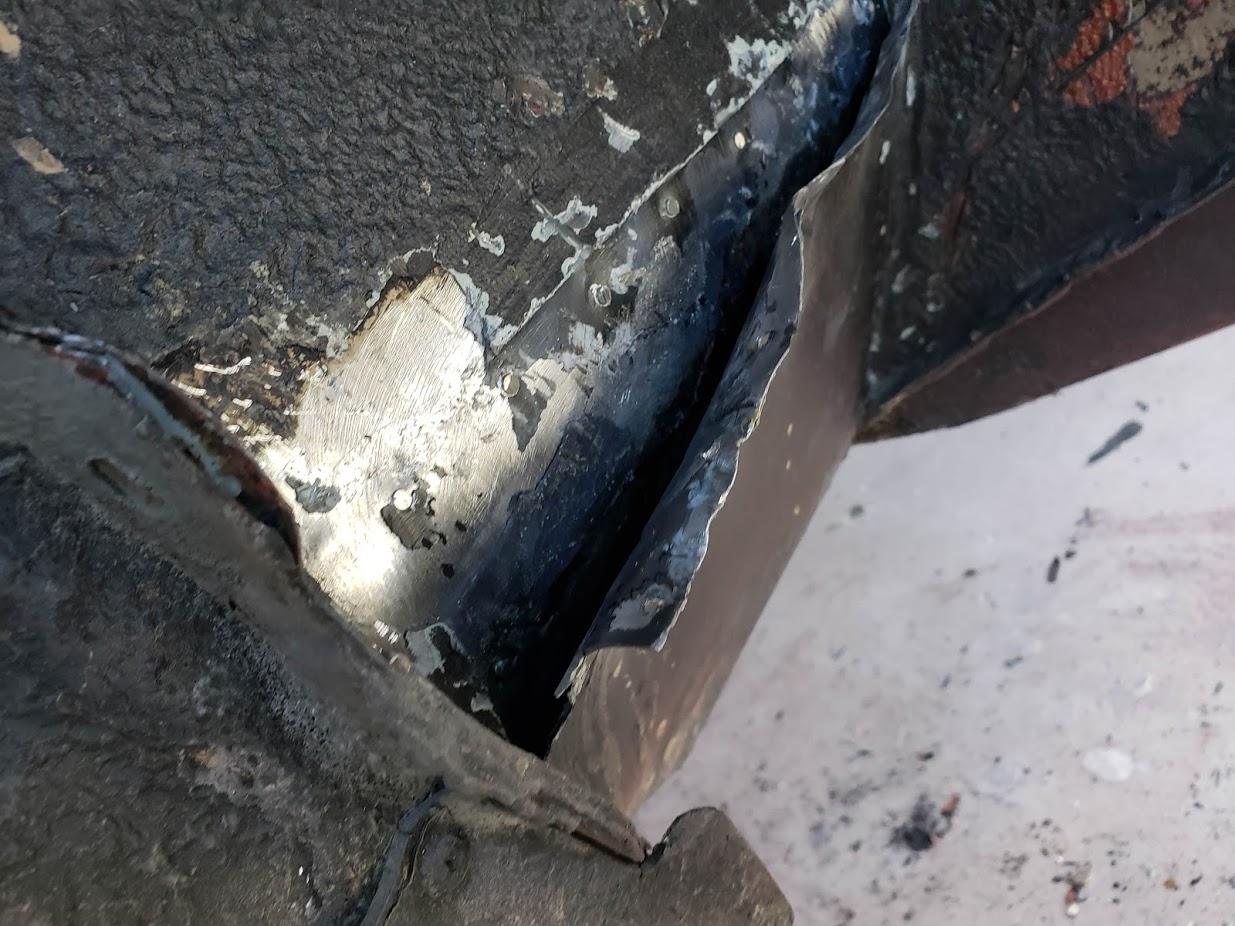
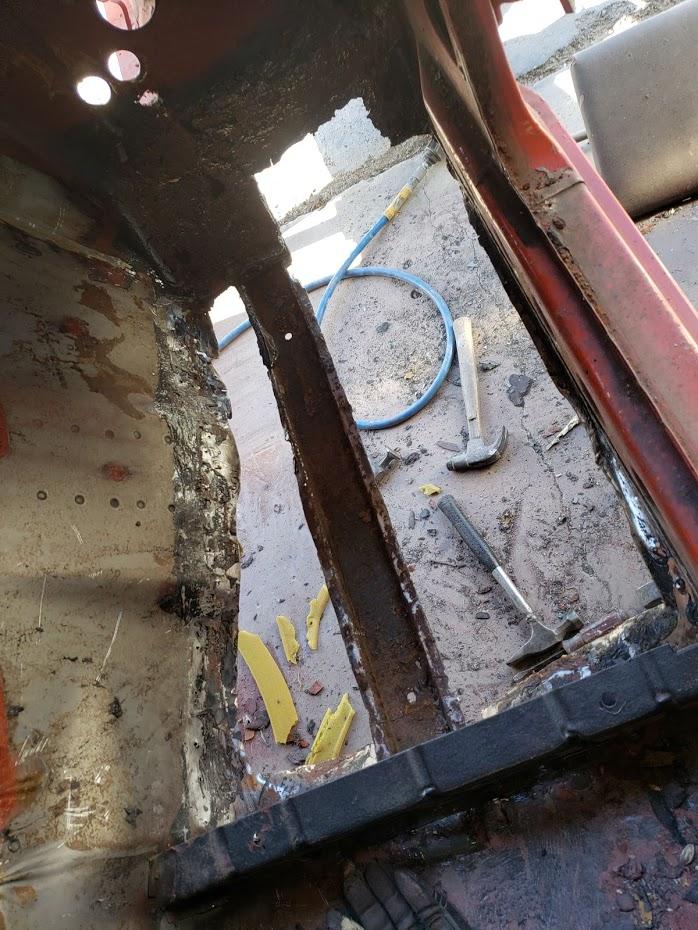
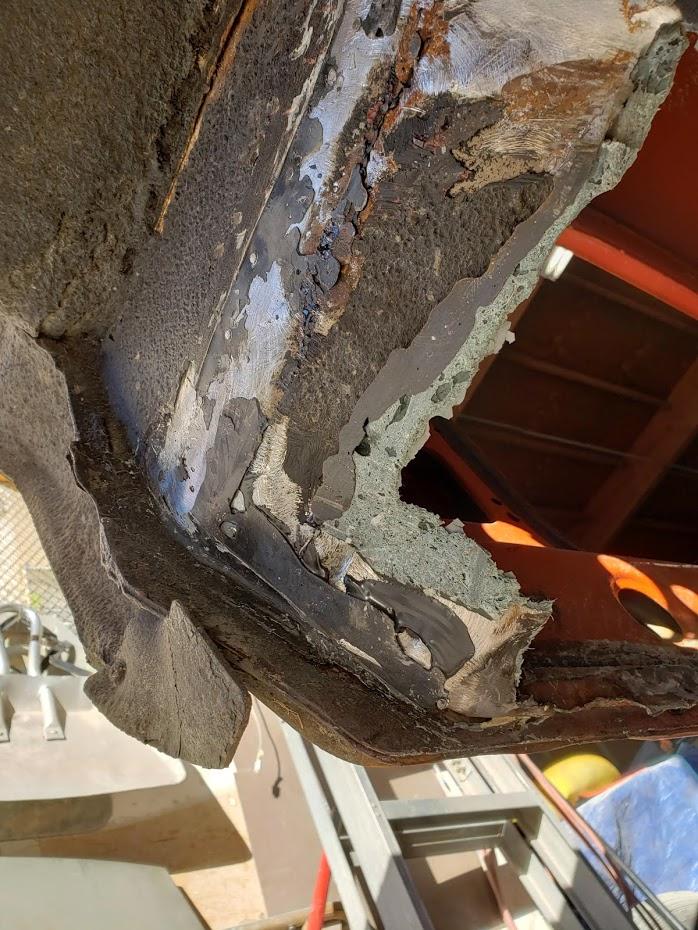
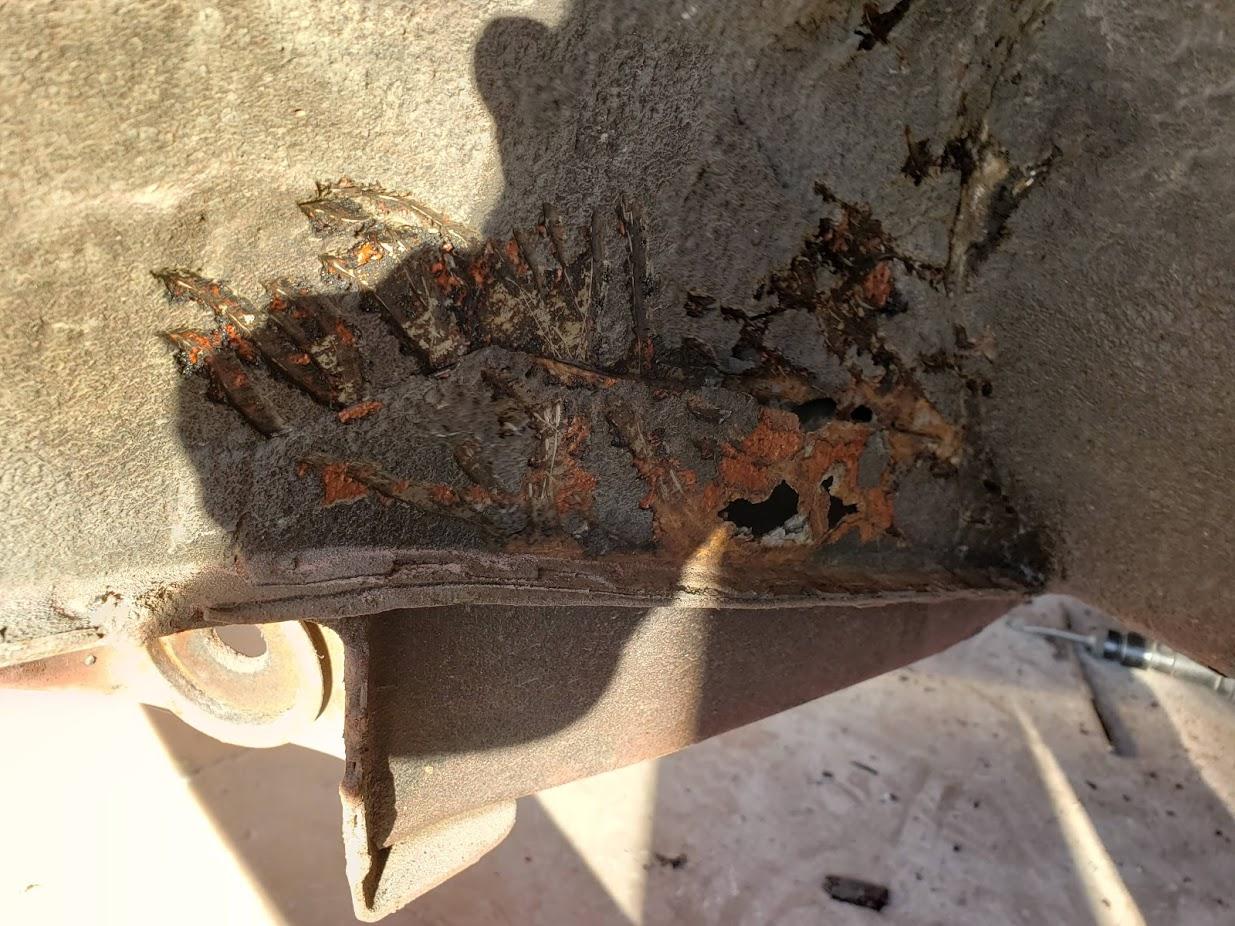
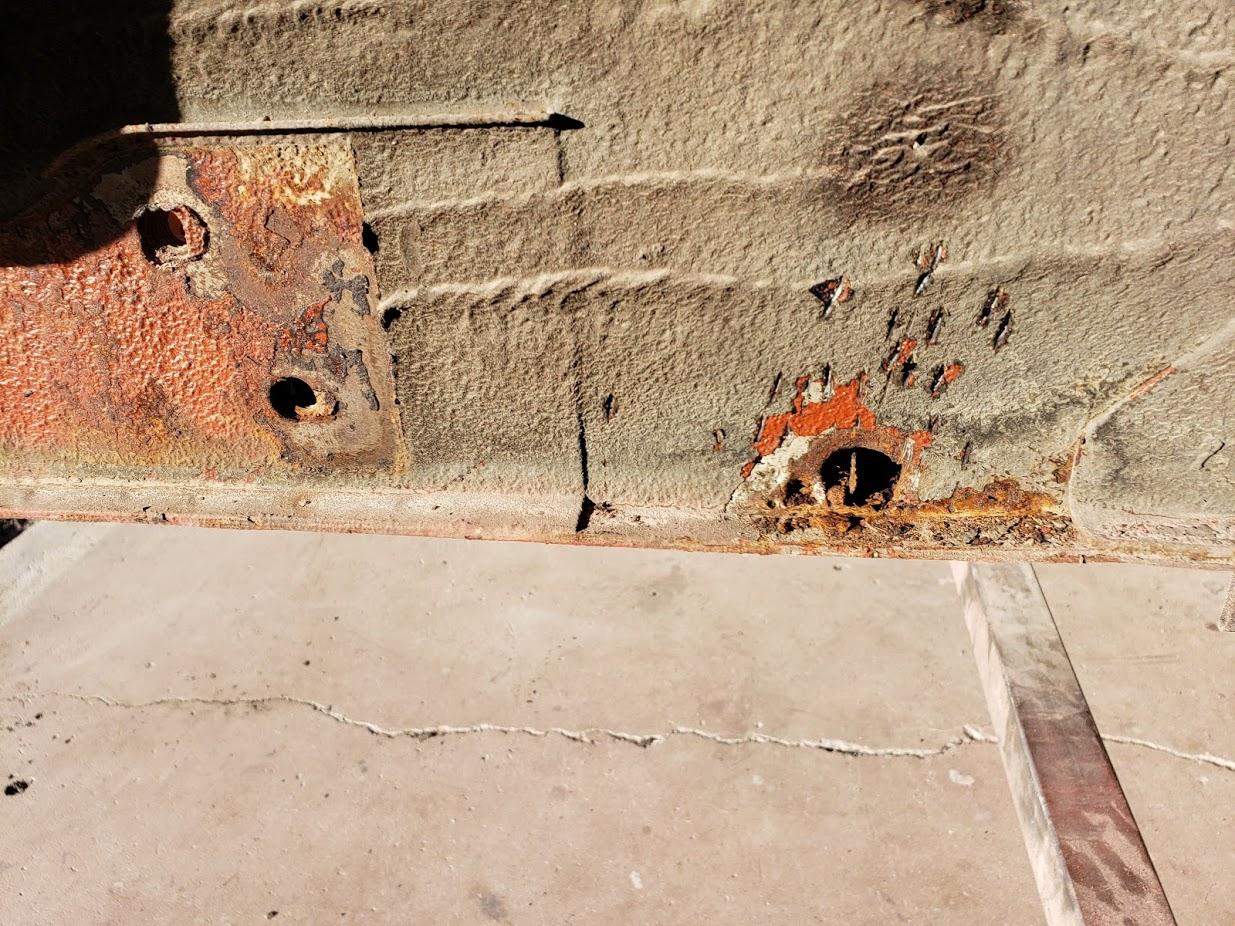
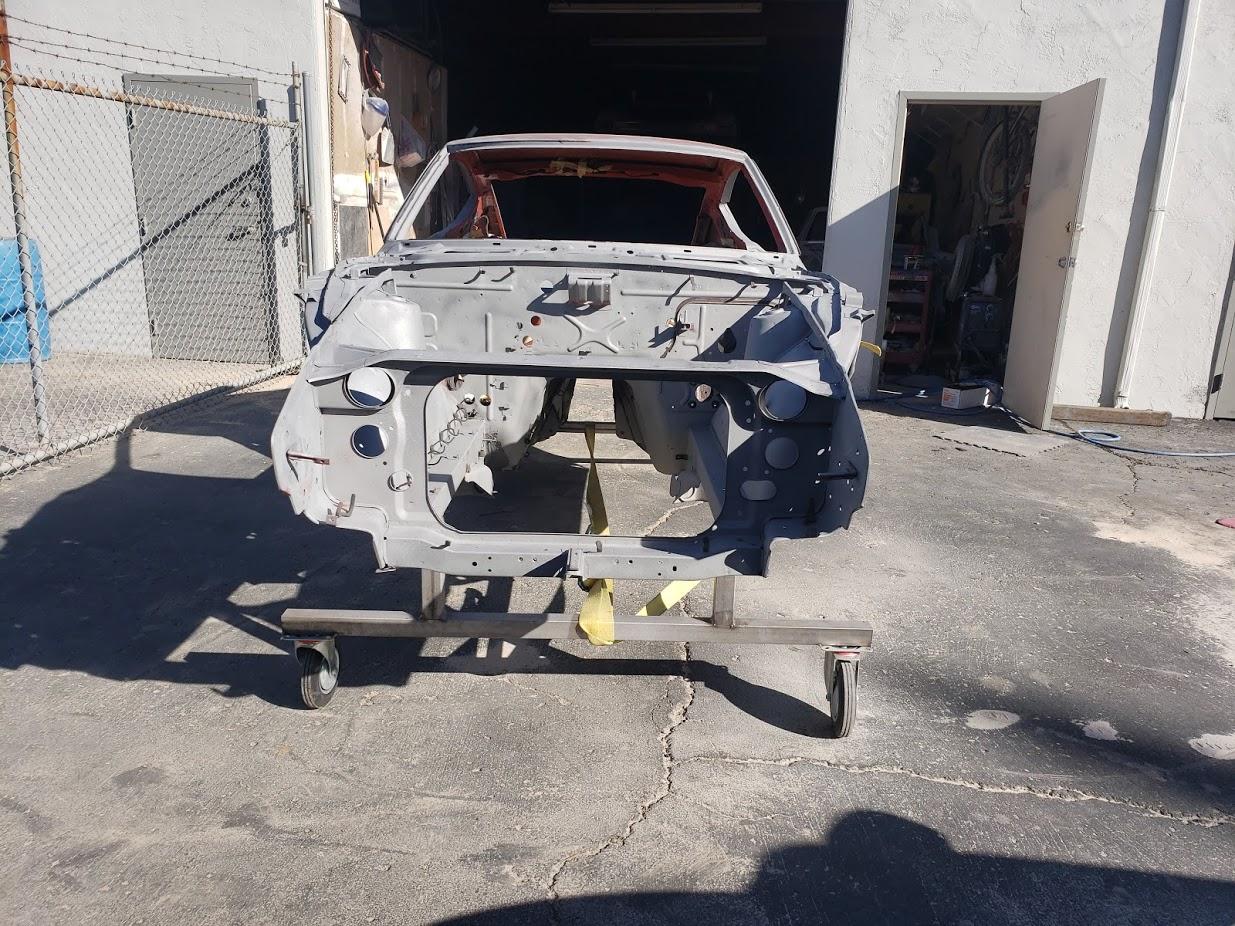
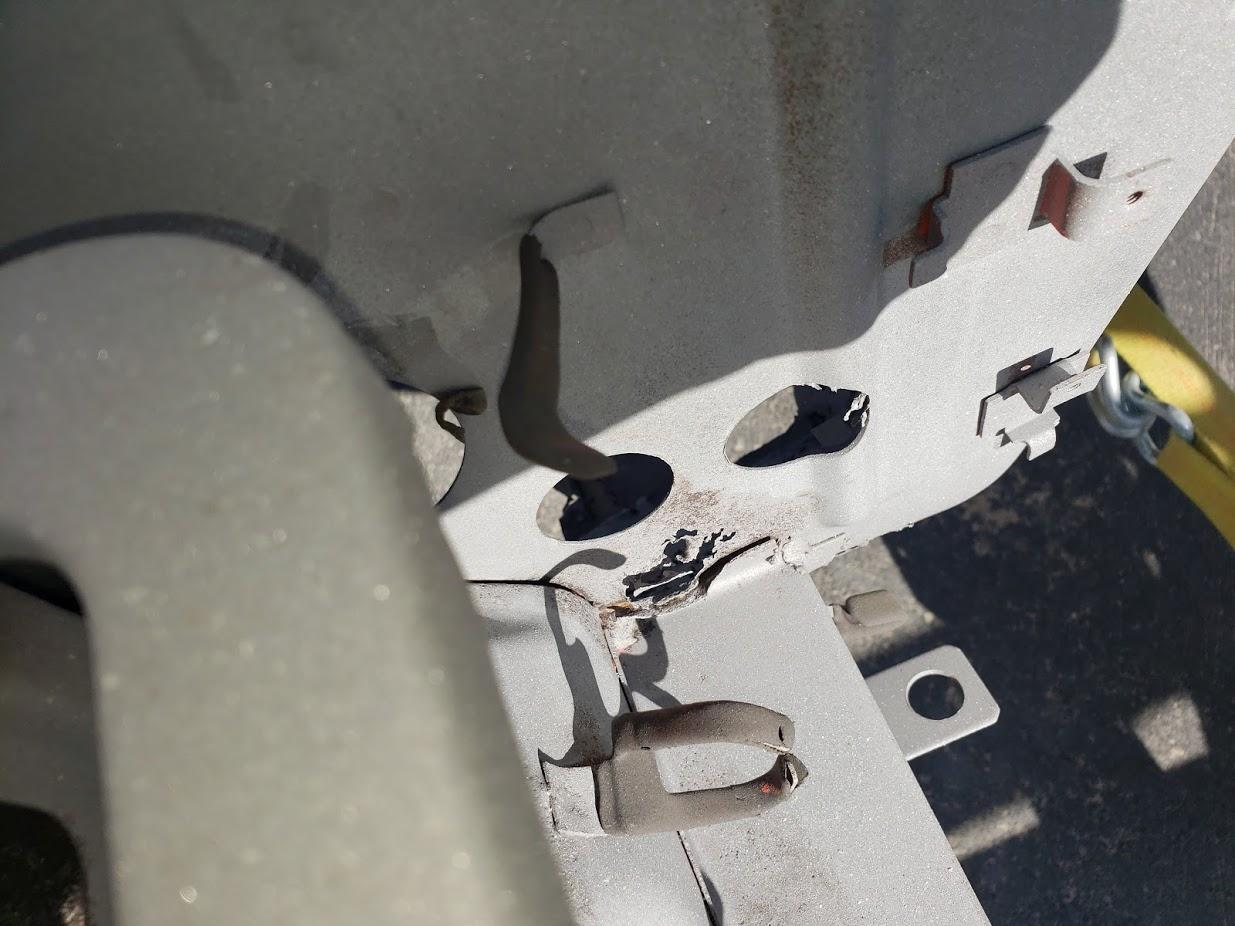
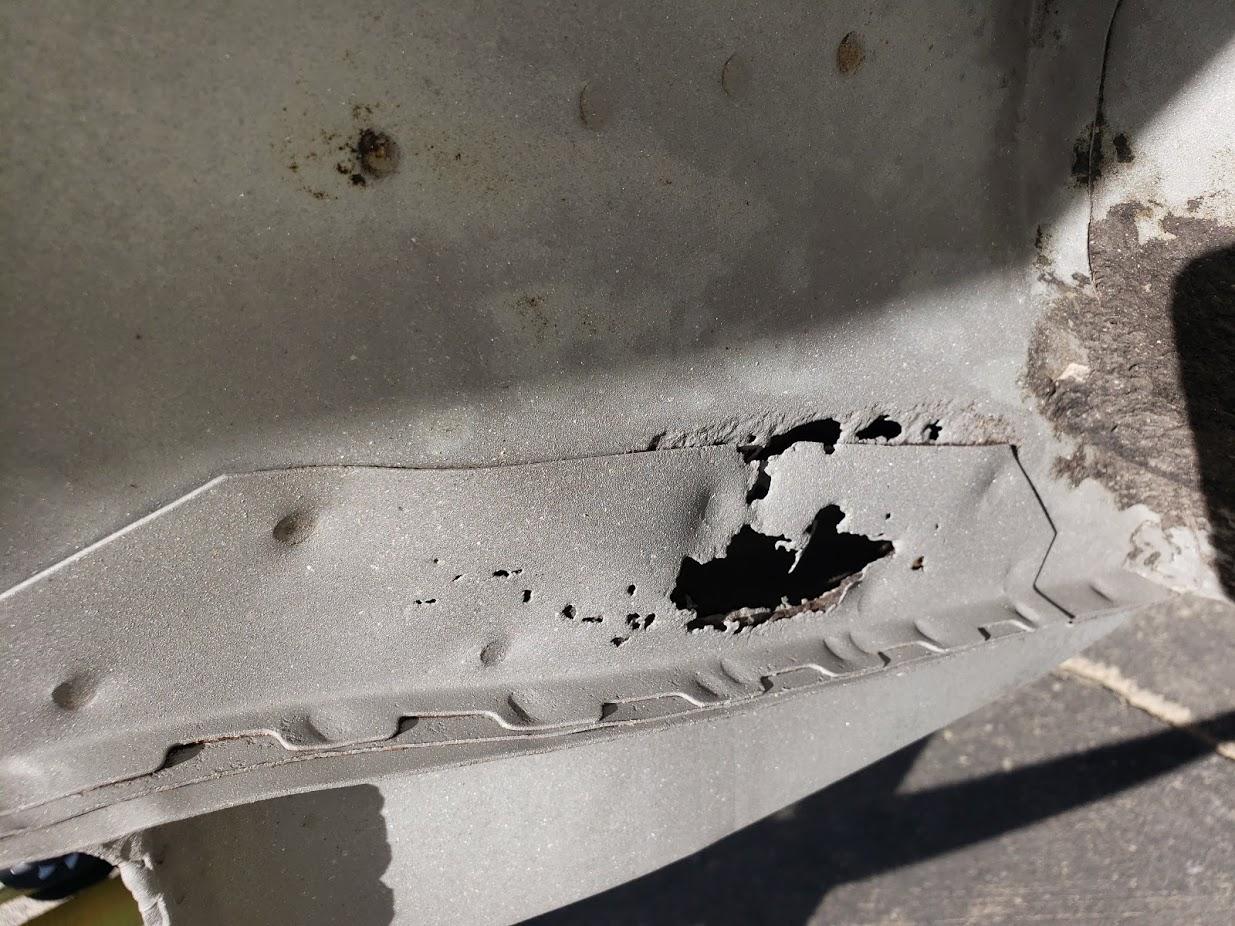
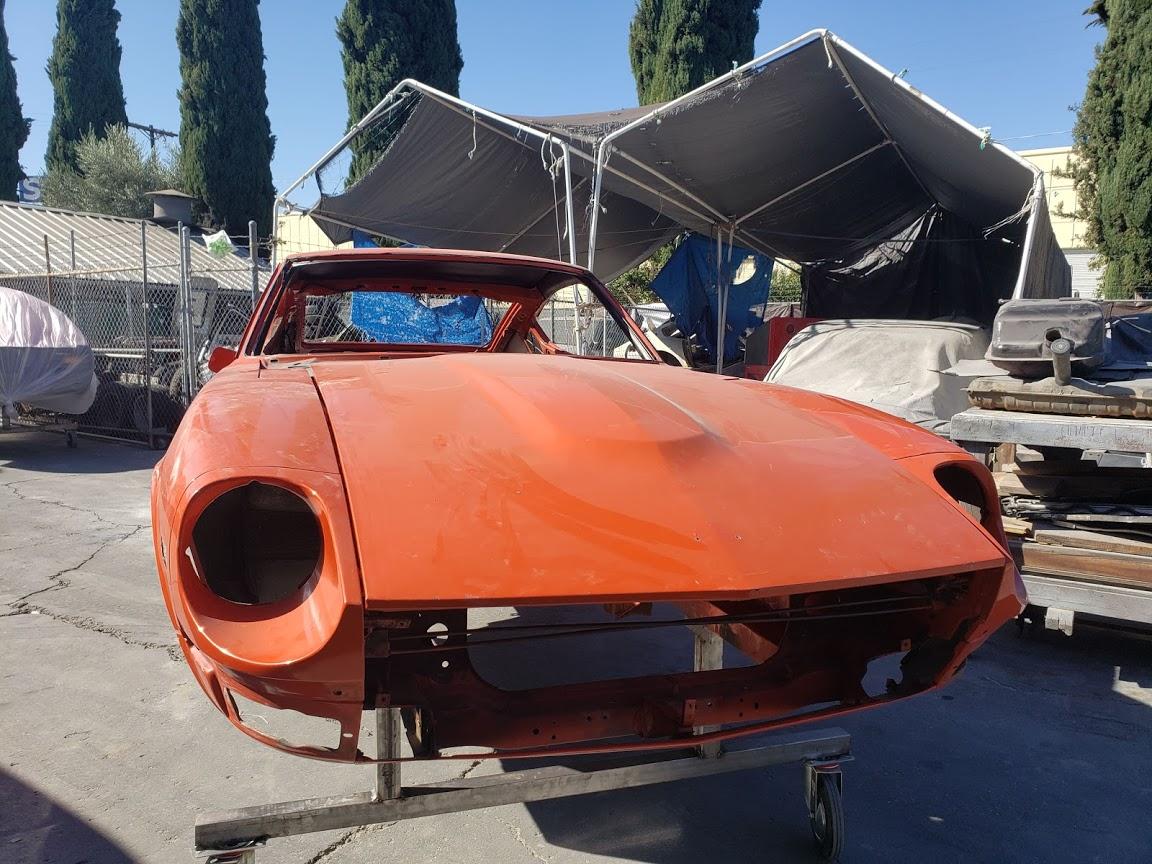
Latest pics from the body shop. A lot of rust eaten areas here, though most are the usual culprits. These are not for the faint of heart. Glad the experts are working on this. It looks like the floor pans were replaced before. The (non-standard) installation method appears to be rivets and epoxy along with some bondo. Also looks like previous rust areas were not treated and just painted over, causing all the bubbles and holes in the paint. Miguel will be ordering replacement panels and sheet metal to weld in after cutting out the rusted panels.


-
-
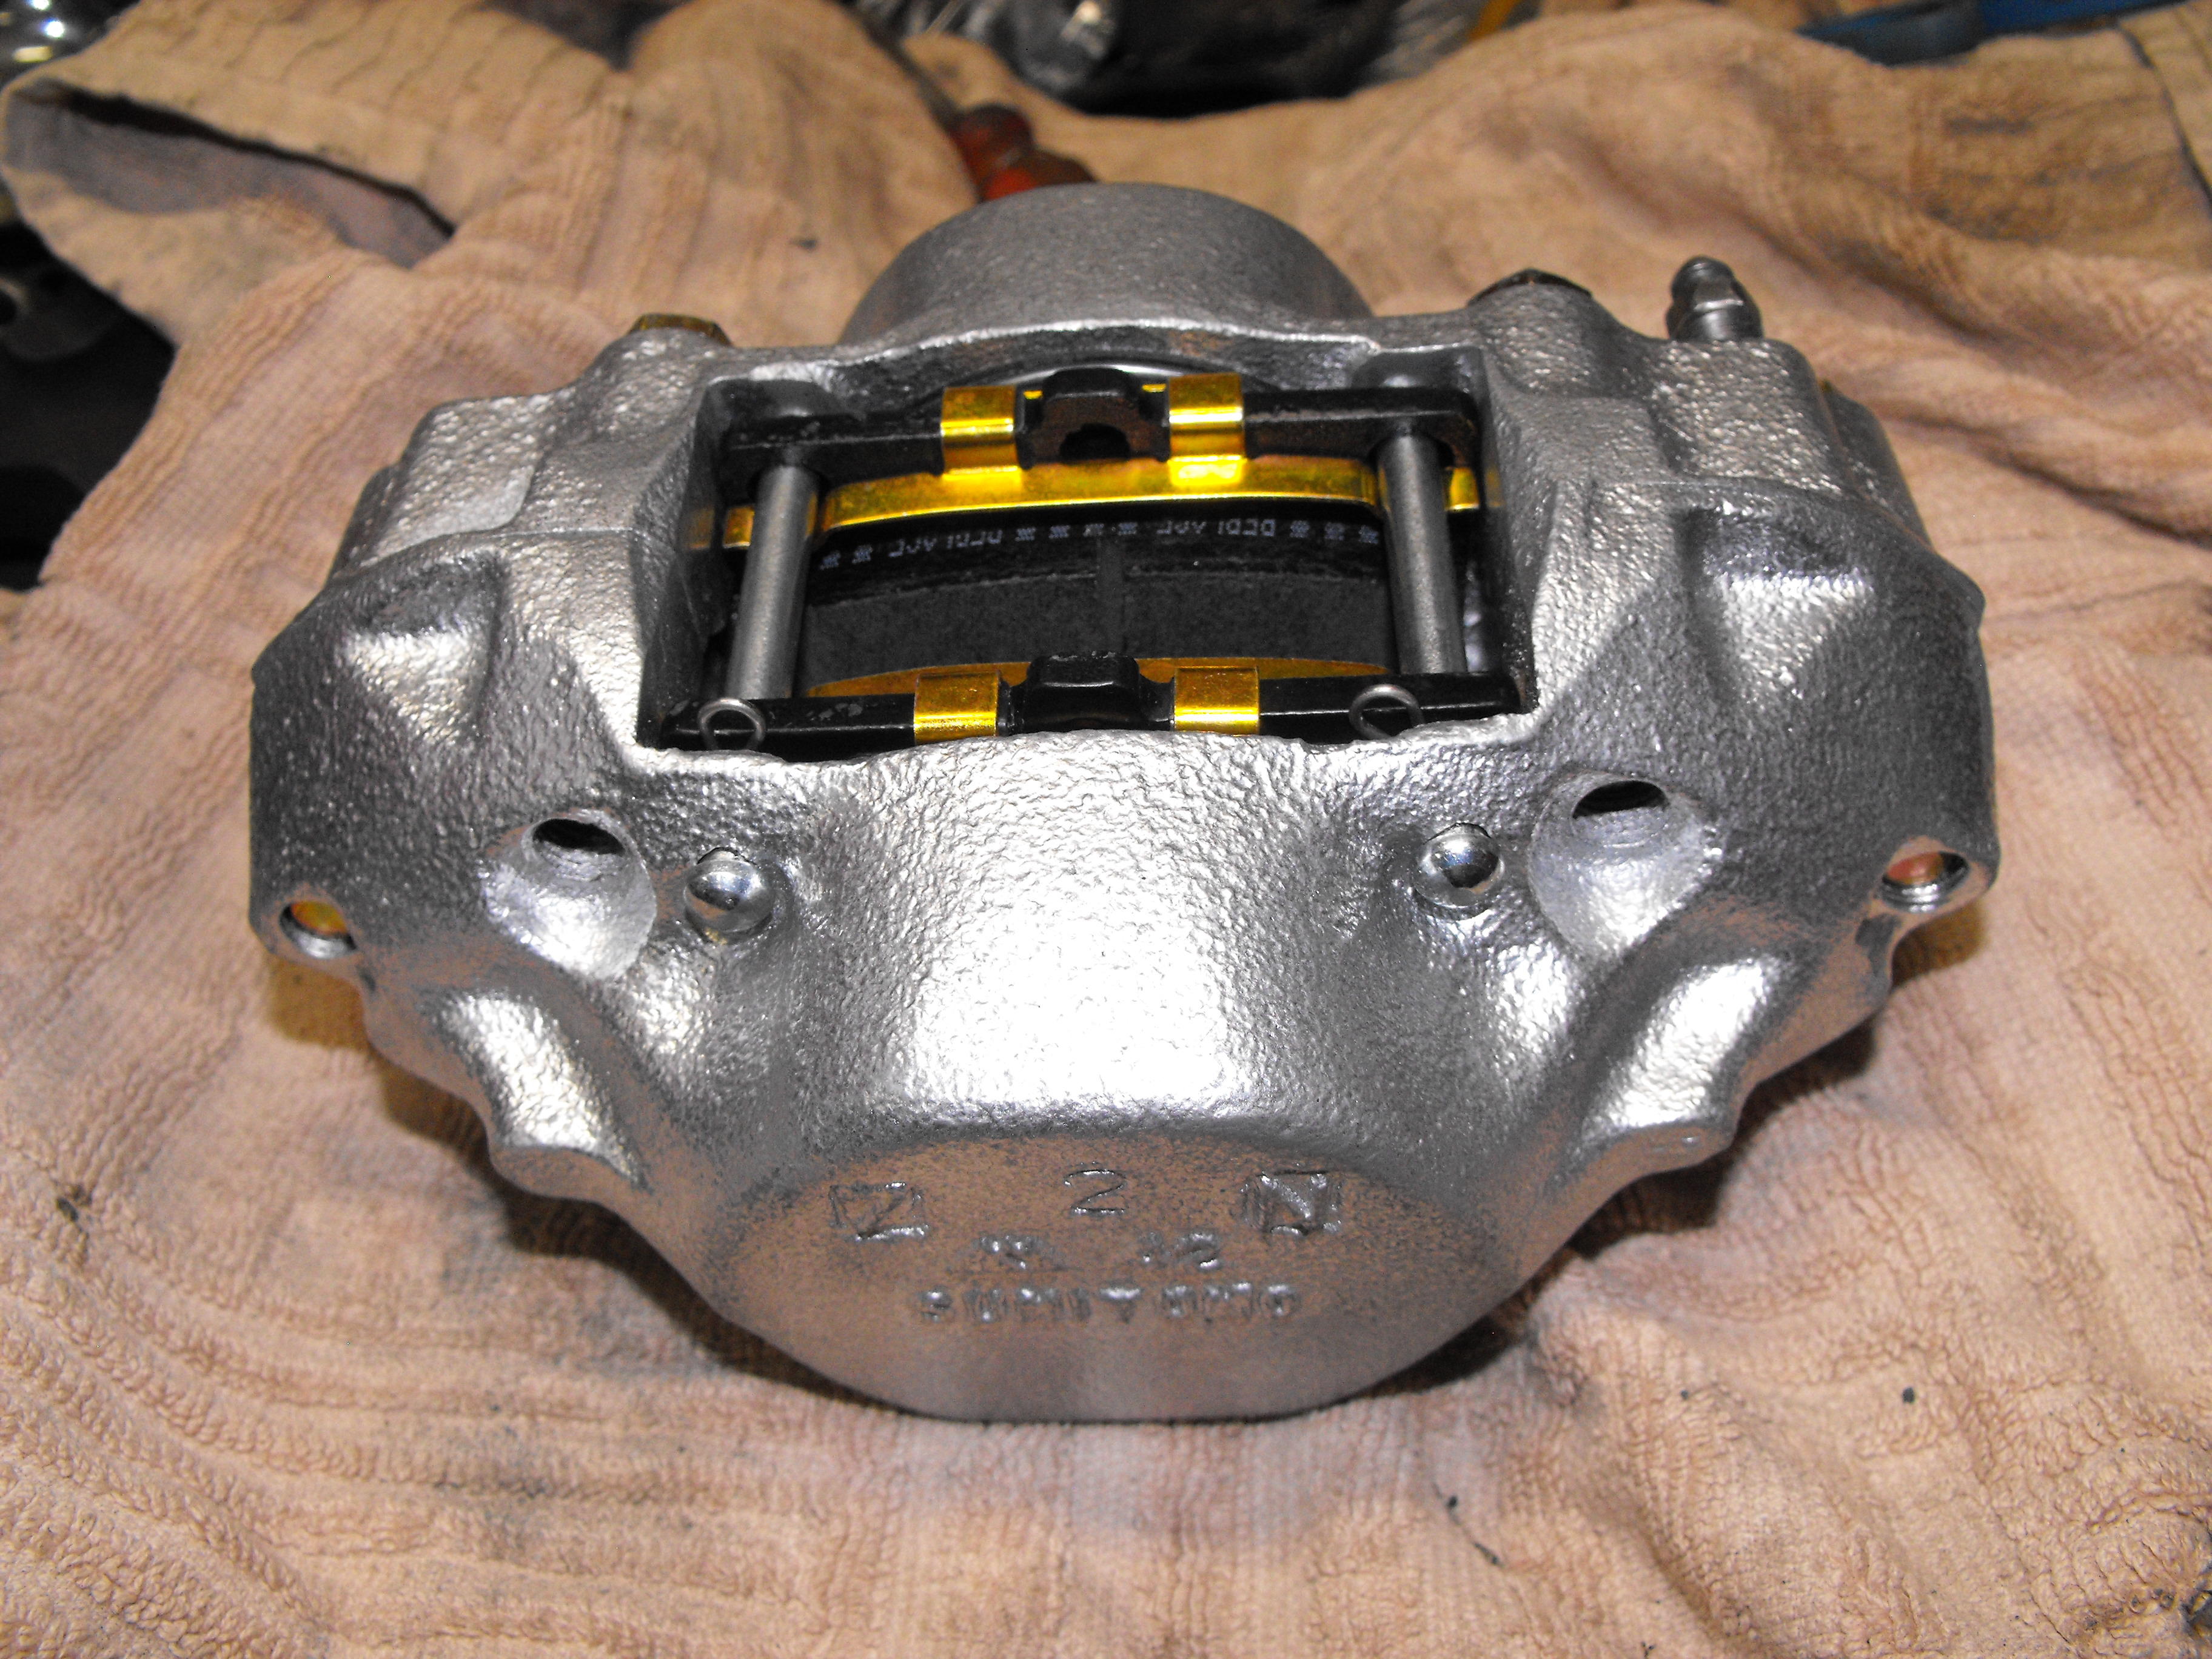
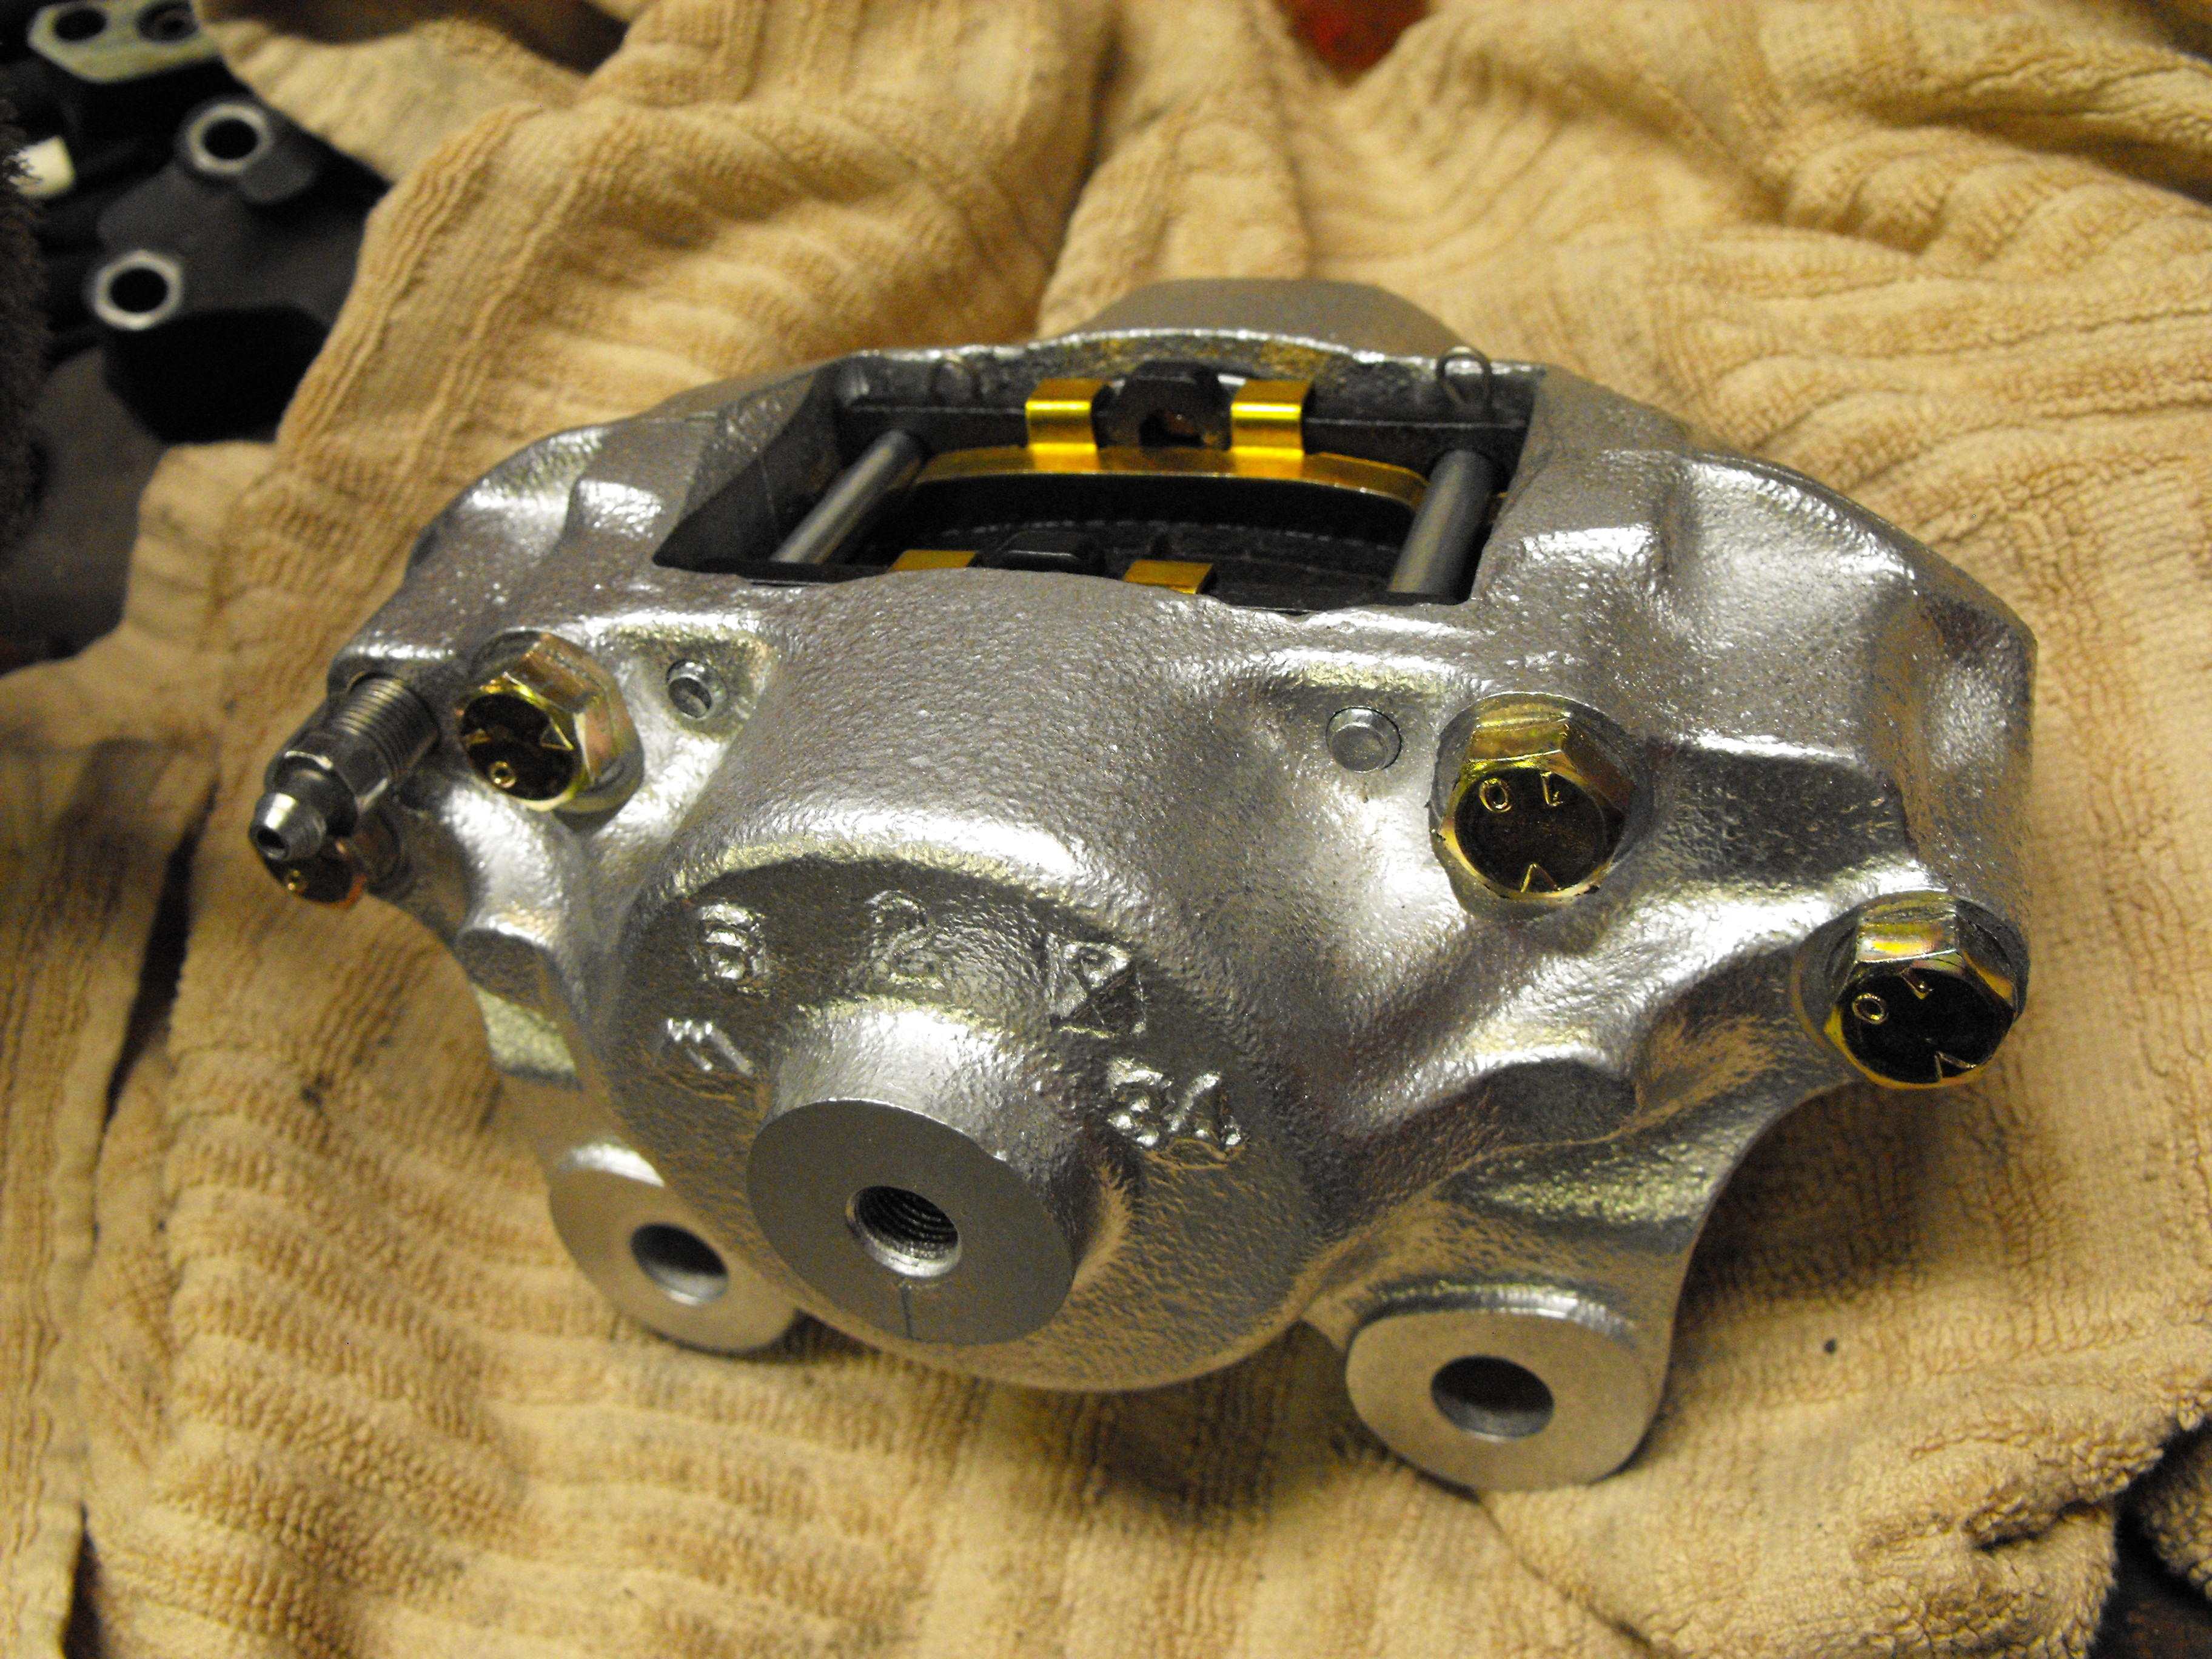
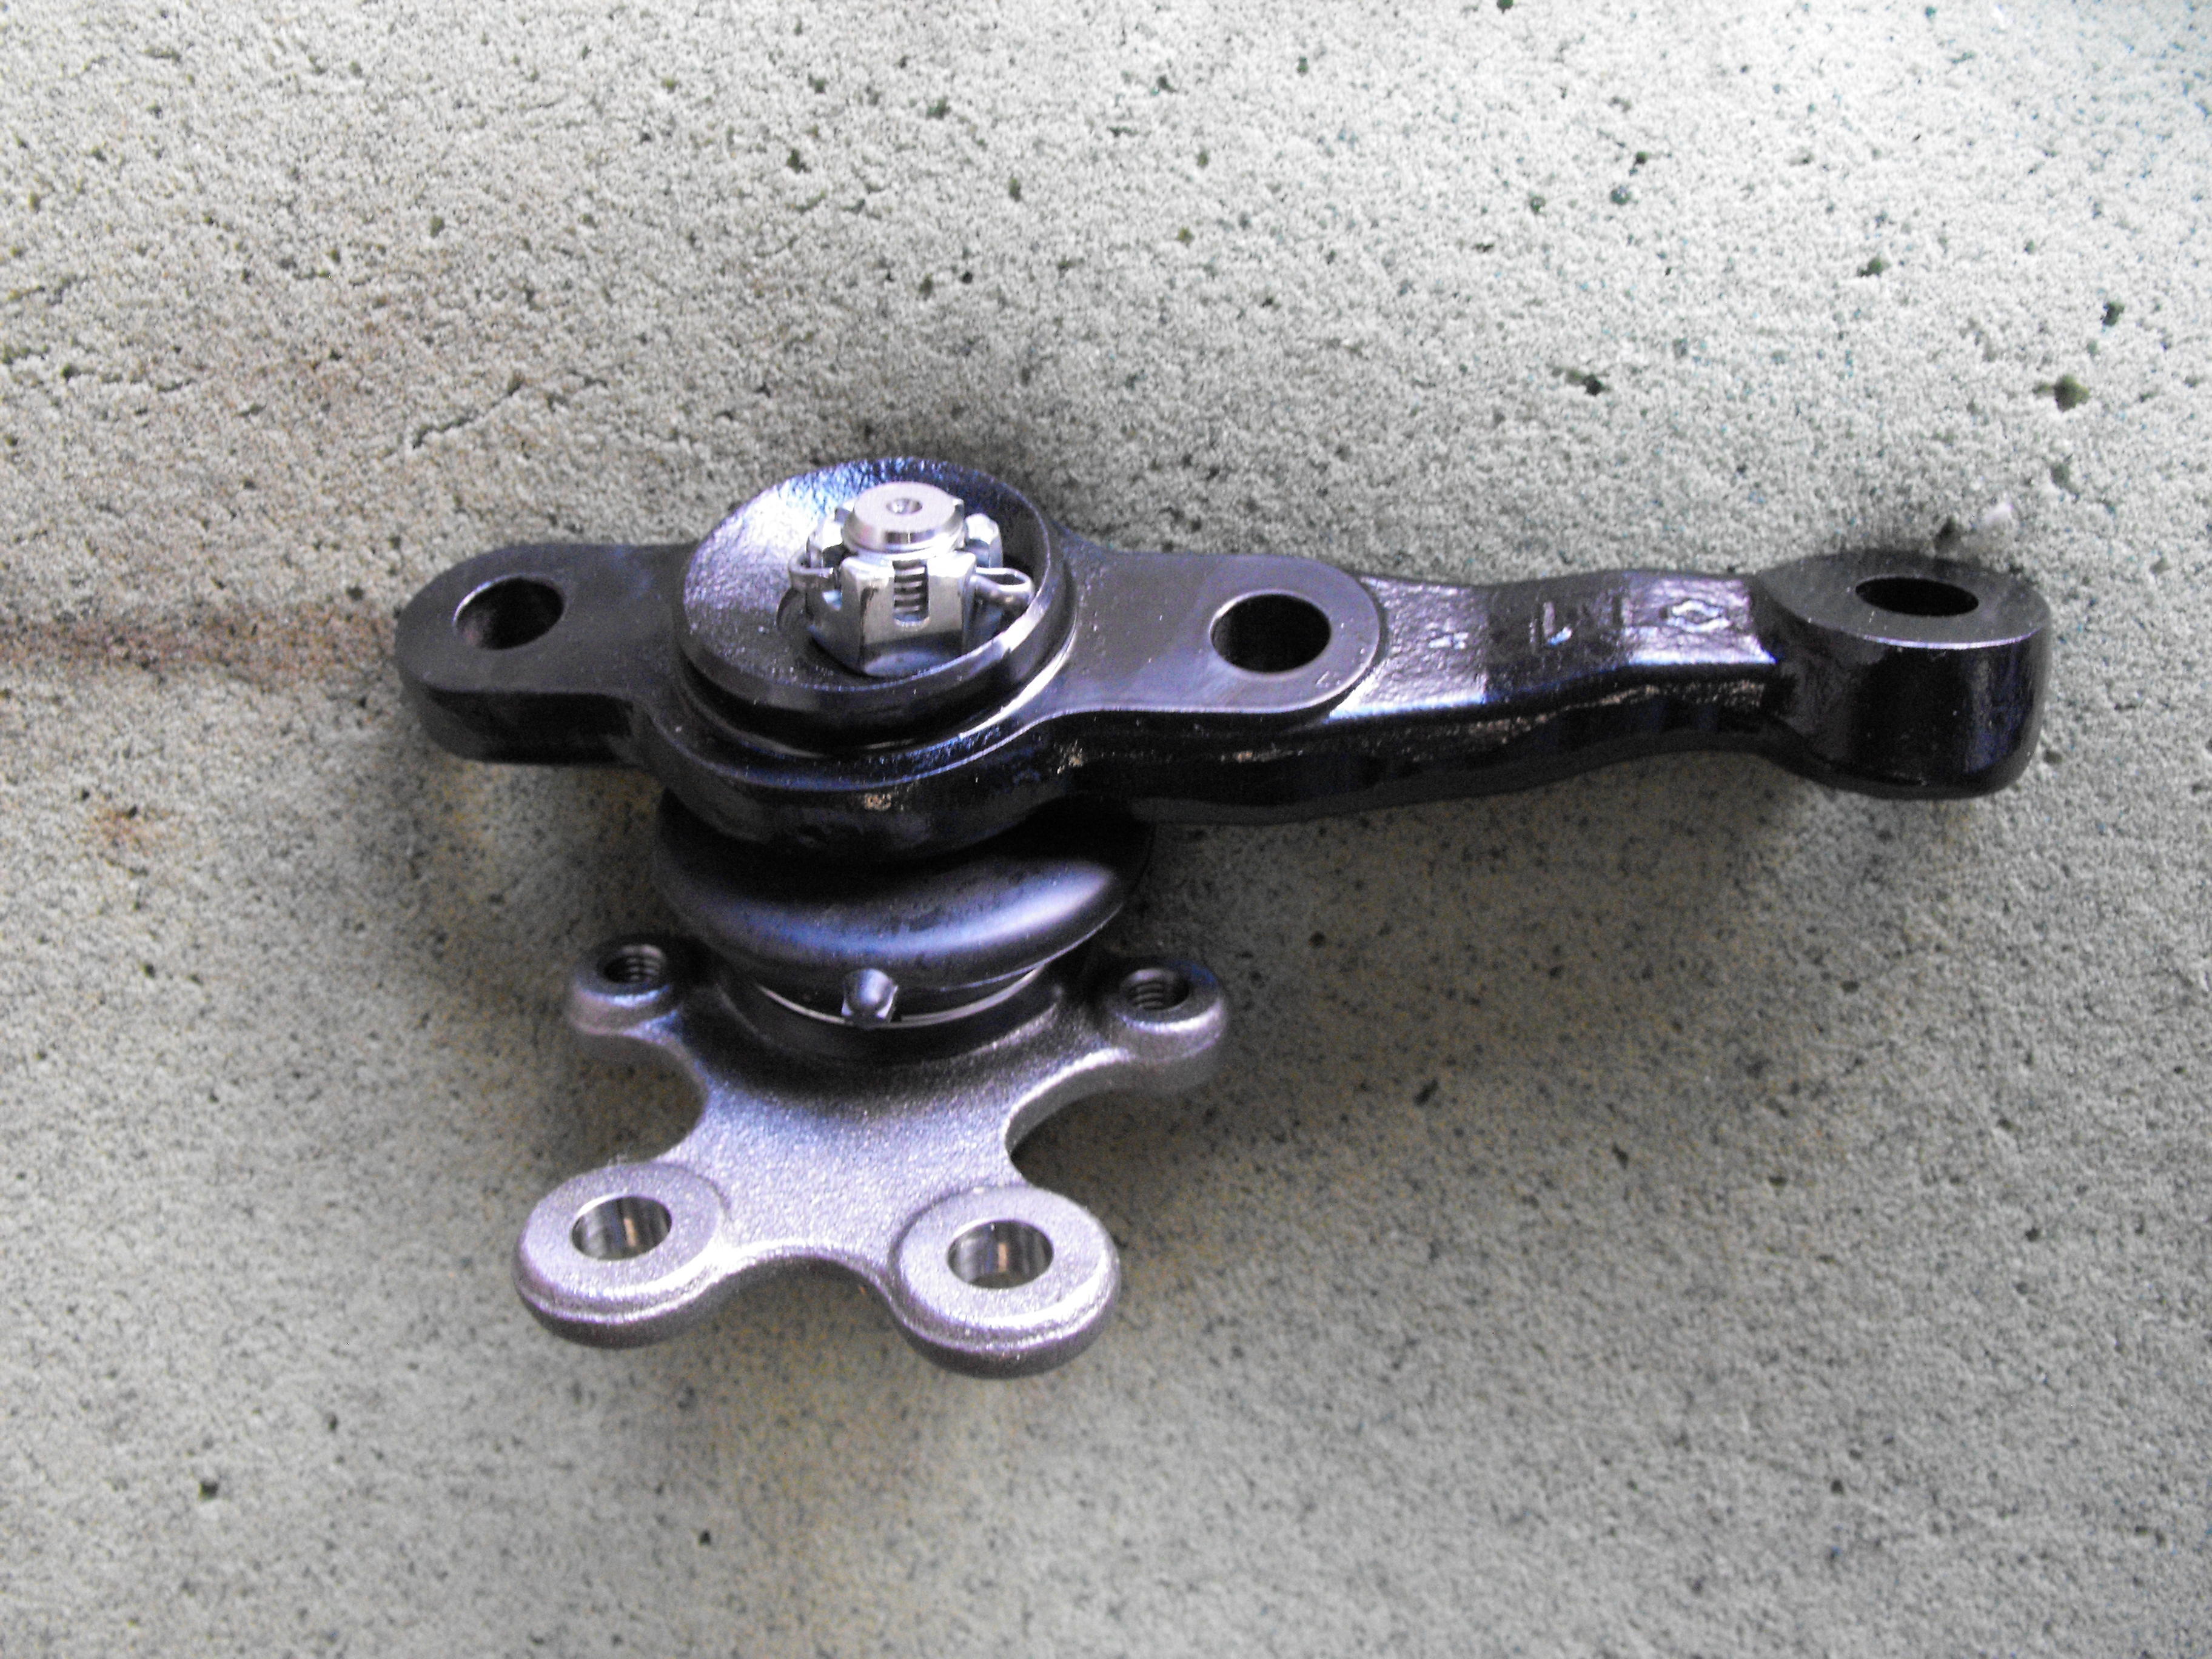
I haven't been hit by one, but did have one fly across the garage once. That was enough to cause me to put a lot of caution into this process. Did a bit more work on the brakes, adding rear brackets now that they have been plated. Had to clean out the holes for the brackets with a tap since they had the powder coat on the threads. Also spent a little time organizing the zinc parts so that things will be easier to find. Finished one disc caliper and half way through the second.


-
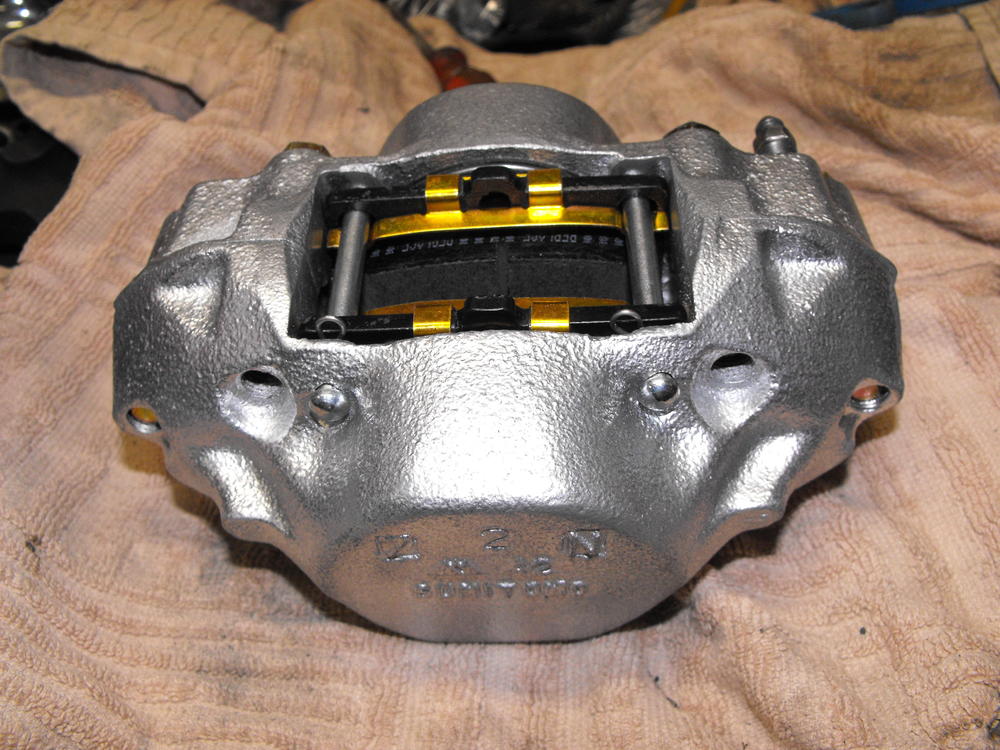
The O-rings come with the caliper rebuild kit. Rebuild is not too difficult. Hardest part is getting the 'pistons' out of the caliper, especially if the car has been sitting for awhile. I typically put Kroil or PB blaster around piston edge and let soak for an hour. Then use compressed air to blow piston out of the caliper. That is the hard/scary part. Wear glasses and point piston away from body when doing this. I then use solvent to clean piston and cylinder, then light polish with 2000 grit sand paper. Blow compressed air through orifices to make sure they are clear
-
Jay has them for you. Picked some up for my '73 build https://jdm-car-parts.com/collections/body-exterior-parts-nissan-fairlady-z-240z-260z-280z-280zx/products/datsun-240z-1973-9-72-10-73-rear-bumper-horizontal-strip-sold-individually-nos
-
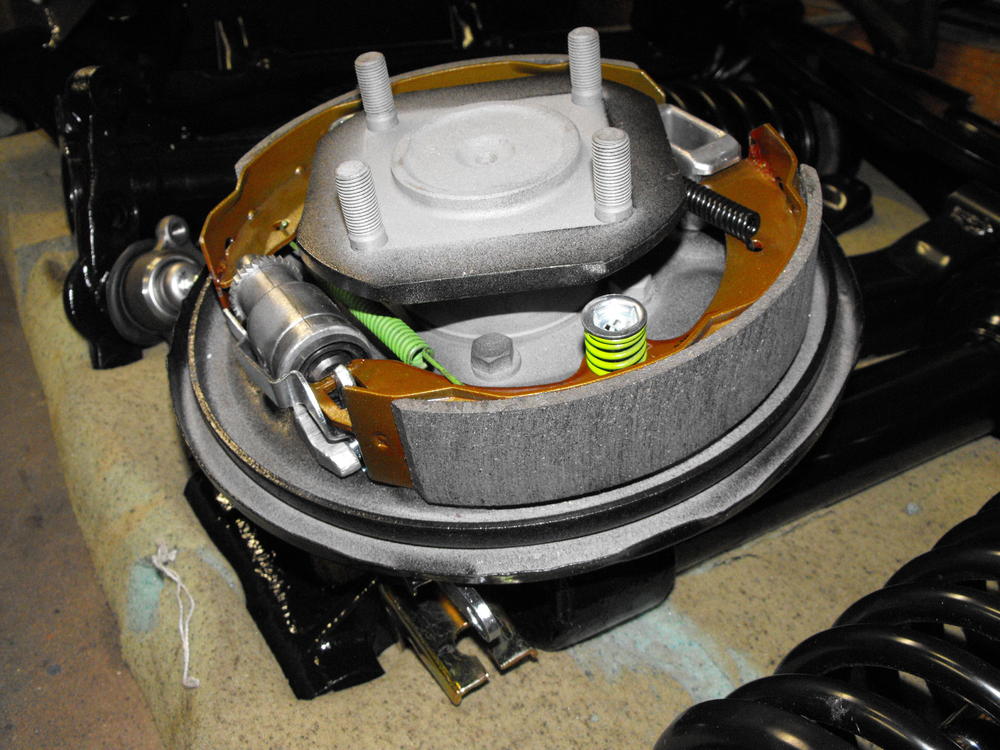
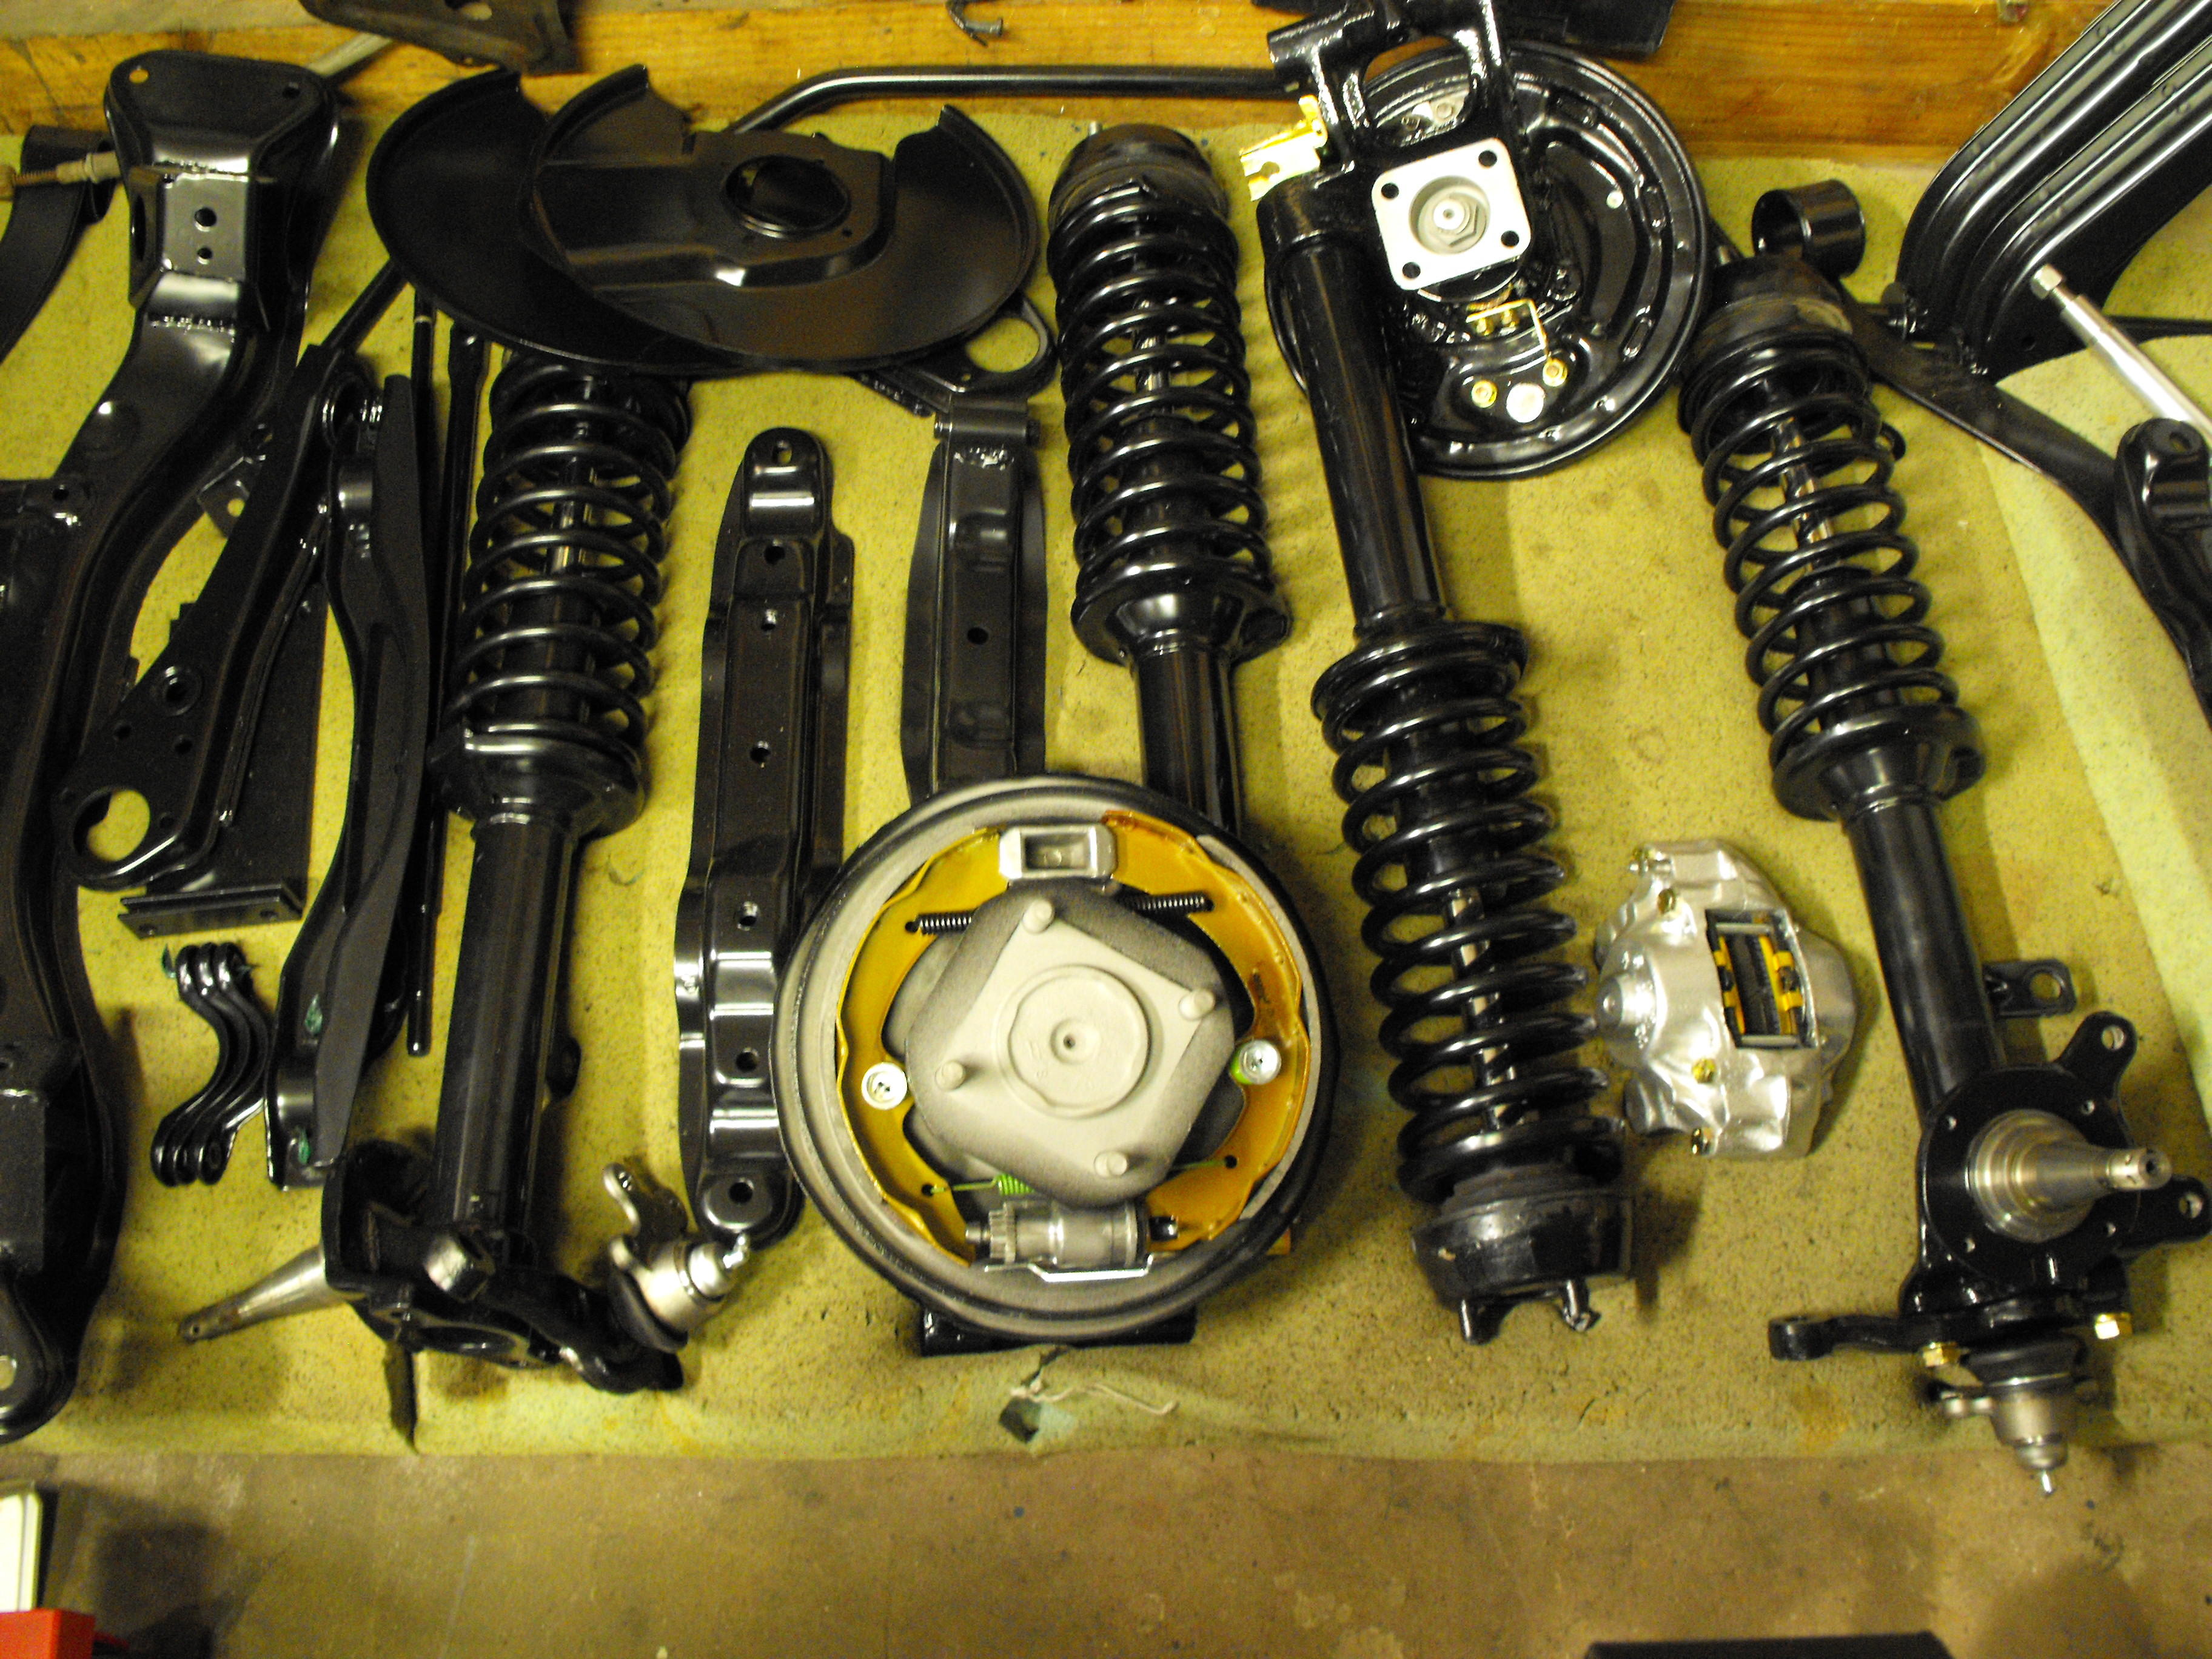
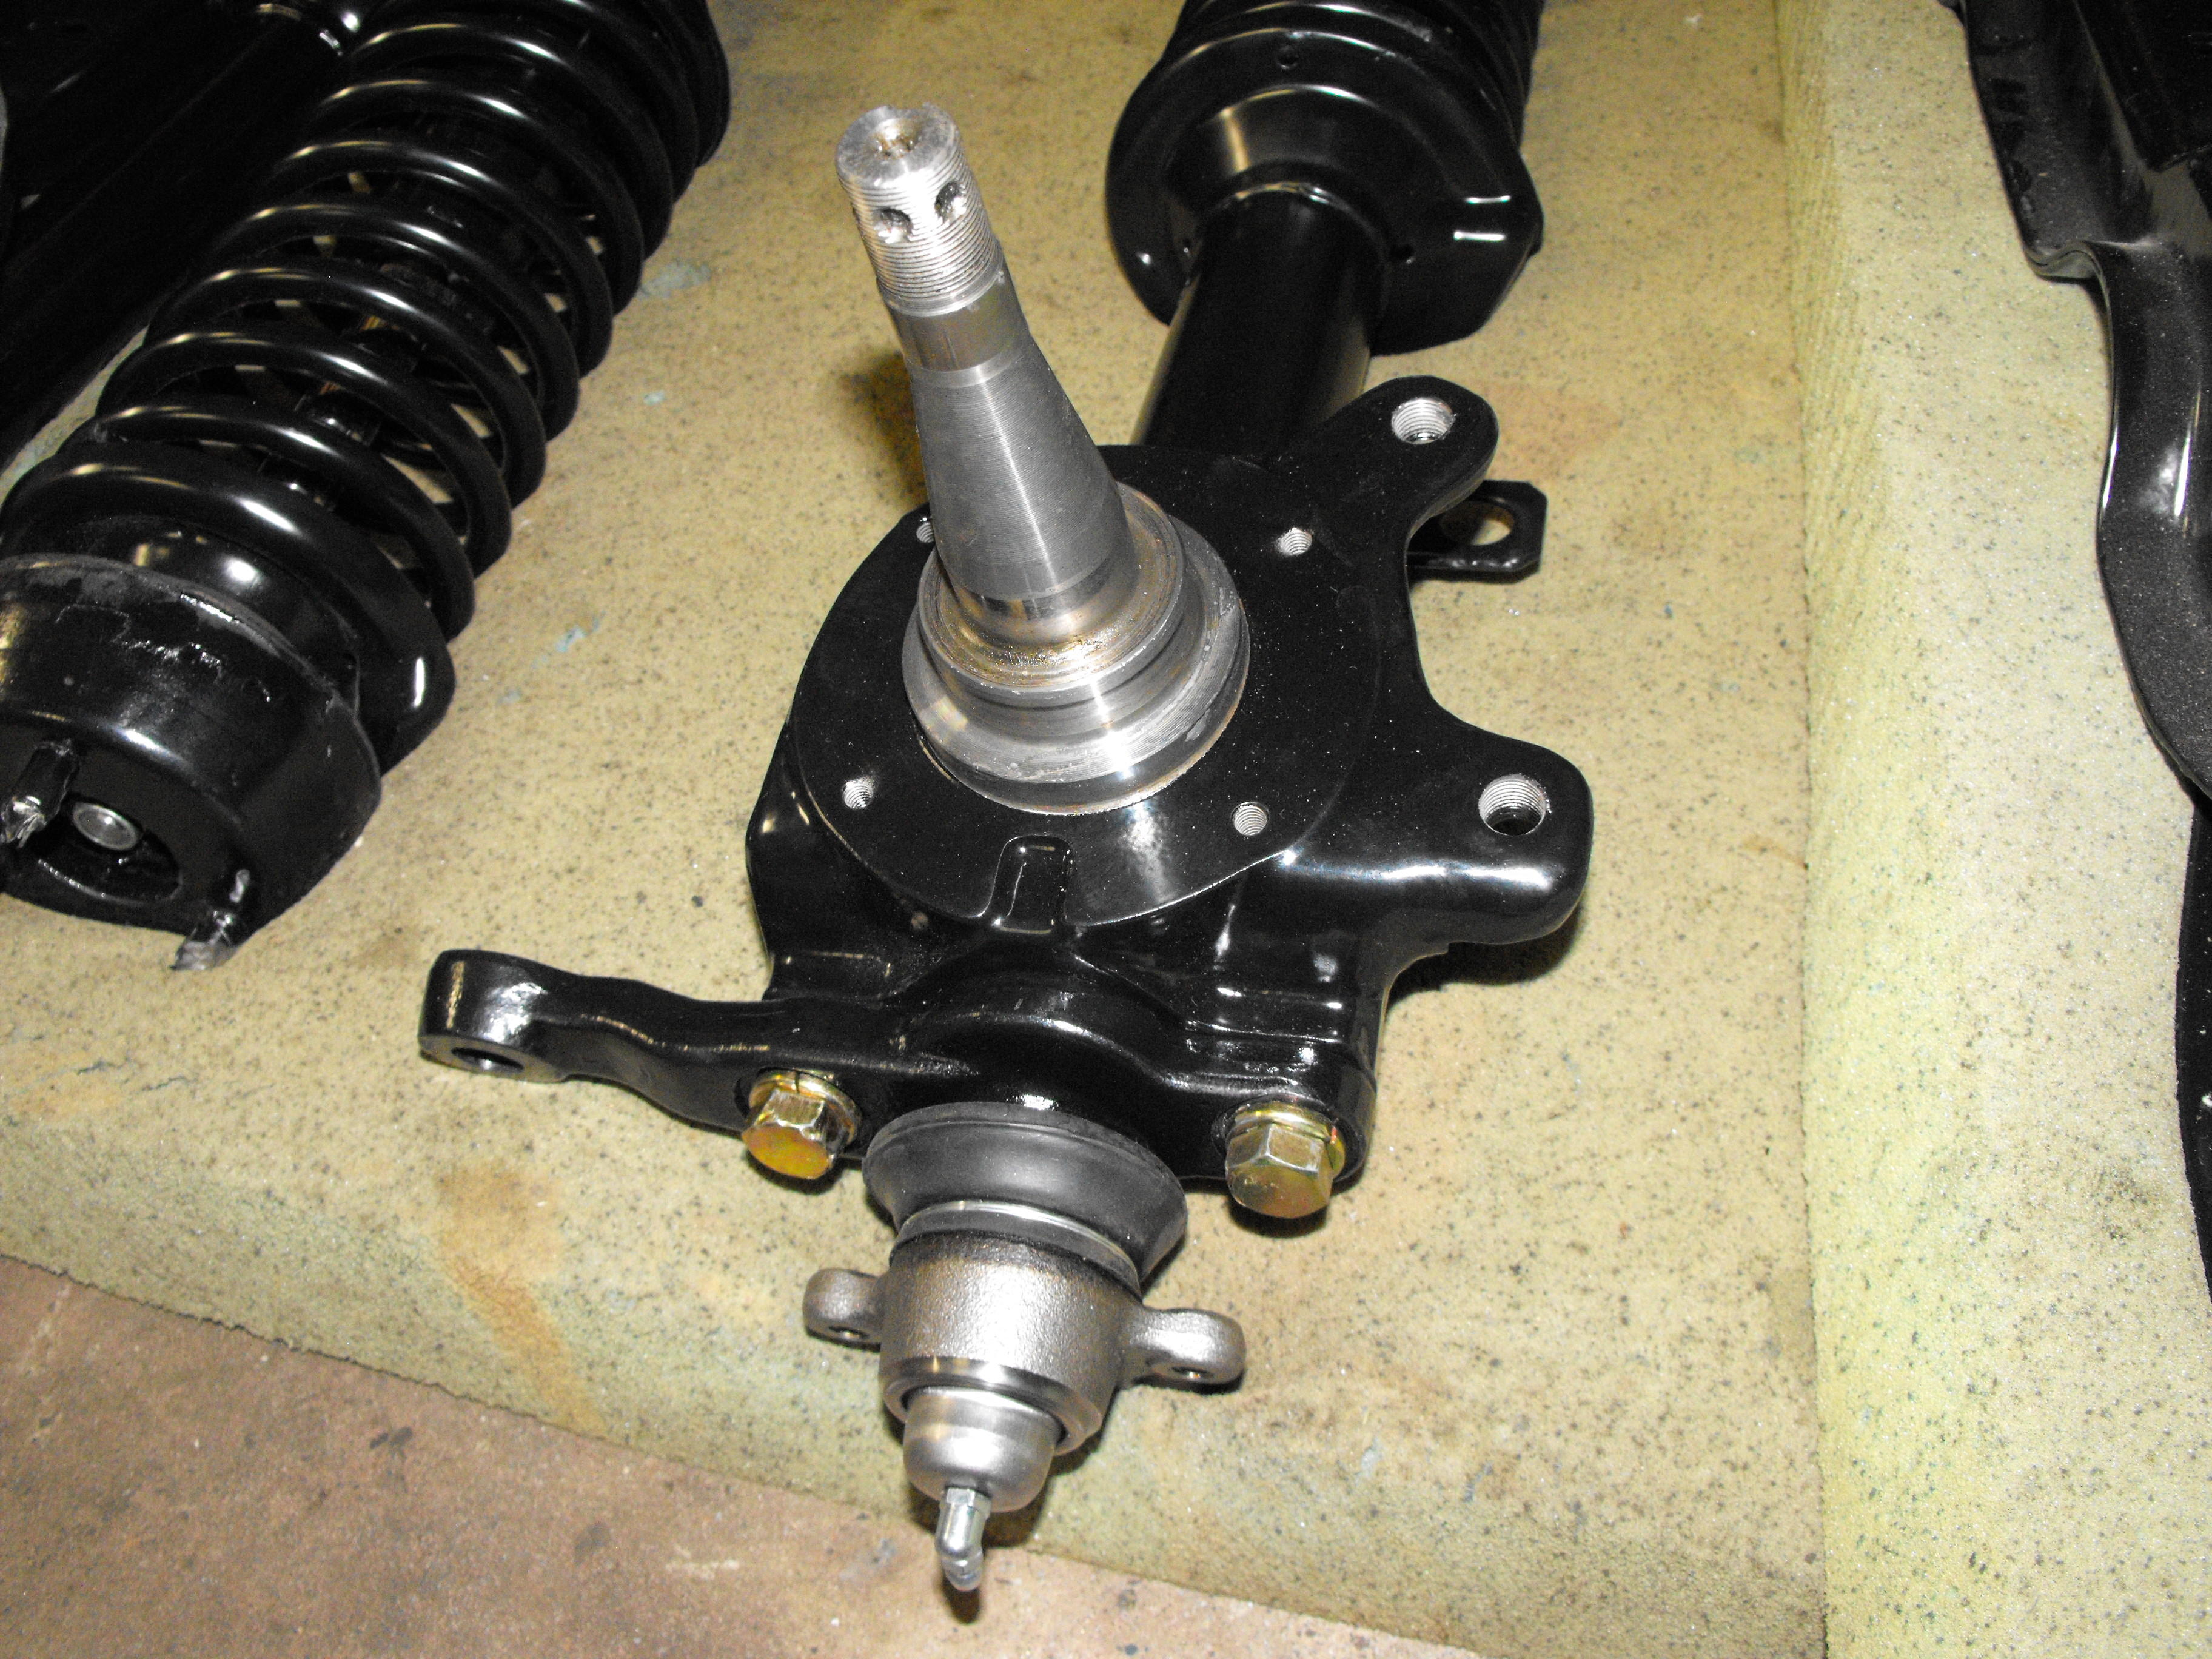
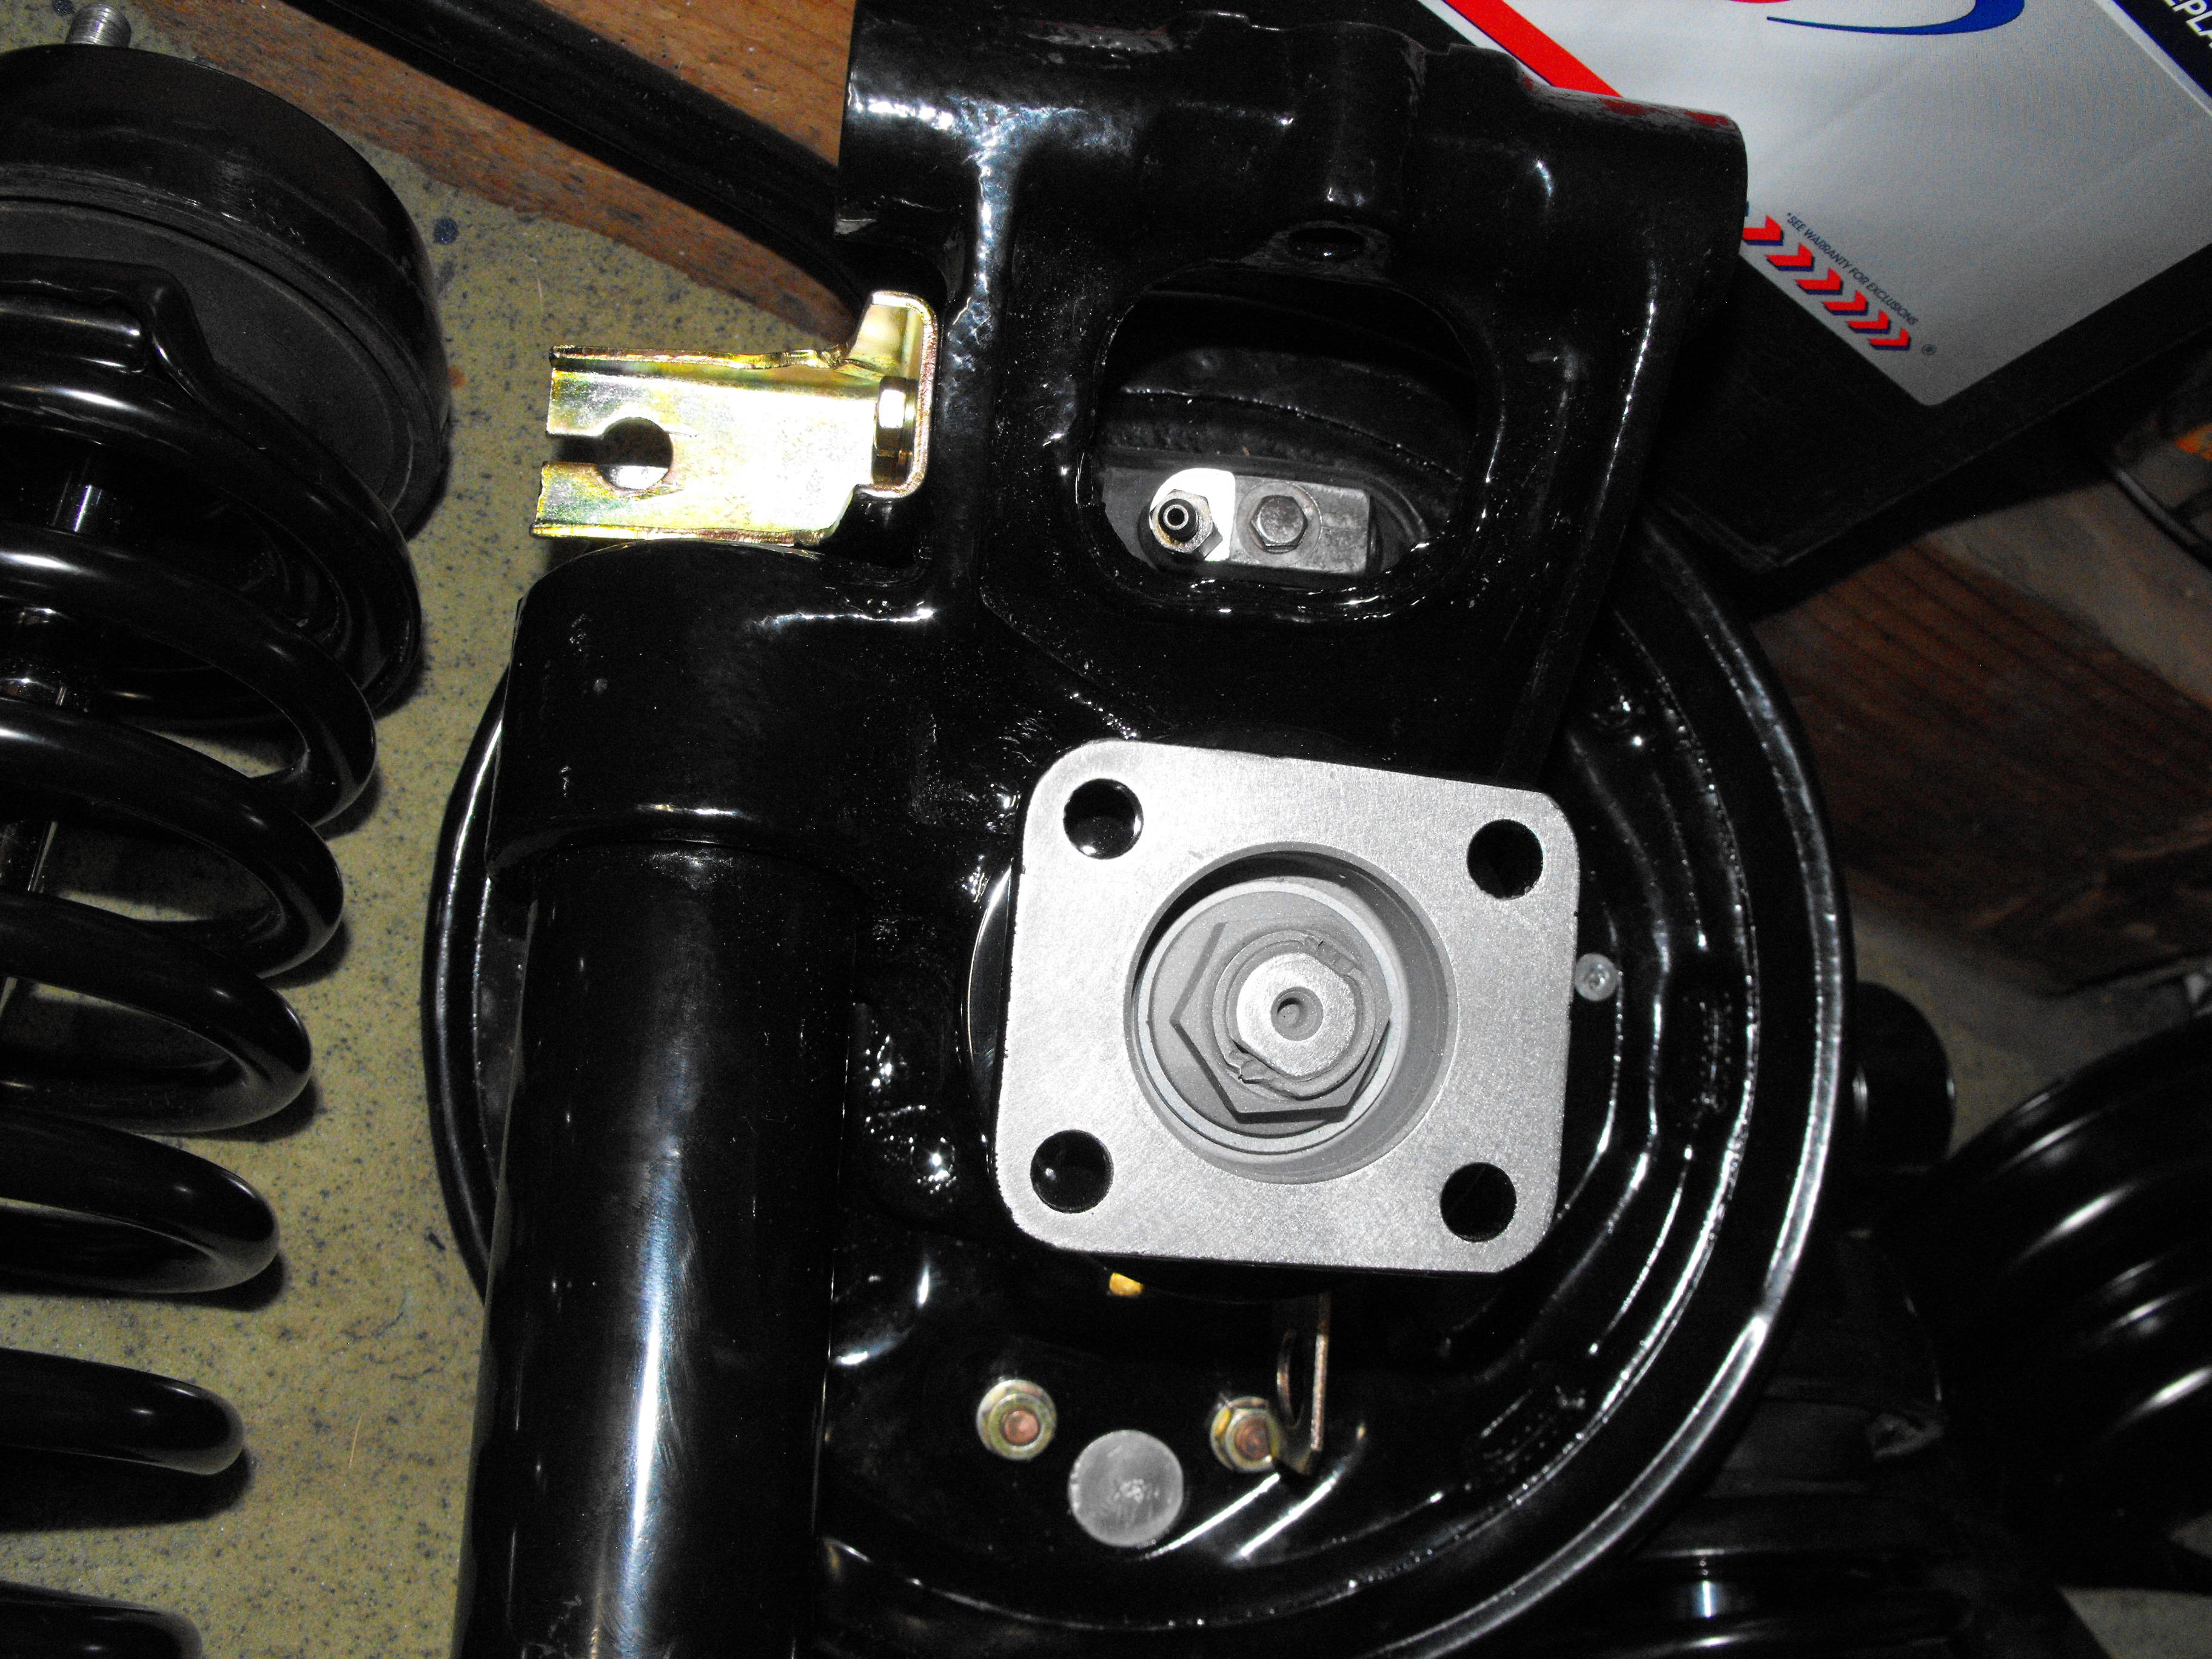
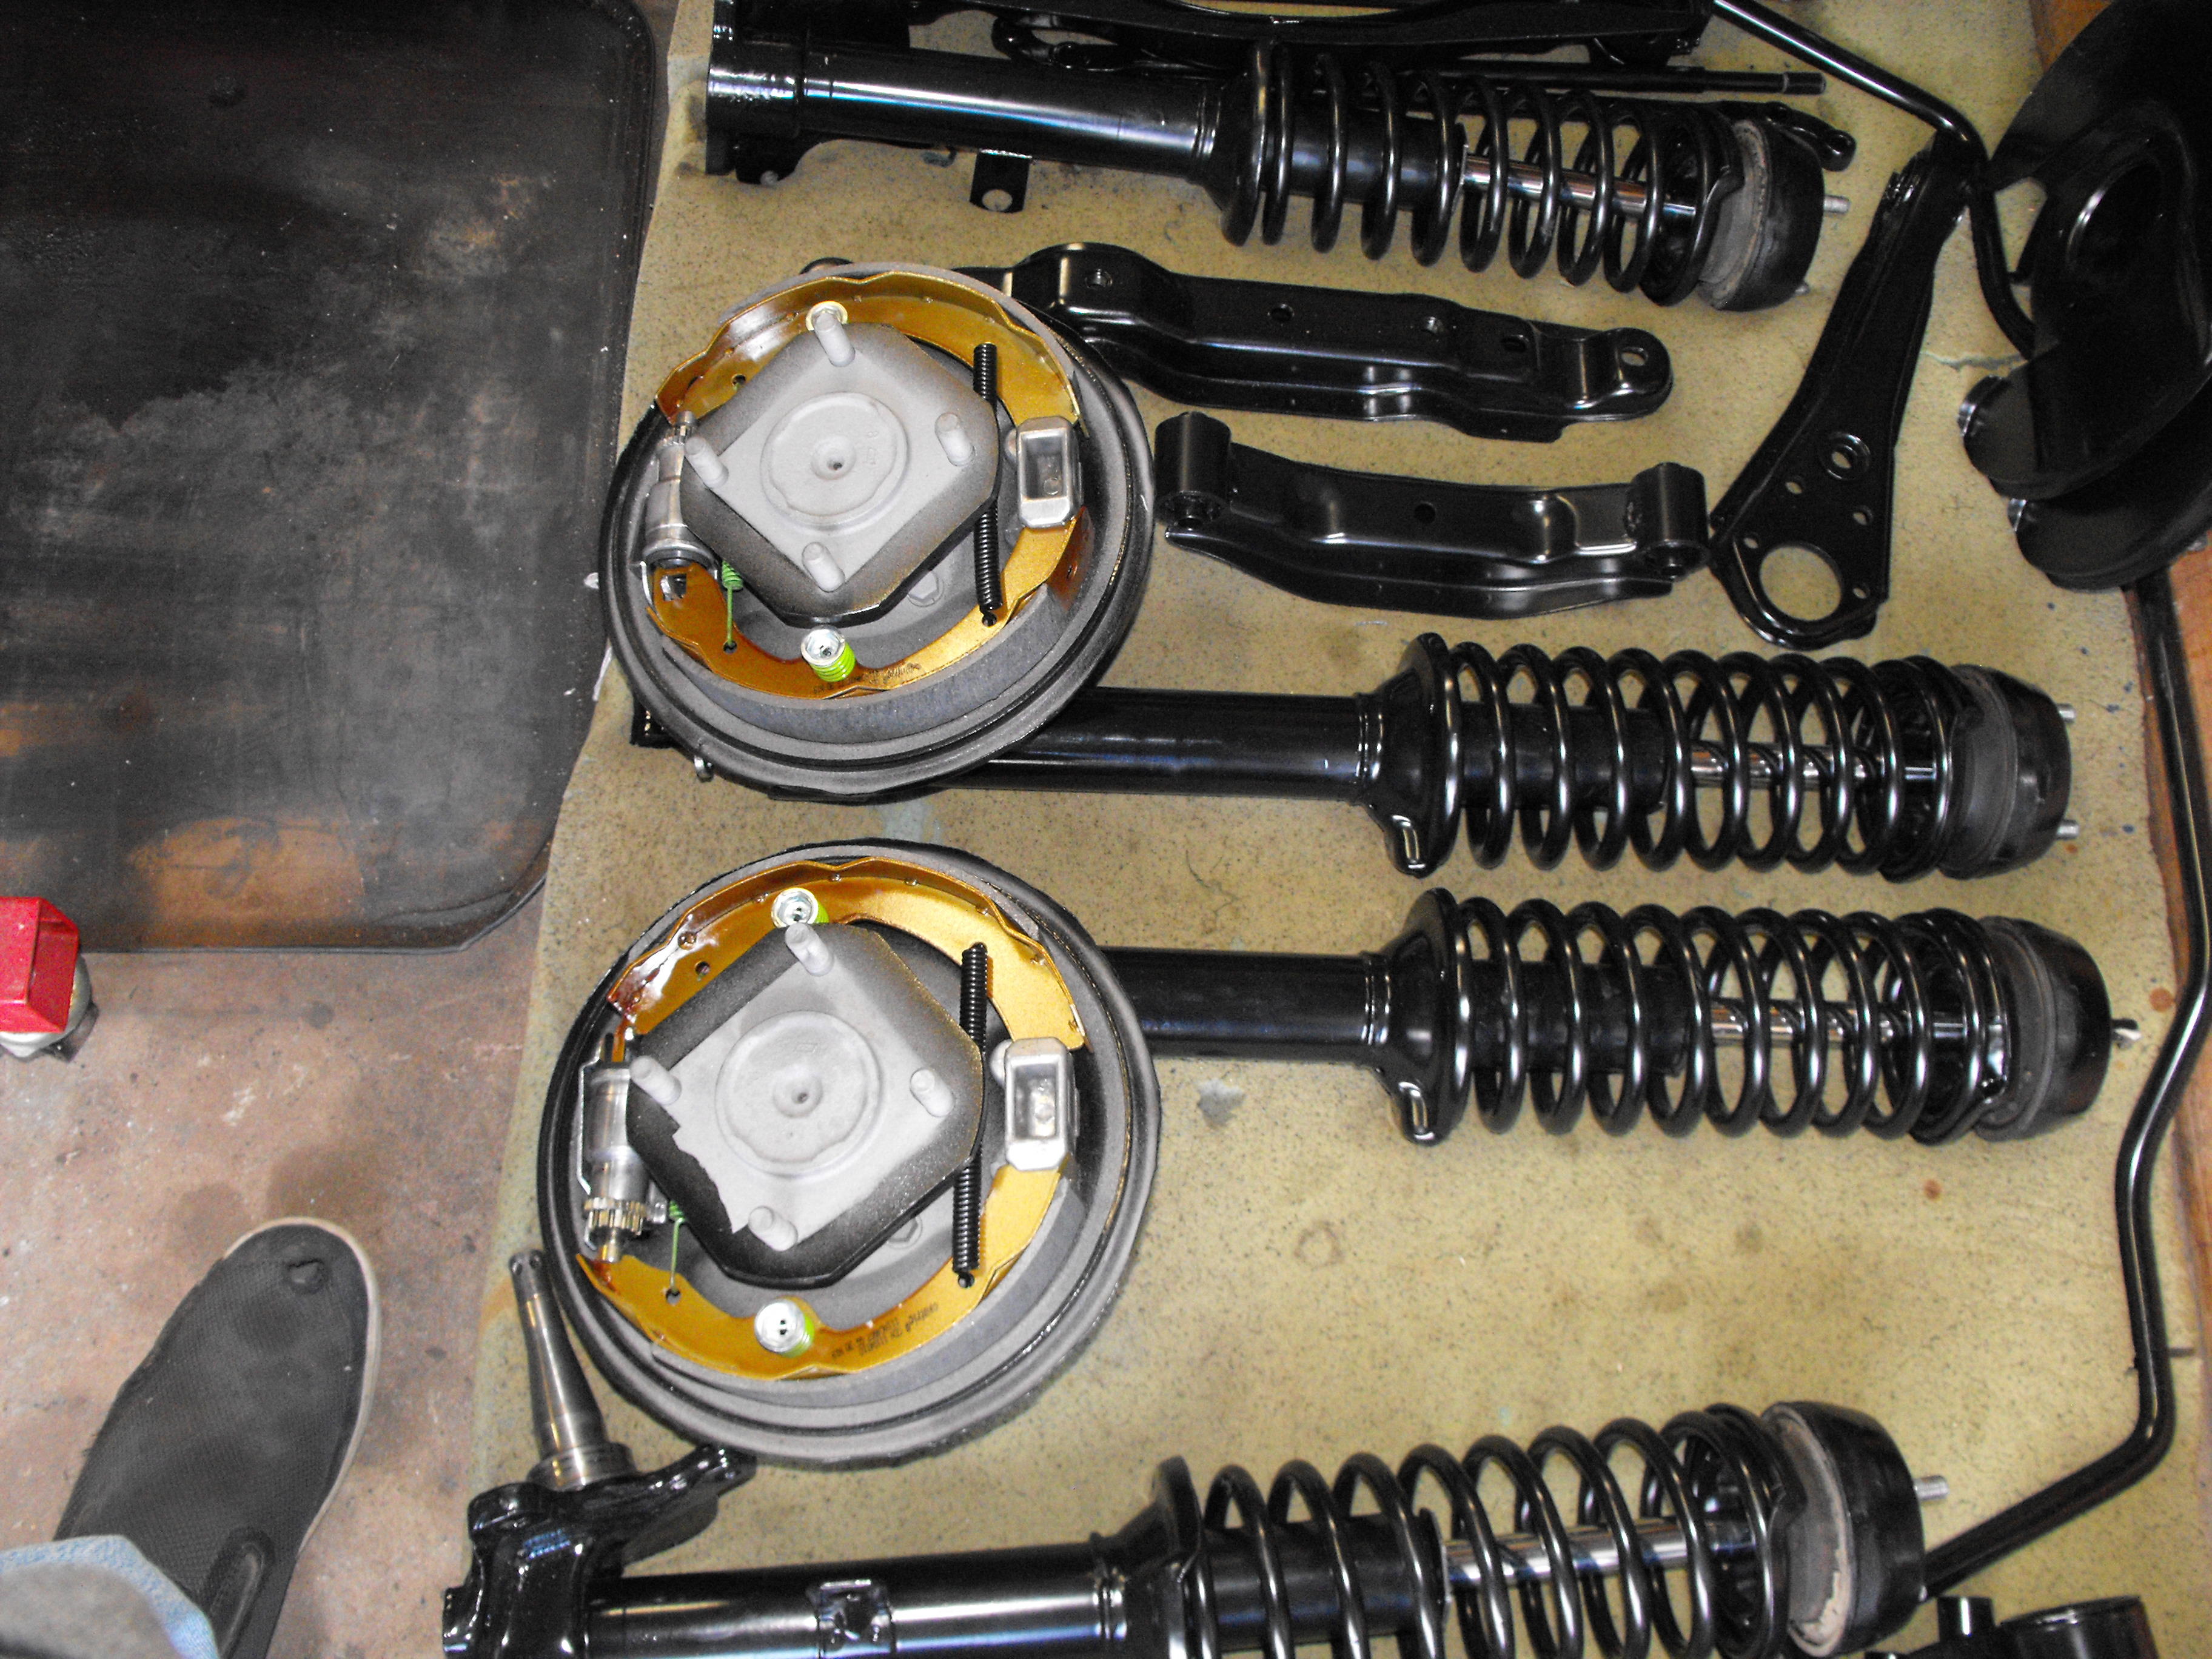
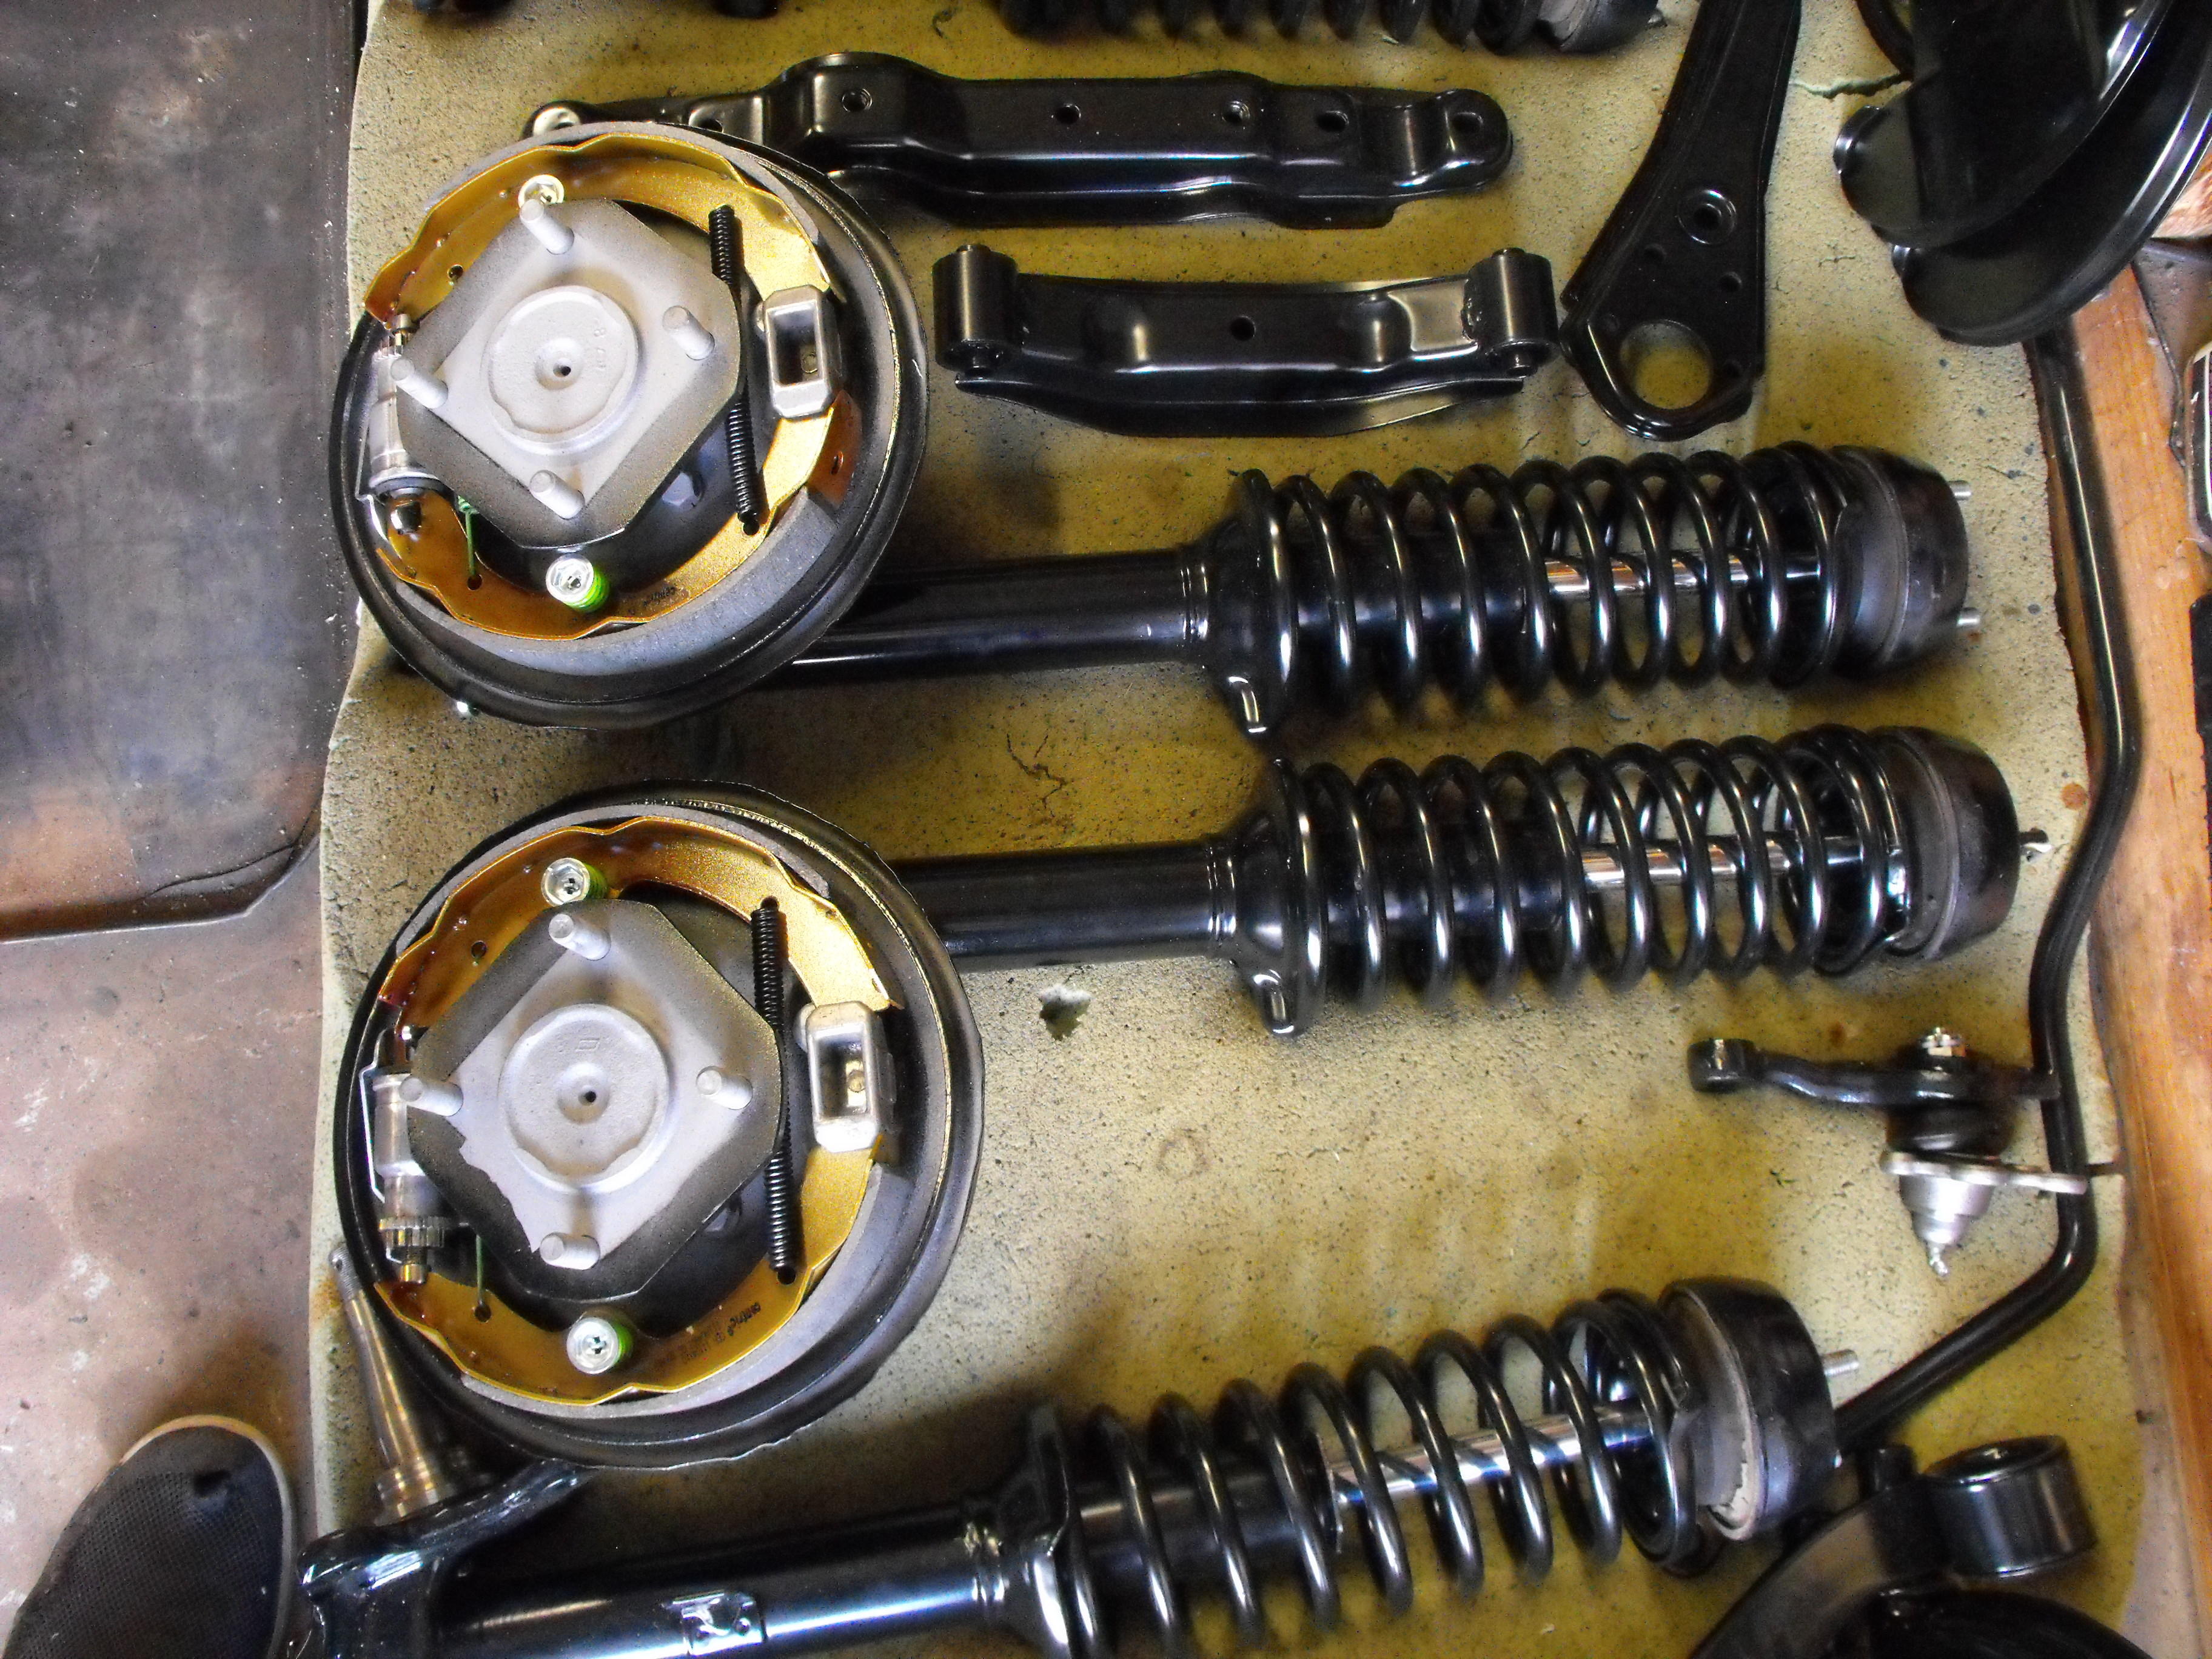
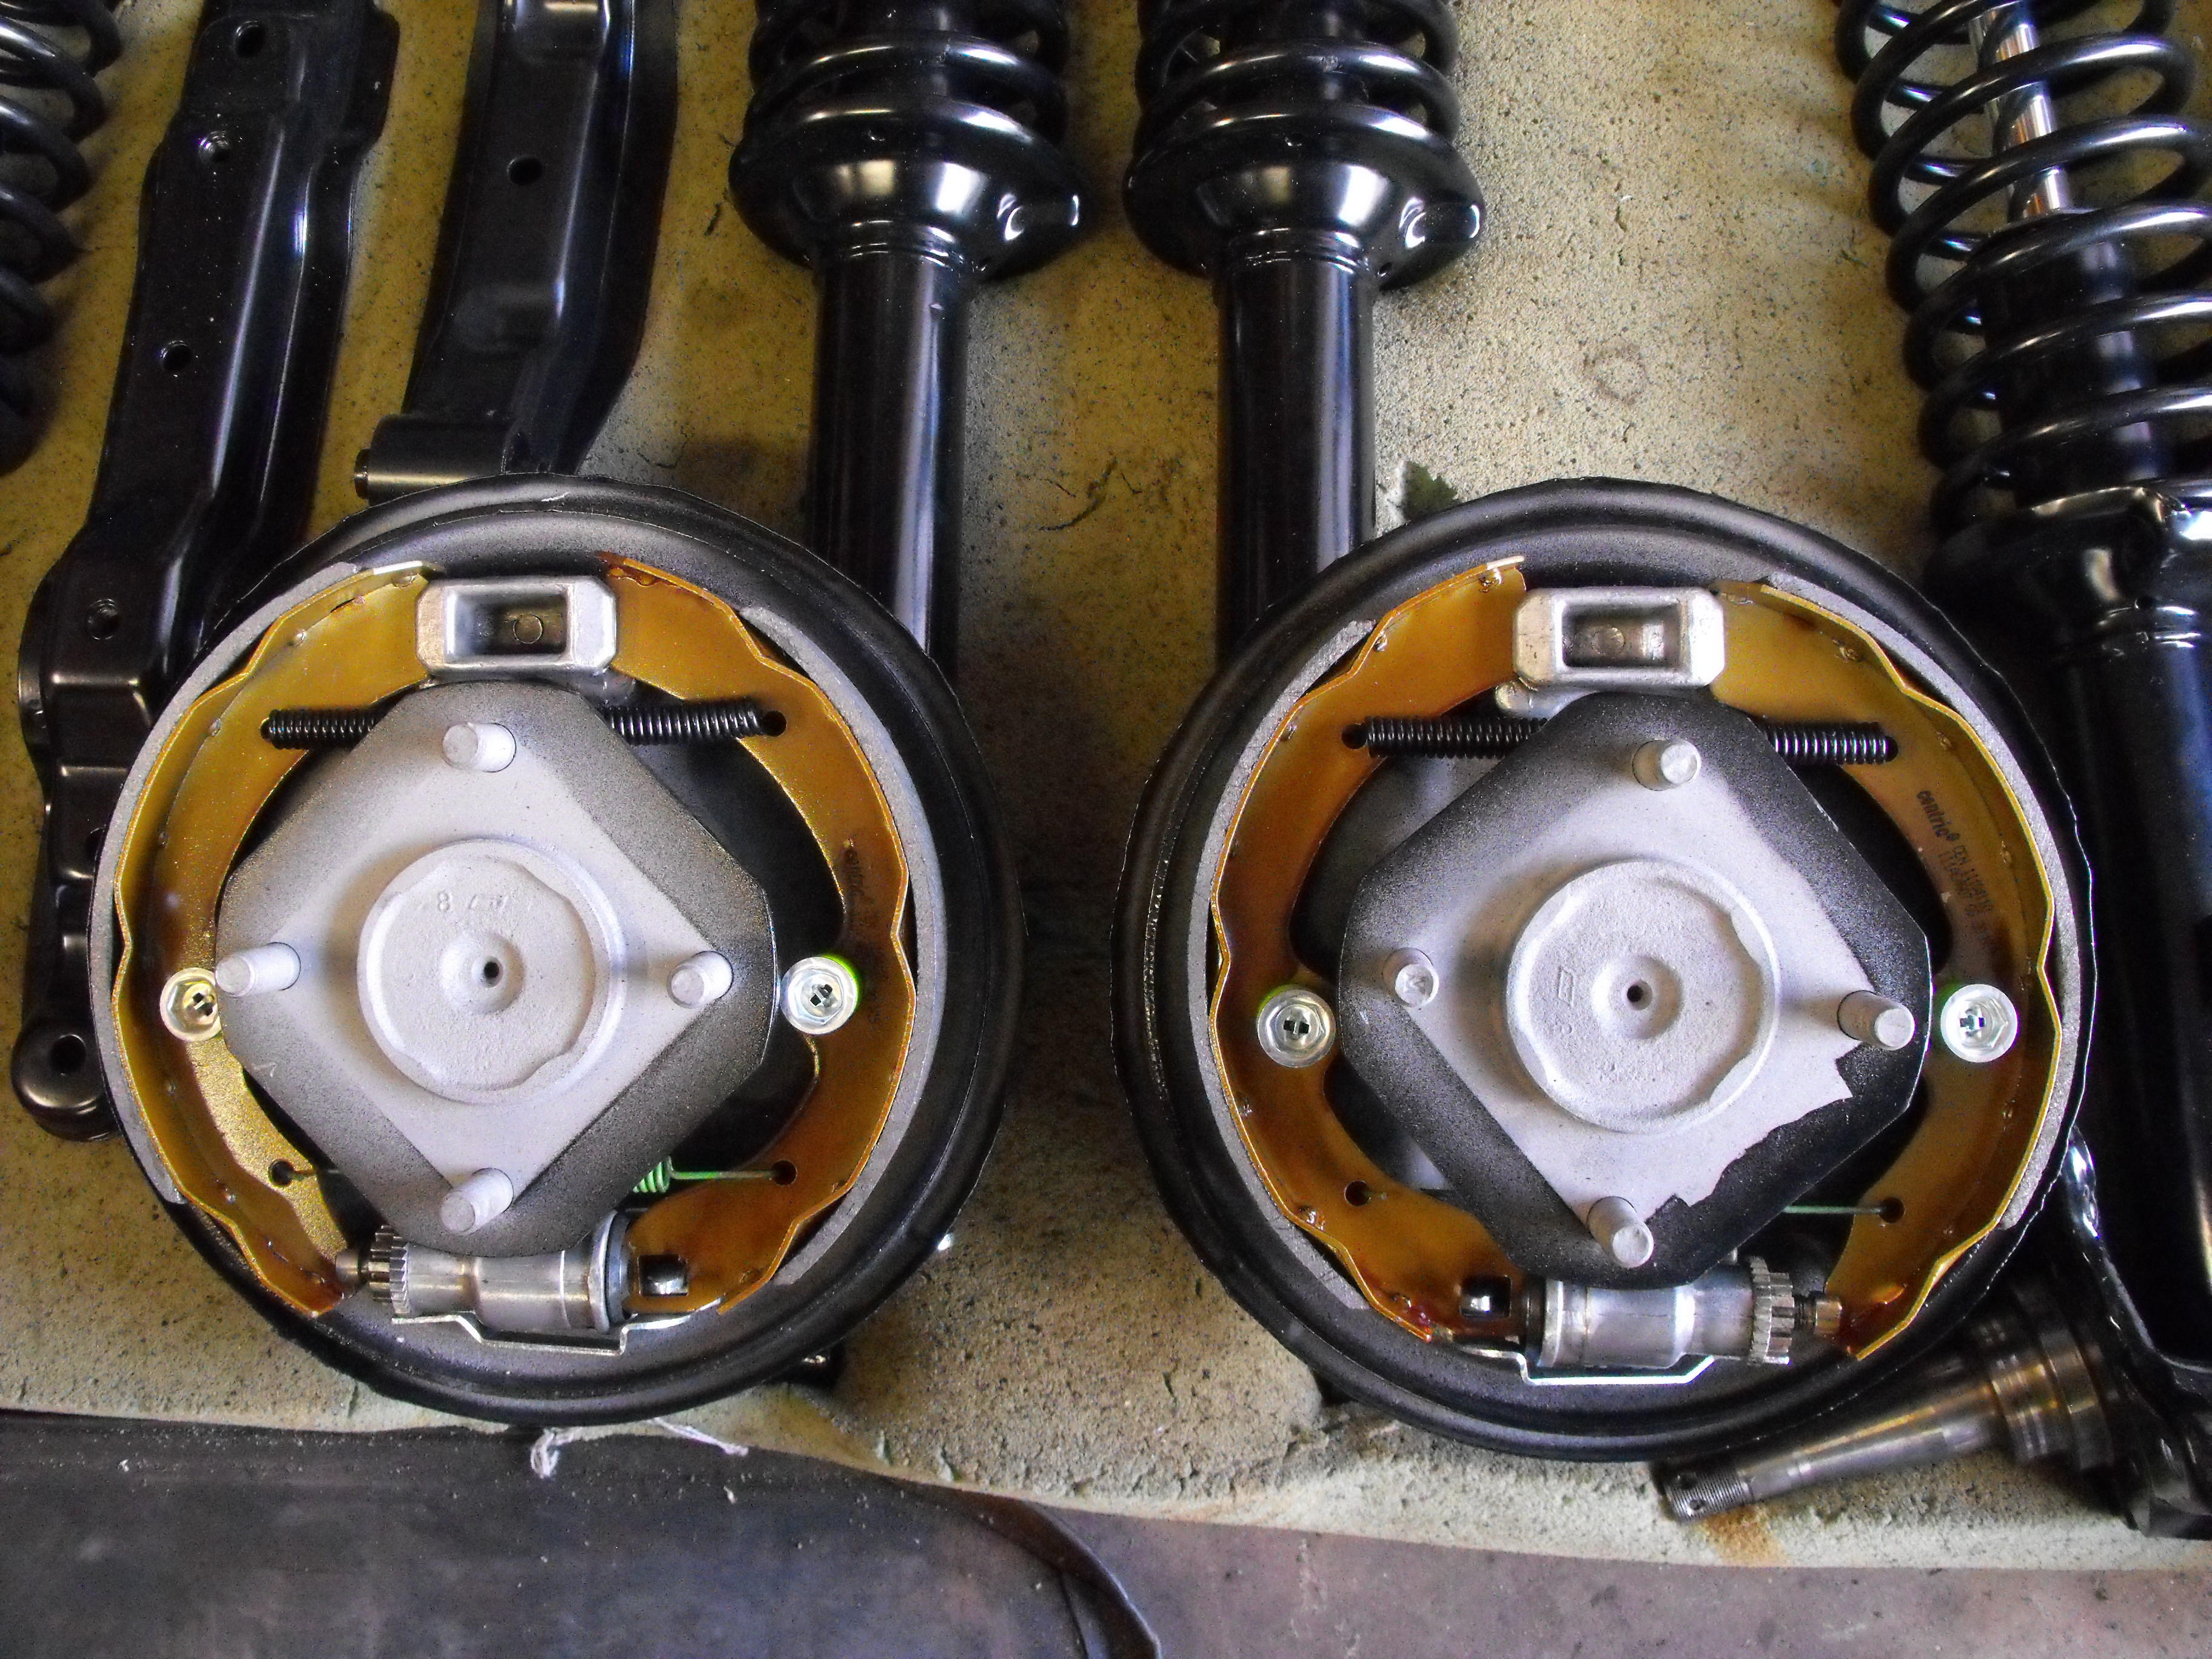
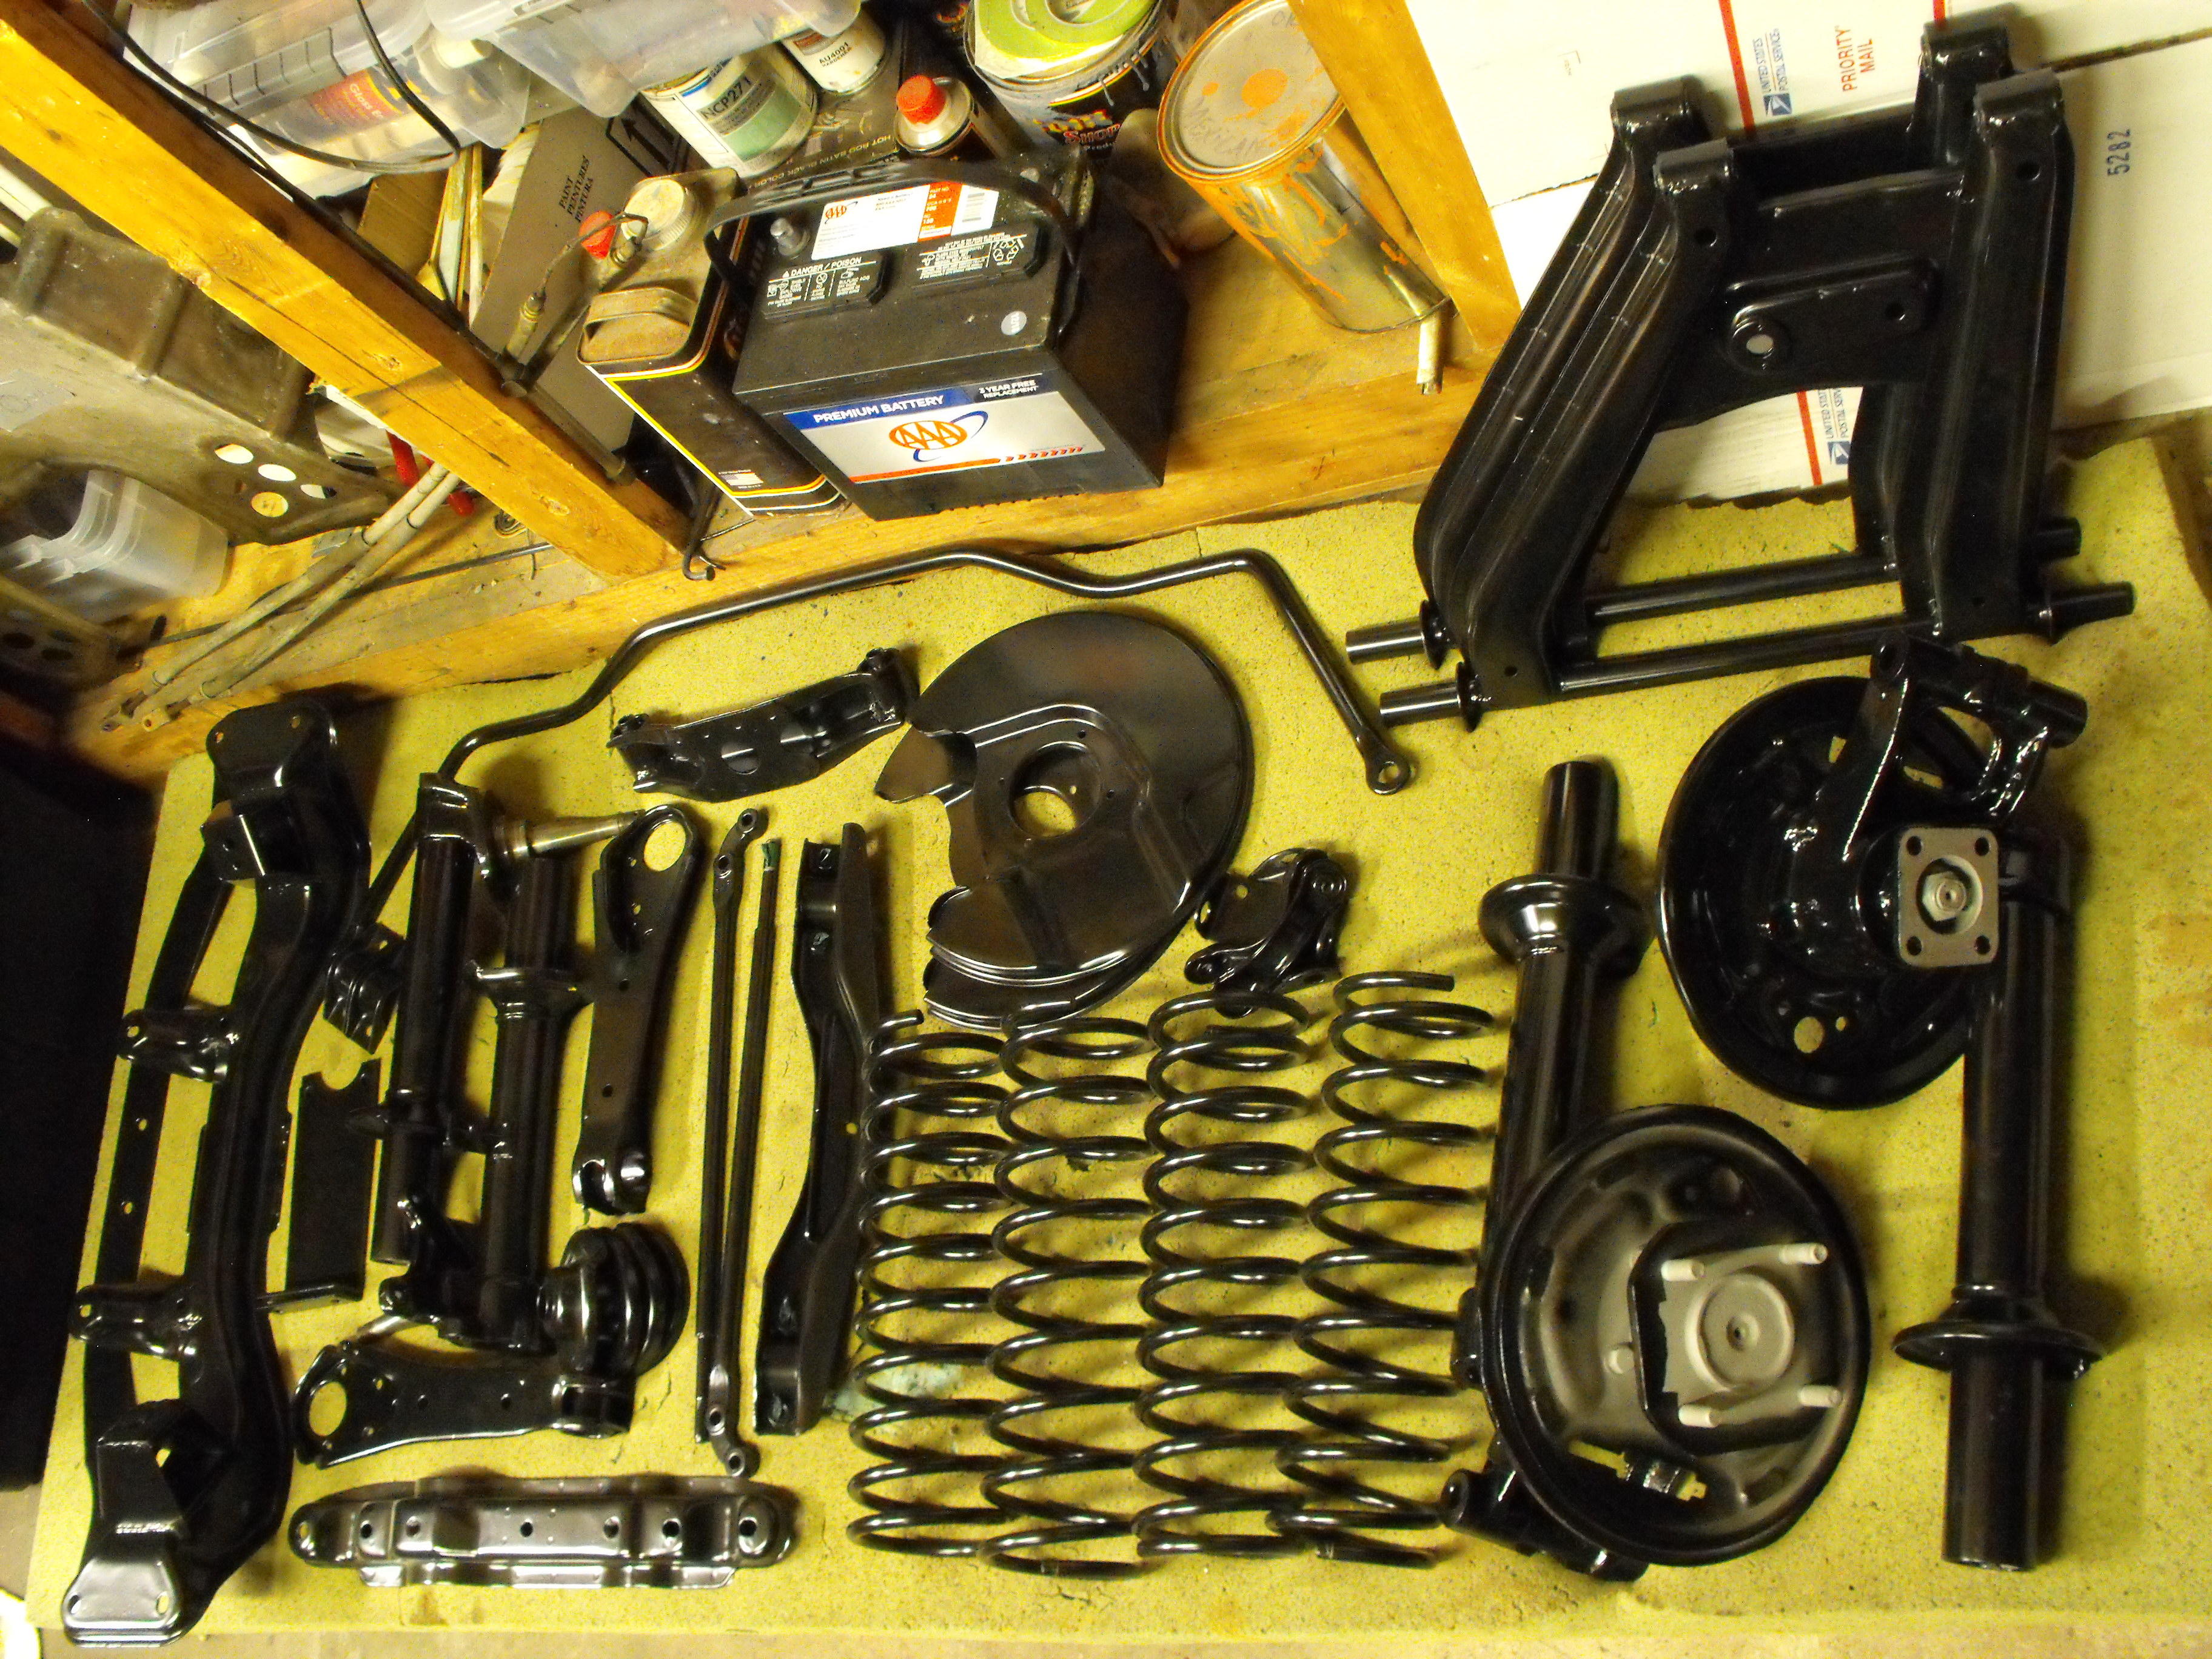
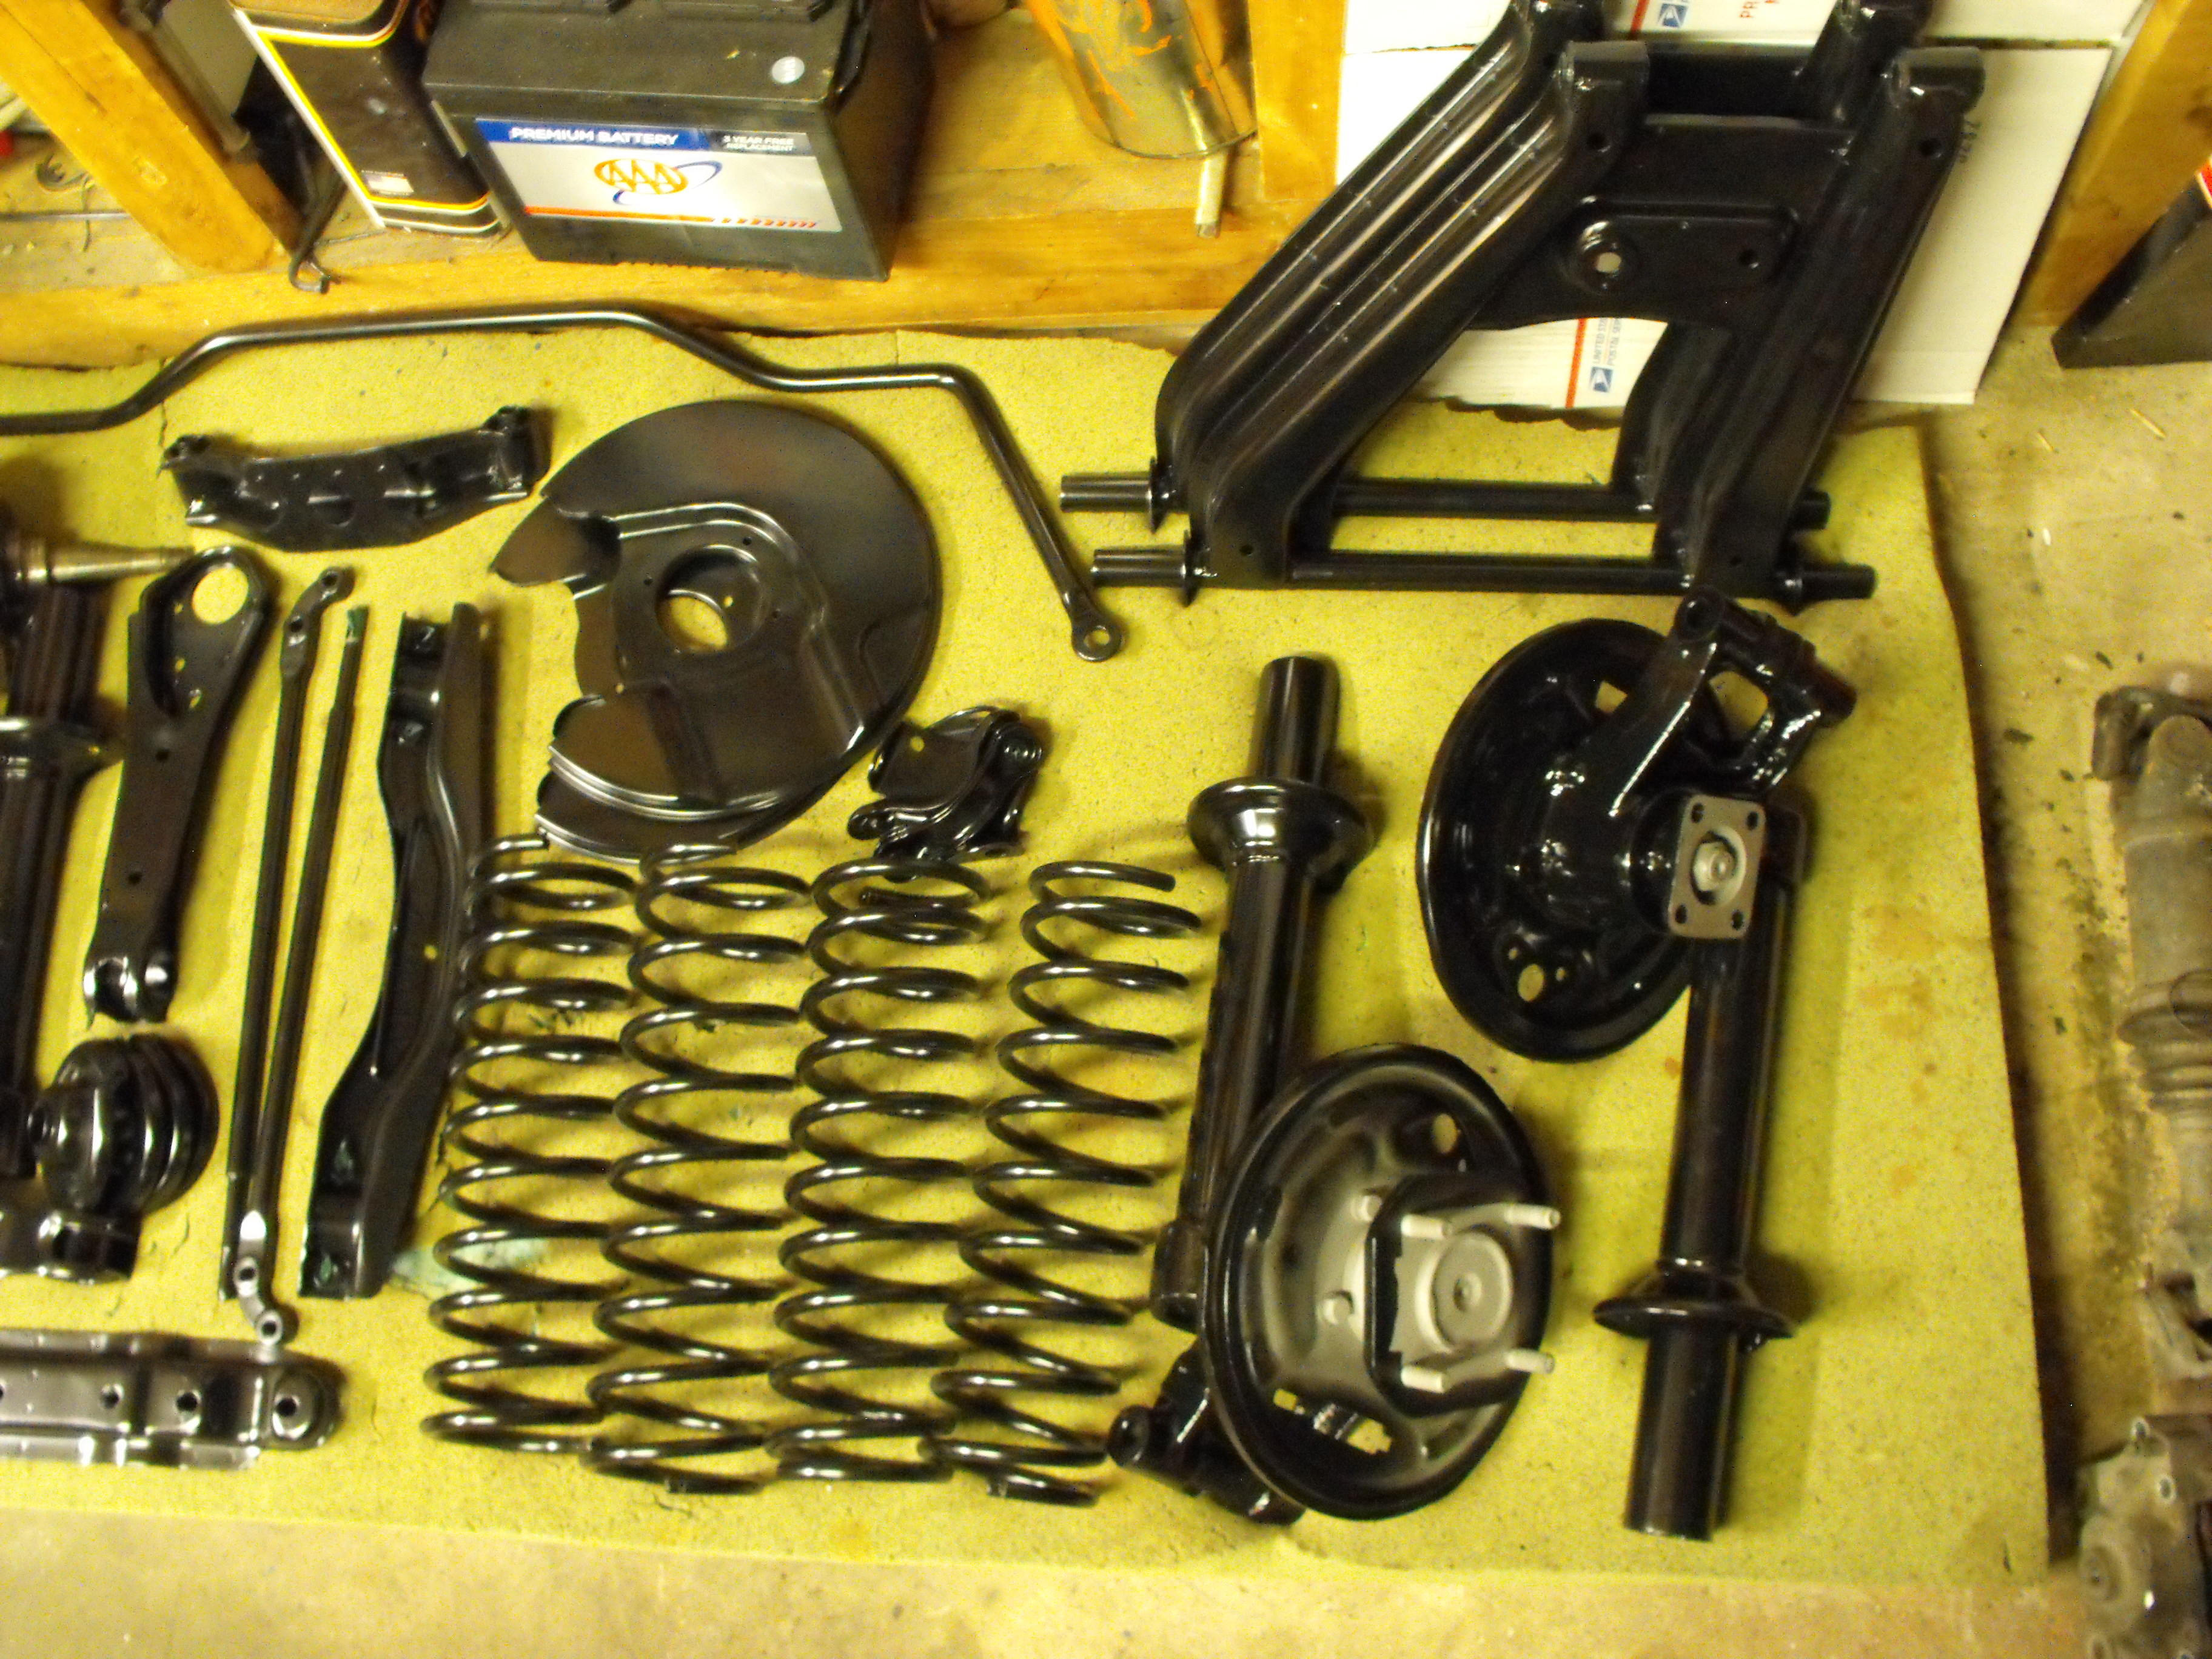
Got the springs on the struts after cleaning and painting the top mount caps. Re-built both rear brake cylinders and installed new springs and shoes on rear struts. Also painted the differential. Started work on the front calipers. Also got my yellow zinc parts in today so now I can start the suspension assembly.


-
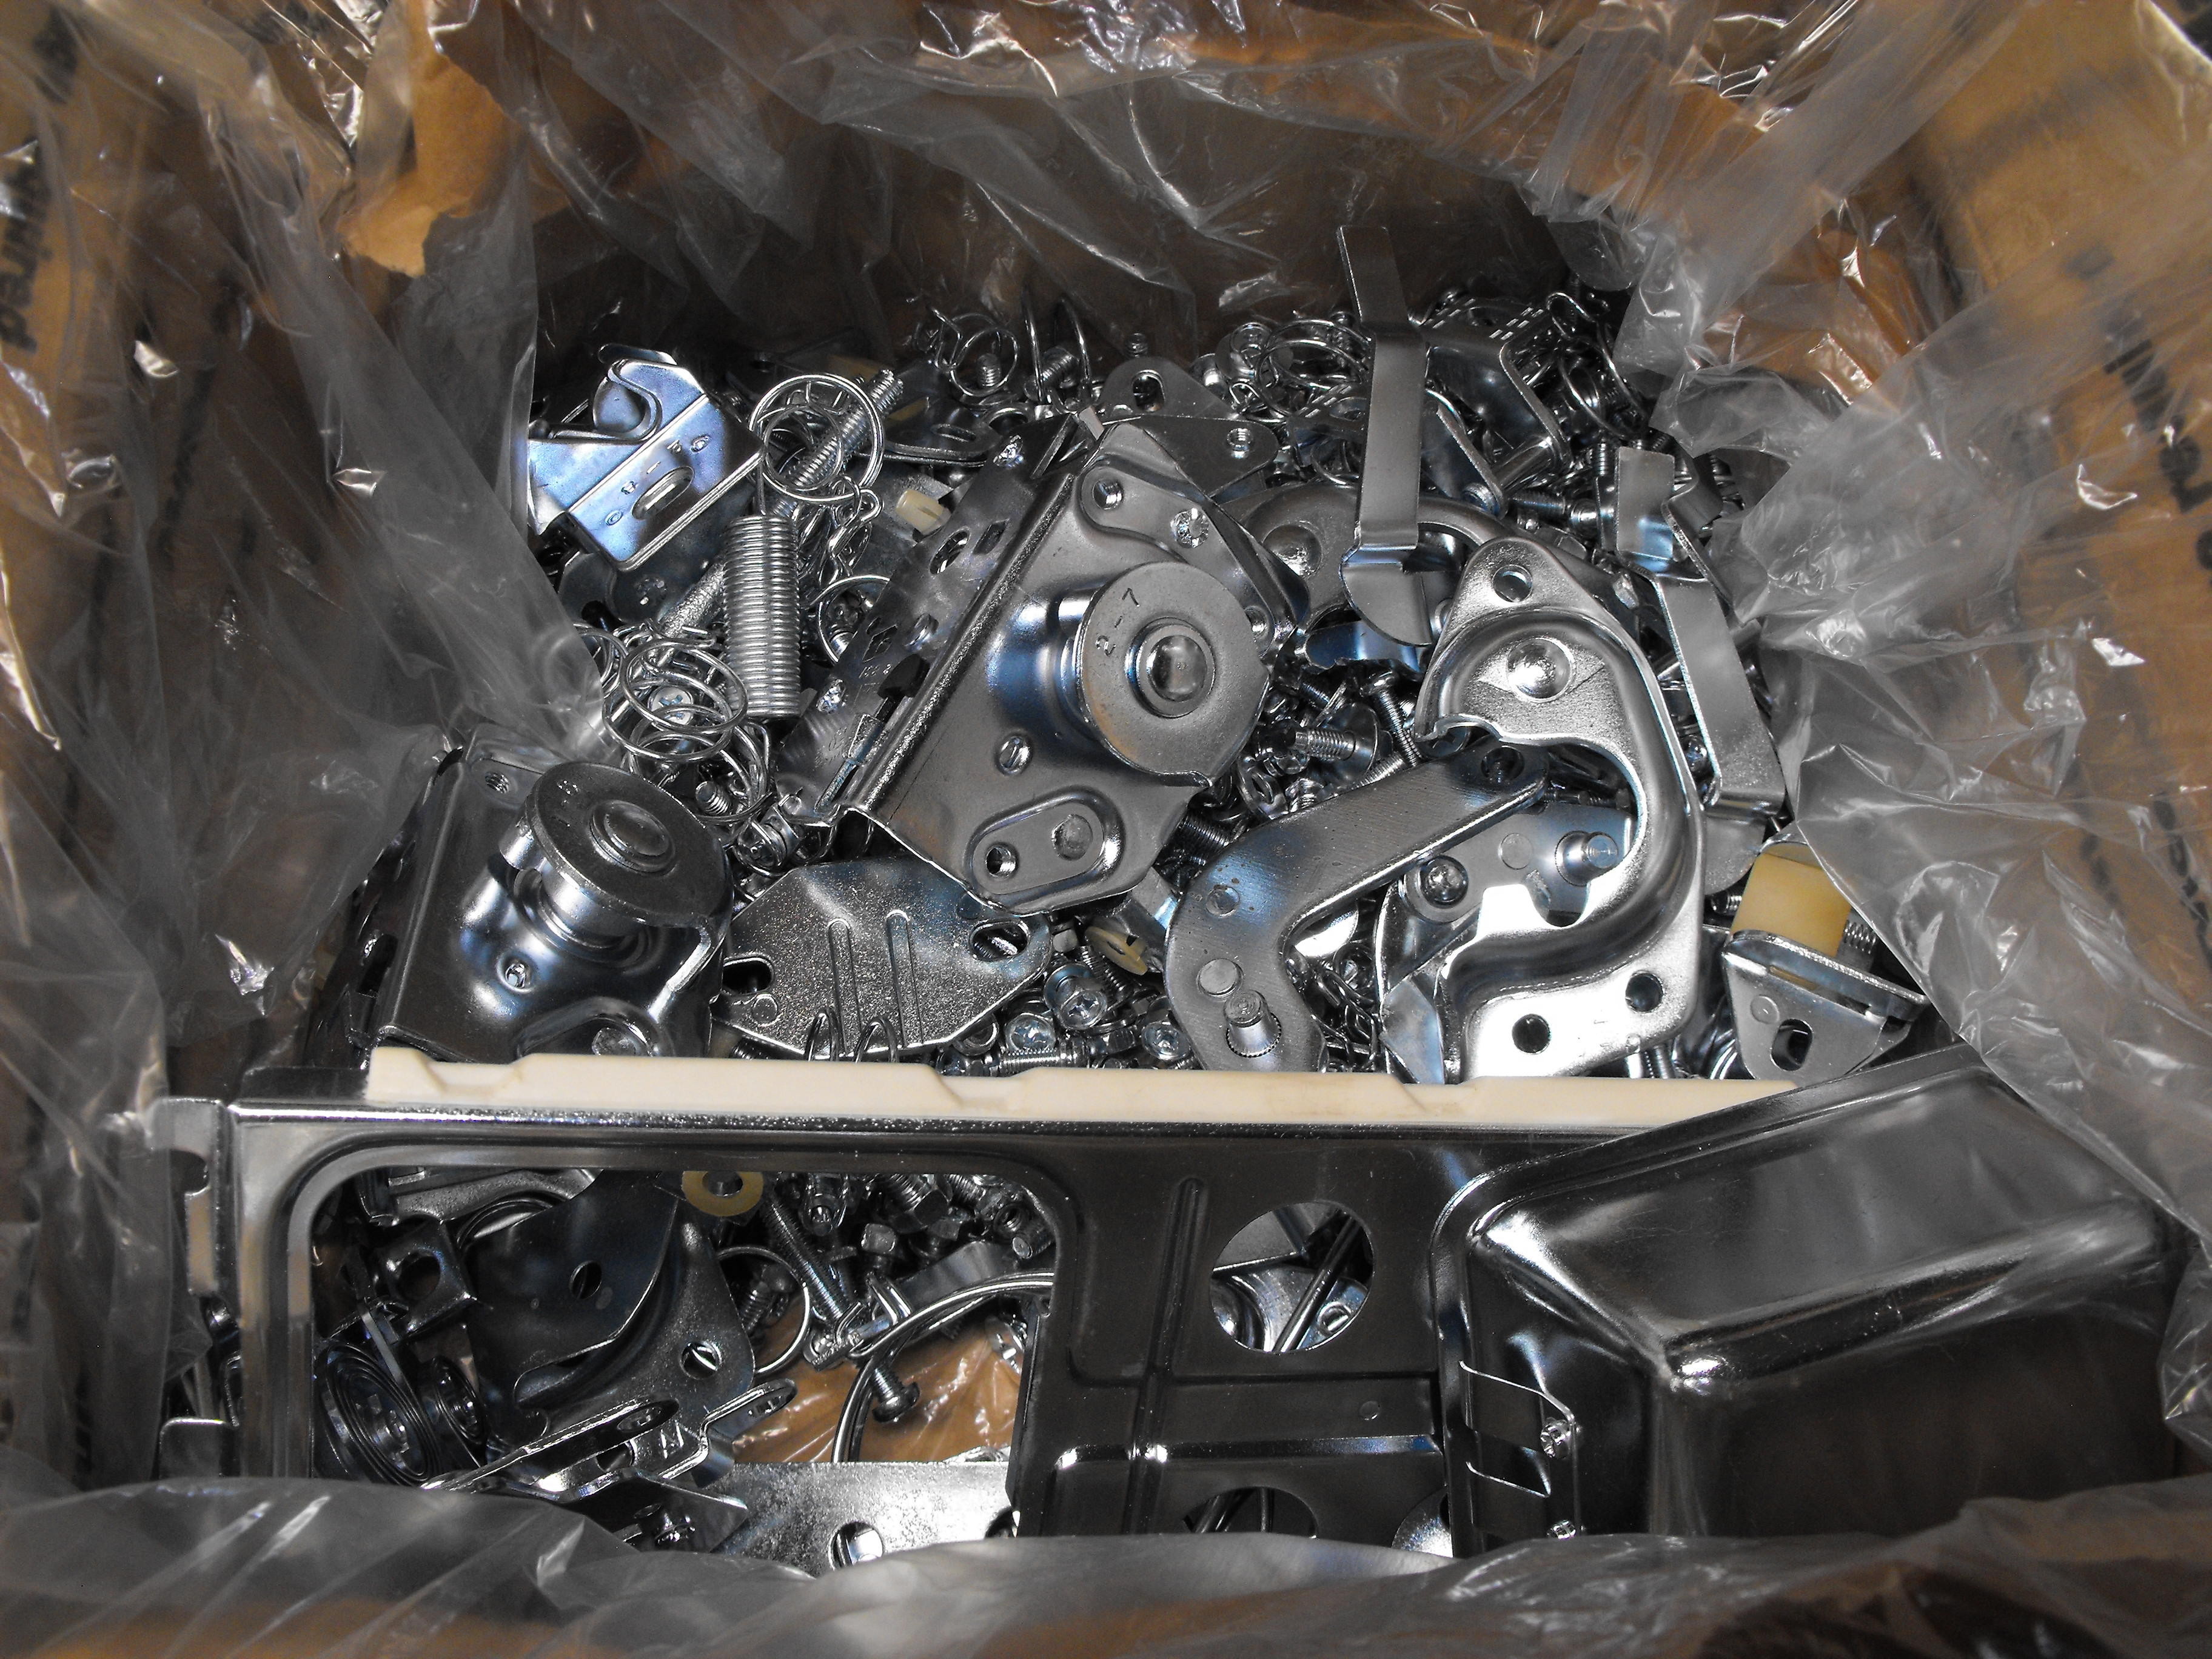
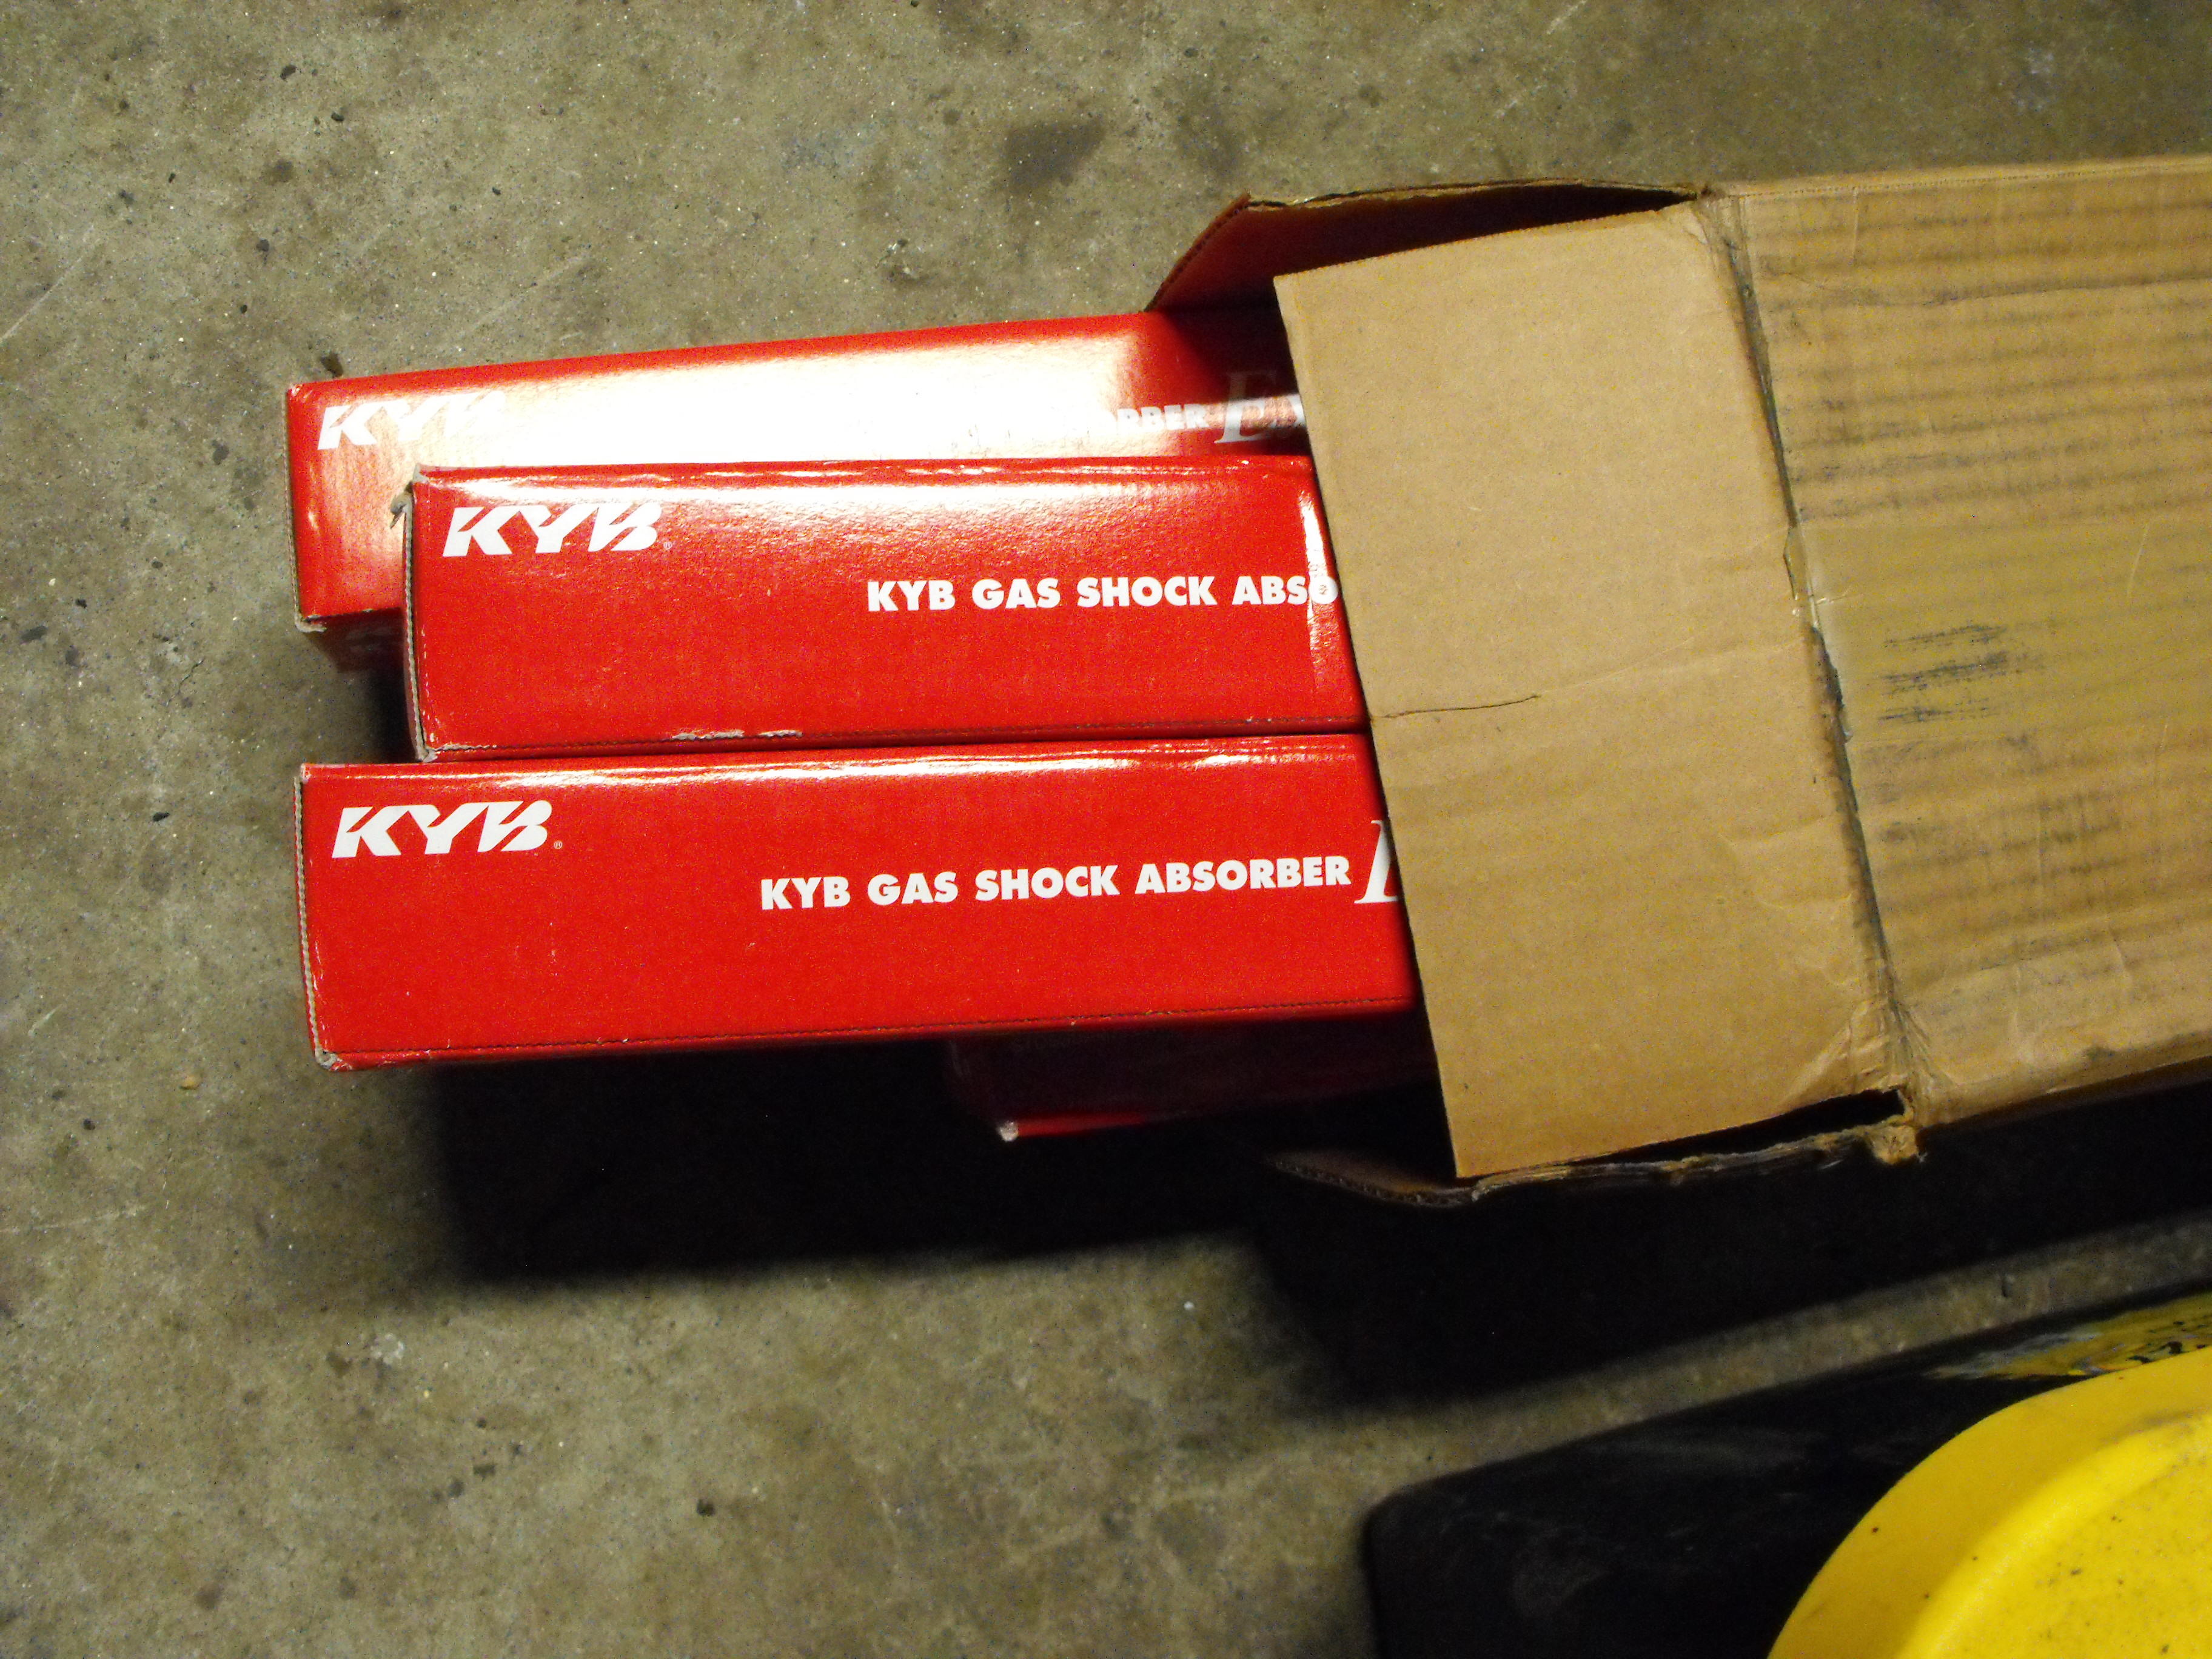
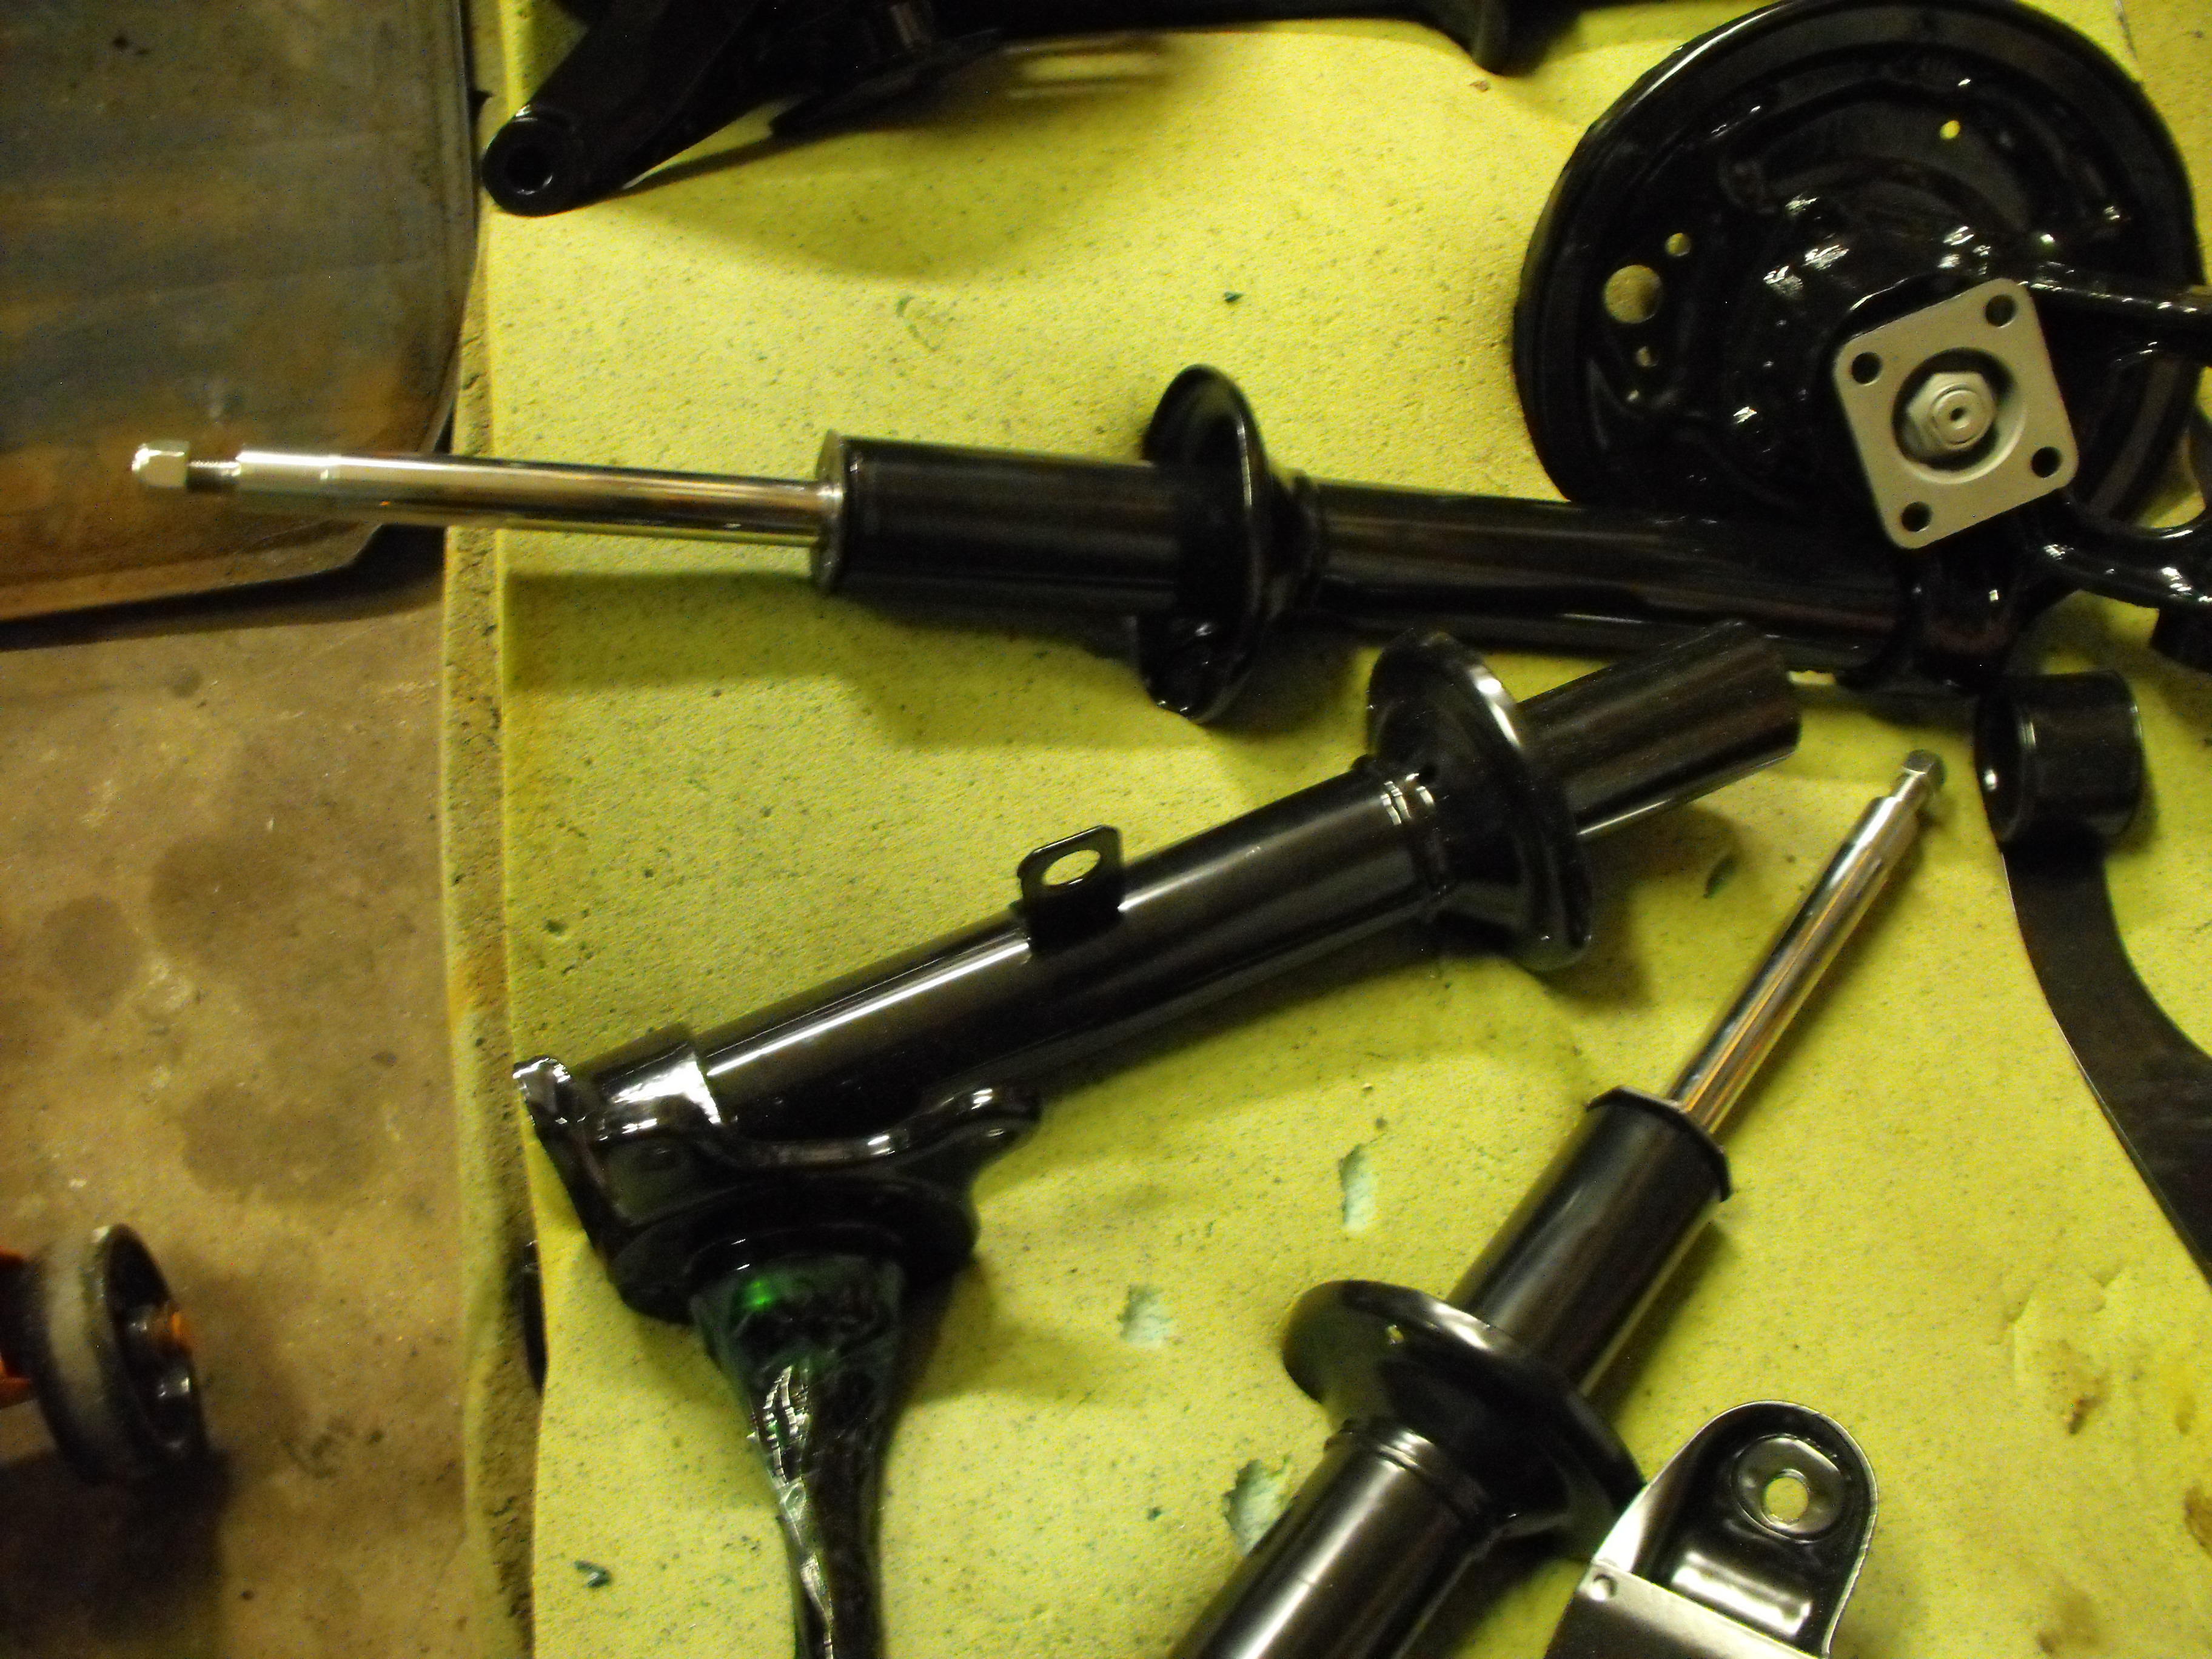
It's like Christmas here....lots of parts coming in. Got the 'clear' zinc back from the plating shop. Also received more engine parts and suspension parts. Started installing shocks and will finish up the struts over the next couple days.


-
No, this one is different. Actually, the entire manifold set-up is different and the intakes are definitely from an earlier model. I am planning on keeping the entire intake assembly as is, but would like to put the exhaust manifold from a 71-72 on this so it looks a bit more uniform, like a 72 motor.
-
Still cleaning up parts here while I am waiting for the zinc plated parts to return from the plating shop. Got the engine re-build kit on order along with new brakes pads, shoes and their respective rebuild kits. So, should have a lot of stuff coming in over the next week.


-
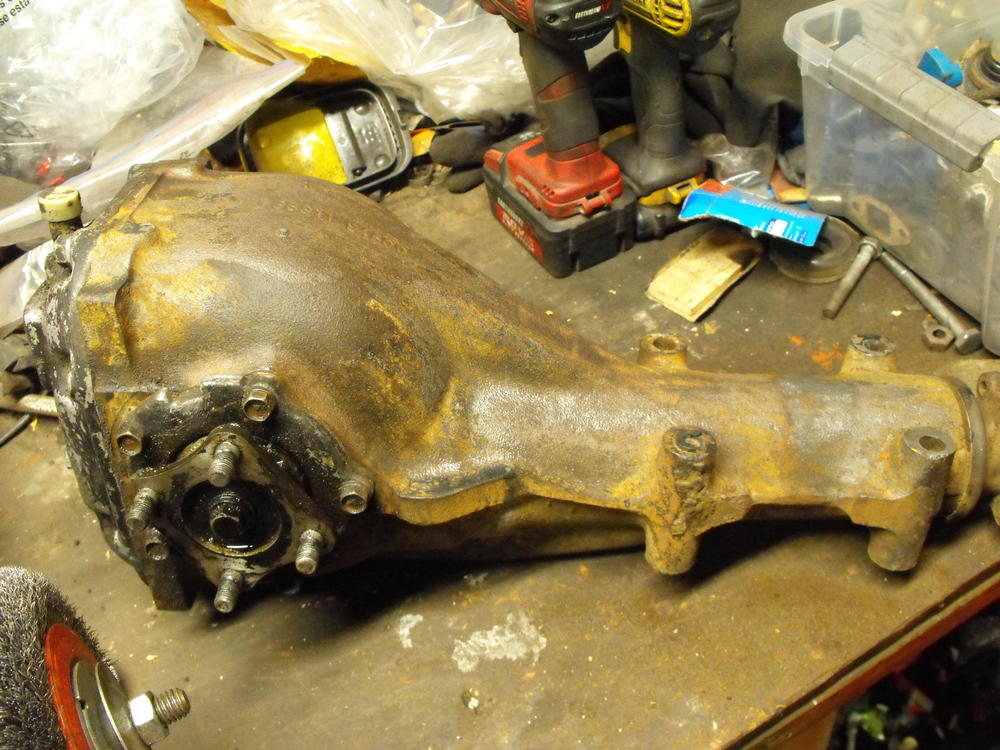
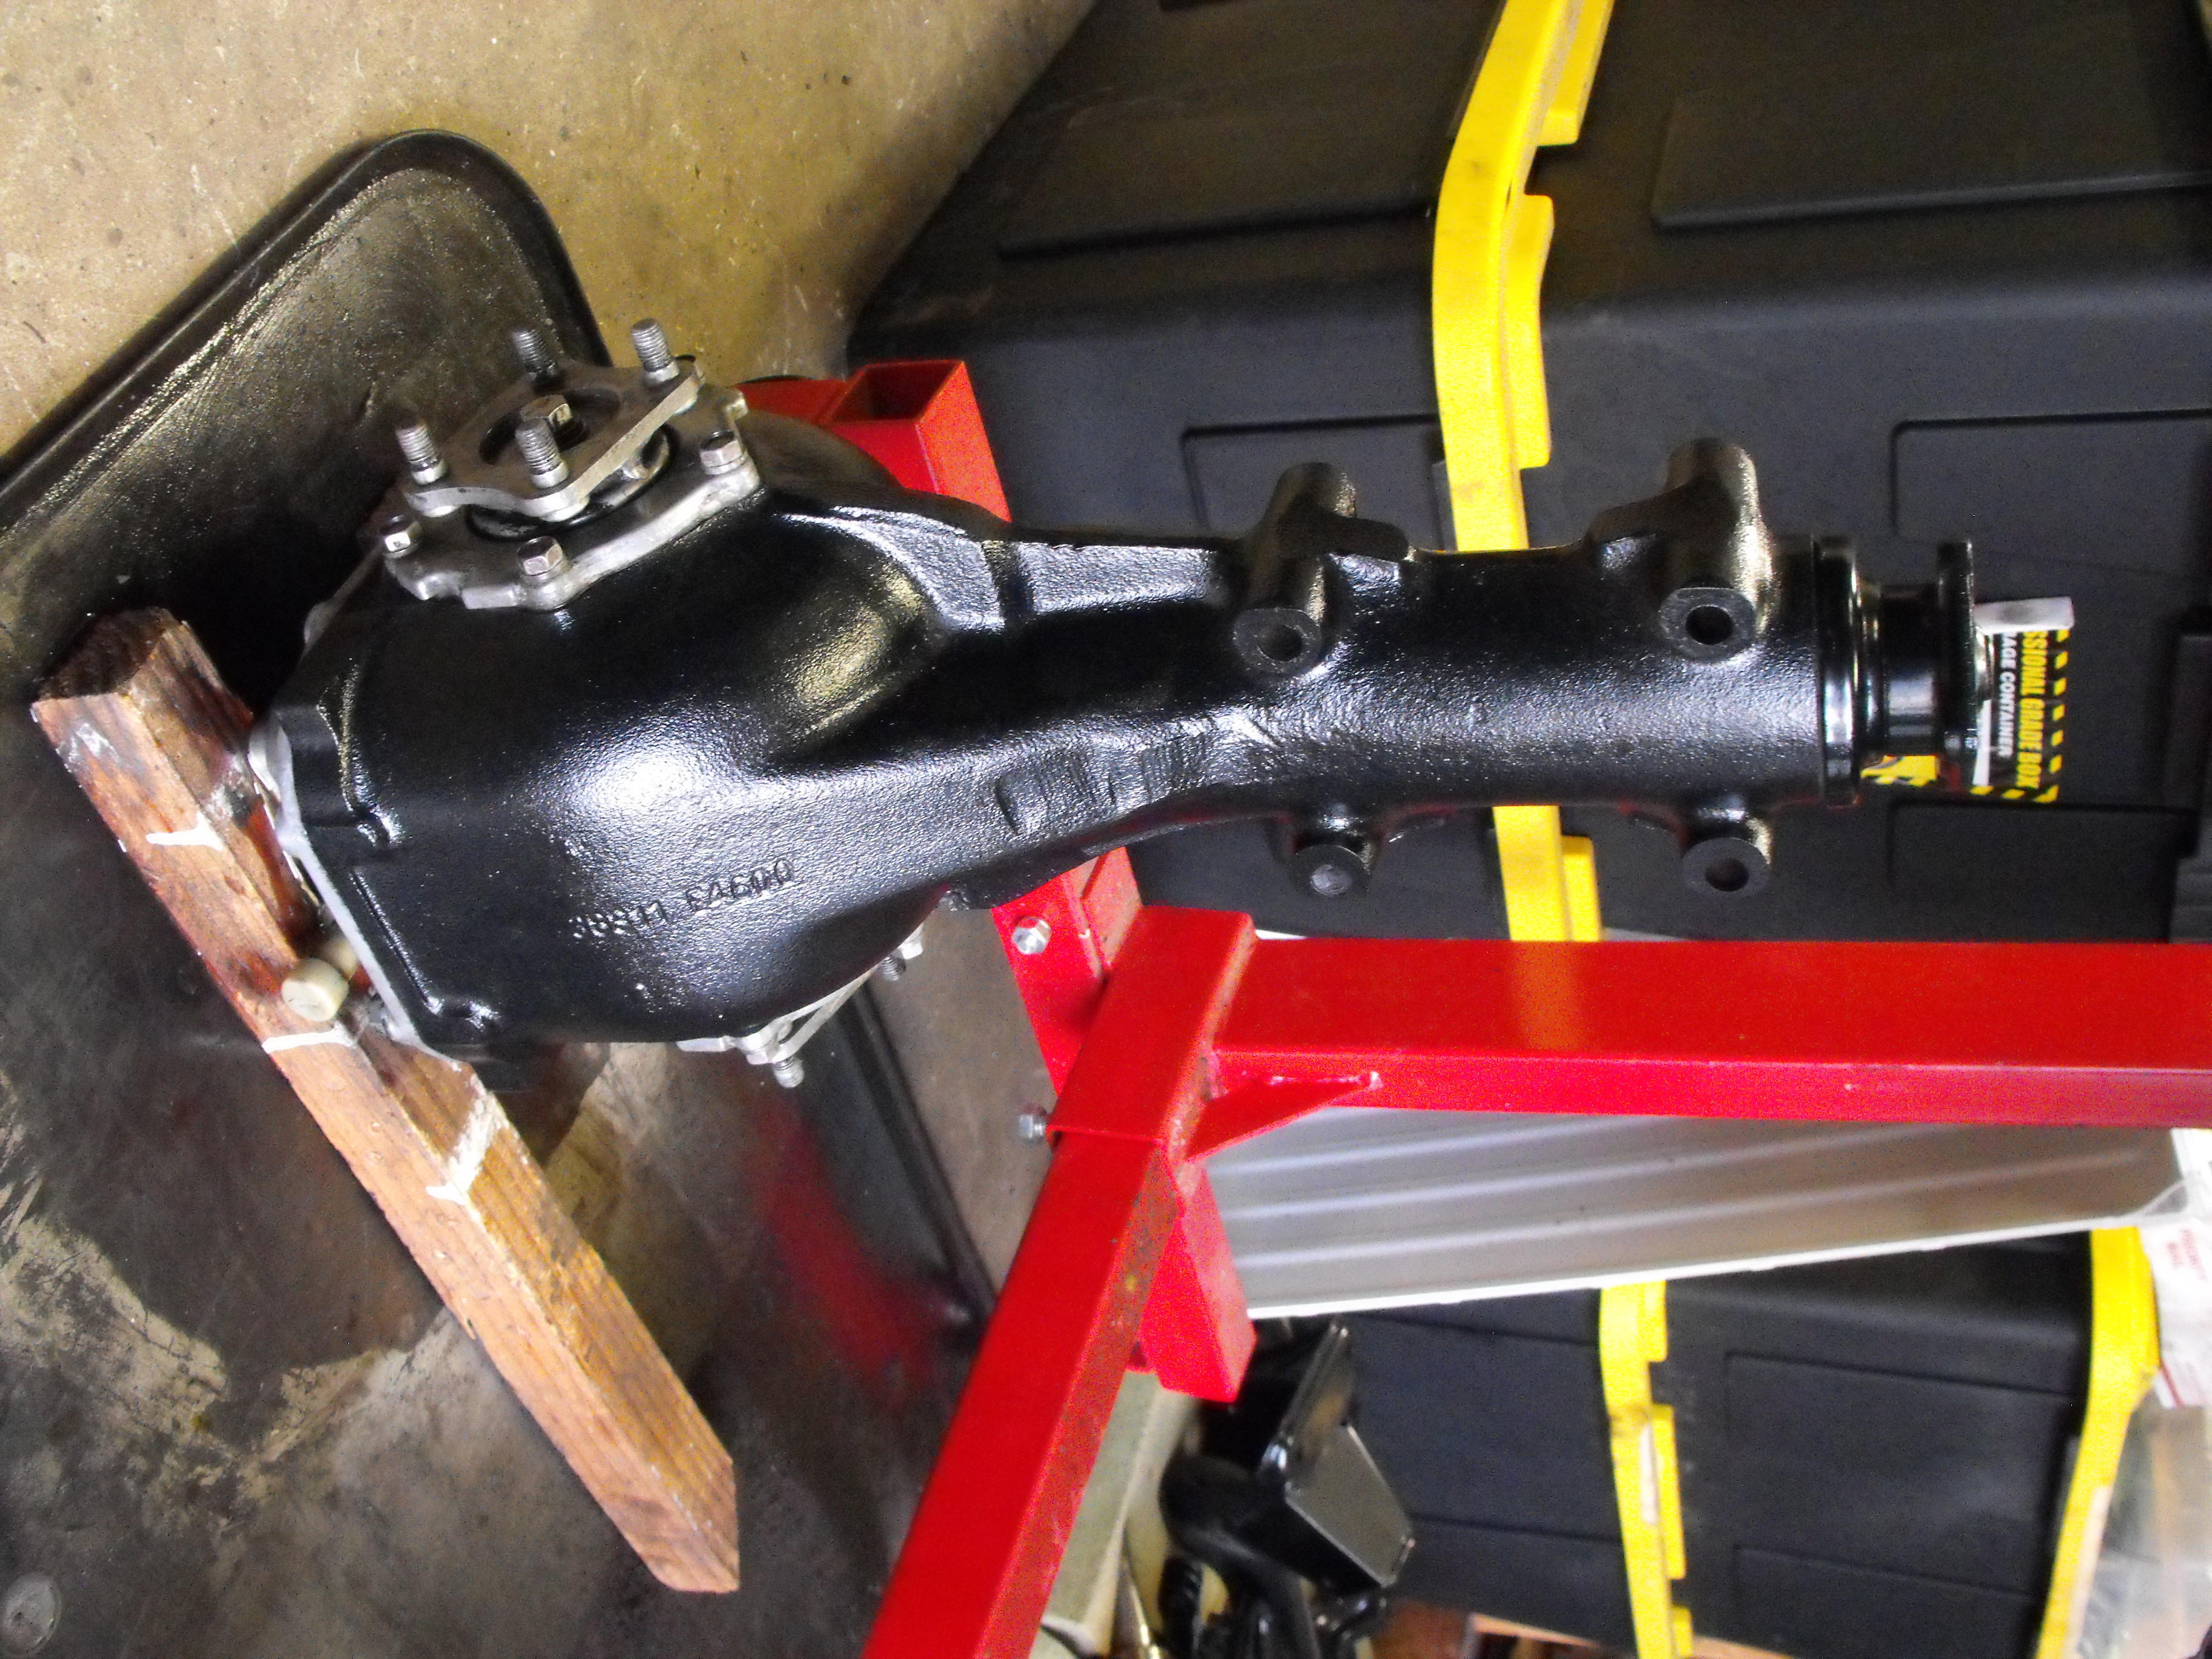
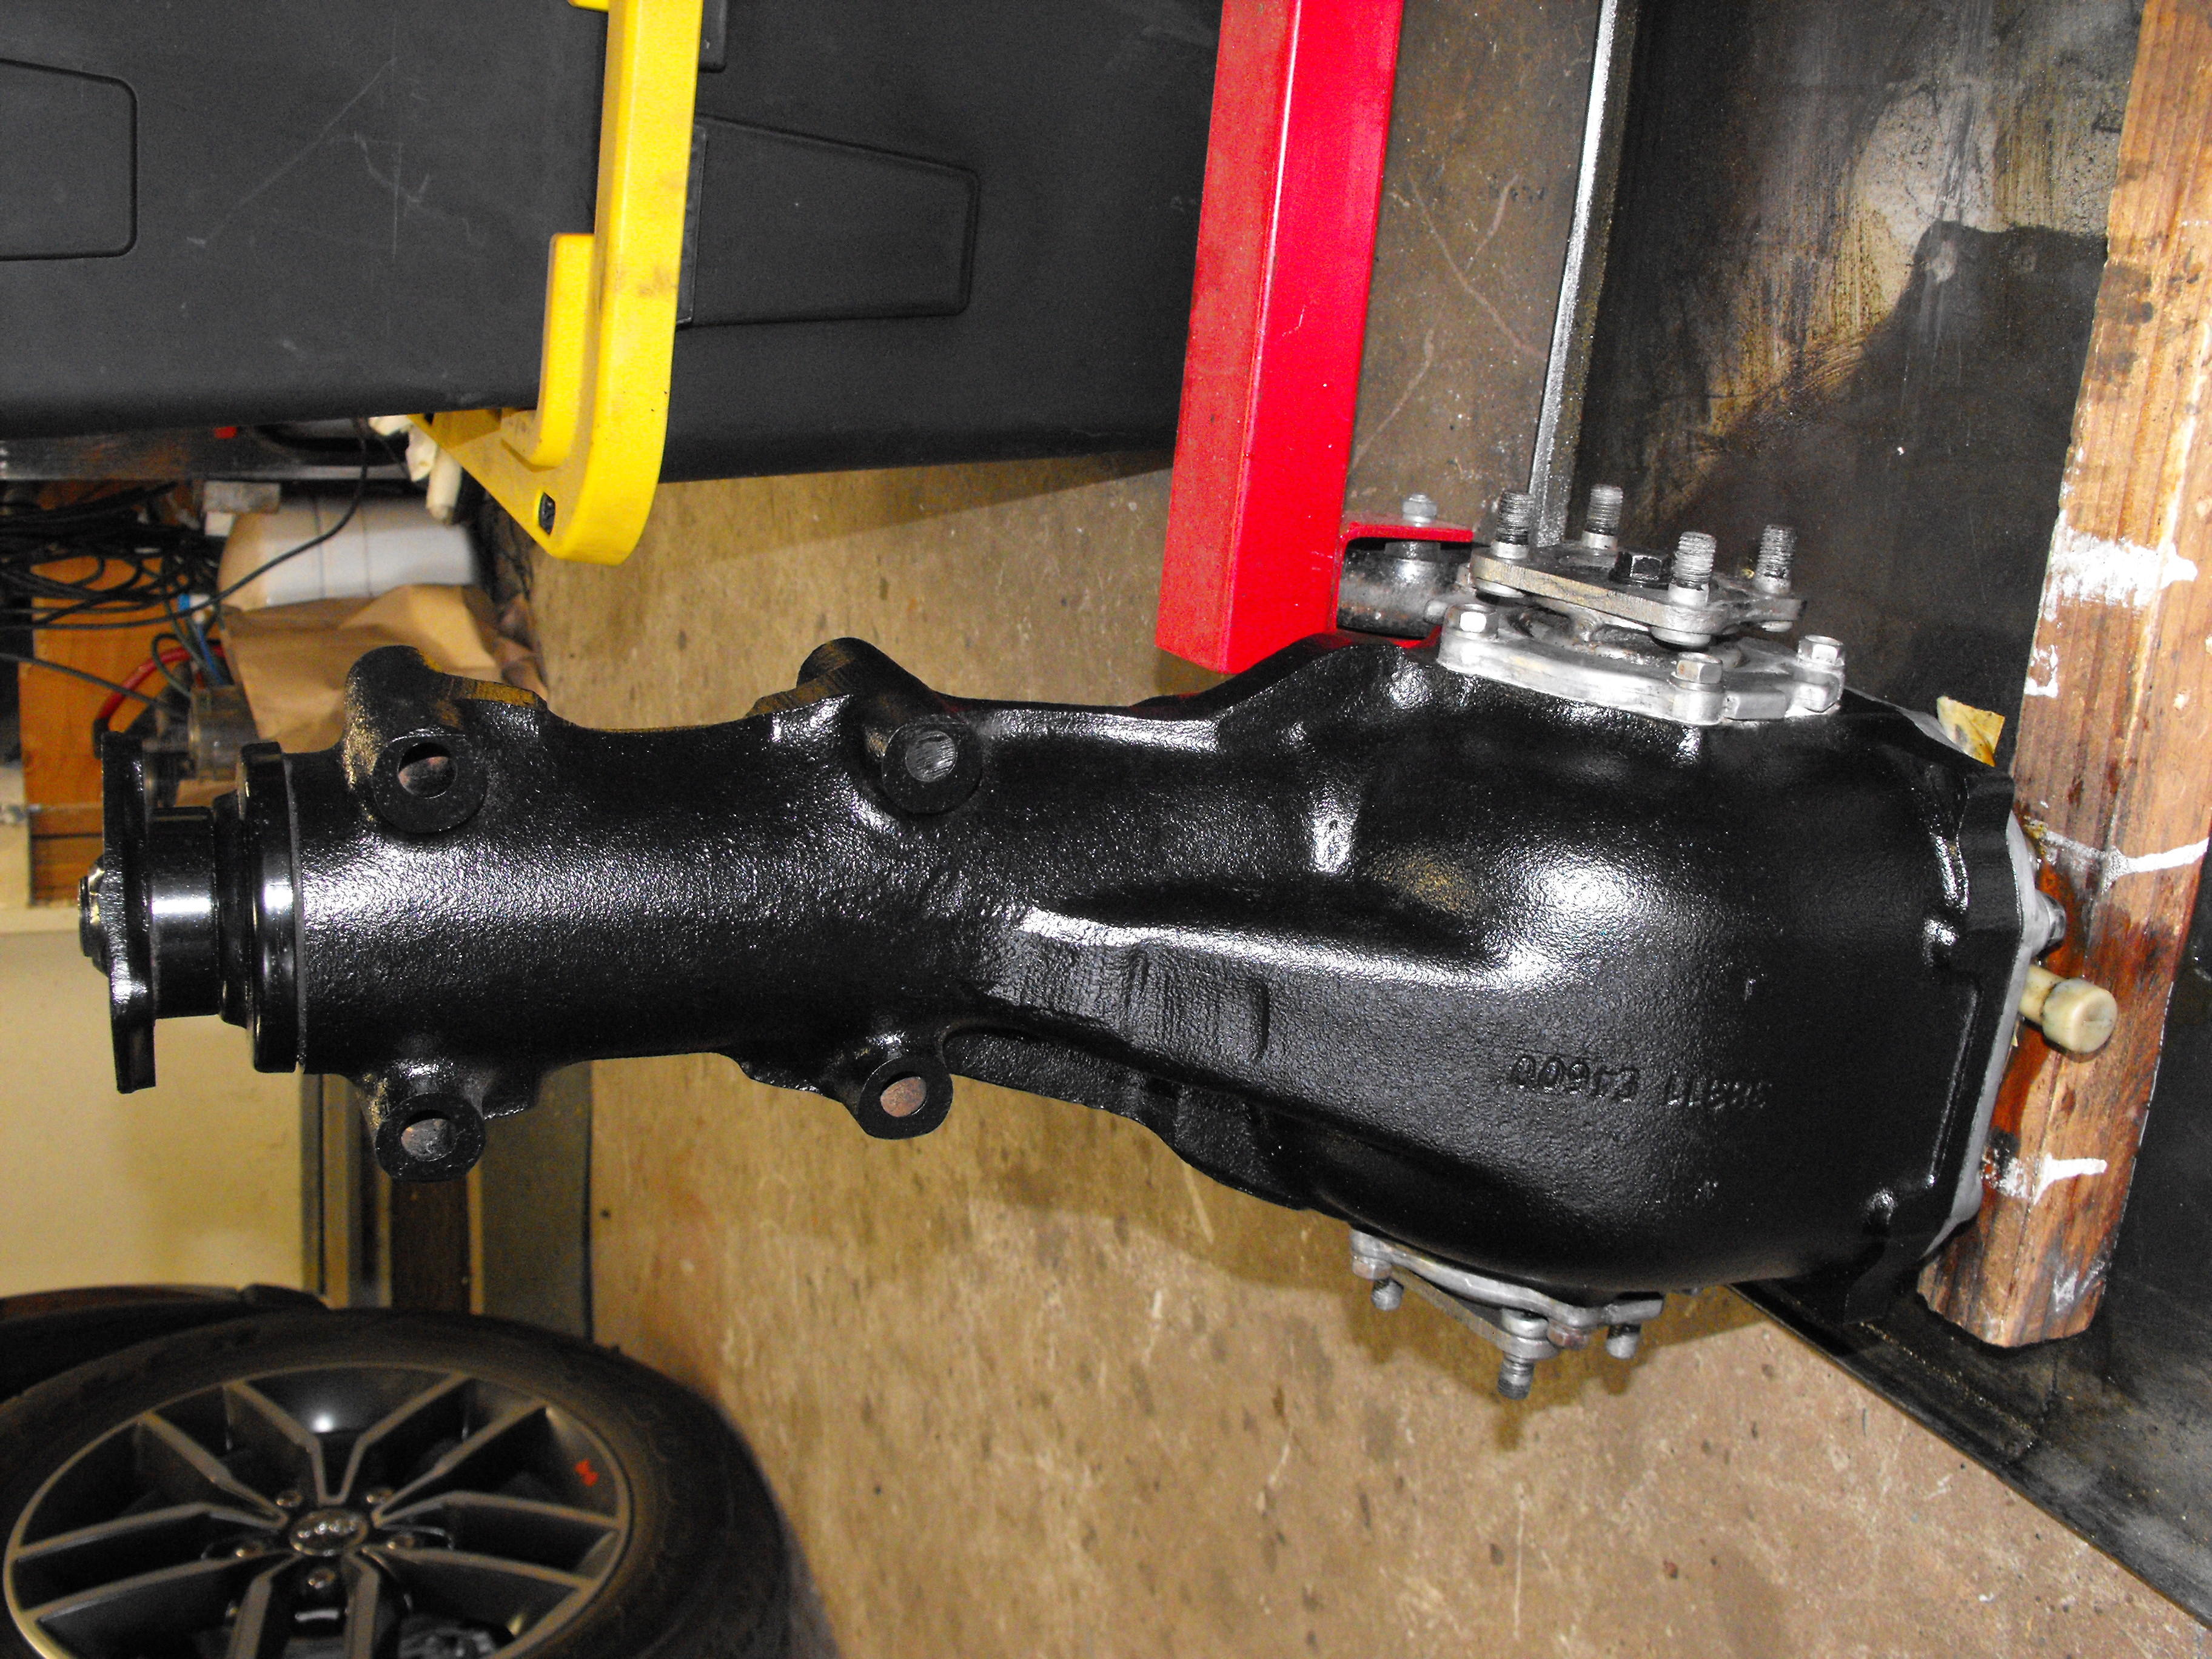
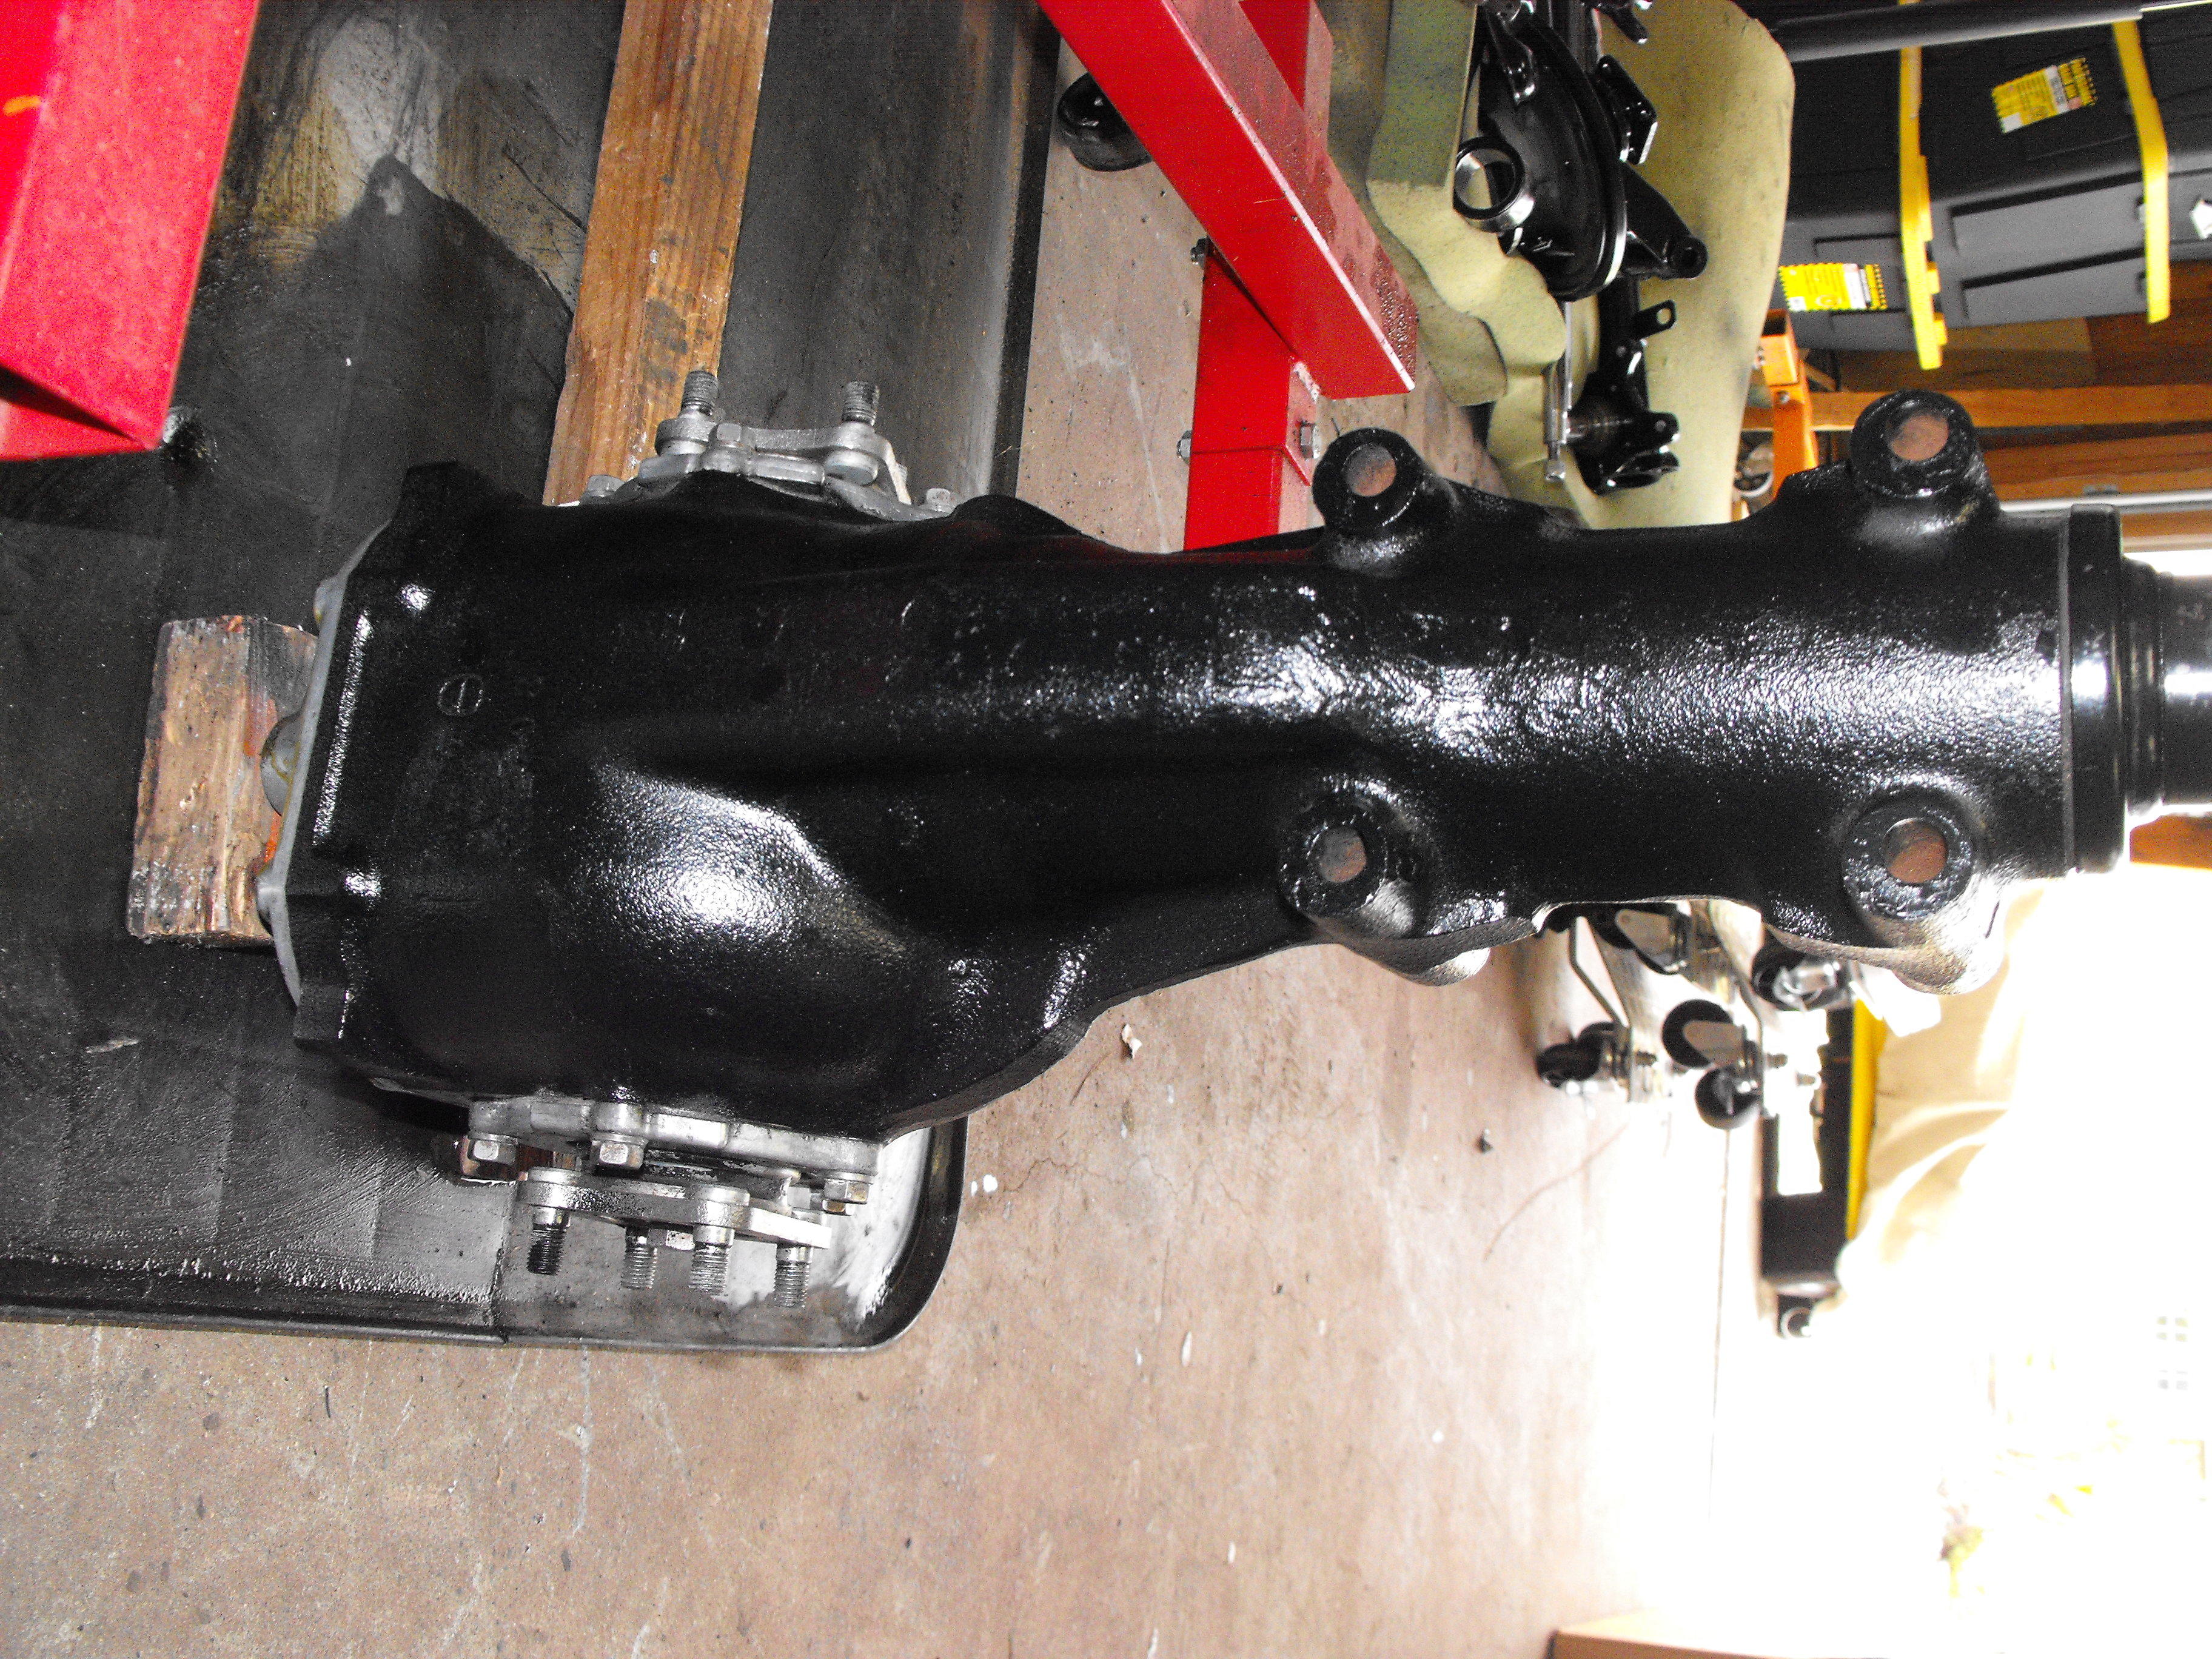
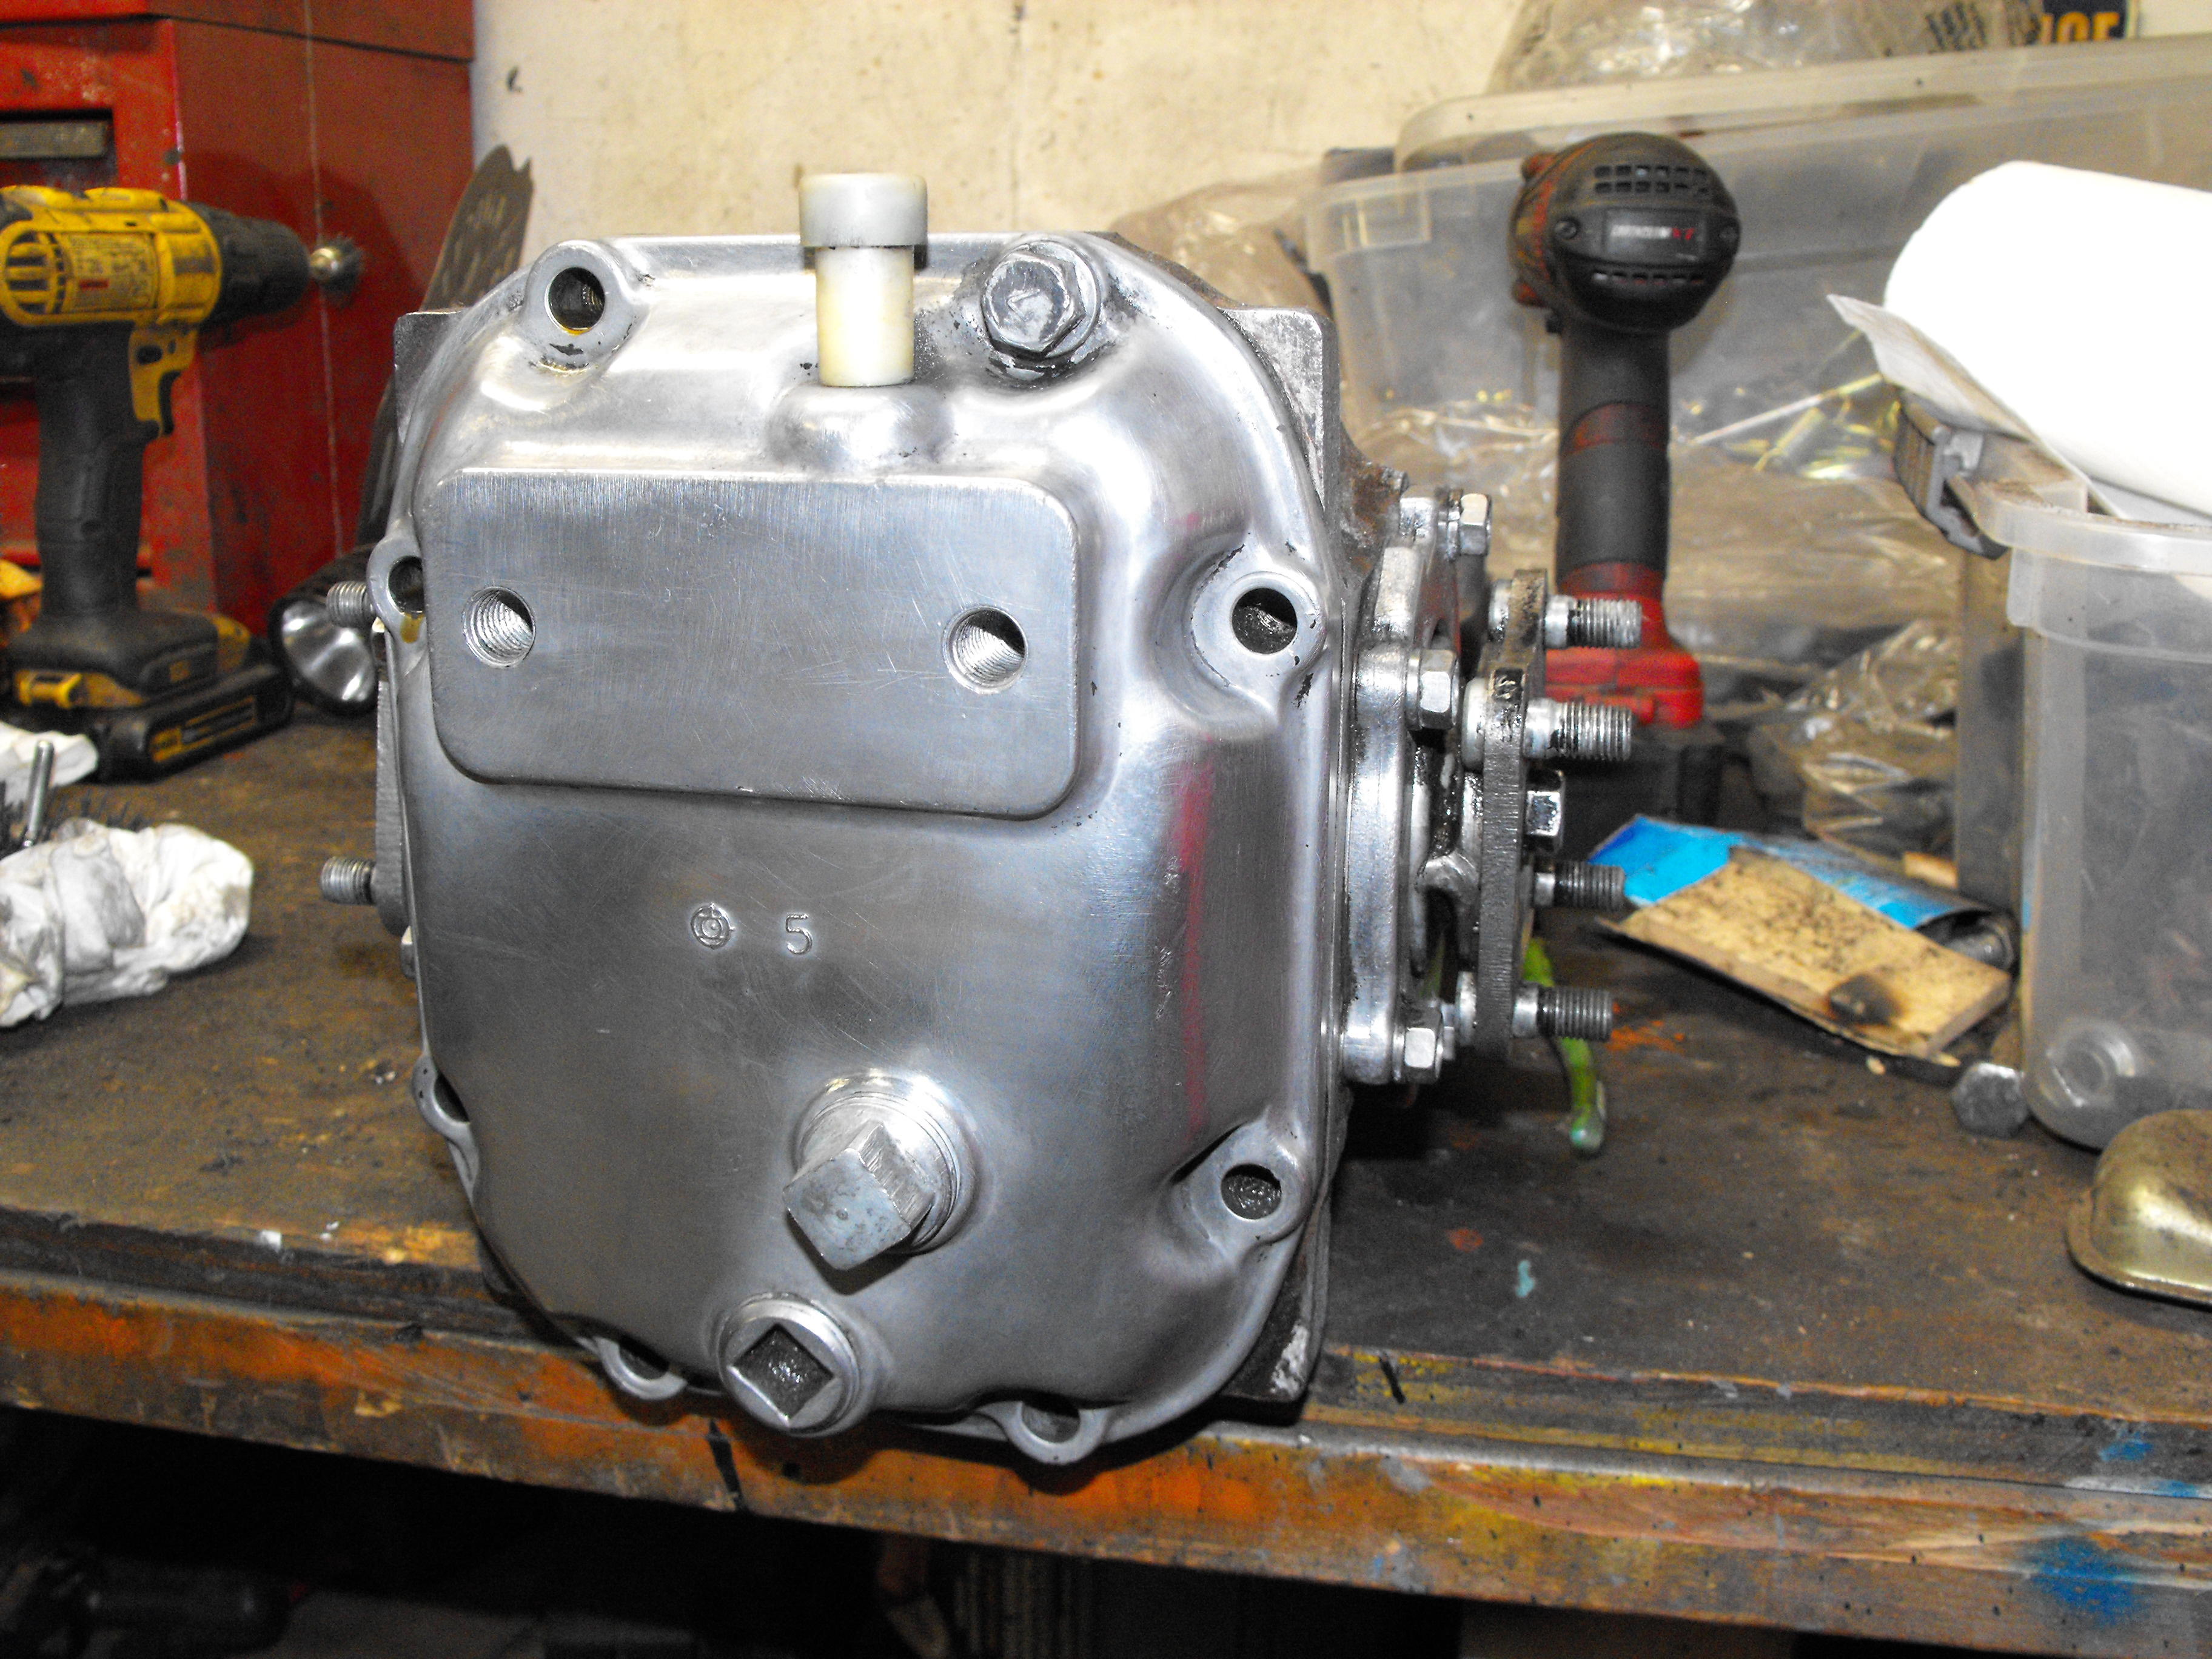
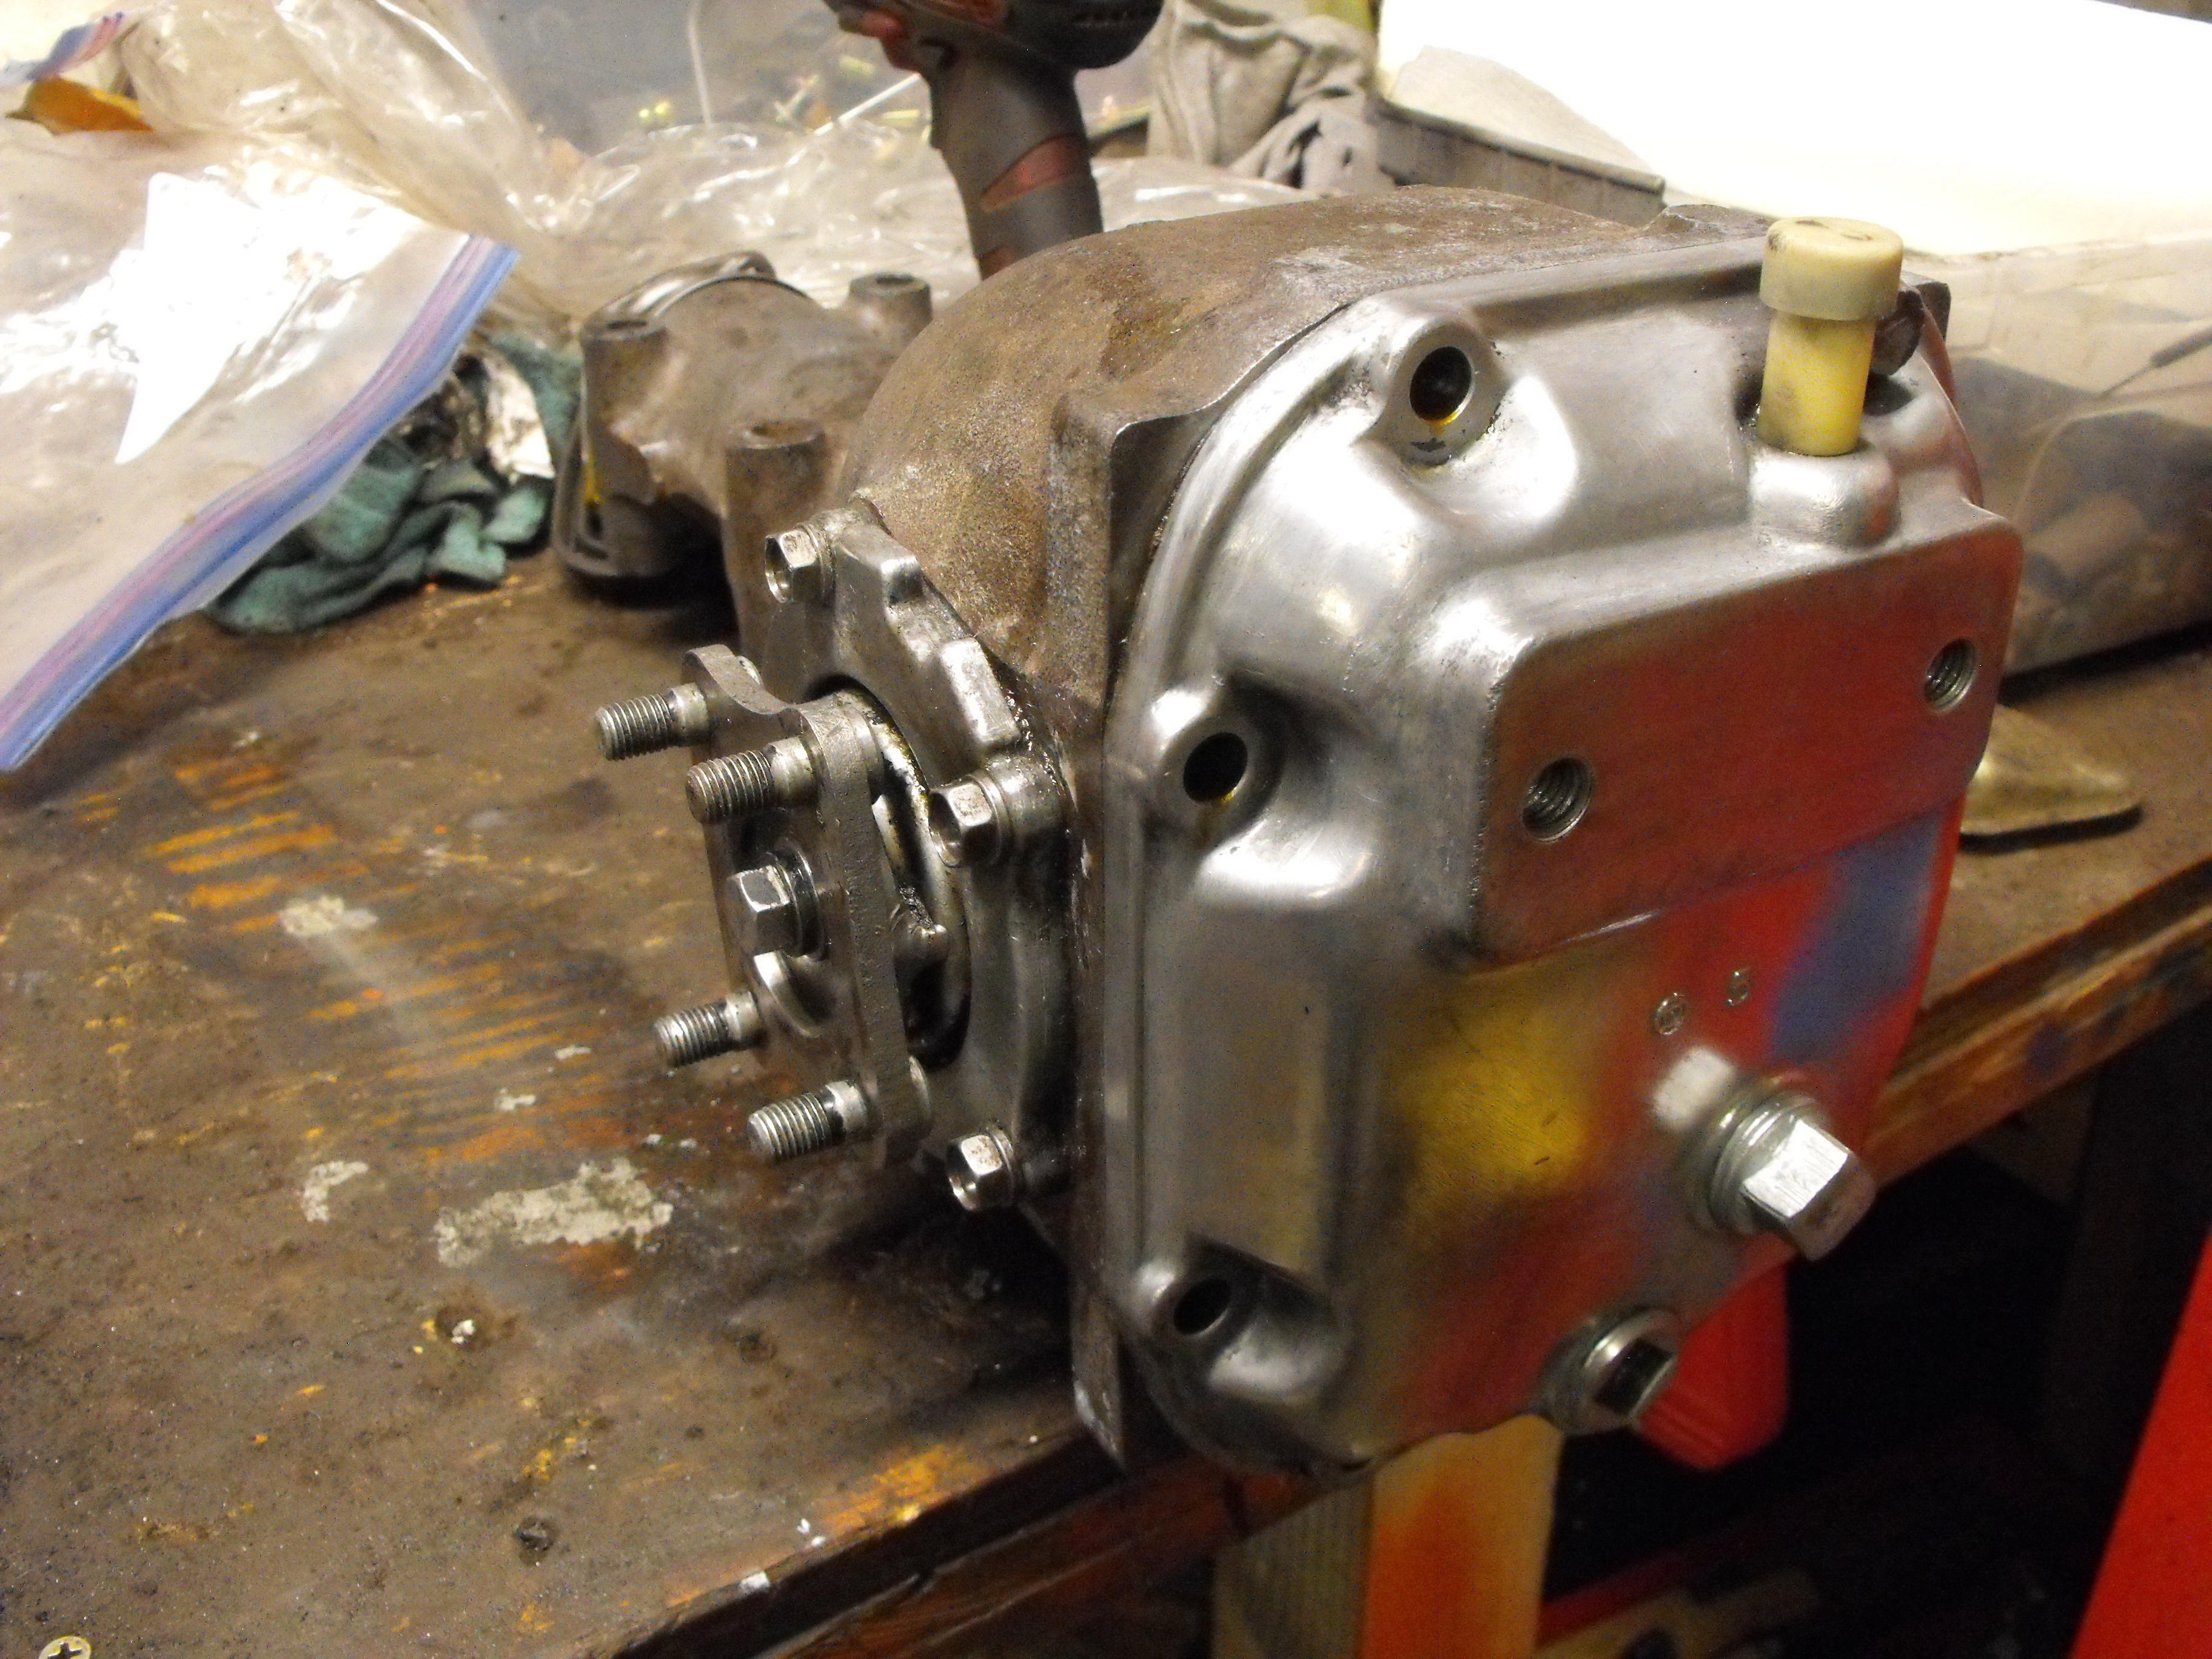
Yes, used wire wheels for clean-up. I have a number of different styles and used most of them. Will use the steel wool and phosphoric acid for final rear cover clean-up and shine. That seems to work well together. The mounting studs came out 'by themselves'. The locknuts seem to hold on to the studs better than the rear cover.
-
Started cleaning up the differential. I will leave the back cover bare aluminum and paint the main housing the standard black color. Would have painted the diff tonight but it is actually raining out. Doesn't happen very often here in So-Cal. Cover bolts are out at the plating shop and should be back in a couple weeks. The Energy Suspension Kit and shocks will arrive tomorrow. Hopefully the engine will be back from the machine shop by the end of the week,


-
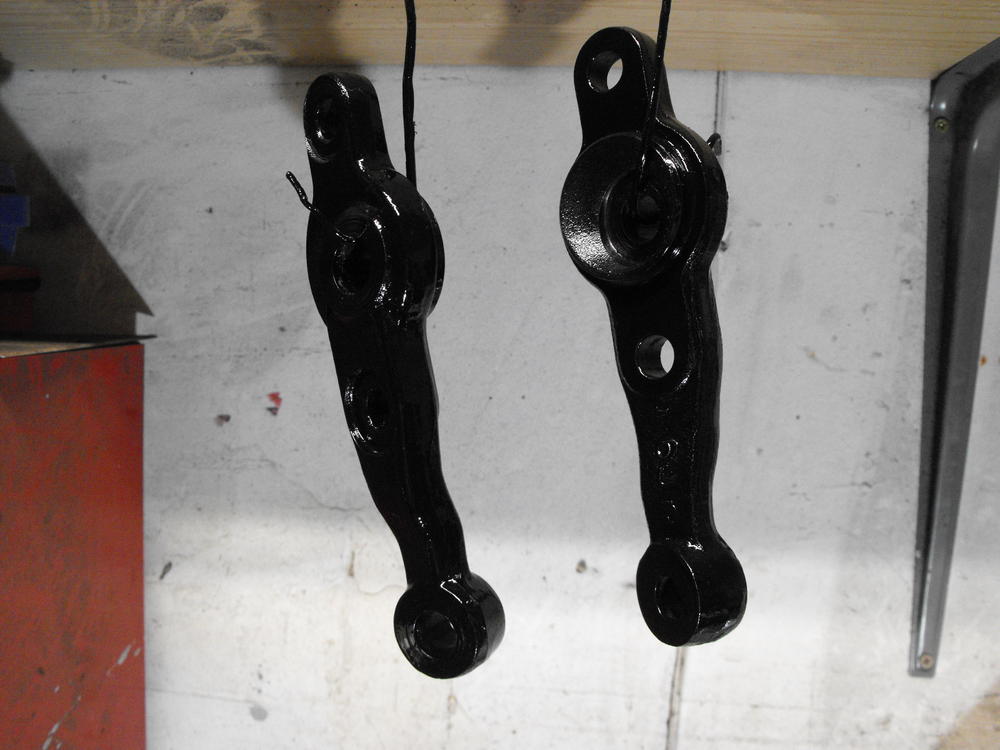
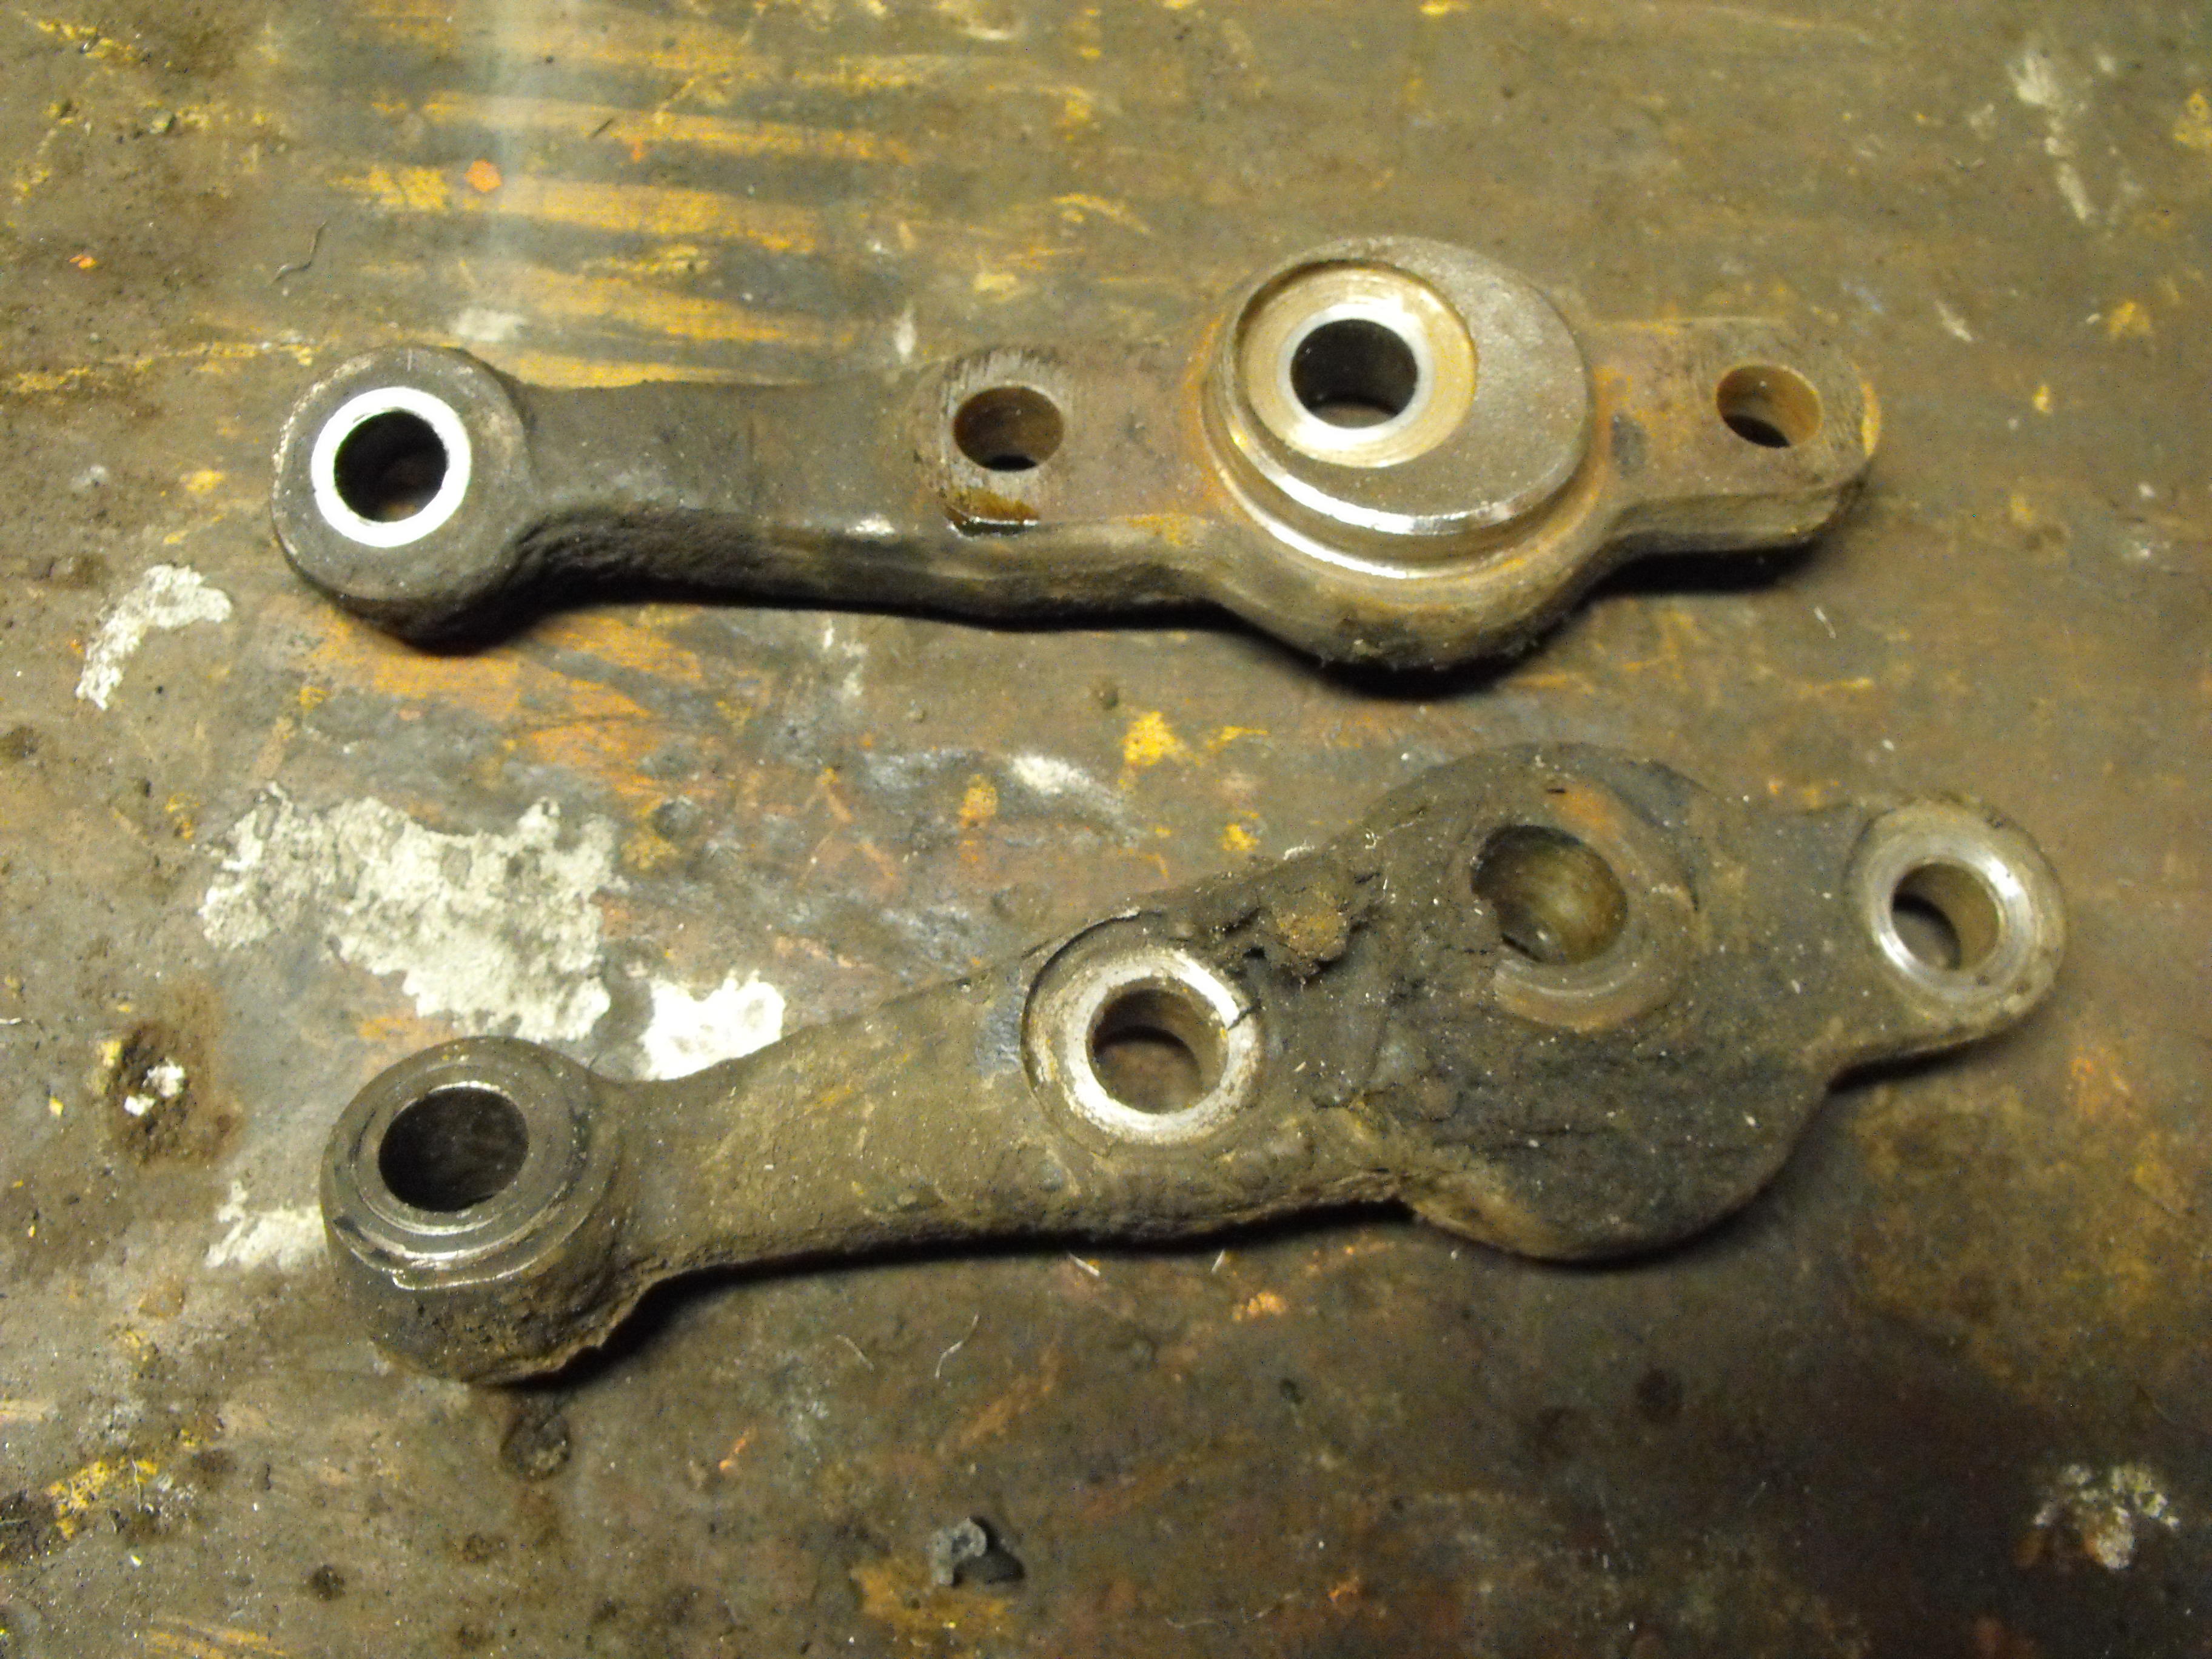
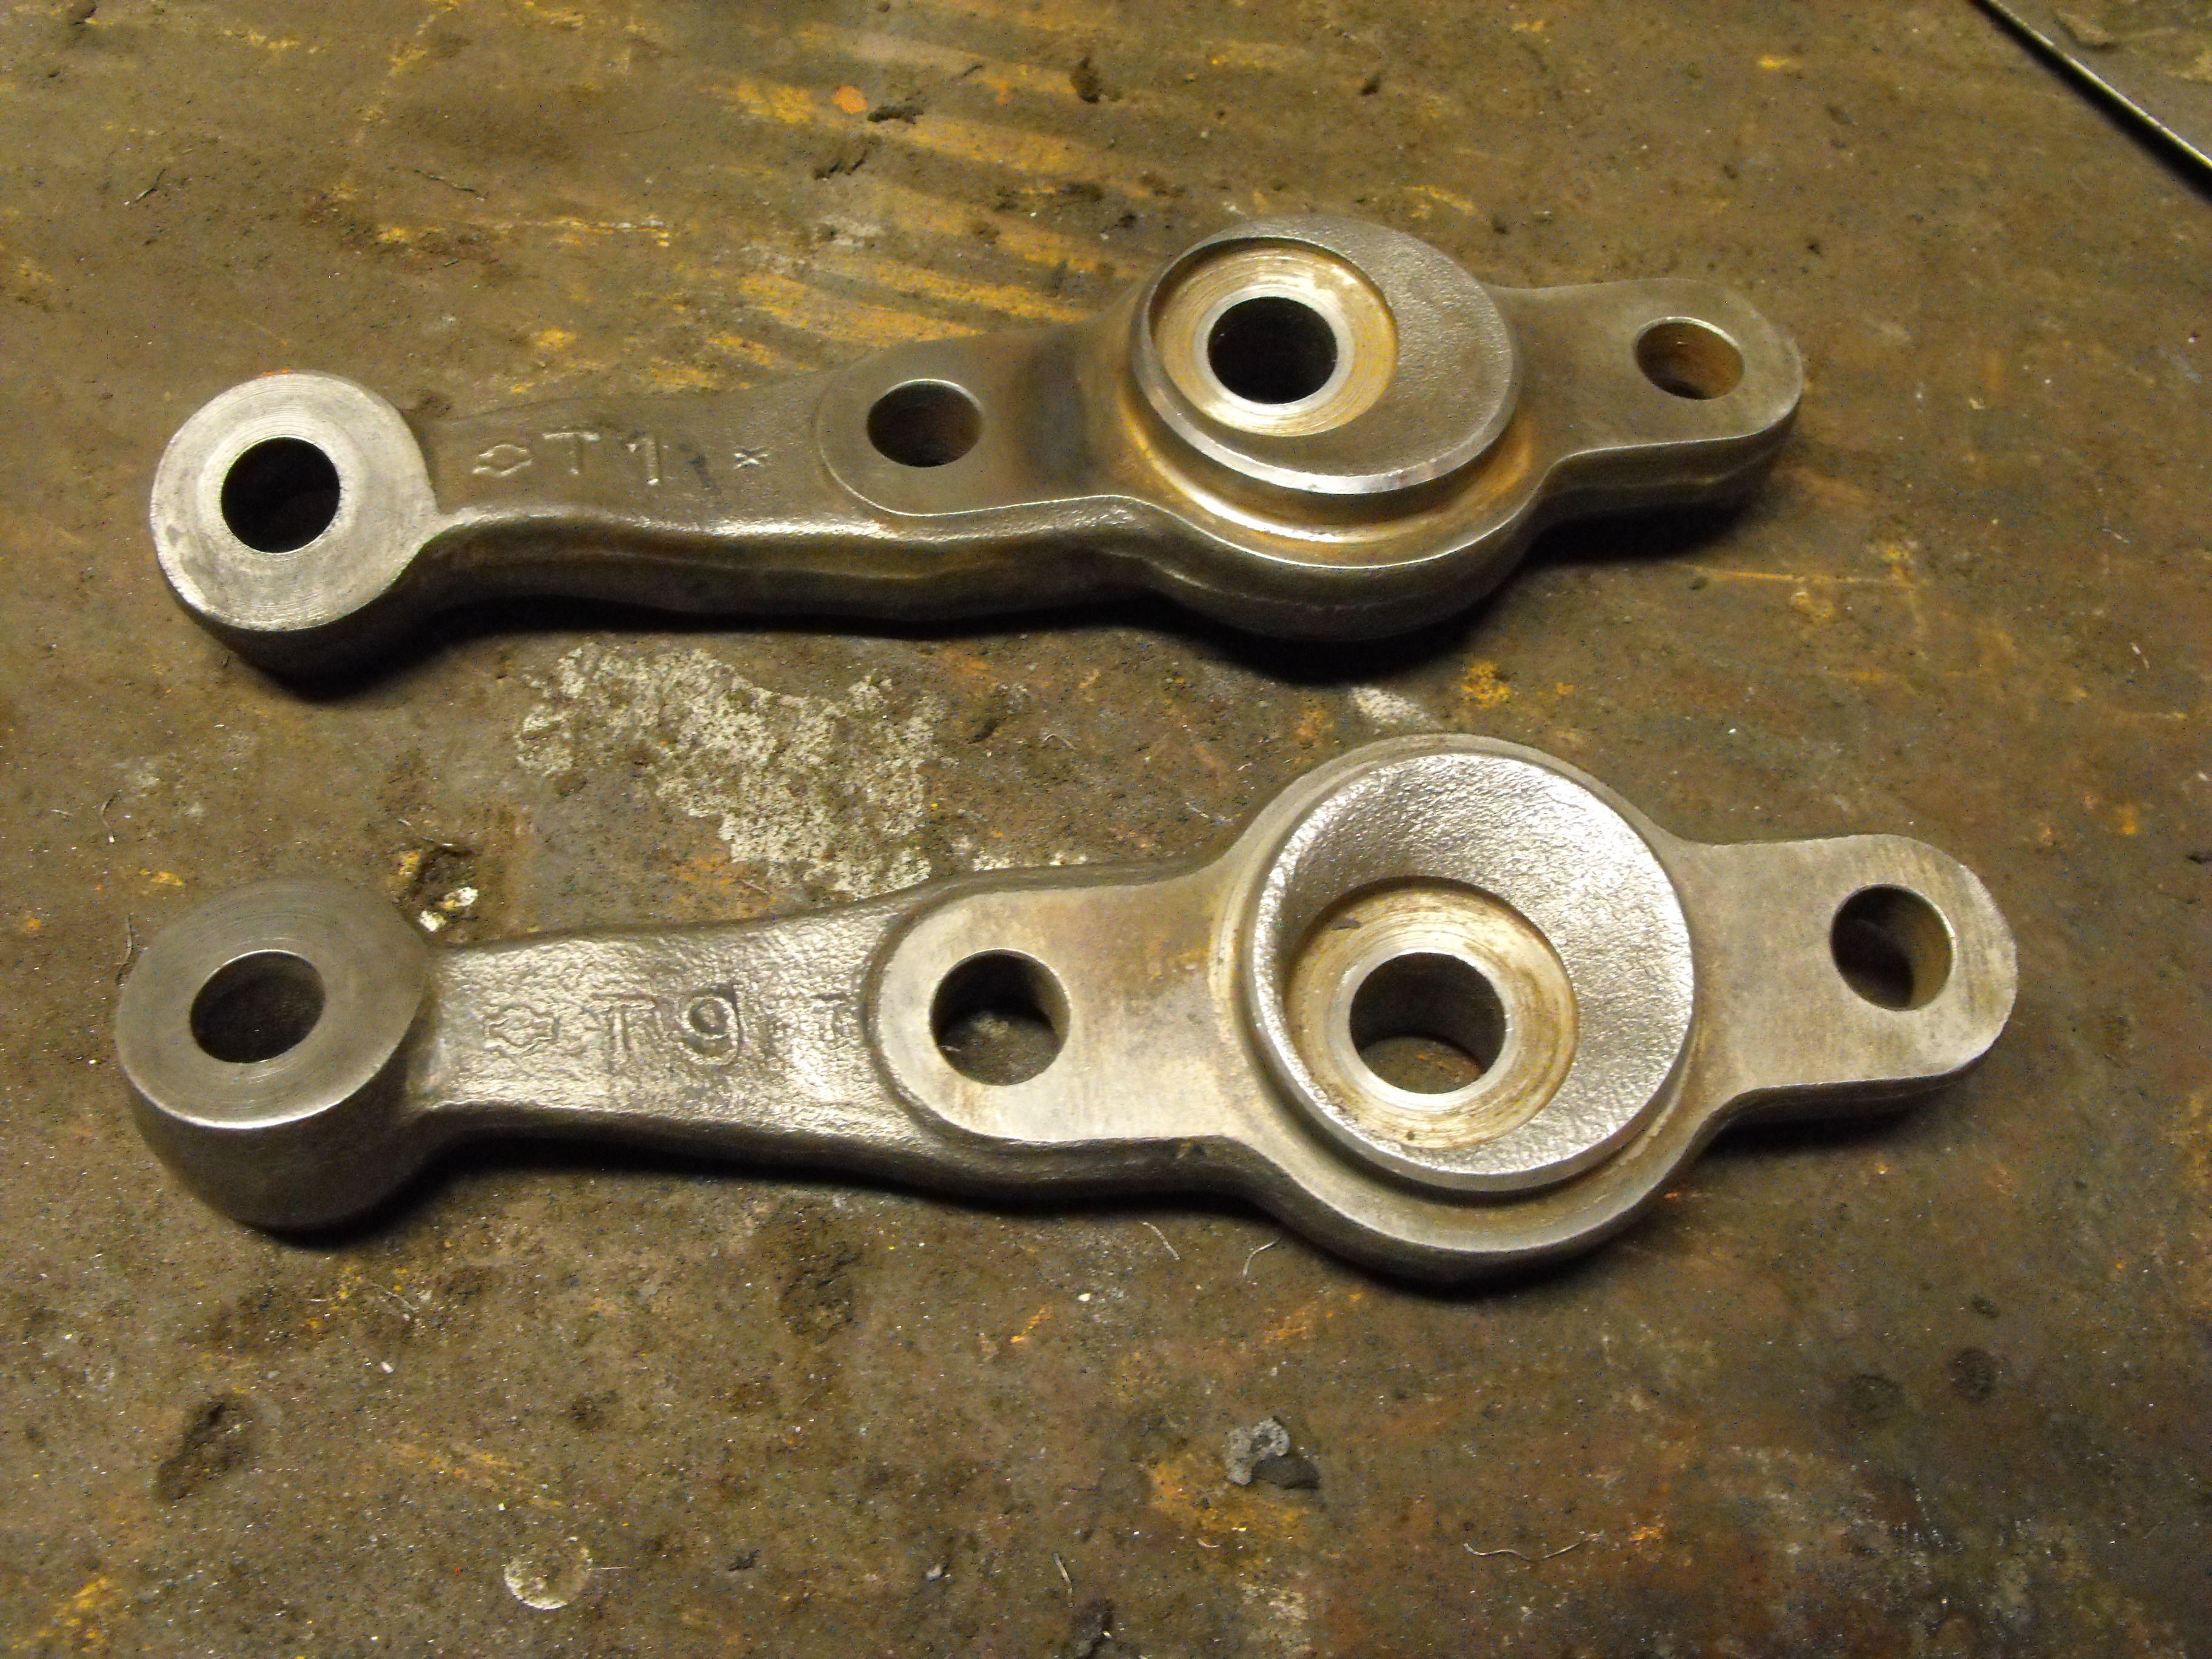
This is true. The bushing are definitely offset on these. Makes sense, good catch
-
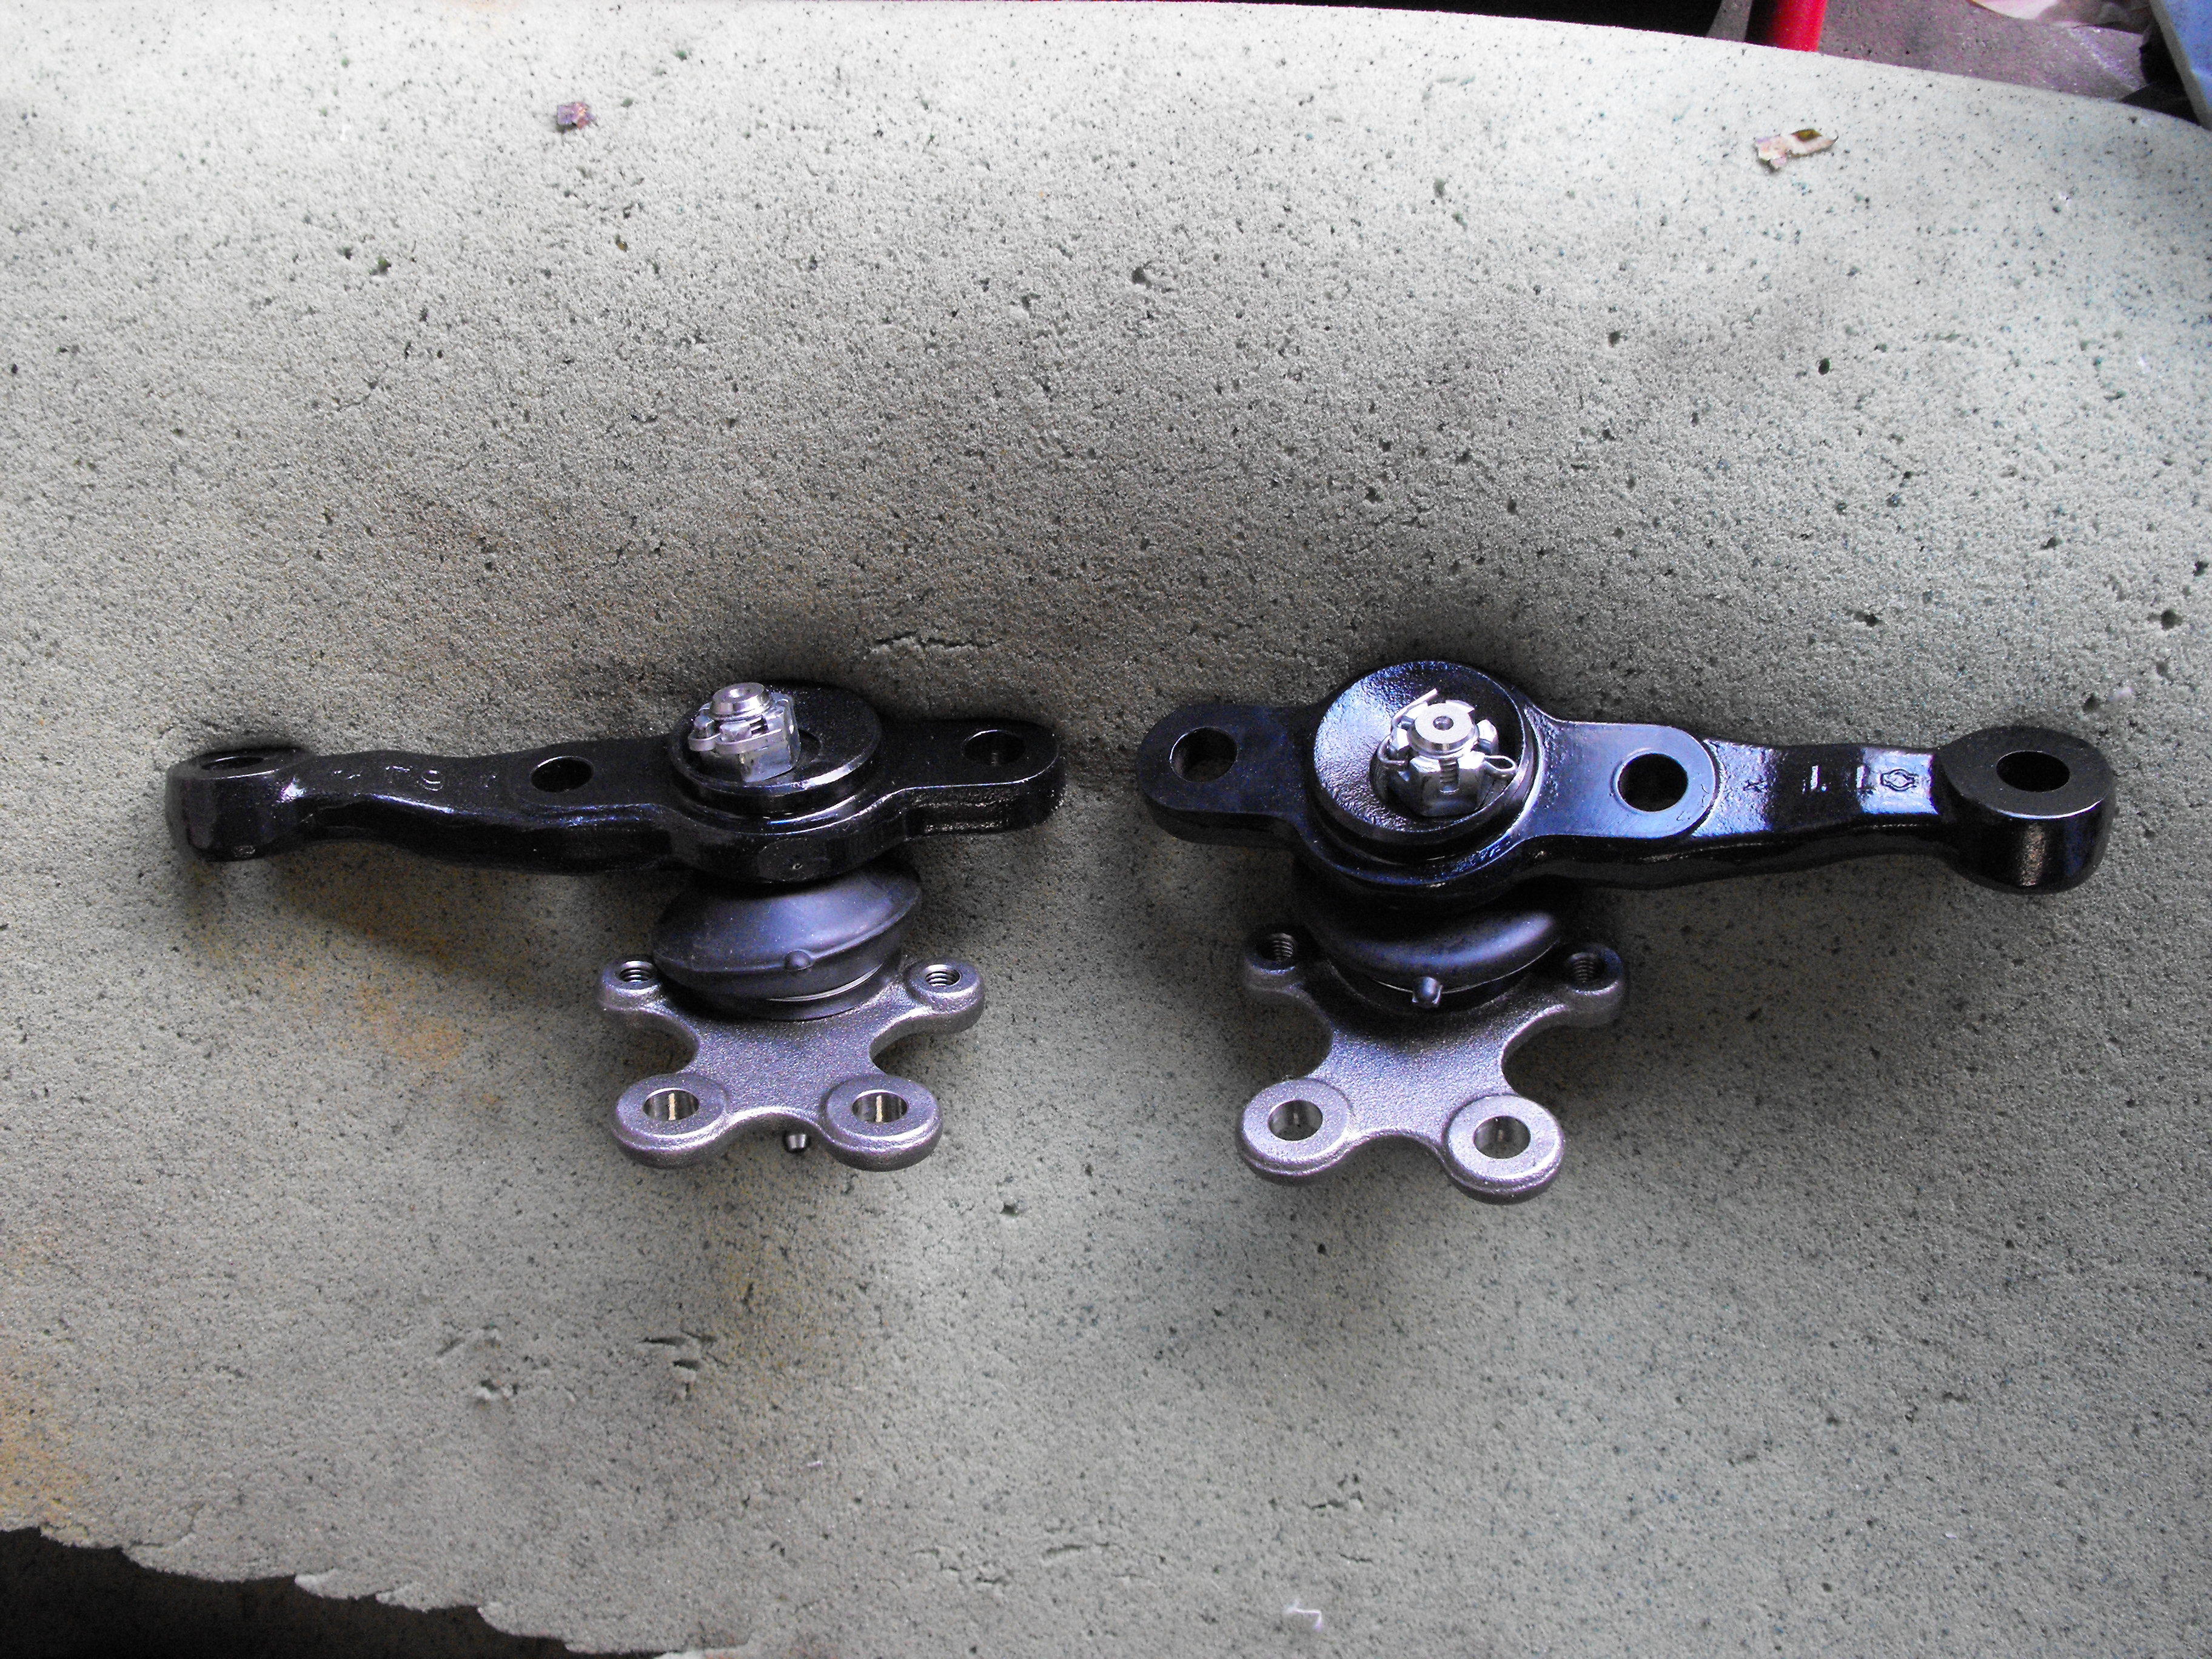
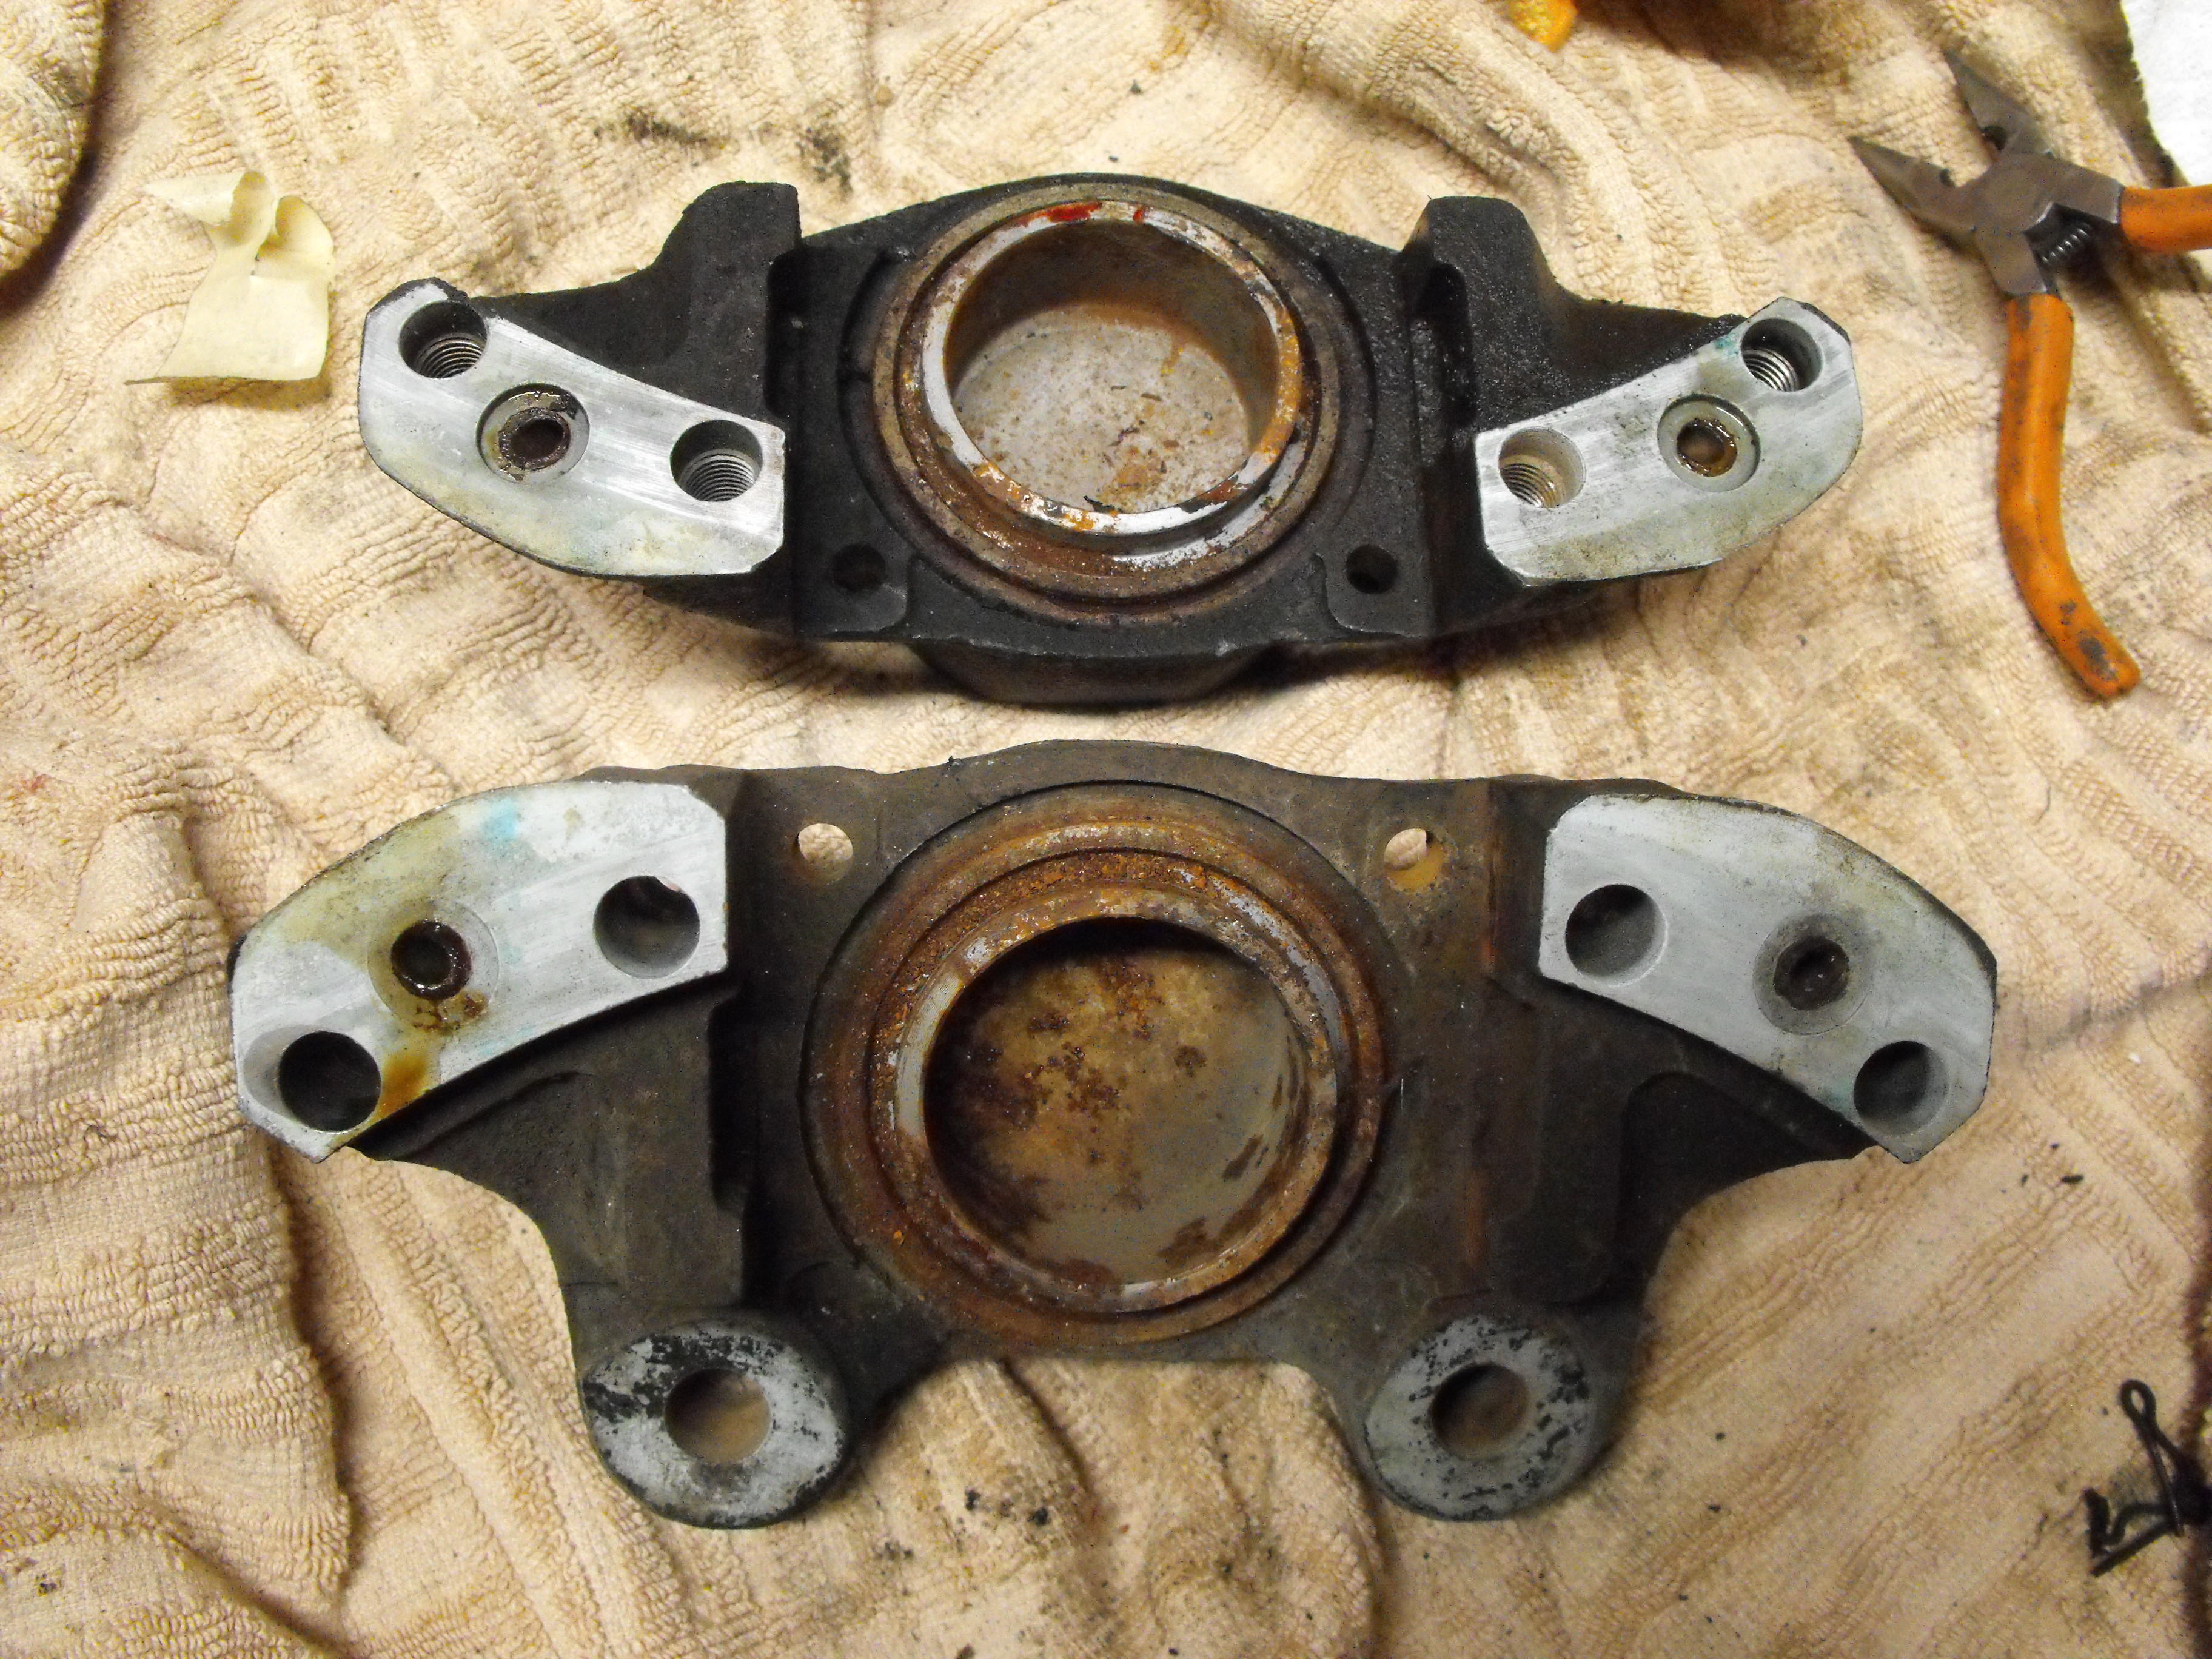
Good question. I looked at the front lower control arms and they both looked exactly the same. Also, did not see any stampings on them. I though the T/C attach points might be different but even those are the same. The only thing that looked different between the two parts was the spot welds.
-
I will have to look a little closer at it. It comes off fairly easy with the wire wheel which makes me think it is paint. Removing a zinc coating definitely takes a lot more effort.
-
Yes, for the fasteners and their respective hardware, I have tons of pics. I usually take the pics after I remove the part. I primarily focus on the bolt head number, shape and length so I can get the right part in the right spot. For the front portion of the horns, I will paint them the olive green color as you mentioned. For the back side and base, I just did a light wire wheel to remove any heavy rust and paint overspray (from previous paint work). The plater puts these in a chemical bath prior to plating which removes the remaining rust and most crud. It will not remove paint and does not harm rubber. The inside guts of the horn back turn out fine in the plating process. Typically, I do not sand blast parts that I will plate. I find it produces a bit duller finish because of the light texture. I use the wire wheel a lot. It is pretty much a work horse on my restorations. Also, the base mounting part of the horn should be silver zinc, however, I already sent that out. Fortunately, I have some spares in the silver here.
-
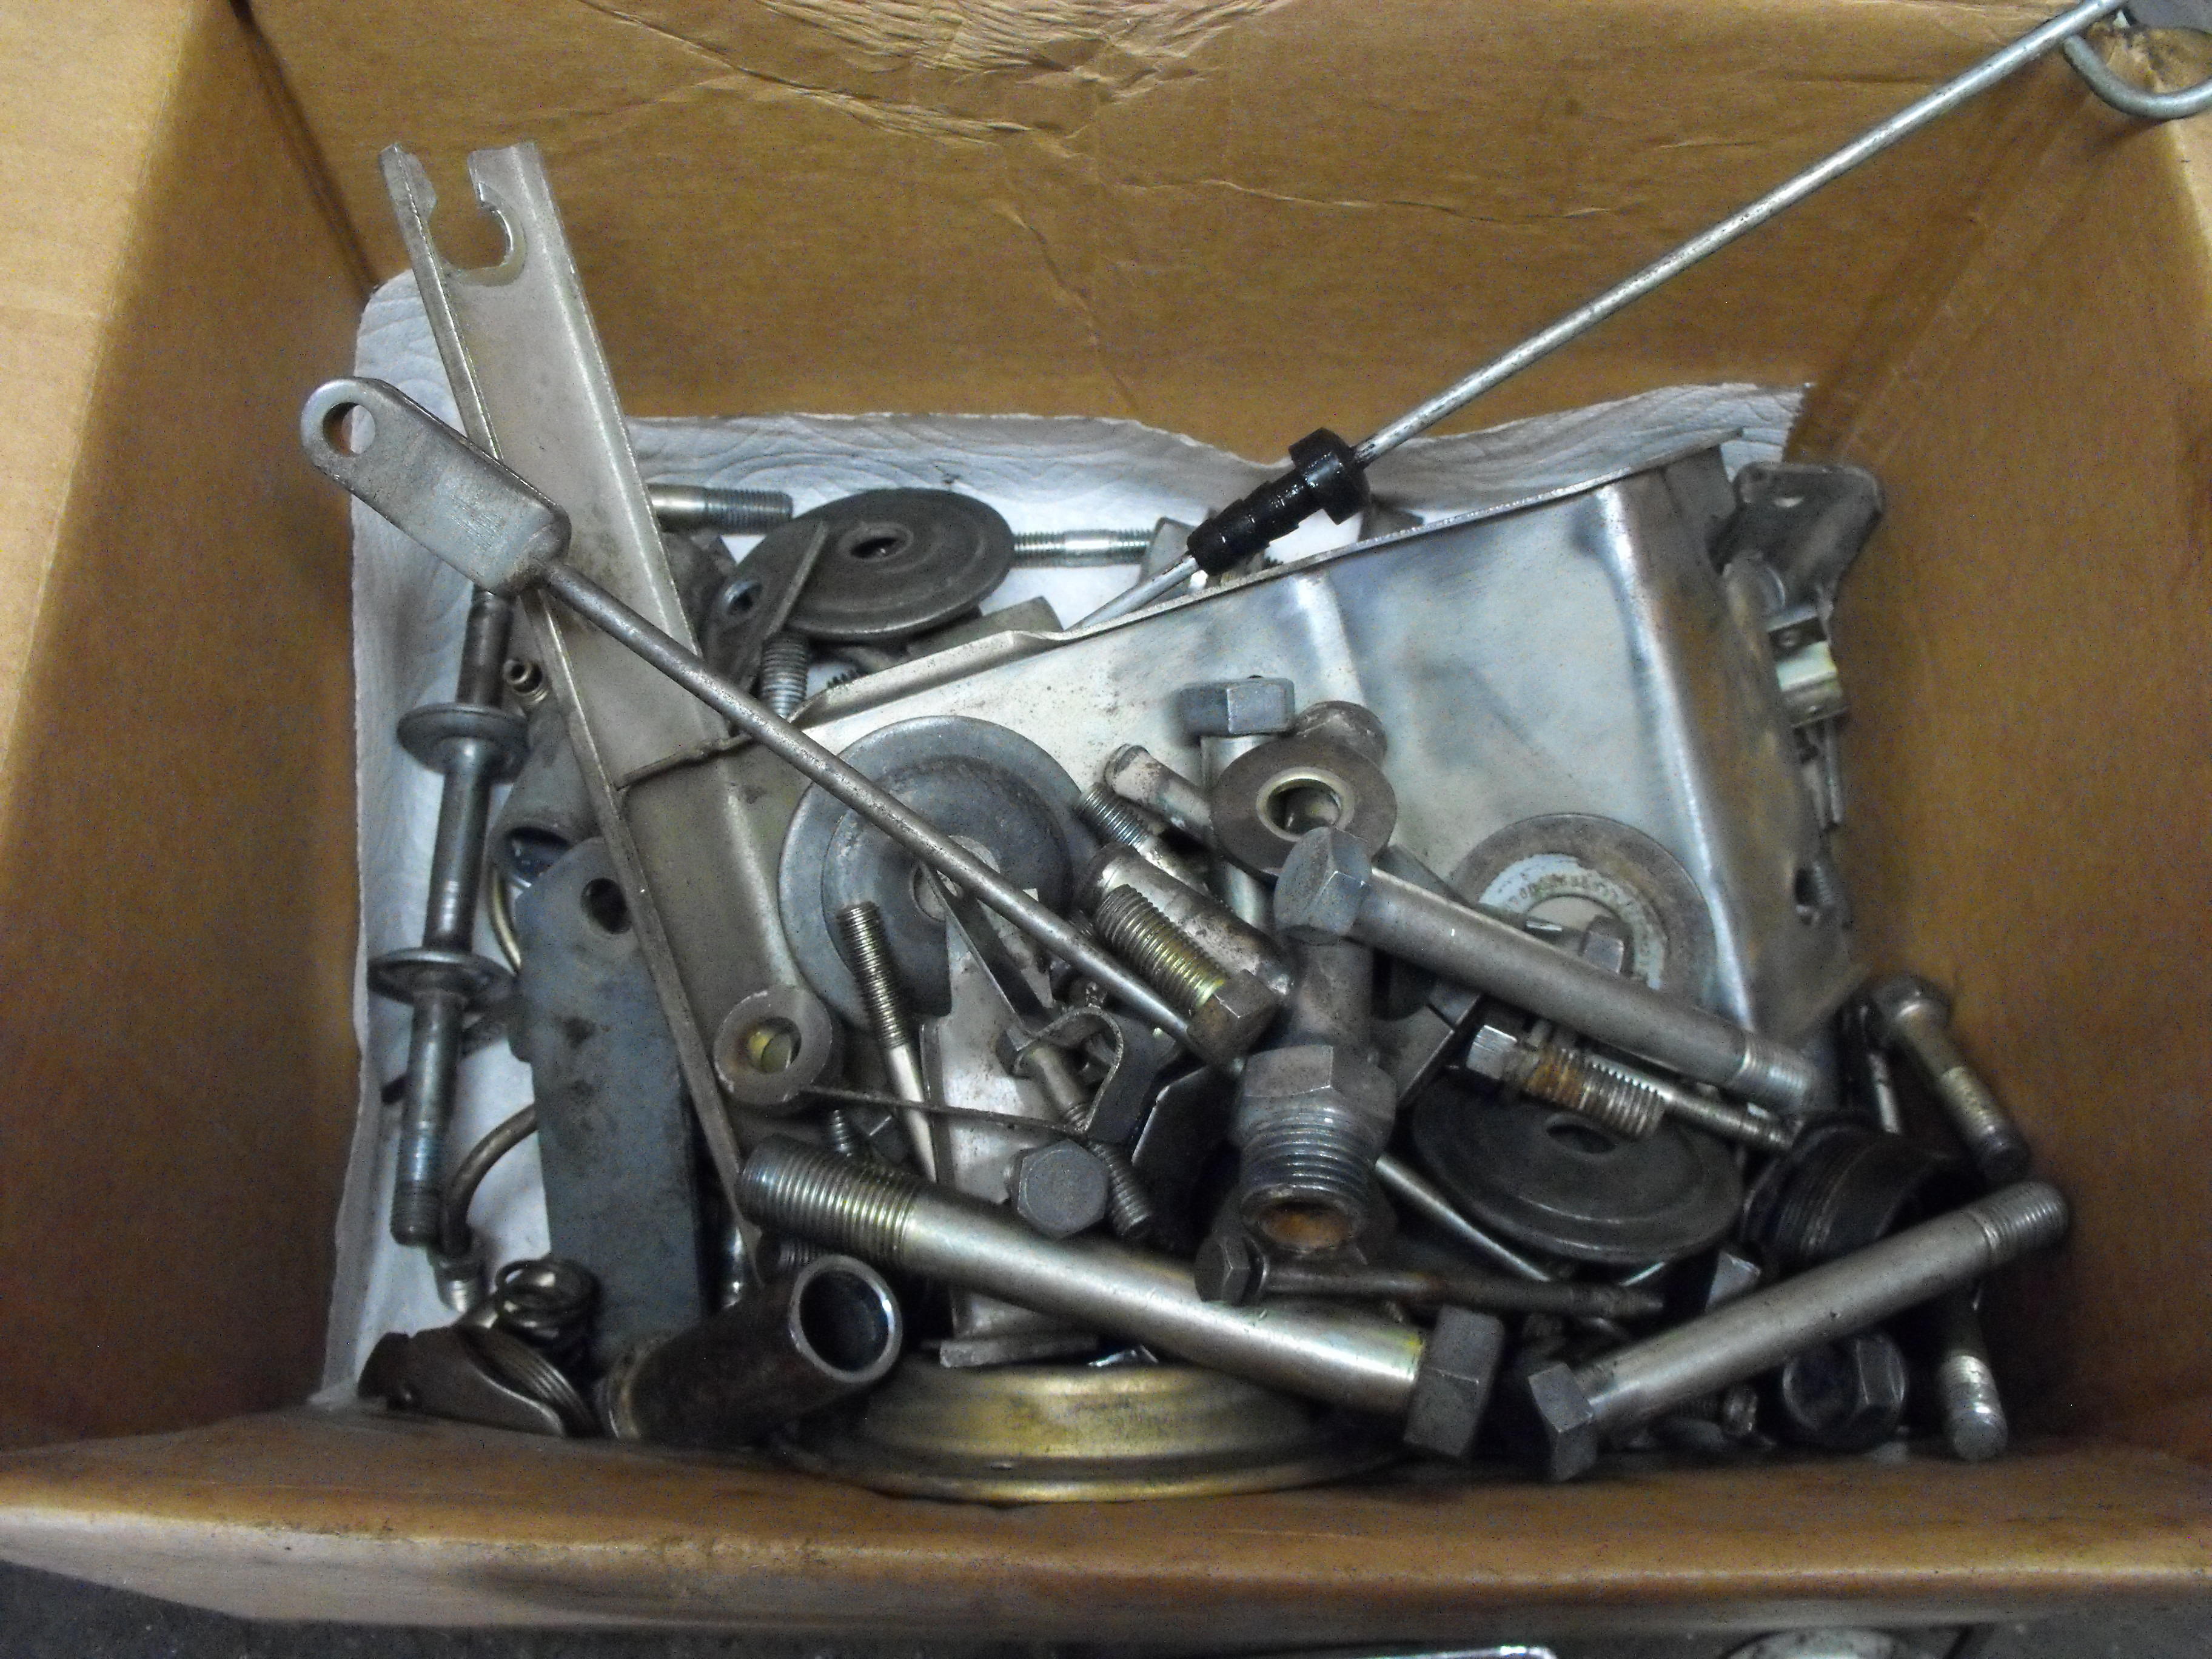
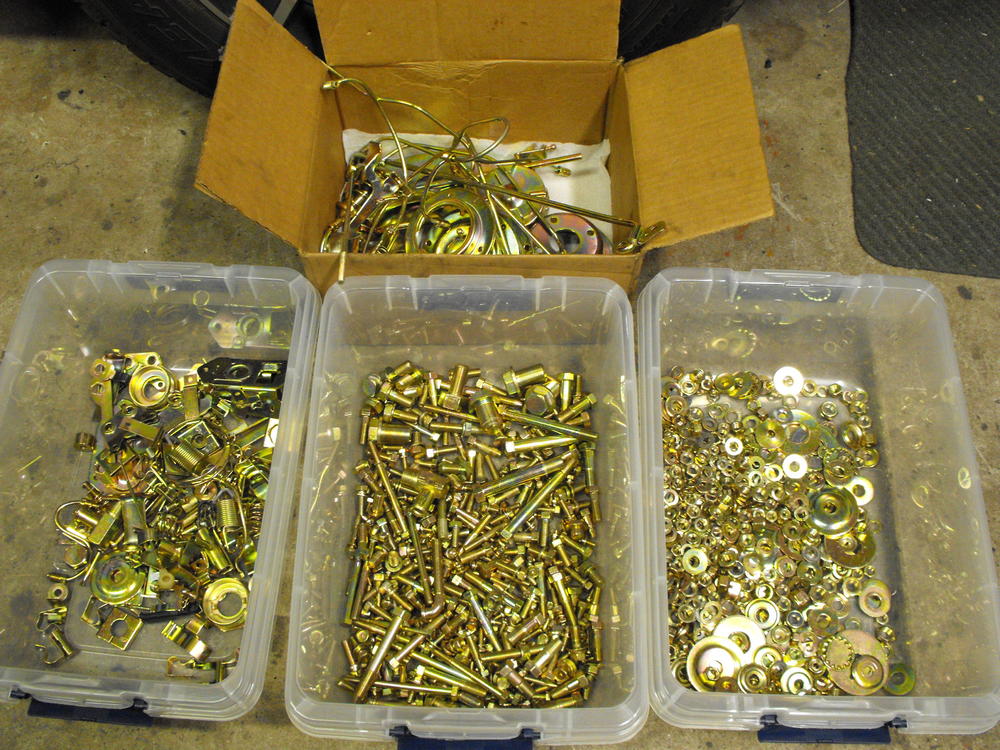
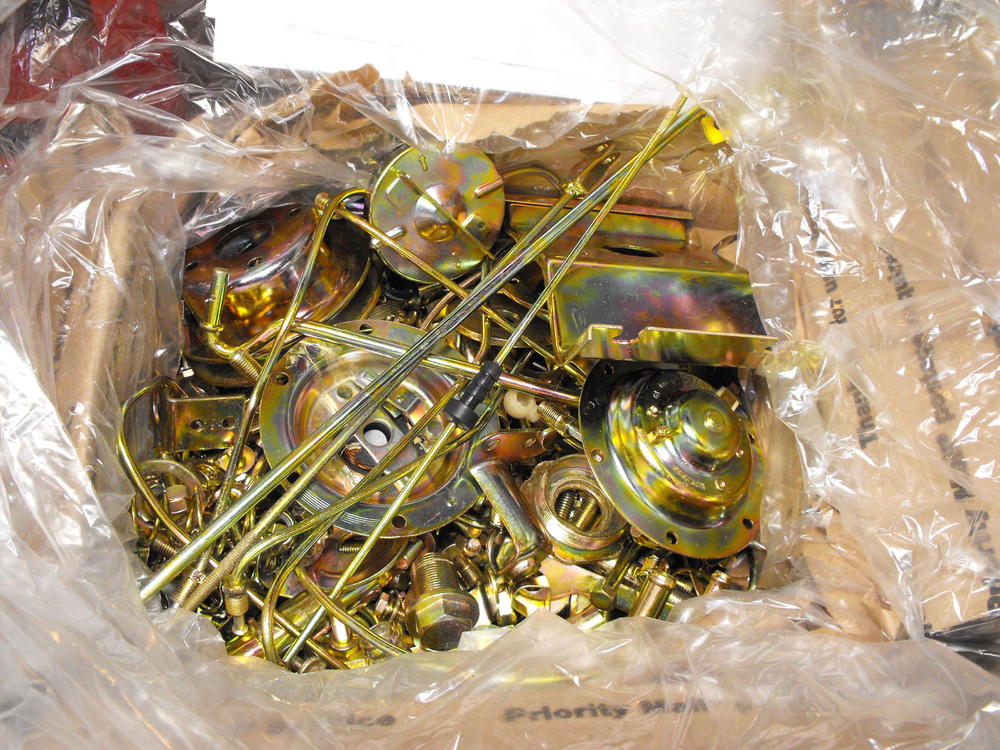
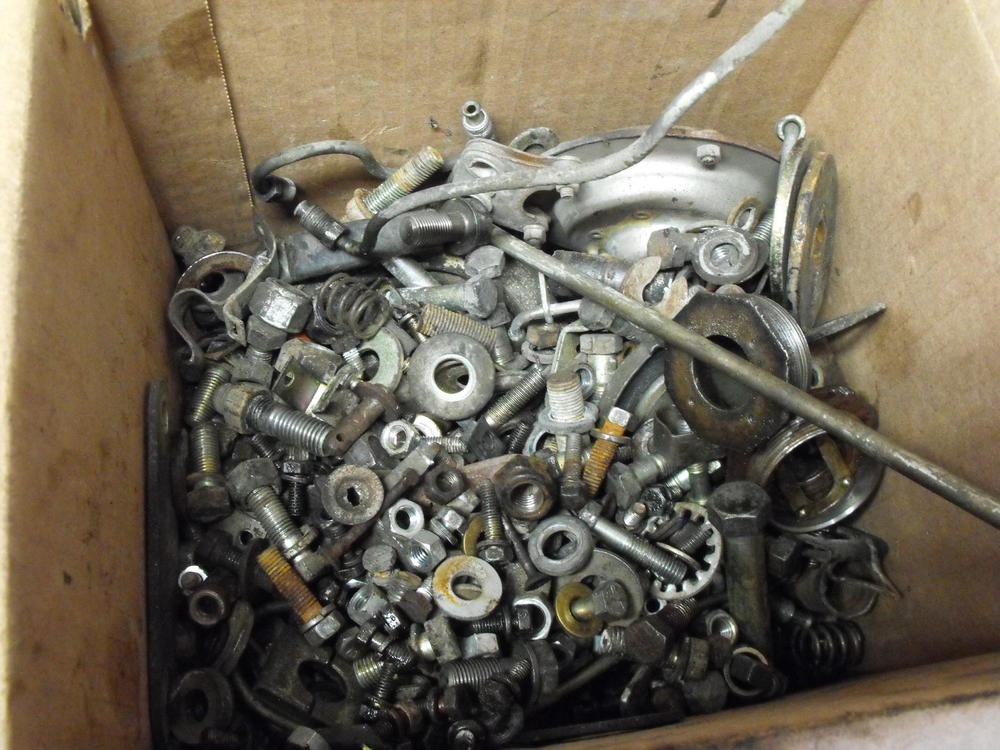
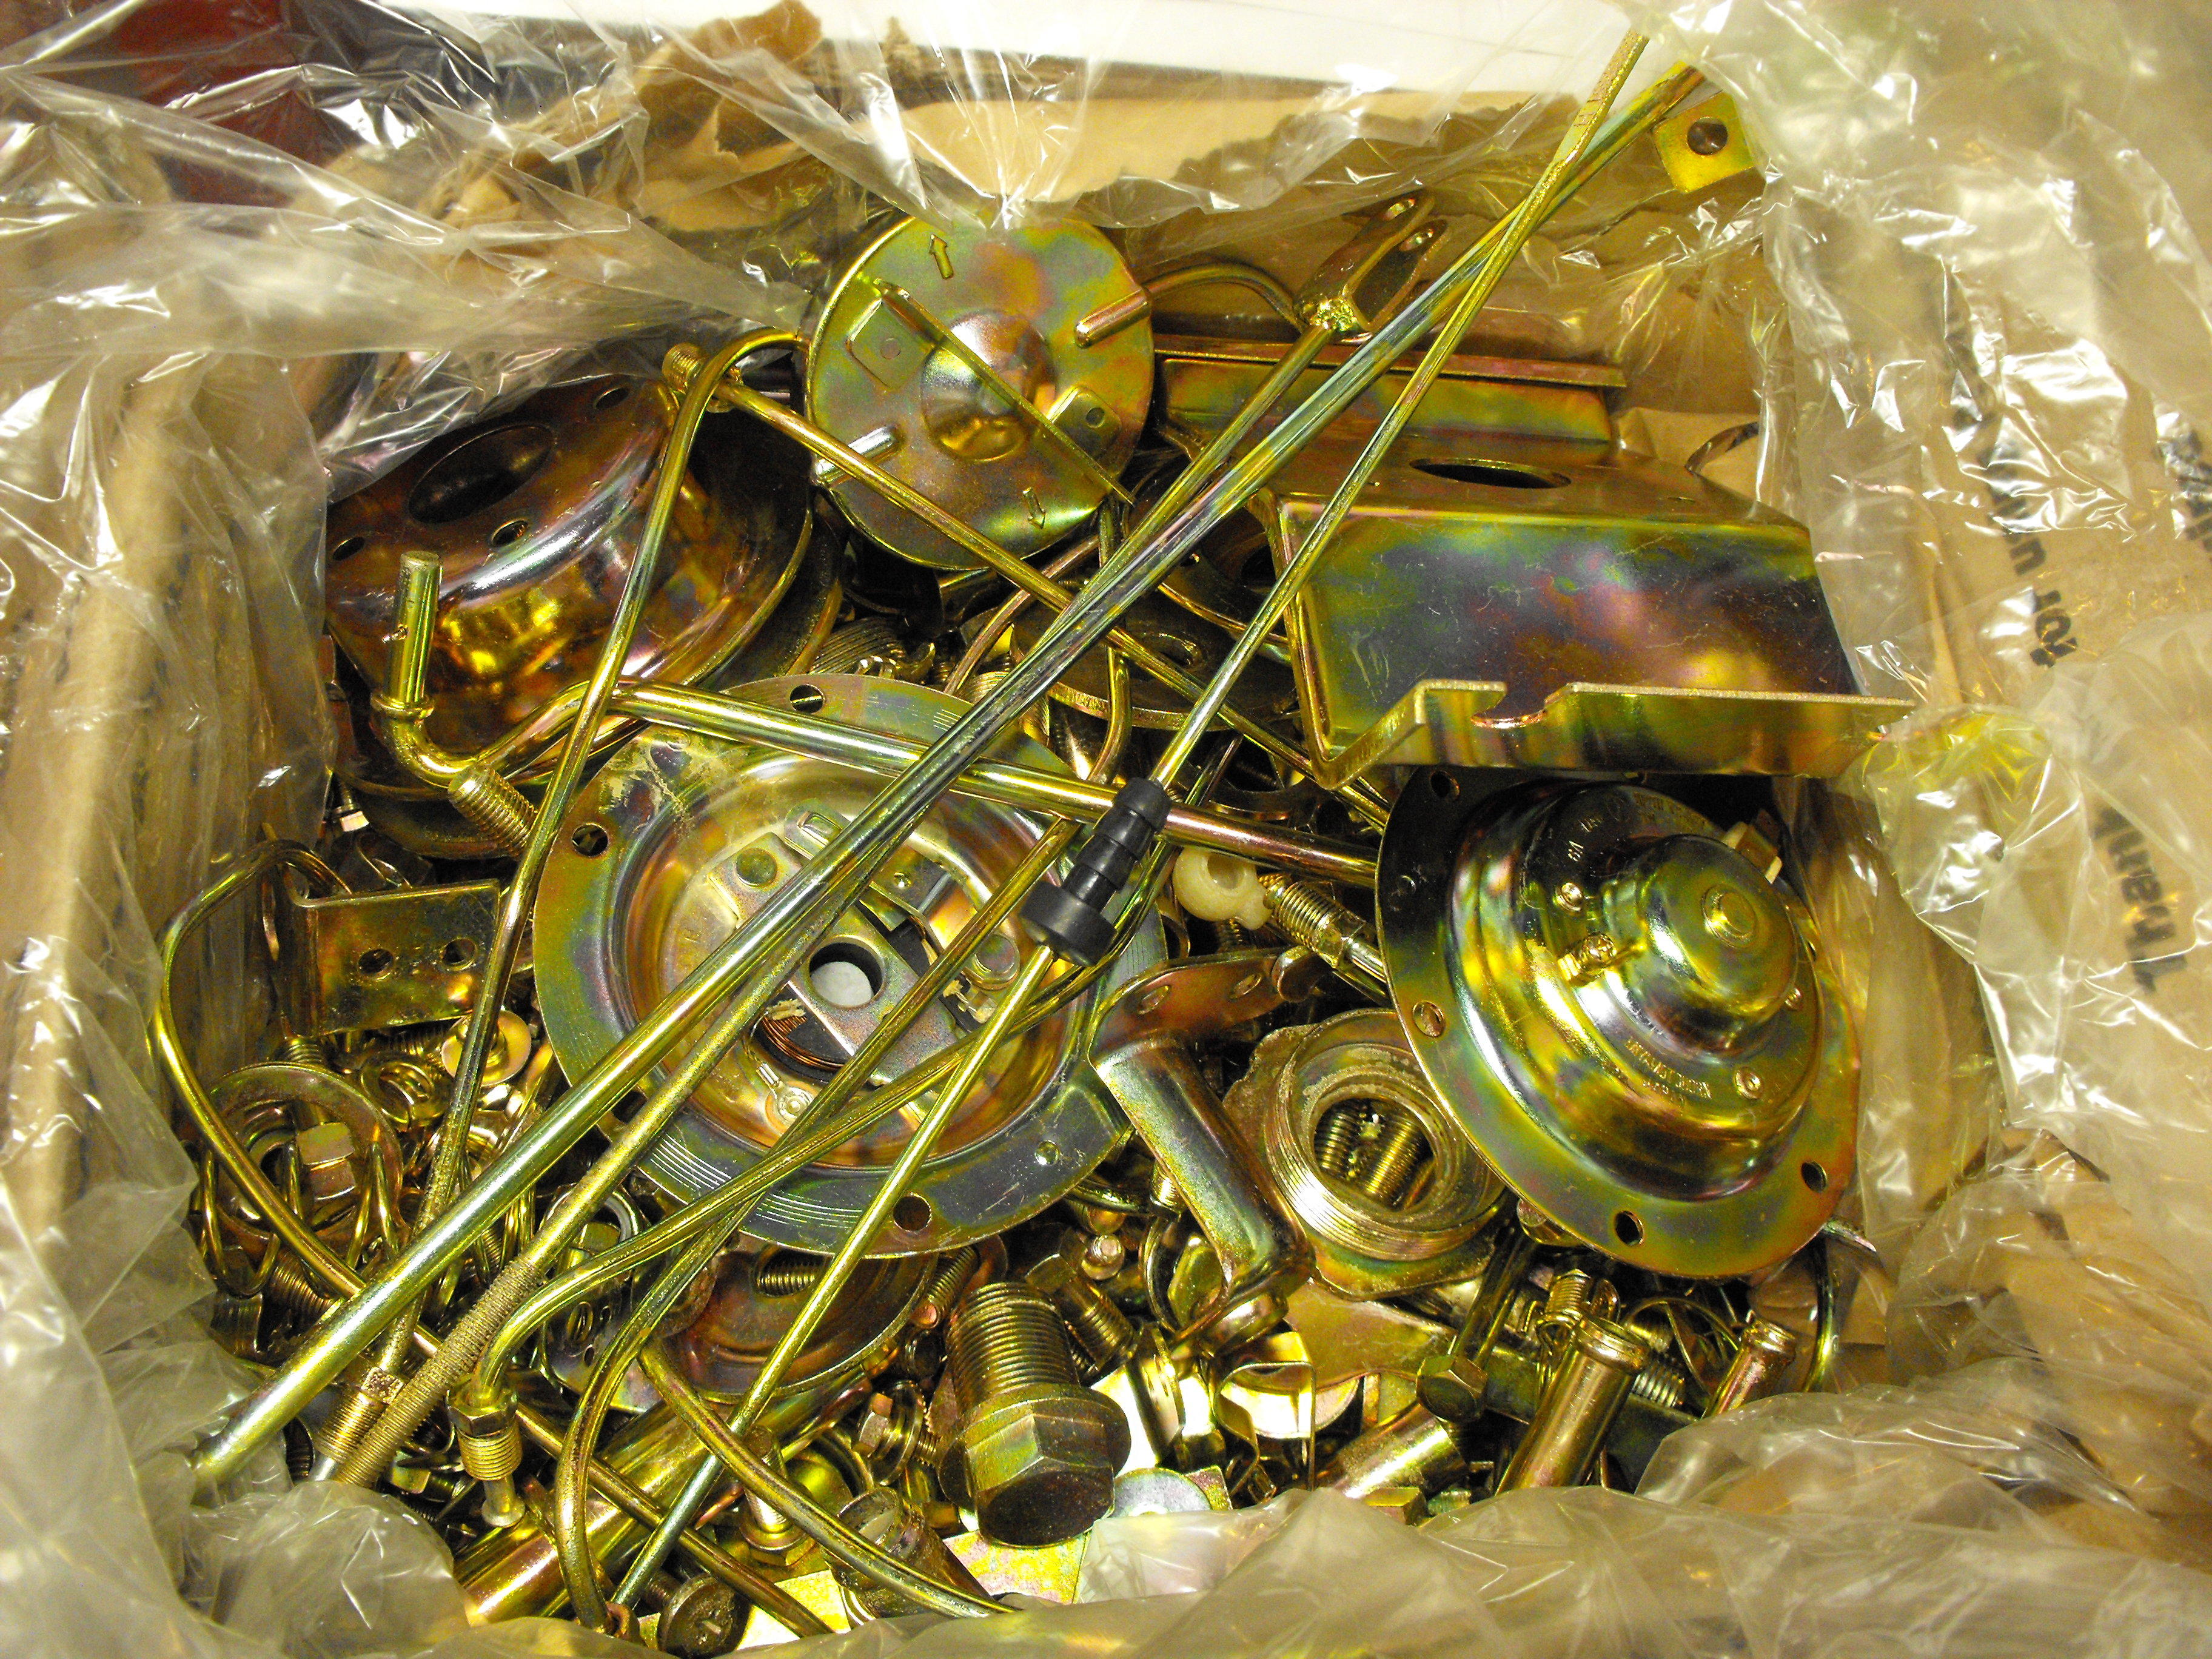
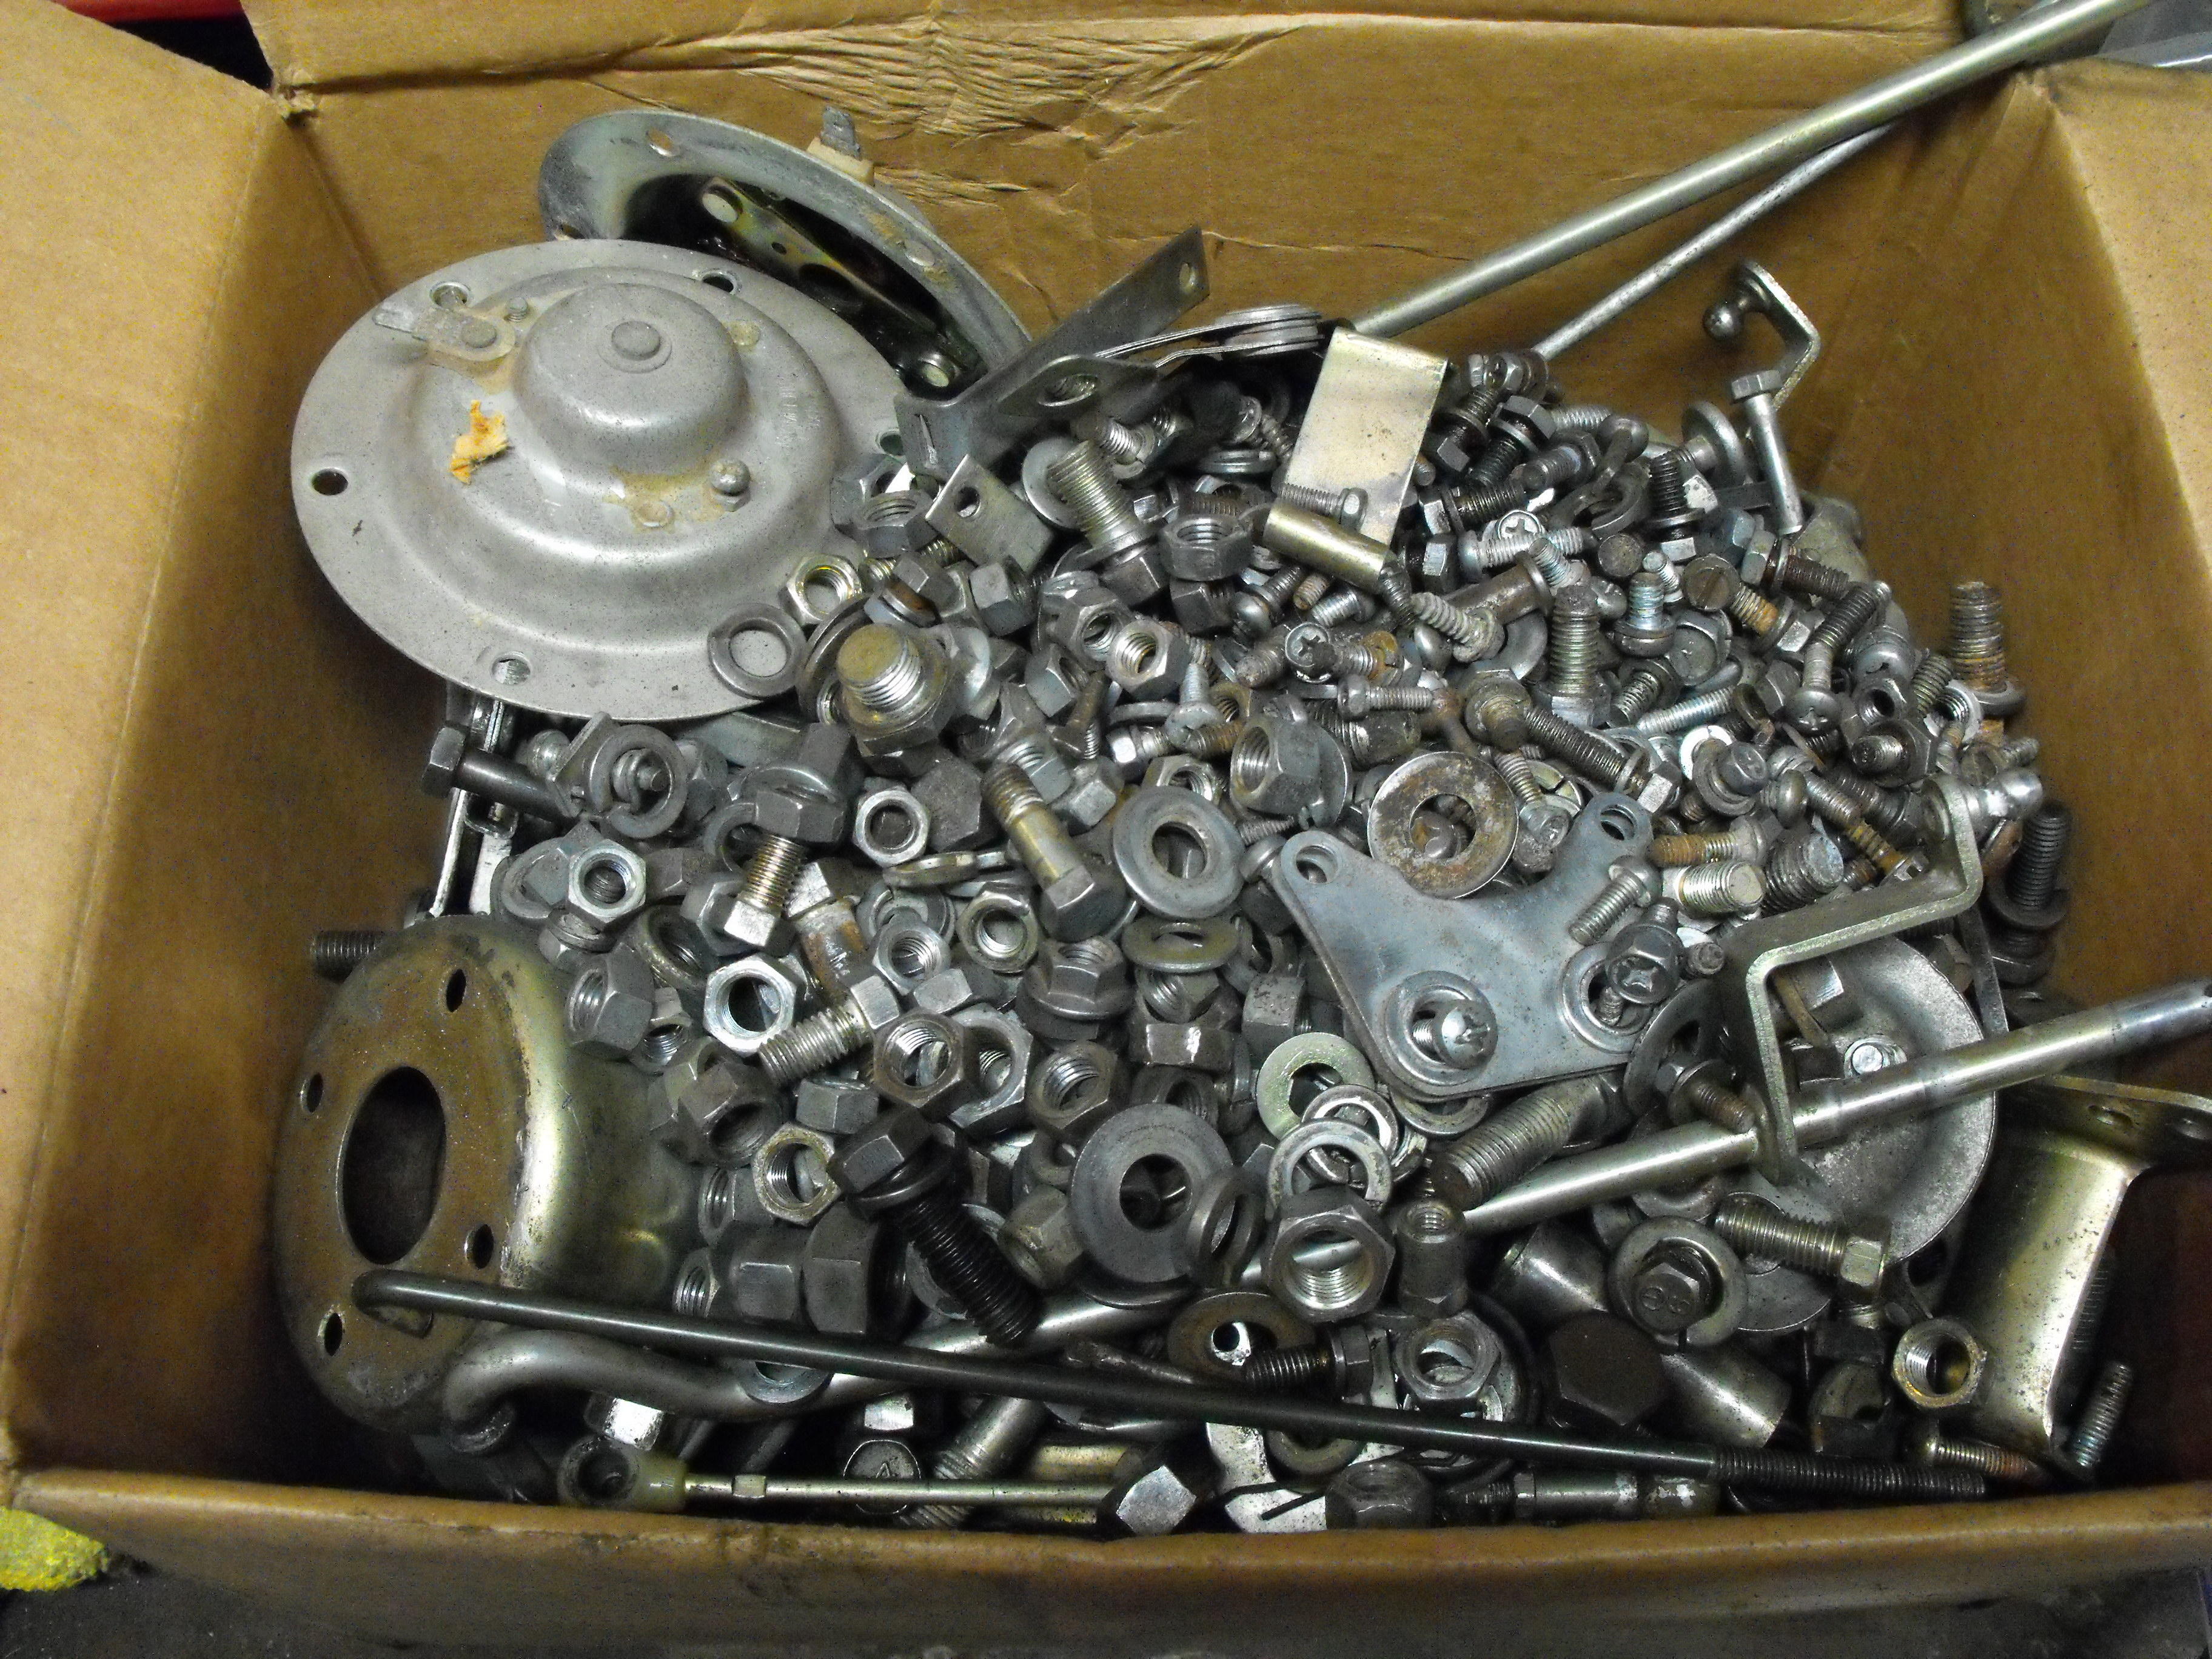
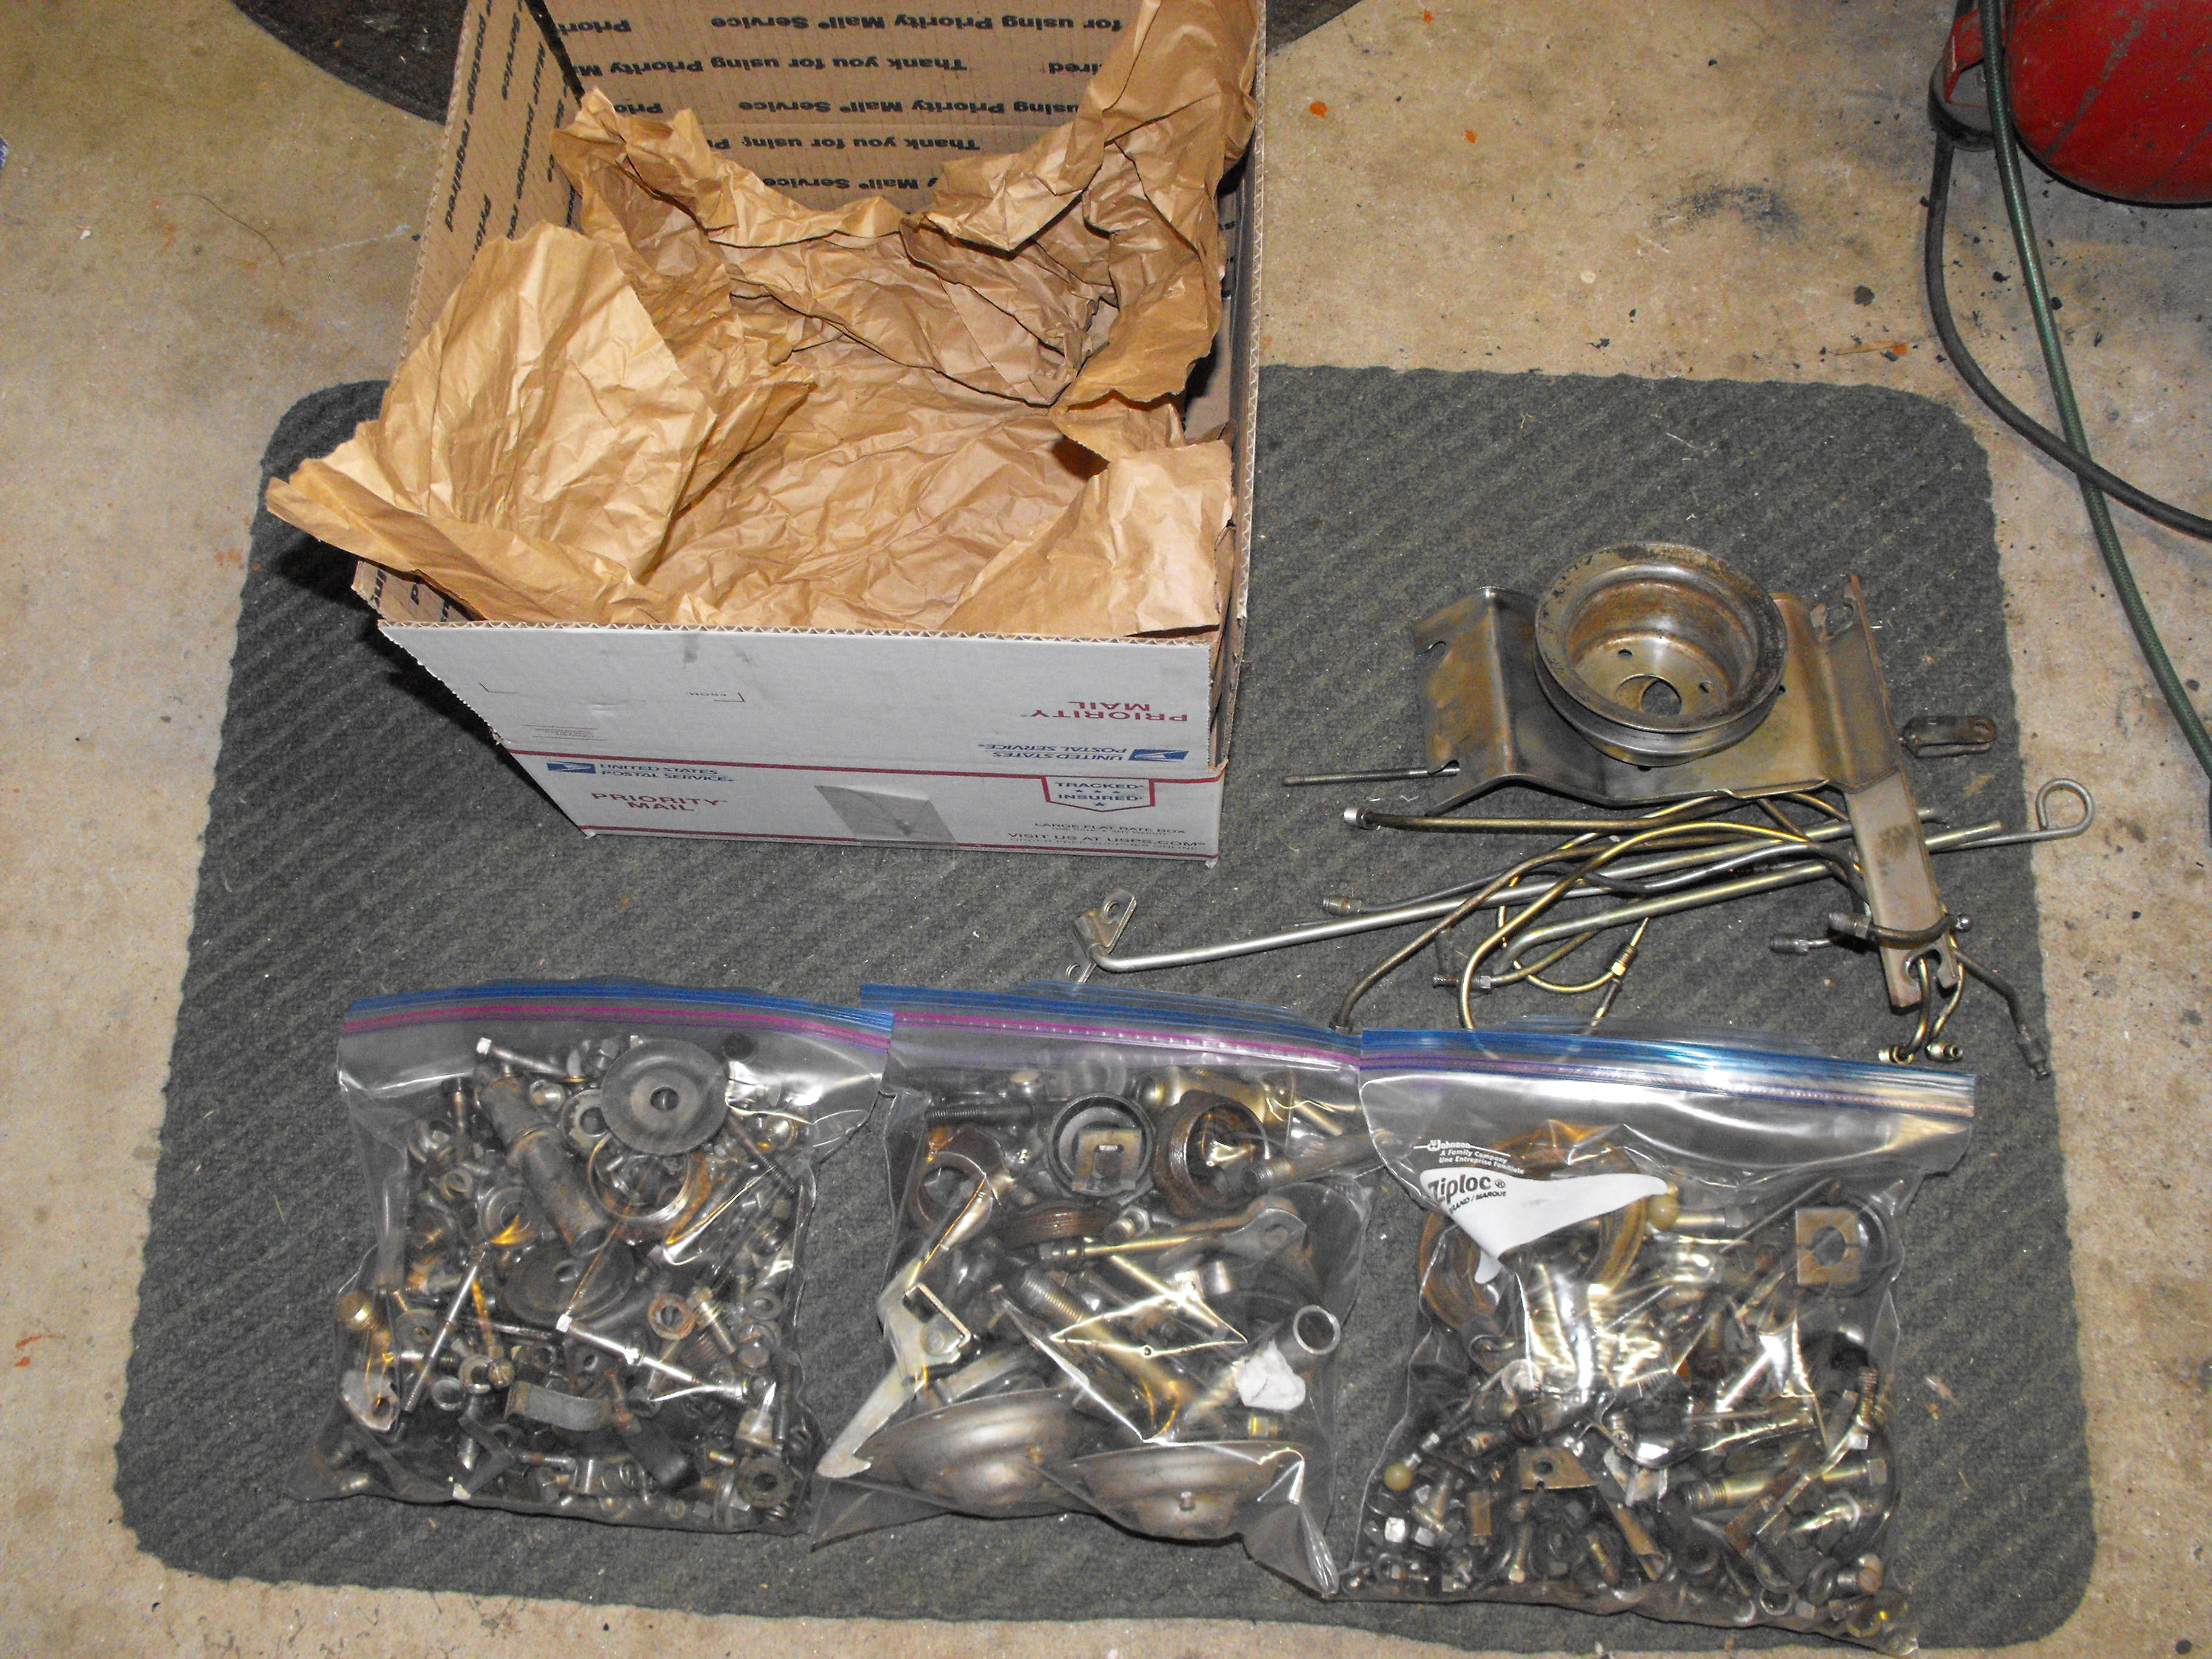
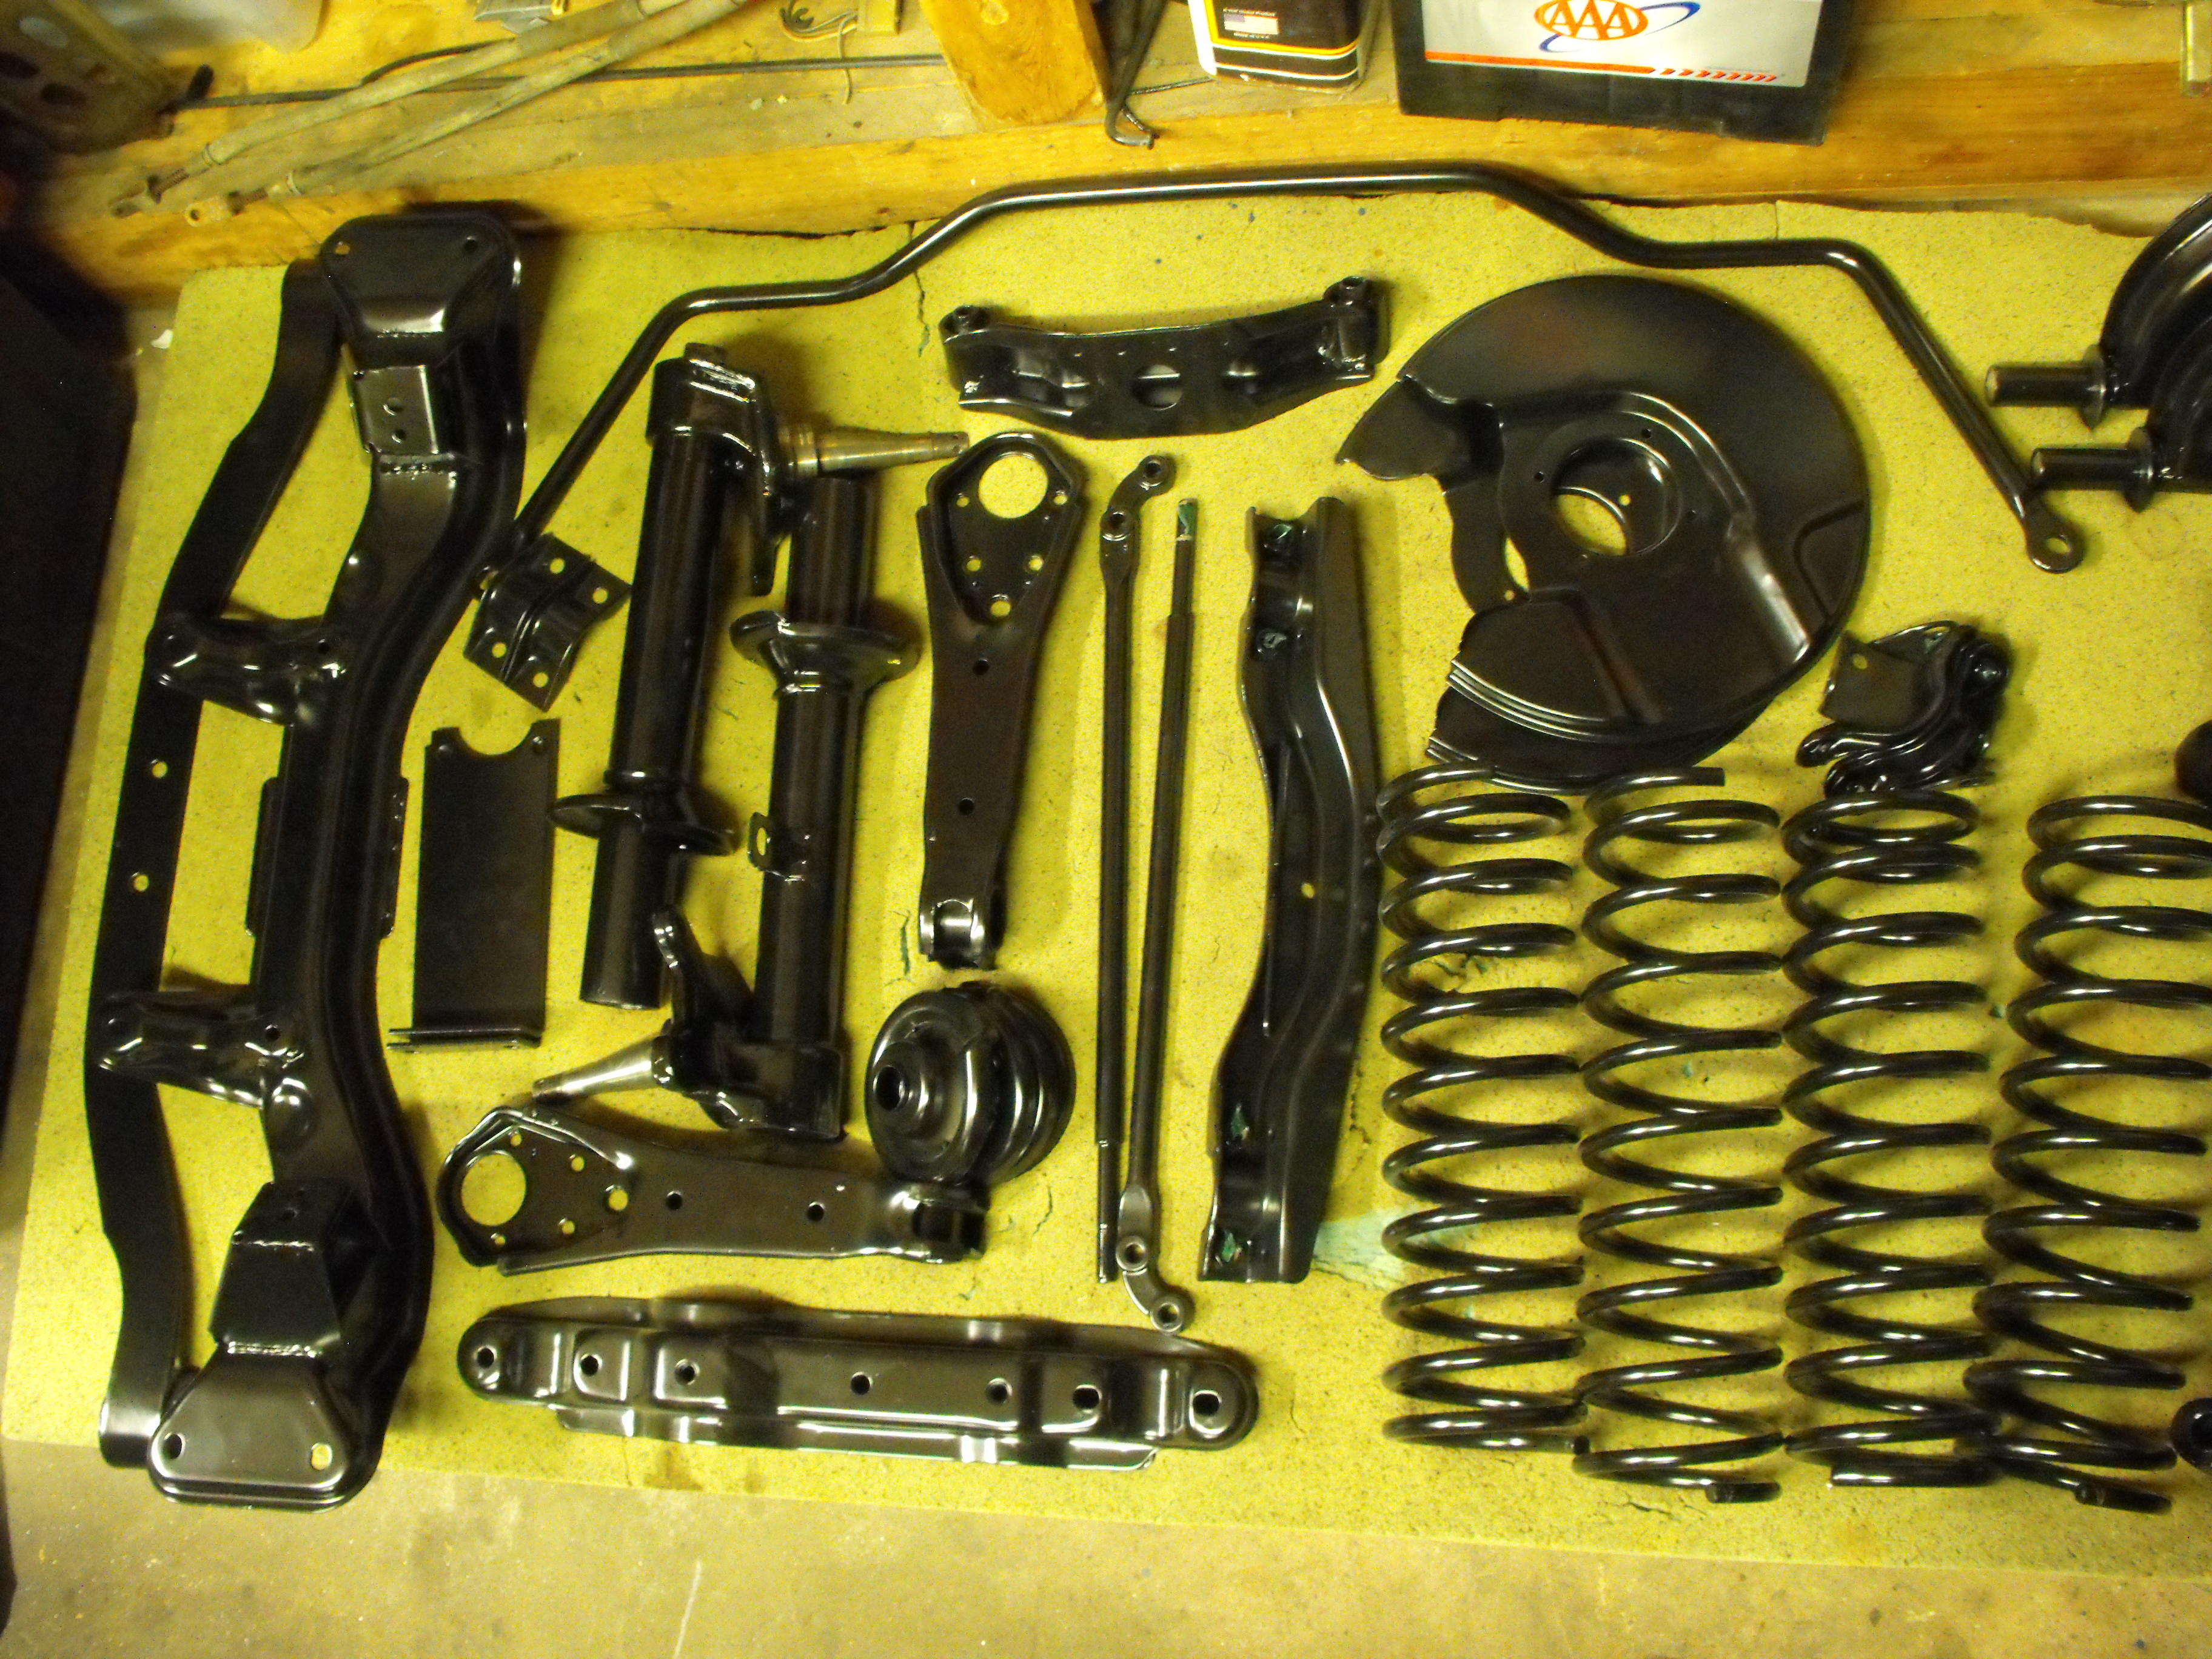
Got all of the small yellow zinc parts cleaned up and ready to send to the plater. This is about 30 pounds of parts...gotta love those USPS shipping boxes


-
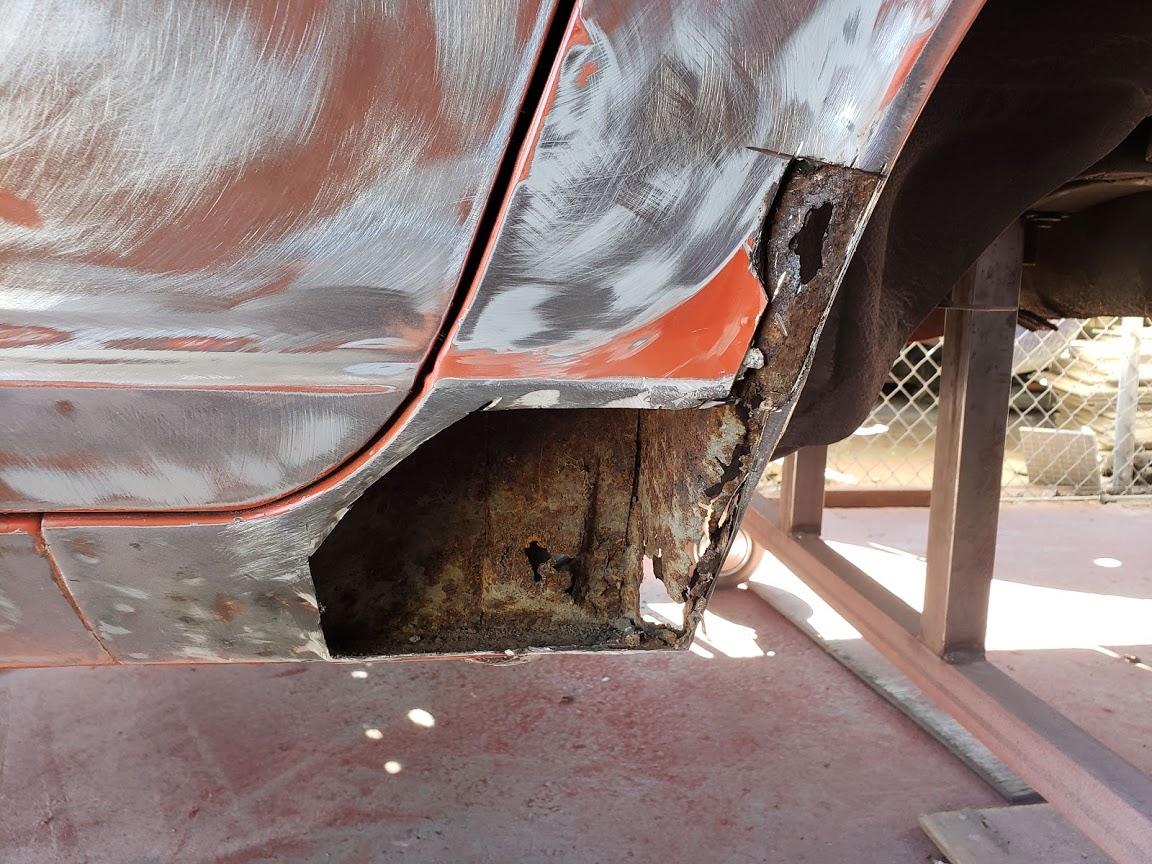
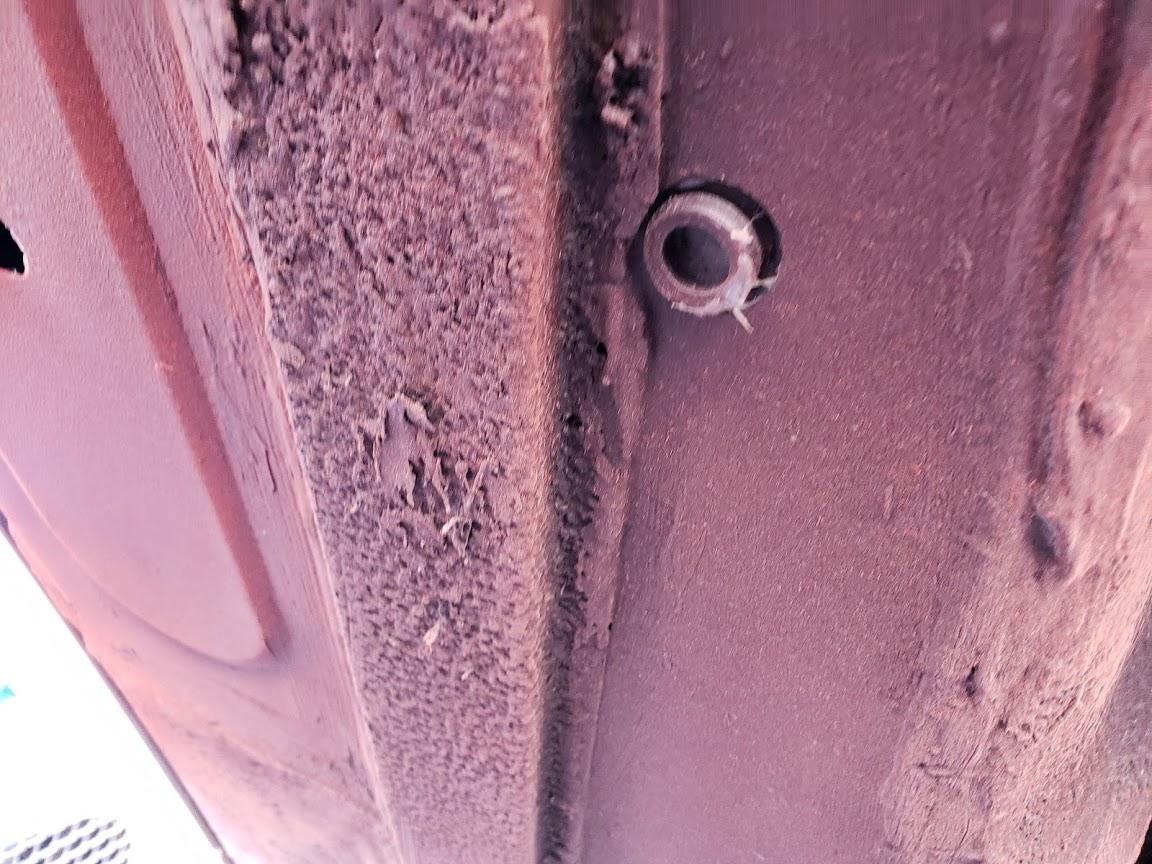
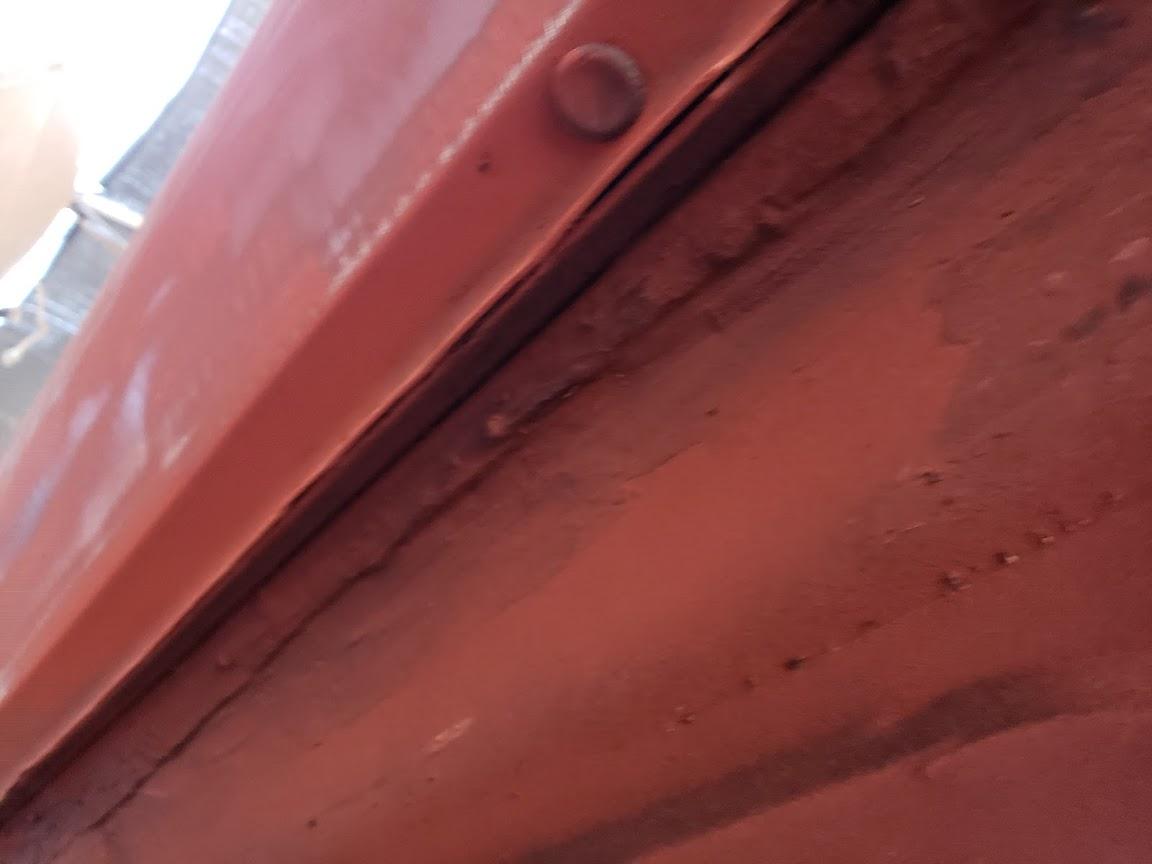
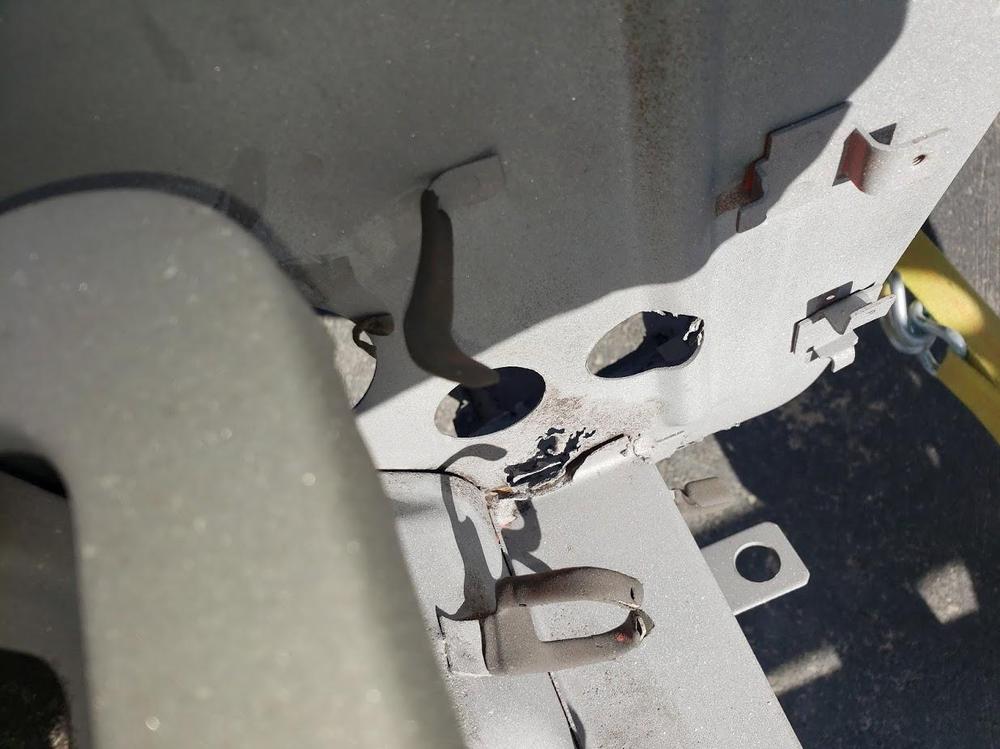
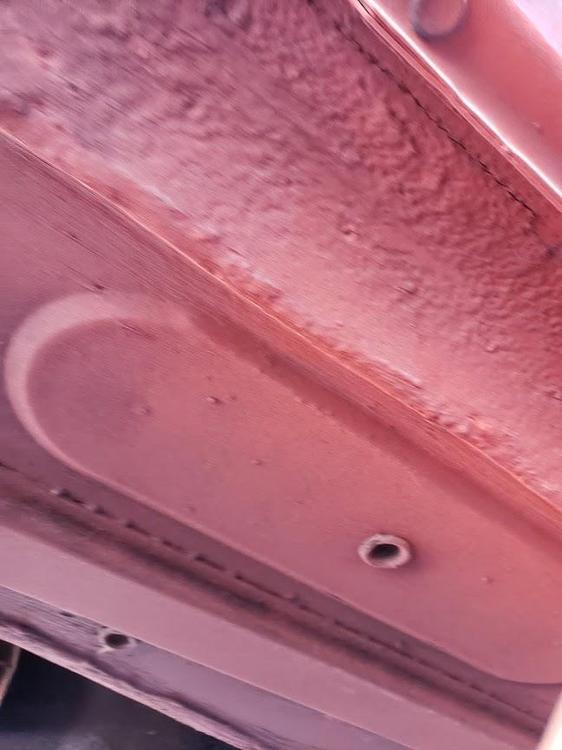
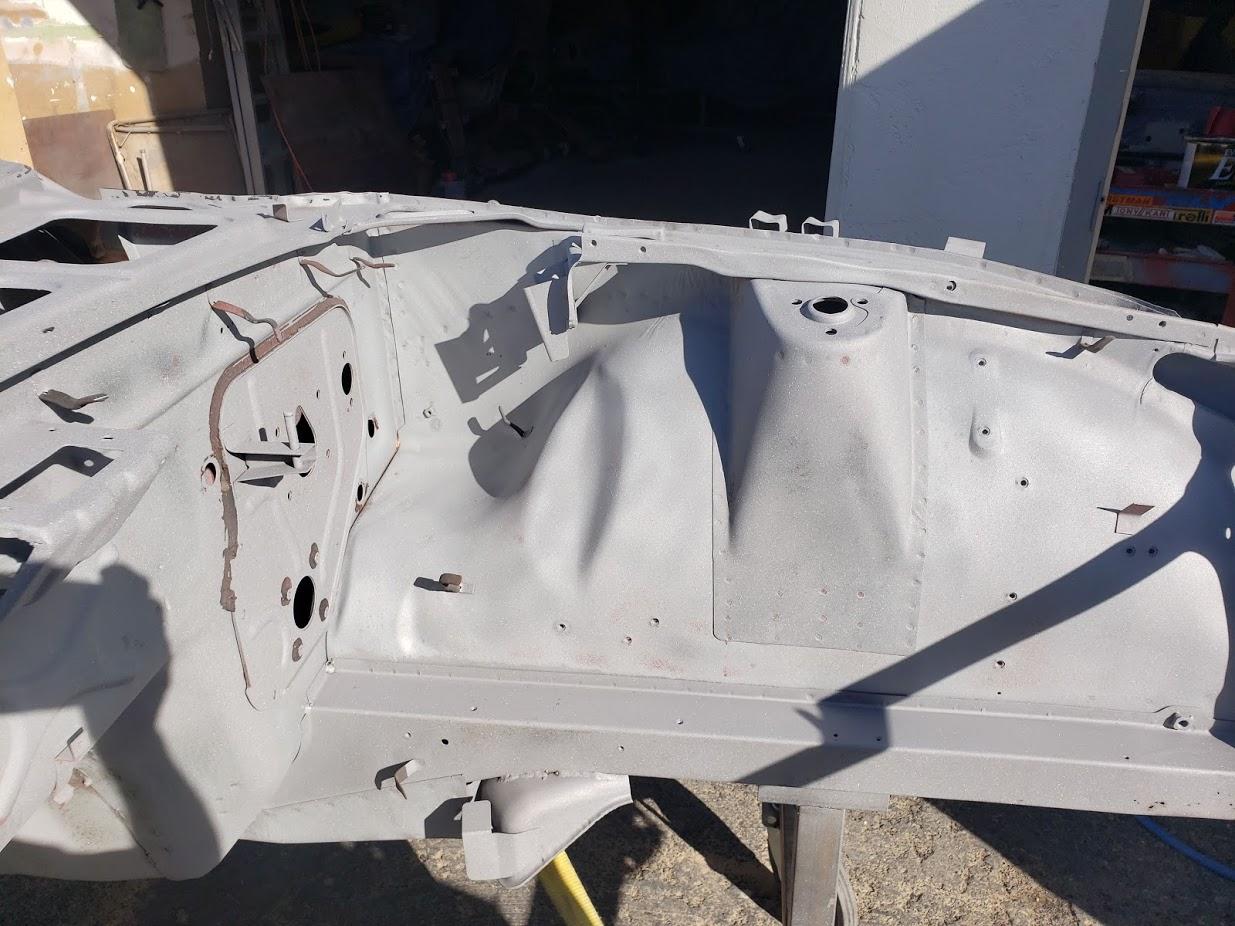
Will know more and have better pics once it comes back from the sand blast. It is there now. We should have pics also. From the pics above, looks like the replacement panel was spot welded on top of the original floor (after rusted area was cut out) with epoxy used to fill the gaps.
-
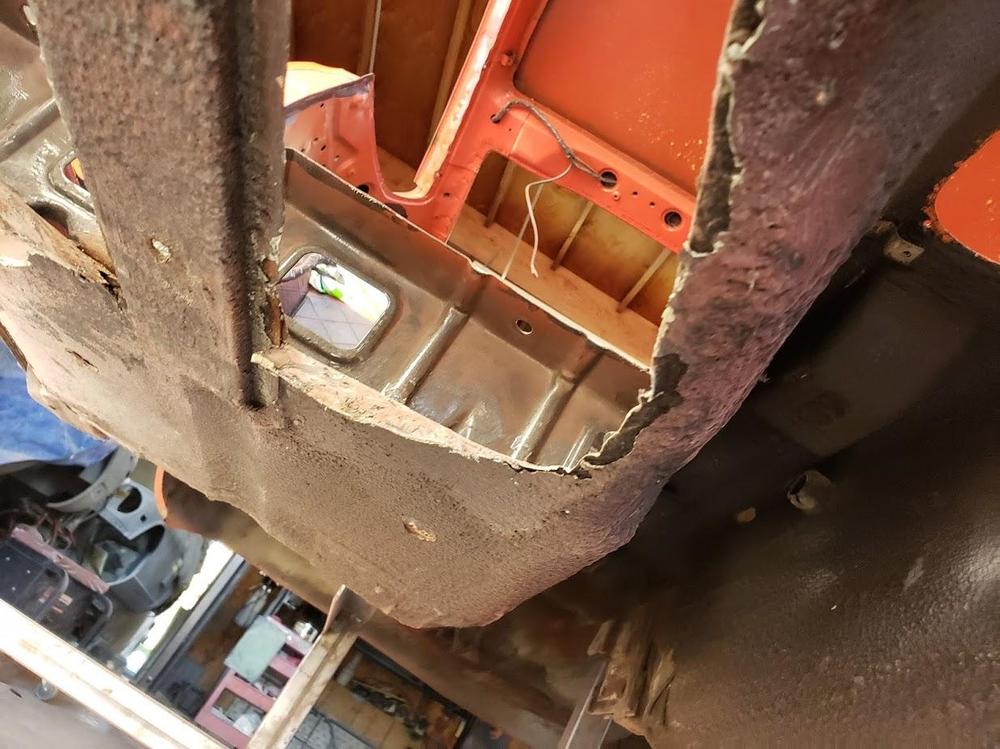
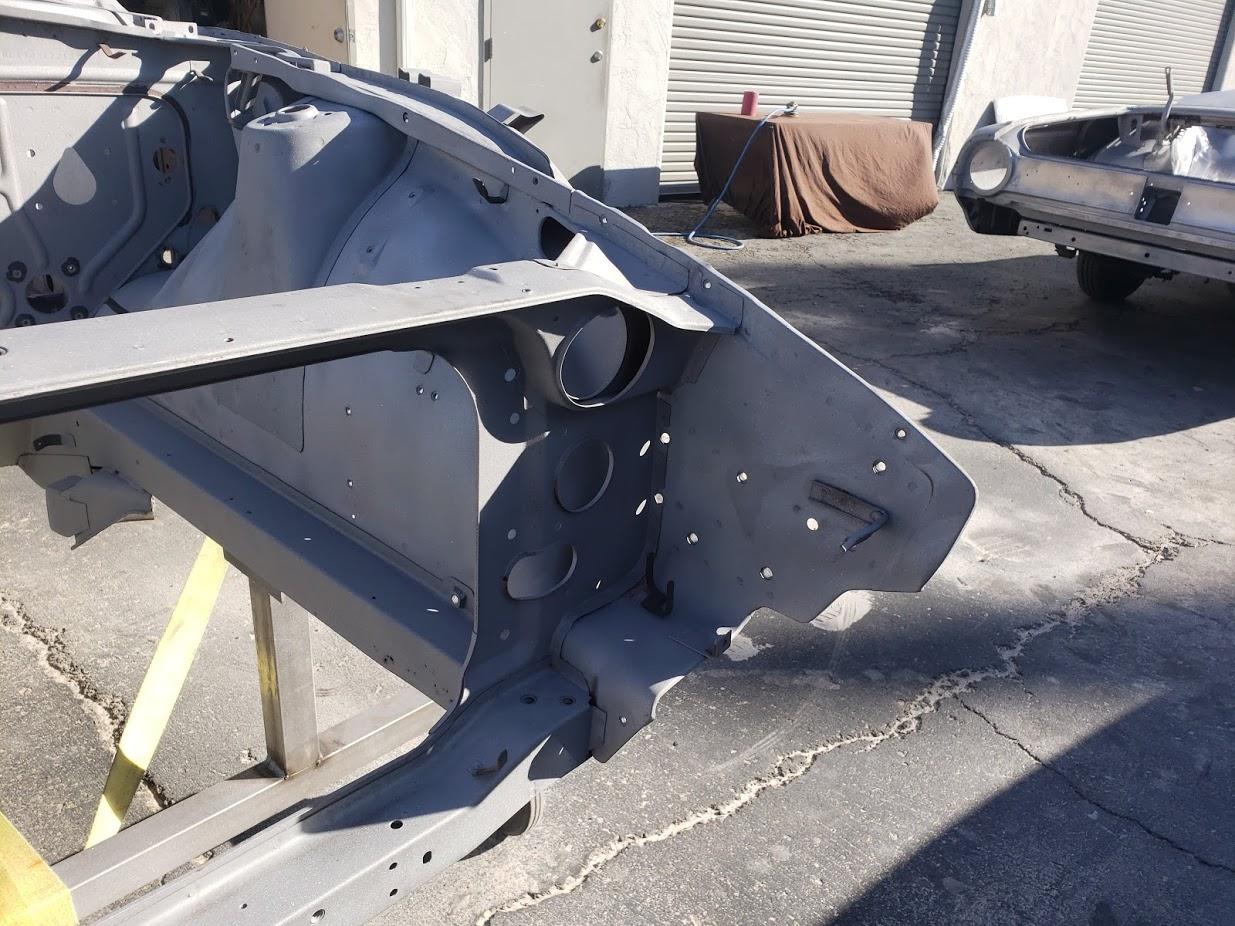
Yes, definitely some serious rust. Nice to have that cut out and new metal welded in. Got the parts back from the Powder Coater. That was quick. Best deal in town....I send them dirty, rusty parts and they come back all nice and clean and powder coated.


-
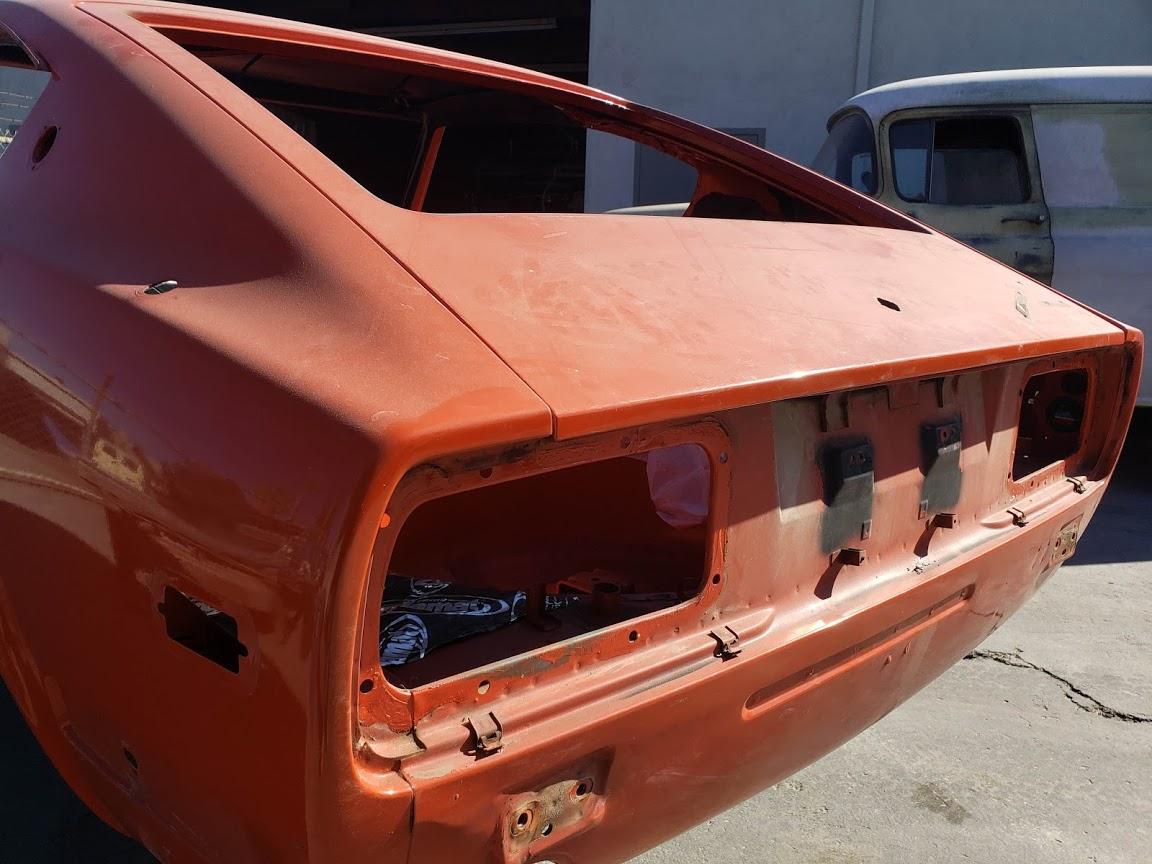
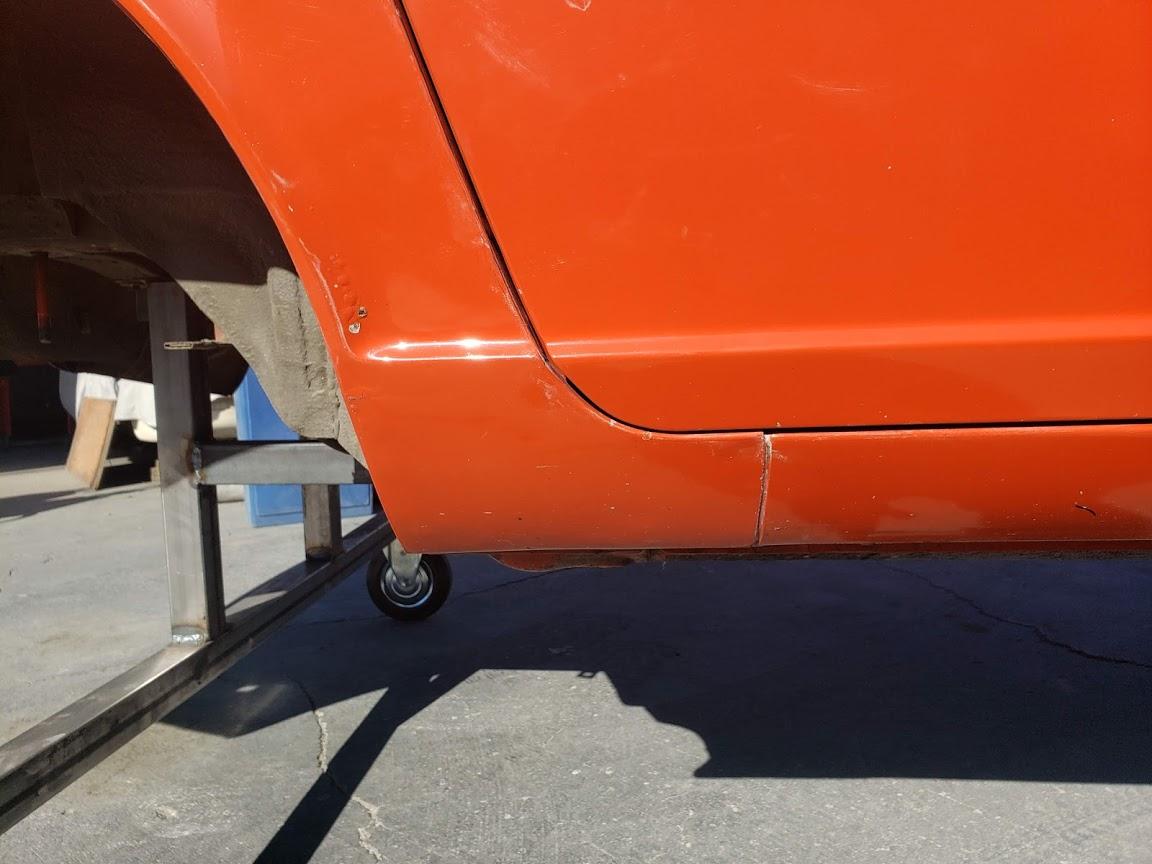
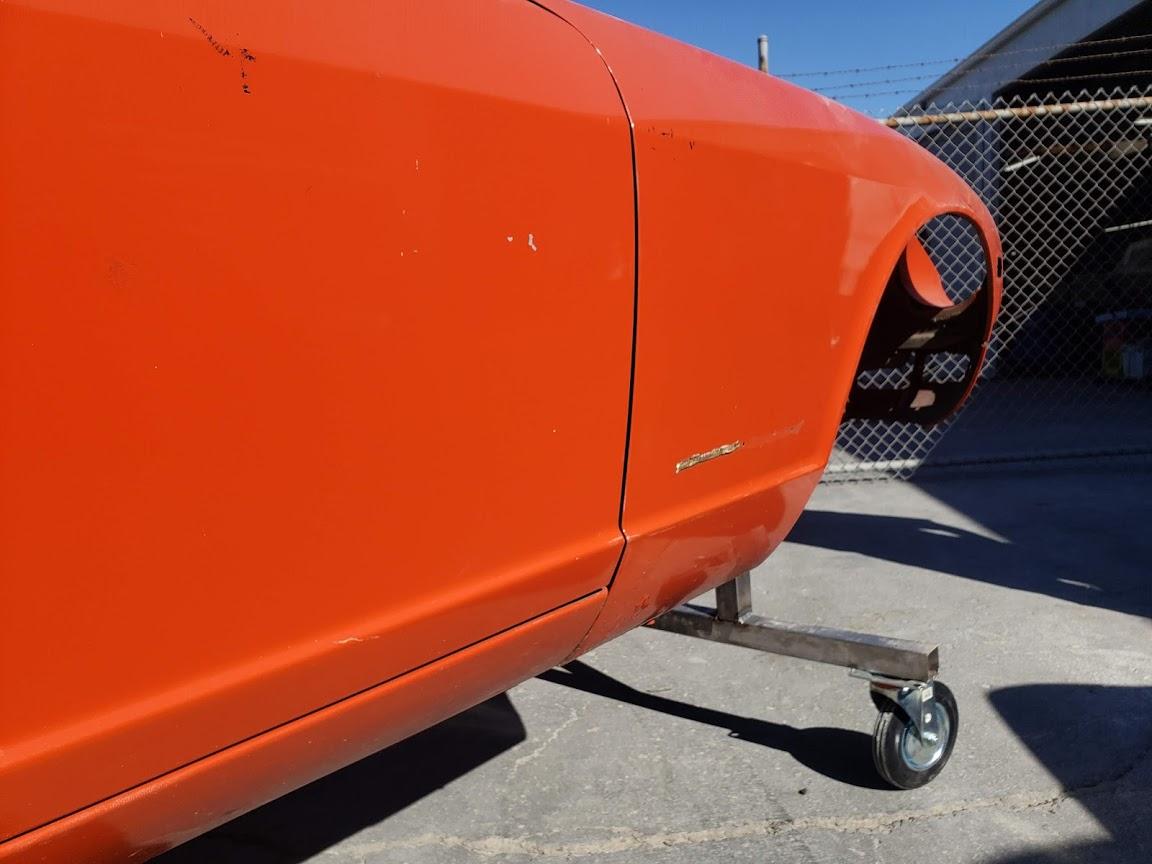
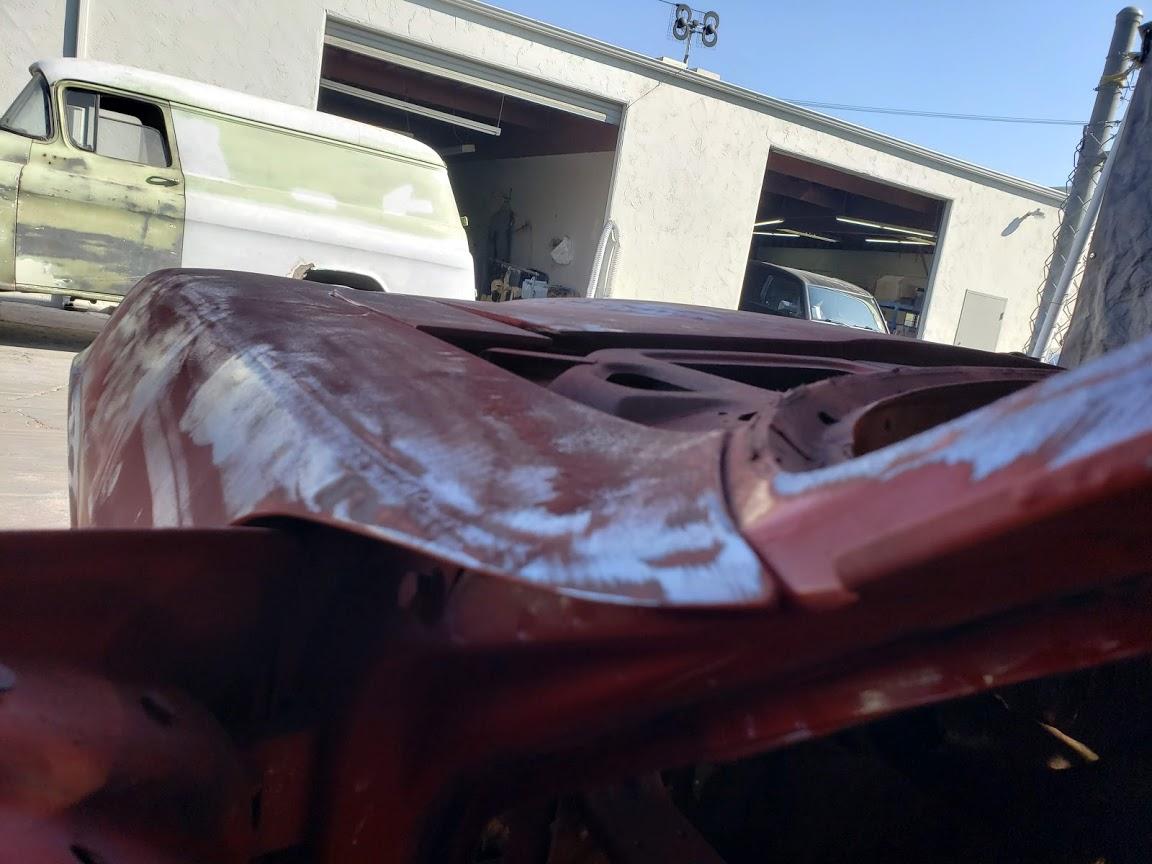
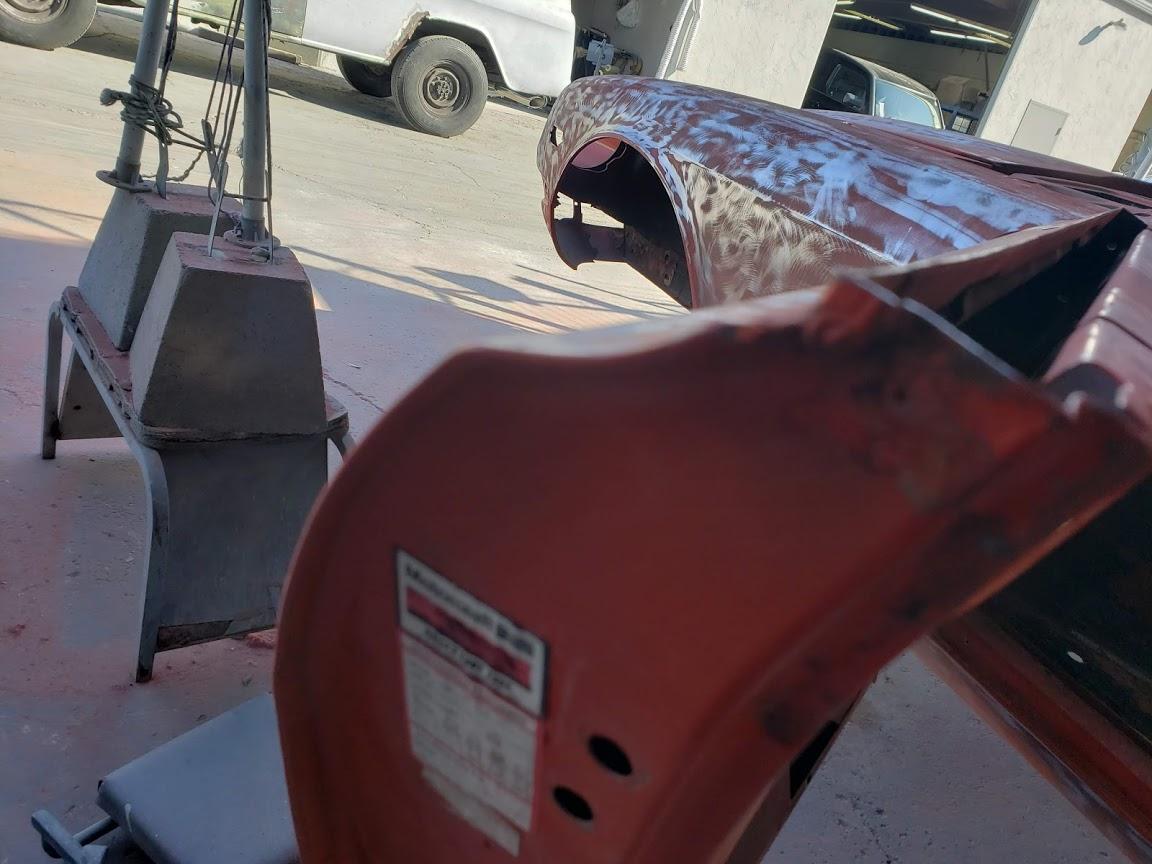
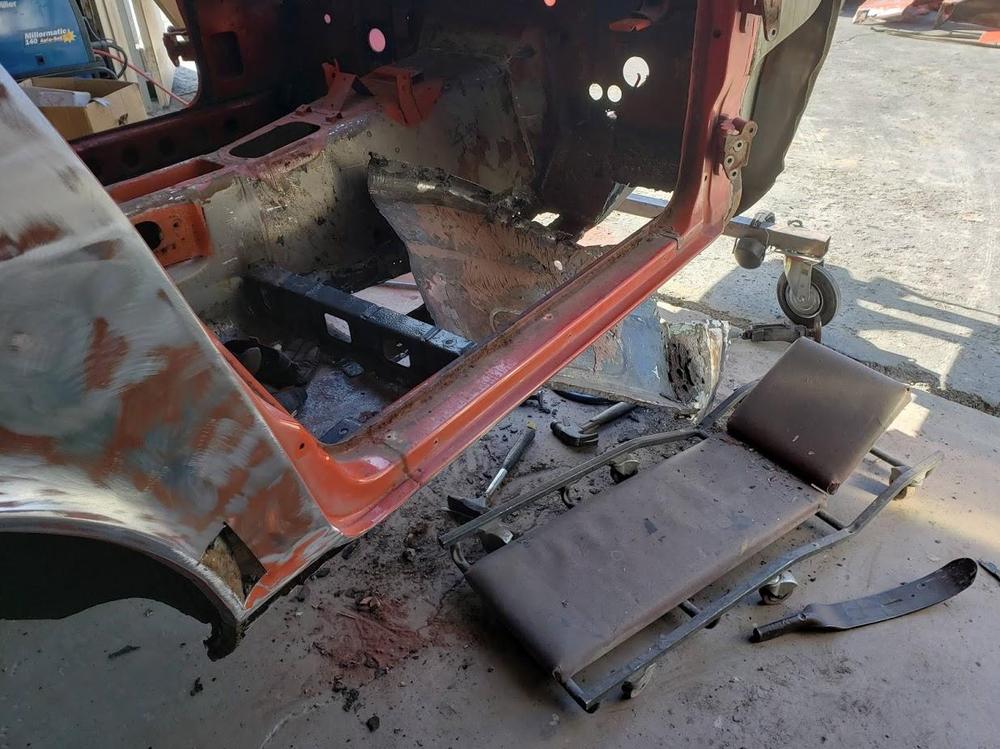
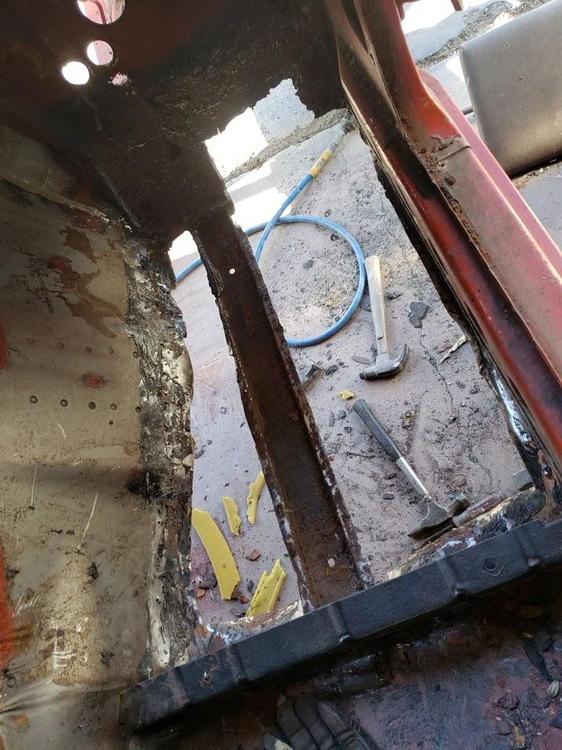
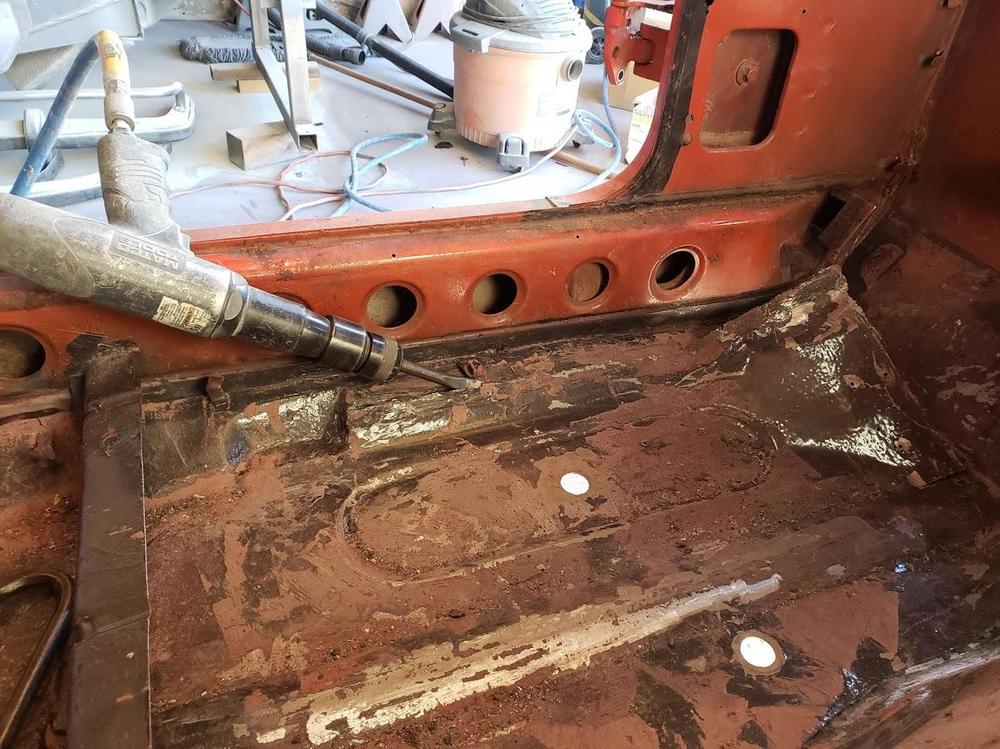
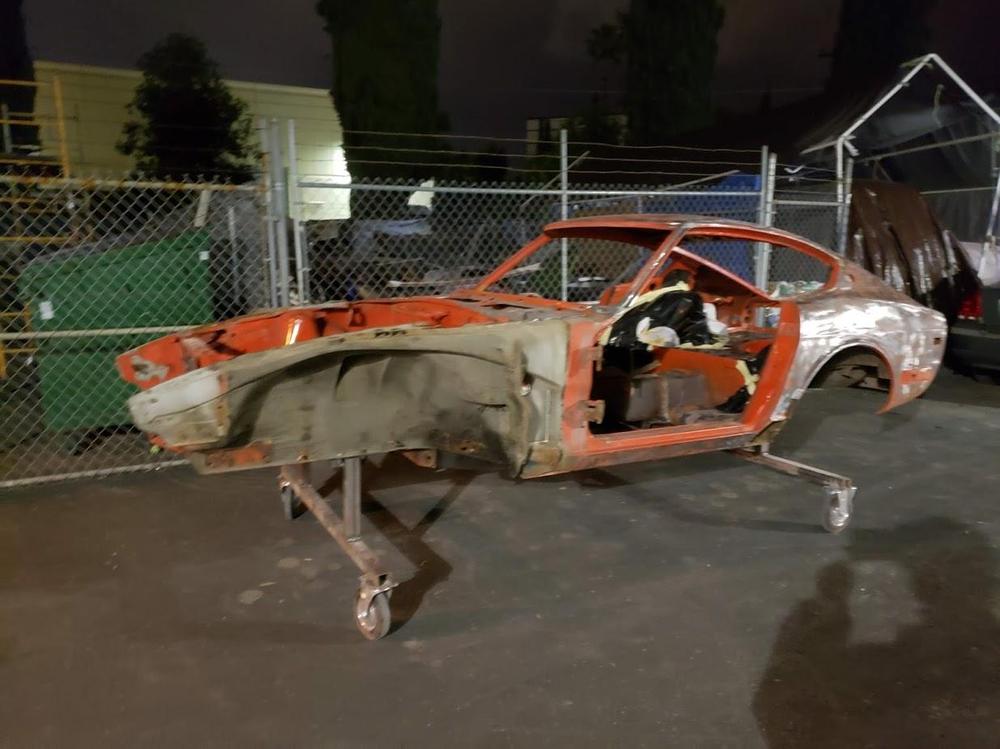
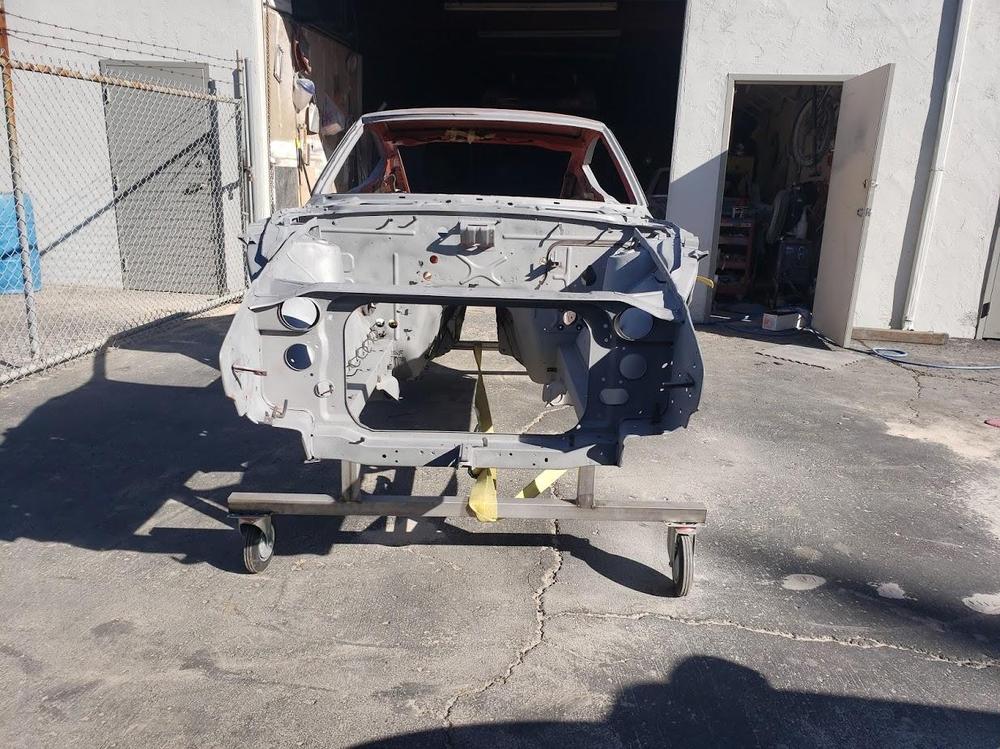
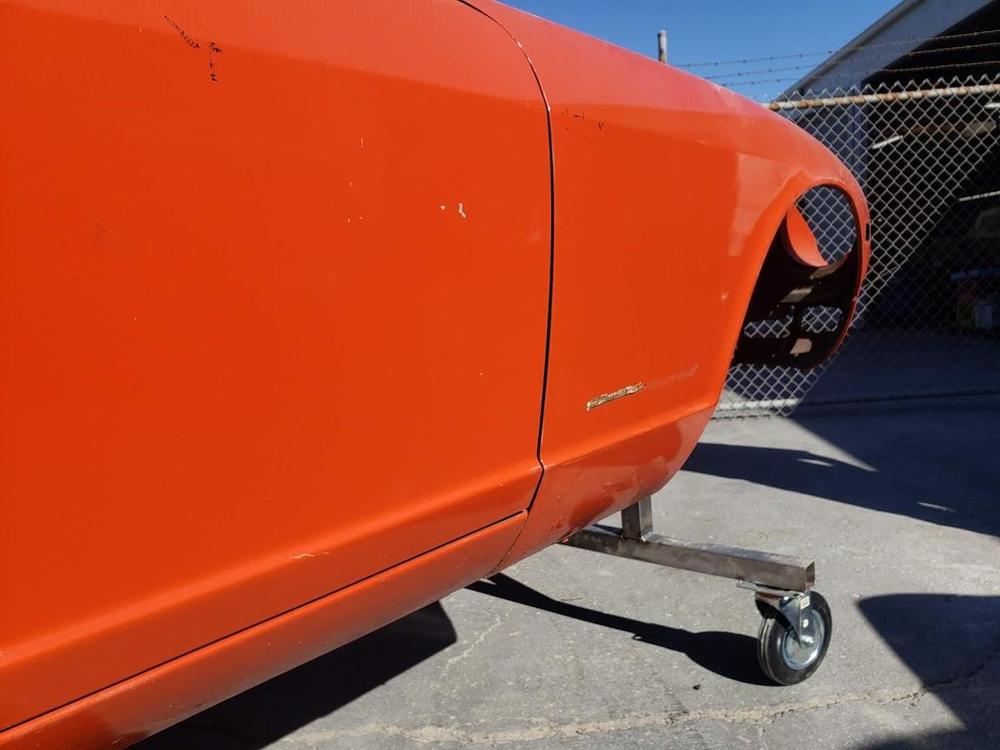
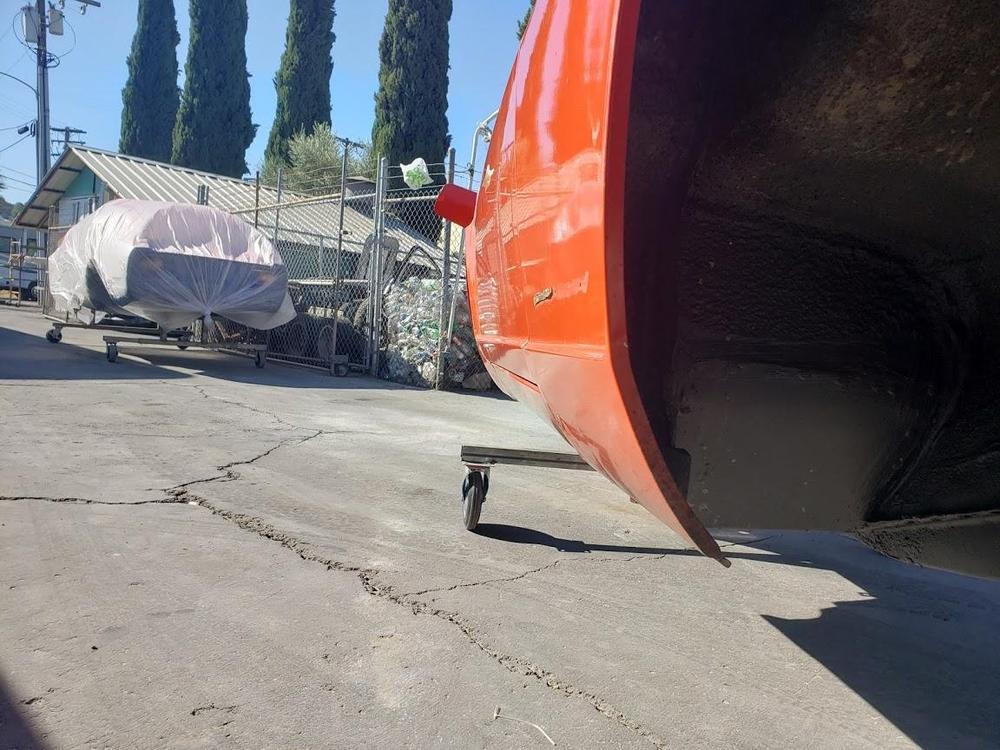
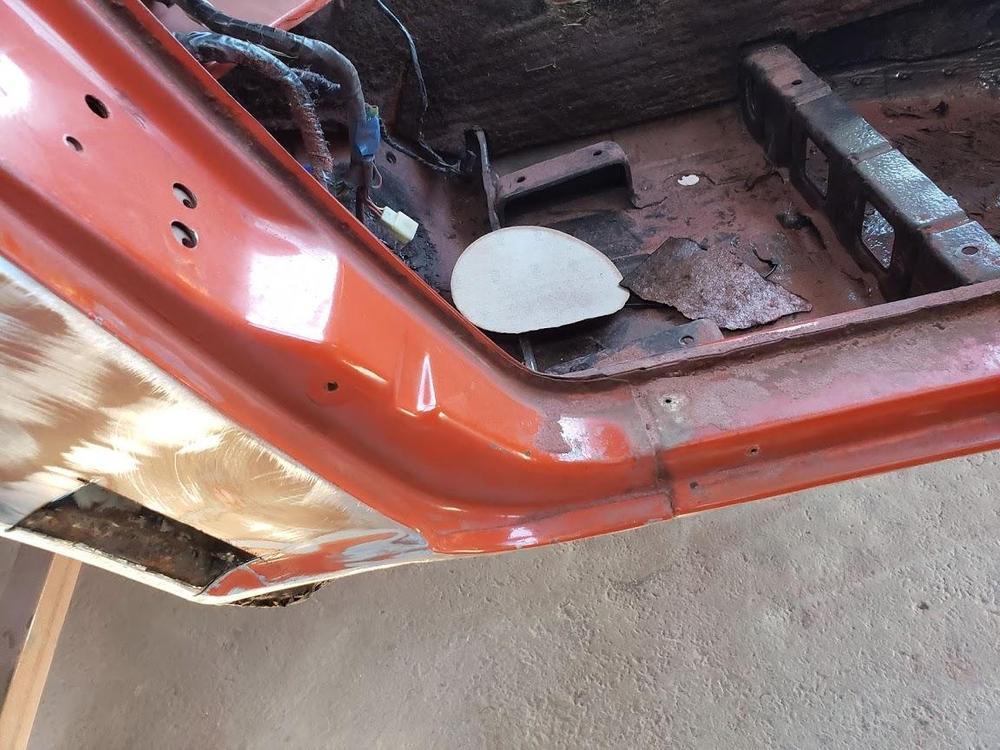
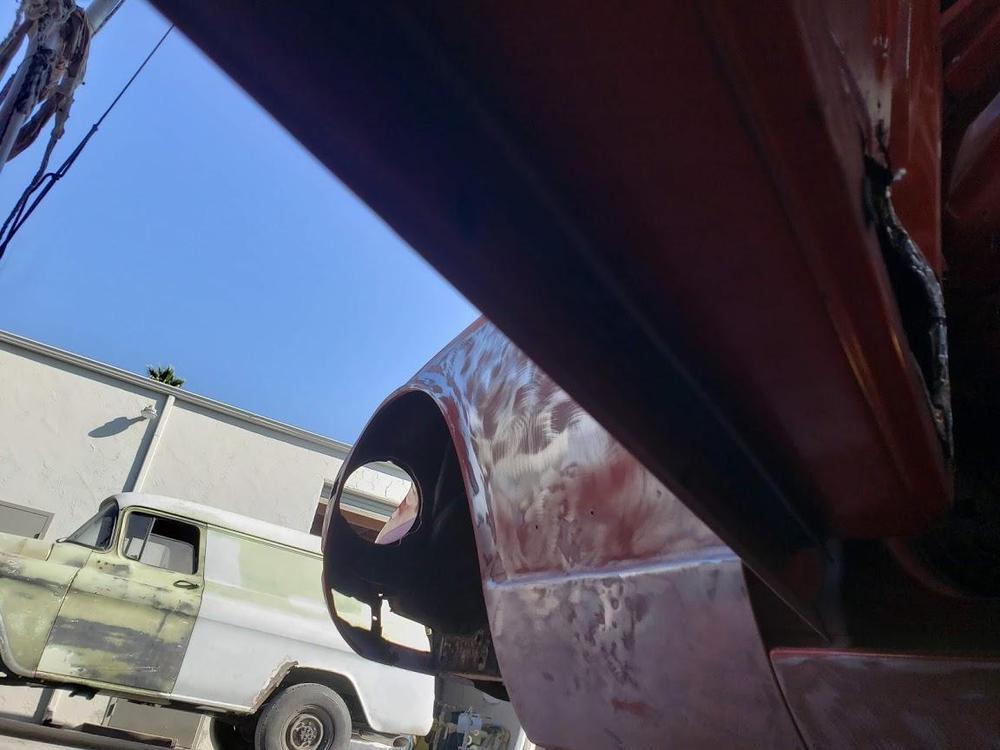
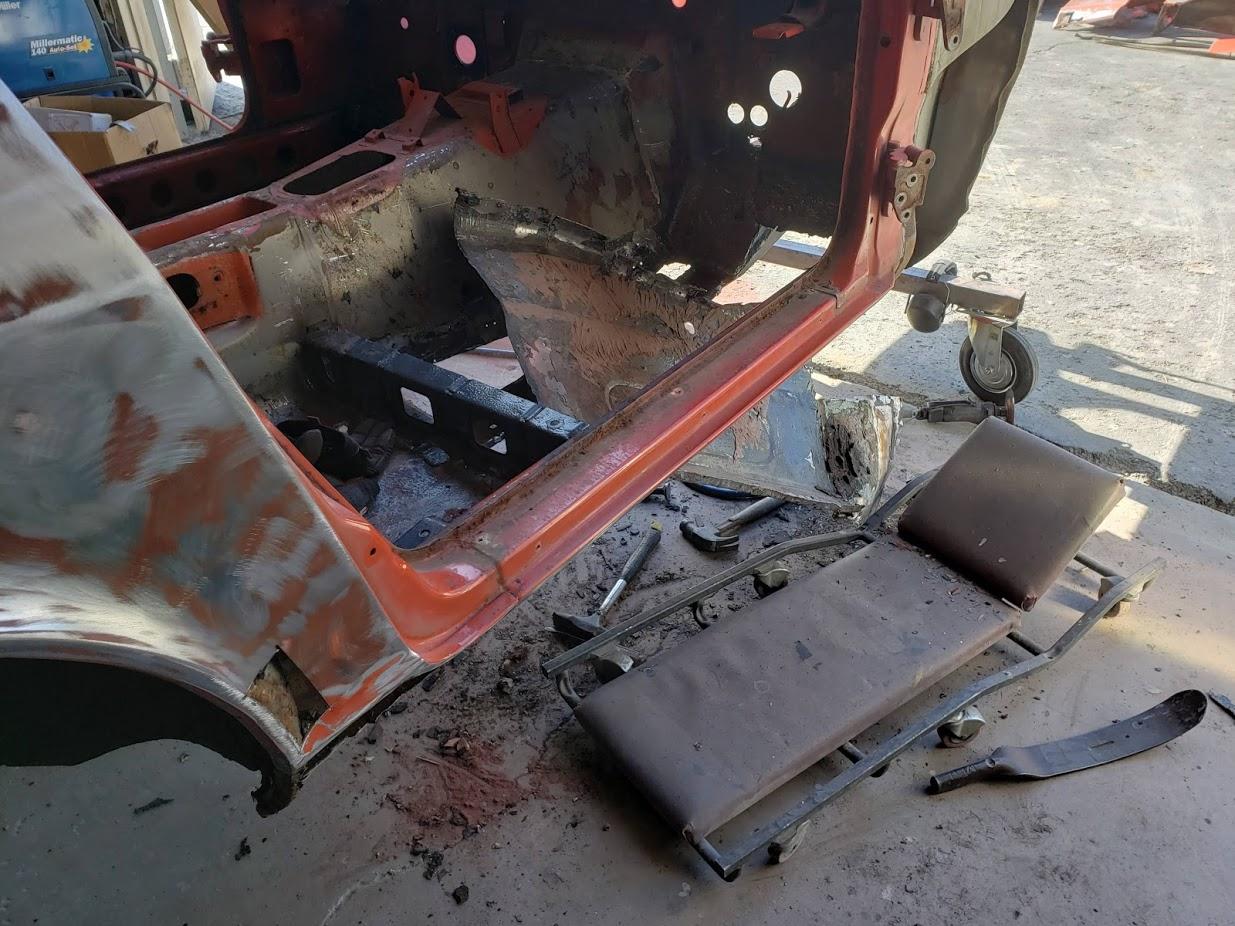
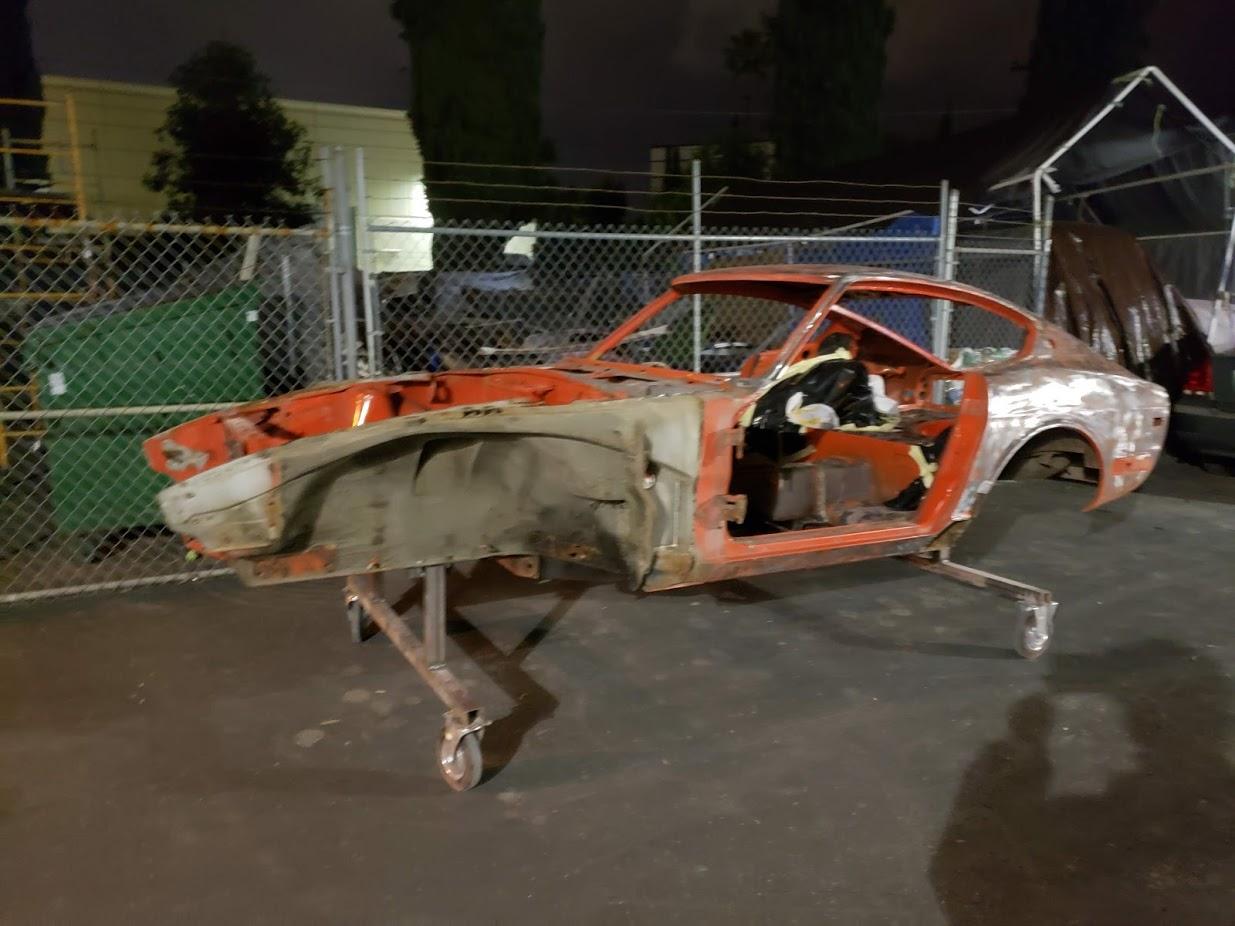
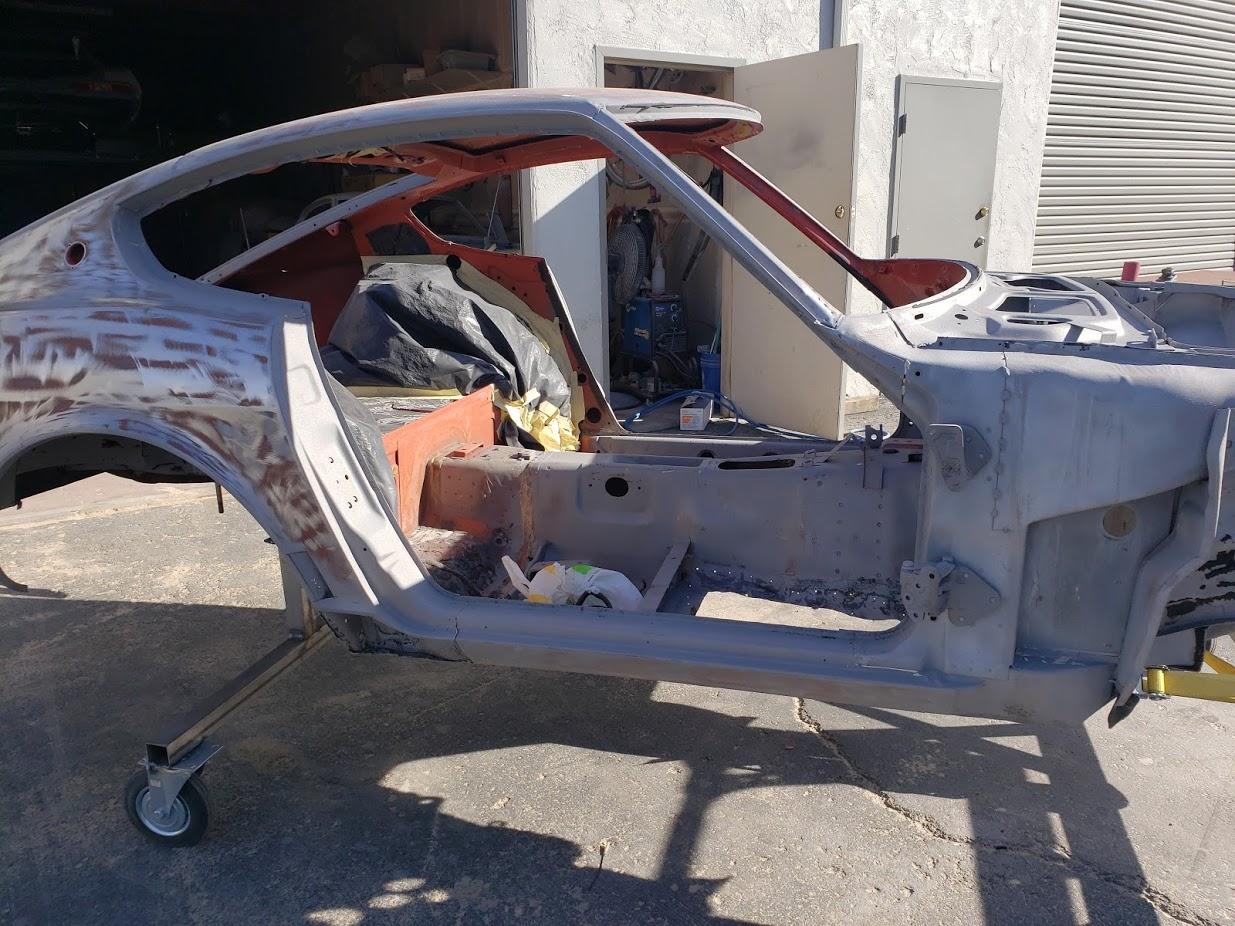
Fresh pics from the body shop. Lots going on there. It will go to the sand blaster pretty soon to clean up the deep crevices. Also, I pick up the powder coated suspension tonight. Will show pics of that later.
.thumb.jpg.fb5d048b0c54c1230c9a2d557a99e396.jpg)


-
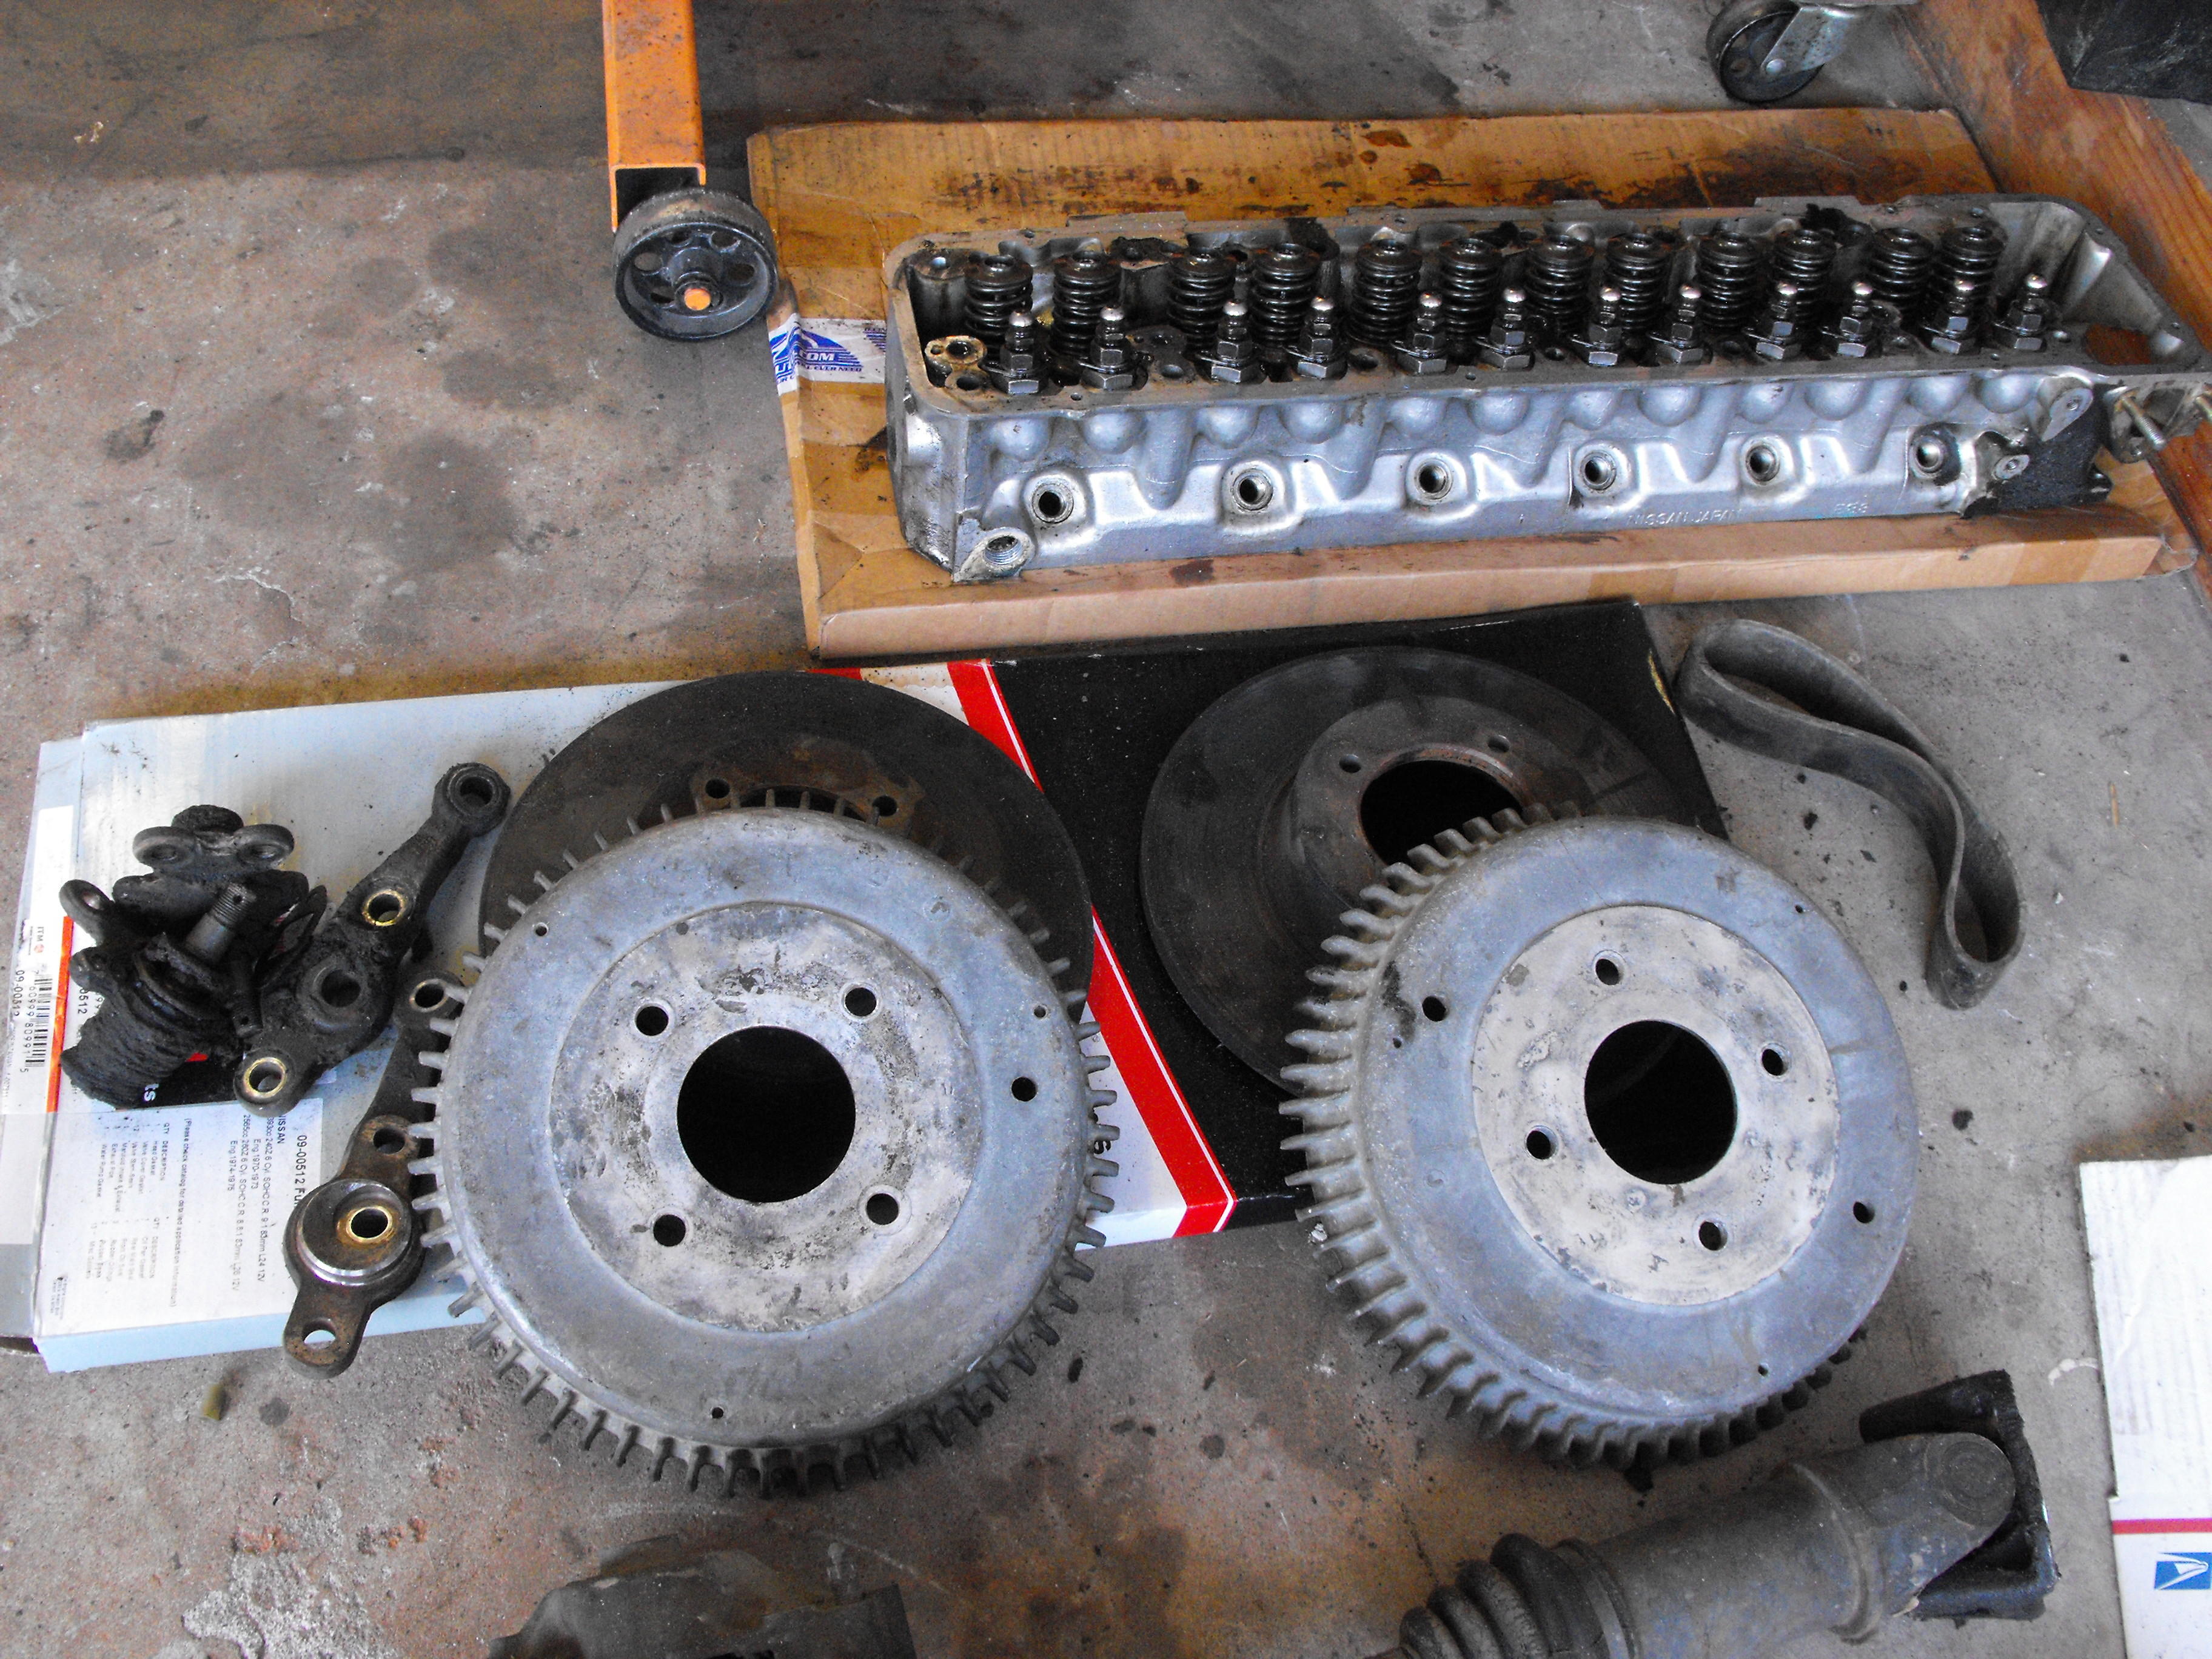
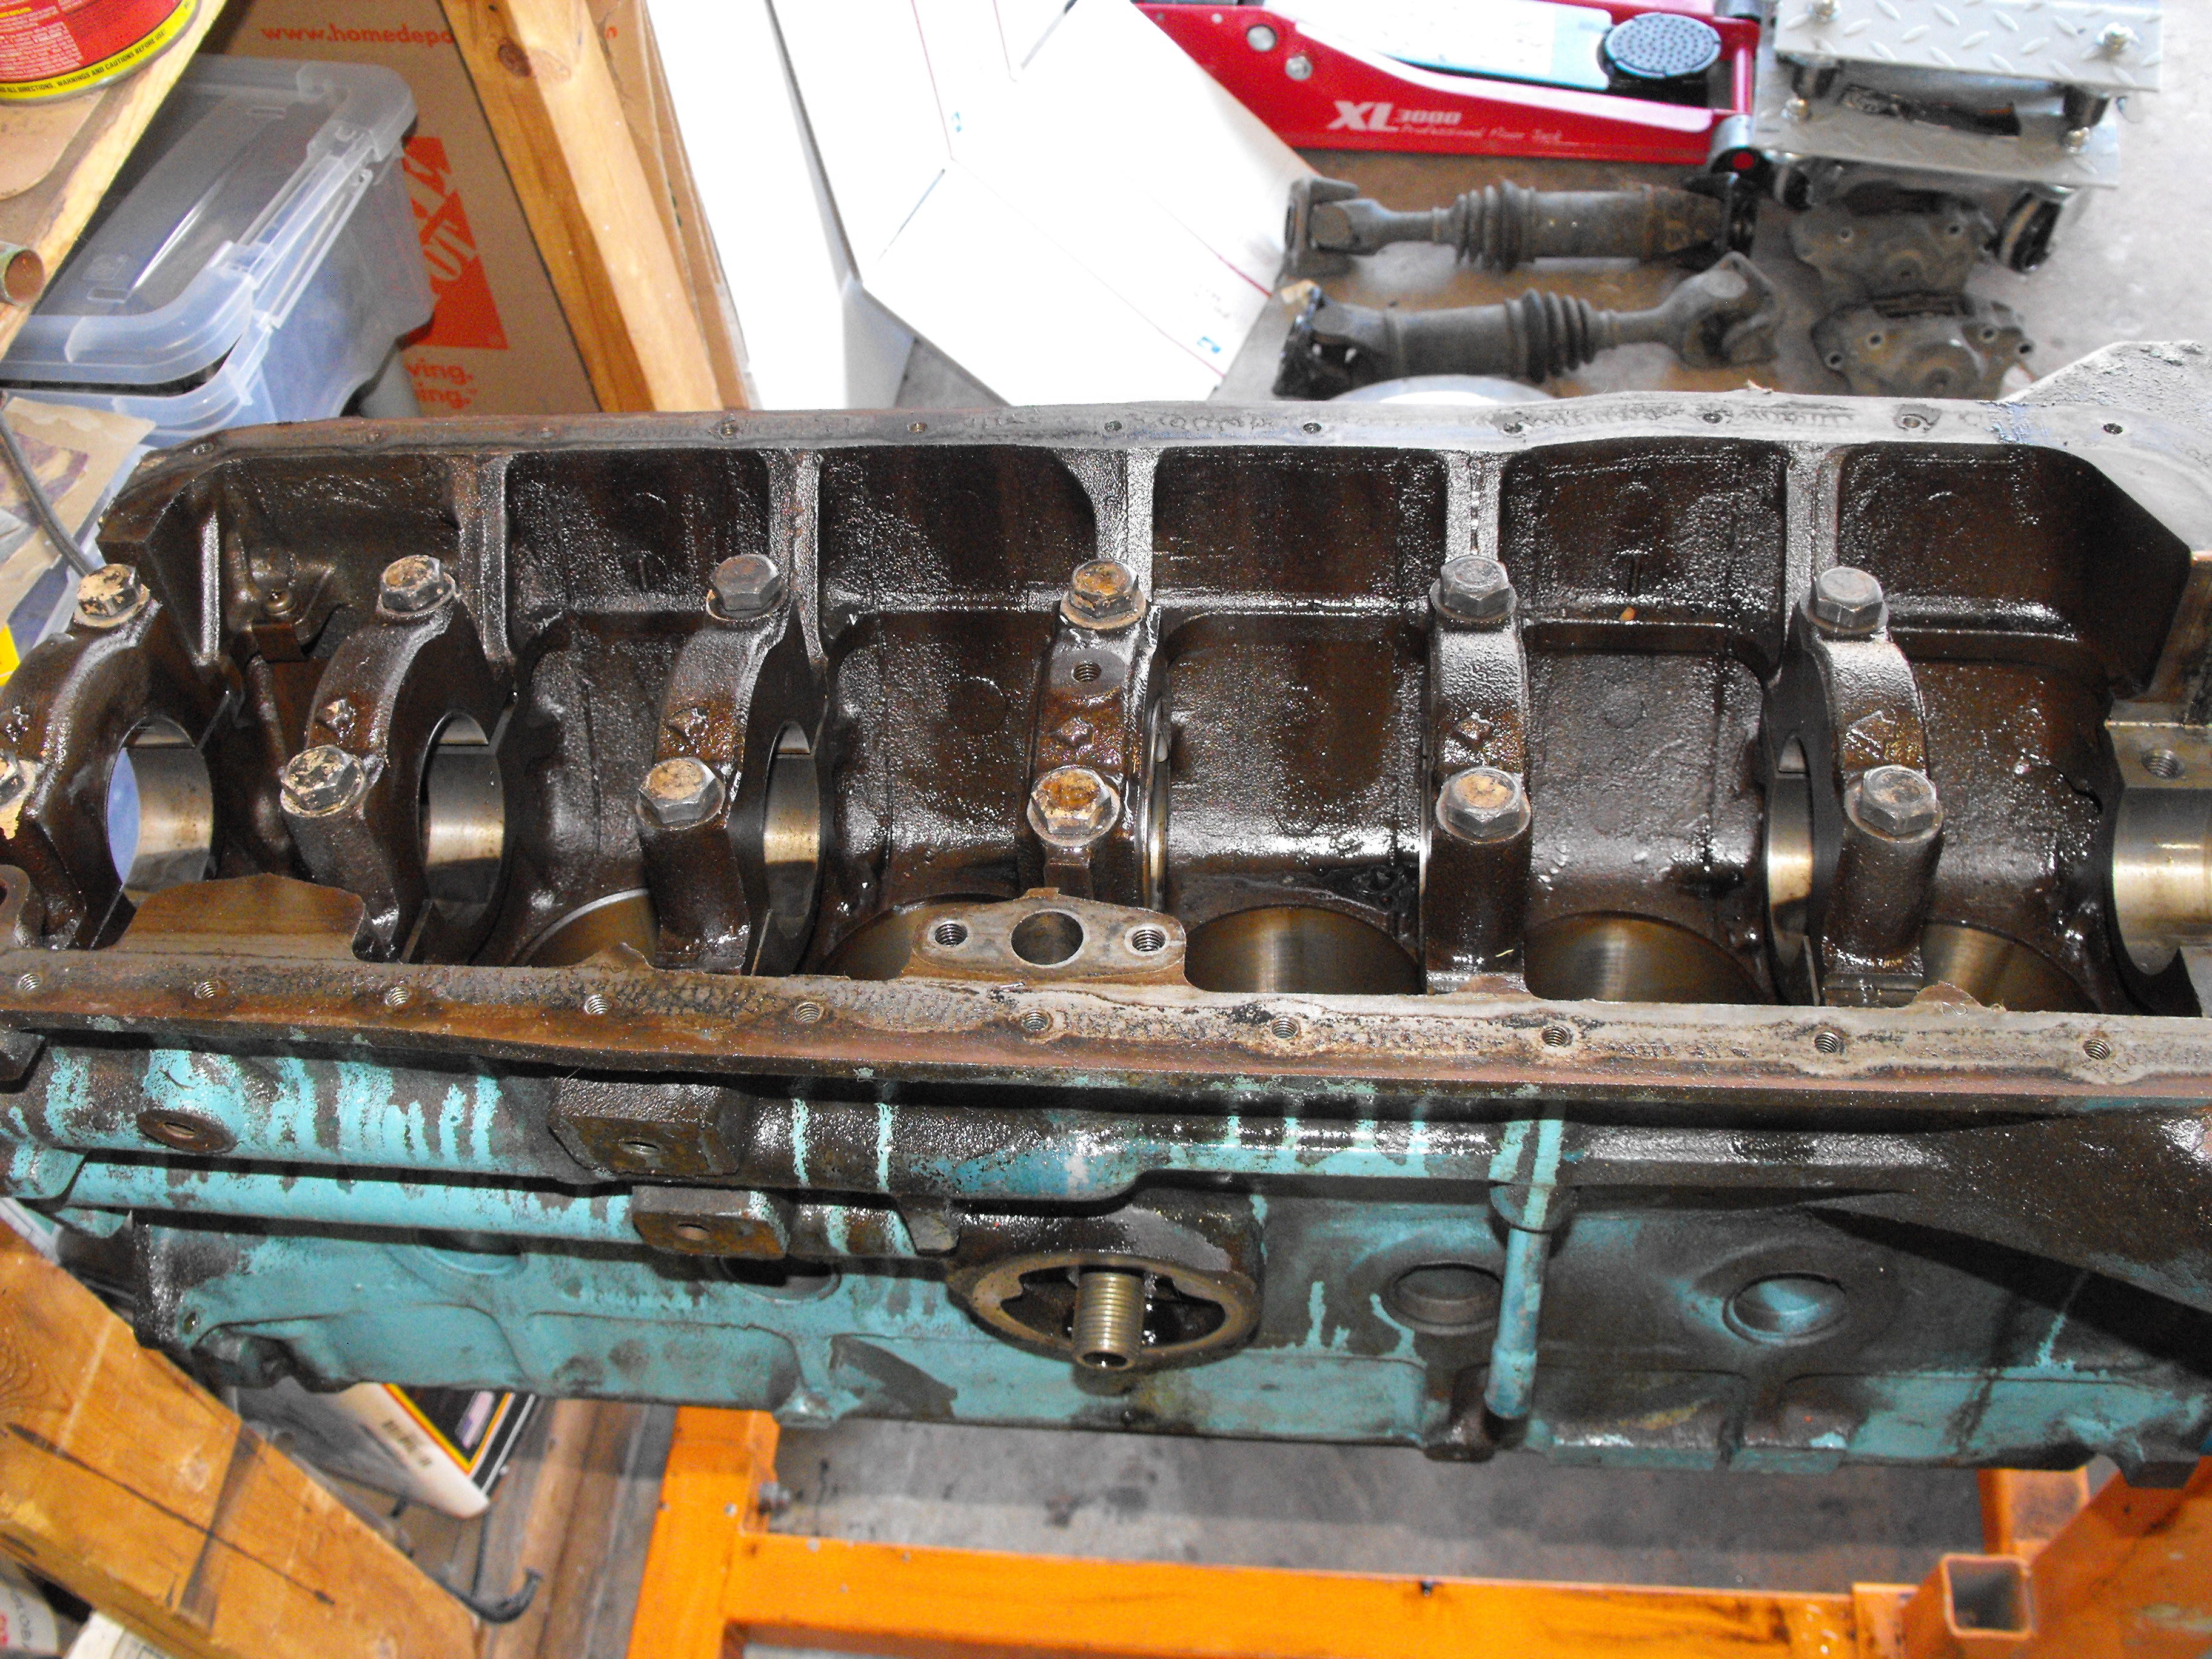
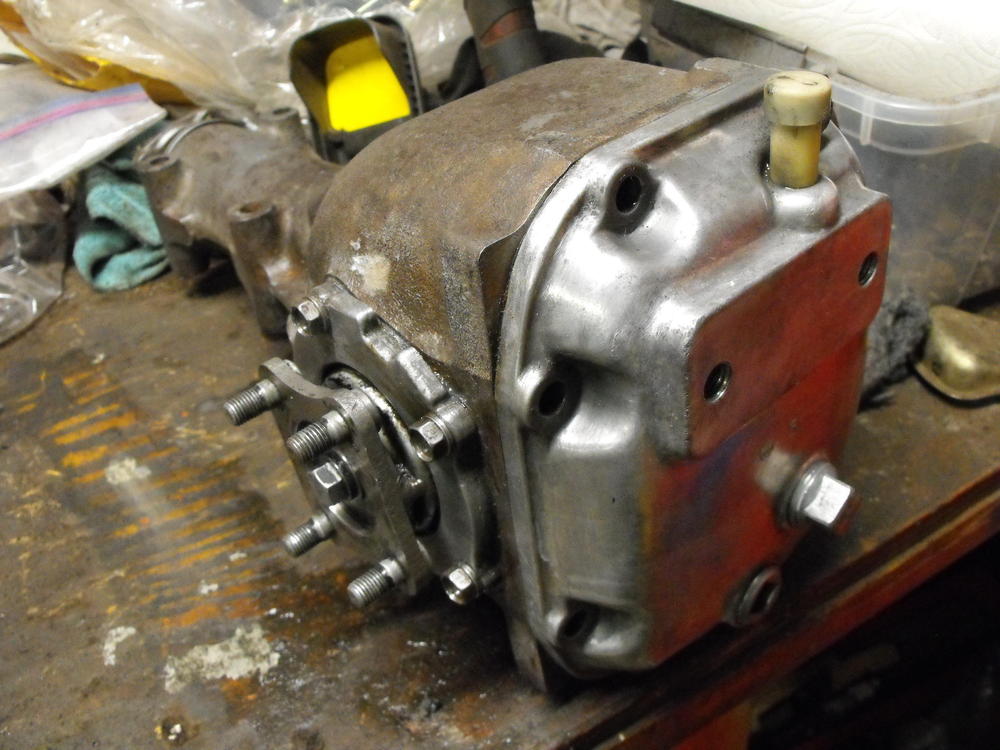
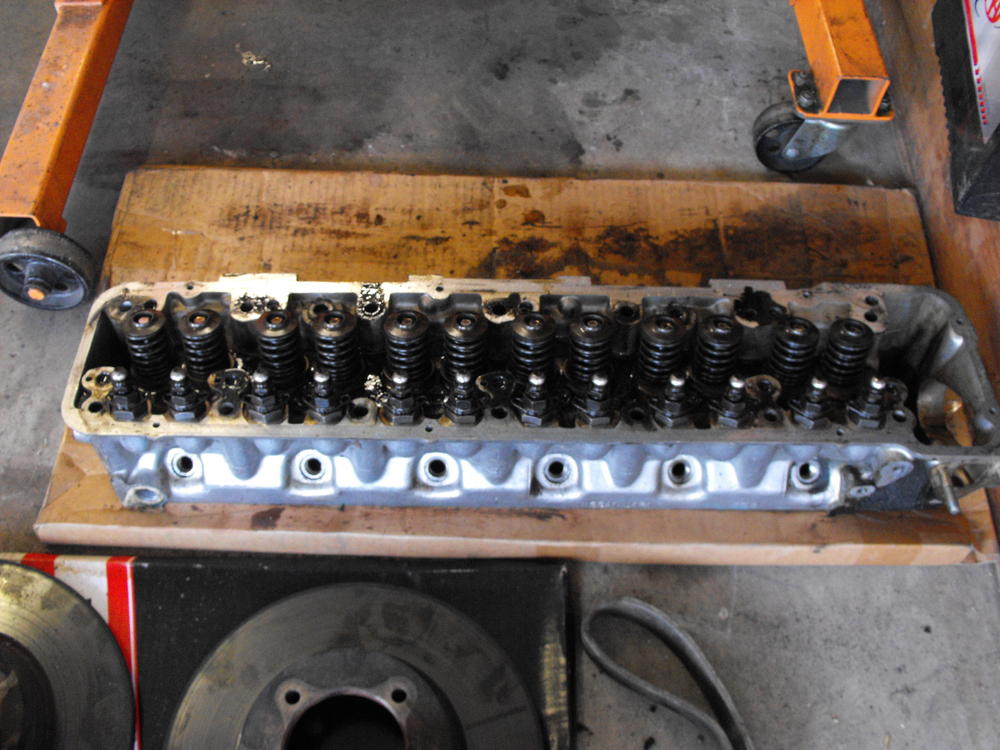
Got the engine disassembled and will bring to the machine shop tomorrow AM for block hone and and head work. Will also bring the discs and drums and have them turned. Started clean-up on the yellow zinc parts and should have those sent out for plating this week.


-
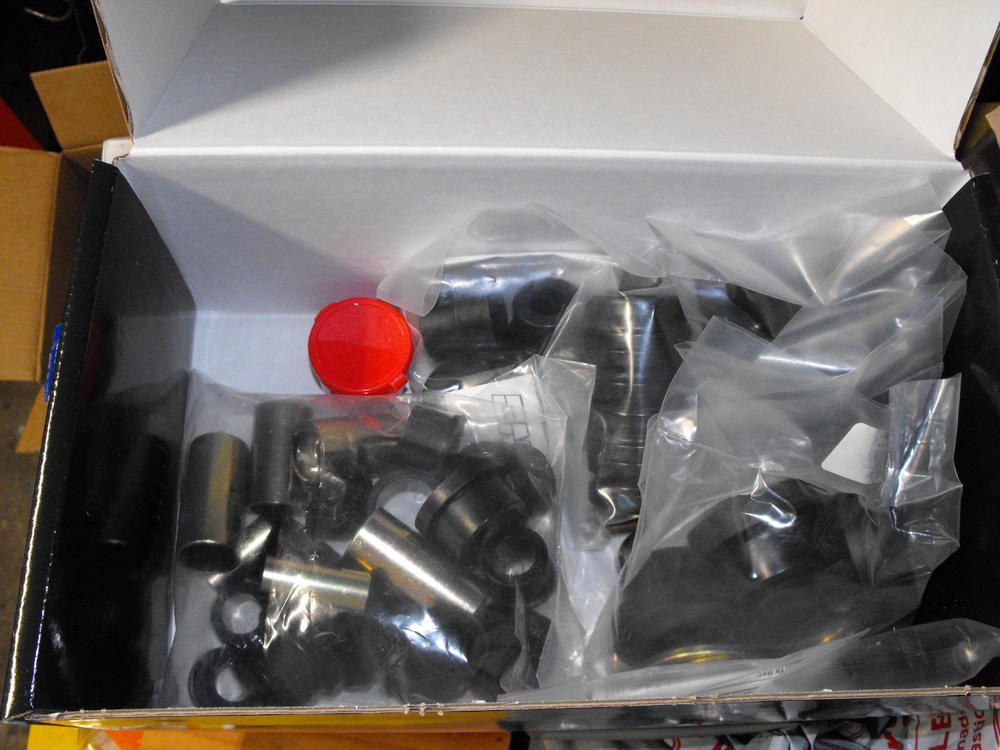
Yes, I typically use the complete Energy Suspension kit, except for maybe the steering arm piece. I prefer the original rubber in that location if the part is in good shape. https://www.energysuspensionparts.com/7.18101


.jpg.b20677023f34ff8fac1de8255f69b203.jpg)