motorman7
 Subscriber
-
Joined
-
Last visited
Everything posted by motorman7
-
 Bad news, good news on the tube plating. Turns out that the local plating shop was not able to accommodate the tubes in their 5 foot long tanks due to the 'Anode configuration'. So, I went back and picked up all the tubes and figured I would send them to Sav-On plating. They are the ones that do my batch plating for the smaller parts. They do a great job with very nice results. So, after chasing down a large box here at work, I shipped the tubes off to the plater. The good news here is that in spite of the added shipping charges, $75 each way, the cost to do all of the tubes using their rack plating set-up is just $165. I was paying double that for my local plater on the long tubes and I did not care for their work as much. So, turns out, I should get nicely plated tubes for just a little less than what i was paying my not so good local plater.
 -
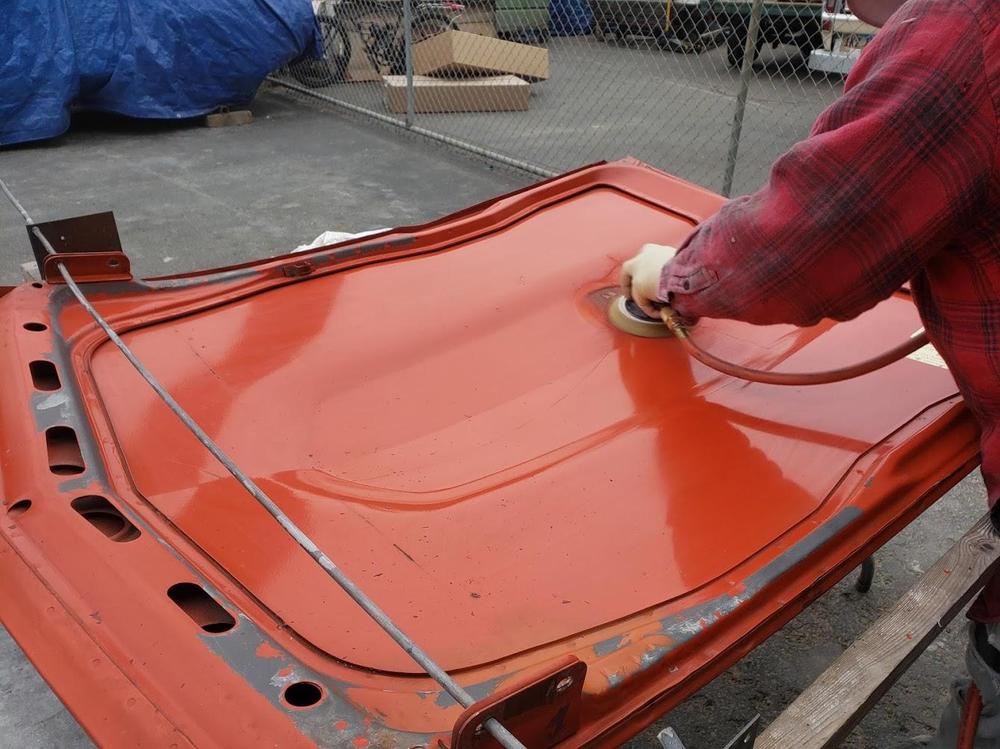
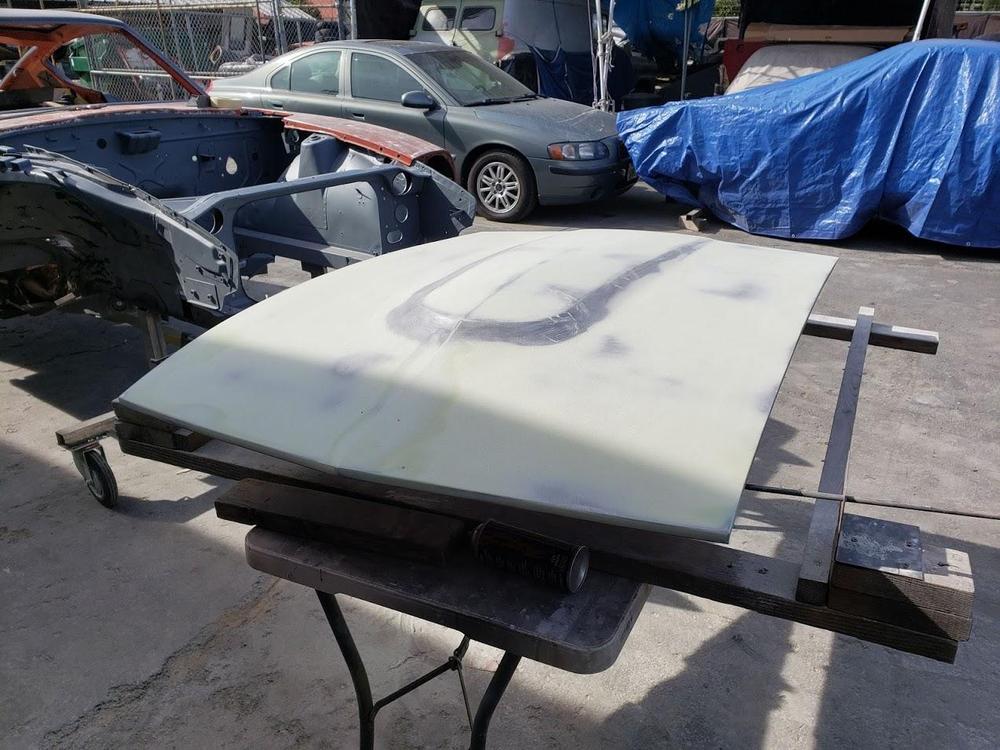
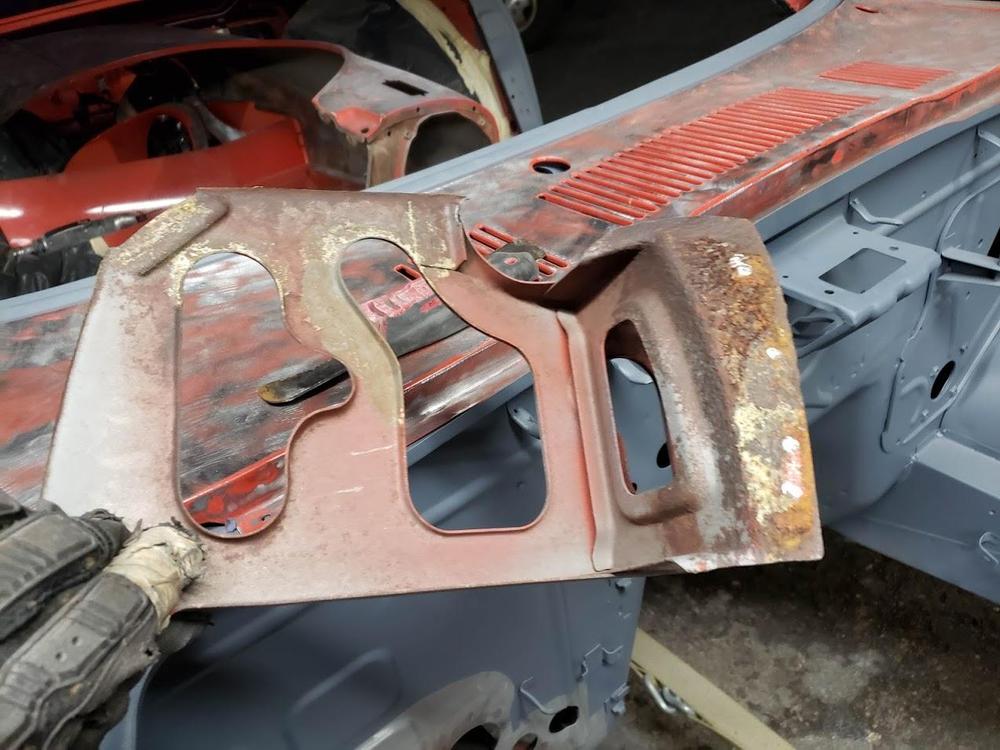
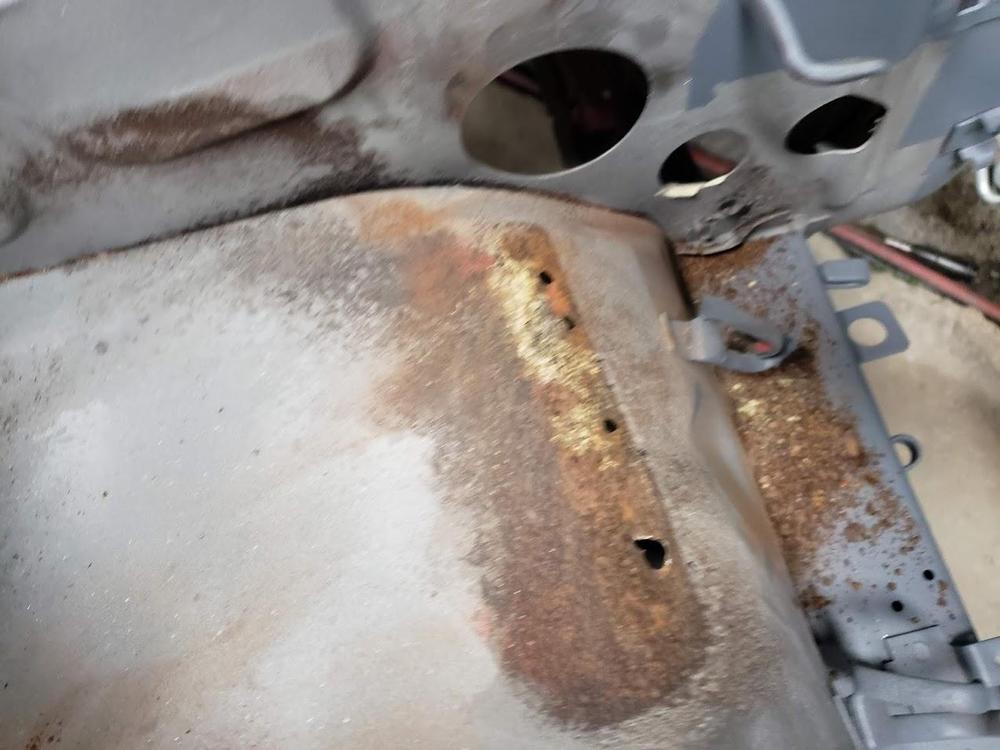
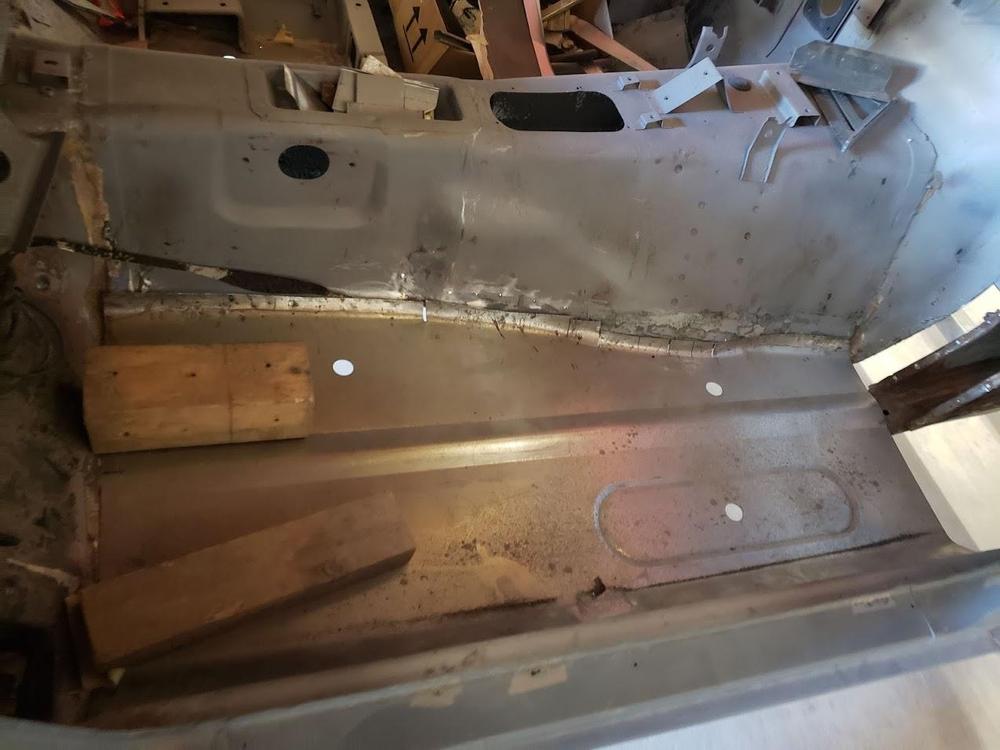
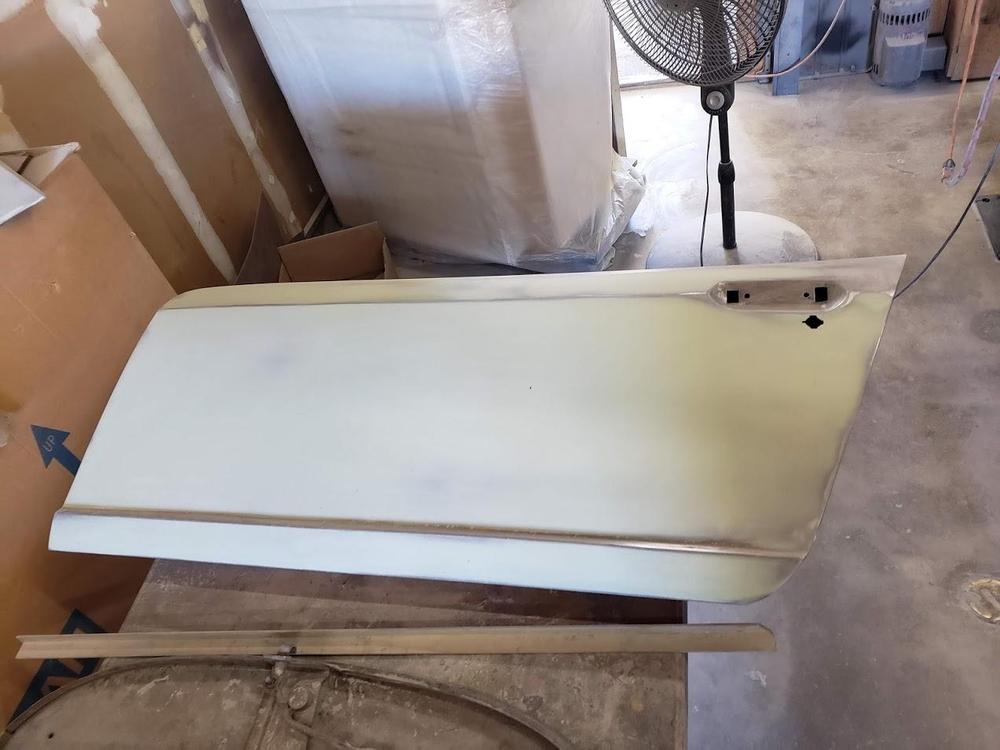
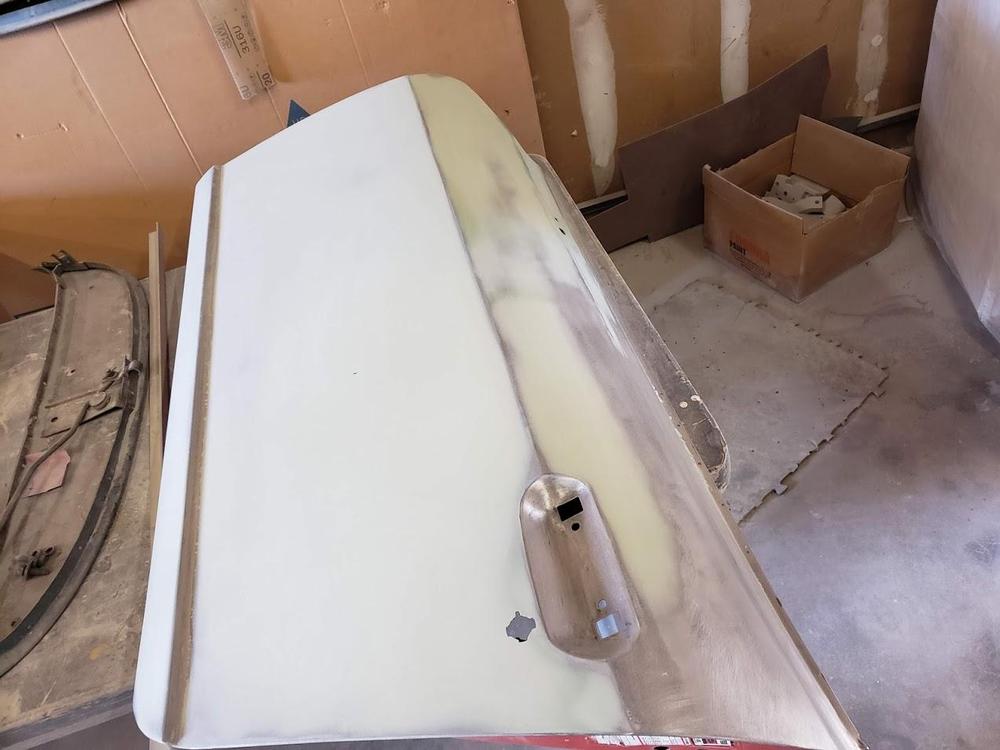
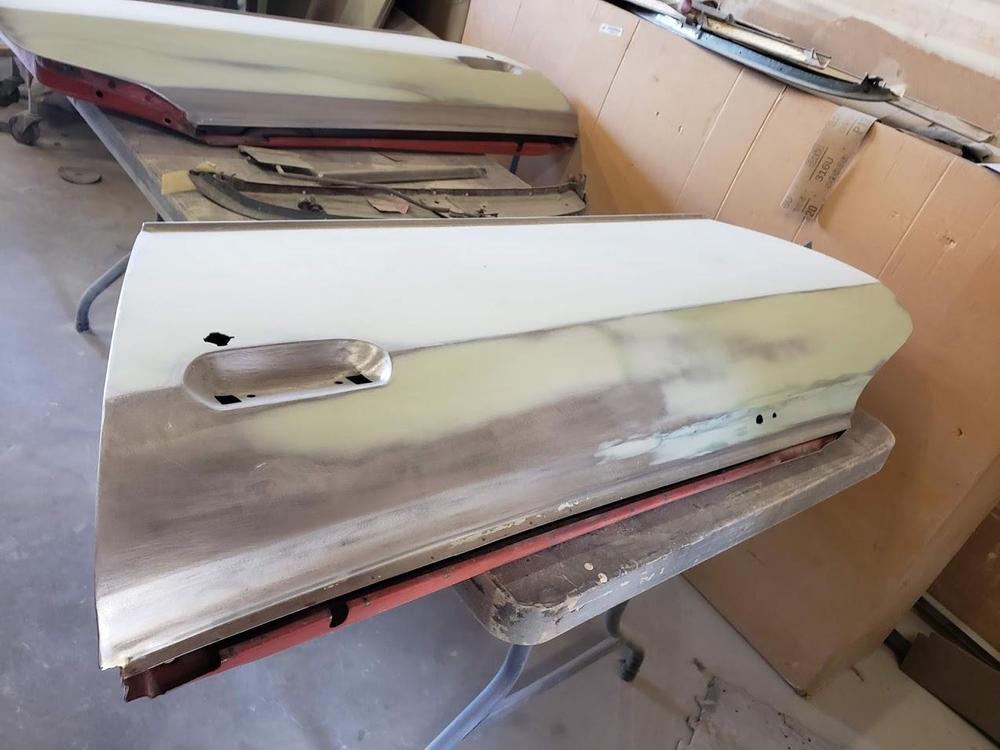
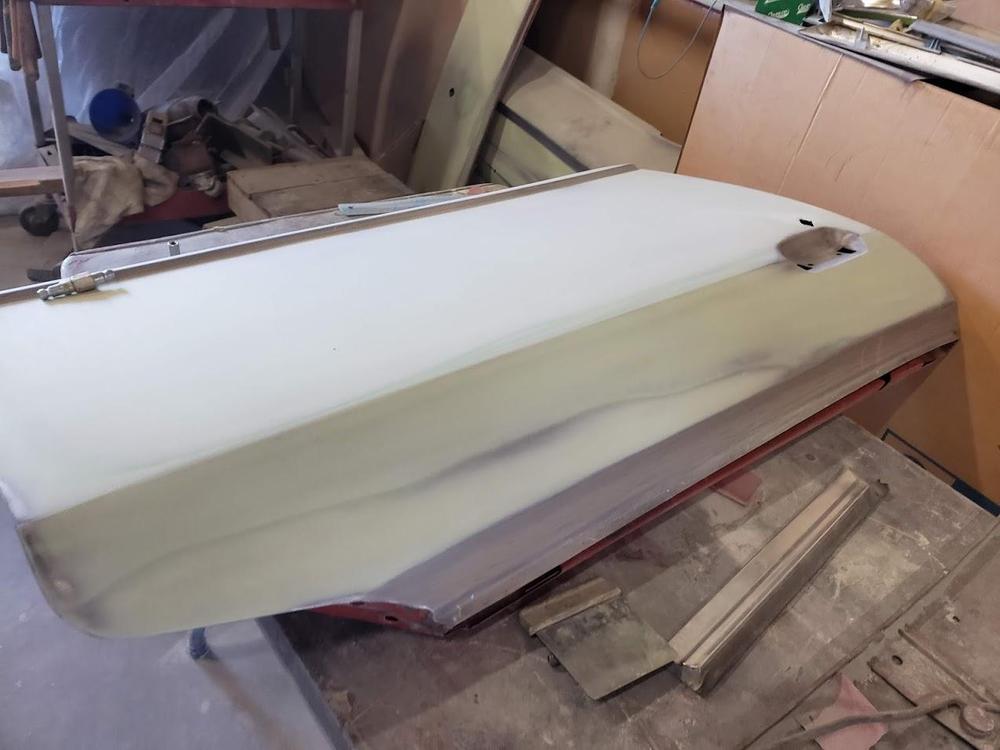
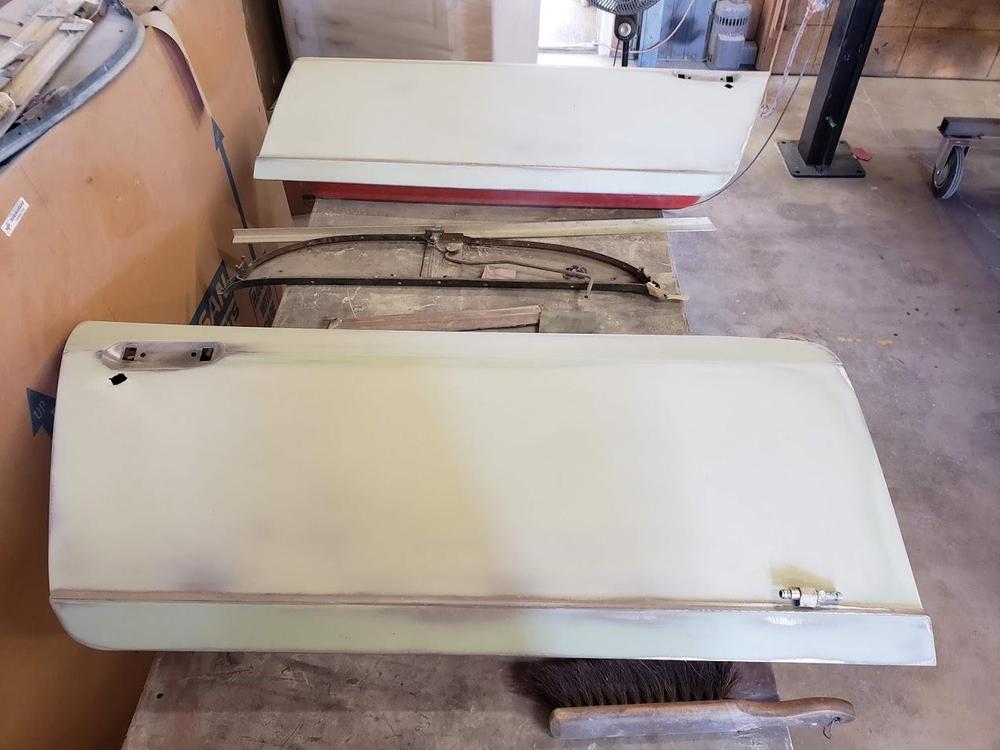
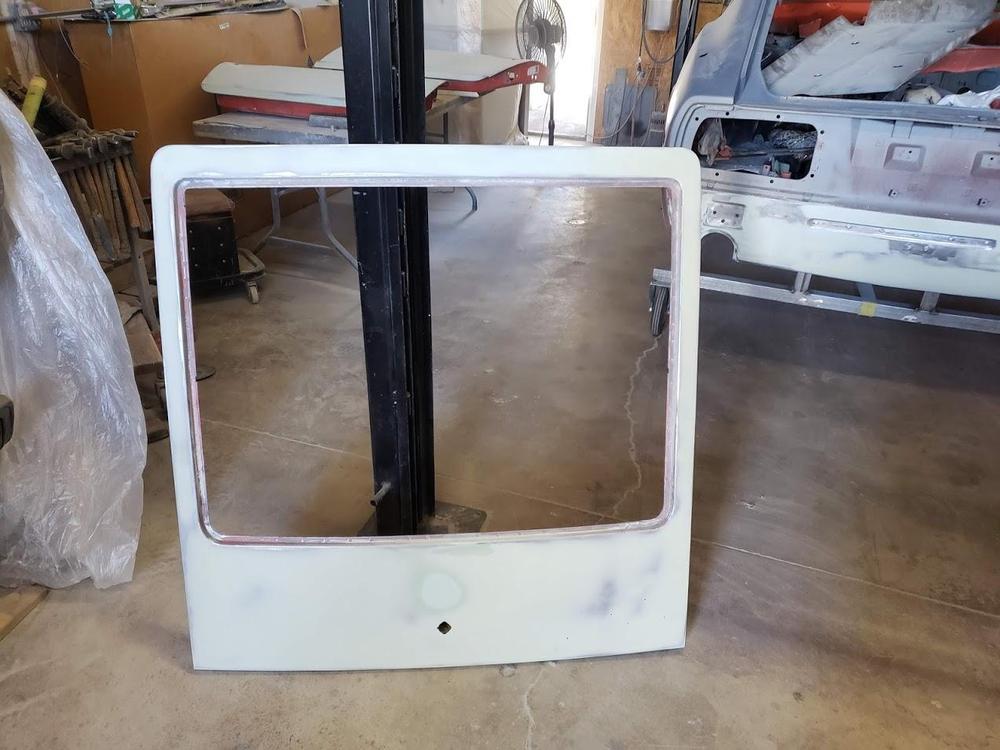
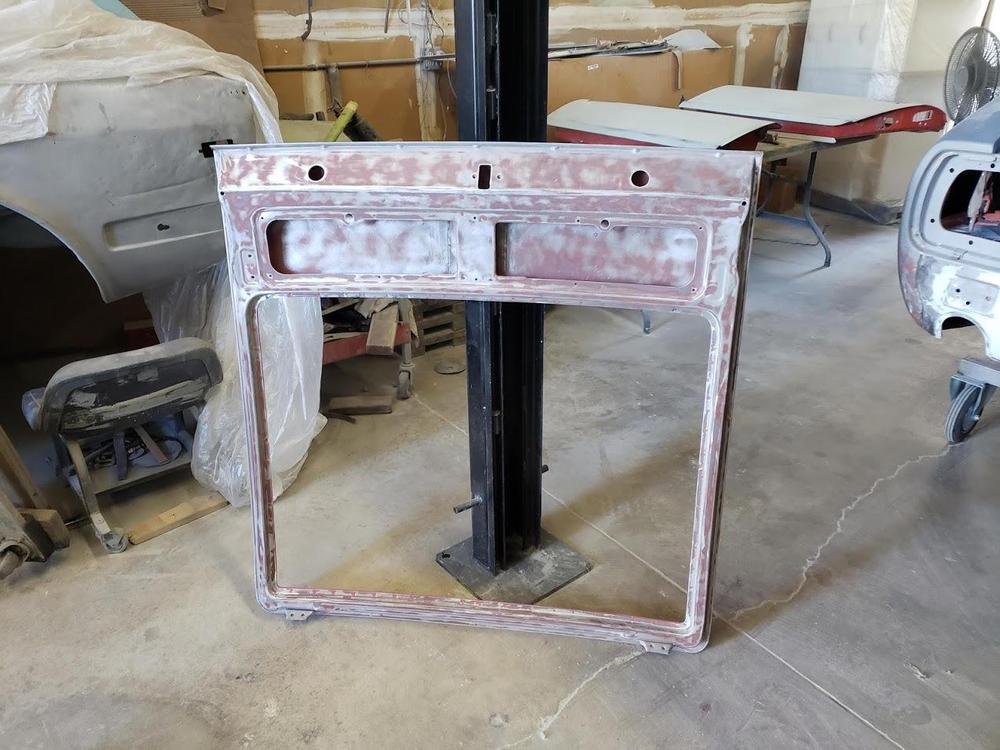
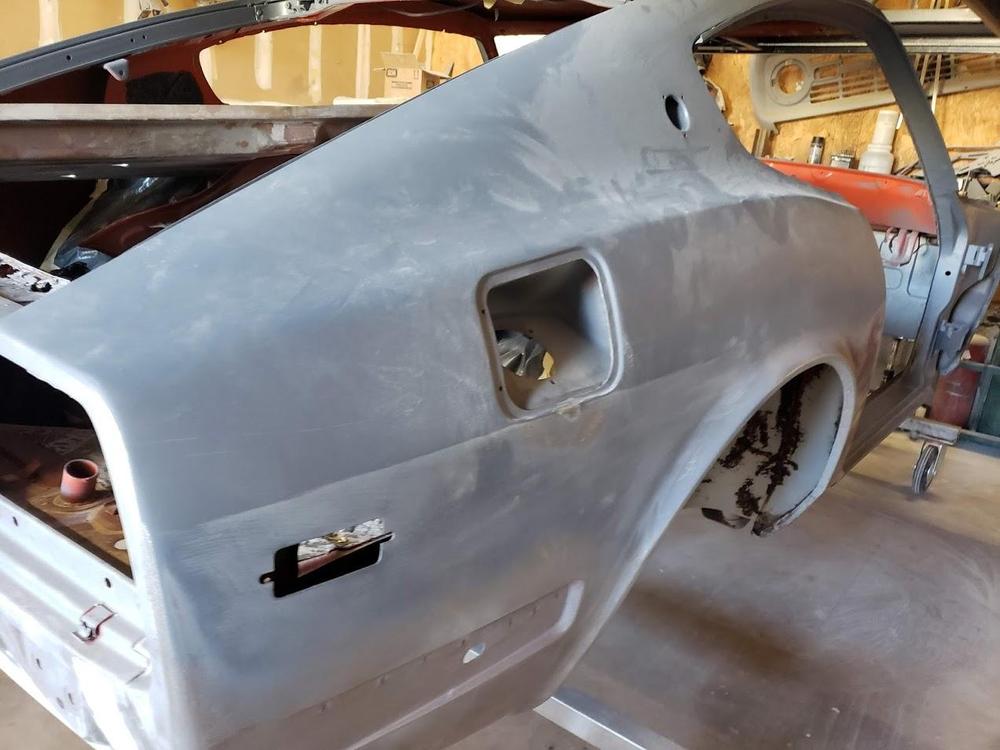
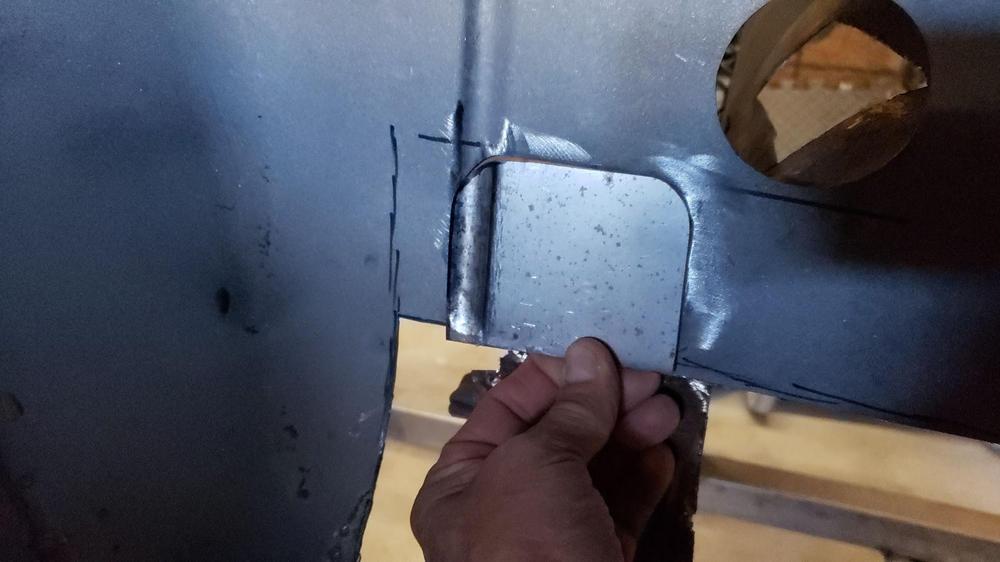
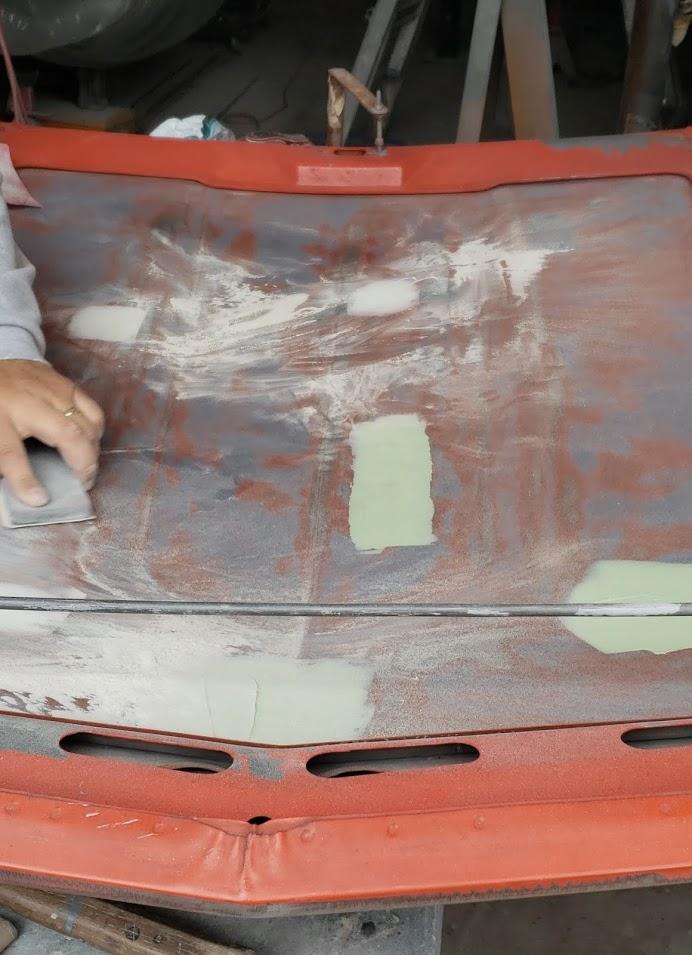
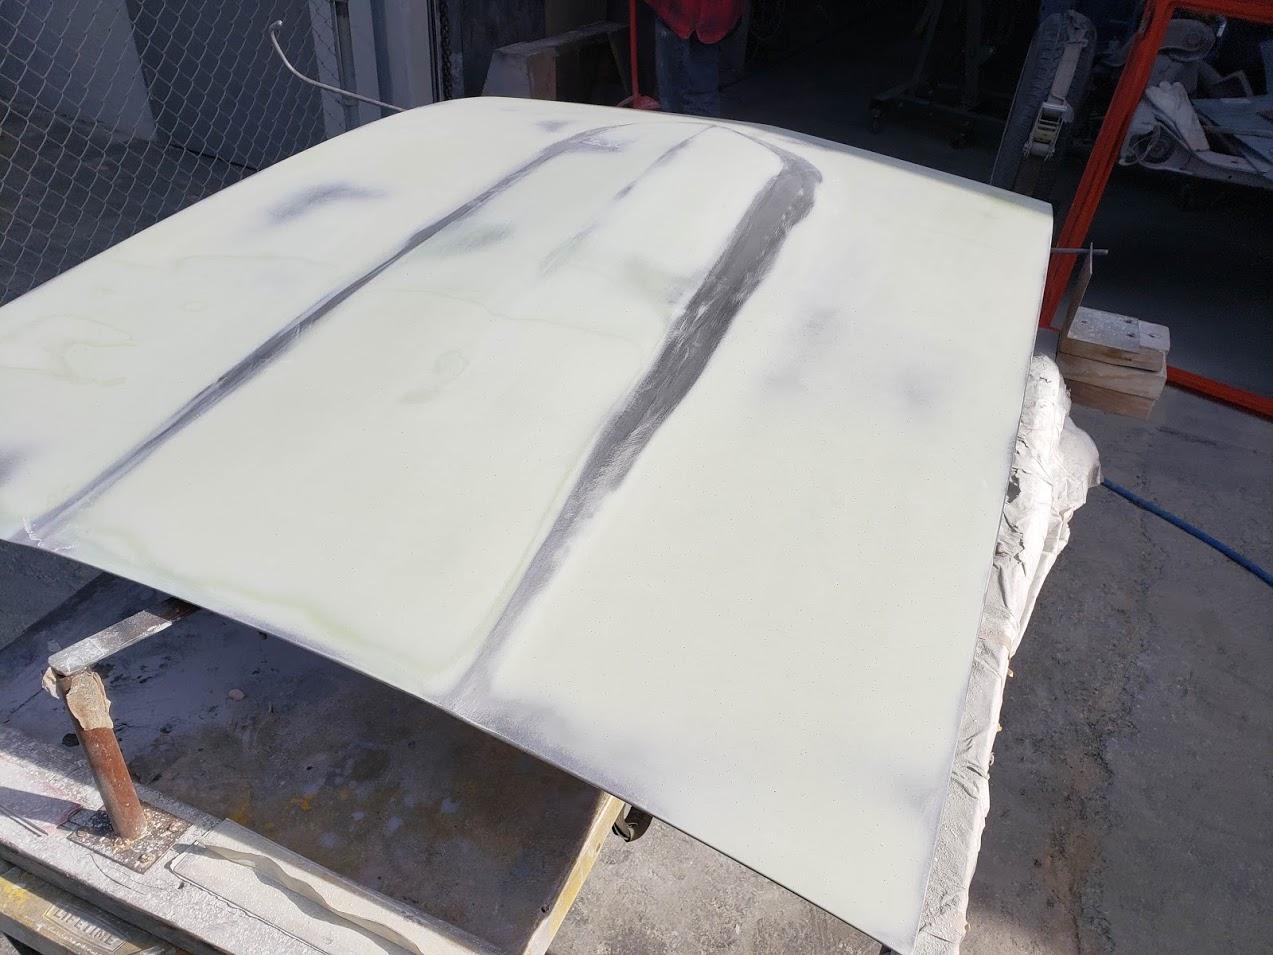
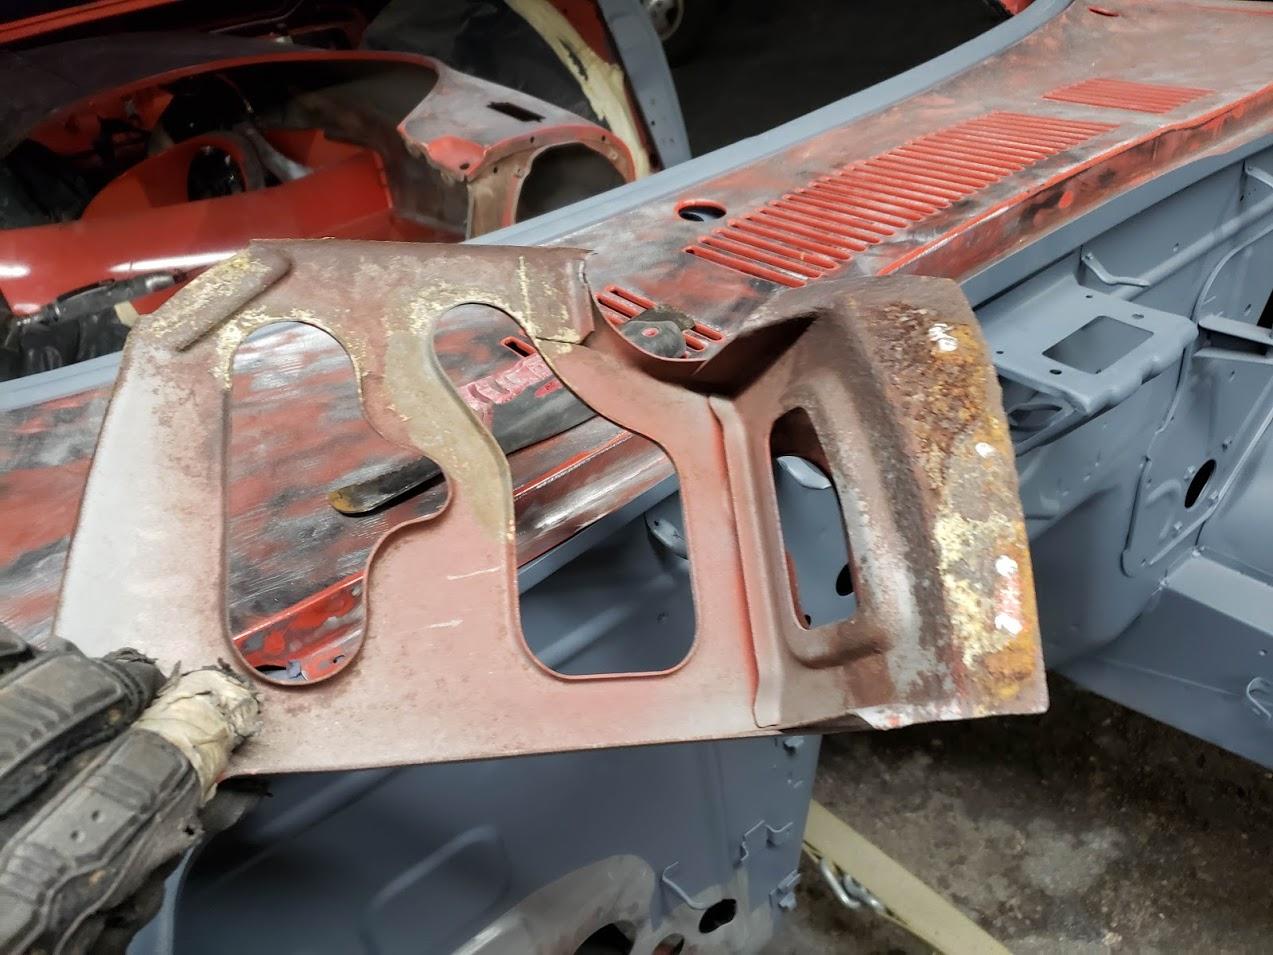
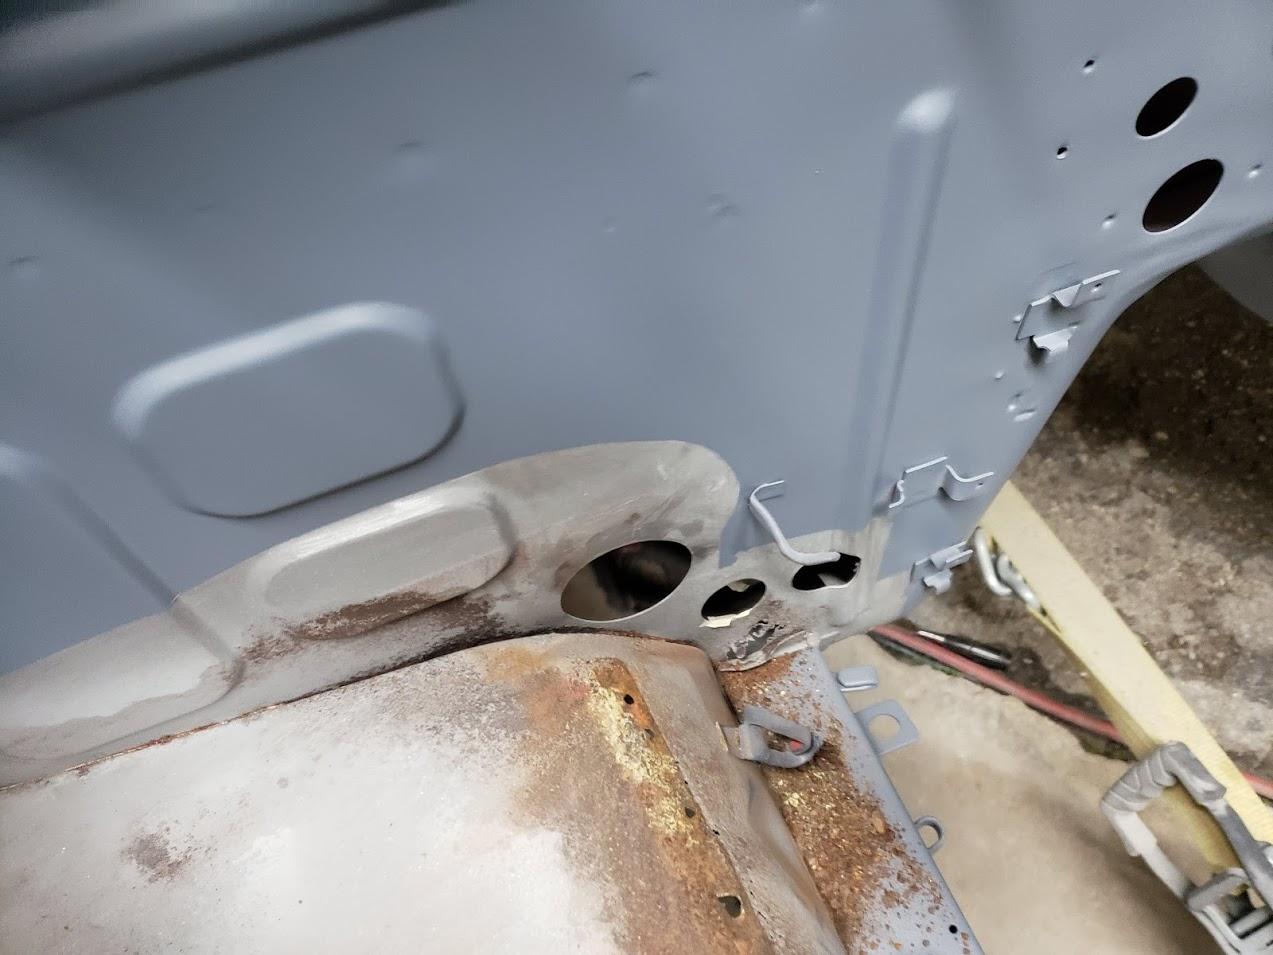
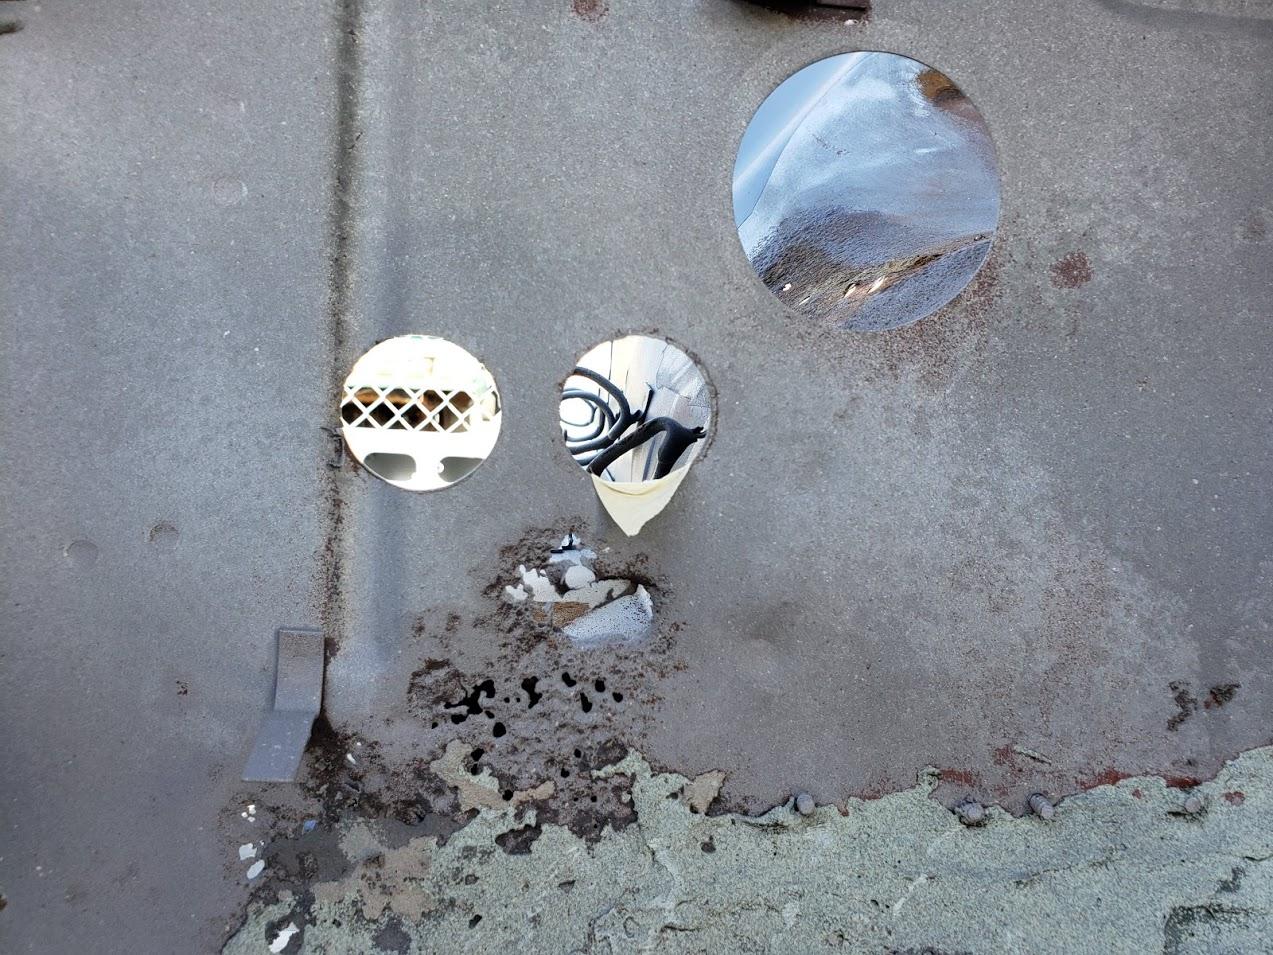
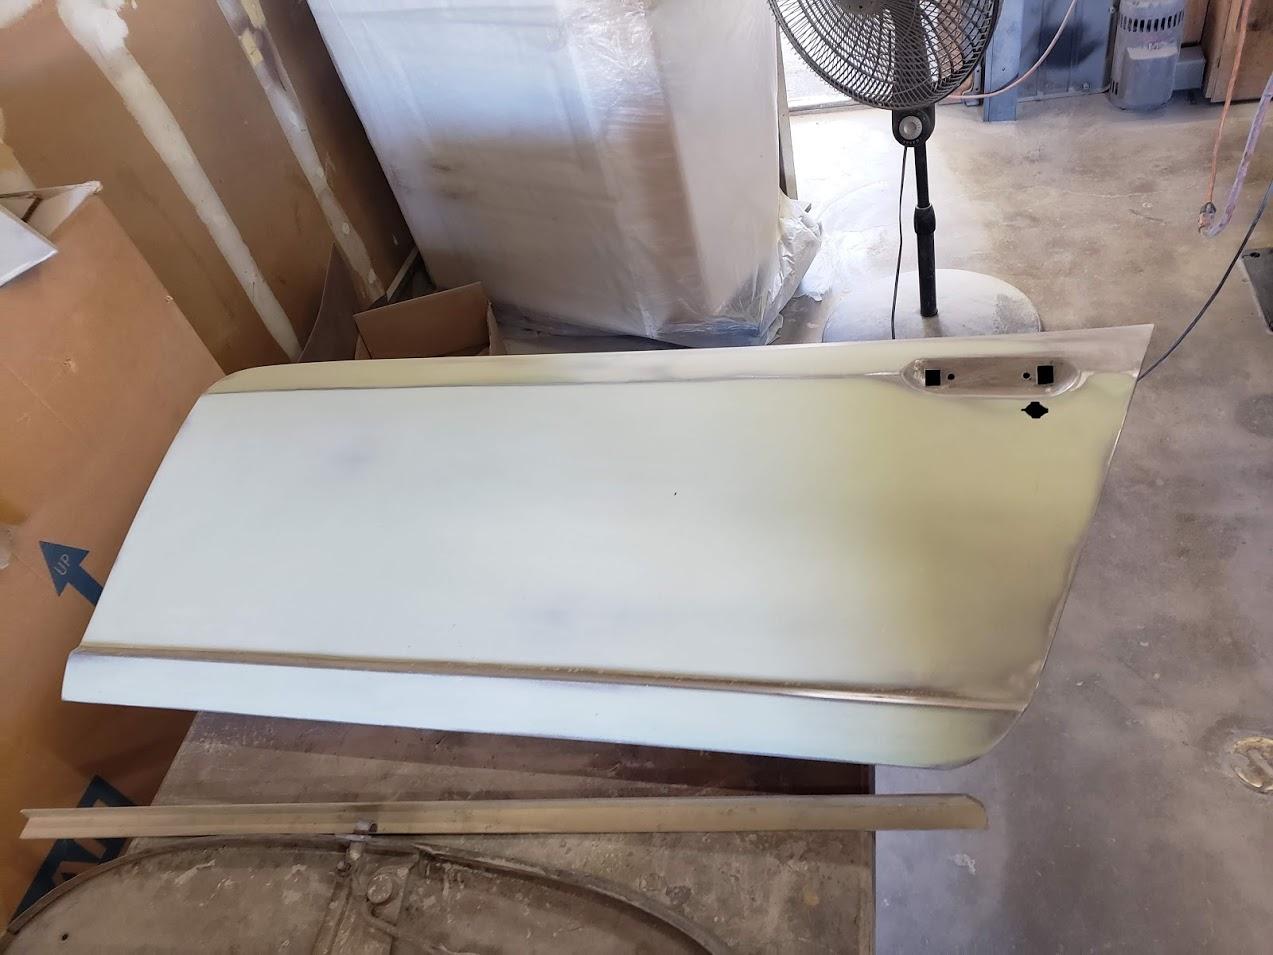
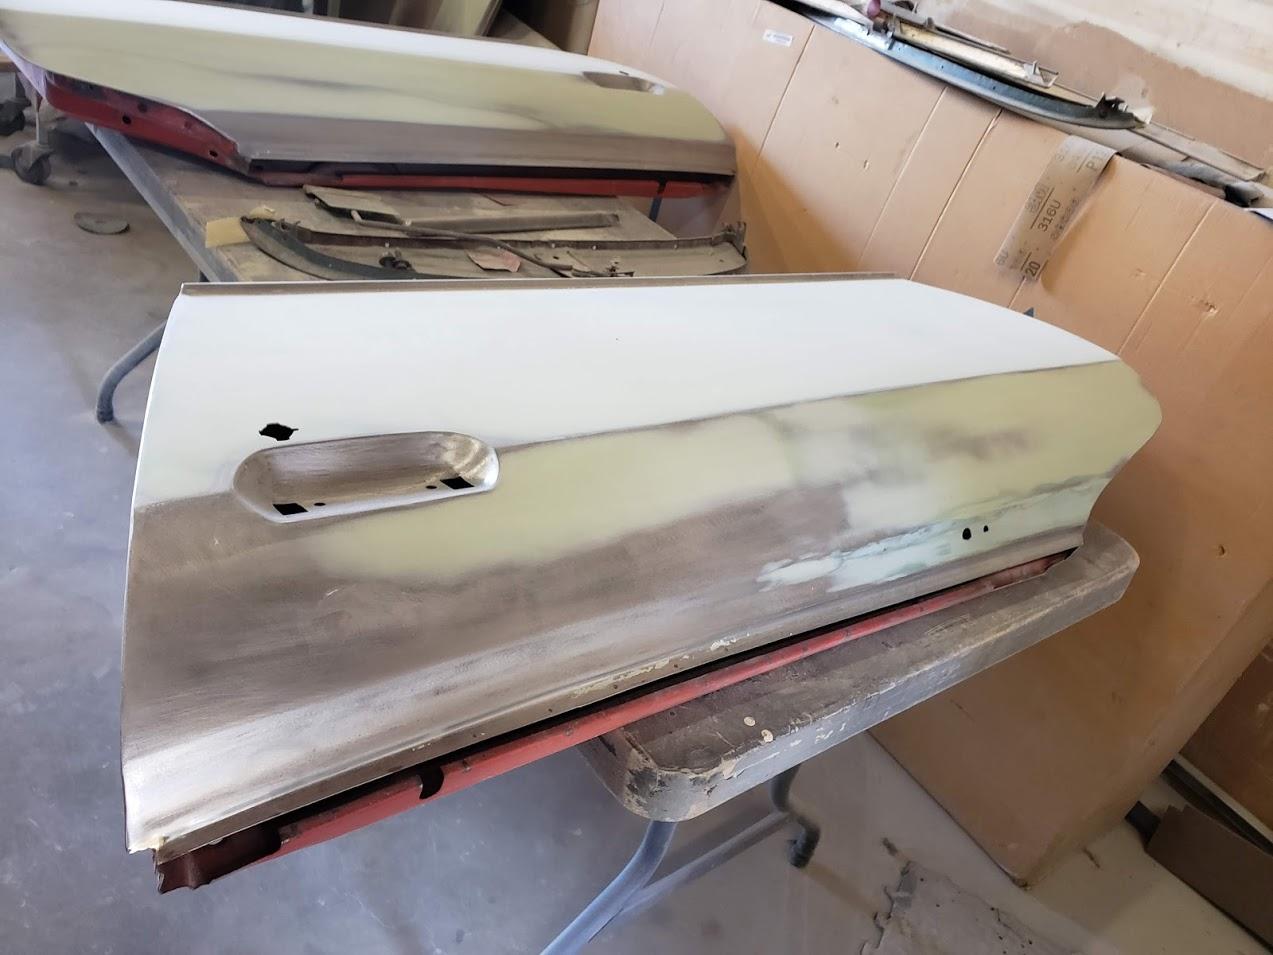
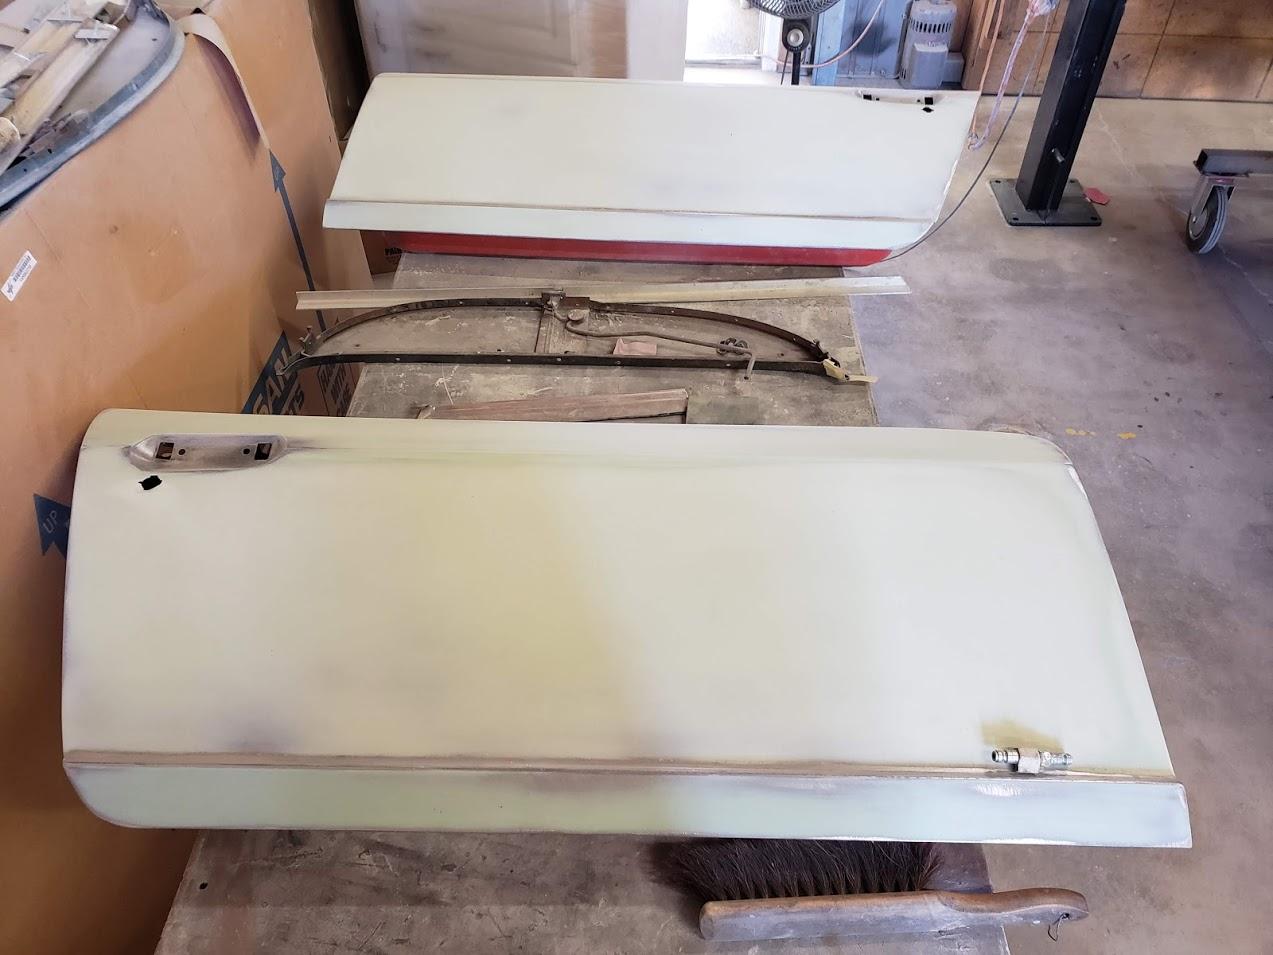
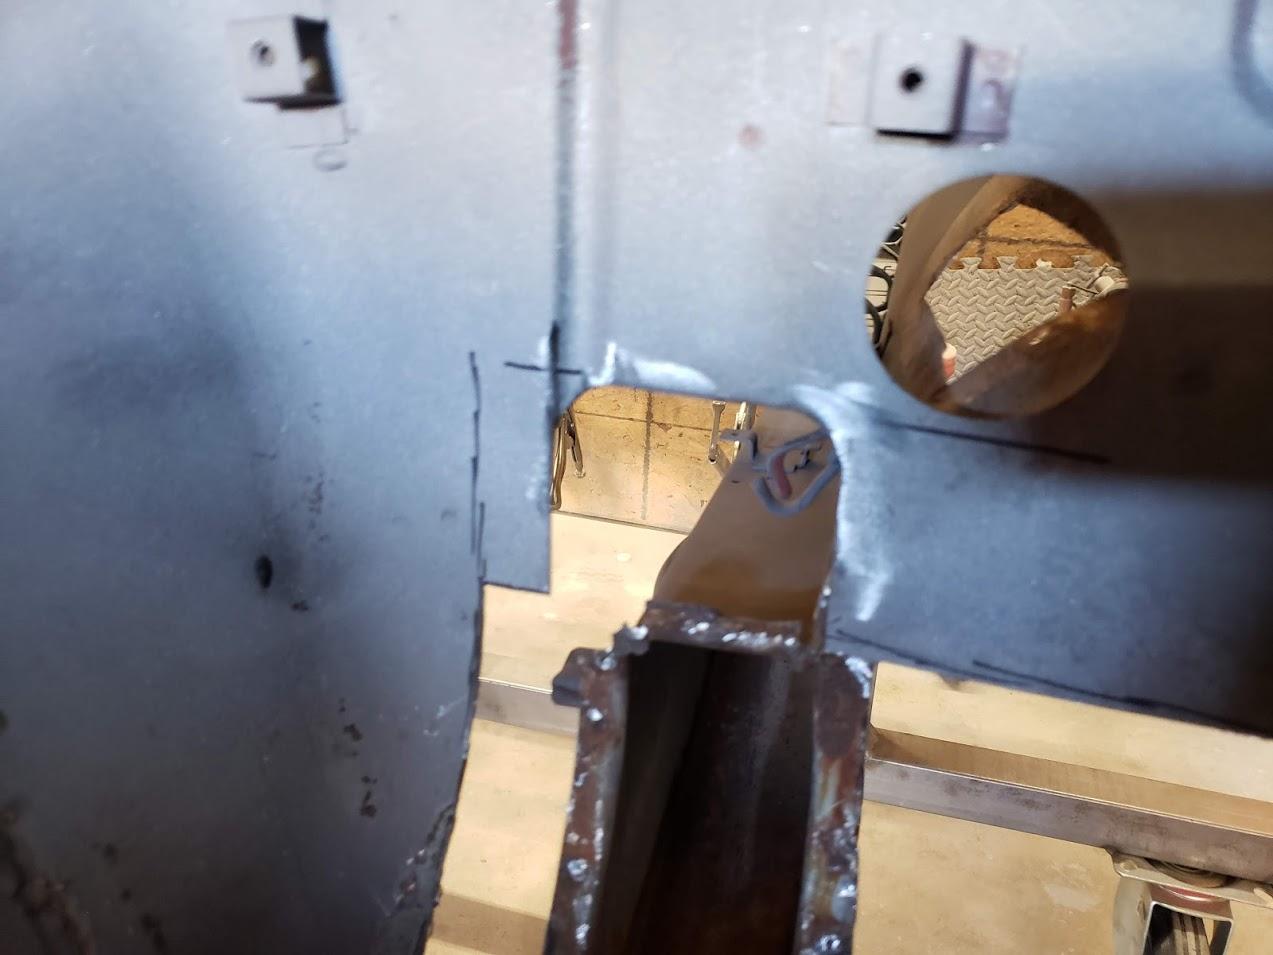
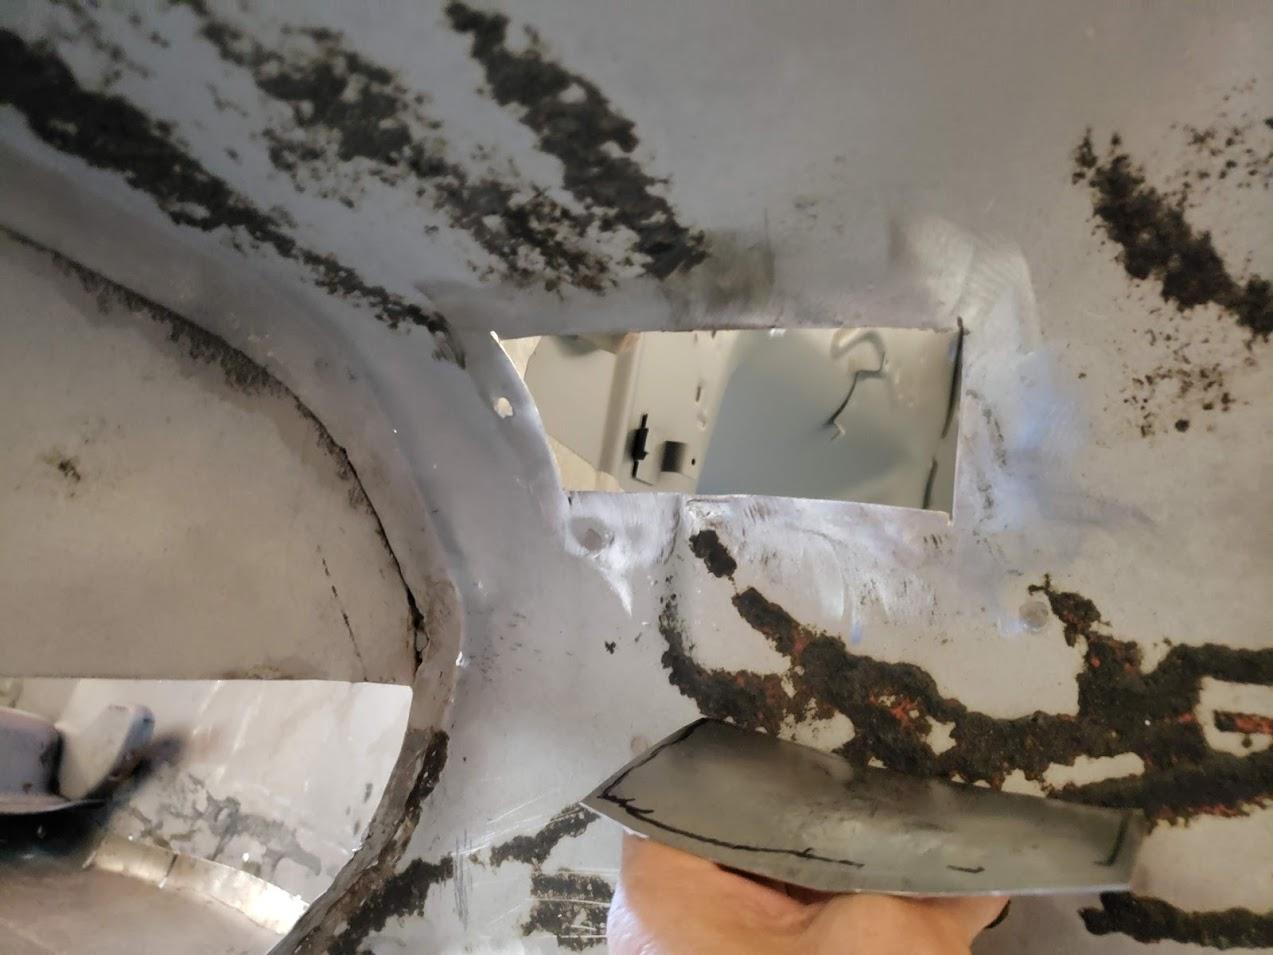
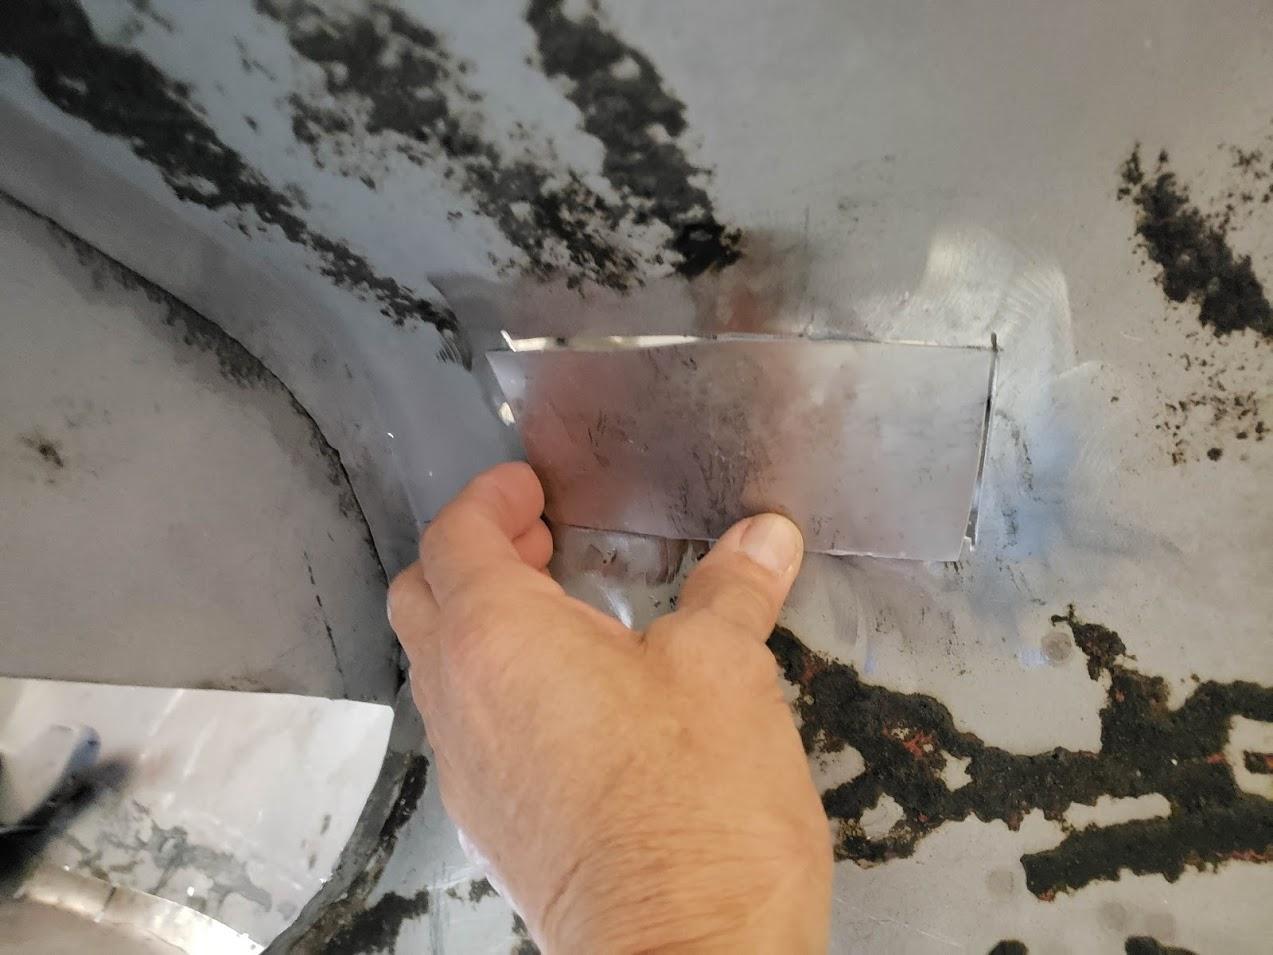
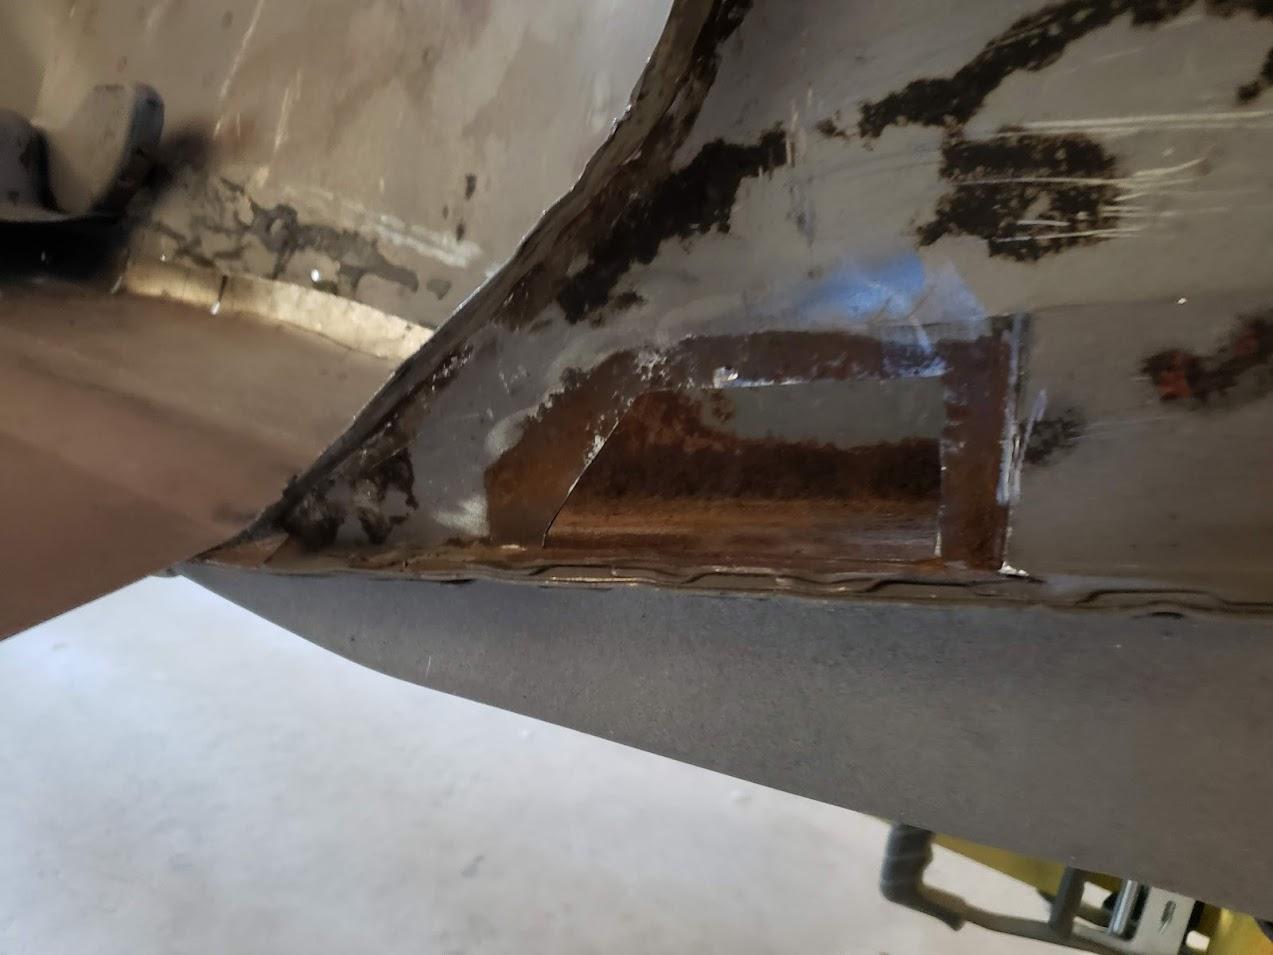
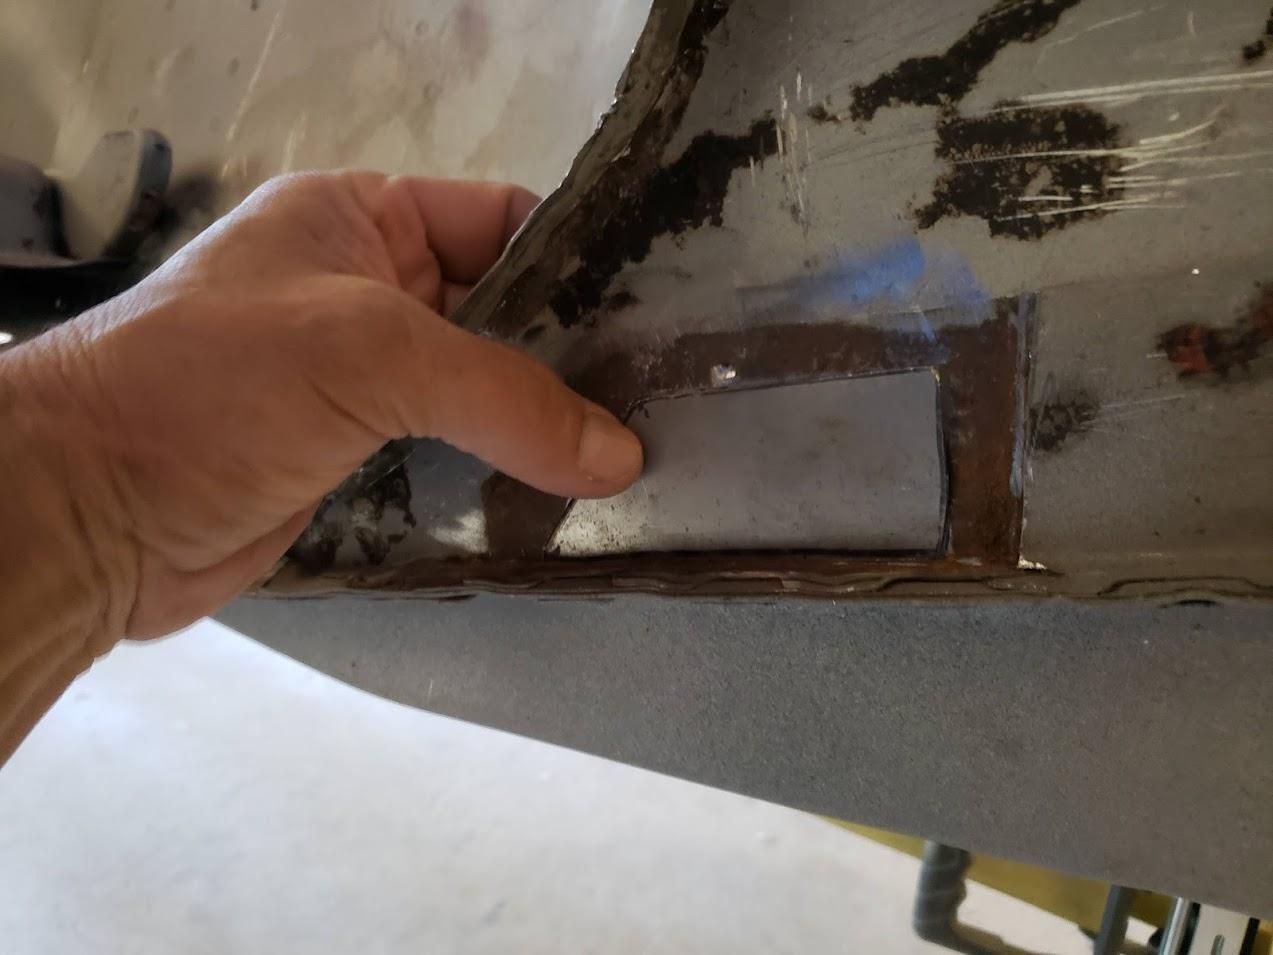
Updates from the Body/paint shop shop.


-
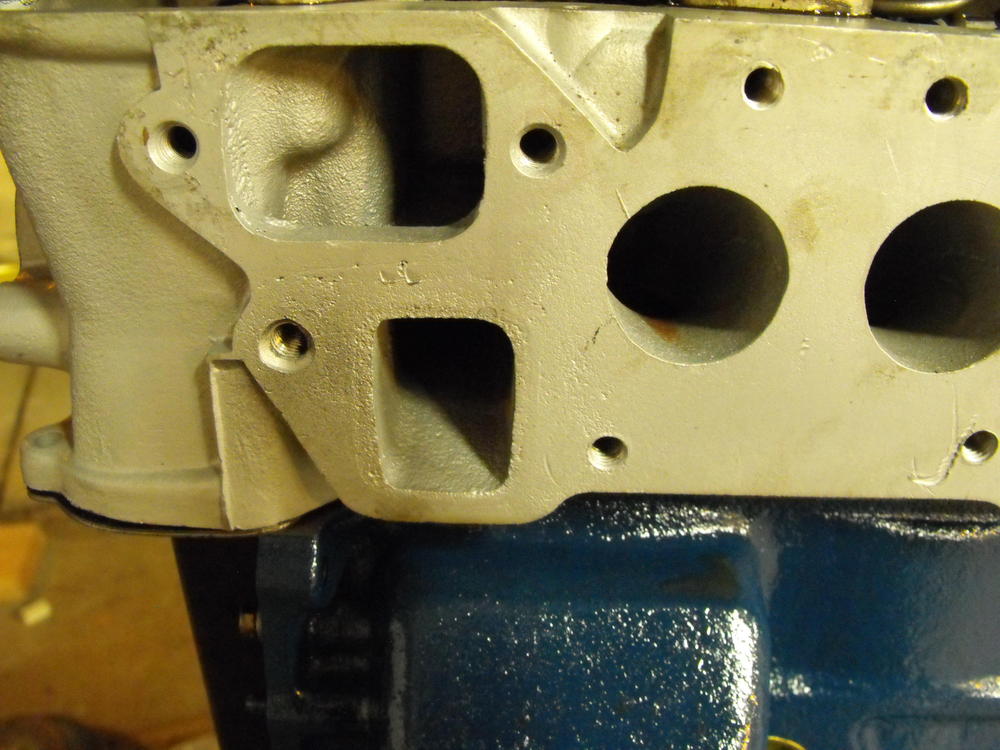
Had a similar issue where the car would idle very high then low and oscillate back and forth with high and low RPM, gas pedal non-responsive. Problem was a large open hole in the back of the balance tube where one of the fittings (PCV?) was missing. Once I plugged it, she ran like a champ.
-
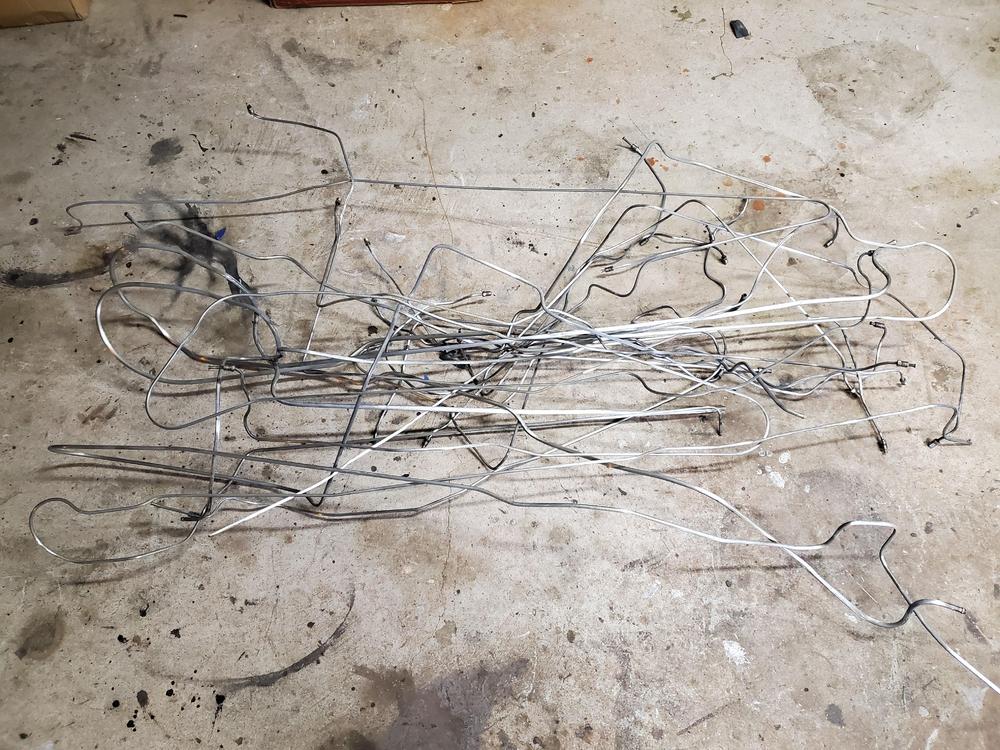
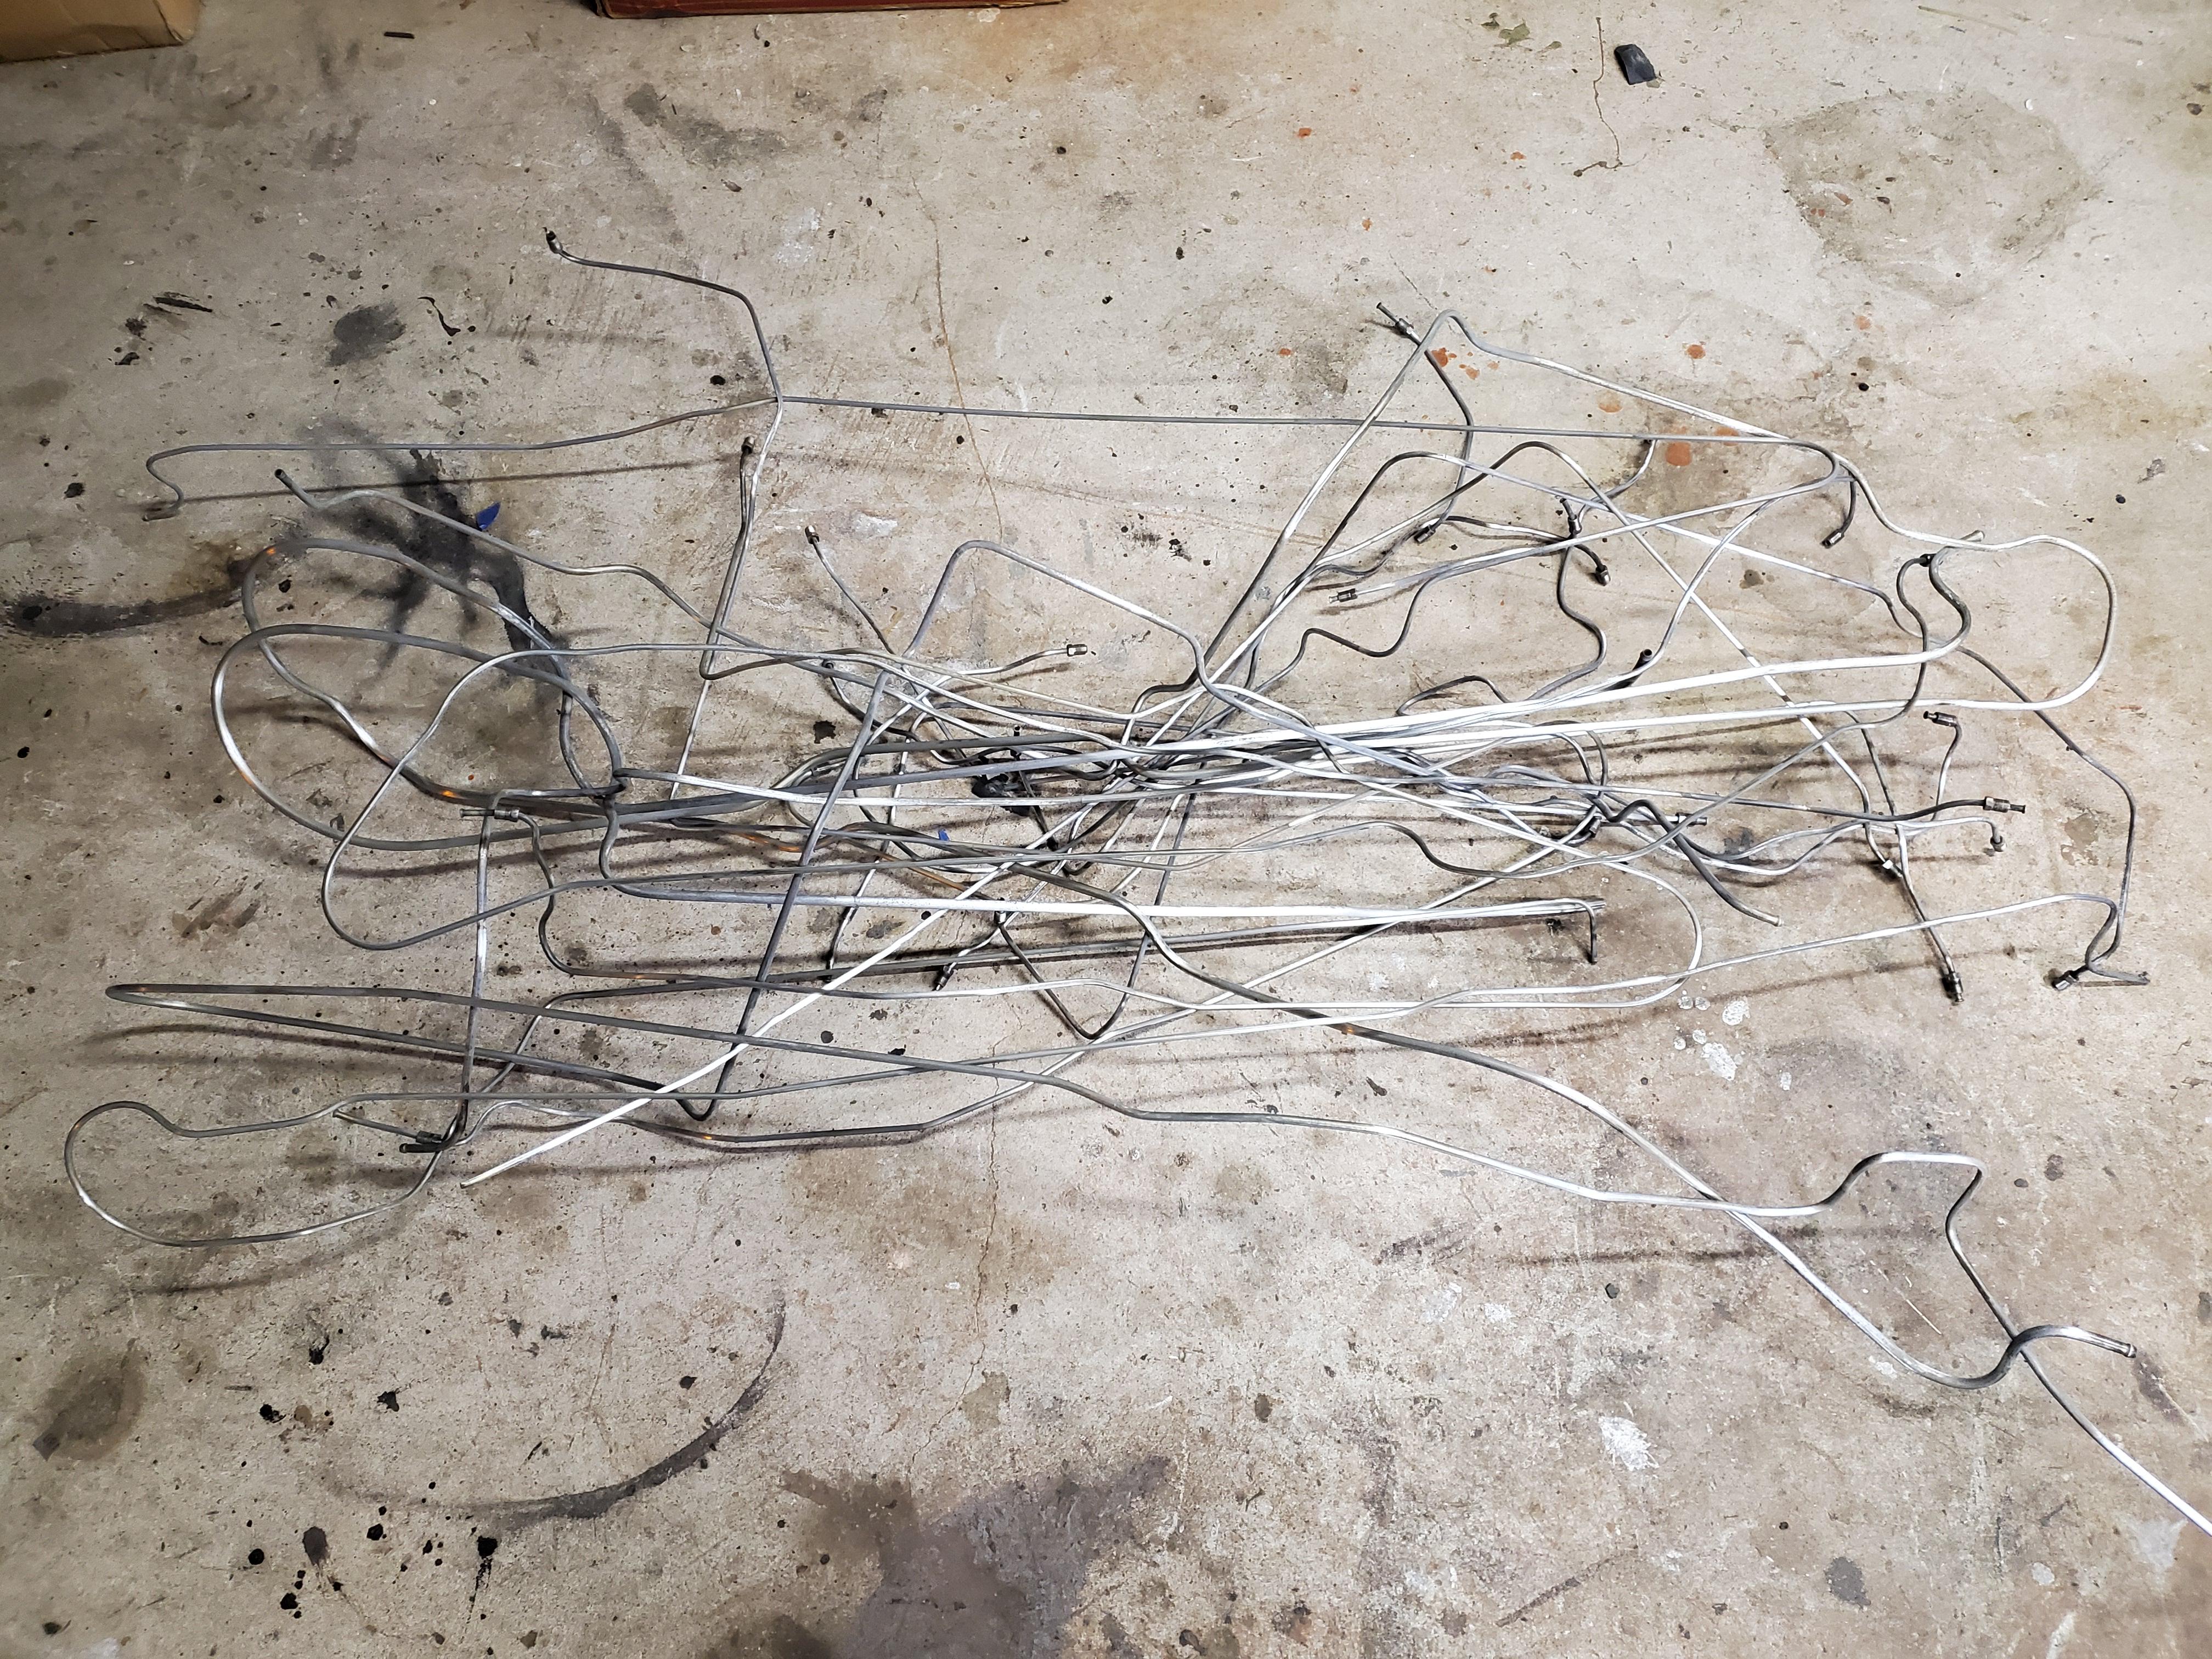
I used the wire wheel on the end fittings. 220 grit to clean and sand the tubing. There was some undercoating and overspray on the tubing also. I used the wire wheel on those portions.
-
Gee, this almost looks artistic with the stains on my garage floor. Fuel and brake lines cleaned, sanded and prepped for plating. New plater has larger tanks so the long lines are just loosely bent in half instead of thirds. This works better as the bend in is now in the trans tunnel area.
-
Yes. I think he also has a nice place on the west coast along with a warehouse of cars out here.
-
I am pretty sure he has the largest Z collection on the planet and a lot of nice cars. Personally I think he is a pretty upright guy.
-
Decals are not missing, just never attached. Most of the early cars did not have the decals, mine included. Asked my dad who purchased it new in '70 and he said it never had any. Interesting
-
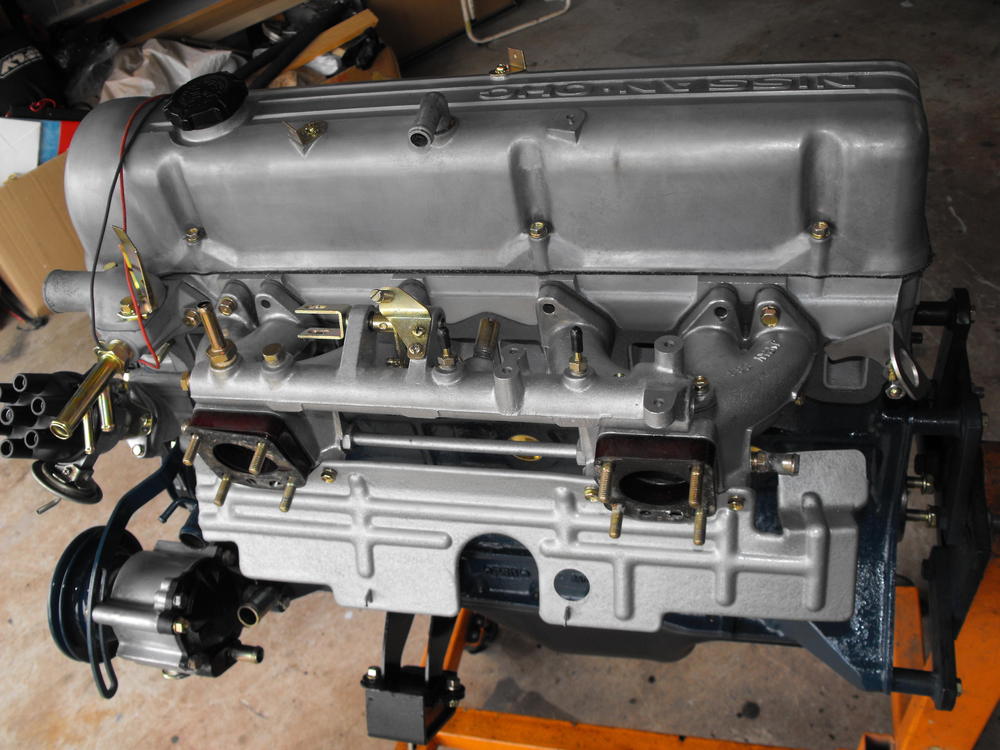
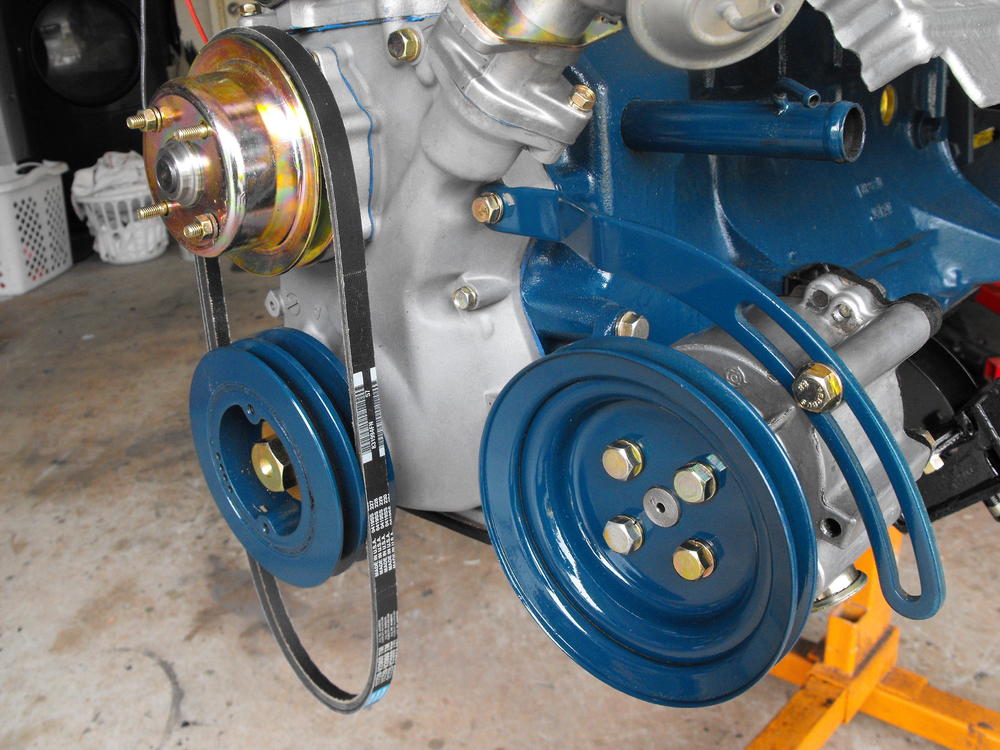
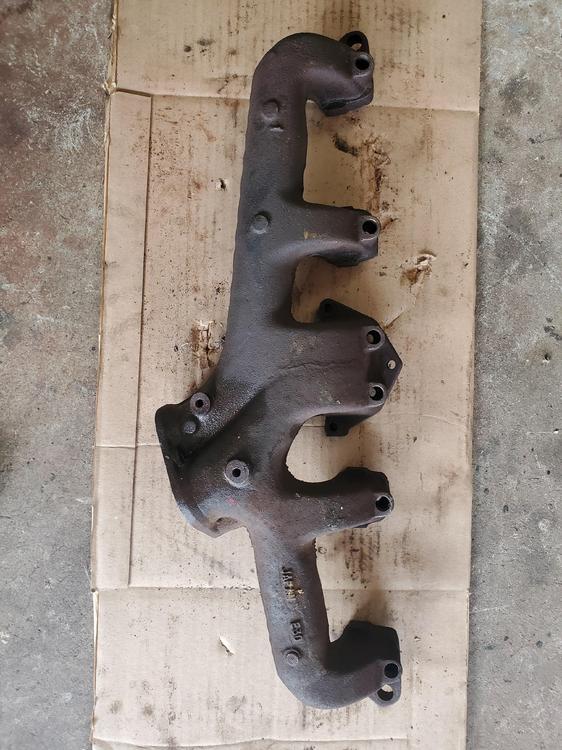
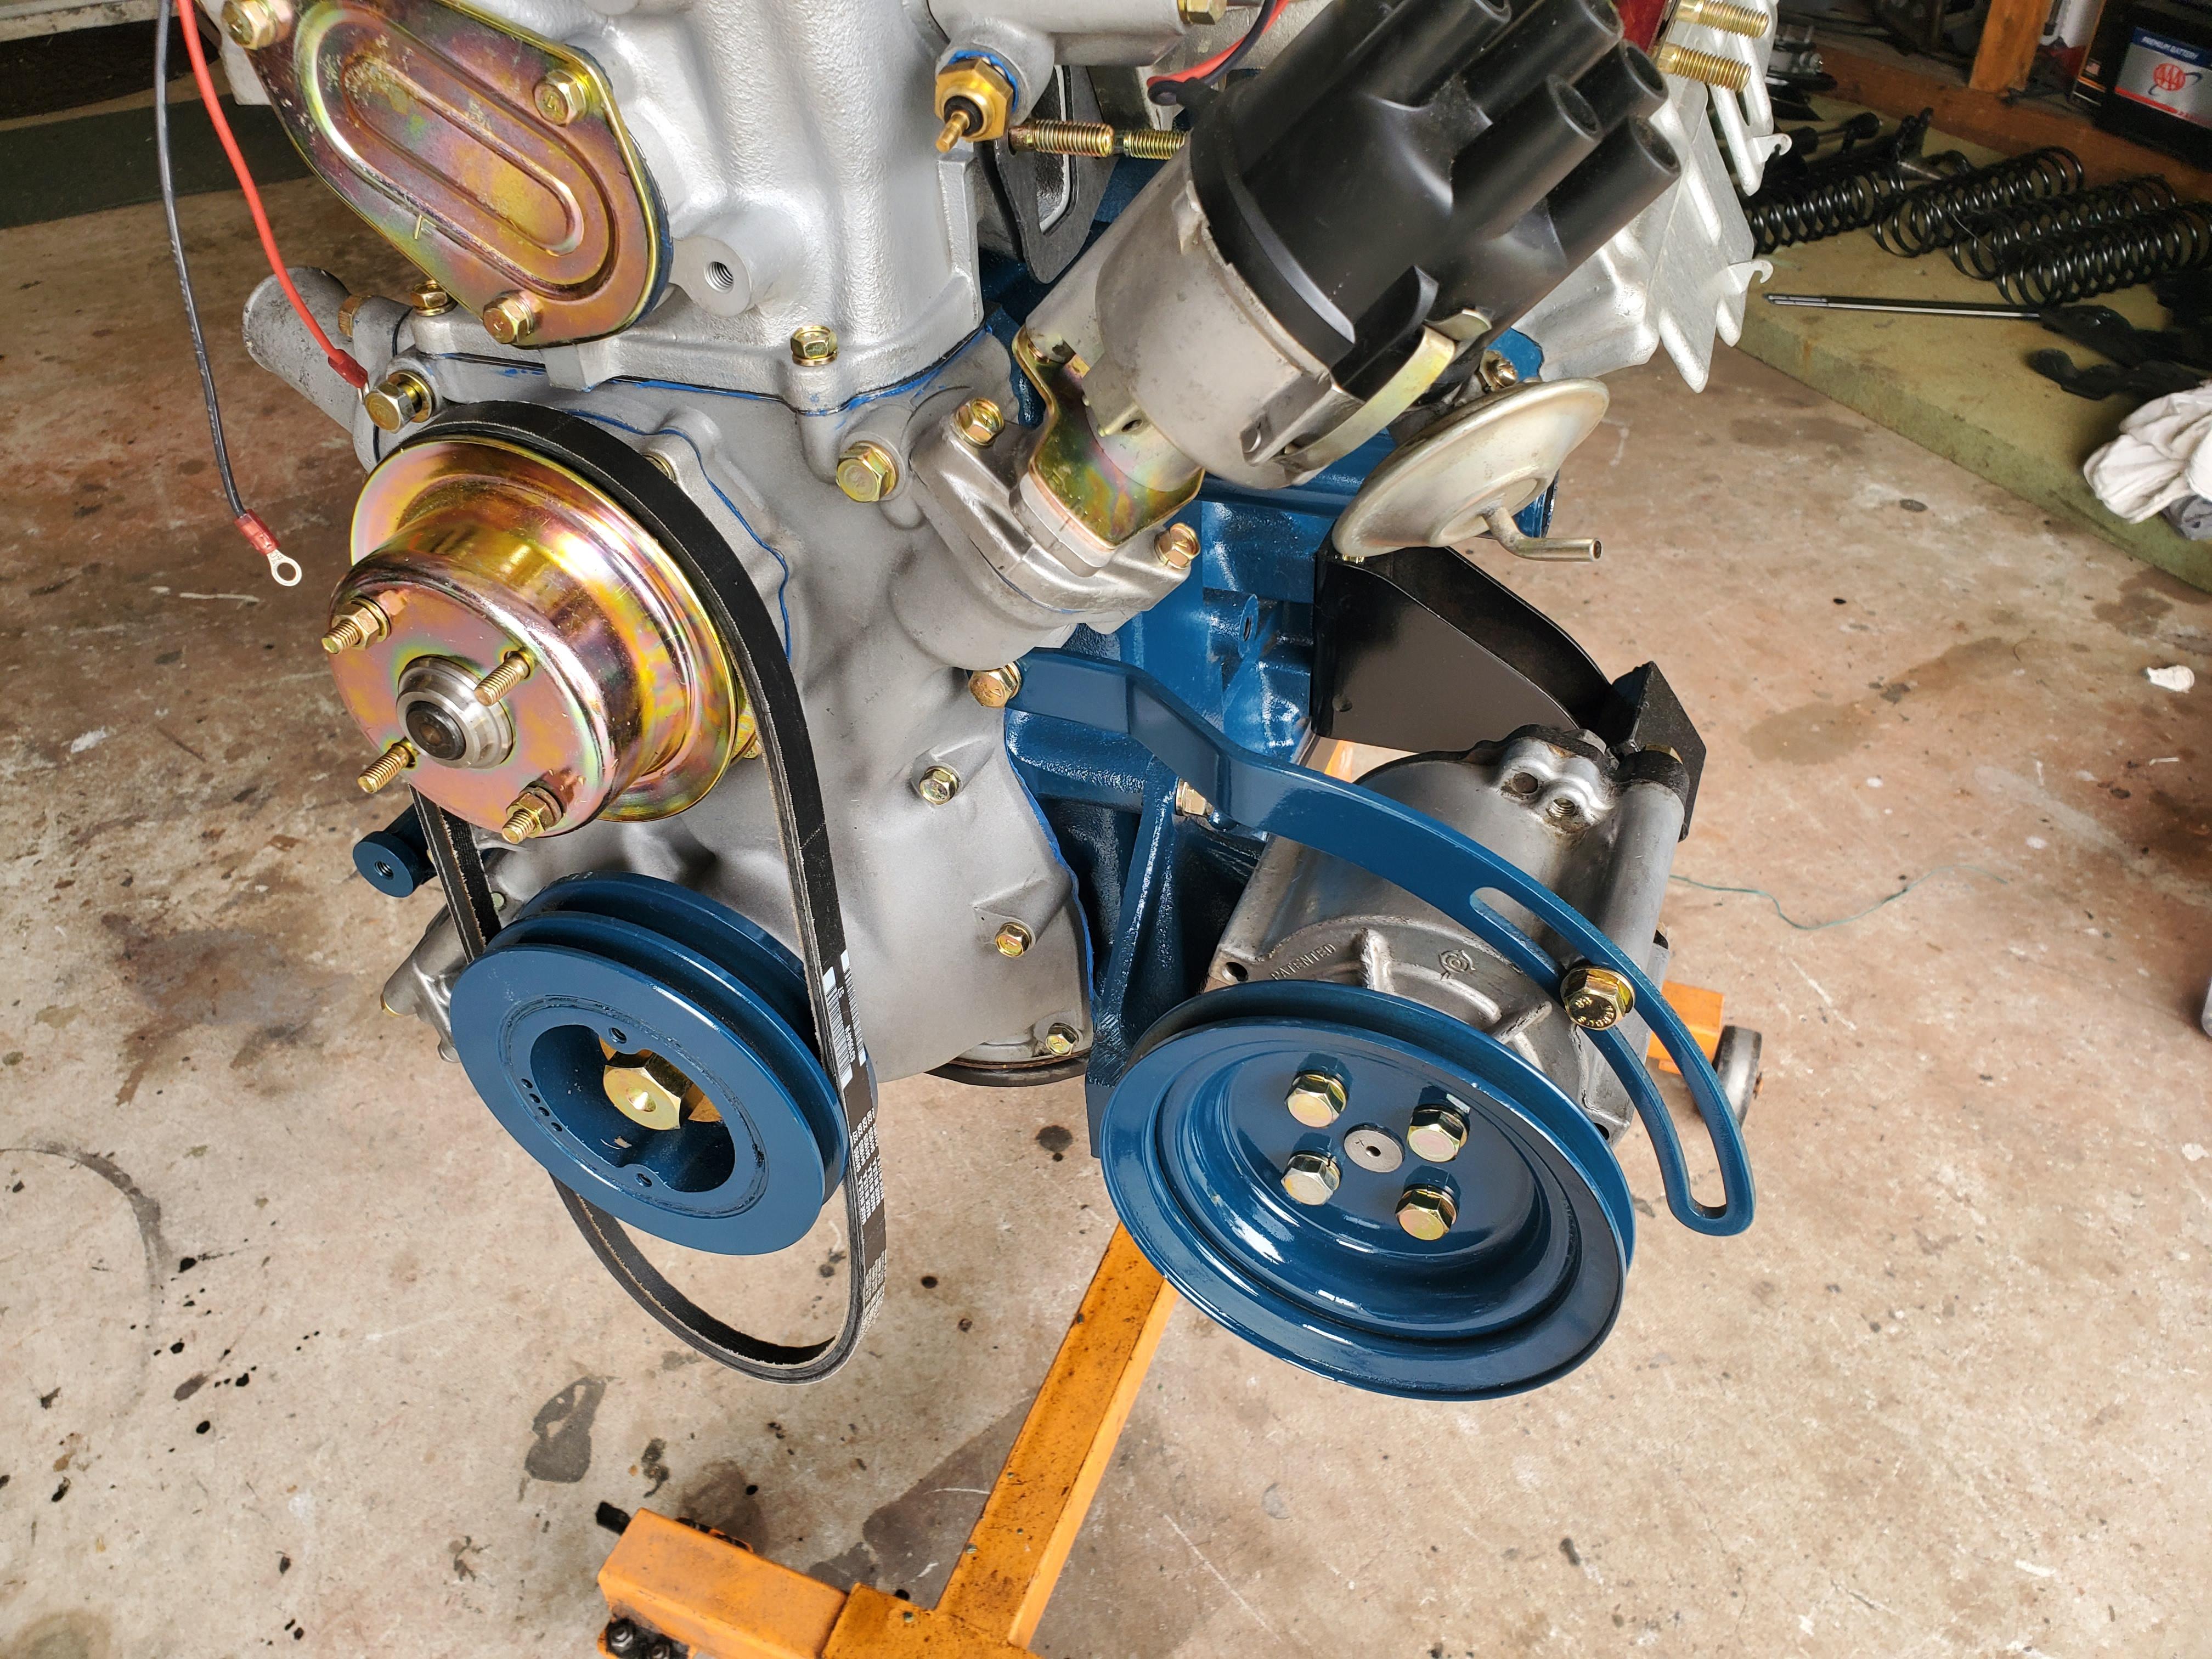
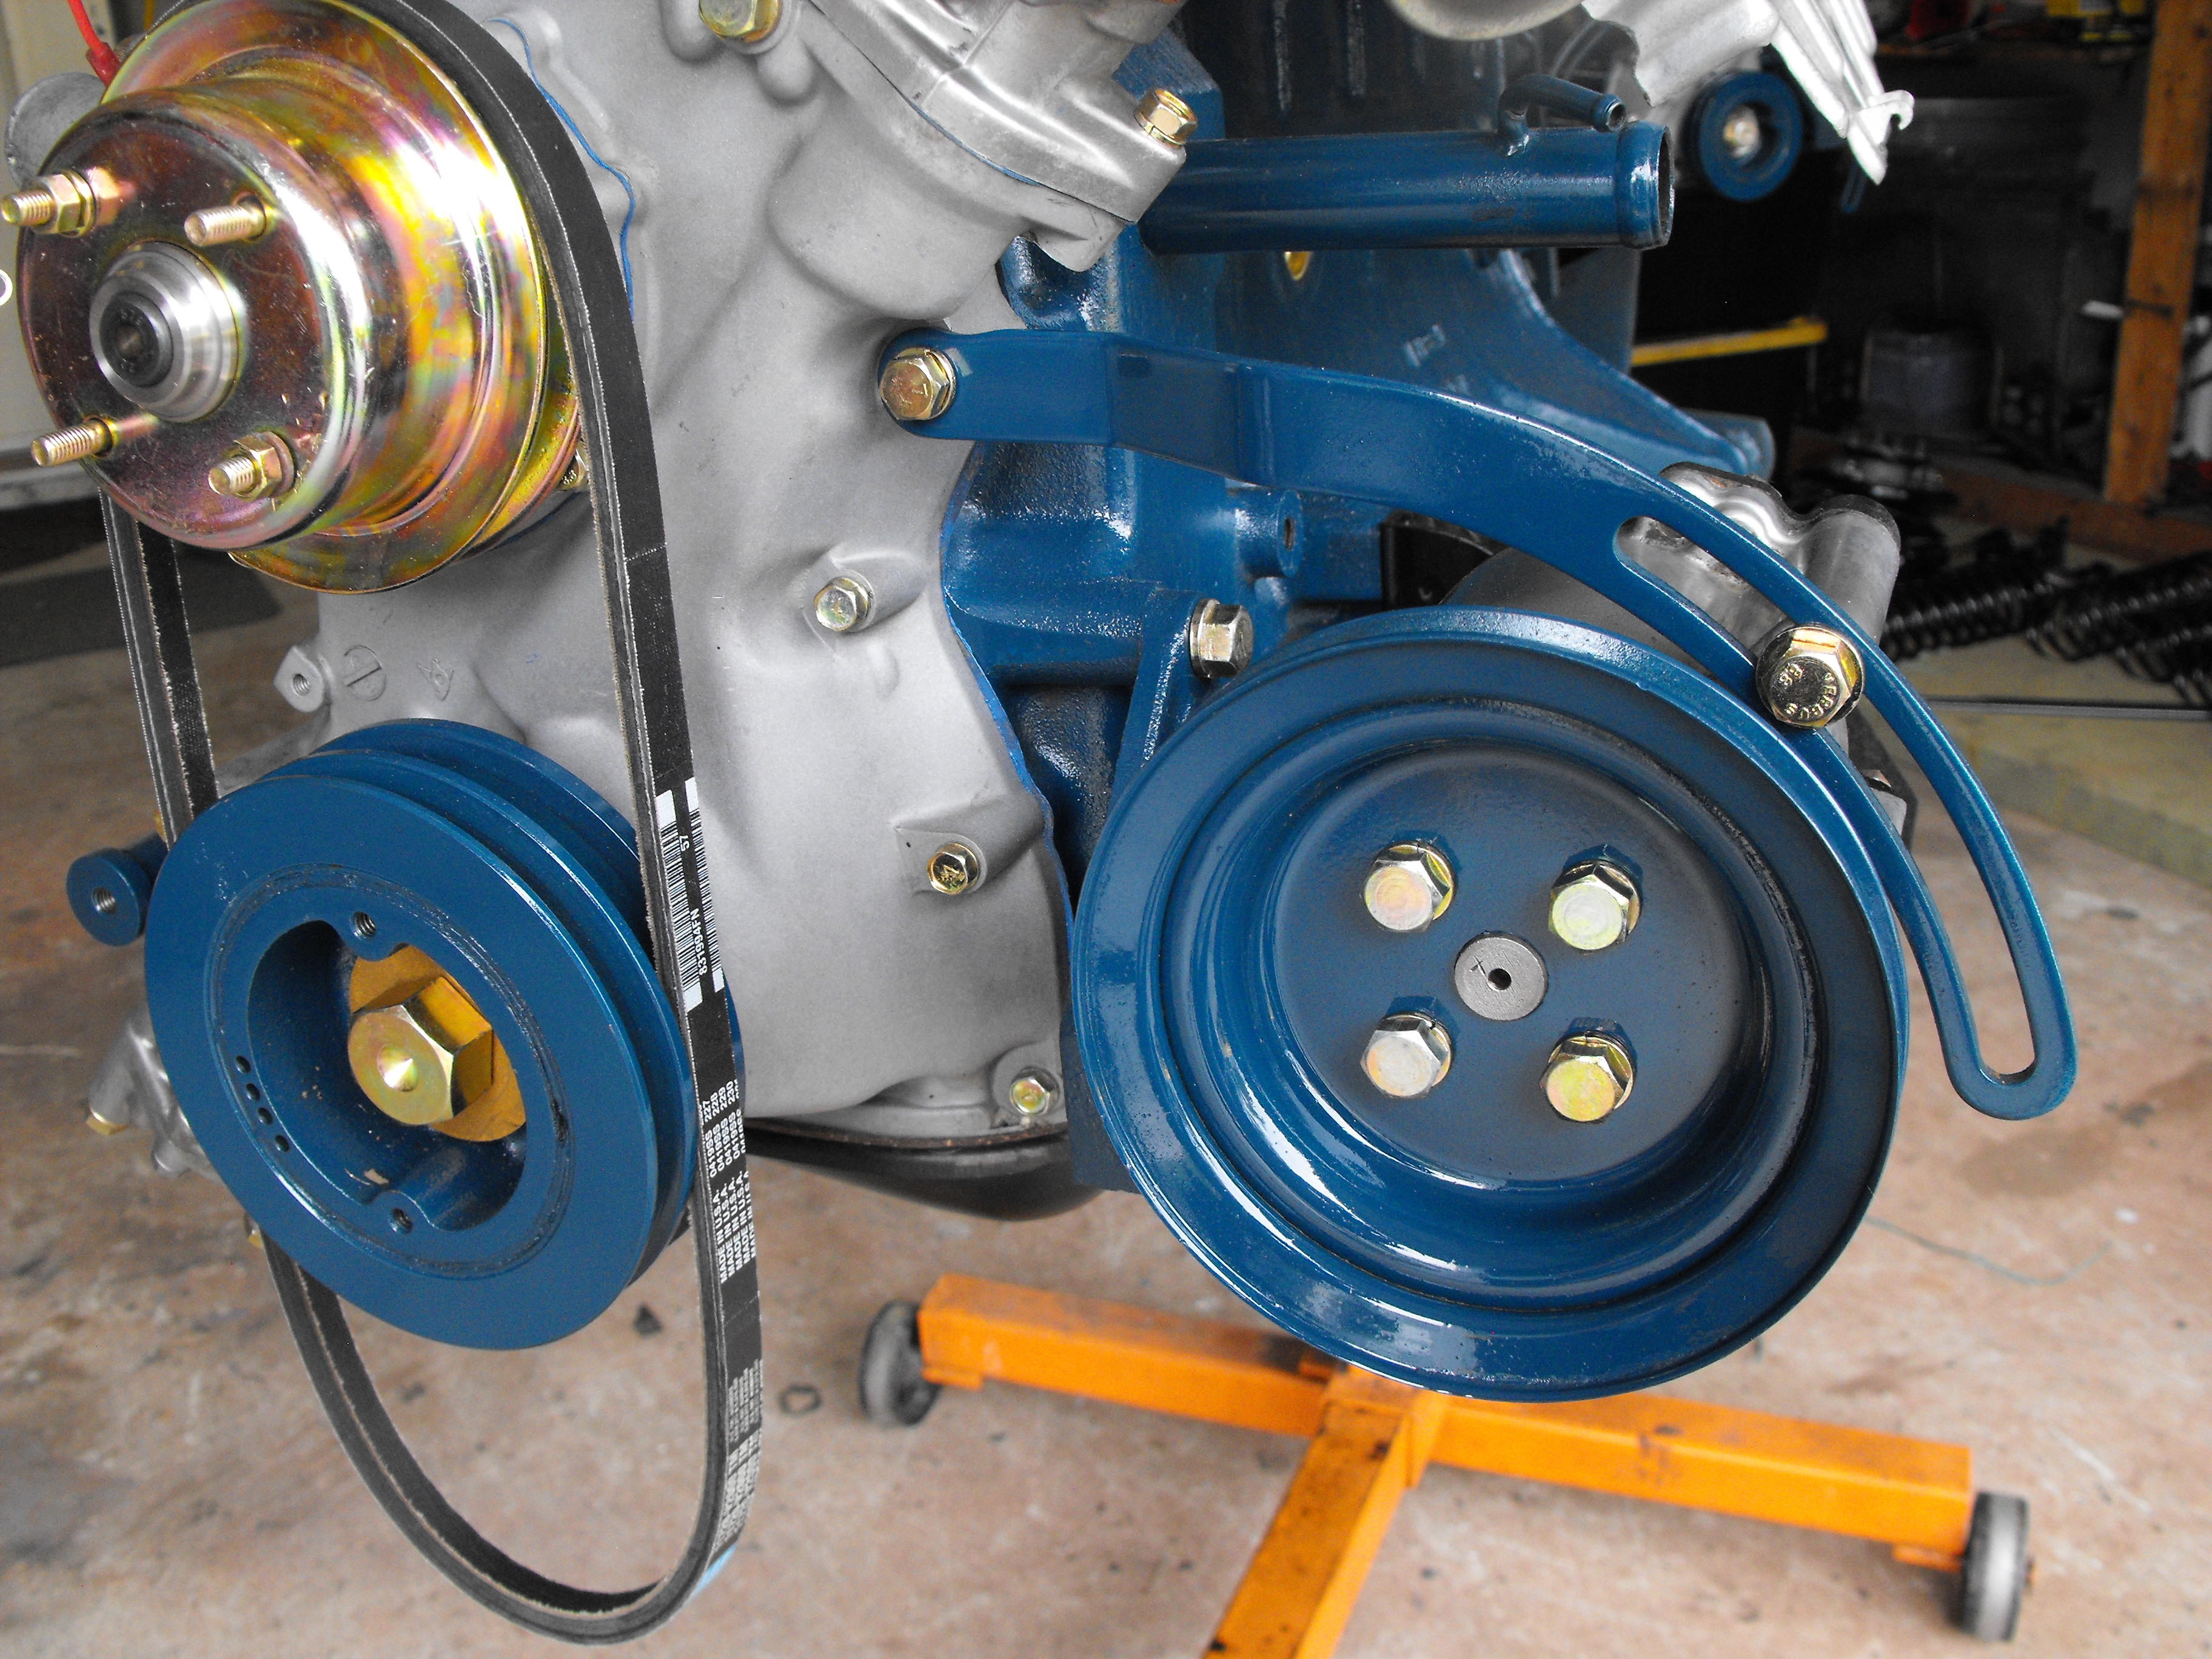
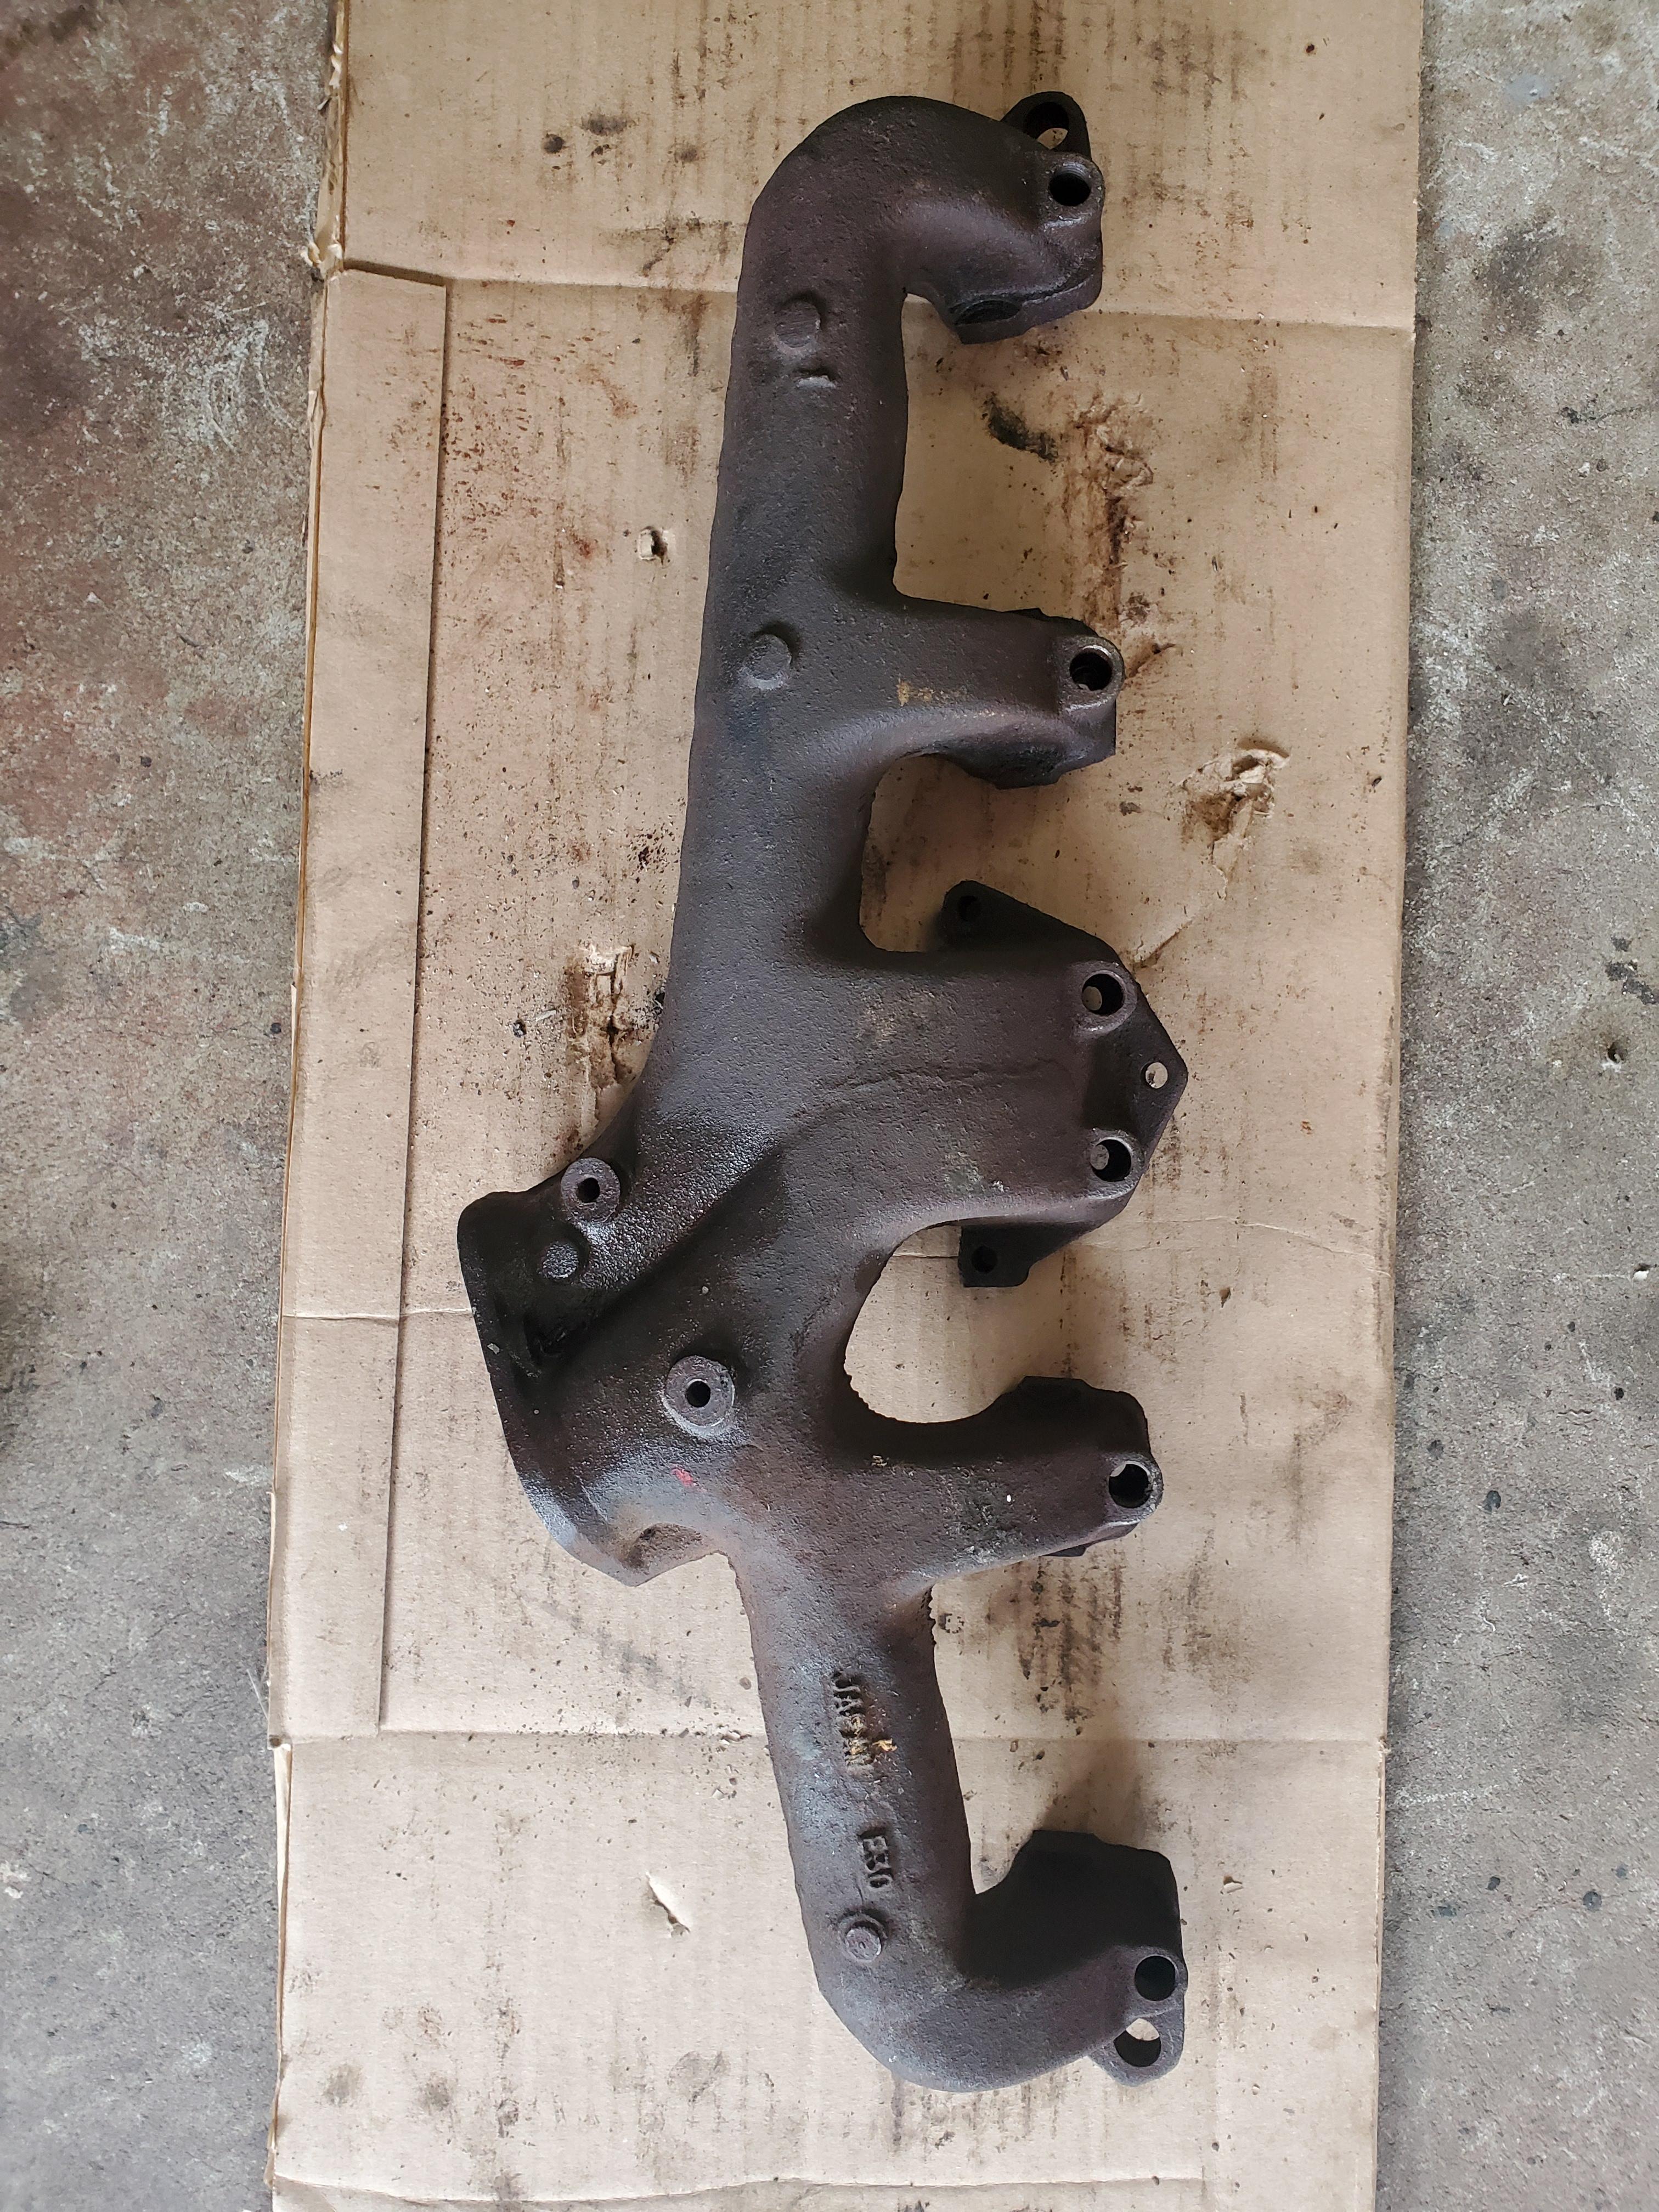
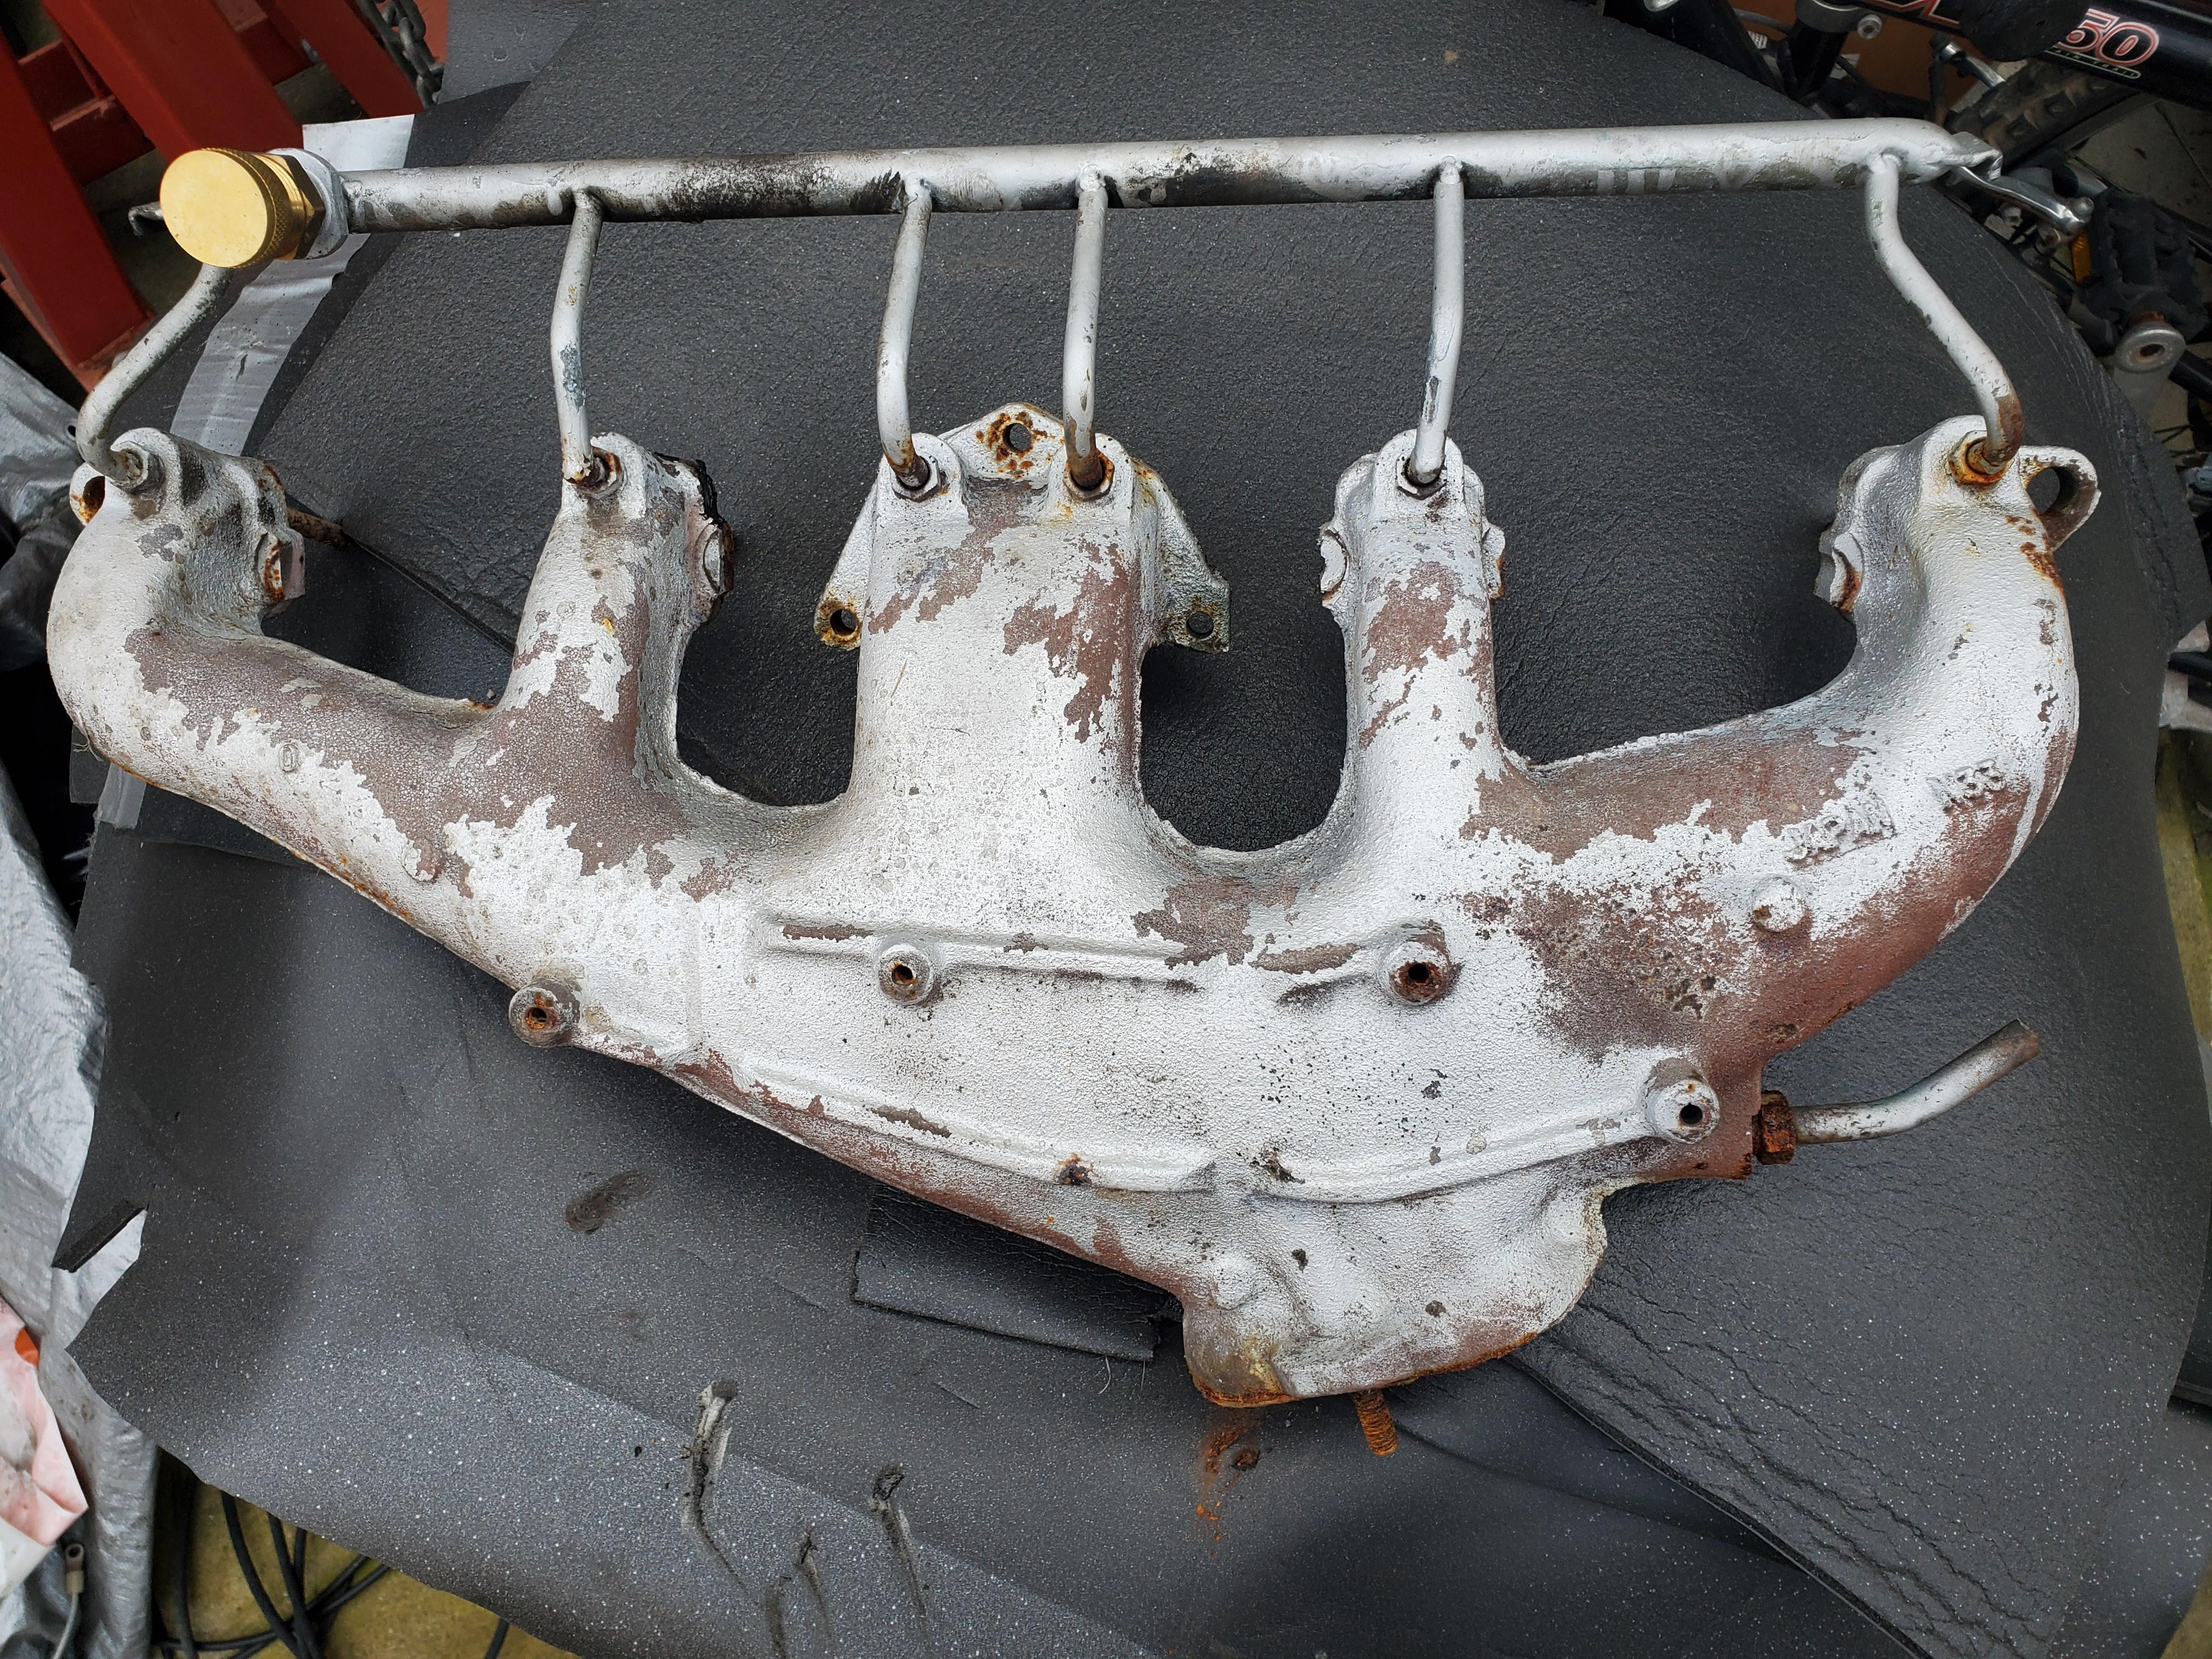
Back from a short vacation, so did a little more work on Orange here. Cleaned and lubed the smog pump and painted the pulley and bracket. Attached those to the block. Spent a little time removing the smog rail from an E30 exhaust manifold which I will use in place of the big old '73 manifold. This works better (visually) with the SUs that will be installed. That way it will look more like a complete '72 motor (It is a '72 build date). Also, I think the smaller manifold will not transmit as much heat to the carbs. Will send it off to get ceramic coating this week. I put on the intake and balance tube loosely. Will secure once motor is put in actual car.


-
Yes, by MRM. Pretty sure I know who that is. Has his own museum up in LA area.
-
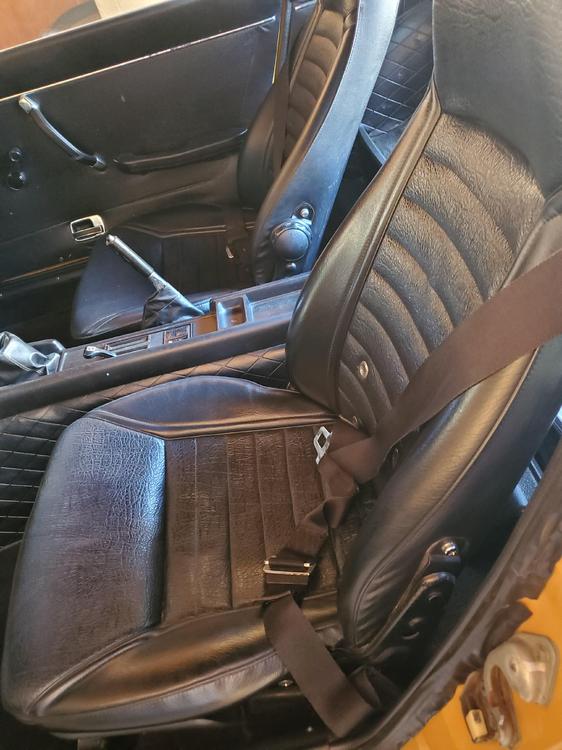
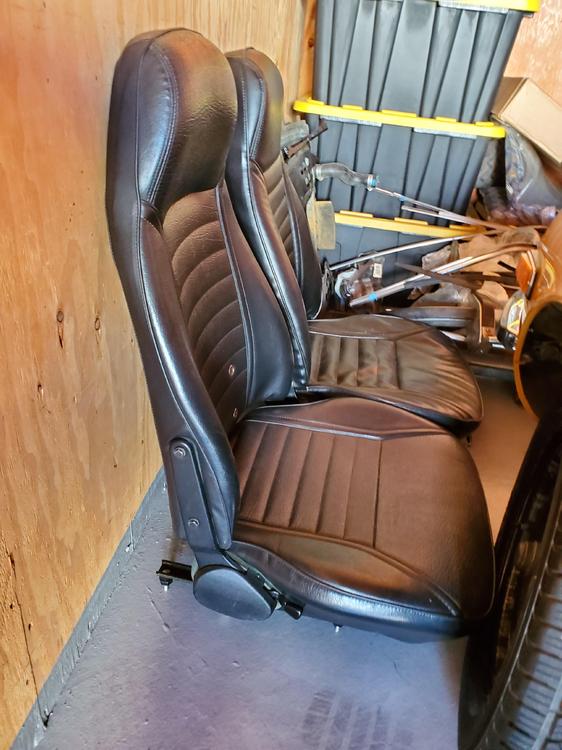
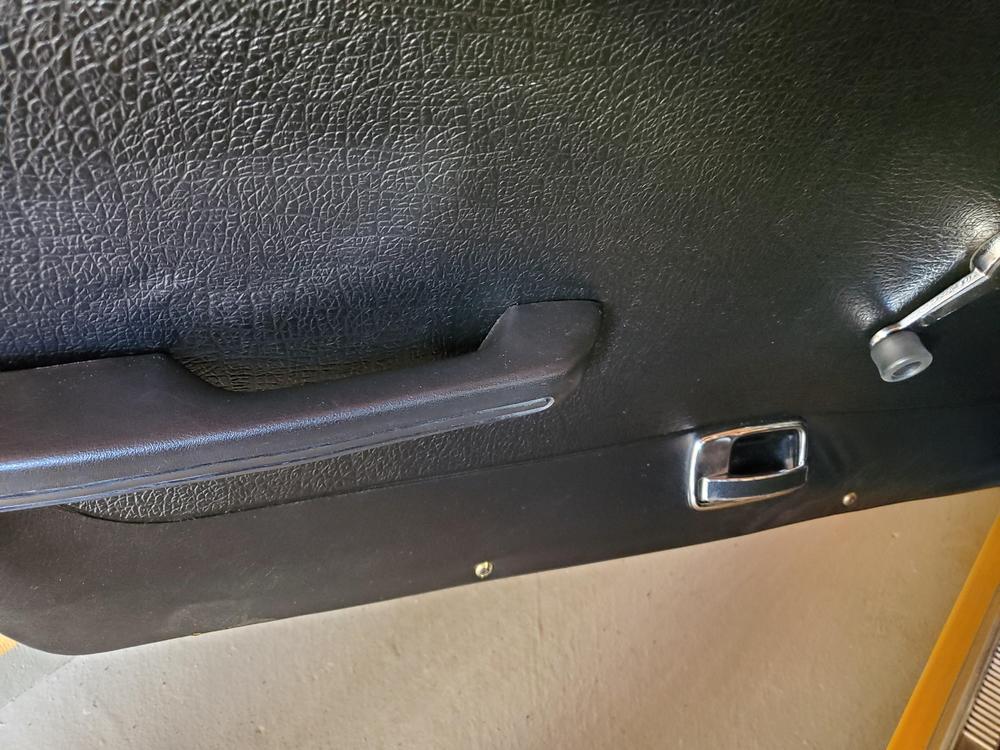
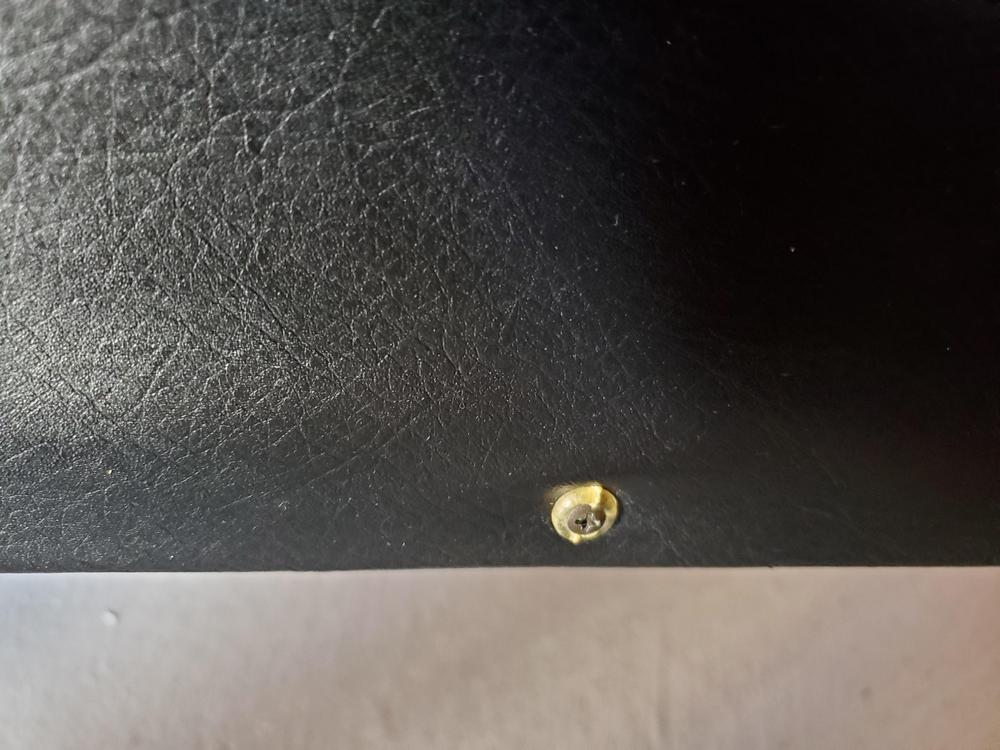
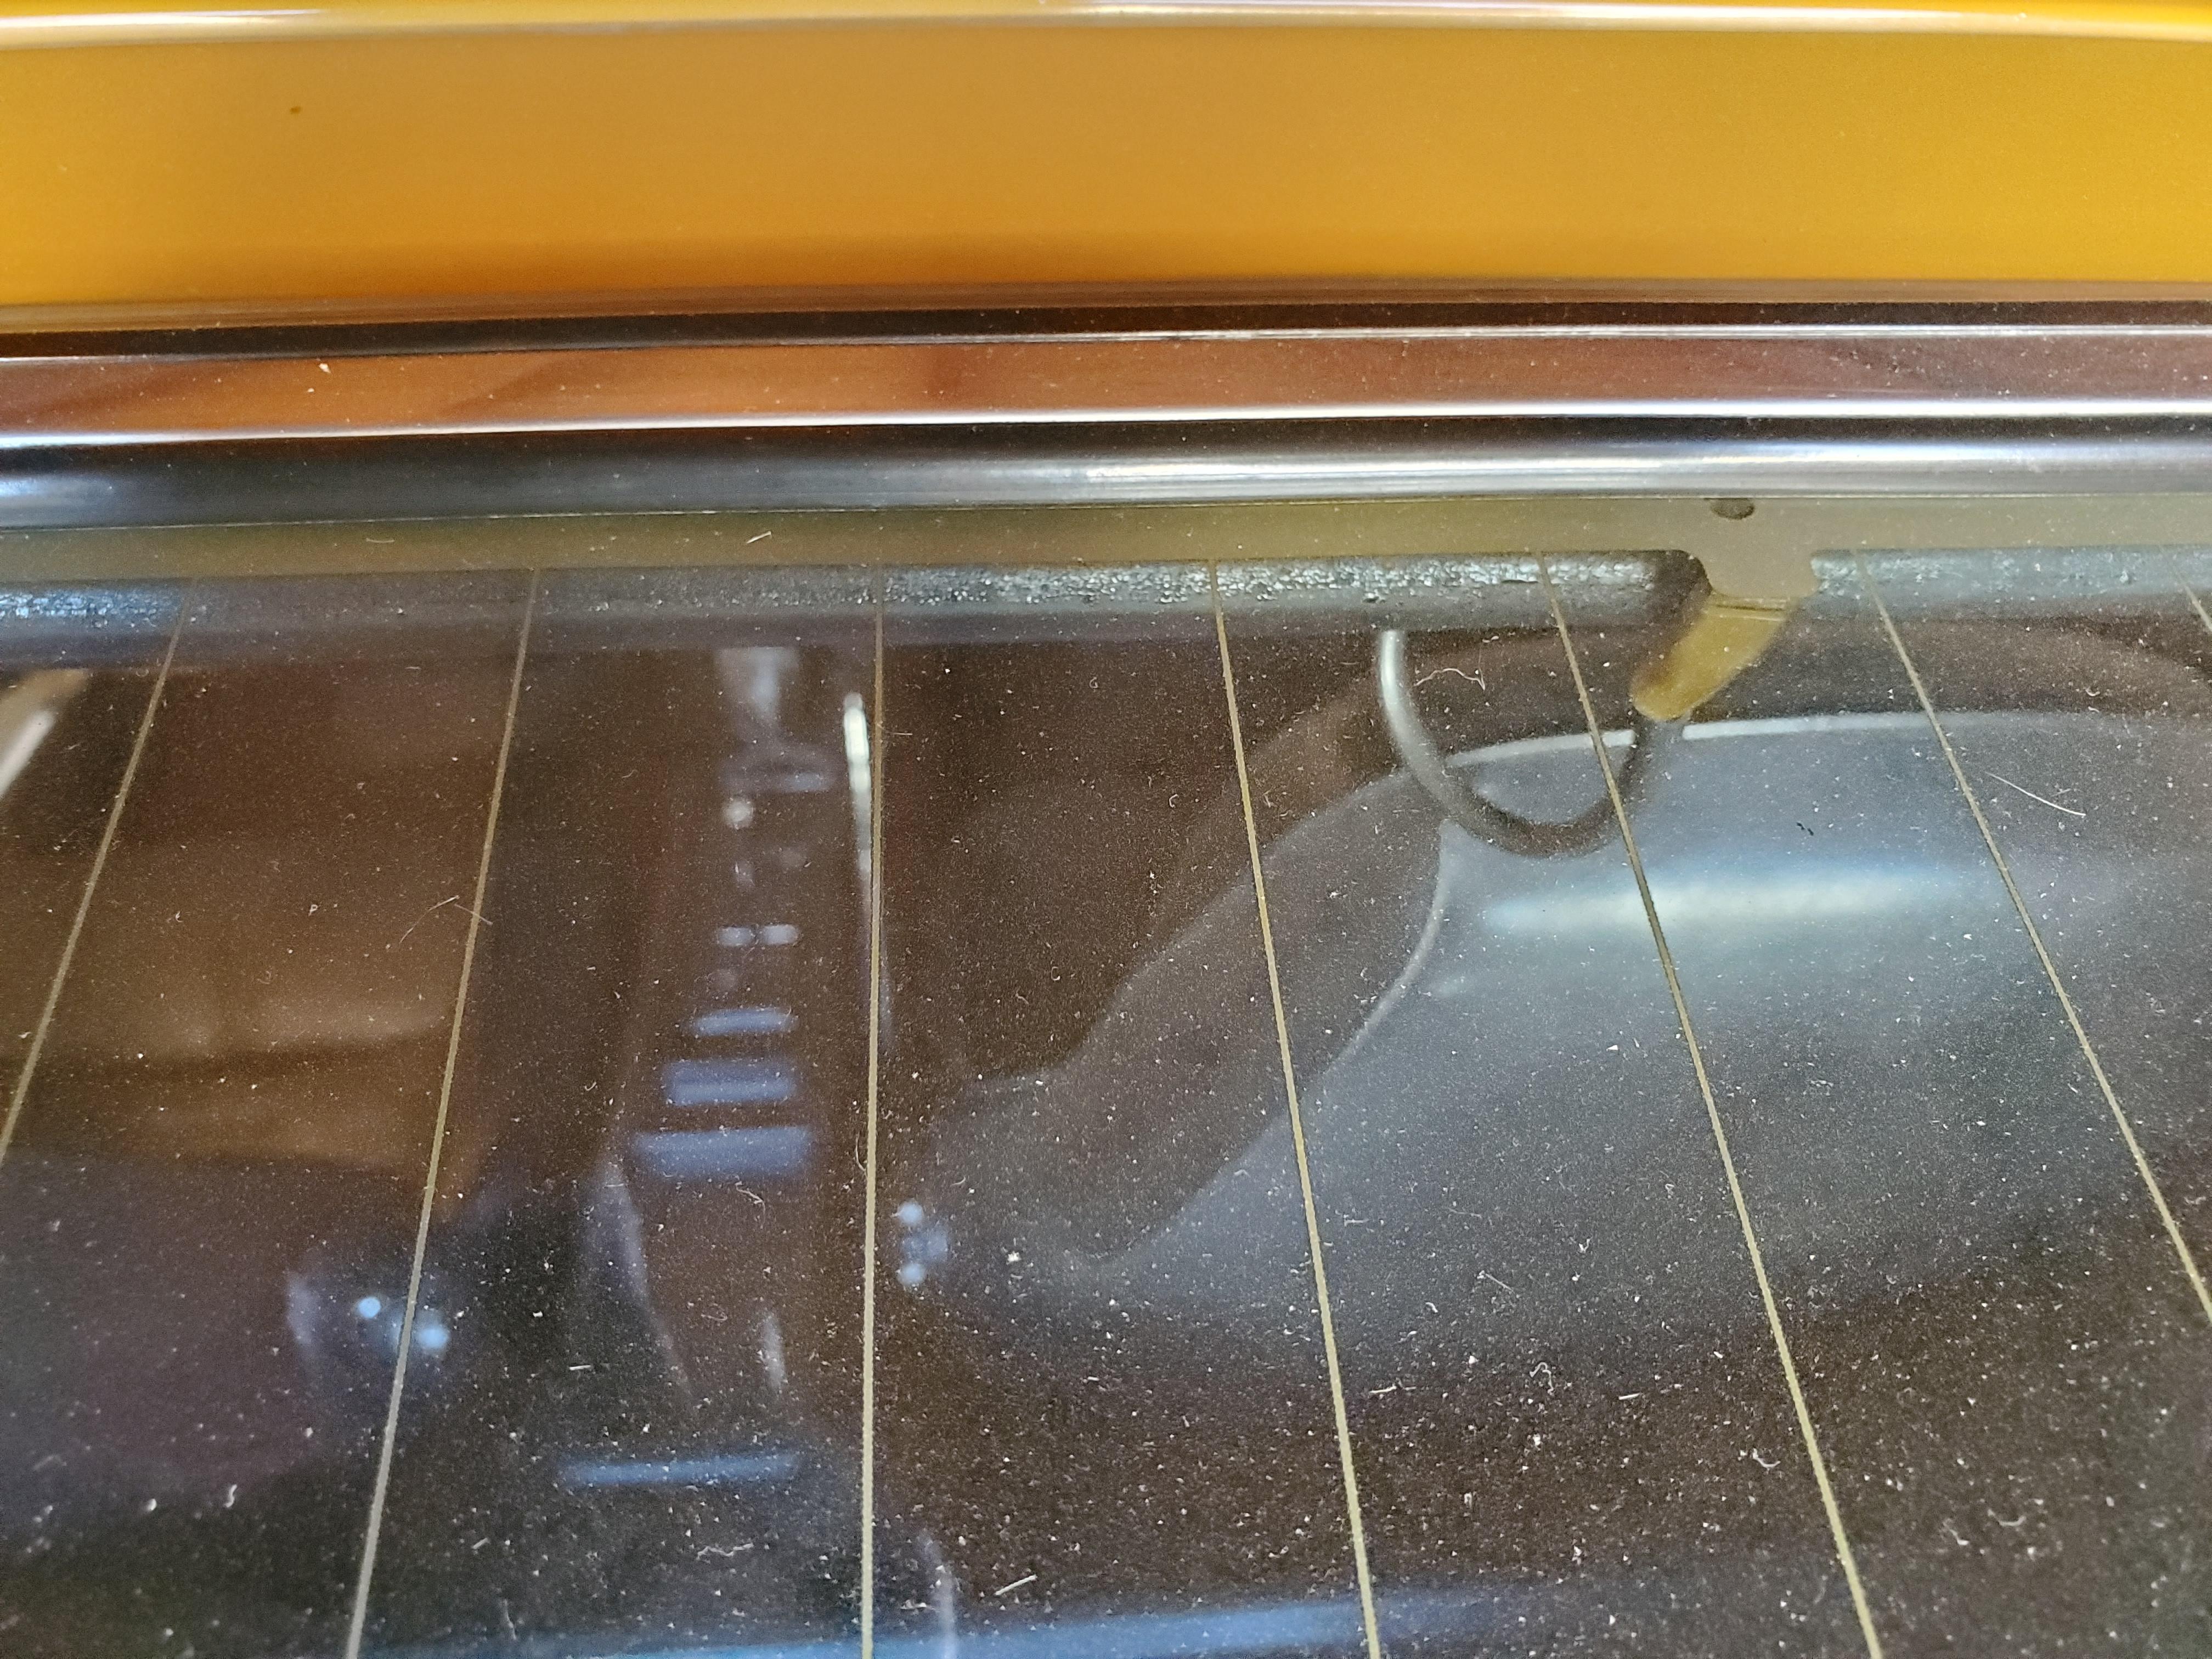
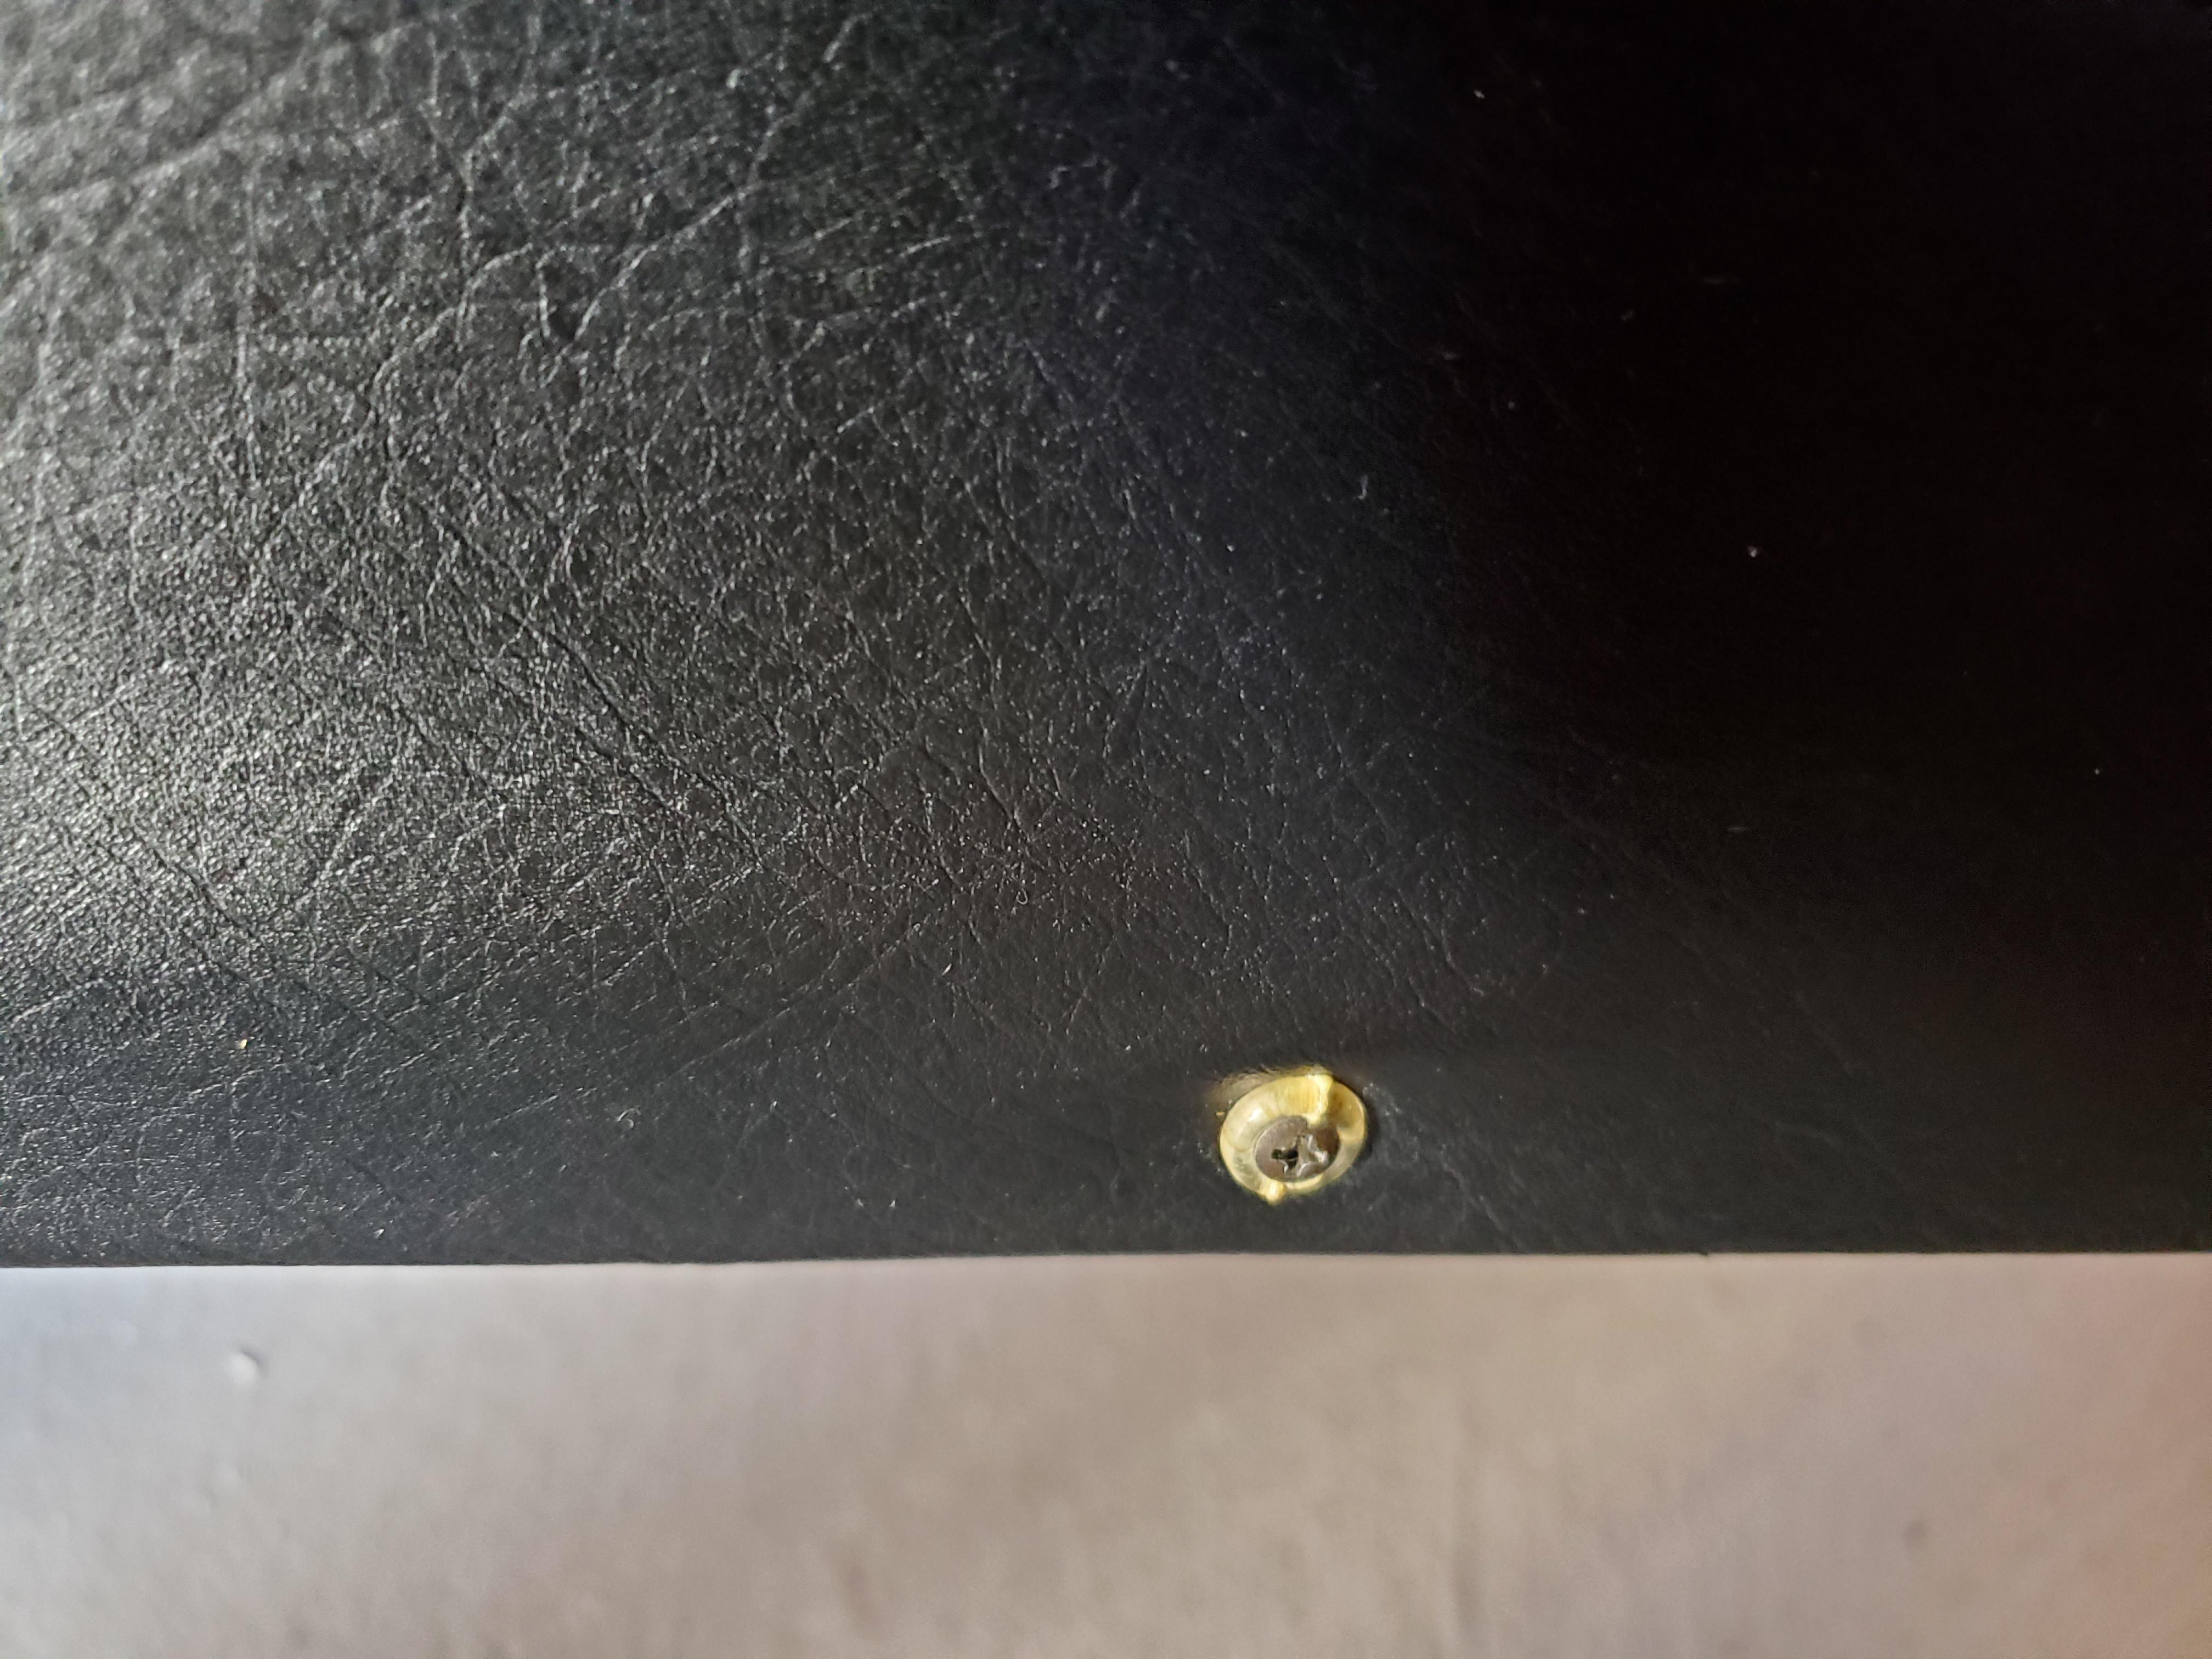
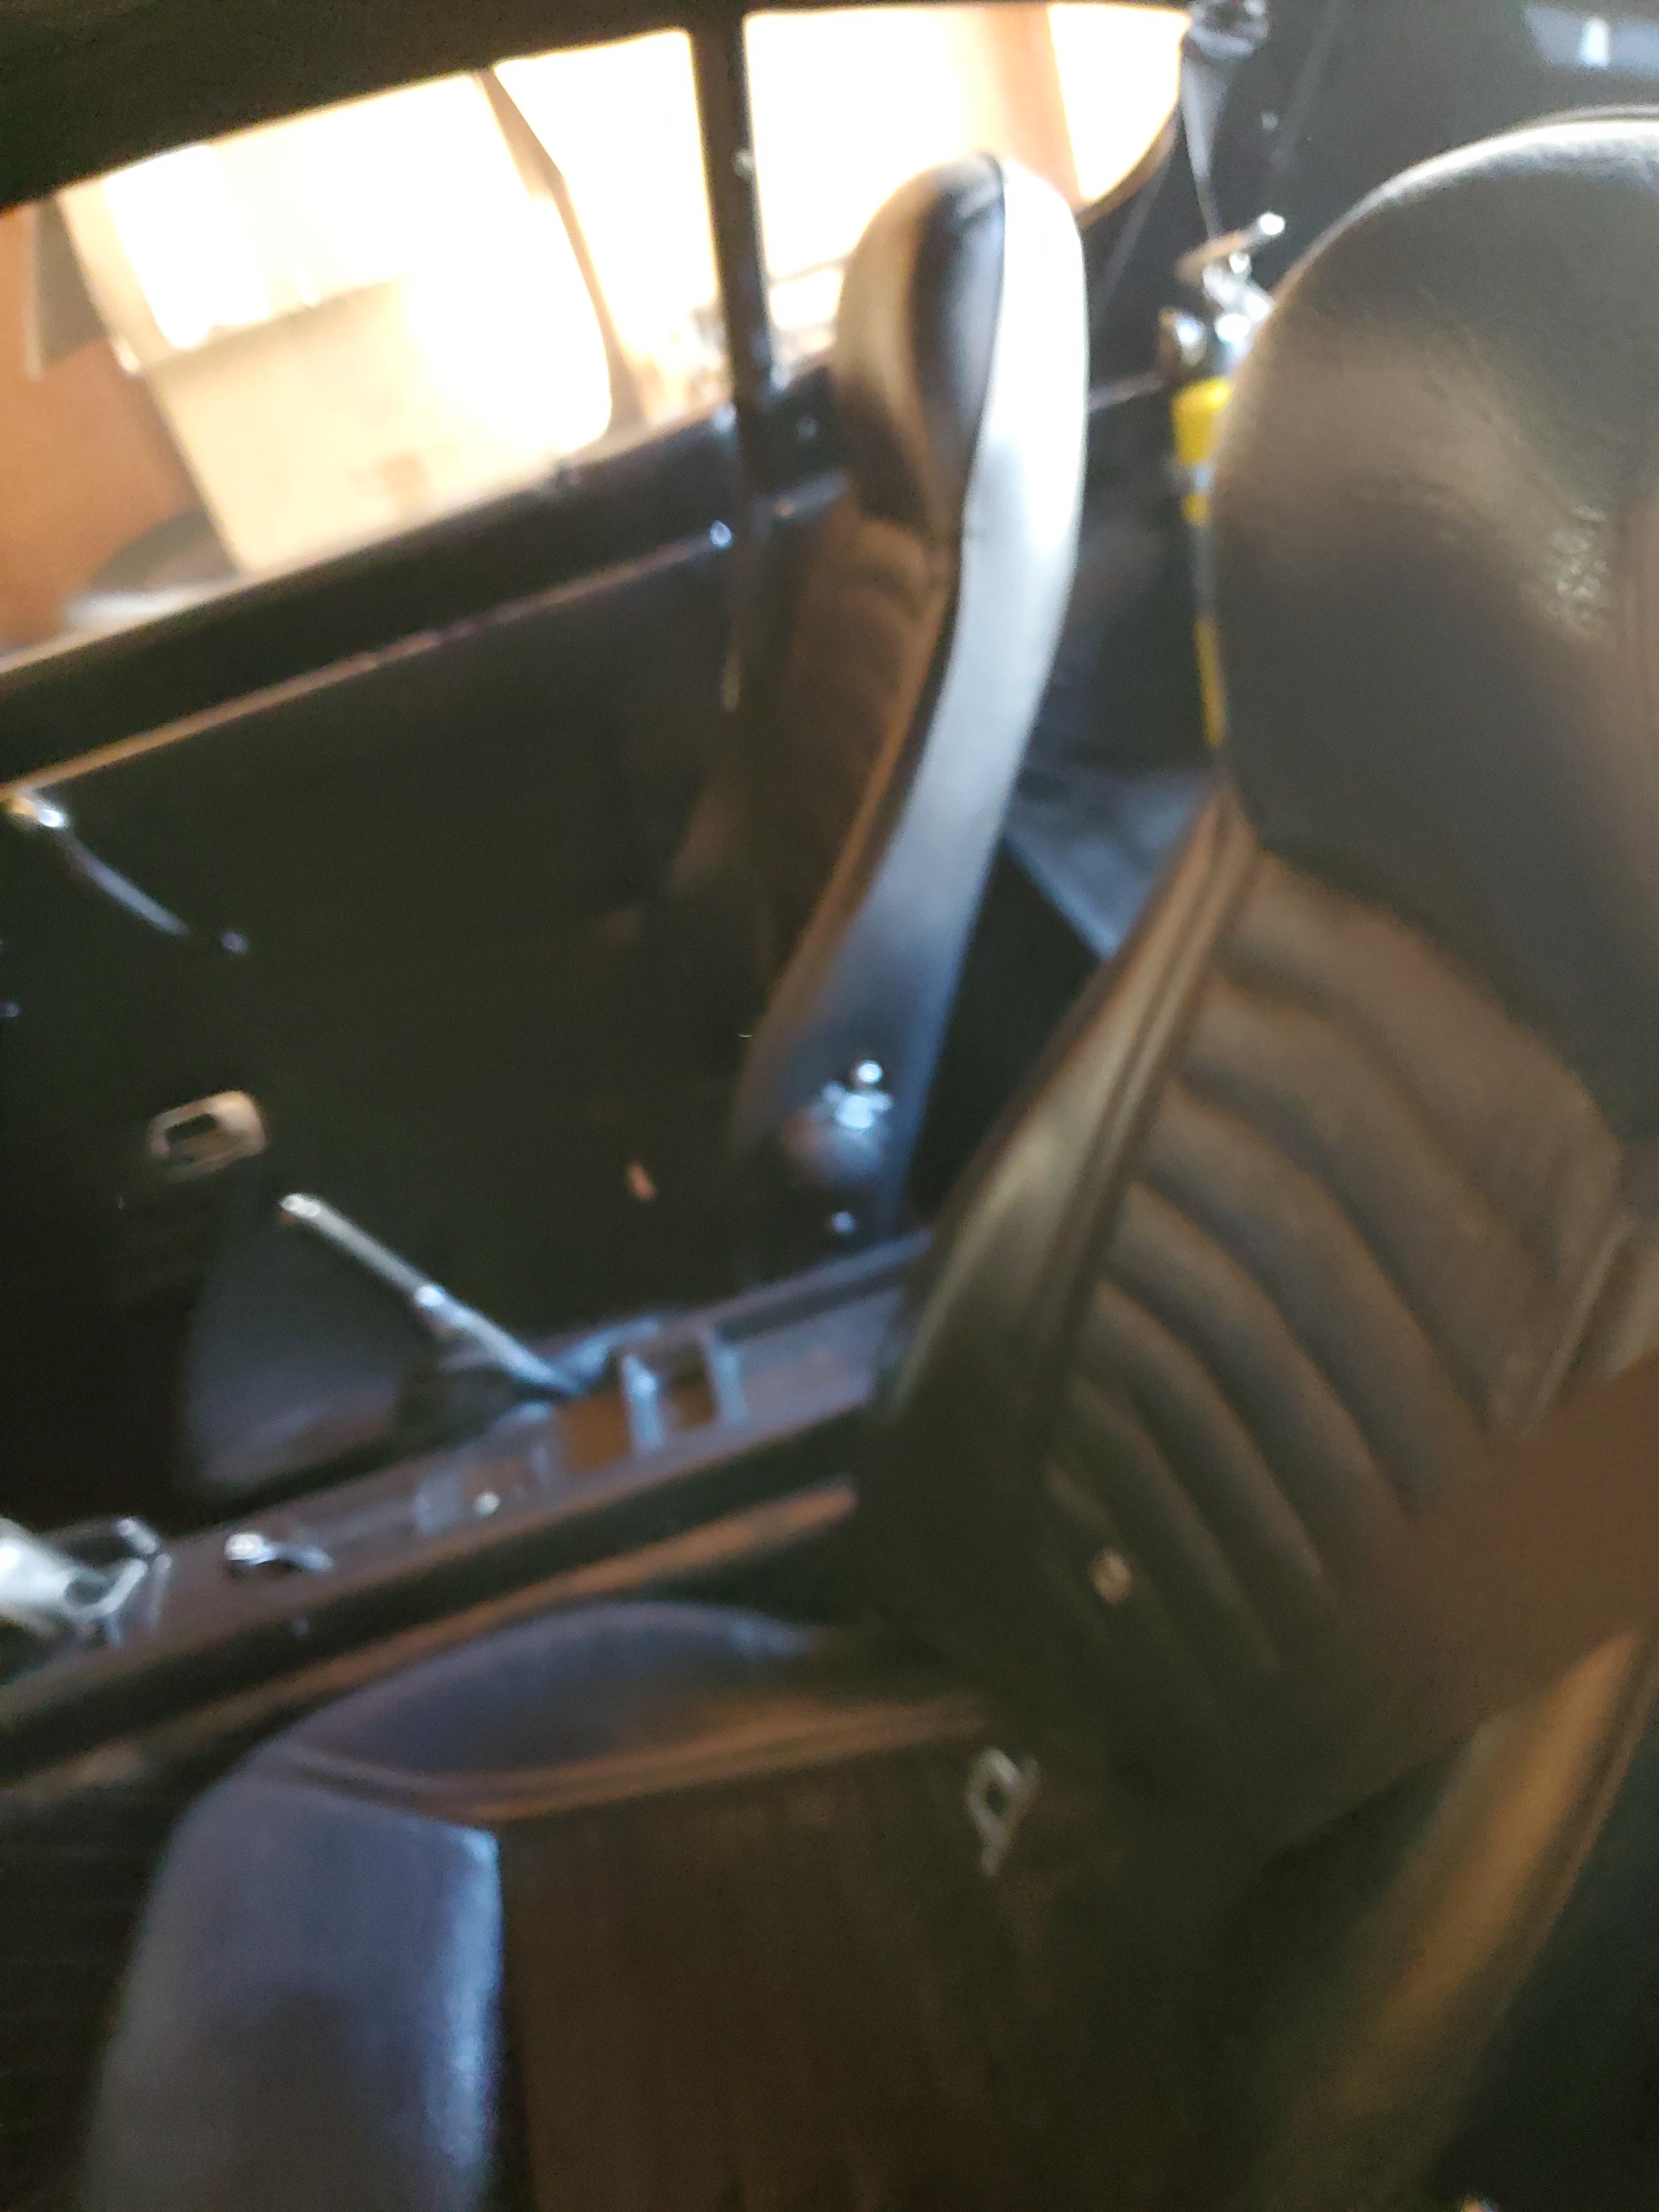
Went to the storage unit today, so took a couple pics of HLS30-02614 of items that we have been discussing. The one loose seat is a passenger seat from a '73 The two door screws look to be 'oval head' screws with a hard clear (now yellowed) plastic collar underneath.


-
FWIW, For the 1973 blue car on the 'We're Bringing Back the Flat Tops' thread I used the blank sticker and went to a Hobby store (Trains and RC cars) and found a transfer stencil that is pretty dog gone close to the original font. I was very happy with the results. No points deducted at ZCON, no one noticed.
-
I would say that the 50 year old seats on my Z look to be in about the same condition as the seats on this green one...only my seats are black. The 'sag' on the base portions is about the same. The backs are also slightly pressed in, in similar fashion. The foam on mine is really starting to go though. I get small crumbles on the carpet below the seat that are from the decaying foam. I would almost push back on the seats being different. Having re-upholstered several of these, I would say it is pretty dog gone difficult to get the rope in the same place seat after seat. Also, not sure if the holes in the material at the factory were 'pre-drilled'. These holes are not on the aftermarket covers so you just have to feel for it. There really is a lot of 'massaging' to do once the vinyl is over the foam. As a result, the alignment with the rope may vary....I think. Unfortunately my '70 is at he storage unit so no quick pics to verify here. ?
-
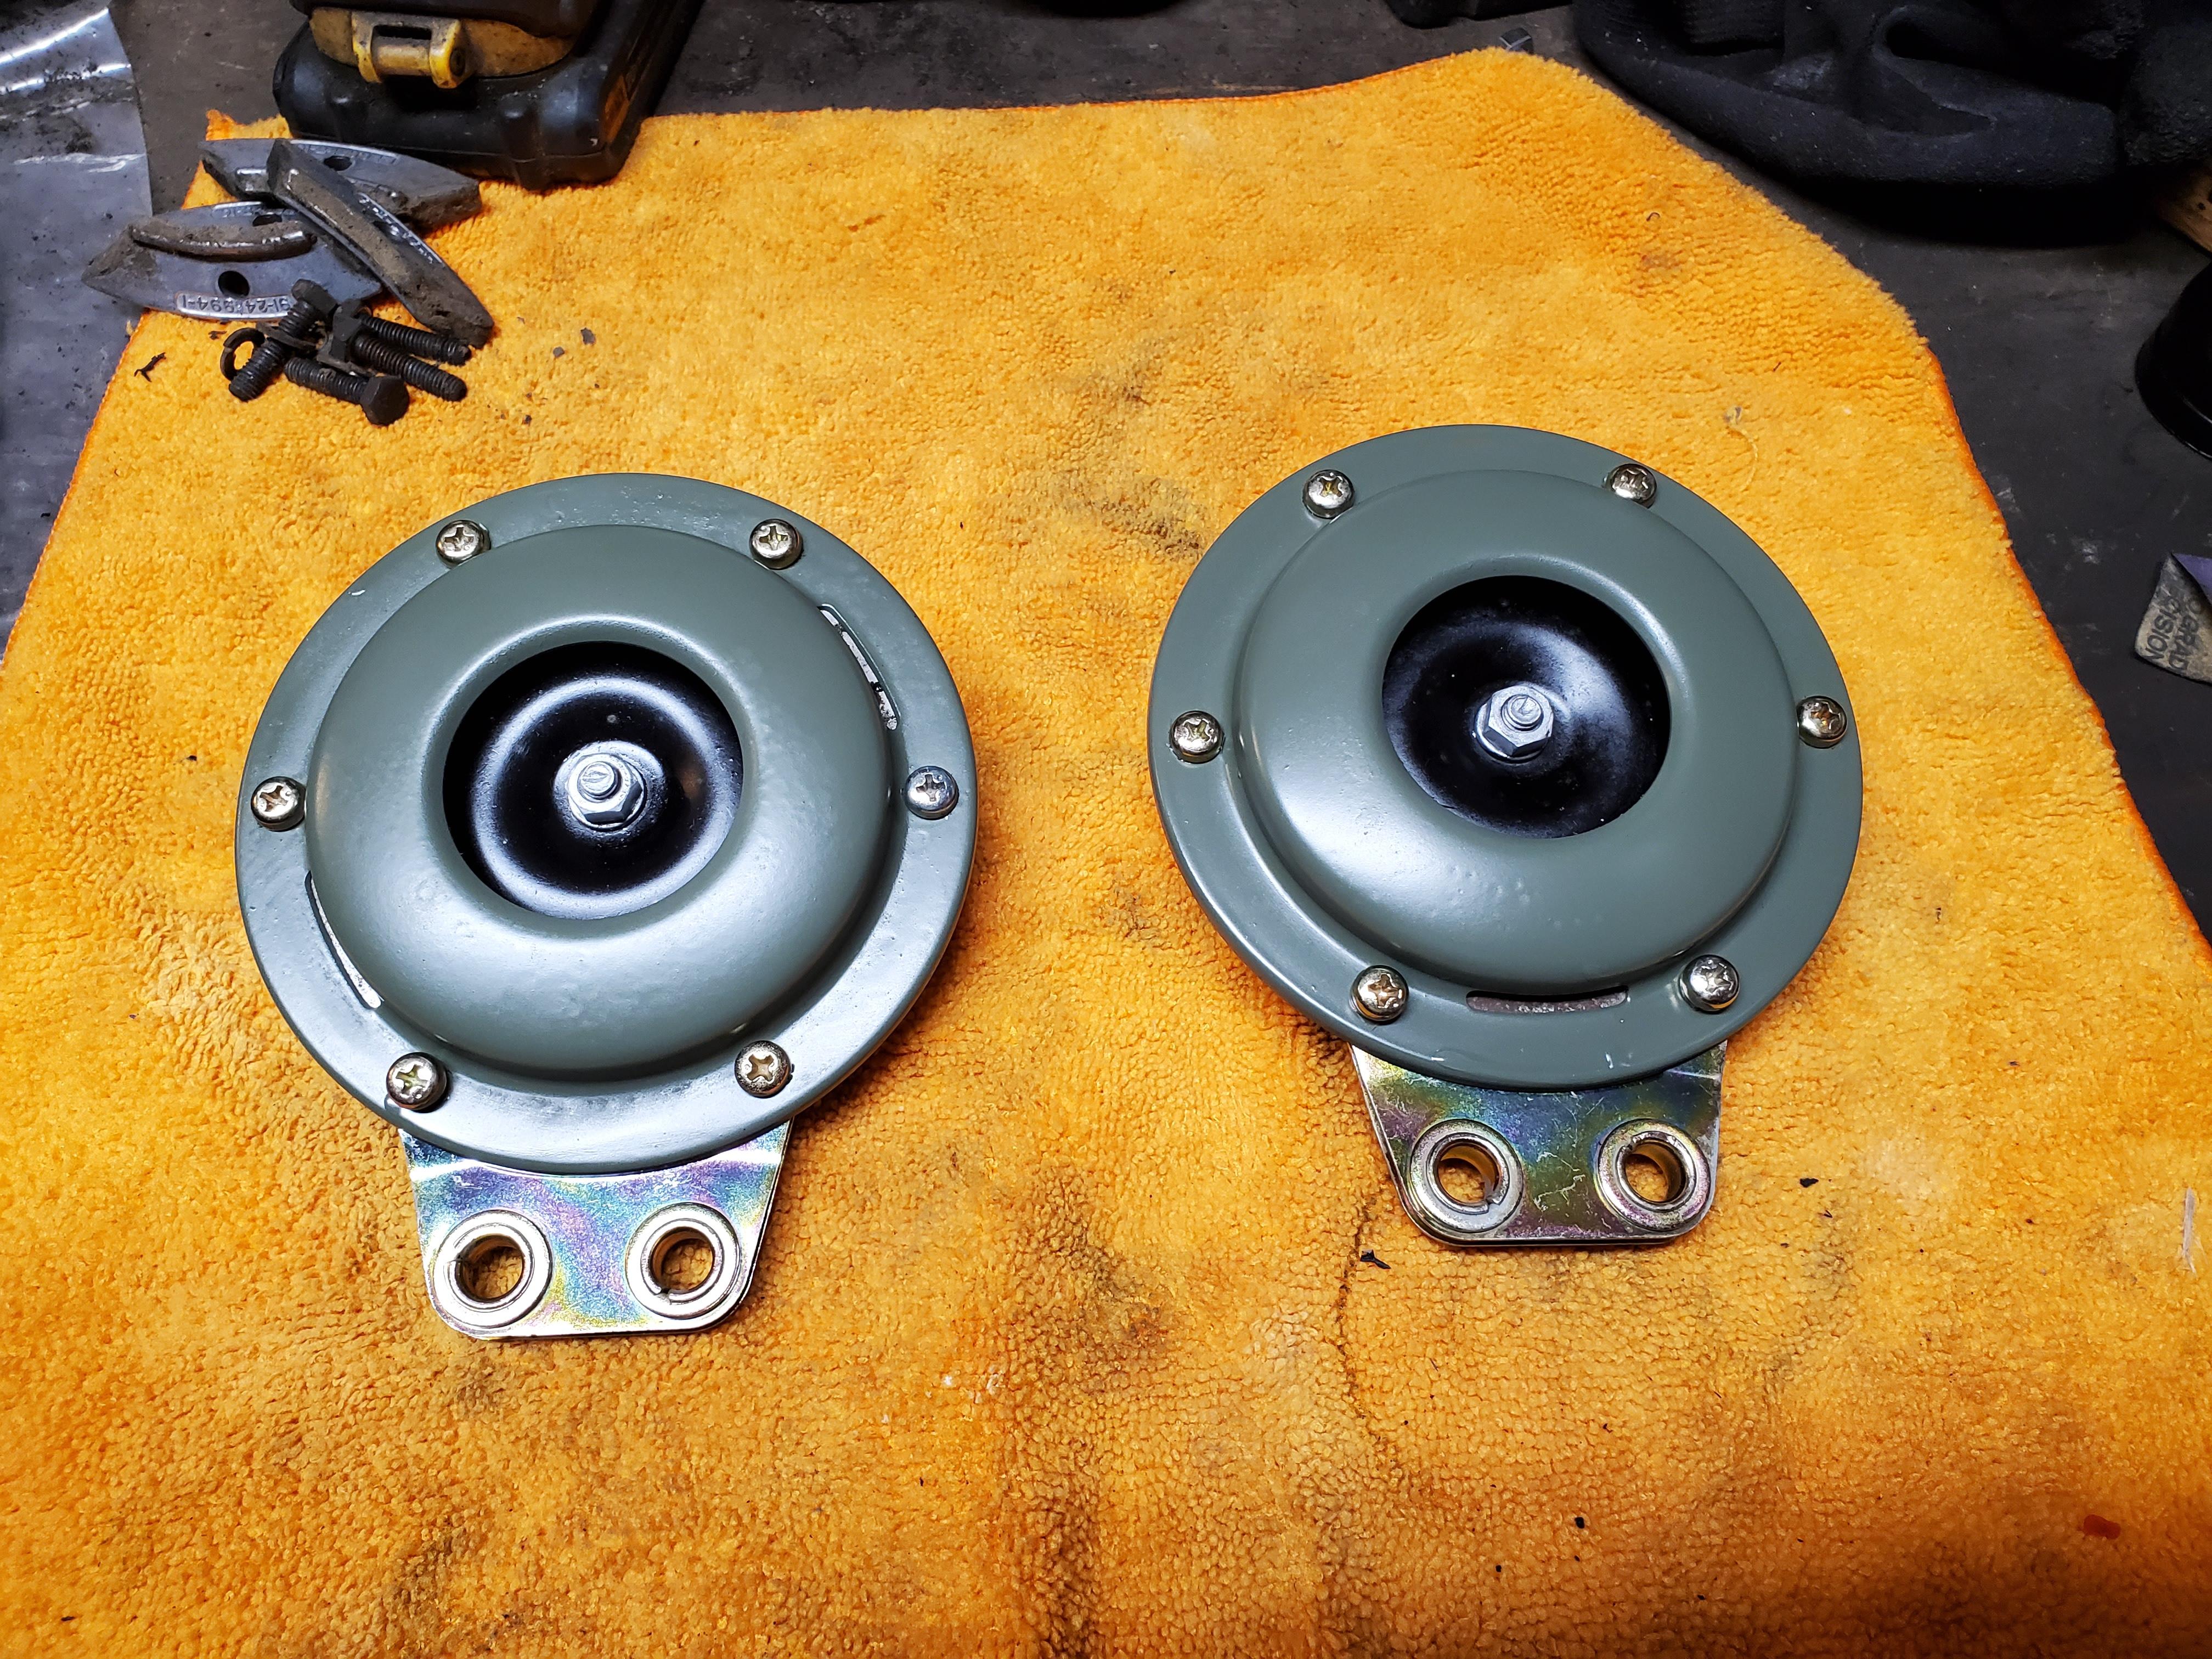
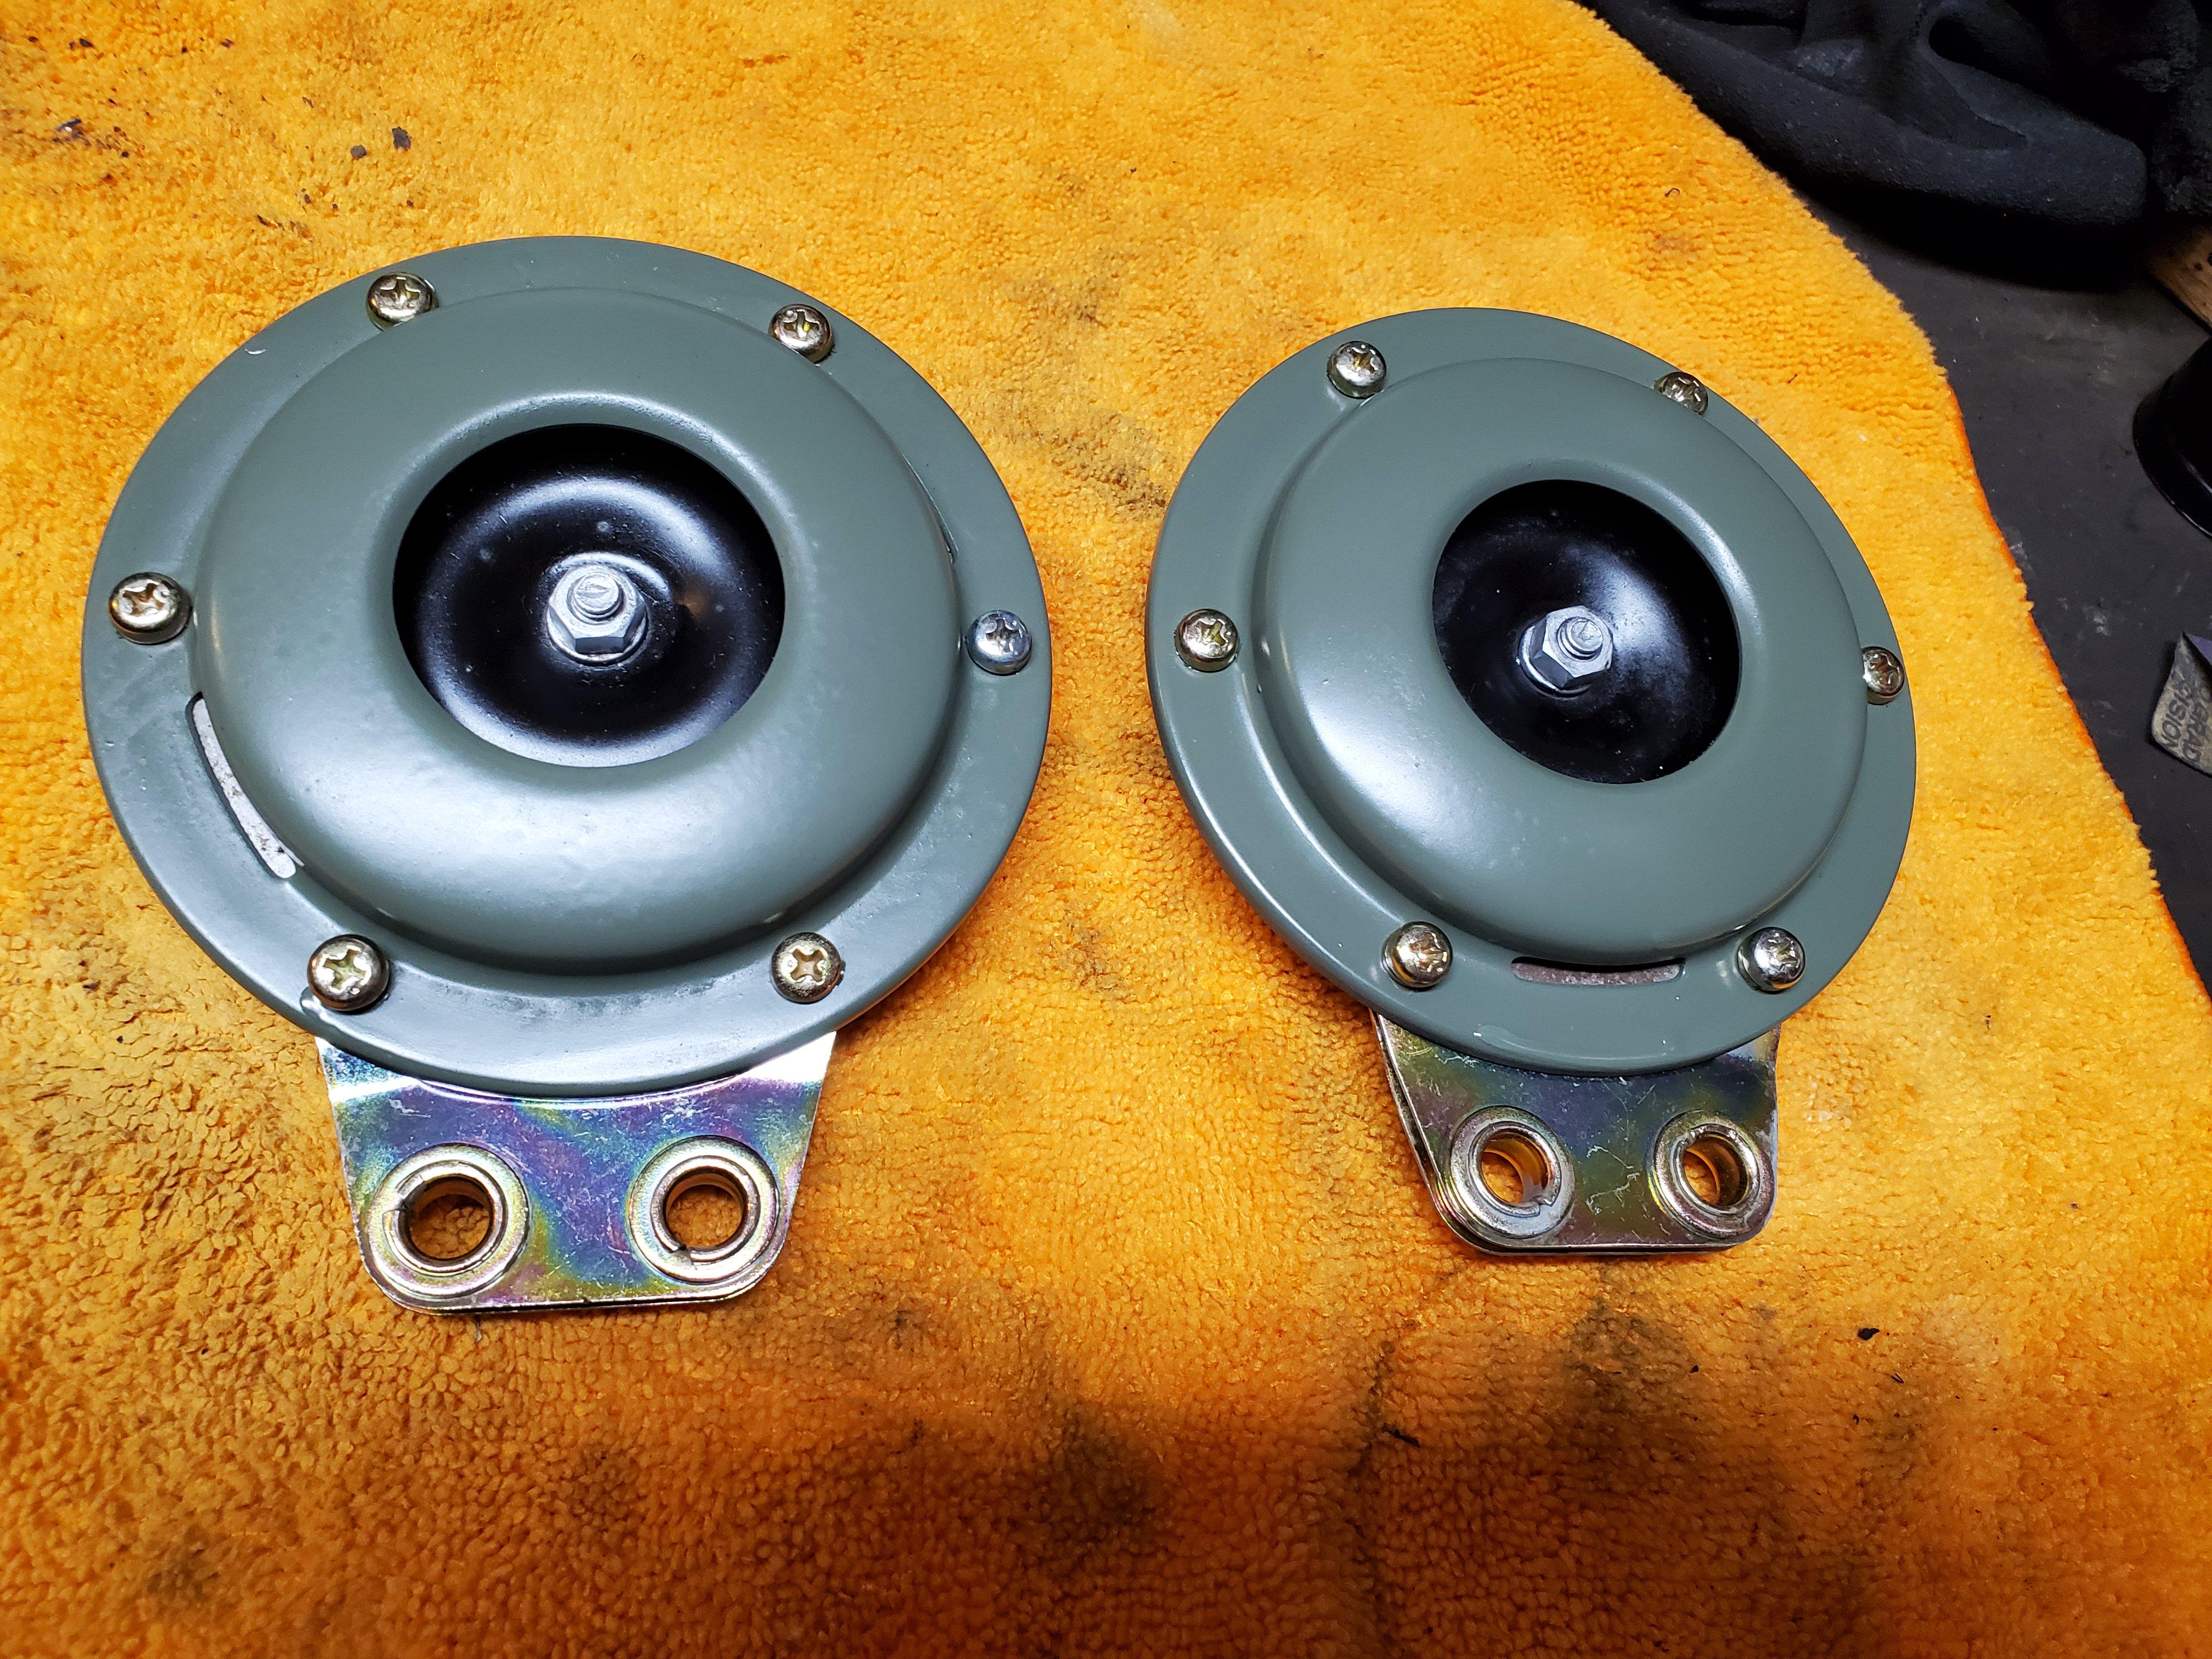
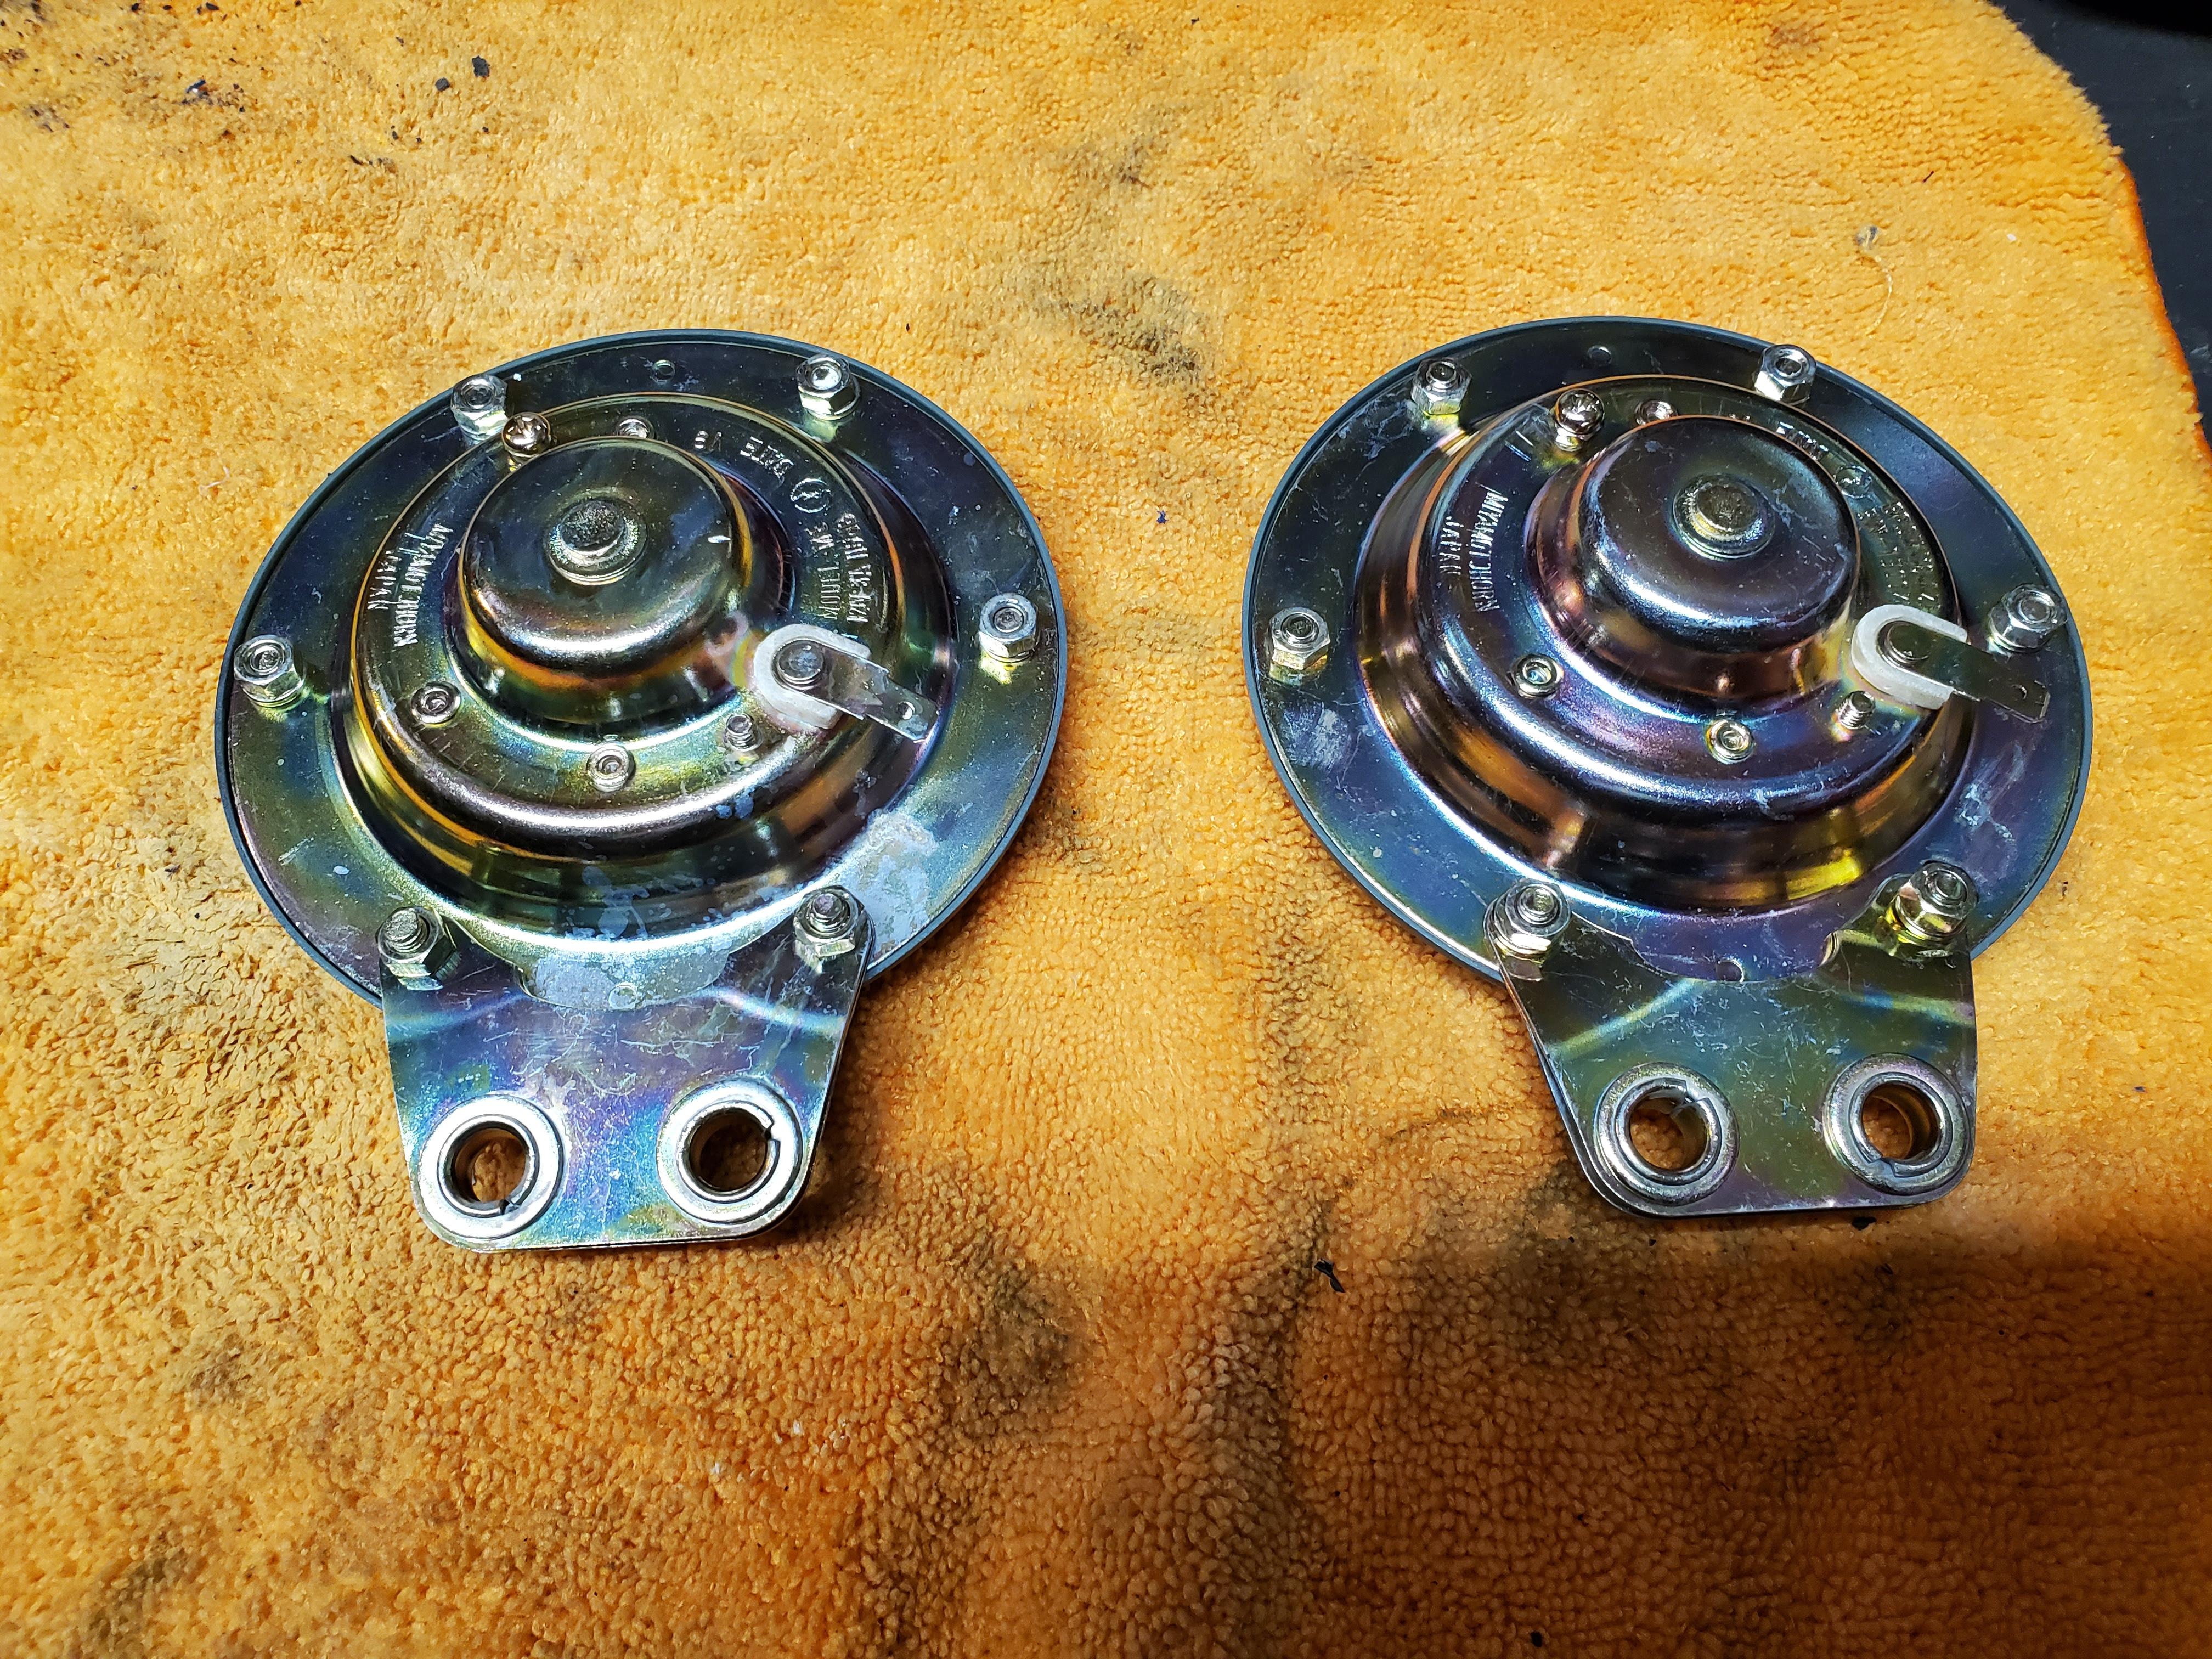
Cleaning up some of the small items here while I wait for the body from the paint shop. Did a clean-up on the horns. I think the olive color is a bit too light, but it's the closest that I could find locally.


-
Interesting. I wonder if the broken T/C rods are on more high performance or race cars.
-
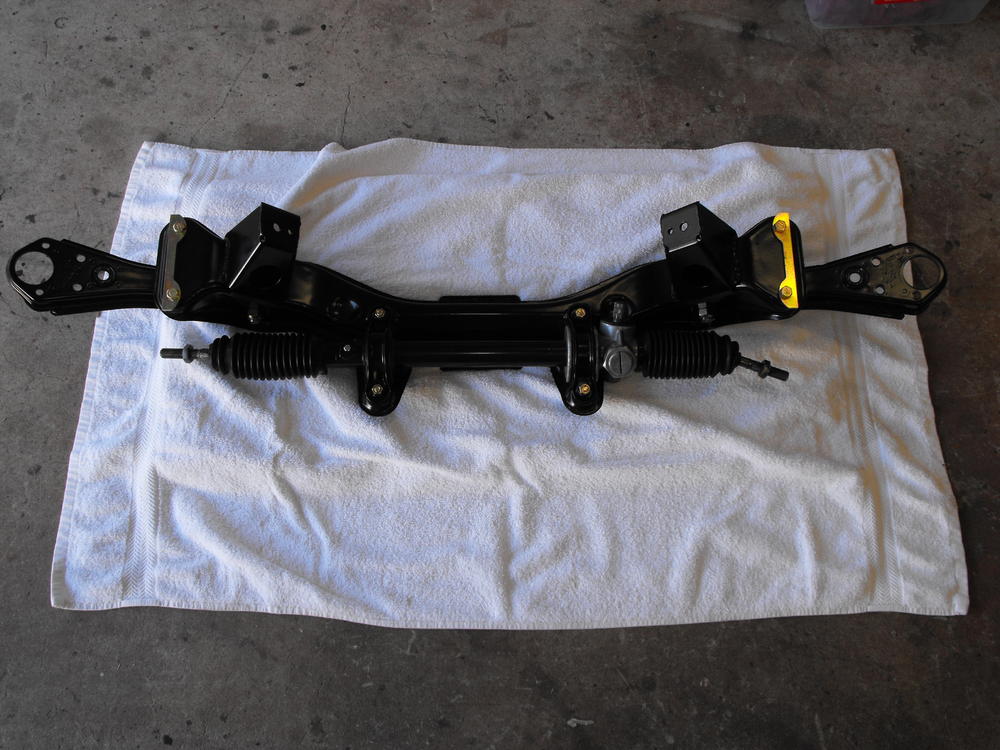
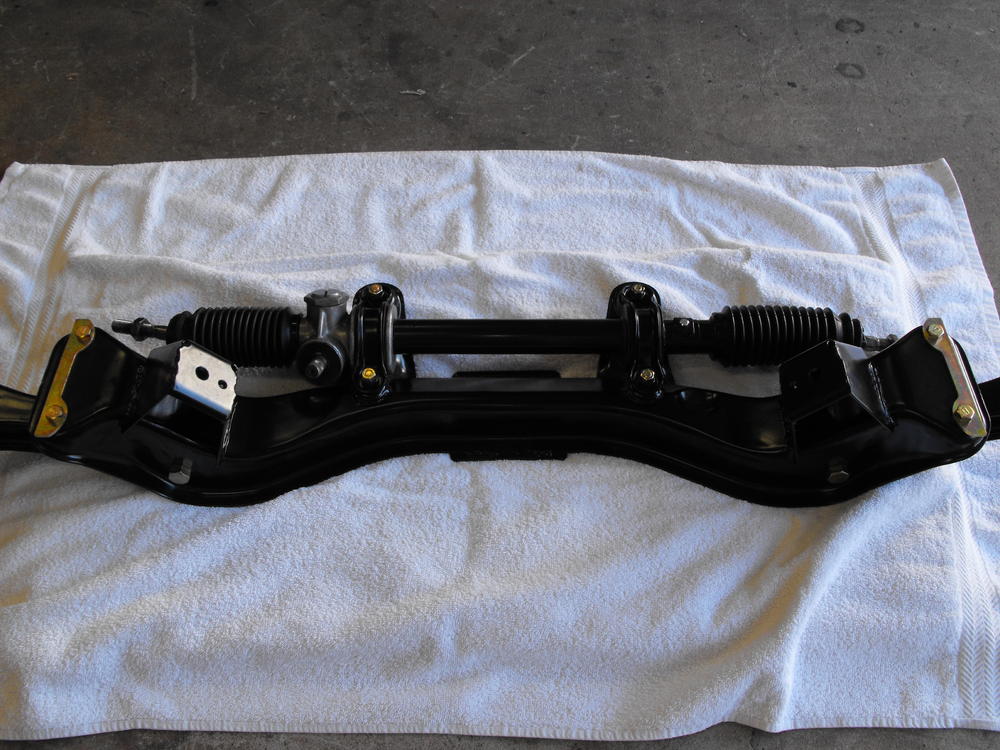
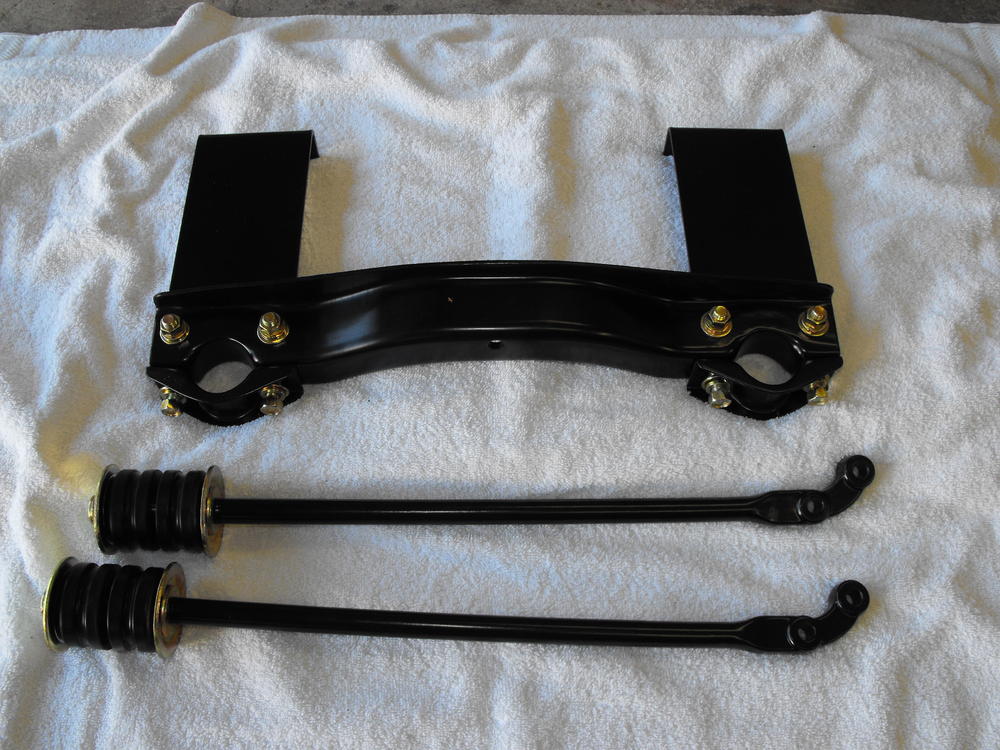
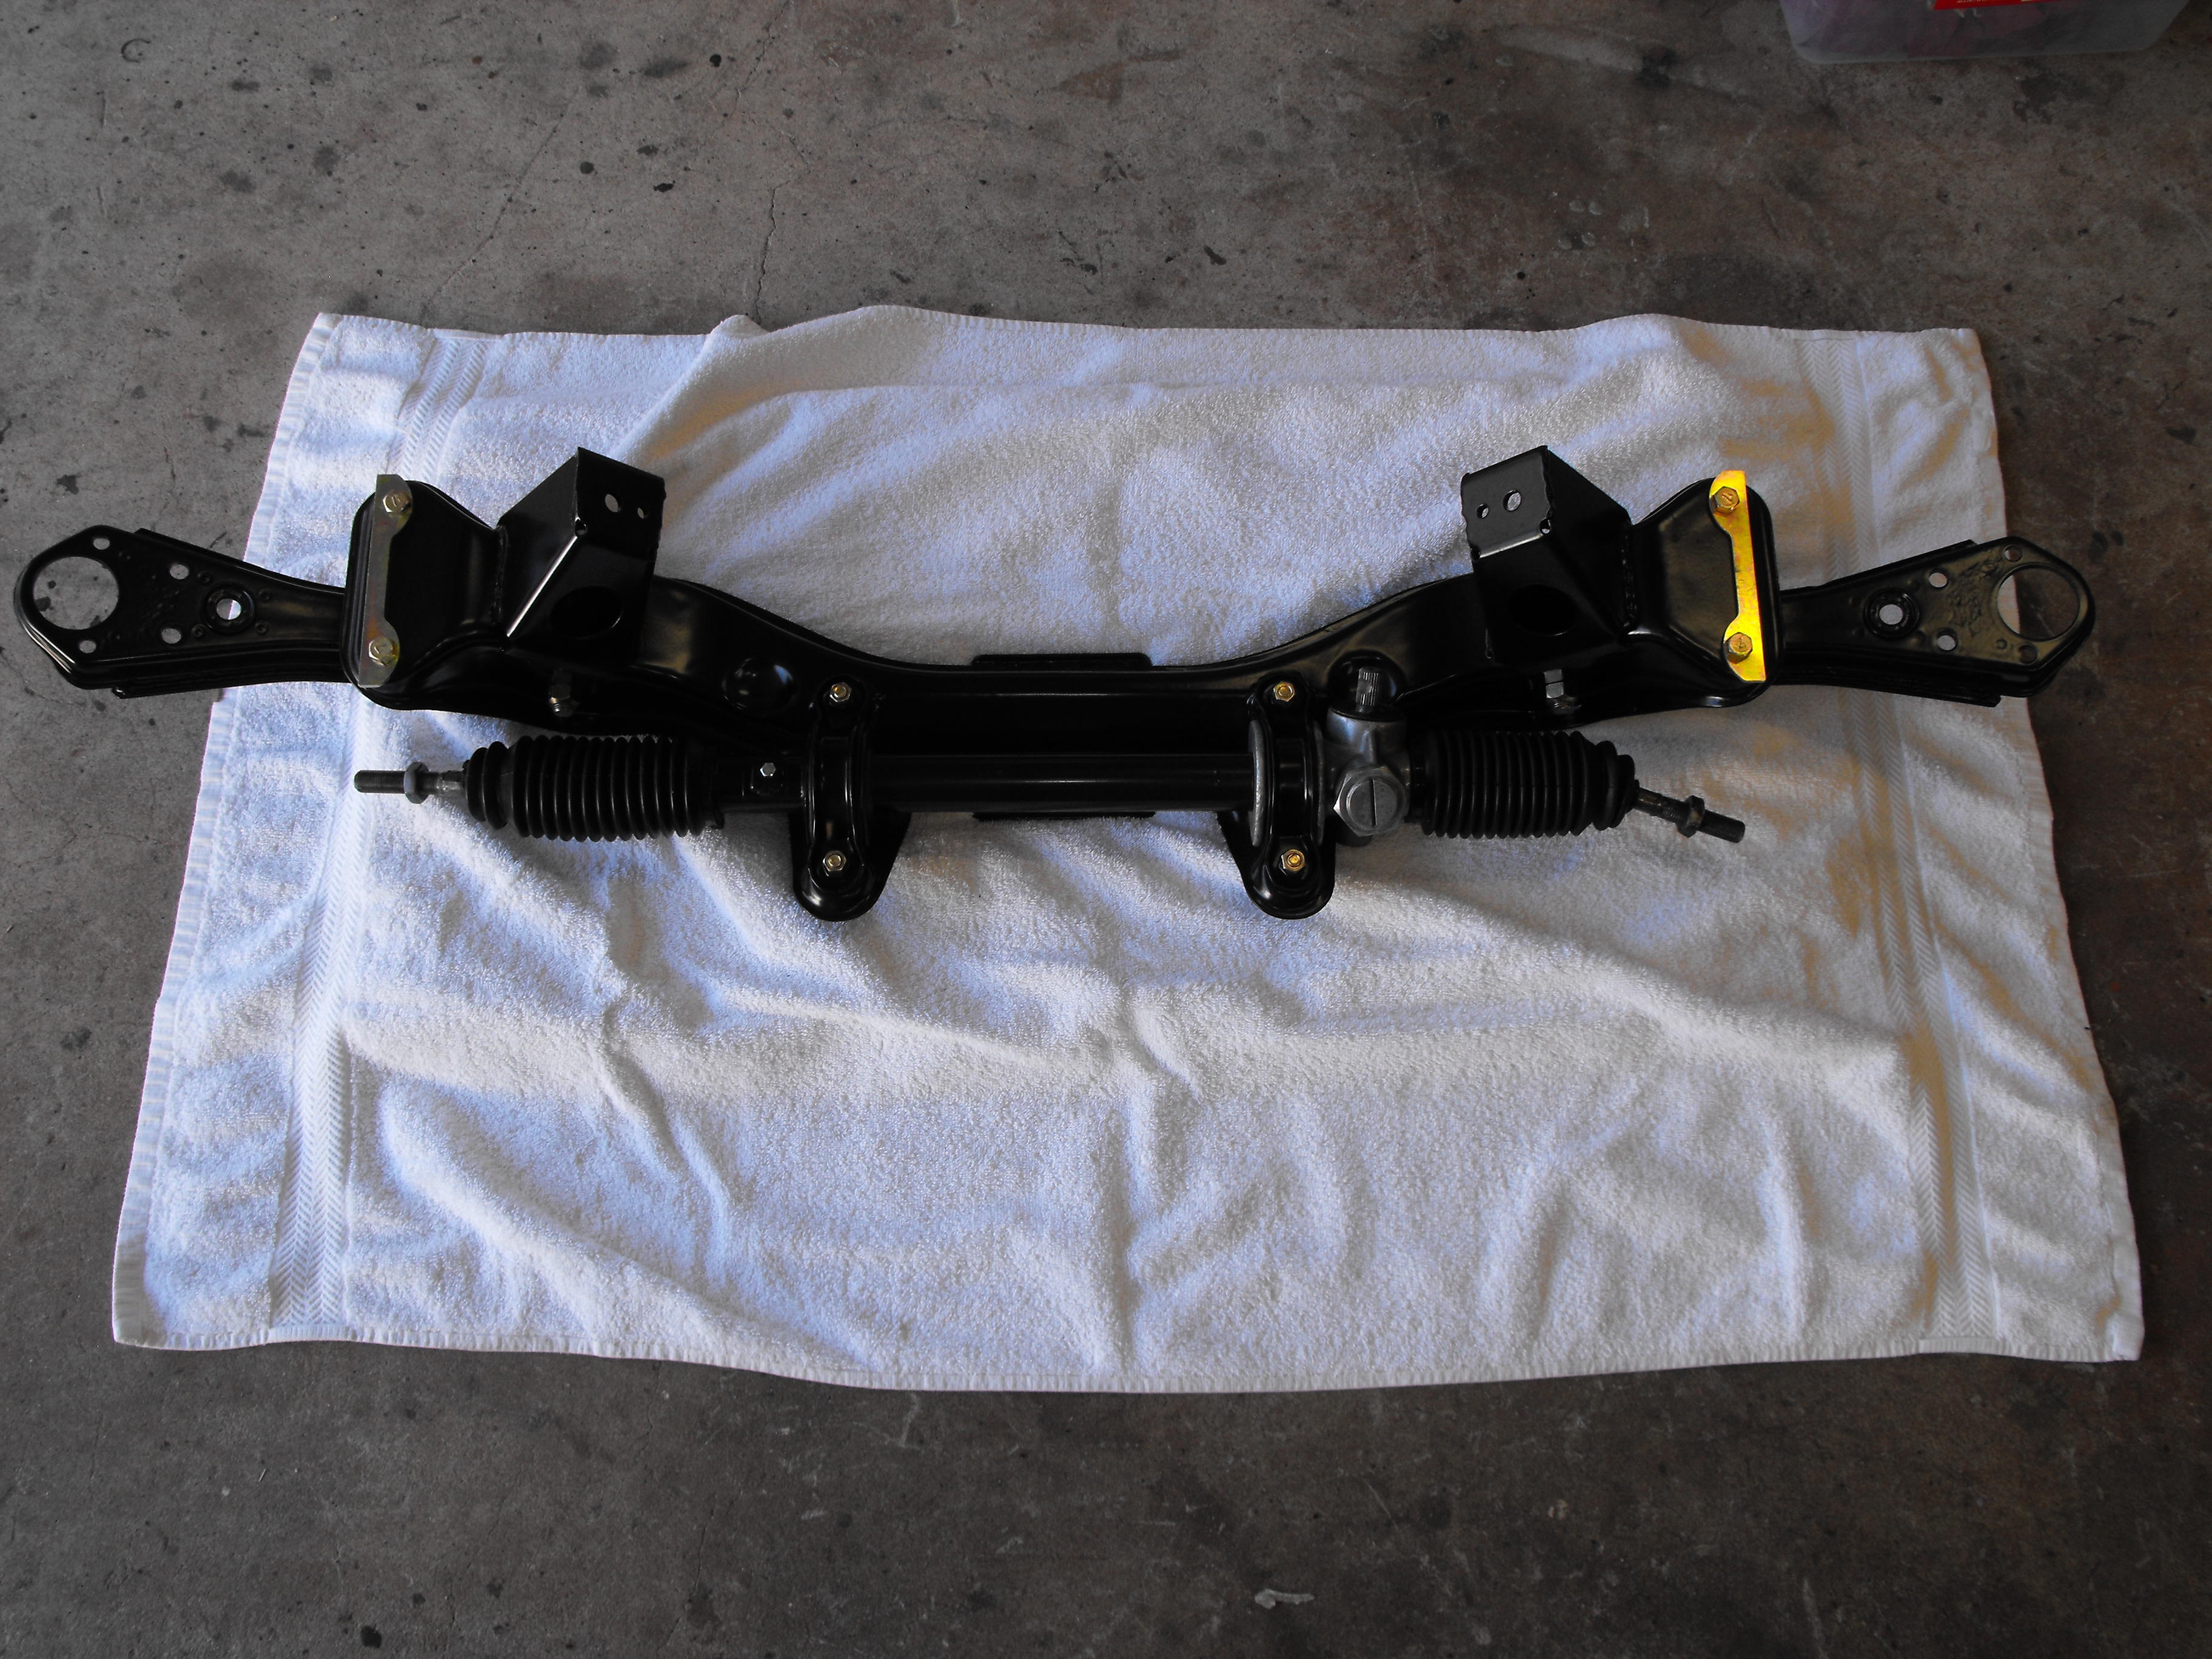
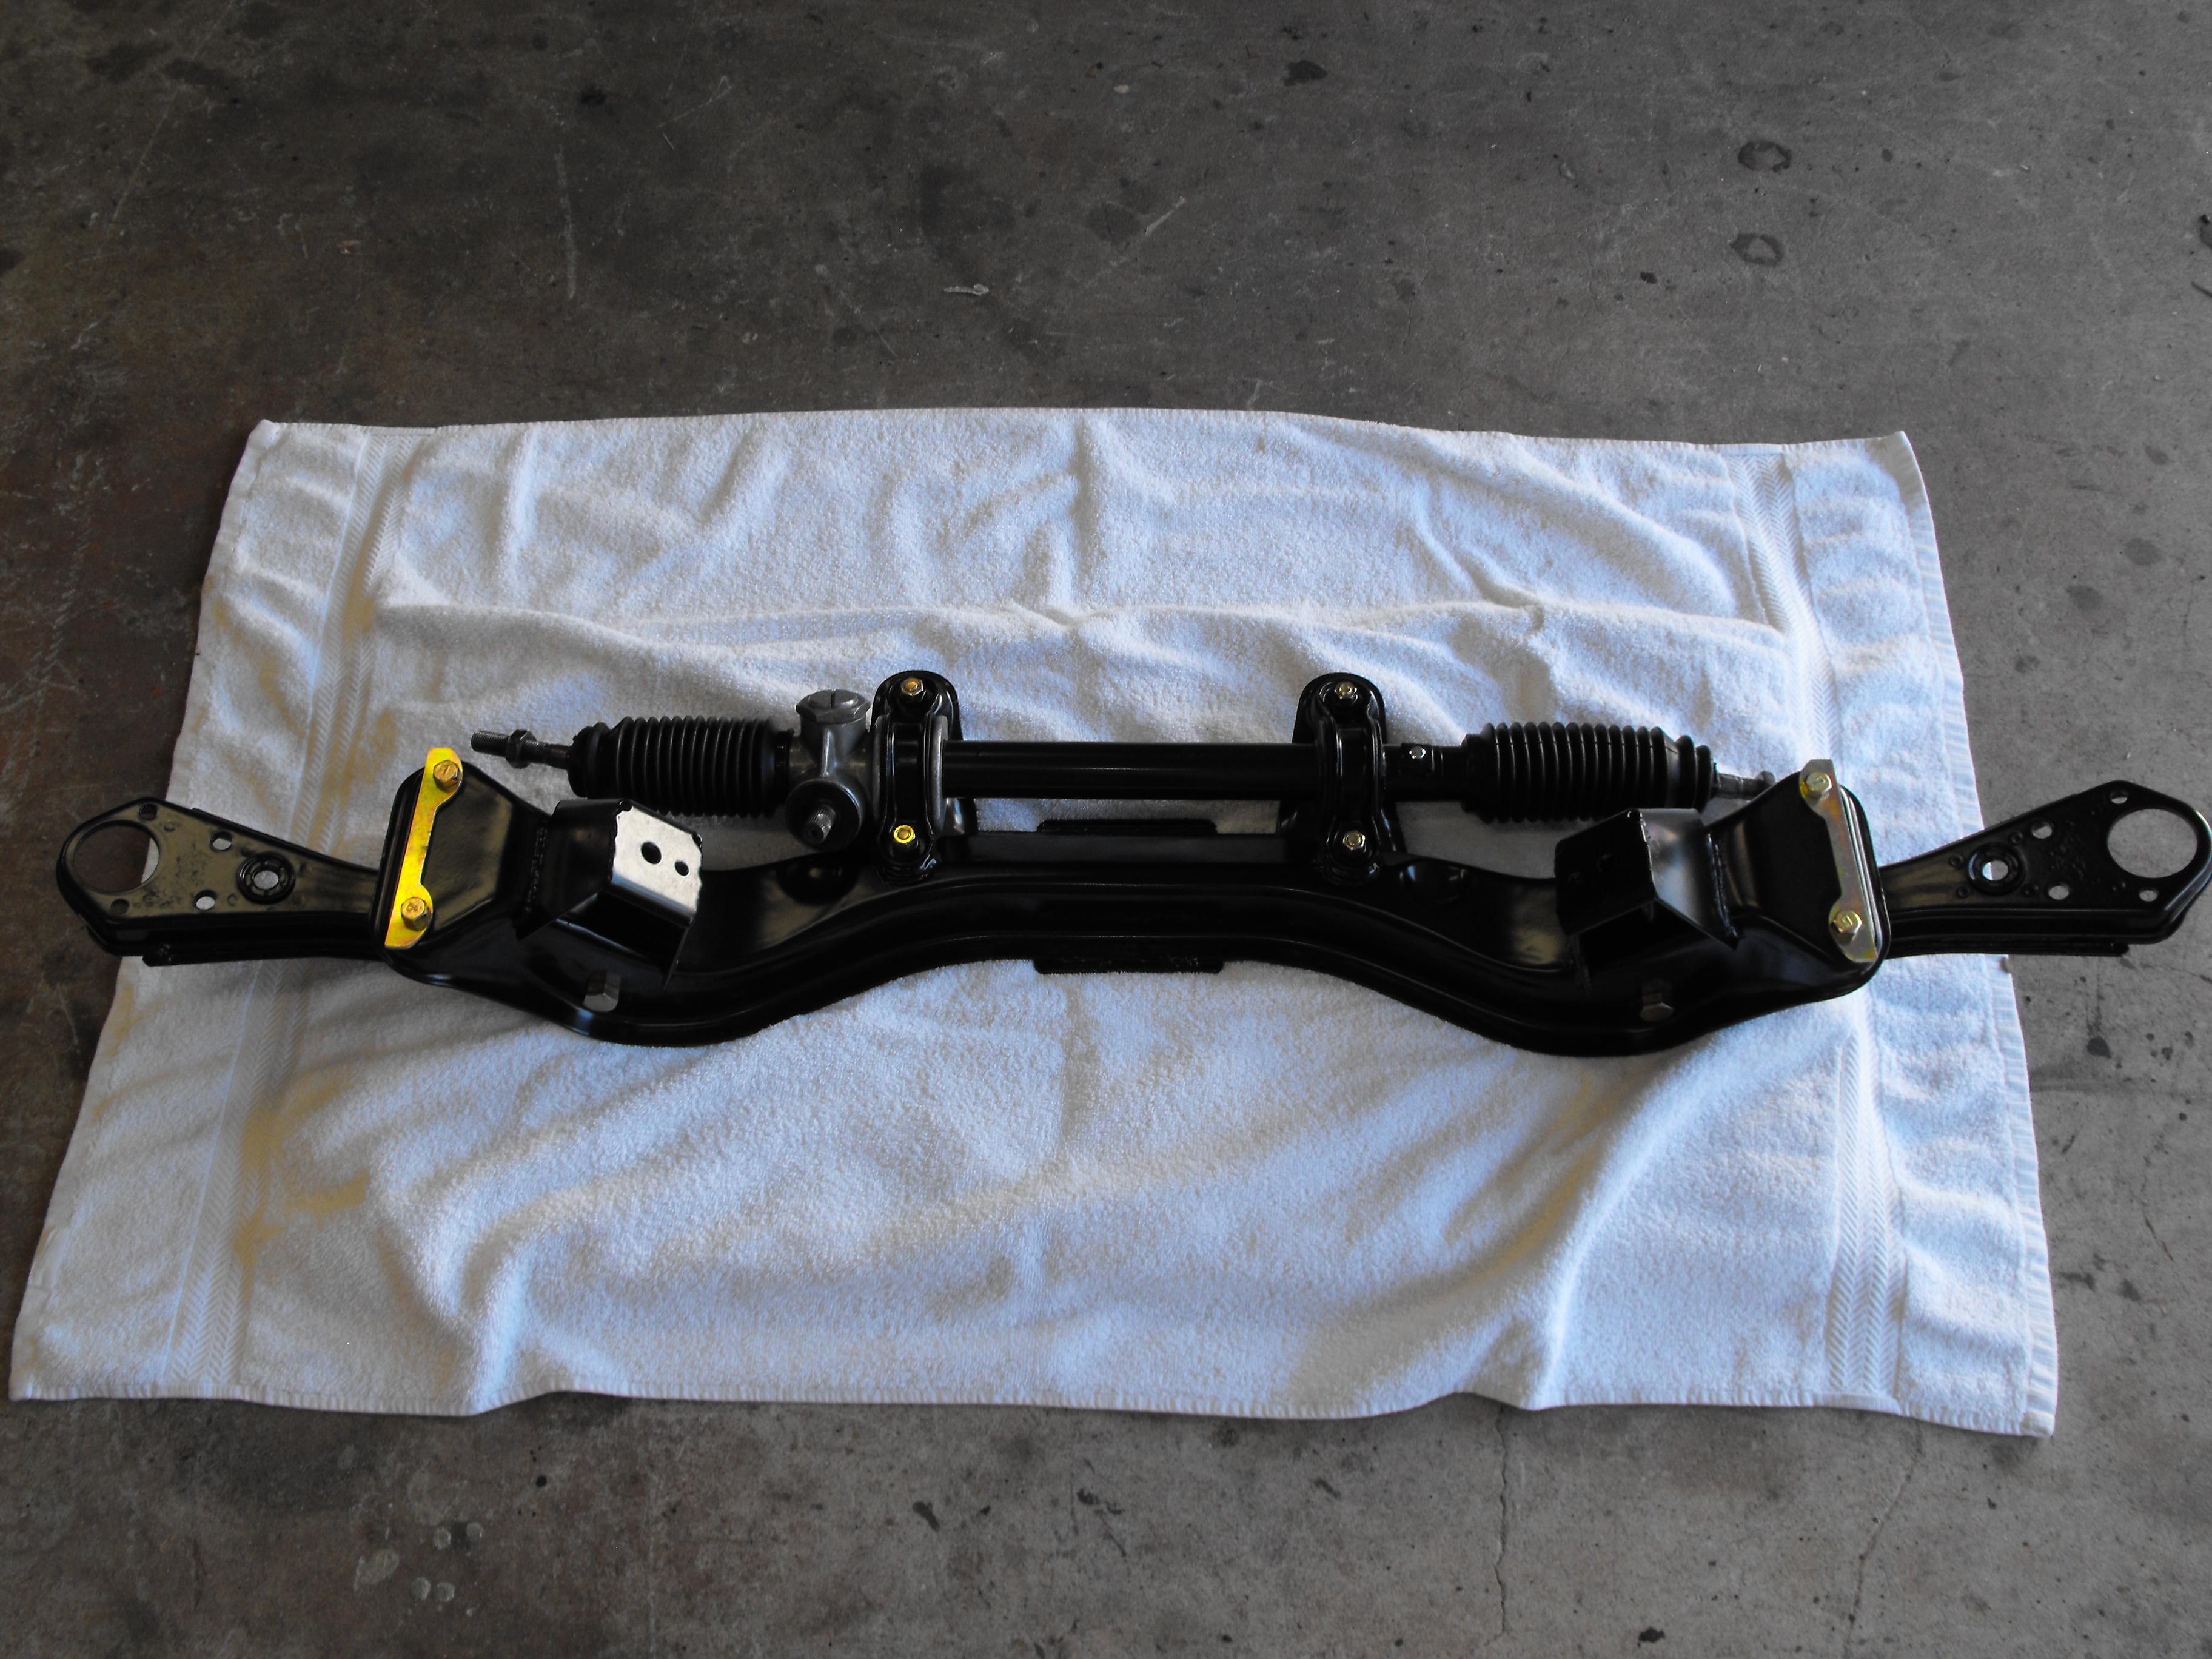
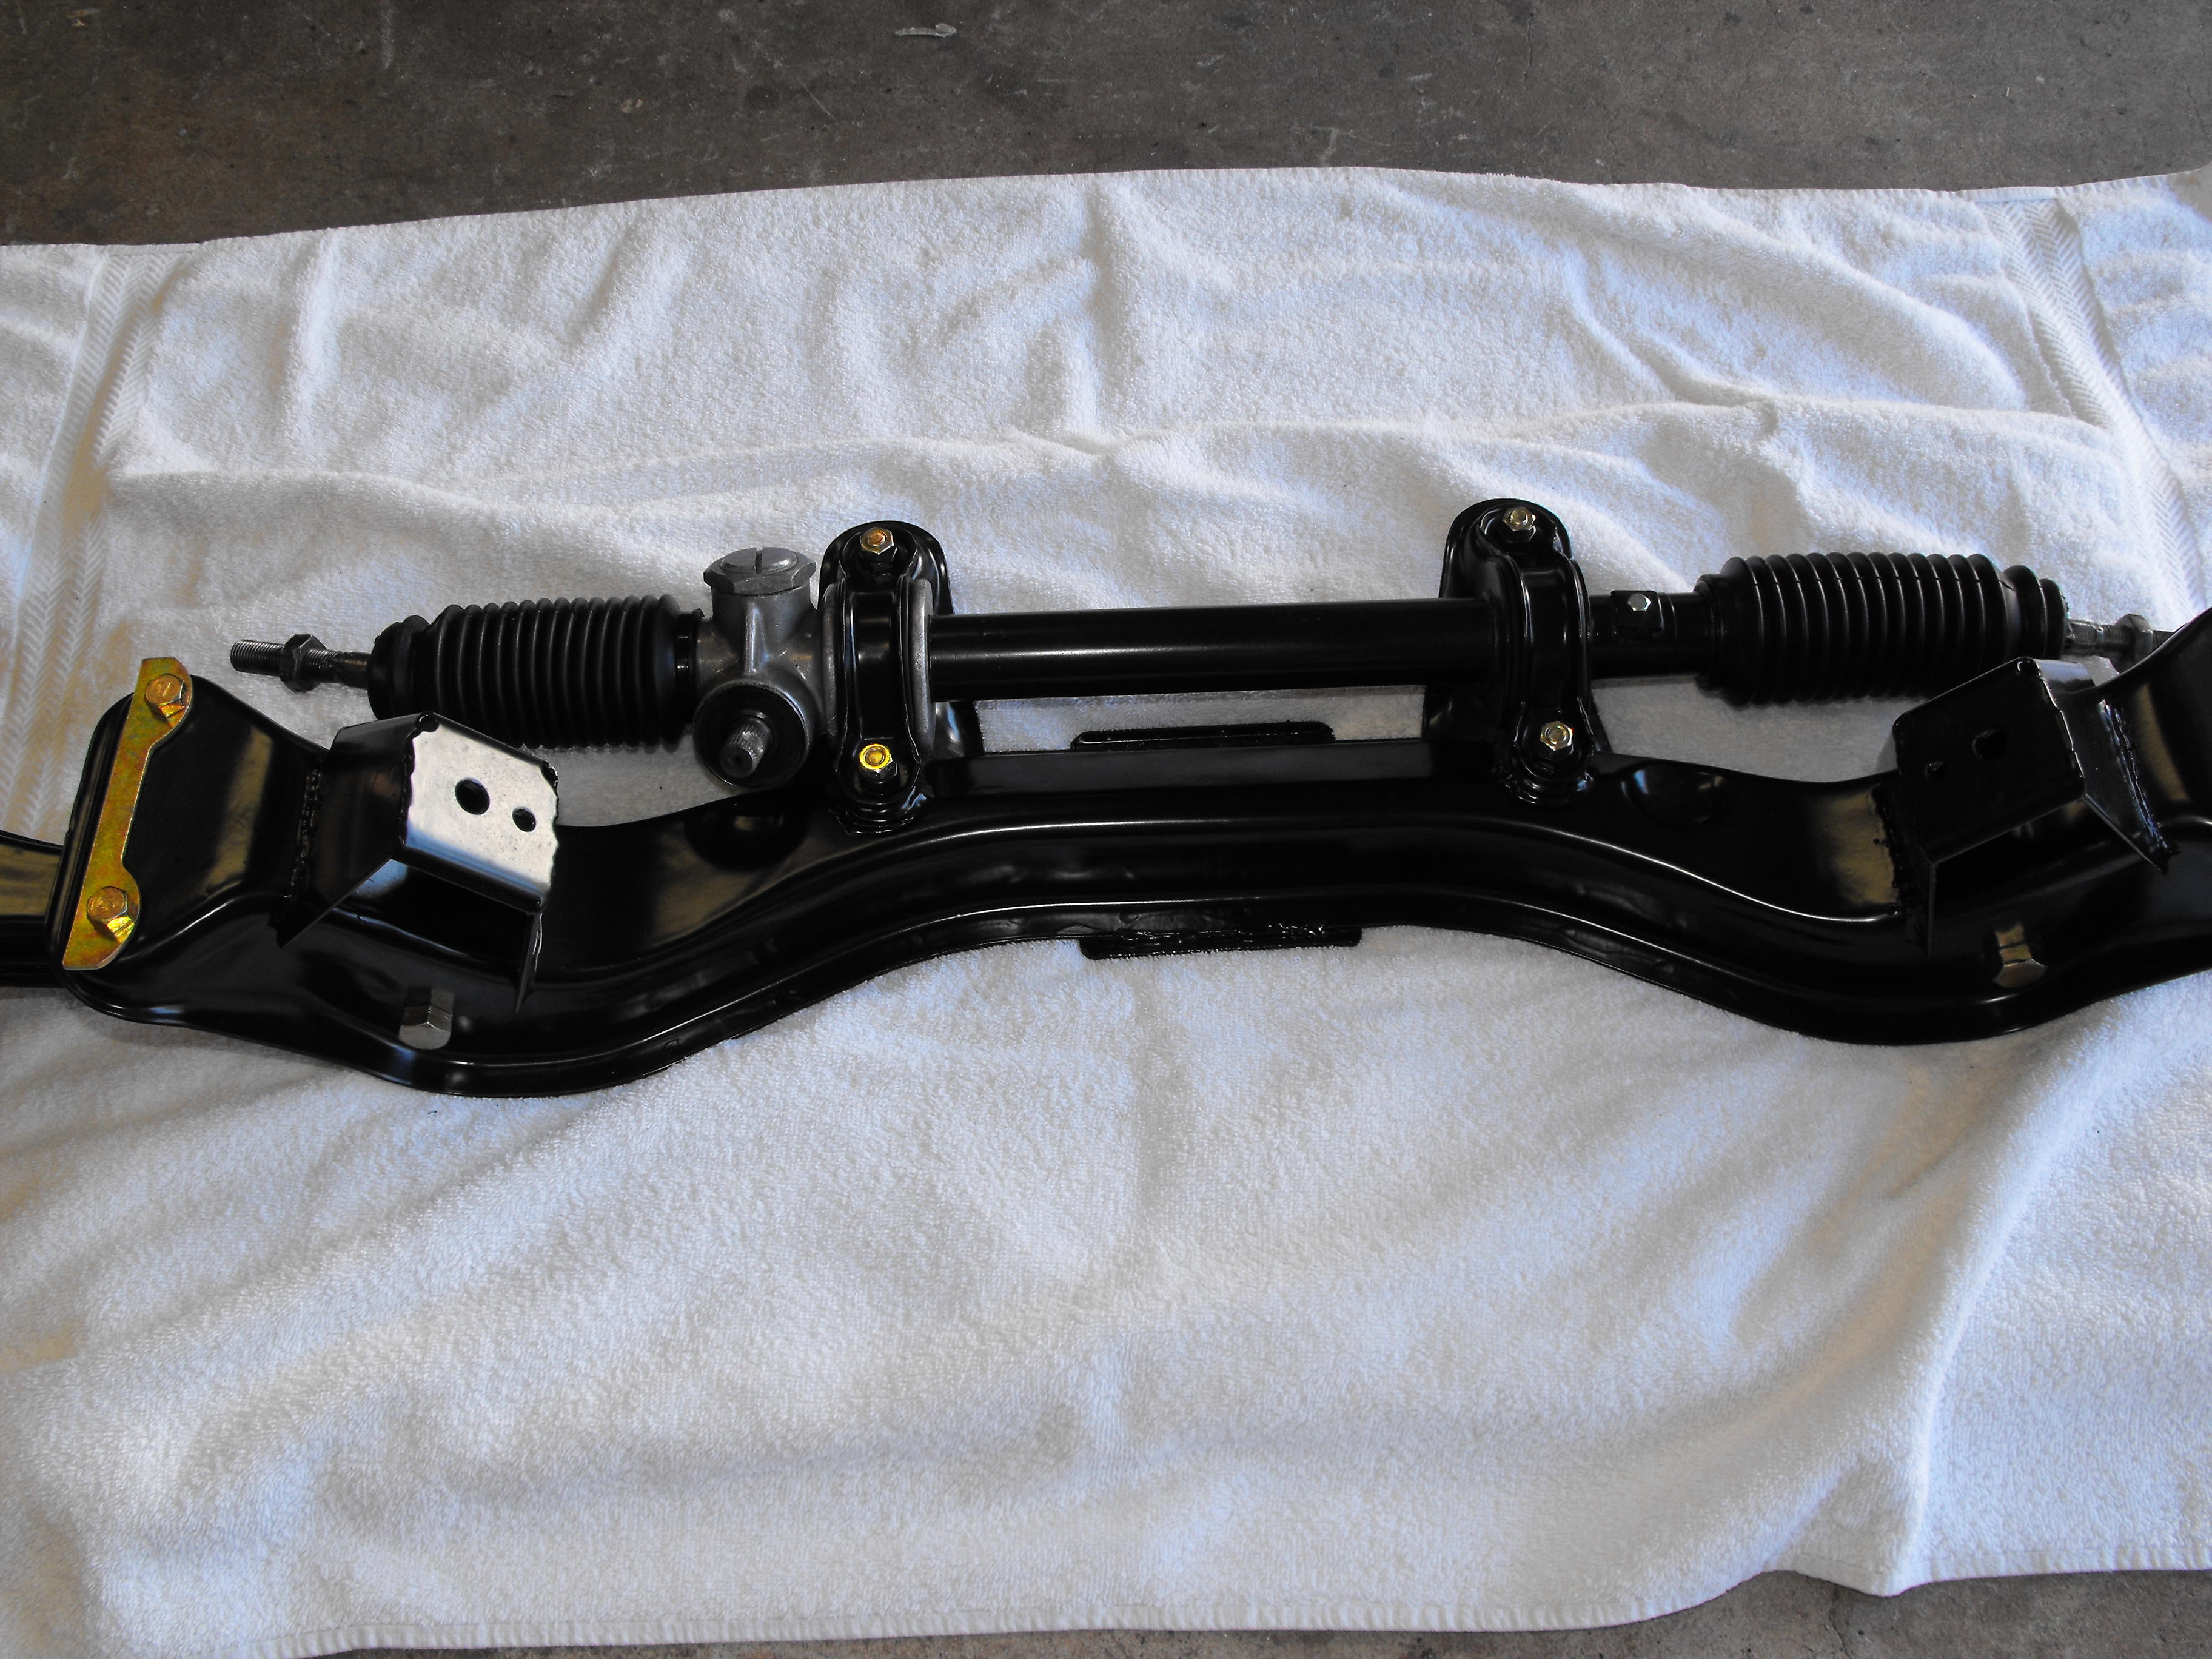
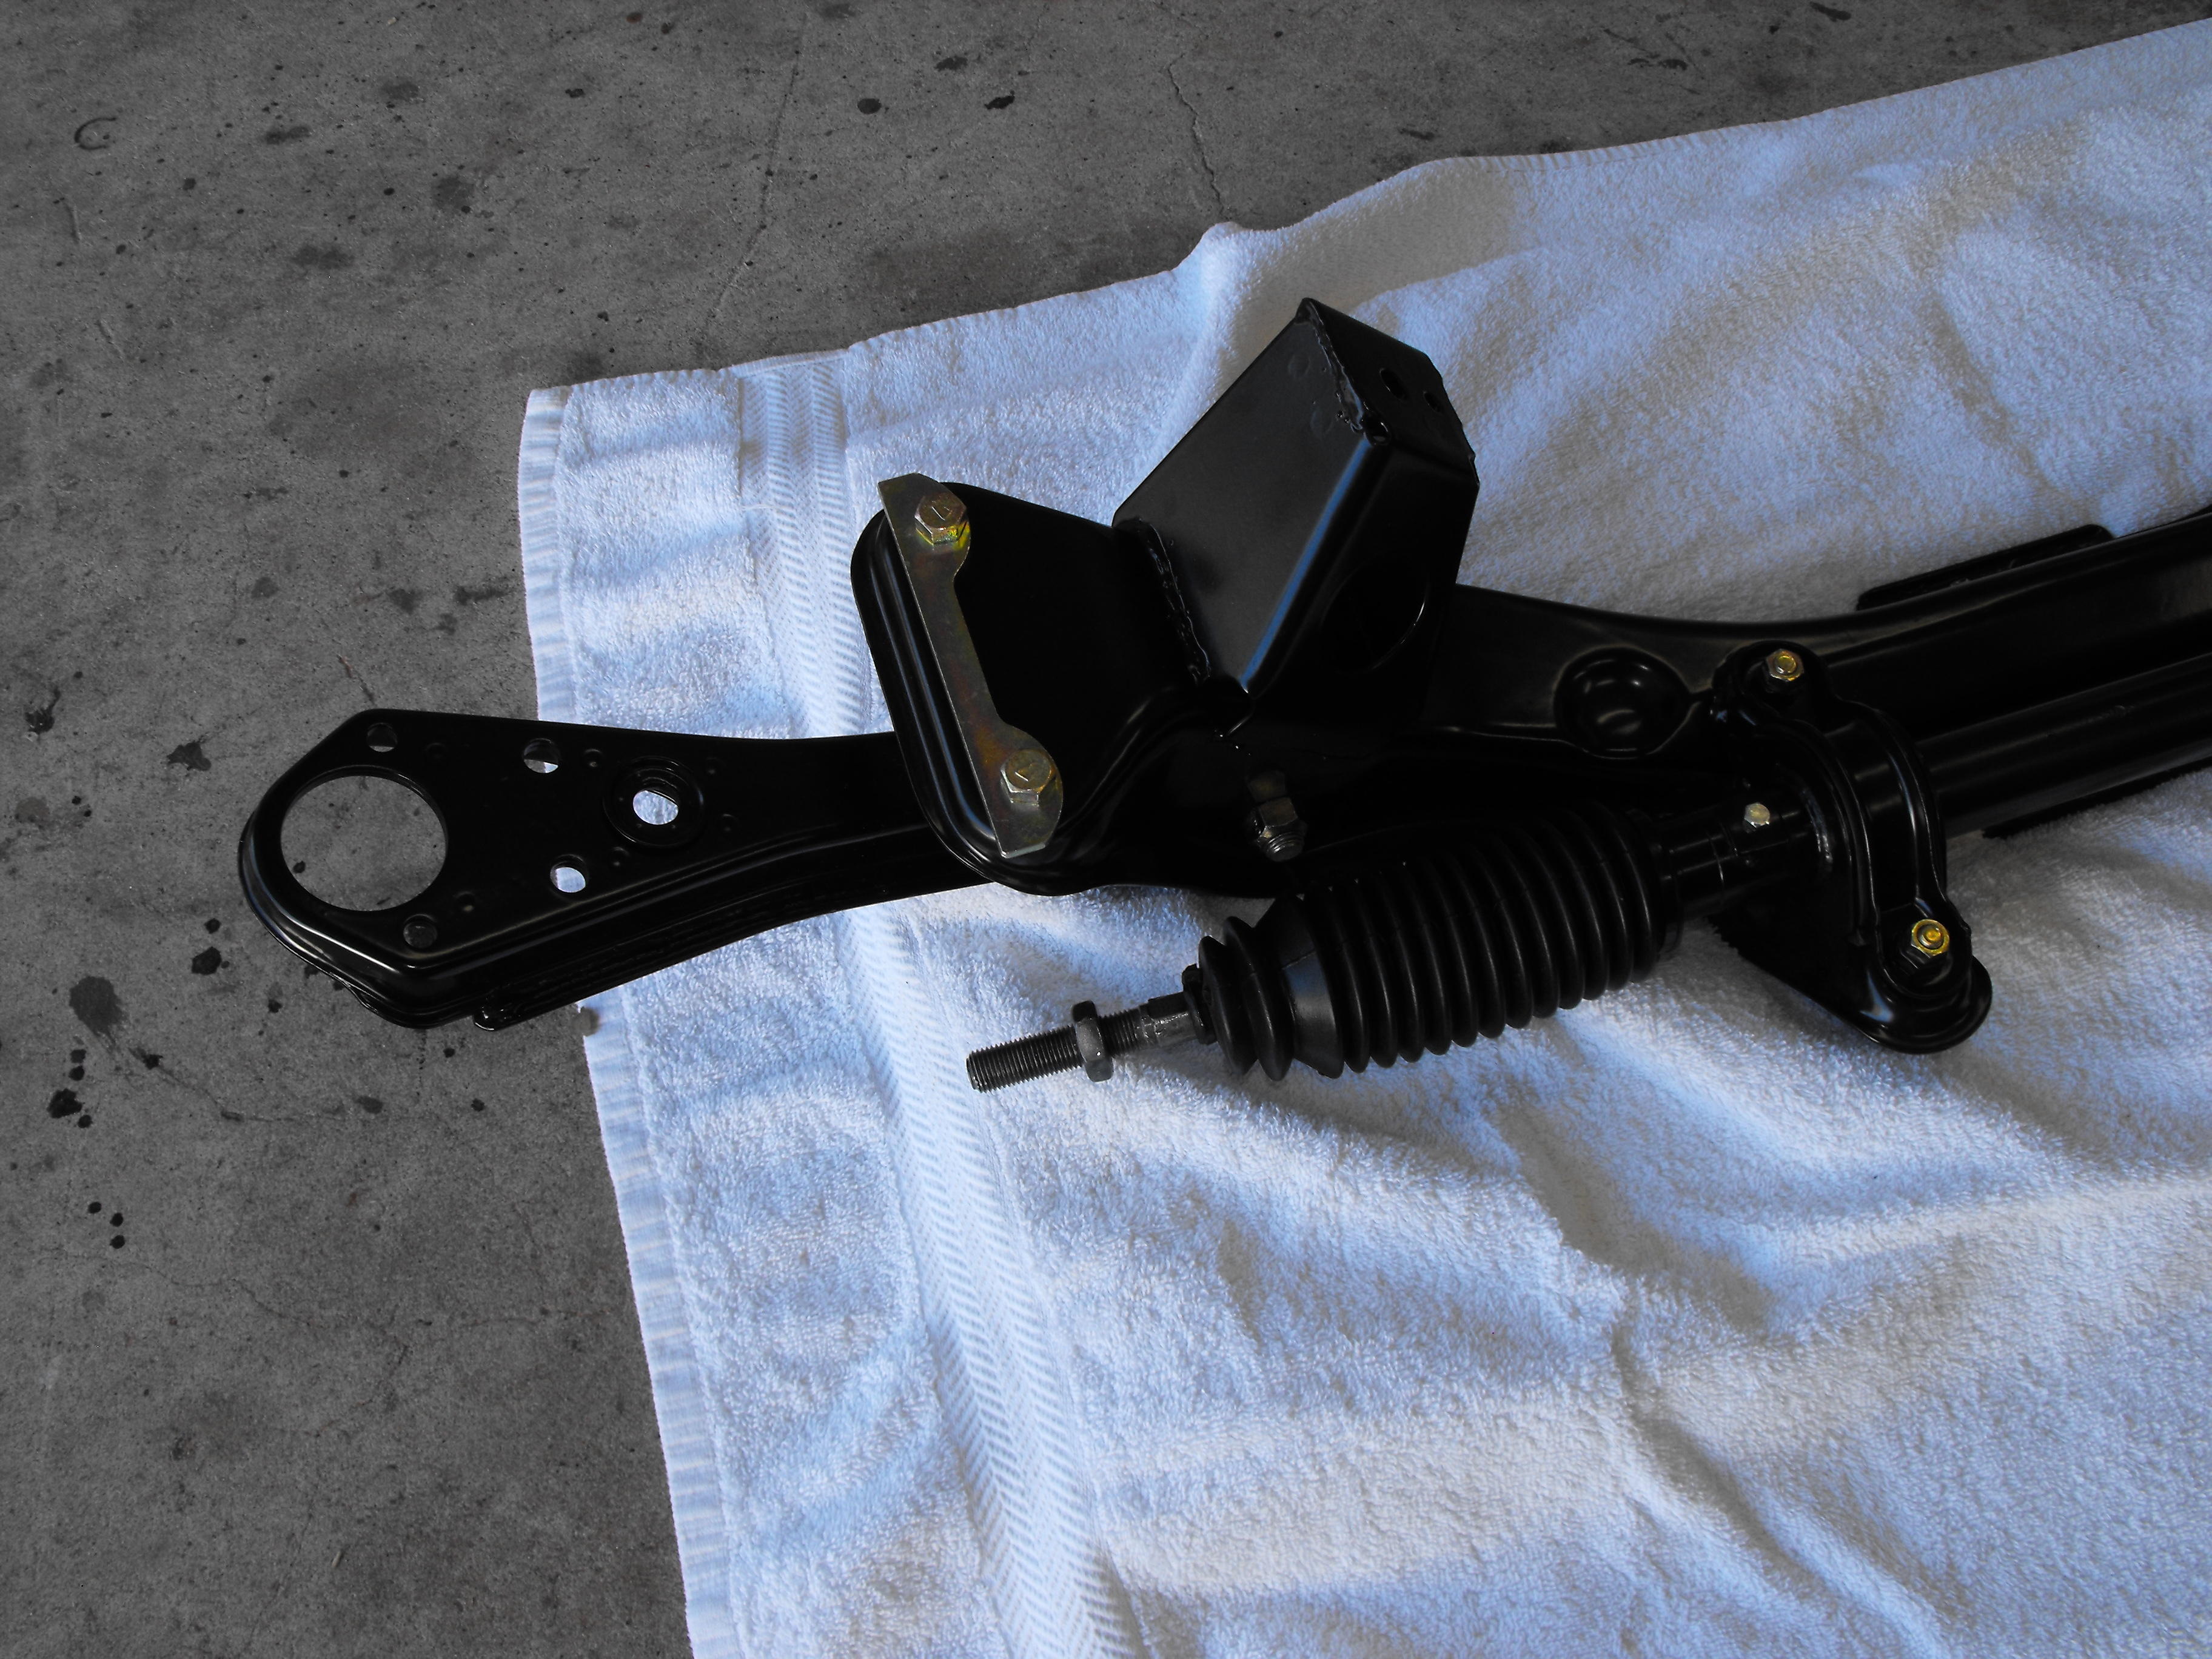
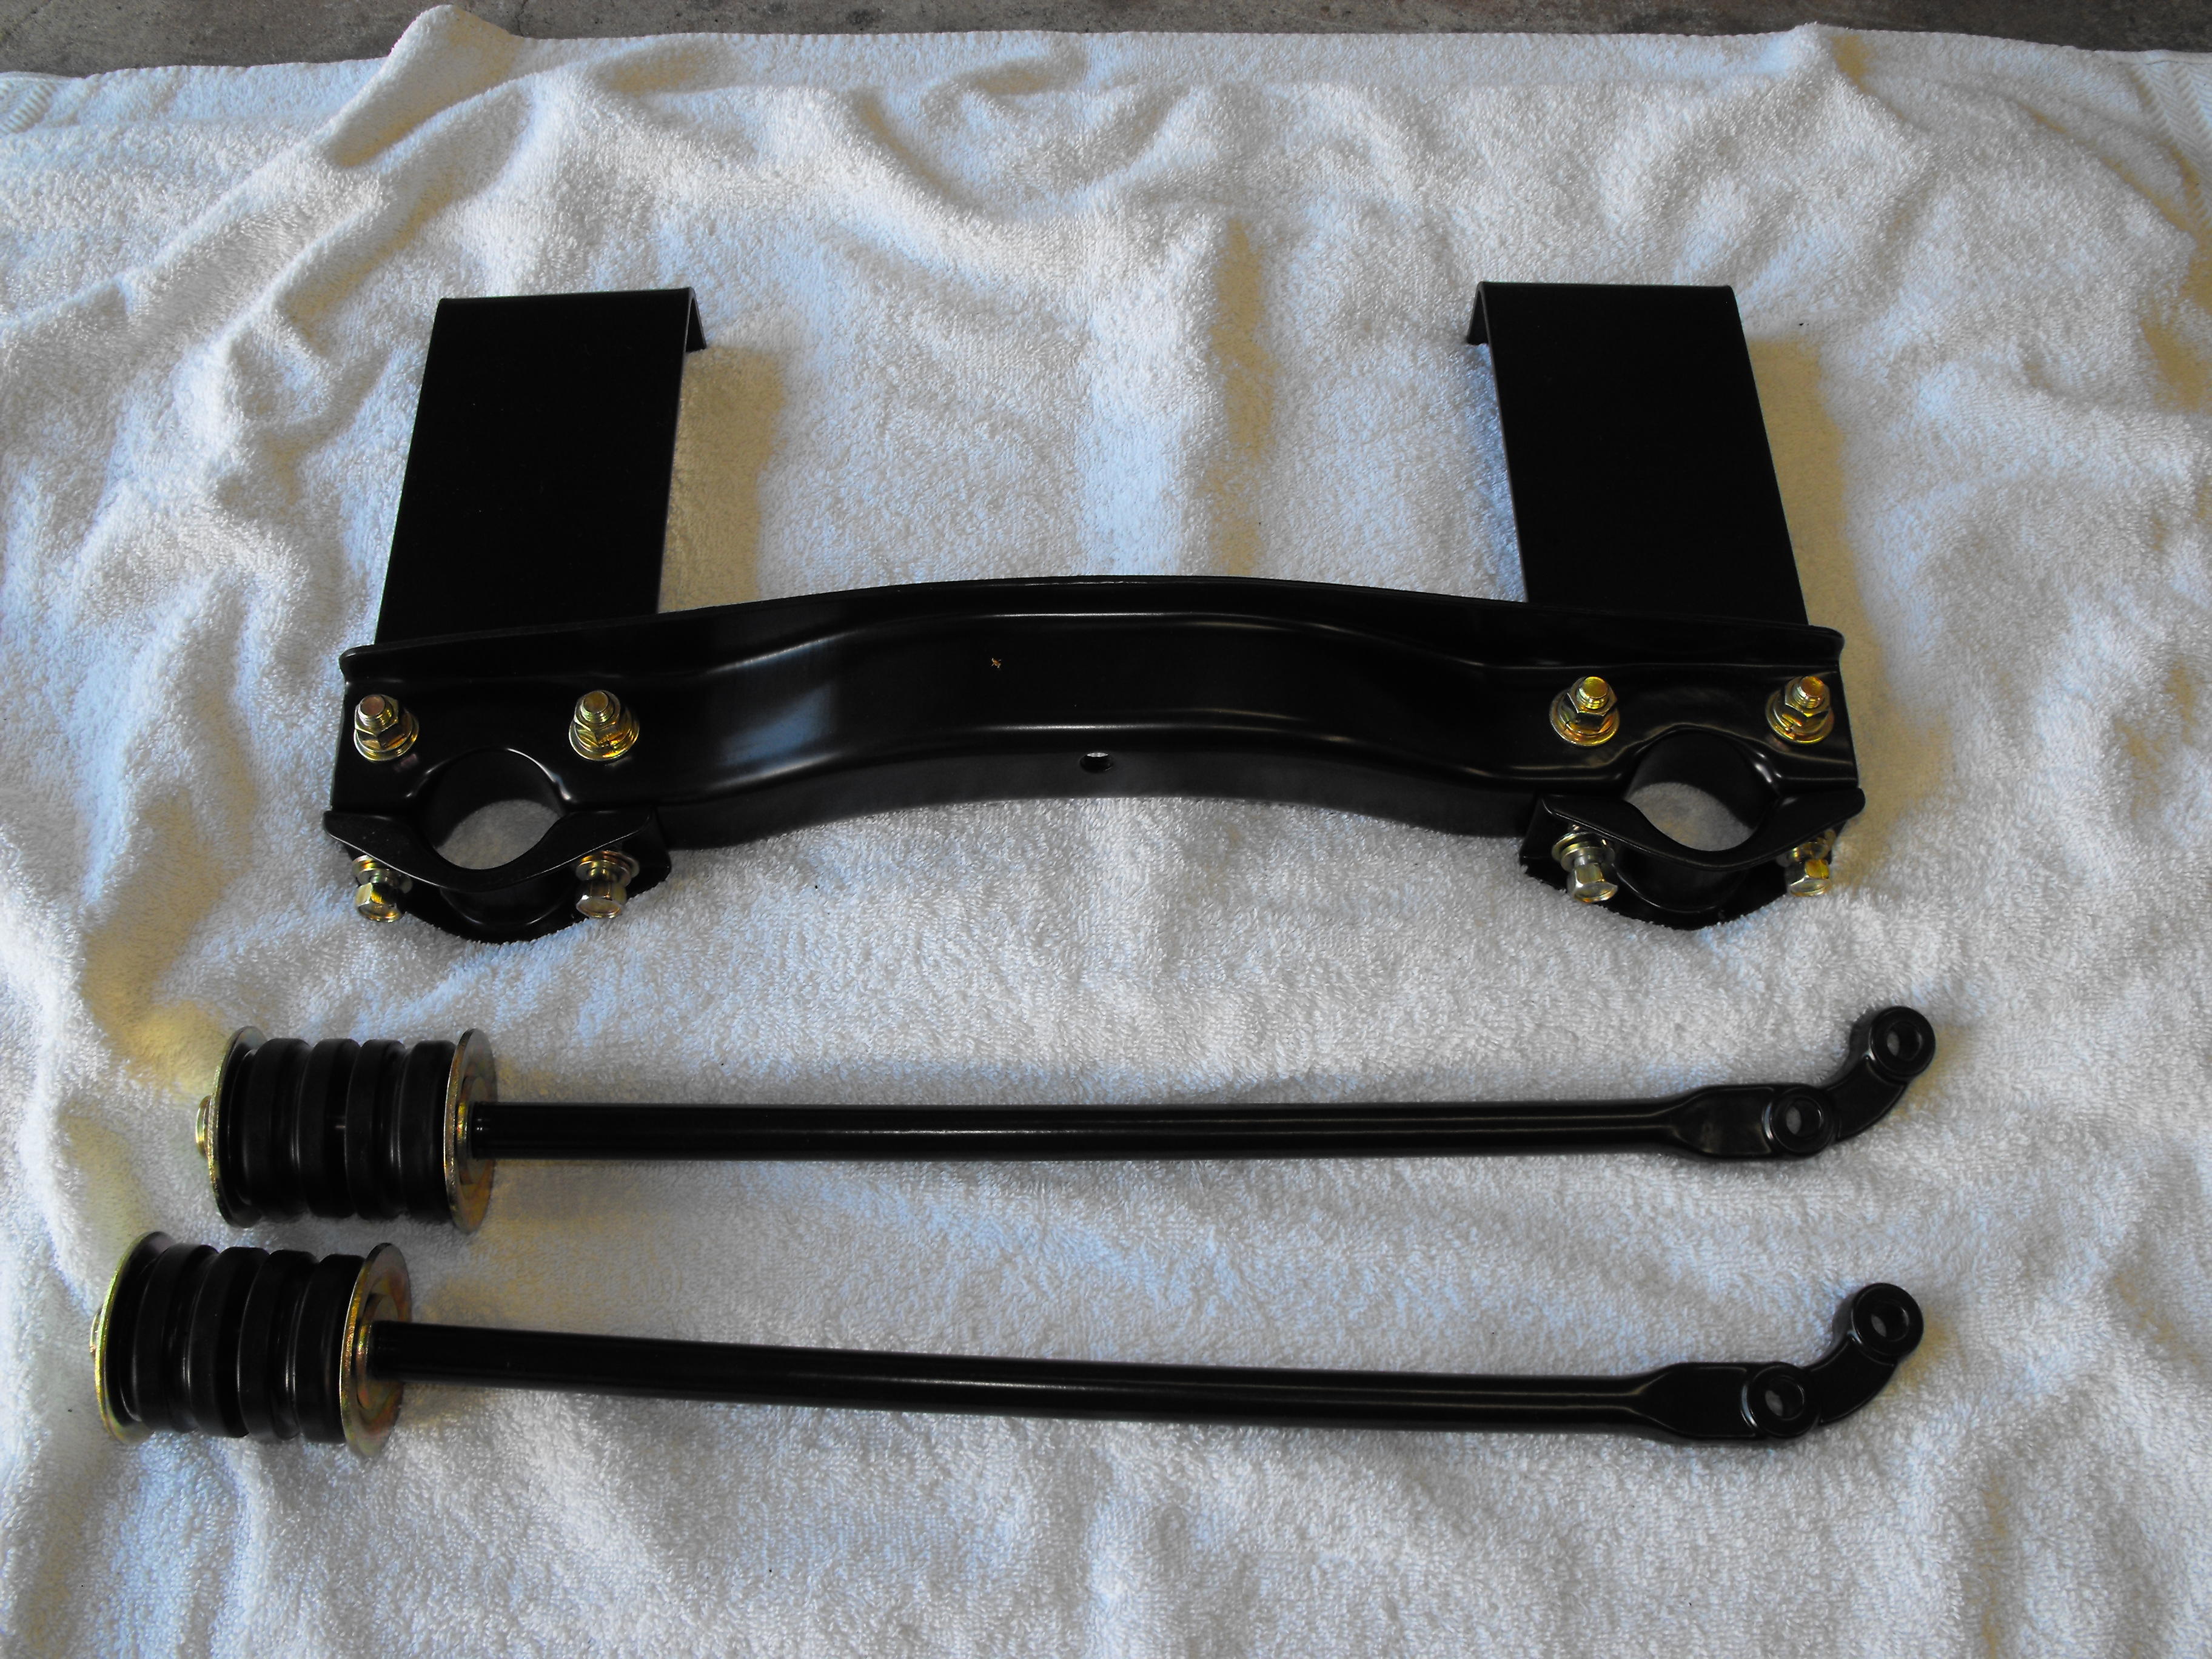
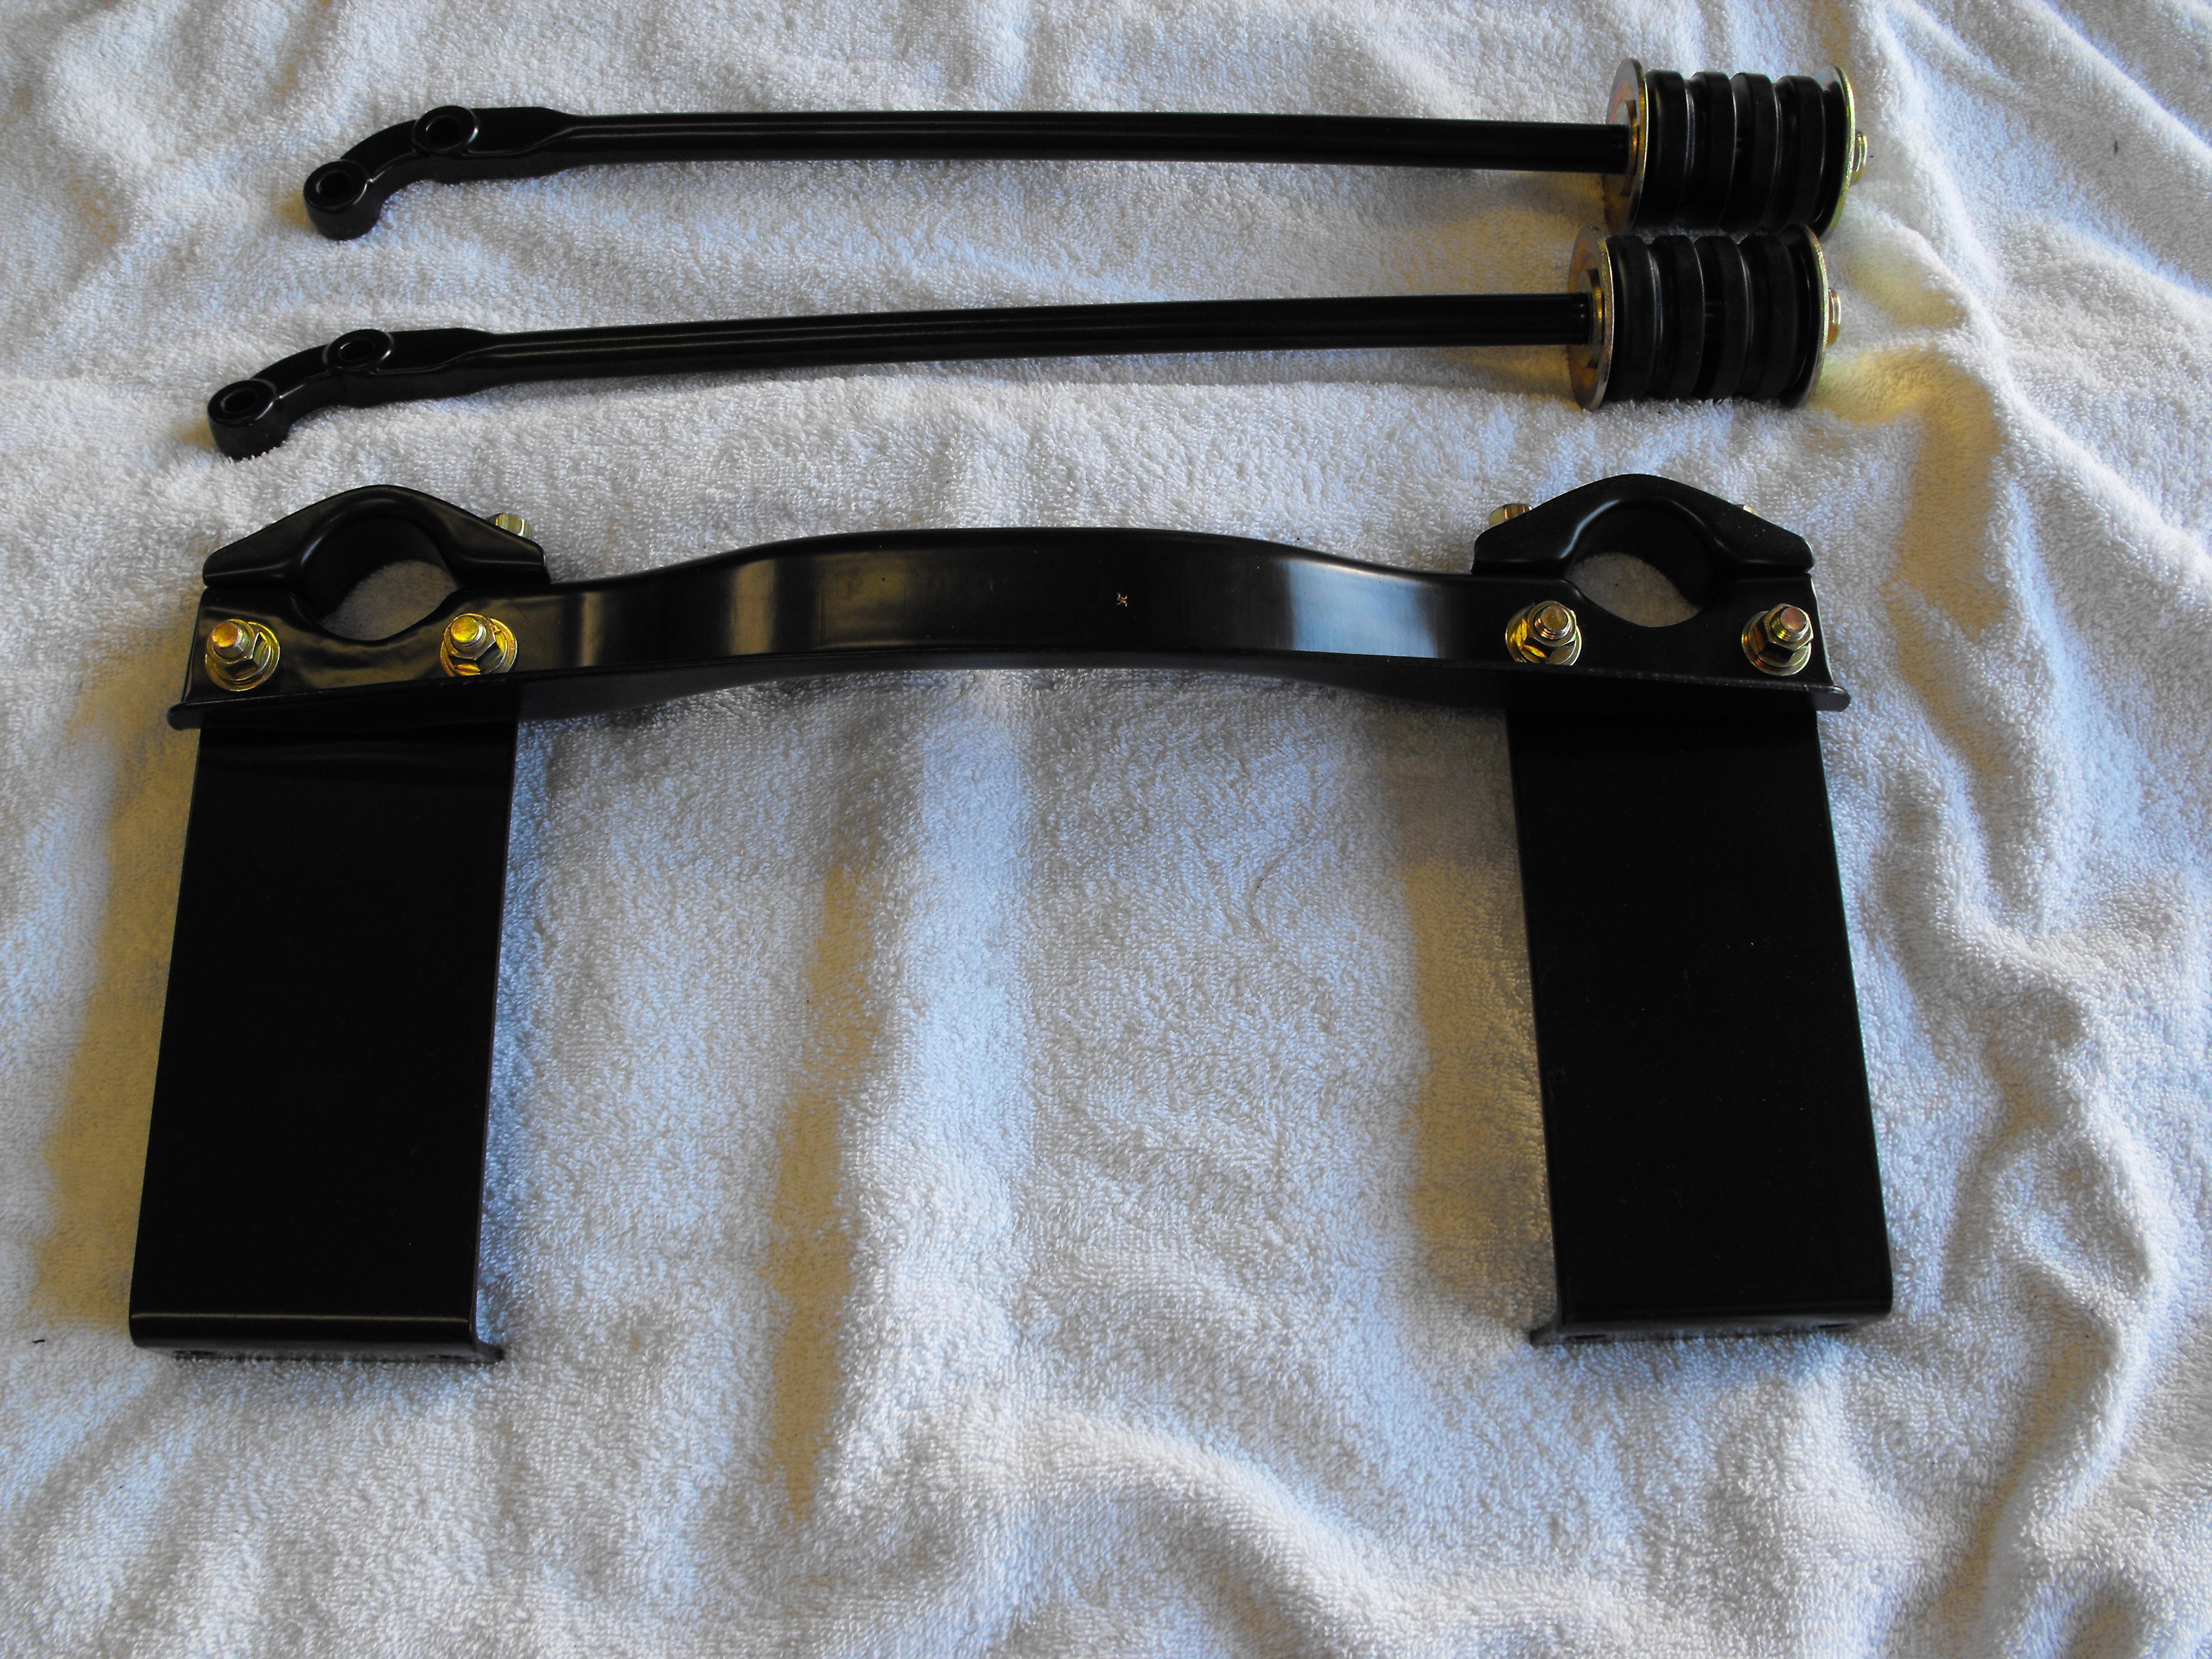
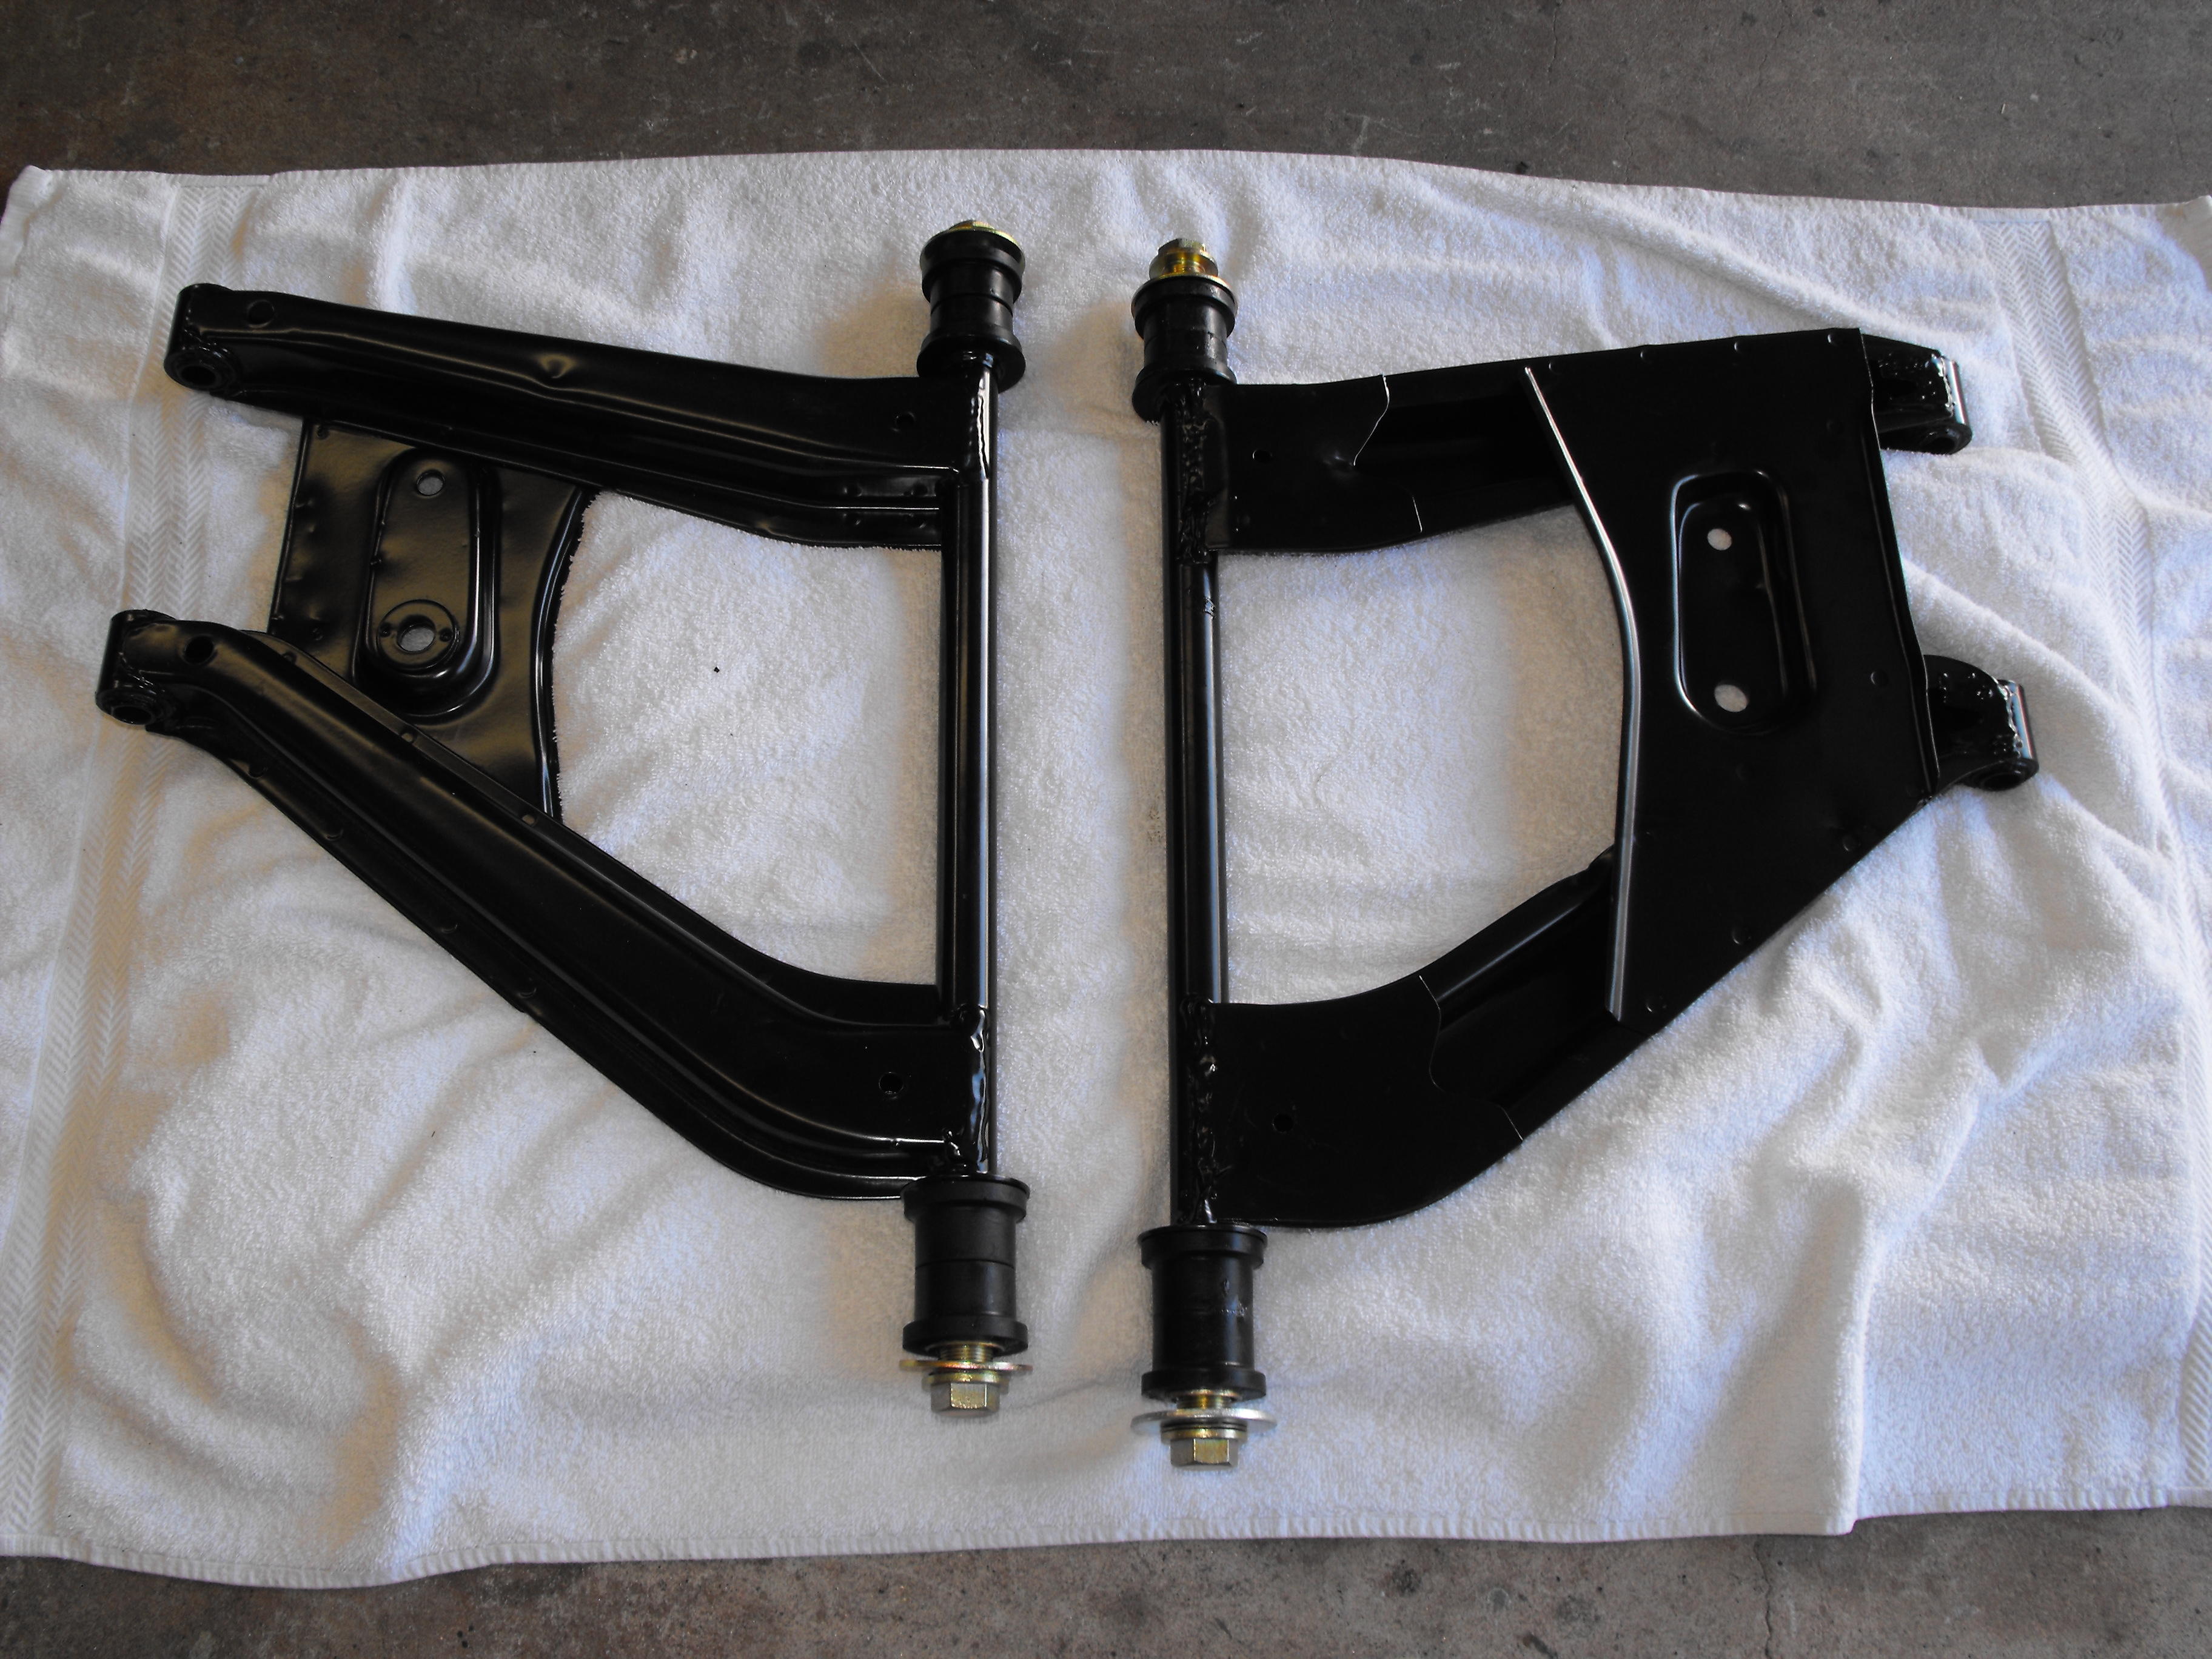
Loosely assembled some of the suspension parts. Finished the steering rack clean-up and attached that to the front suspension/engine support. Loosely installed most of the new suspension rubber. Now I just need a body to attach these to, but I think that is going to be about 4 months from now.


-
I could possibly someday. I often think about quitting my day job and doing this full time. But then again, I think that if it were my day job, then I might not enjoy it as much. It's nice doing this on the side at my leisure.
-
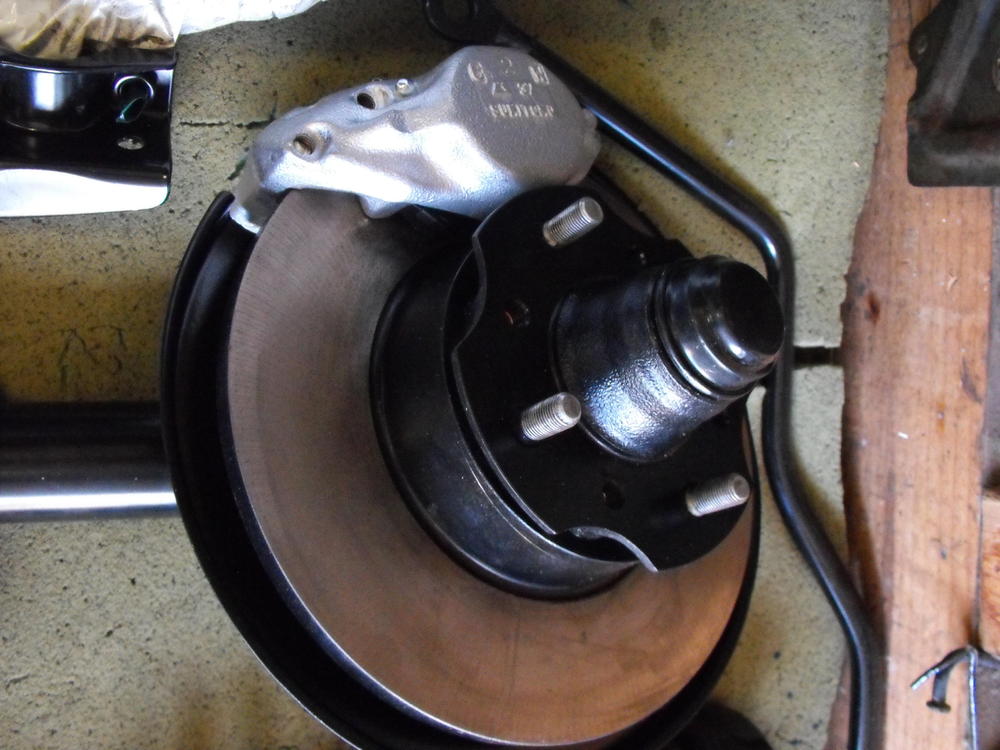
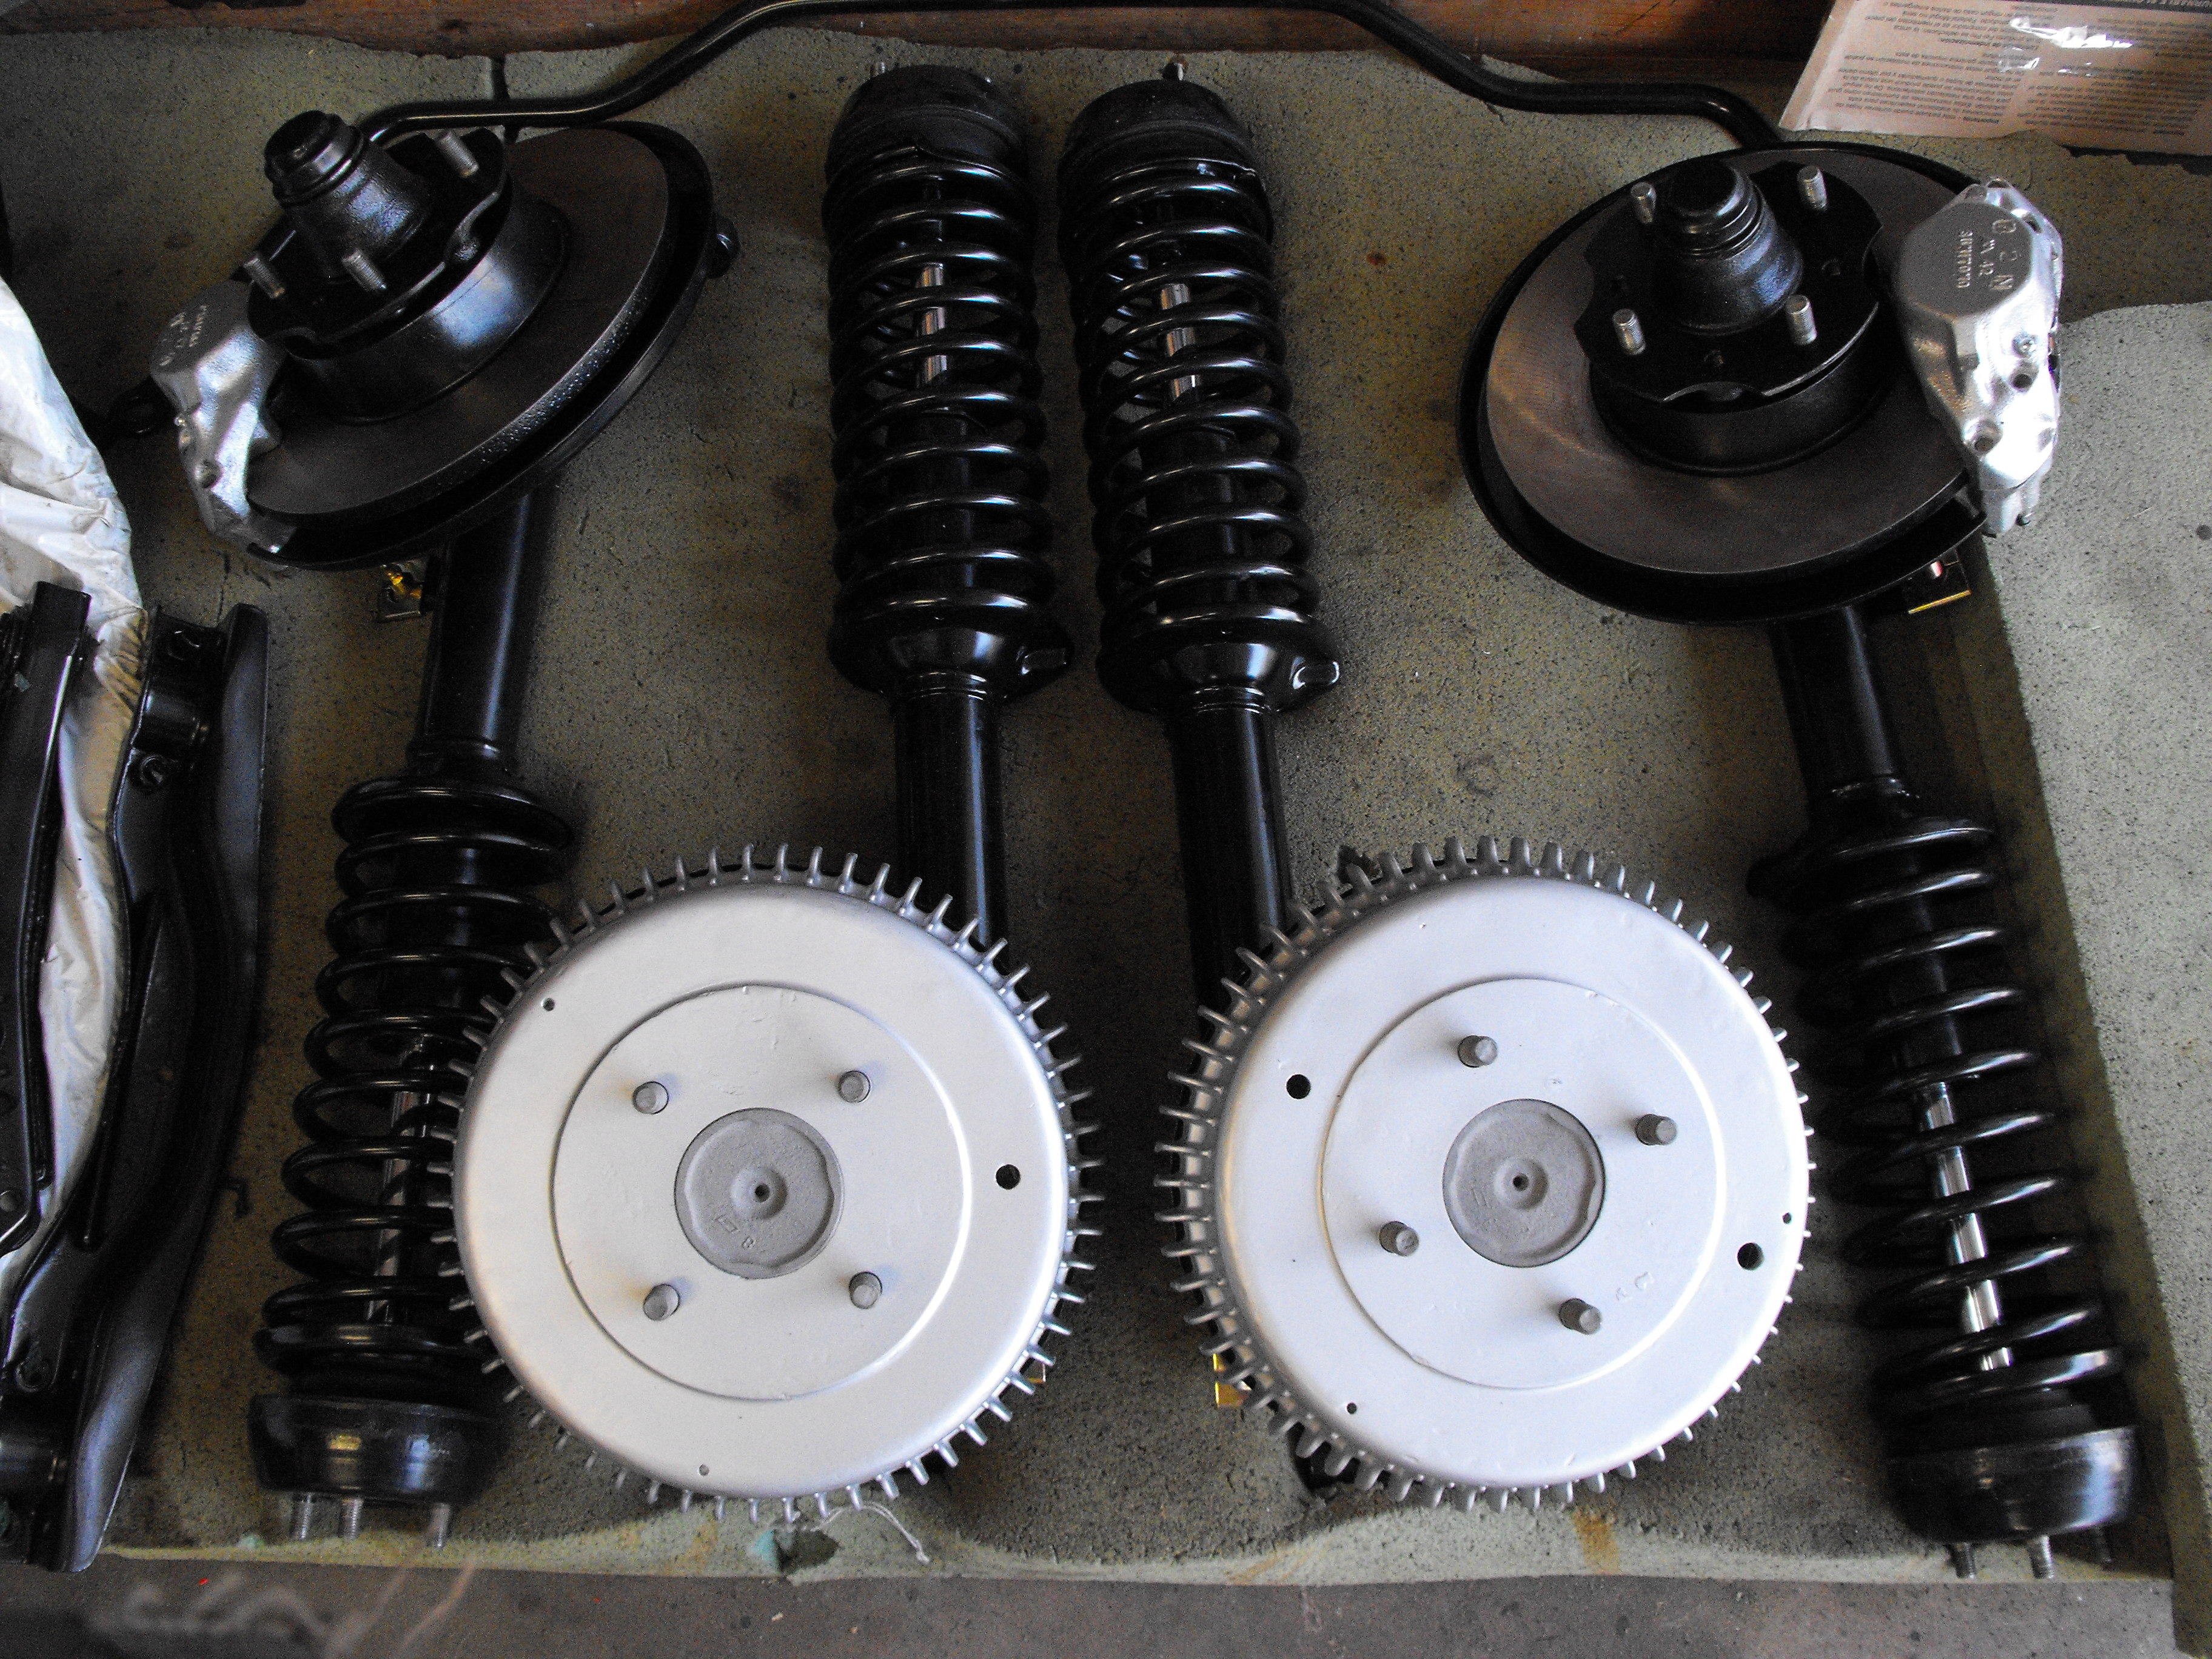
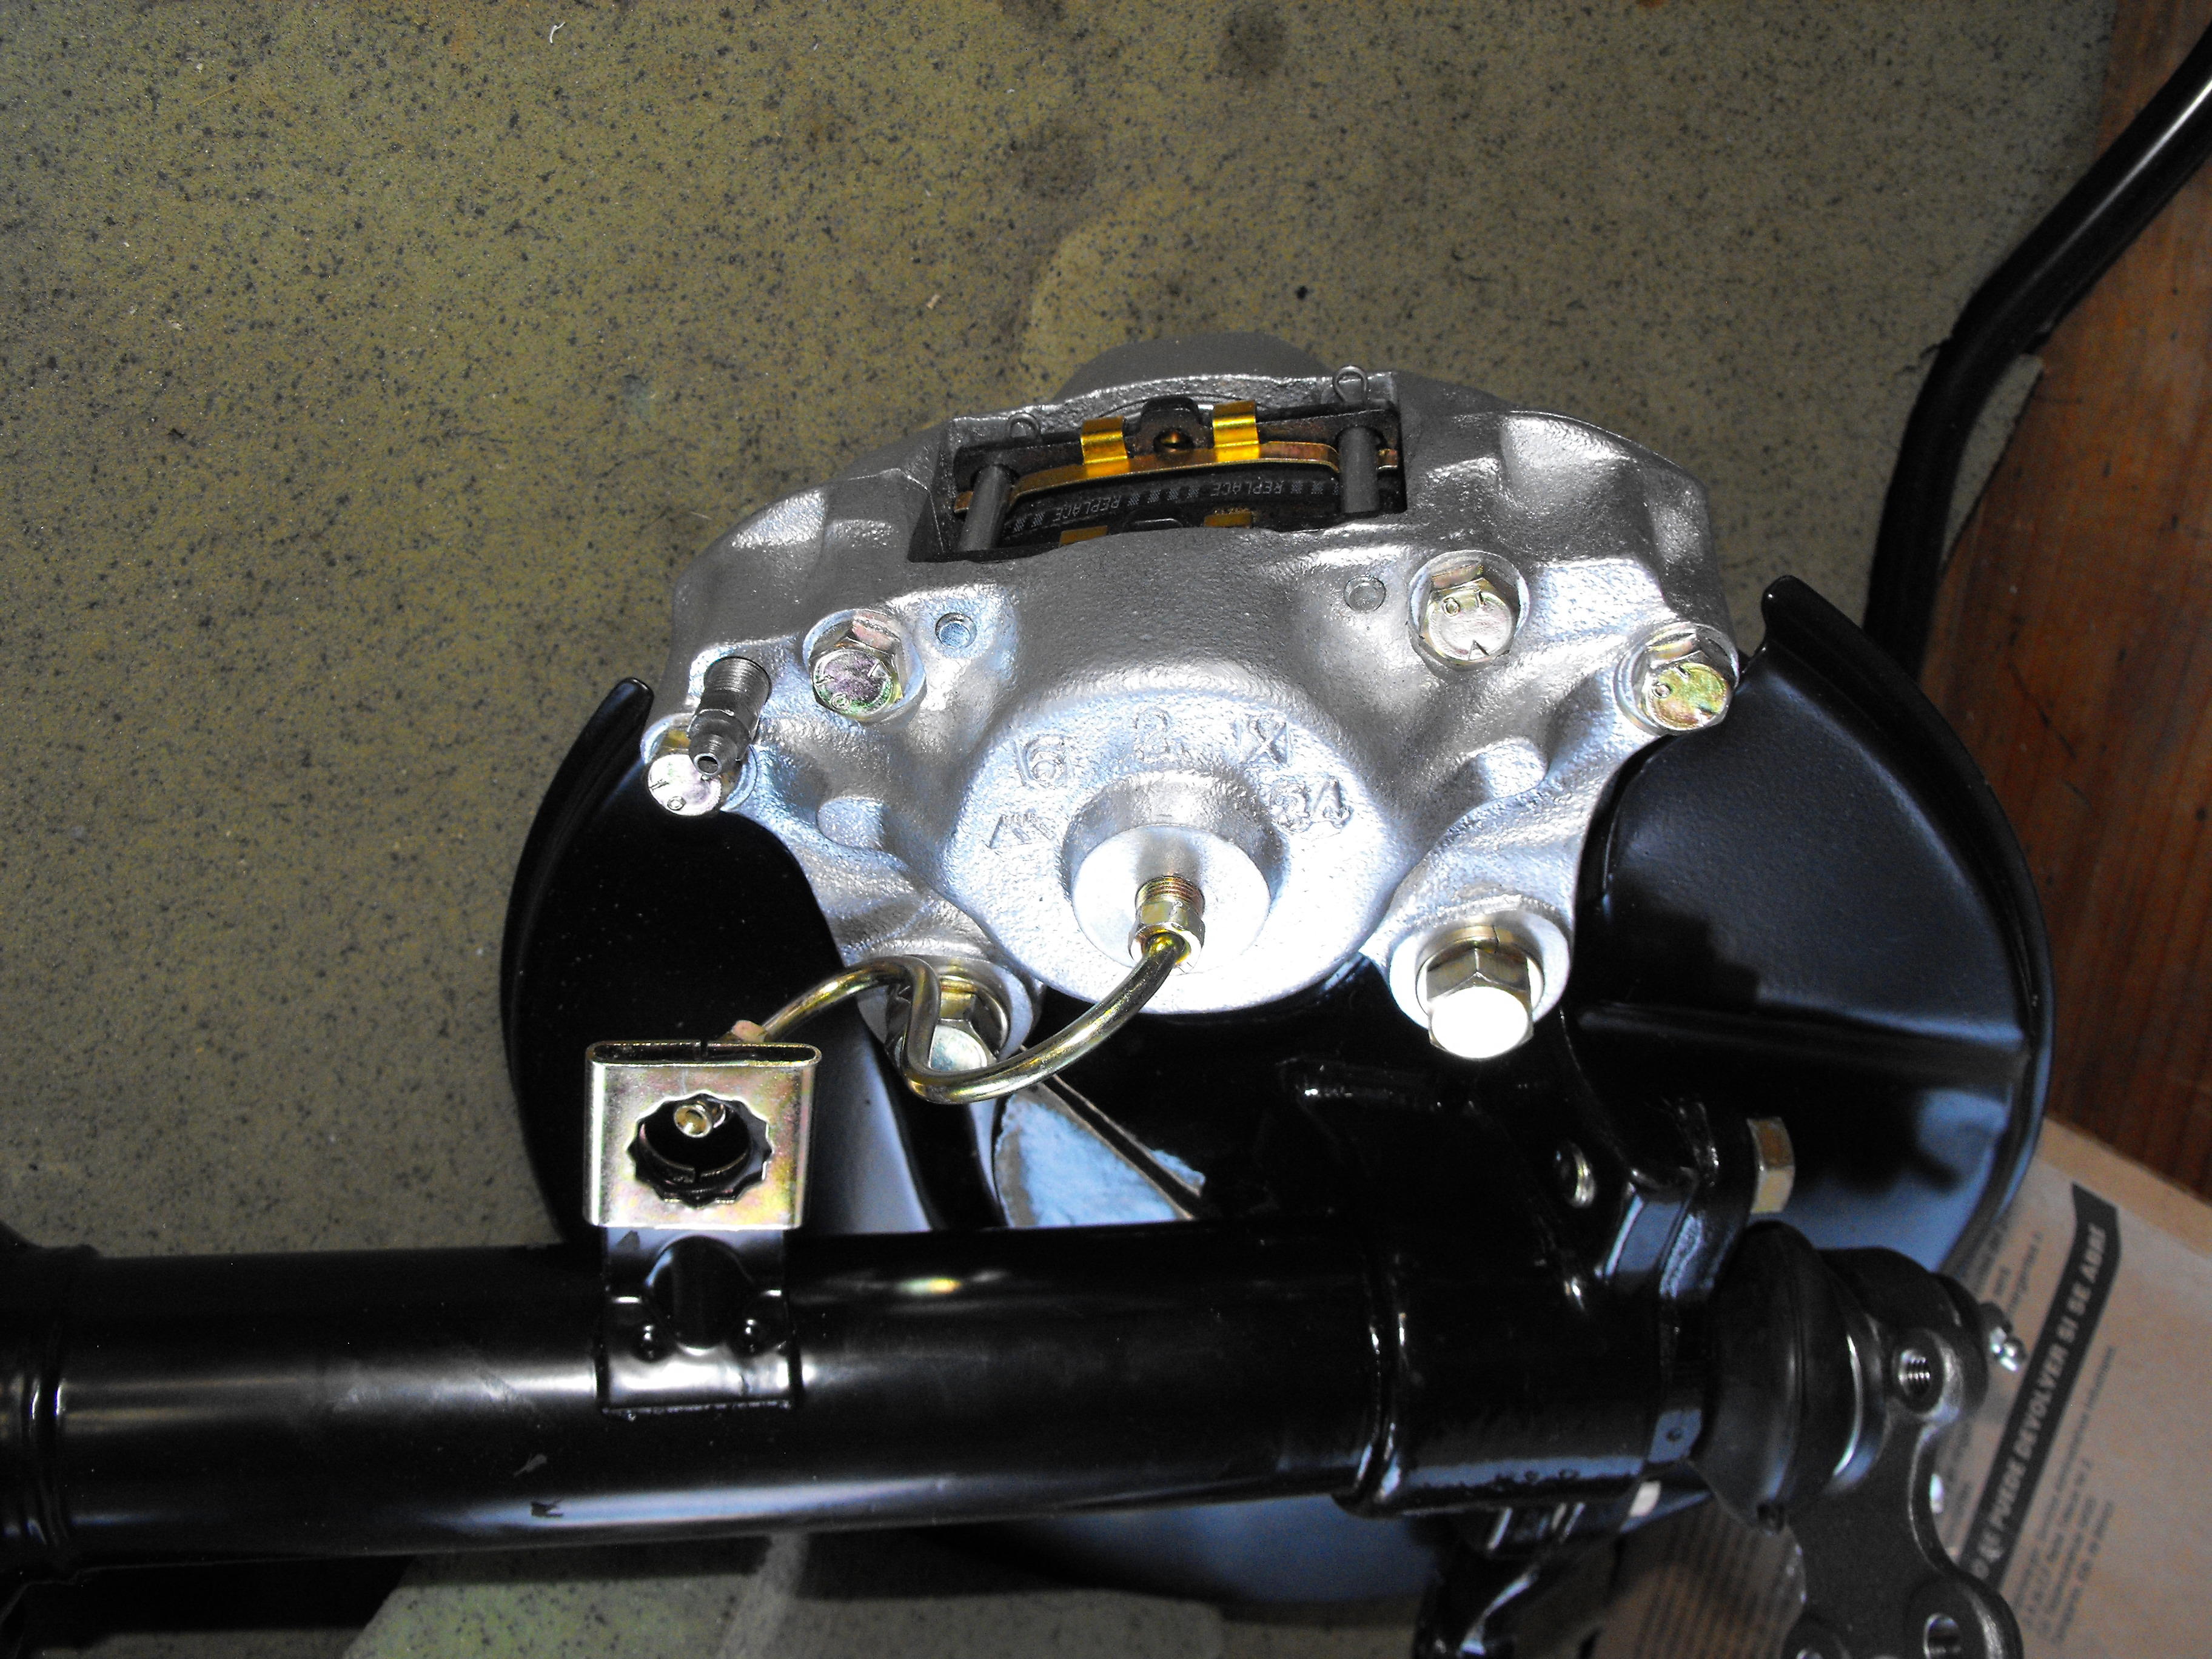
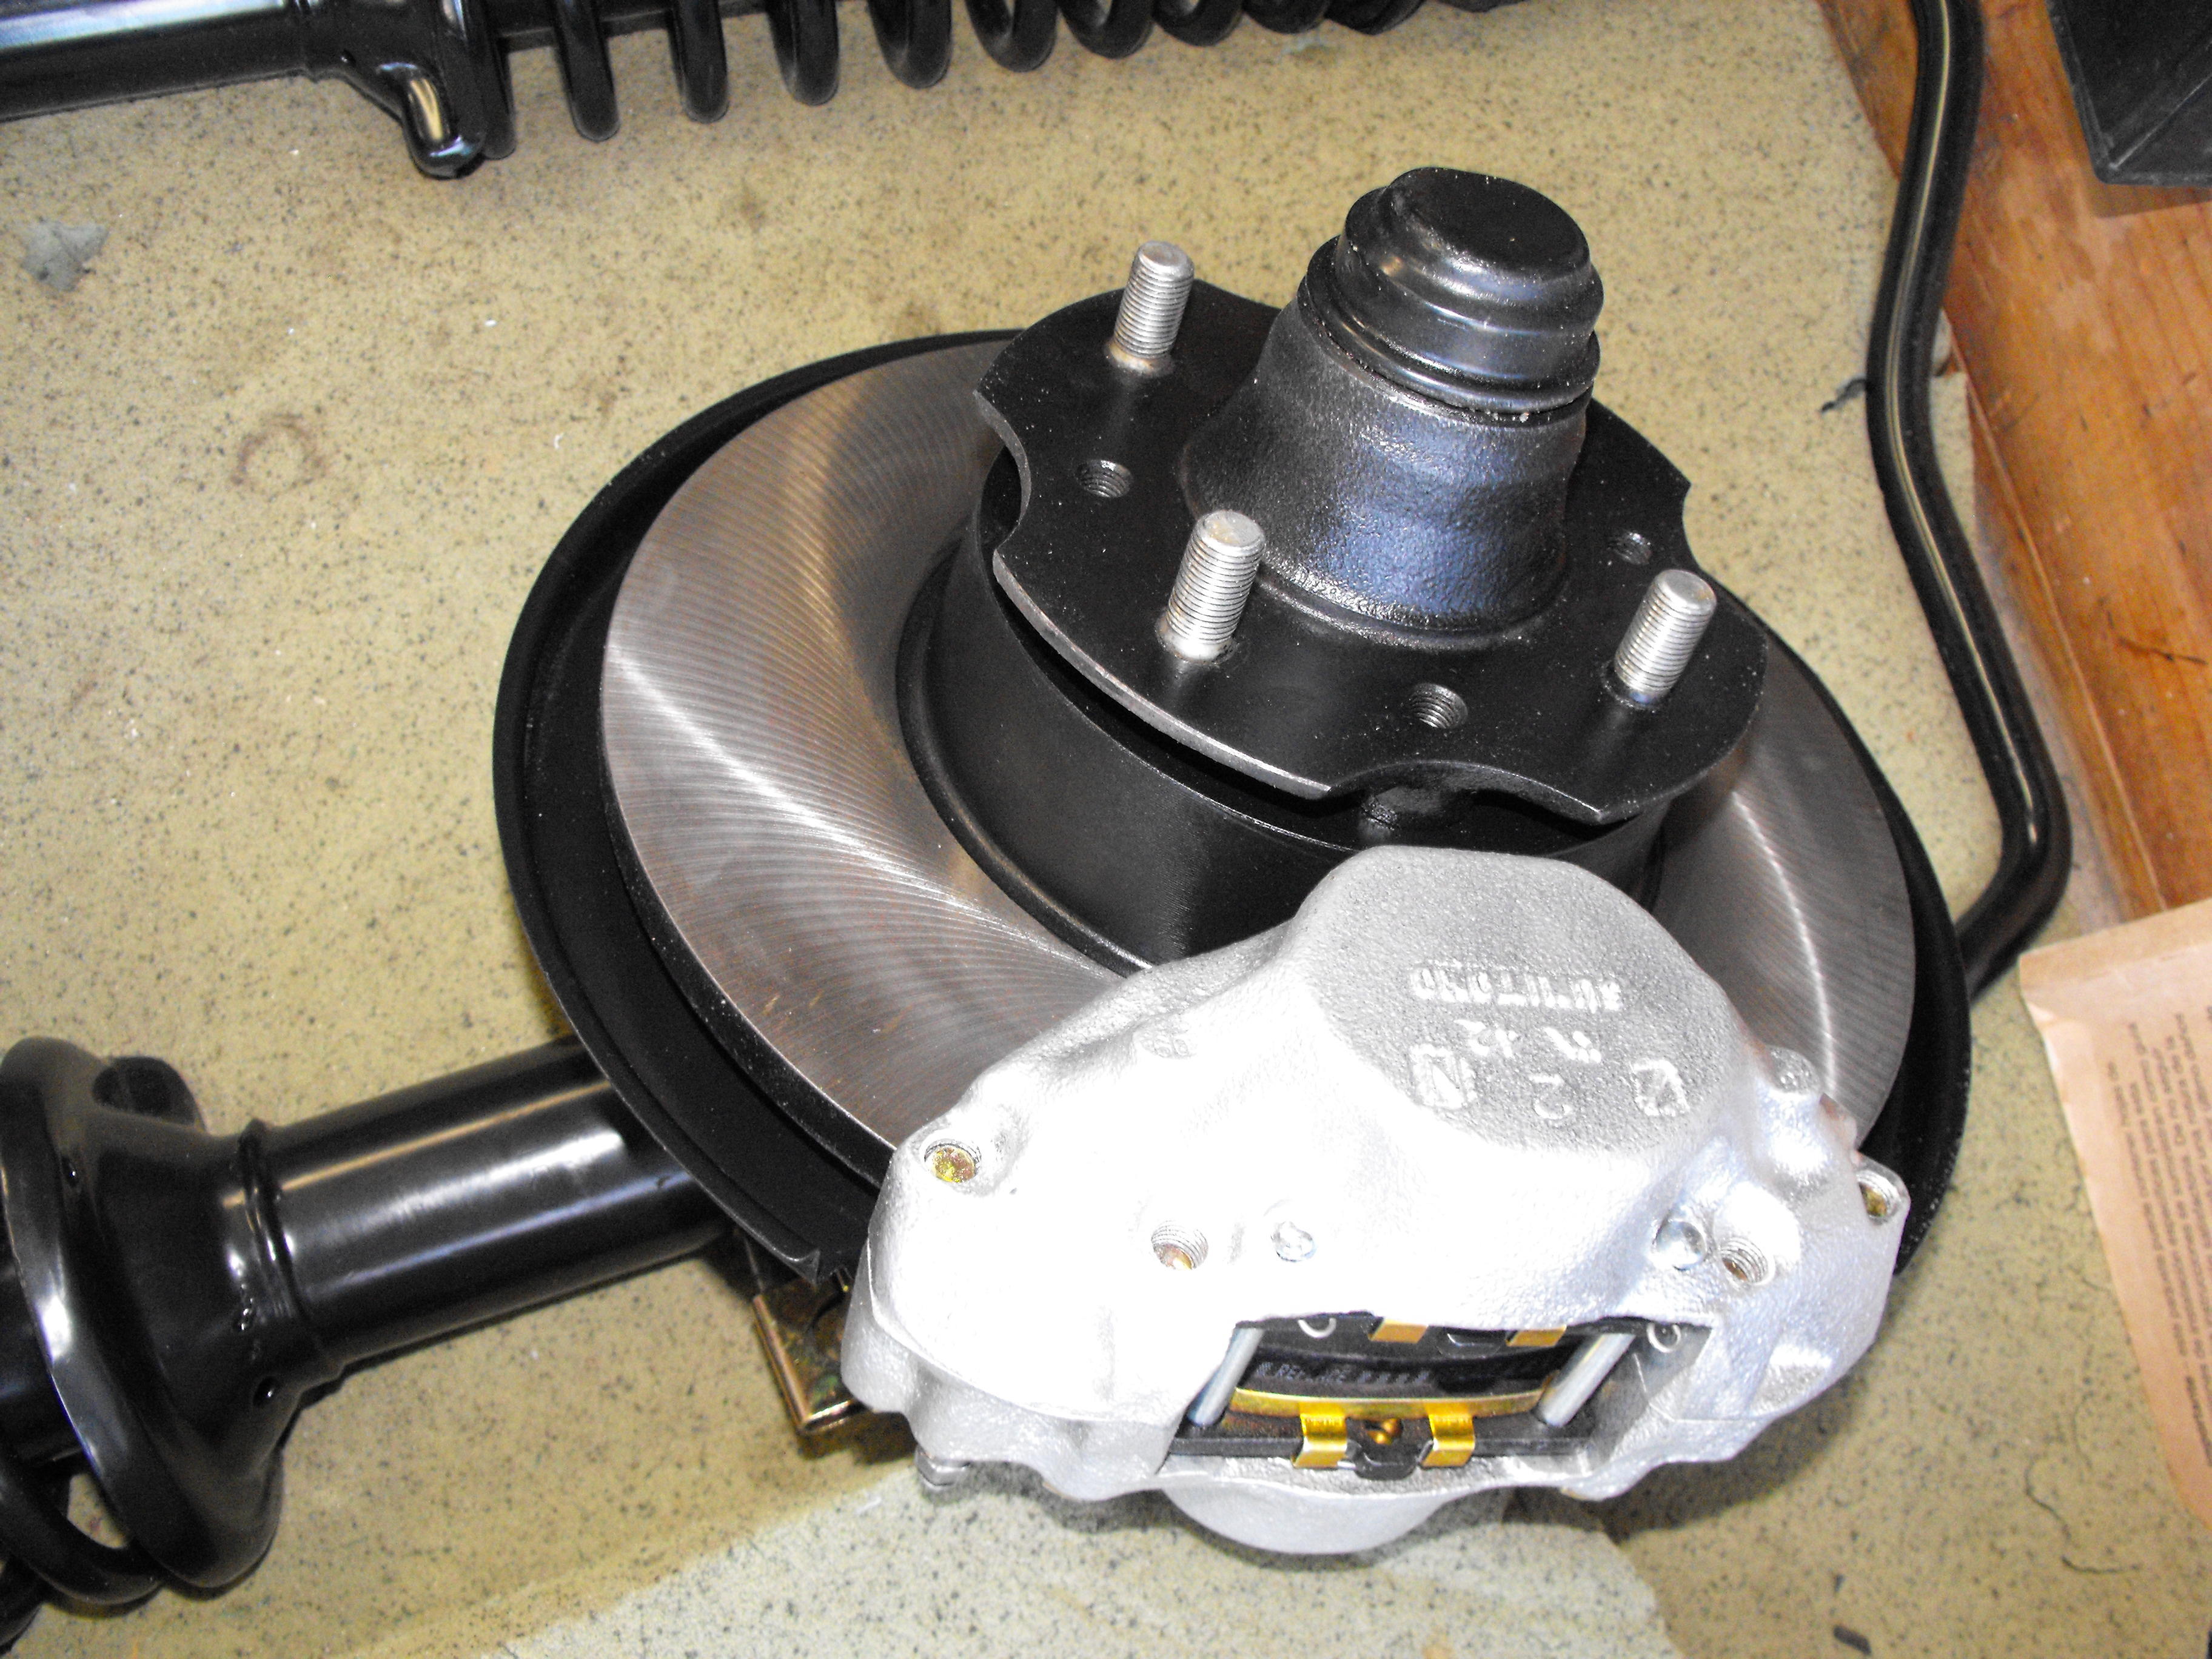
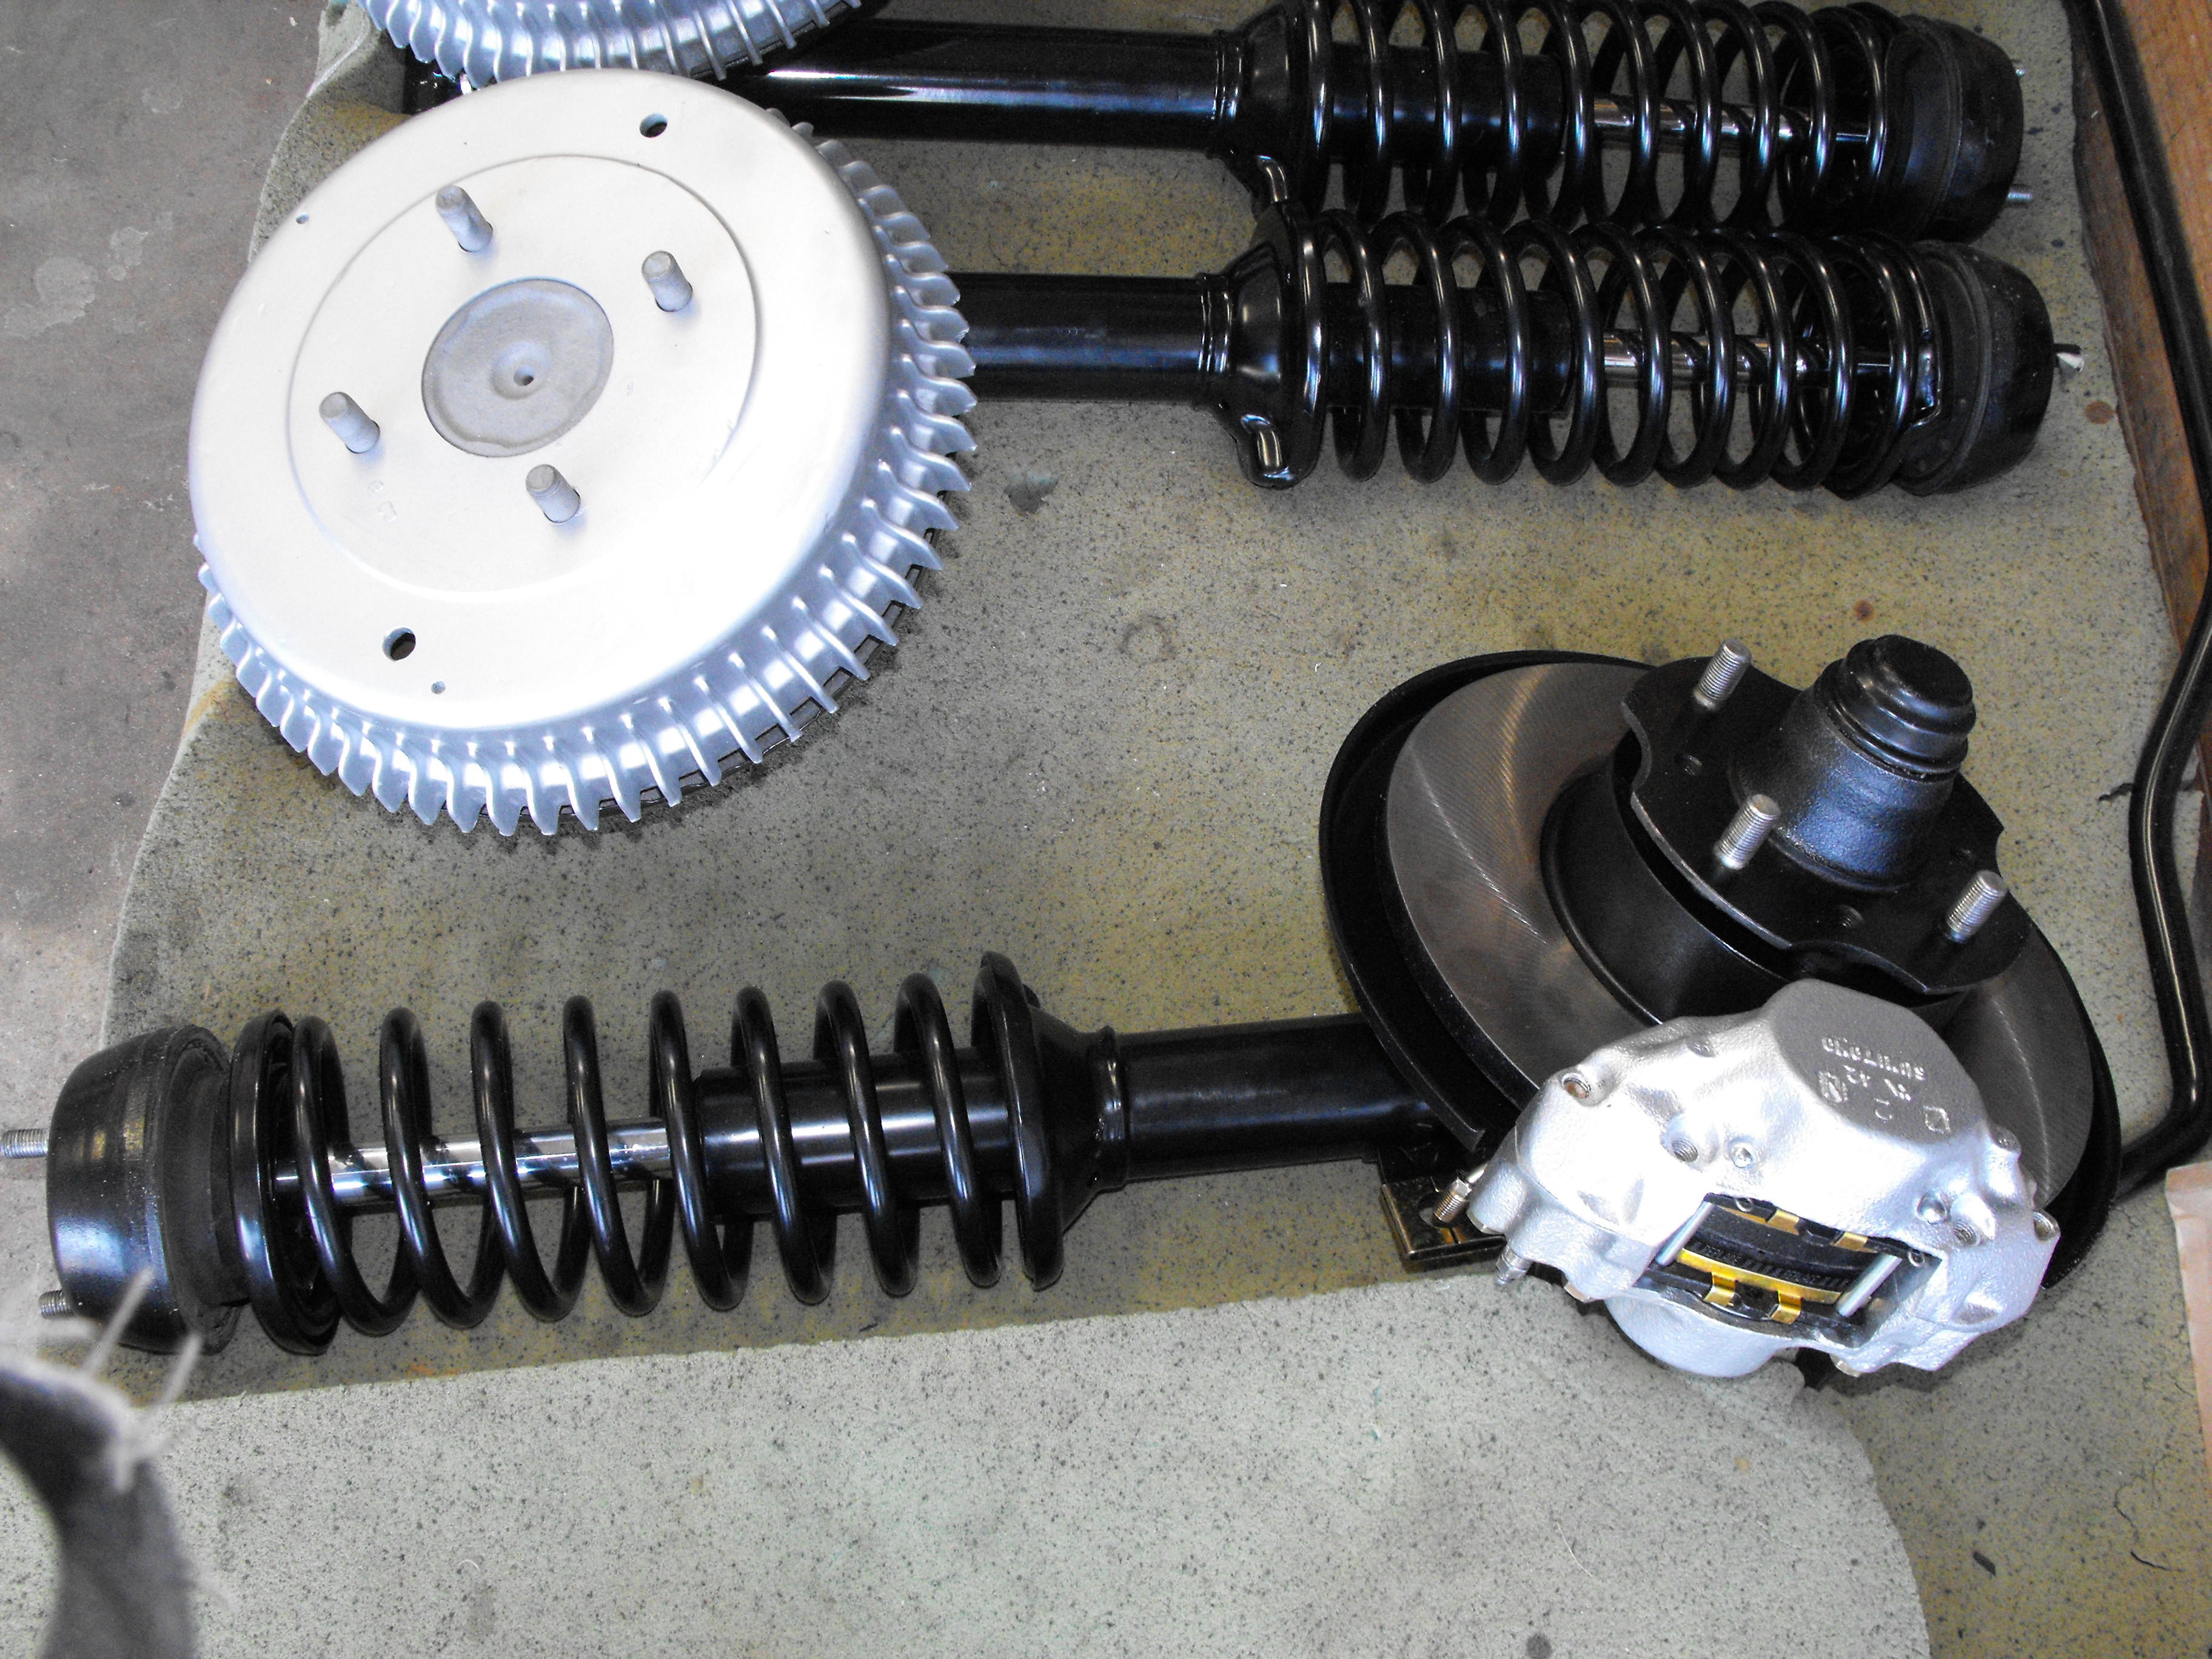
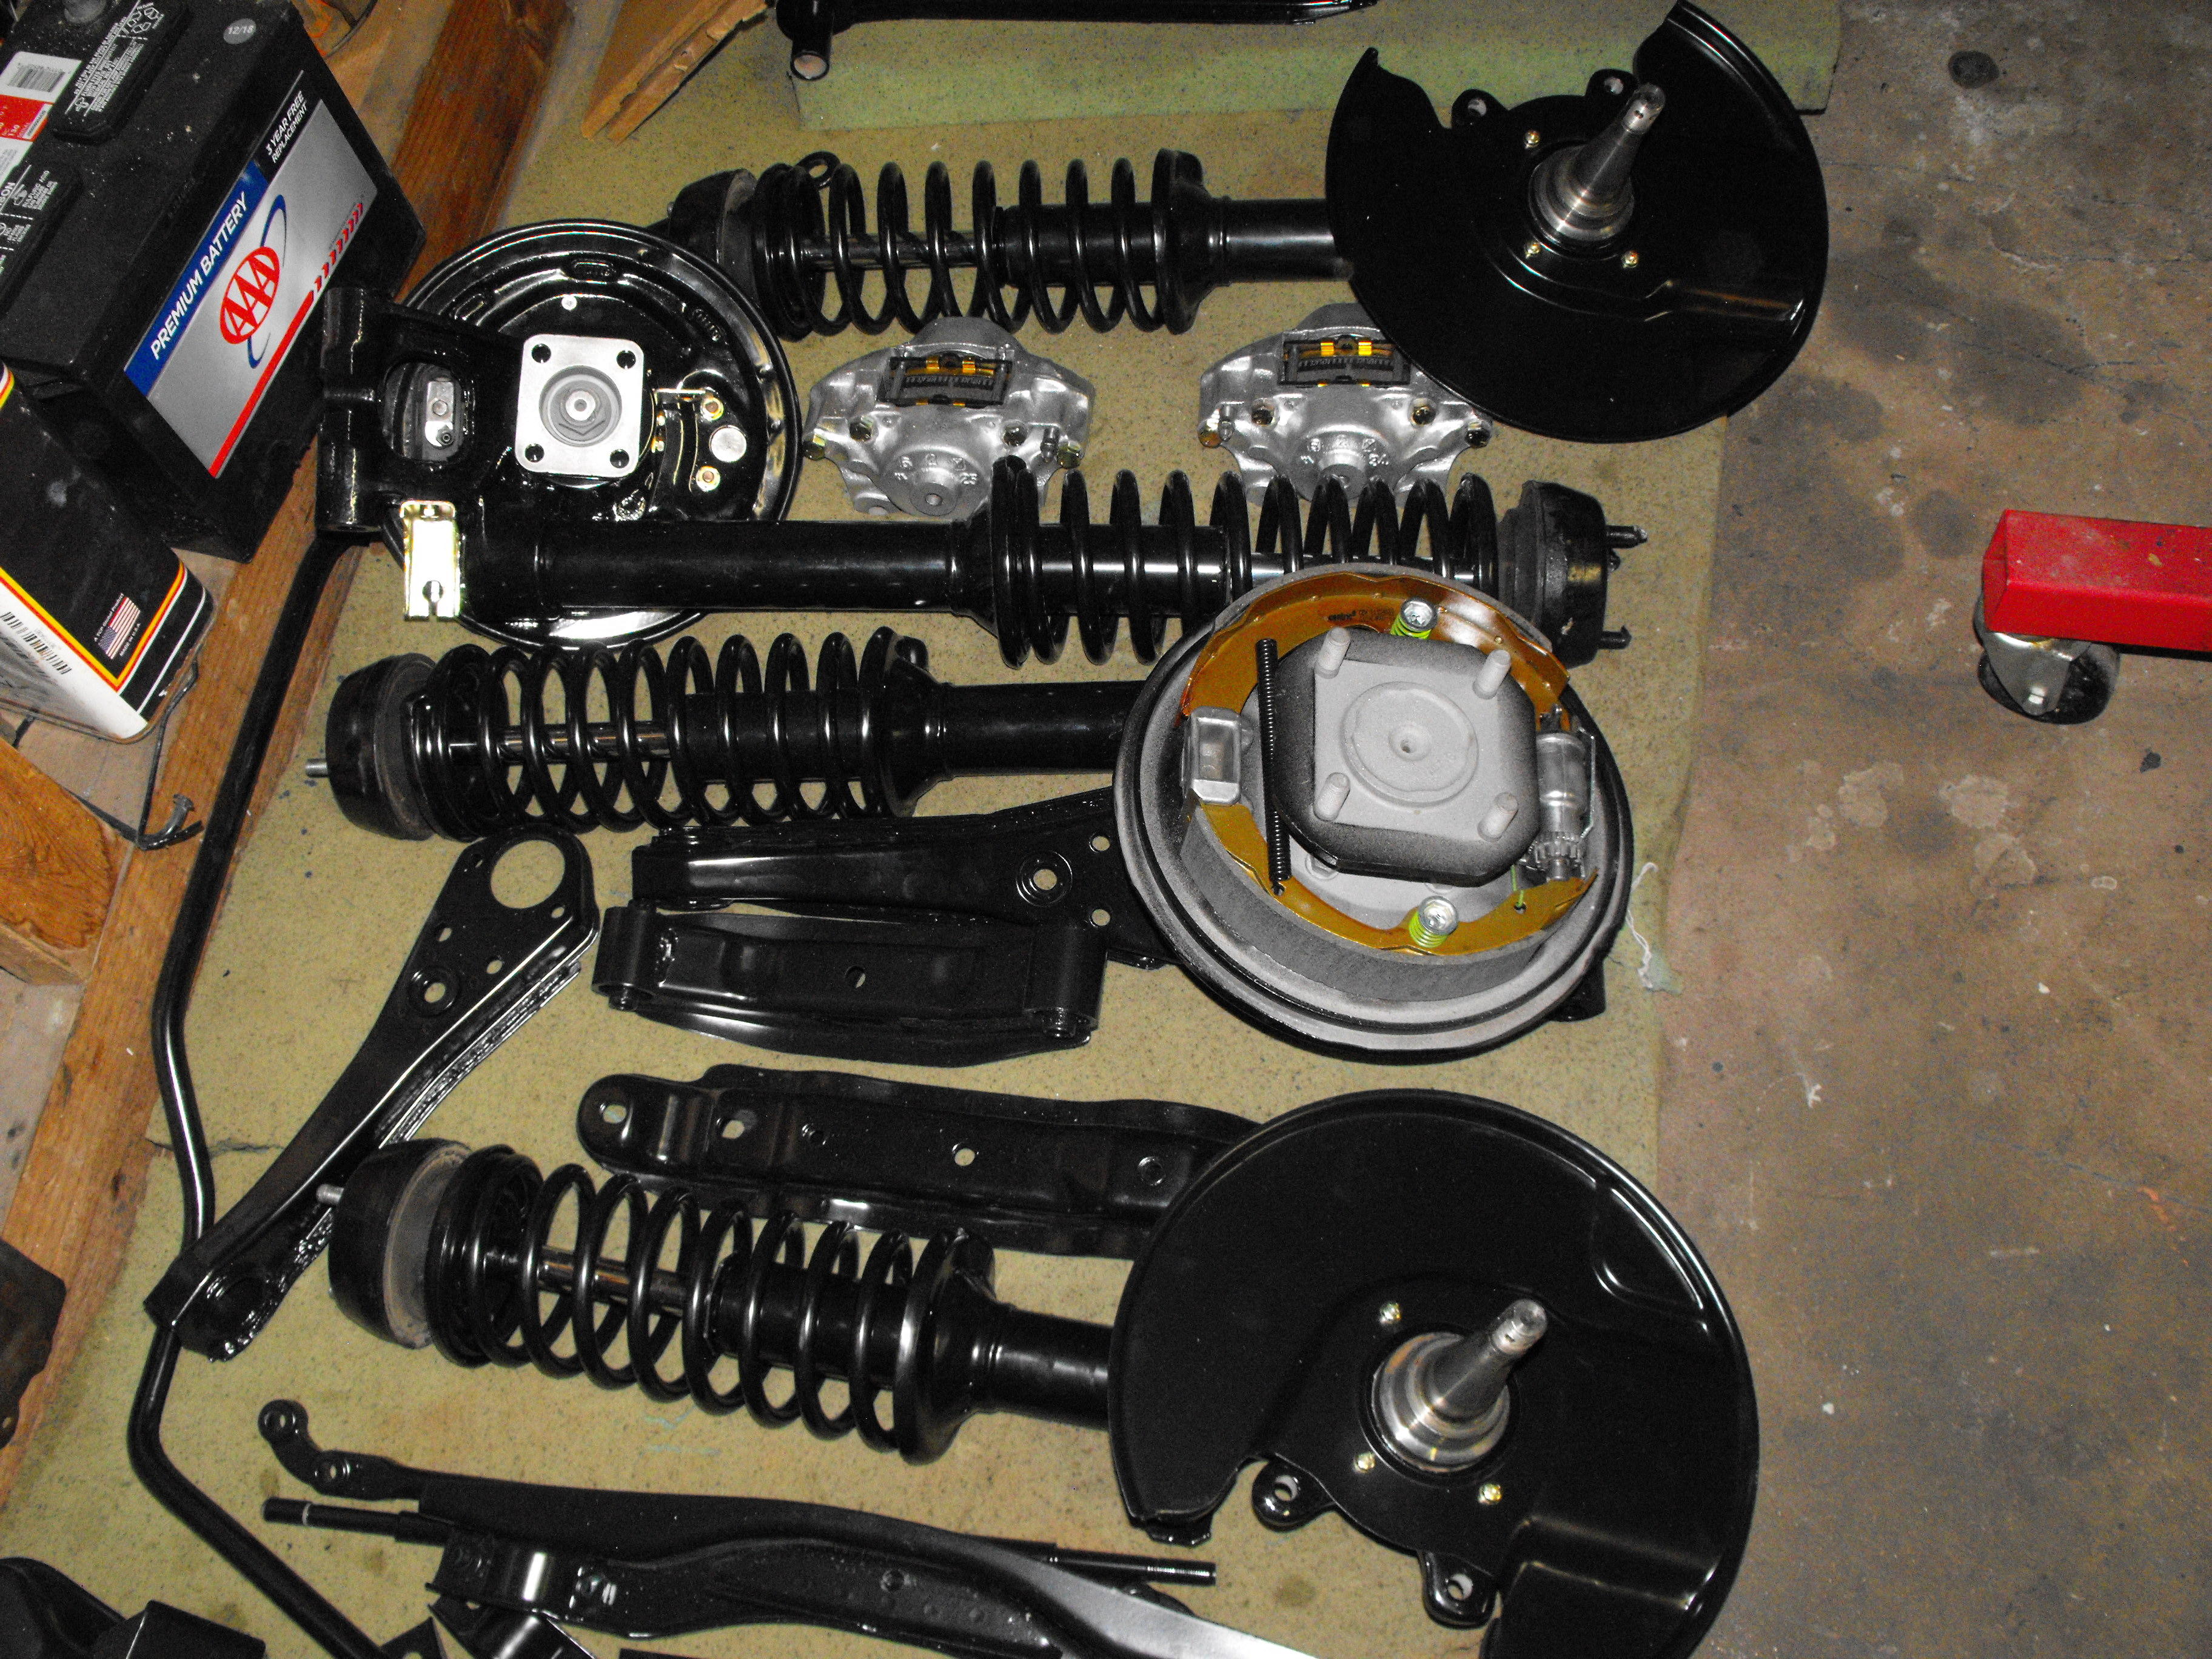
Finished up the front and rear struts this weekend. Cleaned up the rear drums and painted with high temp flat aluminum. Also cleaned up the front hubs and discs. Cleaned out the front wheel bearings and packed them with new grease. Assembled the front hubs, disc and calipers to the struts. Will wrap these and set them aside for now. Will probably start the steering rack next. Still about 4 months before the body is finished and painted. Pics are below.


-
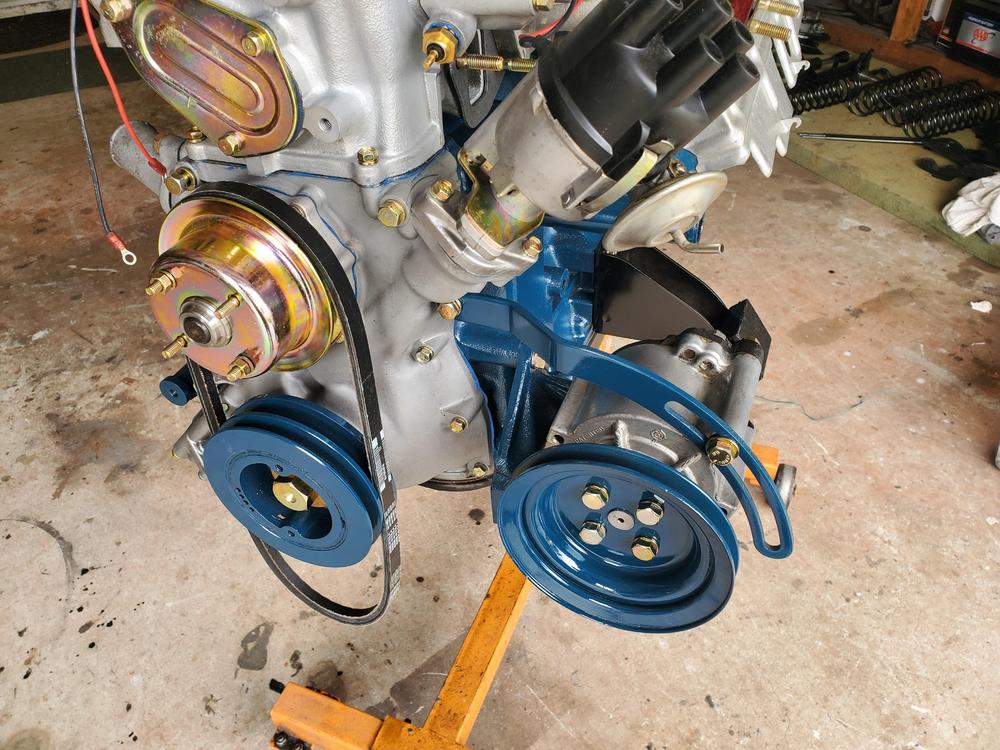
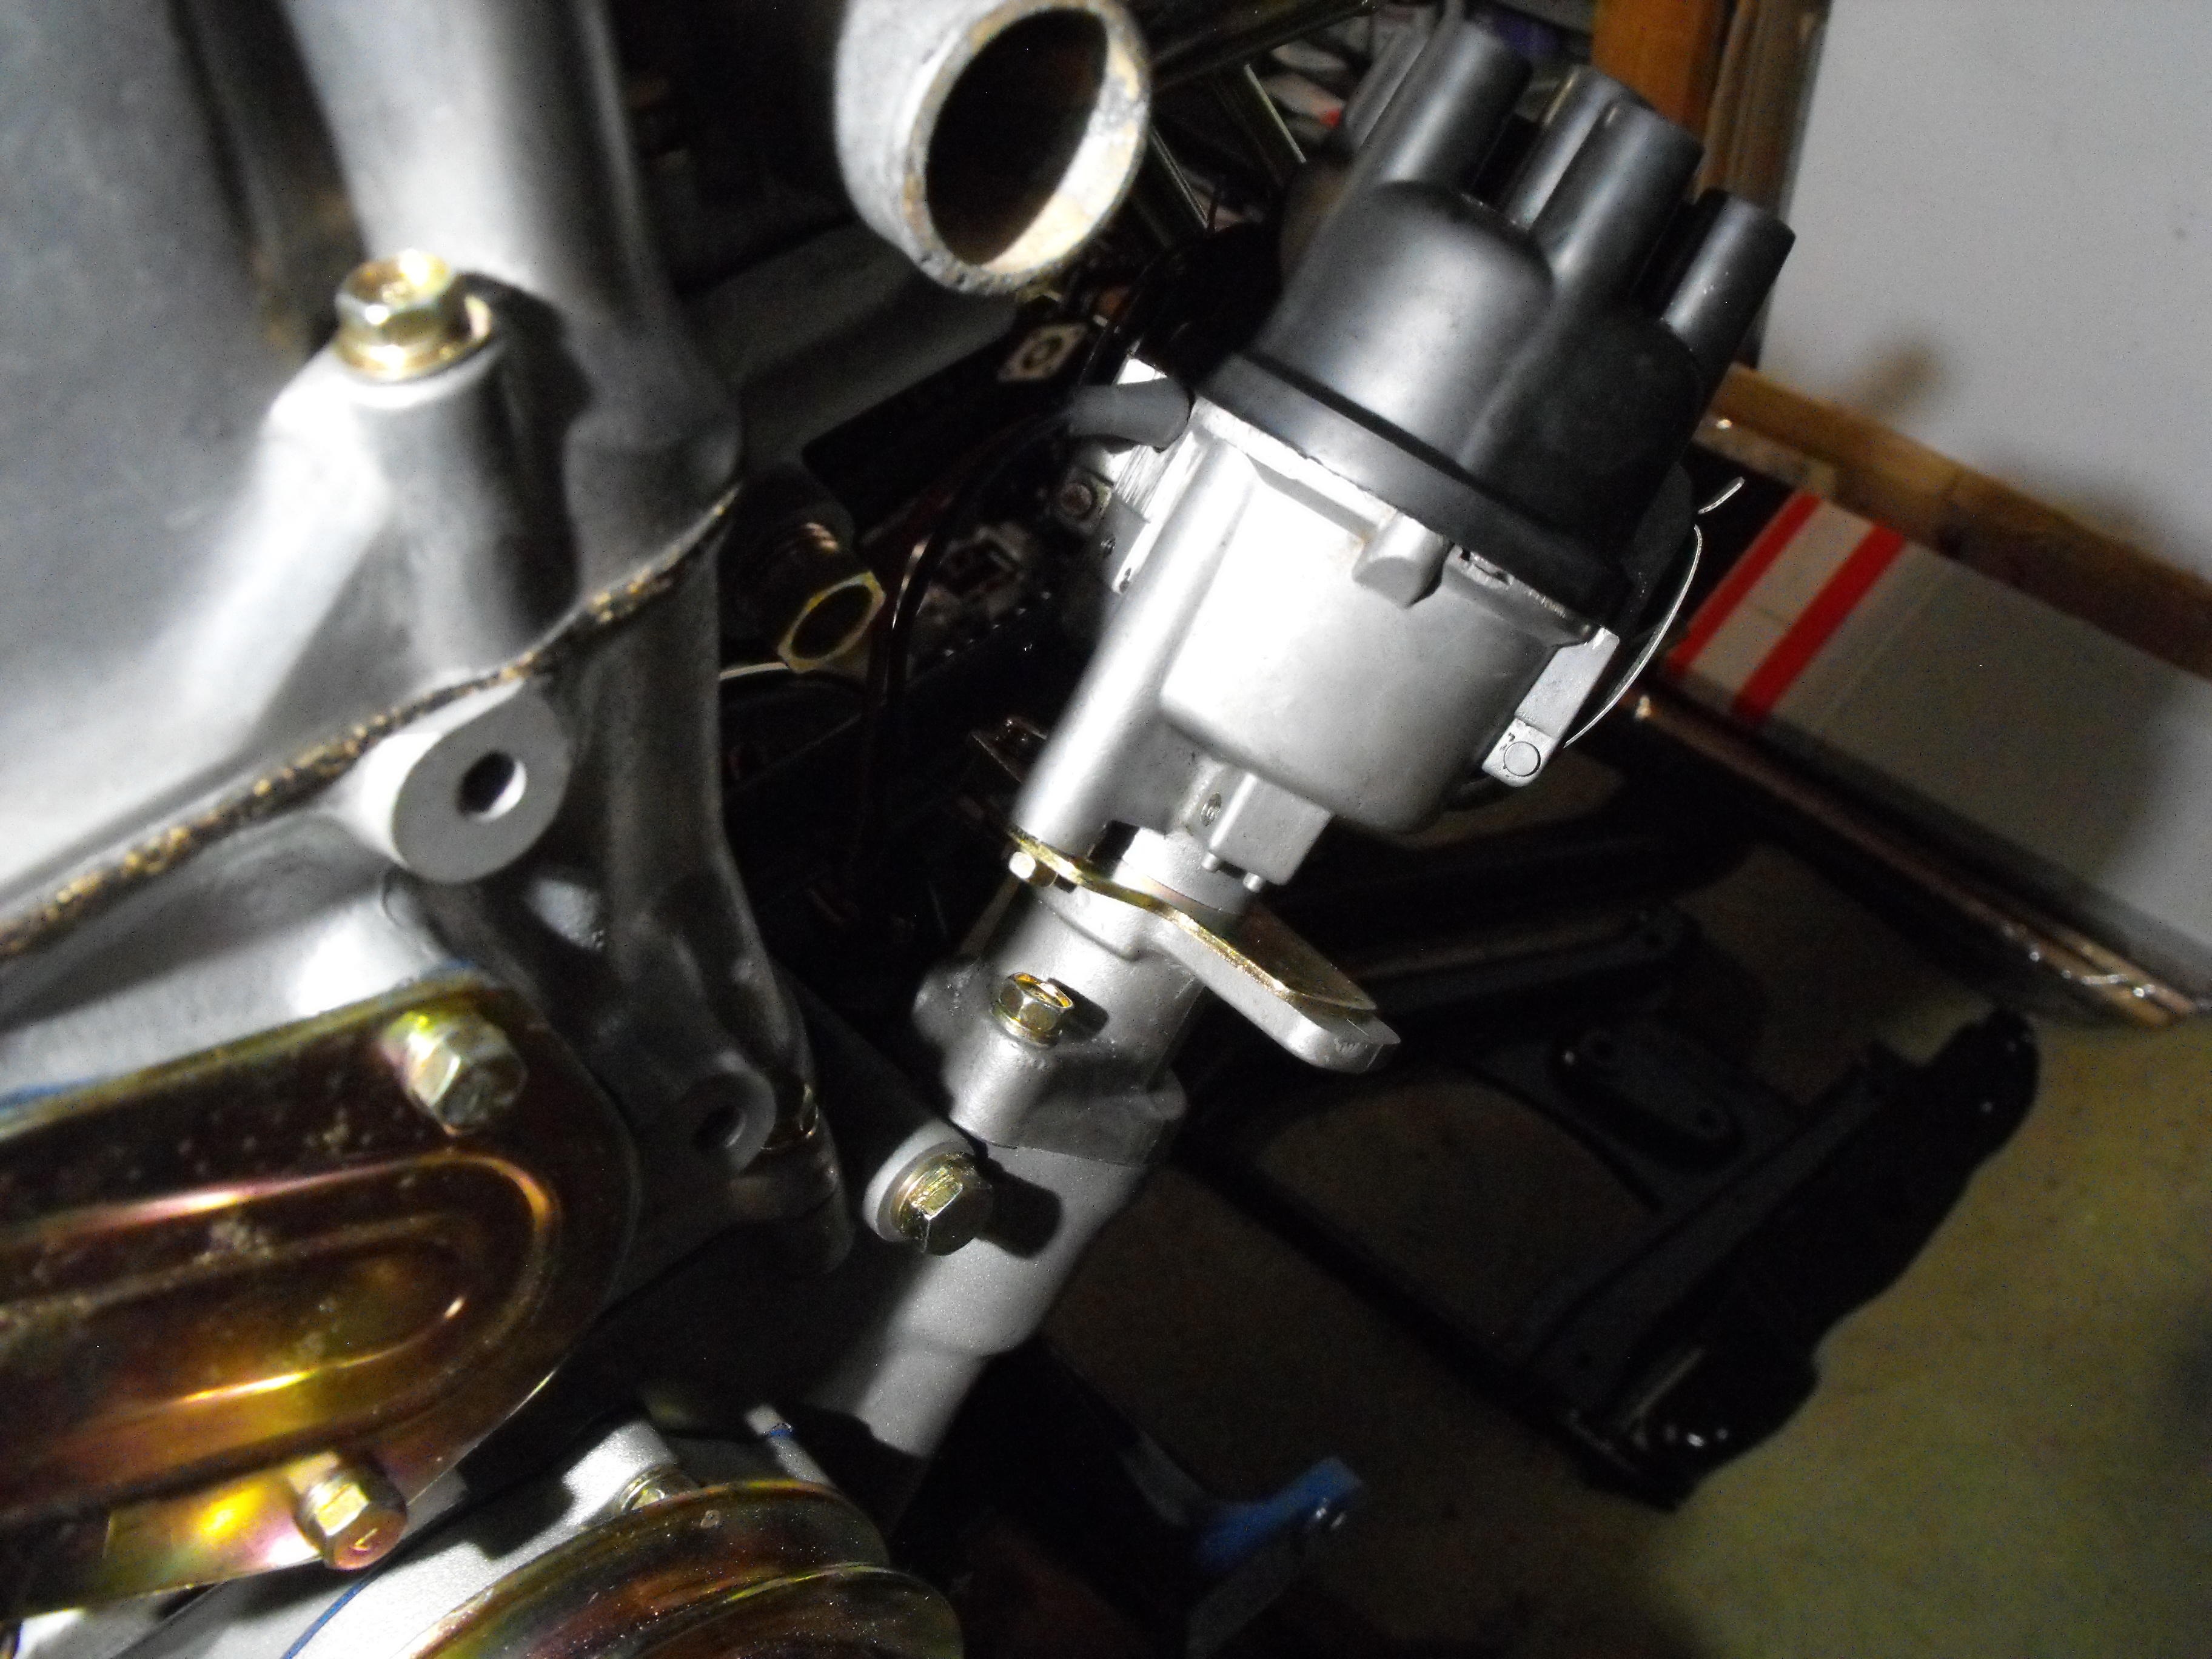
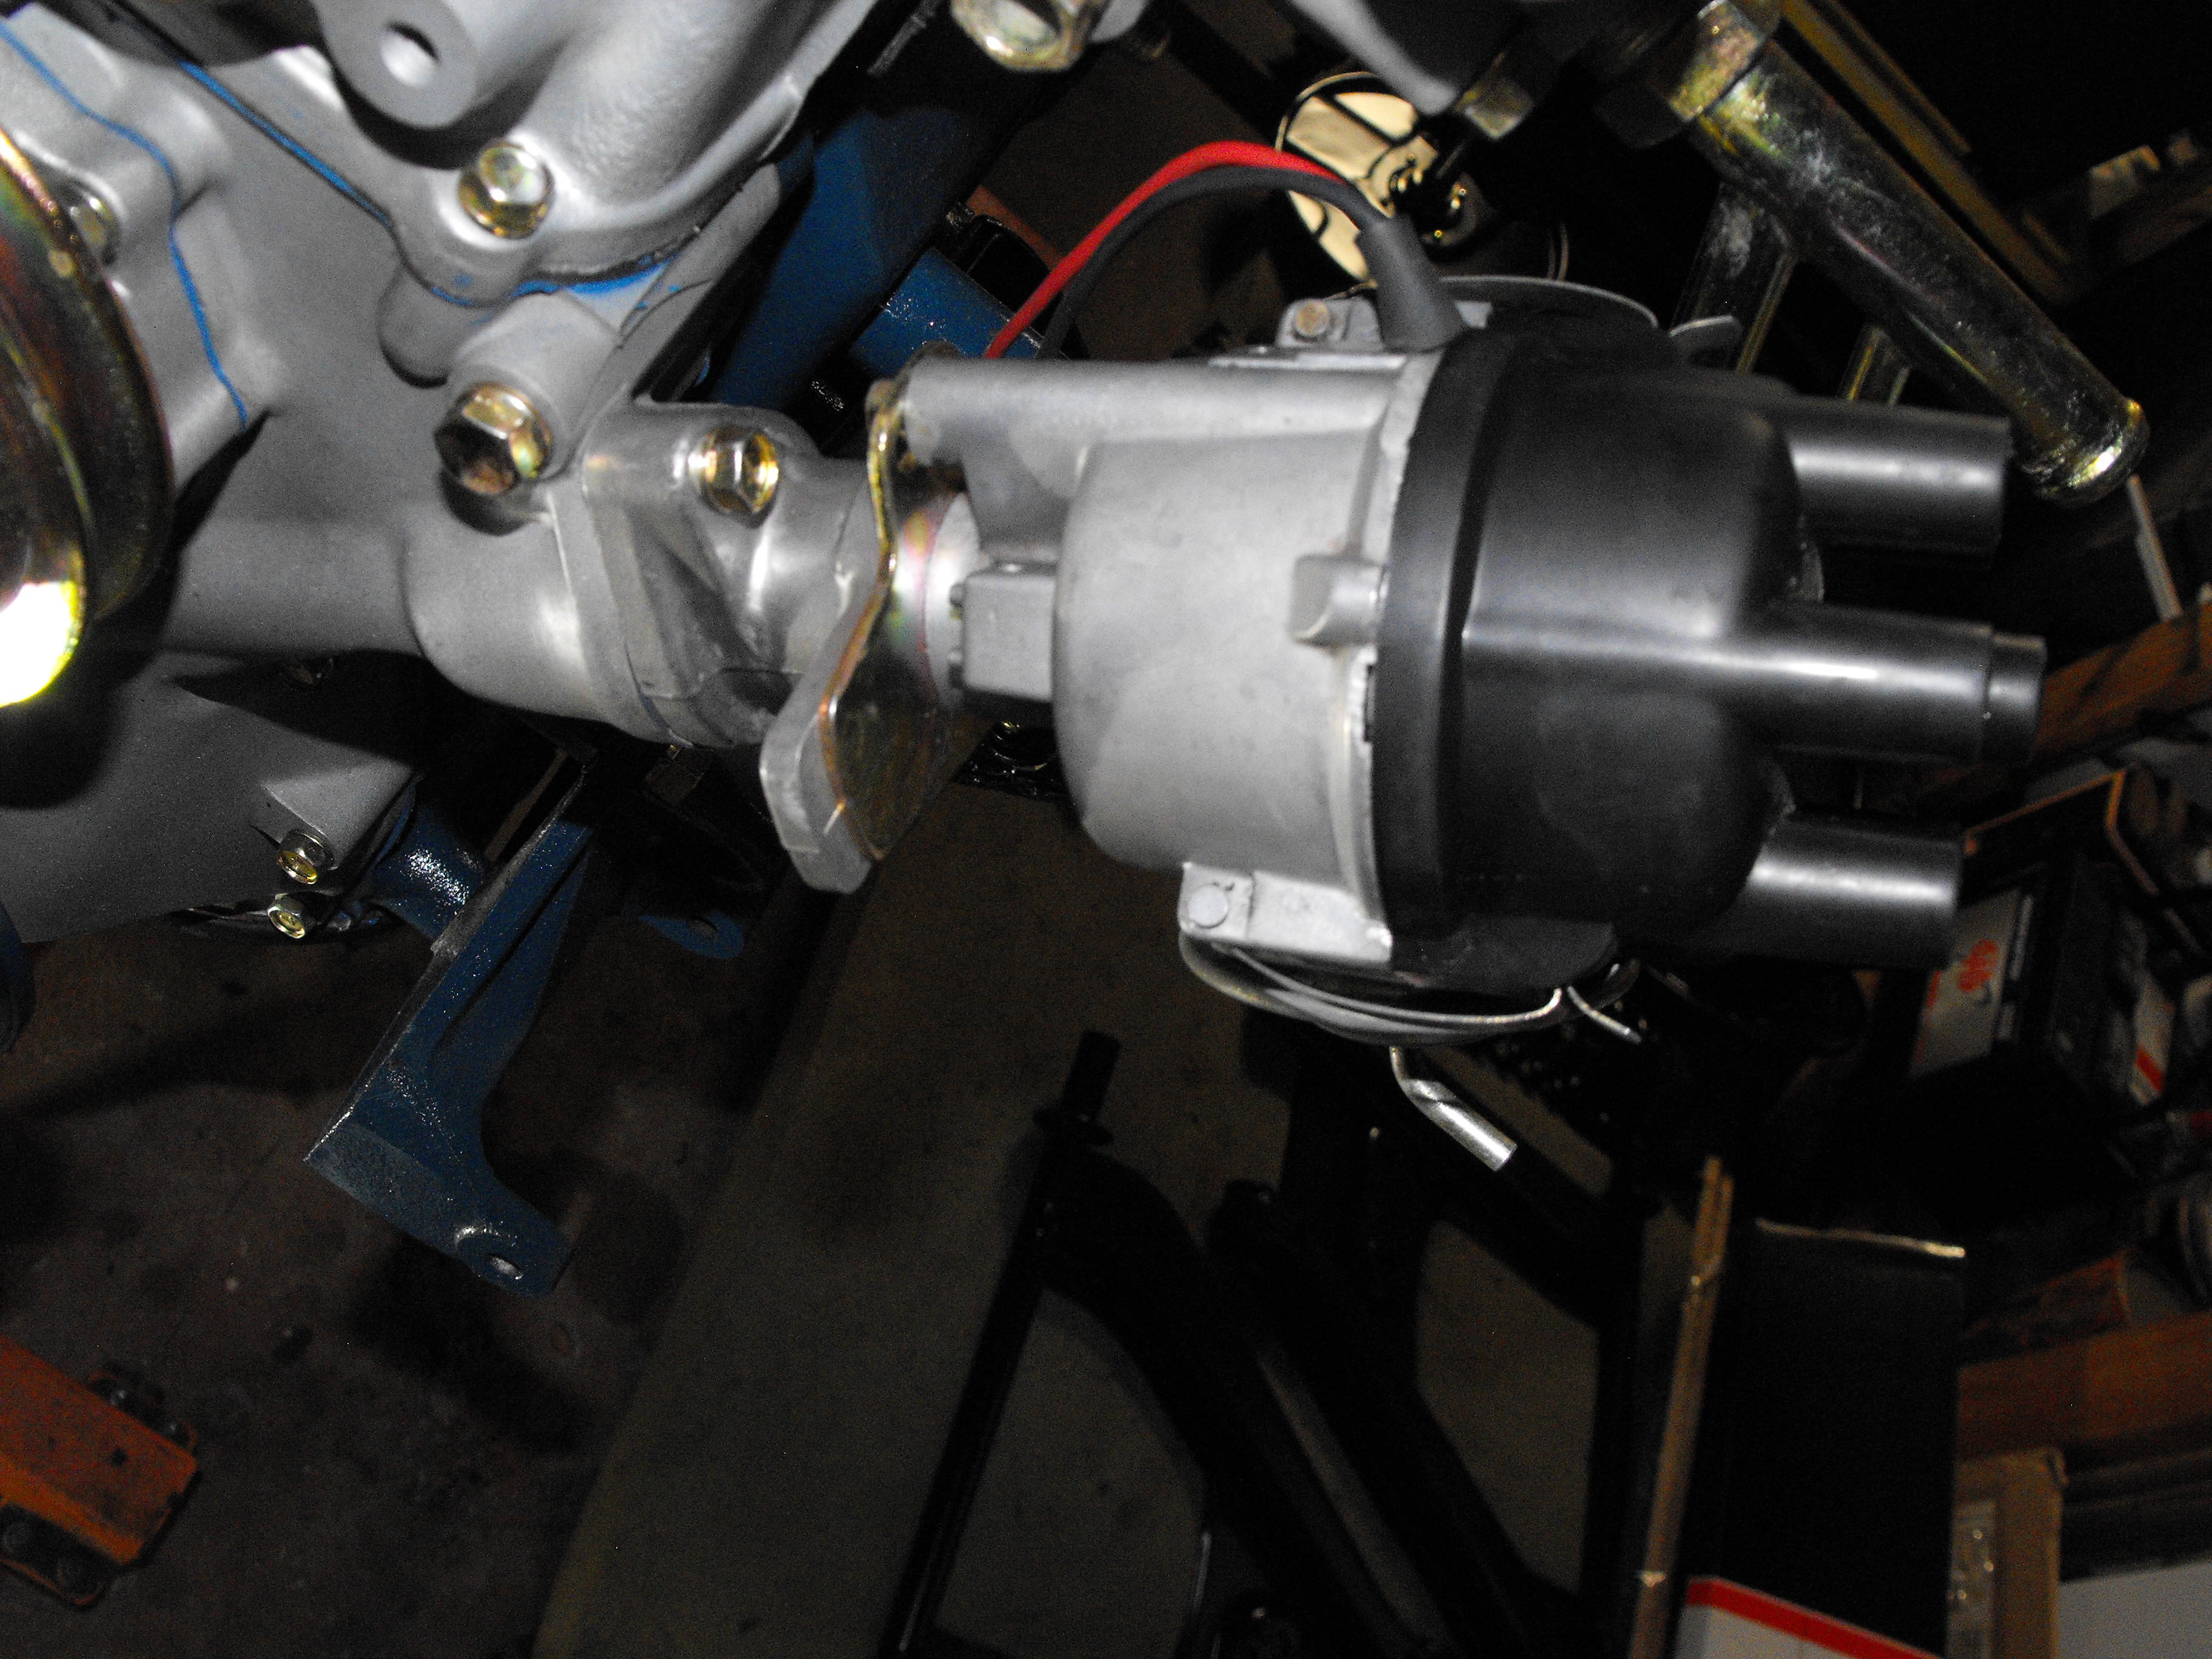
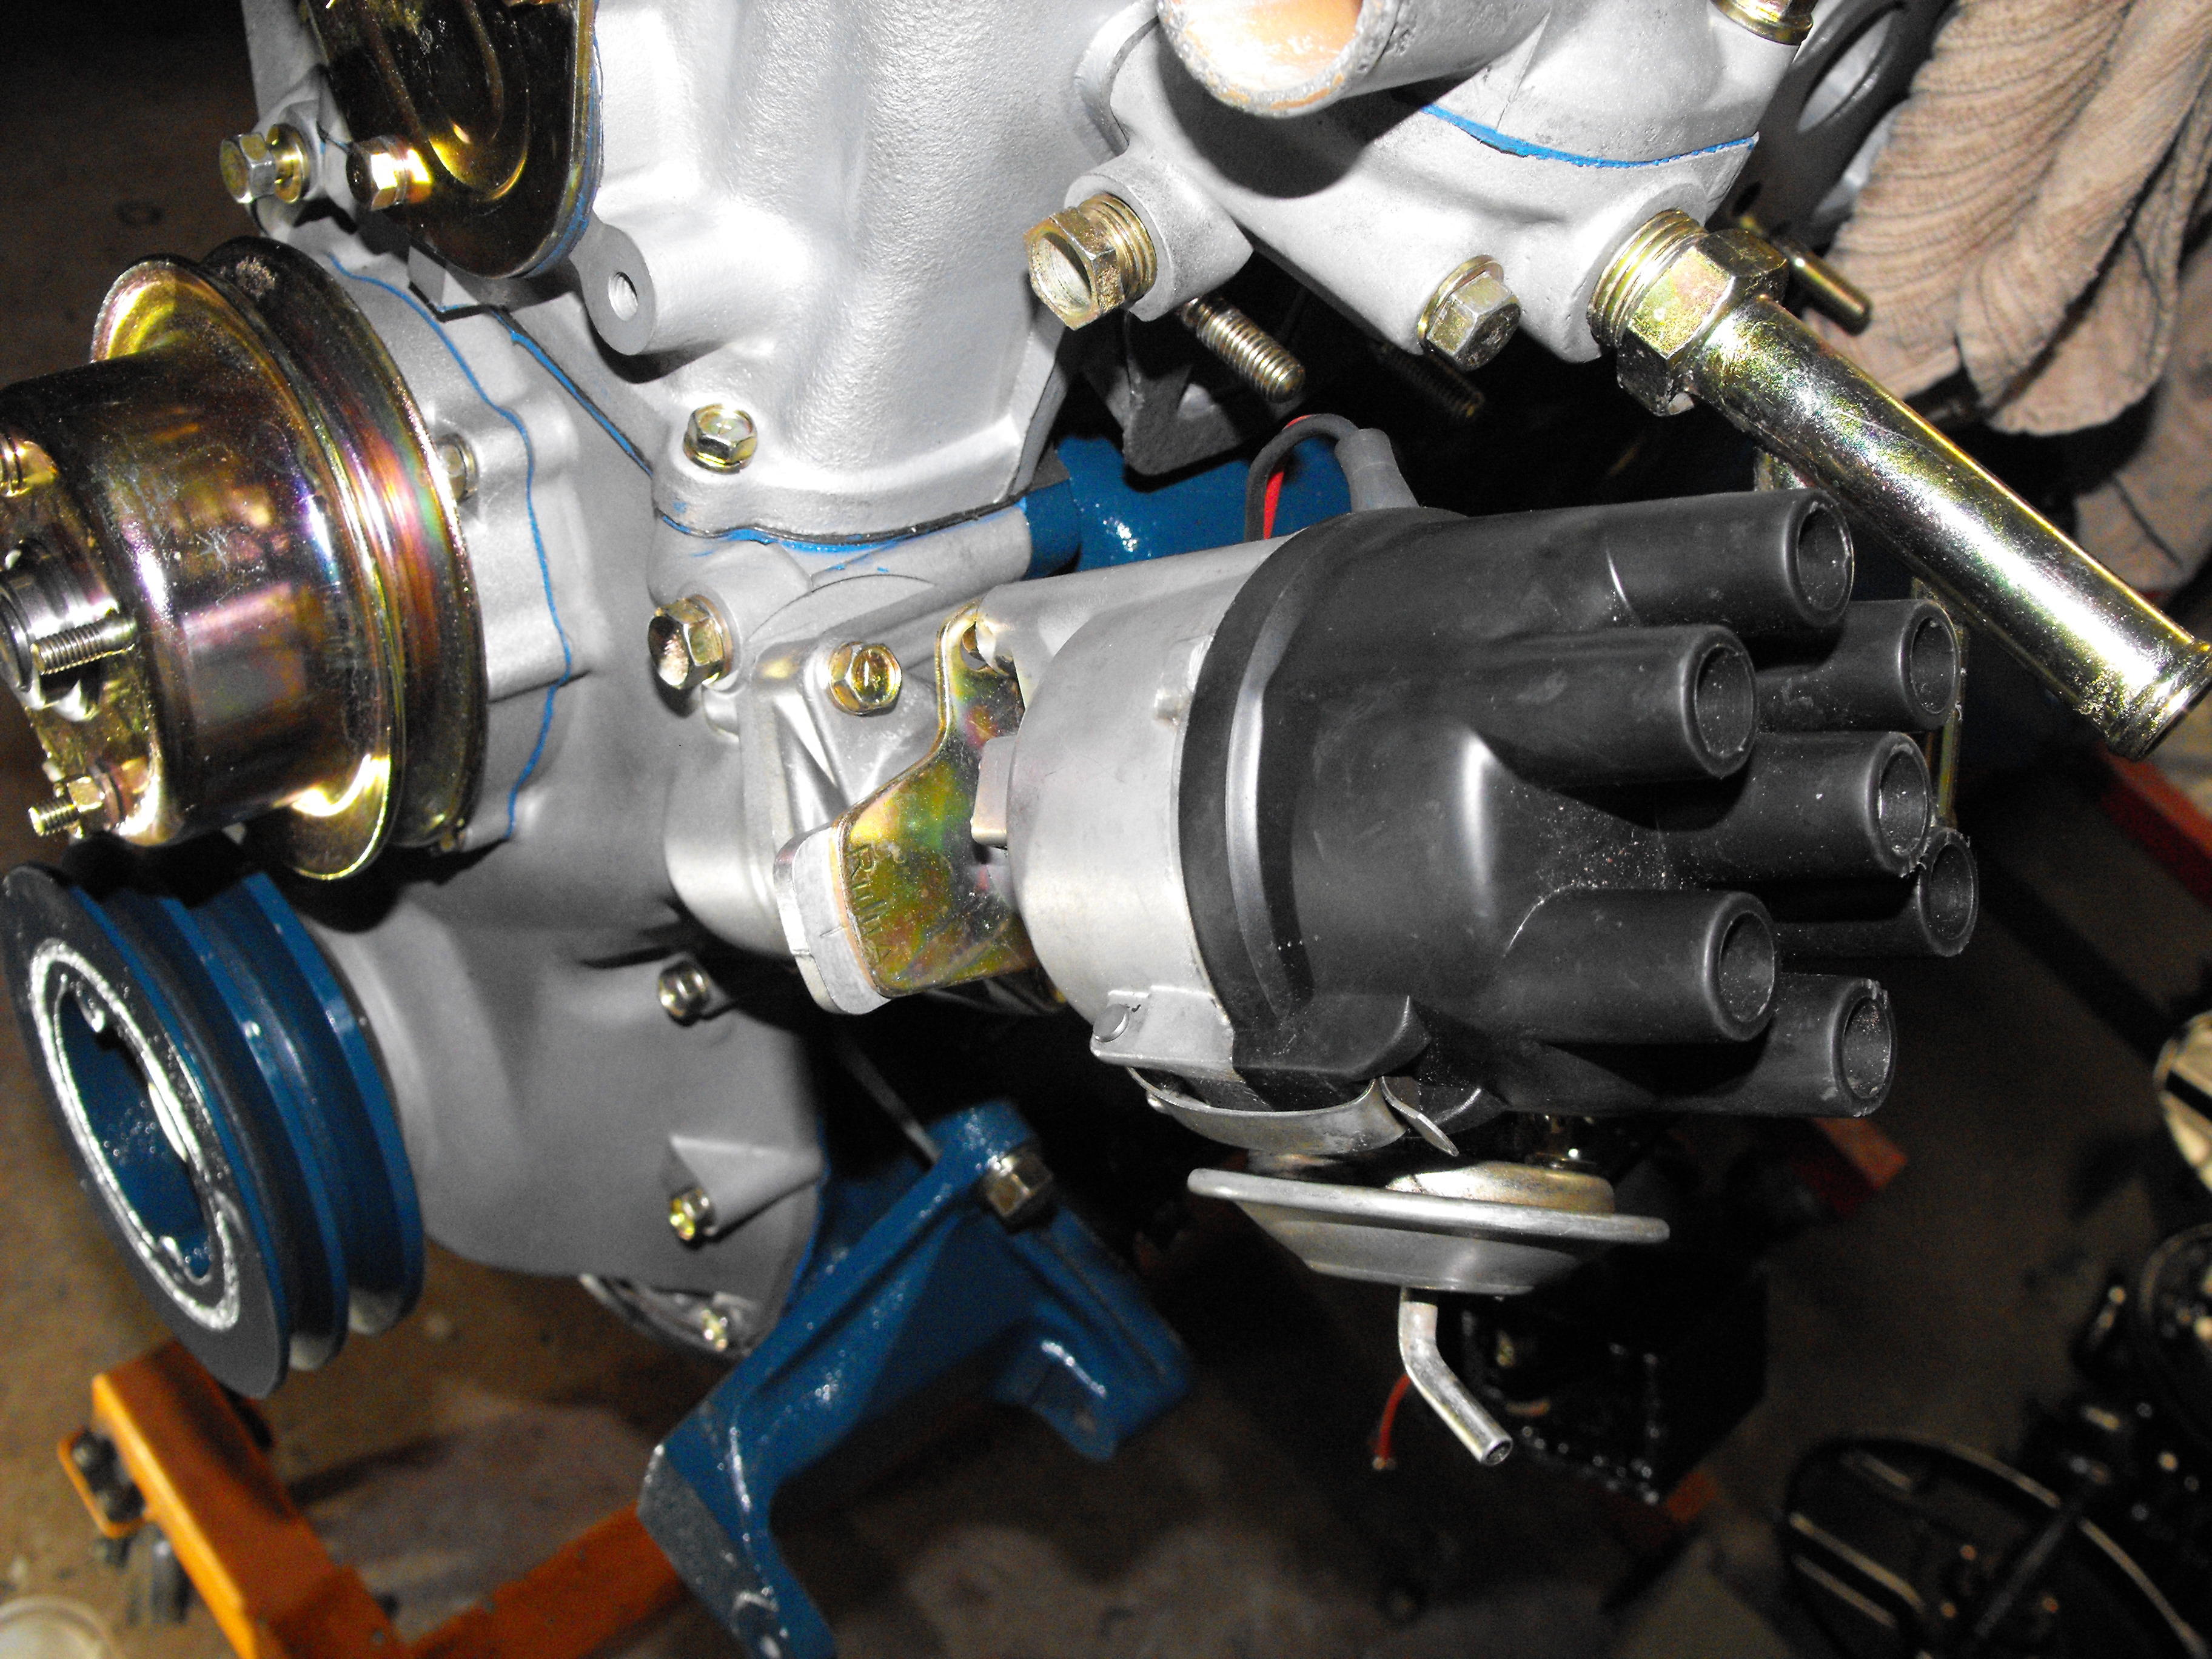
The weather here has been a bit cold and rainy, so haven't done much on the car this last week. Plus with the Holidays, it was nice to take a break and enjoy time with family. Cleaned up the distributor and installed that. We should have a bit of sunshine this weekend, so hopefully can get some more stuff cleaned up.


-
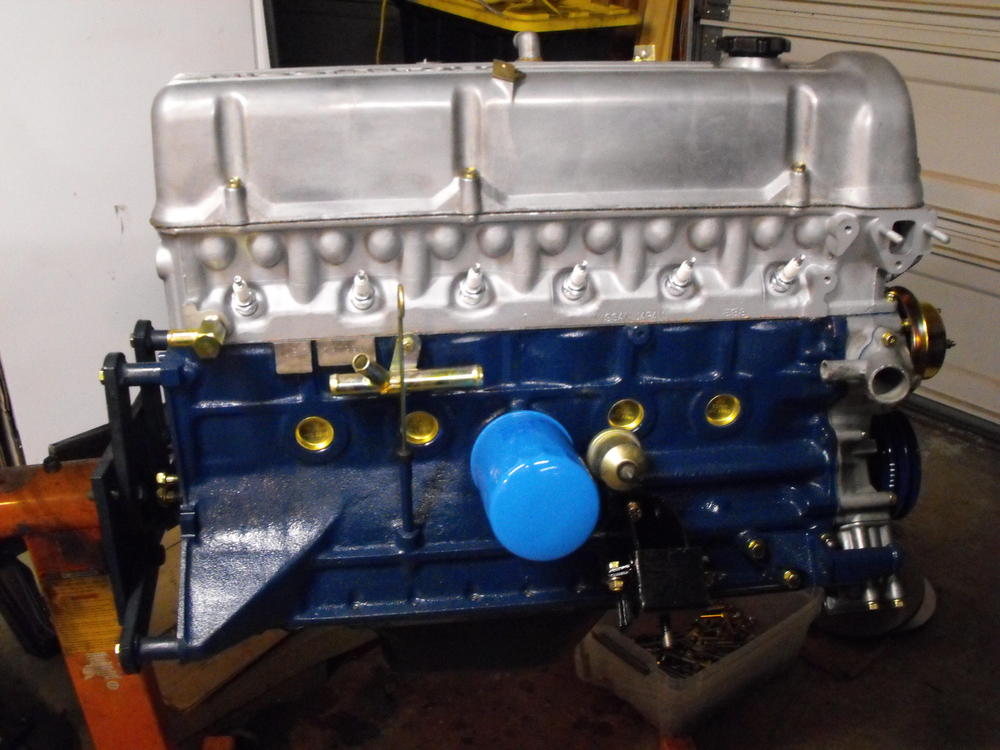
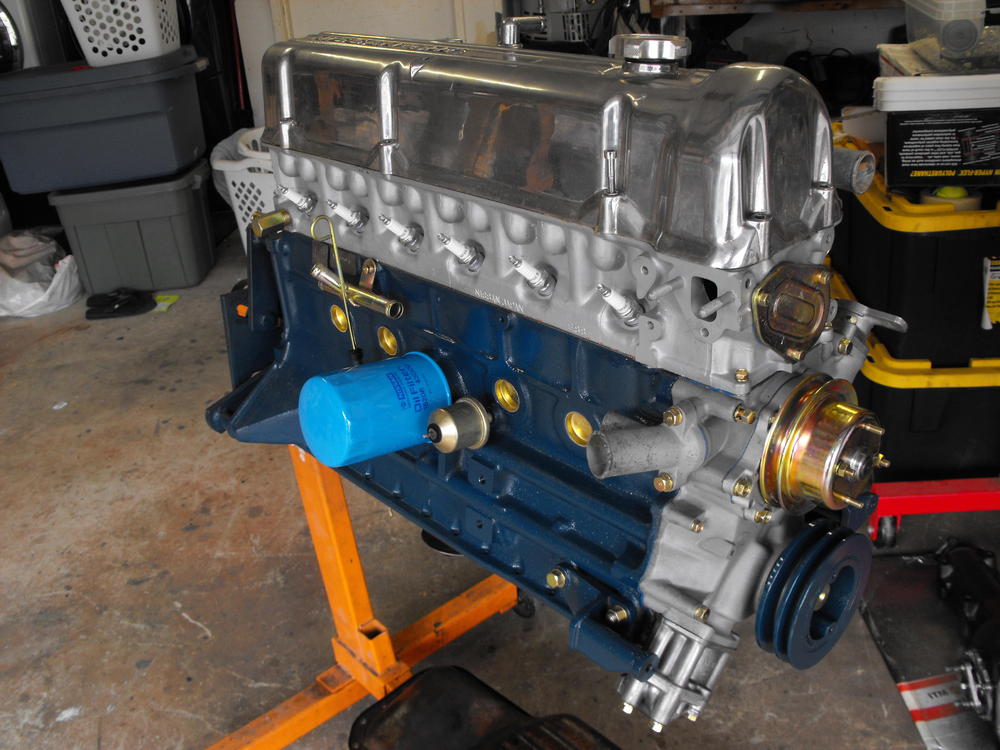
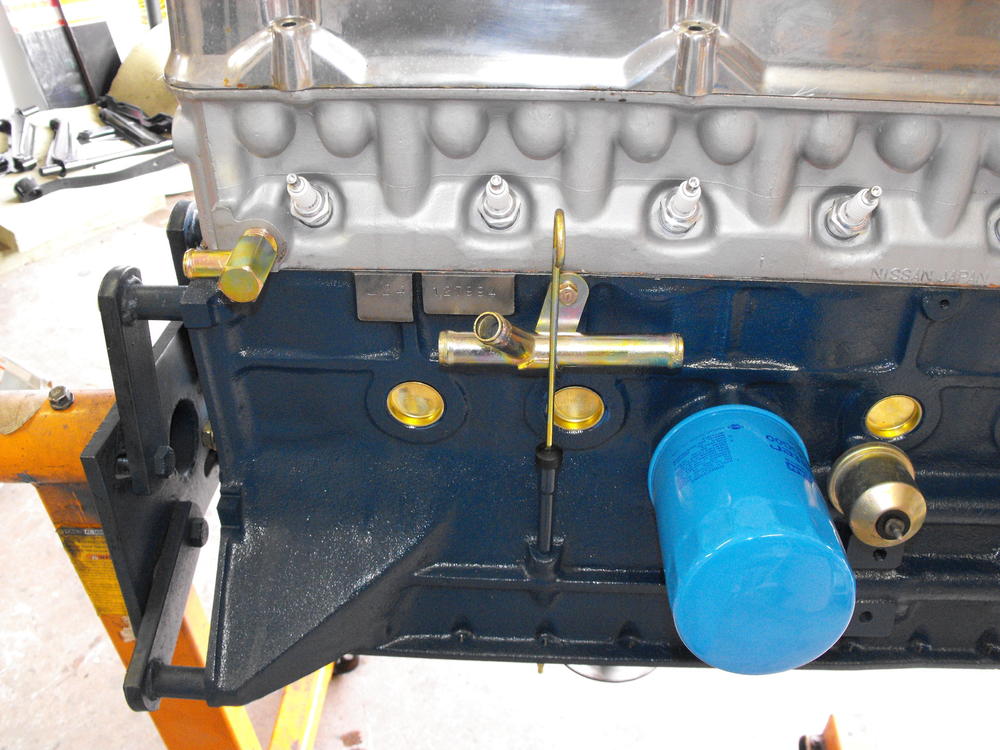
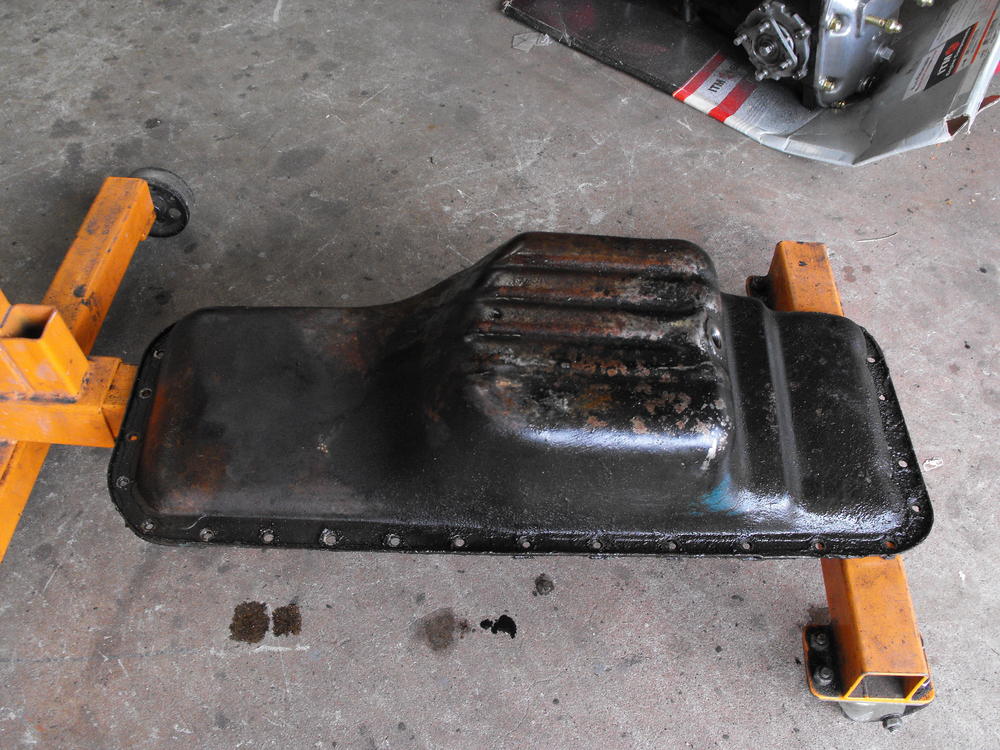
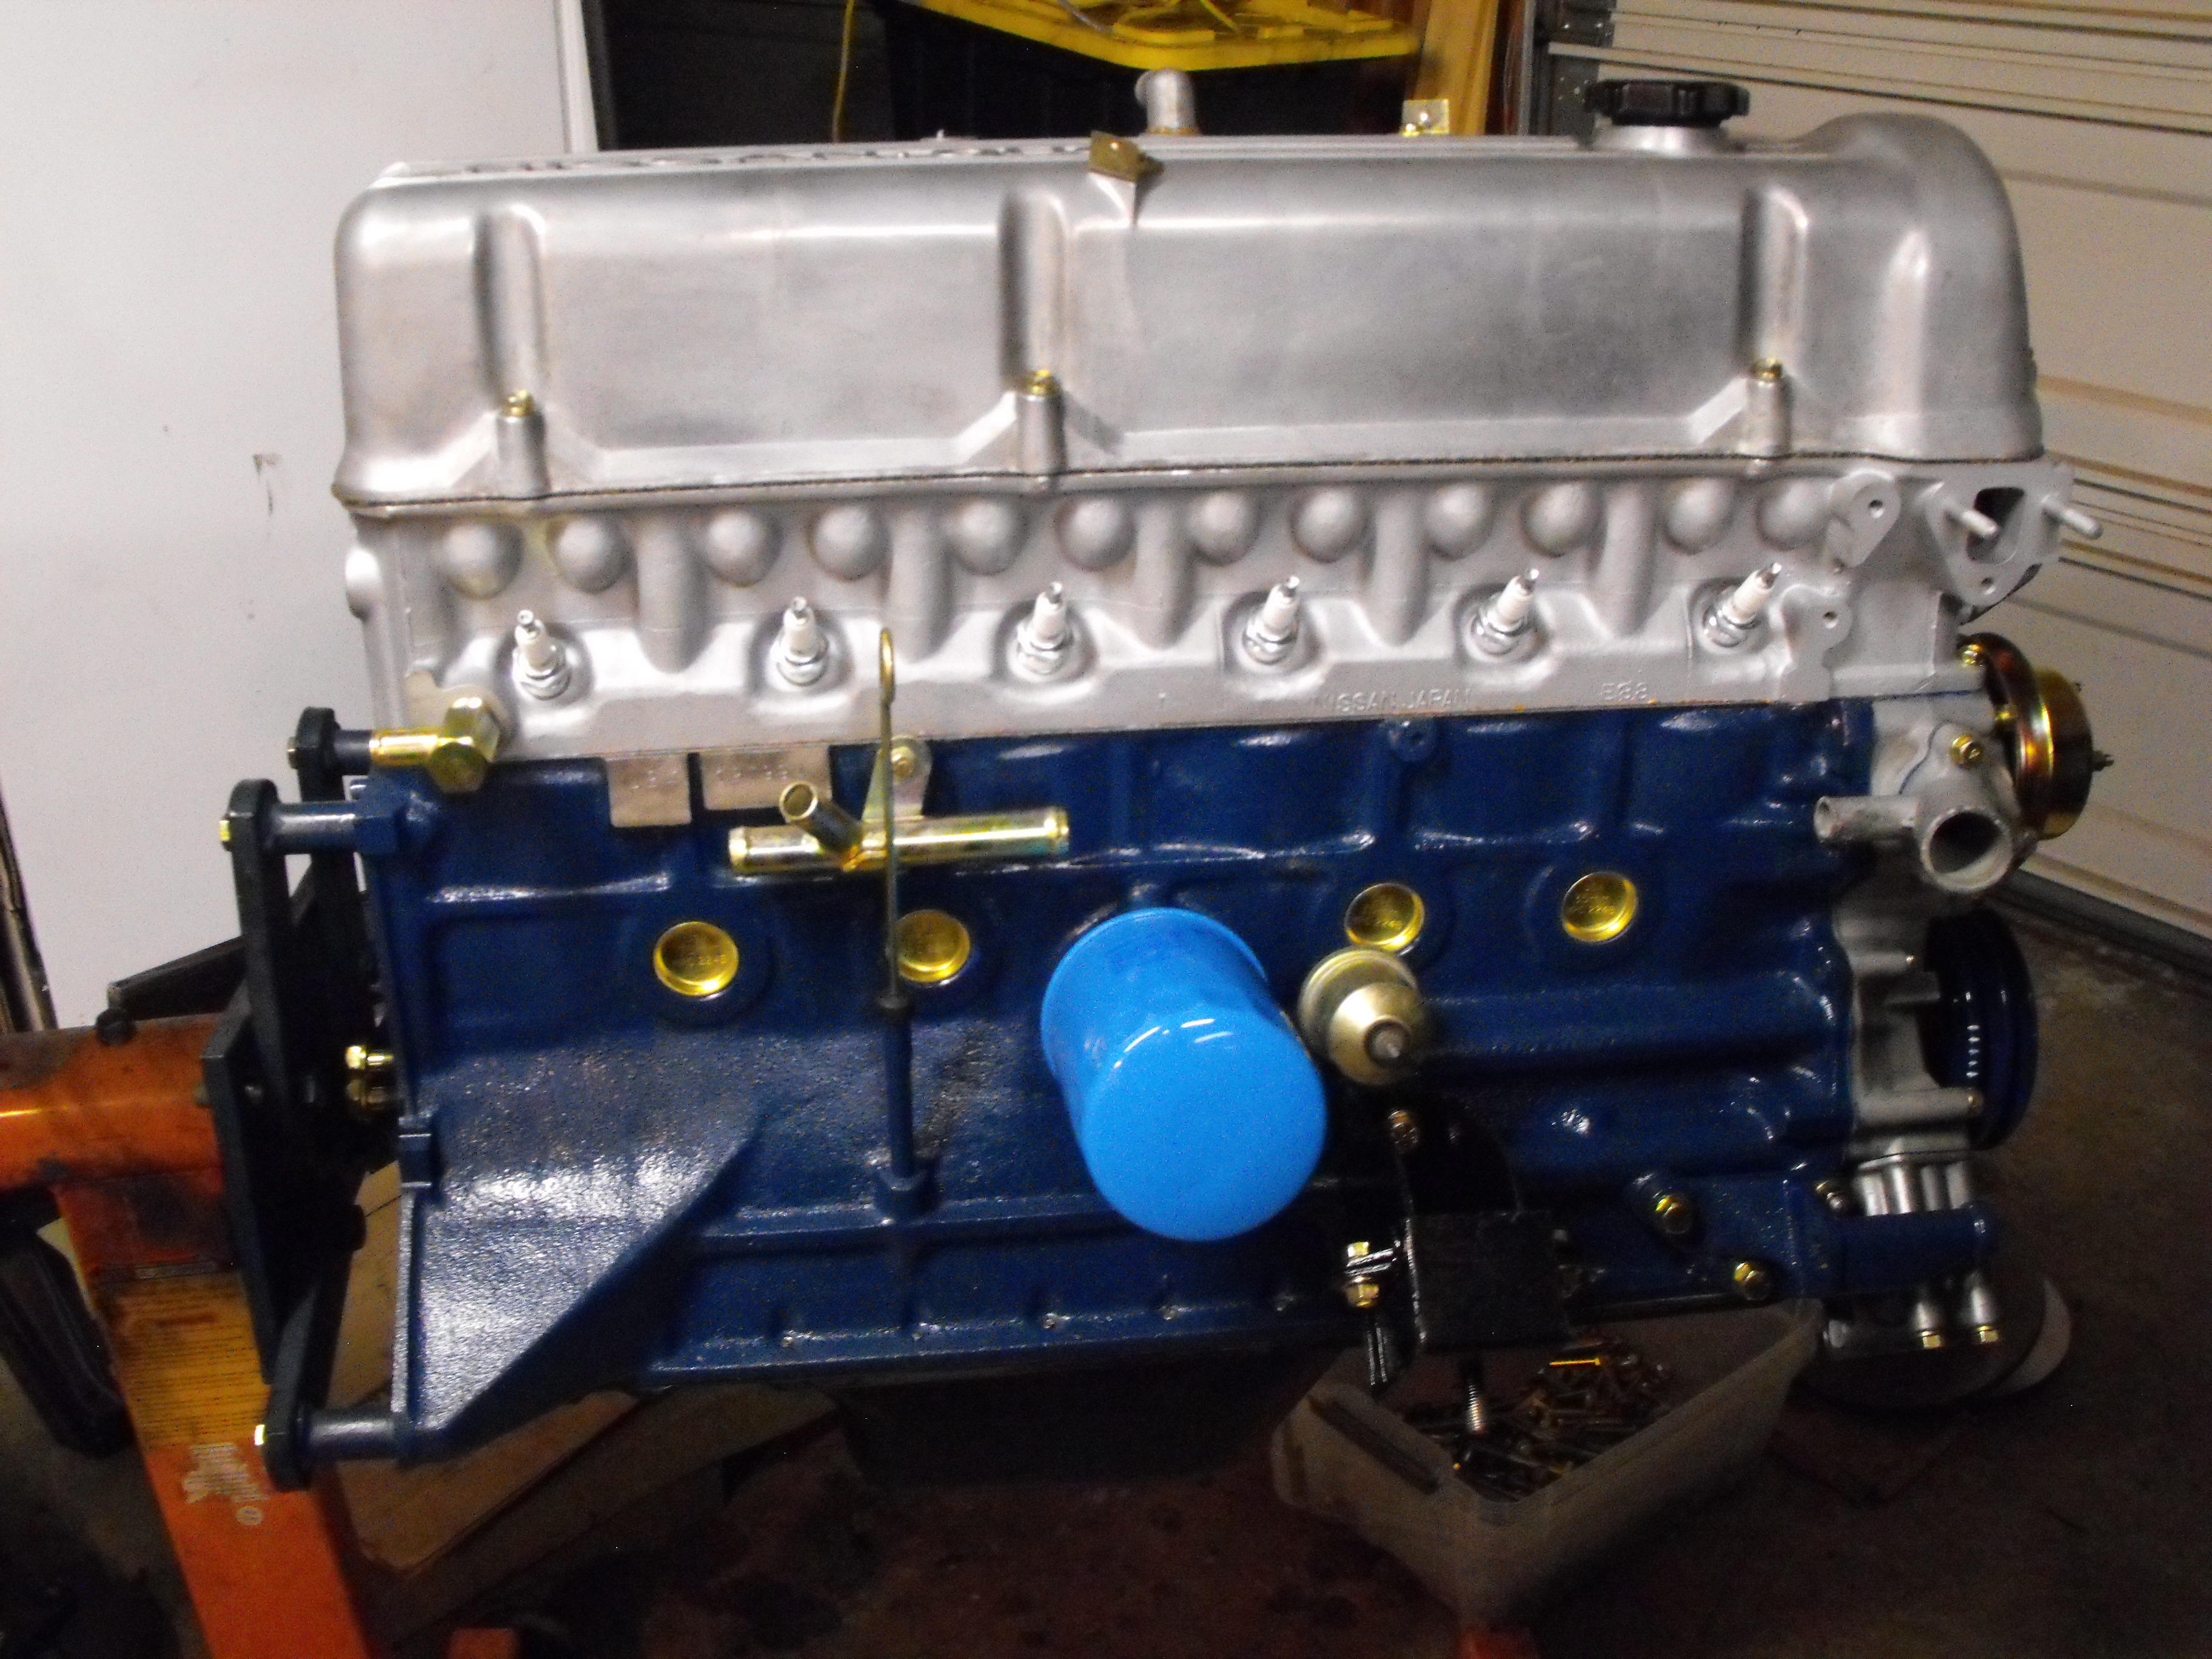
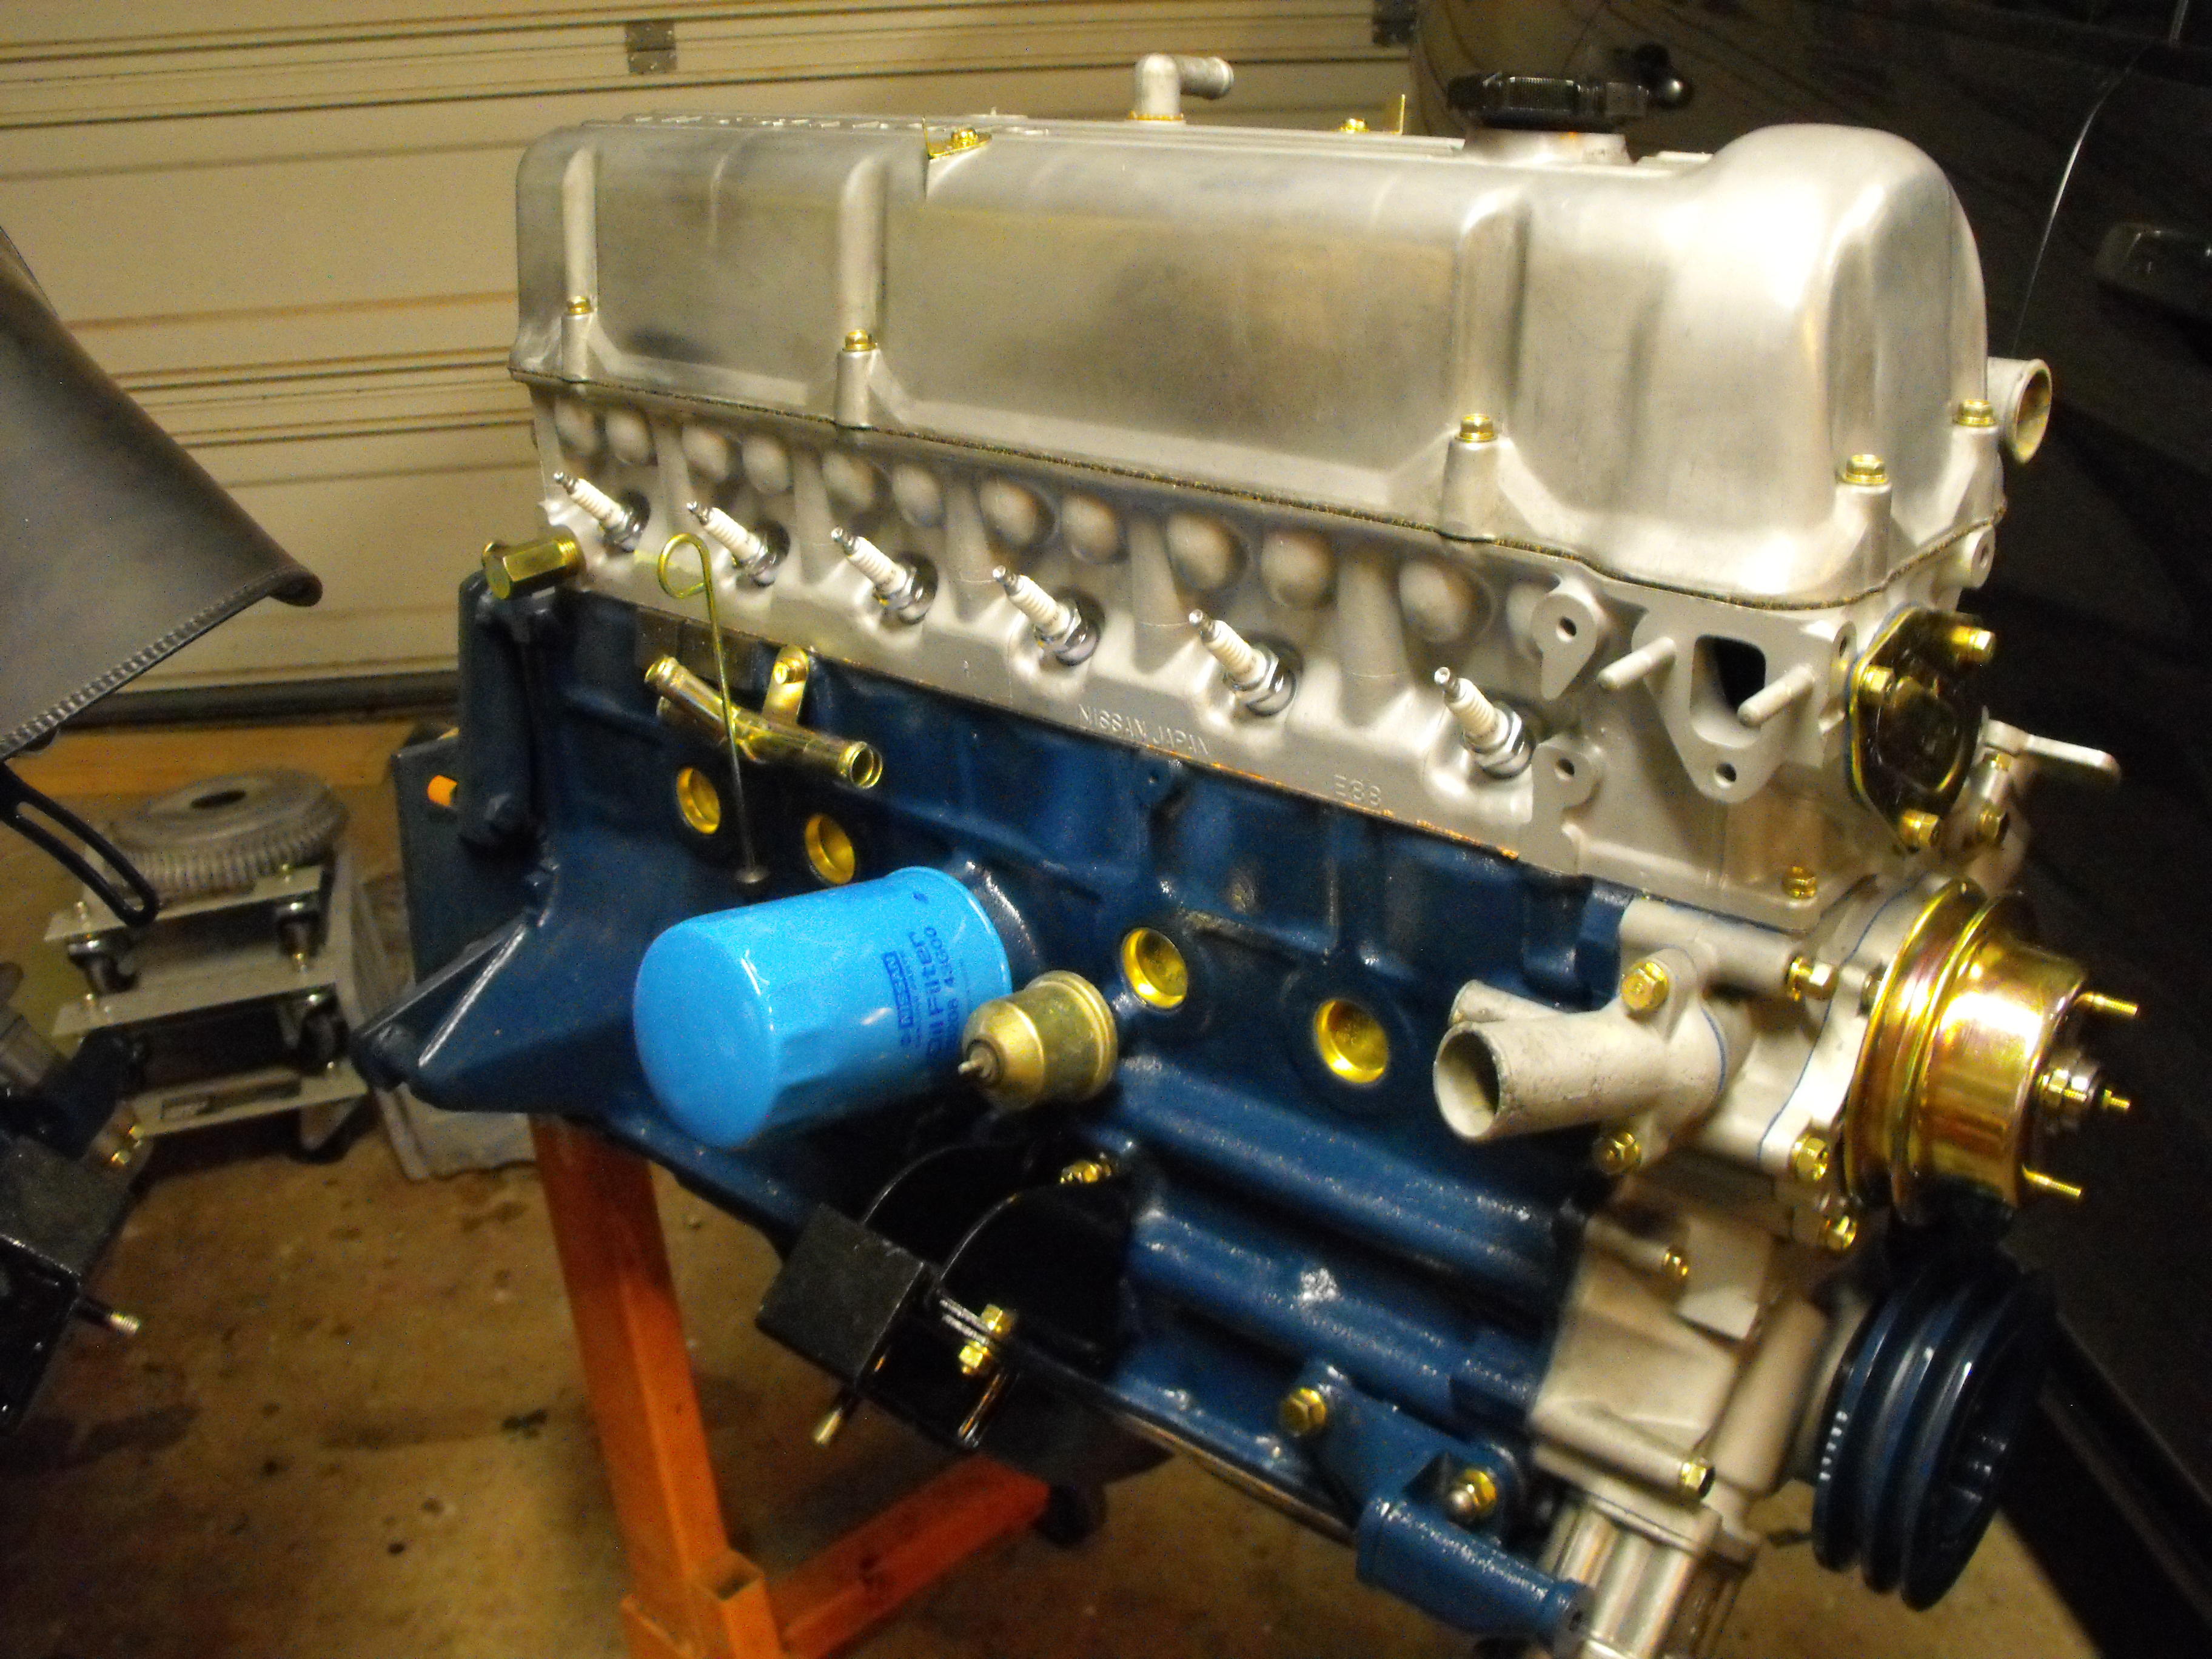
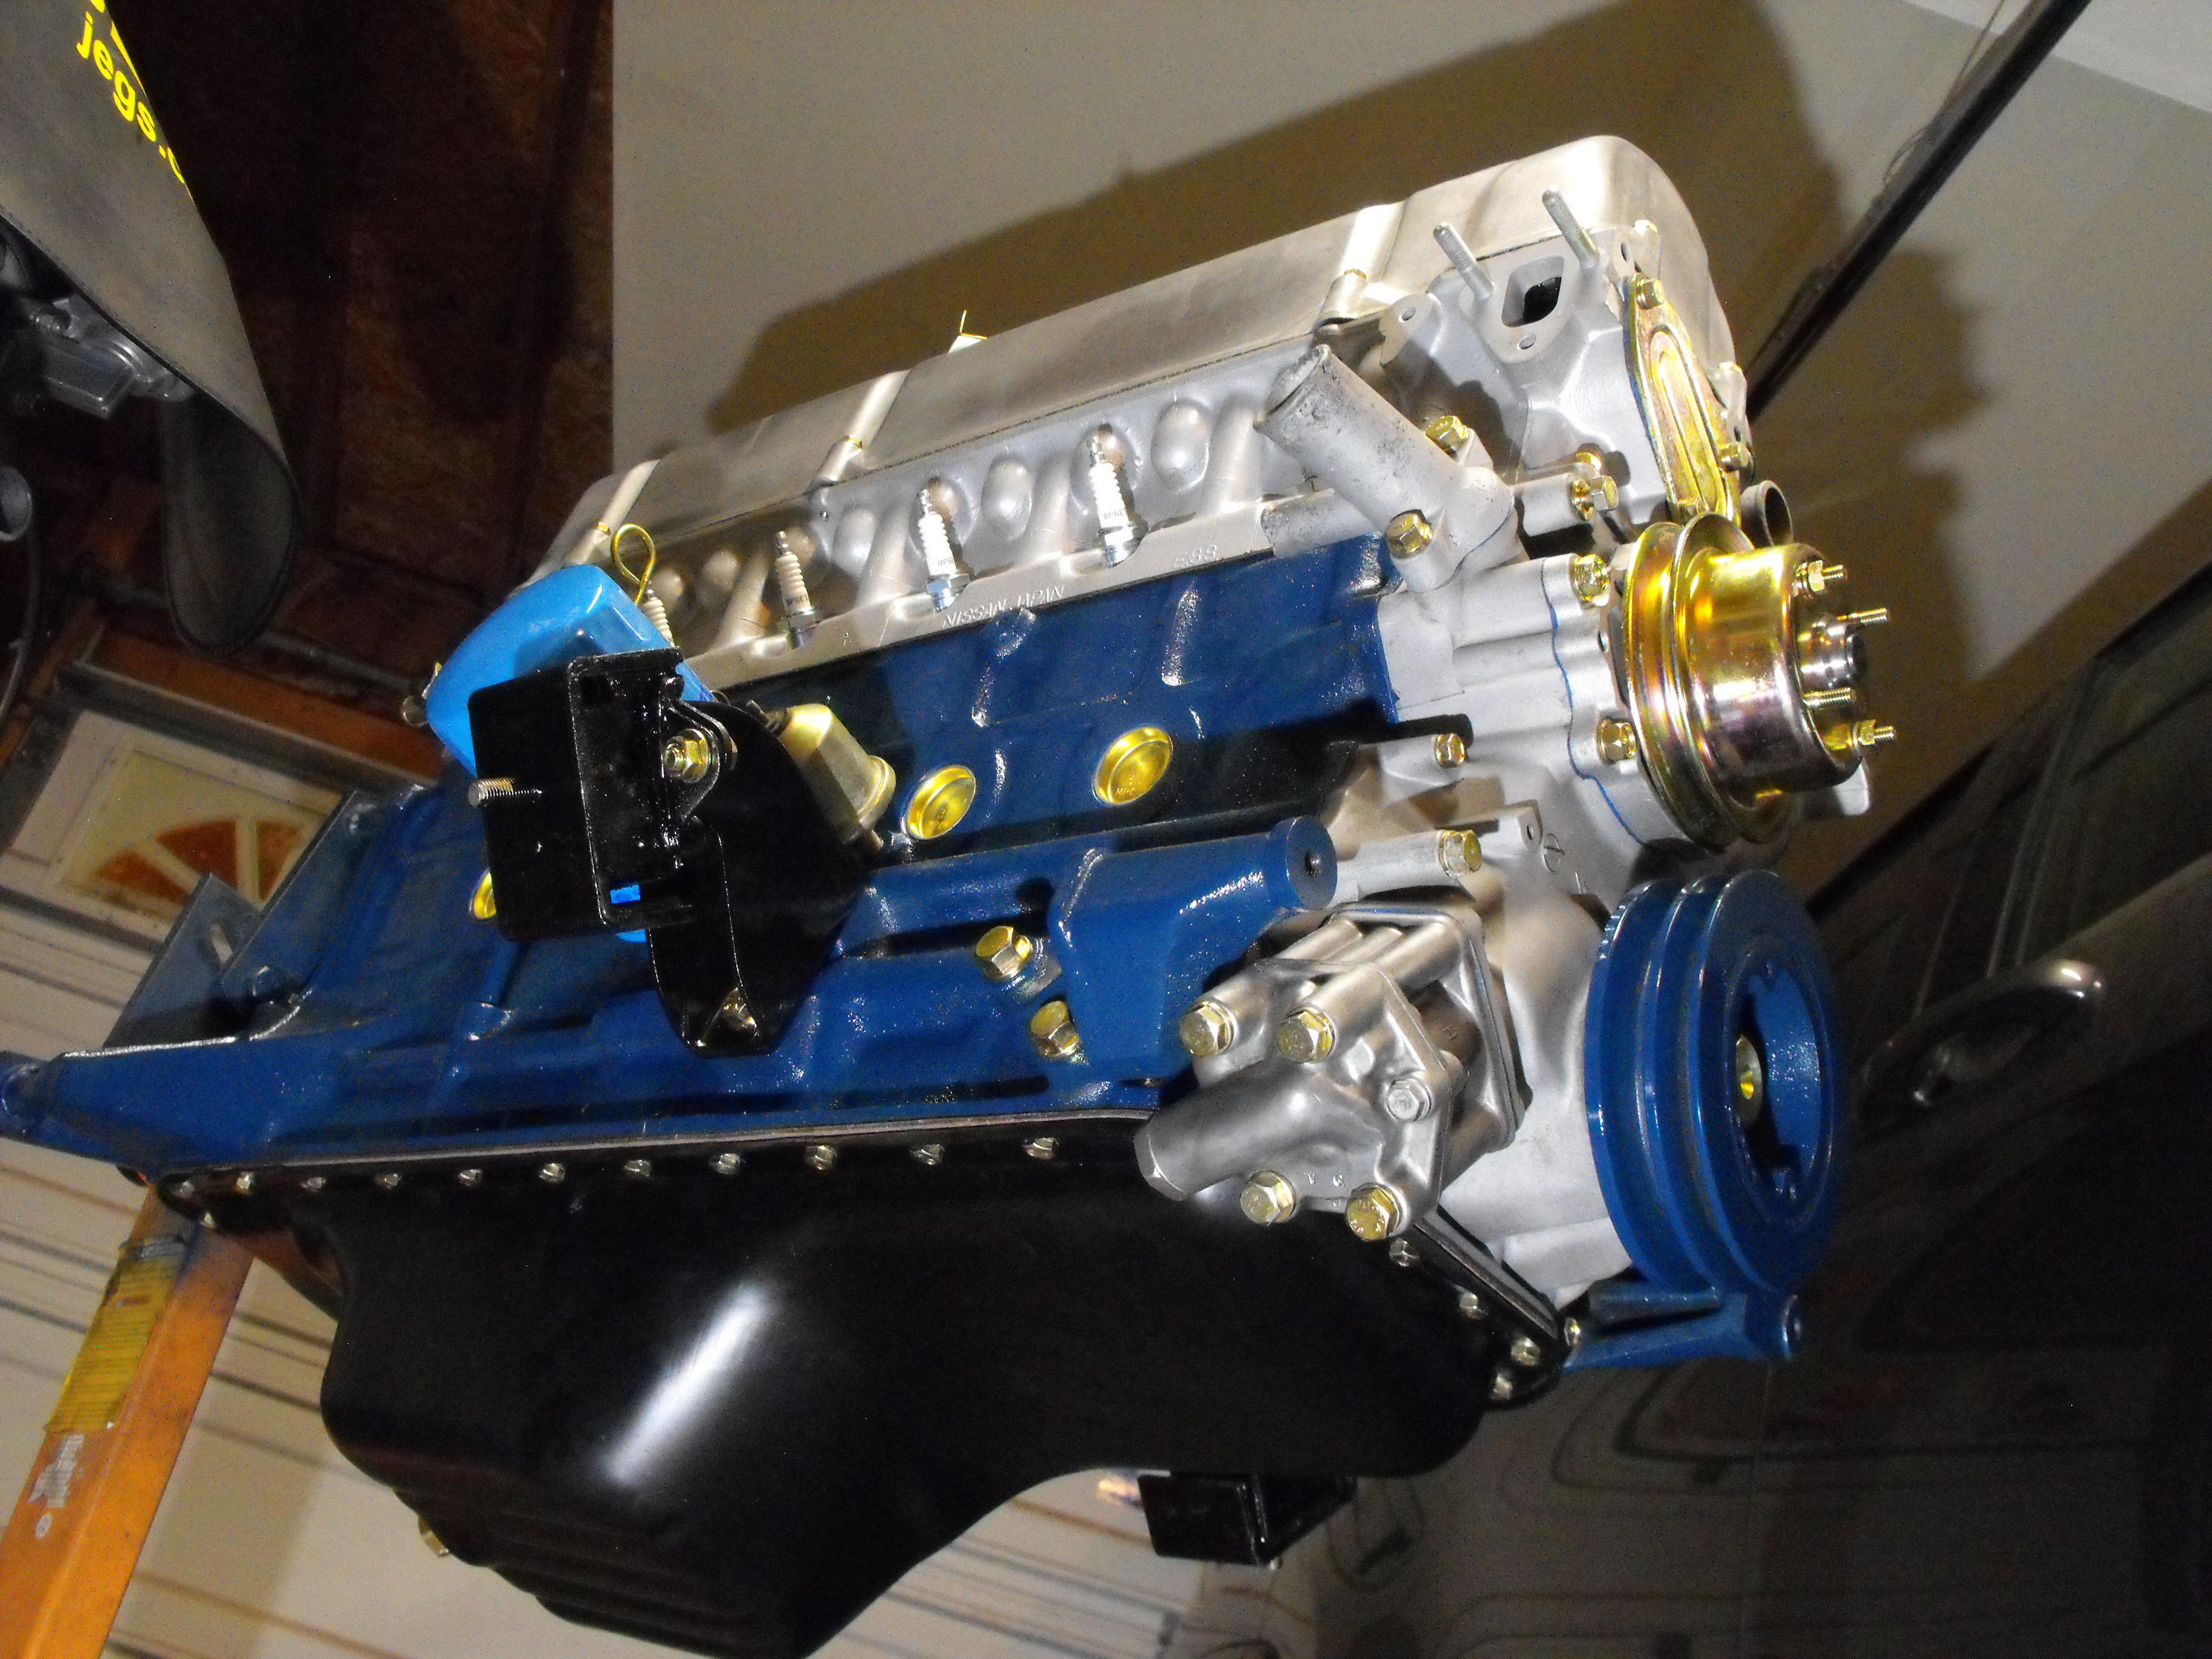
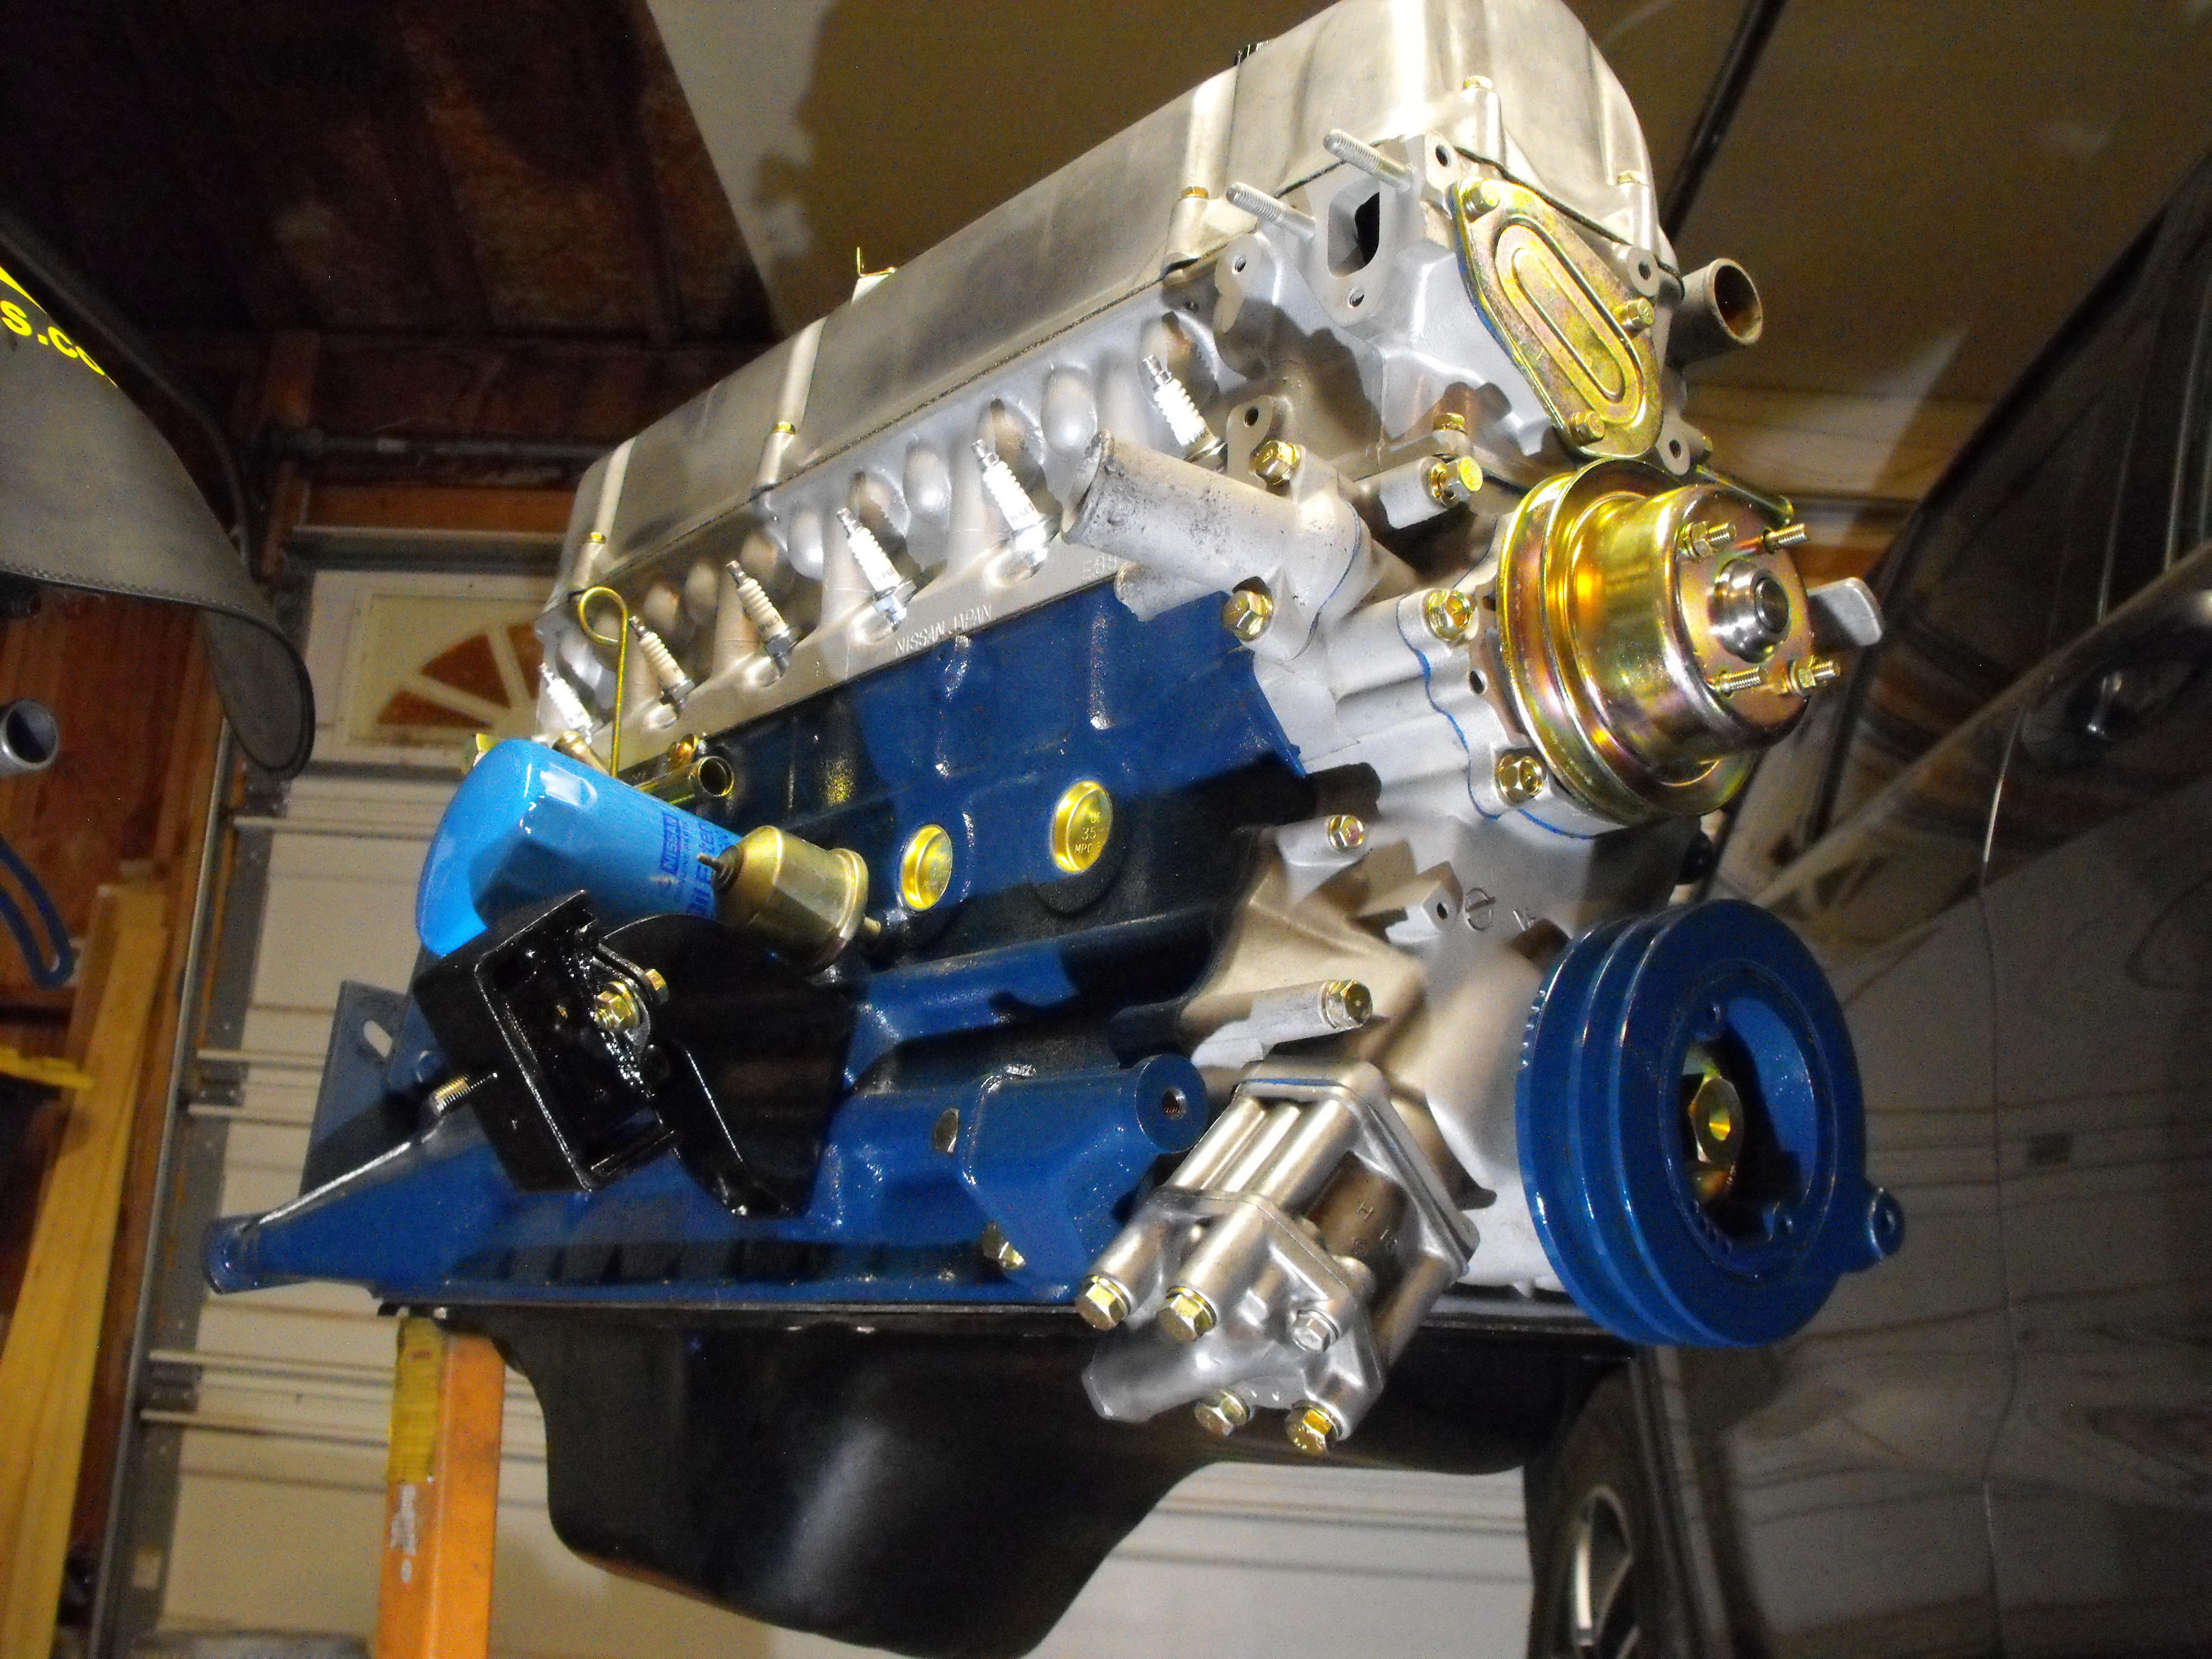
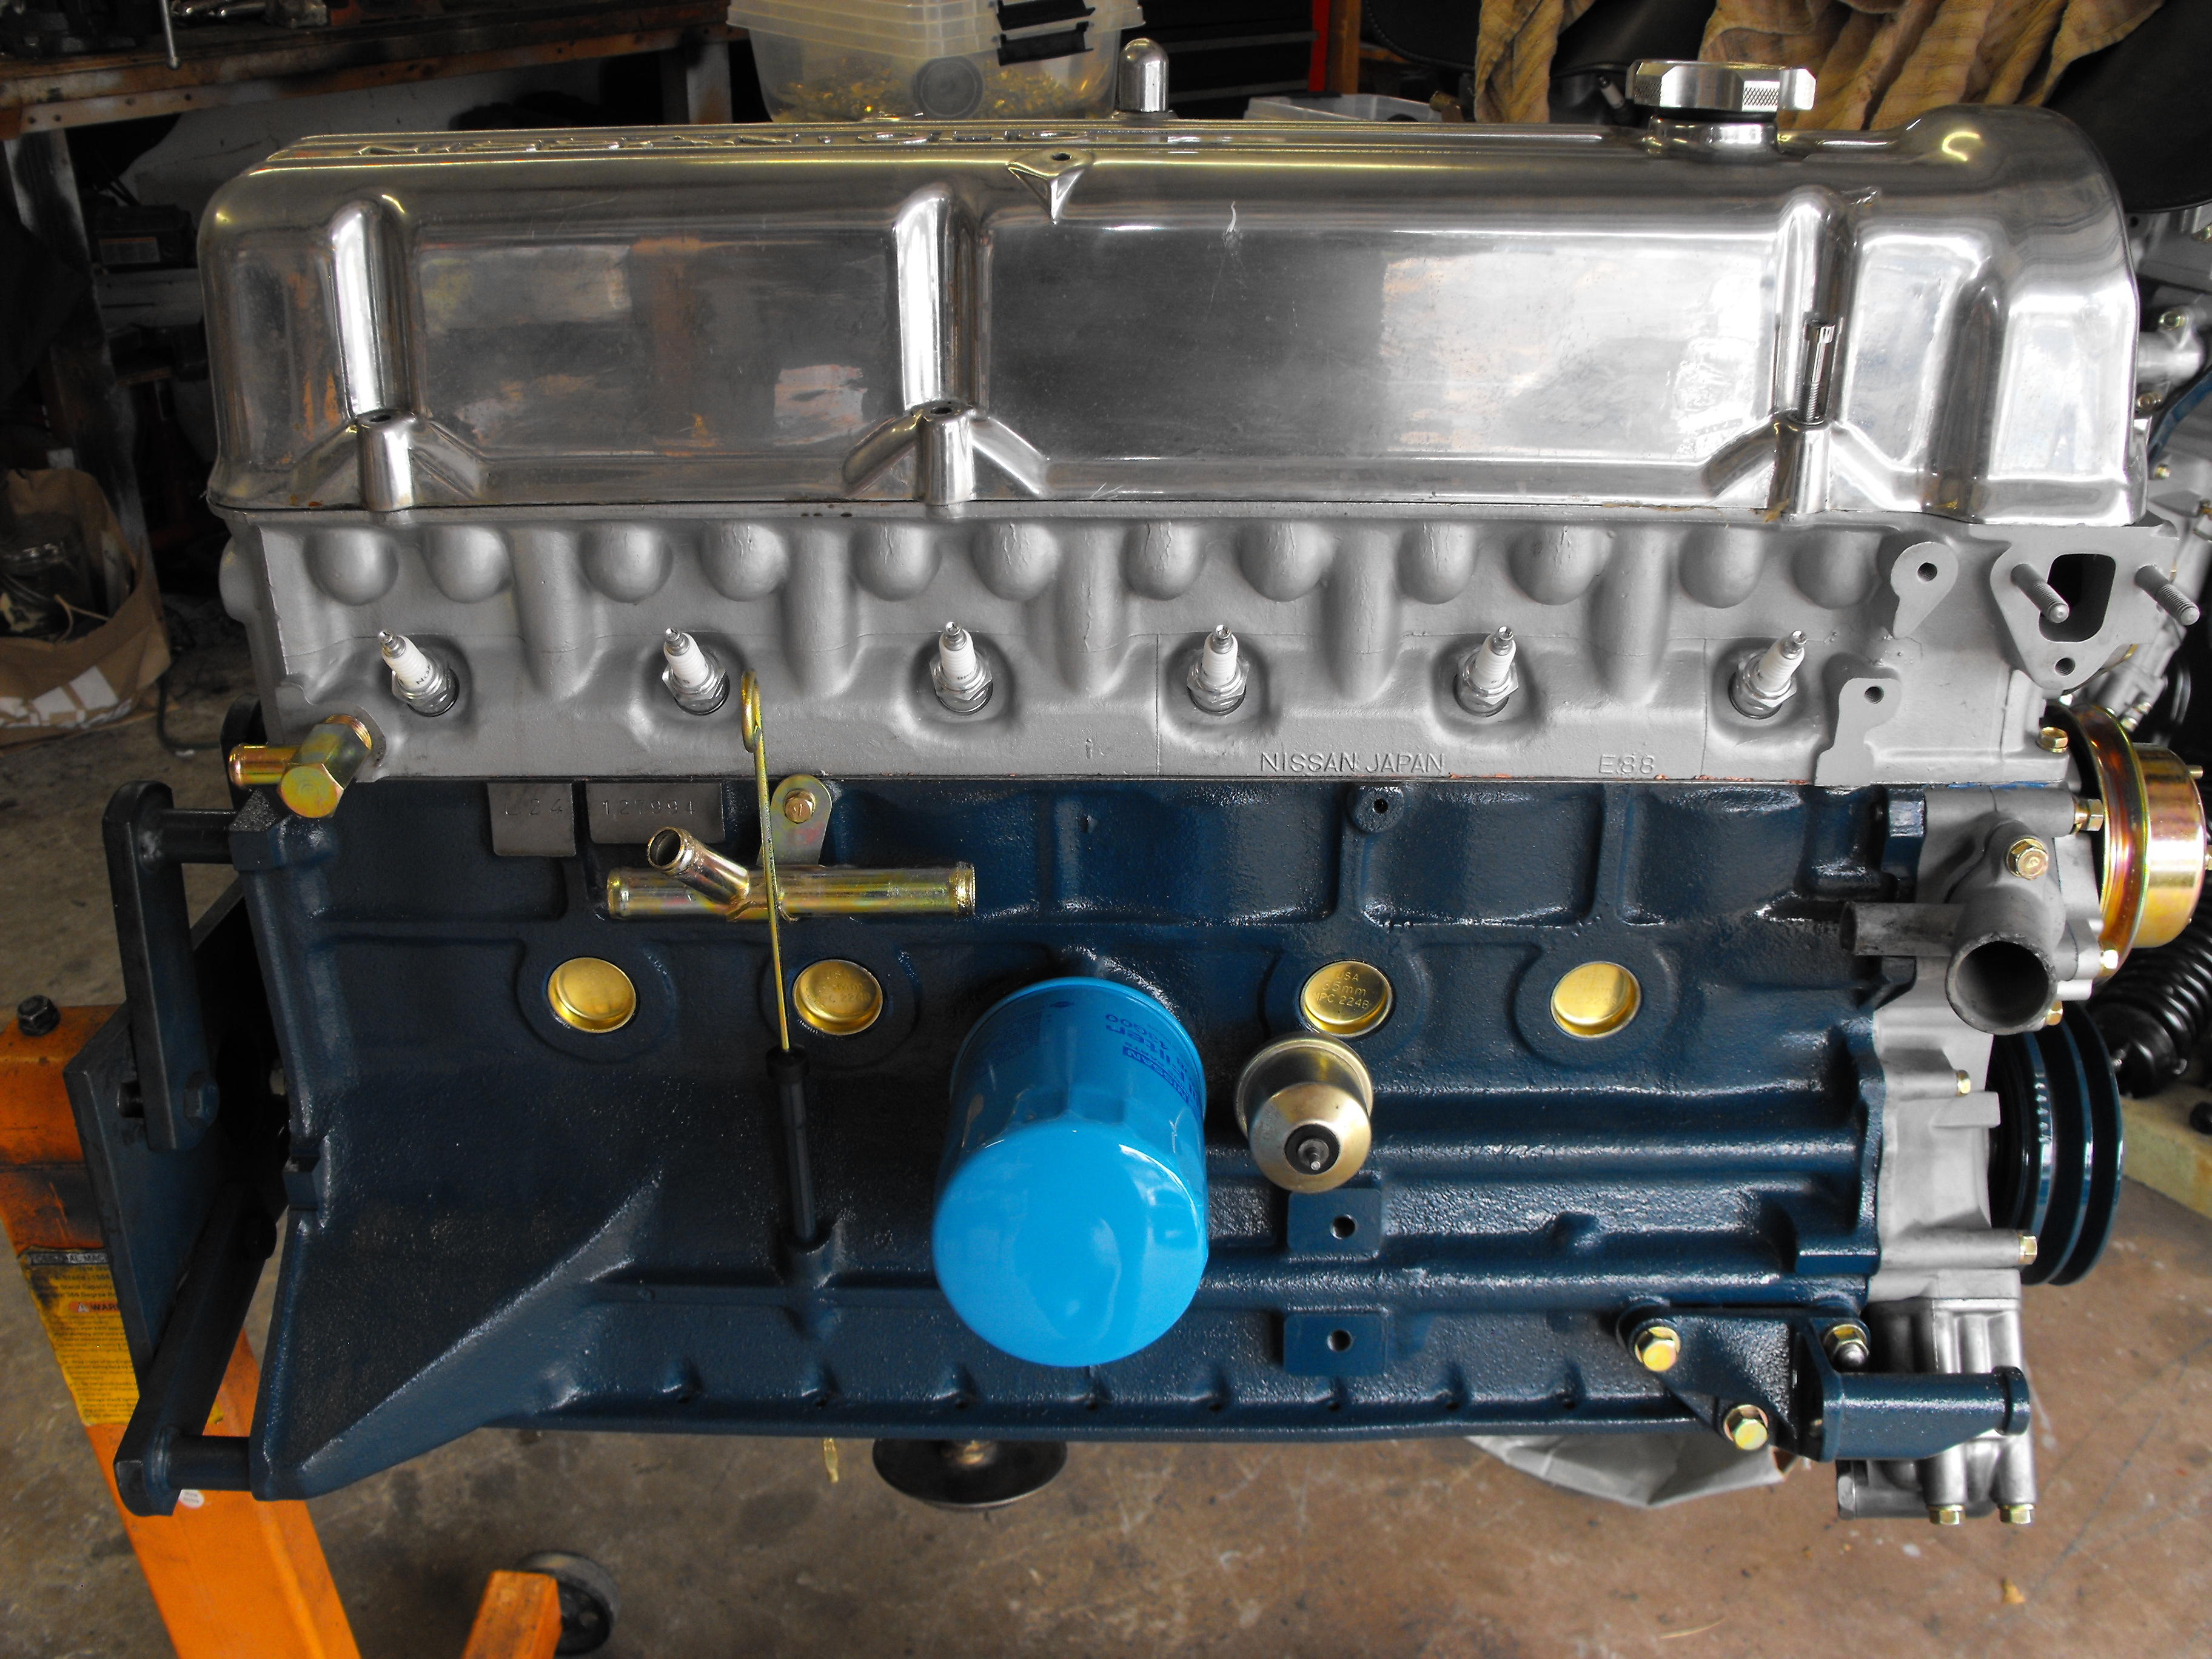
Thanks! Here are a couple more engine shots. Got the oil pan cleaned up and installed, adjusted the valves and buttoned her up with a nice stock valve cover. Will get back to the suspension and brakes here. Drums and rotors are back from the machine shop and ready to install after a little clean-uo


-
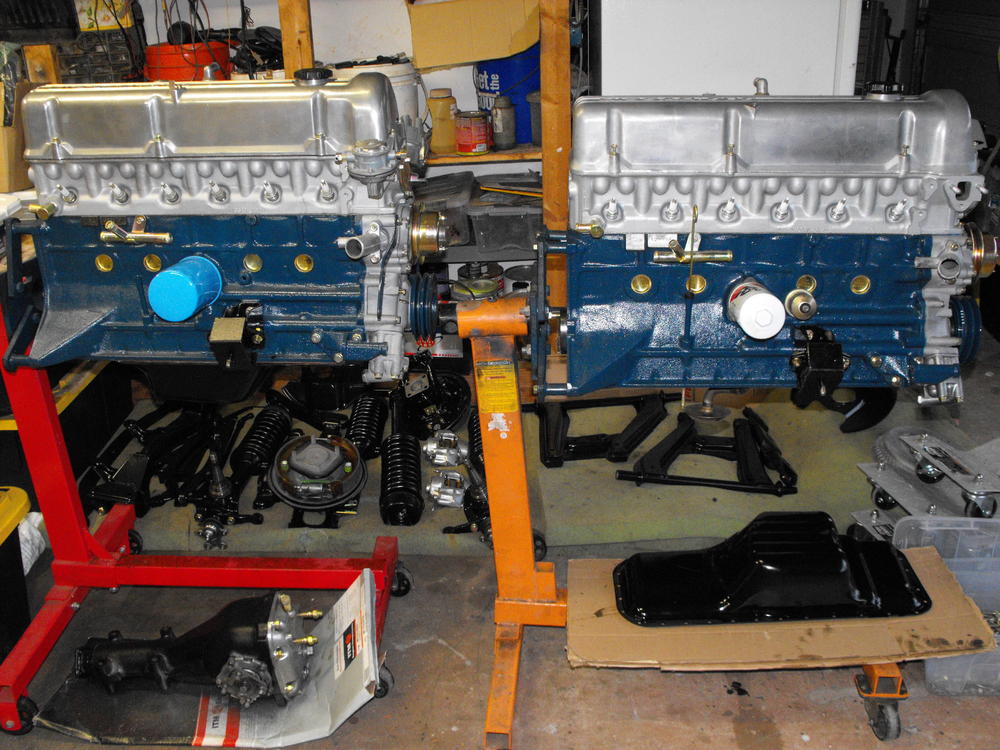
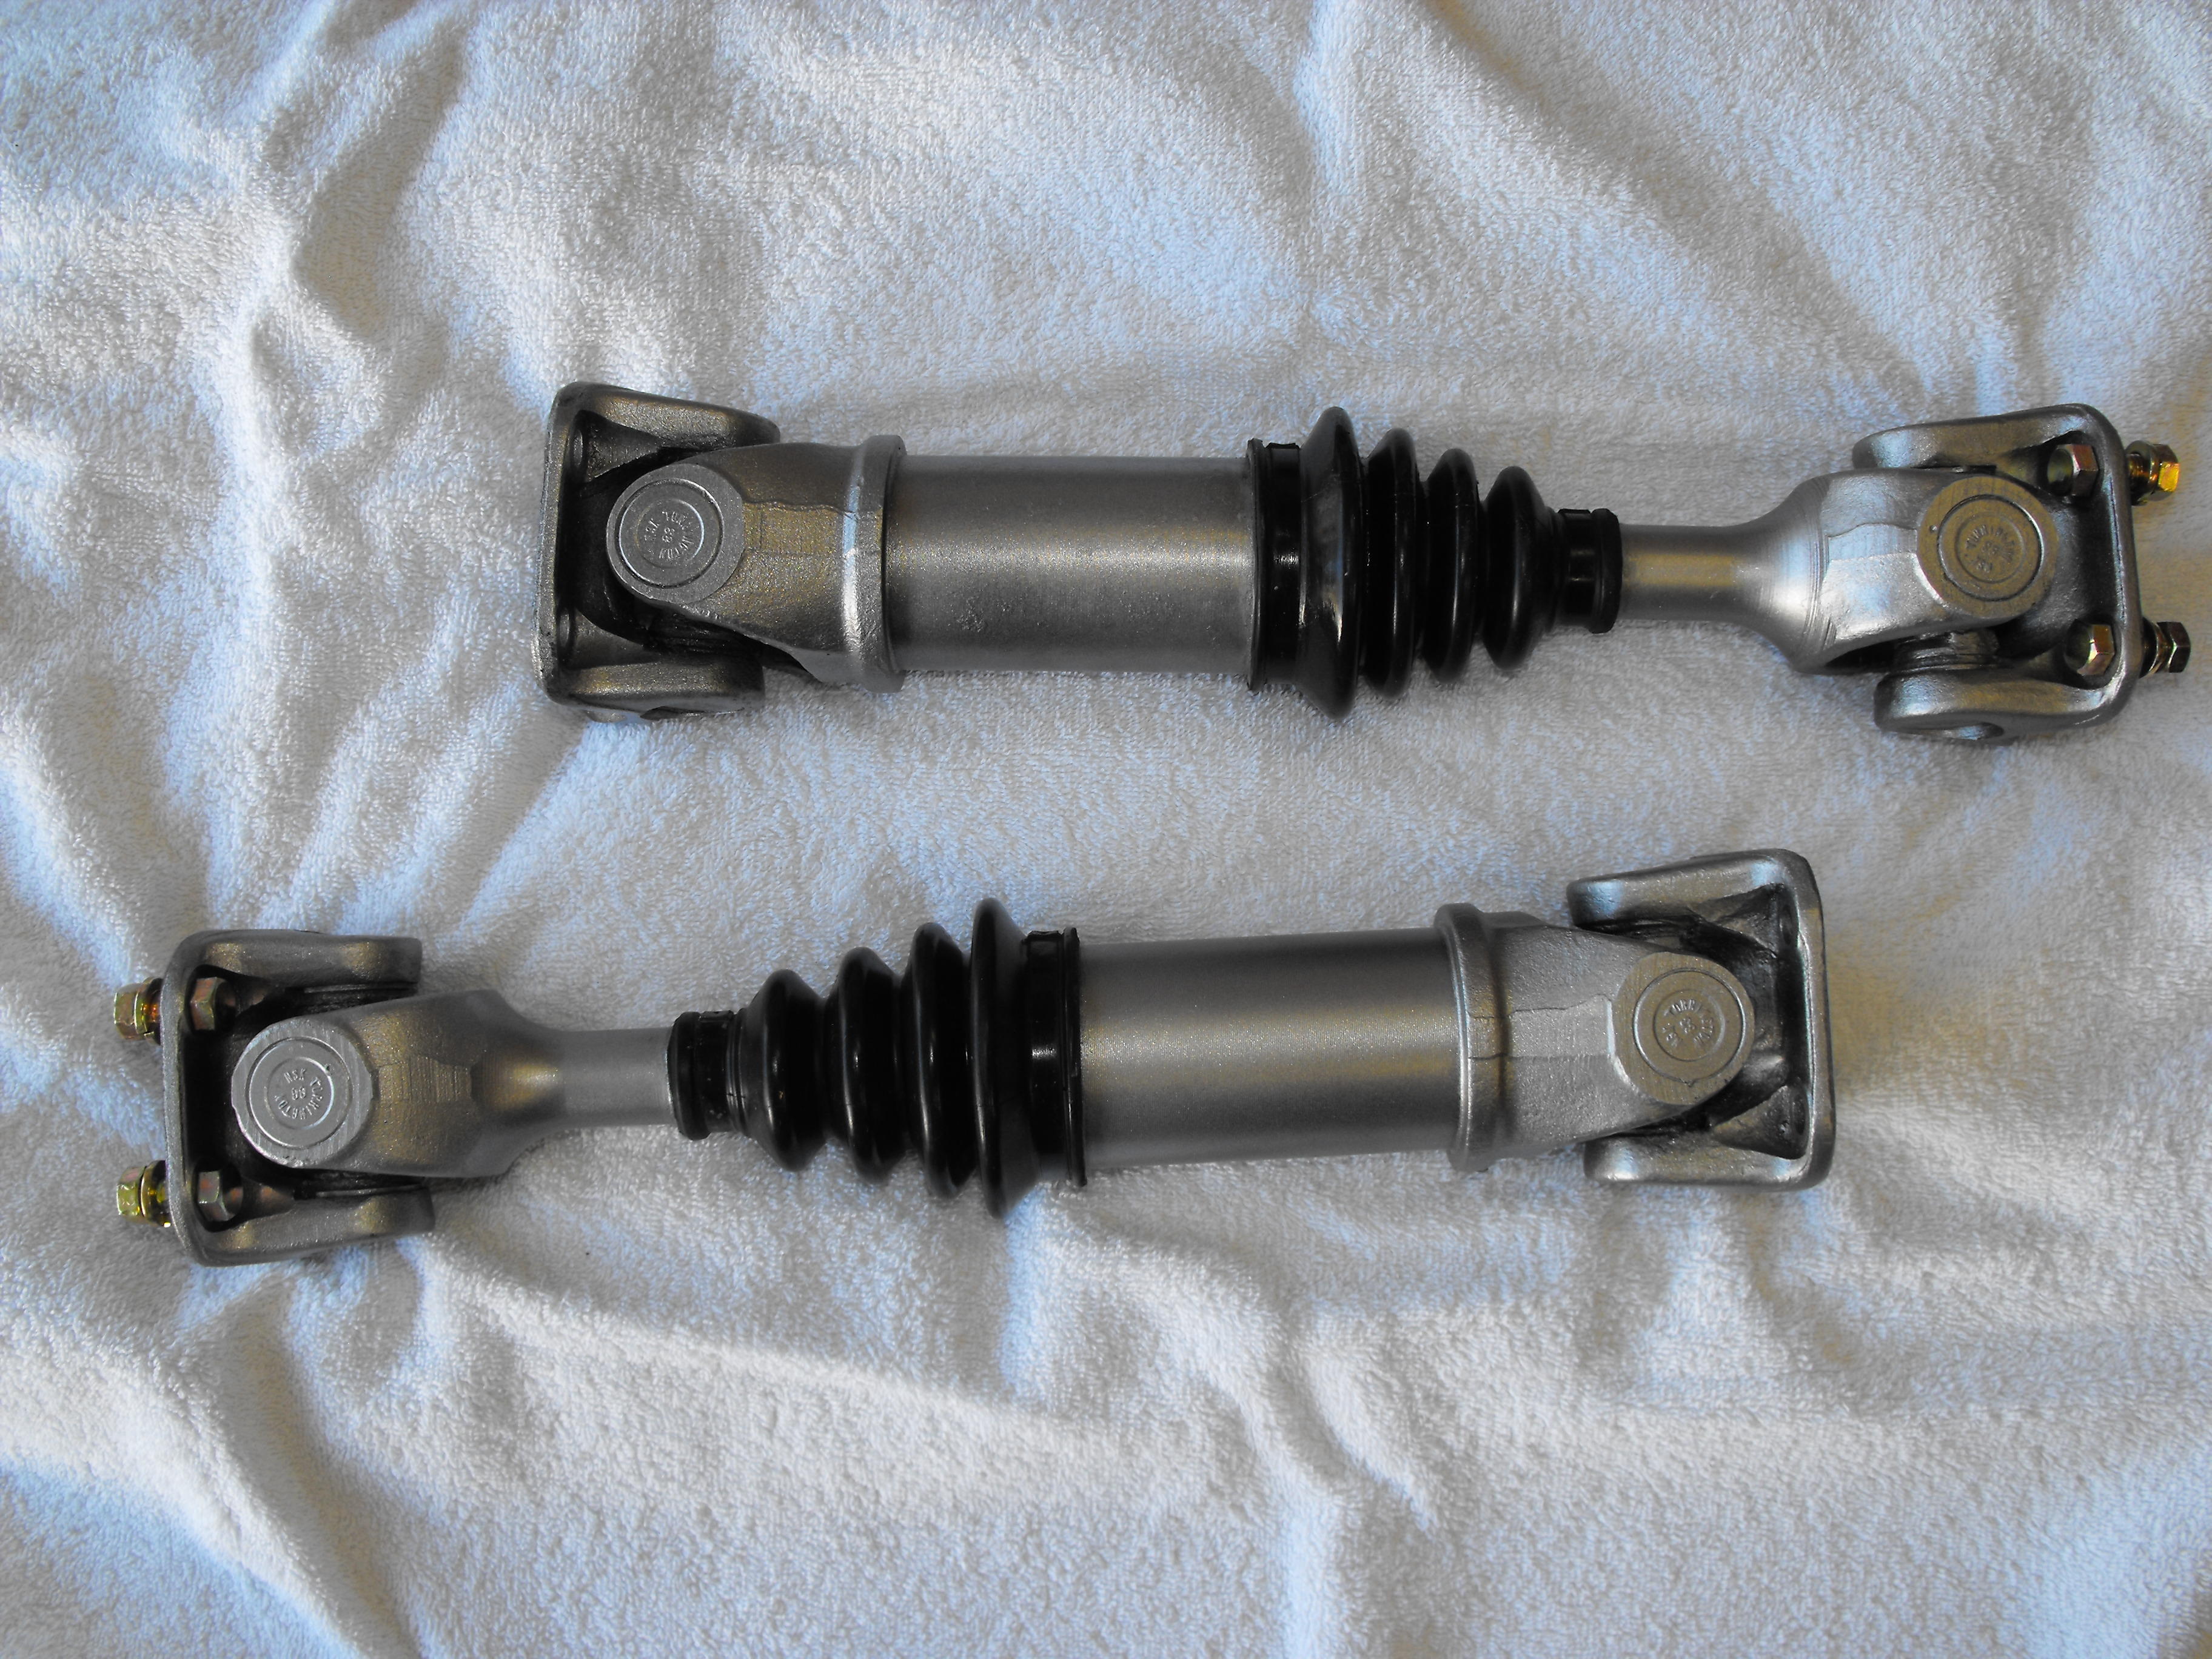
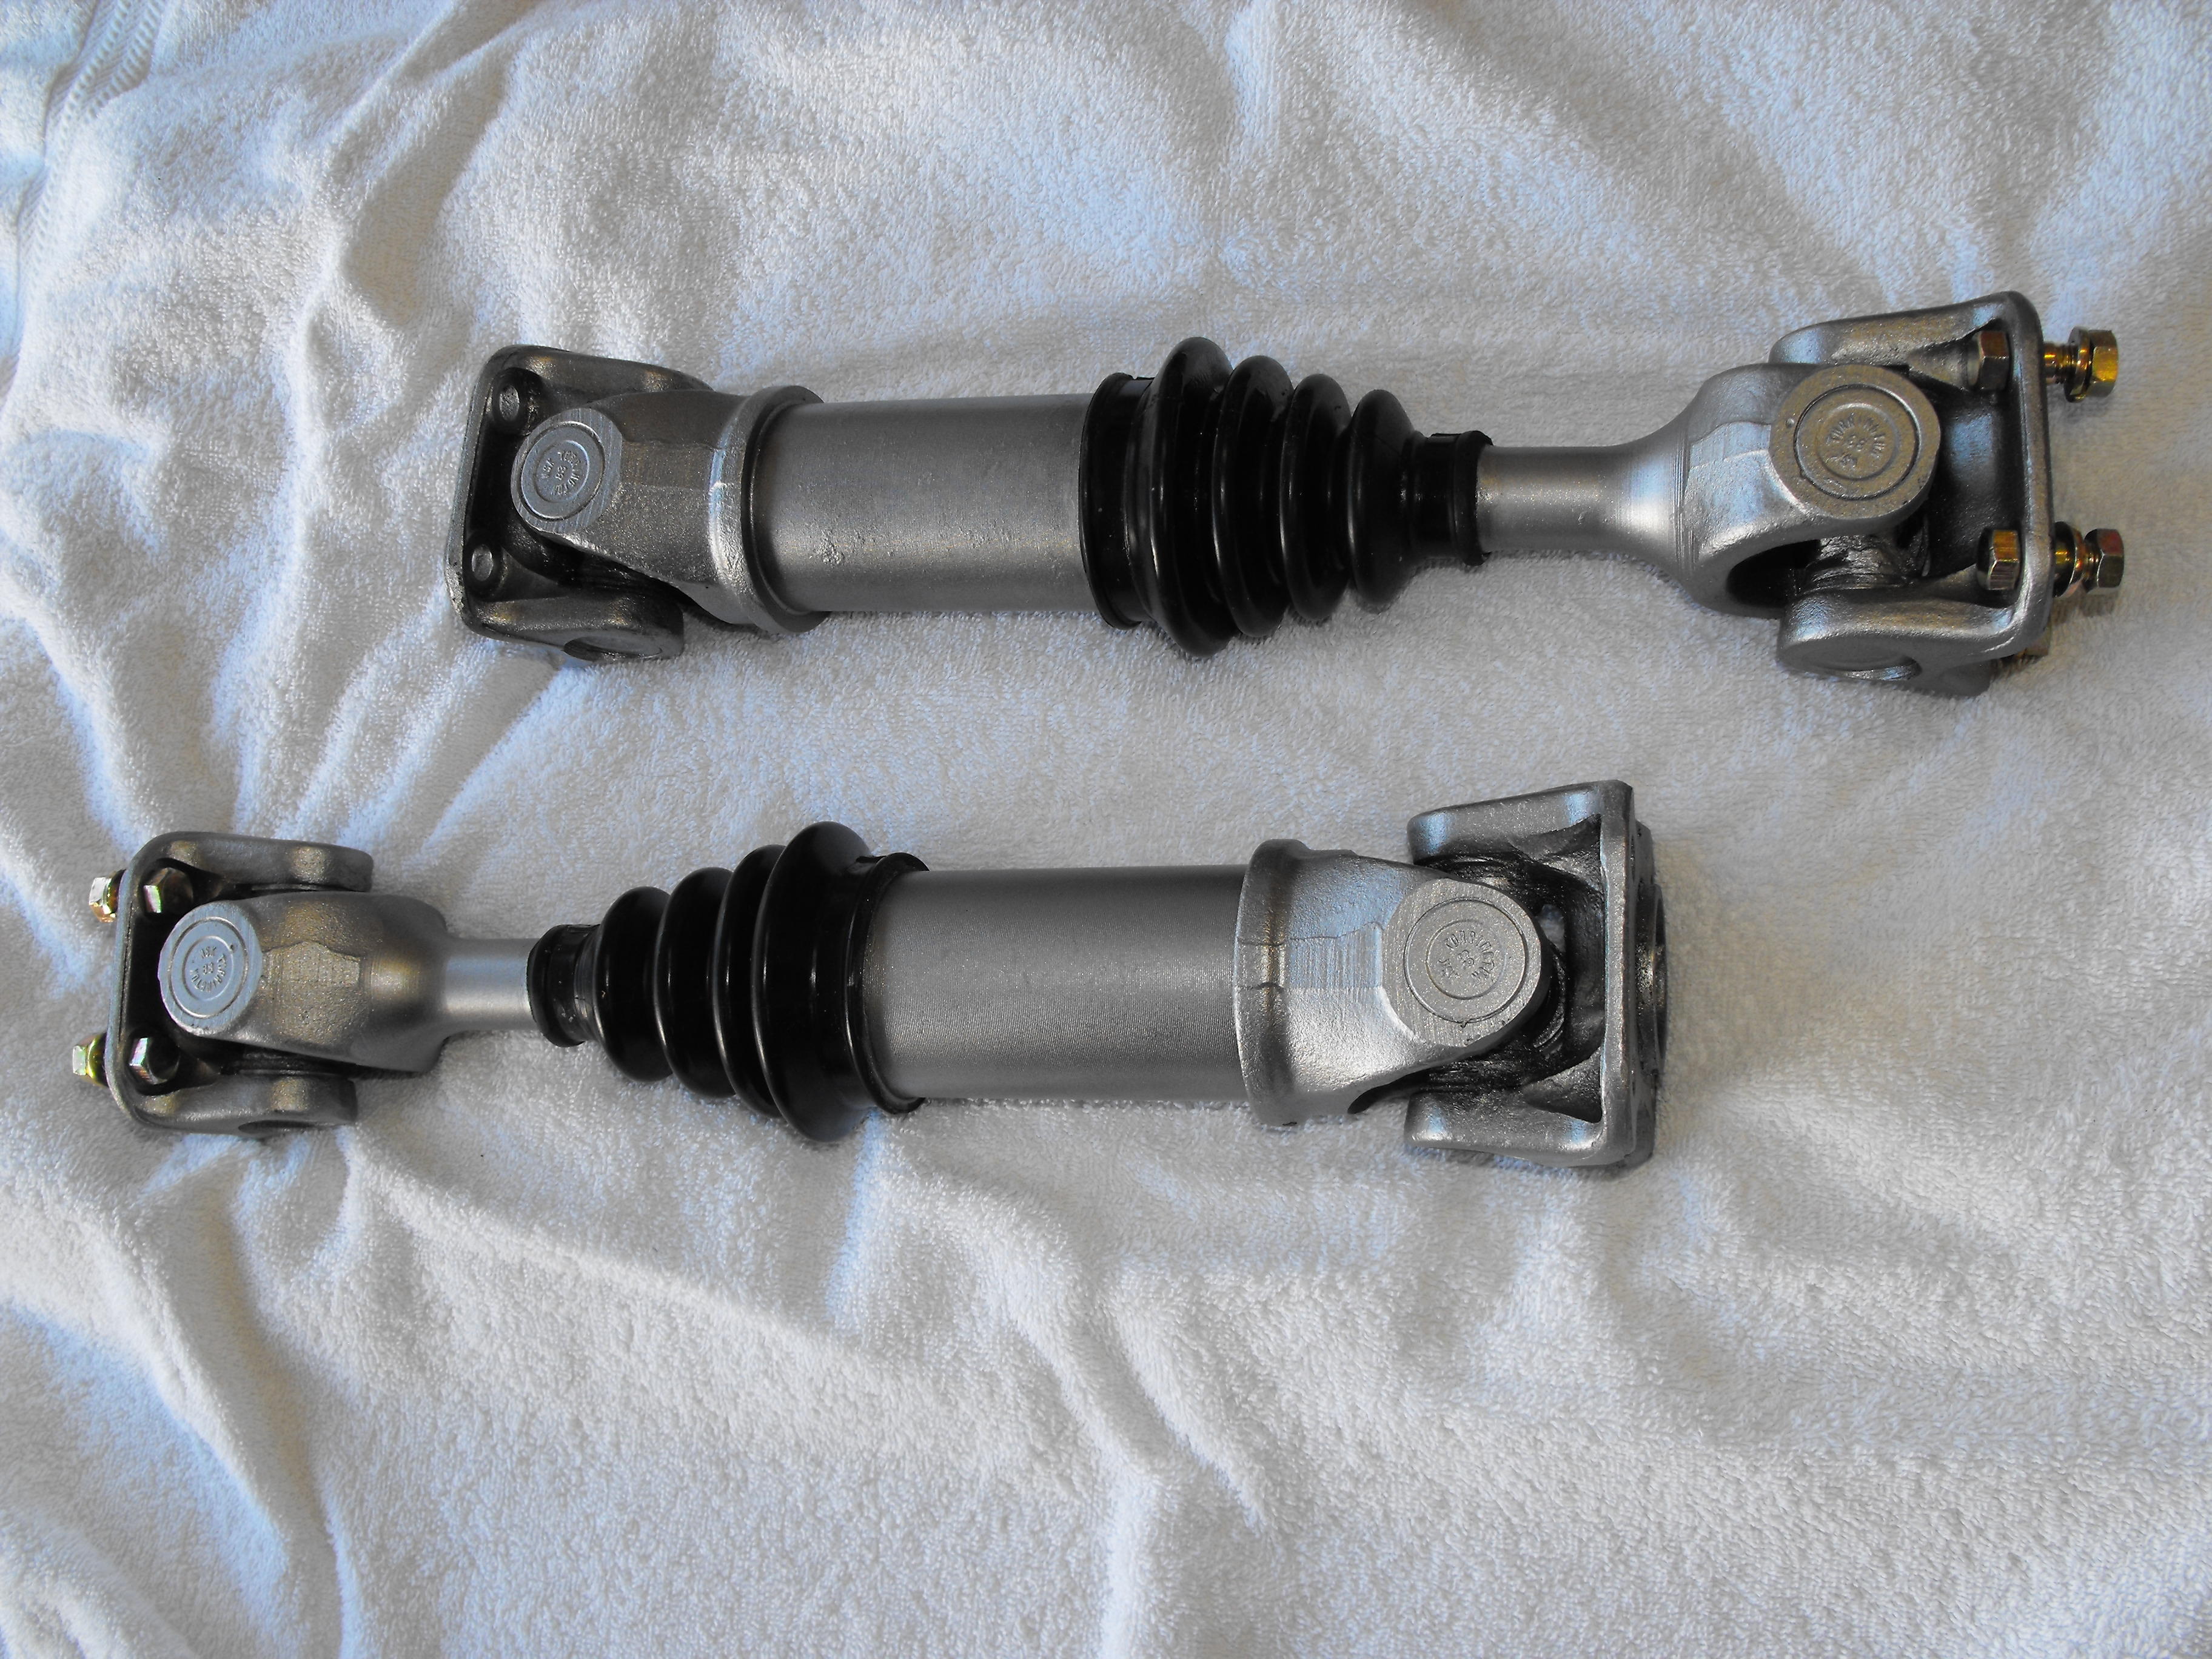
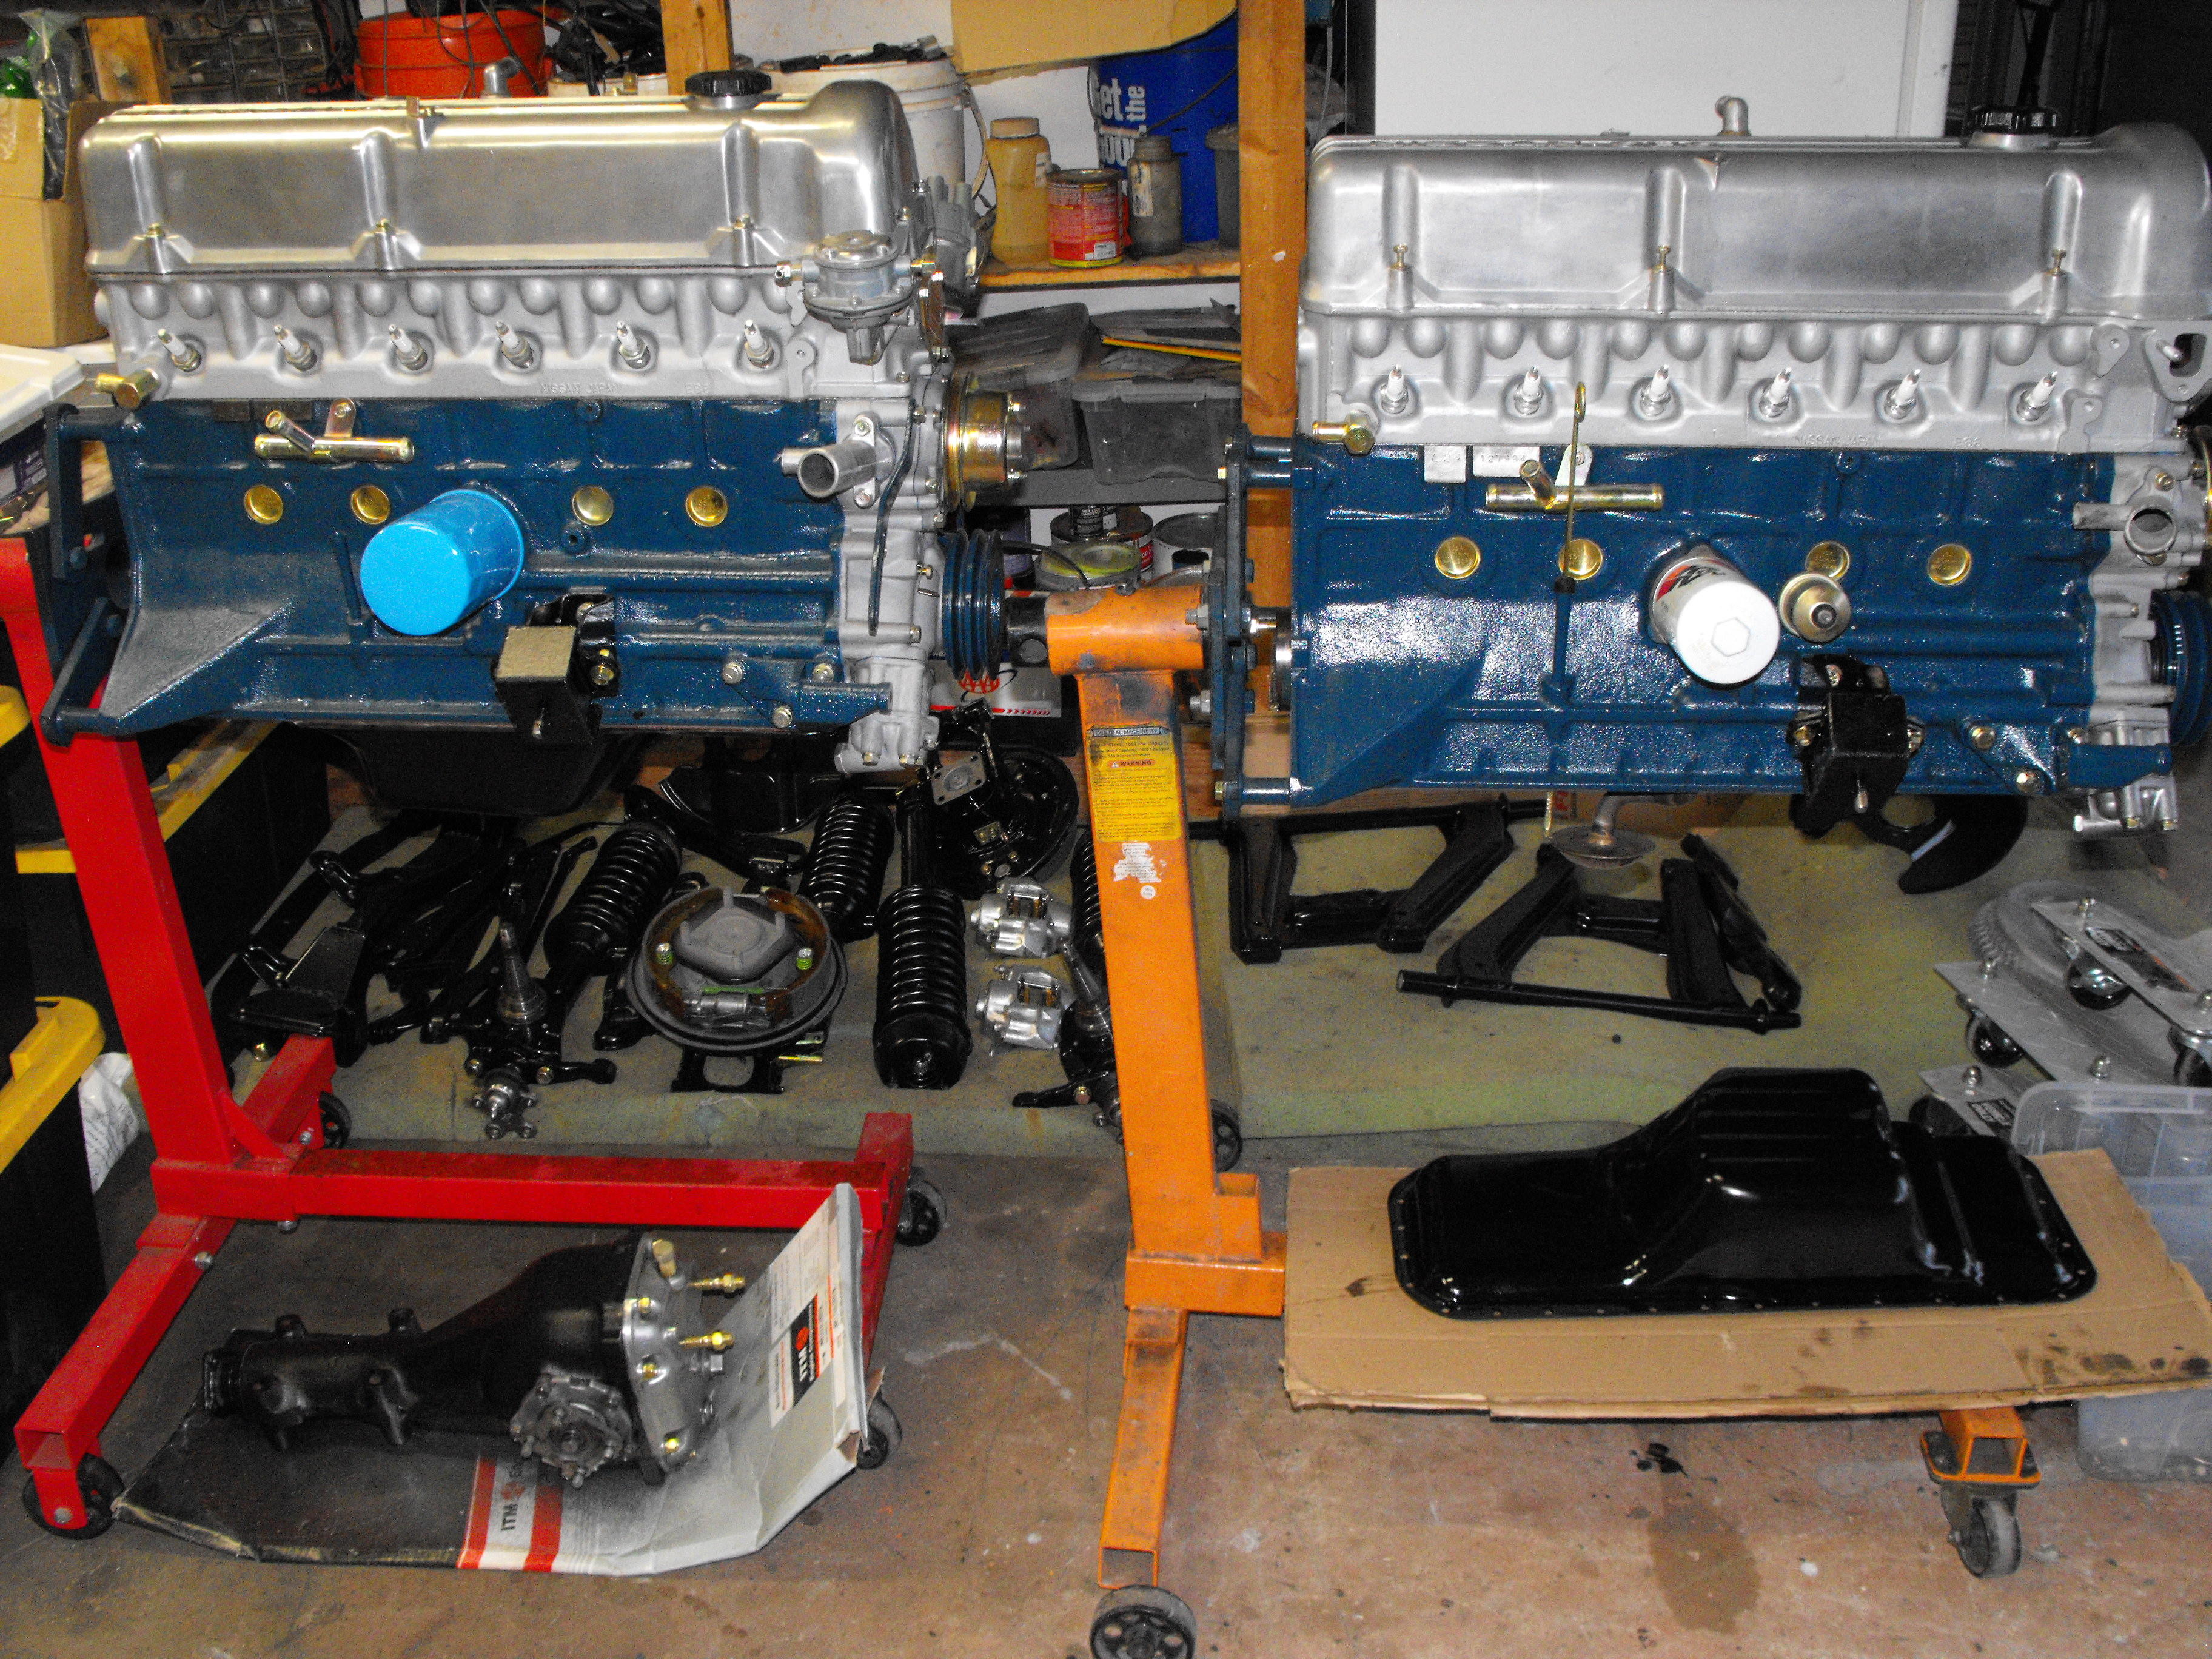
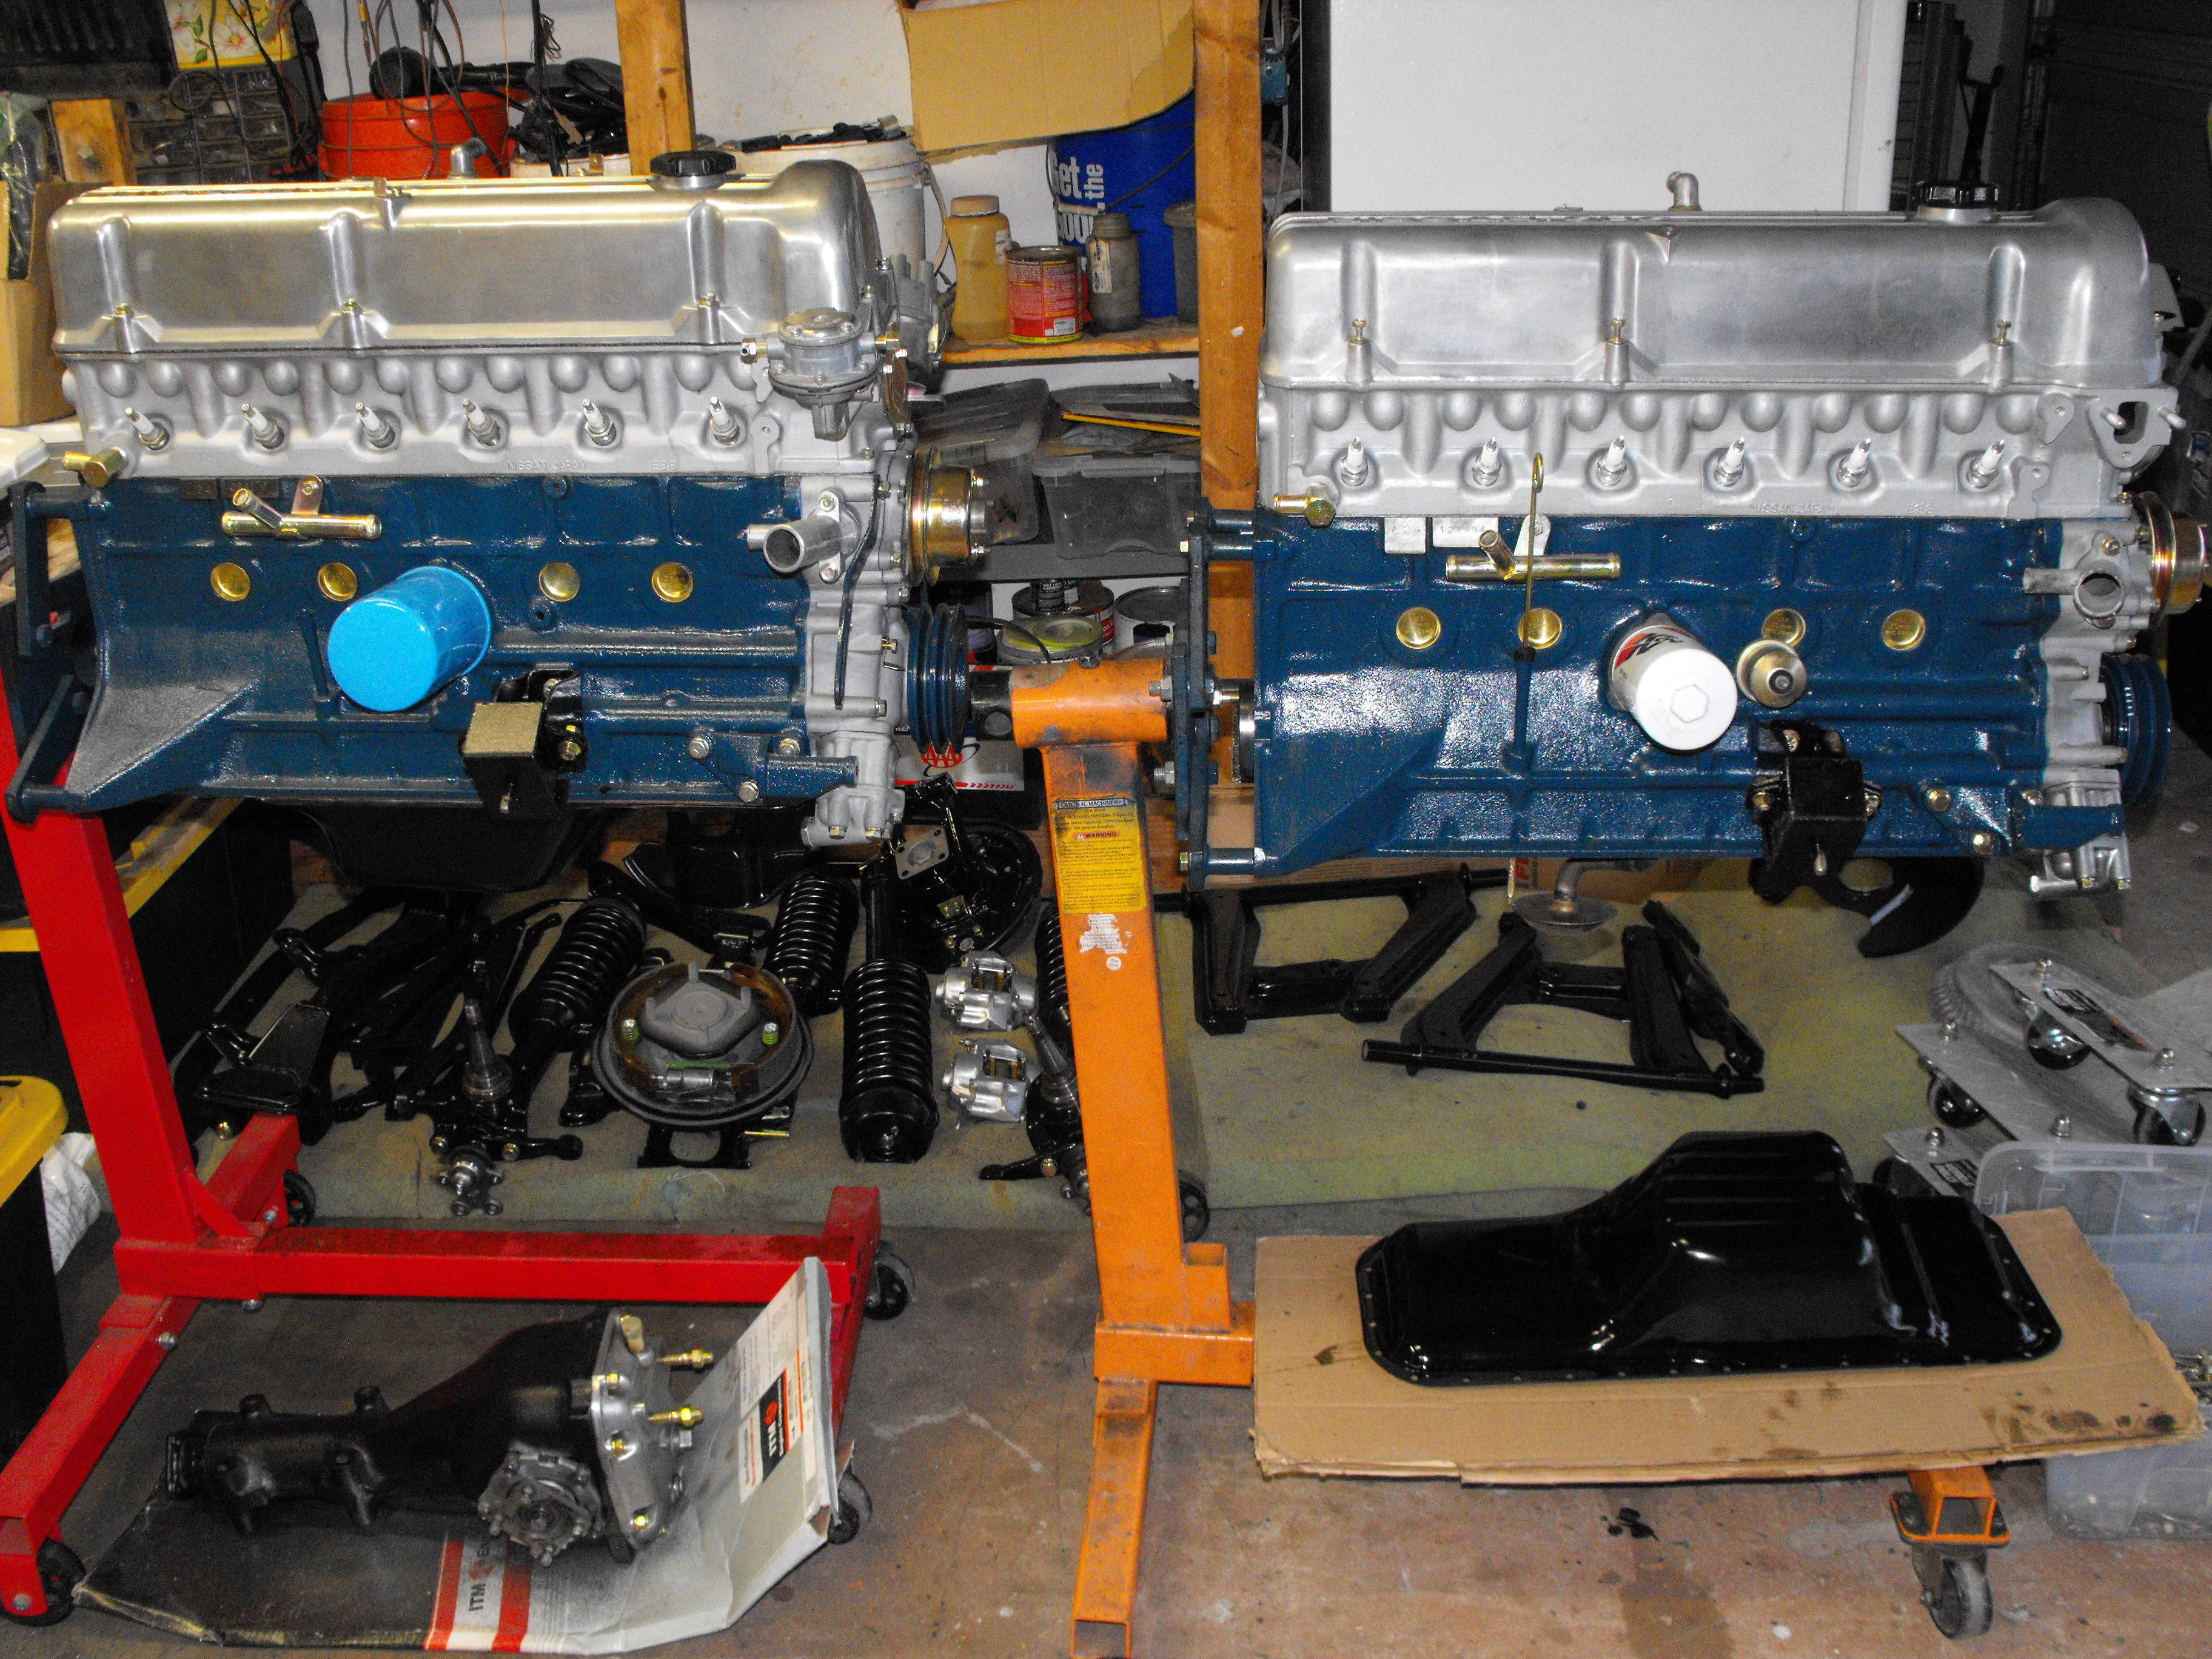
Thought I would throw in a pic of the twins.

-
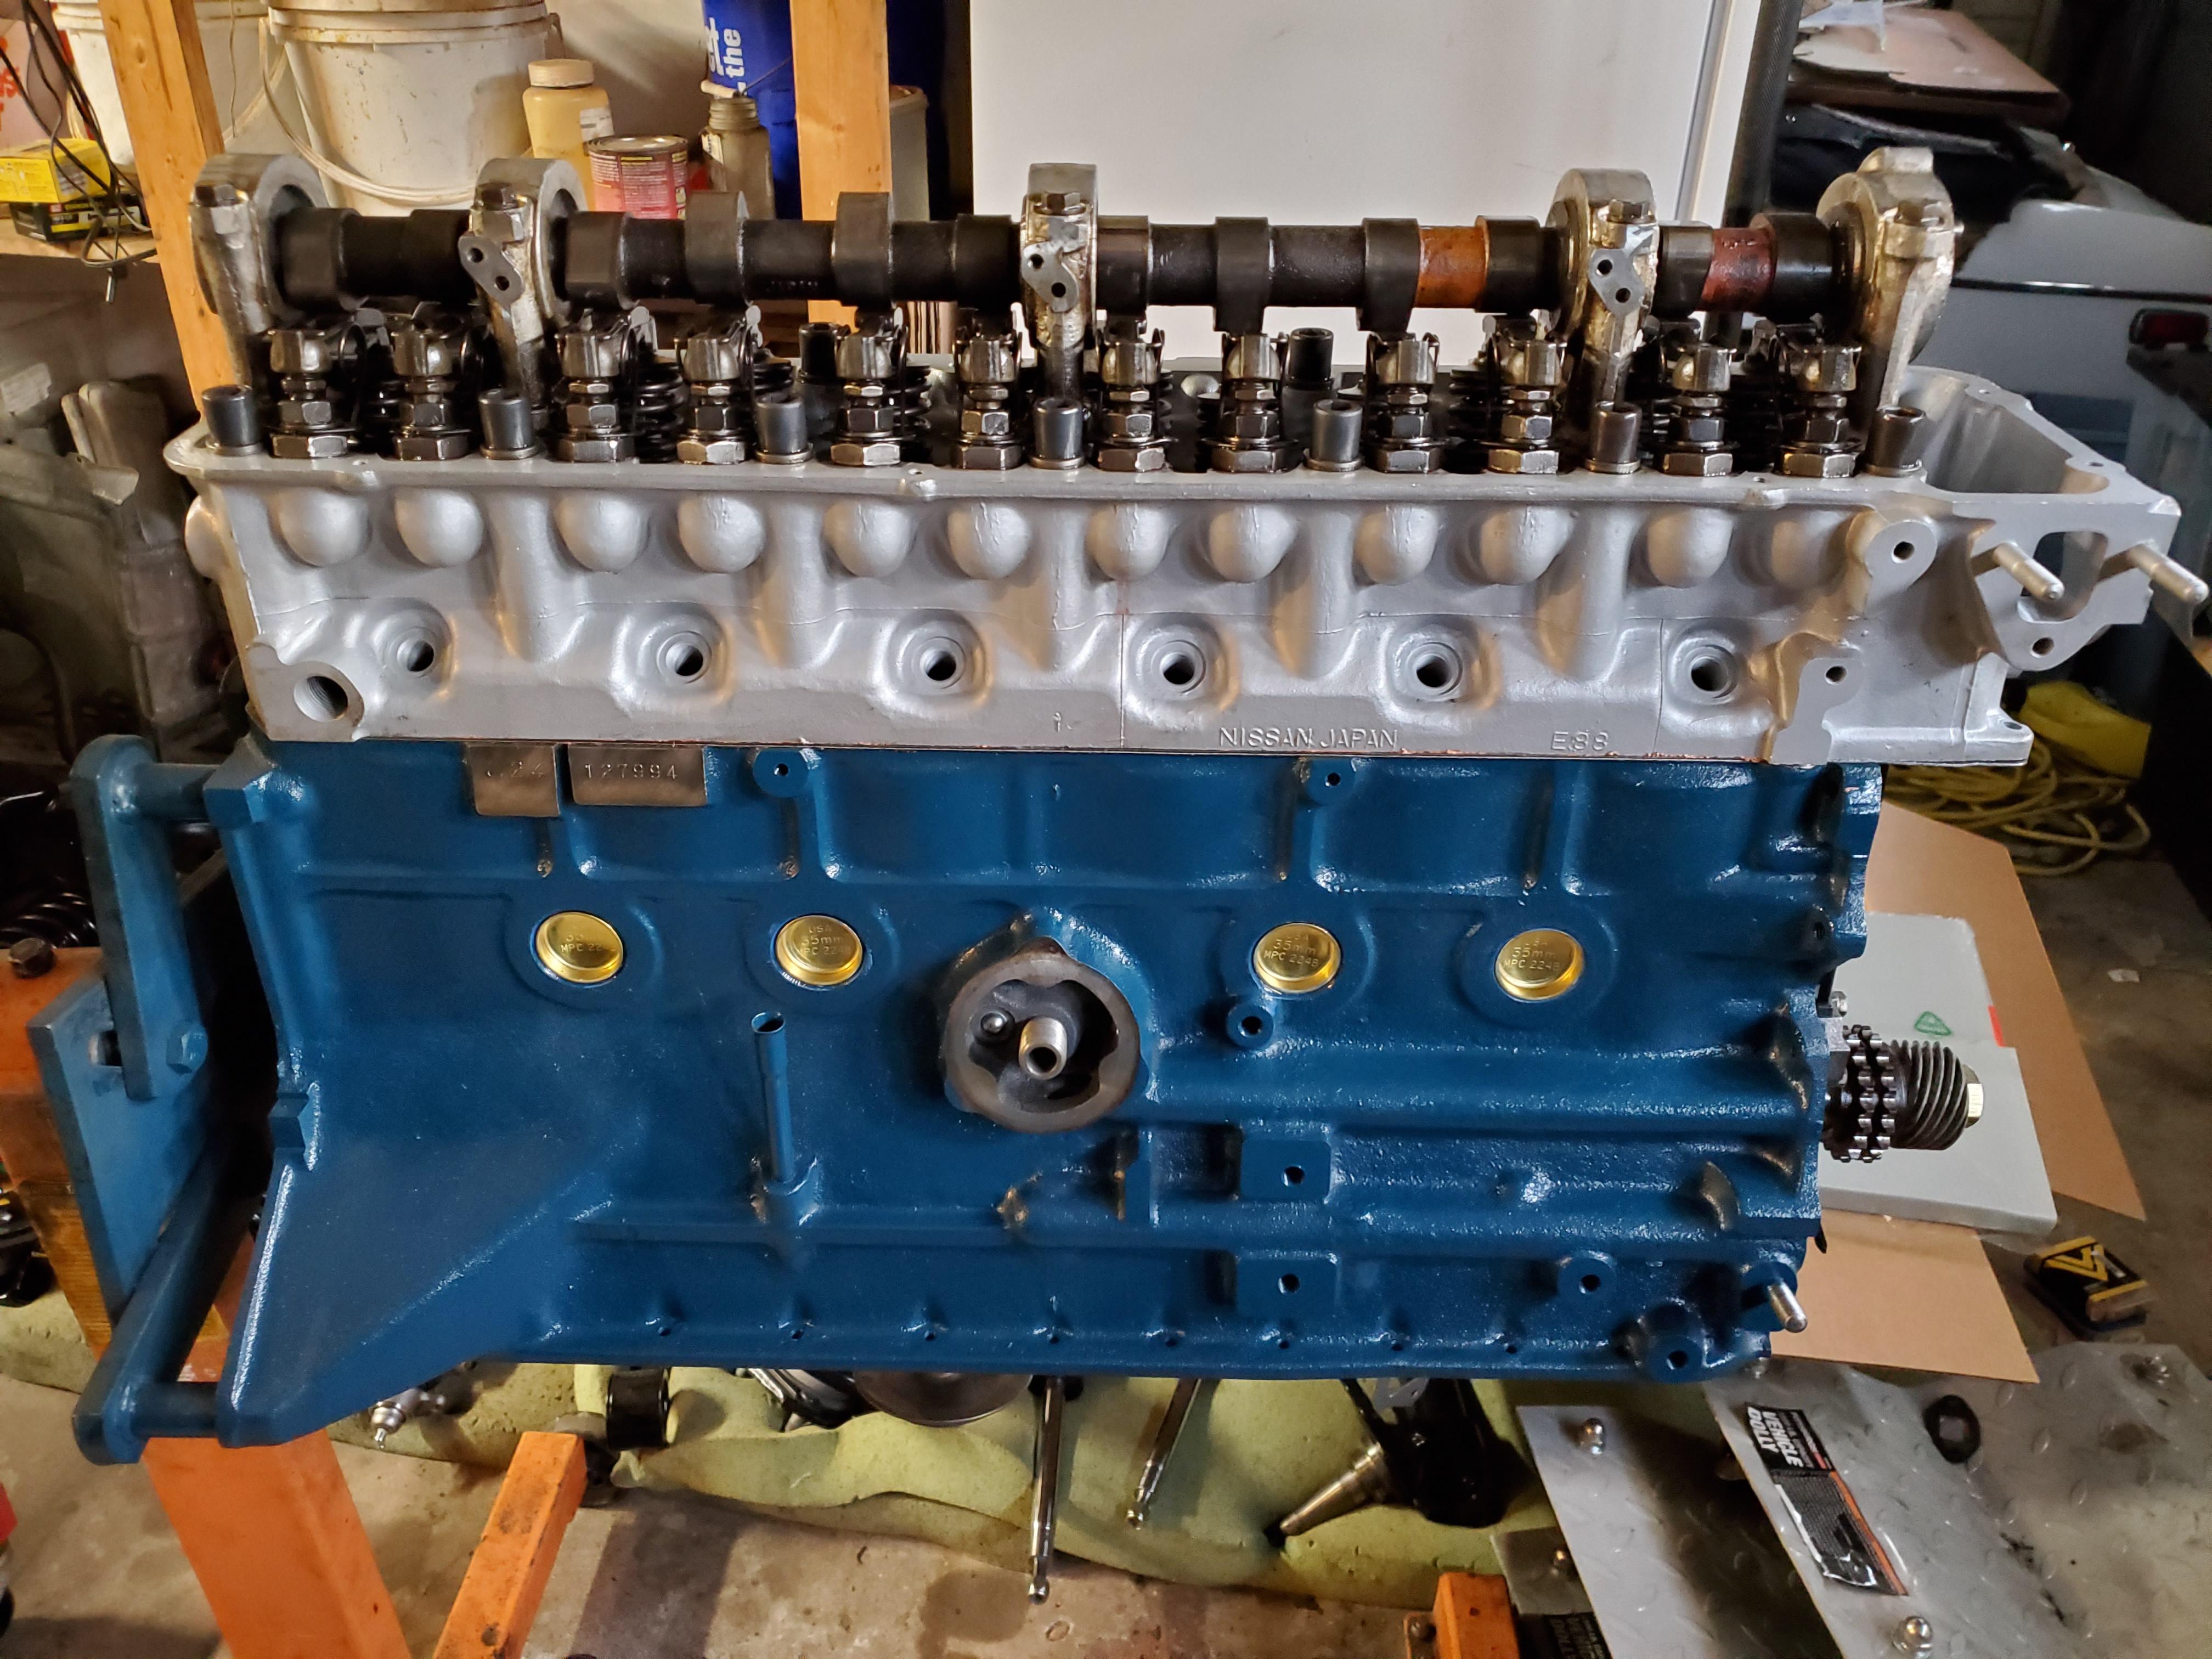
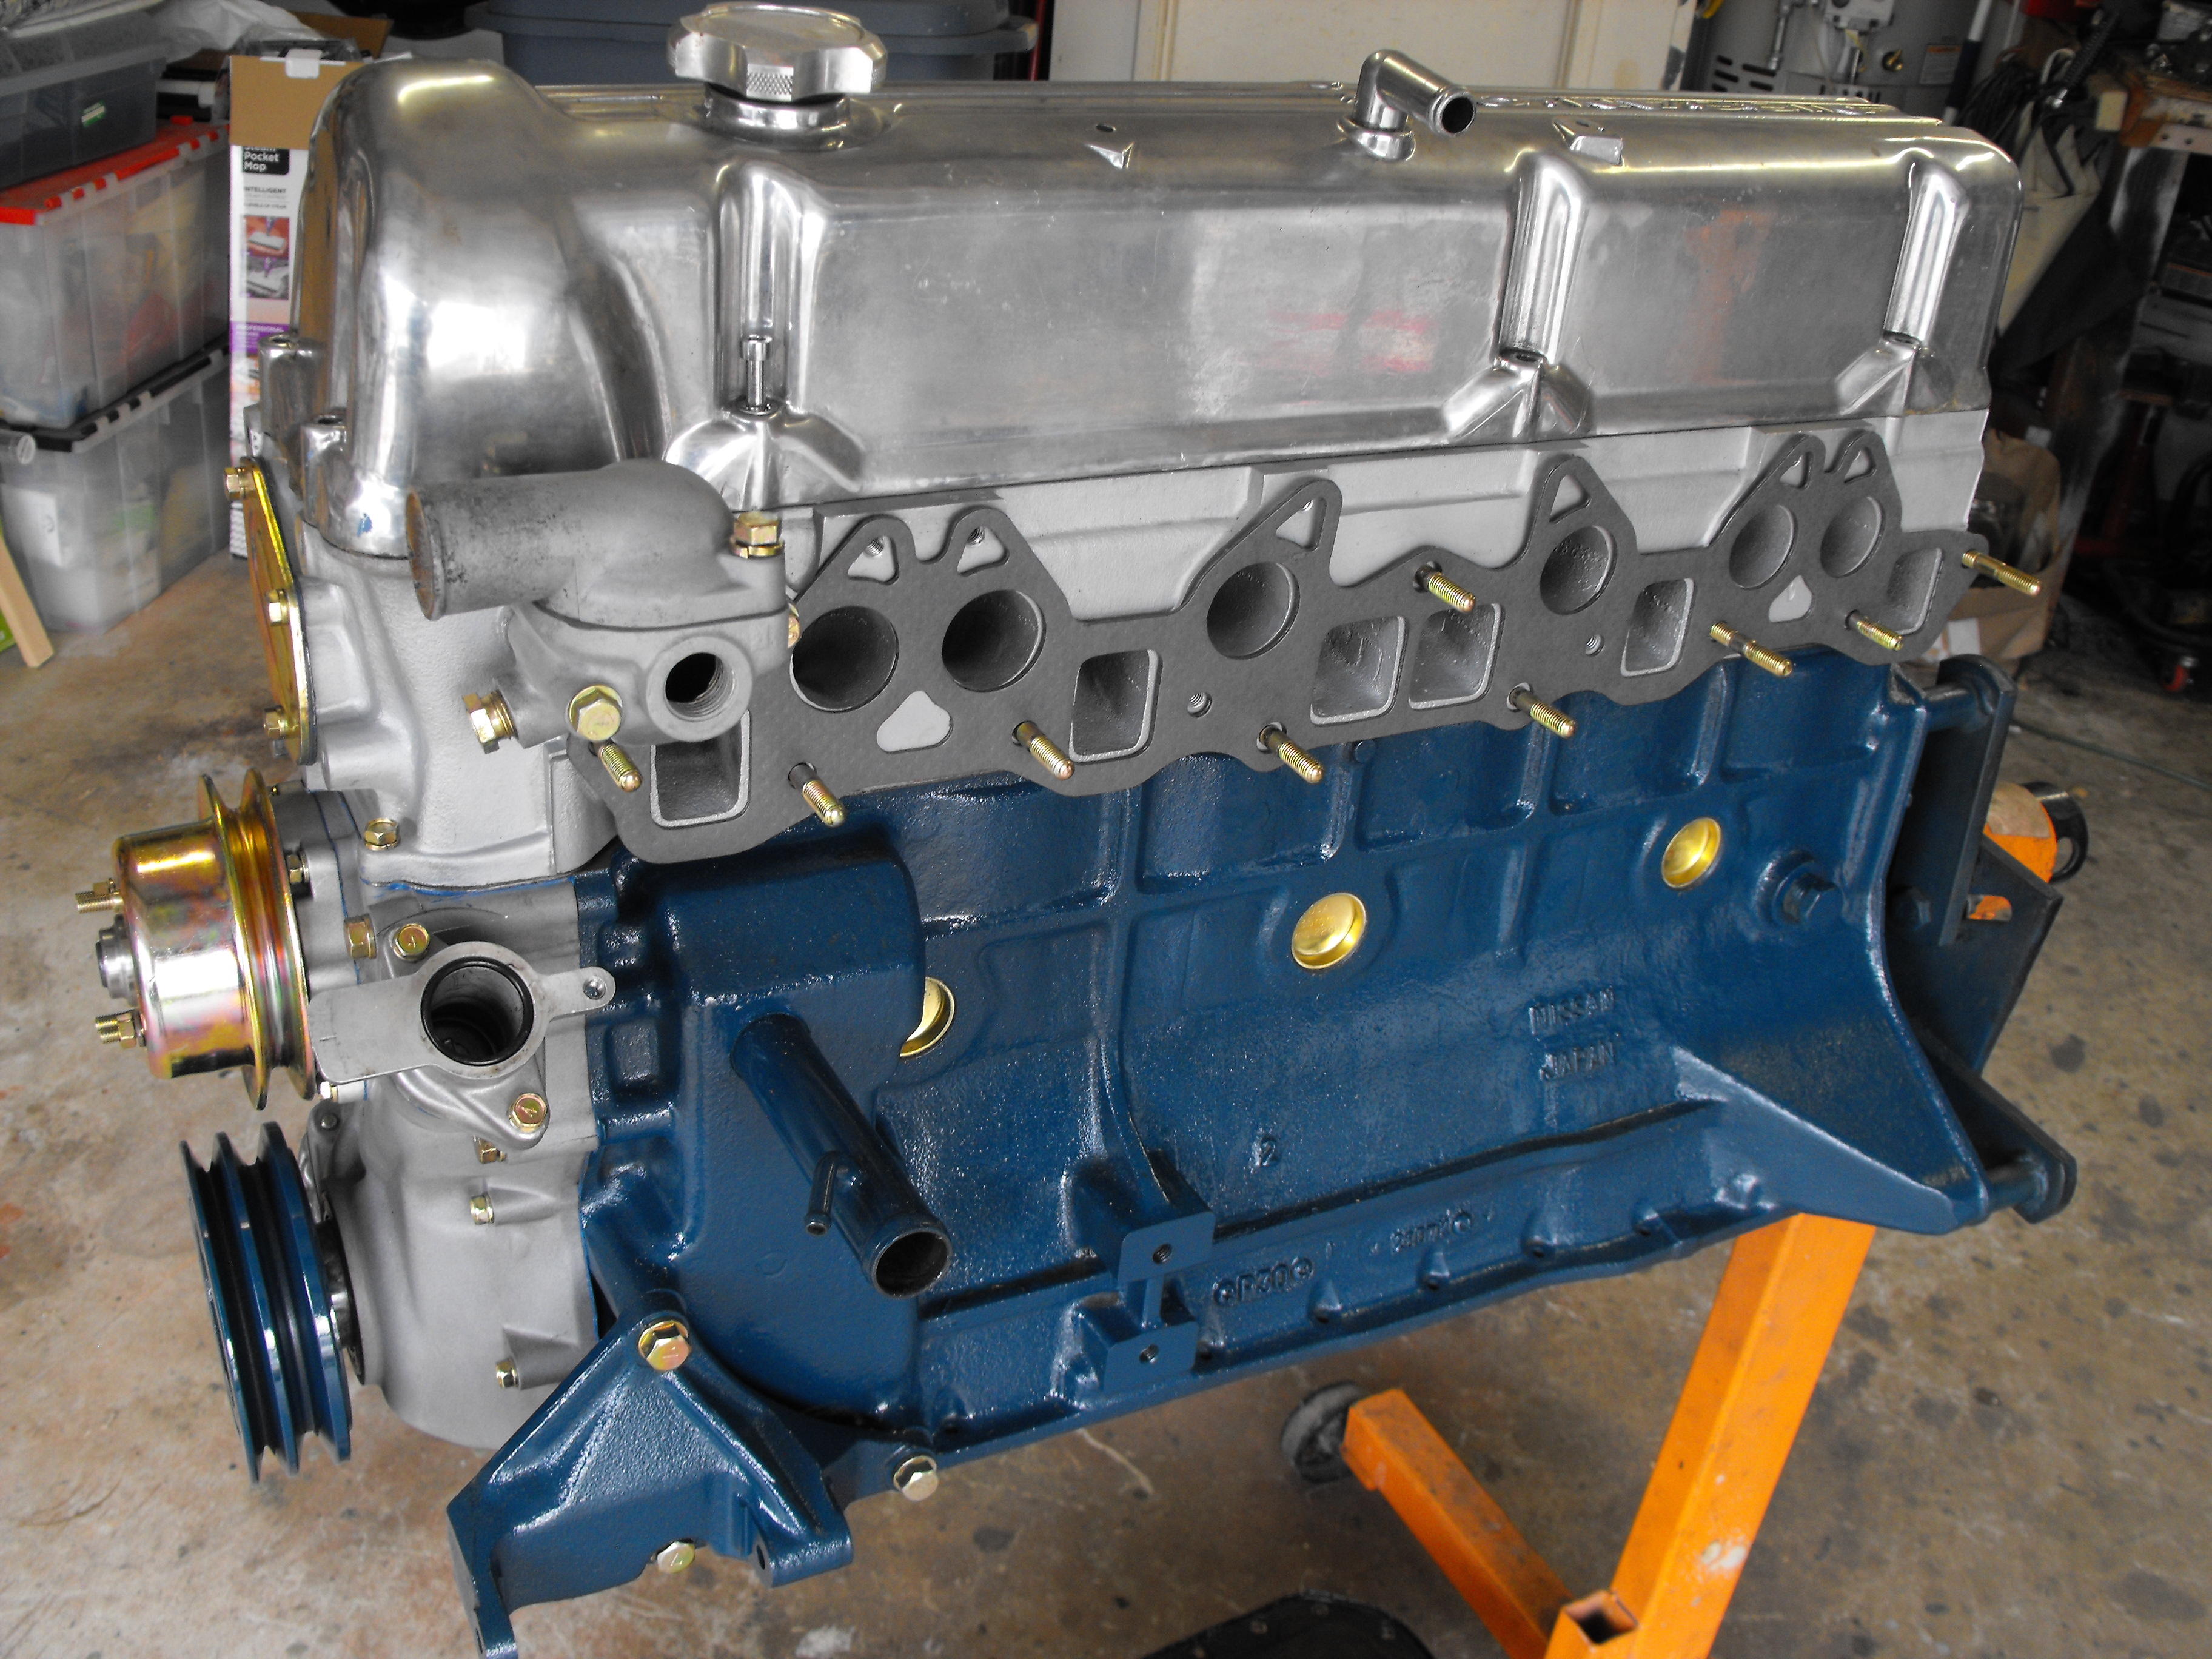
Engine is coming along nicely. Should have the oil pan cleaned up and installed here shortly. Shiny valve cover is just temporary here. We have a standard finish one in storage.


-
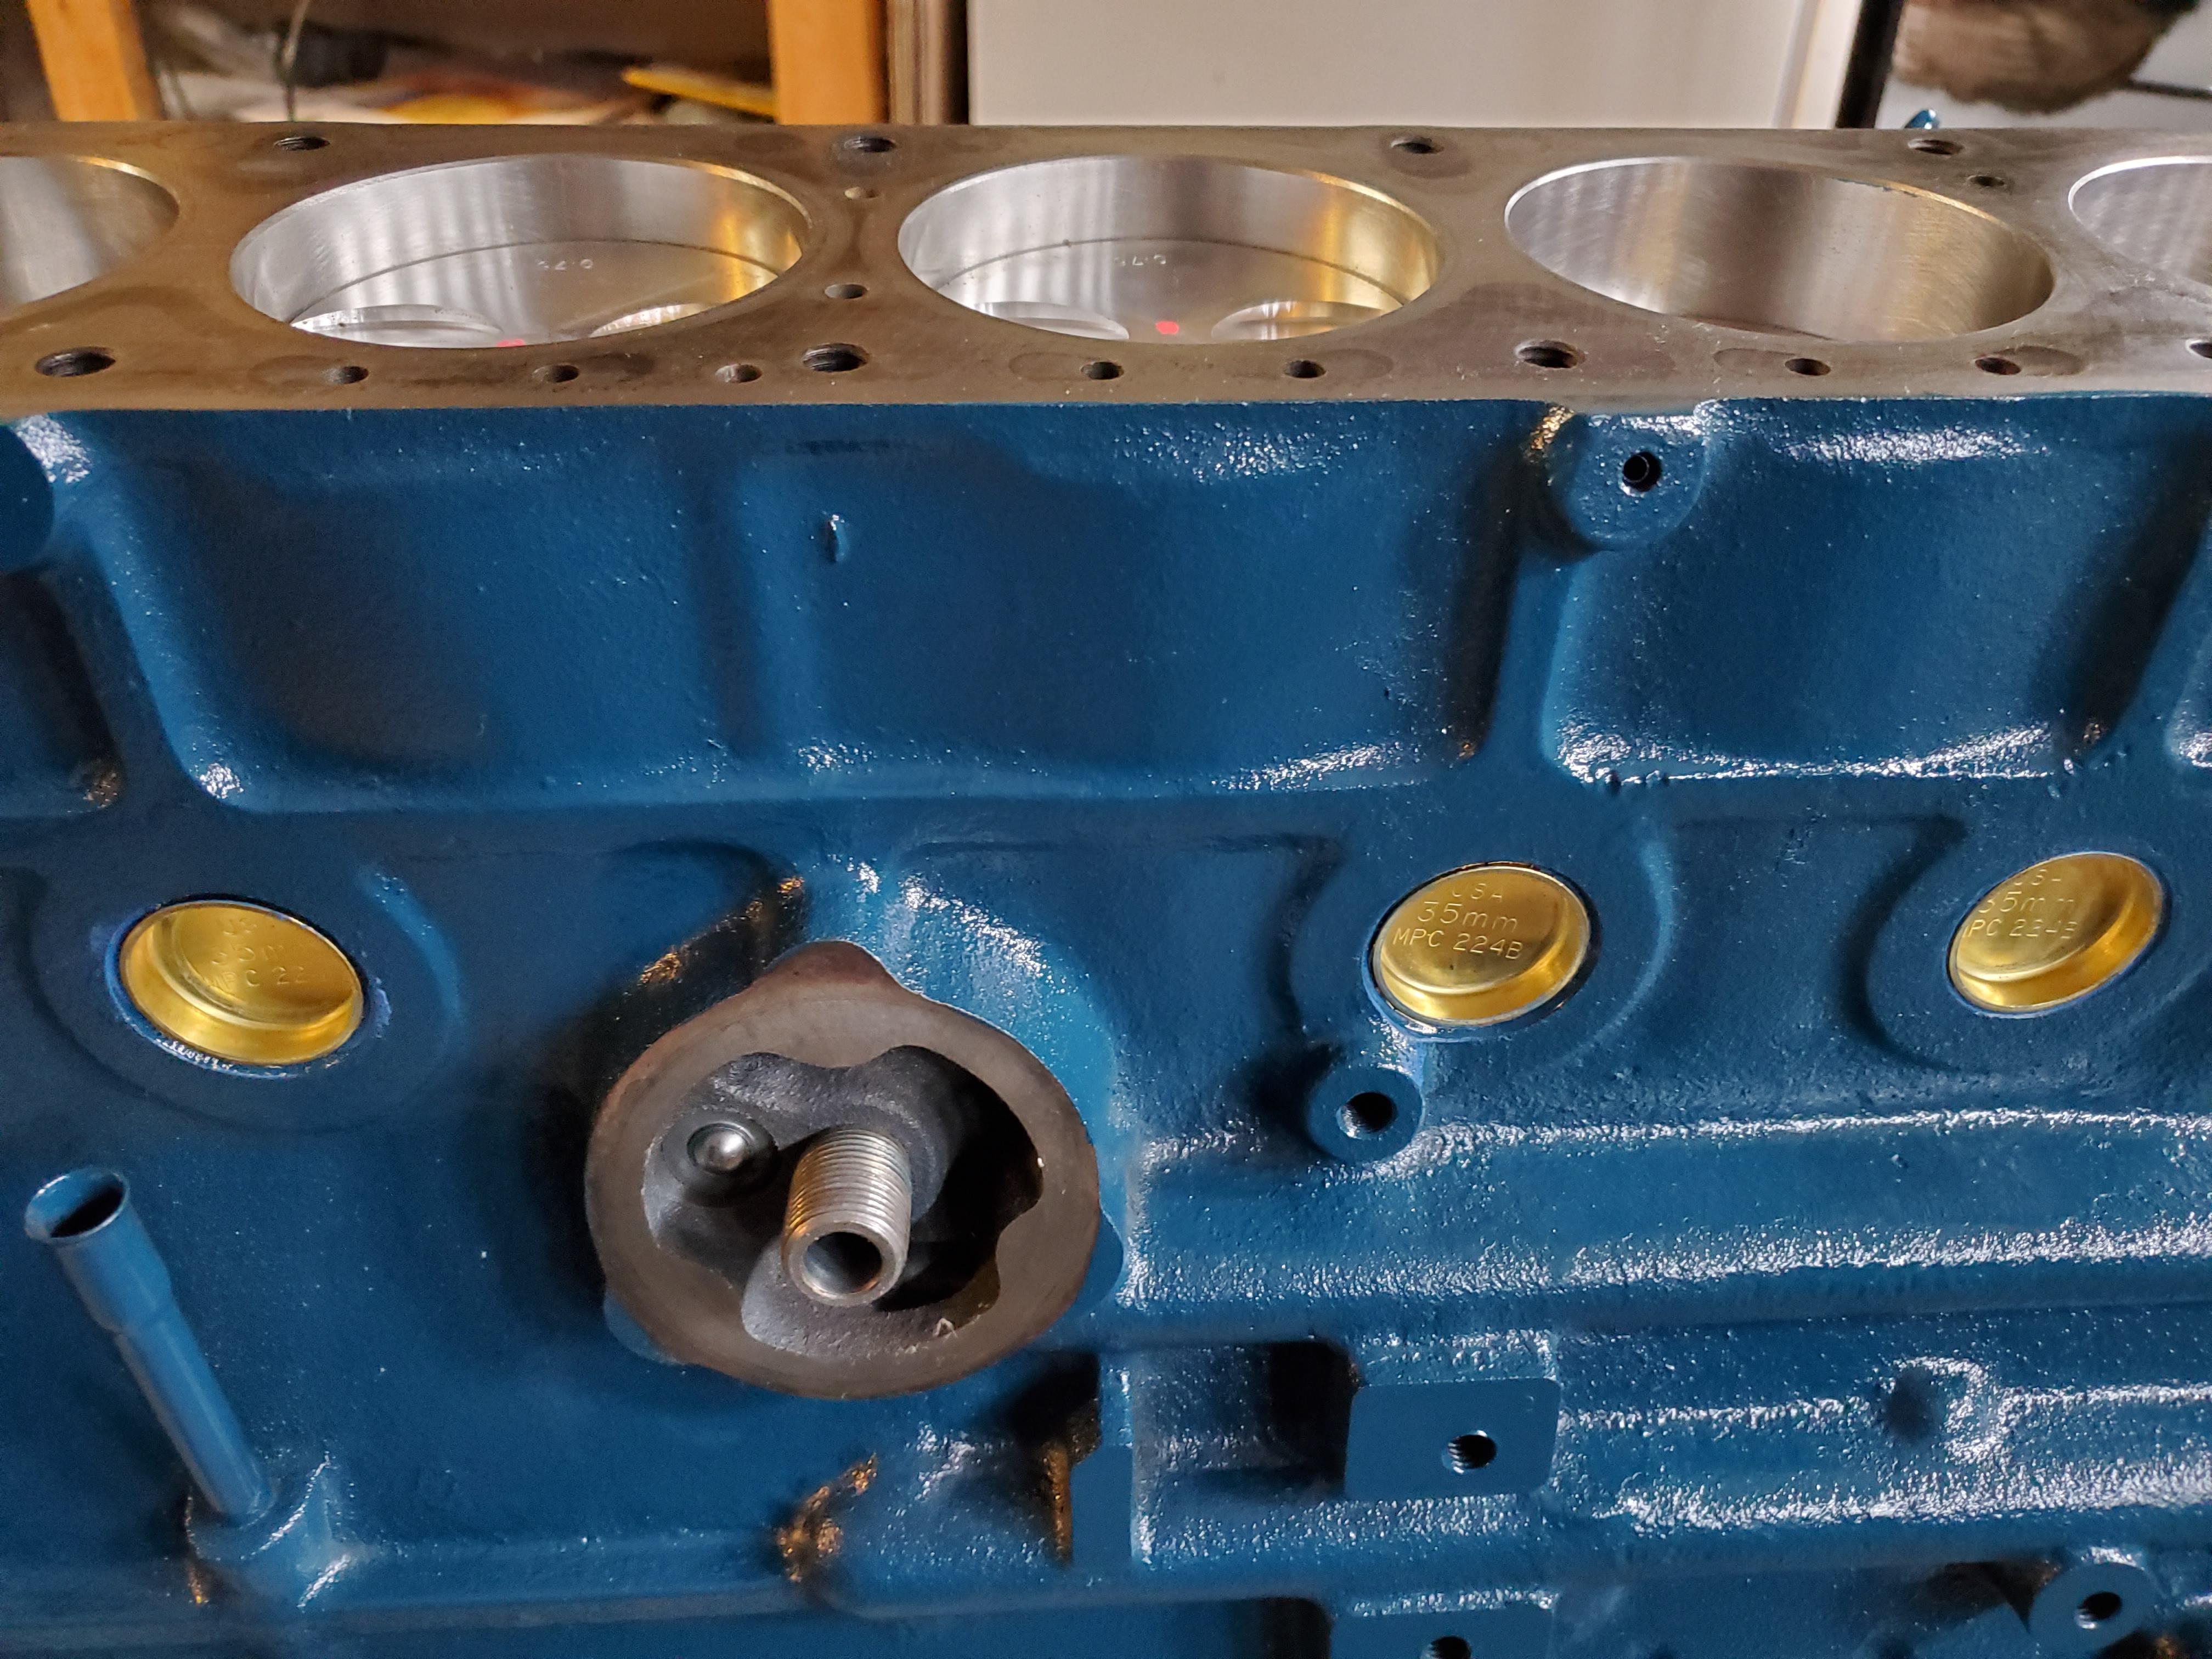
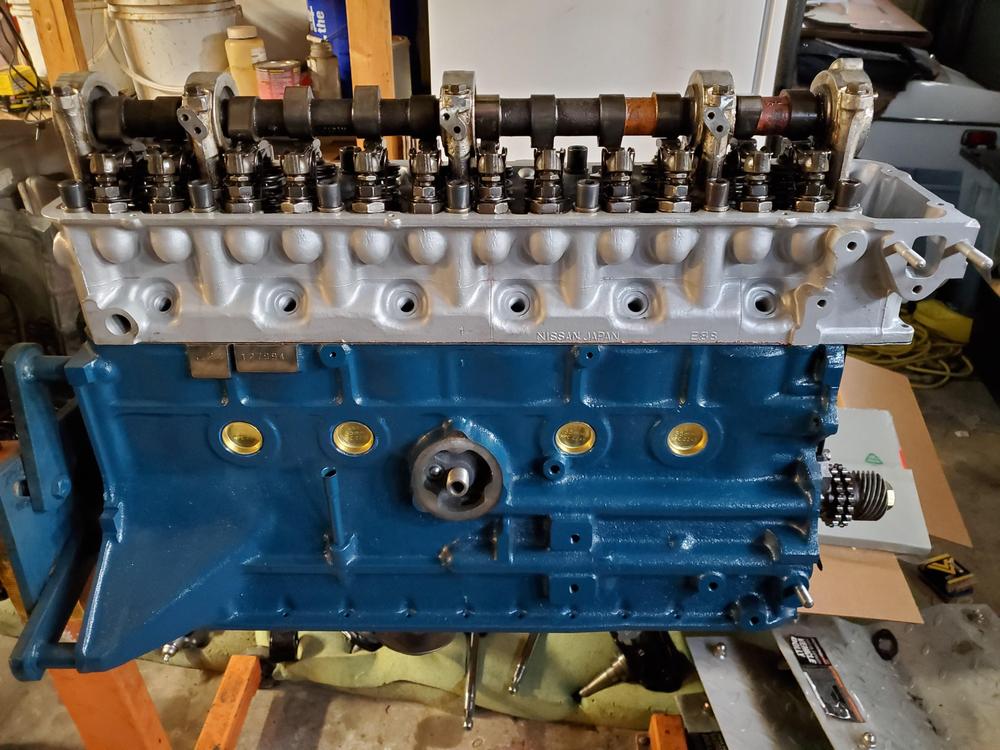
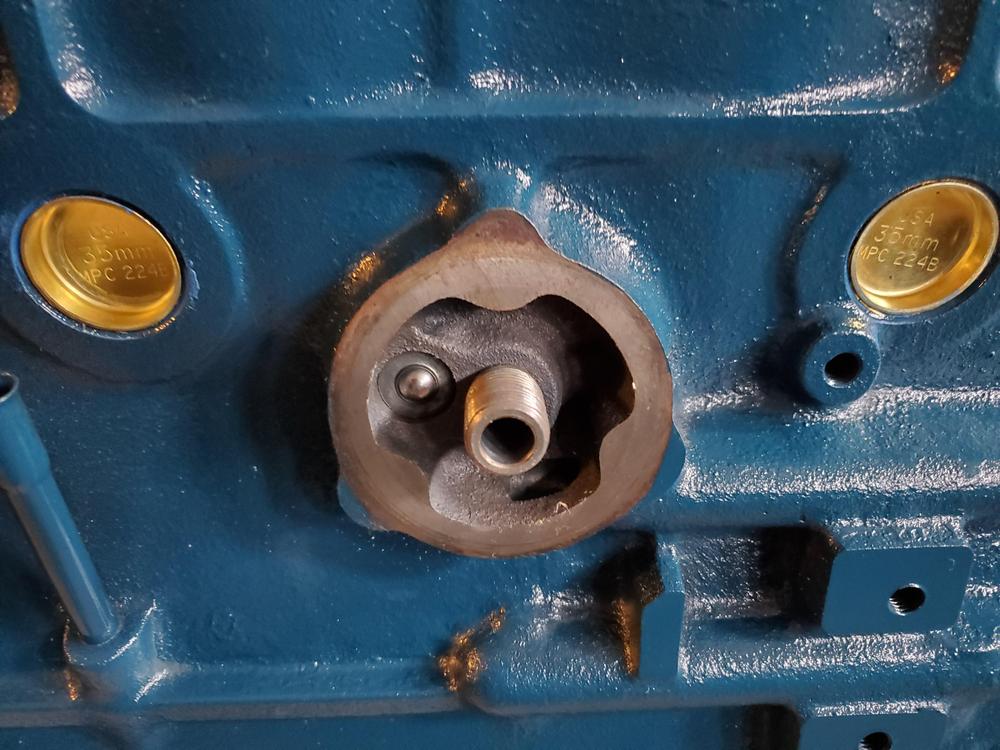
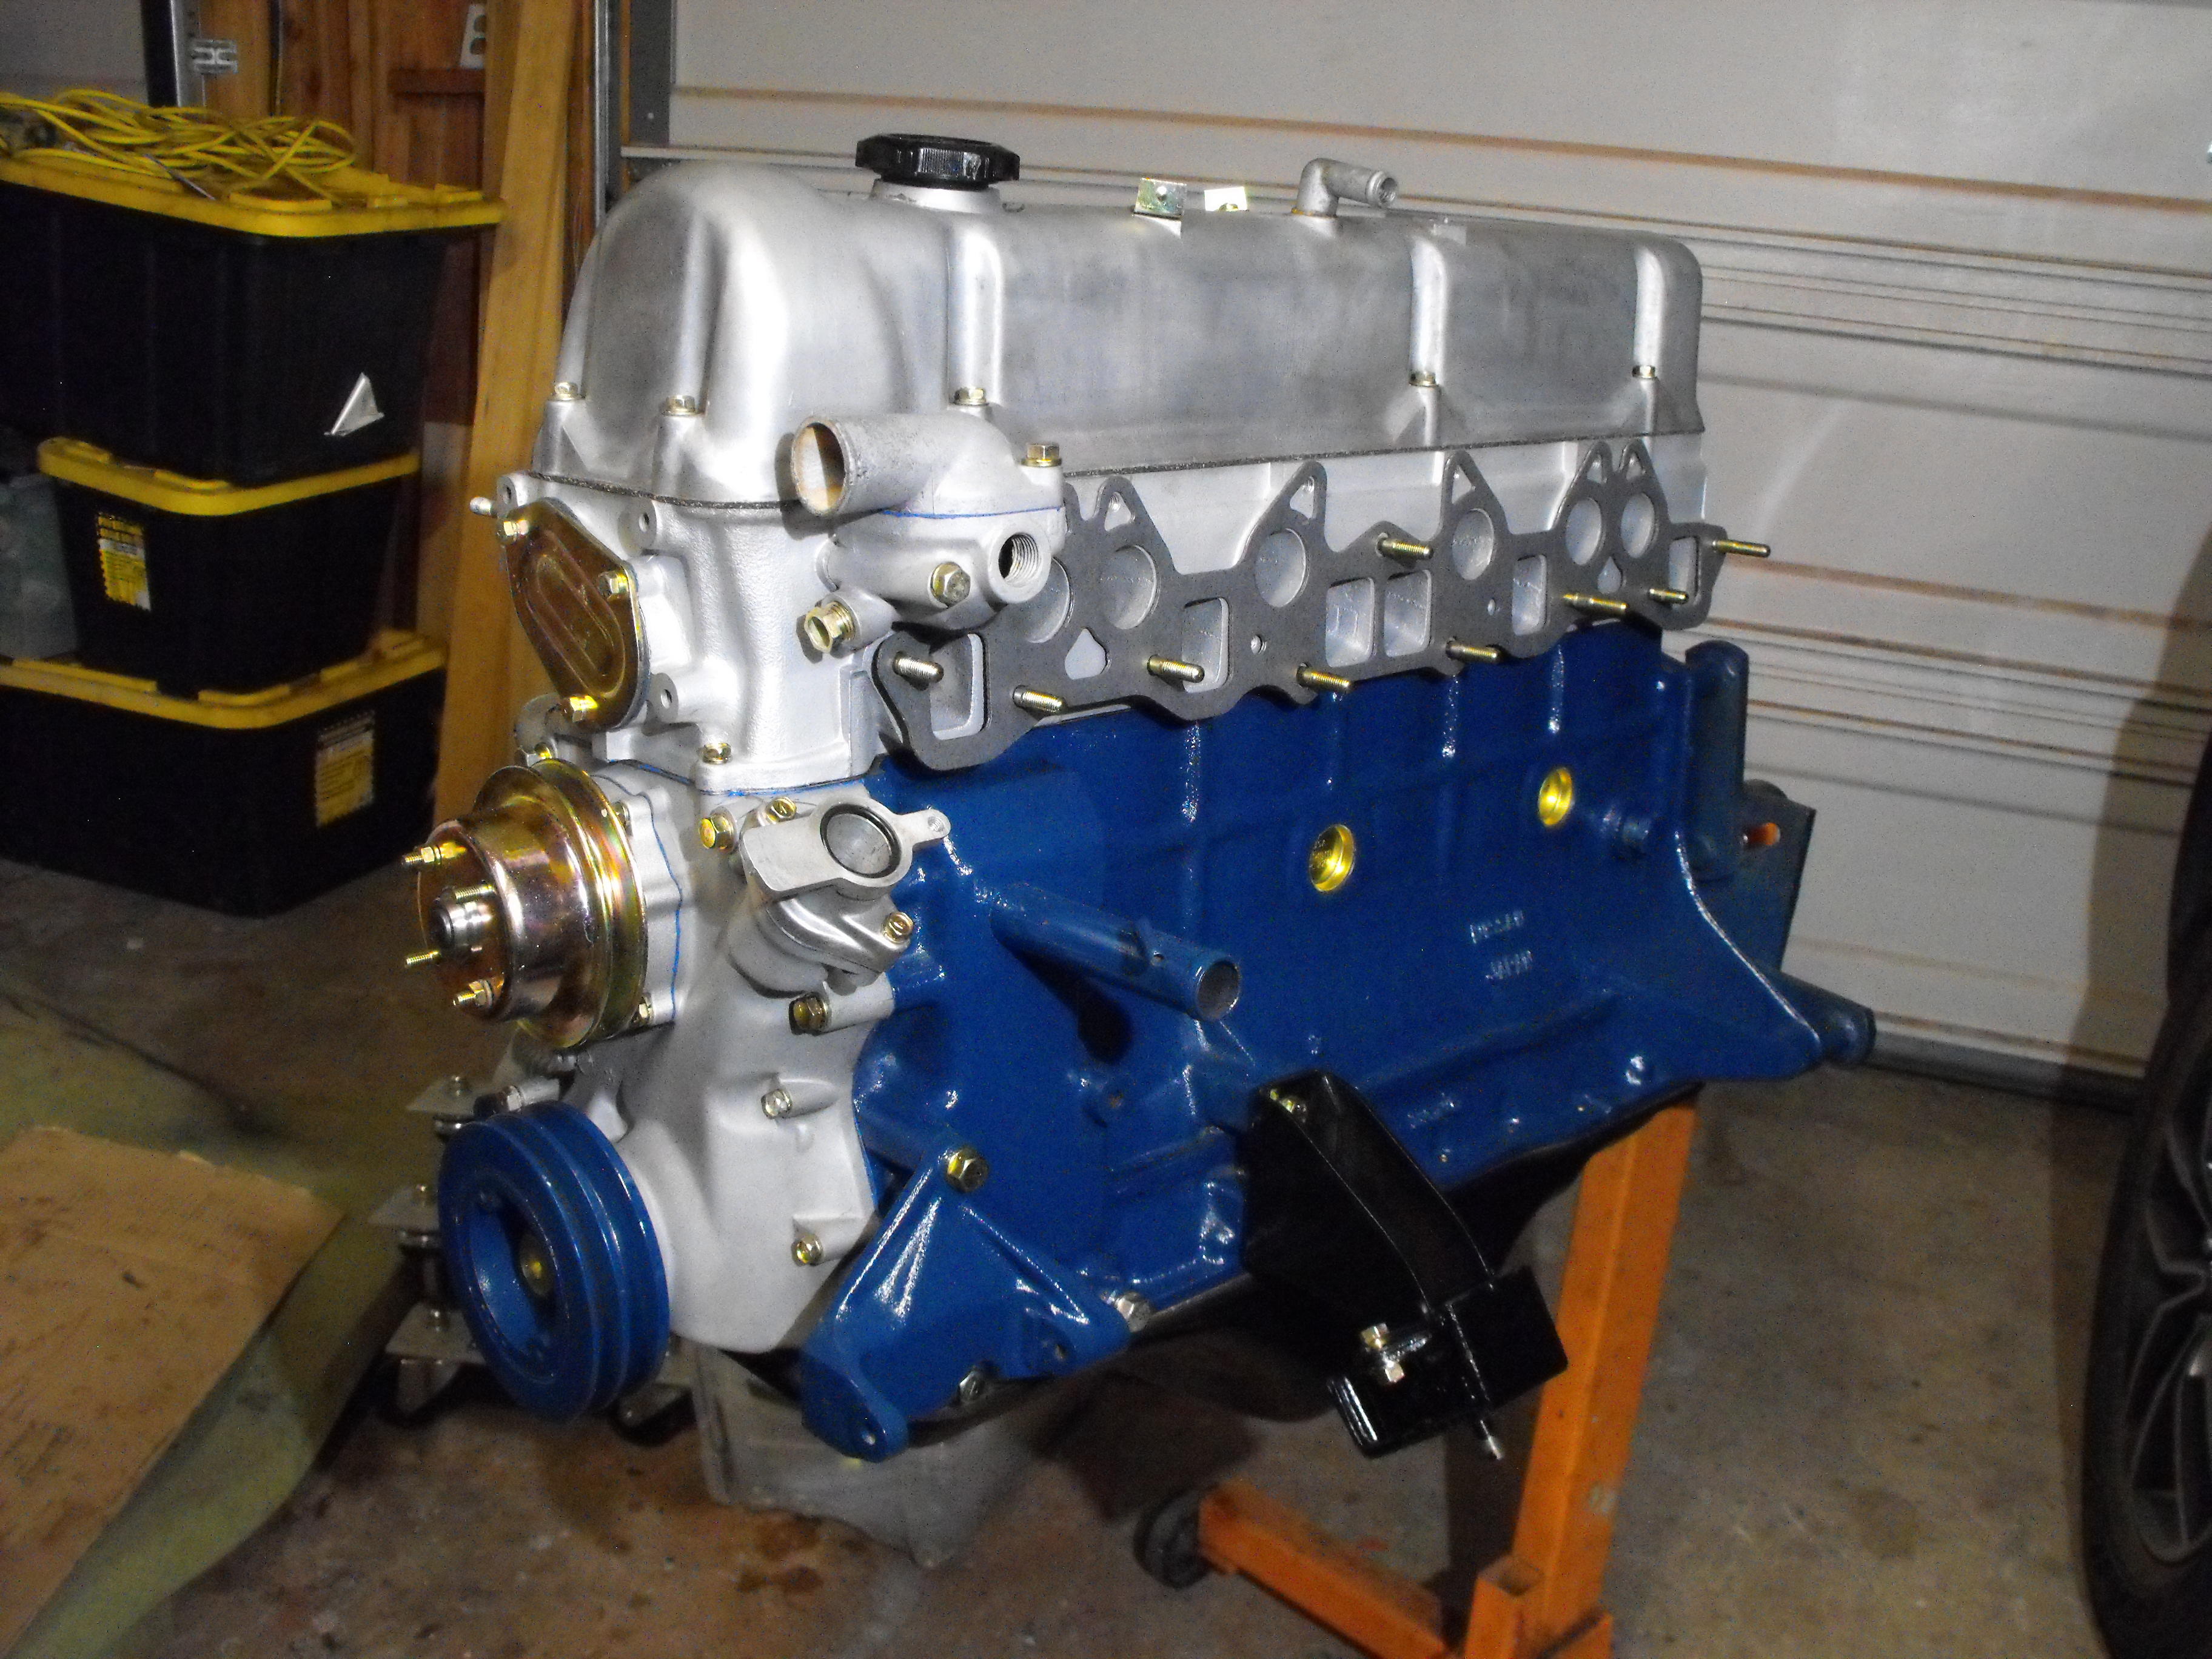
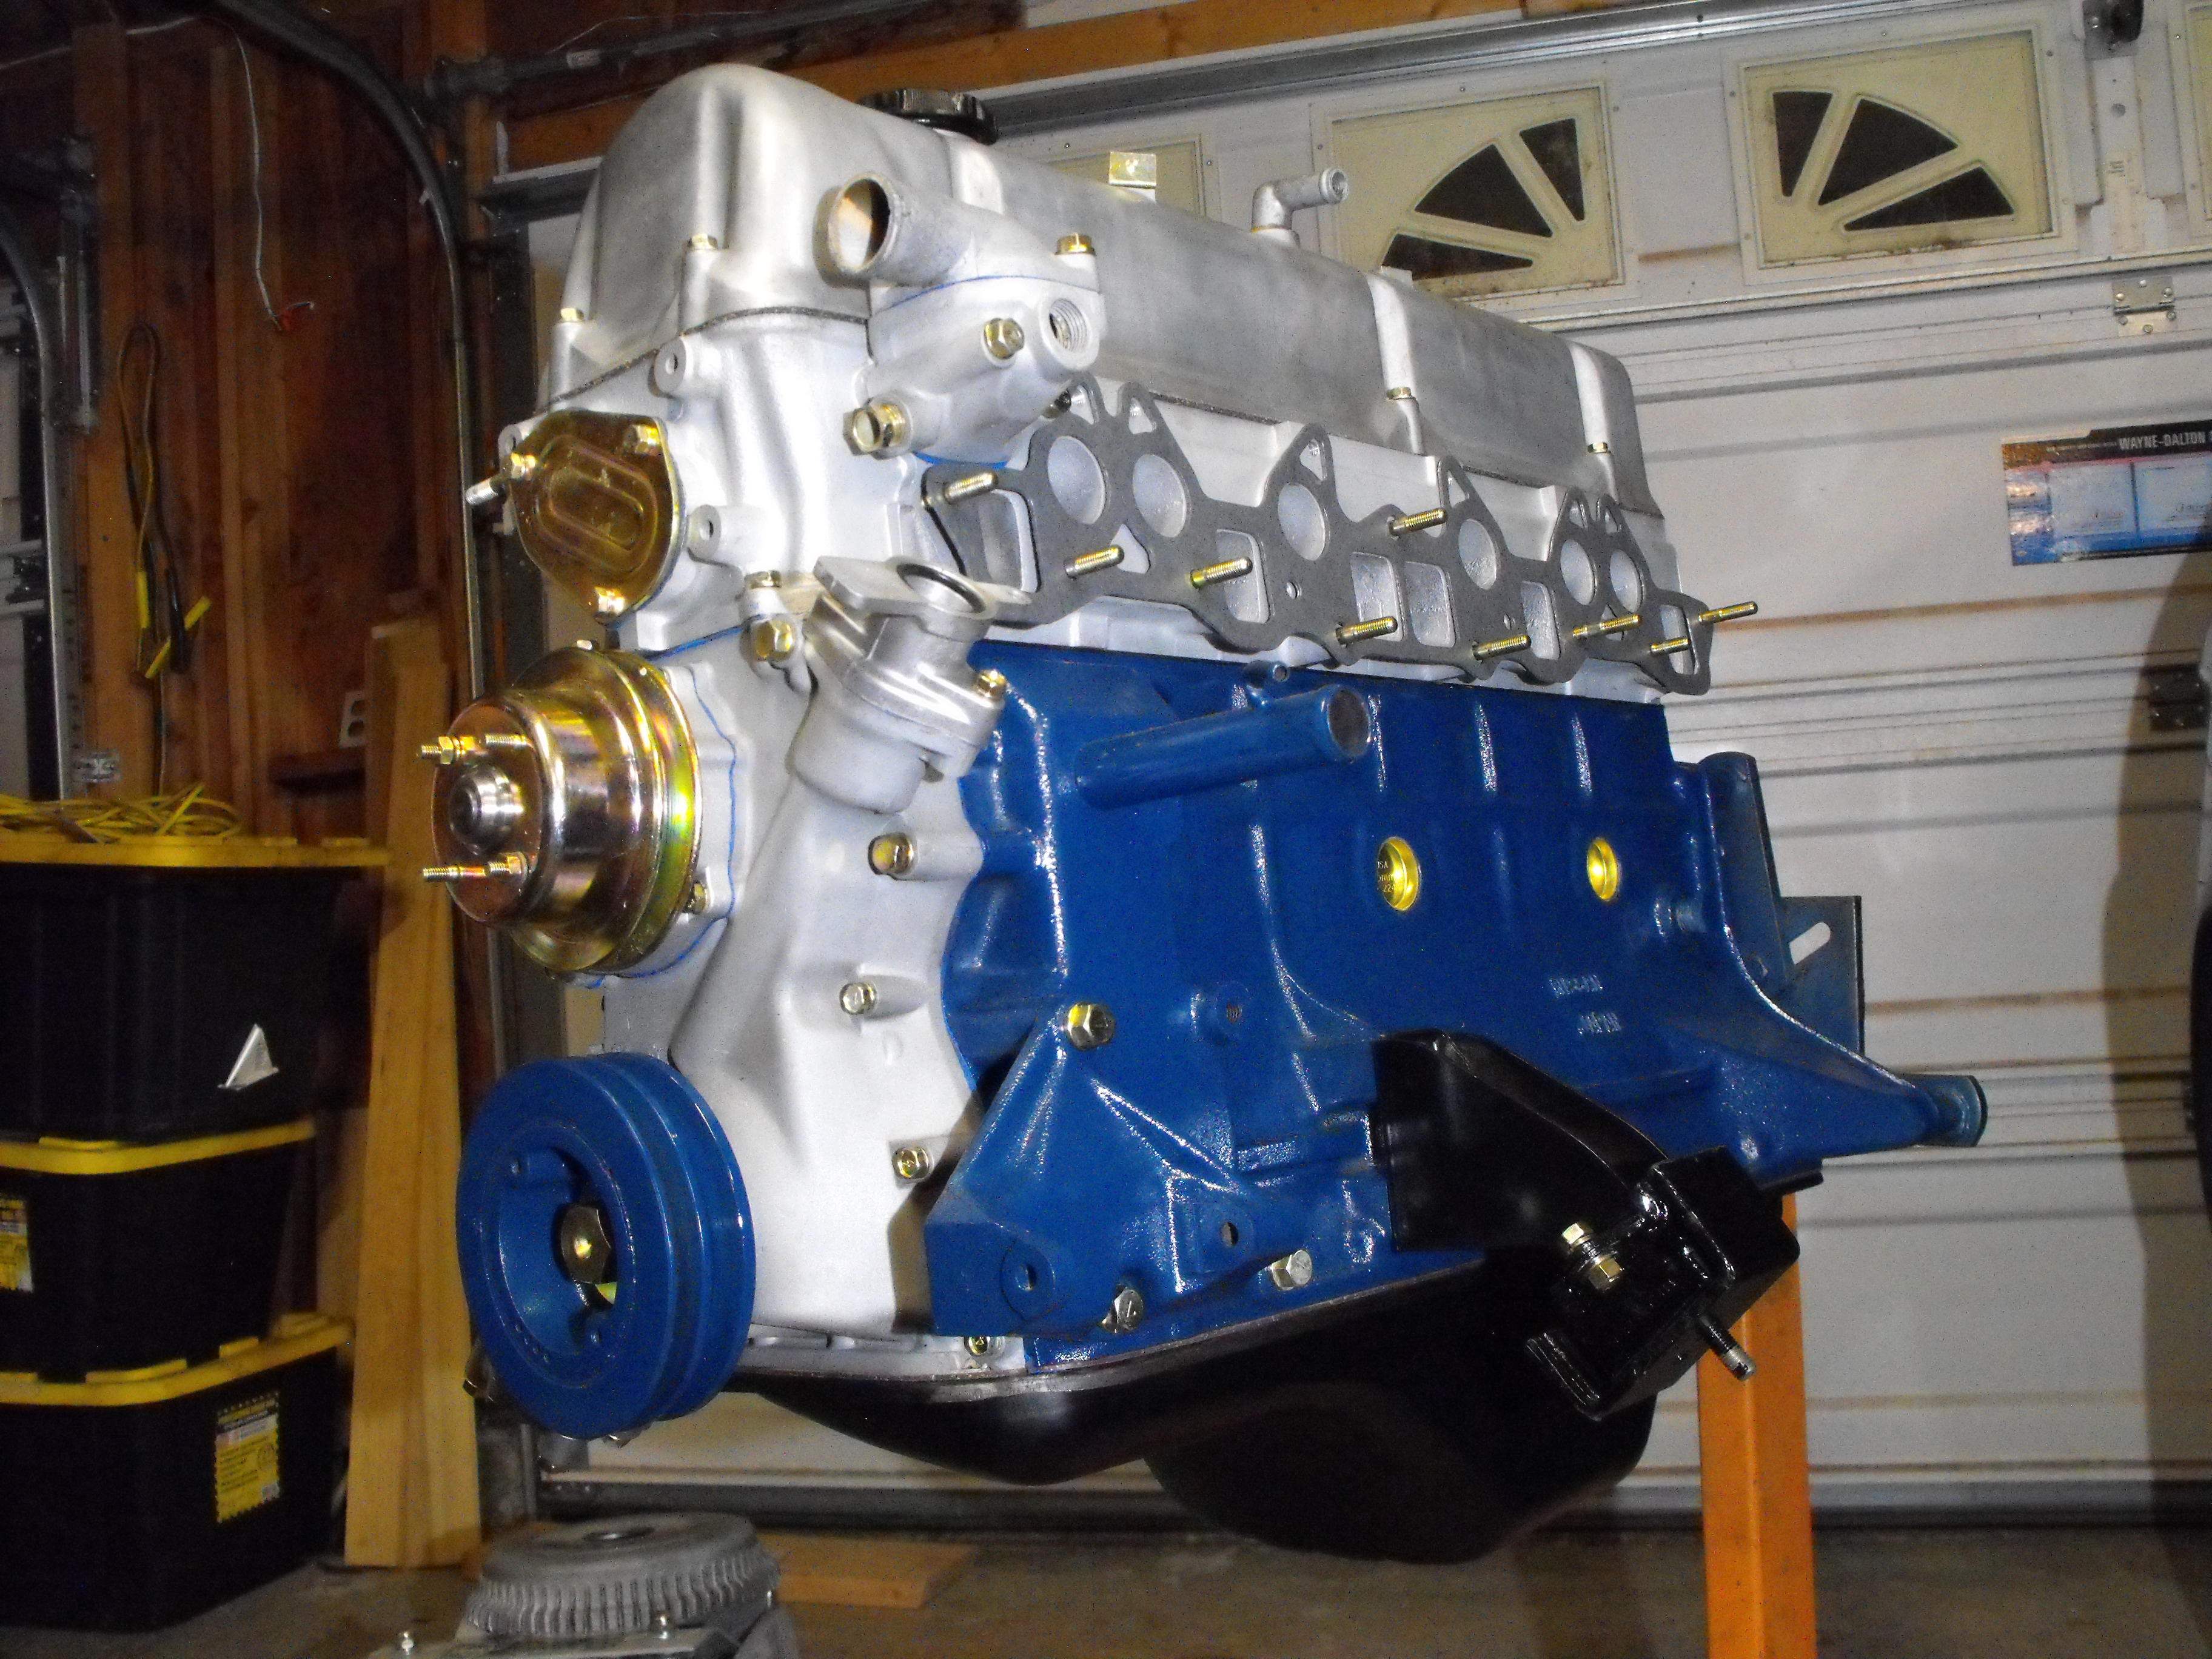
Here's a couple engine shots. Should have the timing chain, front cover and oiler on tonight.

.thumb.jpg.198d5ebff4efff3902e6aa7ba19b282f.jpg)

-
Got the head back. Also installed it this evening. The shop put in two heli-coils in the location where the 'wood screws' were installed. Apparently the Easyouts broke off and were stuck in the head in these two outer exhaust manifold locations. The shop removed them and installed the helicoils in the two spots. Nice work!

-
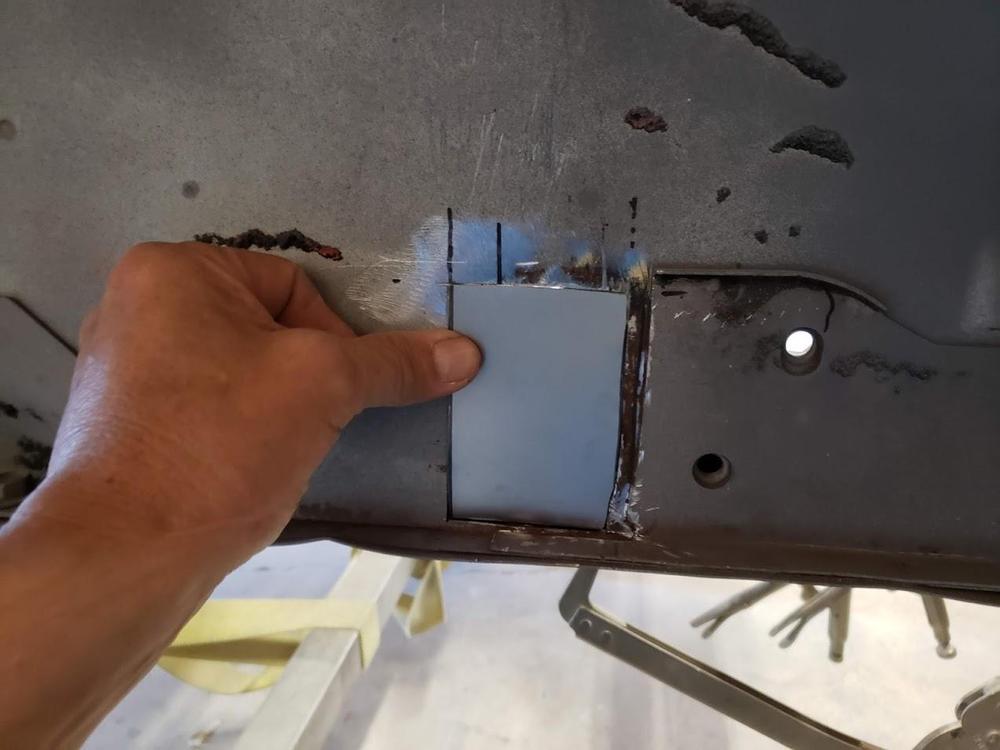
Thanks for the quality check! Cleaned that up this AM. Interesting, as an engineer, I had to go back and determine why that area wasn't covered as I typically have the whole area taped off. Turns out, I usually use the 2" wide masking tape when taping off these areas. Turns out that my 2" wide tape roll was just about gone and getting a little old so it was difficult to work with. So, I used the new 1" wide tape roll for the masking. Obviously did not get good enough coverage. Also, multiple layers of the 1" tape over cavities does not stick well. So, bottom line is I need to go out and get a new roll of 2" tape. Got it from California-Datsun.com on e-bay for $35.99 https://www.ebay.com/itm/Datsun-Z-240Z-260Z-True-Blue-Green-Original-Color-OEM-Engine-Block-Paint-Can/153656468818?hash=item23c6a3a552:g:HWAAAMXQDjhQ5cP1 Also, for the taillight panel I use the Ford shadow gray with and Matte clear overcoat. That usually works pretty well. https://www.walmart.com/ip/Krylon-BFM0360-Dark-Shadow-Gray-Ford-Exact-match-Automotive-Paint/48341749


.jpg.a3ac18d898936eb2d6e28eb40ca1892b.jpg)