


Oiluj
Free Member
-
Joined
-
Last visited
Everything posted by Oiluj
-
 It's a great idea, no chrome to pit, no rust. Even polished stainless will not "shine" quite the way way good chrome does, and they are very expensive. Last time I looked, reproduction chrome bumpers were about $750 without the rubber, but it's been a while... I actually like that they have kept the 3-piece rear to maintain the original look. Heck, with stainless you can always weld and polish it to make it one piece, but that's easier to do with carbon steel and chrome. If I needed bumpers, I might consider it, but would probably stick with chrome, since it chrome bumpers last at least 10 years and can be re-plated.
 -
I like the colored ones much, much better. (Are two much's too much?) Your car looks great!
-
Nothing to do with Zeddsaver, but I had an "uncomfotrable" experience with a local upholstery guy. He did a great job on my cars in the past, but now I won't use him. He appears to have developed a mental problem. I went in for a quote on my Z seats and he literally started "raving" about bad customers and government conspiries. Told him I'd think about it and never went back. Found out a co-worker had a similar experience. Really too bad...
-
Wow! If it's only minor rust, that sounds like a great deal.
-
My thinking is that anything that will remove paint will damage the vinyl. Have you considered vinyl paint? I believe SEM makes a product for this purpose. Don't know if it could cause a cracking problem down the road though... Also, have read that Armor-All may accelerate cracking of the dash. To be safe, I'd wash it off with mild soap and water.
-
I have the S12 calipers on my 72' with 15" wheels. Lots'a room. Would also fit the S12W's with no problem.
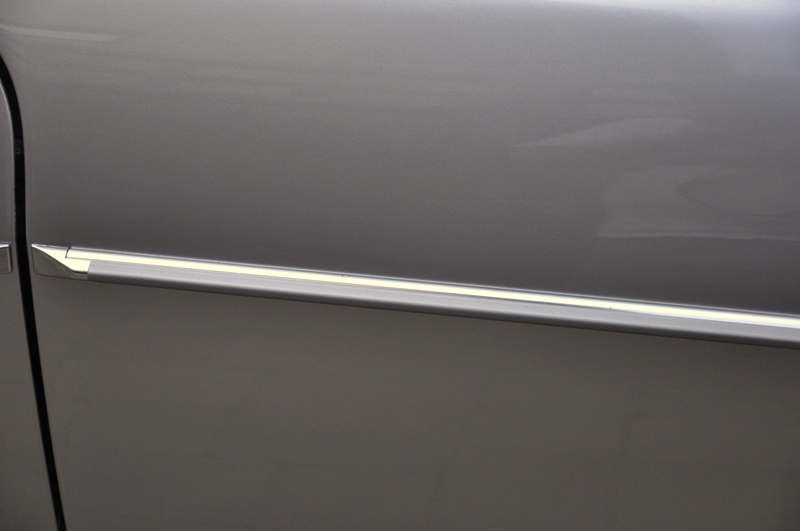
To my eye, it doesn't look that bad... I used the silver colored vinyl insert and is a pretty close match to the paint. The pics aren't that good, but give you an idea of how it came out...
 I broke the clps on mine, but didn't want anything "obvious" showing on the exterior. I counter-sunk the hole in the lens and used a wide, flat head machine screw to replace the pin. Then put the chrome strip over the top. (This was while the lens was dis-assembled). Assembled the lens to the rear body with sealant and used a small nut on the back as the "safety" retainer.
Cover with thin paper and rub a pencil across it. It the numbers are stamped, you may be able to read them that way.
The vinyl supplier was: DI Specialty Specialty Division 2930 S. Vail Ave City of Commerce, CA 90040, USA. Comes in sheets that are about 15" x 40". I did take several phone calls and some convincing to get them to sell the raw stock to me... In terms of hints: I had a shop install the rear shock tower covers, I found them difficult to get looking good enough. The rest of the pieces go n pretty easy. Good Luck with your project. Julio
On my previous Z, I was able to get rid of it by doing the following: 1) Eliminate friction. - Used a moto-tool with polishing pad and abrasive polish to make the linkage "balls", "sockets" and shaft where the go theough the bearings to almost mirror-smooth. Get rid of the part-line inside the ball if it is evident. - lubricated all contact areas with silicone grease. - make certain firewall bellows has a slight "pre-load" towards idle. - verify throttle springs are clean and lubricate with spray, dry lubricant. (the stuff used on bike chains). - verify throttle shaft areas are clean and lubricate with spray, dry lubricant. 2) Check vacuum damper diaphram operation. Is it smooth and free? Also, there should be a small amount of play. Hope this helps.
Carl, Thanks for the input. The aluminum molding is still available from this source: http://www.customautotrim.com/products/moldings/rivet.htm The vinyl even comes in colors. I'm using silver. I'm thinking I'll do 3 rivets in the short sections and 4 in the longer sections. Less than before but enough to hold it securely. Julio
Can't tell you about the BD kit. I was very disappointed in the MSA kit and ended-up re-making most of it. It was a waste of money. Hopefully the BD kit is better...
Guys, I do hear and understand what you guys are saying. I prefer it "clean" too. But the reality is, we live, drive and park in an urban area. I seldom have a "choice" of parking places. Point is, I'd rather "drive" my car, than limit my usage or leave it in the garage because I'm afraid to park it at my destination. That means I have to choose between having door moldings or live with lots of dings... So back to my question: Has anybody tried using the double stick to attach this type of molding? If it works, at least I wouldn't be drilling holes... Thanks, Julio
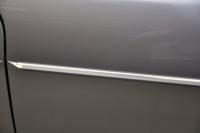
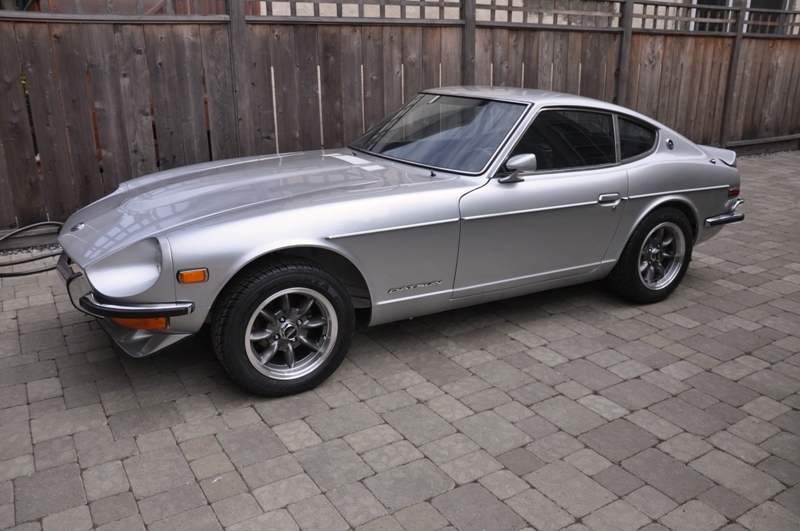
Time to re-install the side molding. It's the aluminum channel, rivet-on type with the inset vinyl strip. I almost hate to do it, the car looks better with clean sides. But without it, living and parking in a urban area means more unsightly door dings, so it's required. Question: Has anyone tried just using the 3M mounting tape to attach this type of molding? It would be much better than drilling a bunch of holes in the car. If so, how's it holding up?
Nope. Used the original metal I removed from the old rubber. I have seen the metal pieces on eBay several times. May also still be available from Nissan.
Carl, What's the difference between US and Euor spec springs? The reason I ask is that my 1972 FSM shows 11mm wire, 3.94" OD, 10.7 coils and a free length of 14.5". The springs that came off my car are a similar wire and coil diamater, but have 8.5 coils. (8 active coils when loaded). The free height of the spings is close at about 14.8". Which springs do I have?
Owner's manual fits in the glove bax and will go back in when she's done. The FSM stays in a drawer with the other paperwork, including the orginal bill of sale.
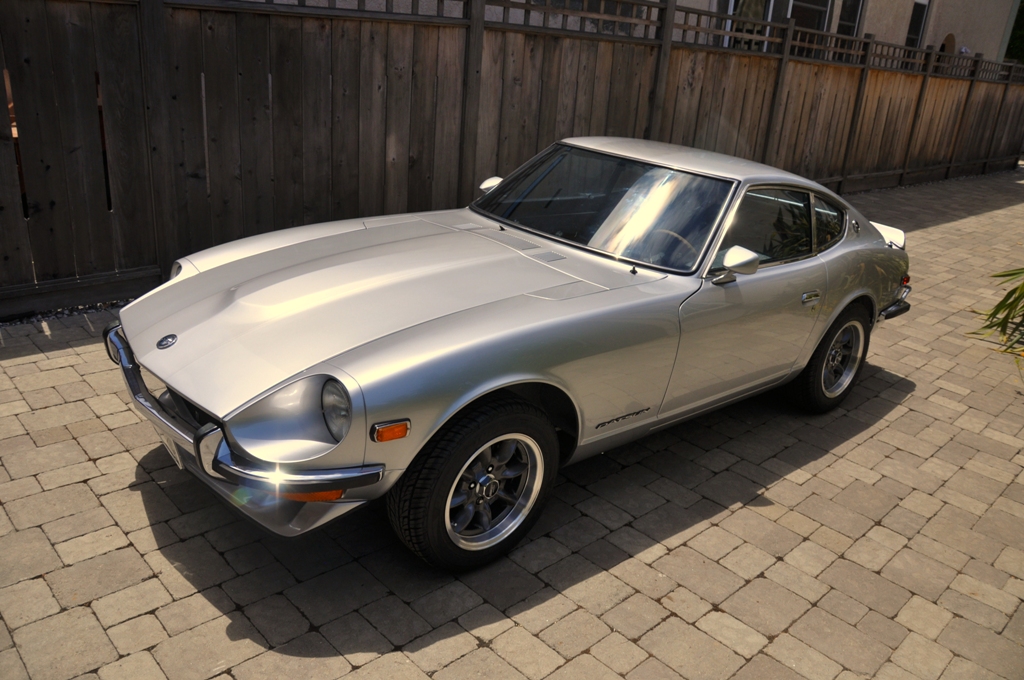
The holes are supposed to be brake cooling ducts. They are mostly non-functional unless you duct the air coming in towards the brakes. I plan to mount small driving lights in the ducts. One aerodynamic test showed the "duct-less" spook produces a bit more down force that the ducted one like mine. I expect with either spook, it will push a bit more air thru the radiator as well.
Thanks for the input! It's growing on me as well...
Nate, I'll second your Sam Adams Octoberfest. Has a really nice flavor. In terms of proper serving temperature, I like my beer served "really" cold, but then I have been accused of being a bit weird about some things... *grin*
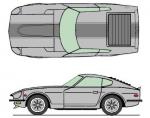
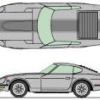
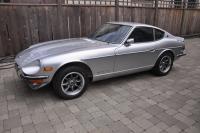
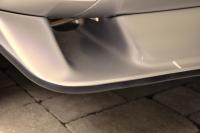
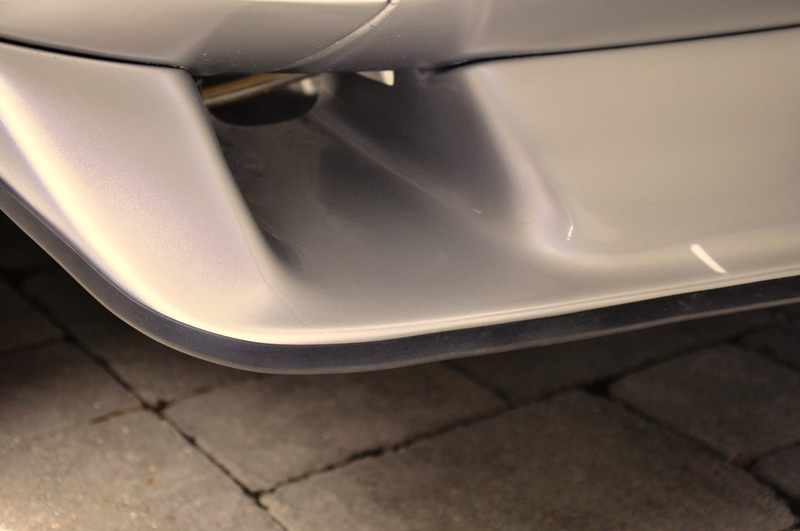
On my previous Z I had a urethane air-dam painted to match the car. I left the lower, protruding lip unpainted with the natural black plastic exposed. If I "accidentally" touched a parking block, there was no paint to chip. It continued to look good for many years despite the occasional parking mis-calculation. Therefore, I'm thinking of adding rubber "U" trim on my front spook to protect the lower lip. Attached are a few pics. Any opinions or suggestions of a better approach?
I broke the clps on mine, but didn't want anything "obvious" showing on the exterior. I counter-sunk the hole in the lens and used a wide, flat head machine screw to replace the pin. Then put the chrome strip over the top. (This was while the lens was dis-assembled). Assembled the lens to the rear body with sealant and used a small nut on the back as the "safety" retainer.
Cover with thin paper and rub a pencil across it. It the numbers are stamped, you may be able to read them that way.
The vinyl supplier was: DI Specialty Specialty Division 2930 S. Vail Ave City of Commerce, CA 90040, USA. Comes in sheets that are about 15" x 40". I did take several phone calls and some convincing to get them to sell the raw stock to me... In terms of hints: I had a shop install the rear shock tower covers, I found them difficult to get looking good enough. The rest of the pieces go n pretty easy. Good Luck with your project. Julio
On my previous Z, I was able to get rid of it by doing the following: 1) Eliminate friction. - Used a moto-tool with polishing pad and abrasive polish to make the linkage "balls", "sockets" and shaft where the go theough the bearings to almost mirror-smooth. Get rid of the part-line inside the ball if it is evident. - lubricated all contact areas with silicone grease. - make certain firewall bellows has a slight "pre-load" towards idle. - verify throttle springs are clean and lubricate with spray, dry lubricant. (the stuff used on bike chains). - verify throttle shaft areas are clean and lubricate with spray, dry lubricant. 2) Check vacuum damper diaphram operation. Is it smooth and free? Also, there should be a small amount of play. Hope this helps.
Carl, Thanks for the input. The aluminum molding is still available from this source: http://www.customautotrim.com/products/moldings/rivet.htm The vinyl even comes in colors. I'm using silver. I'm thinking I'll do 3 rivets in the short sections and 4 in the longer sections. Less than before but enough to hold it securely. Julio
Can't tell you about the BD kit. I was very disappointed in the MSA kit and ended-up re-making most of it. It was a waste of money. Hopefully the BD kit is better...
Guys, I do hear and understand what you guys are saying. I prefer it "clean" too. But the reality is, we live, drive and park in an urban area. I seldom have a "choice" of parking places. Point is, I'd rather "drive" my car, than limit my usage or leave it in the garage because I'm afraid to park it at my destination. That means I have to choose between having door moldings or live with lots of dings... So back to my question: Has anybody tried using the double stick to attach this type of molding? If it works, at least I wouldn't be drilling holes... Thanks, Julio
Time to re-install the side molding. It's the aluminum channel, rivet-on type with the inset vinyl strip. I almost hate to do it, the car looks better with clean sides. But without it, living and parking in a urban area means more unsightly door dings, so it's required. Question: Has anyone tried just using the 3M mounting tape to attach this type of molding? It would be much better than drilling a bunch of holes in the car. If so, how's it holding up?
Nope. Used the original metal I removed from the old rubber. I have seen the metal pieces on eBay several times. May also still be available from Nissan.
Carl, What's the difference between US and Euor spec springs? The reason I ask is that my 1972 FSM shows 11mm wire, 3.94" OD, 10.7 coils and a free length of 14.5". The springs that came off my car are a similar wire and coil diamater, but have 8.5 coils. (8 active coils when loaded). The free height of the spings is close at about 14.8". Which springs do I have?
Owner's manual fits in the glove bax and will go back in when she's done. The FSM stays in a drawer with the other paperwork, including the orginal bill of sale.
The holes are supposed to be brake cooling ducts. They are mostly non-functional unless you duct the air coming in towards the brakes. I plan to mount small driving lights in the ducts. One aerodynamic test showed the "duct-less" spook produces a bit more down force that the ducted one like mine. I expect with either spook, it will push a bit more air thru the radiator as well.
Thanks for the input! It's growing on me as well...
Nate, I'll second your Sam Adams Octoberfest. Has a really nice flavor. In terms of proper serving temperature, I like my beer served "really" cold, but then I have been accused of being a bit weird about some things... *grin*
On my previous Z I had a urethane air-dam painted to match the car. I left the lower, protruding lip unpainted with the natural black plastic exposed. If I "accidentally" touched a parking block, there was no paint to chip. It continued to look good for many years despite the occasional parking mis-calculation. Therefore, I'm thinking of adding rubber "U" trim on my front spook to protect the lower lip. Attached are a few pics. Any opinions or suggestions of a better approach?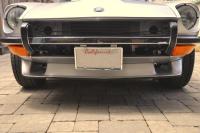
 Installed the windshield yesterday. Used the "cord" method with weed-wacker line and a combination of "KY Jelly" and armor all for lubrication. Worked great! We had the windshield installed in less than 20 minutes total time. Would have been 10 minutes except the corner trim pieces popped out.
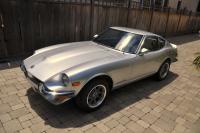 A quick thing to note on re-installing the tail light panels. Be careful when re-fitting the rear panels. It's easy to scuff the paint on the upper-outer corners when putting them back in...

Important Information
By using this site, you agree to our Privacy Policy and Guidelines. We have placed cookies on your device to help make this website better. You can adjust your cookie settings, otherwise we'll assume you're okay to continue.