er34gtt2000jp
Free Member
-
Joined
-
Last visited
Everything posted by er34gtt2000jp
-
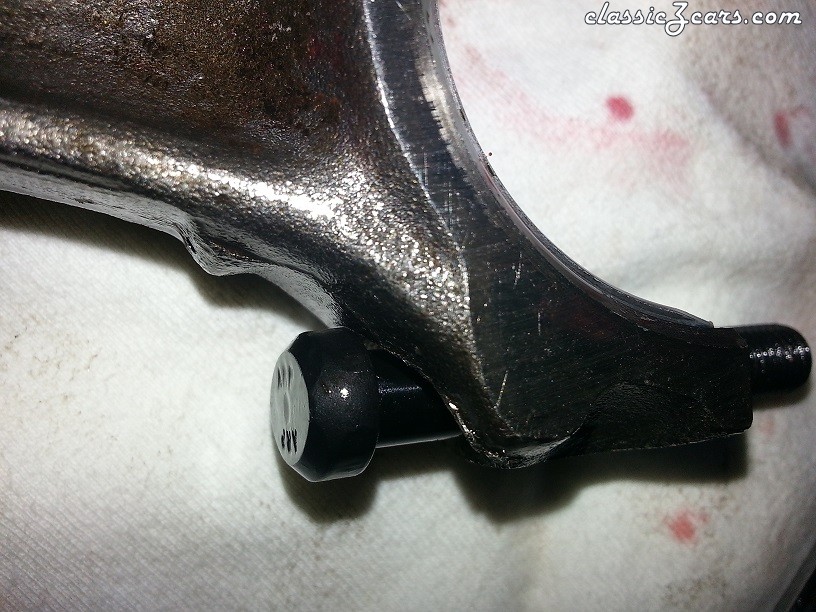
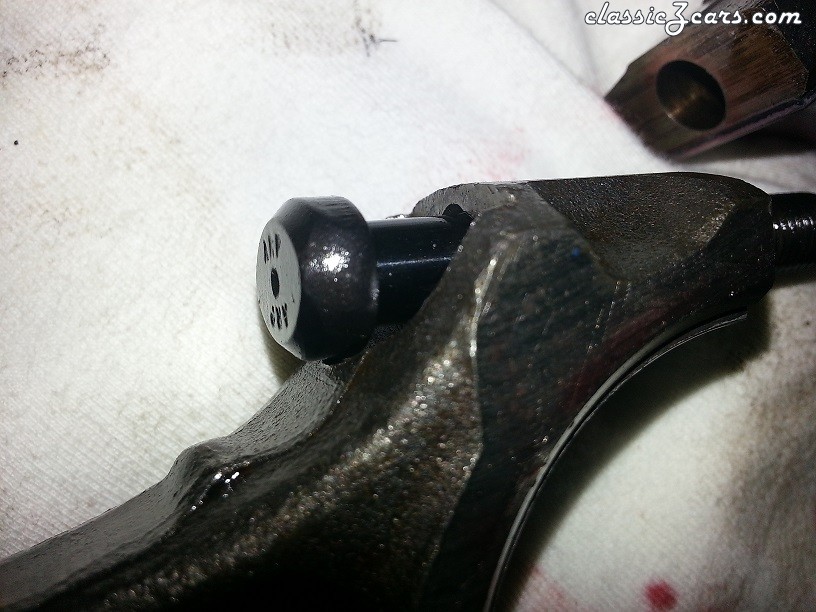
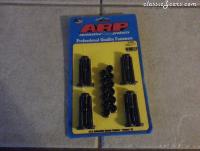
 Well got all excited and went out to put in my new ARP rod bolts only to find they wont fit This thing is fighting me every step of the way! Looks like the head just barely doesn't clear the bolt relief in the rod. In comparing the ARP bolt to a stocker, it appears the ARP bolt is a few thou larger in diameter making it a snugger fit in the rod. Where the stock bolt has a little play allowing the head to squeak by the relief and the bolt to seat. The ARP bolt is a very snug fit and ends up catching on the rod. Looks like just the very edge of the relief too. Here are a couple pics: What to do from here? Pulling it all apart and sending it to a machine shop is kinda out of the question at this juncture. Really leery about removing any material from the rods as they are balanced, albeit a factory close enough for govt work balance ;-) Not sure if I should take the bolt heads down a scosh or something else. My vote is for taking a tad off the inboard side of the bolt heads. Although arguably this will affect rod balance as well. Question is does it really matter? What say the masses? Thanks in advance for the sage advice!

-
-
-
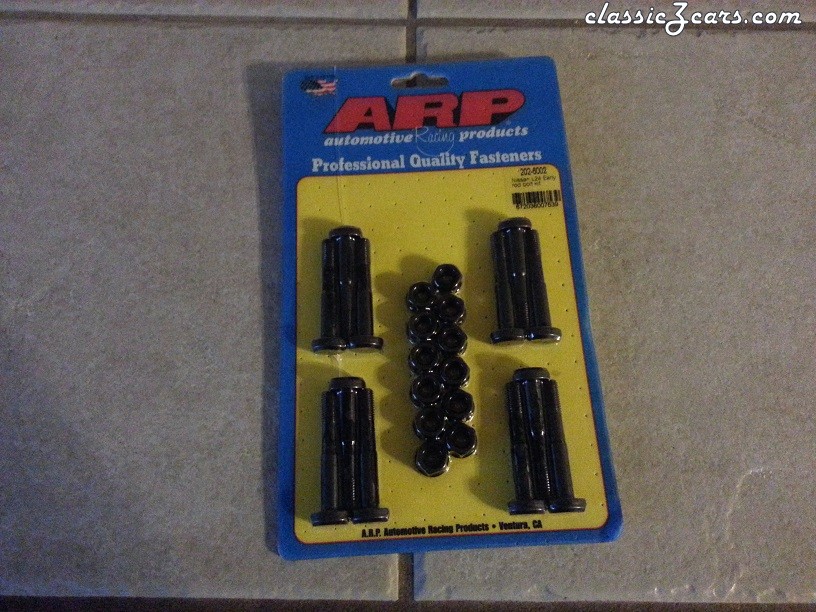
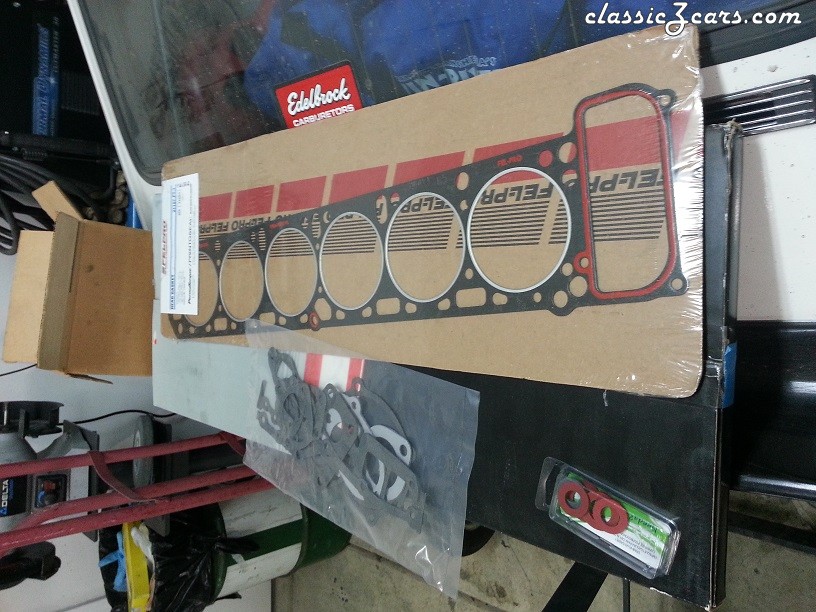
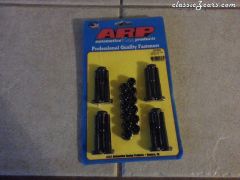
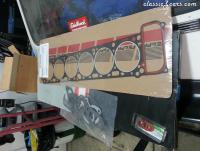
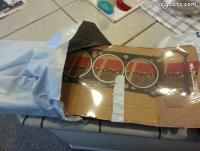
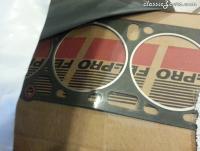
We have rod bolts, pretty sexy hardware too Let the games begin! And the "good" FelPro head gasket:

-
-
-
-
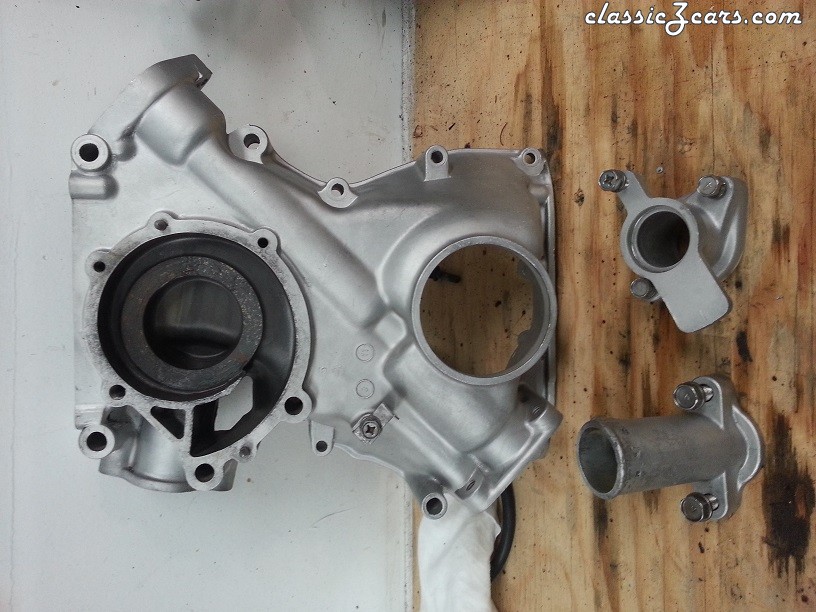
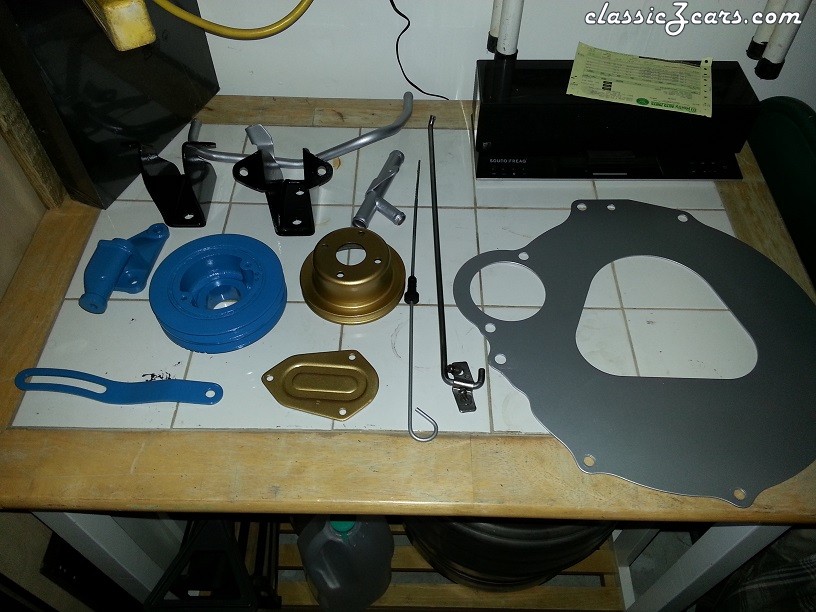
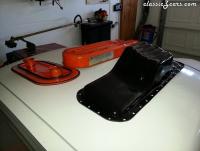
Well things have really slowed down on getting my 71' back on the road. But I have made a little progress and thought I would post an update. In the process of putting the short block together I managed to snap a rod bolt. turns out those 8mm early L24 rob bolts don't like being torqued to the later 40ft/lb spec of the 9mm bolts. :stupid: That's what I get for using the 1973 service manual I had laying around in the garage. To top things off the FelPro head gasket I ordered from Amazon showed up bent into a "Z"! So I had to wait another week to get a replacement. turned out not to be as big of an issue except for the over torqued rod bolts.... Soo, after a fruitless search for a set of stock 8mm bolts I bit the bullet and bought an ARP set that I'm anxiously waiting for the UPS man to deliver tonight. Spent the last few evenings cleaning parts and painting. Fun stuff! Did get the head put together though! So all I need is my rod bolts and I can assemble the long block! Here are some pix of freshly painted parts: And the new fangled Z bend head gasket: More updates to come shortly!

-
-
-
-
-
Ended up picking an ARP set up, should be here Friday. Oh well sometimes you just should spend the money in the right places eh!
-
I guess I should add that I'm willing to pay for them, as long as it's a fair price.
-
Hey guys, I'm trying to put my engine together on a bit of a budget and made a serious bonehead move :-/ I was using a 73' service manual and forgot that the early rods used smaller bolts..... Long story short I overtorqued them and broke one. Im sure they are all stretched and no longer serviceable. Does anyone have a set of stock 8mm bolts they would like to part with? I should buy a set of ARP bolts but life is on a budget so I was hoping somebody has a good set. Thanks guys! Eric
-
My condolences man! I almost caught my 71' on fire welding the front clip on. Should of taken the time to clear the areas behind where I was welding but I didn't :-/
-
Congrats! Cool ride indeed
-
, yeah you got me on that assembly lube. It does look rather murderous! Unfortunately the crank is coming back out tonight. I want to recheck the bearings and im not happy with the rear main side seals that came in the ITM gasket set. Got a FelPro rear main set this morning im going to swap out with.
-
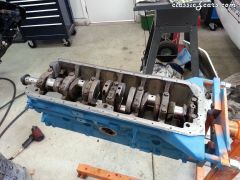
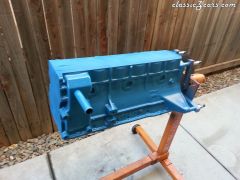
Thanks for the kind words! I had previously soaked this block in a 35 gallon garbage can with Krud Cutter and got it pretty darn clean. Took my ball hone to the cylinders to clean them up and gave it a quick coat of paint. Today I got the crank installed with new standard sized bearings. This week will be final clean up of the pistons and putting them in to complete the short block. Fun times!

-
-
You can see the rest of the story here: http://www.classiczcars.com/forums/open-zcar-discussion/49530-getting-close-my-71-a.html
-
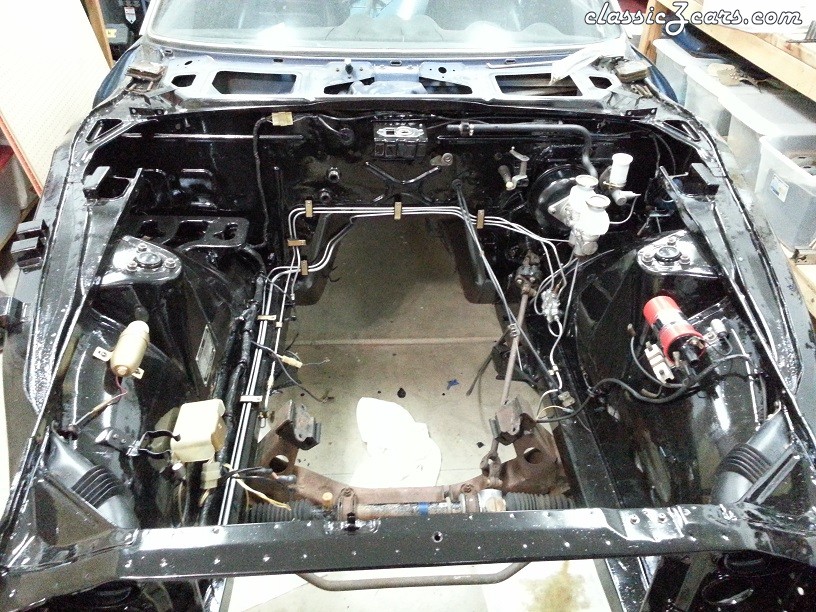
Some of you may have seem my thread over in Body and Paint on rebuilding my 71' that's been sitting in my garage for almost 6 years. You guys can see the resurrection of the previously doomed over here: http://www.classiczcars.com/forums/body-paint-s30/49186-rebuilding-my-71-a.html She had been in a bad accident and was very poorly repaired, now sporting a new front end from a younger girl but it suites her well I'd like to start a new thread documenting getting her back on the road. so far I've gotten the brakes rebuilt, gas tank cleaned out and reinstalled to include removing the evap system by capping the extra vent lines on the tank. Refurbed the new to me differential and replaced a broken axel. Incidentally the original reason the car was parked back in 2000. When the axle broke it took out the parking brake cable and damaged the right rear frame and brake line. All that has been rectified and the car is awaiting a new heart. So today I spent the day cleaning the old block from my 70' race car to do a quick re-ring and drop in my 71'. And here is where its going to live: Stay tuned for upcoming updates and hopefully the first fire and drive shortly!


-

From the album: 71' @40Z
-
-
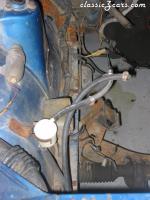
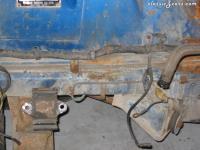
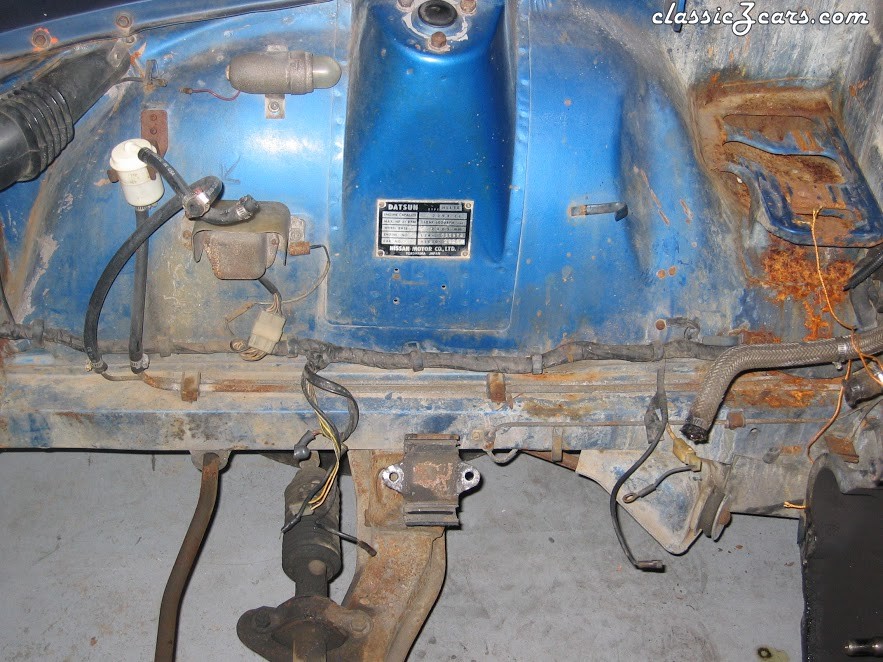
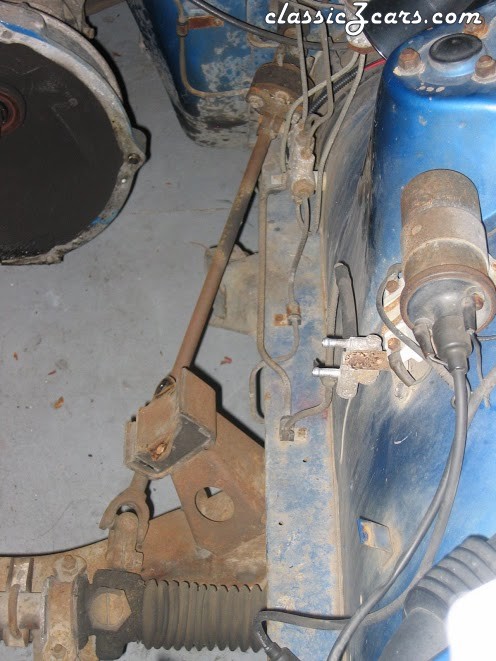
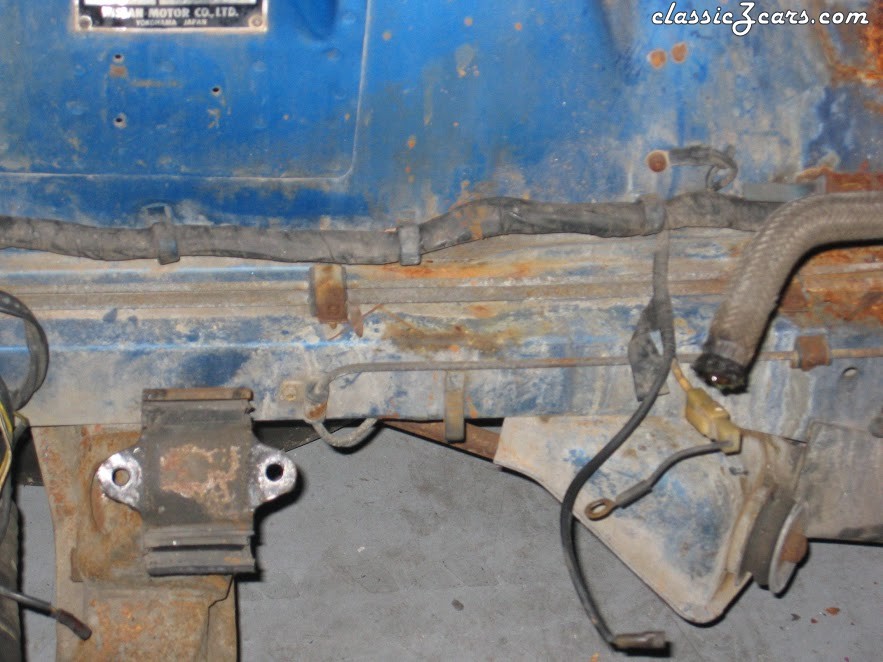
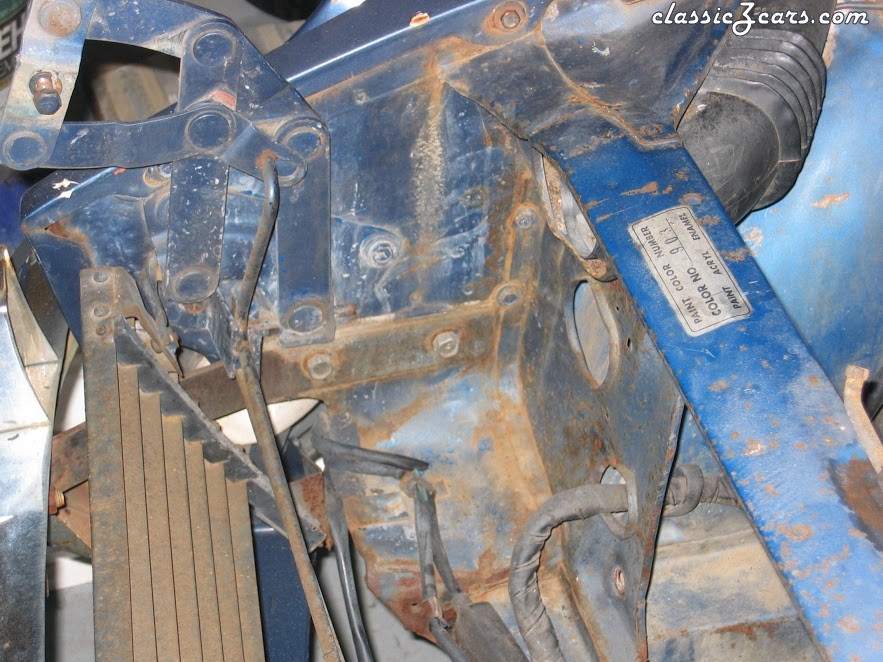
Ok, I think I'll be closing this thread down after this as its too far from body and paint now. So with that I wanted to add a couple old pics of the 71' from shortly after I first got it and pulled the engine. Needless to say I was pretty heart broken when I saw just how stuffed the frame was :-( It was pretty sad for sure, as you can see below. Shortly after puling the engine, what I started with 6 years ago: Contrasted with what she looks like now Notice the frame isn't quite straight here.... Not like the drivers side.... You can see the rusty battery tray area and the kink in the frame just behind the cross member, if you look closely at the second pic you'll notice the TC rod nut is only tightened down about 1/2" to try to compensate for the wheel being almost and inch too far back. Must of had a wicked clunk under braking and really sloppy steering. Evidently they drove the car like this for a long time before breaking an axle in 2000 and parking it outside in that oh so healthy for cars Oakland, CA by the bay sea salt air! And the core support hood hinge area resembled straightened out crumpled paper... I don't have a picture of it but the car looked like it had had a stroke, right headlight droopy, bumper sloping to the right, odd angle on the hood and right front tire. Someone took a BFH to the hood latch support and displaced it 3/4" to the right so the hood would latch as it didn't sit straight on the car anymore. Poor thing..... Well the hood latch is straight now and I expect the hood to close just fine. There will no longer be any droopy eyes for this girl. Things are looking up for sure! Stay tuned for my new thread as I rebuild the engine and get her on the road, then I can start a going through the car and fixing all the little things. Thanks for all the support and kind words, as always the guys and gals on Classic Z are the best!