dar5052
Community Member
-
Joined
-
Last visited
Everything posted by dar5052
-
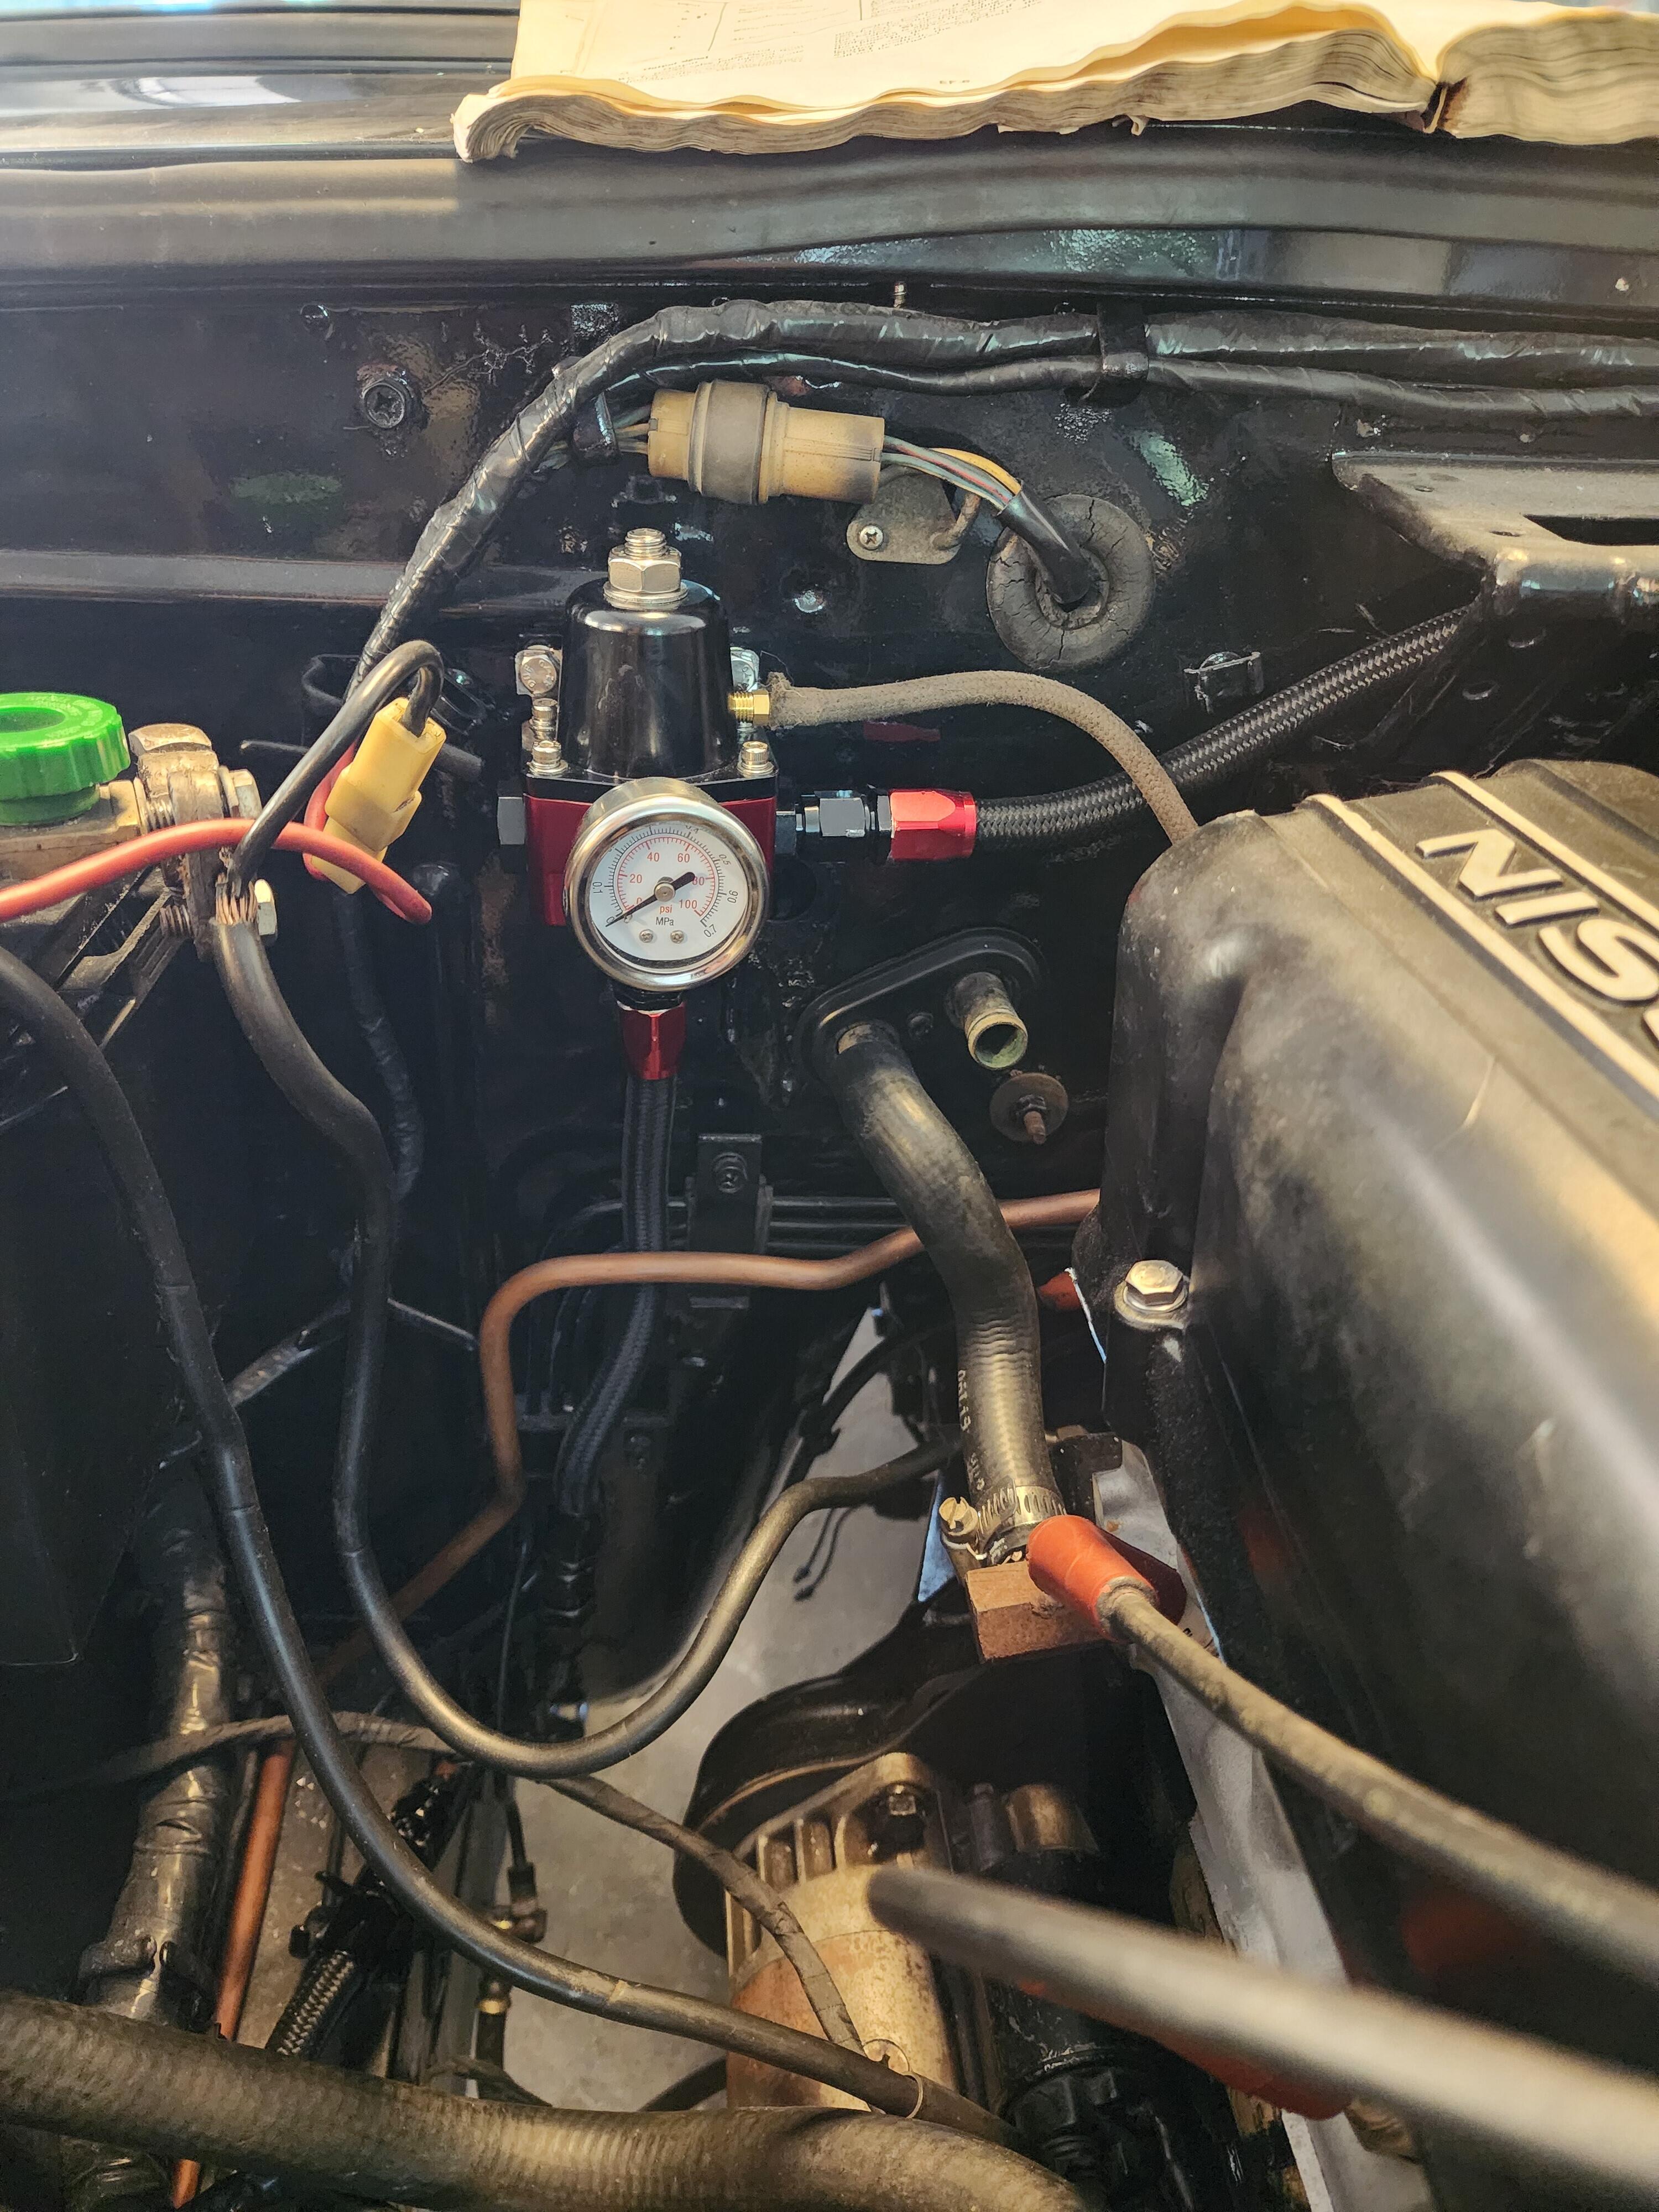
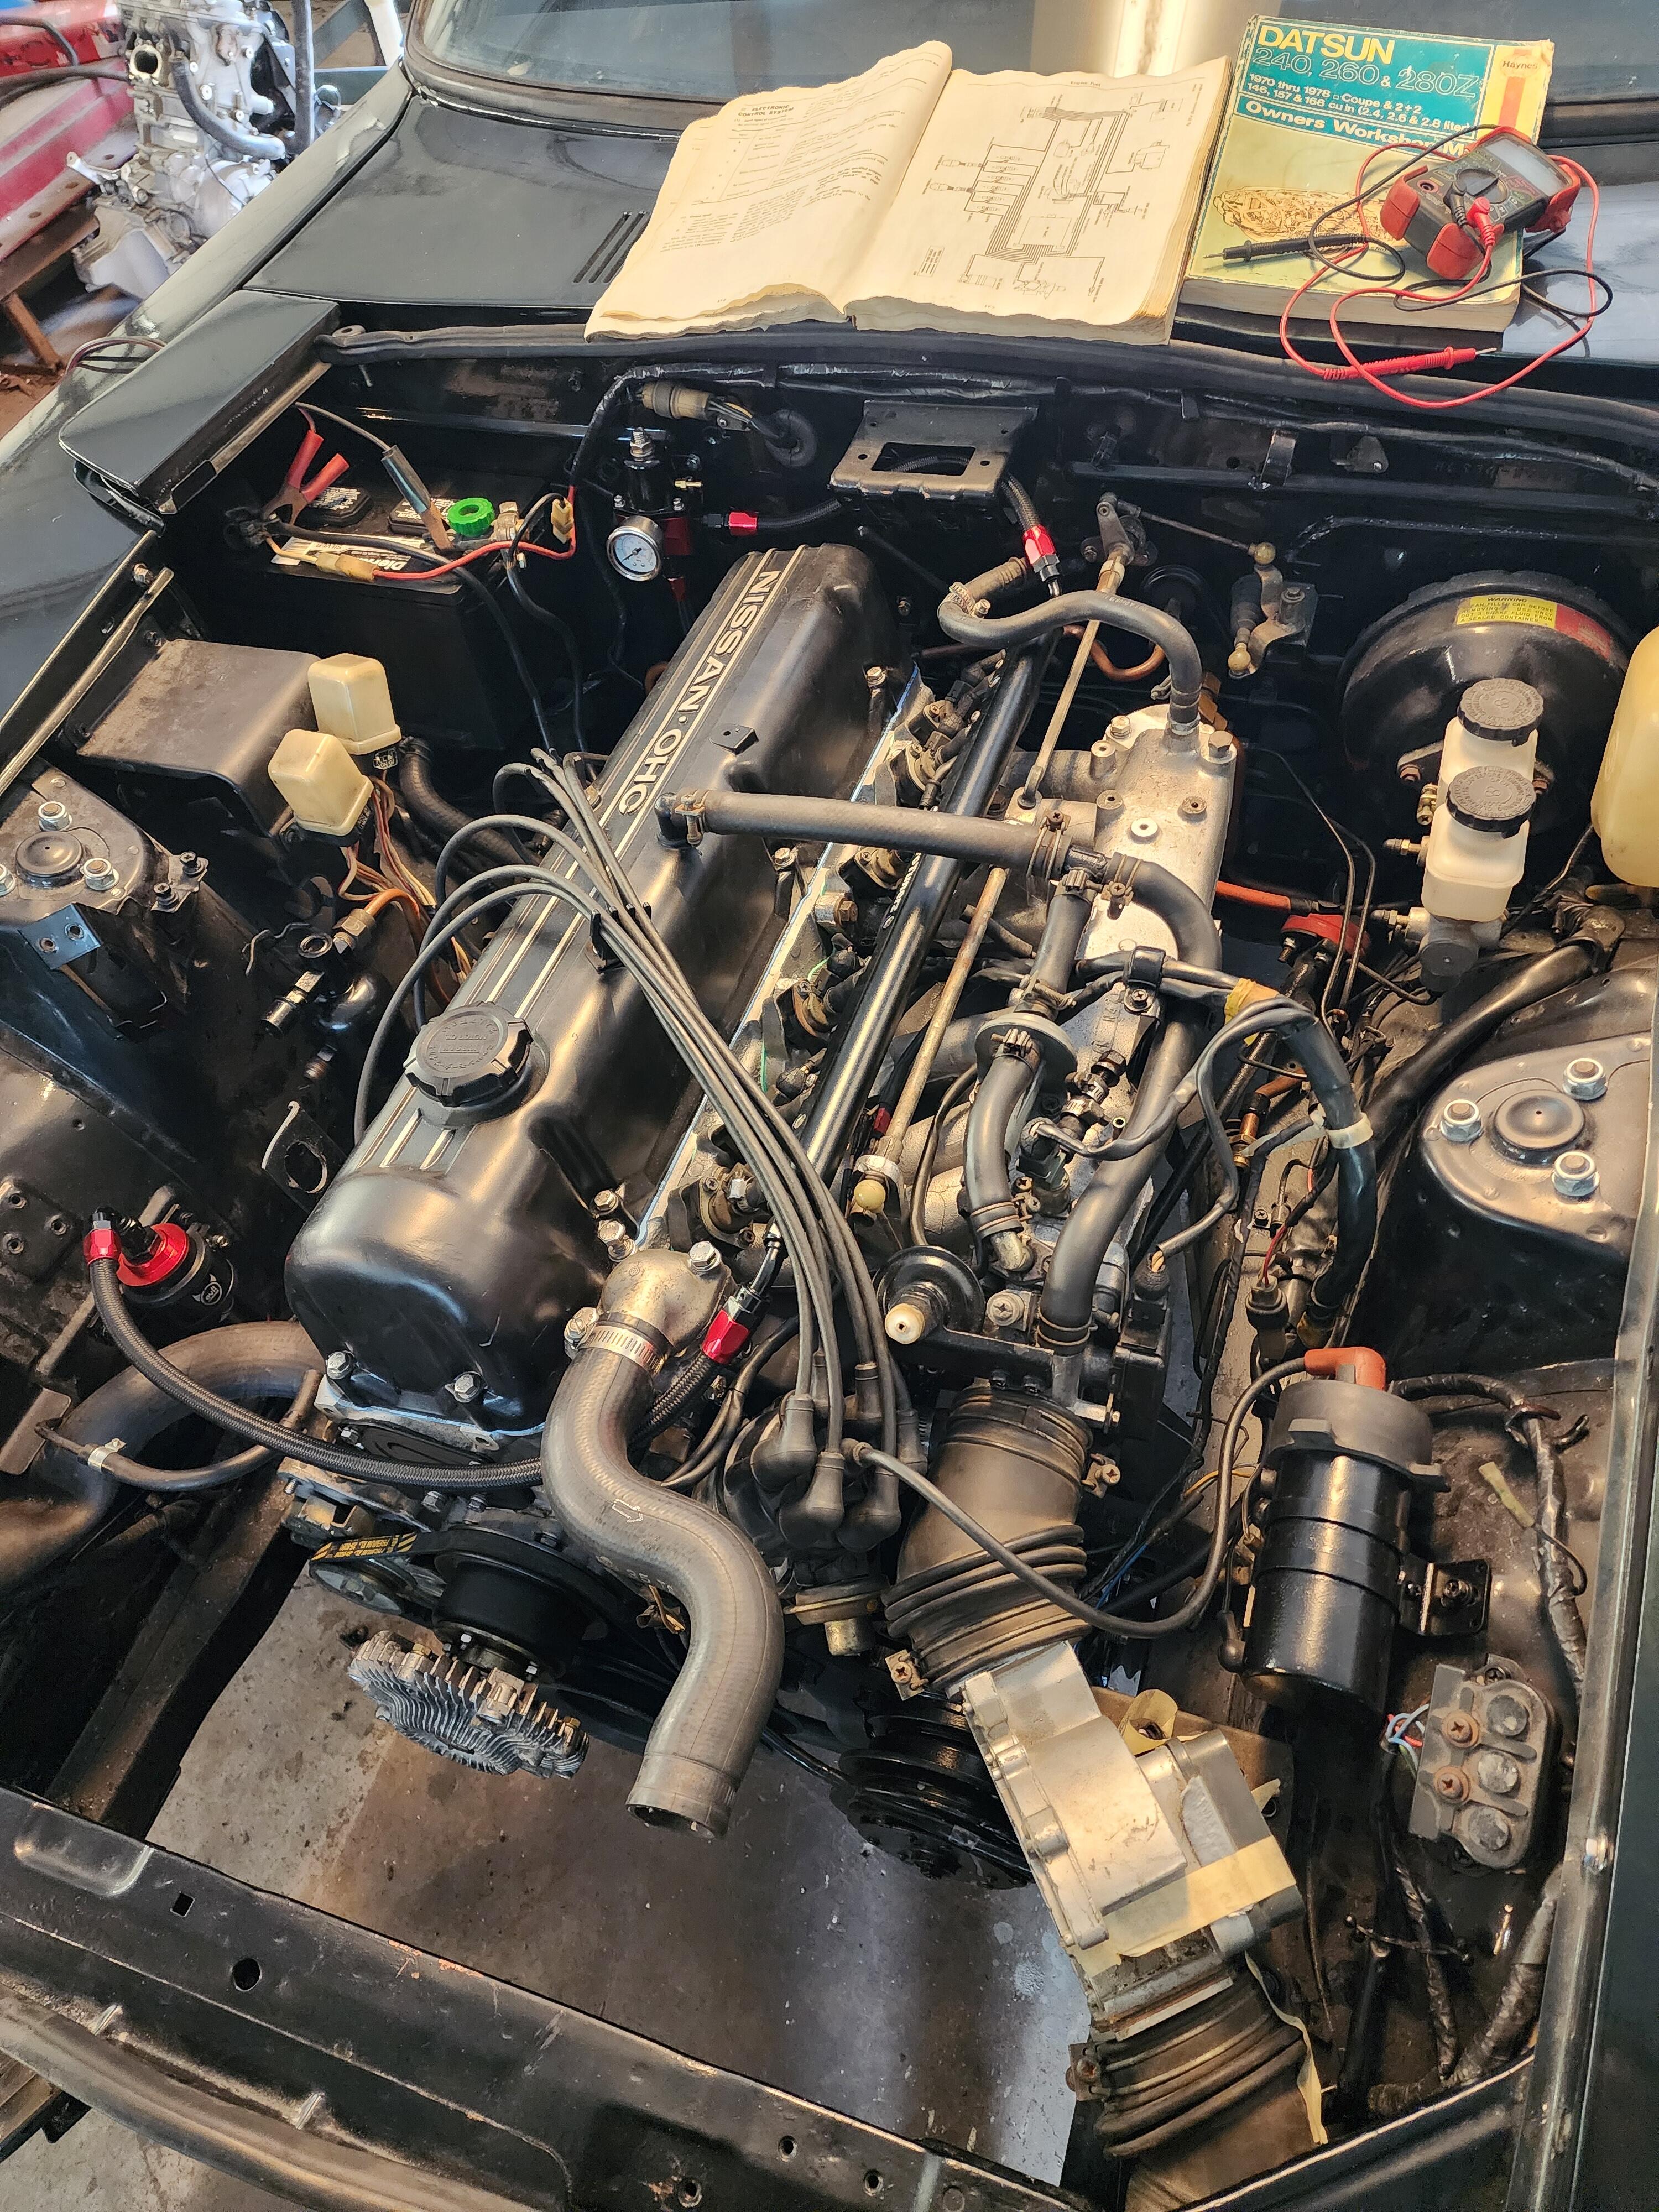
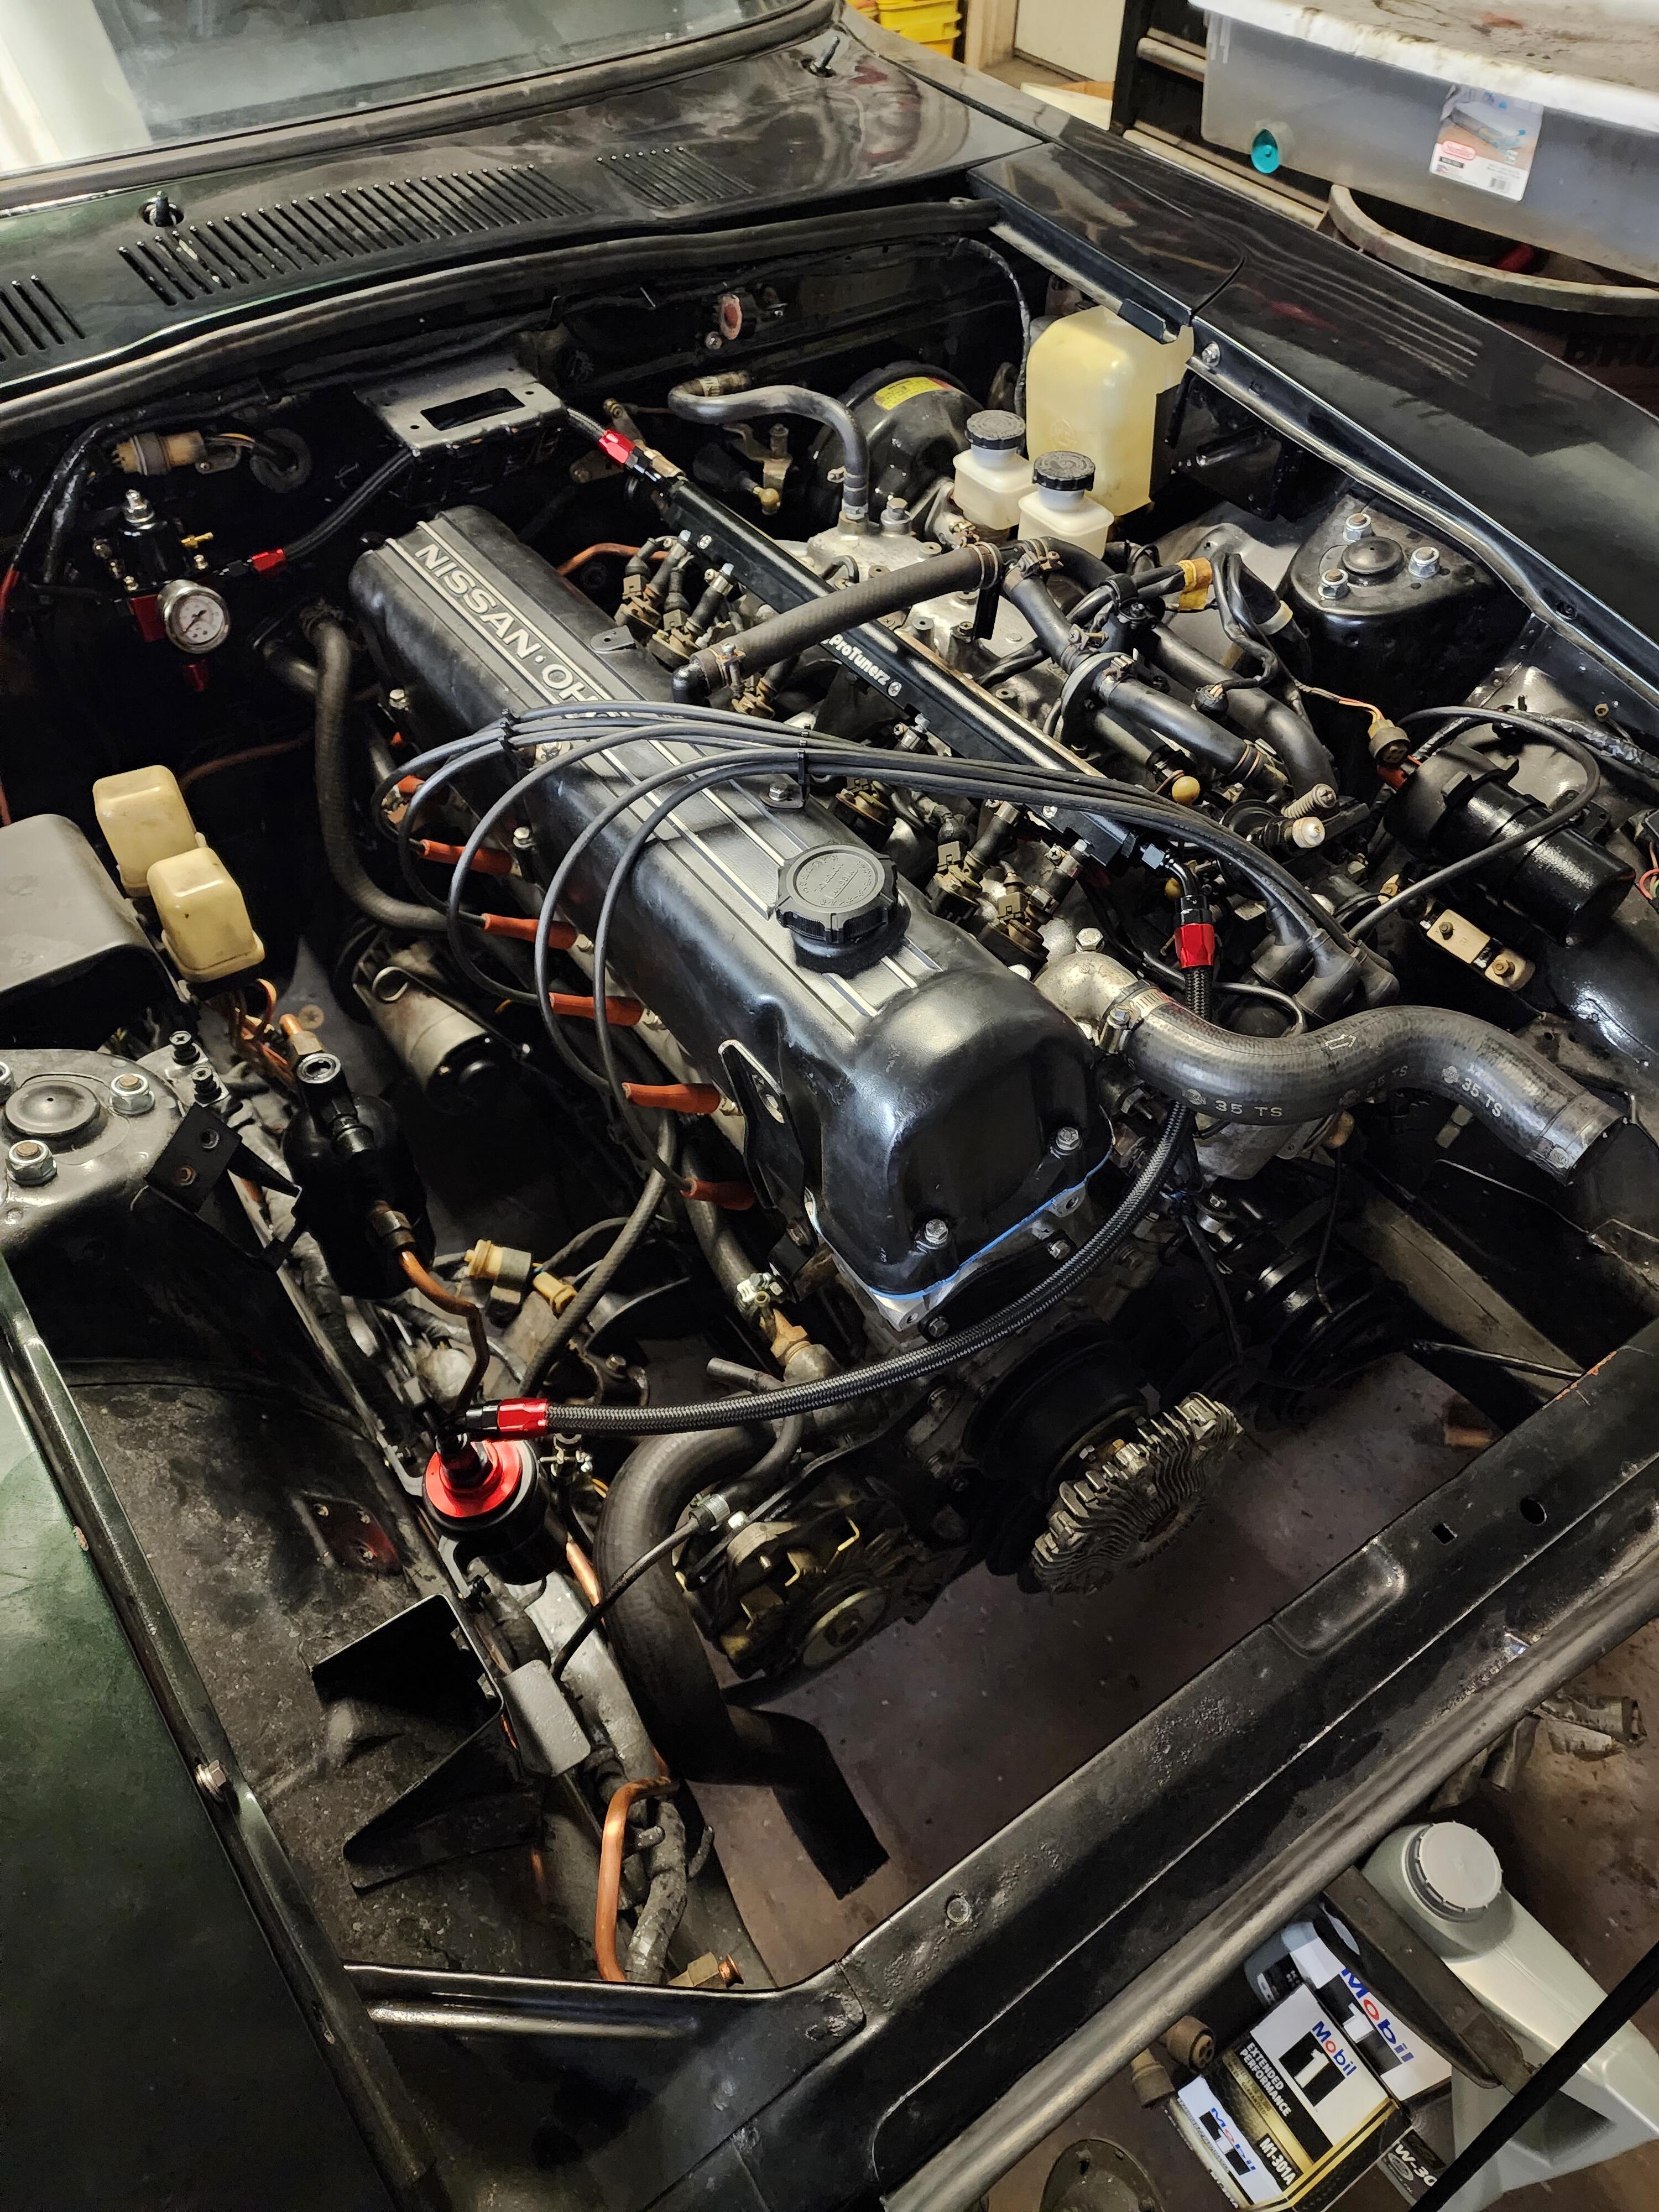
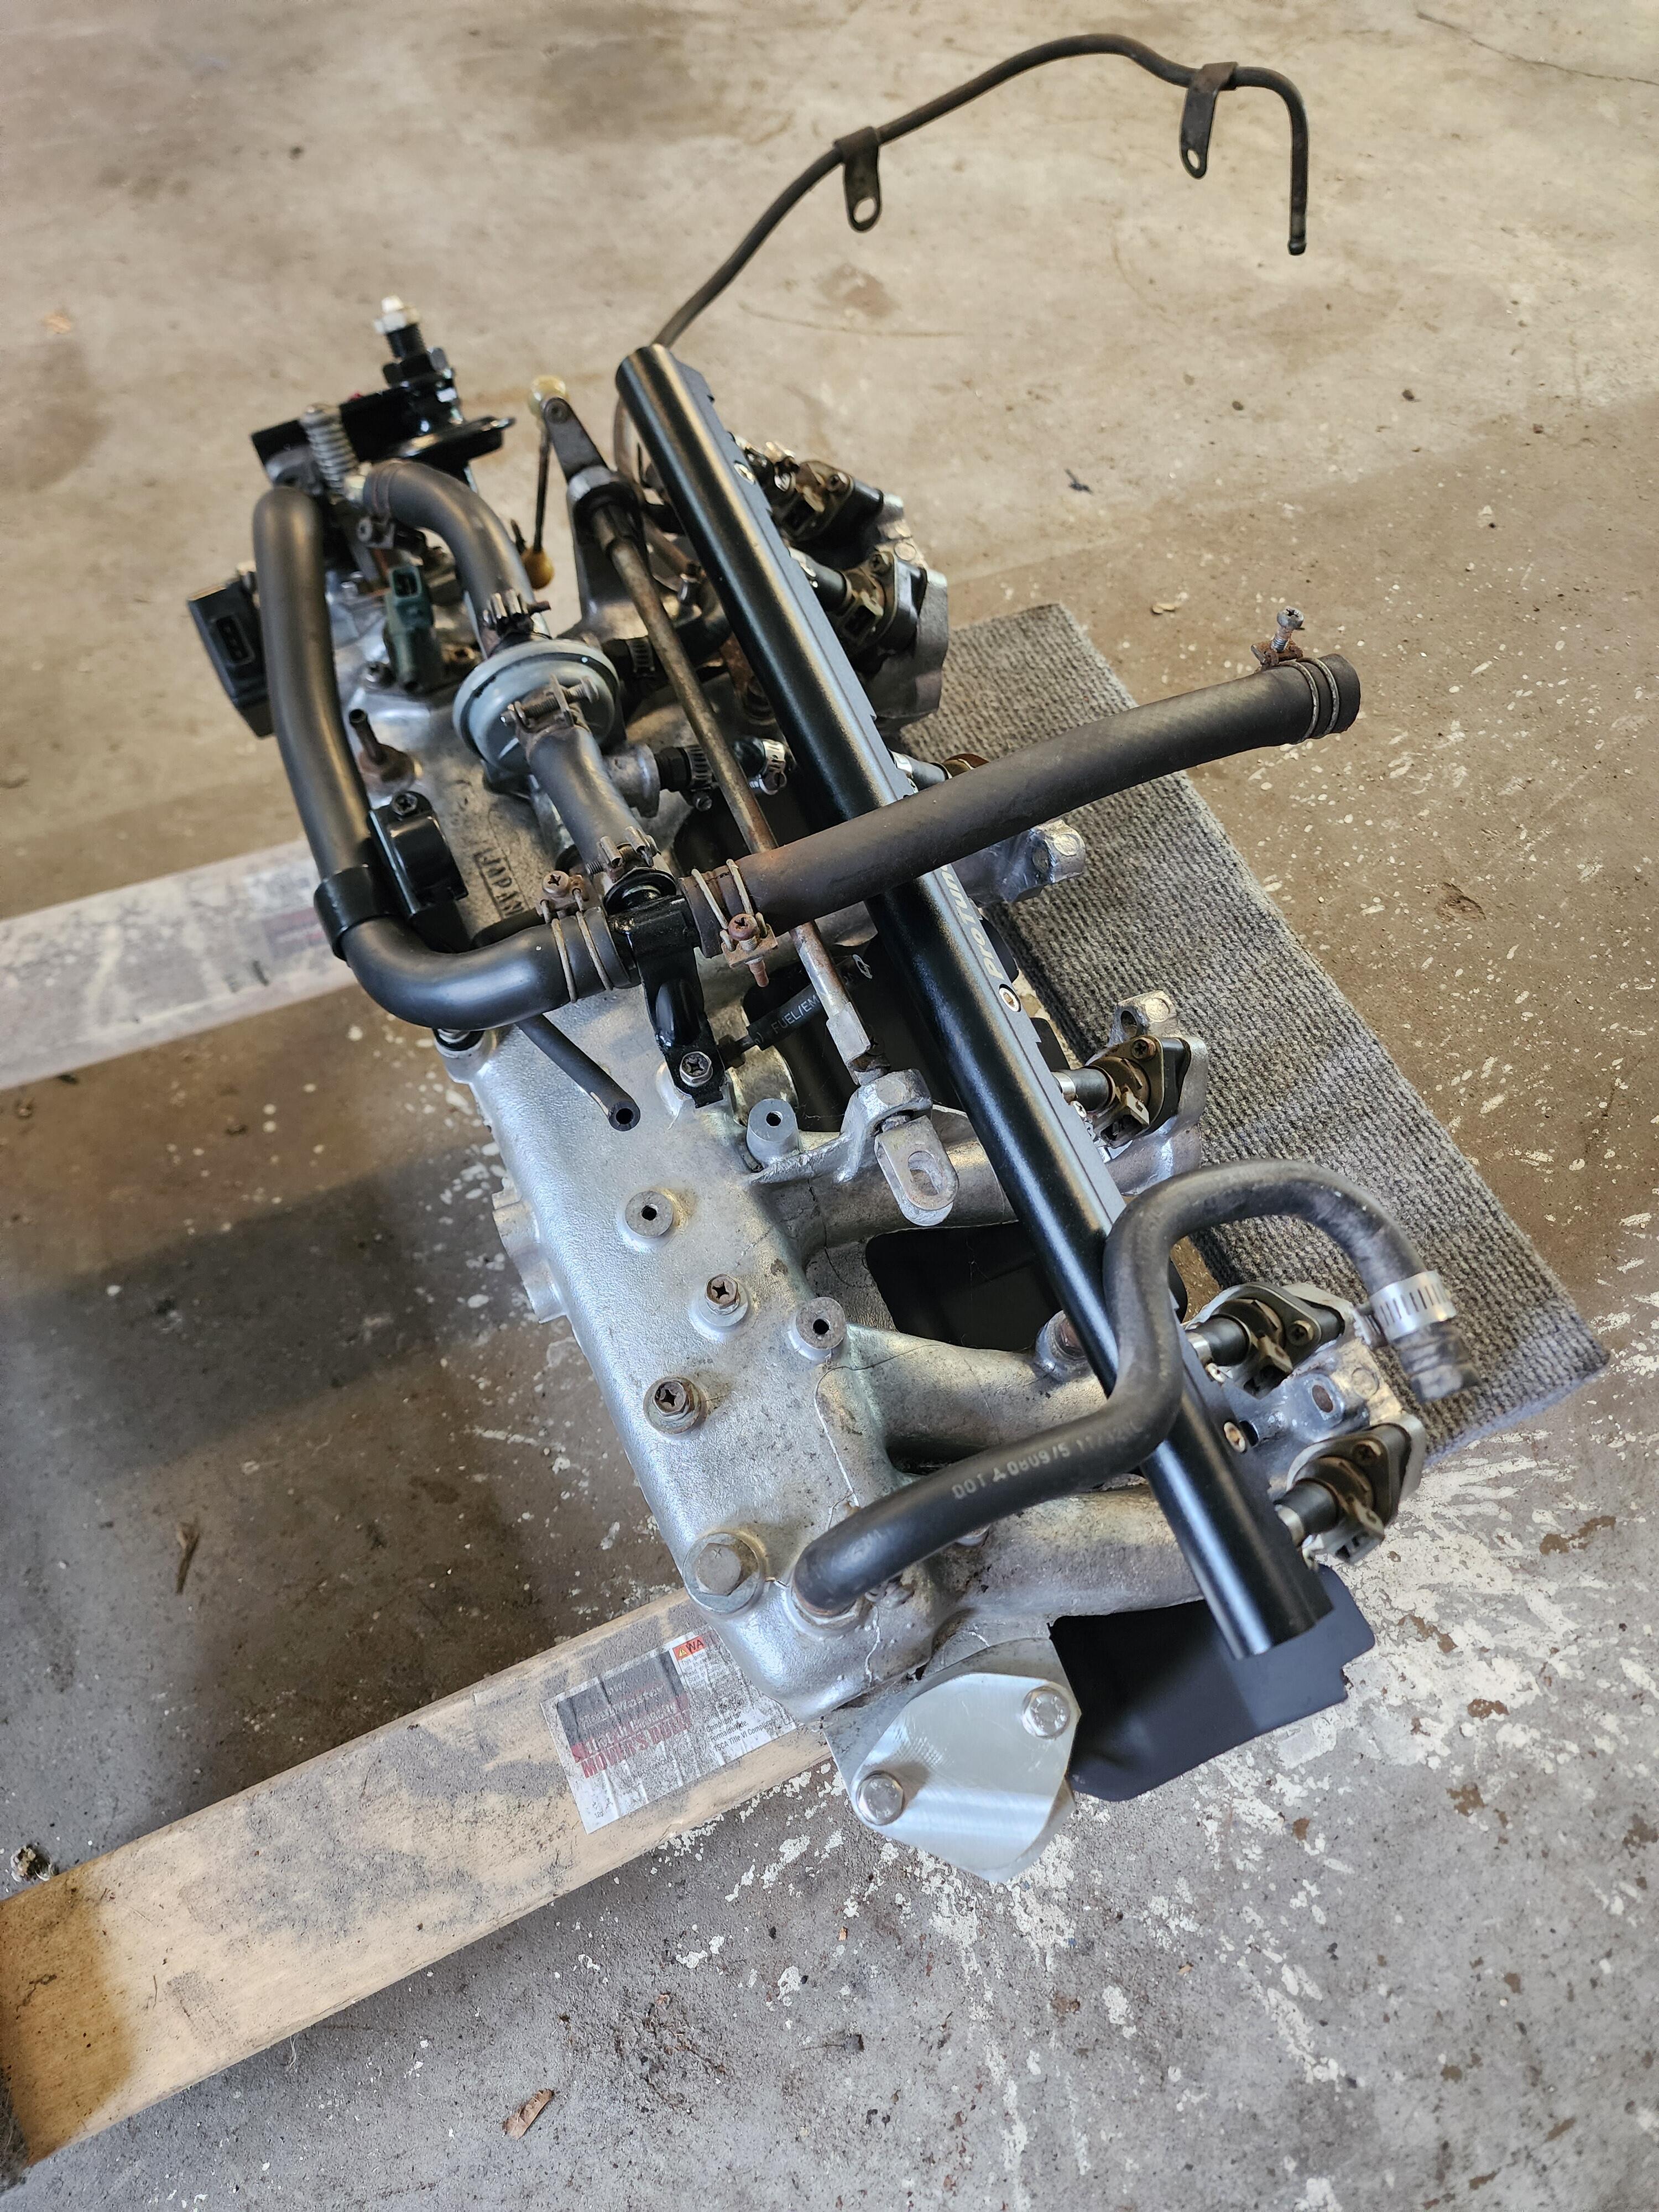
@Yarb whats not stock is the fuel rail, FPR, headers and i took out the egr system. That's all I know of or that I took off/put on. All else is a stock 76 280z.
-
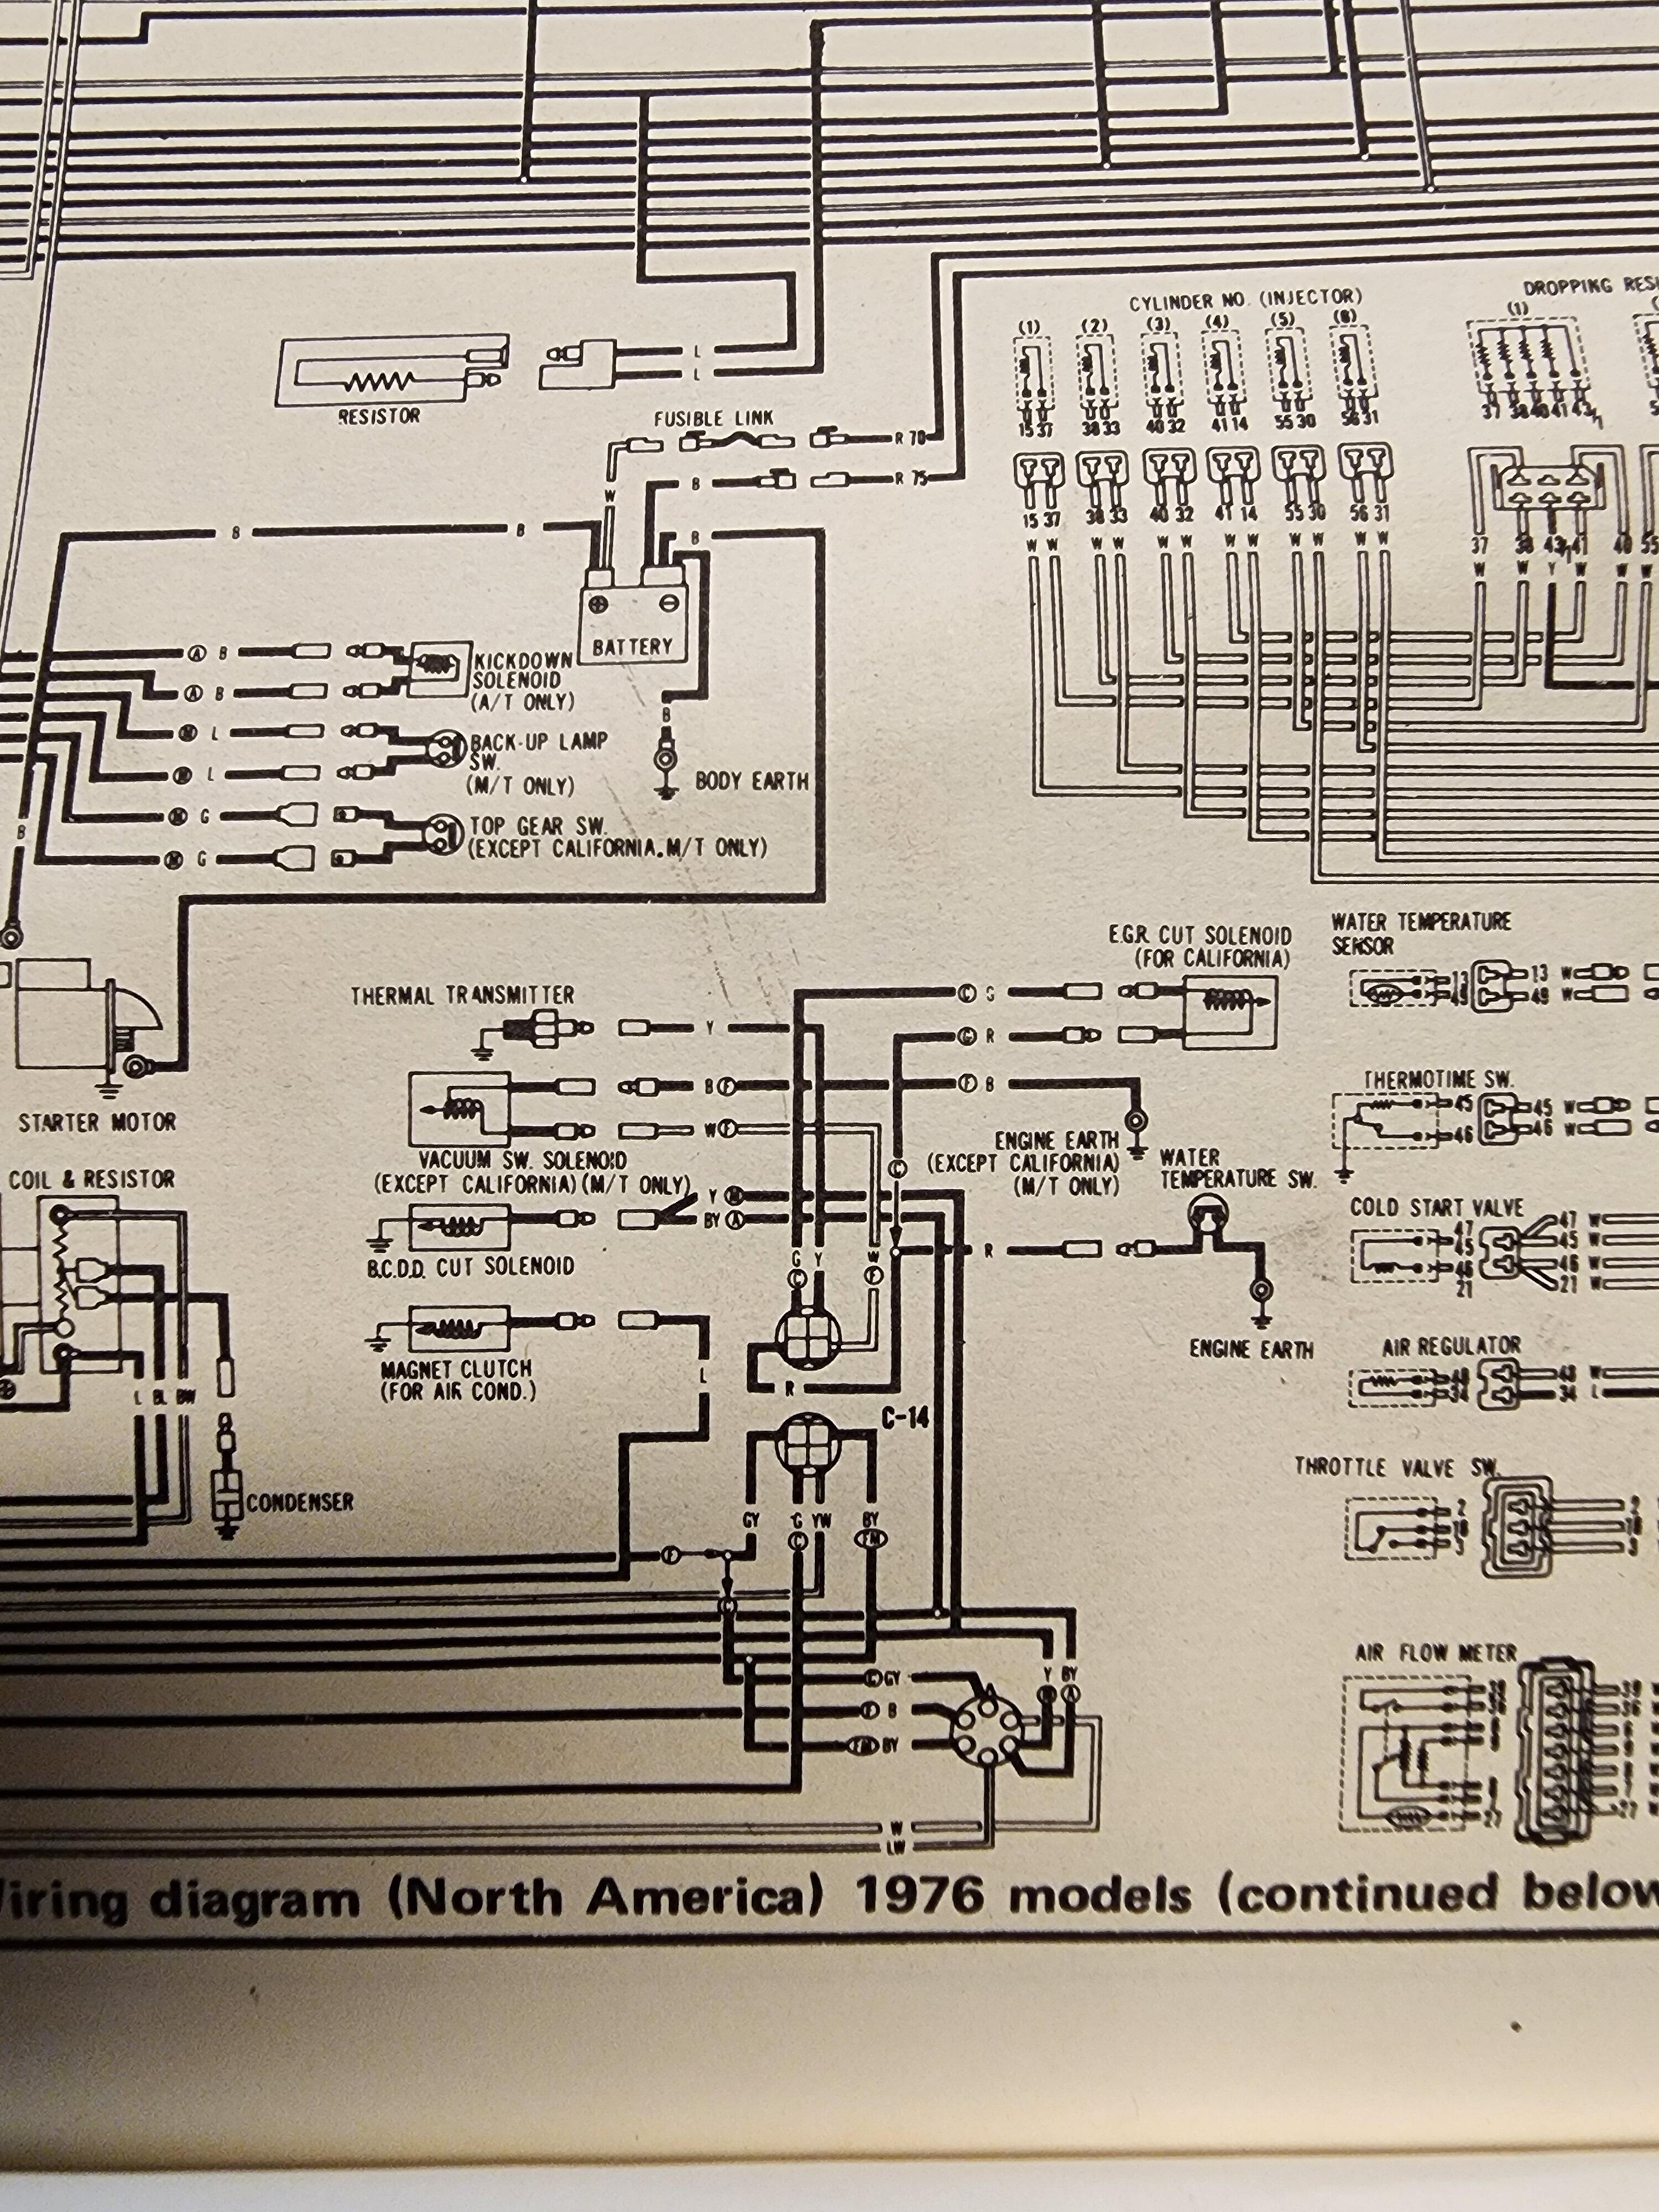
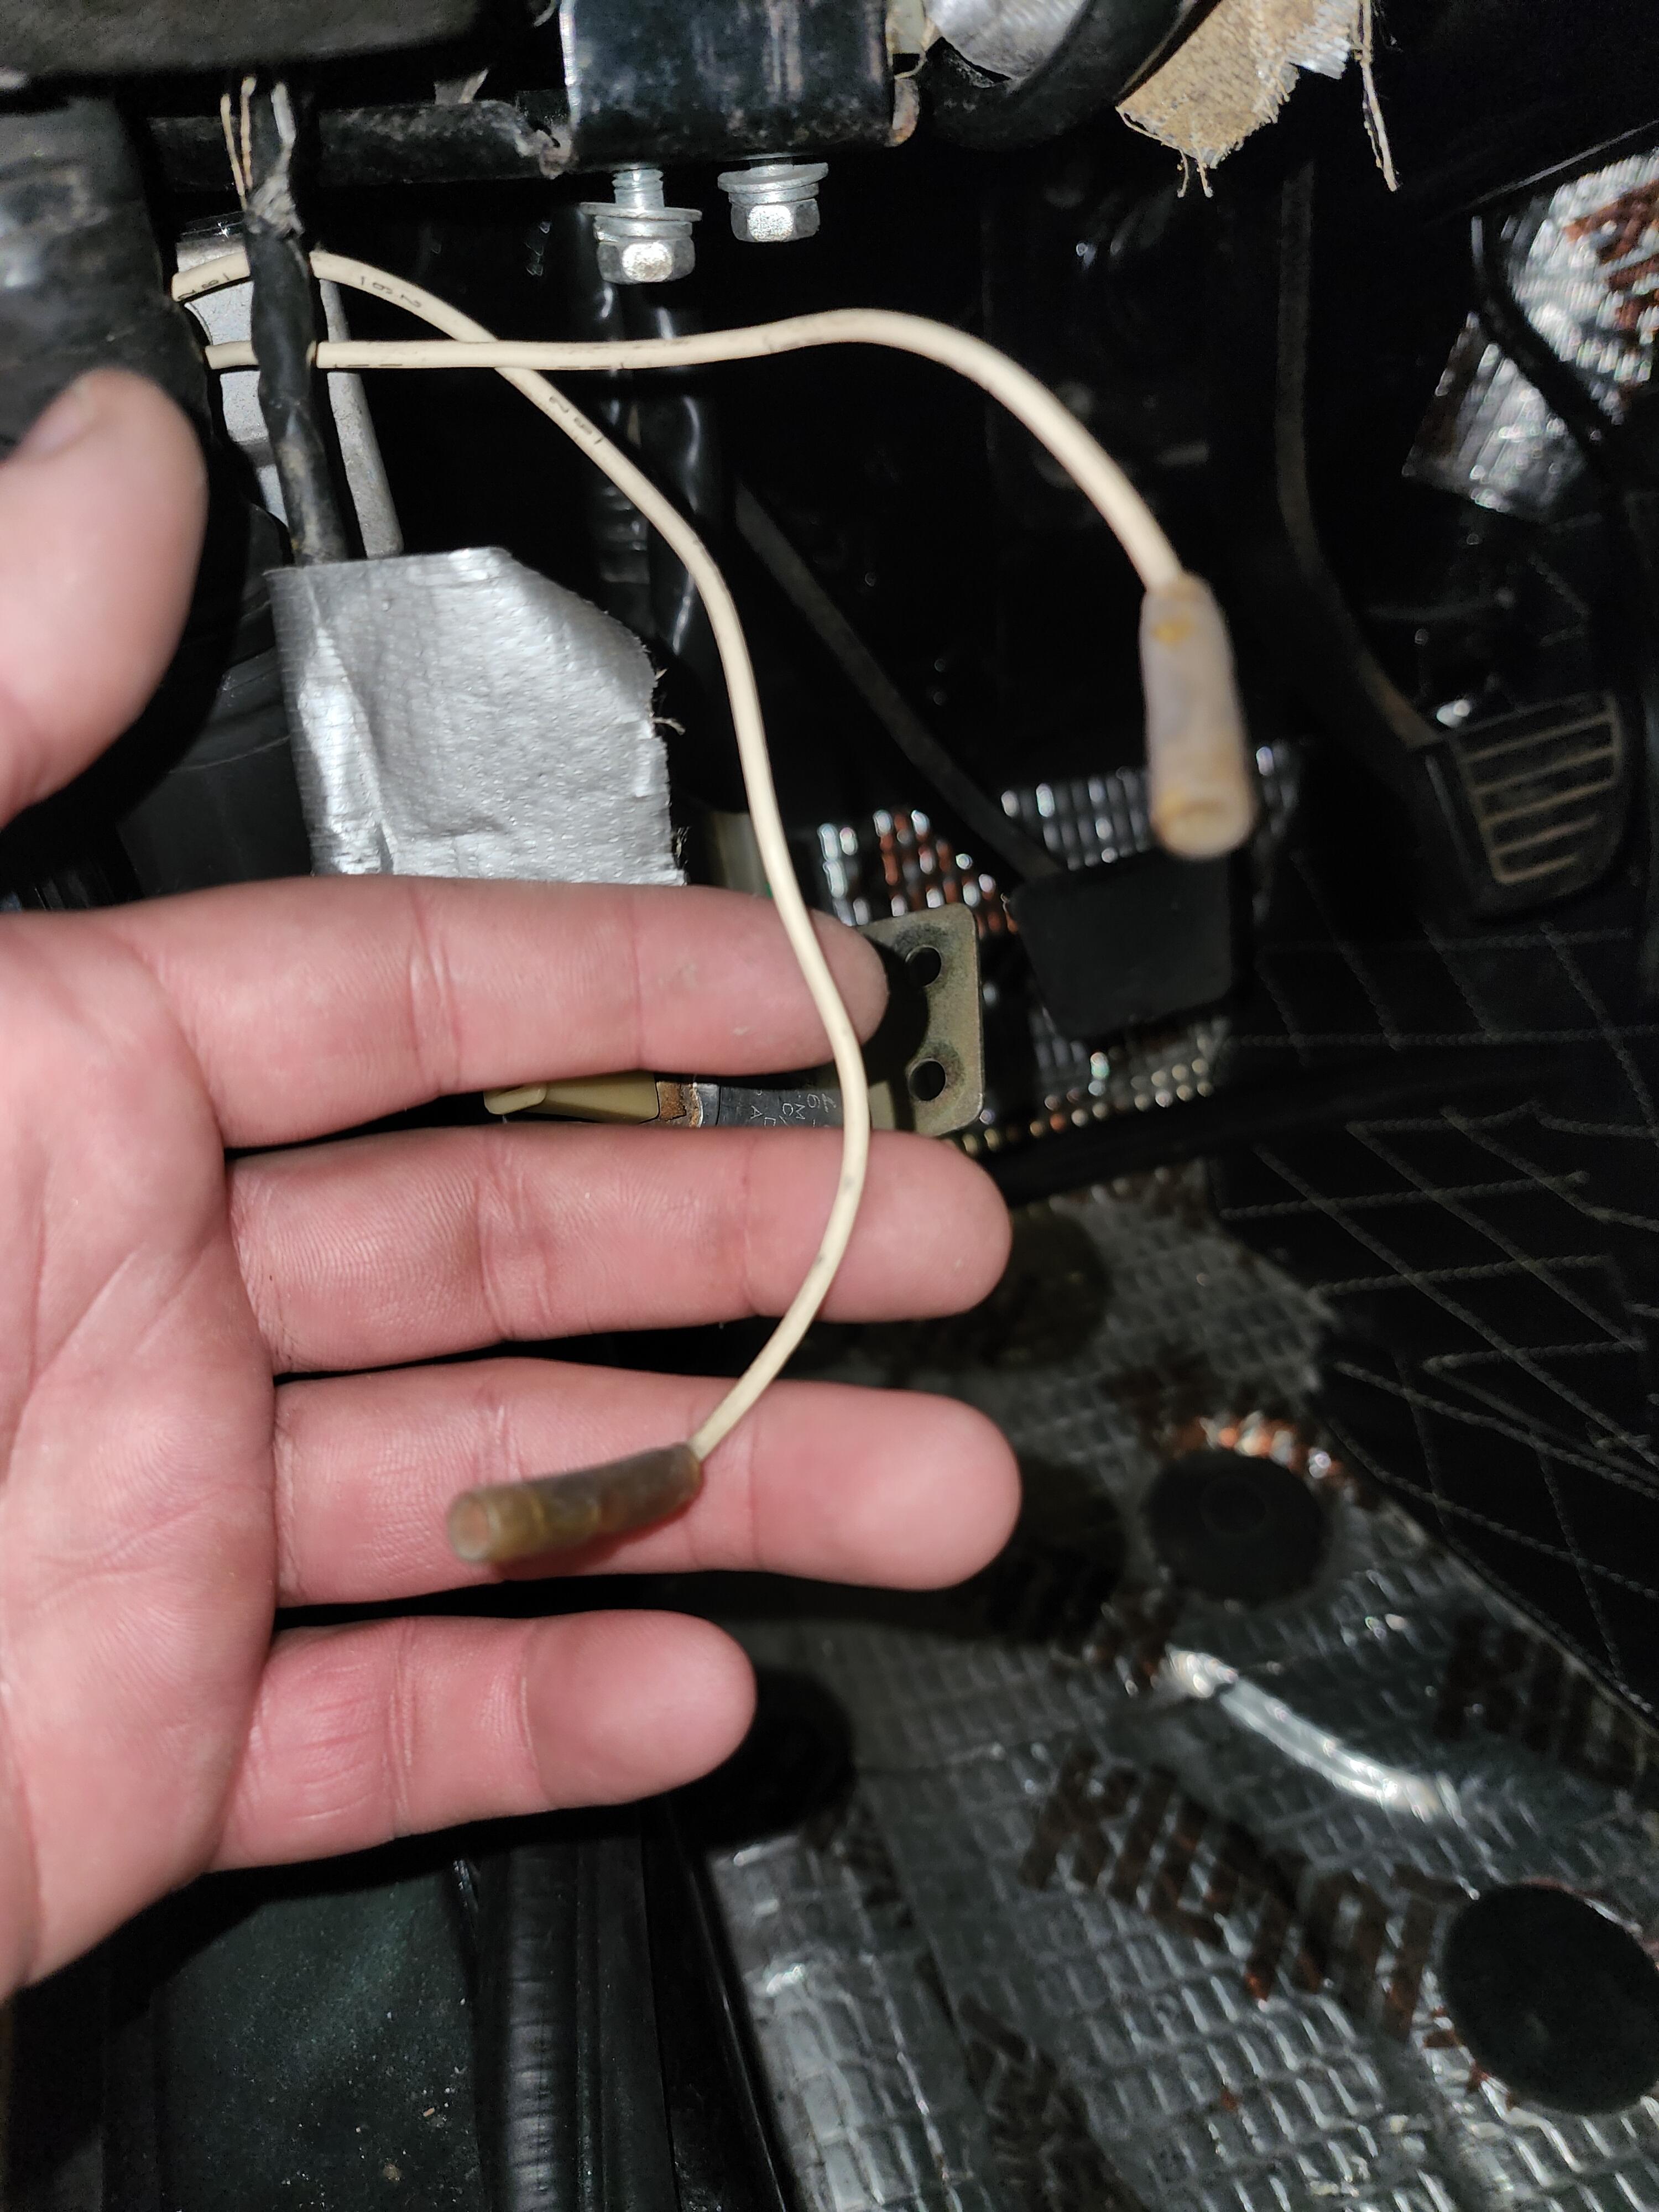
There is one connector that I can't find where it goes. Basically a female connector with a black and white wire. It has 14v running to it when the key is in the "on" position. Anyone know where it goes? Ive searched my diagrams and cant figure it out.
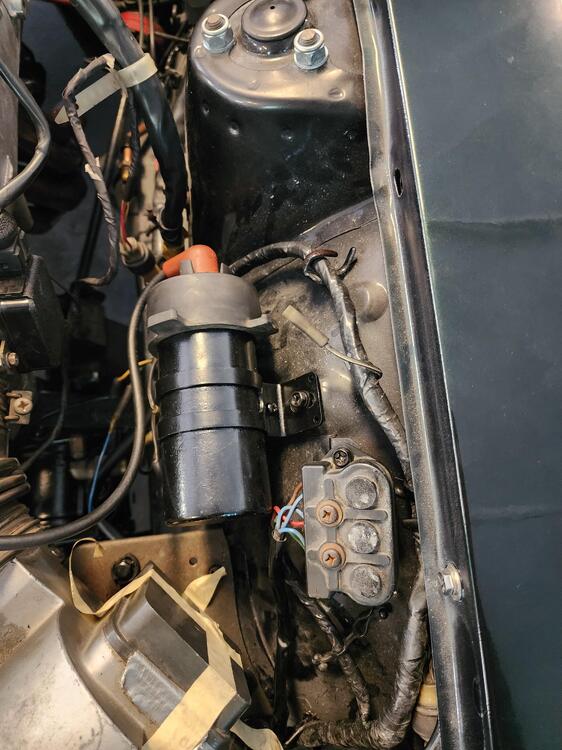
-
@Yarb I have an aftermarket FPR that is adjustable.
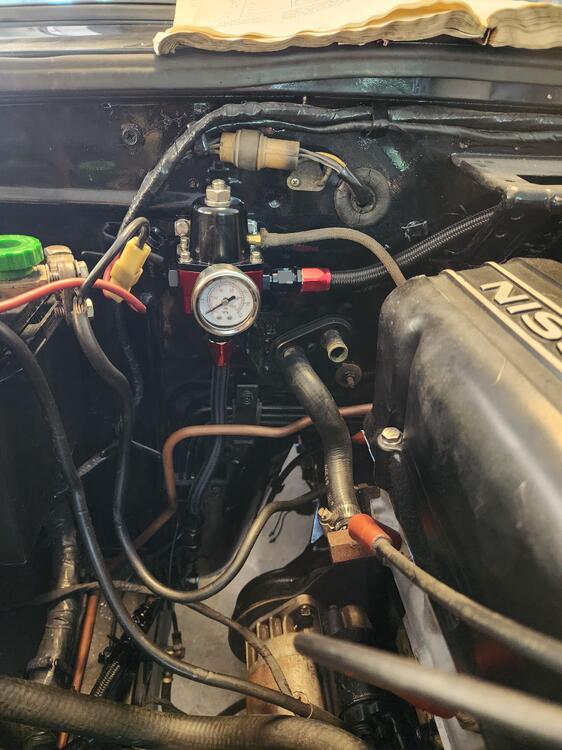
-
@Yarb my fuel line comes from the tank to my filter, from there it goes to the rail/injectors, and then I have the FPR right before the return to the tank. My fuel pressure was pretty low so I boosted it up to 40psi and that helped a little. Would I need to go higher on pressure if I'm running an aftermarket fuel rail? @Zed Head it's definitely running rich, I can smell it in the garage with the fans on and the doors open. I'll test the water temp circuit but I'll only be able to see the low end given that I don't have coolant in the car. Doesn't help that I don't have an exhaust on the car at the moment so it's pretty load and difficult to listen to the motor when it's on. But I will say, the throttle response is terrible and it won't hold idle. When I have the throttle down and steady, it seems to be okay.
-
I don't know if I would call it starting and running. If I hold the throttle all the way down, it will fire up but run very rough and die when I lay off the throttle. Would there be audible clicking from the injectors when trying to fire up? I had someone try and start it while I felt the injectors to see if I could feel them clicking open but I couldn't feel or hear anything. I checked the voltage for each injector at the 35 pin connector and each has 14V going to it.

-
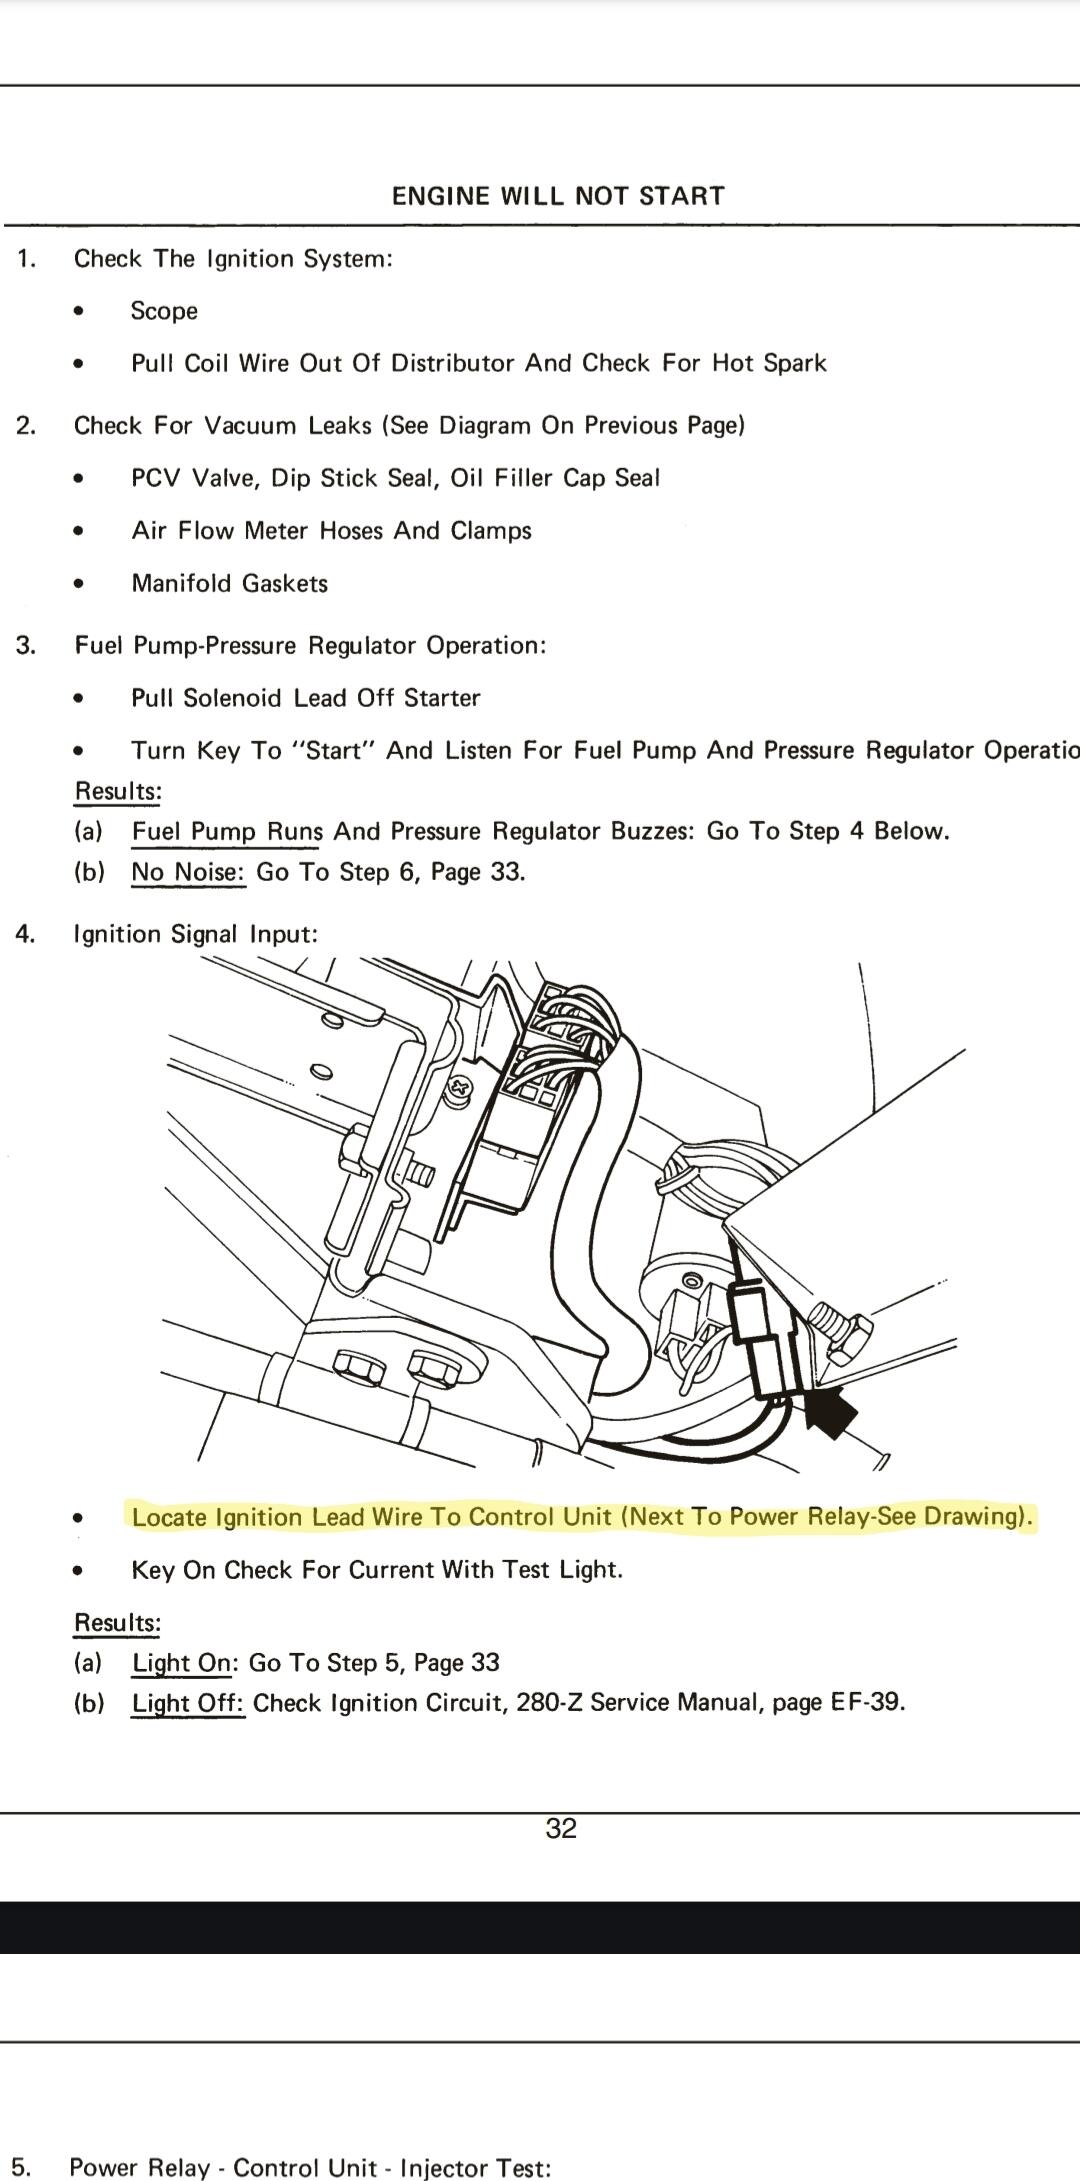
Thanks @Zed Head. I remembered I had another head in storage so I went and looked at it and found the connectors there. I went to fire the car up today and couldn't get it going. It started a few times but ran rough and shut off. I have decent compression, oil pressure, and spark. I know that My fuel pump is kicking on when I hit the "start" position on the ignition. Oddly it doesn't prime in the "on" position. Is that normal? Baeed on some things i have done so far, seems to be a fuel delivery issue. I am troubleshooting with the EFI Bible and am wondering if anyone can point me to the ignition lead wire. See photo with highlighted sentence. Thanks in advance.
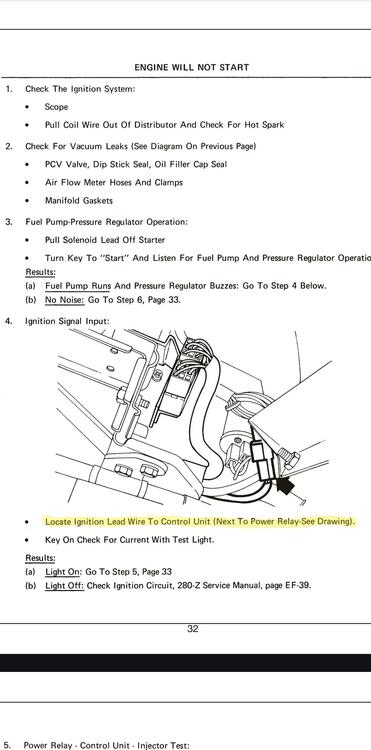
-
@Zed Headthanks for the thorough explanation.
-
Stock ecu, non cali... I should have taken more pics when I took it apart. Unfortunately the ones I have, I can't see this area
-
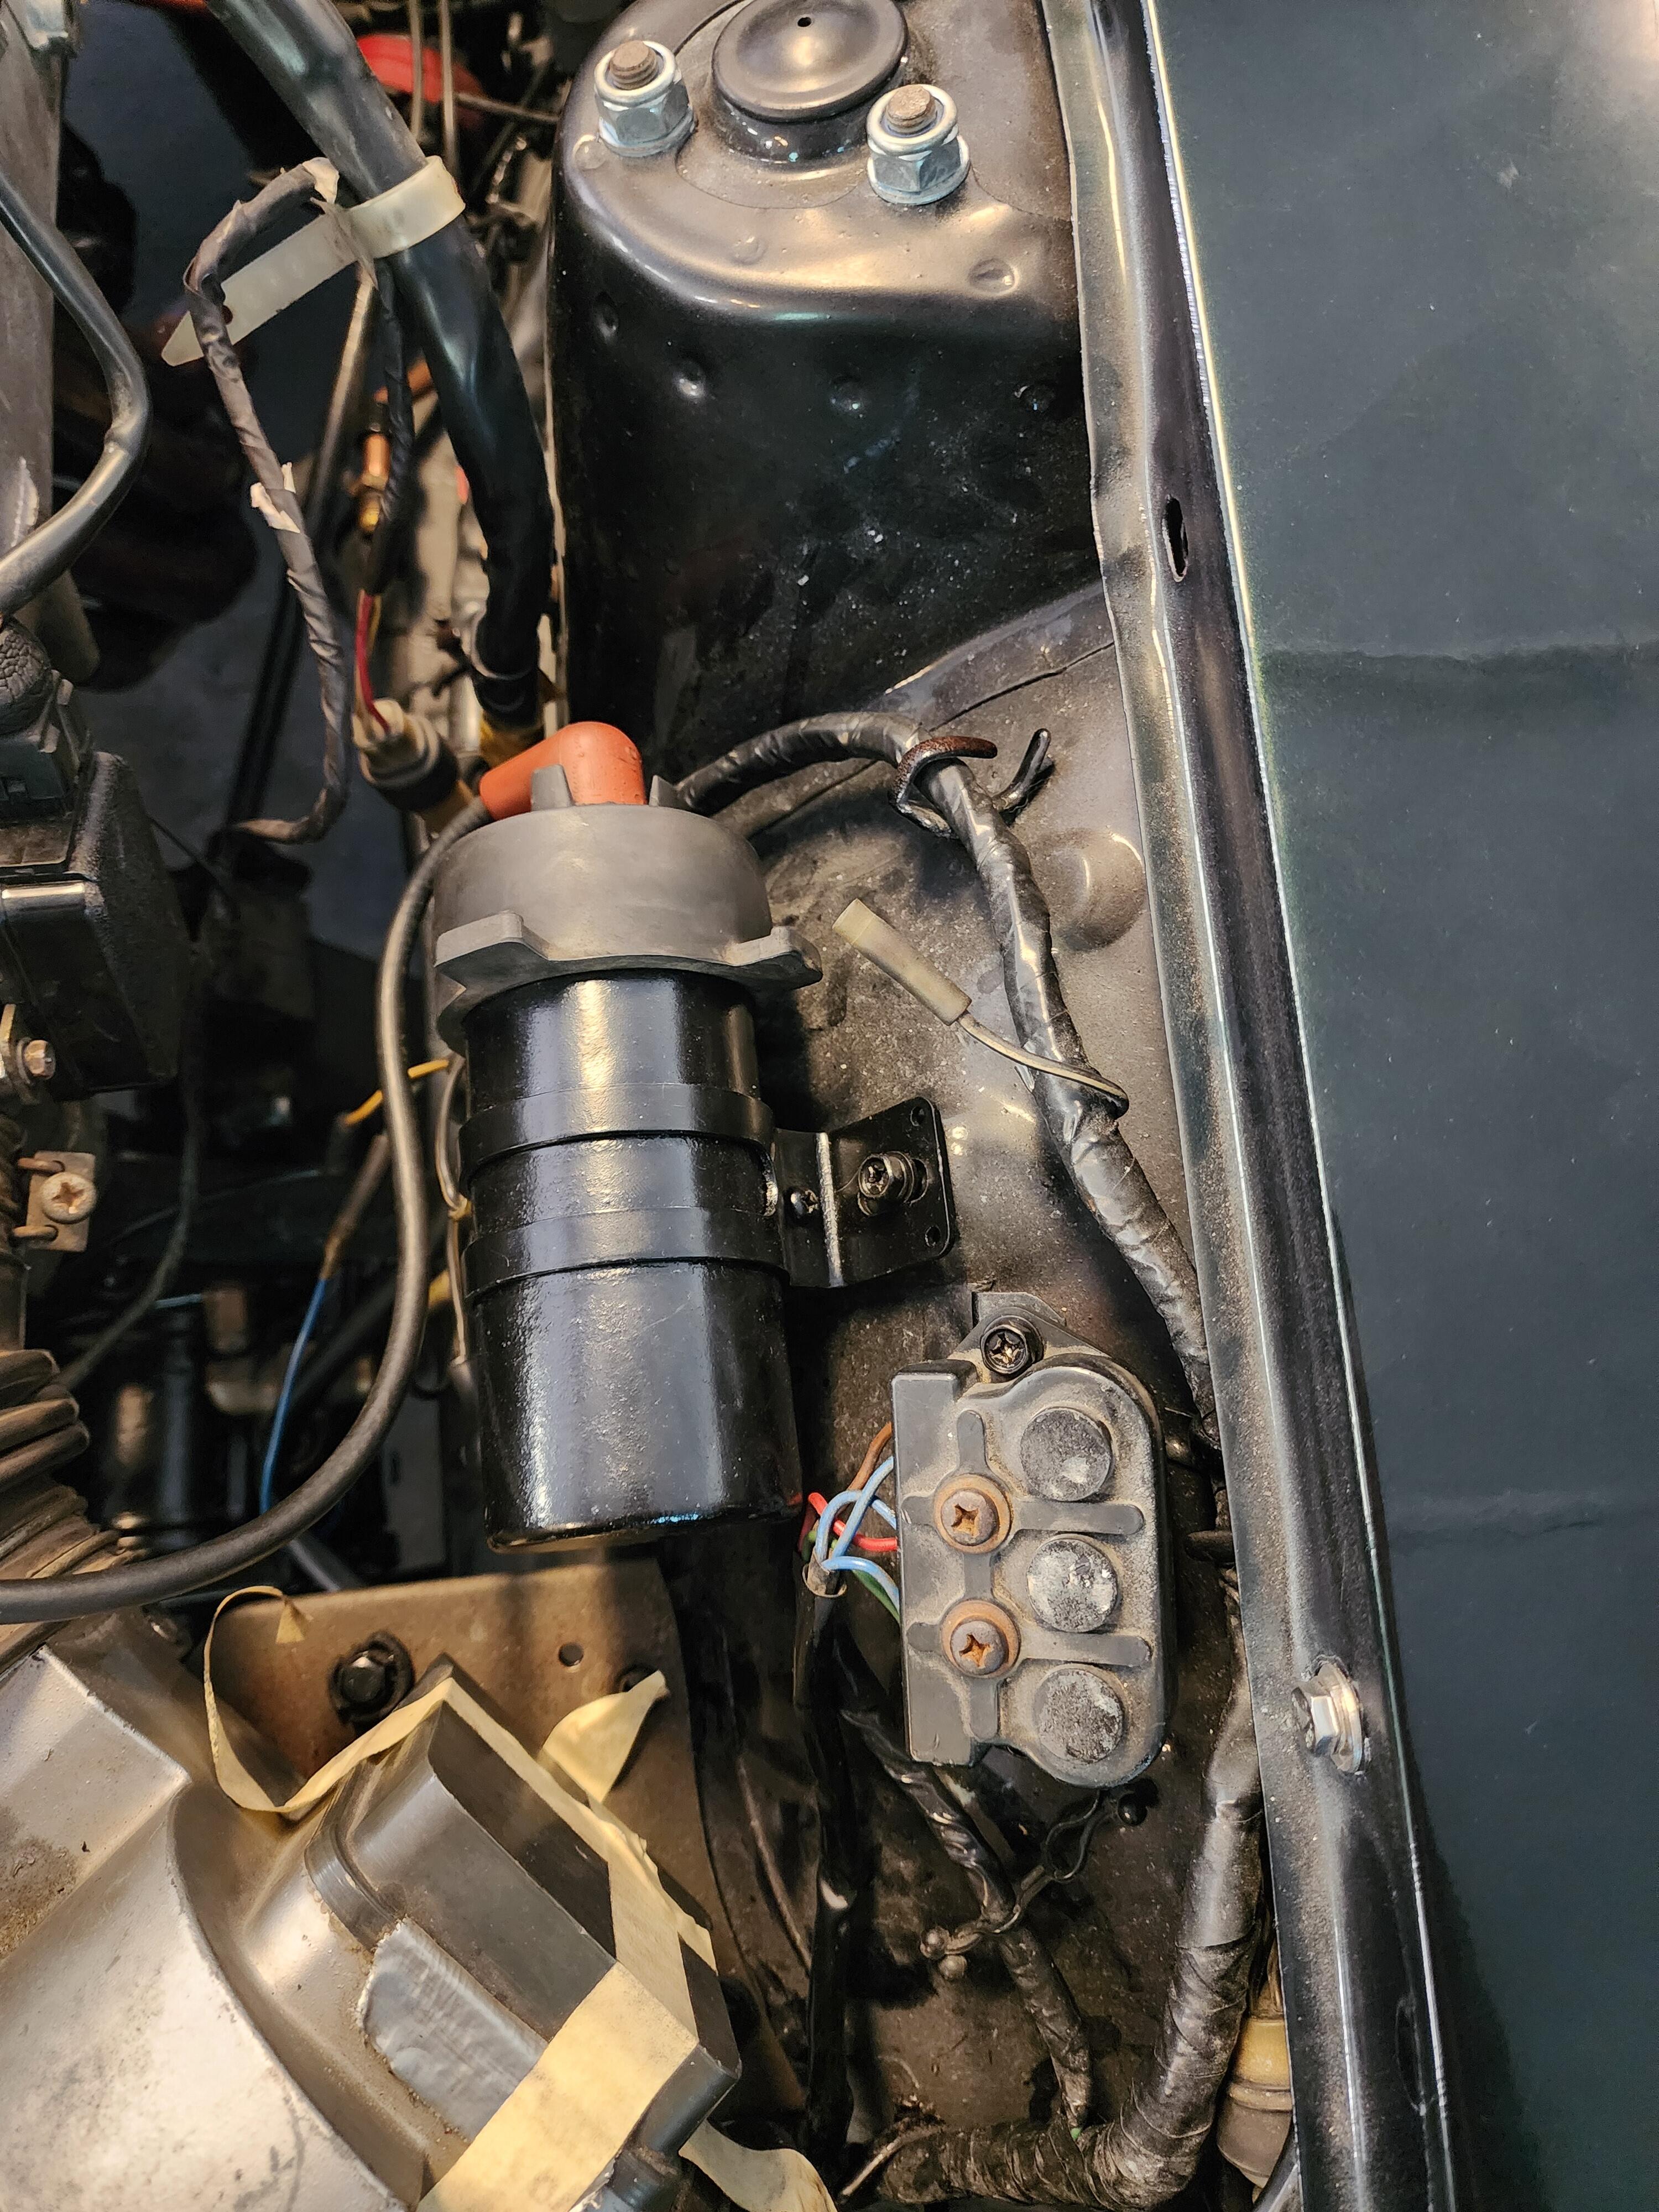
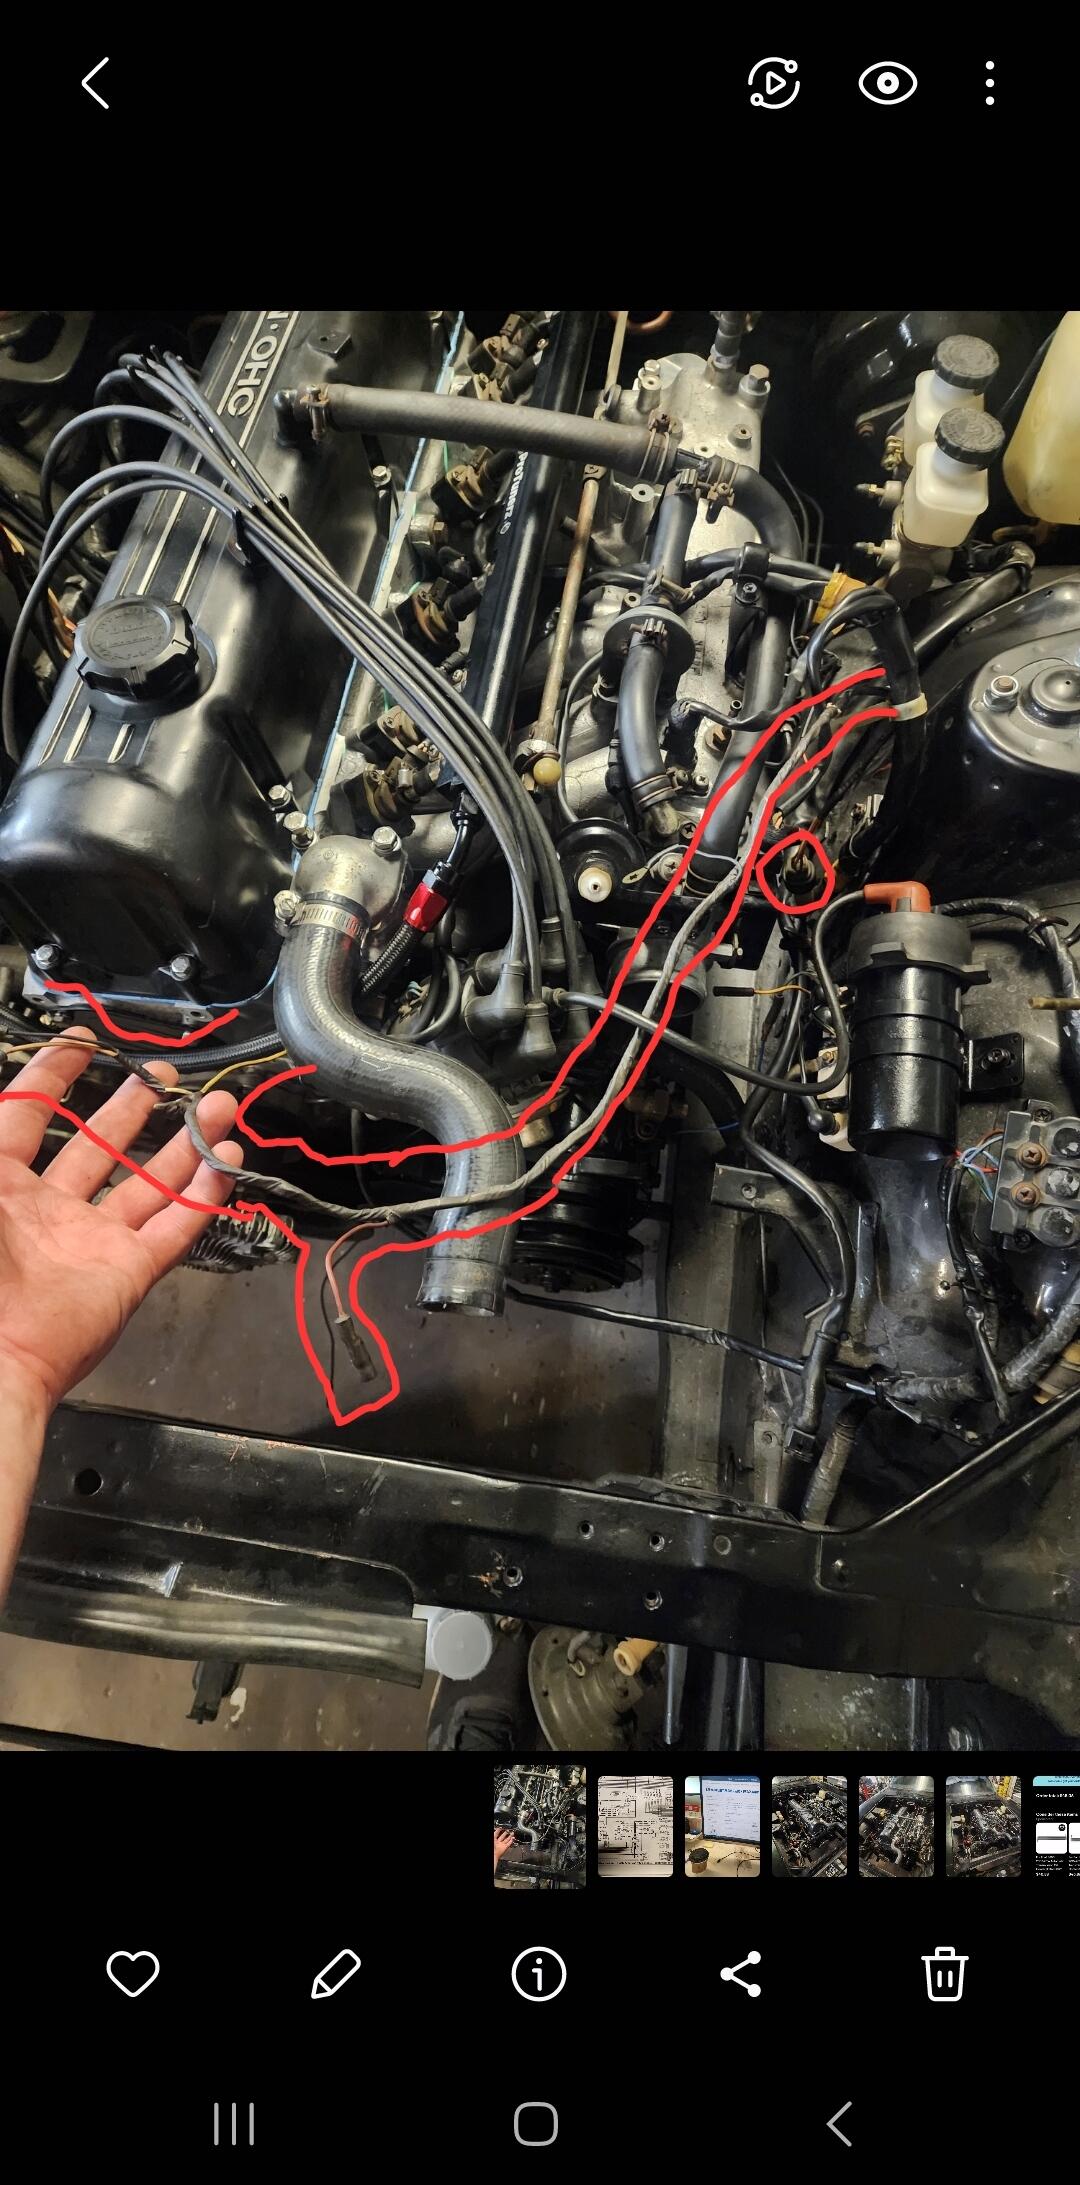
Can someone help identify where these connectors go? The yellow wire goes into the thermal transmitter but I can't figure out the red, white, or black. For the white and black the manual says vacuum switch solenoid. I can't find it, maybe I'm missing parts. The red is supposed to go to a water temp switch, I can't find anything to connect it to. Photos would help. For reference, it's a 76 280z. The red circle in the Pic below is where the loom connects.

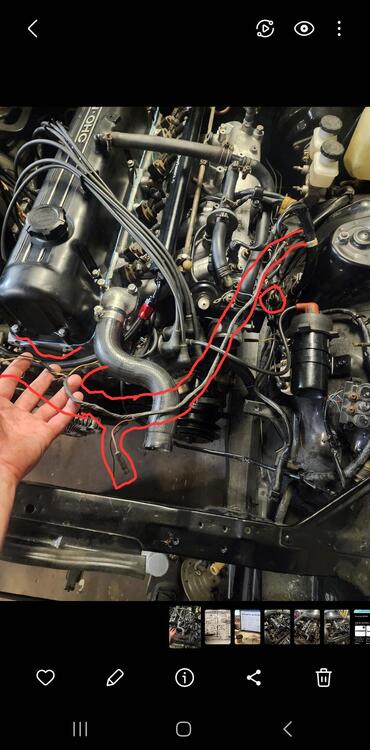
-
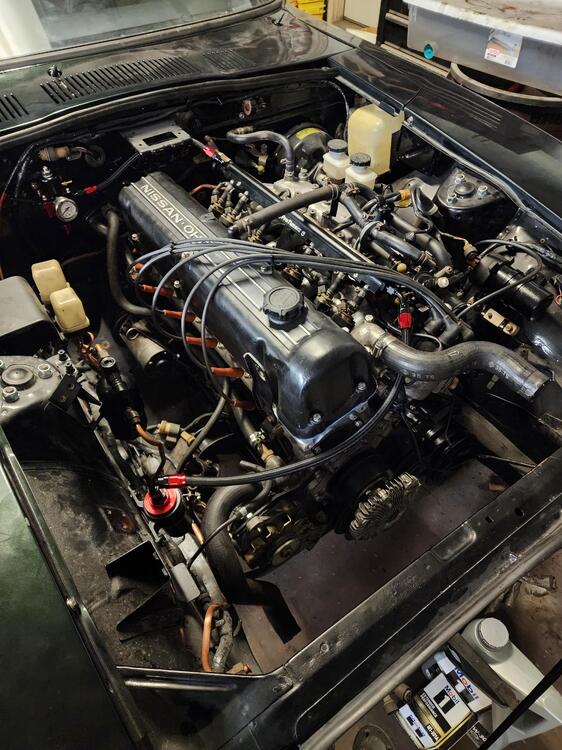
Getting close to starting it up. At this point I just need to finish the fuel feed and return, hook up the rest of the wiring, put on some belts, put on the intake, add some oil and some fuel, and see if it starts. Hopefully have it test fired by the weekend. It's been almost 3 years since I pulled it into the garage... everything has grime and sweat all over it because it's been so hot in the northeast but it should clean up nice...
-
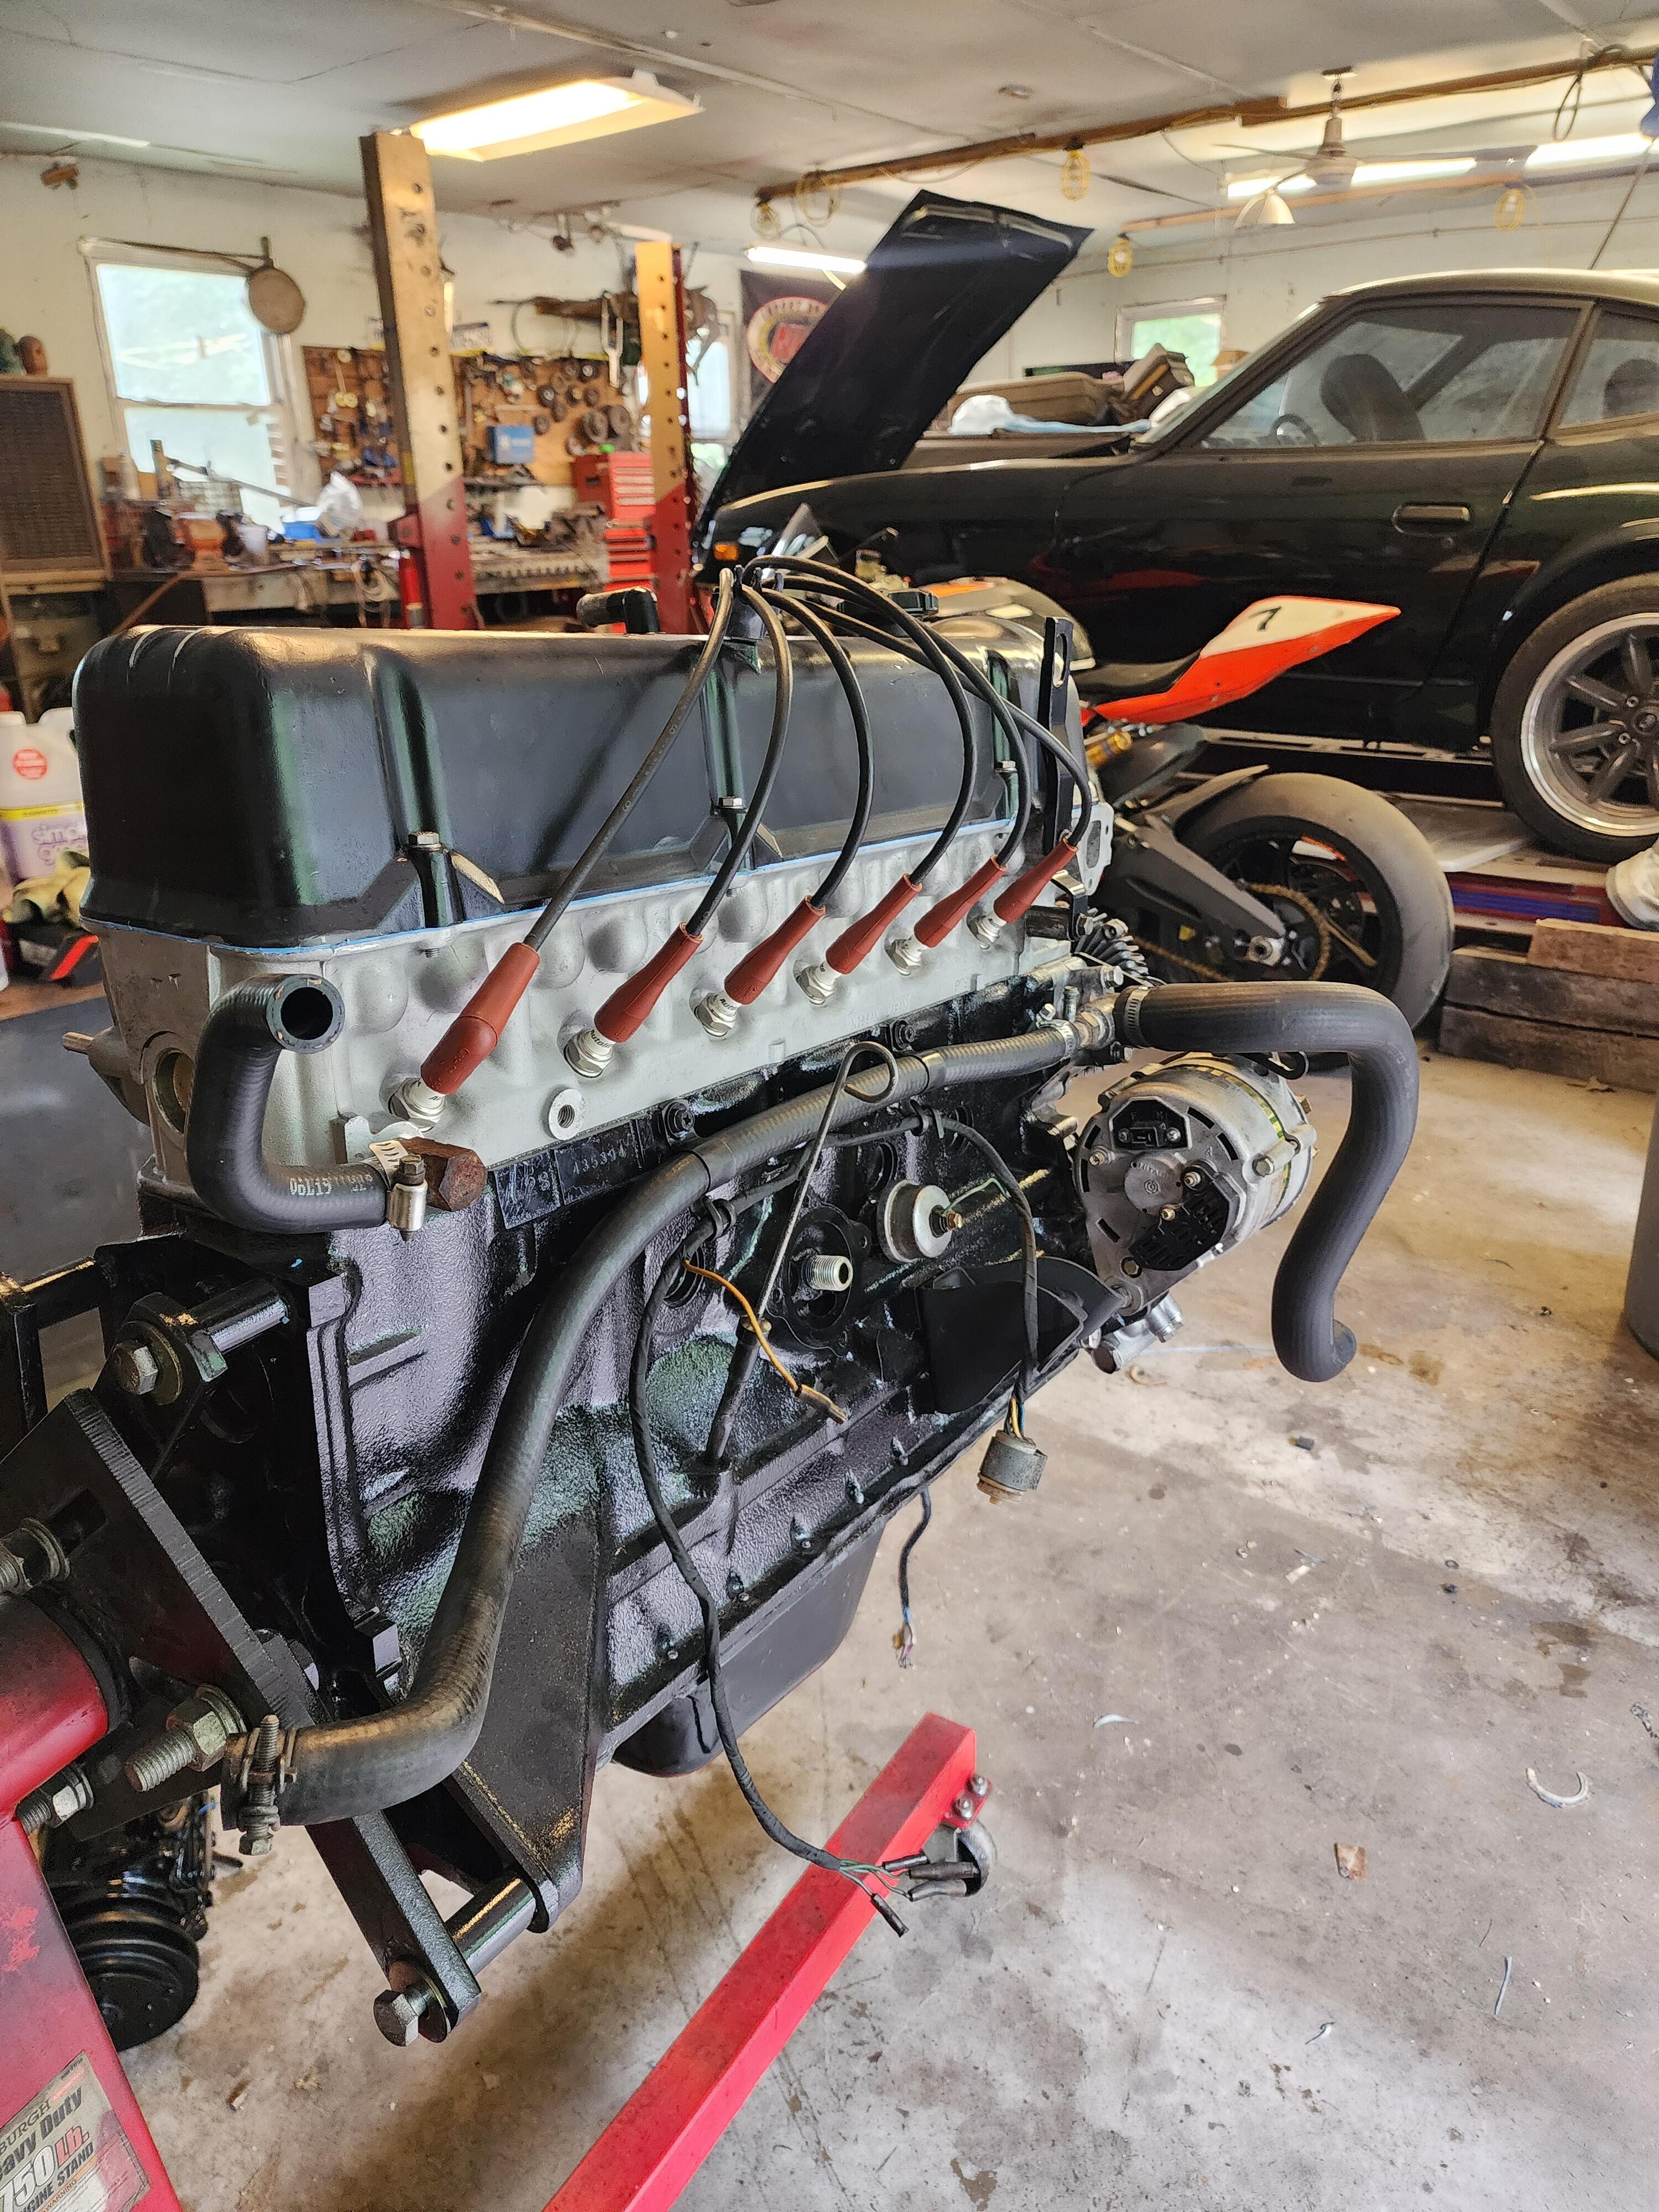
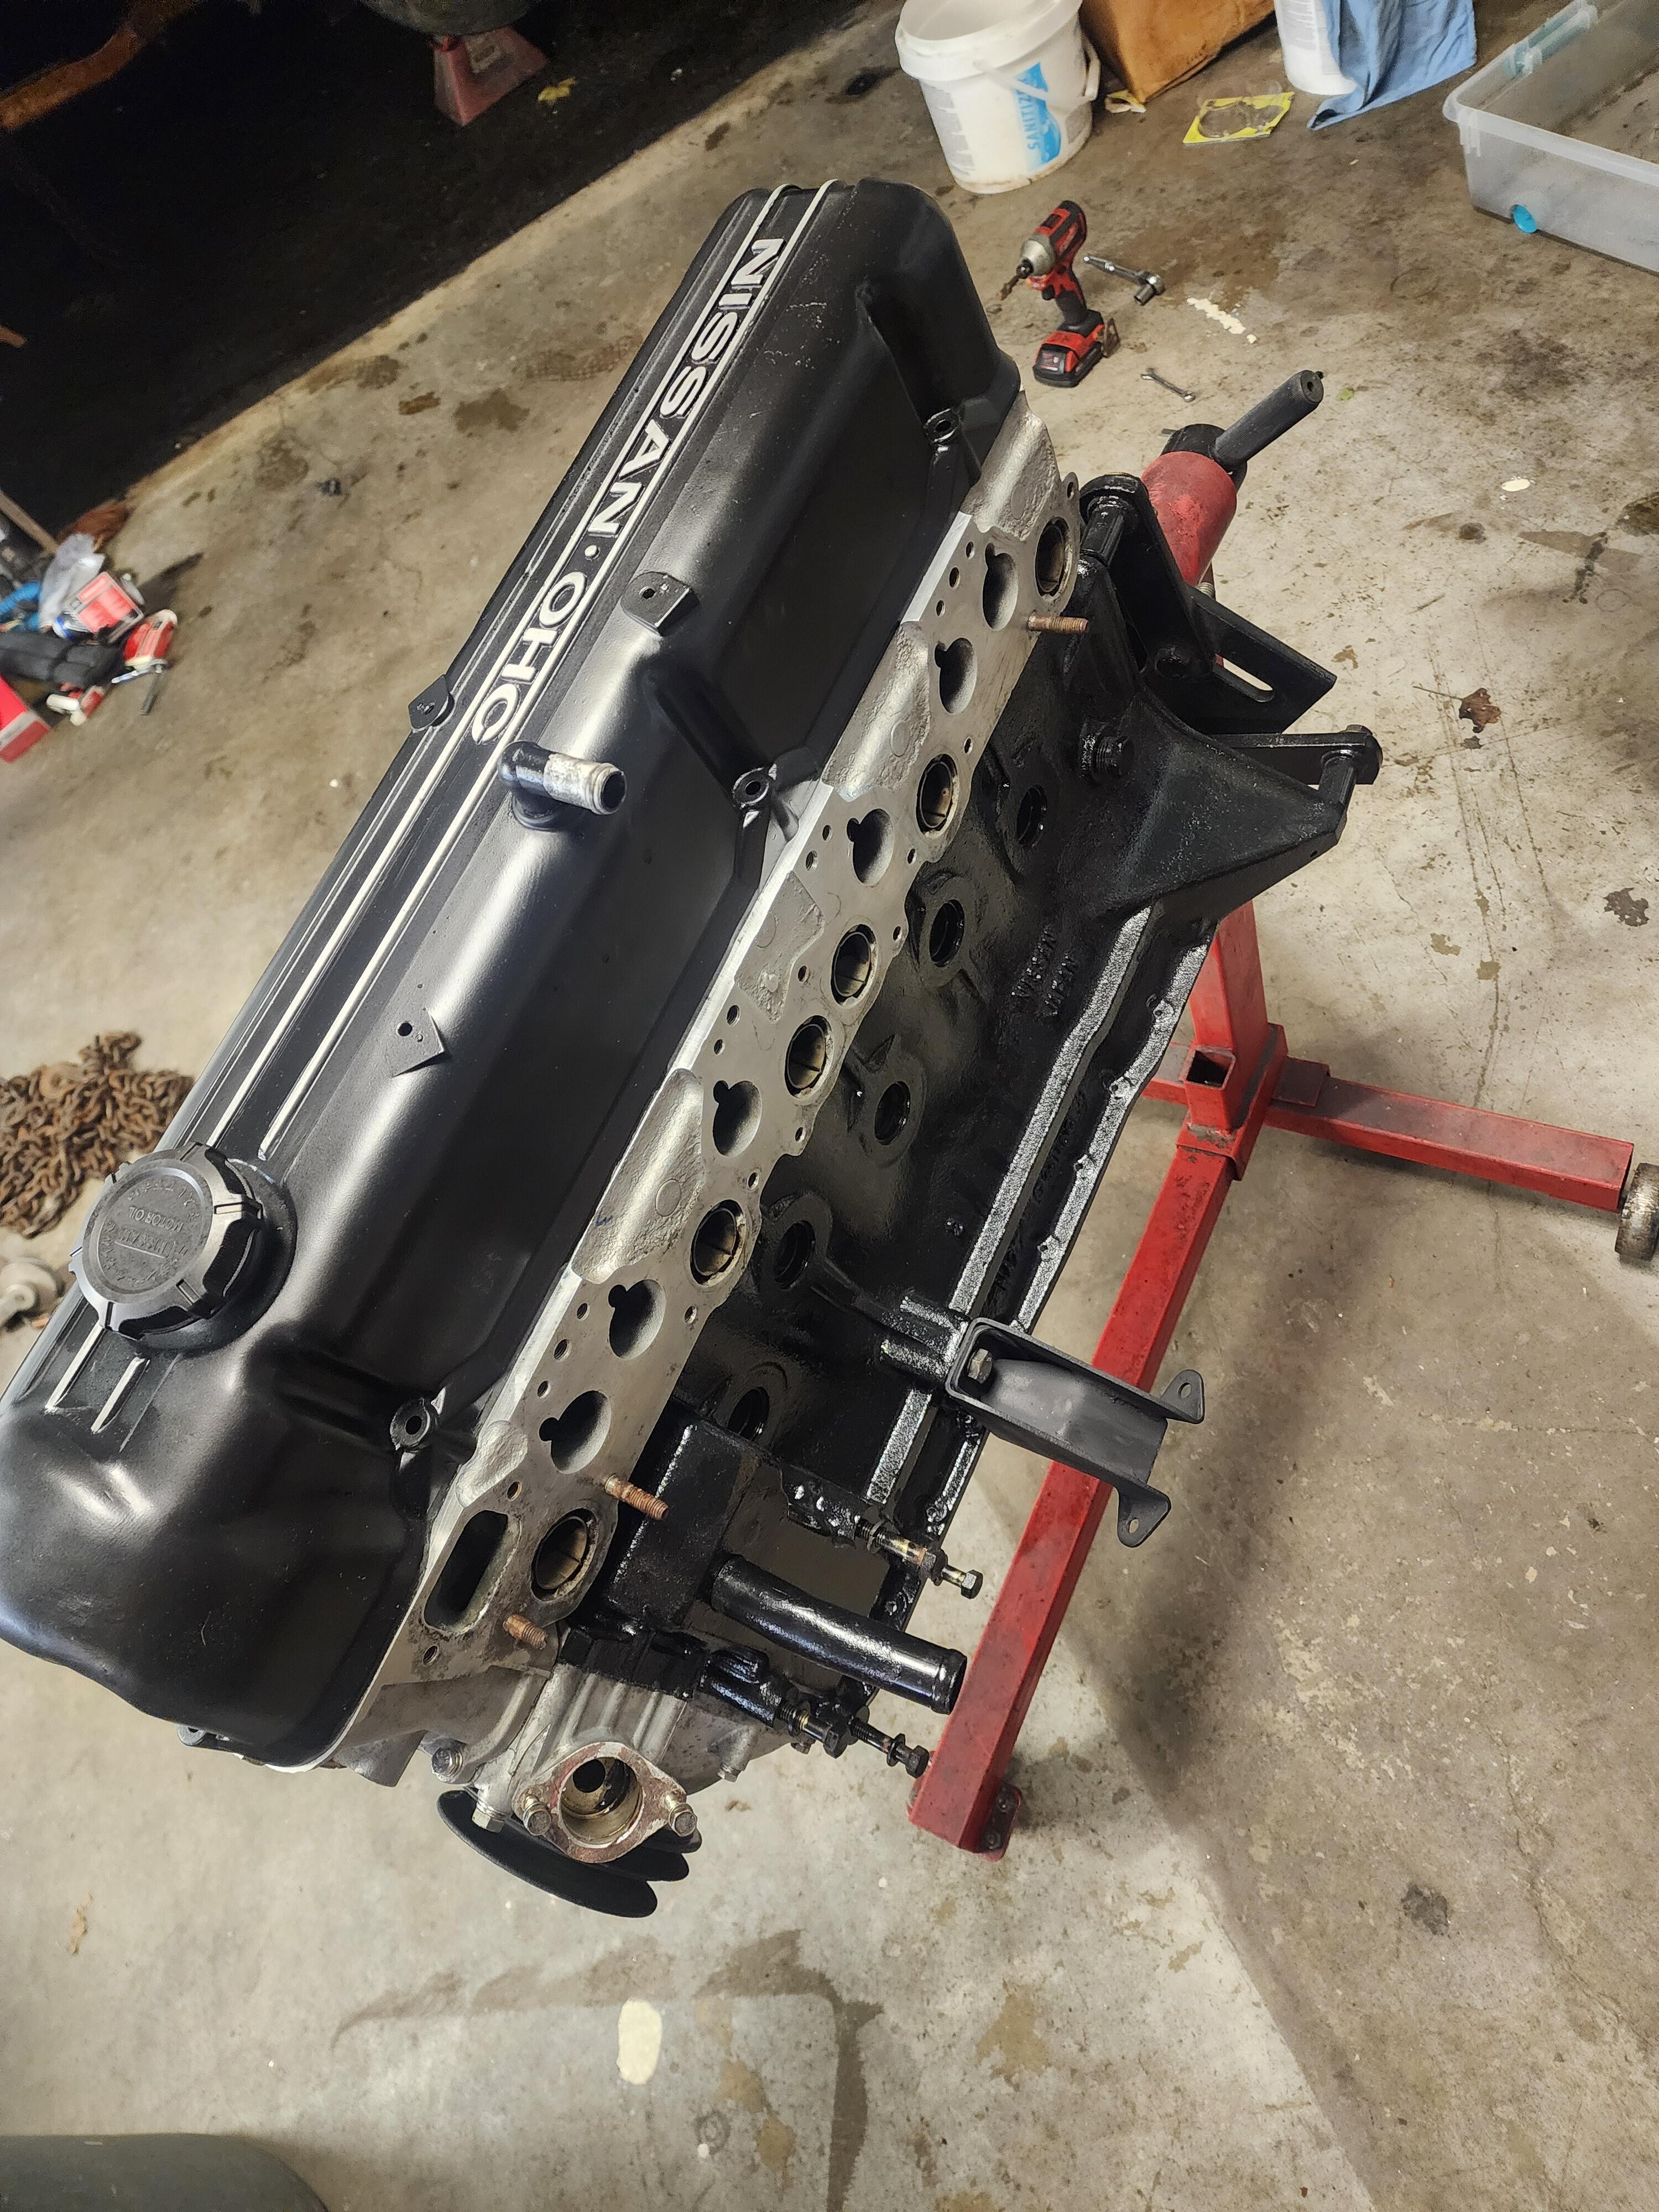
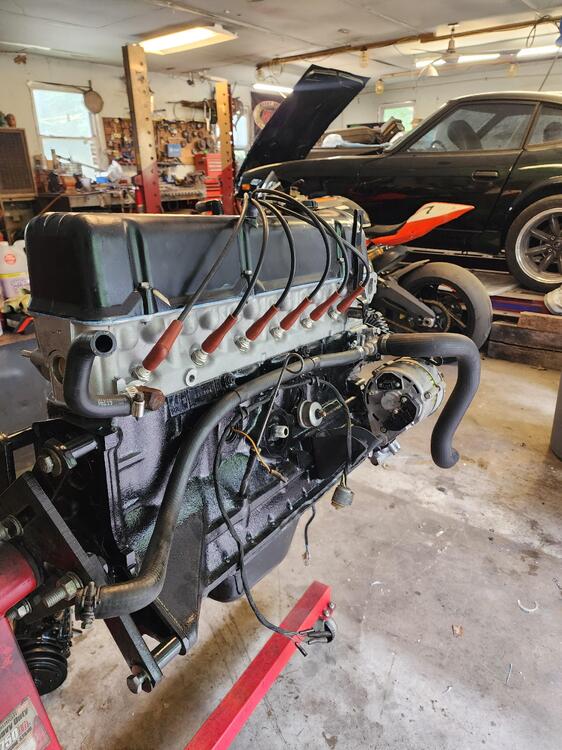
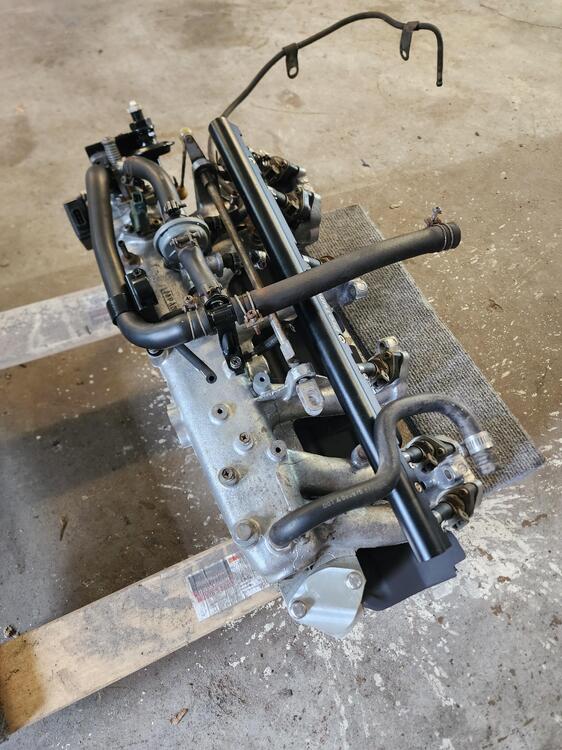
Finally did the refresh on the motor and getting ready for install. Just waiting on the headers so I can put the intake manifold on.

-
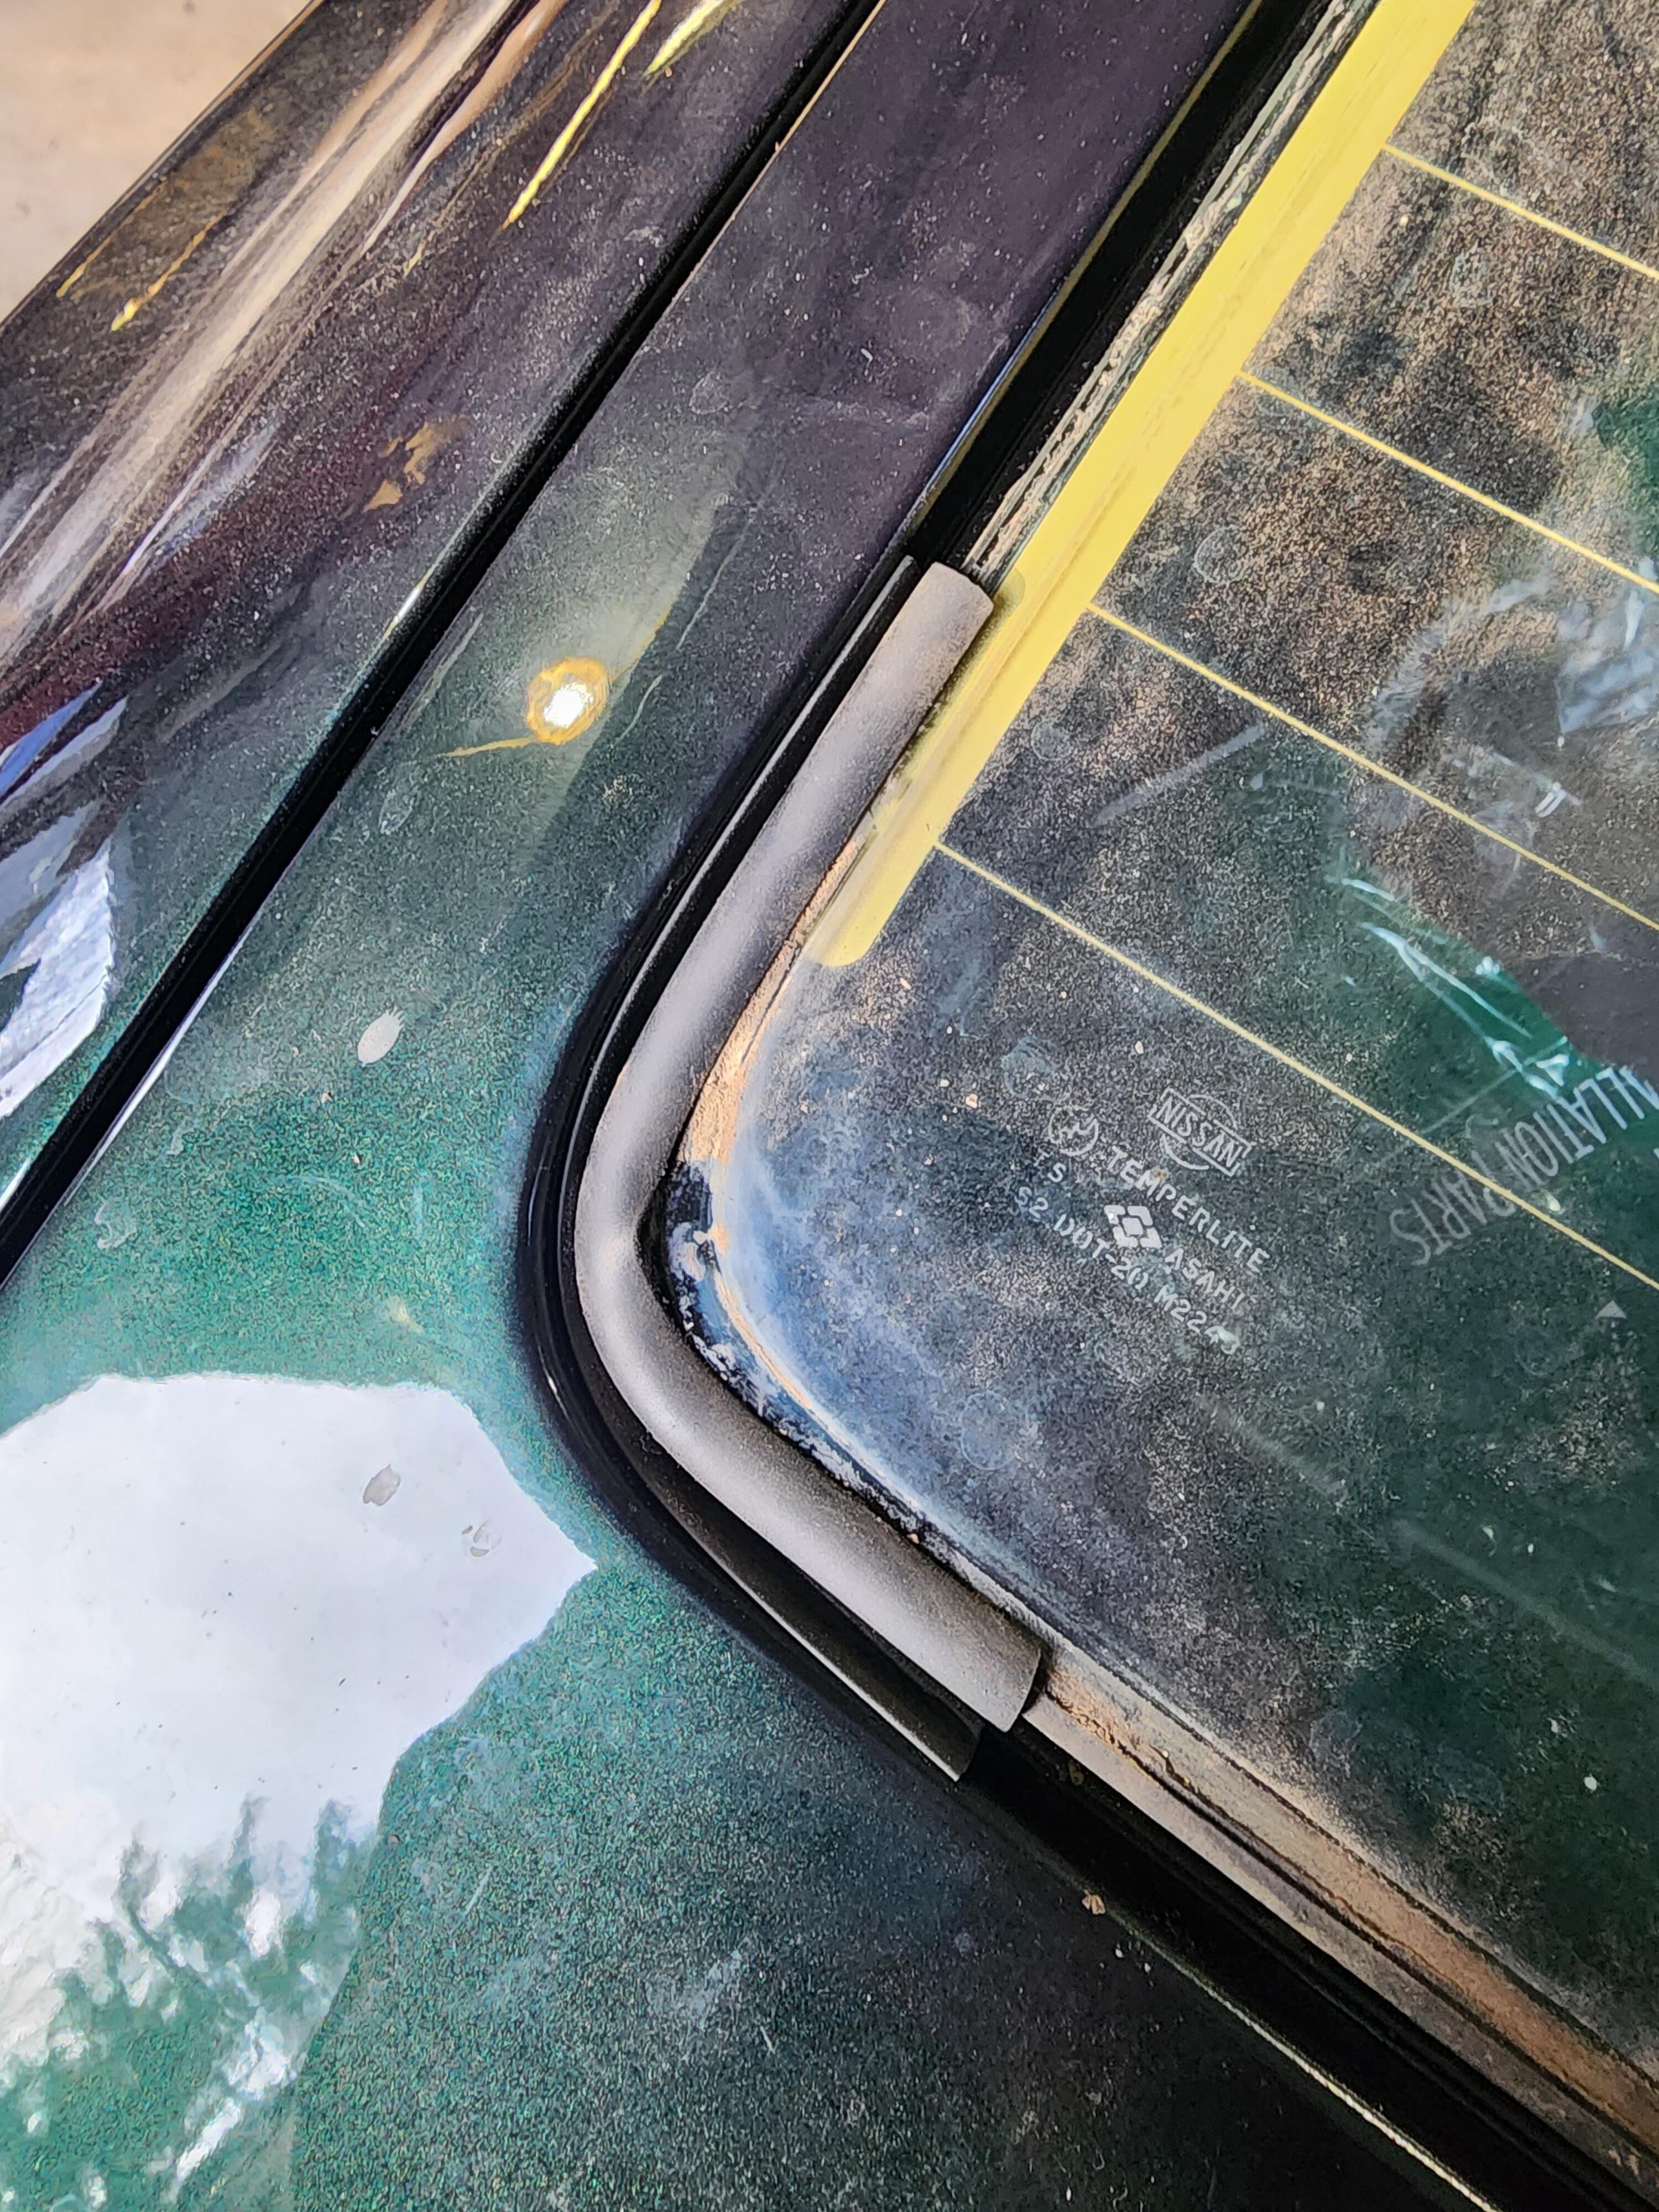
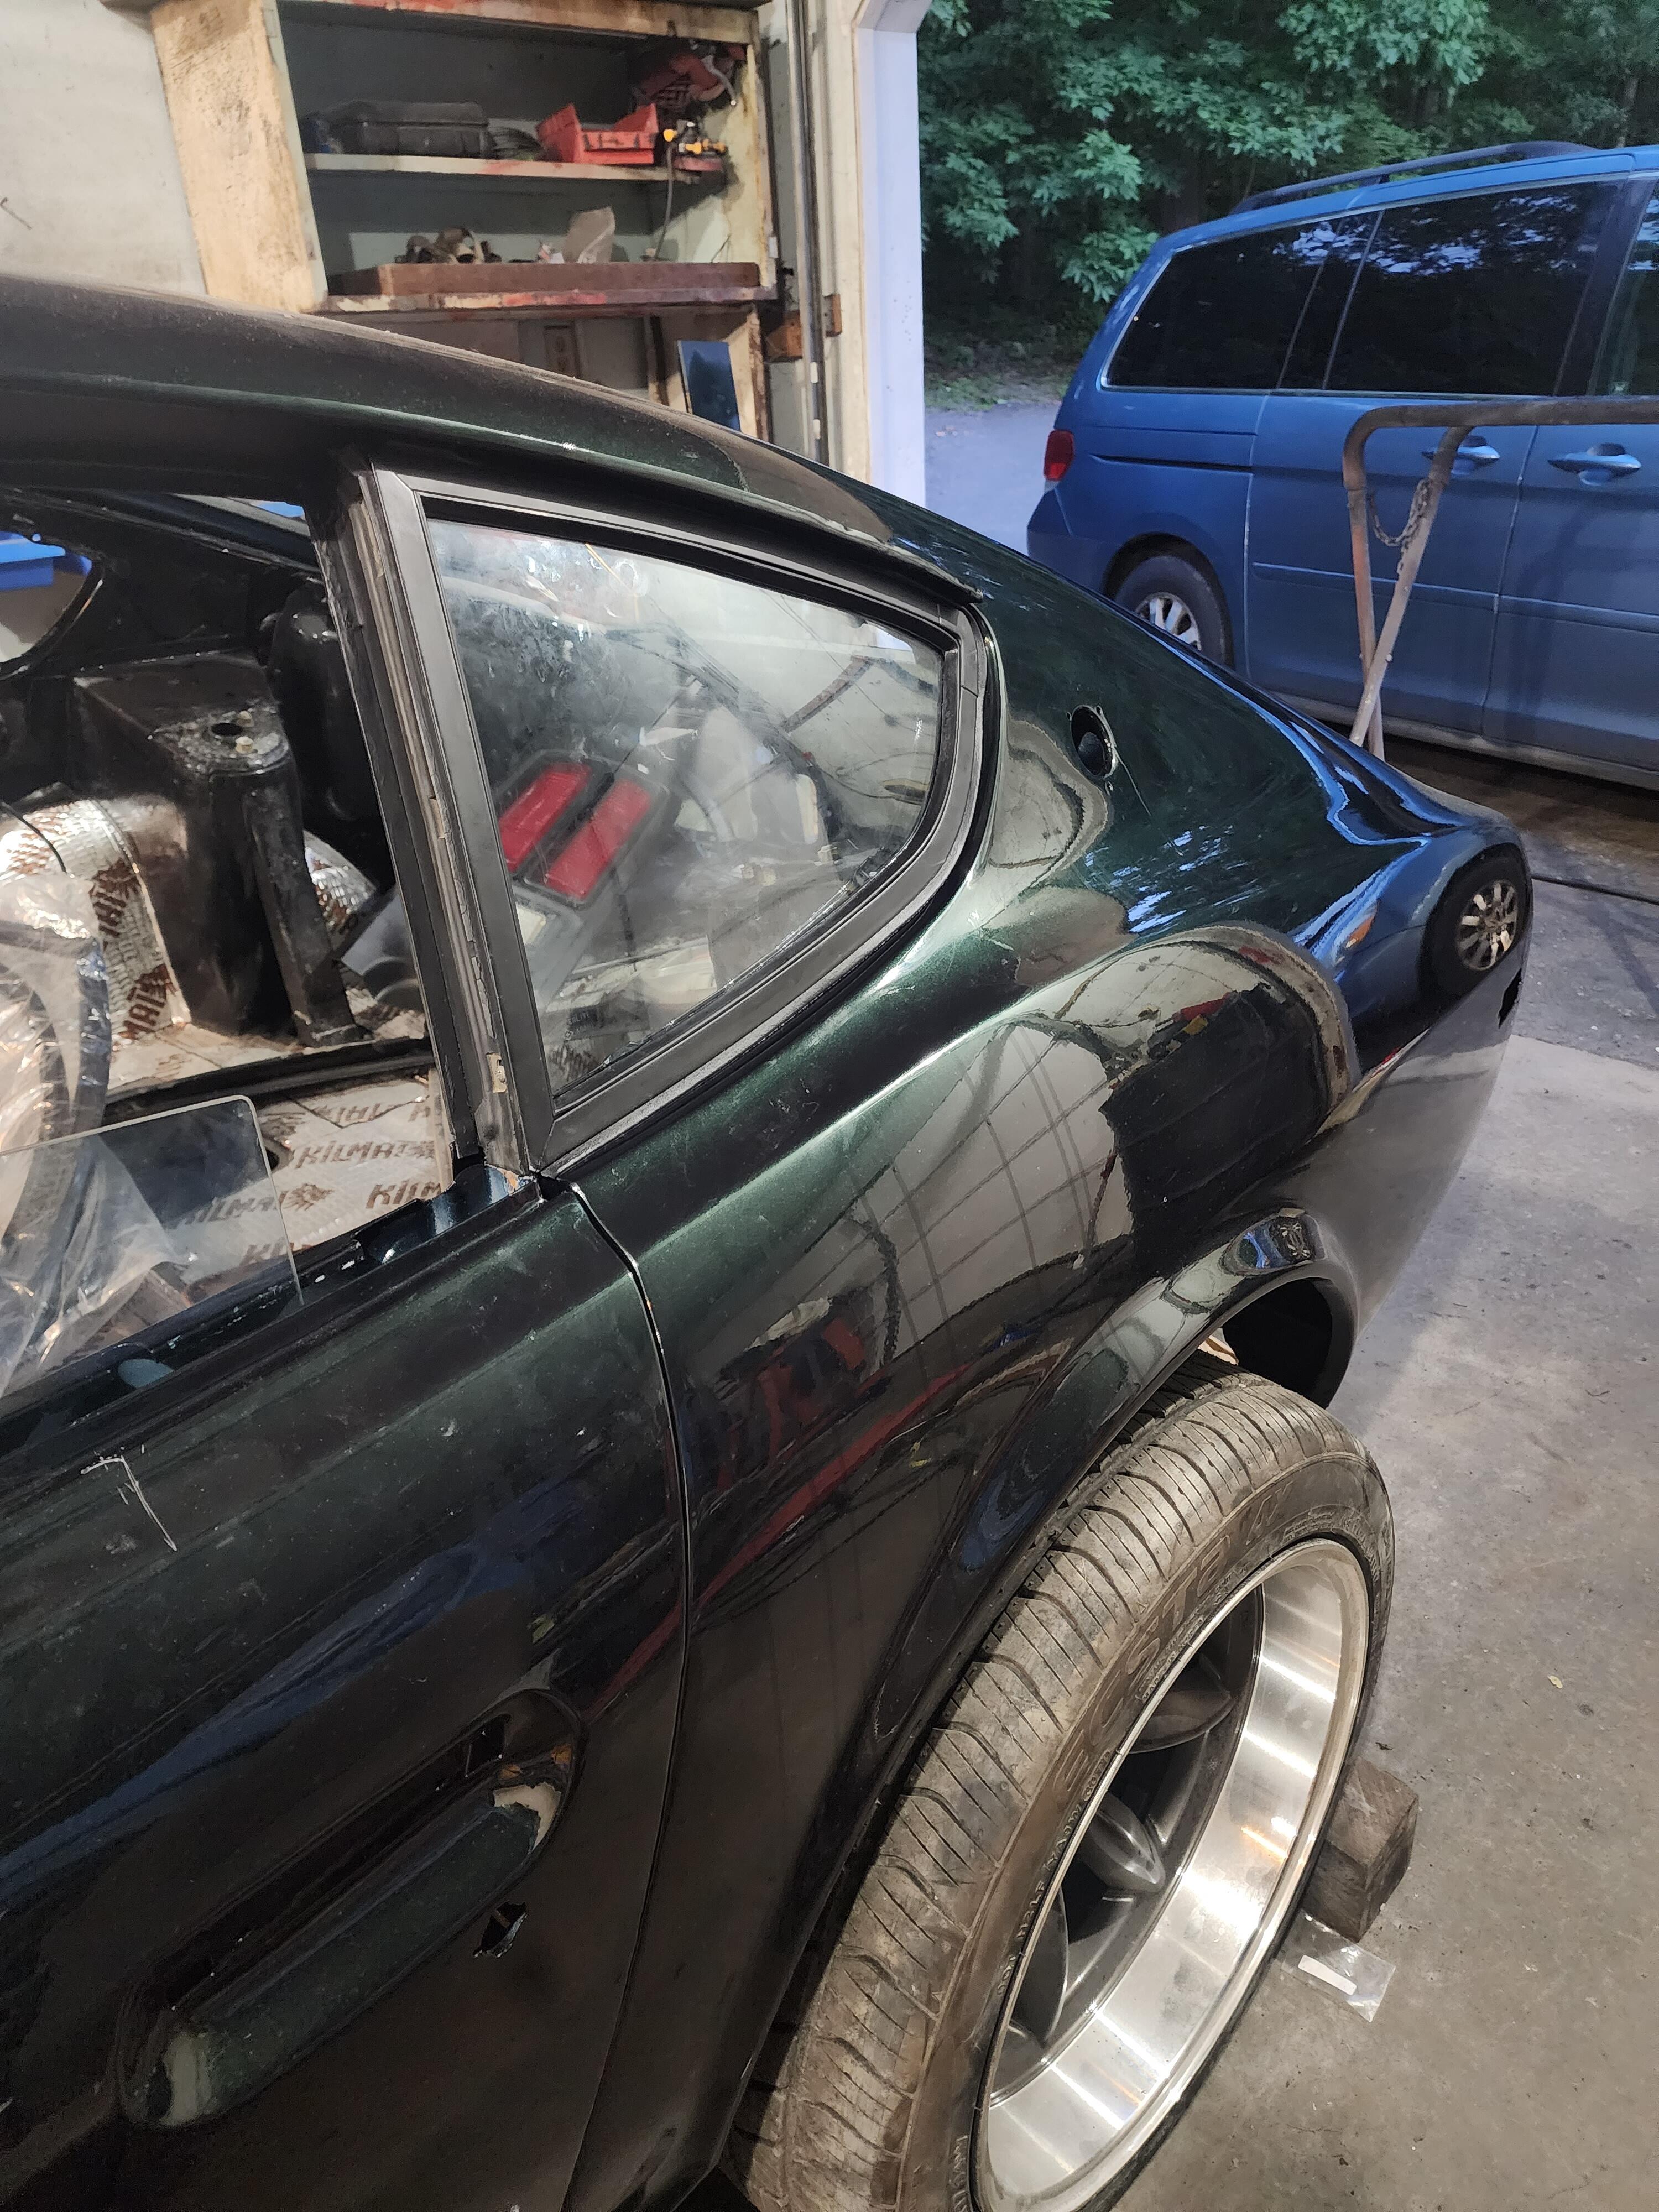
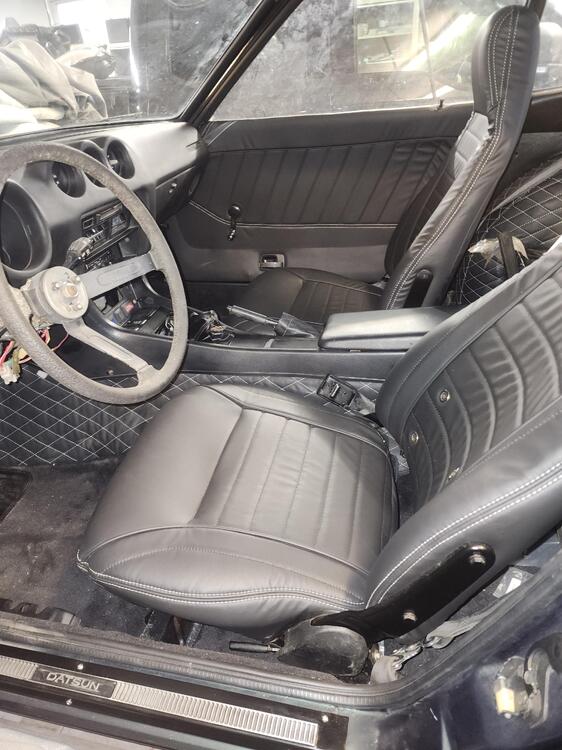
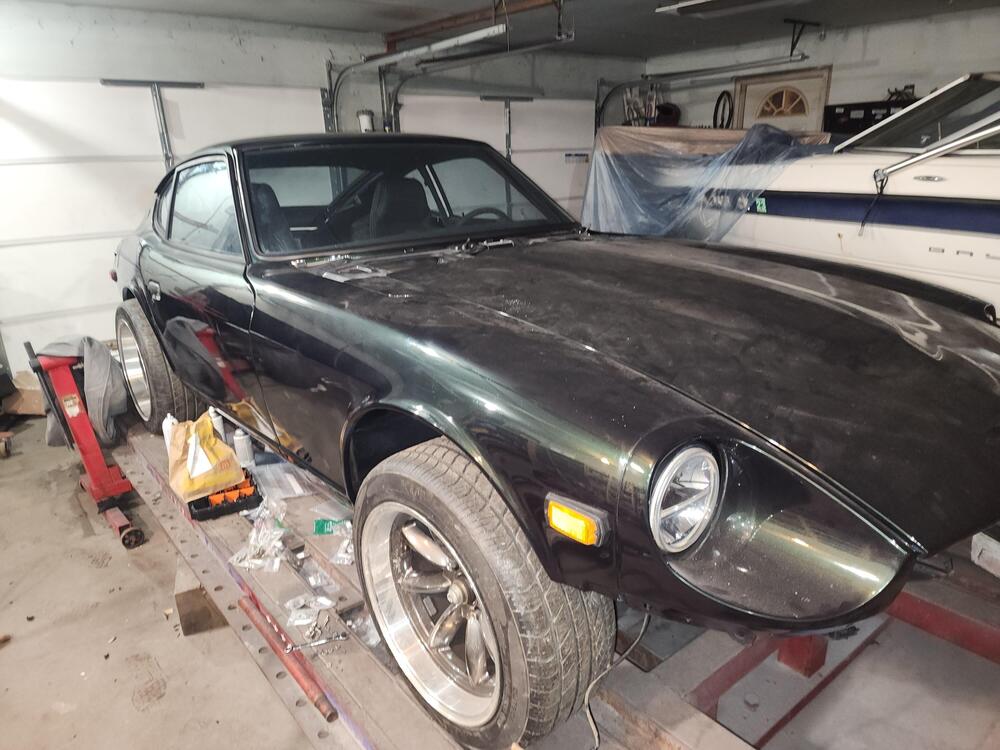
I went with everyone's recommendation and had the glass installed with the original rubber seals. I'm just going to leave the chrome inserts out. If any needs them, reach out. I know I have the entire rear glass section and a bunch of random corner pieces. Other than that, interior is basically done with the exception of a one or two trim pieces and the headliner. Next things to tackle is the motor refresh....
-
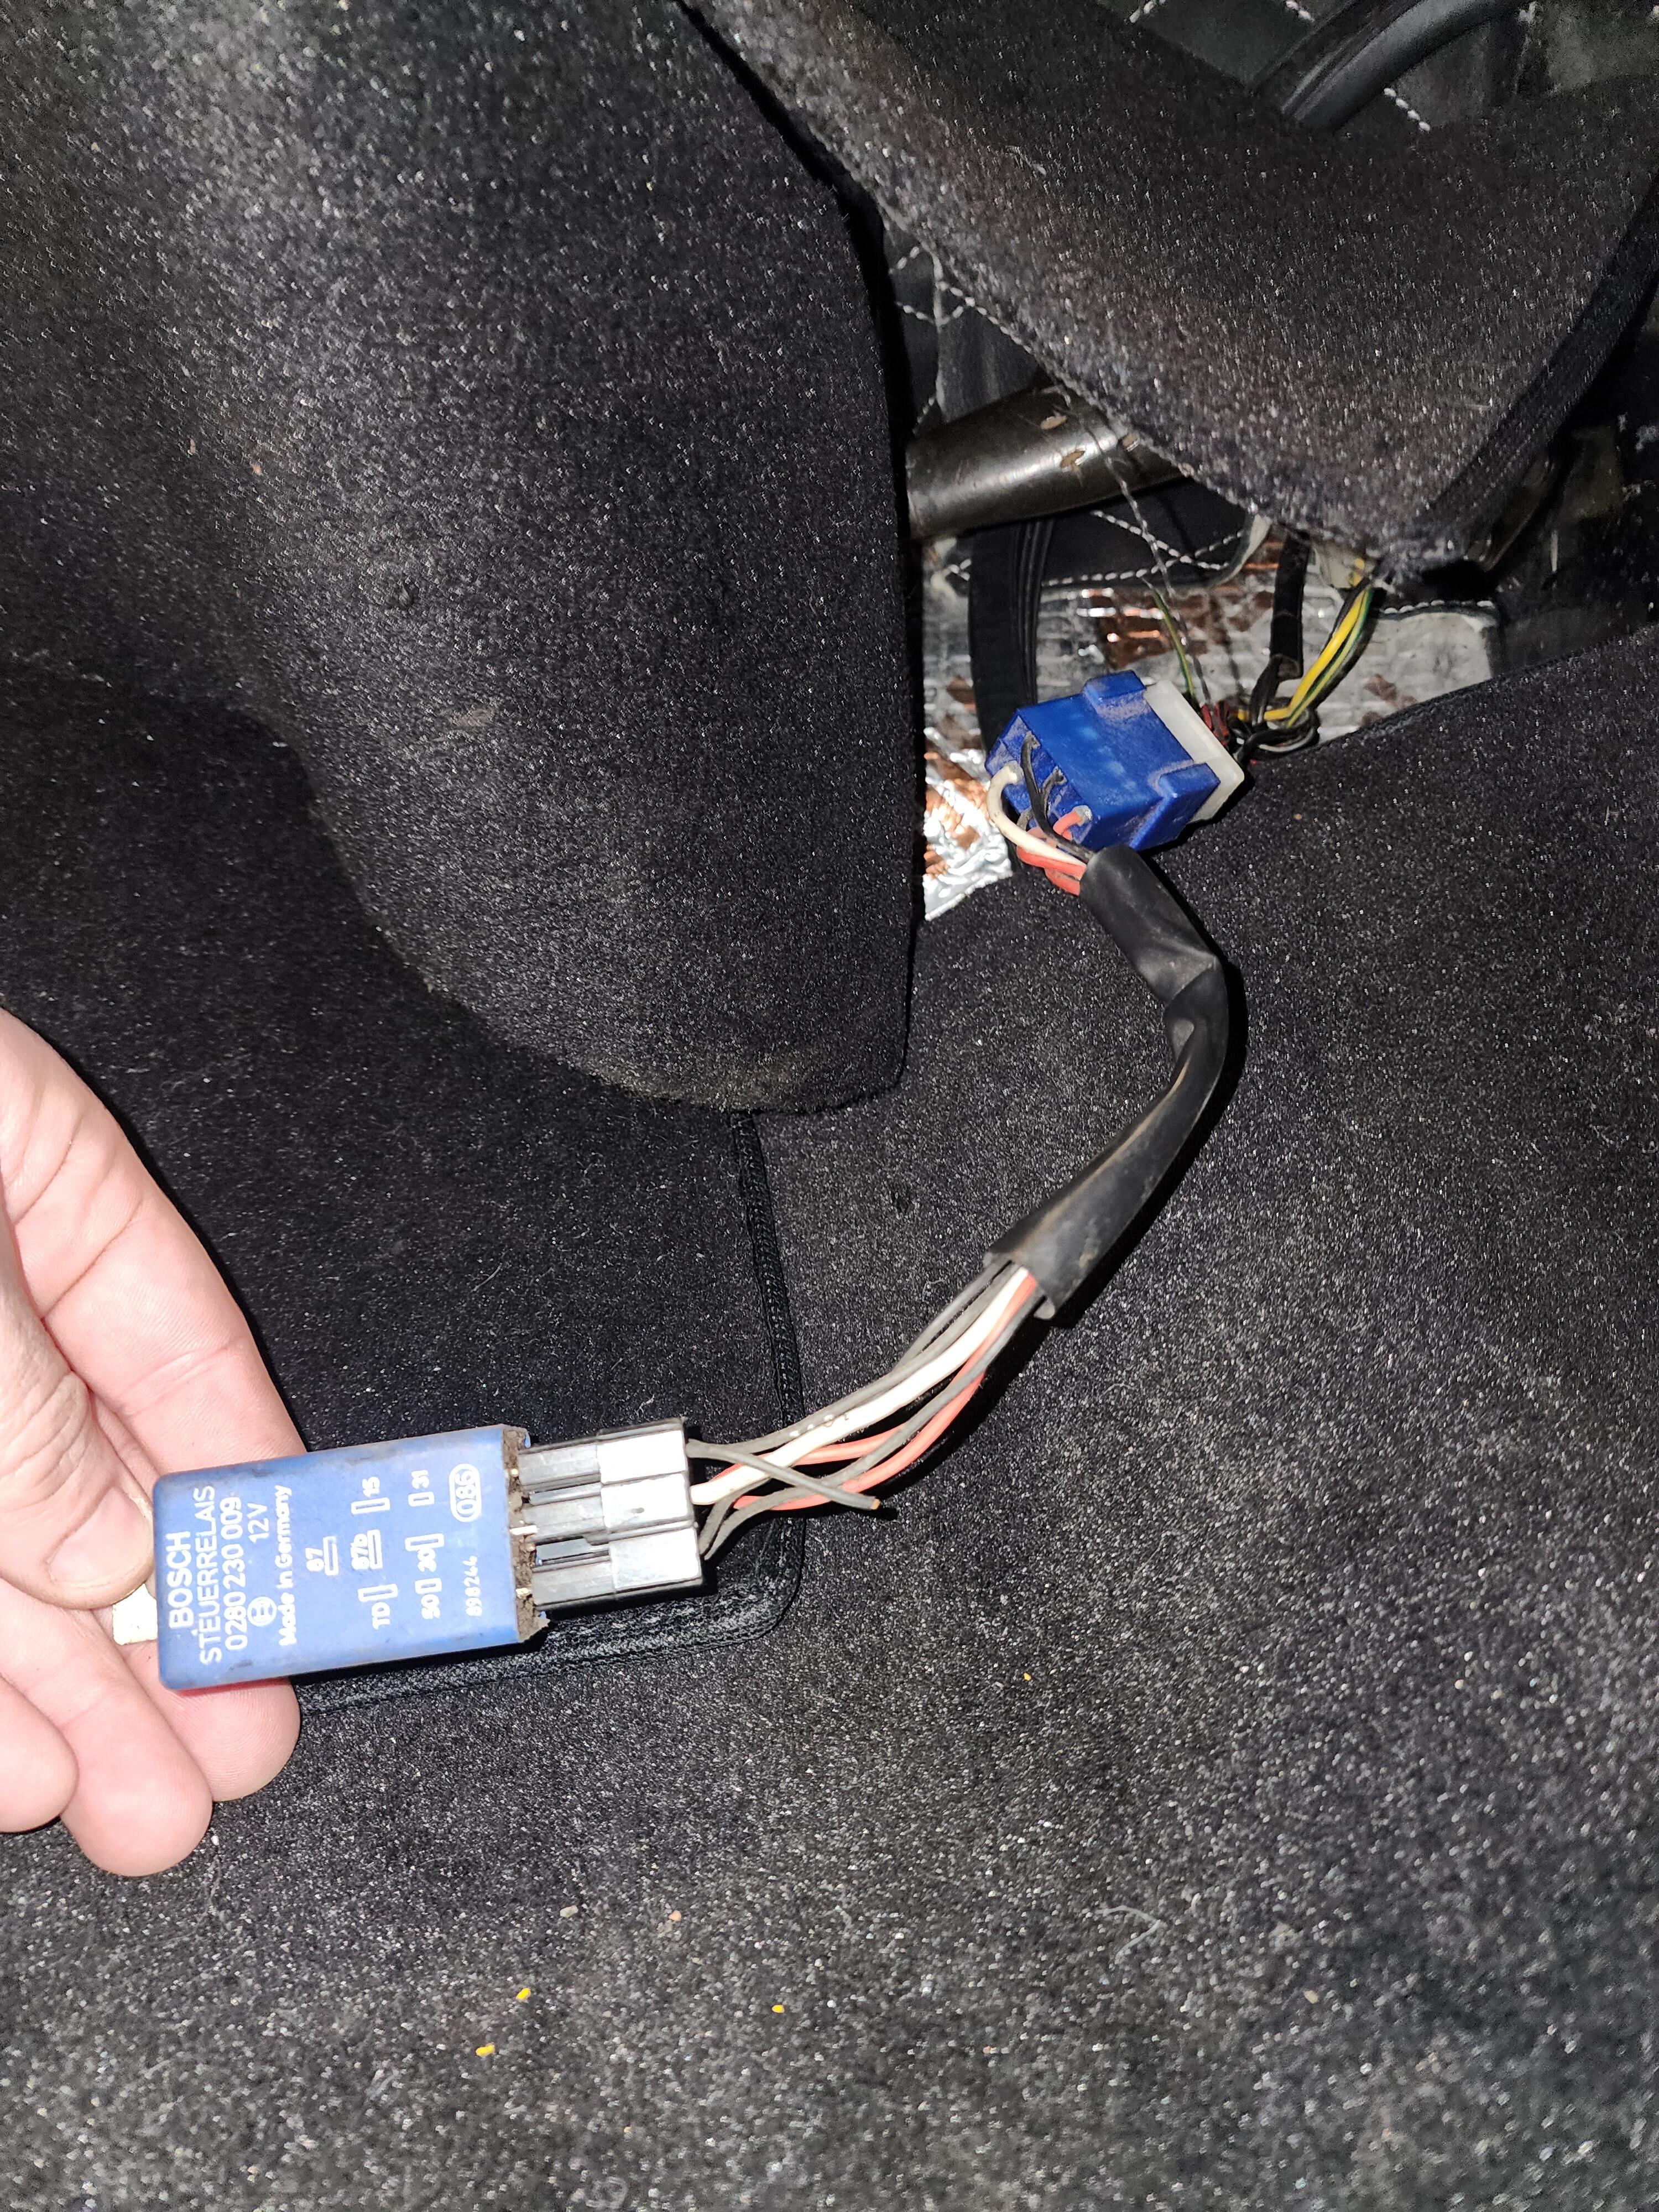
@Zed Head thanks for the links. I’ve narrowed down the other connector to the floor temperature relay. Does anyone have a picture of it to help me locate it in my bin of parts? I found the attached that fits but not sure if it’s the correct one. Any help is appreciated.

-
Thank you @Zed Head your wiring diagram is much better than i have in my Haynes.... Now just need to get the other one sorted and I can install my carpets.
-
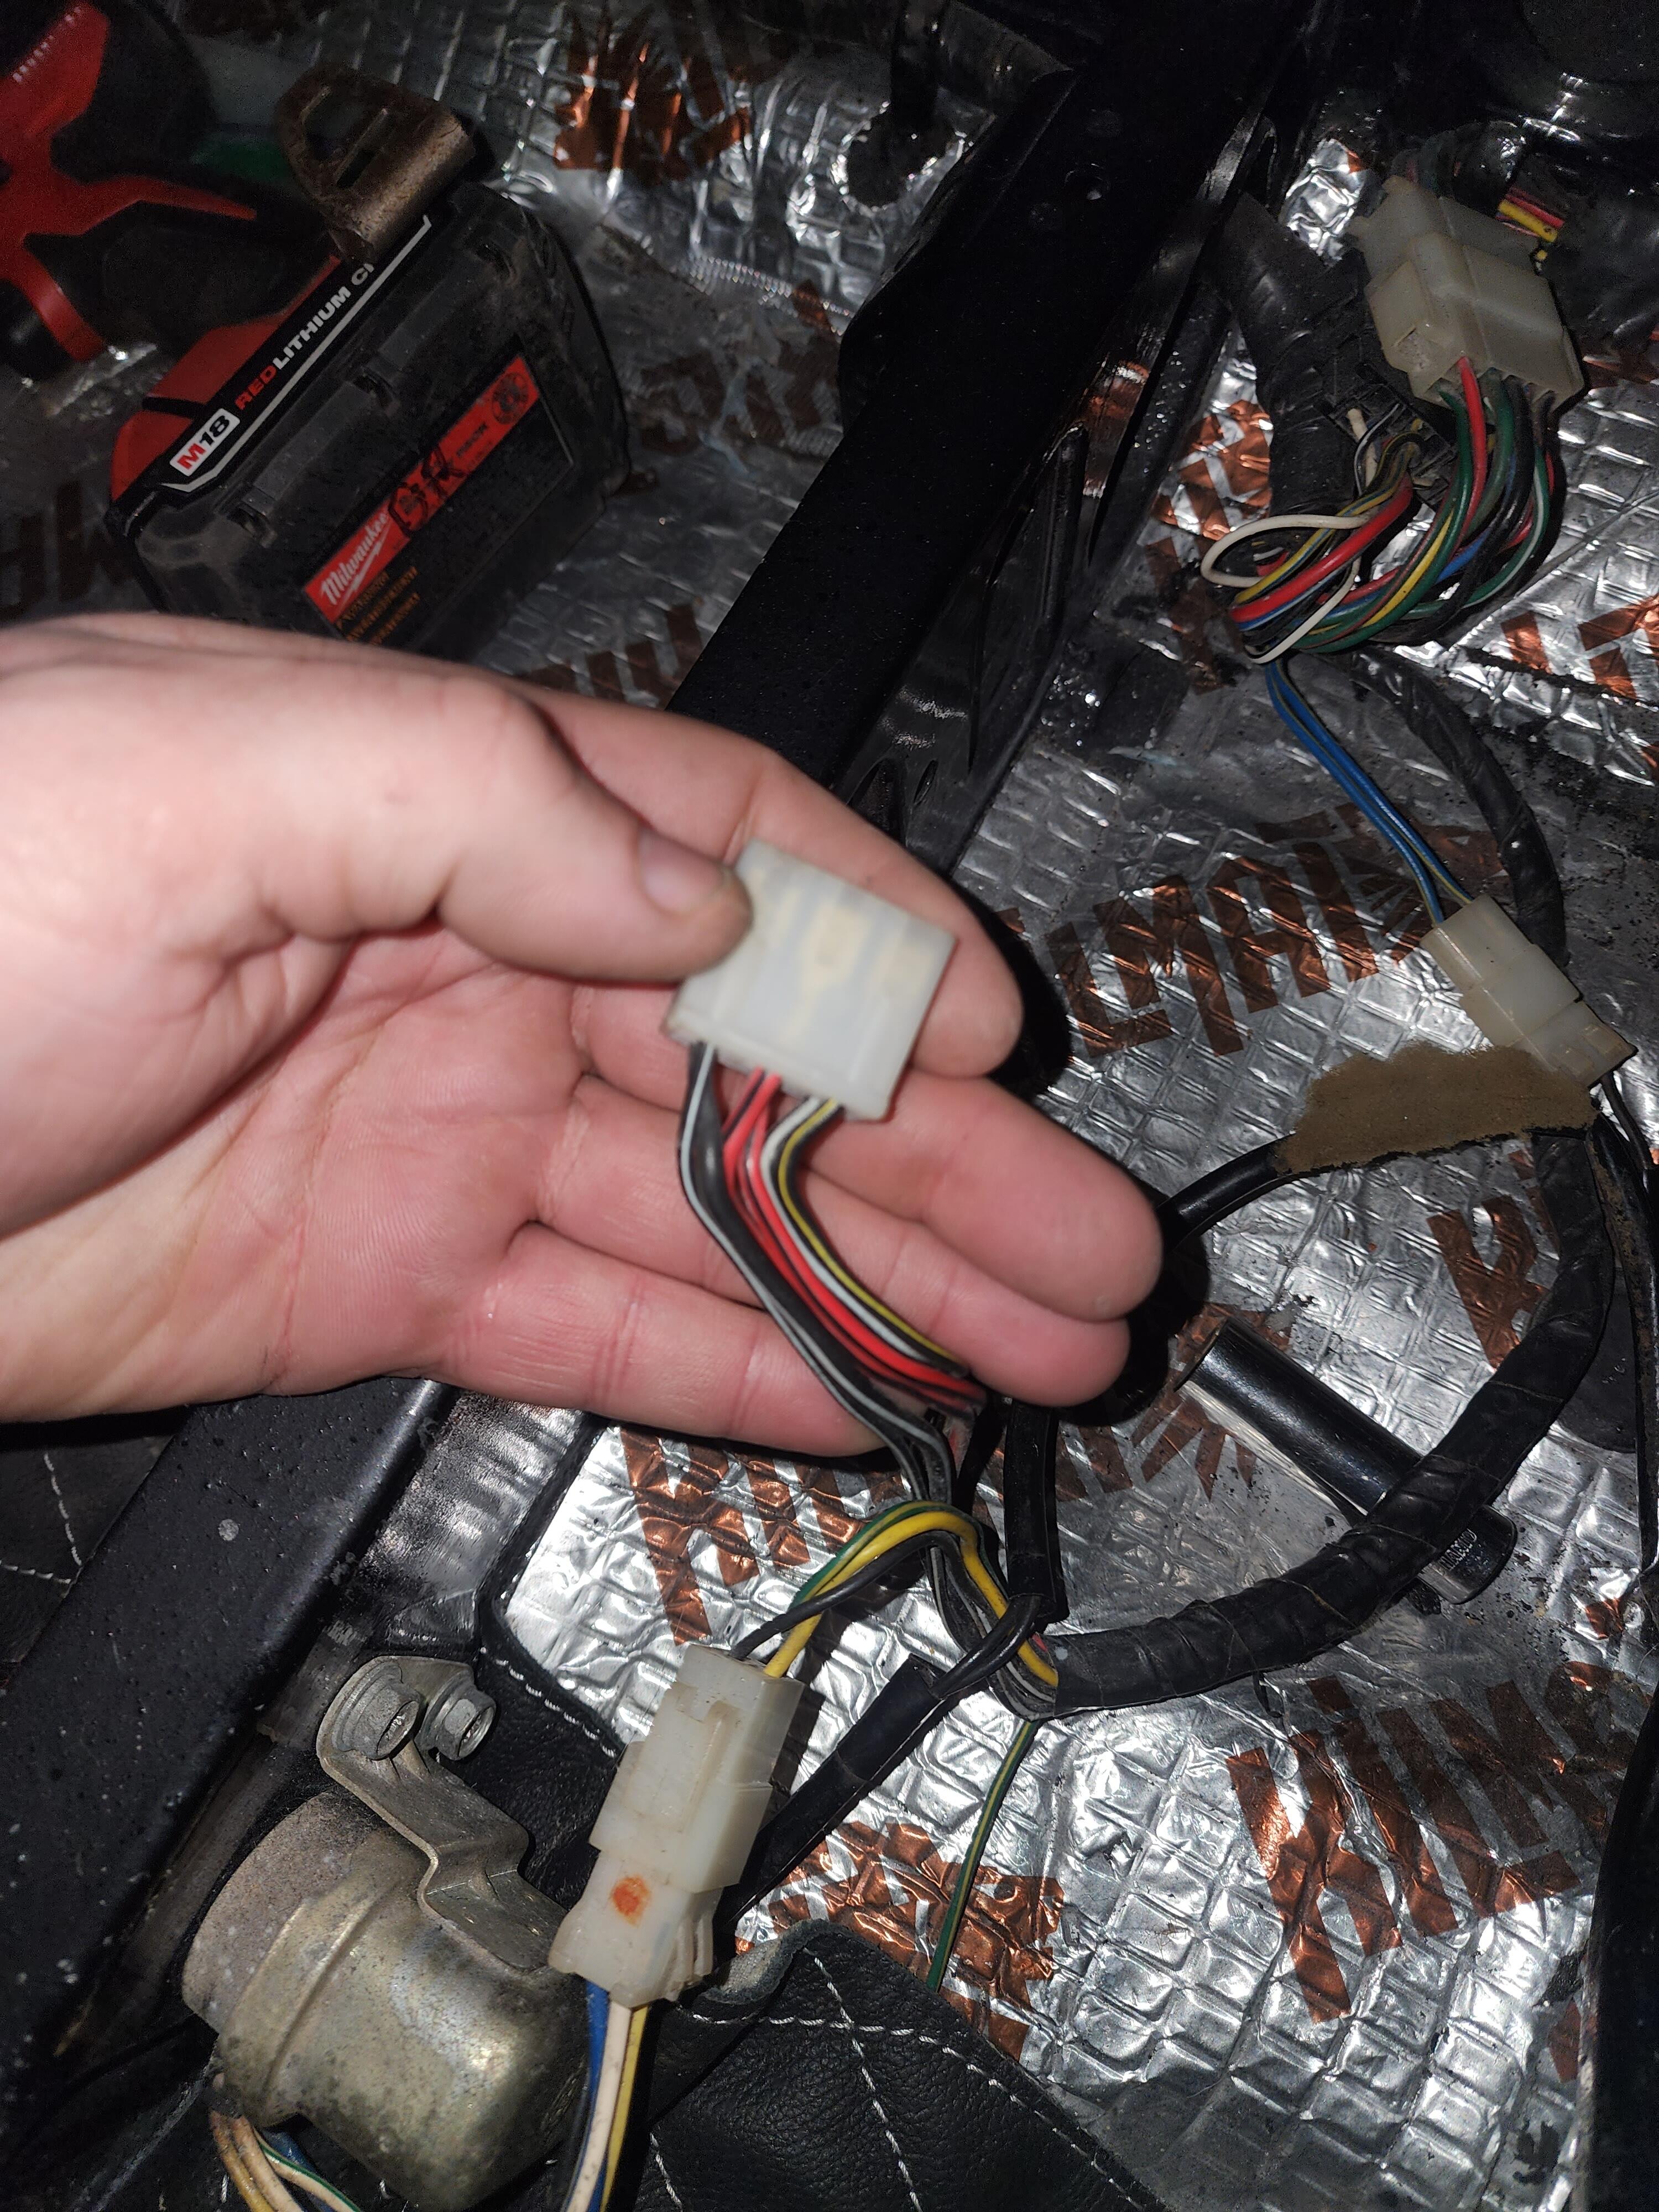
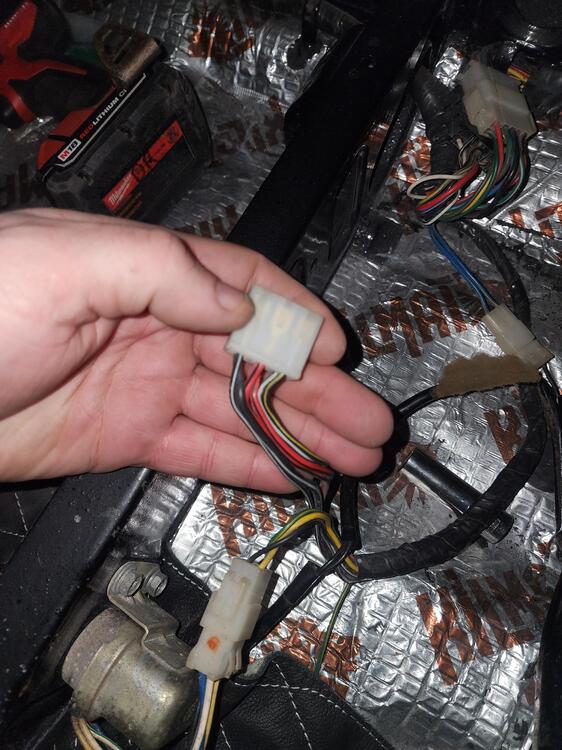
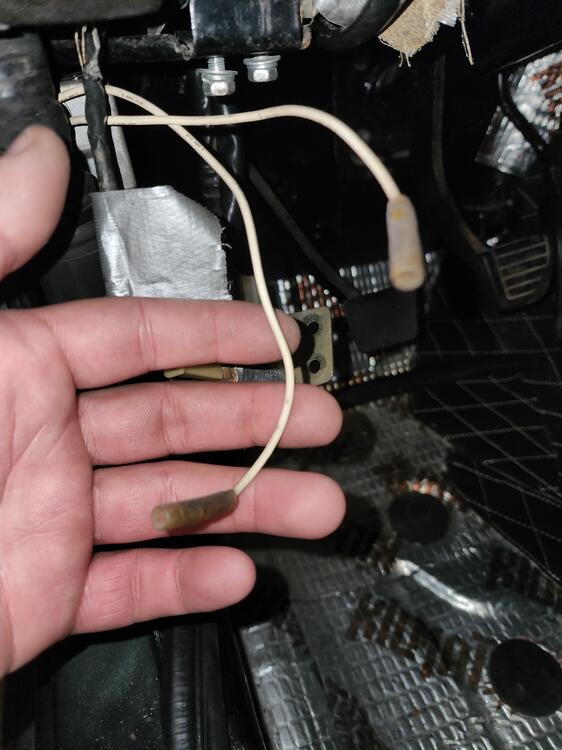
Can someone help in telling me where these connectors are supposed to go? The two white wires come off the ecu. The other connector is under the passenger seat. Thanks in advance.
-
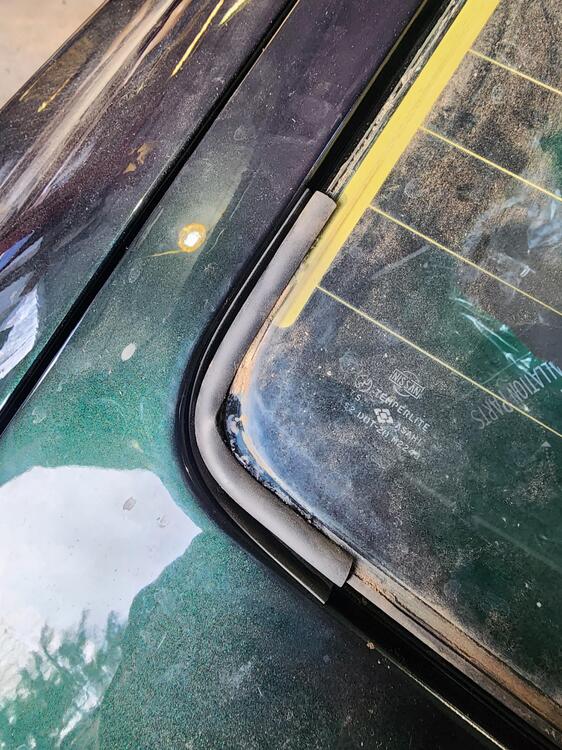
Does anyone have any suggestions for the front and rear glass molding? I have the original molding that I can install but given that it’s so thick/bulky, I am looking at other options. I am thinking to just put the glass down on urethane and have a rubber molding to trim out the edge. I think I have enough contact between the glass and seam to get a decent bead of urethane down but I’ll have my glass guy confirm. My question is more around the molding and if anyone has done this and can comment on the results. My glass guy gave me a sample of what he has…. Pic below. He would make relief cuts at the corners but I think it could work…
-
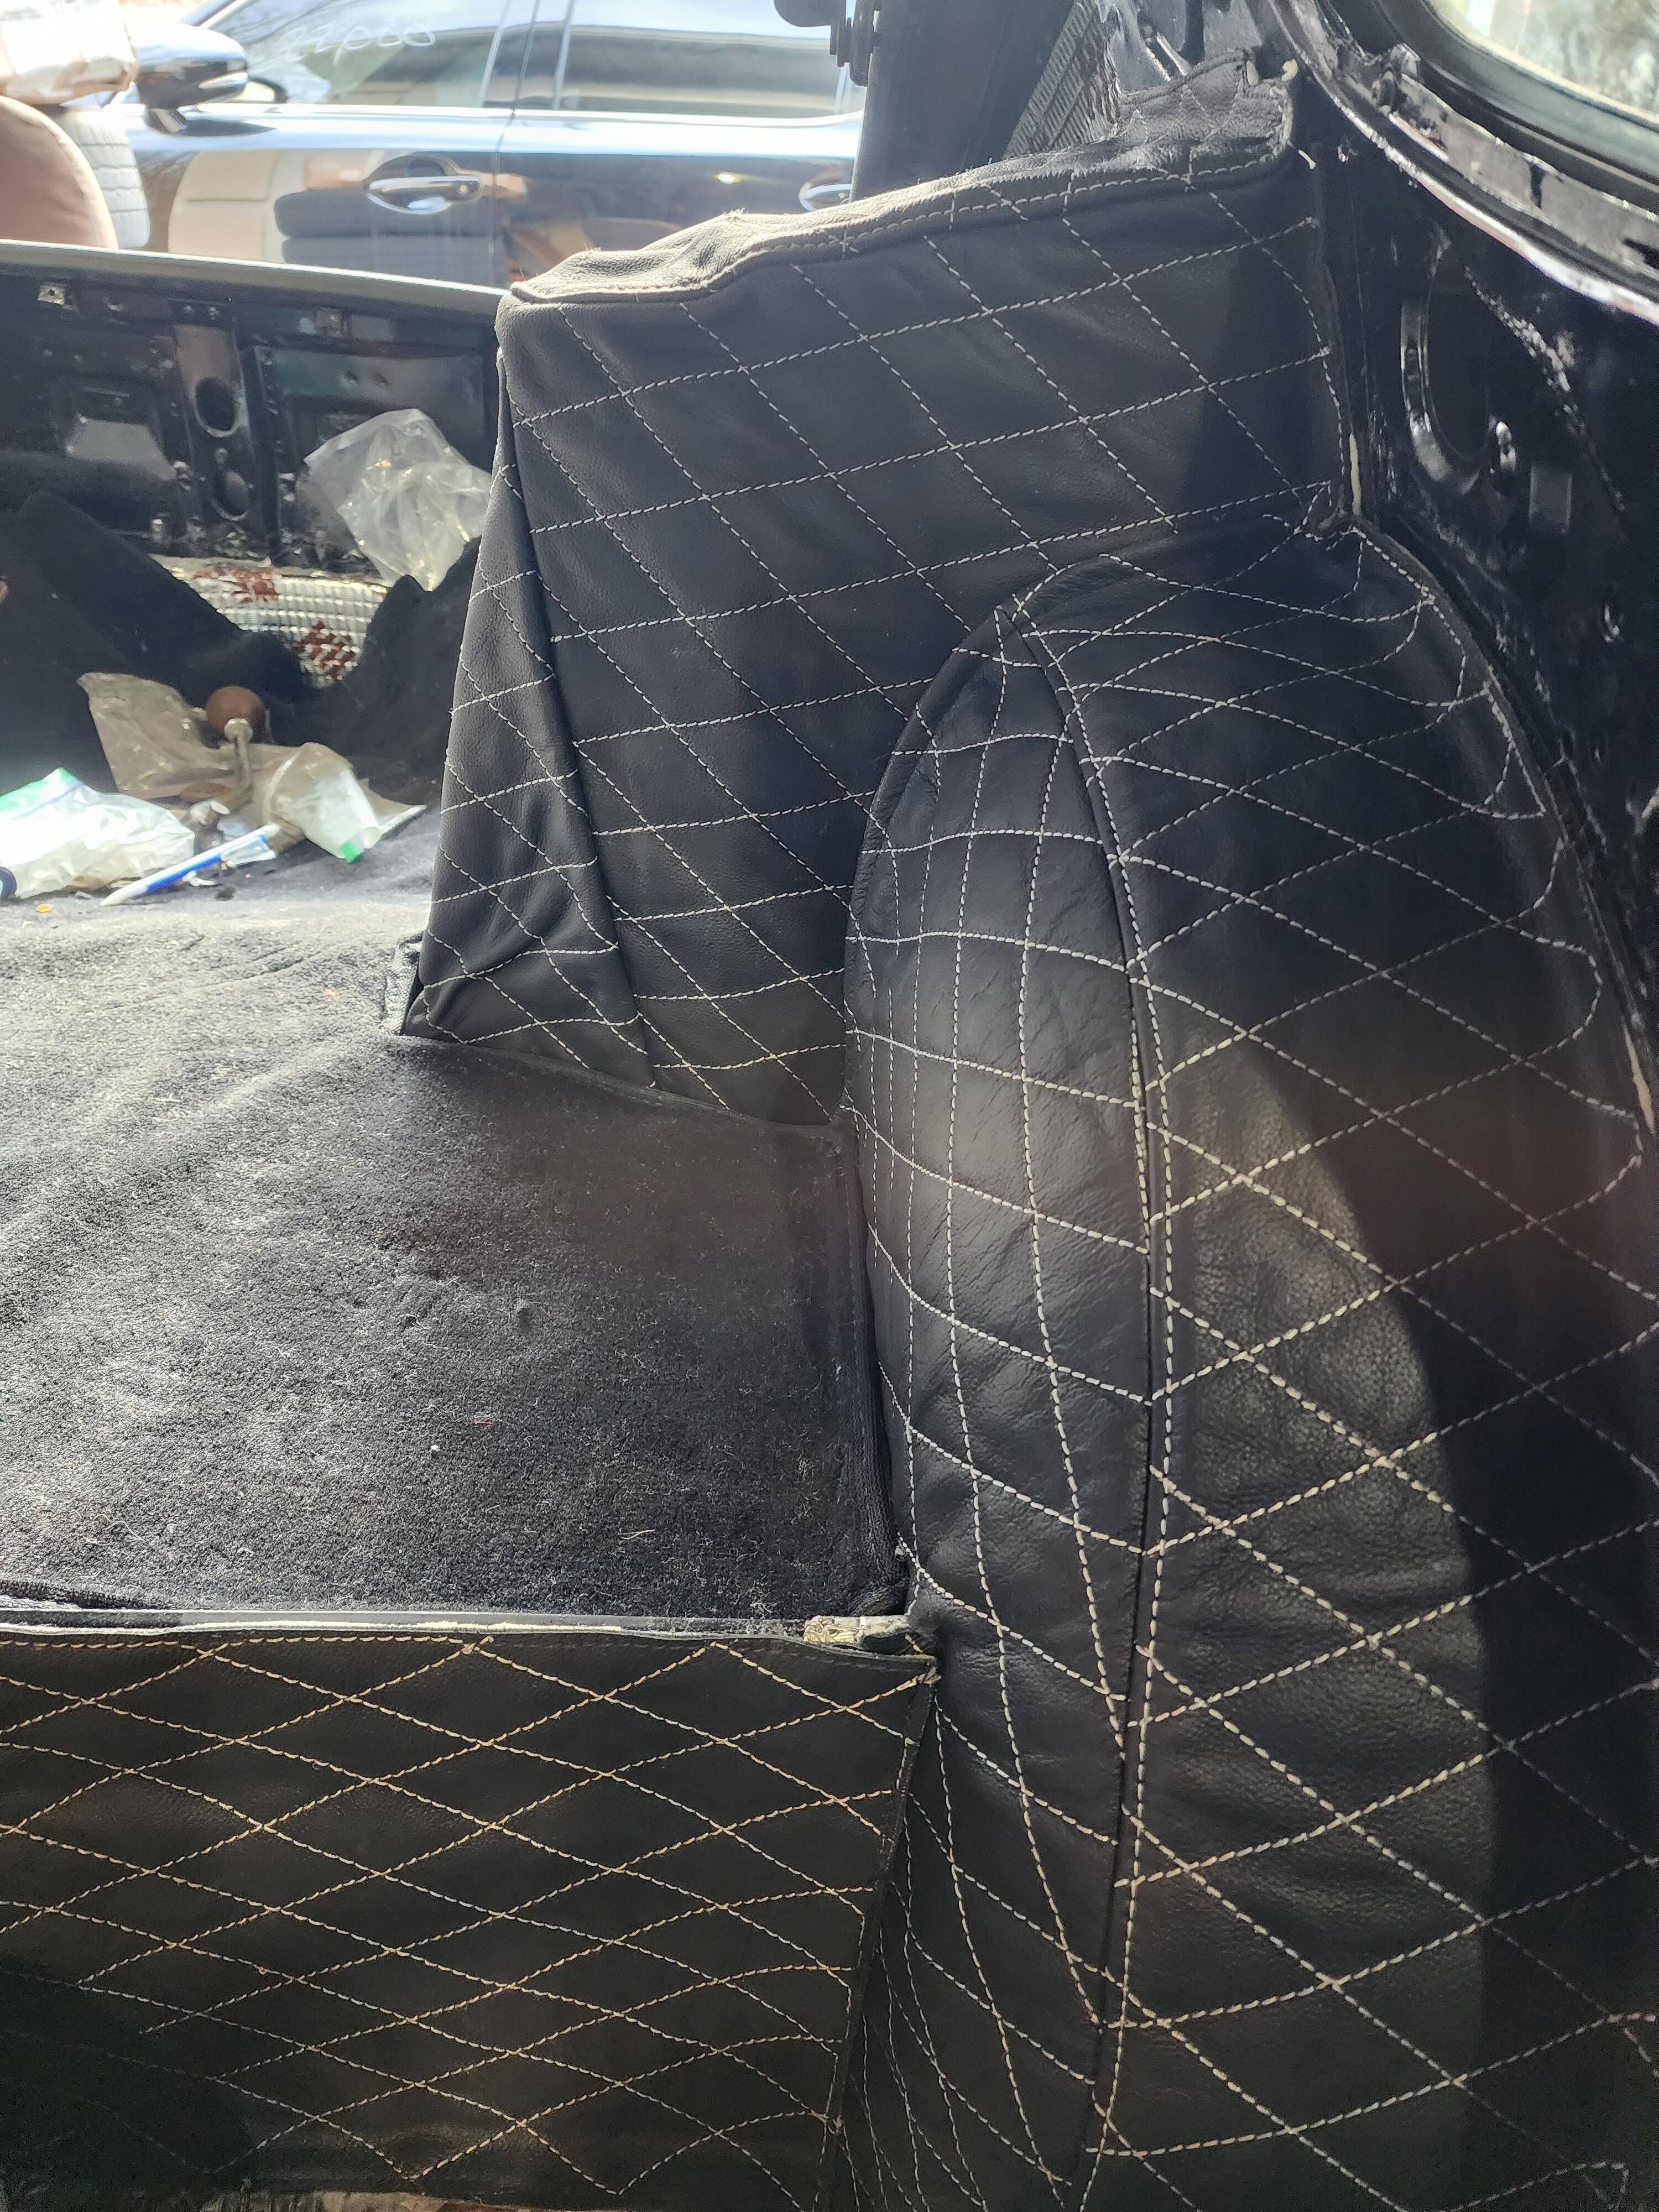
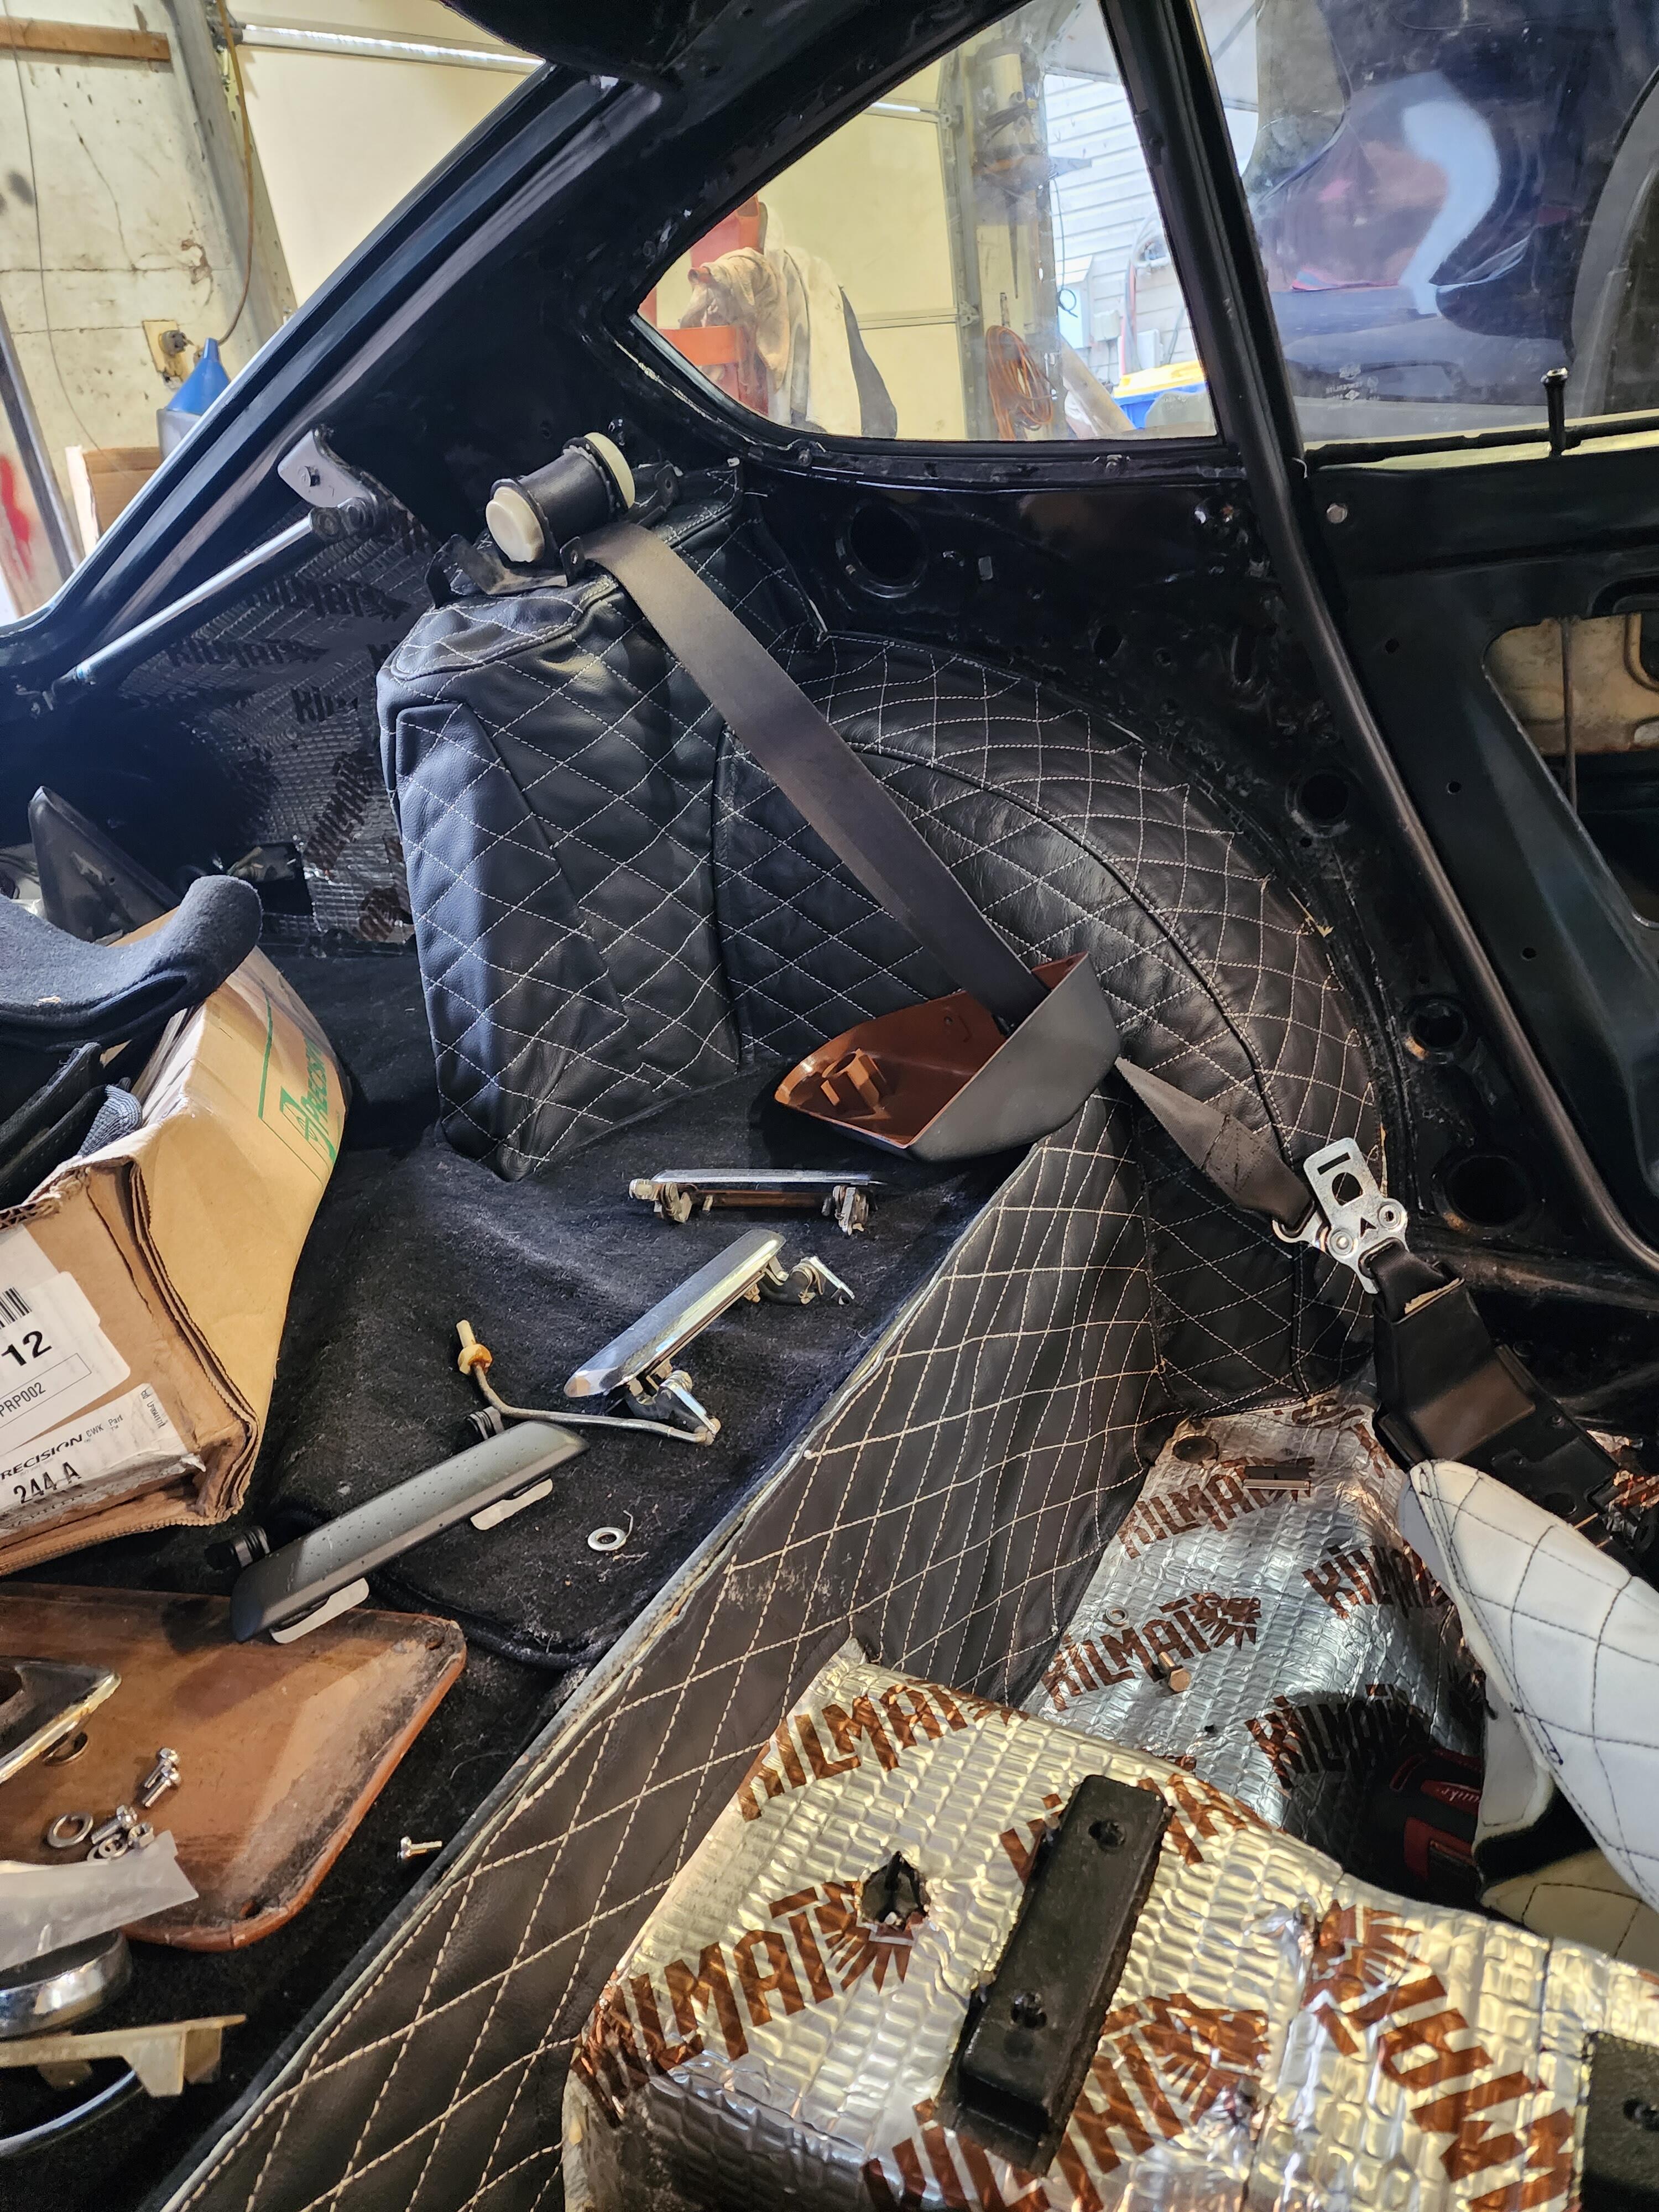
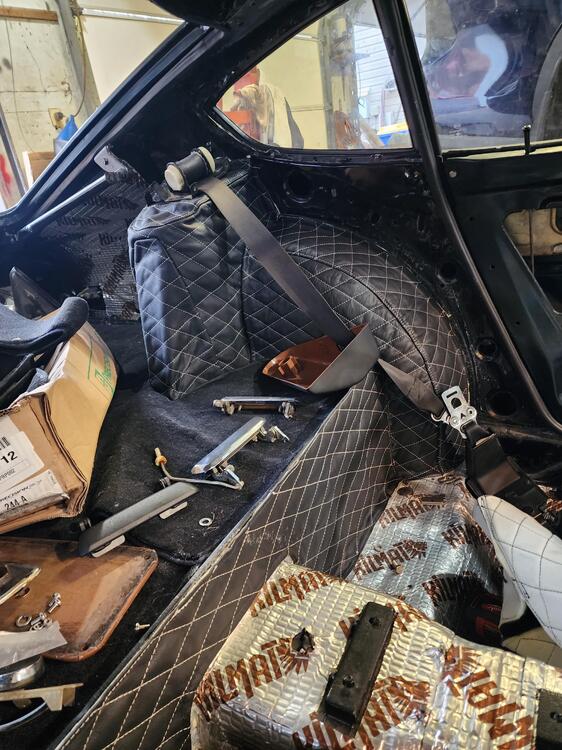
Perhaps a couple… first is the order. I did shock tower, wheel wells, and lastly that back panel. Turned out well because each section covers the pervious. When I first test fit them I thought I was screwed but once you actually glue them down, they take shape. I used 3M spray on adhesive. That worked well. Spray both surfaces, let them tack up and install. For the shocks, start at the top and line up the lip that goes around the rounded section and then just pull the rest down and try to stretch the material as much as it will go without creating creases. I had to make some relief cuts at the bottom but they won’t be seen since they will be under the carpet. You may need relief cuts on the wheel wells too. I have some but they won’t be visible. Make sure to line everything up and you’re happy with the figment before making any cuts. I found it useful to have my seatbelts and seatbelt covers close by since they mount onto my shock tower. This gave me a good visual to compare from side to side as far as equal alignment on the shock tower. Lastly, the glue isn’t permanent so don’t be worried about pulling a panel off after it’s installed… I did my passenger shock tower about 3 times until I was happy with it. And I might redo my driver too. Hope that helps…
-
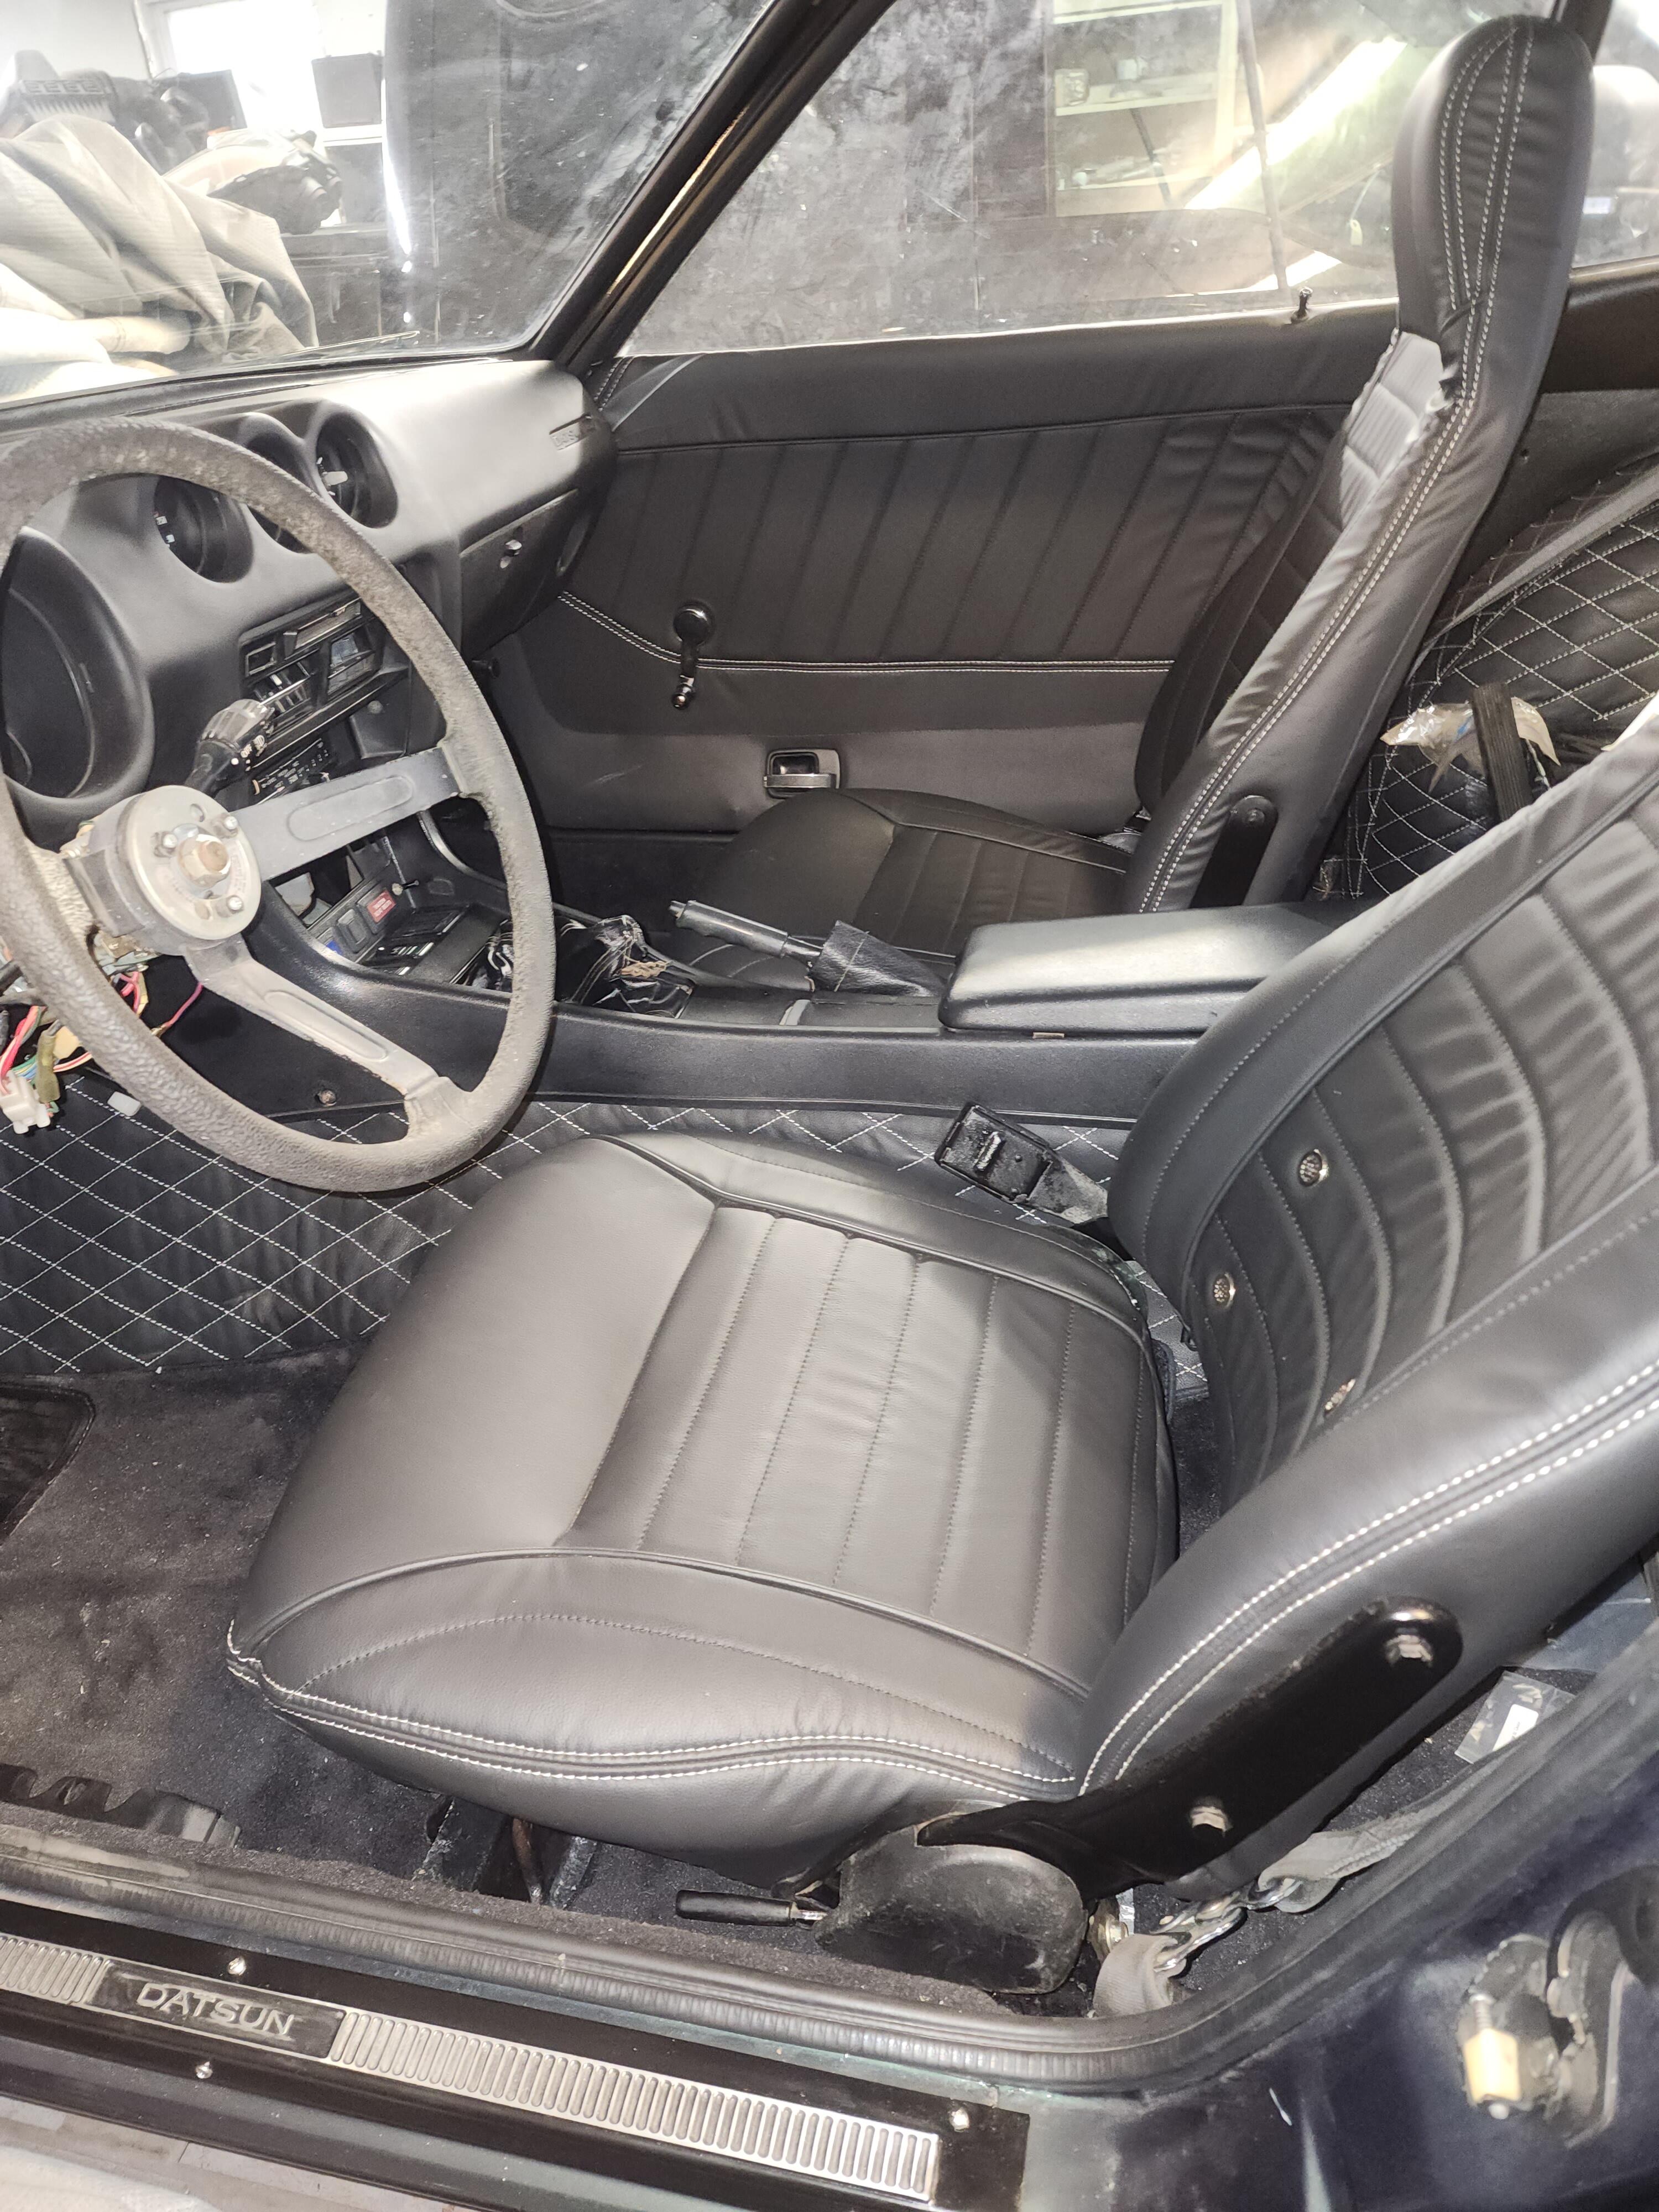
I’ve spent more time than I wanted in India so progress has been slow. I decided to work on the interior and happy with the results so far… you don’t realize how much you took apart until you start putting it back together… the widow frames/mechanisms were a PITA. they still don’t seem right but I’ll save that for another day.

-
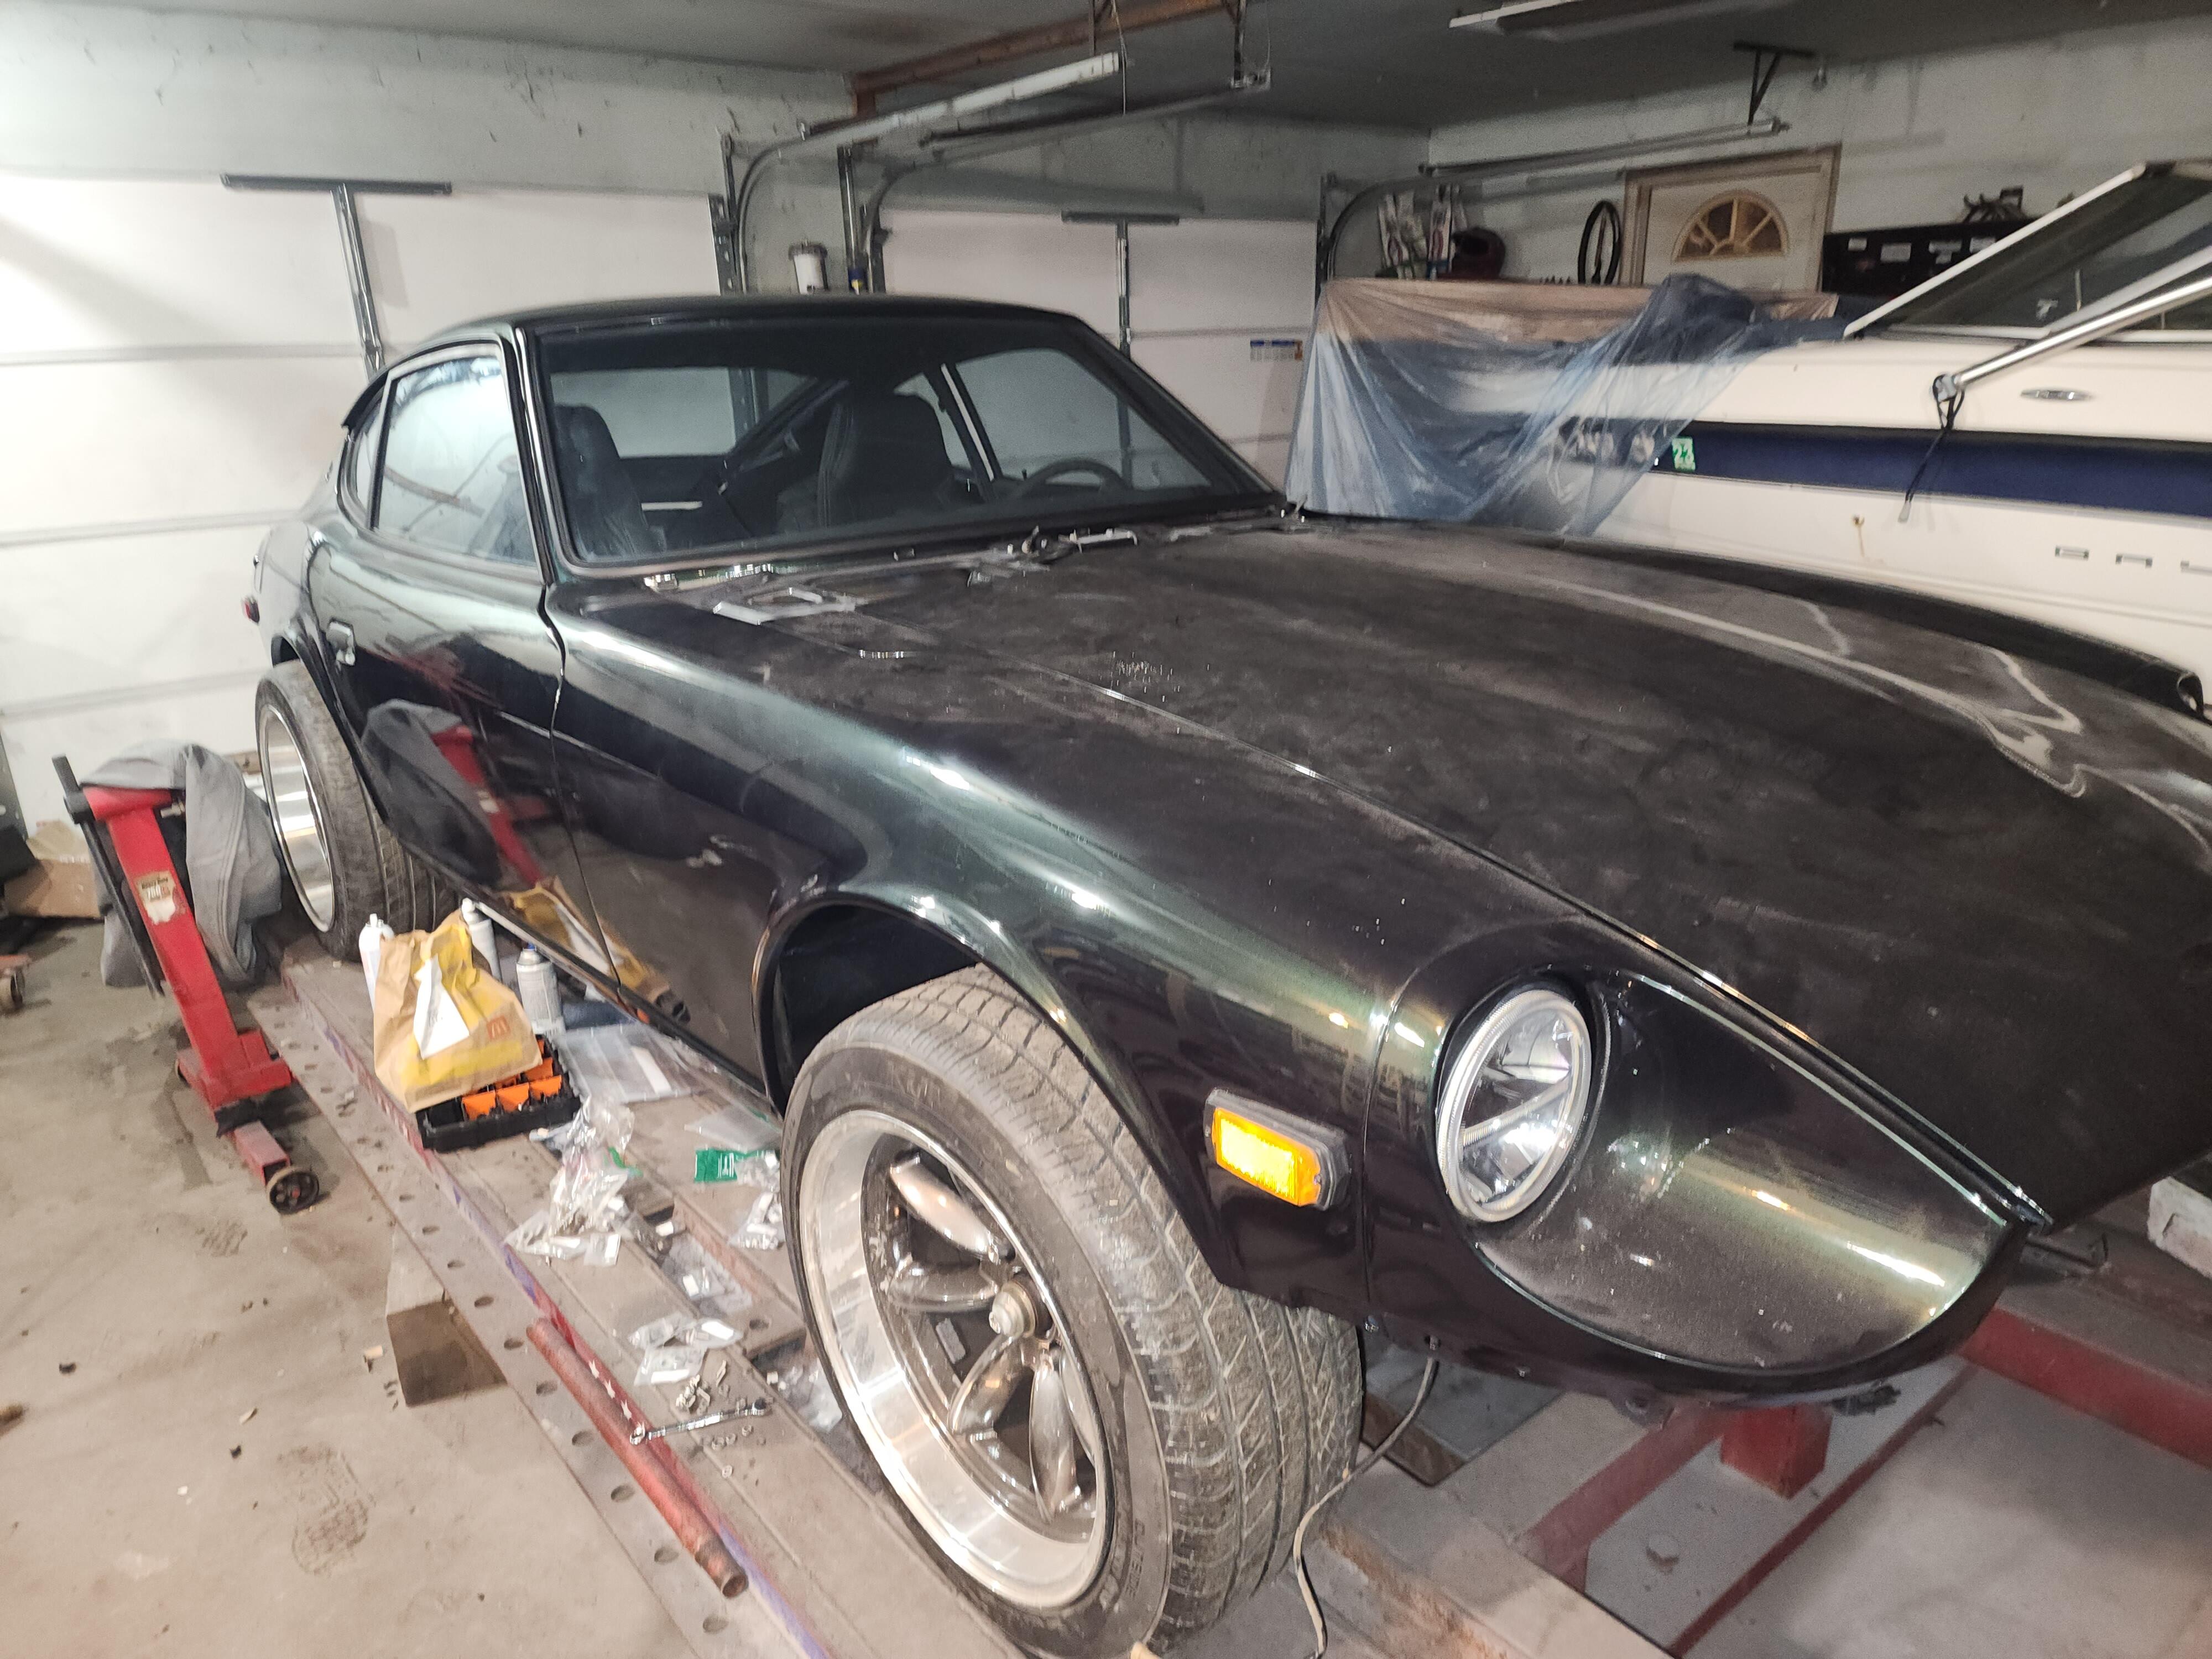
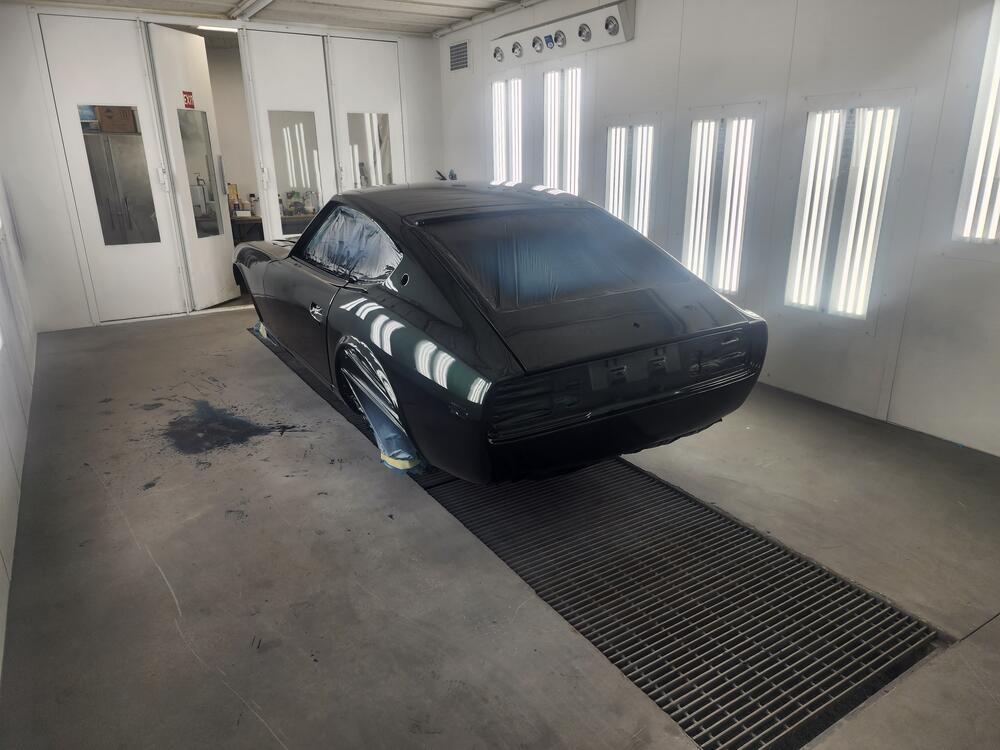
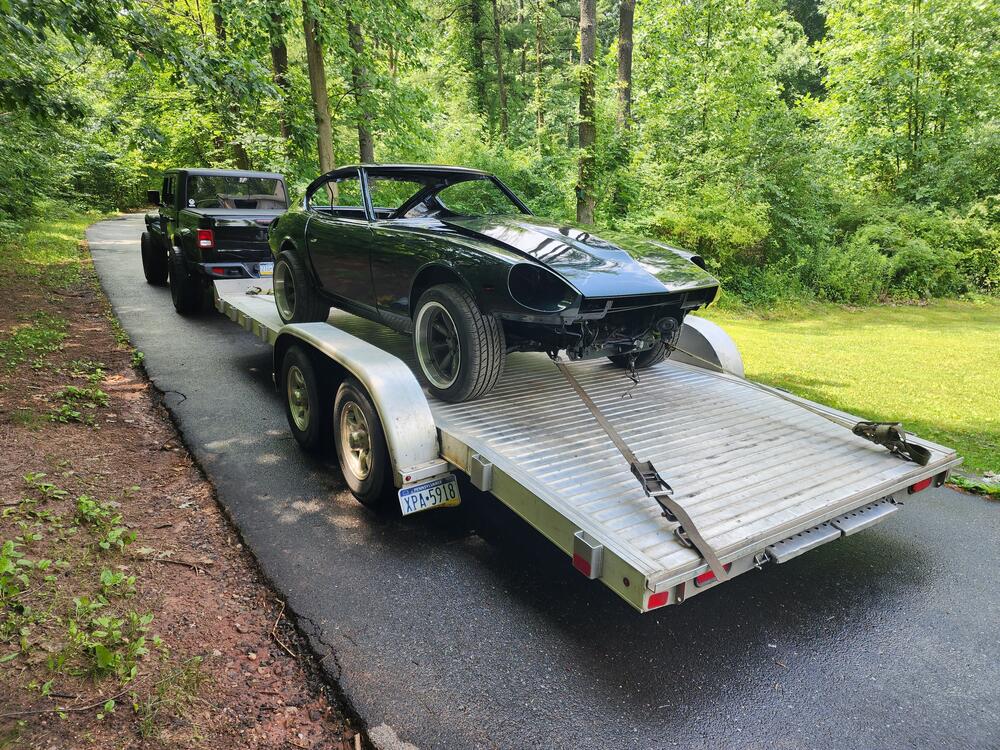
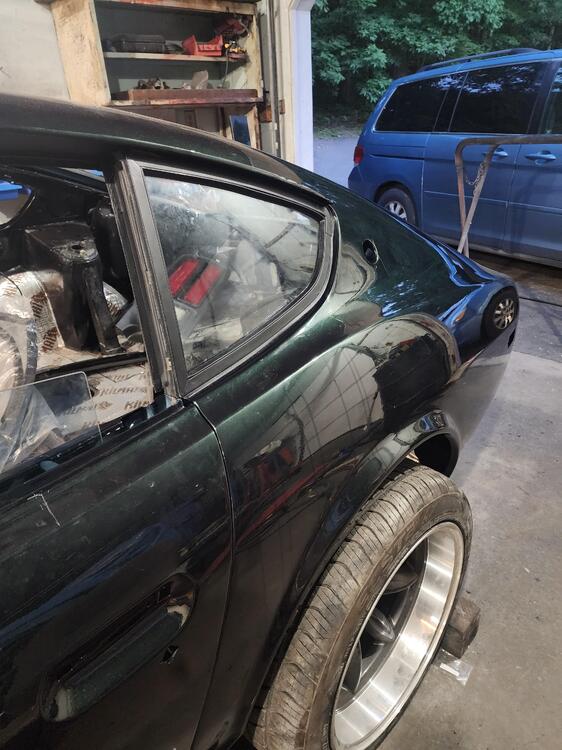
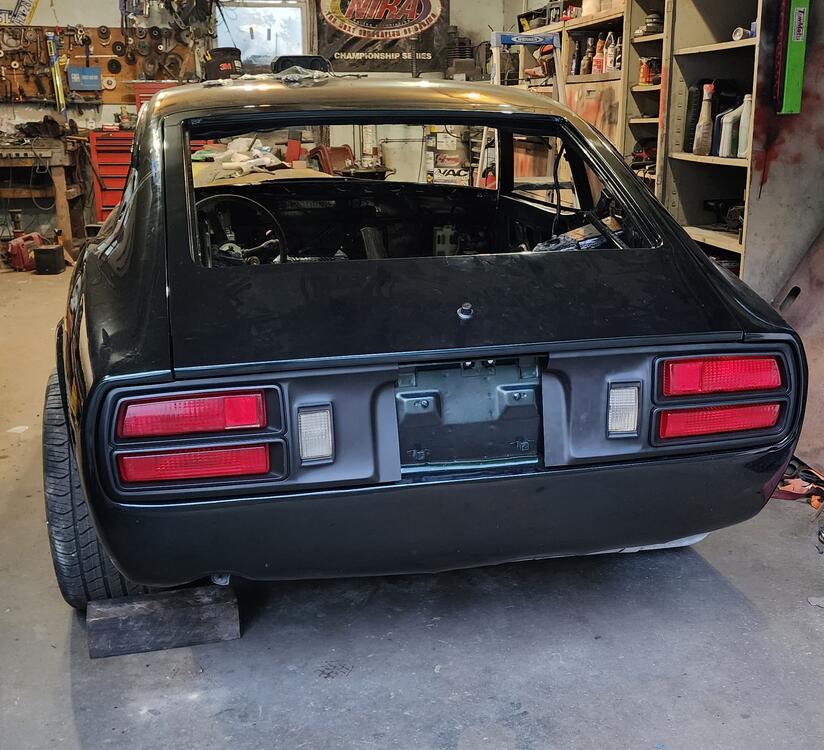
Haven't updated much but good progress on the car. Took a new job a couple months back so that's been hindering the progress. But at least body work is done and I can focus on assembly.

-
Quick question, I am wanting to cover my rear shock towers and the tunnel section in diamond stitched leather. What floor carpet do I need to order to match up to this? Or do I just order regular 280z carpet and hem the edges?
-
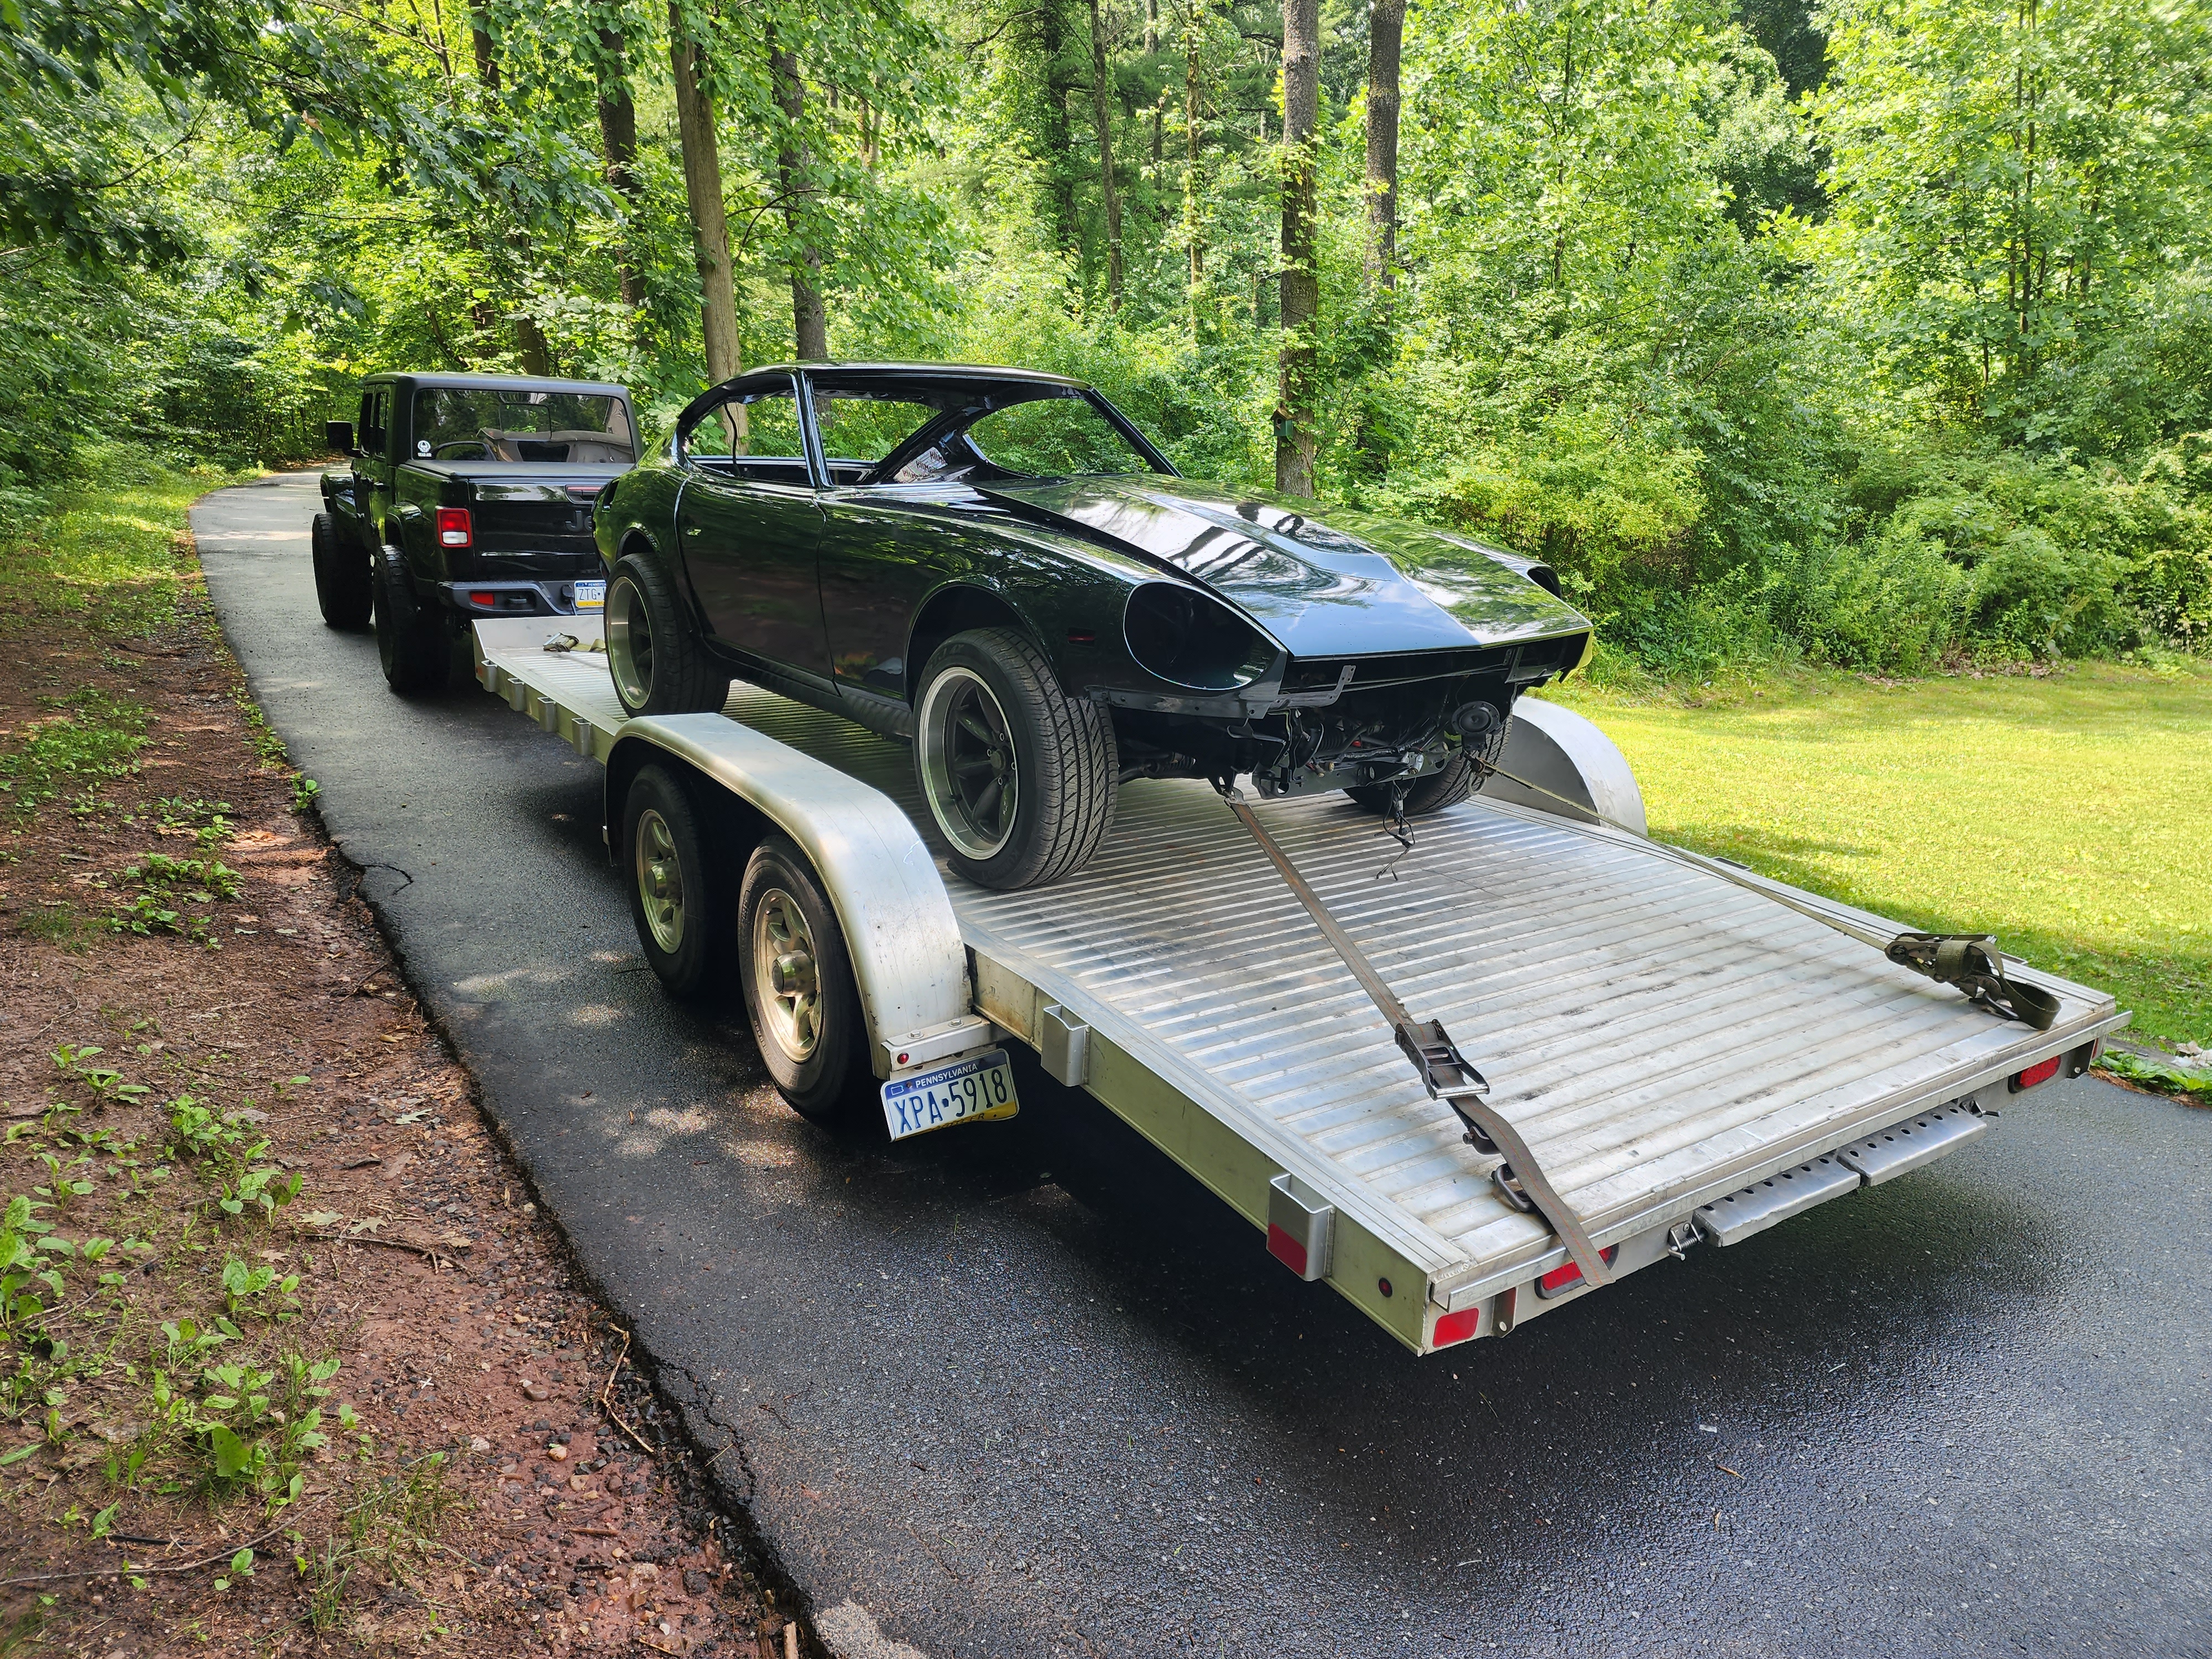
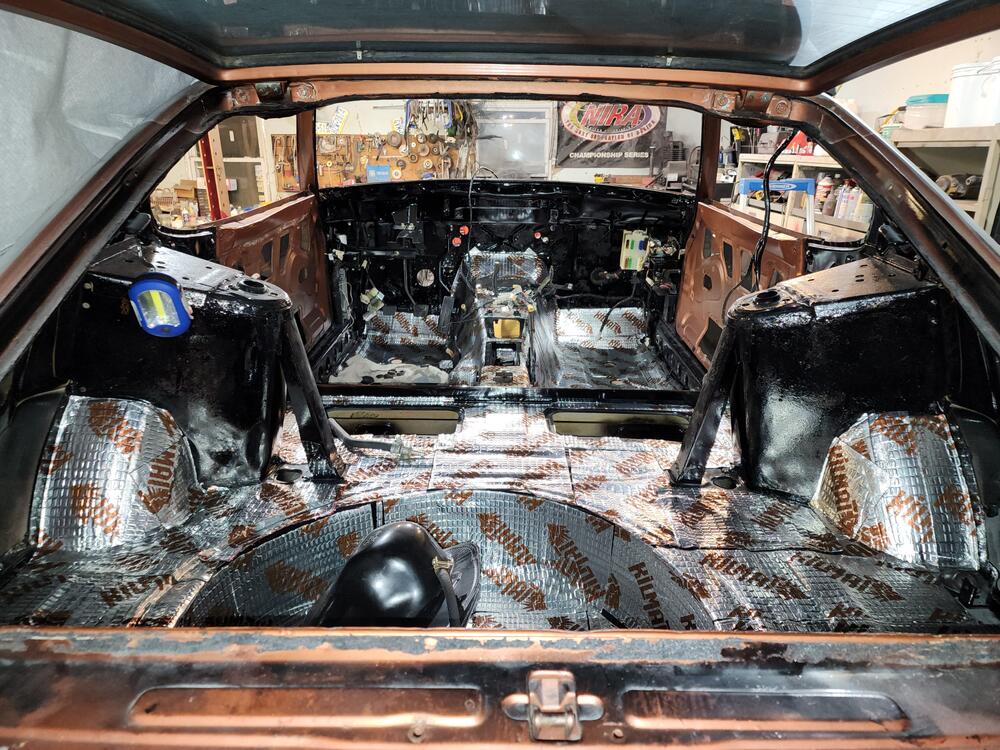
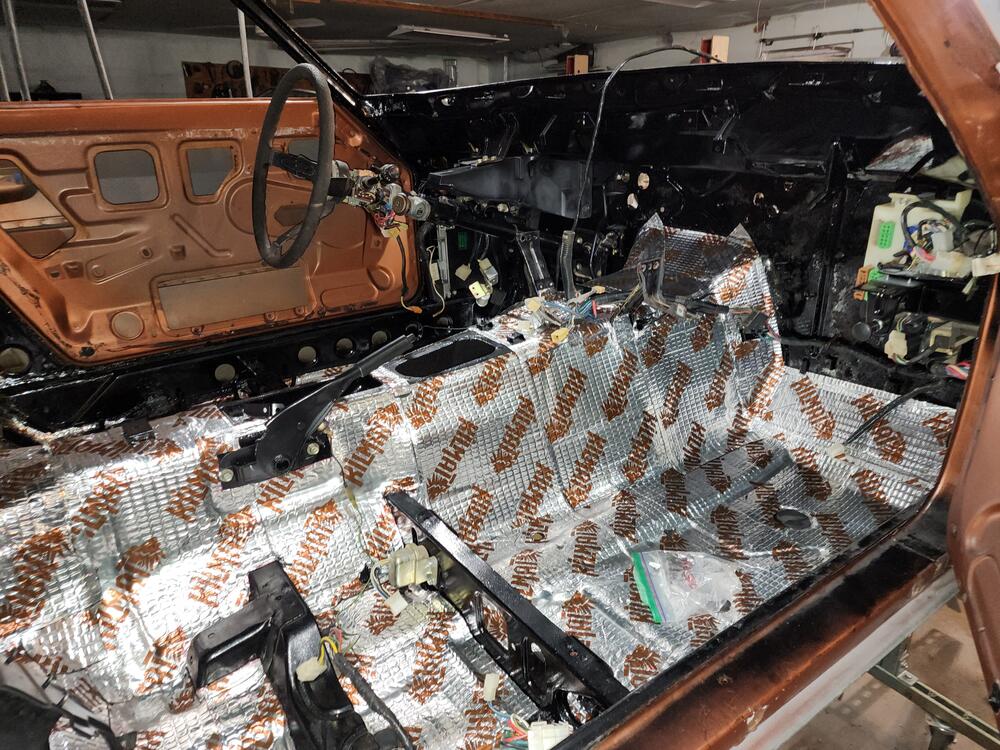
Haven’t posted much progress but I thought this looked cool. It’s finally coming back together… once I have the car back on the ground, I’ll pull off the doors and trunk lid and start the body work.

-
Thanks for the advice @SteveJ. I’ll look into those options.
-
I am in the process of restoring my brake and fuel lines and was wondering if there is an option to replace the rubber piggyback hoses to a braided SS line. I’m mainly wondering about the connection between the actual lines. Only thing I can think of is using a AN connector but that would mean I need to braze on AN connectors on every line… anyone have another idea? The lines actually turned out very nice. I sanded them all down and coated them black, I’ll have to take a finished pic when they are installed.

-
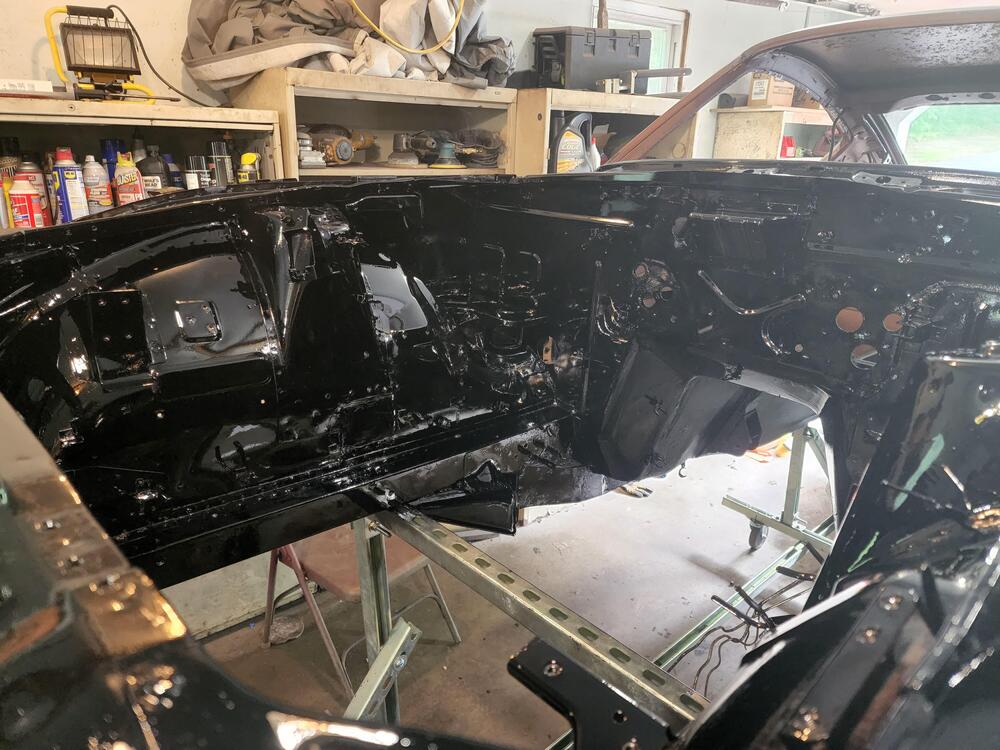
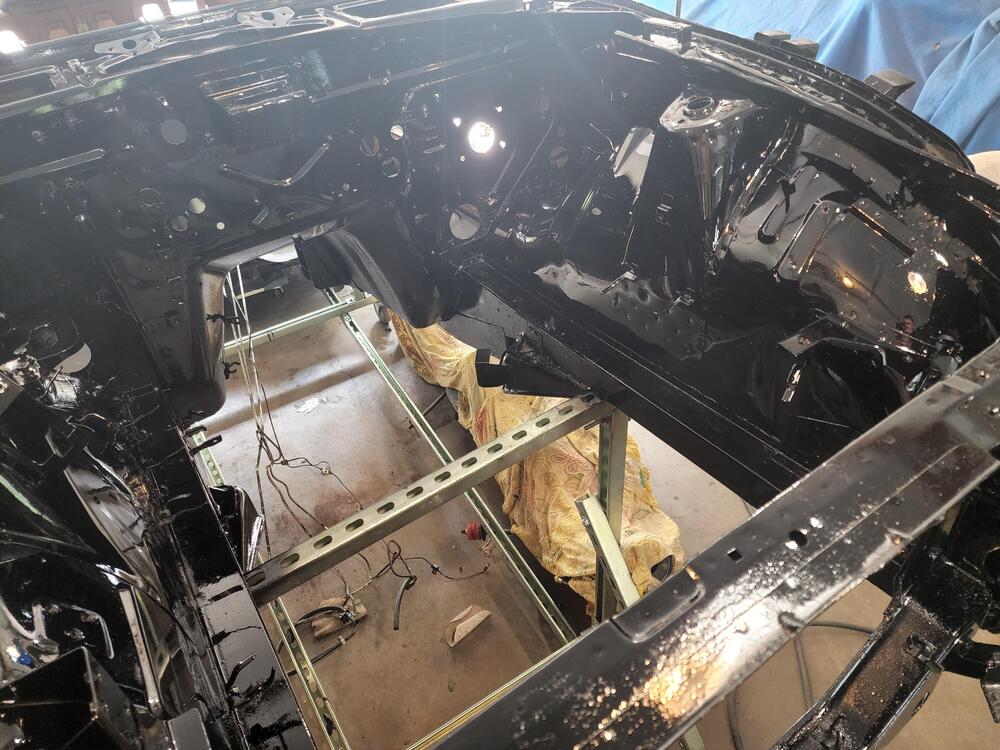
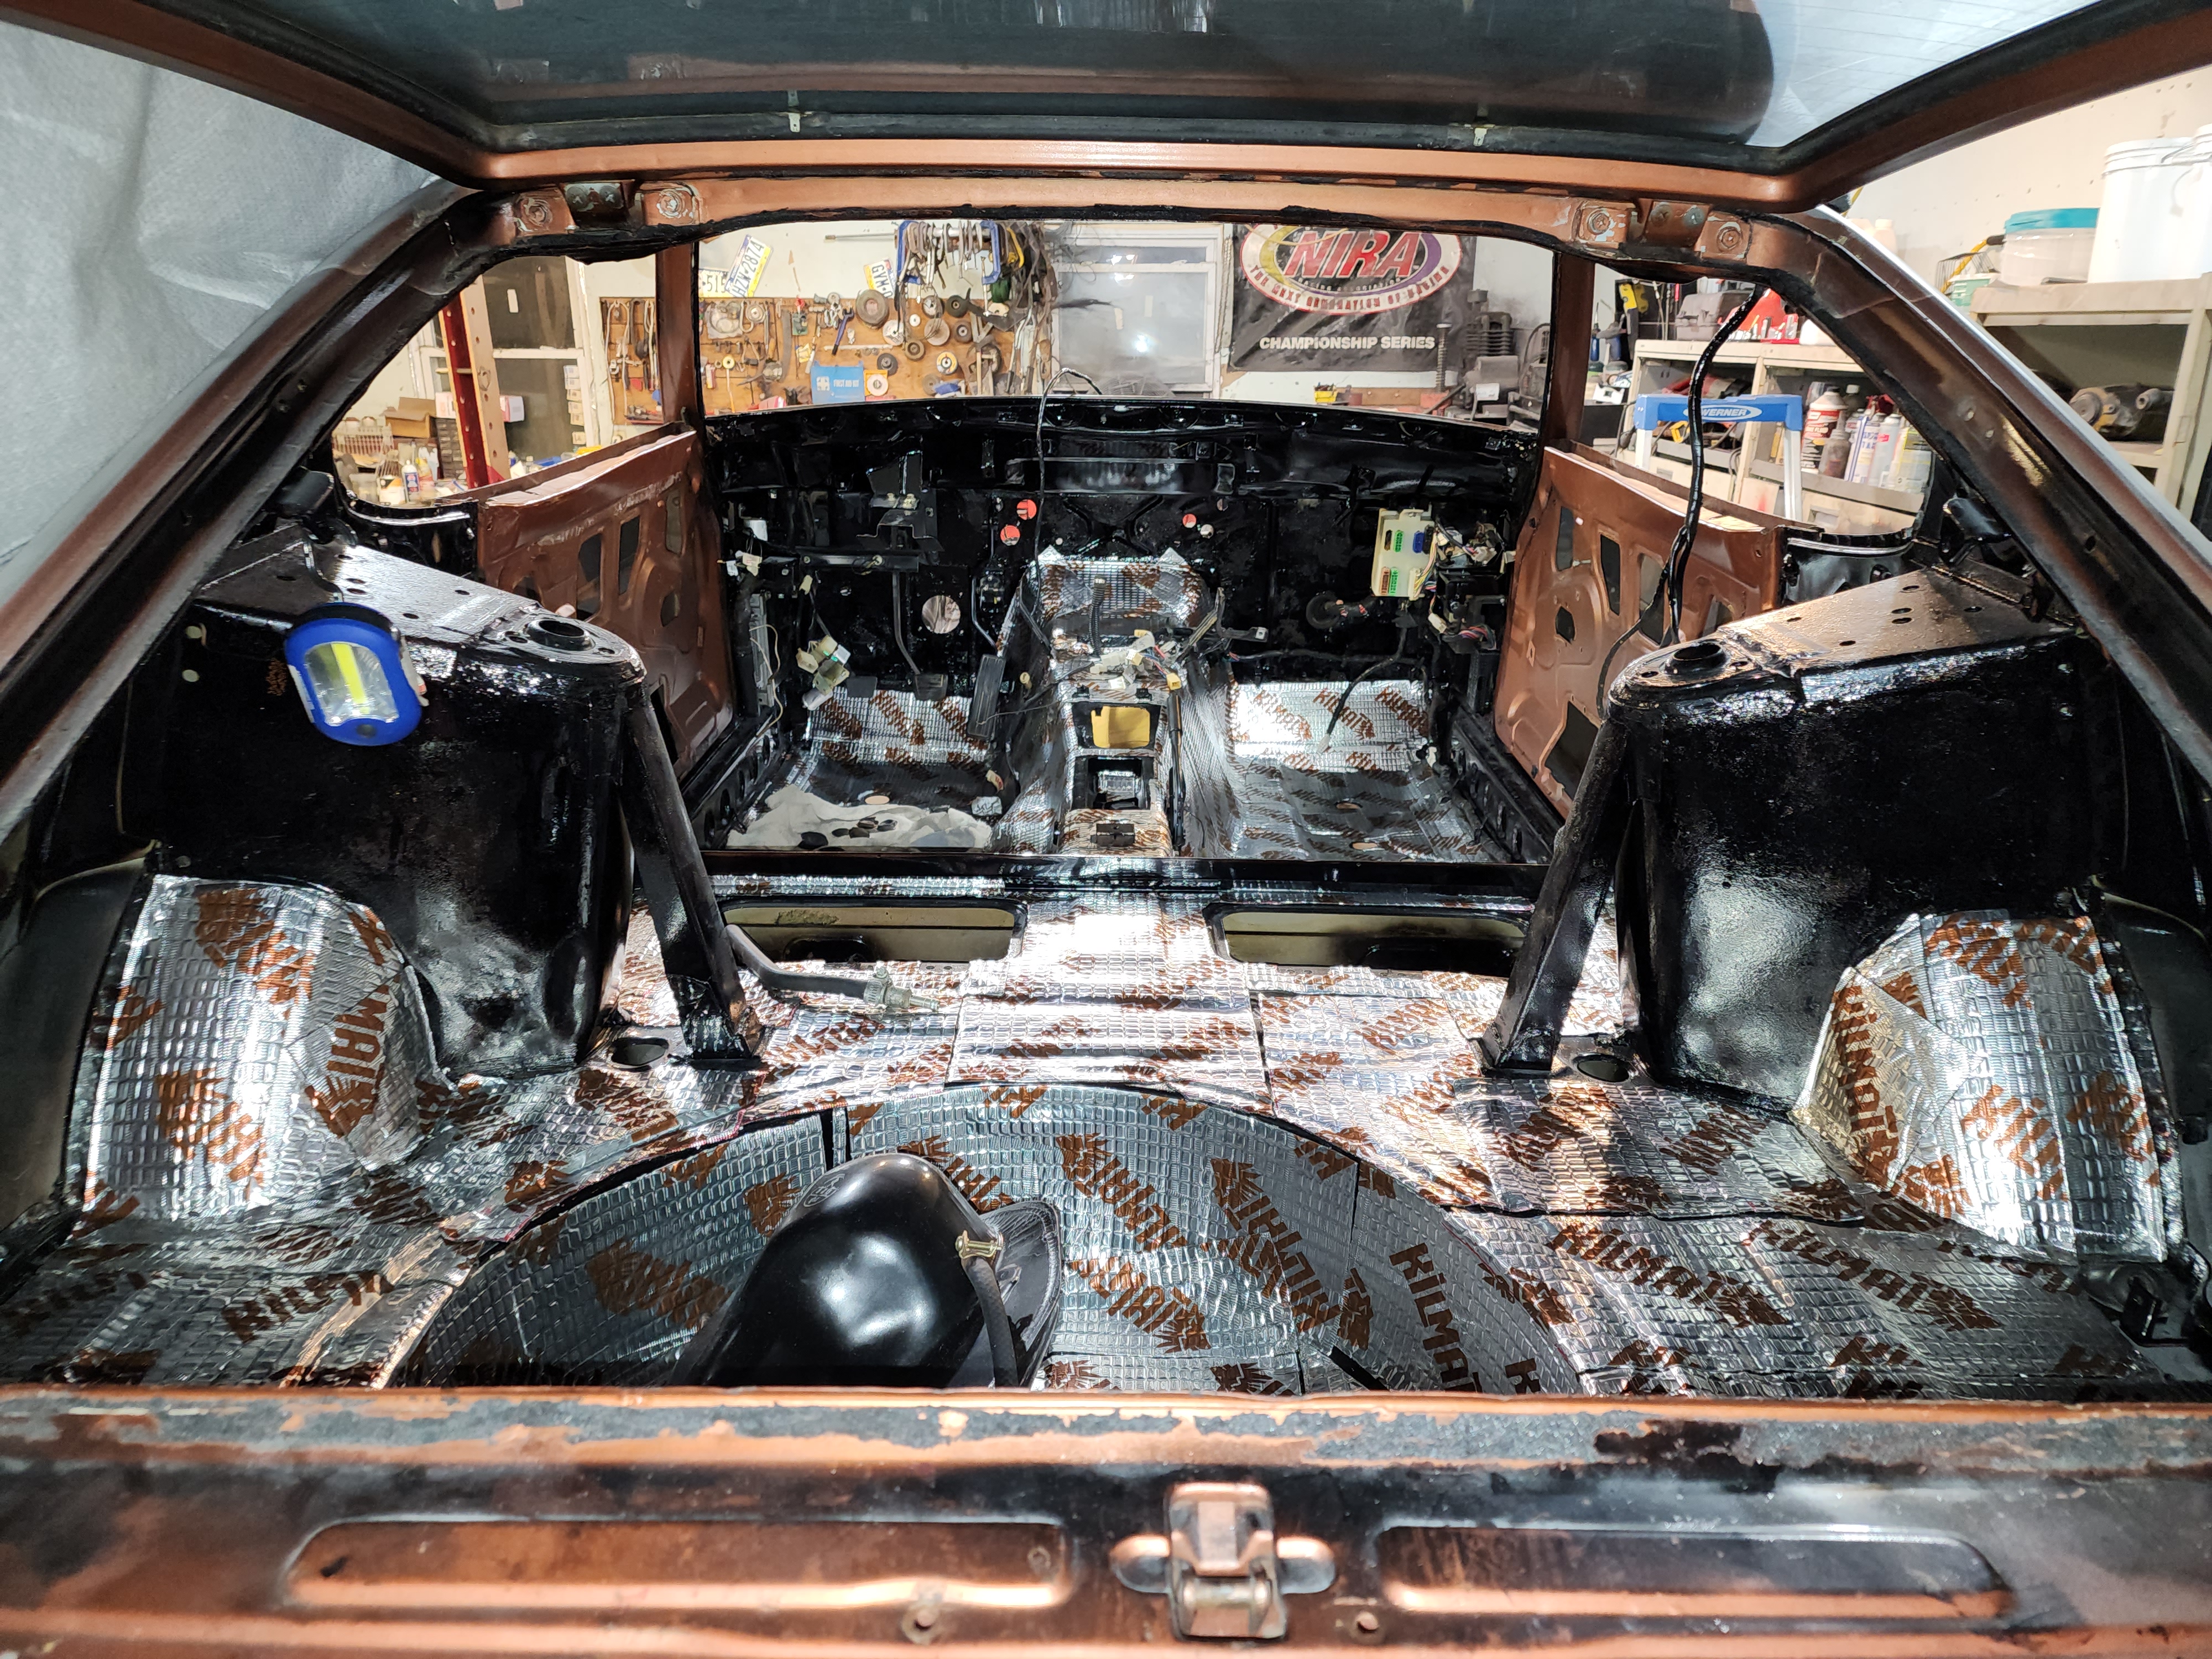
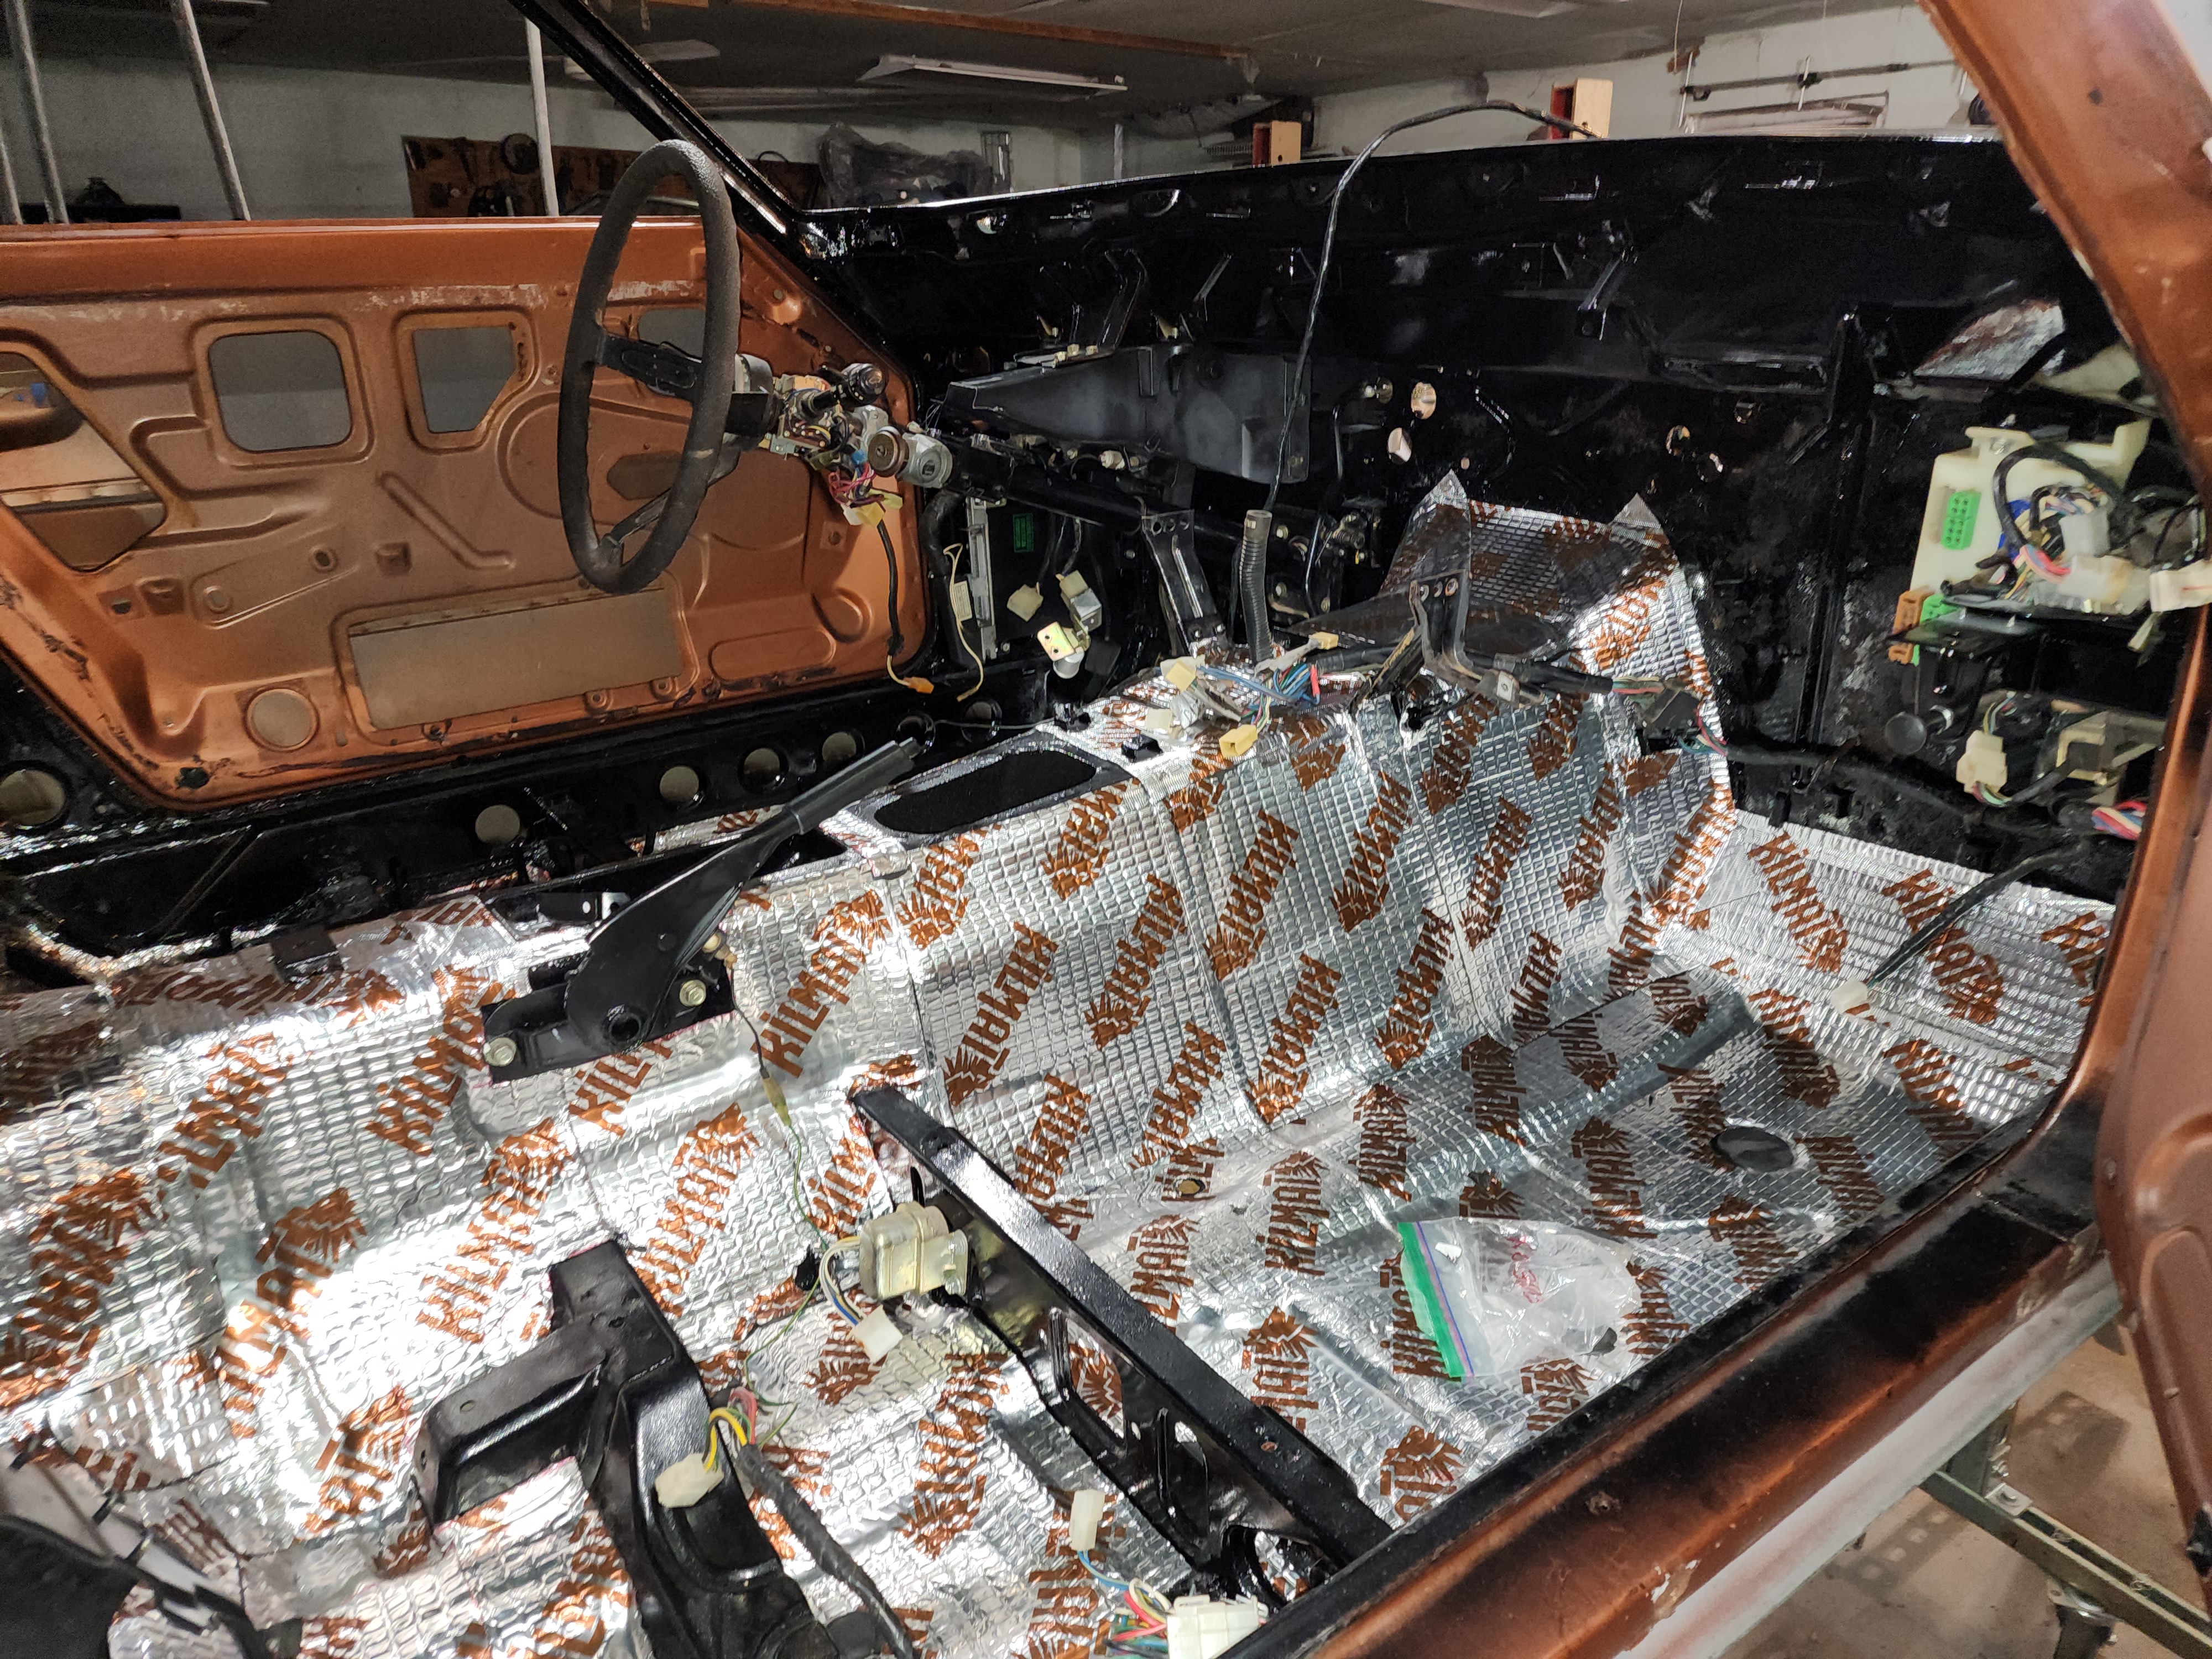
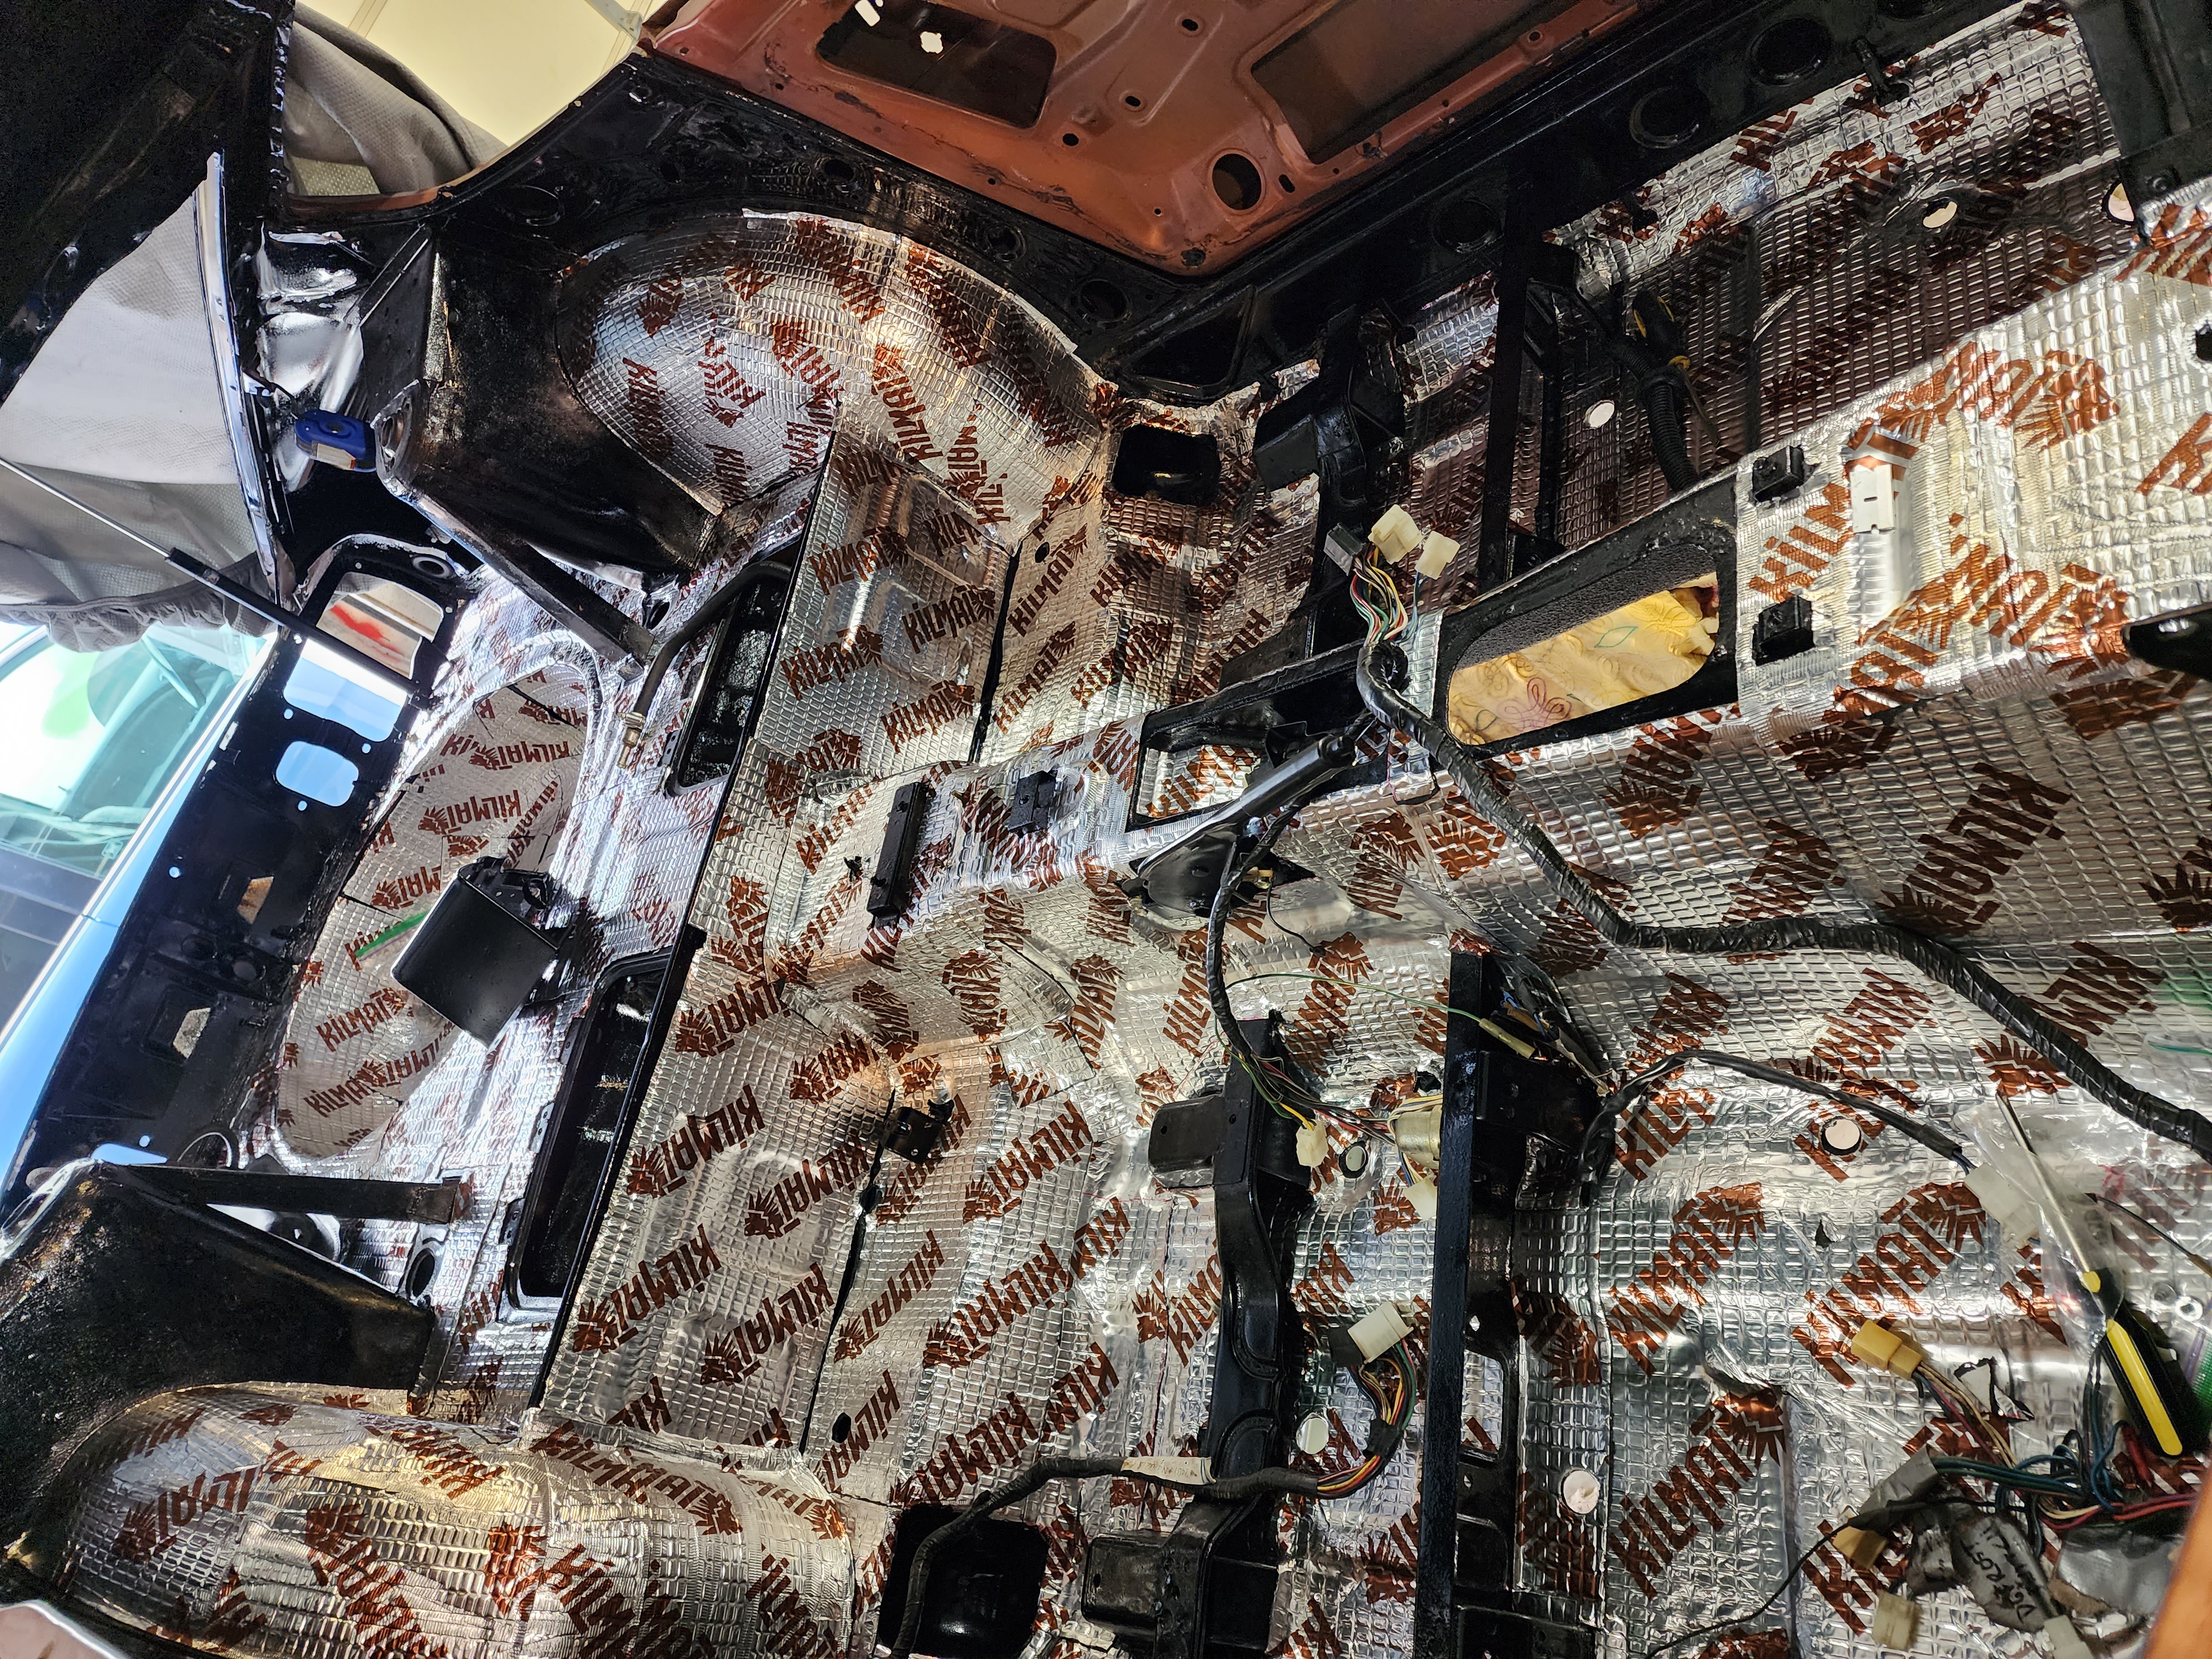
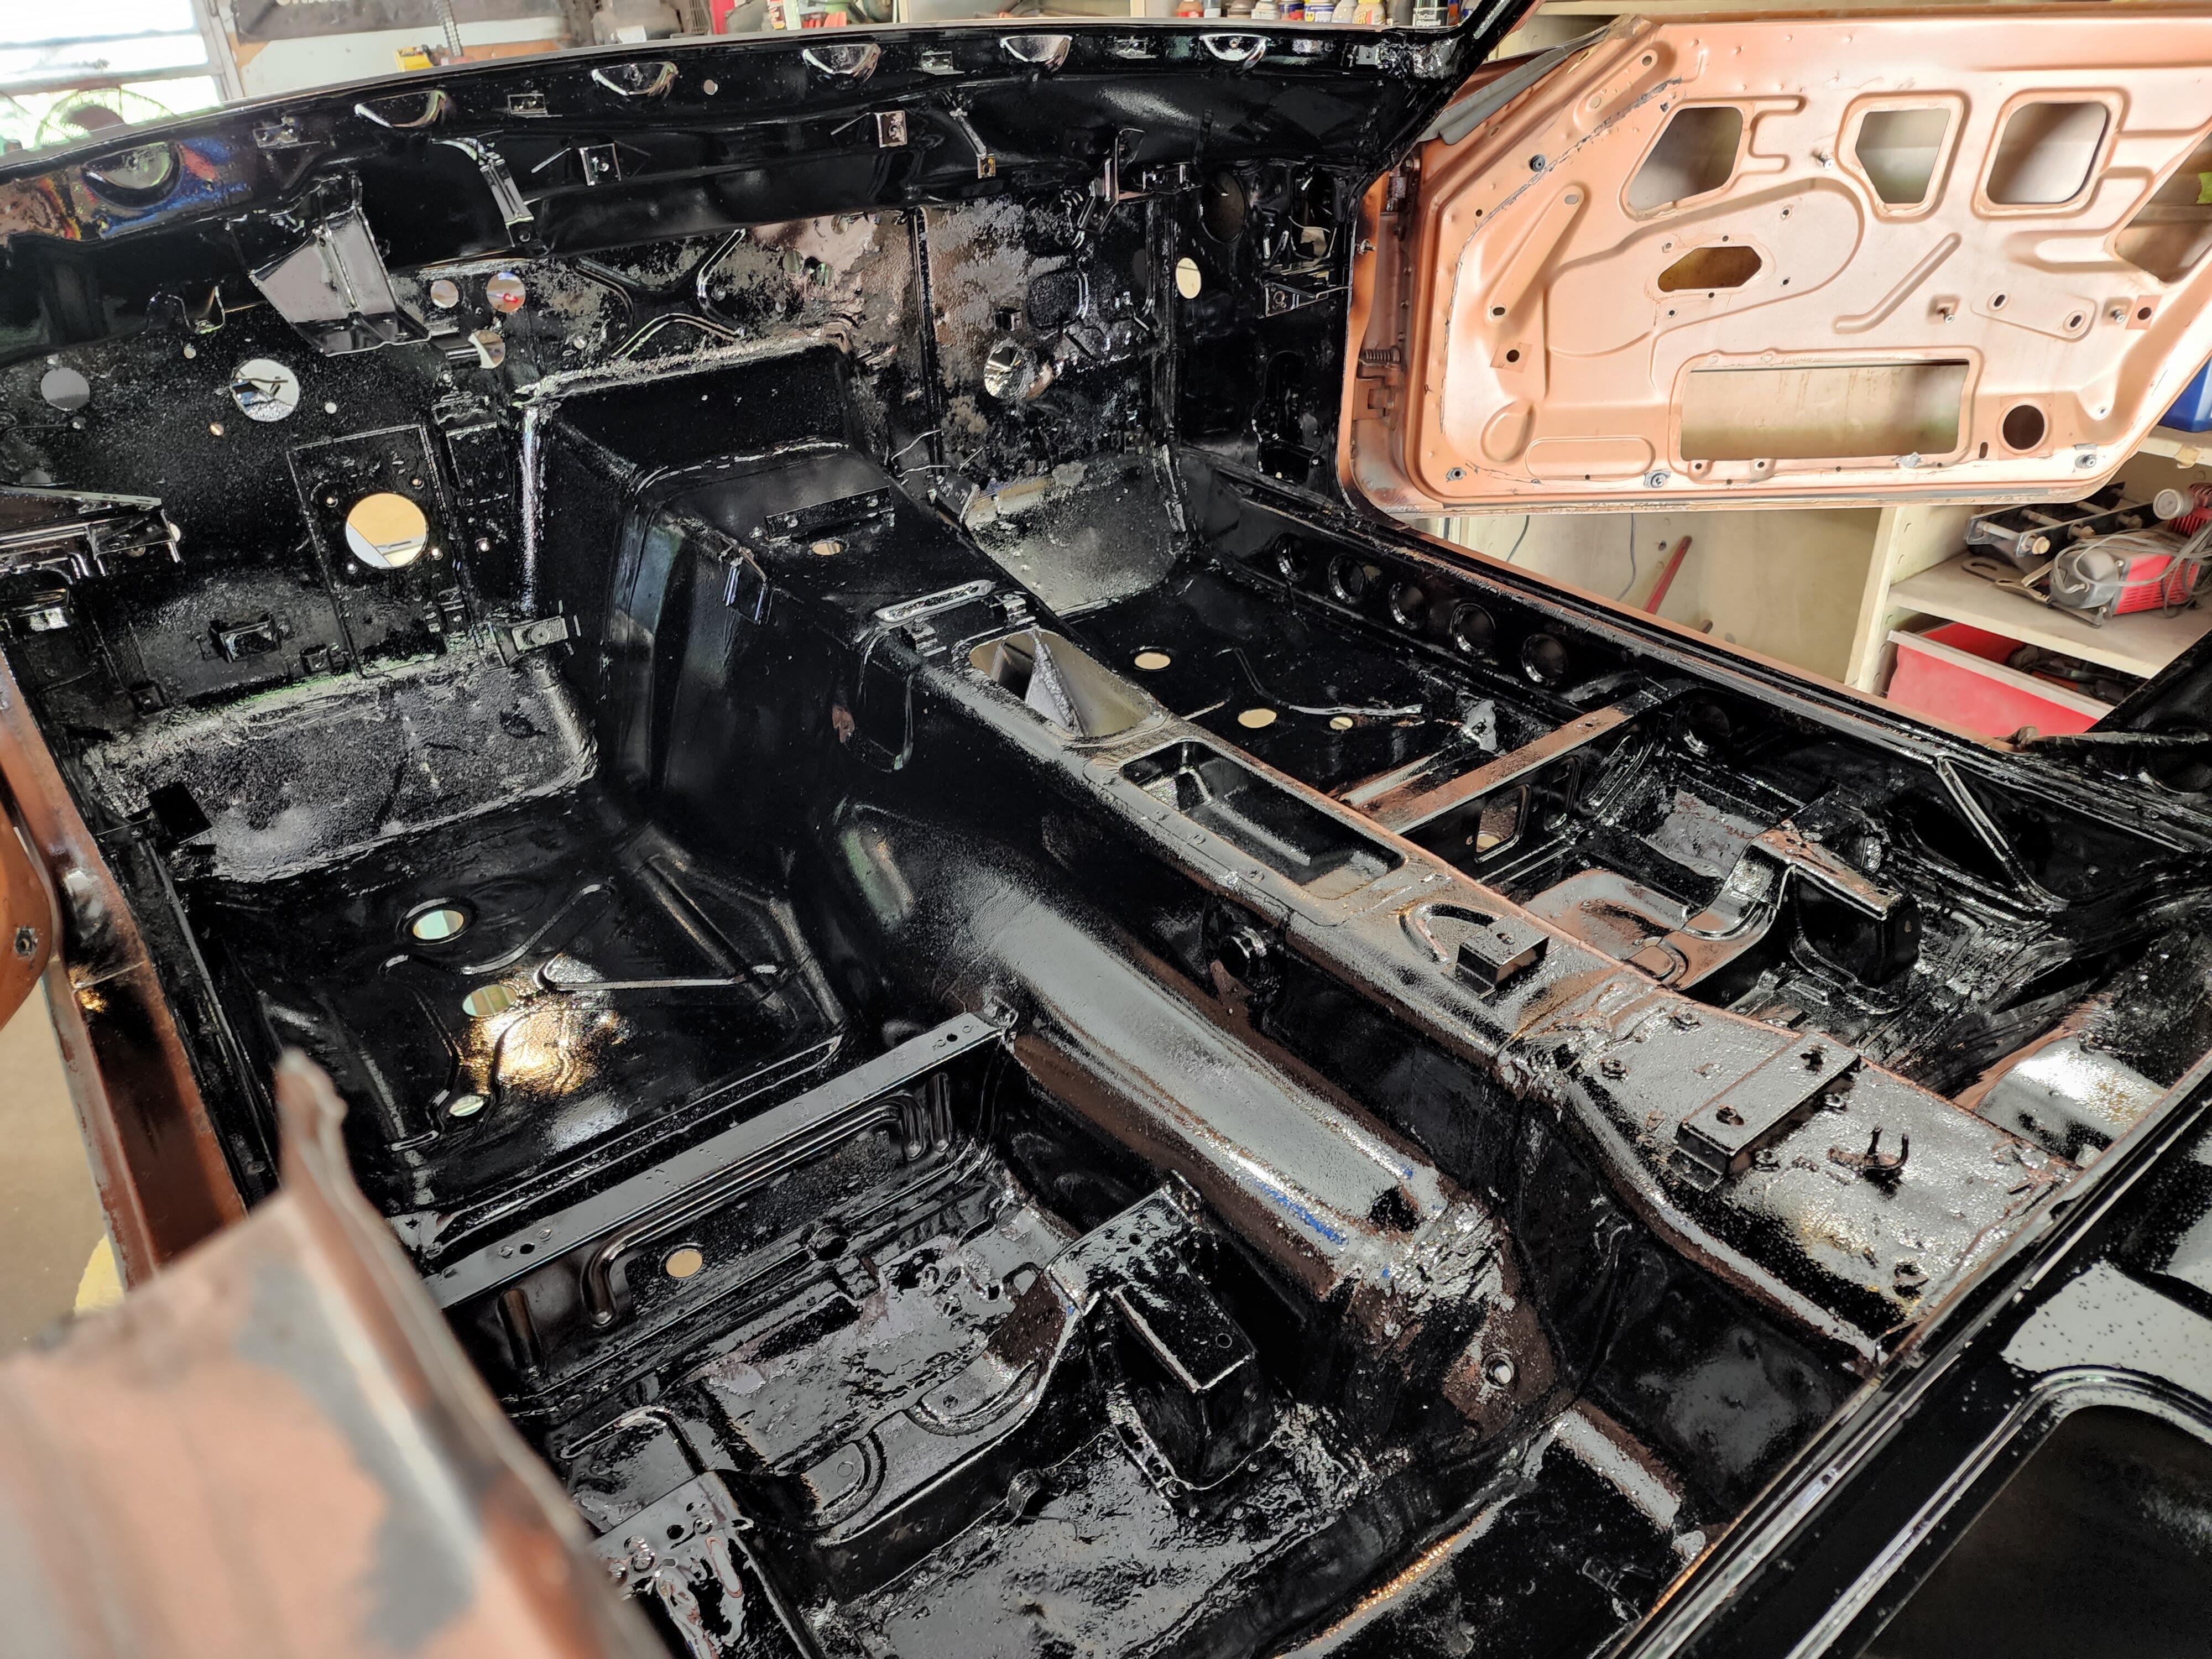
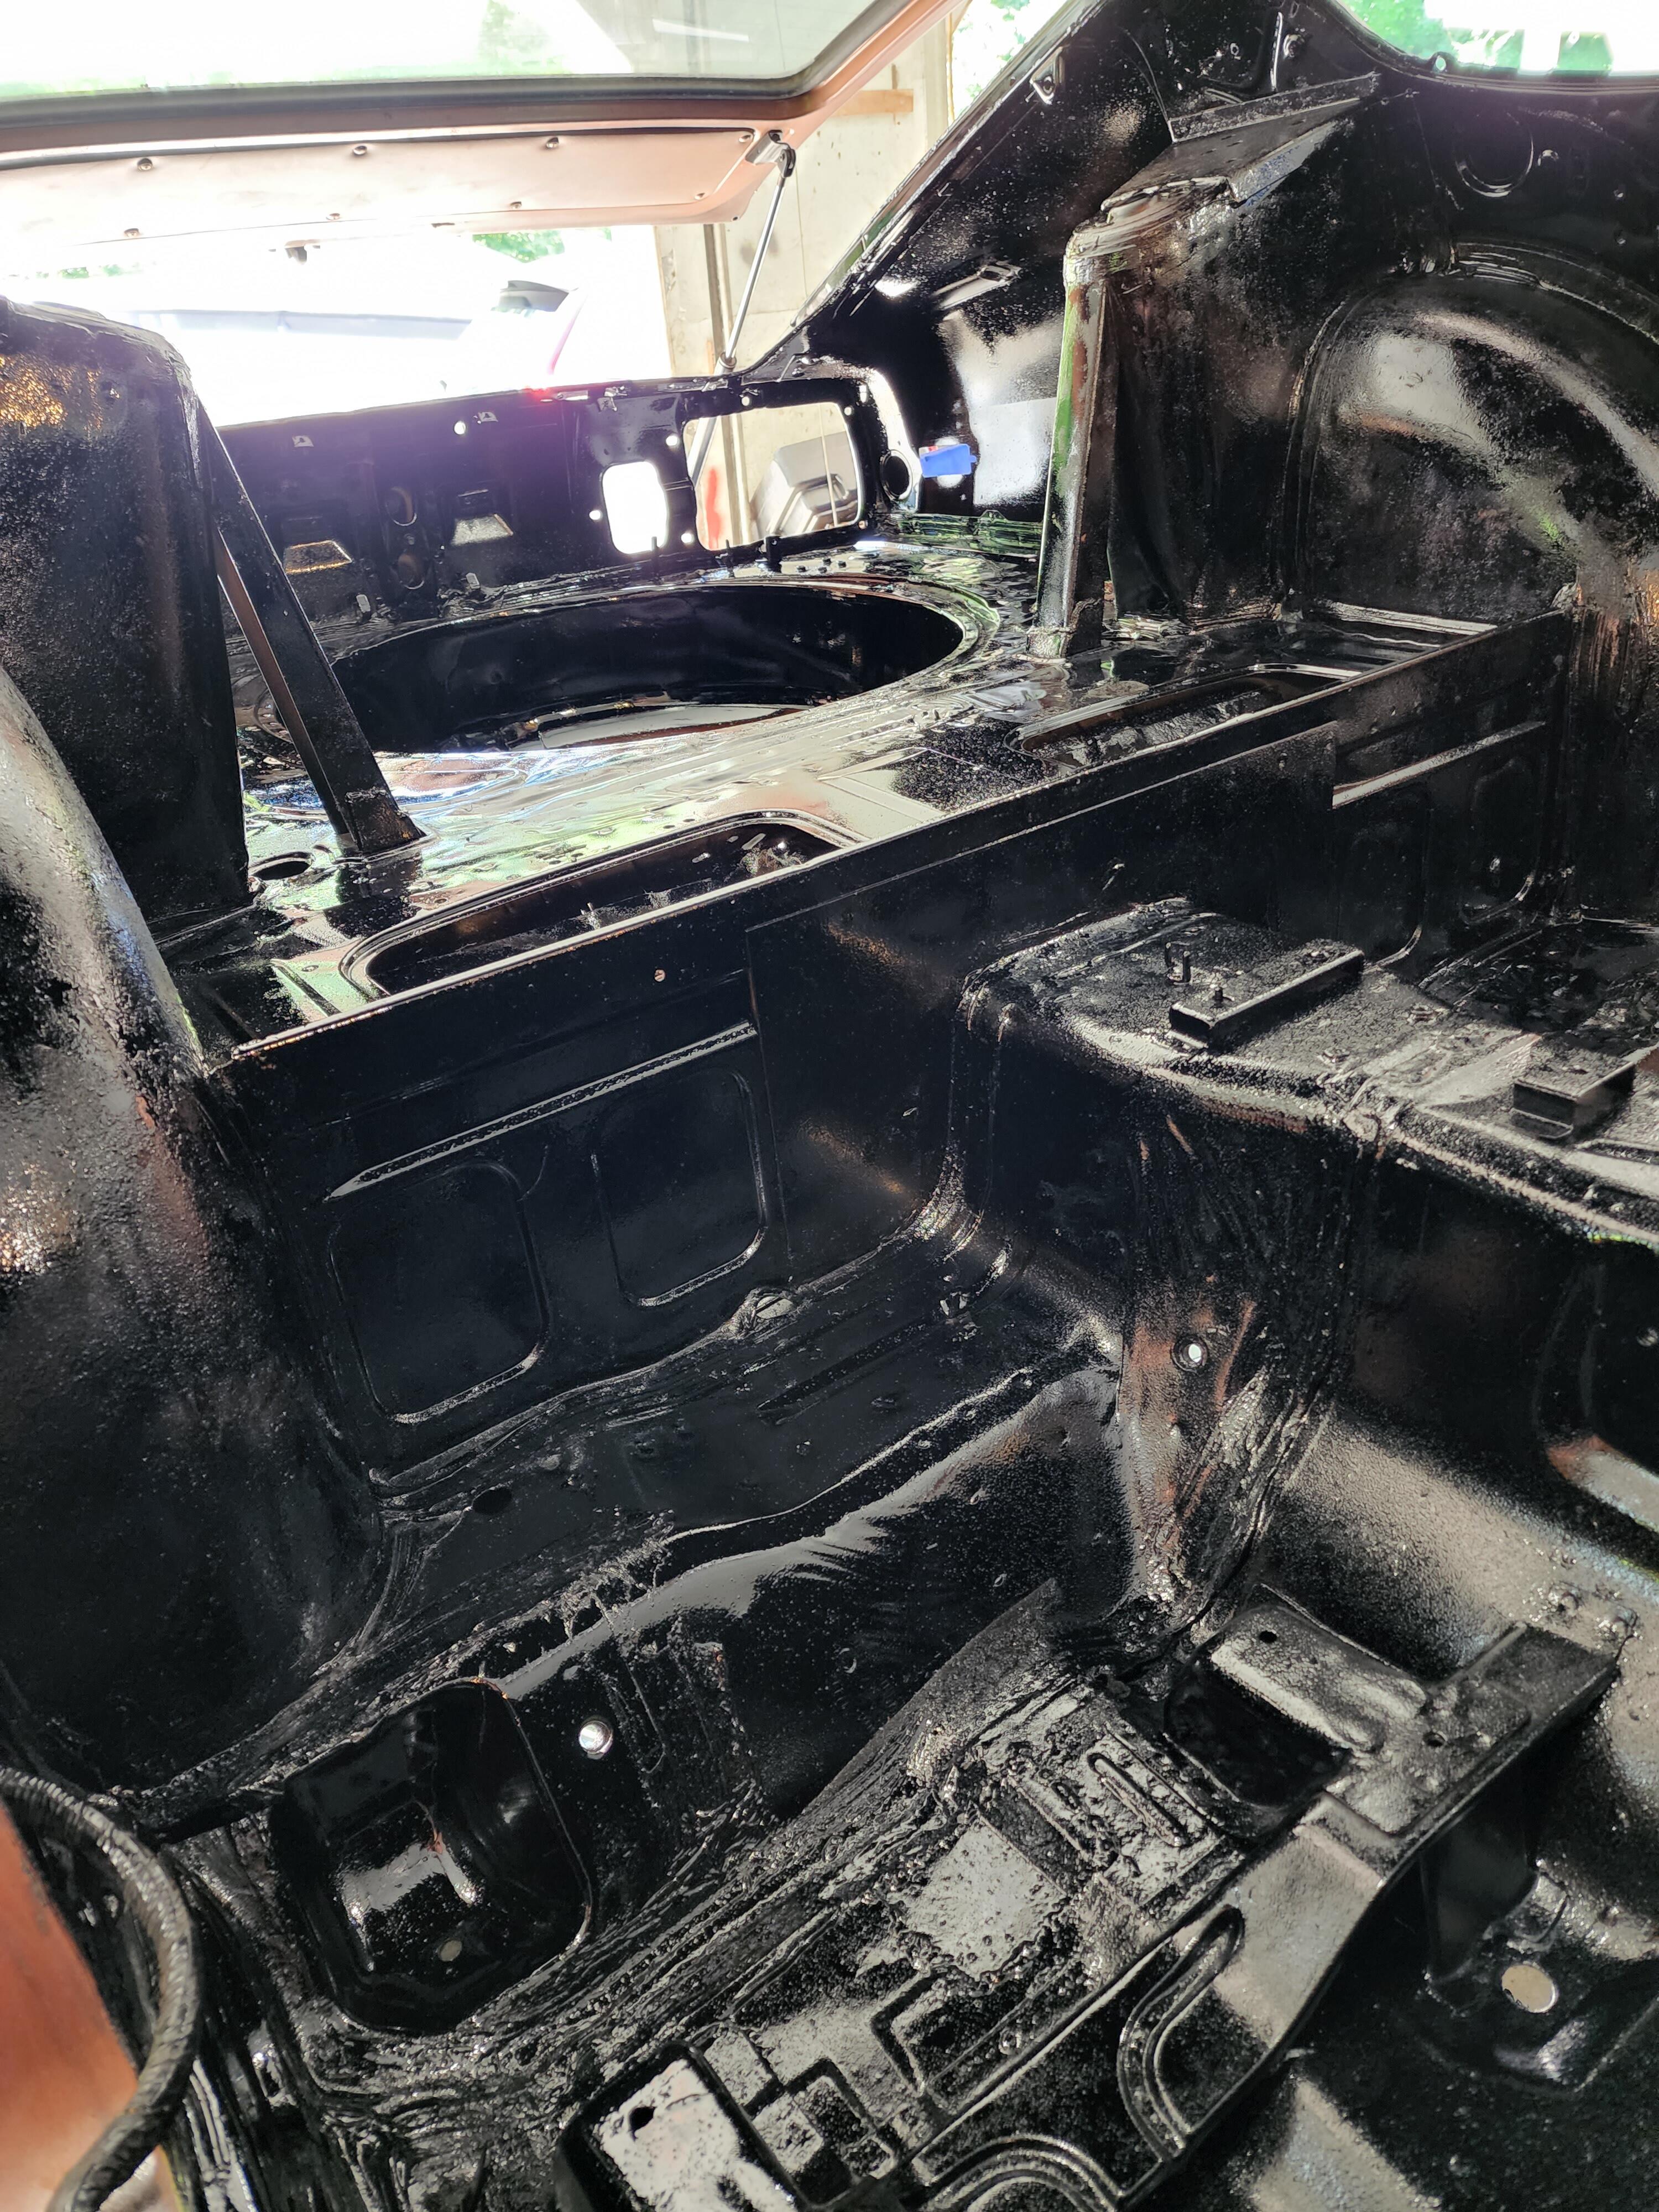
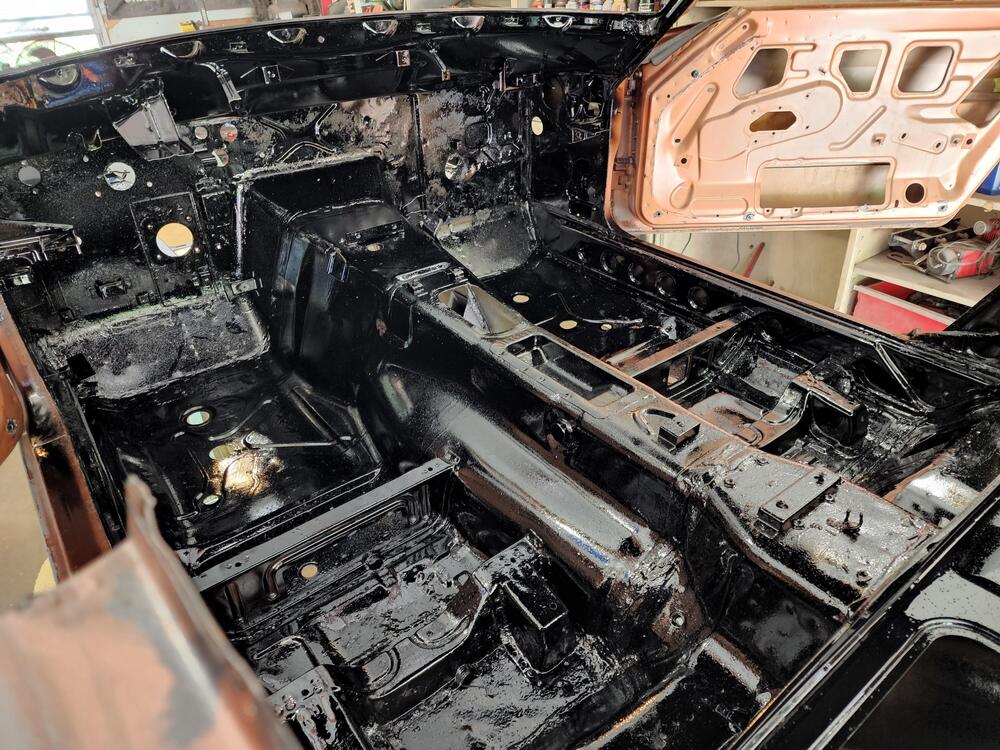
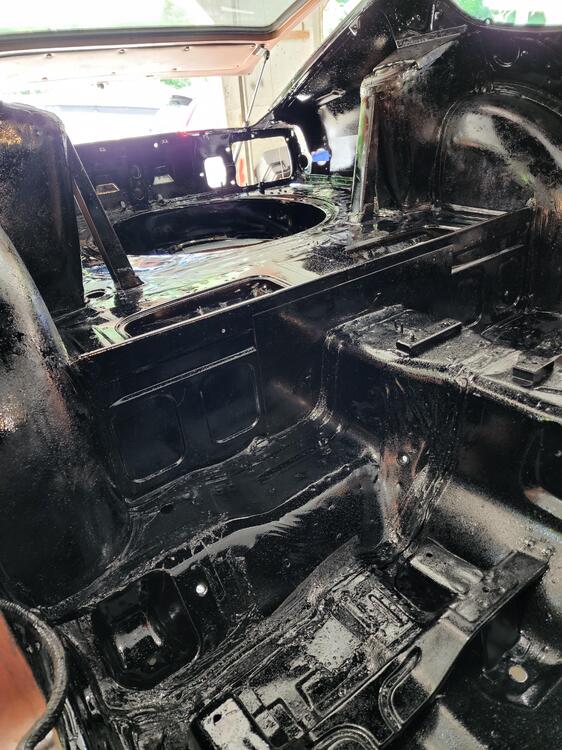
Not thrilled with the interior paint but oh well. It will be covered up anyway. The paint and the POR15 seemed to have a reaction where the paint has a bunch of orange peel.
-
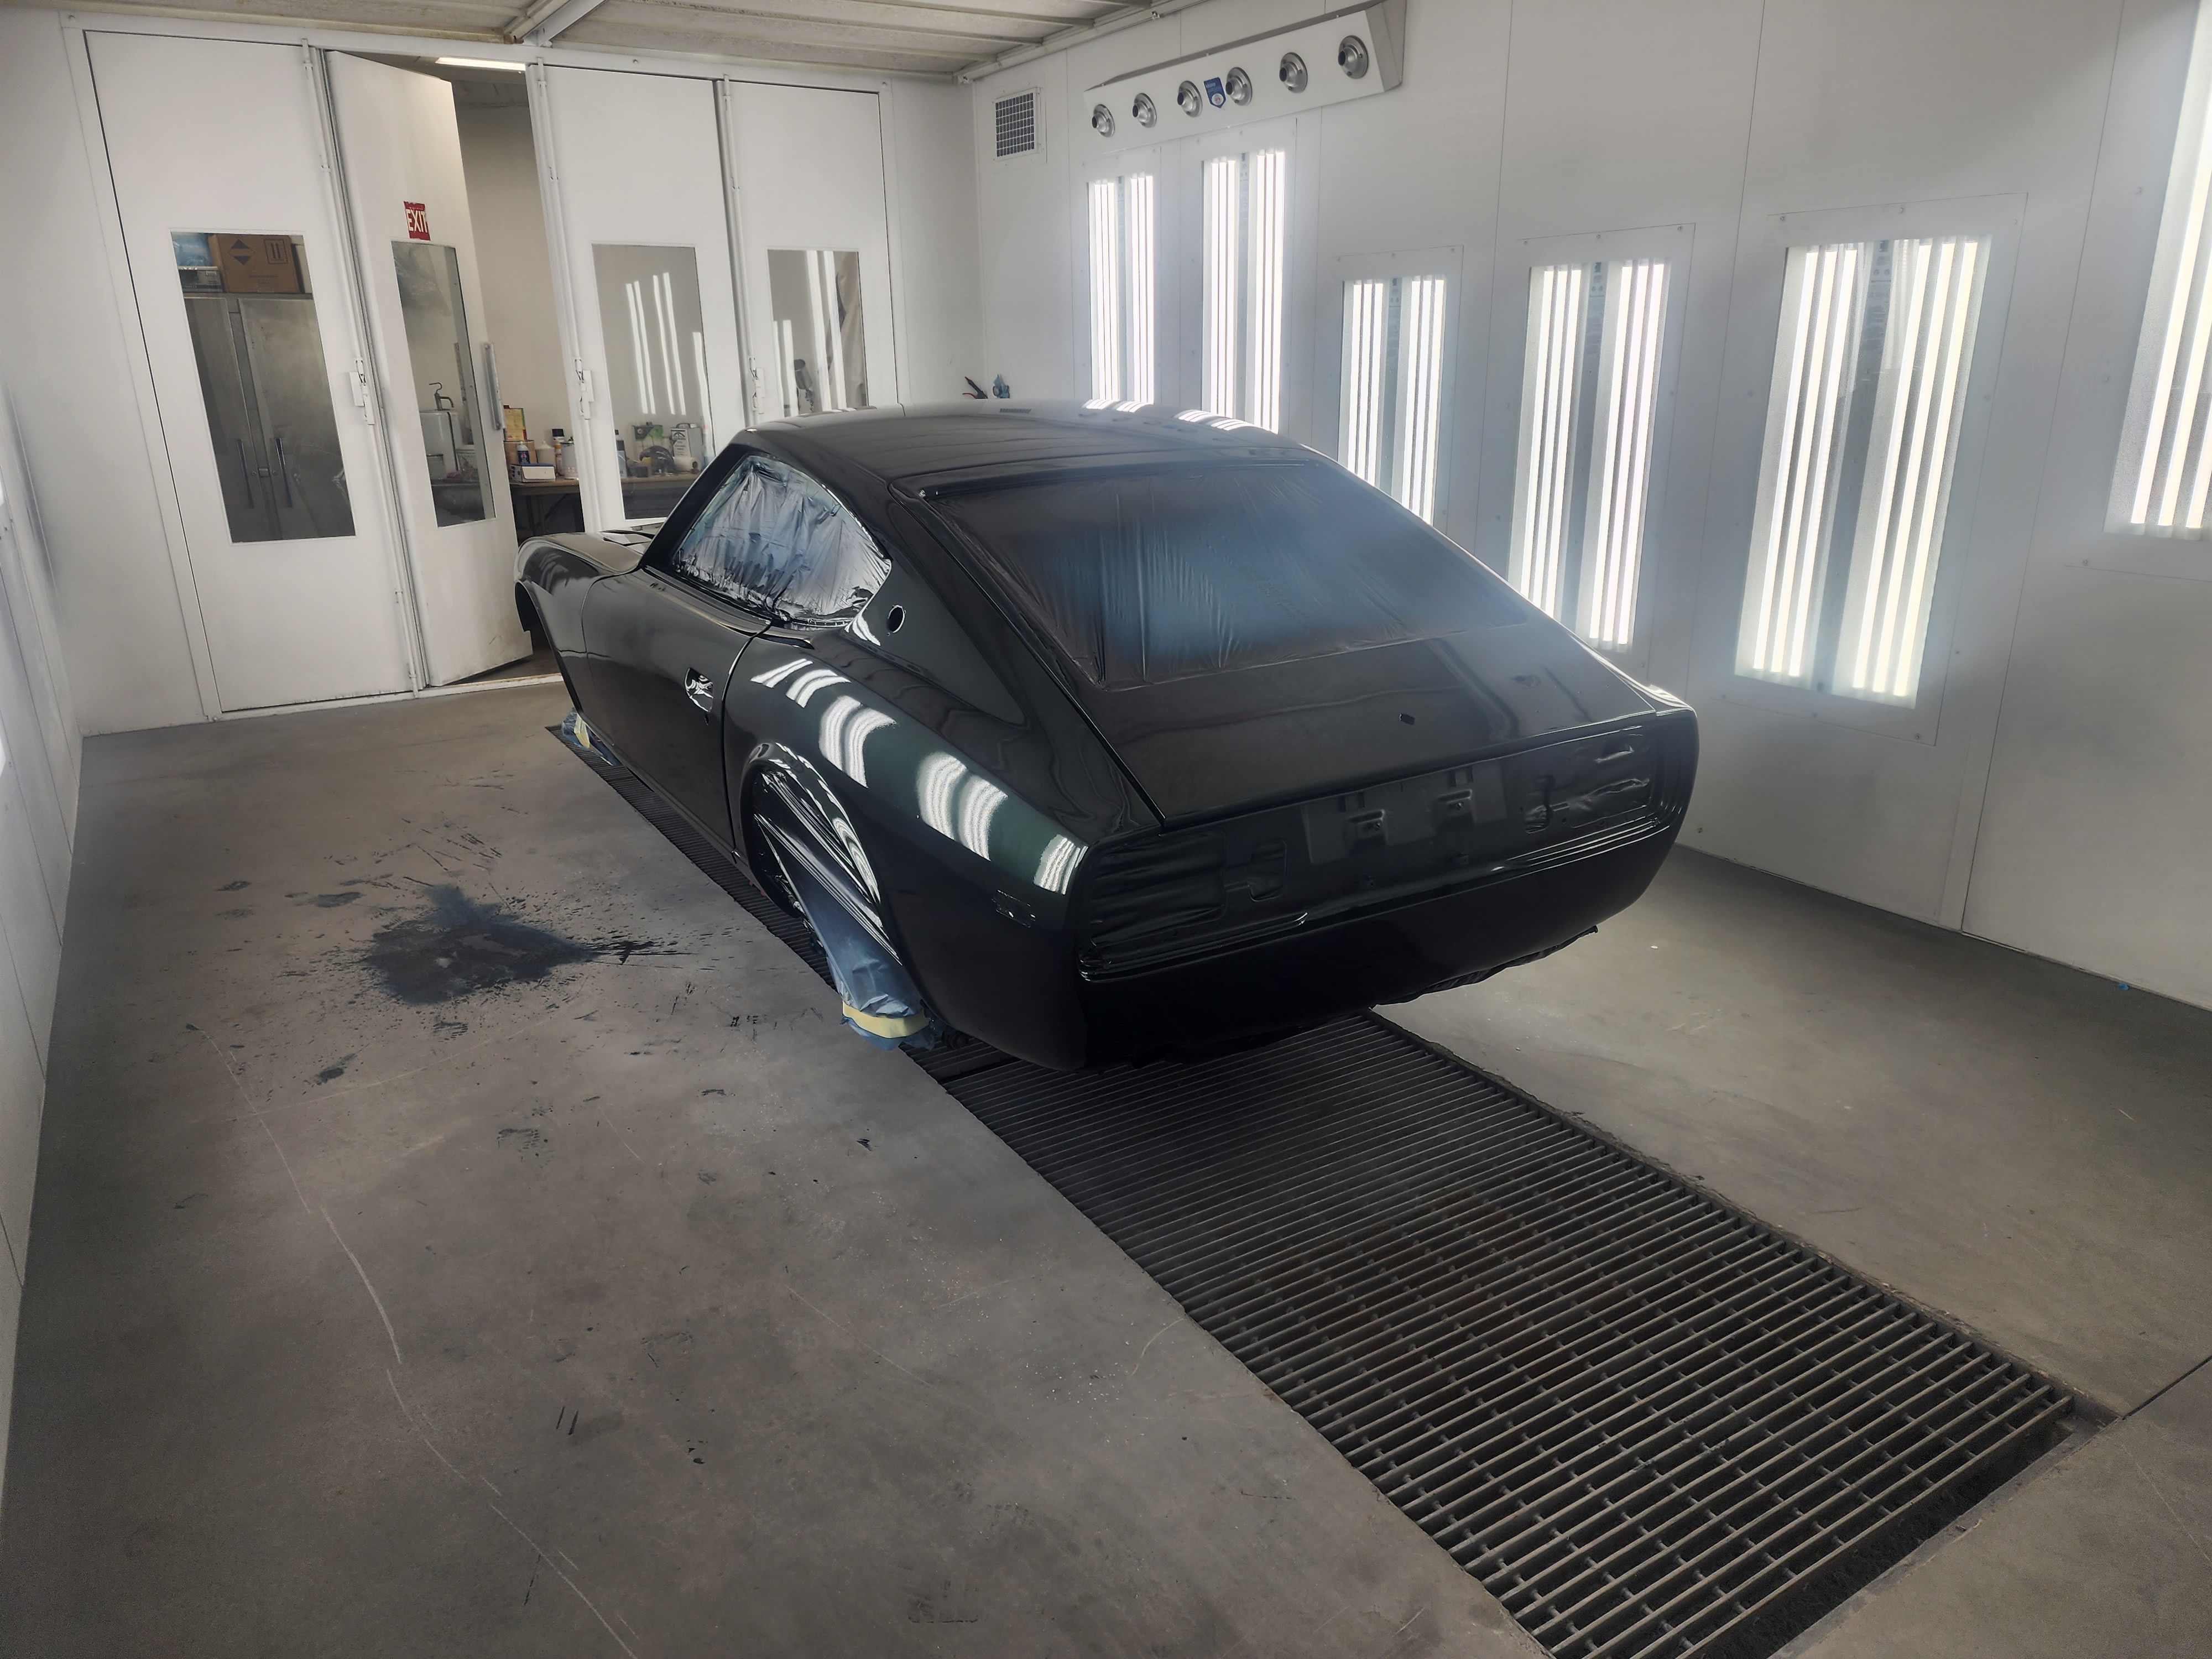
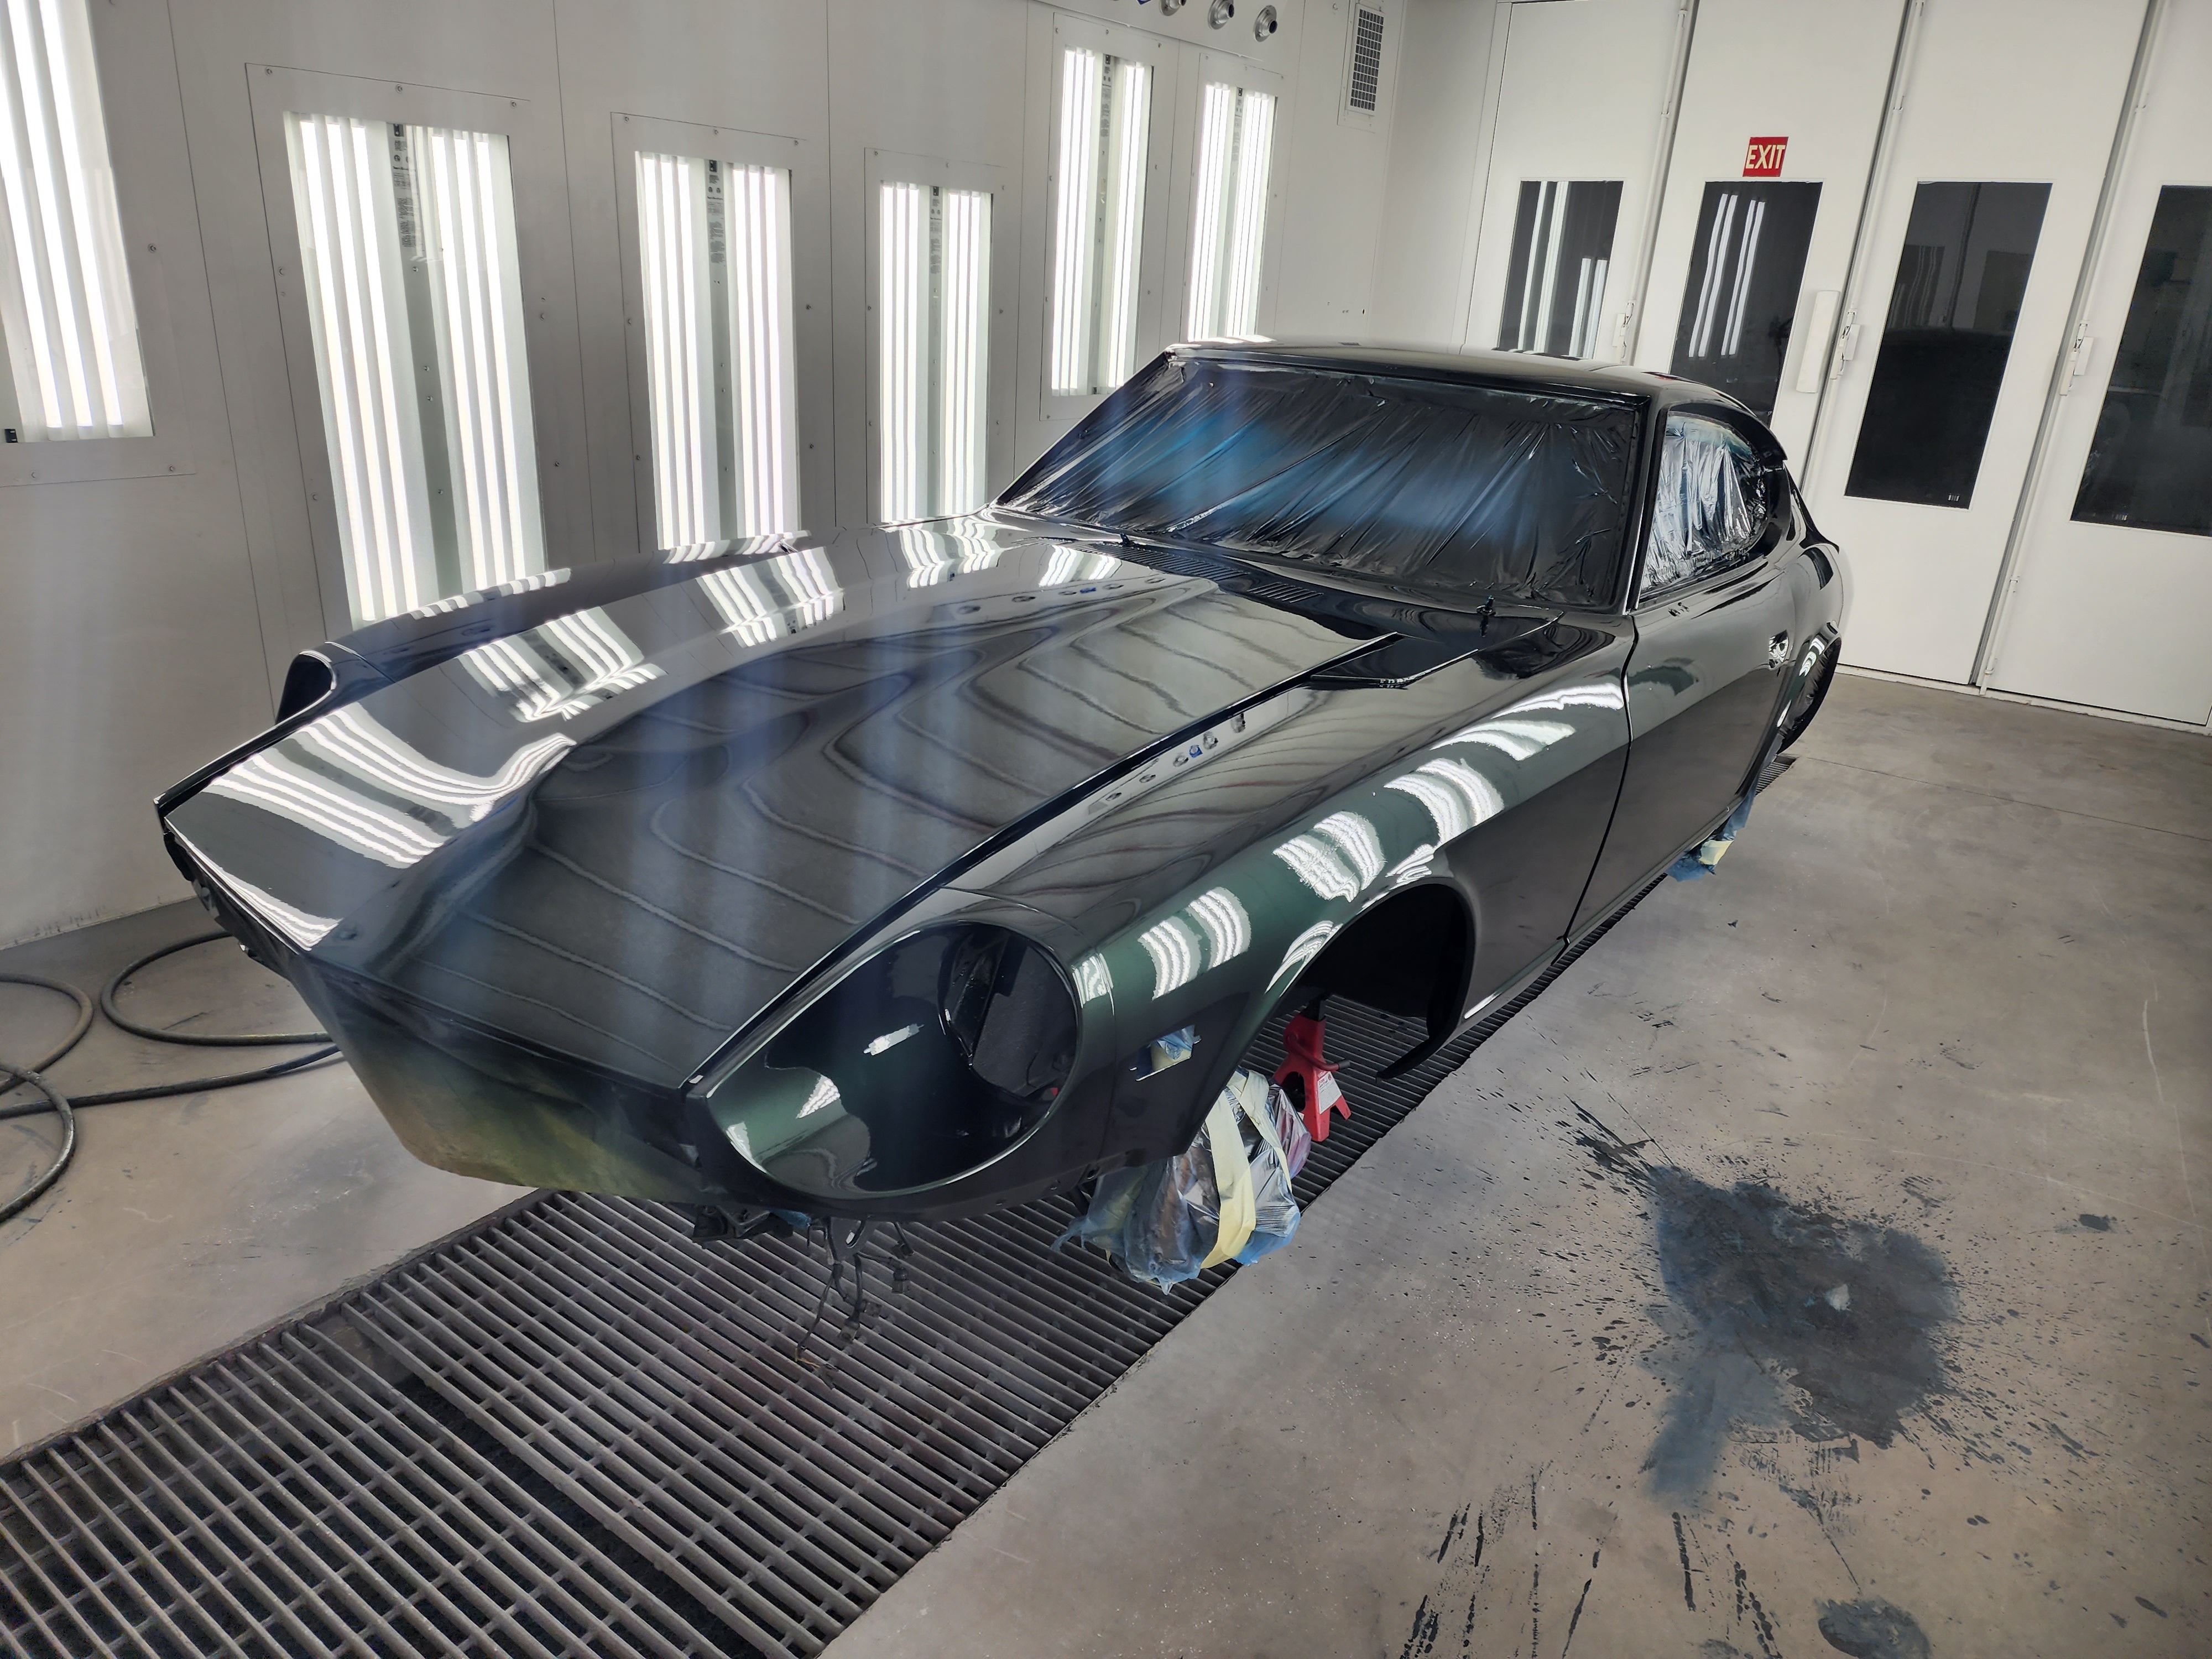
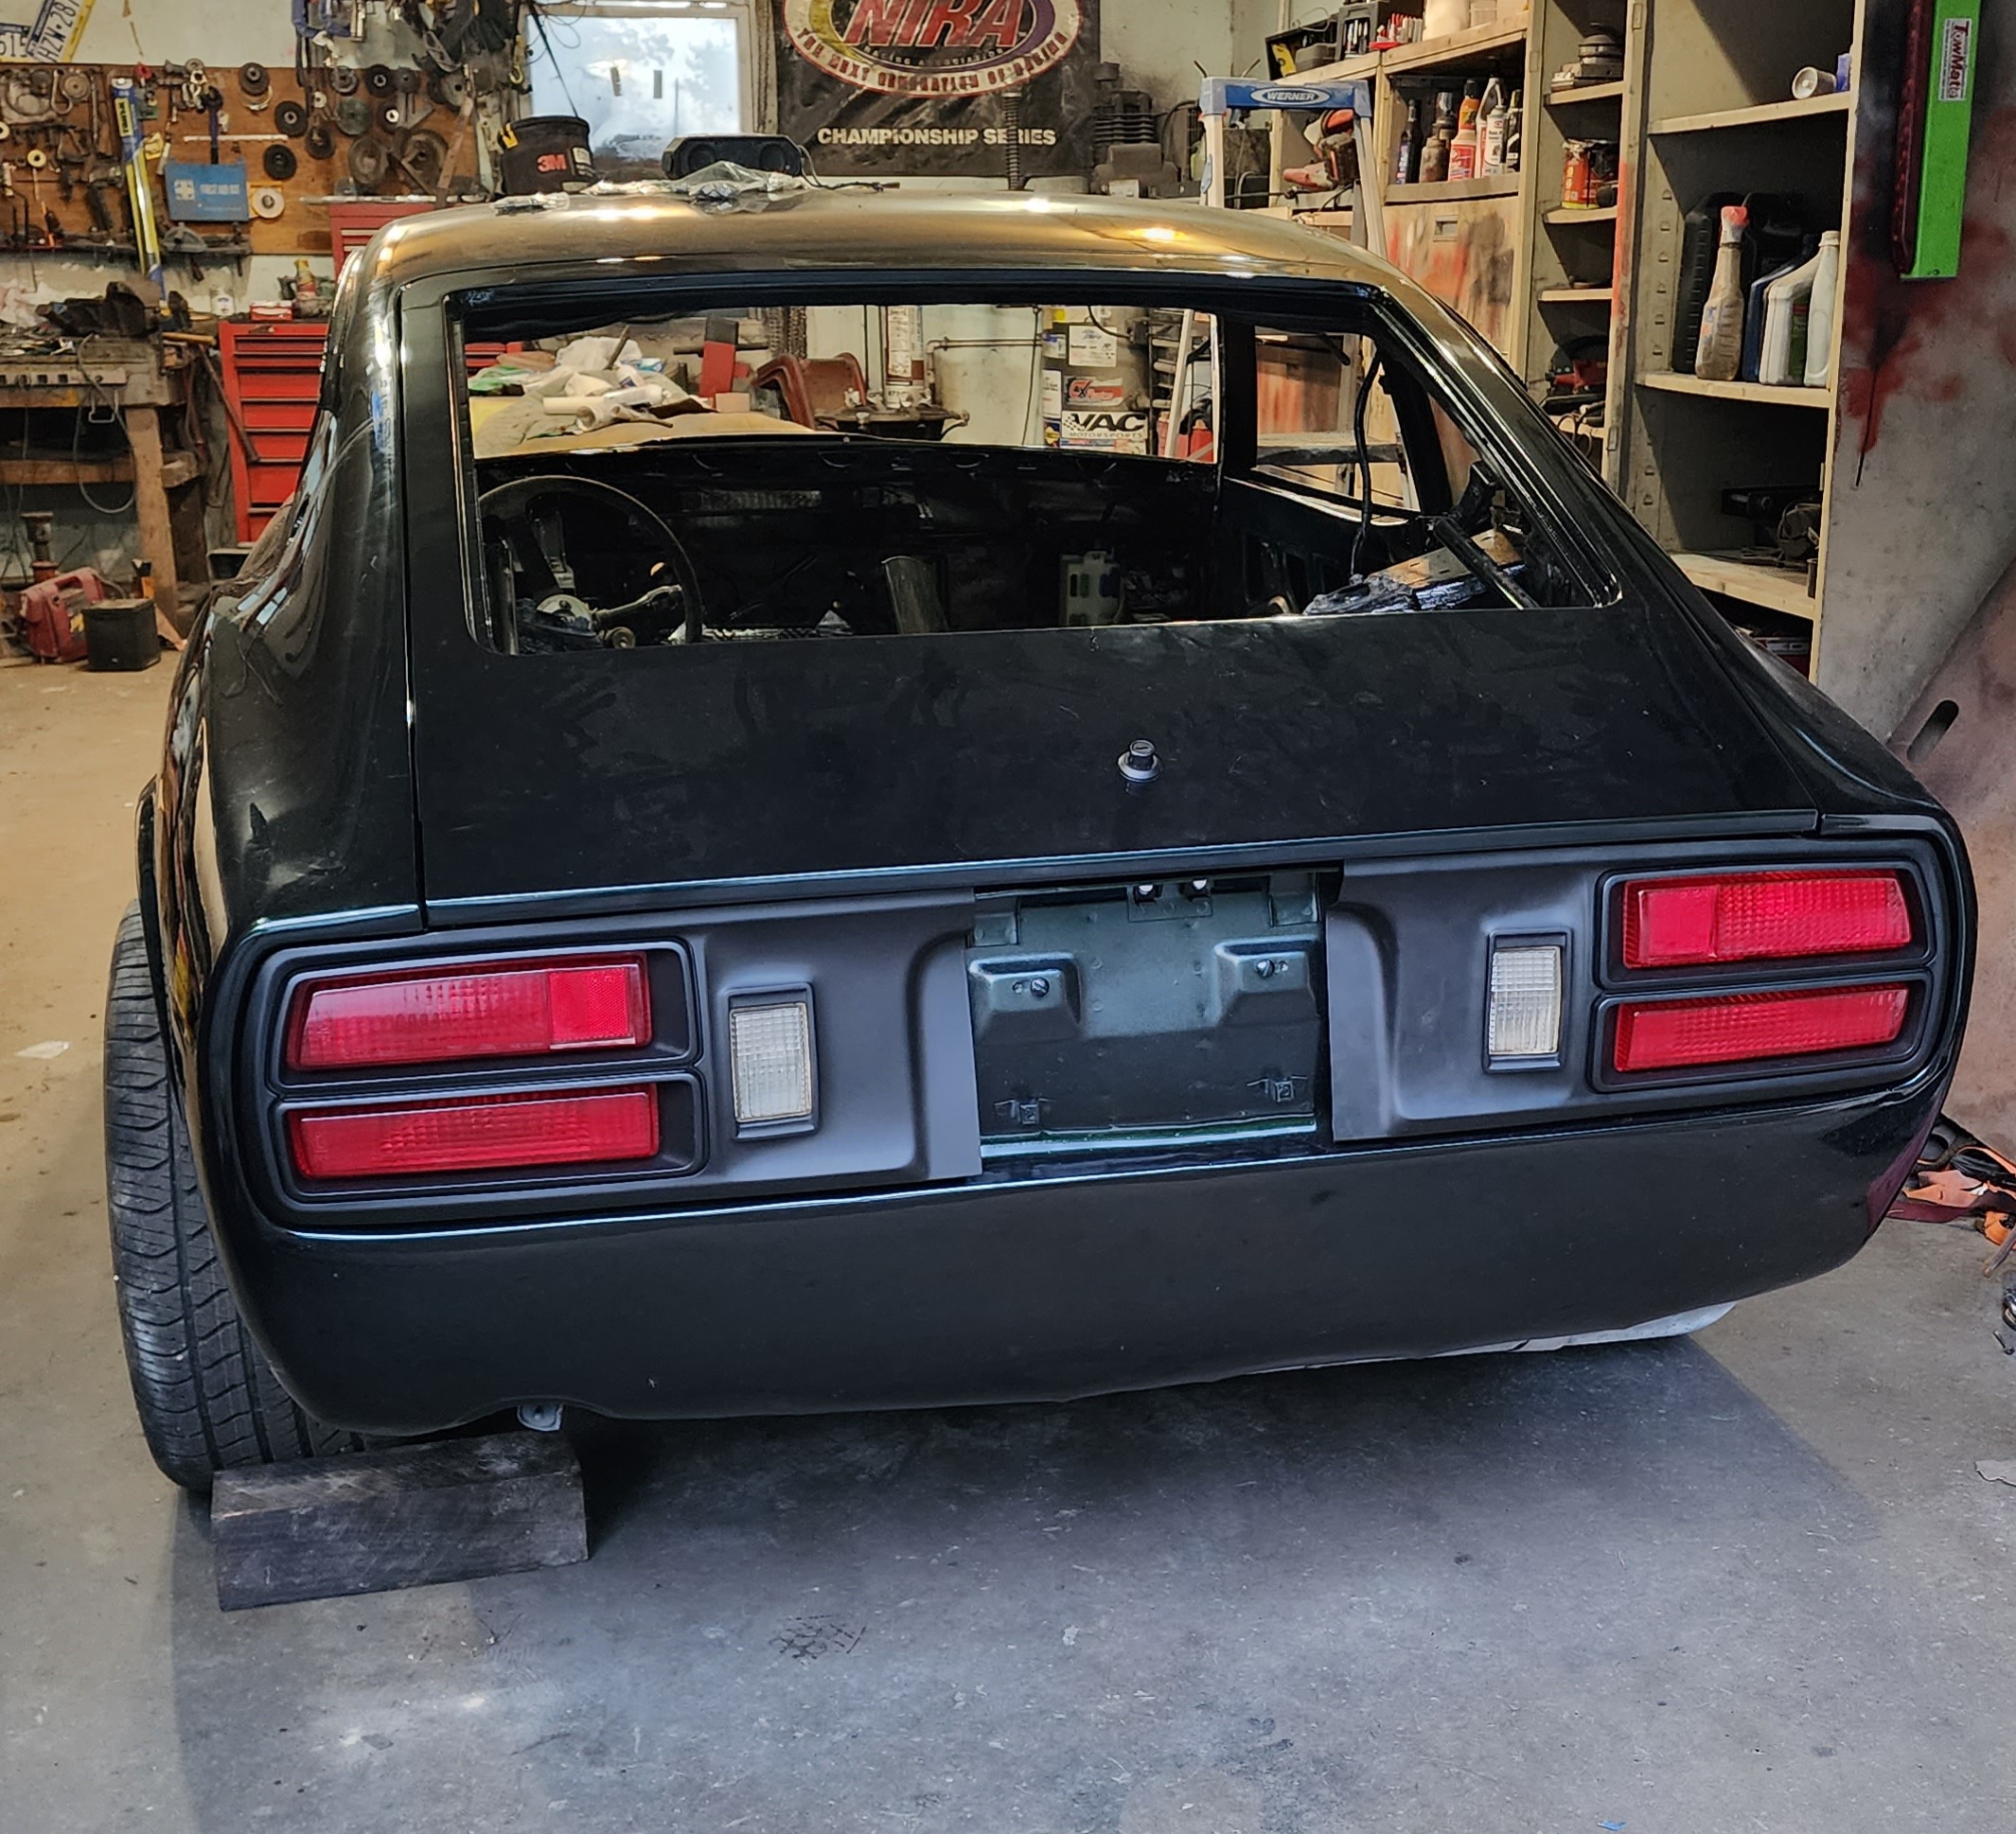
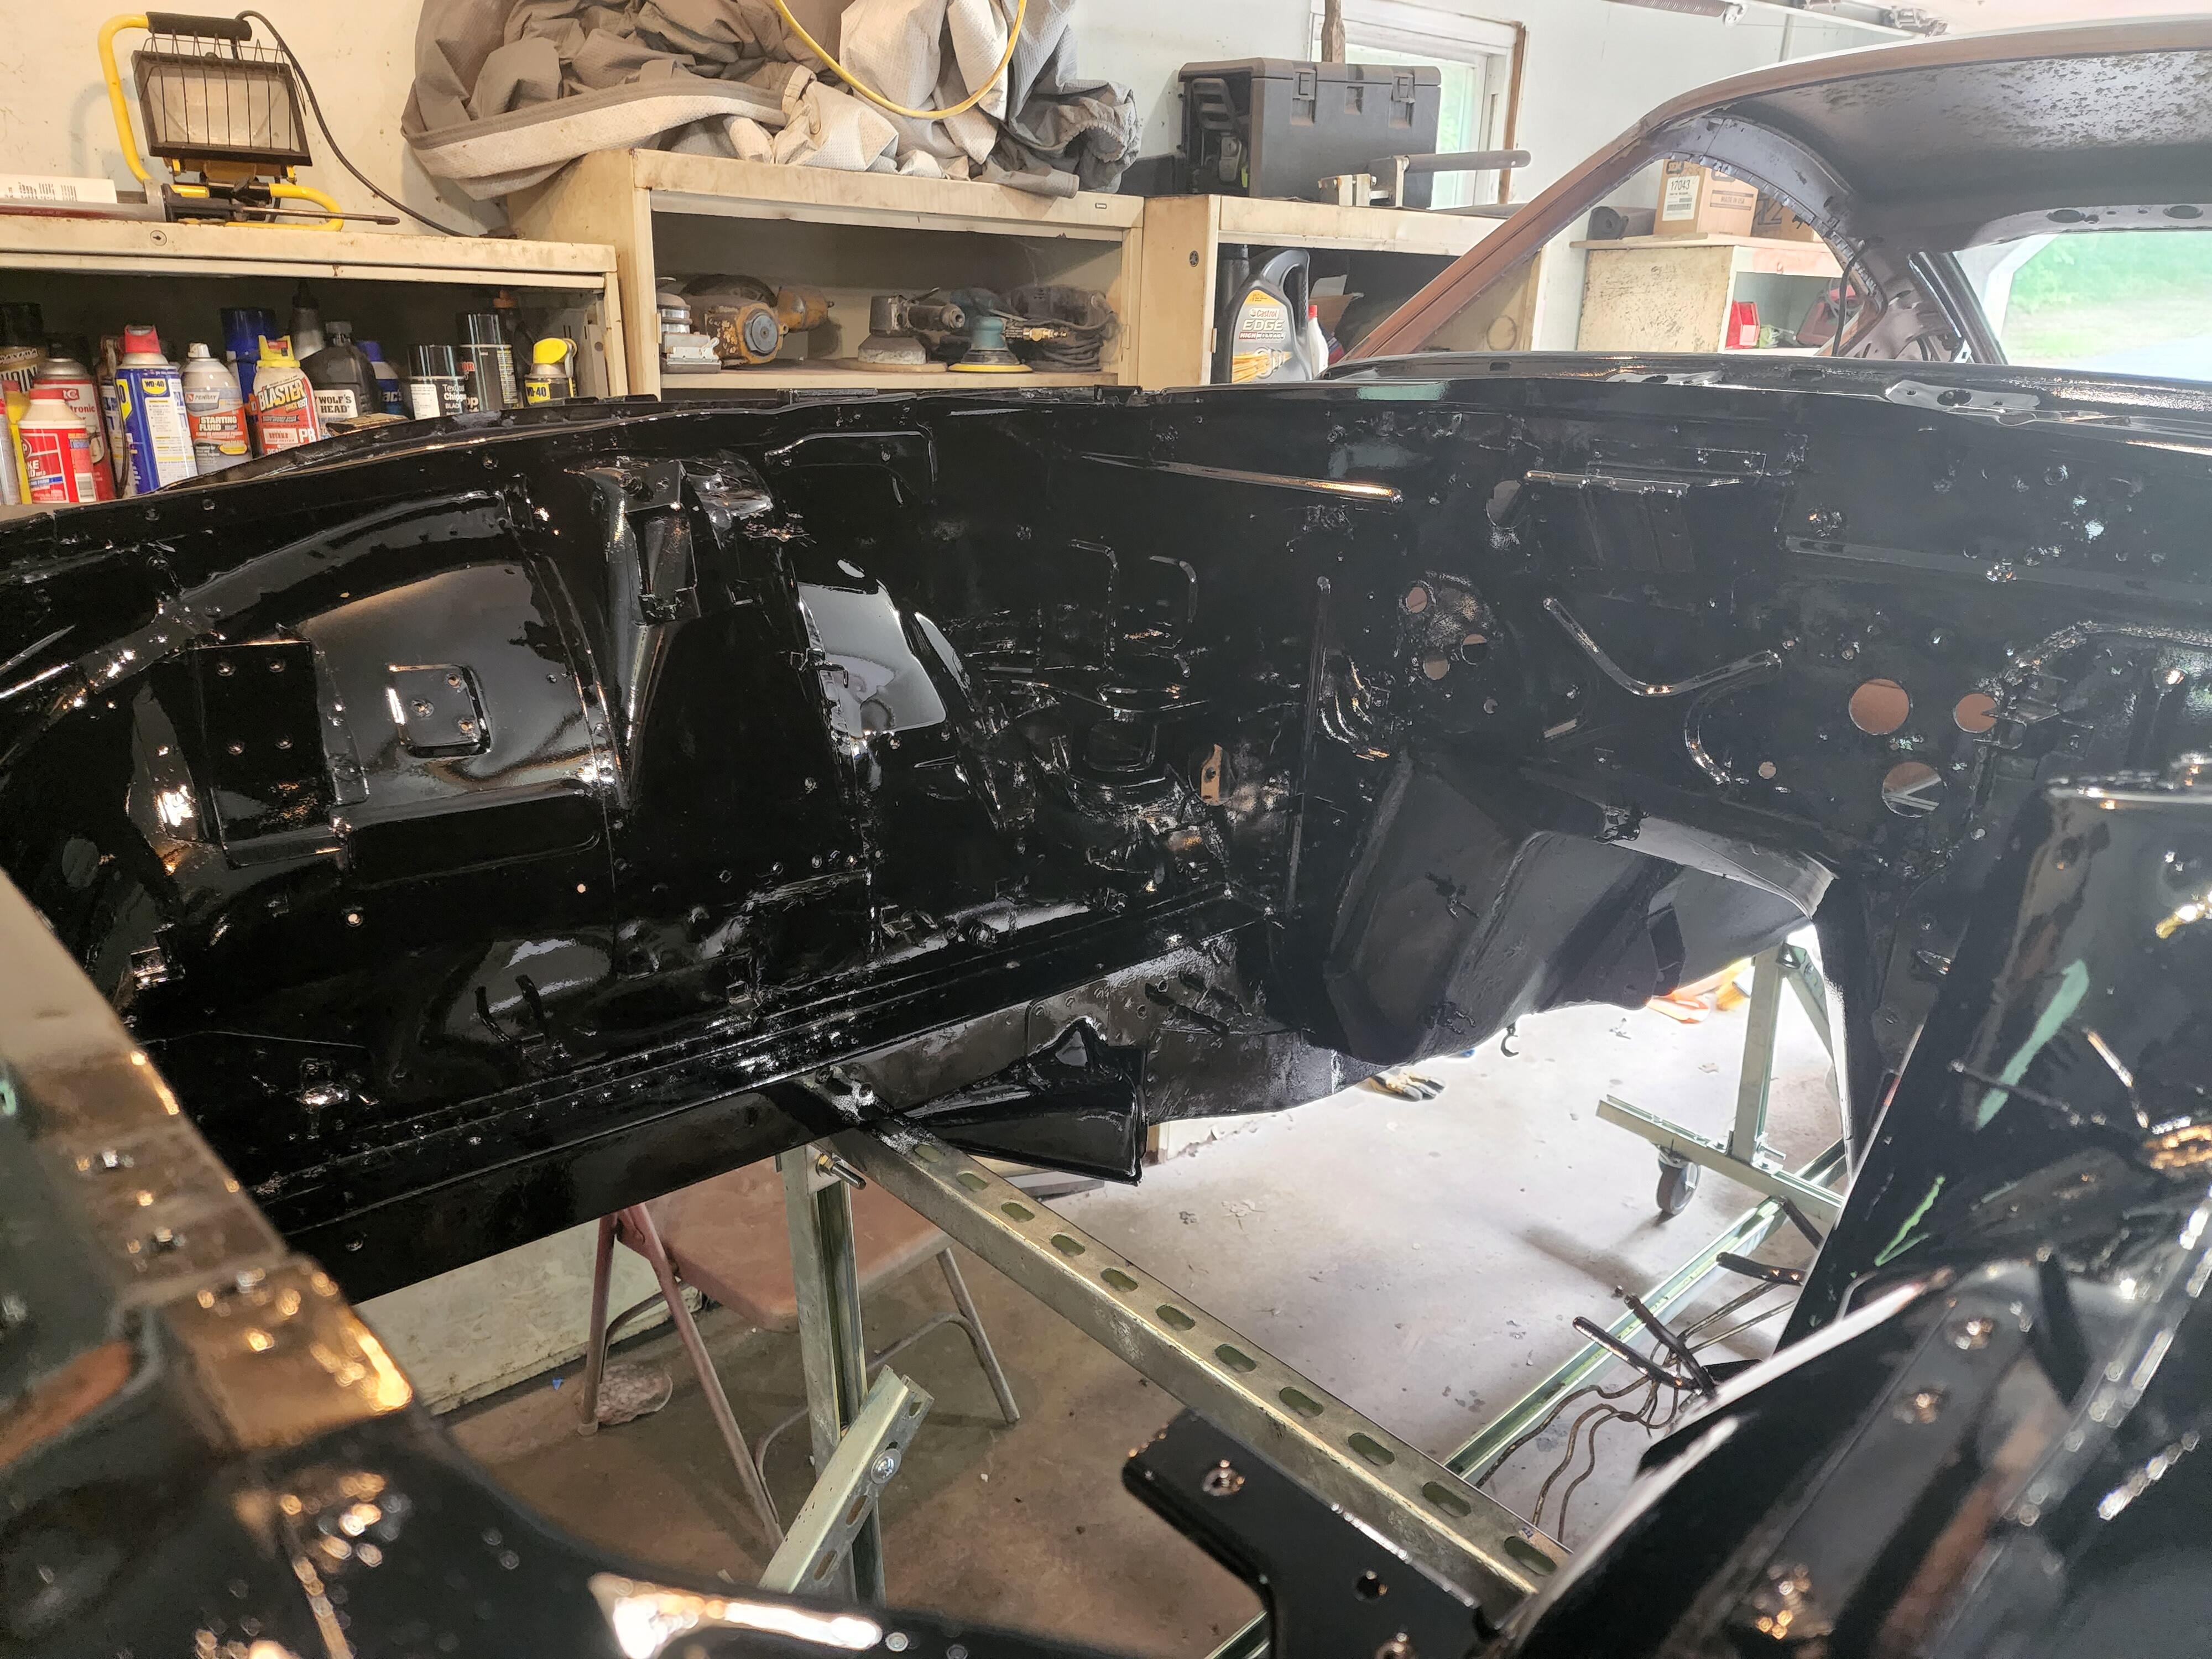
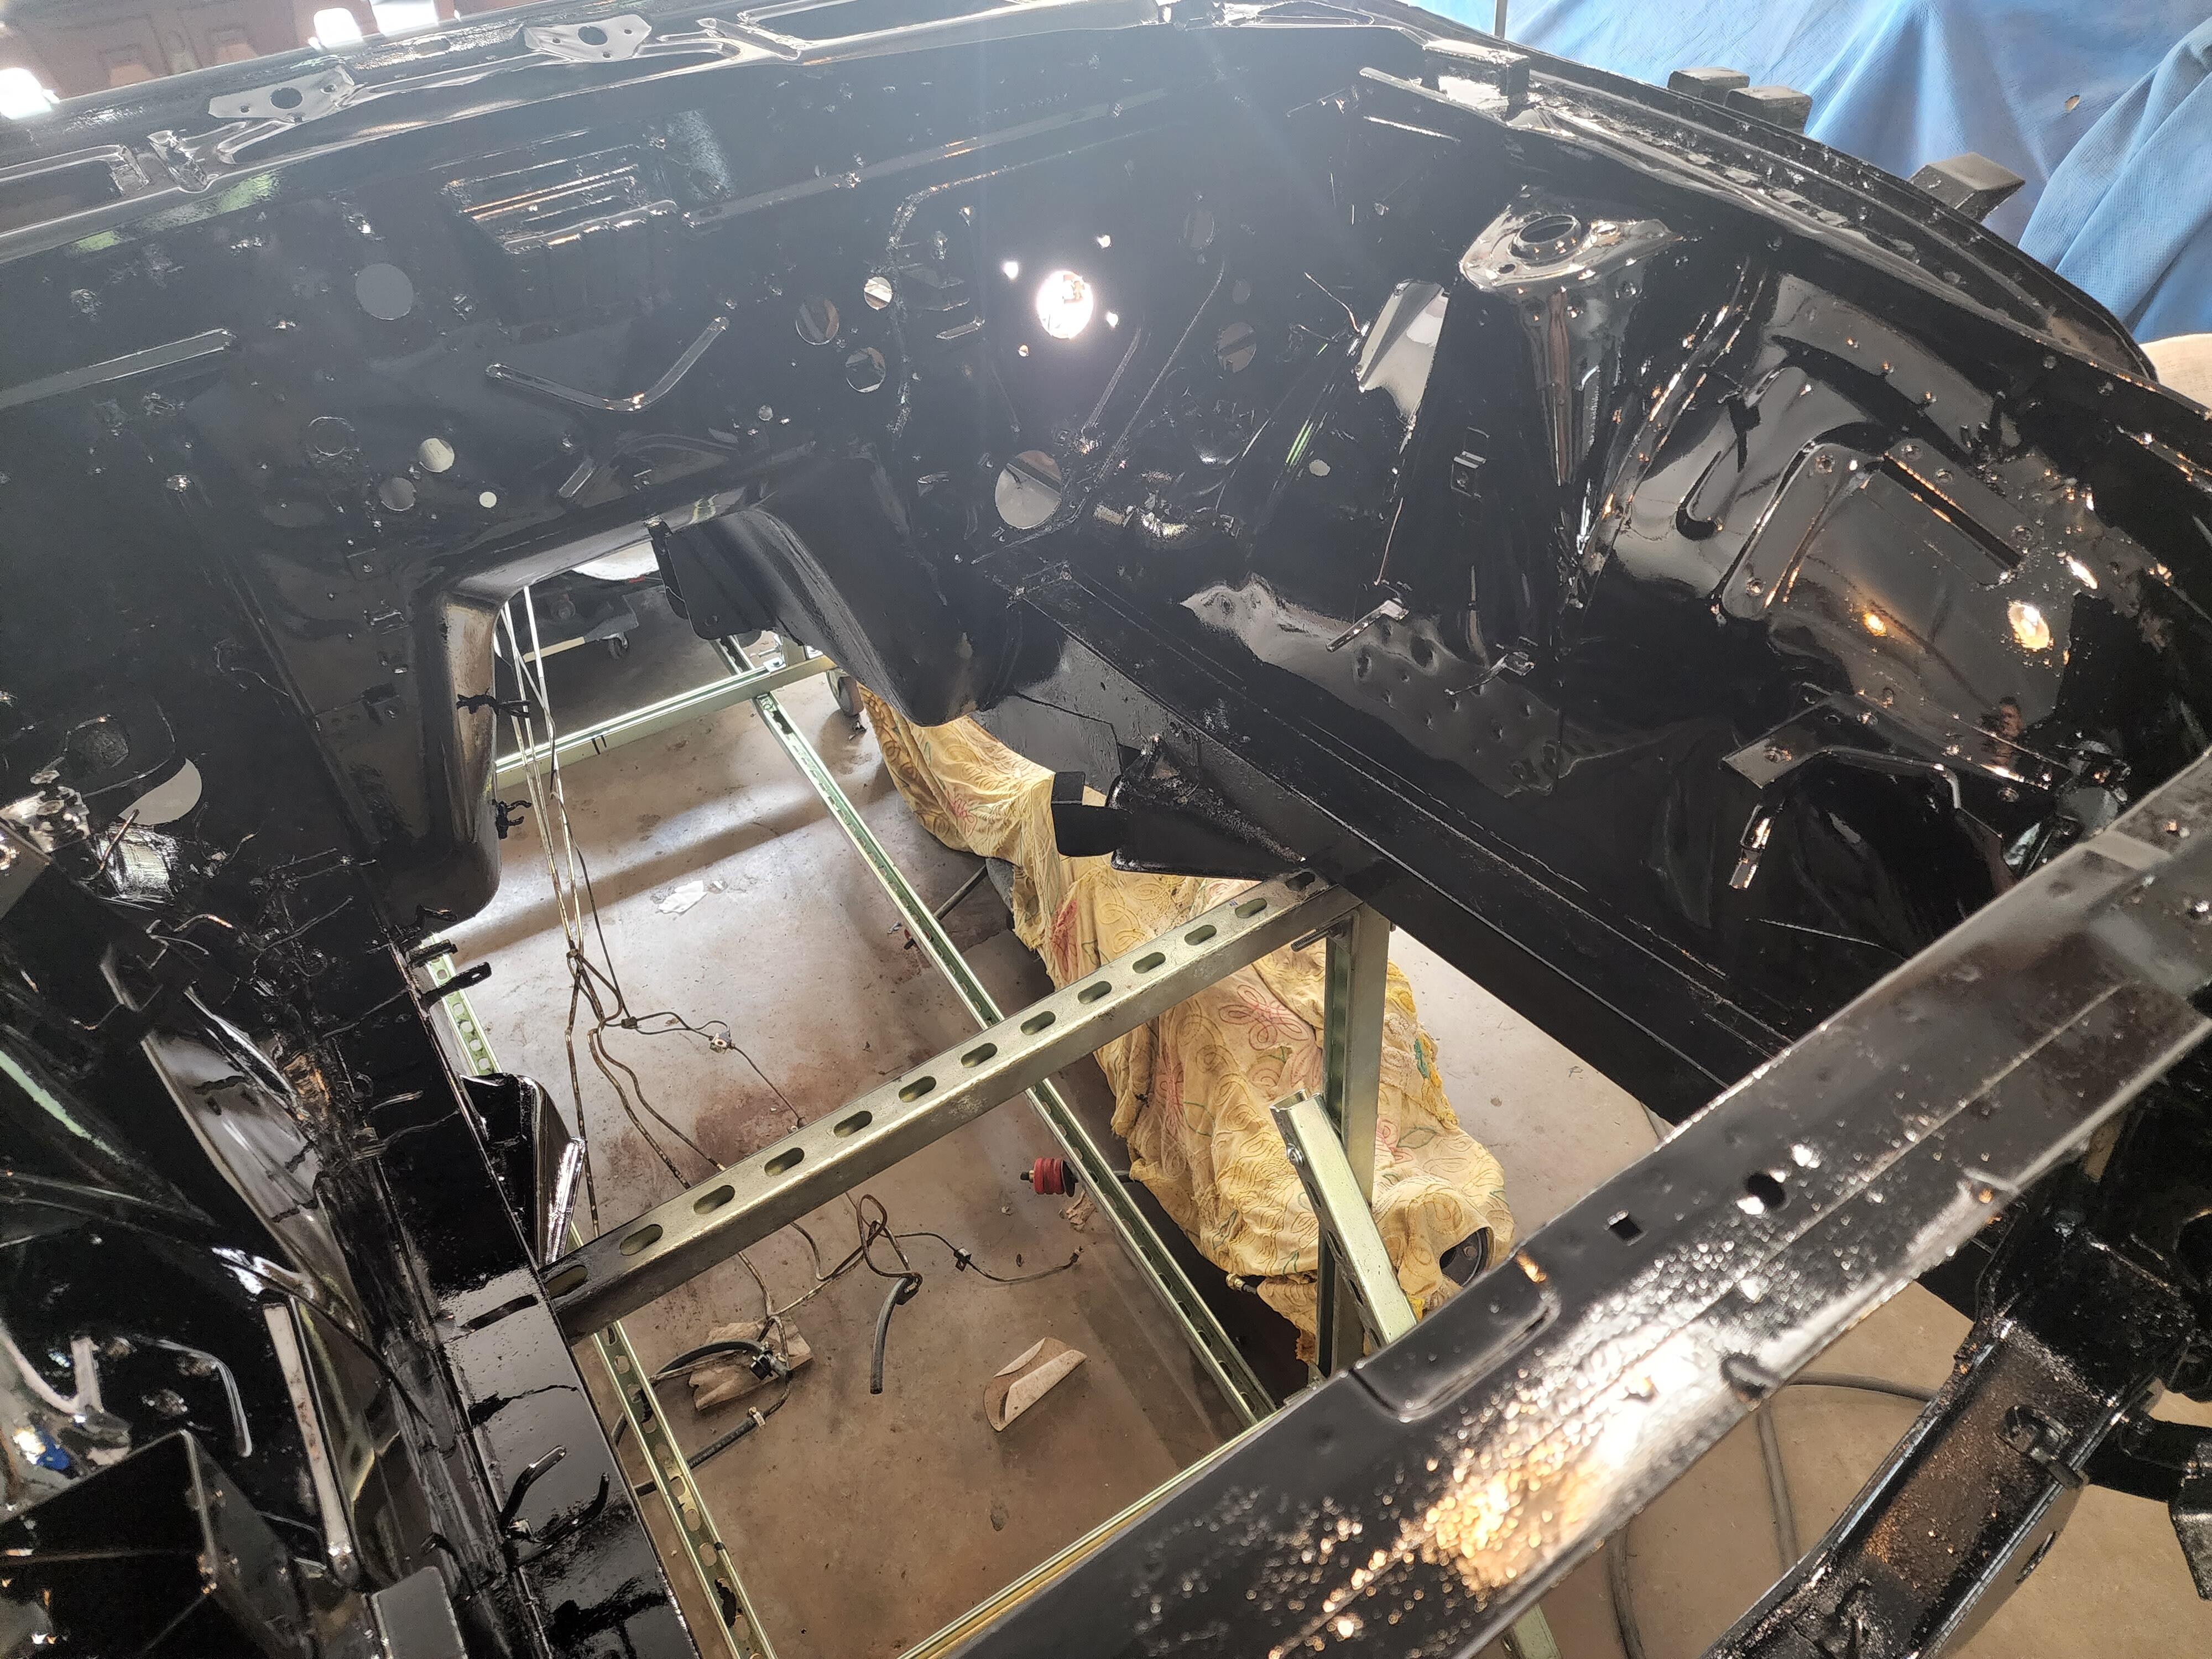
Painted the engine bay today. Hopefully onto the interior tomorrow.... using a single stage nissan jet black. Easier than doing a base coat clear coat, particularly since its esentially areas that wont be seen much.