Site will be going down for maintenance today

motorman7
 Subscriber
-
Joined
-
Last visited
Everything posted by motorman7
-
 Finishing off the final loose parts and underside of the hood. Will take this to the paint shop this Thursday. With the body and parts at the paint shop, I will start work on motor. Will also start getting parts prepped for zinc plating. Things are moving along well.

-
Wow, that is such an impressive project. I love your welding work and internal structural supports. Nicely done!
-
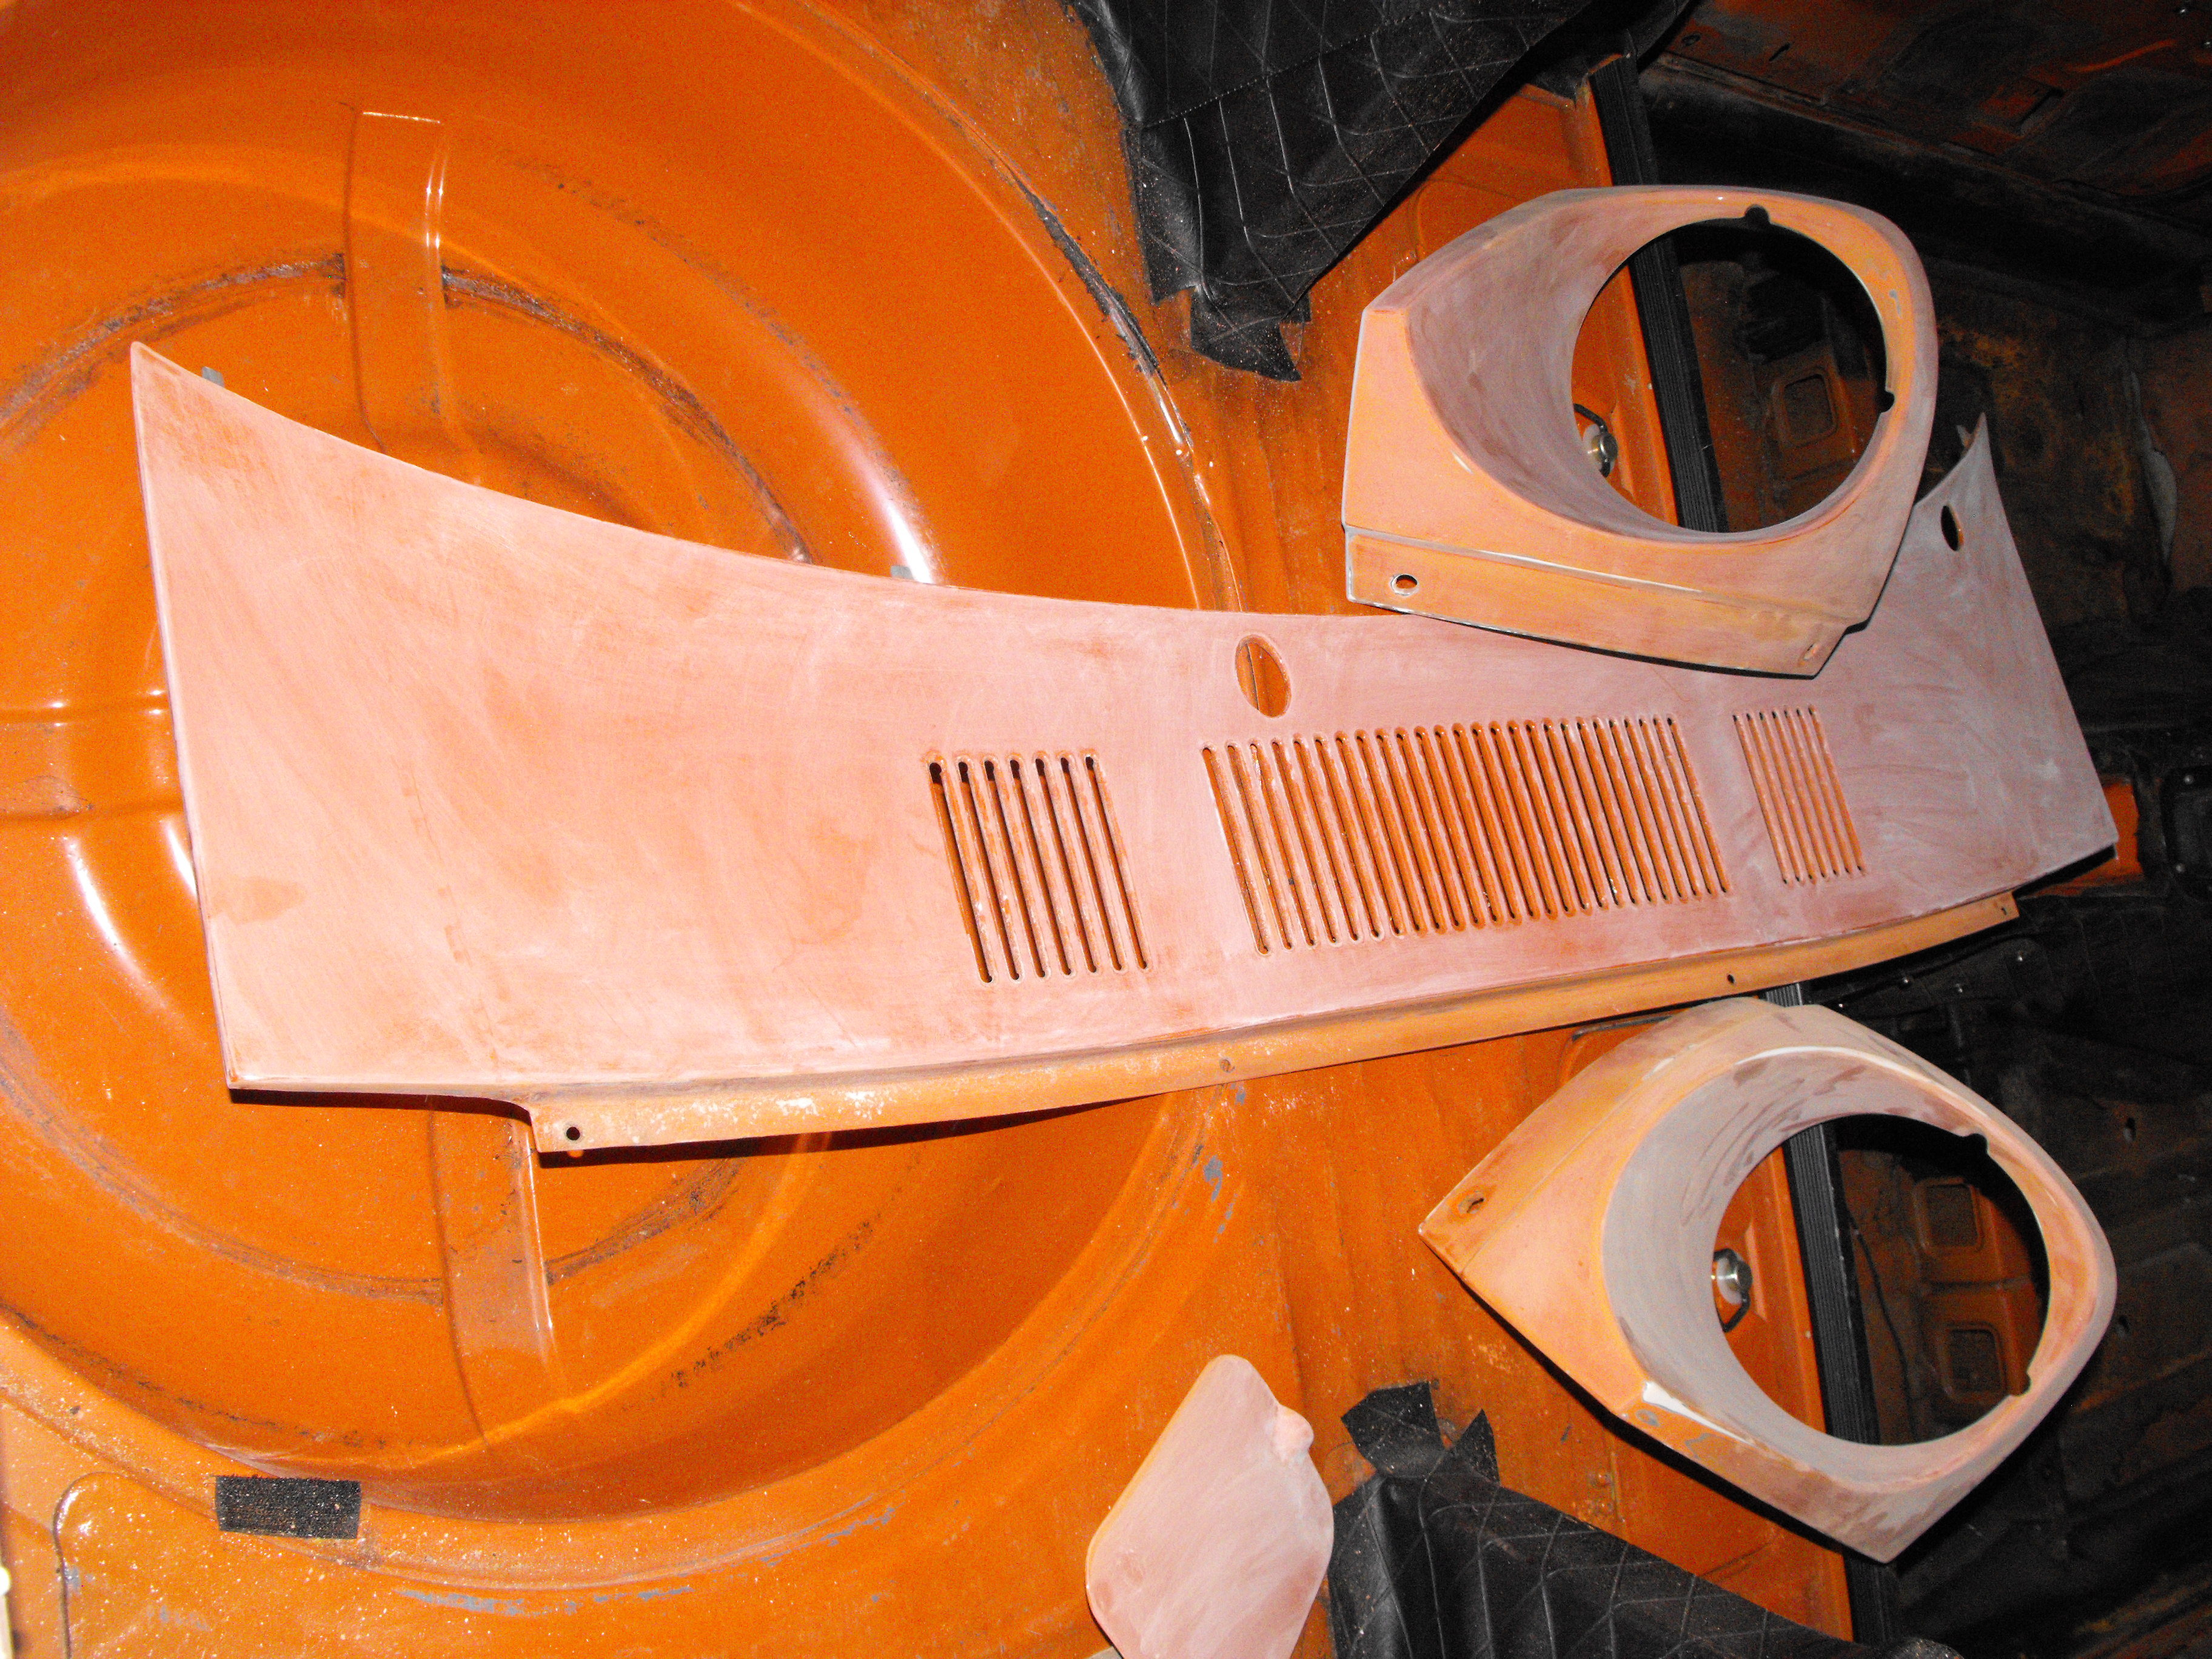
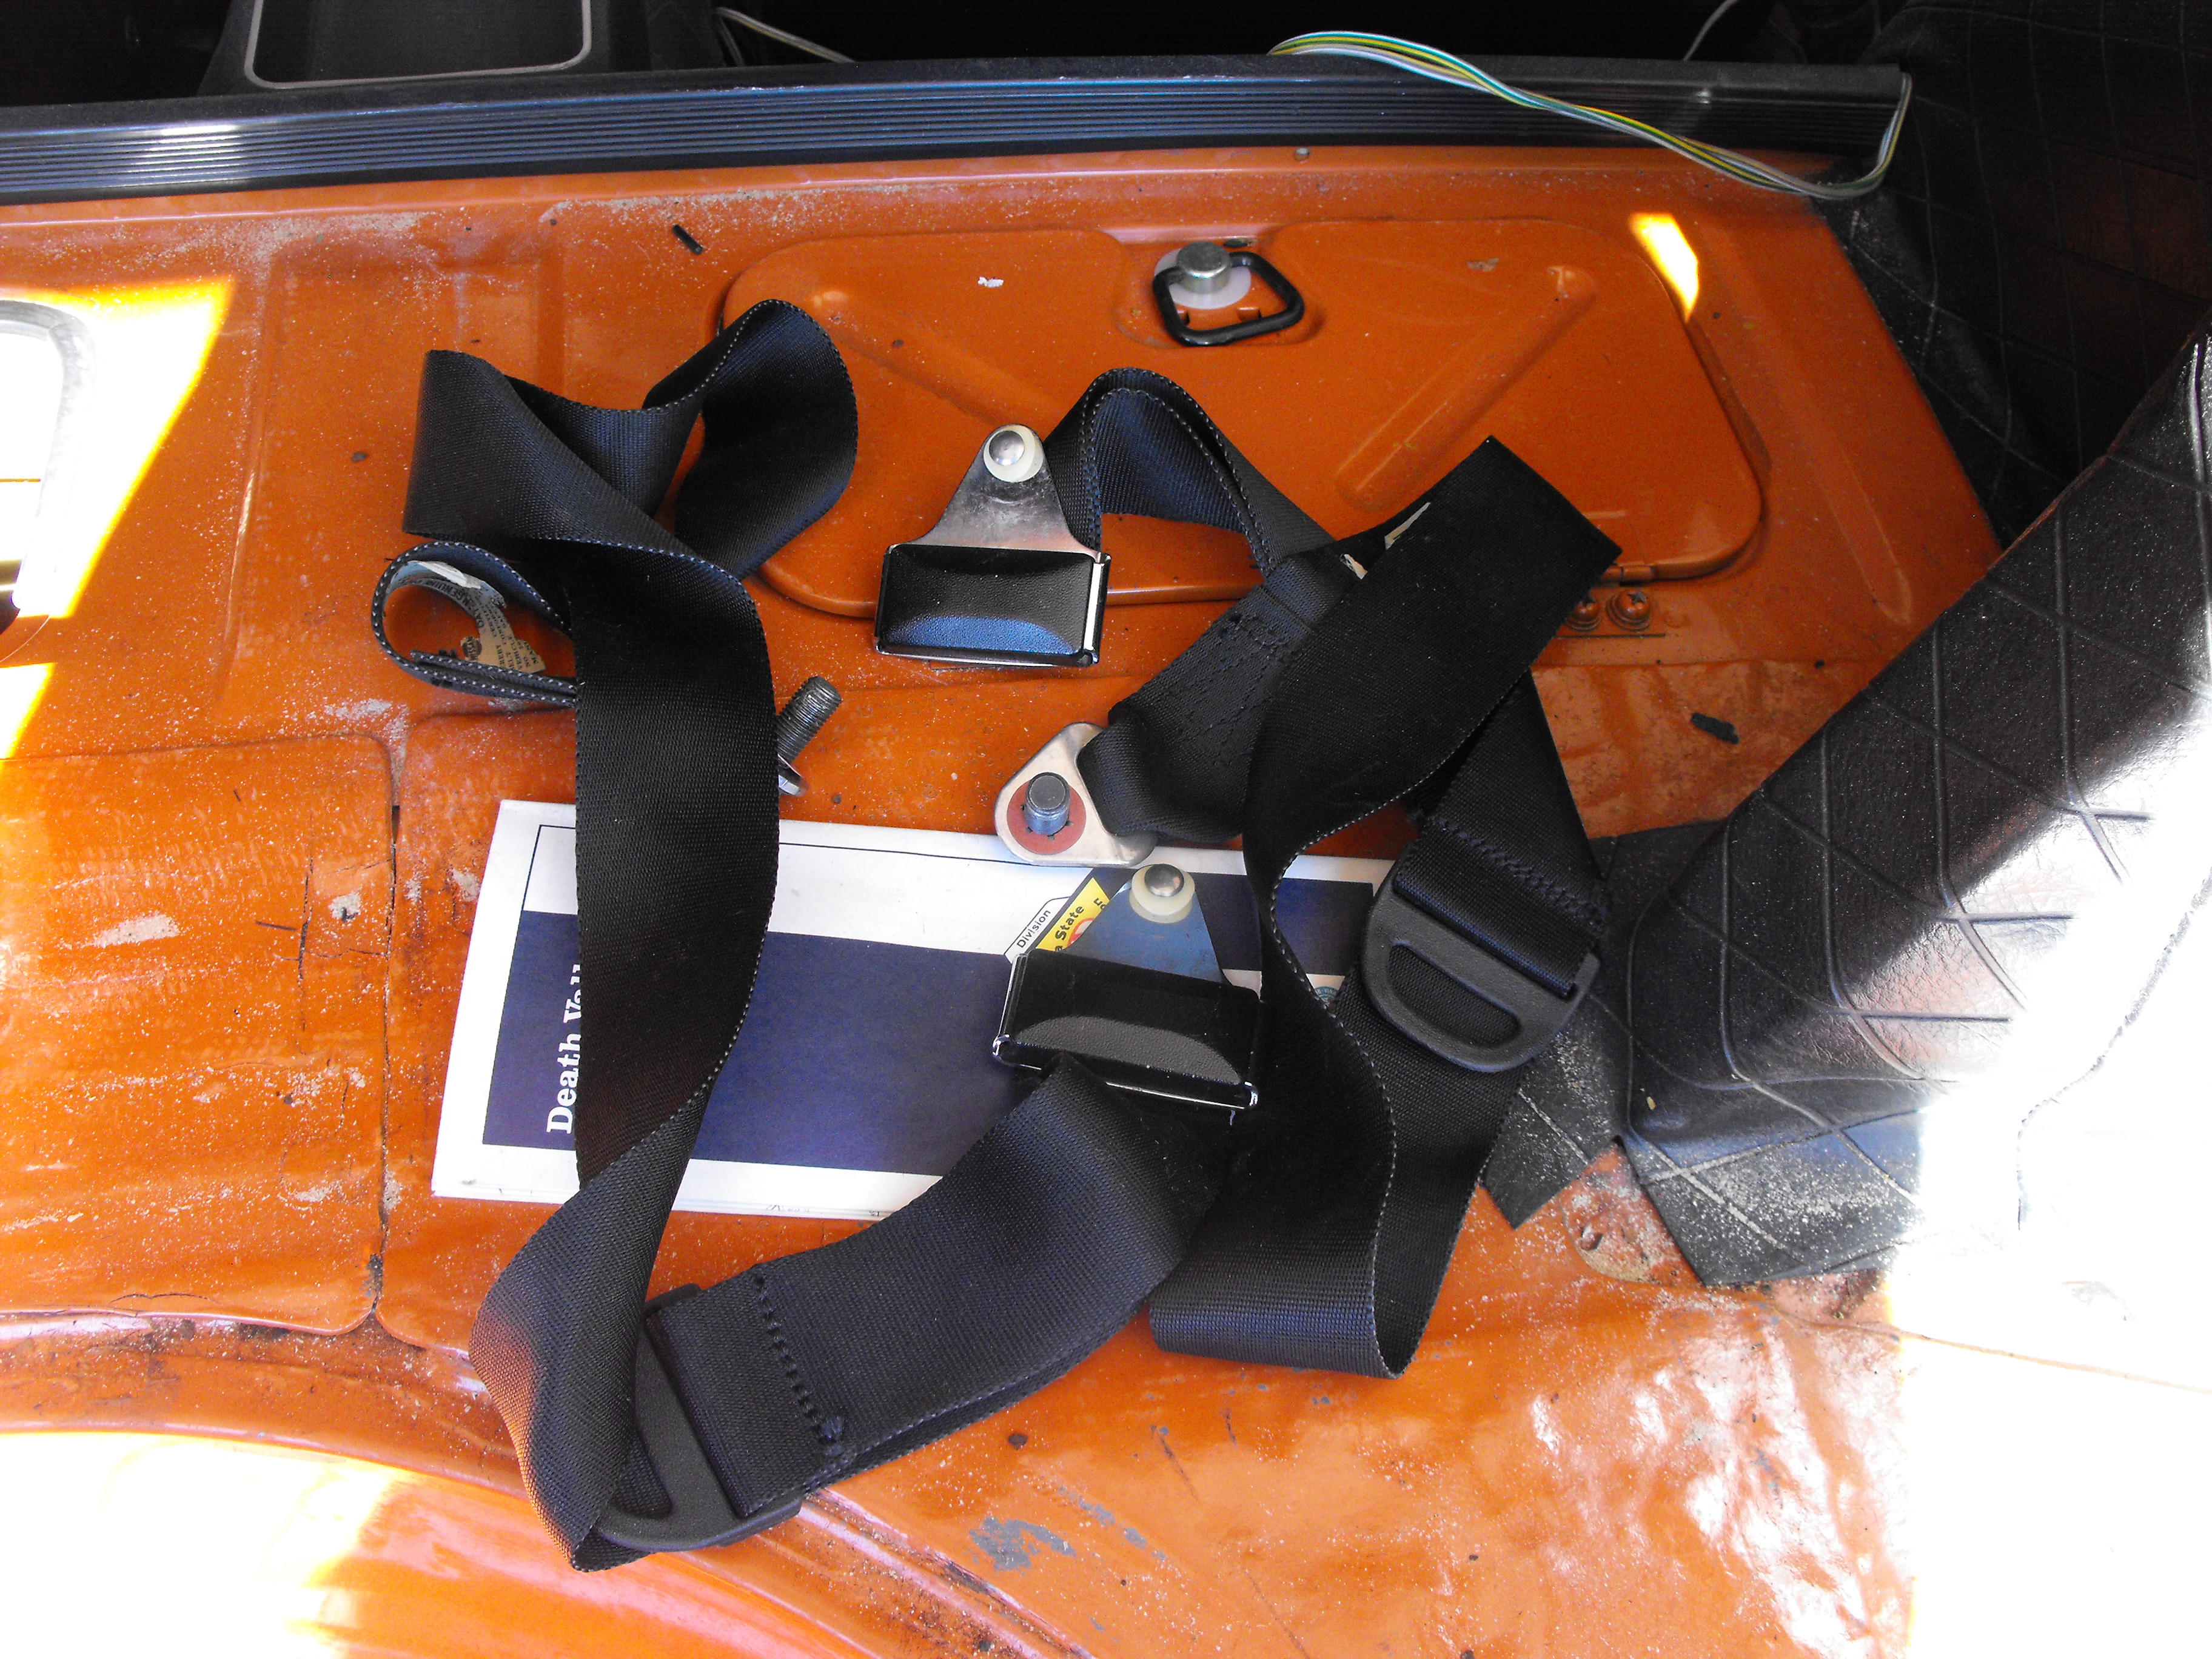
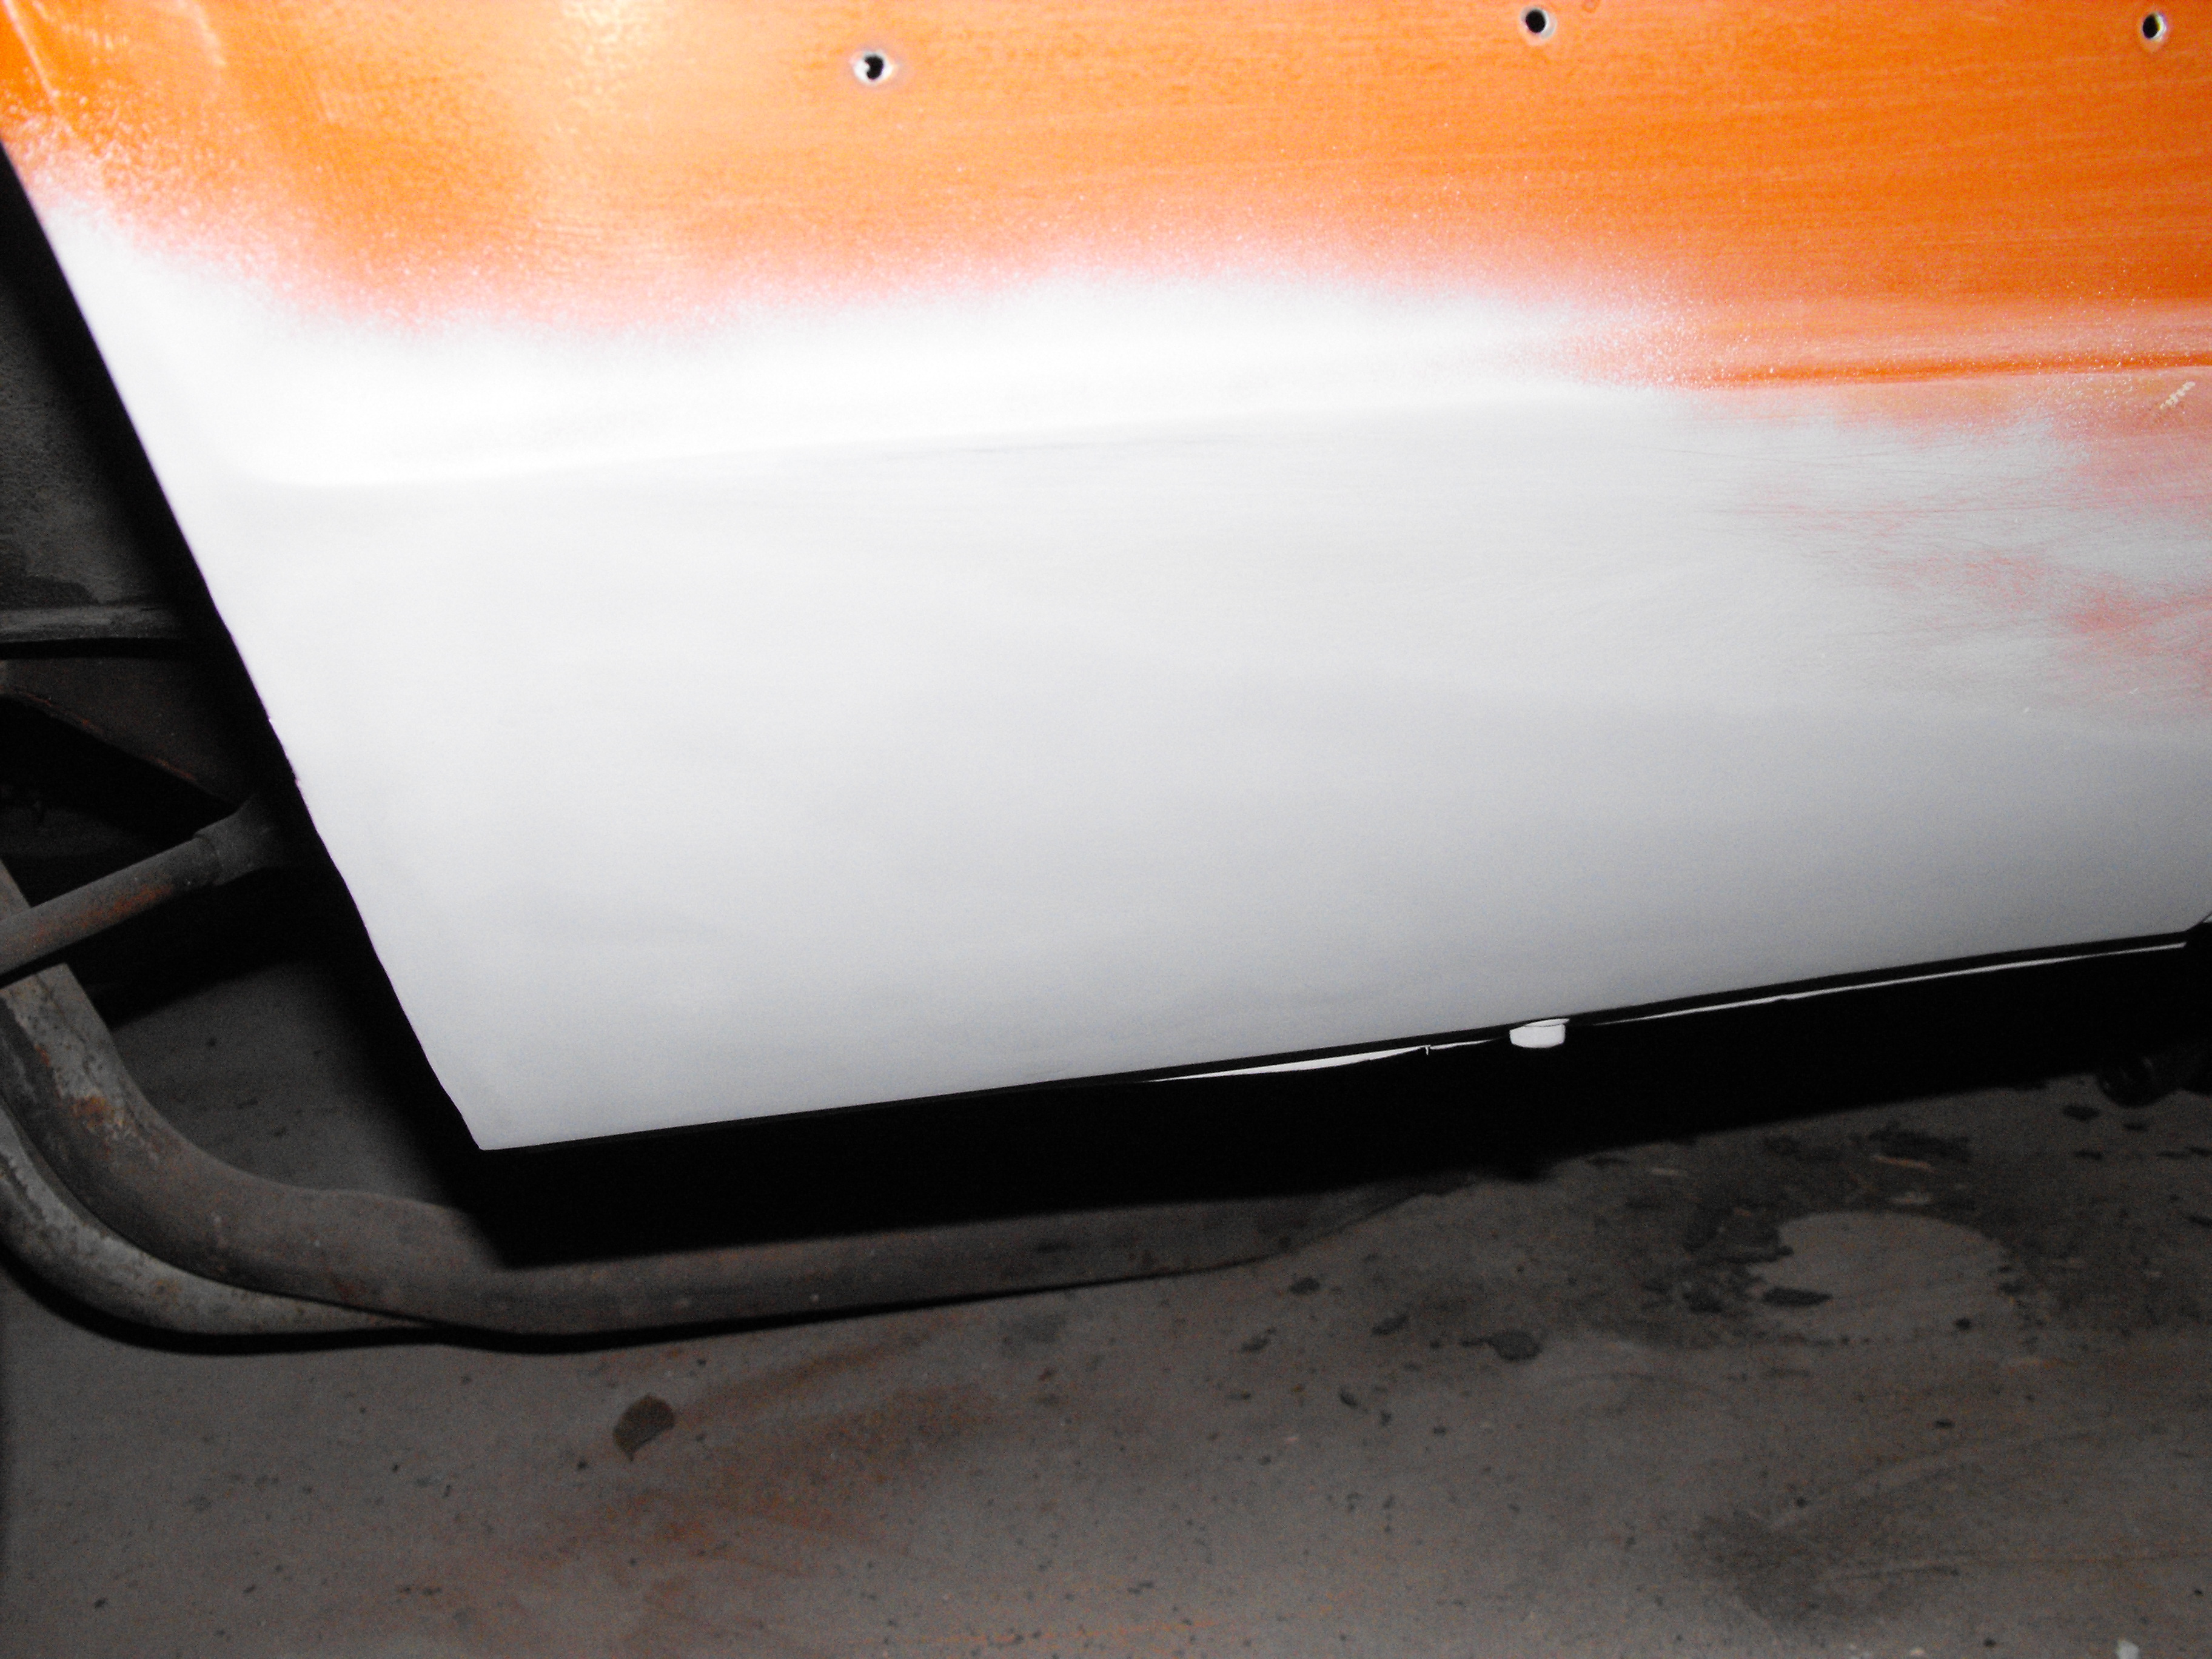
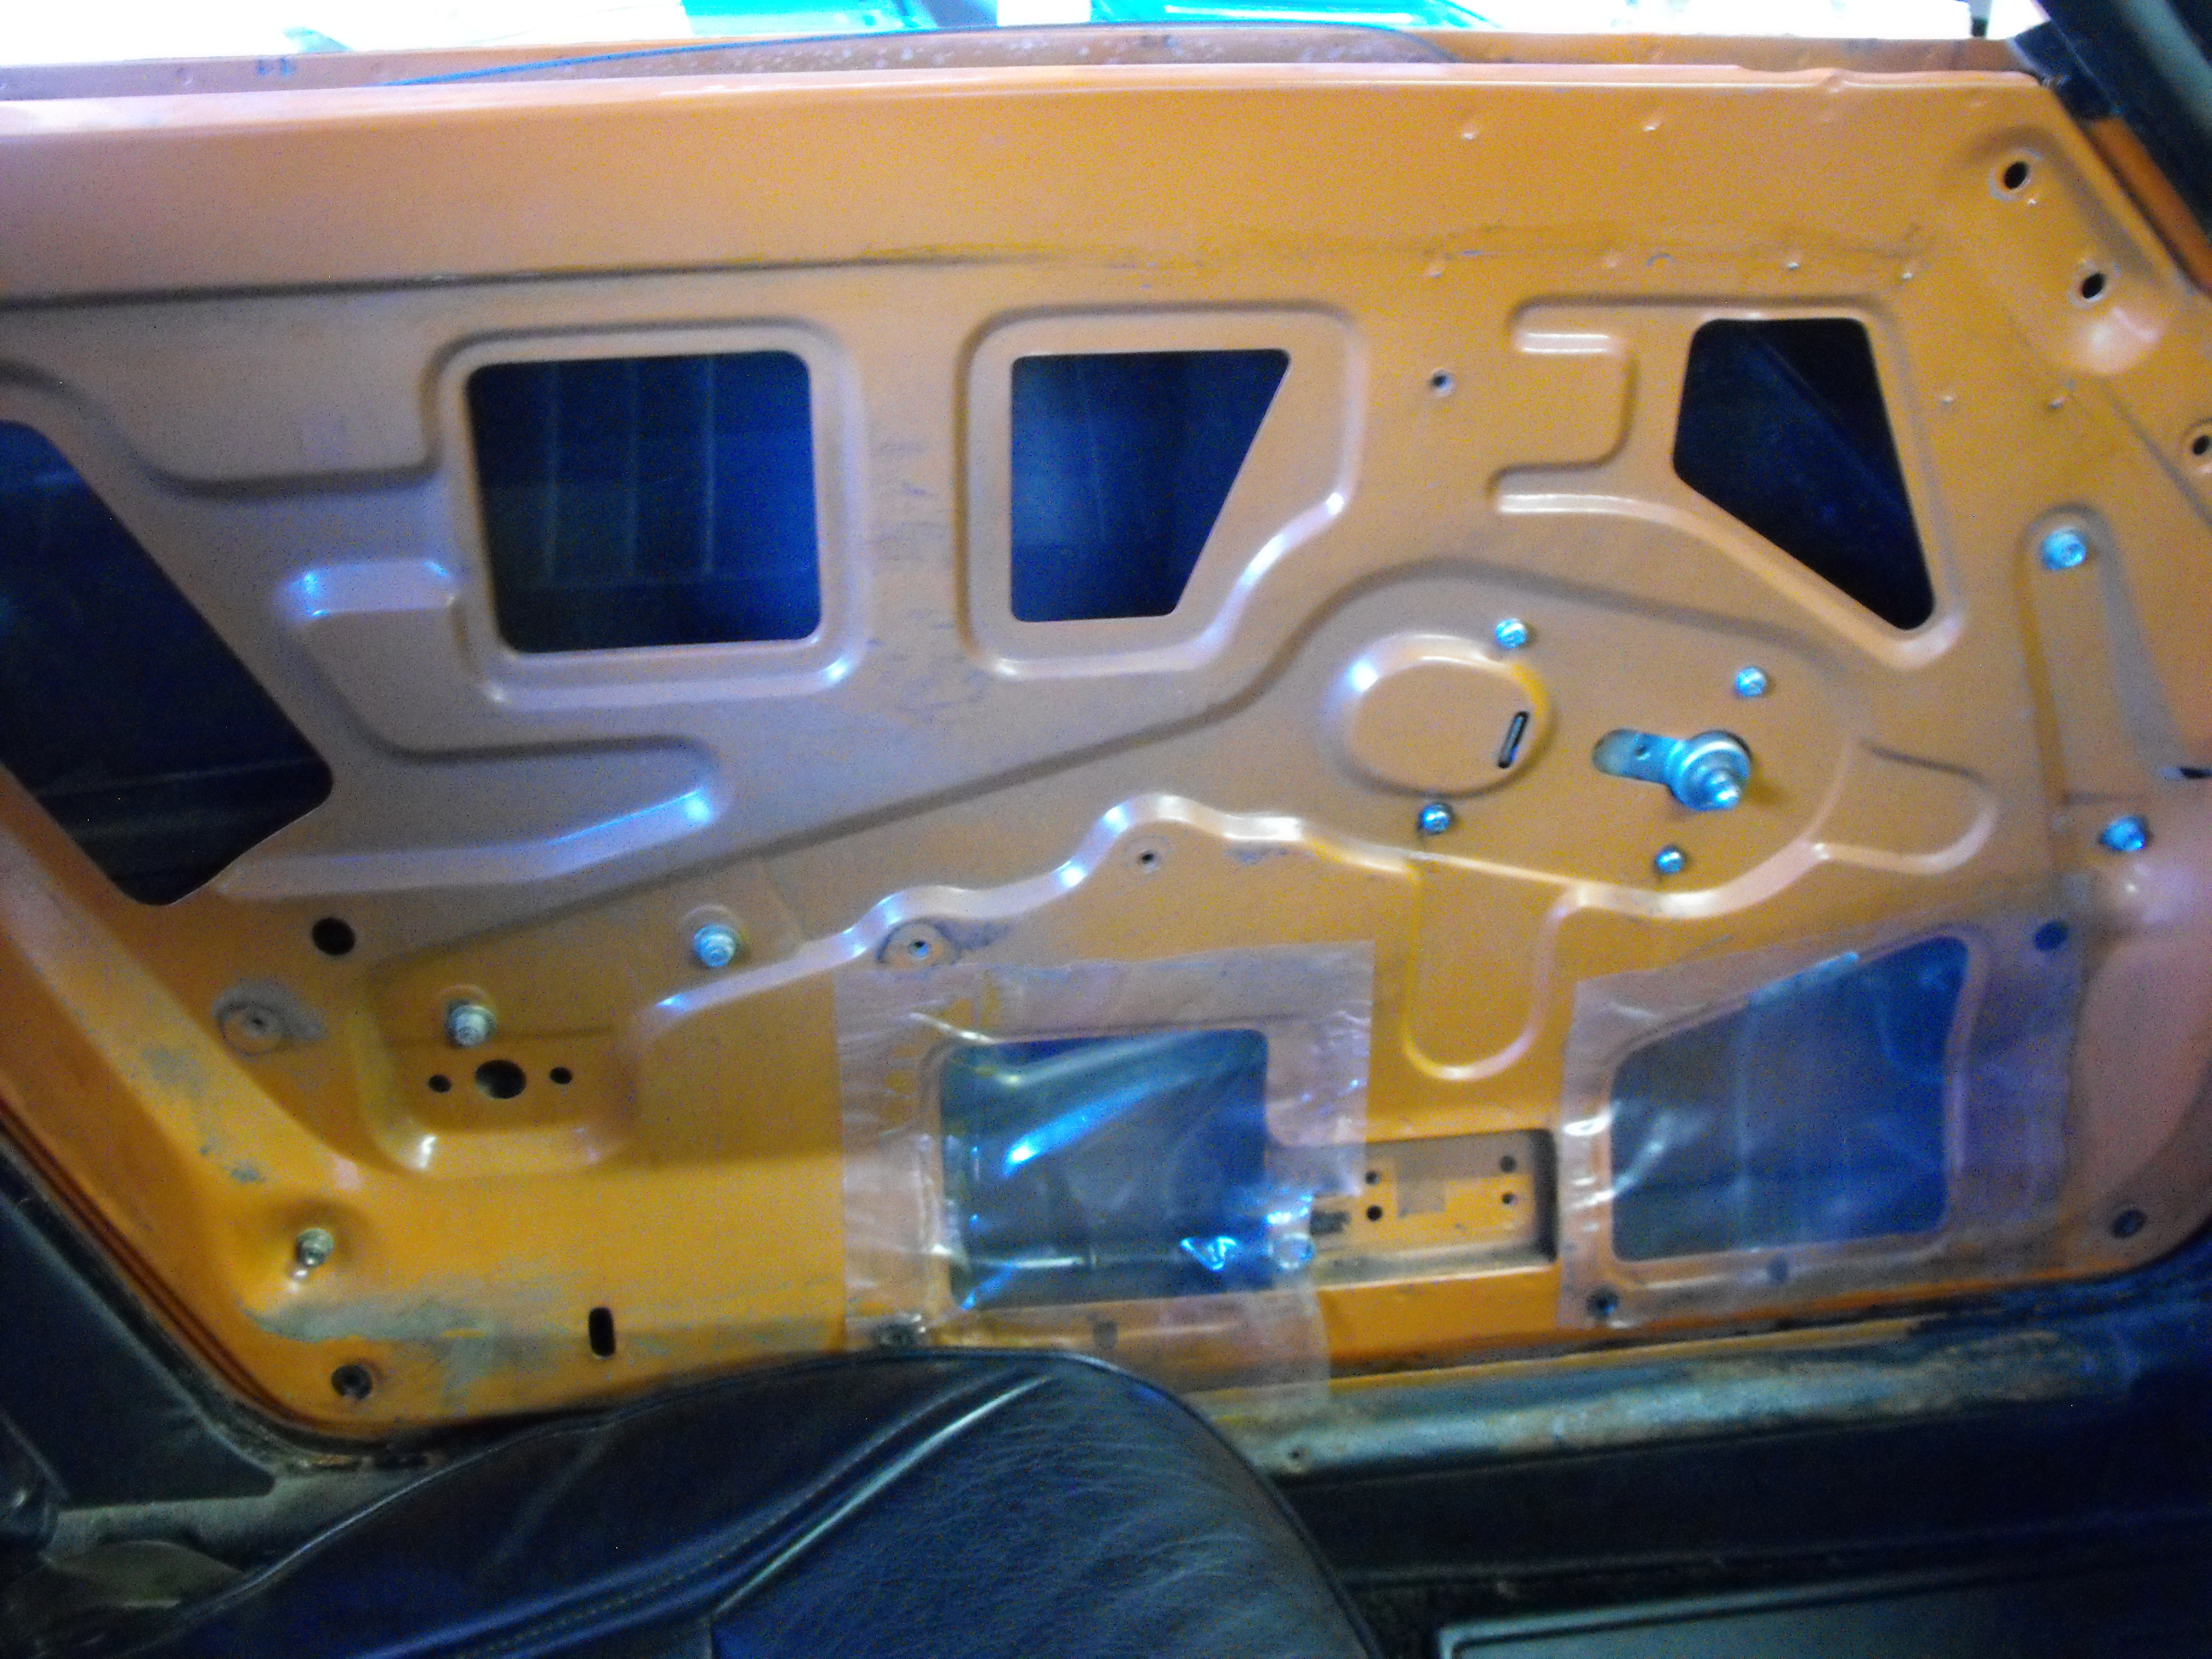
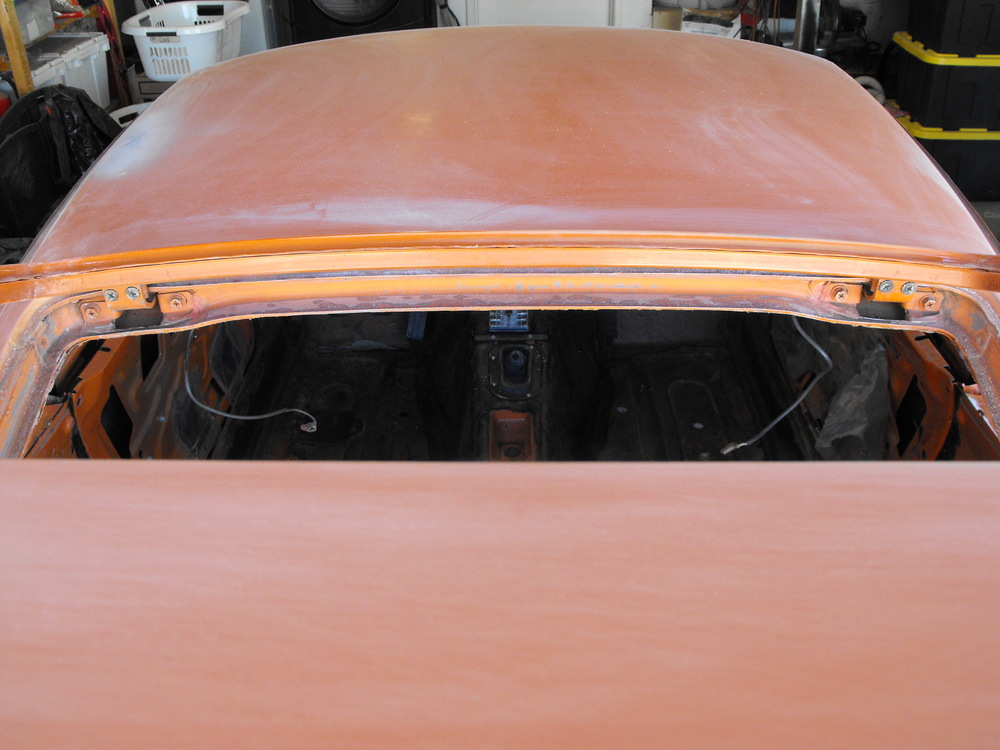
Found a nice little surprise in one of the two rear tool boxes. Those look like brand new shoulder harnesses. Very nice and in perfect condition. I am looking forward to installing them when the time comes. I removed the front windshield and rear hatch glass. The front windshield rubber was a challenge. It had some weird black sealant on it that did not dry but remained wet. It was like some gummy tar like substance that would not dissolve with lacquer thinner (my 'go to' solvent). Fortunately the 'Ultra Clean' surface cleaner that I use before painting was able to dissolve it, finally. I think I went through twenty pieces of paper towel trying to clean it off the paint, my hands, tools, etc before I got the correct solvent. I also took the seats, firewall insulation and center console out and will just leave the vinyl in. I will make sure to have the vinyl covered during the painting process as it is in great condition. I removed the rear hatch in order to access the upper hatch area where the weather stripping goes. I had to clean off all of the old weather stripping glue. The best way to clean that off is with the wire wheel on the end of my drill. After that I sanded the area to remove the wire wheel scratches. I pretty much have all of the dings and dents fixed on the body and will do just a bit more detail sanding in the engine area. Also a few loose items to sand (Head light buckets, windshield wiper cowl, fuel door and access covers) and then I will be ready to send the car to the paint shop. Very exciting as we are getting close to being ready to deliver this to the paint shop.


-
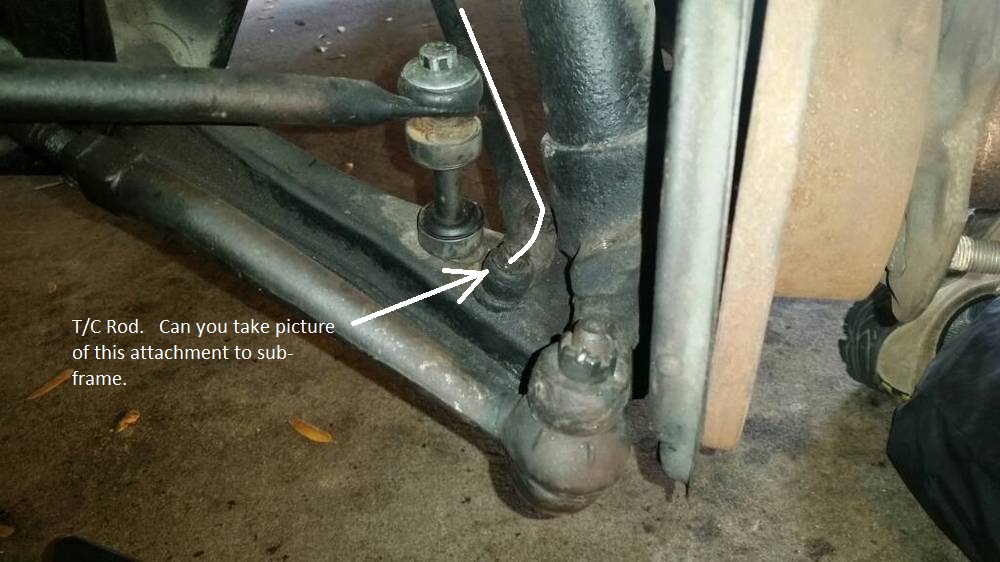
I agree with Jim. Can you show pic of T/C attachment?
-
The round head ones are the 'correct' ones and are hard to find. Hex head ones are much easier to find and cheaper.
-
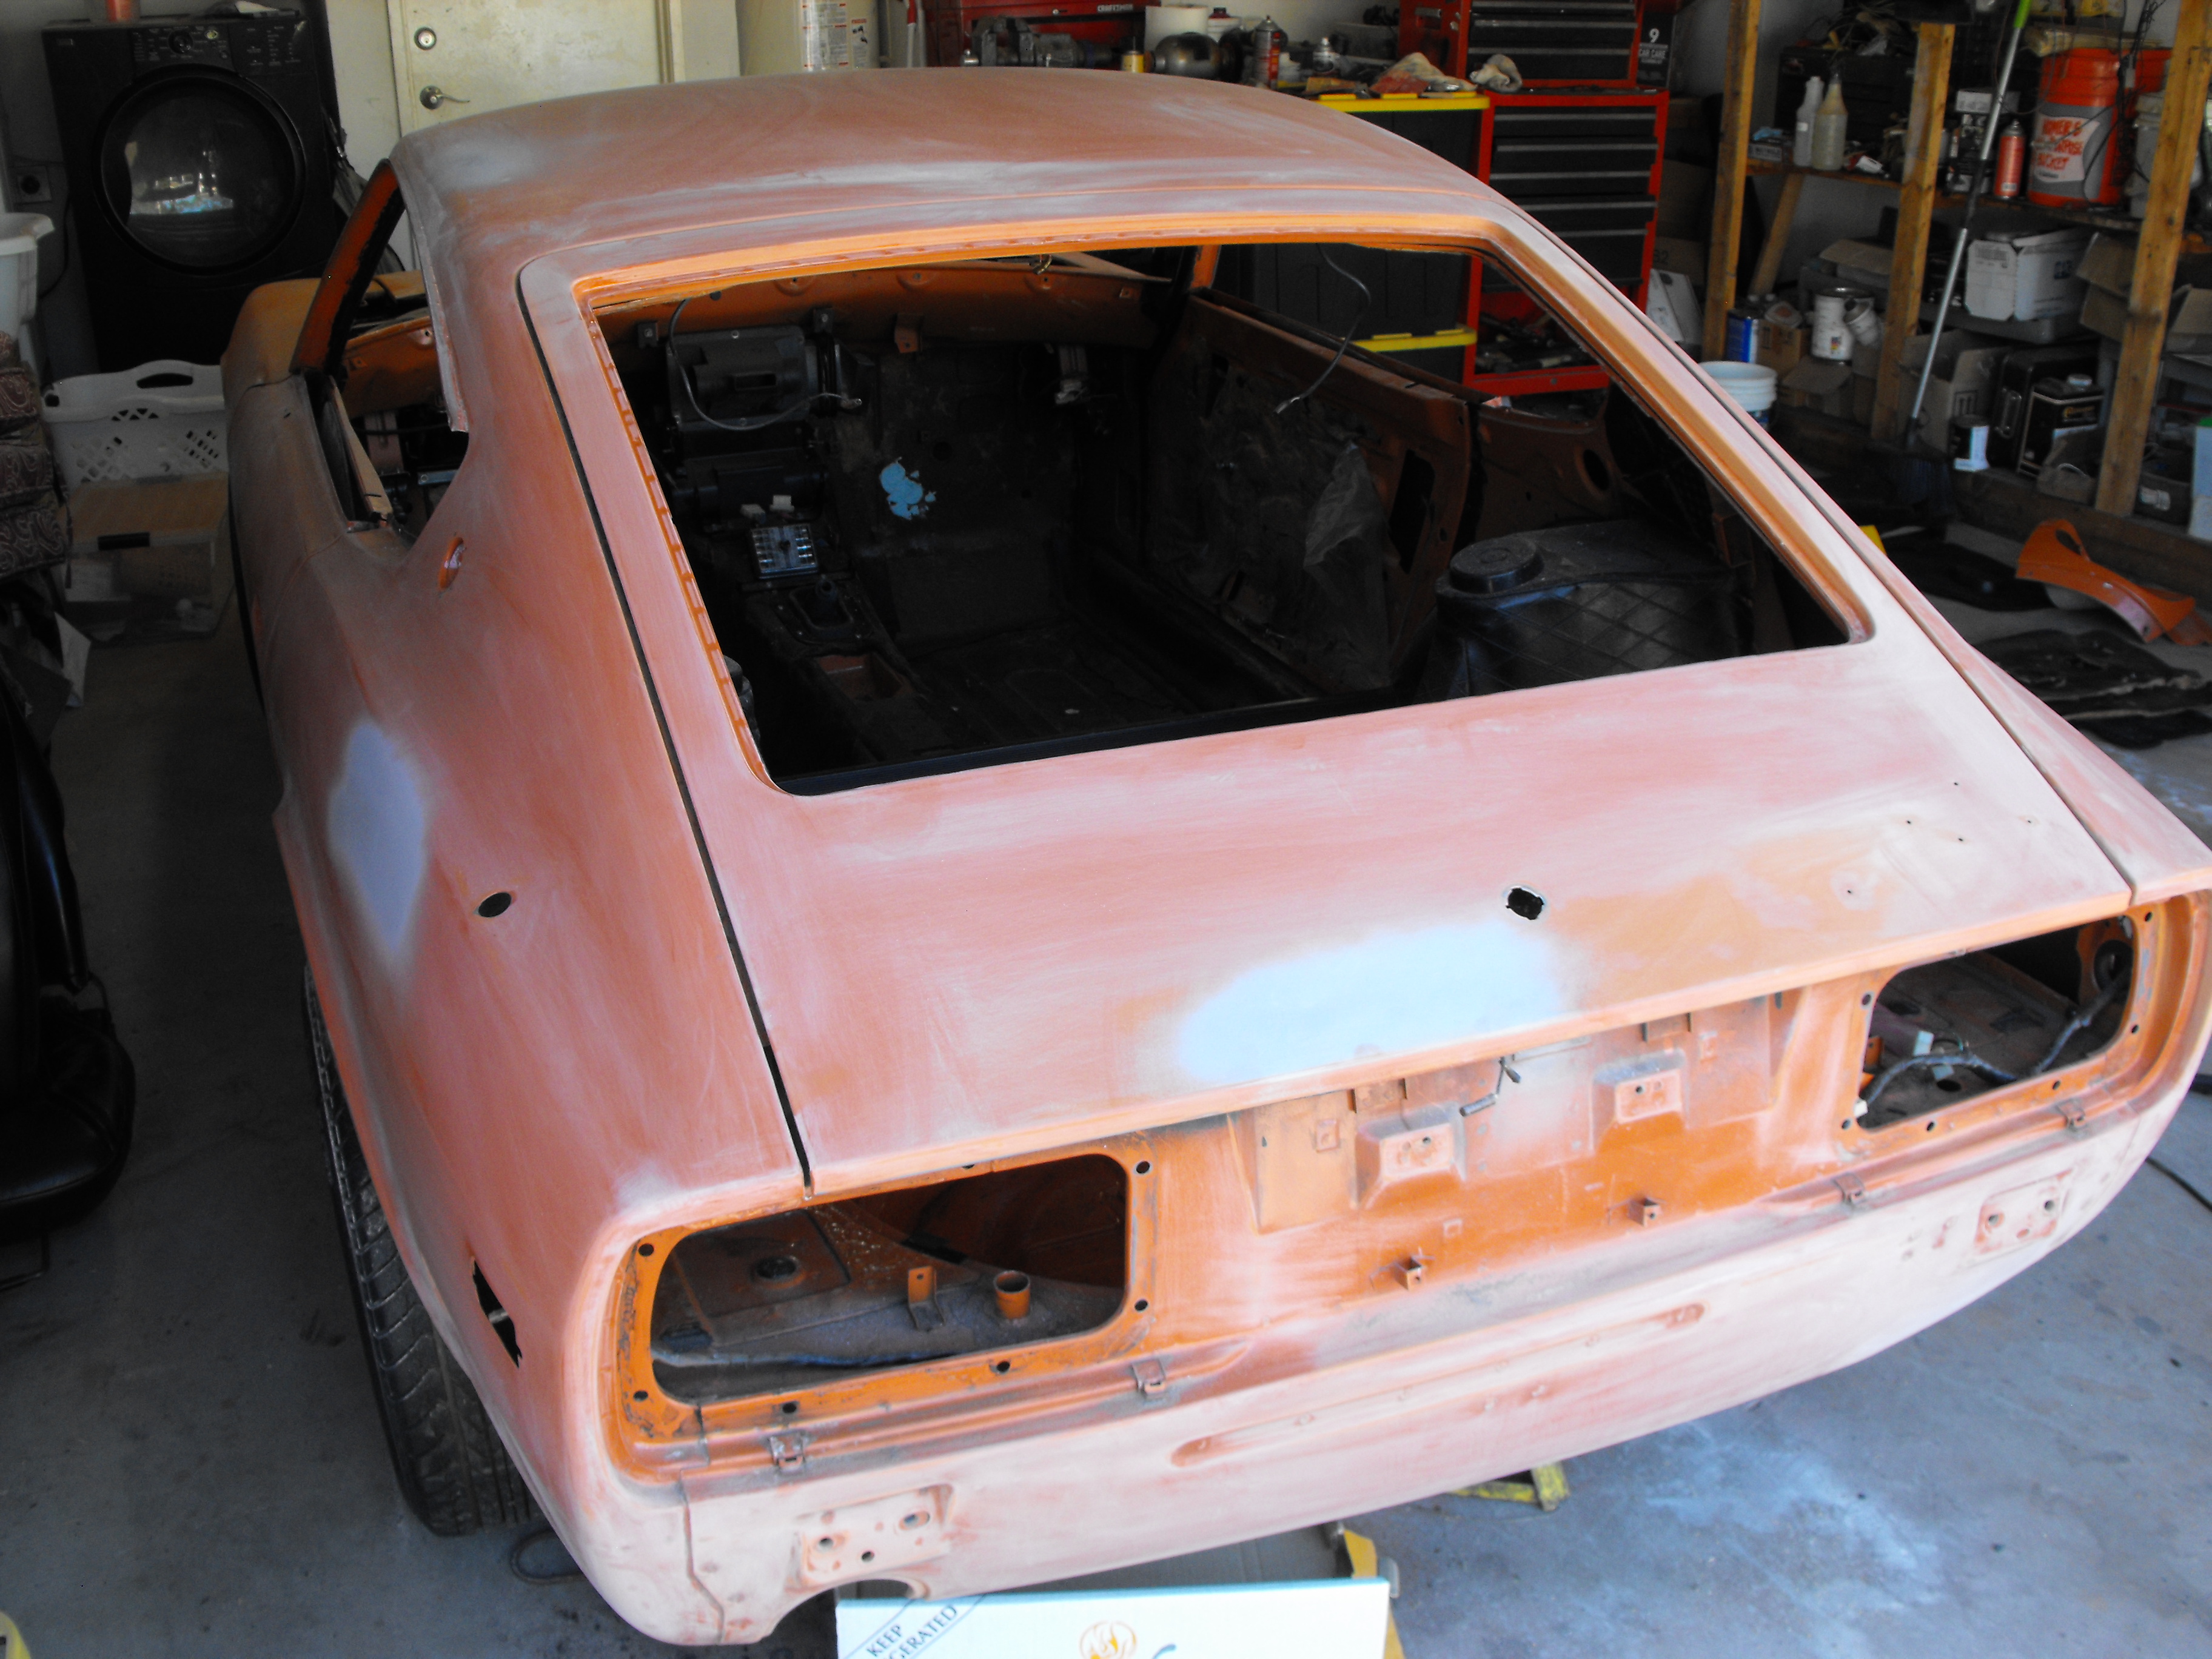
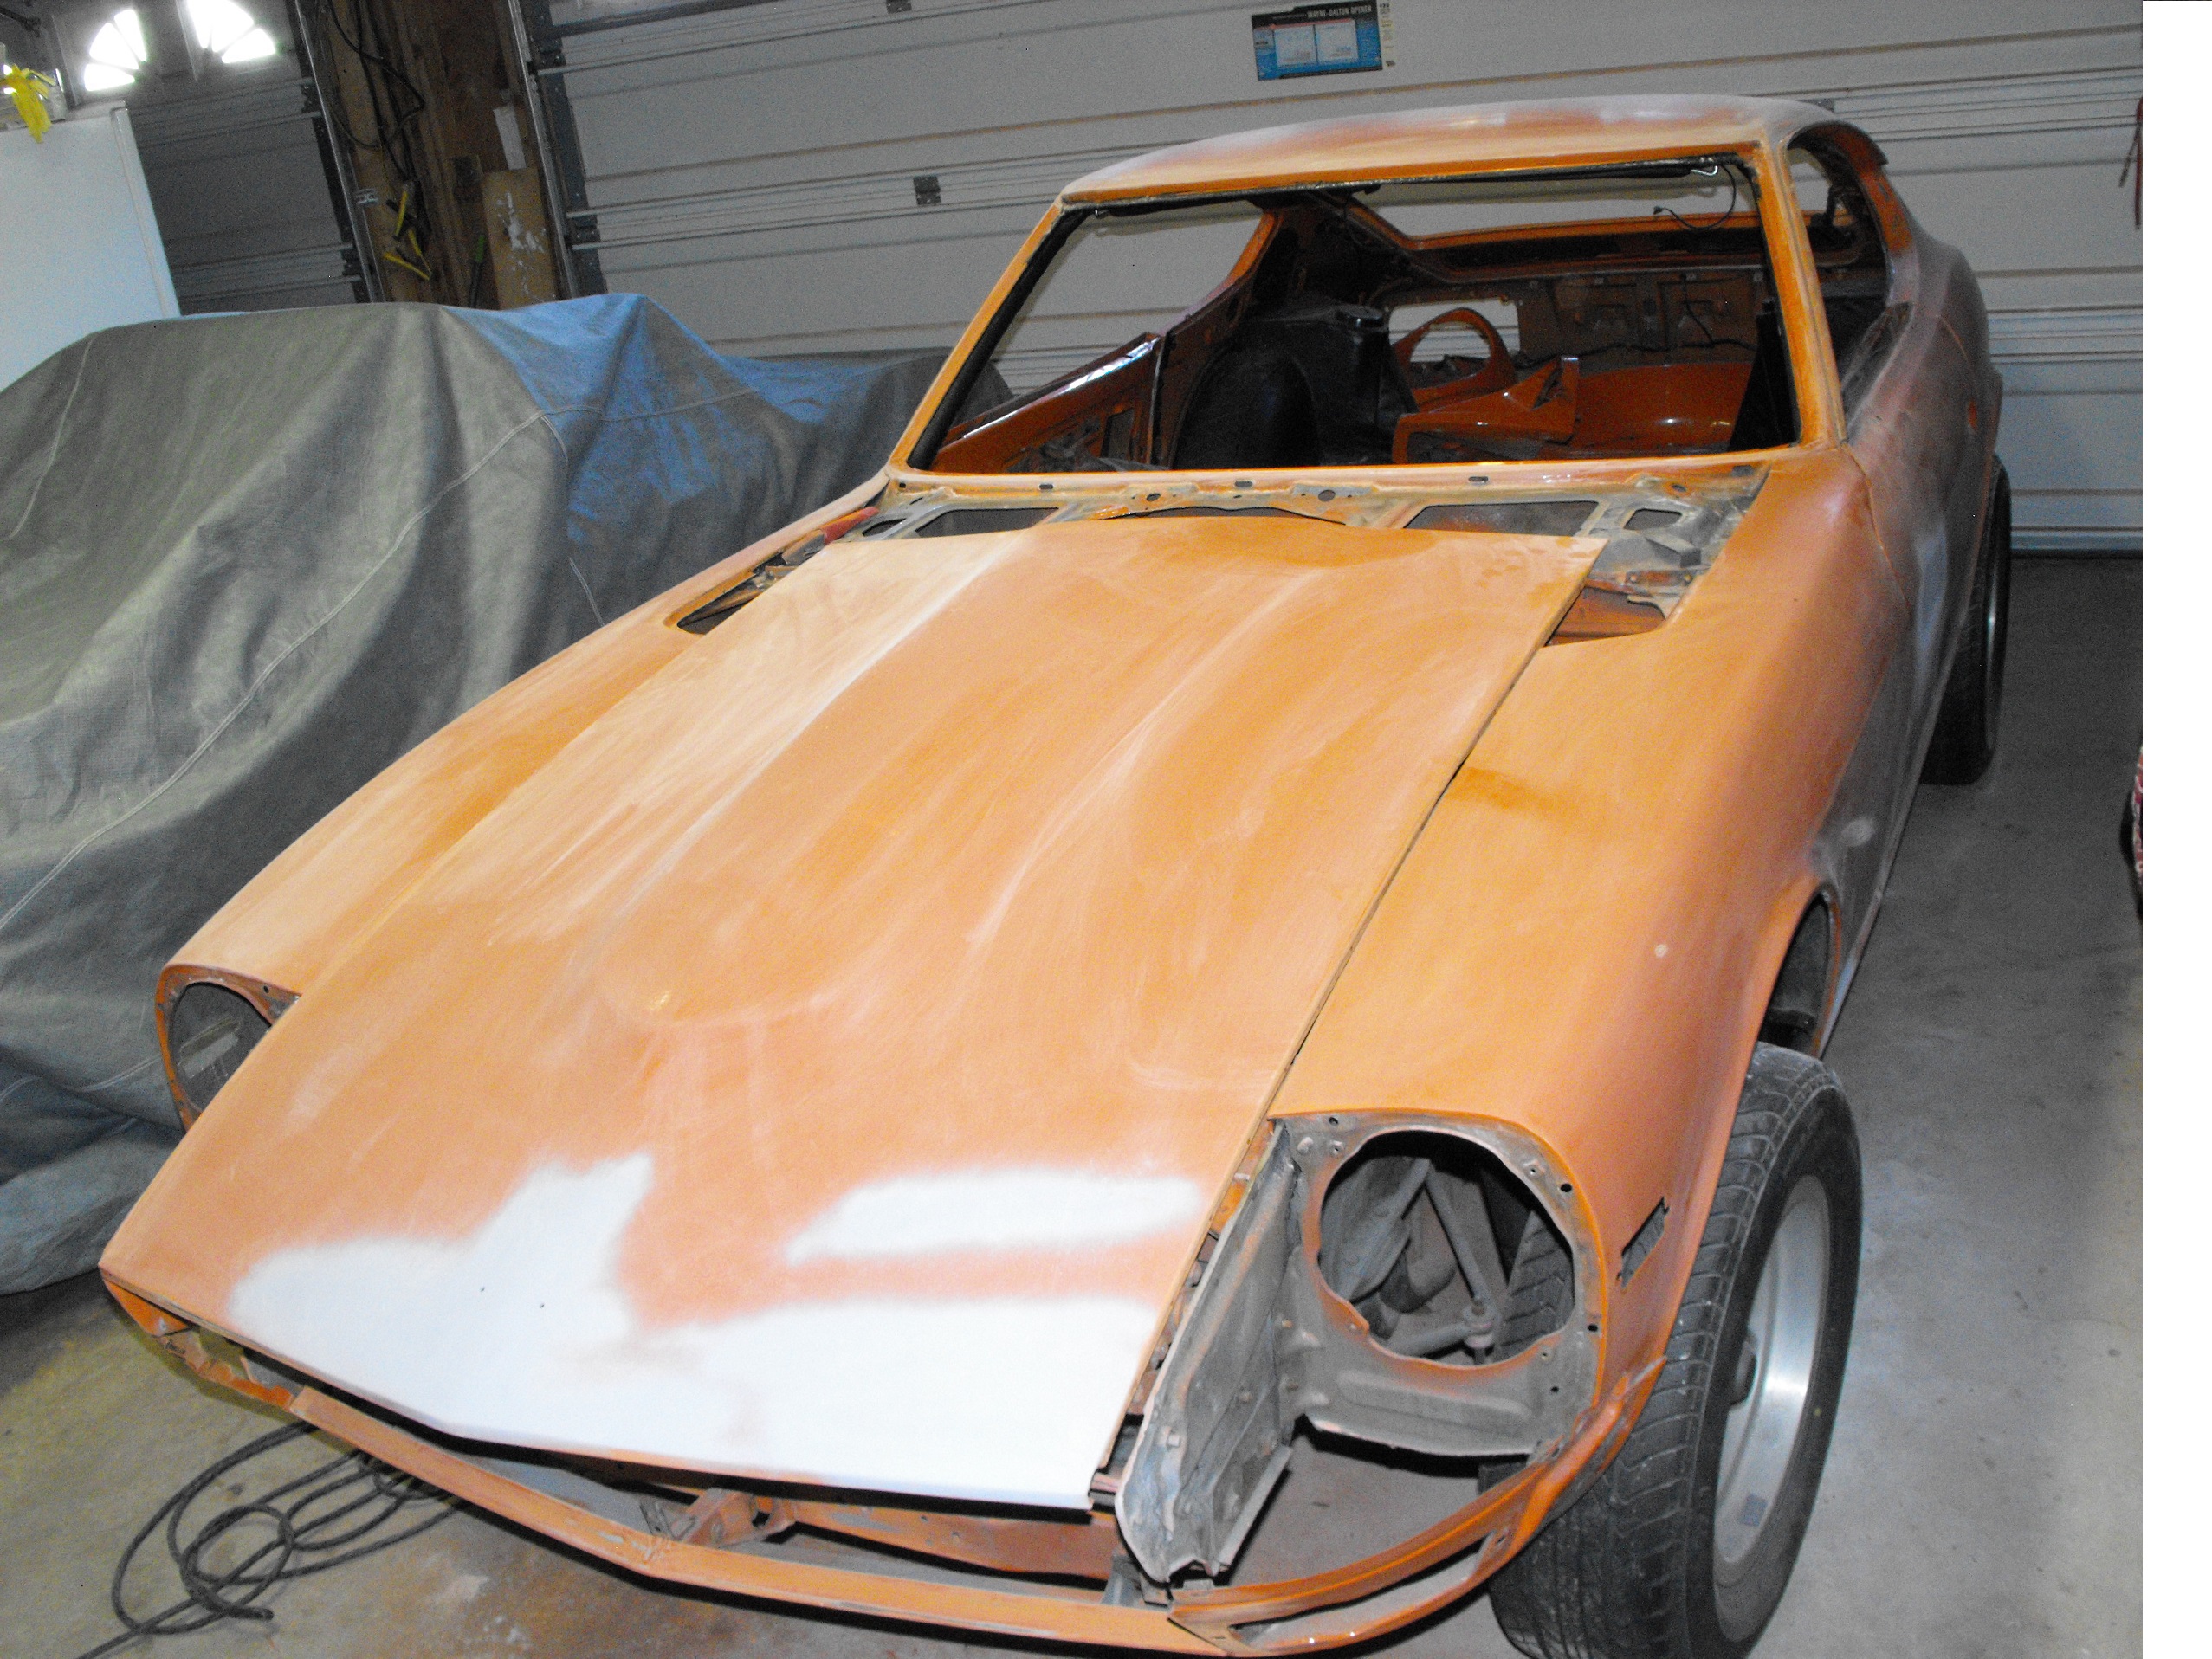
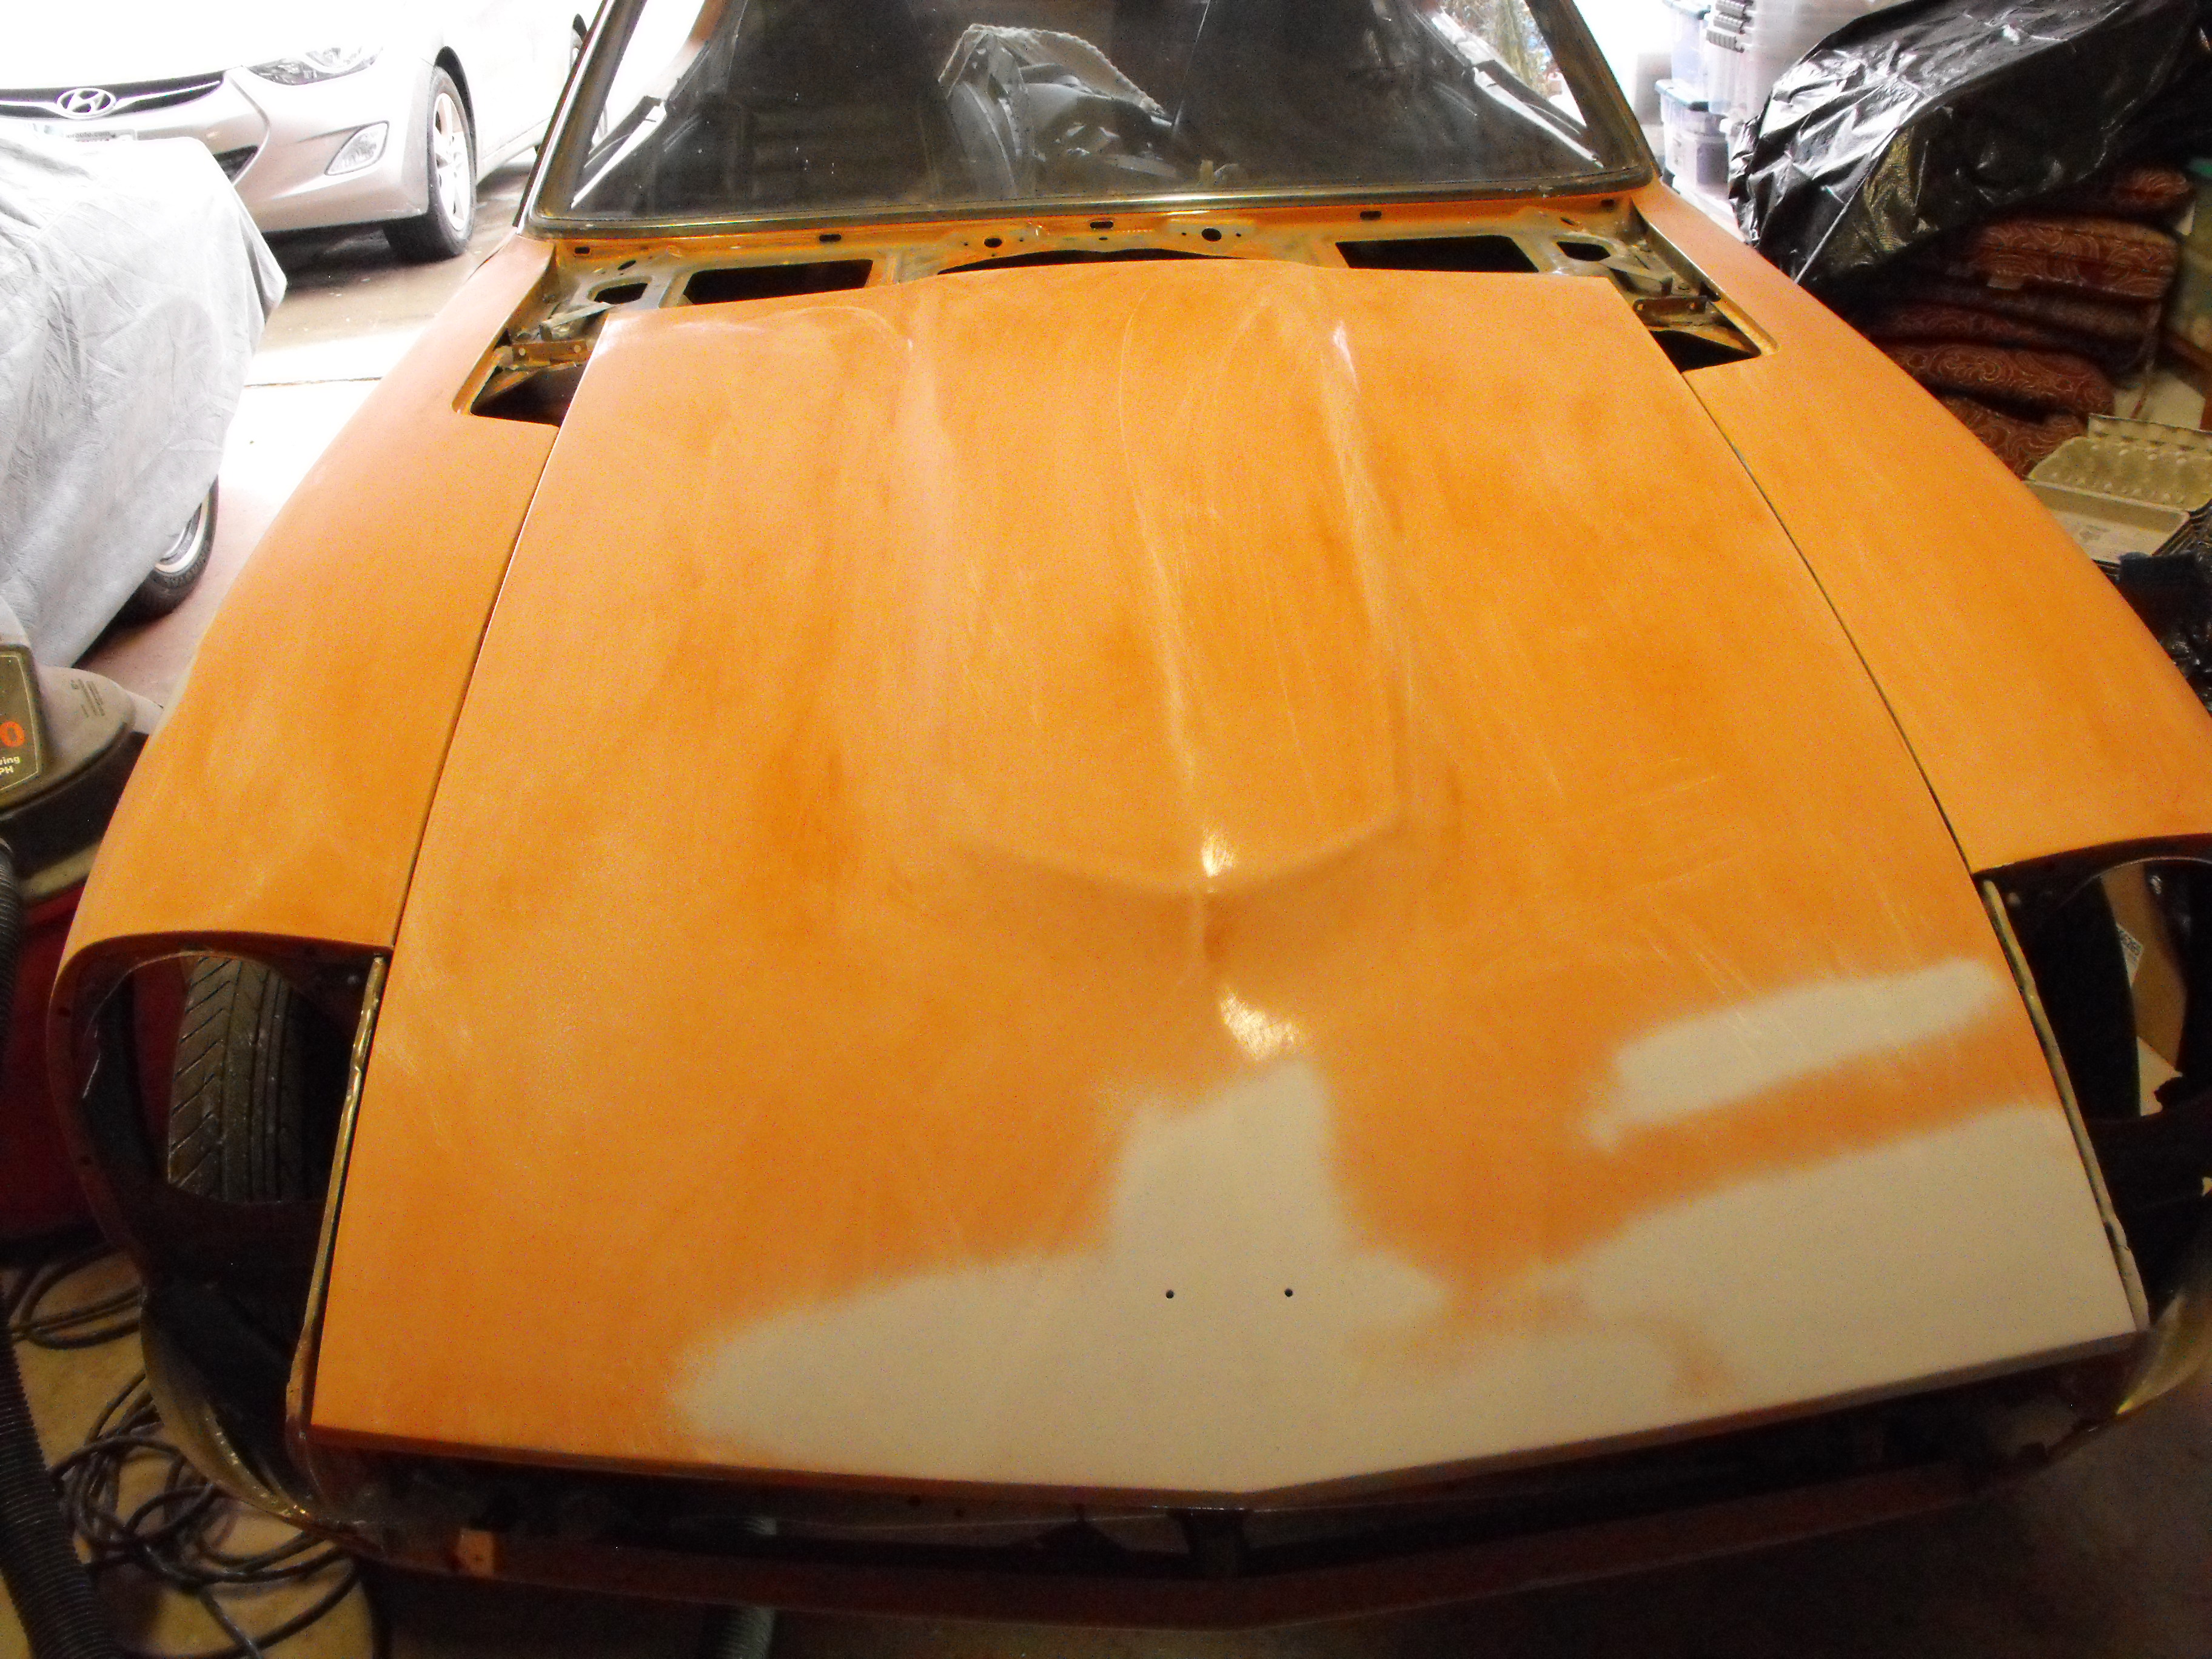
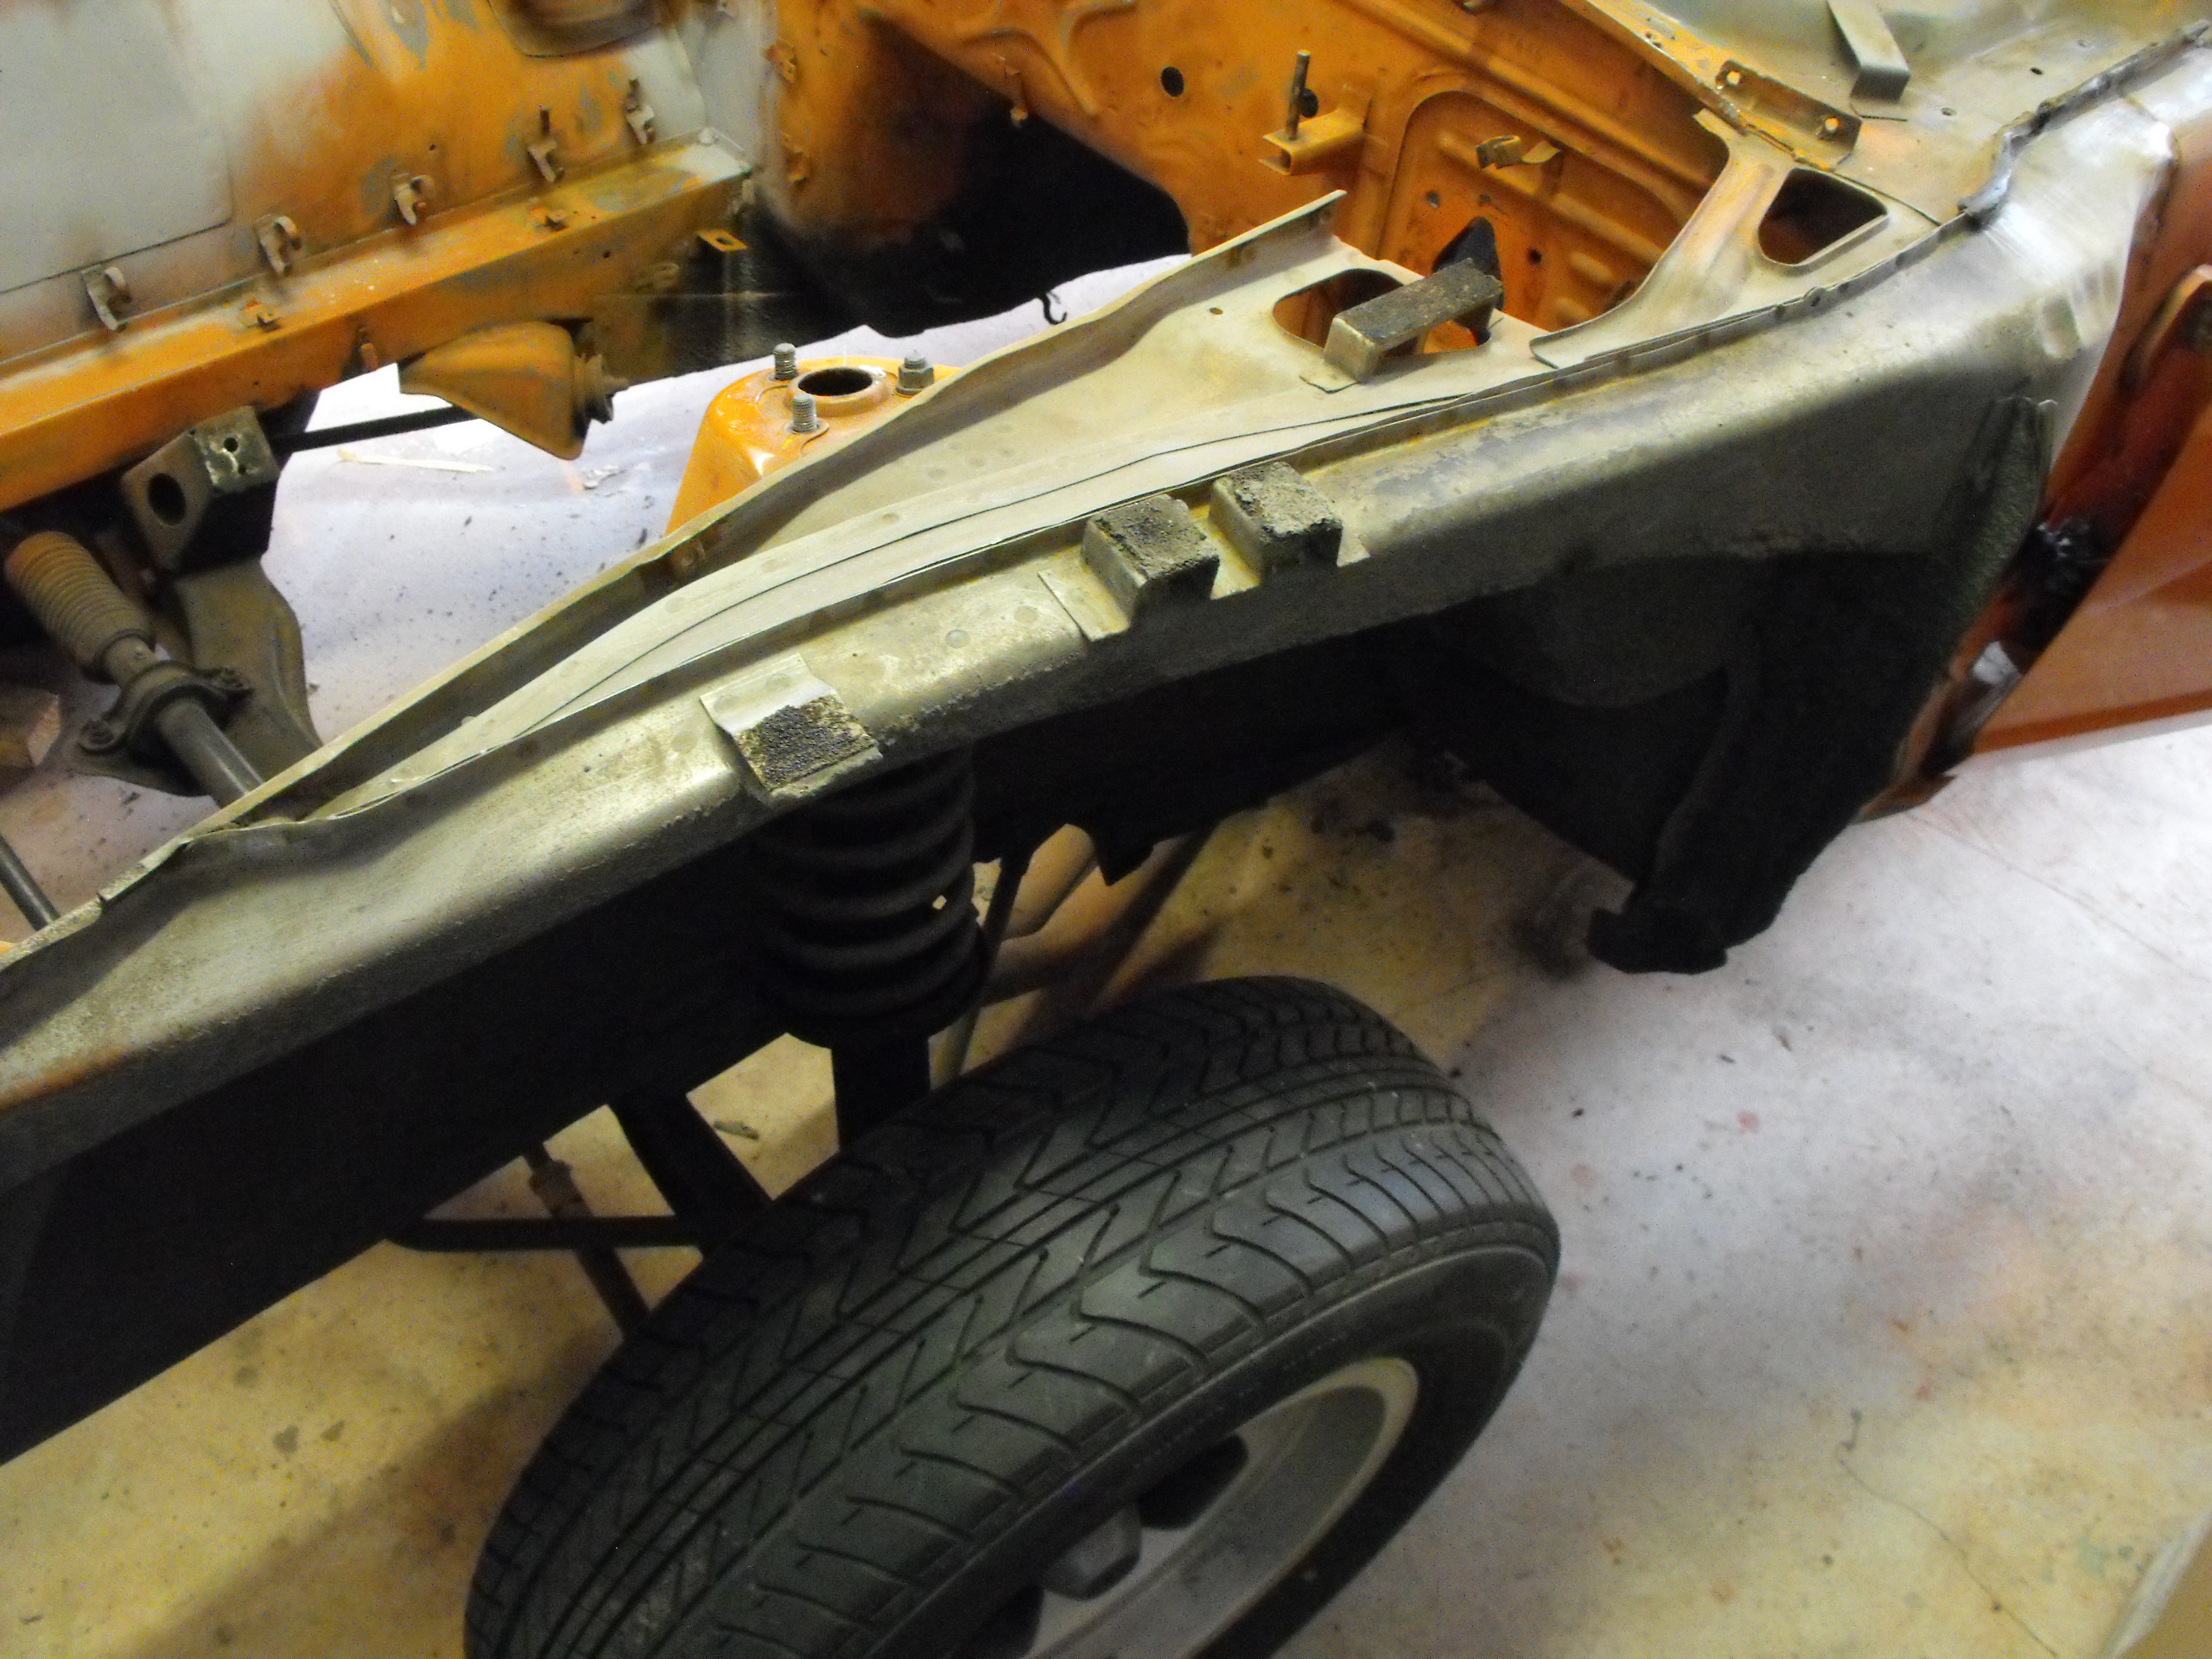
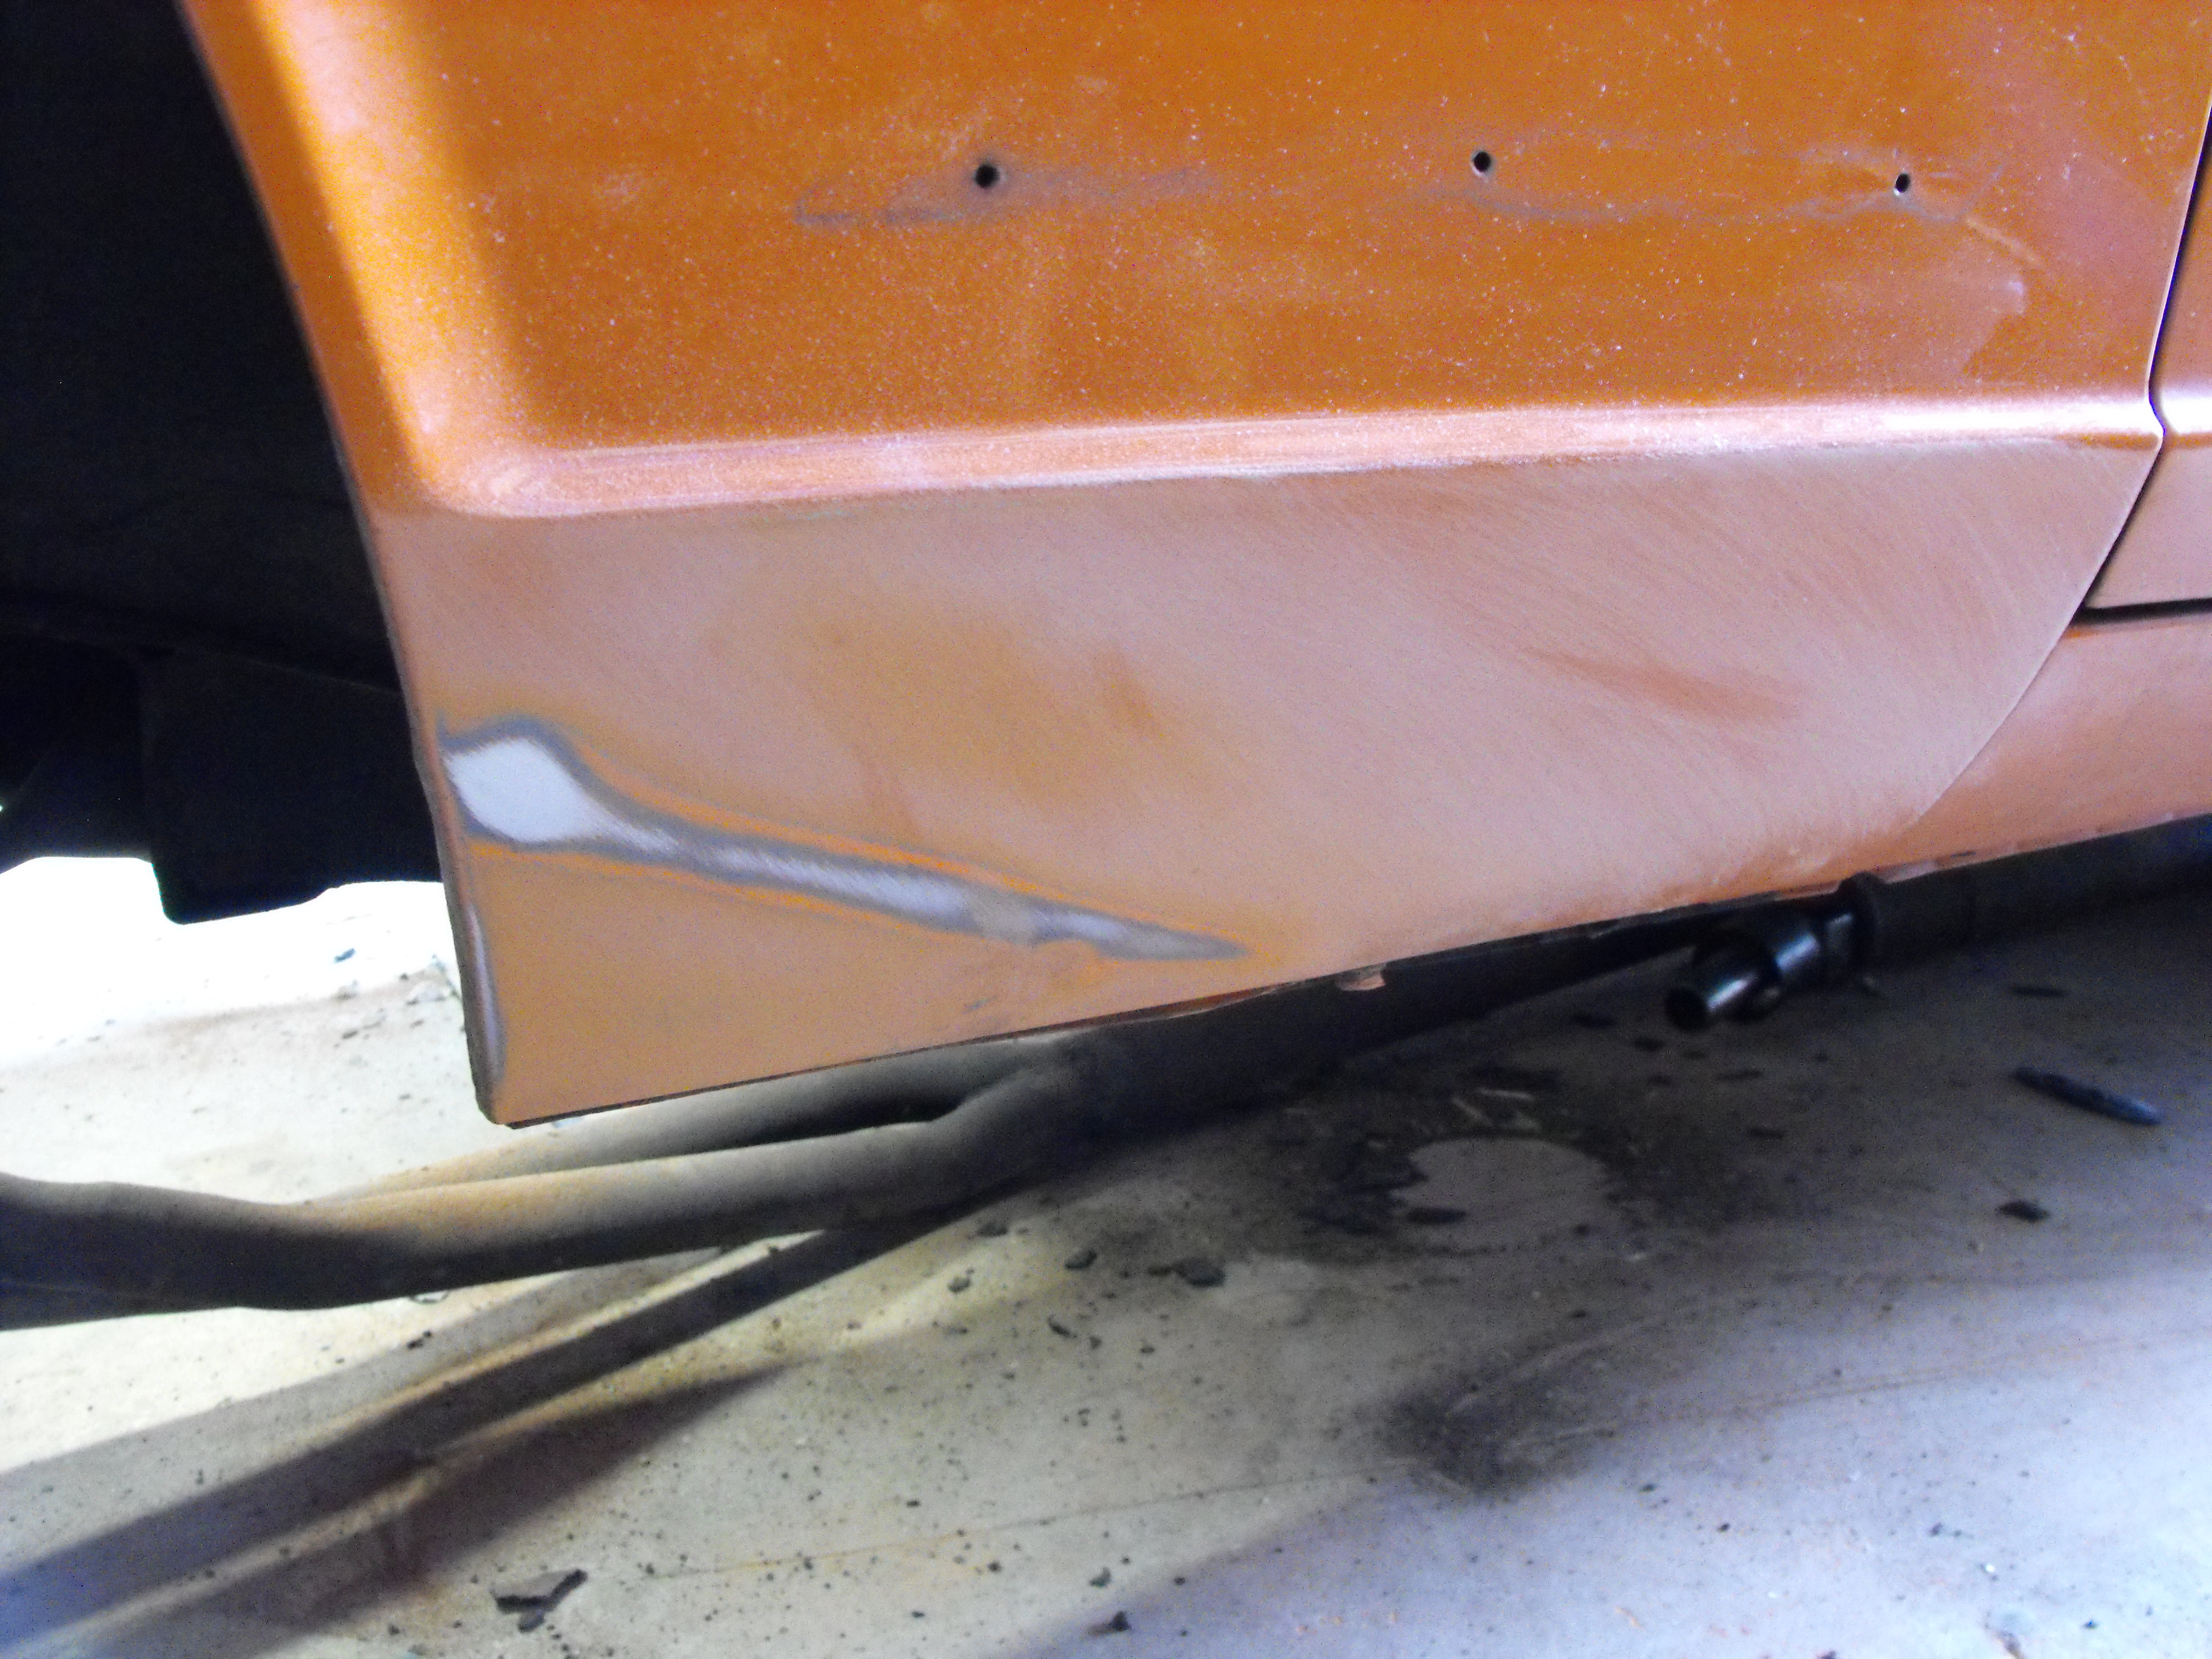
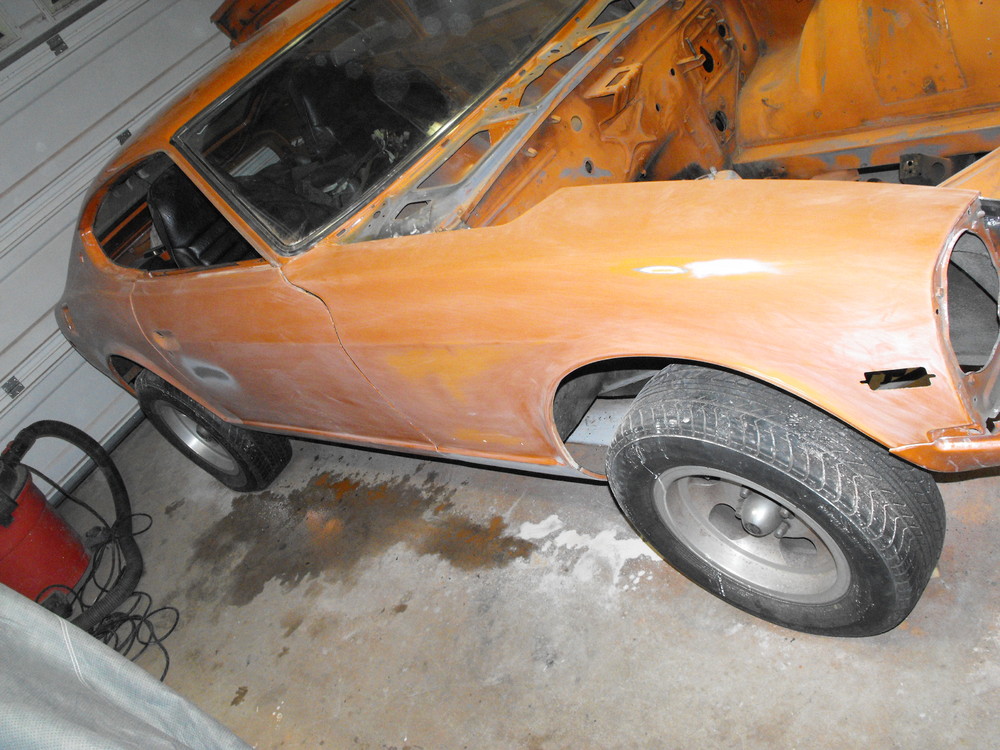
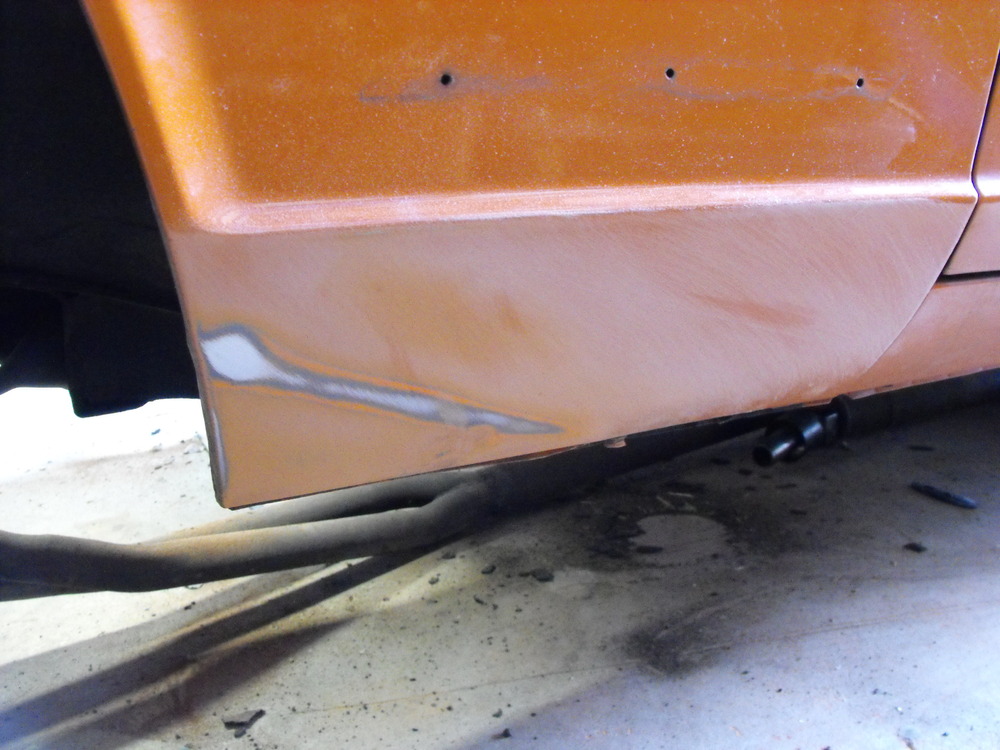
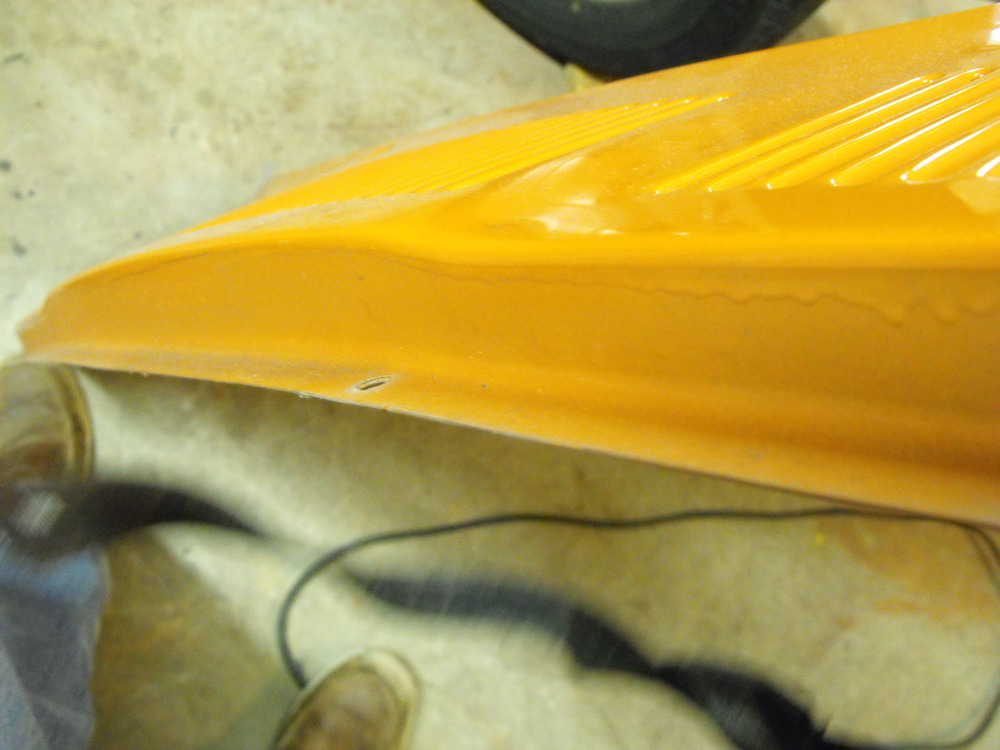
Still working on the body. I cleaned up the lower driver side fender (looks like I still need to smooth that forward edge a bit). I also finished the sanding on the passenger fender outside area. While sanding the underside of the front valence area, I ran across that one broken bolt that I almost forgot about, so now was a good time to fix that. So I drilled and re-tapped the hole. I tried using an easy out after drilling the hole, but the stud would not budge. When I used the correct drill size for the tap, the stud was pretty close to coming out so I was able to pry out sections of the stud that had come loose. I then just ran the tap through and everything cleaned up pretty well. I put the hood back on the car to do the sanding on that part. The top was pretty straight forward with just a minor ding in the front corner, but the underside was a bit messy. Will finish the rest of that next weekend. Also, as mentioned earlier, I got the front valence sanded along with the radiator frame area and the passenger side valence. Also started sanding the upper side of the driver side door and rear quarter panel. I will have the car painted by the shop that does all of the painting for Les Canaday at Classic Datsun Motorsports. They really do excellent work and know the Z's real well. Should have this ready to deliver to the paint shop before the end of the month.


-
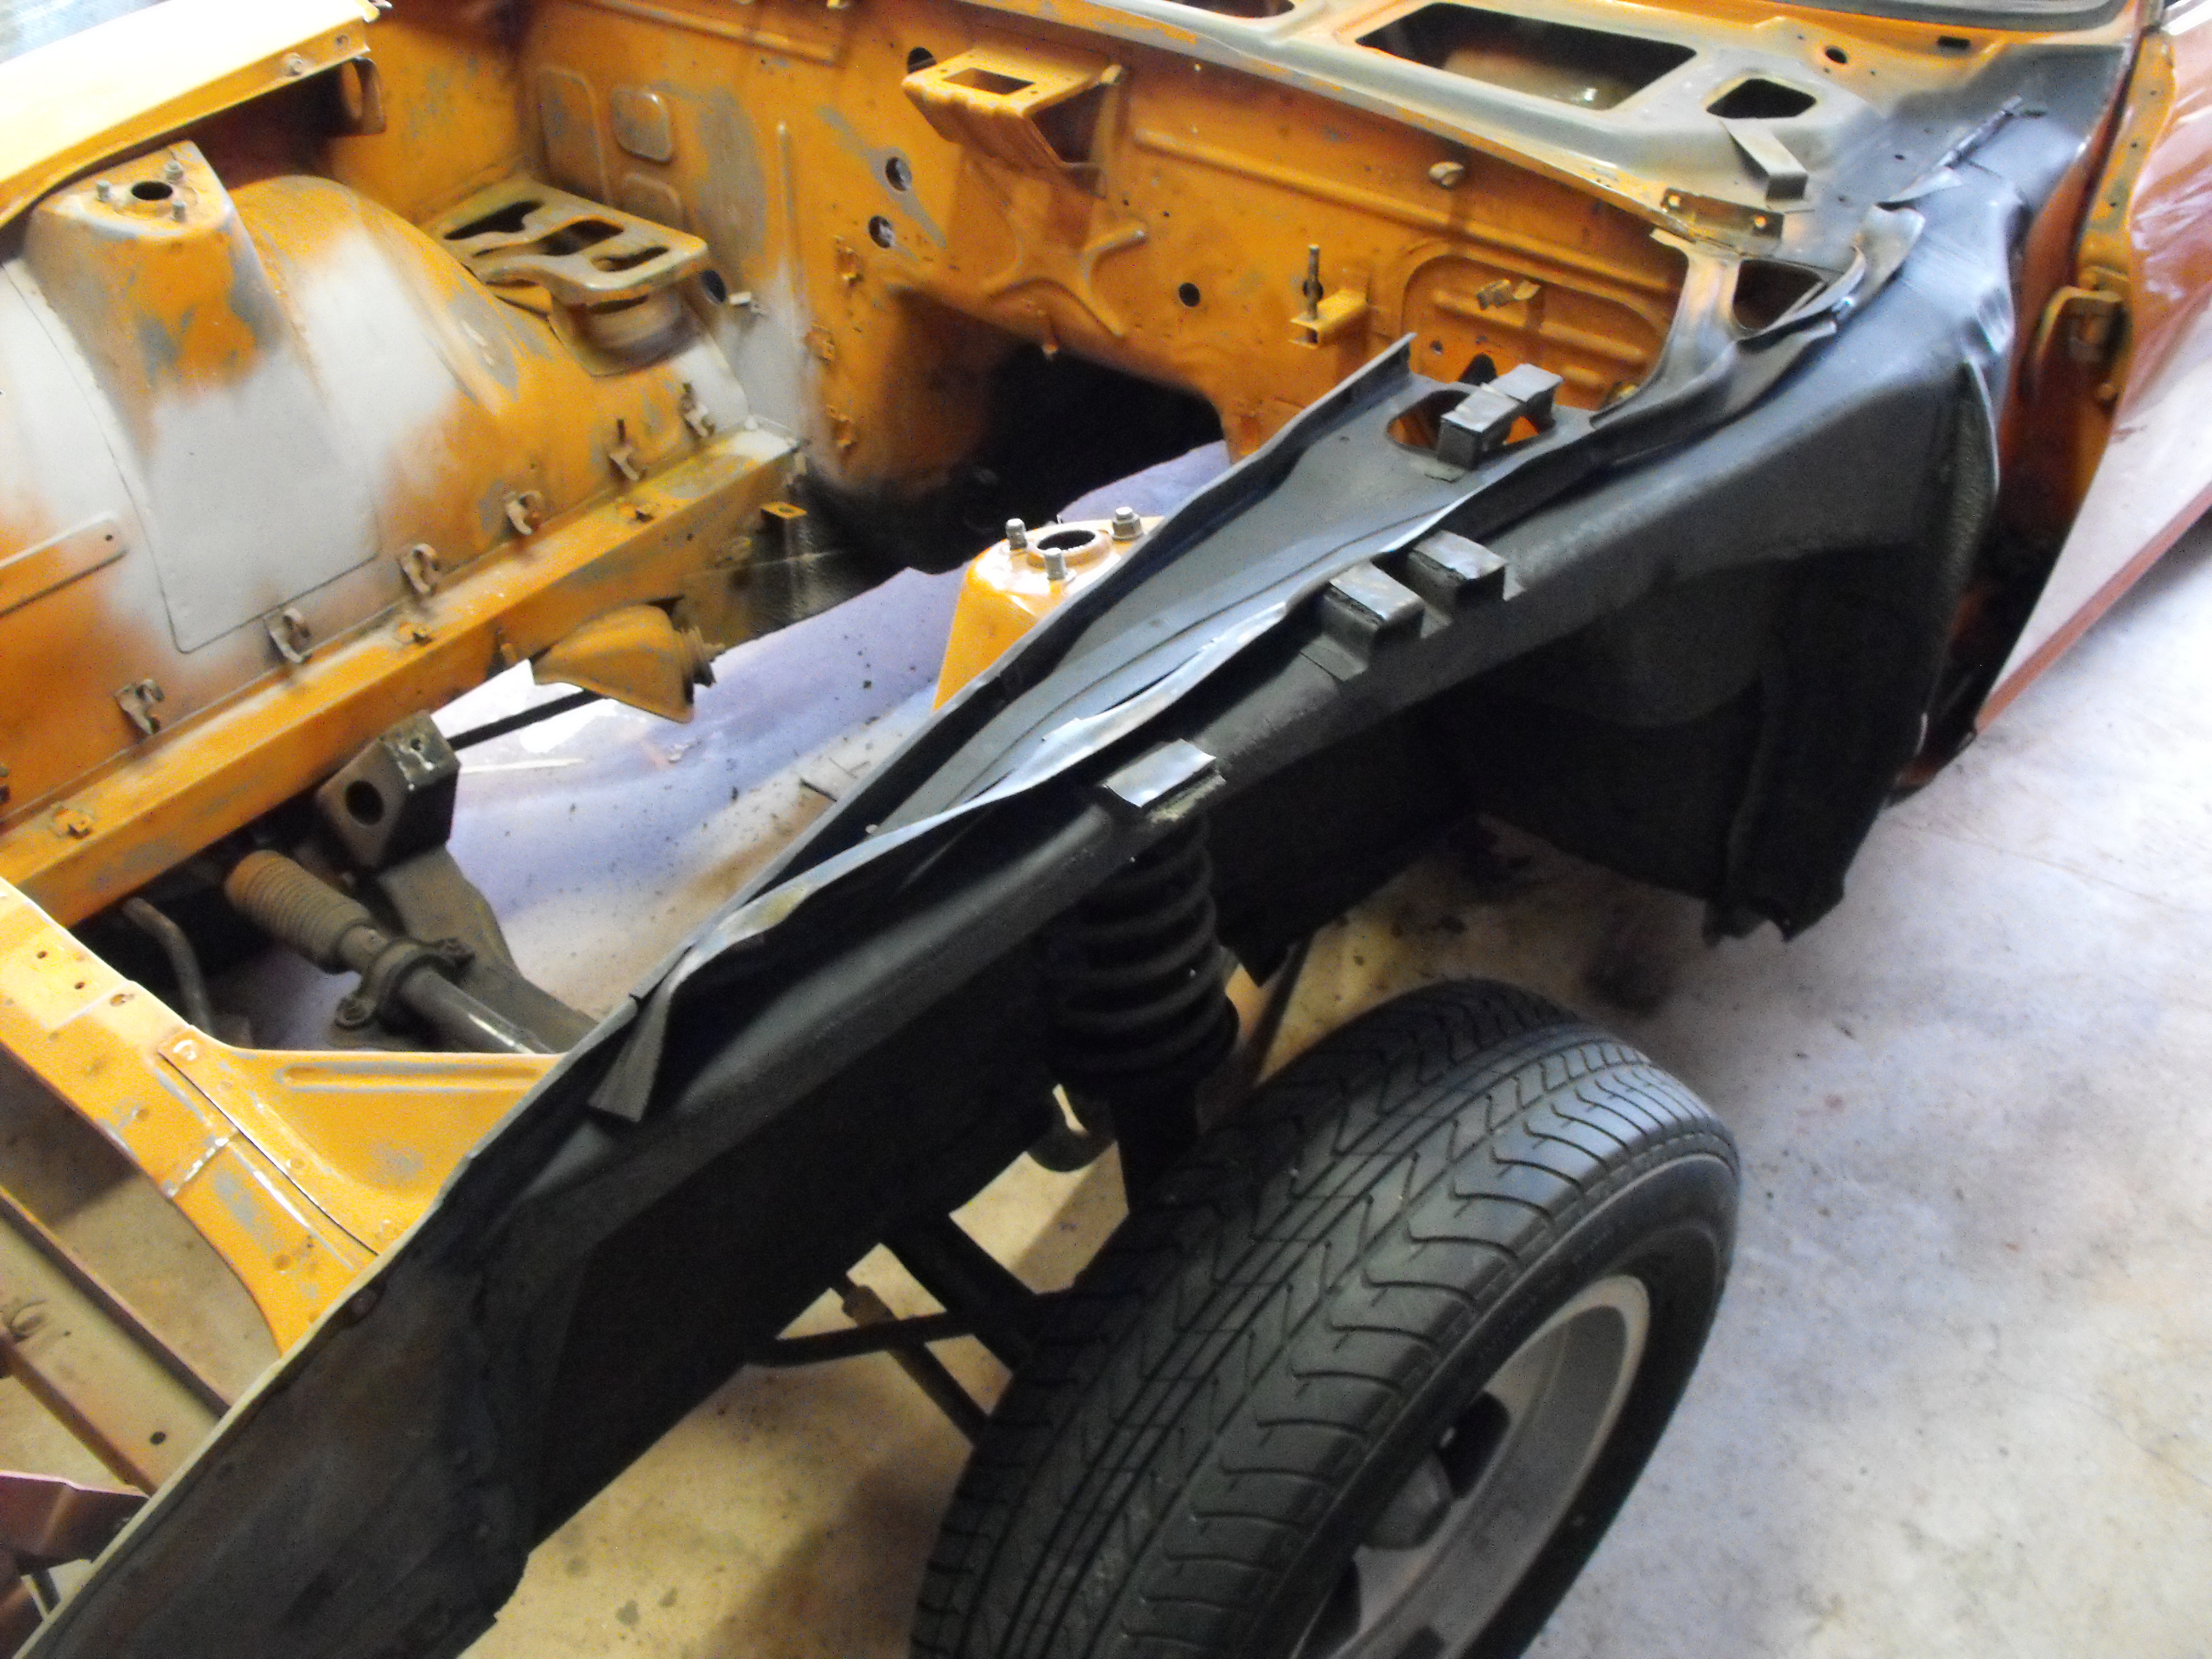
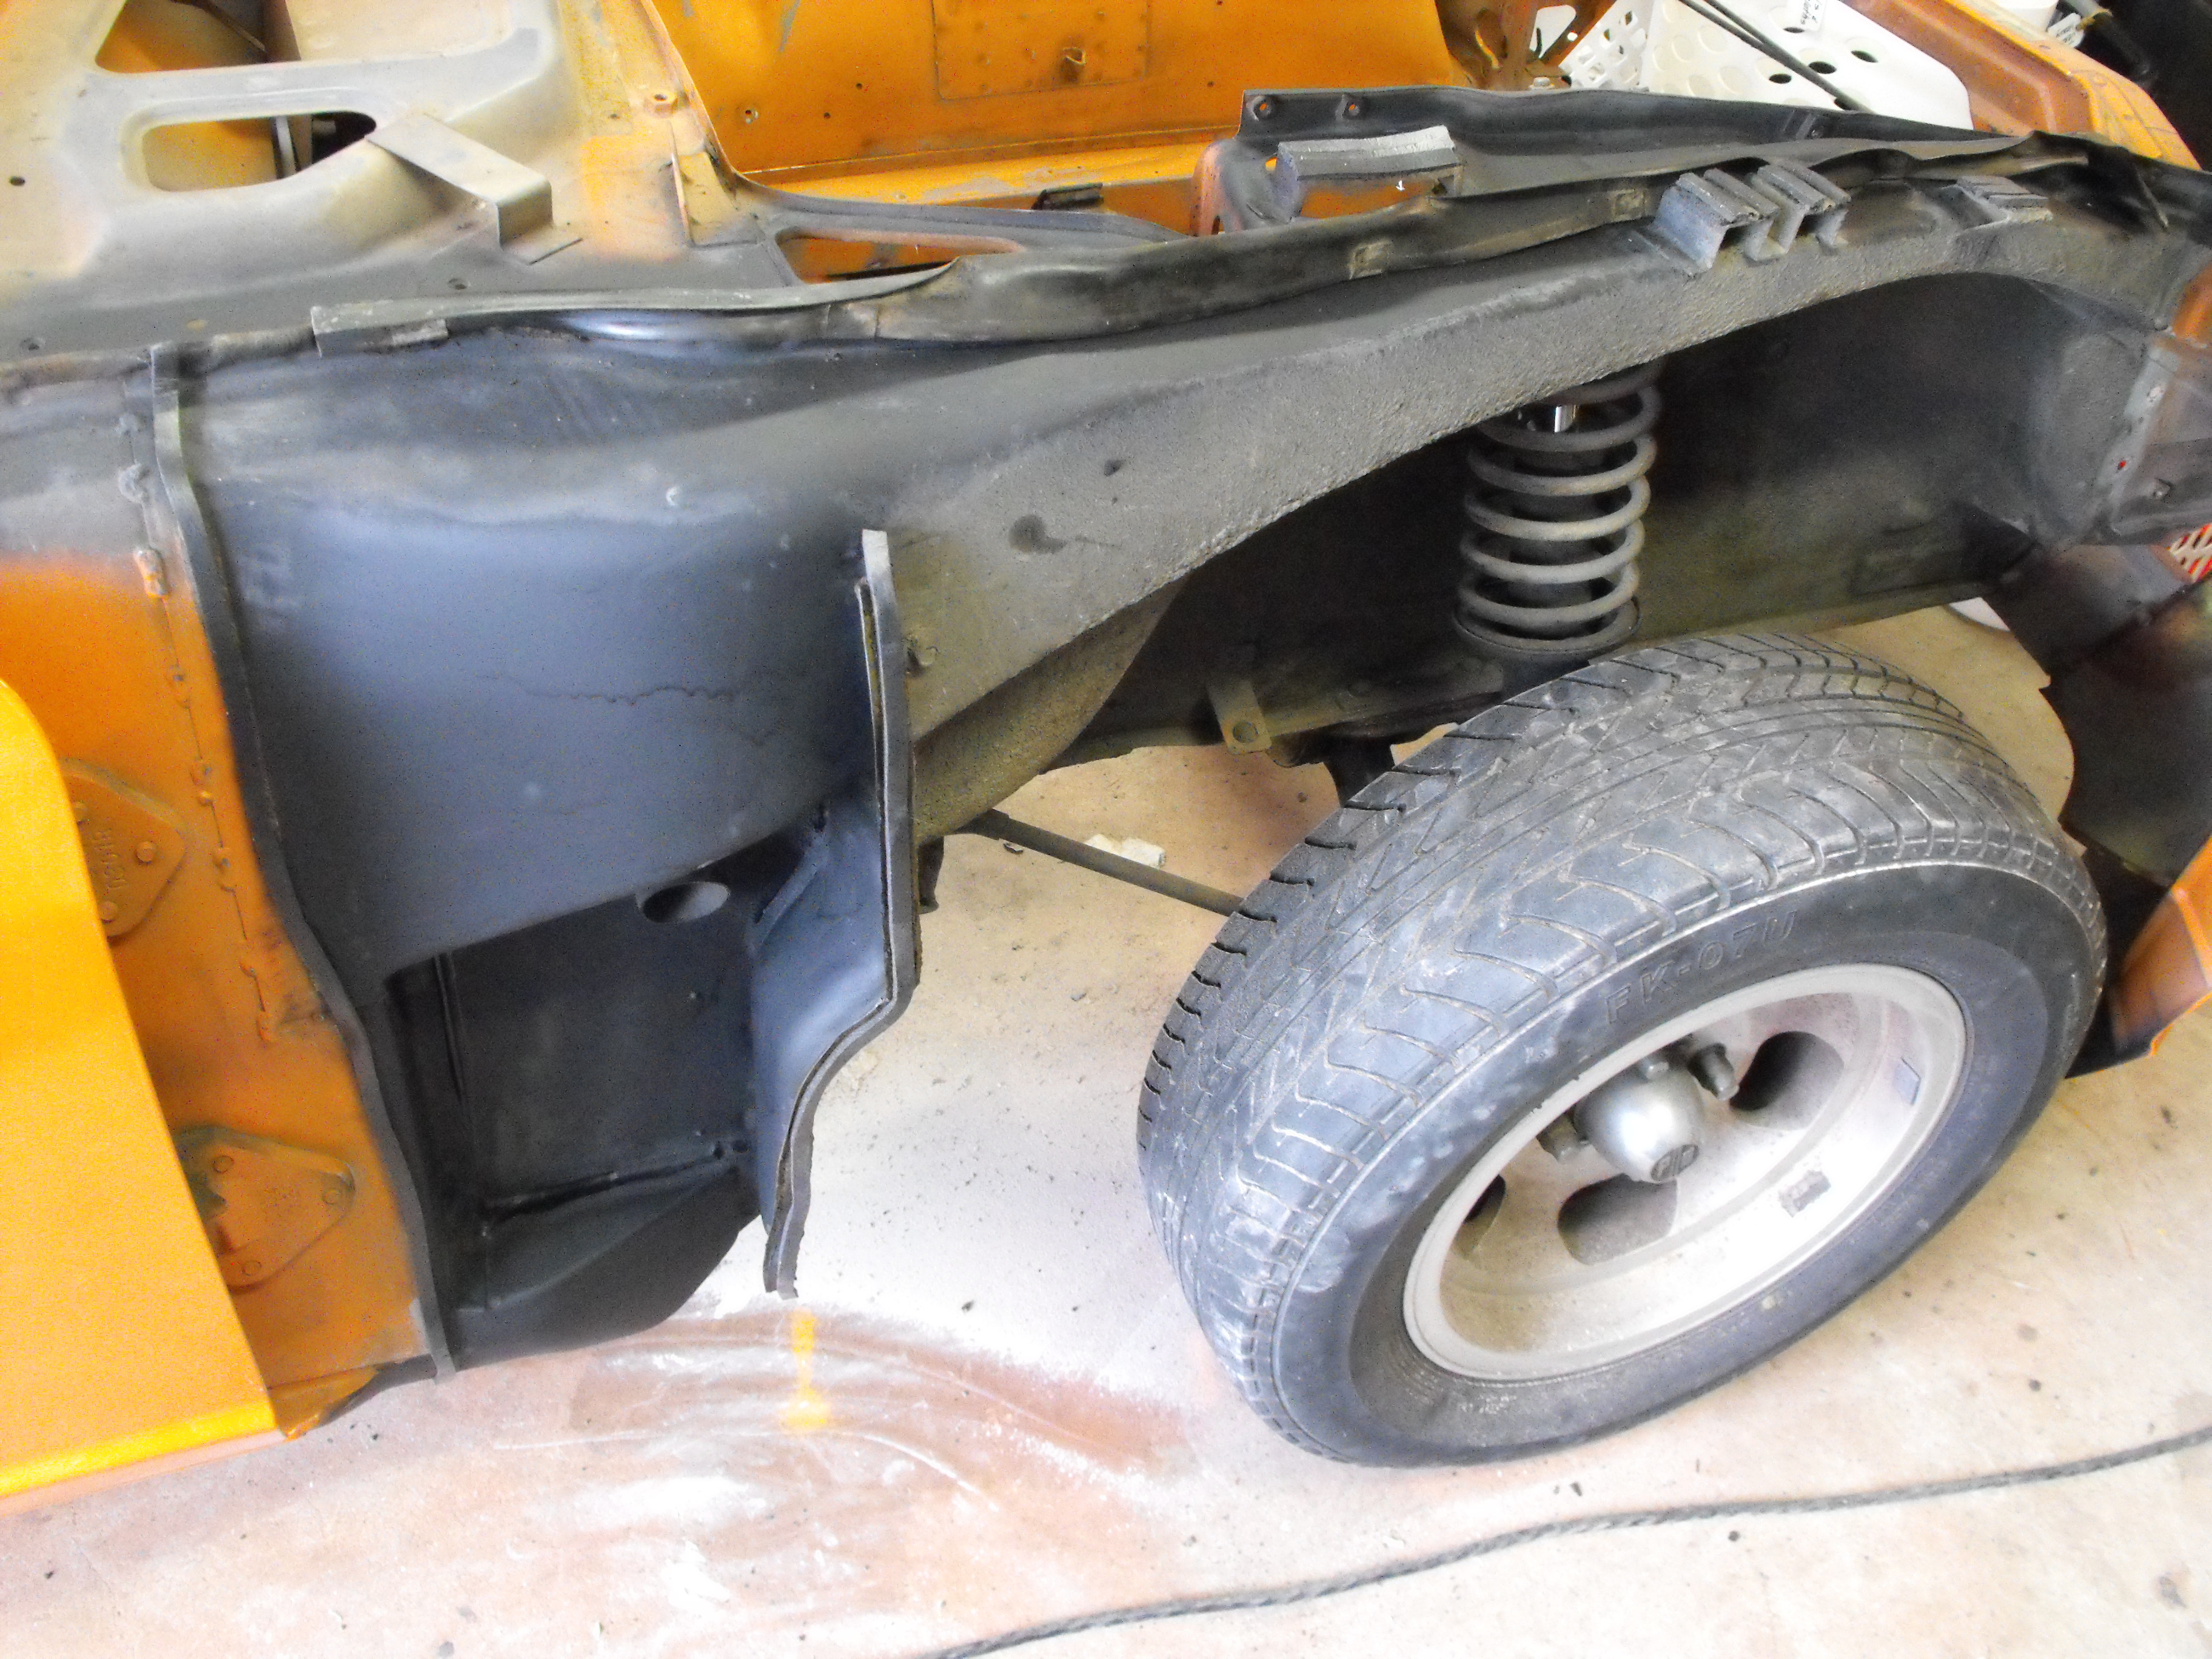
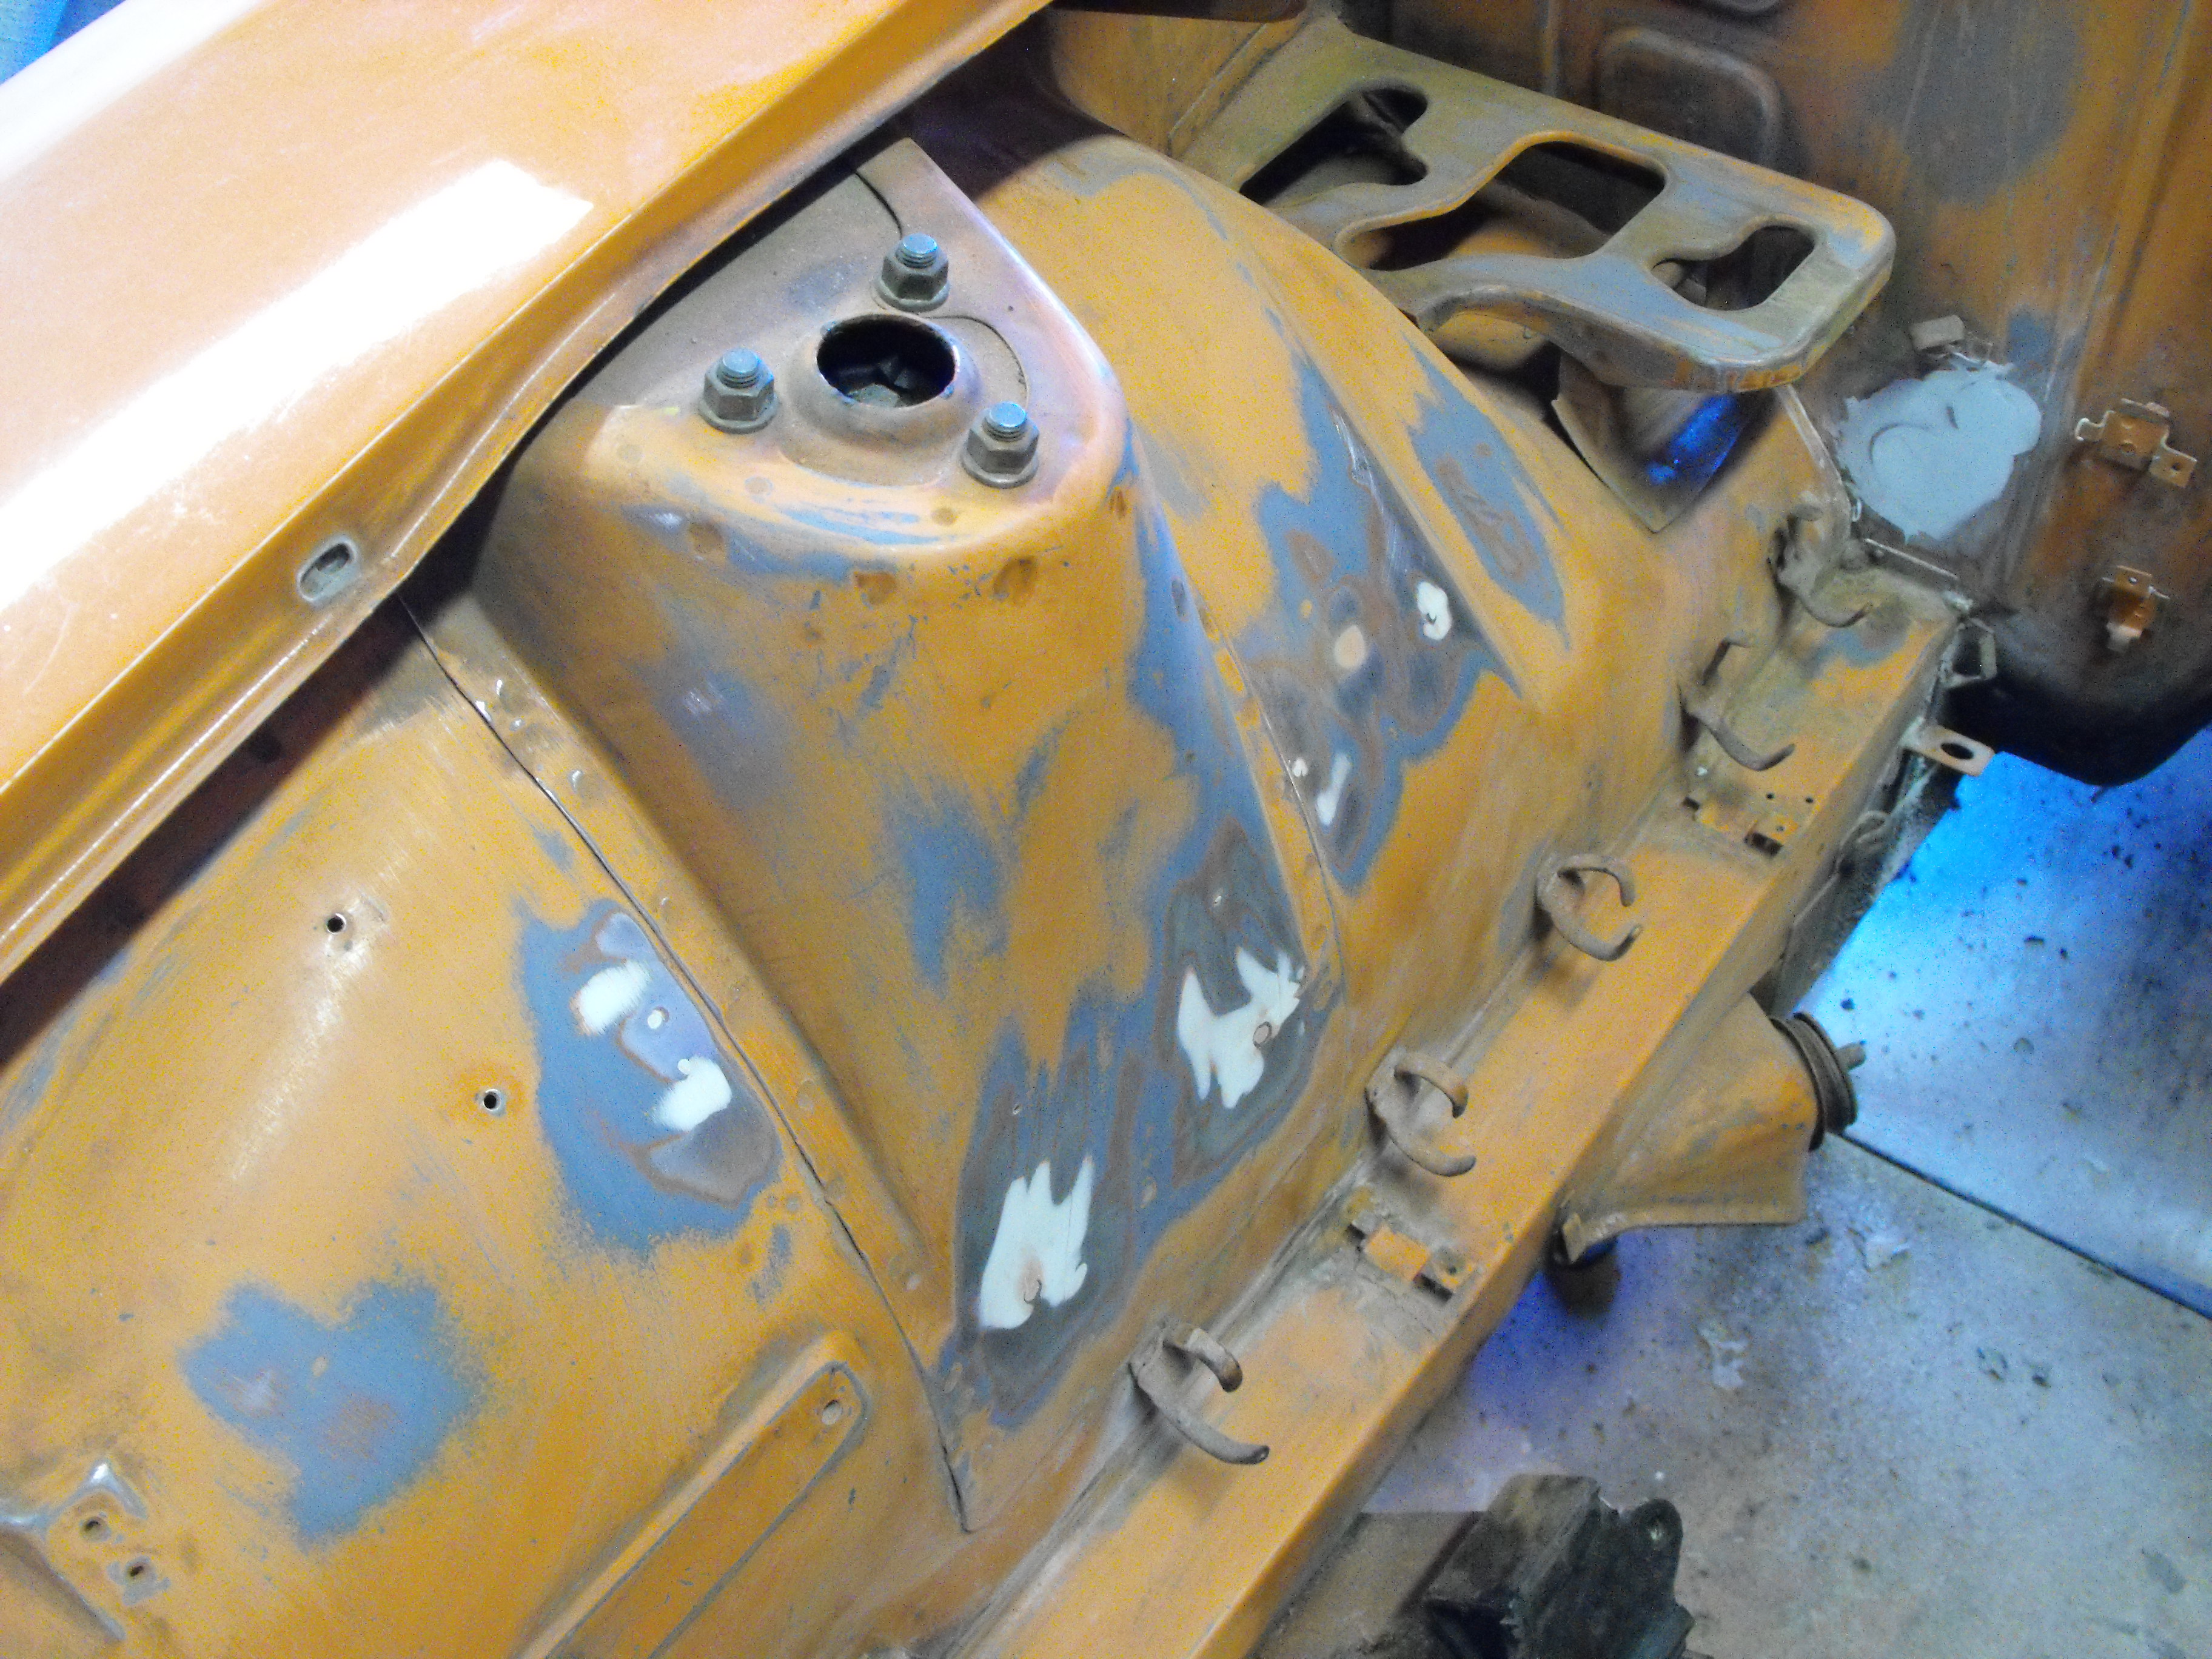
Worked on the drivers side fender this weekend. Removed fender and cleaned up the inside. Wire wheeled and sanded rust areas near bottom of fender and upper attach points. Cleaned up the upper air box area and then sprayed the area along with the fender. Also installed new foam seals and then re-installed the fender. The whole area came out very nice. Spent some more time detail sanding the engine bay in the nooks and crannies. I think I am finished with the sanding on the passenger side. I also sanded the roof and part of the rear hatch. I still have some more engine bay sanding to do and then the drivers side along with the hood, cowl and headlight buckets. So, I am pretty far along here. I am hoping to have this ready for the paint shop in two to three weeks. Also found another yellow car part, the drivers side turn signal valence. Here are some pics of the progress


-
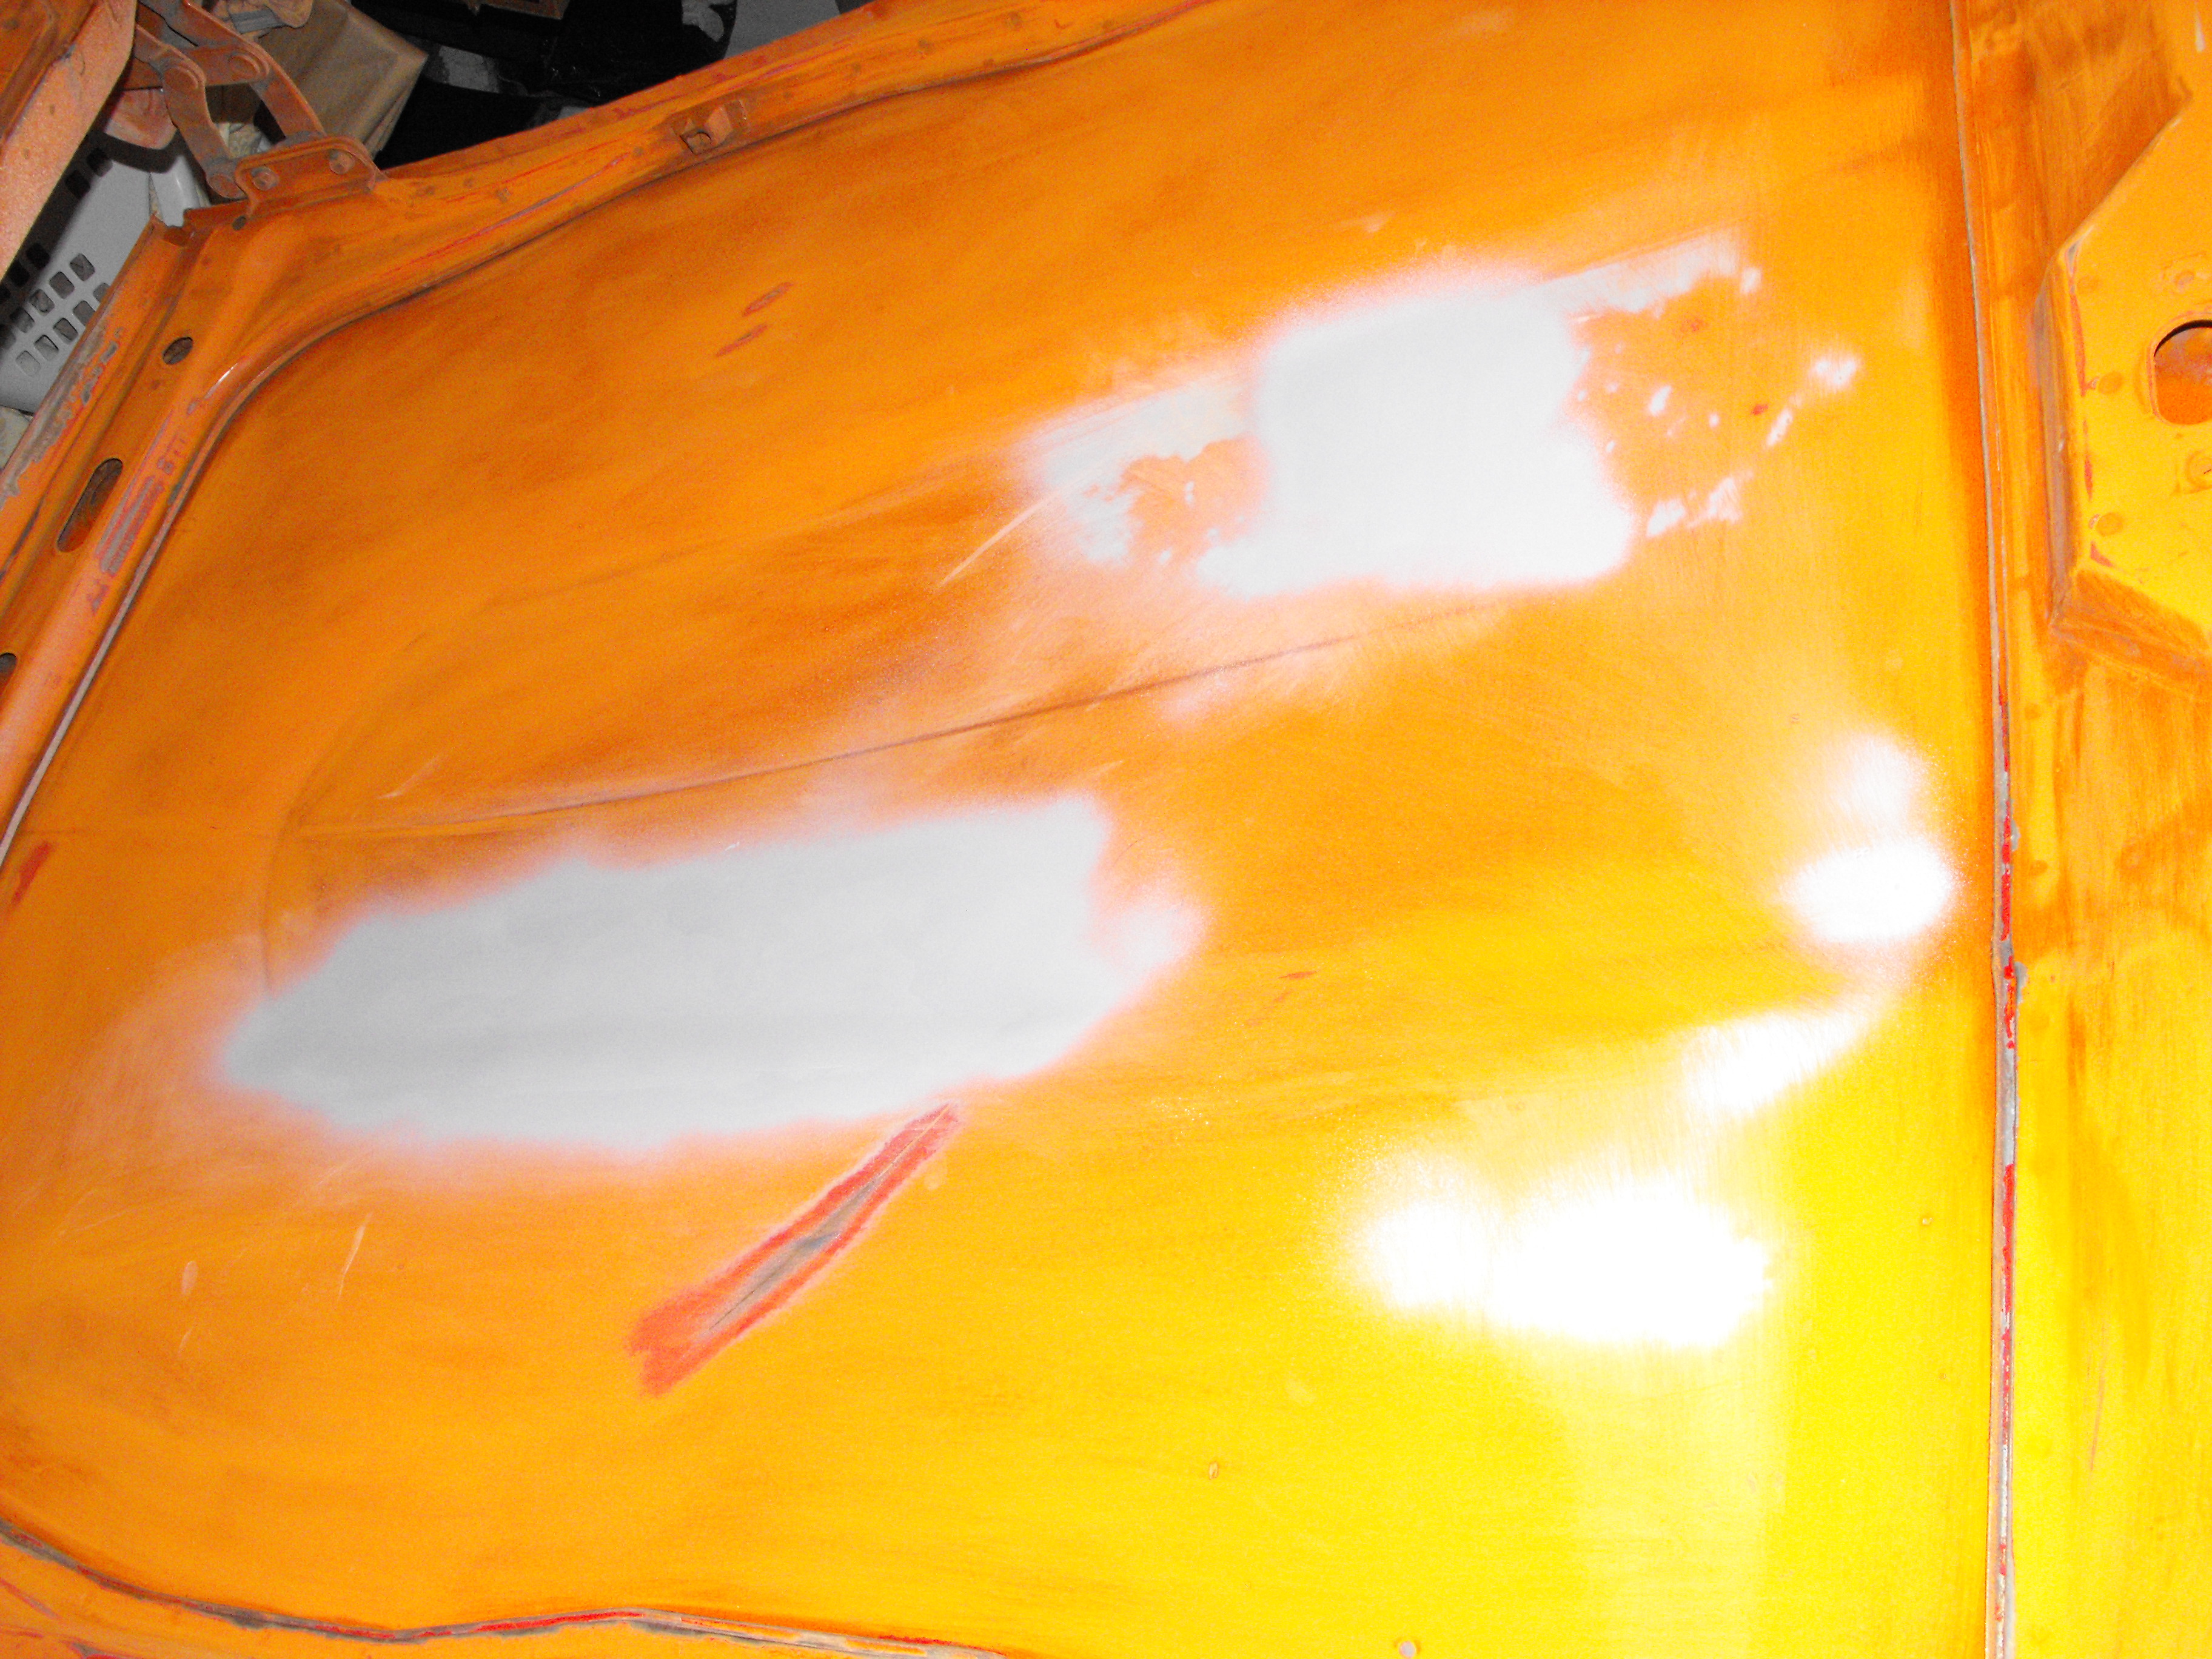
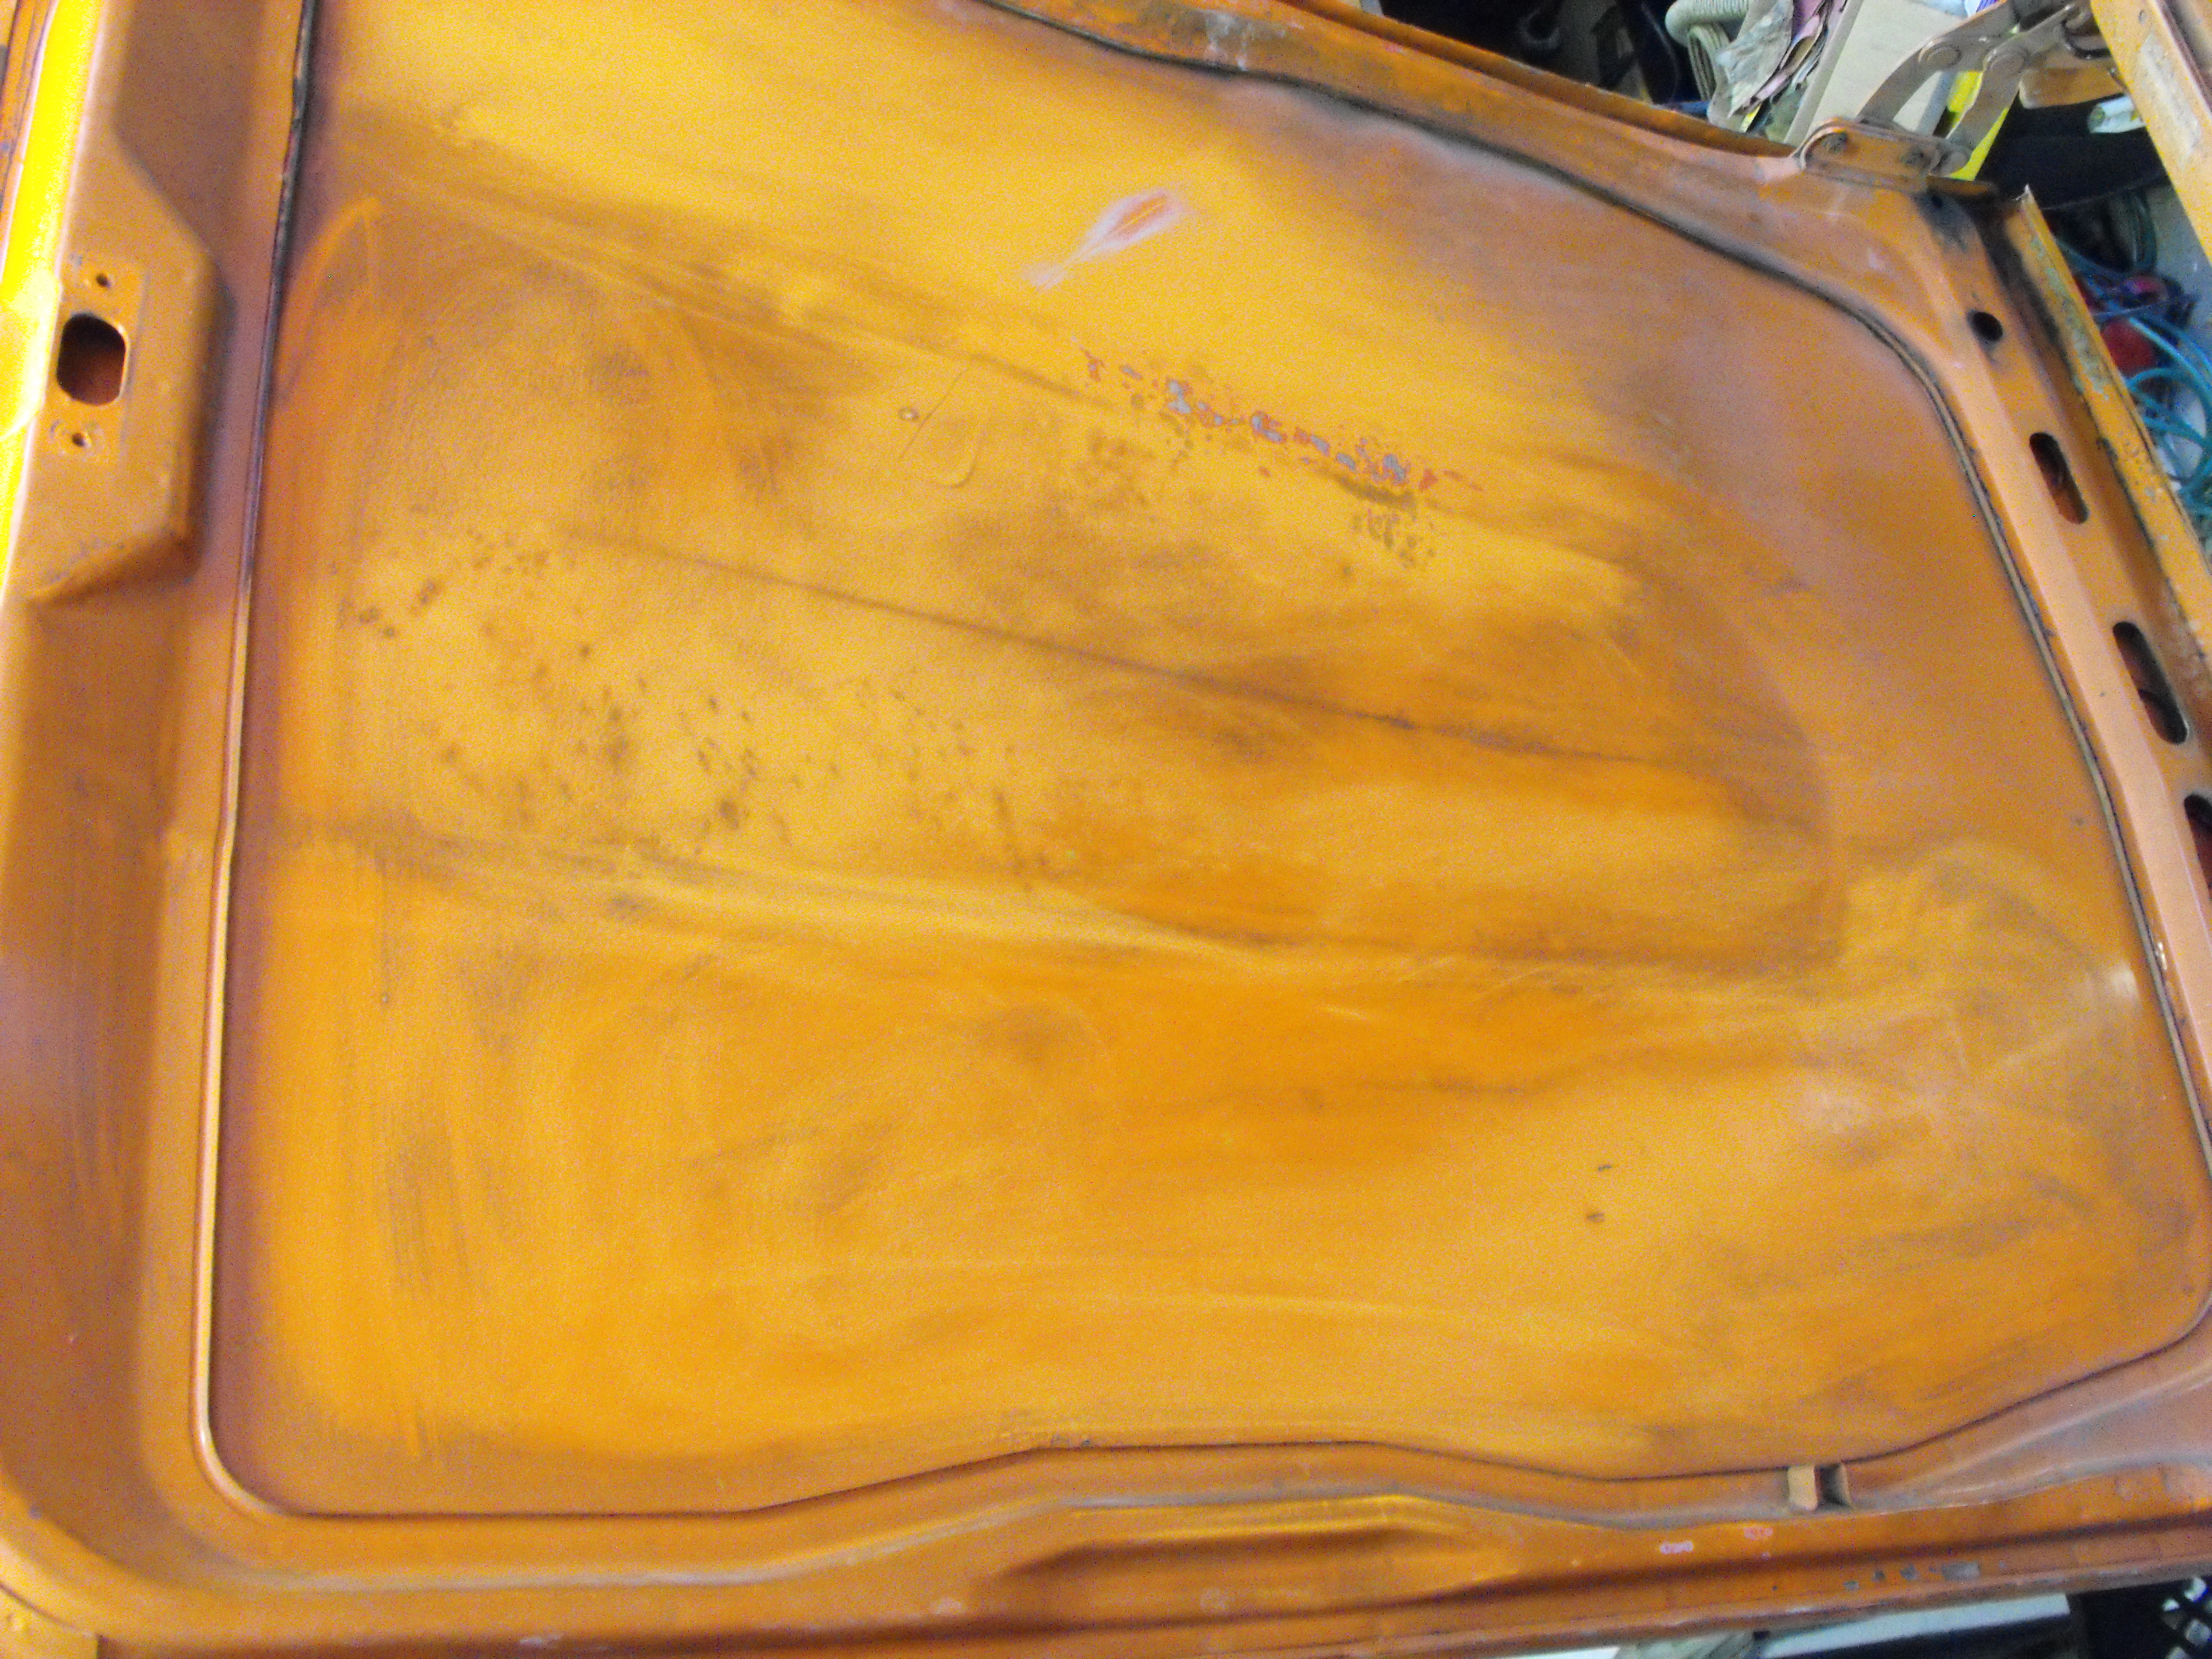
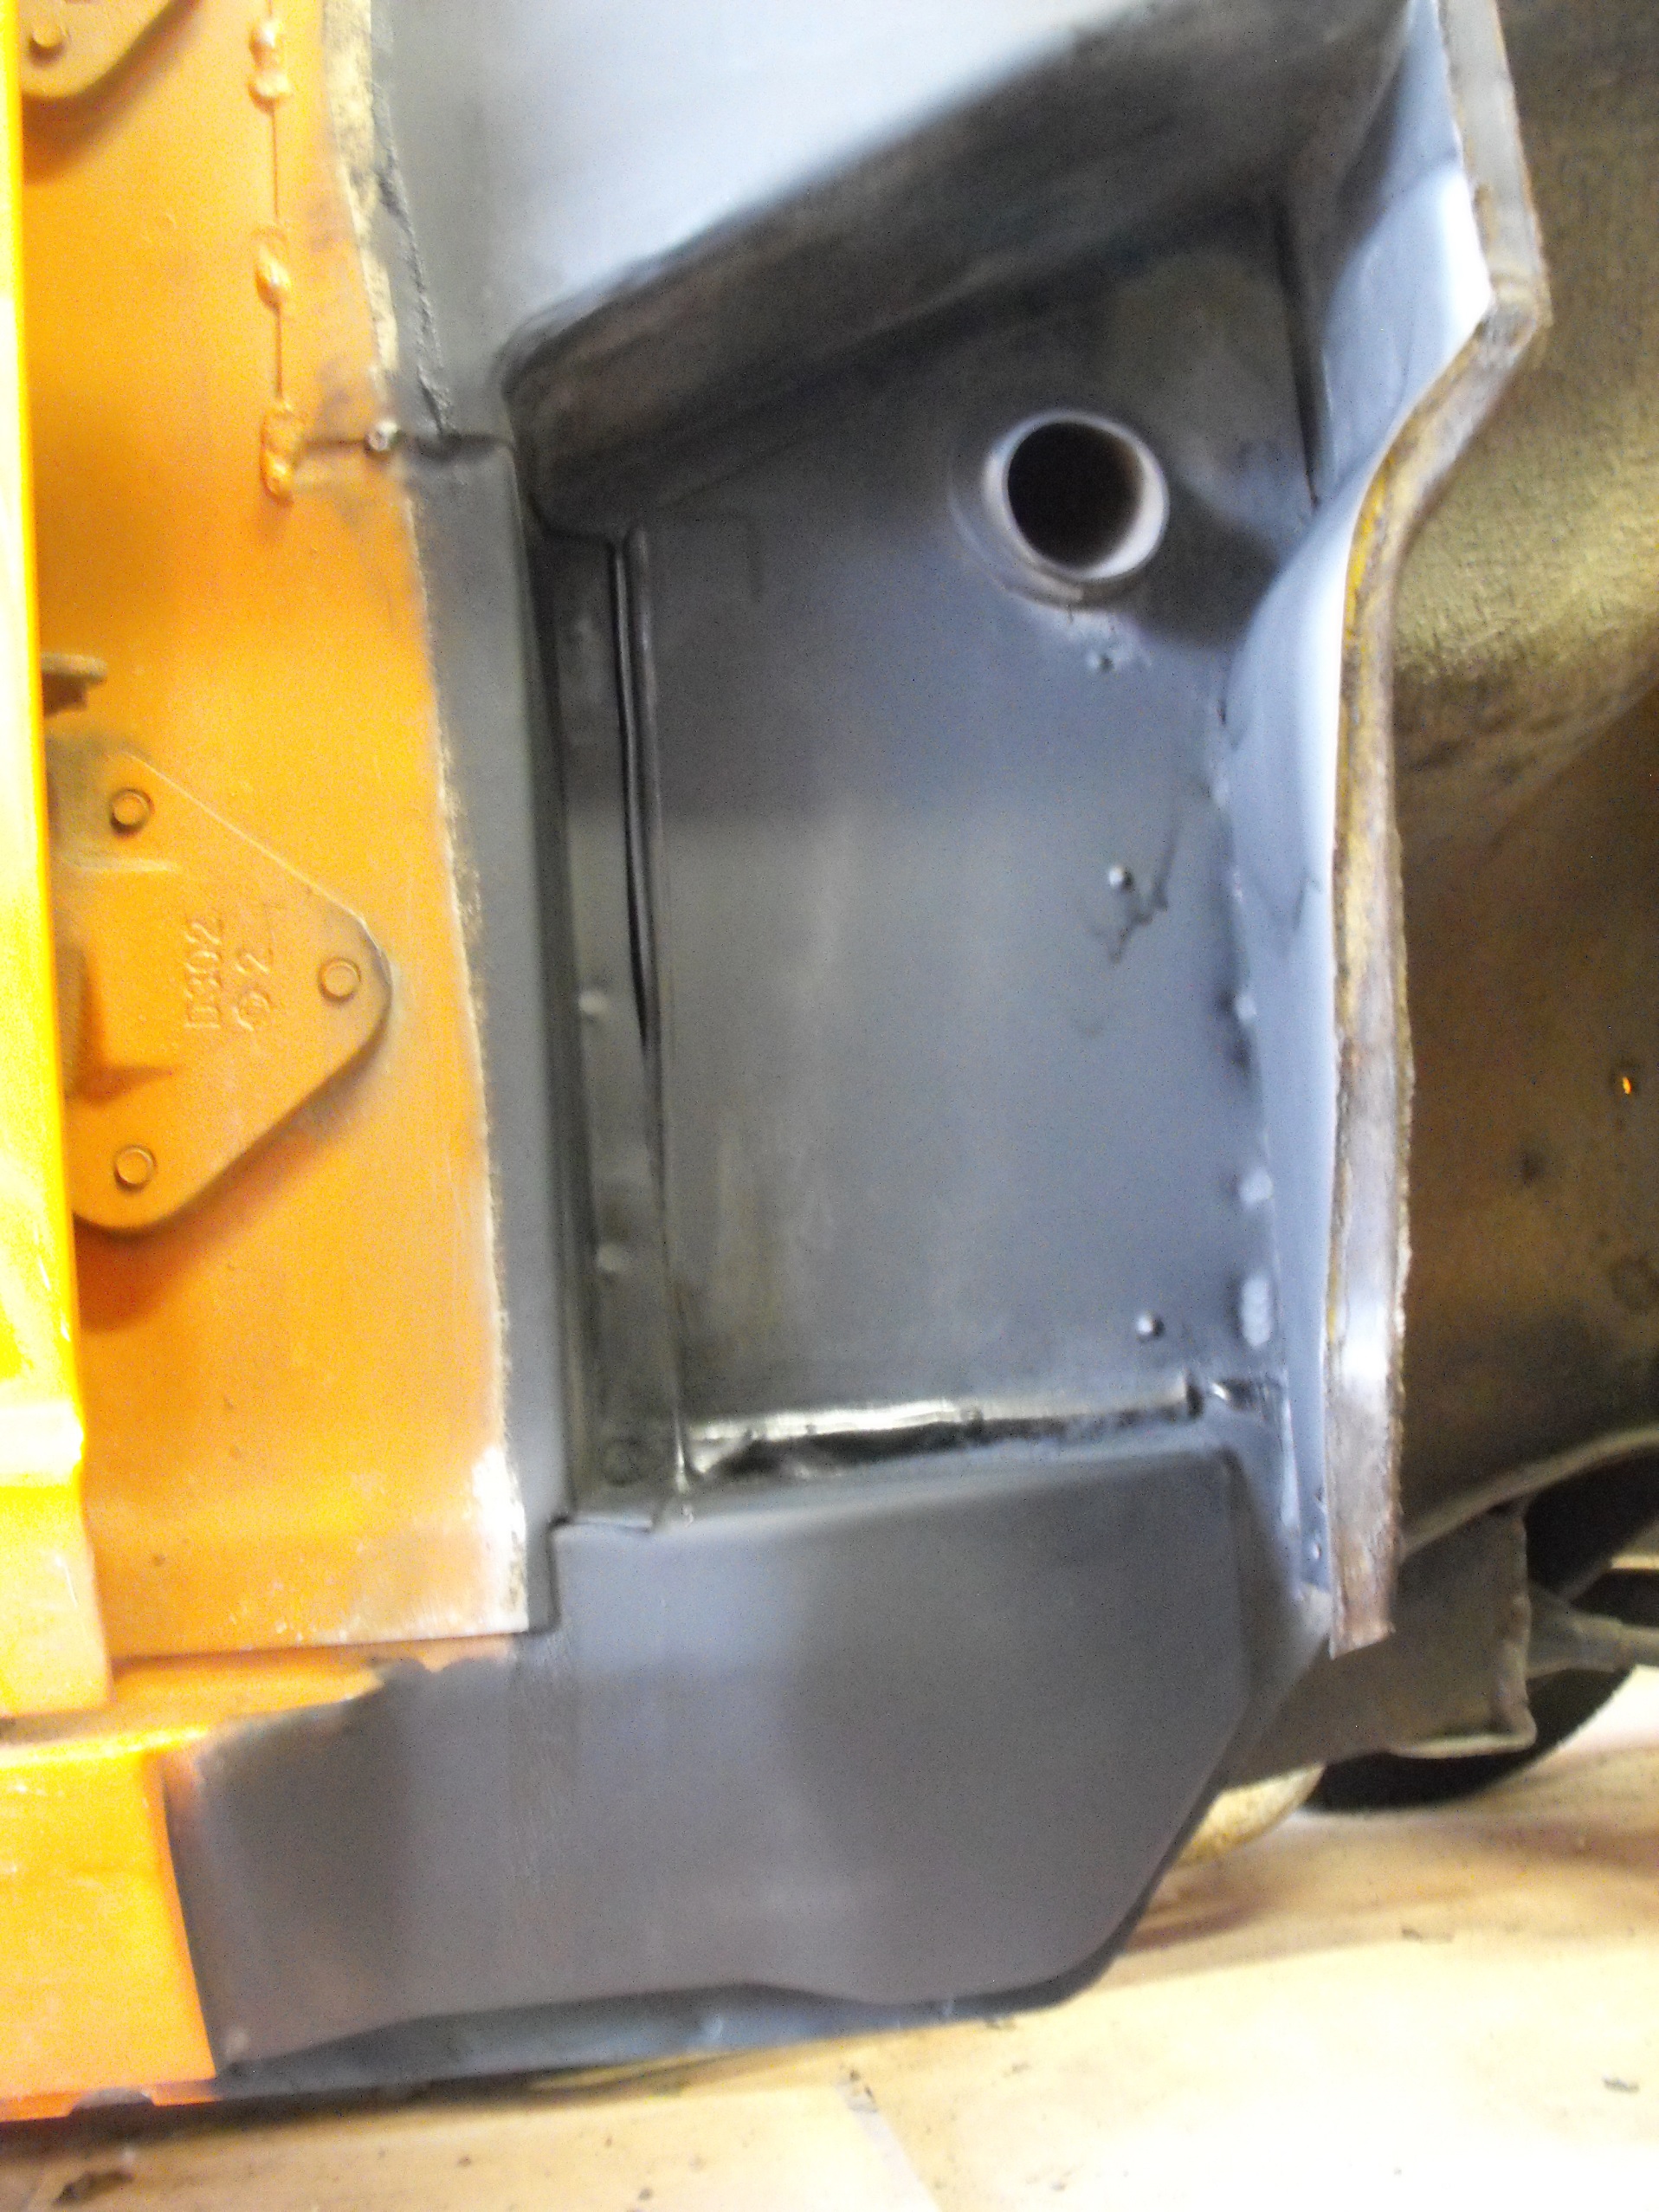
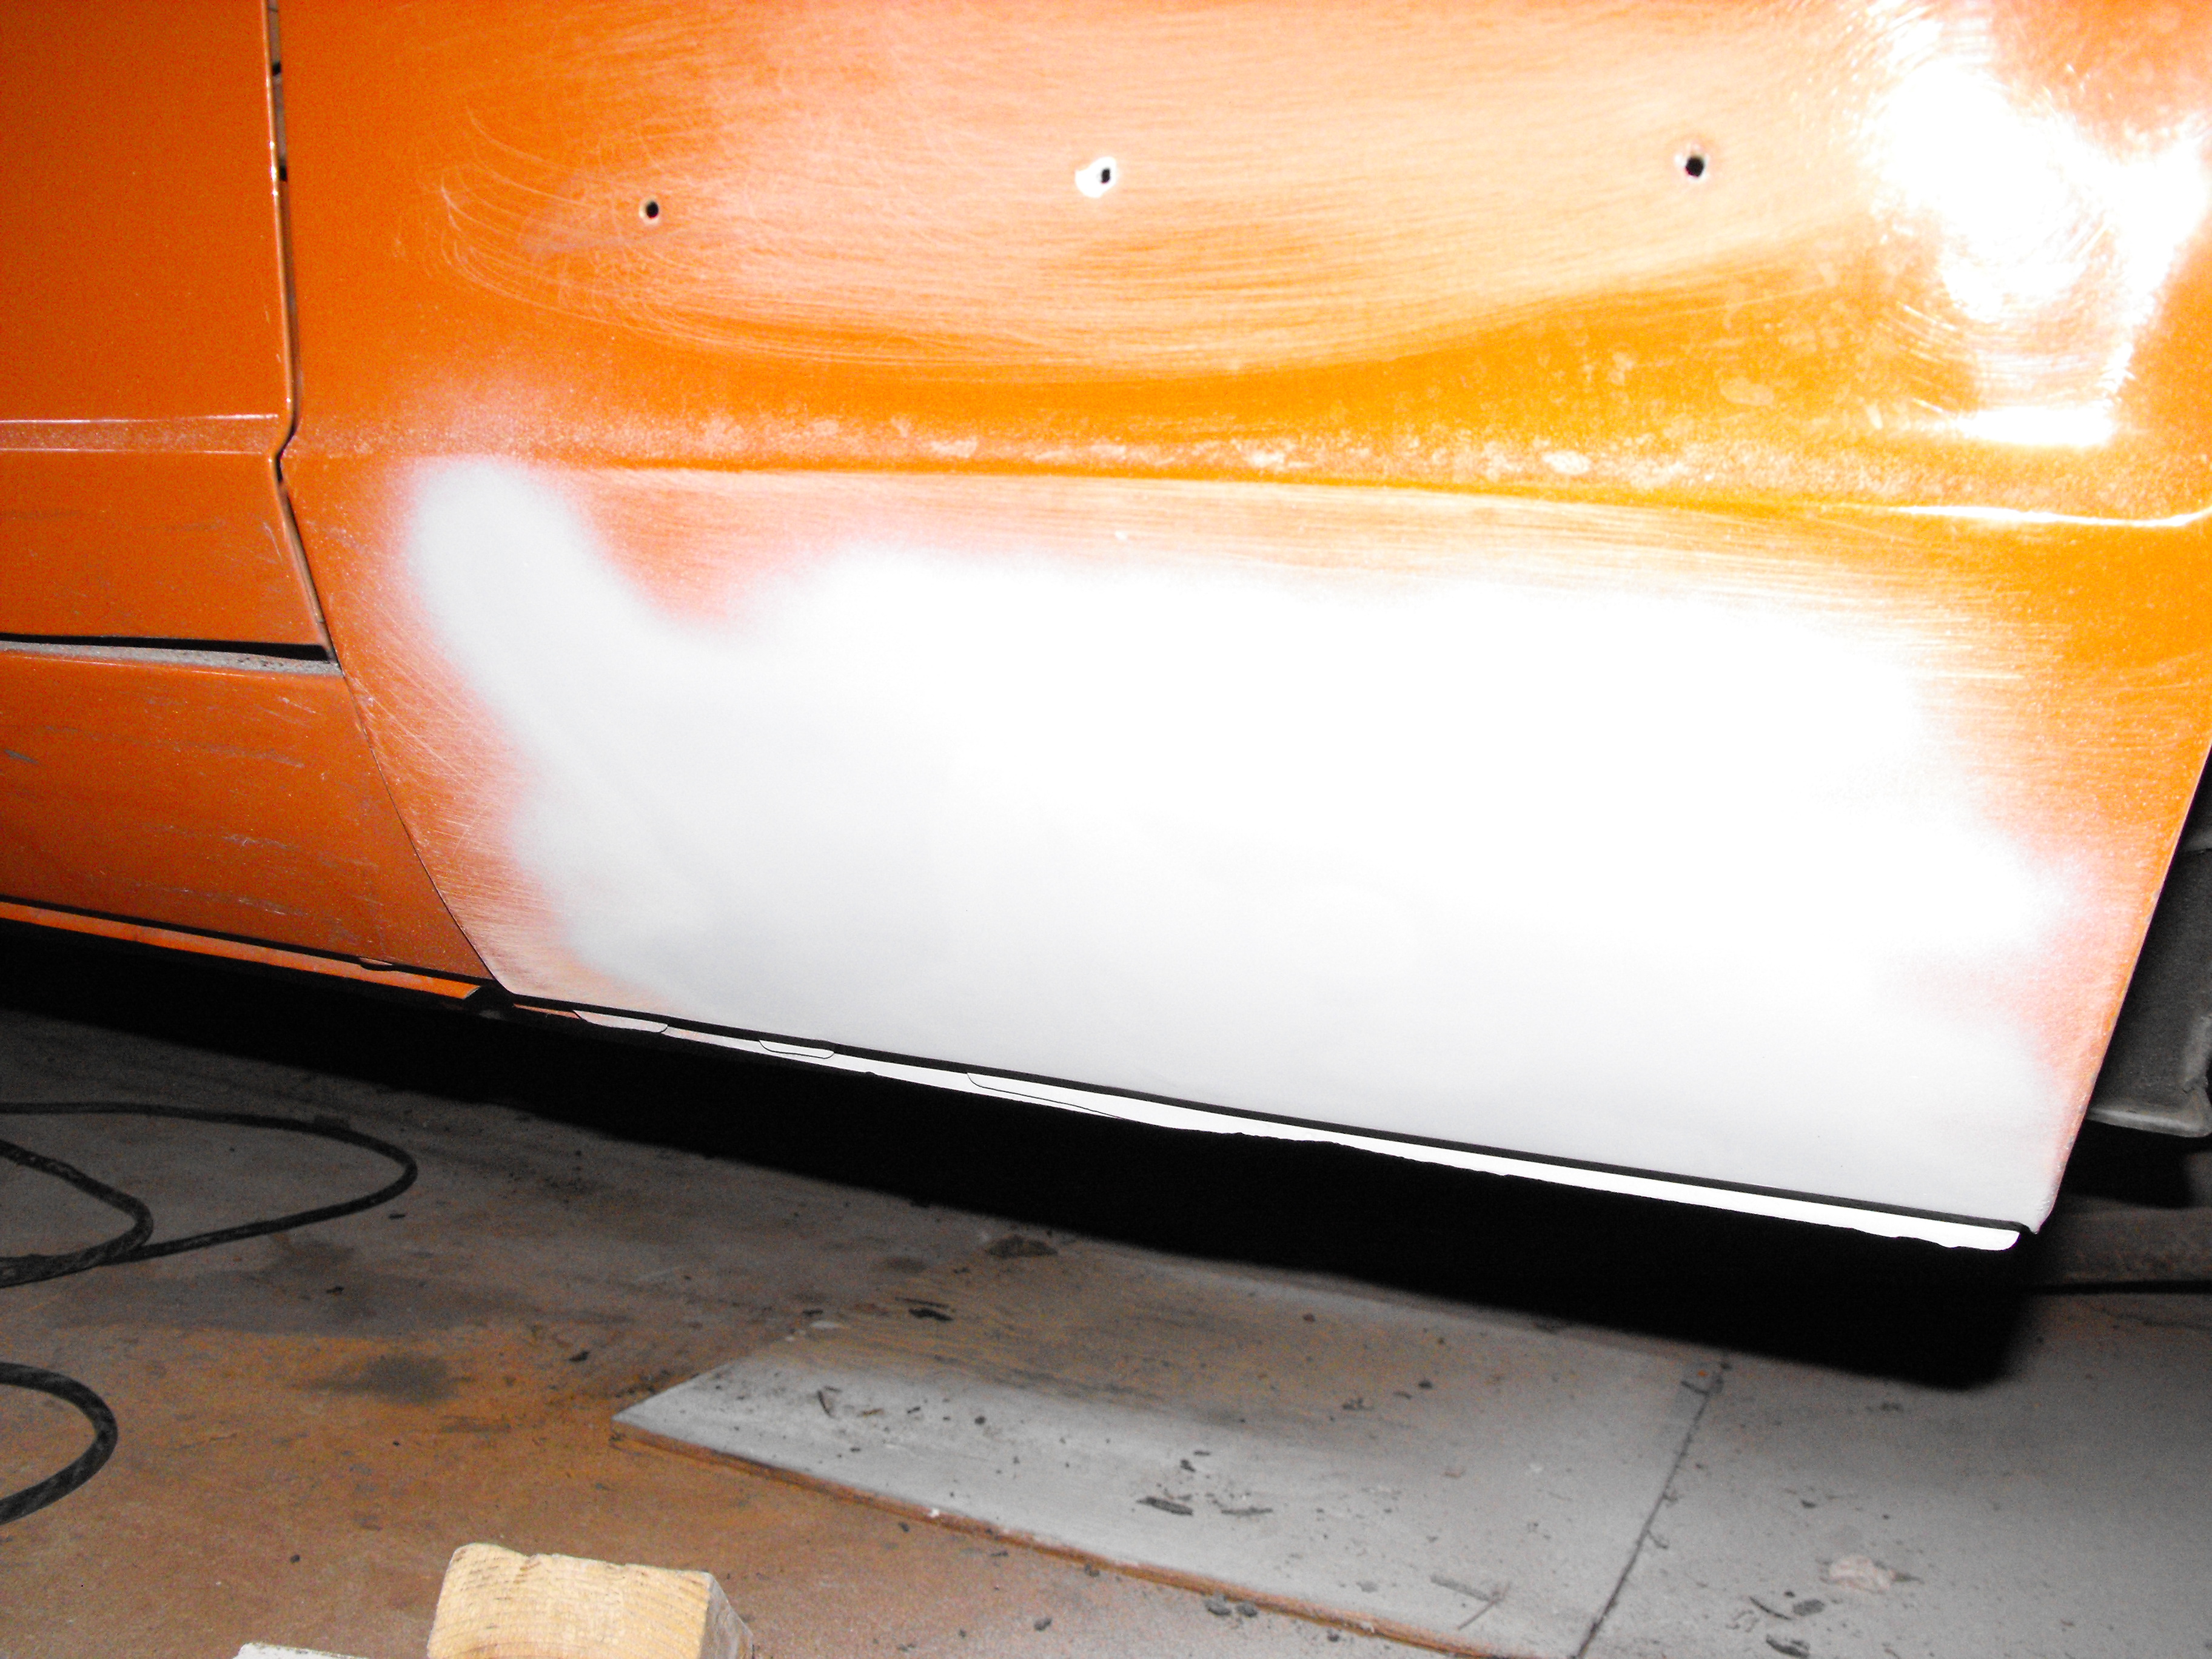
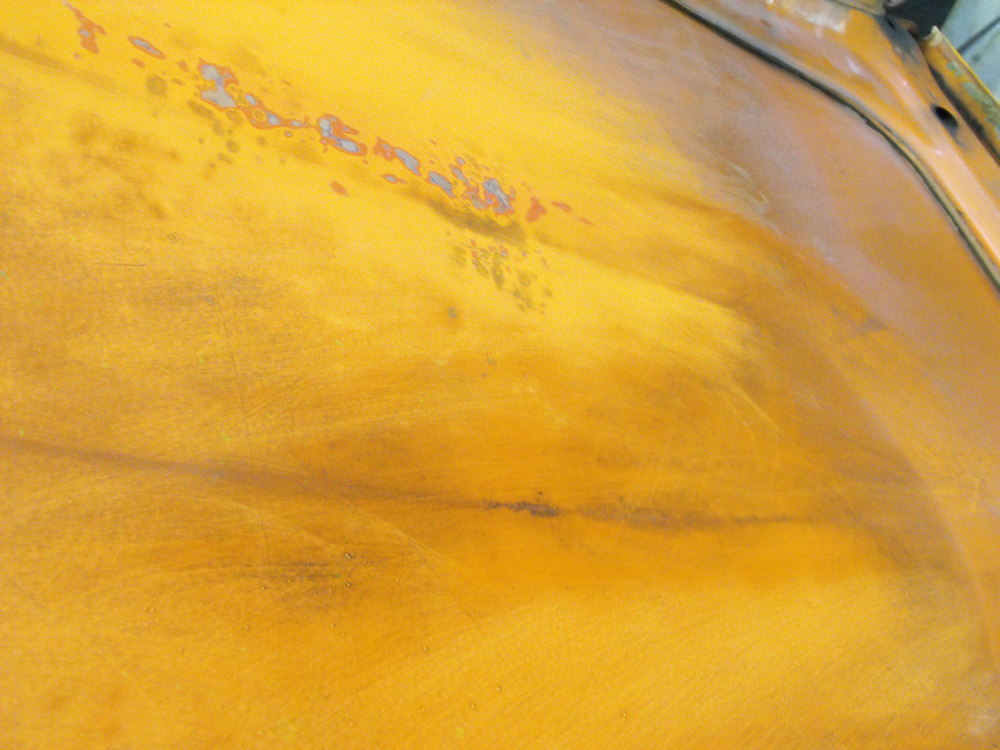
Thanks Carl, I am really enjoying the work and everything is progressing very well. I cleaned up the inside passenger fender area and sprayed with rust preventative since it was off. Also installed new foam seal and cleaned up the fender rubber gasket. That entire area is in very nice condition. I also sprayed the inside of the fender to inhibit rust, and then reinstalled. I am continuing on the overall body sand and cleaning up the small chips and dings. That is actually going kind of slow as the second paint job has a fairly thick clear coat. I would like to sand most of that off, and at least get down to the orange base coat. Not very exciting stuff, but necessary. Here are a few pics of the area under the fender.


-
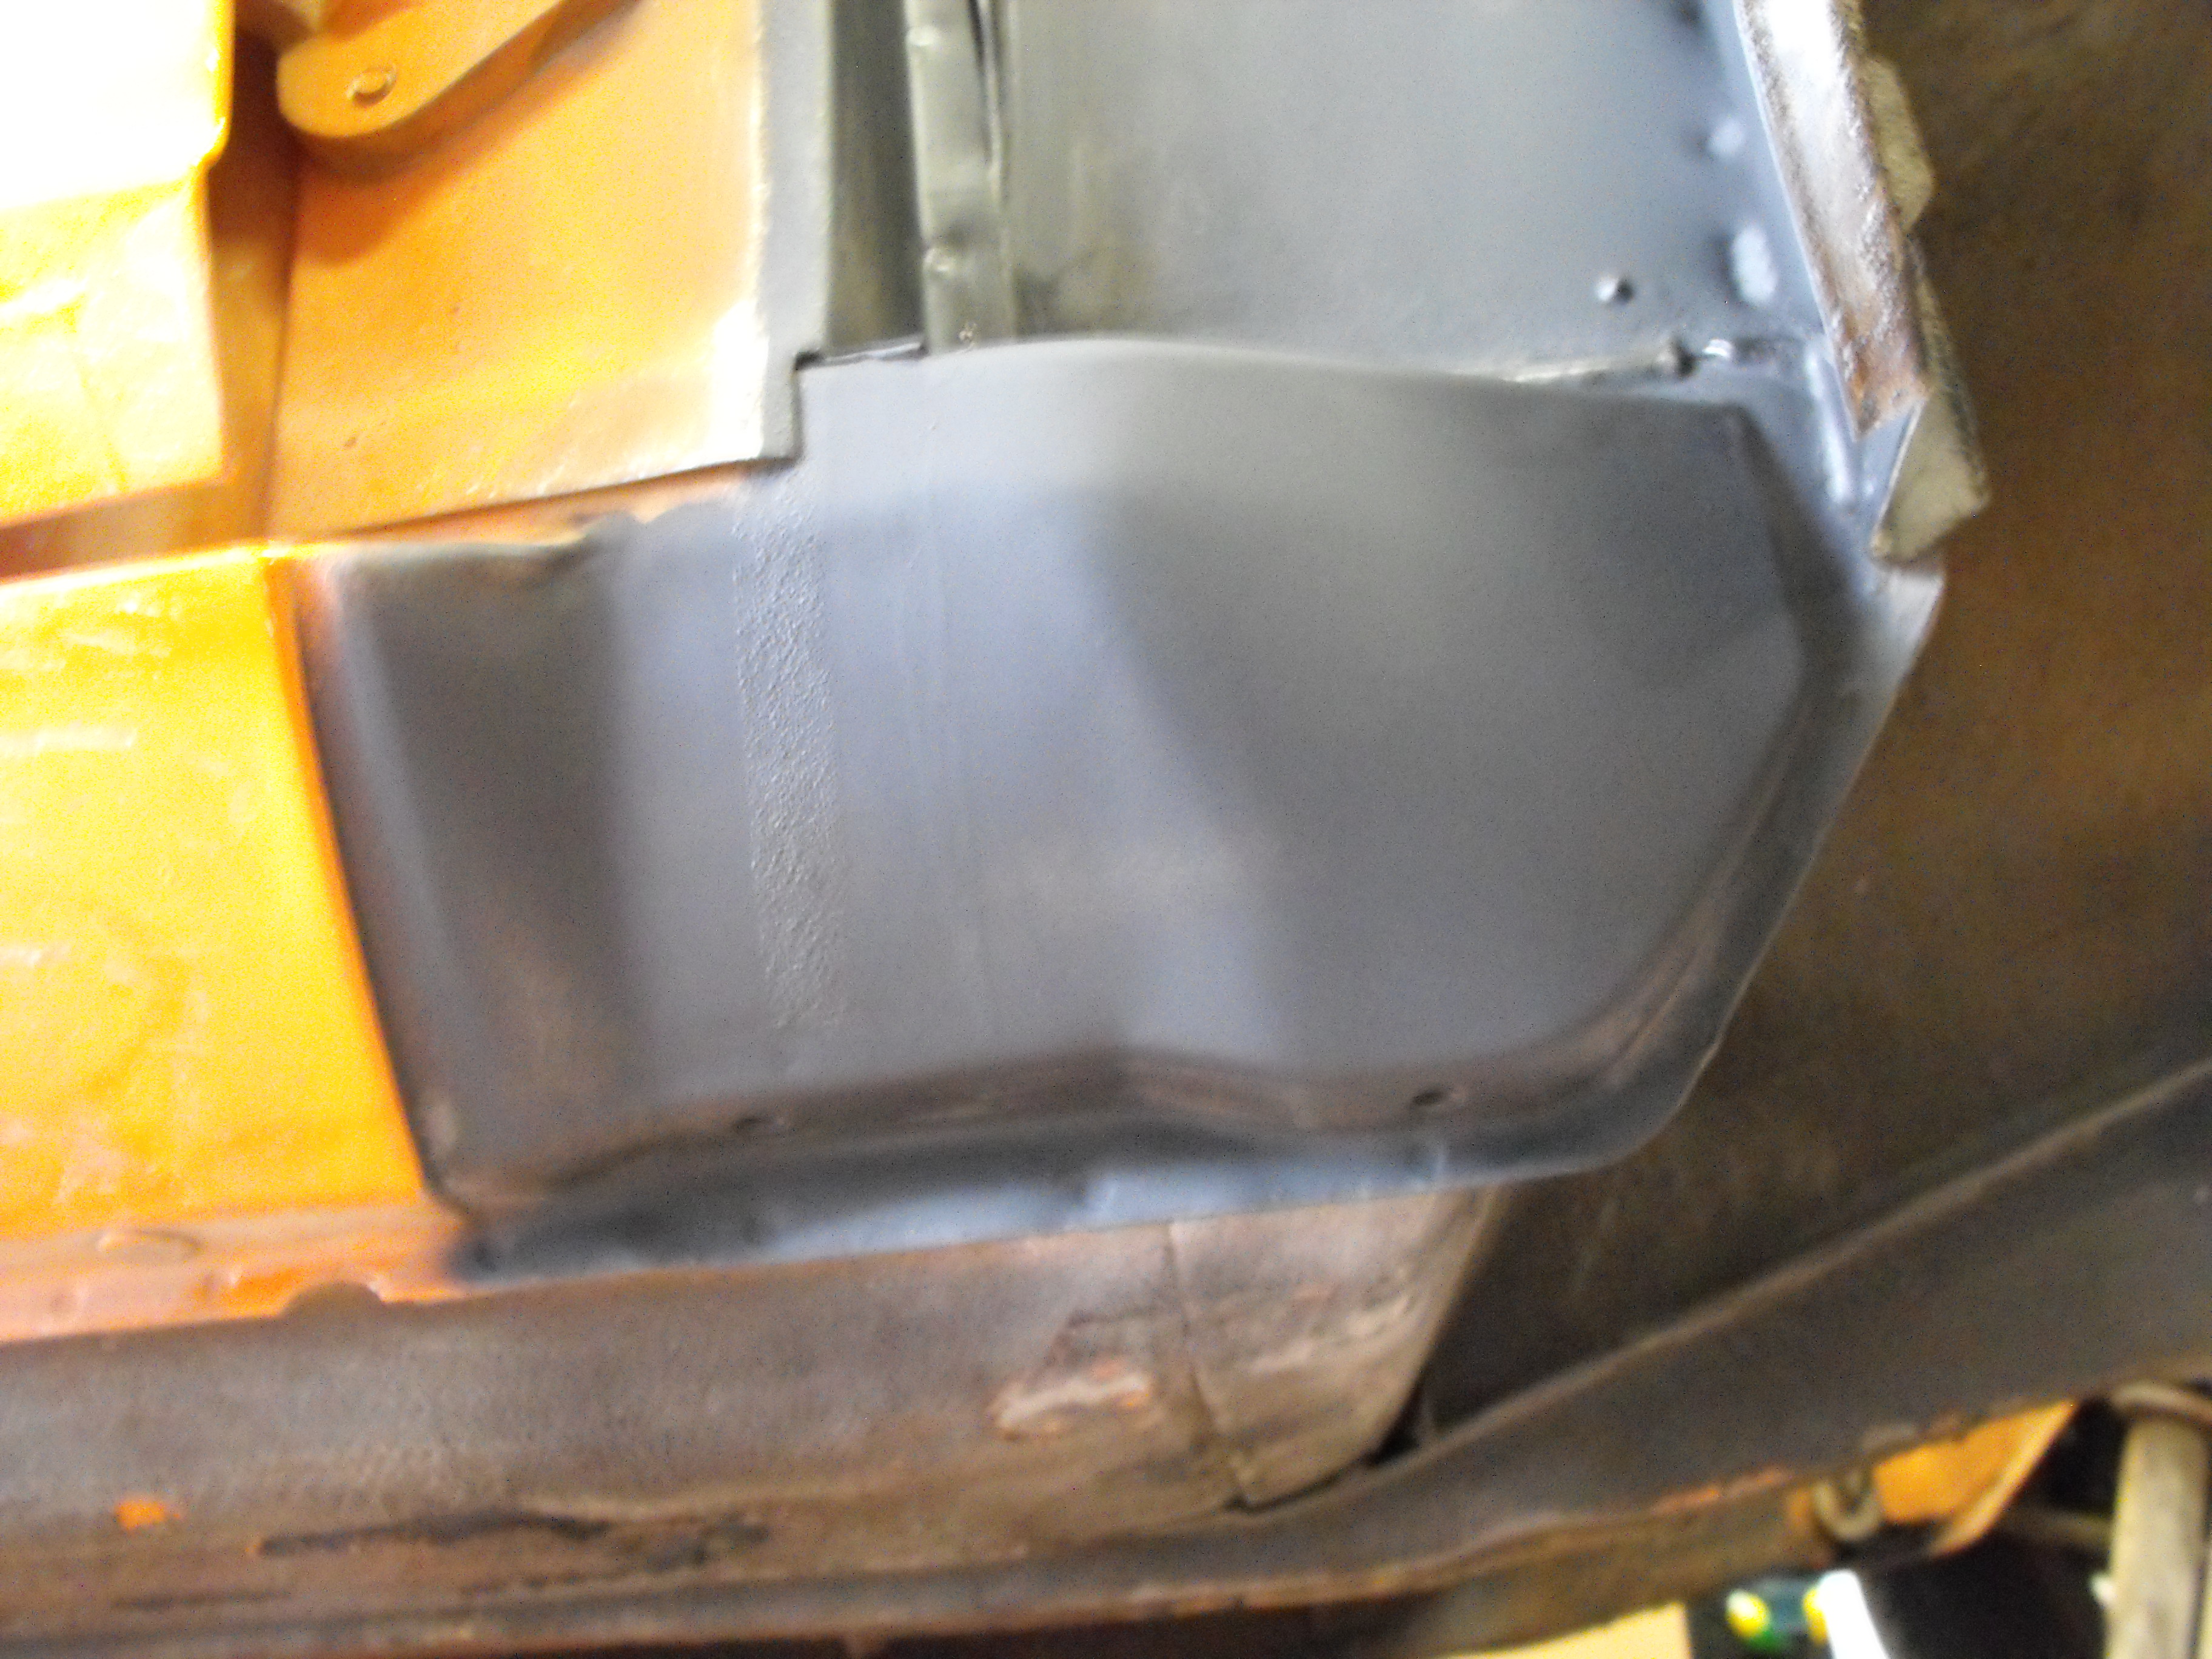
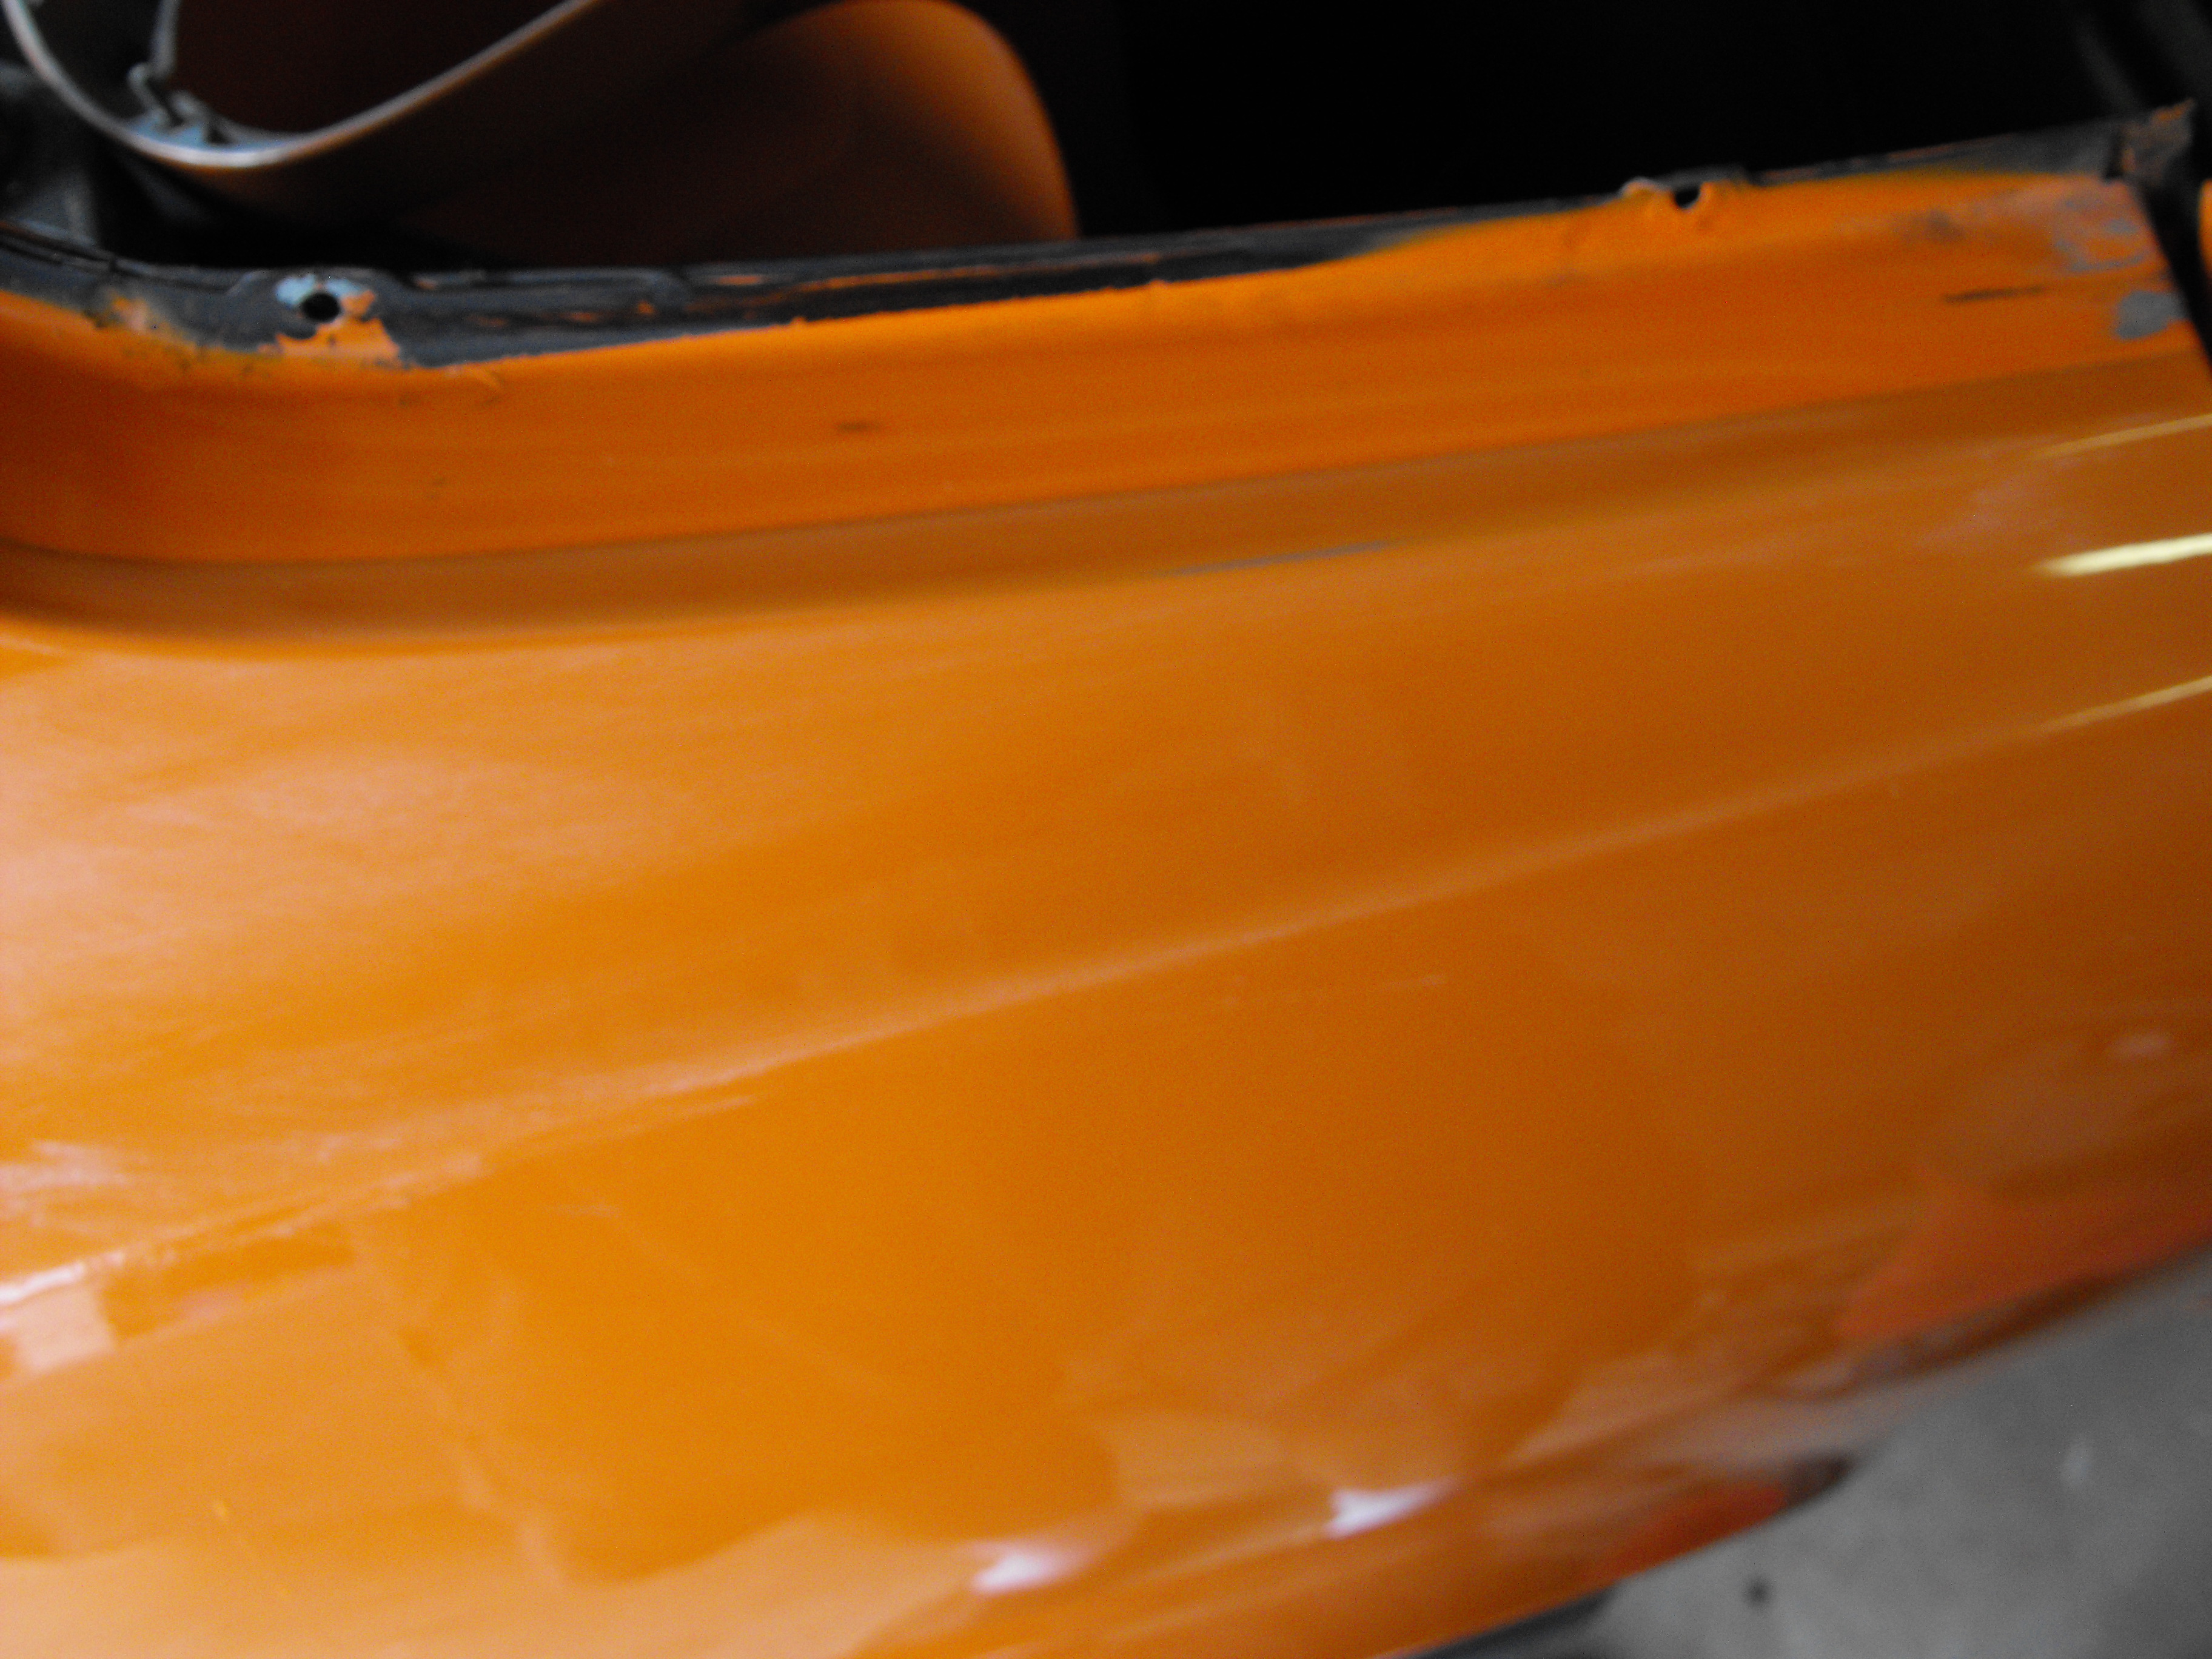
Yes, that is probably the reason. Very interesting stuff. Continued with the body work. Finished out the lower front passenger fender (before and after shown). Started the whole overall sand of the car starting with the rear passenger side quarter panel. Also cleaning up small dings and paint chips along the way. I took a pick of the rear passenger side window area with window removed. You can see the color difference of the original paint and the second paint. I am wondering if the second coat darkened over time or if it was different from the start. Hard to say. It was a little dirty under the fender. I will clean that off and coat with POR-15.


-
Wow, that is interesting as this was the drivers side also. Maybe that is the correct screw configuration then. I honestly don't know. It just seems odd to me from a manufacturing stand point.
-
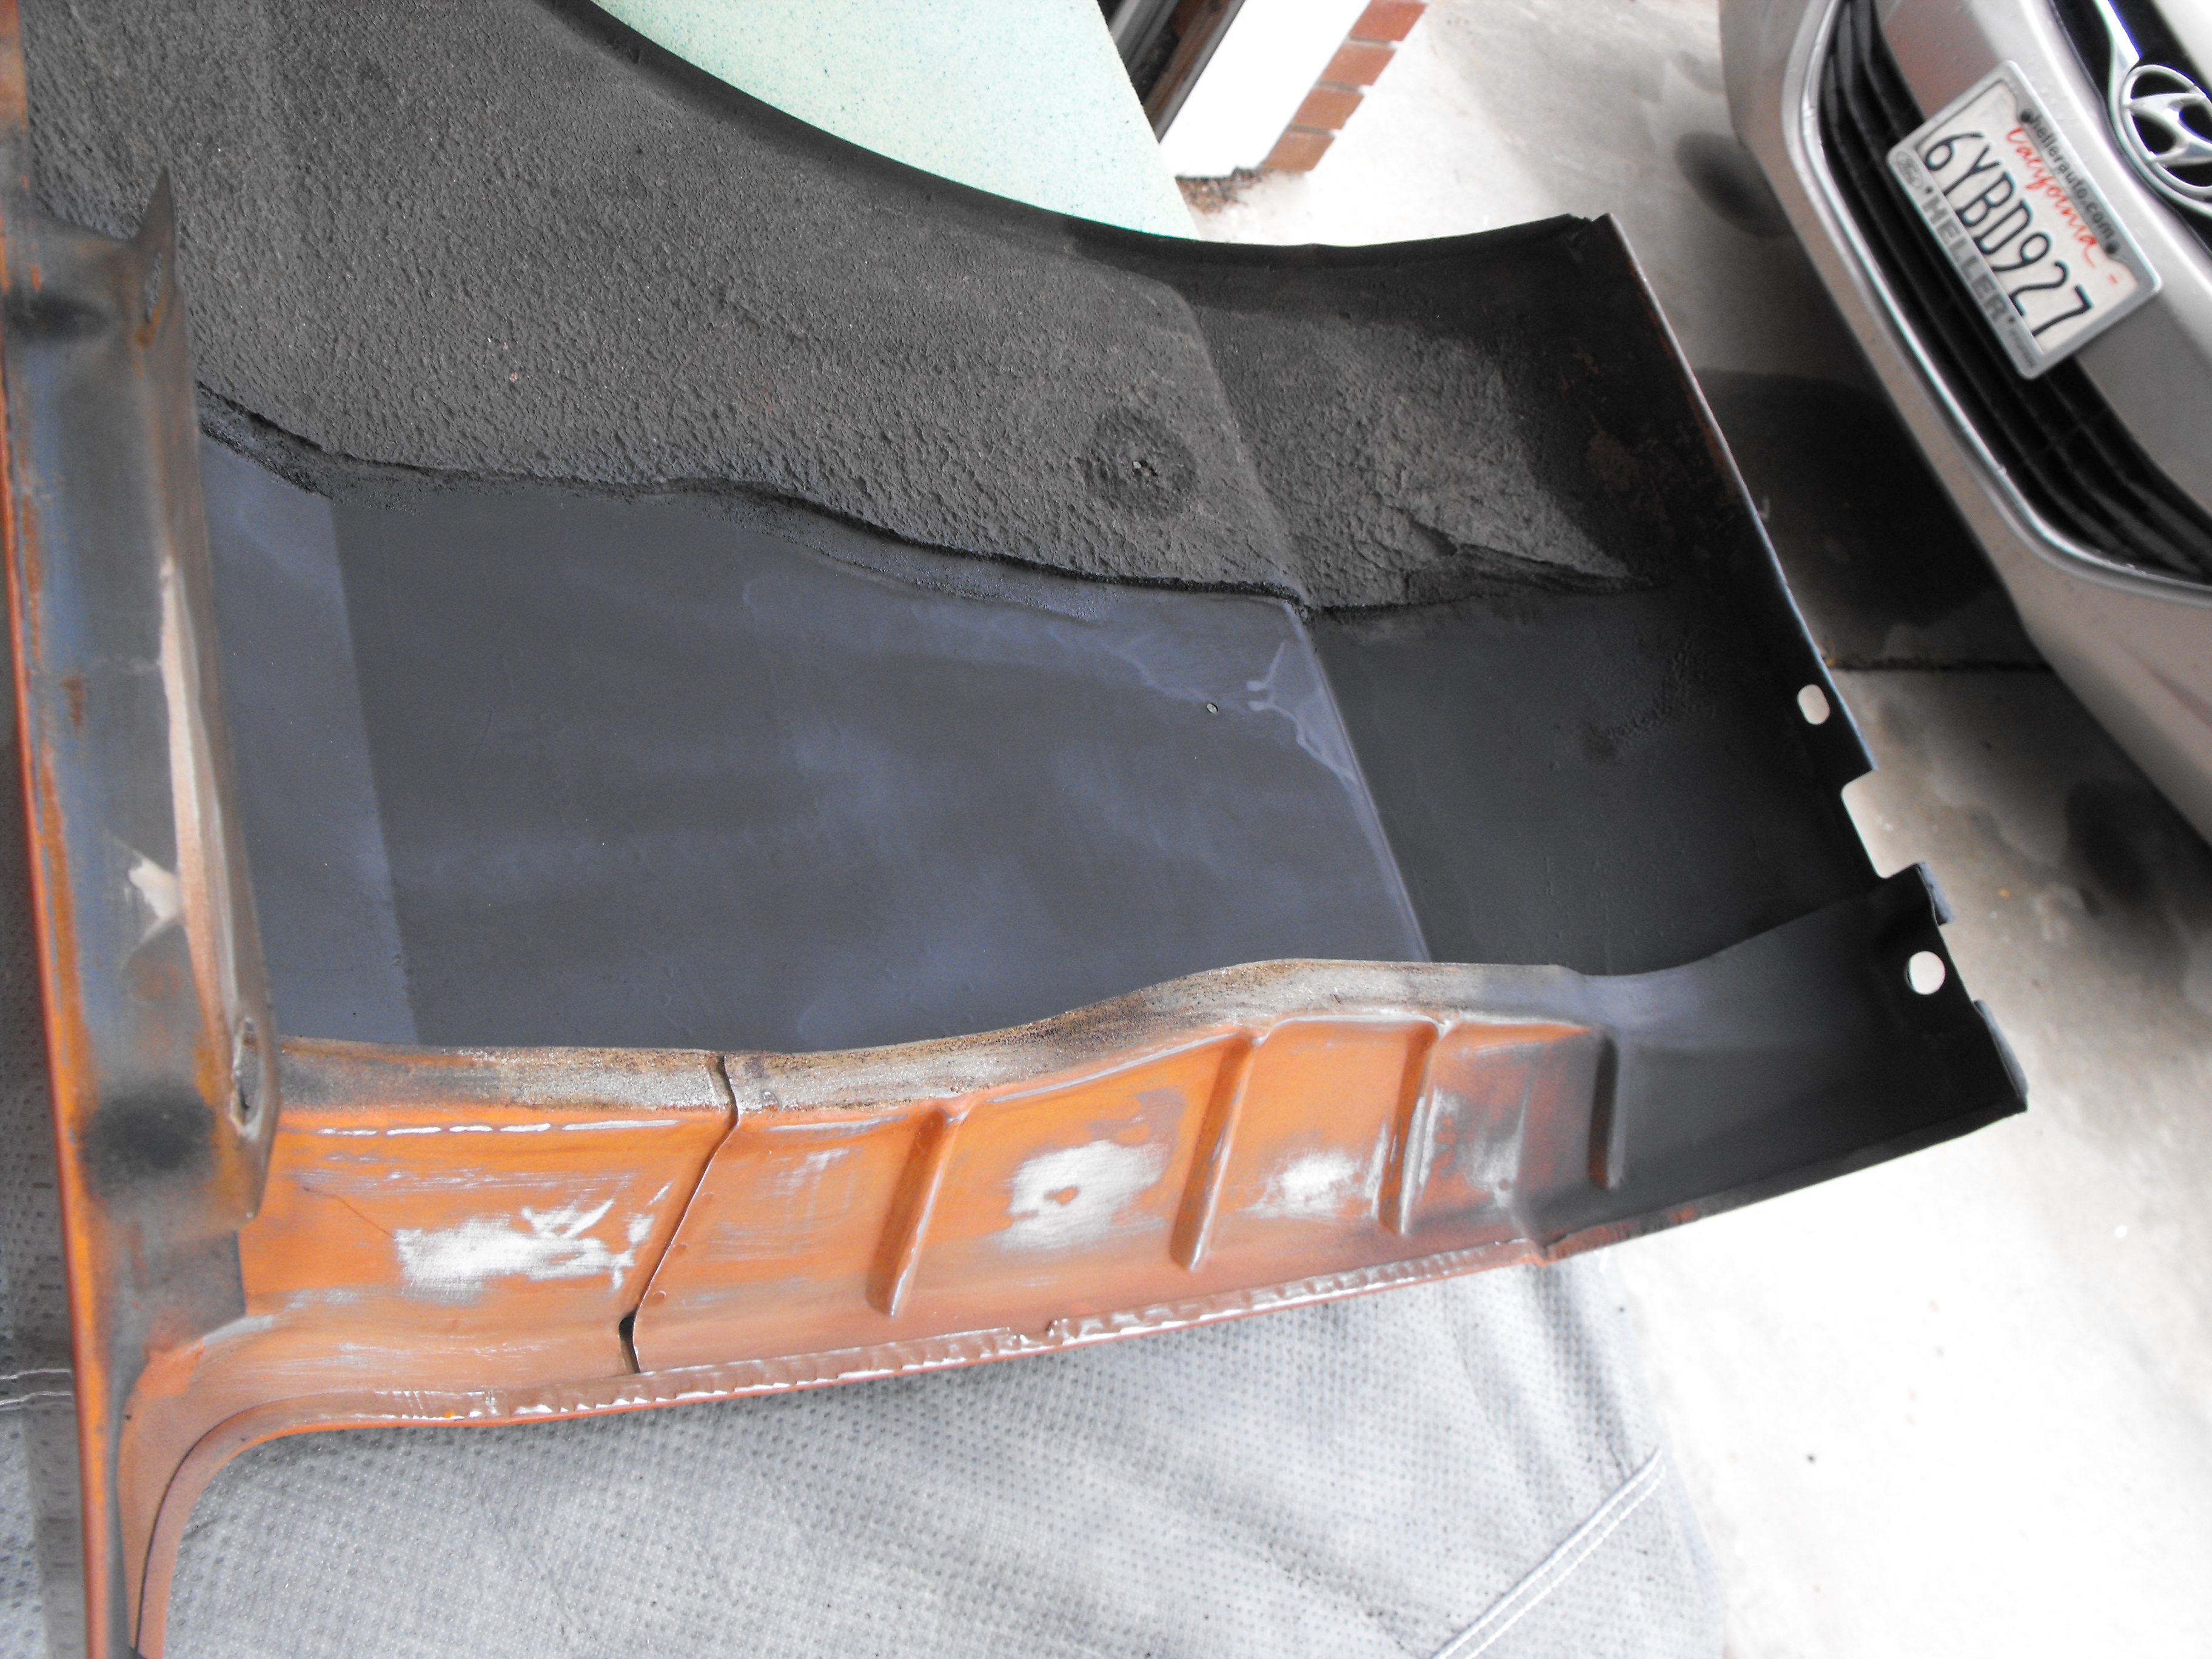
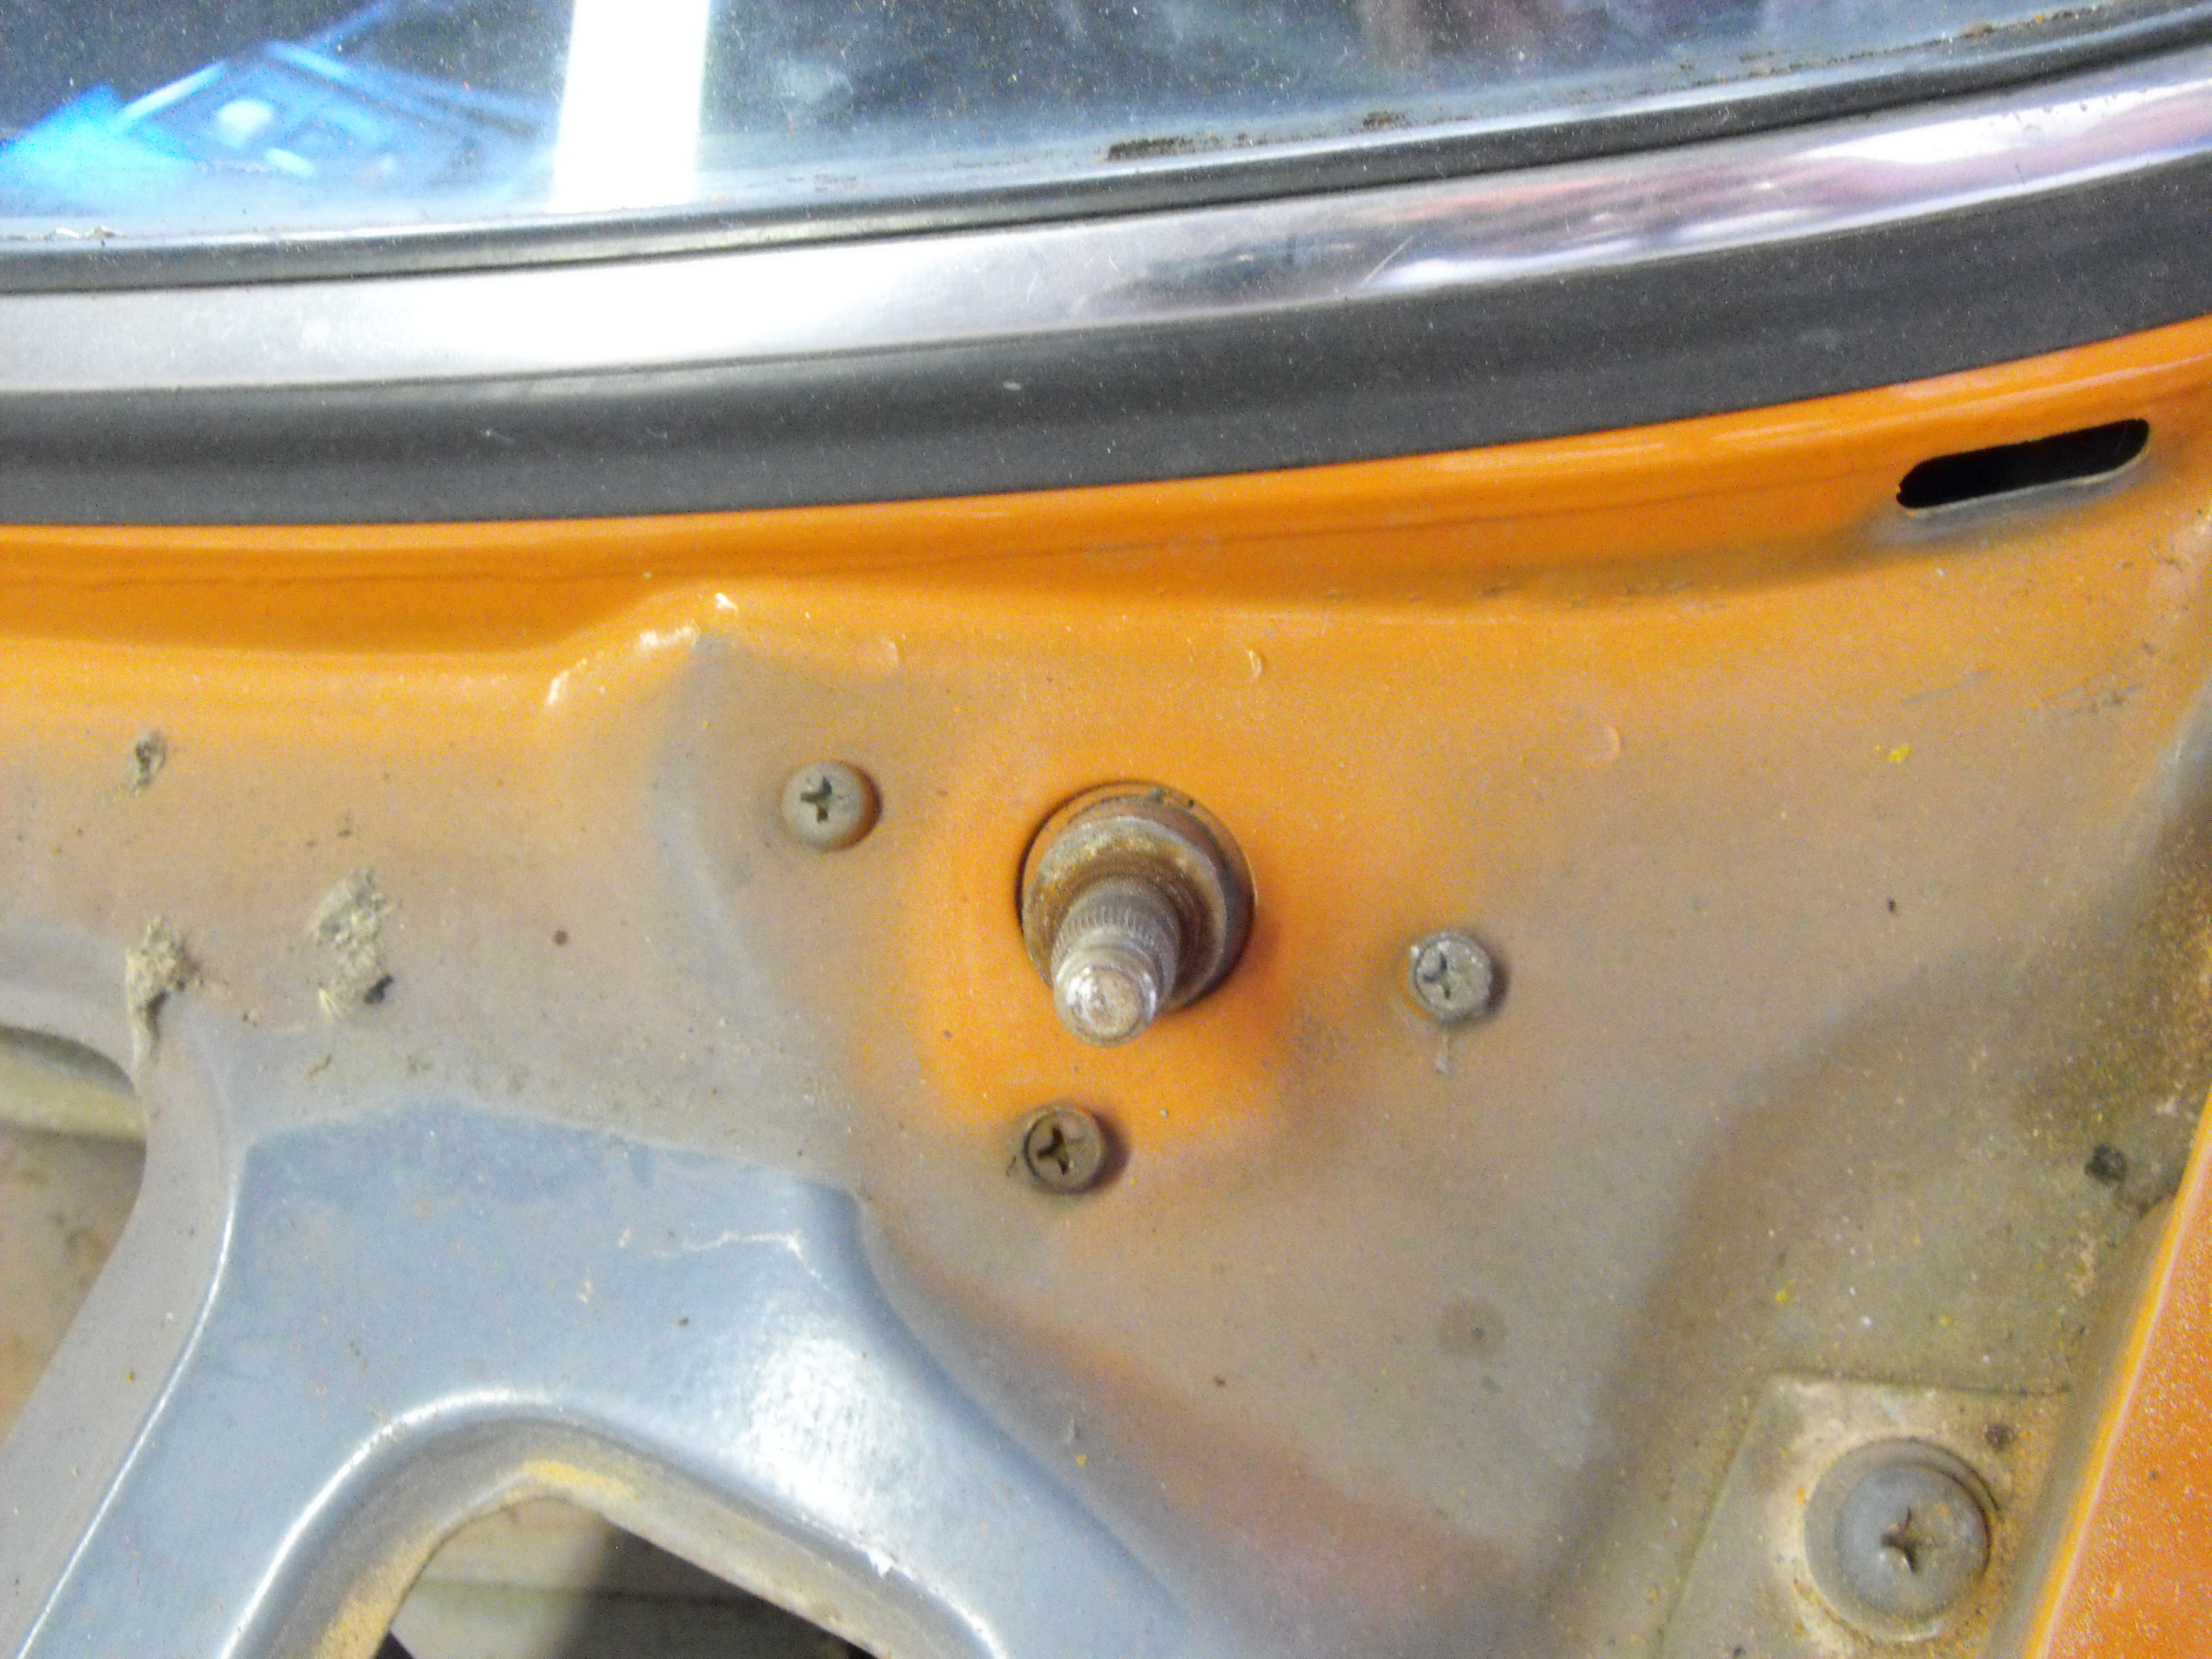
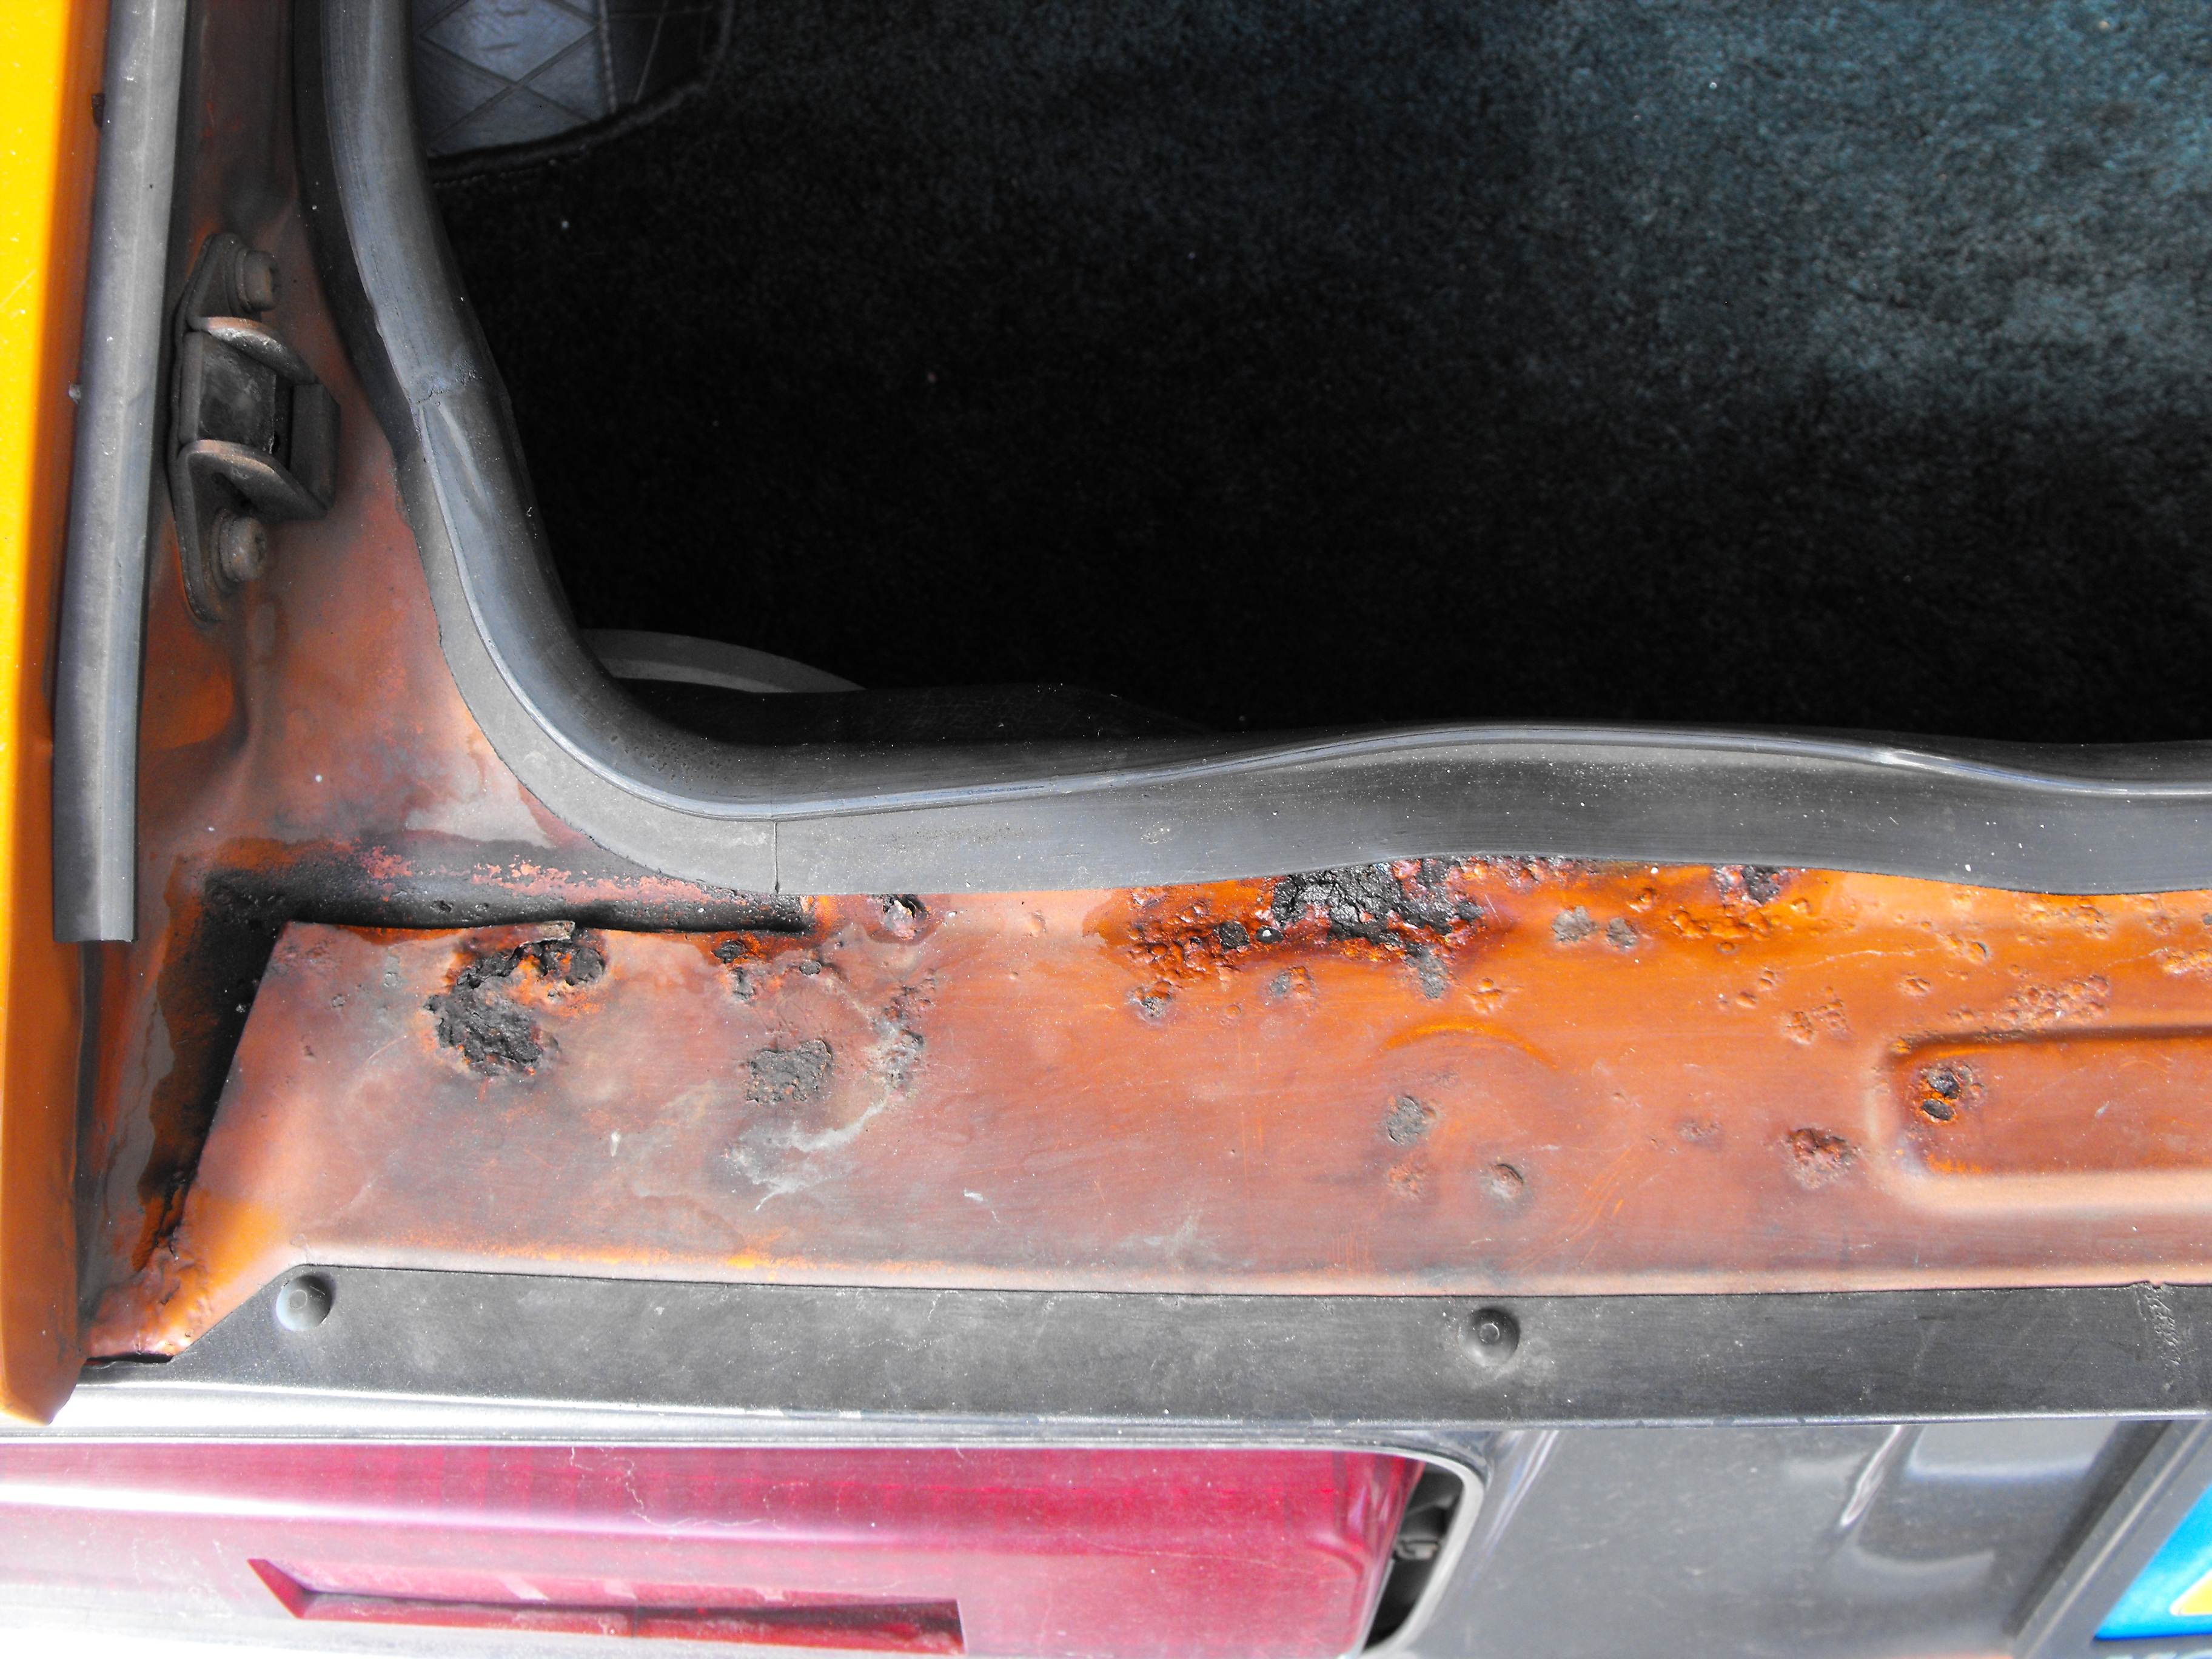
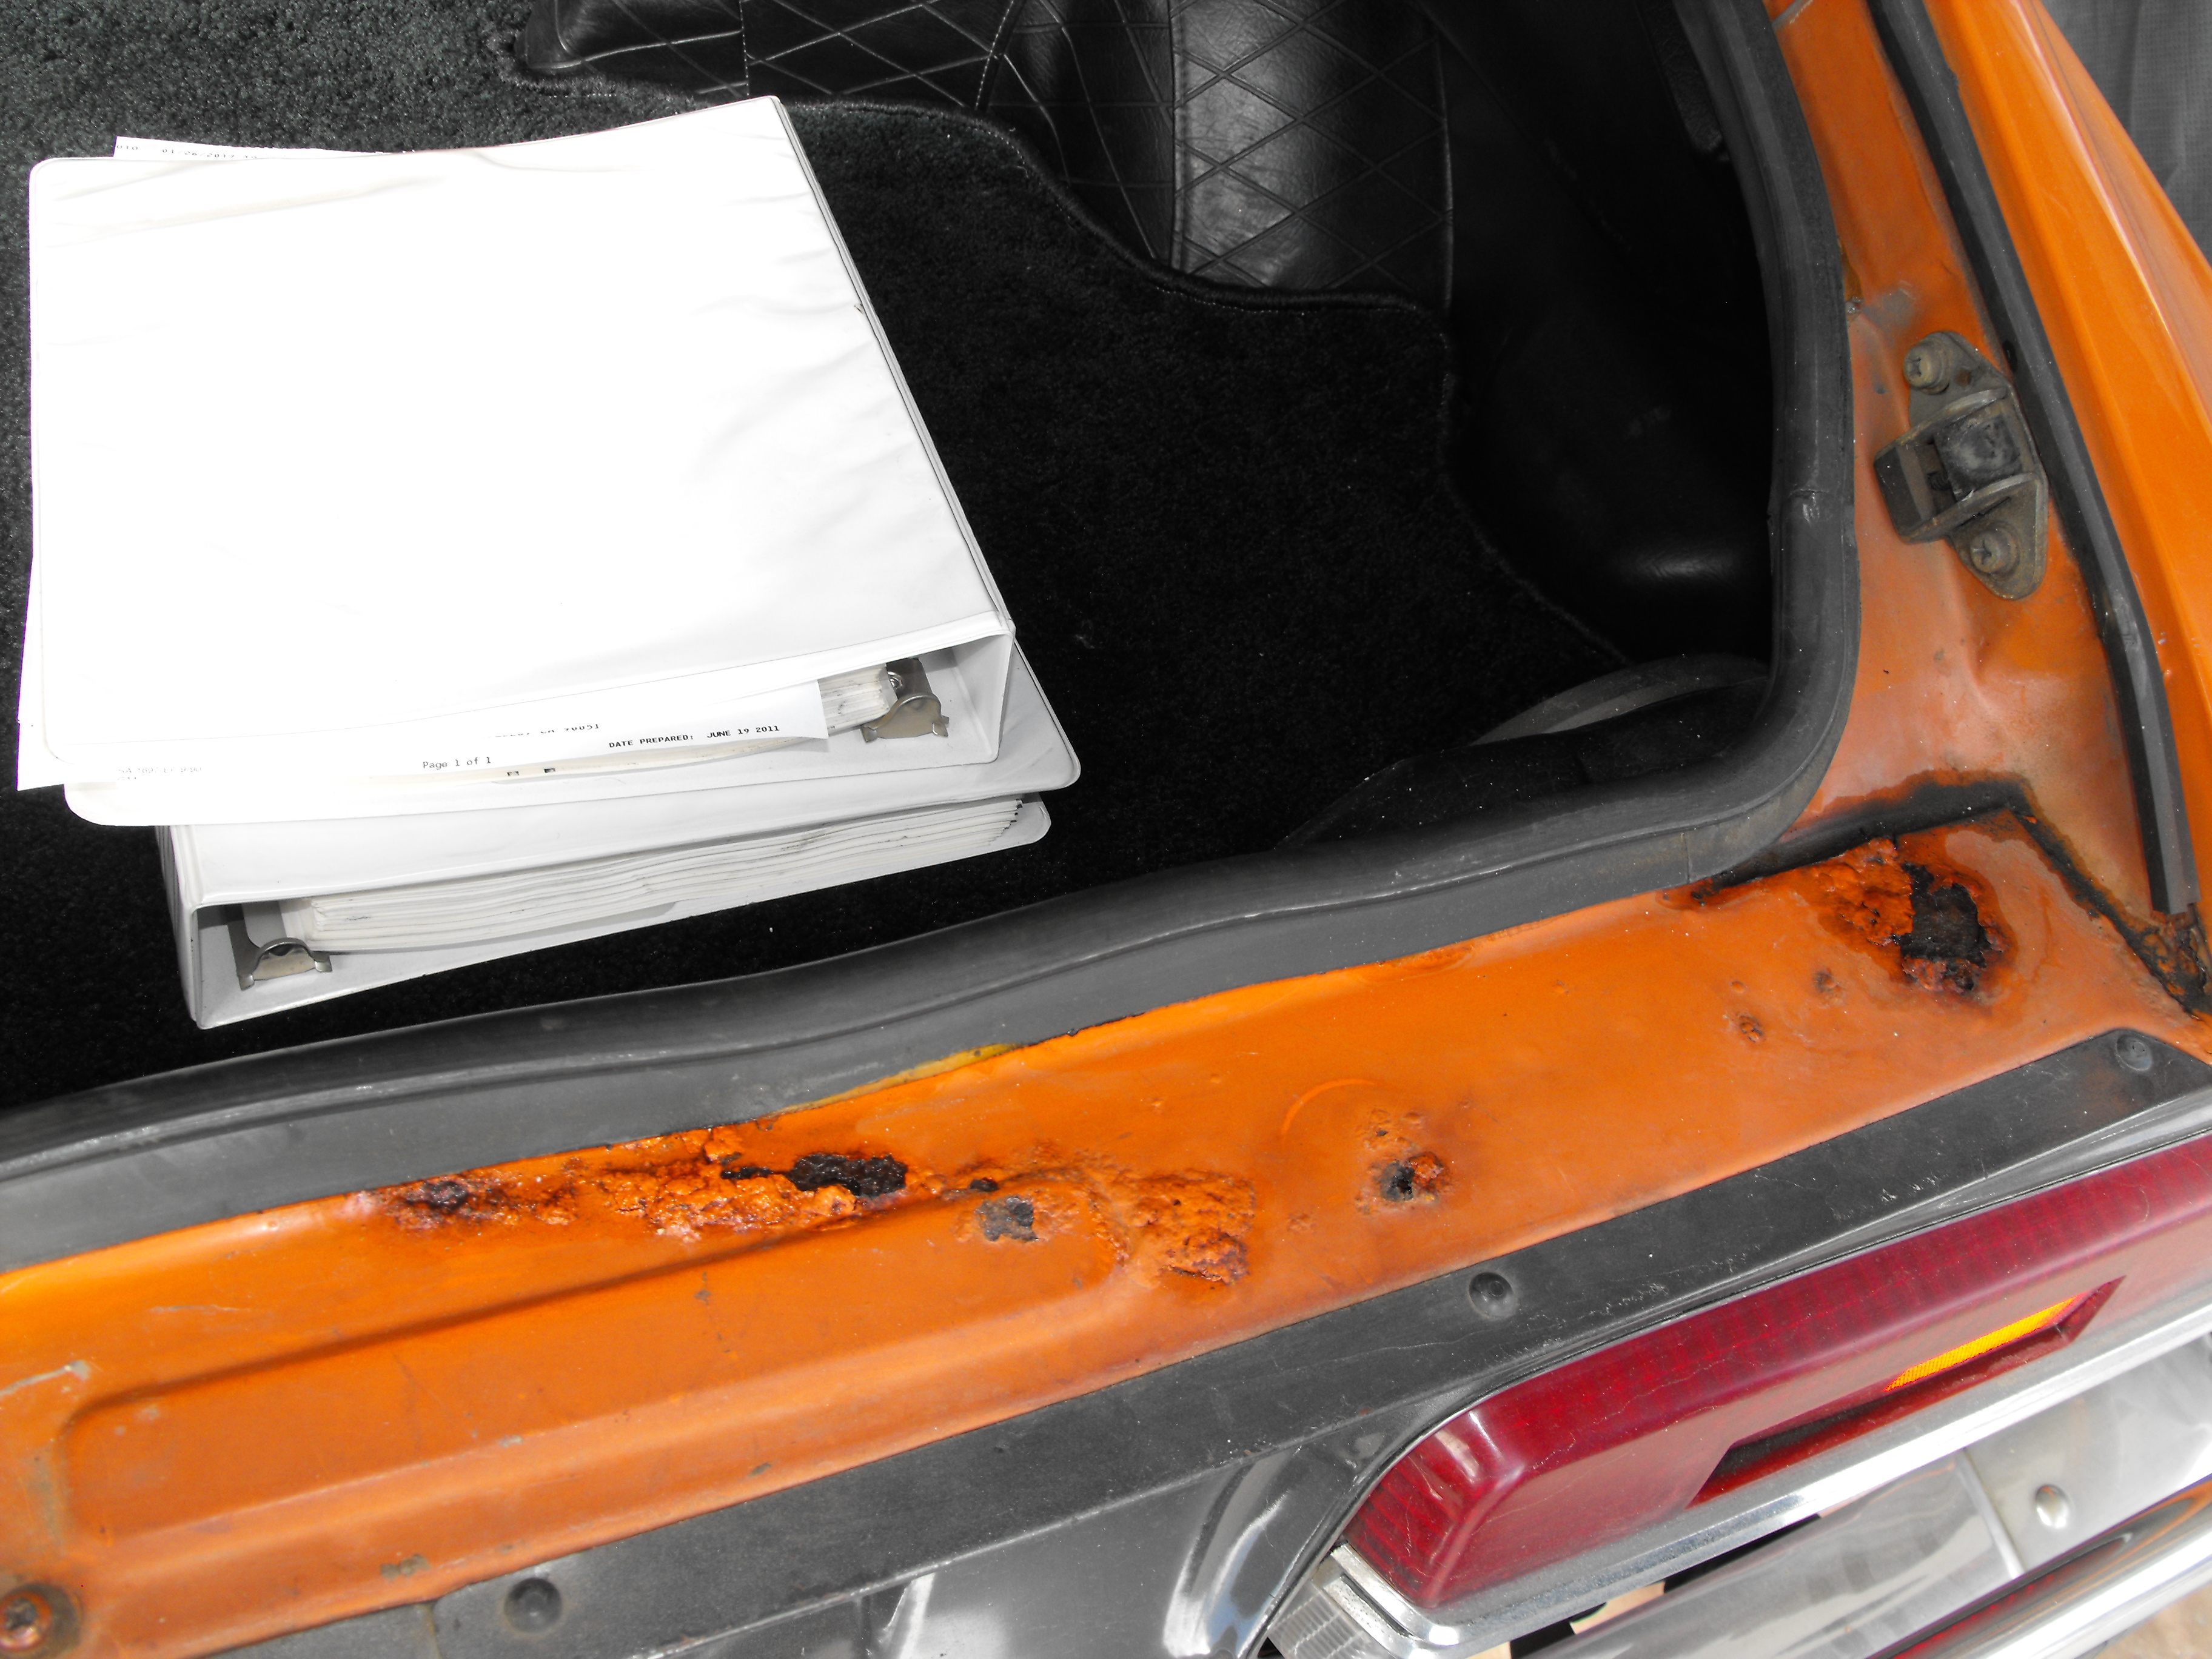
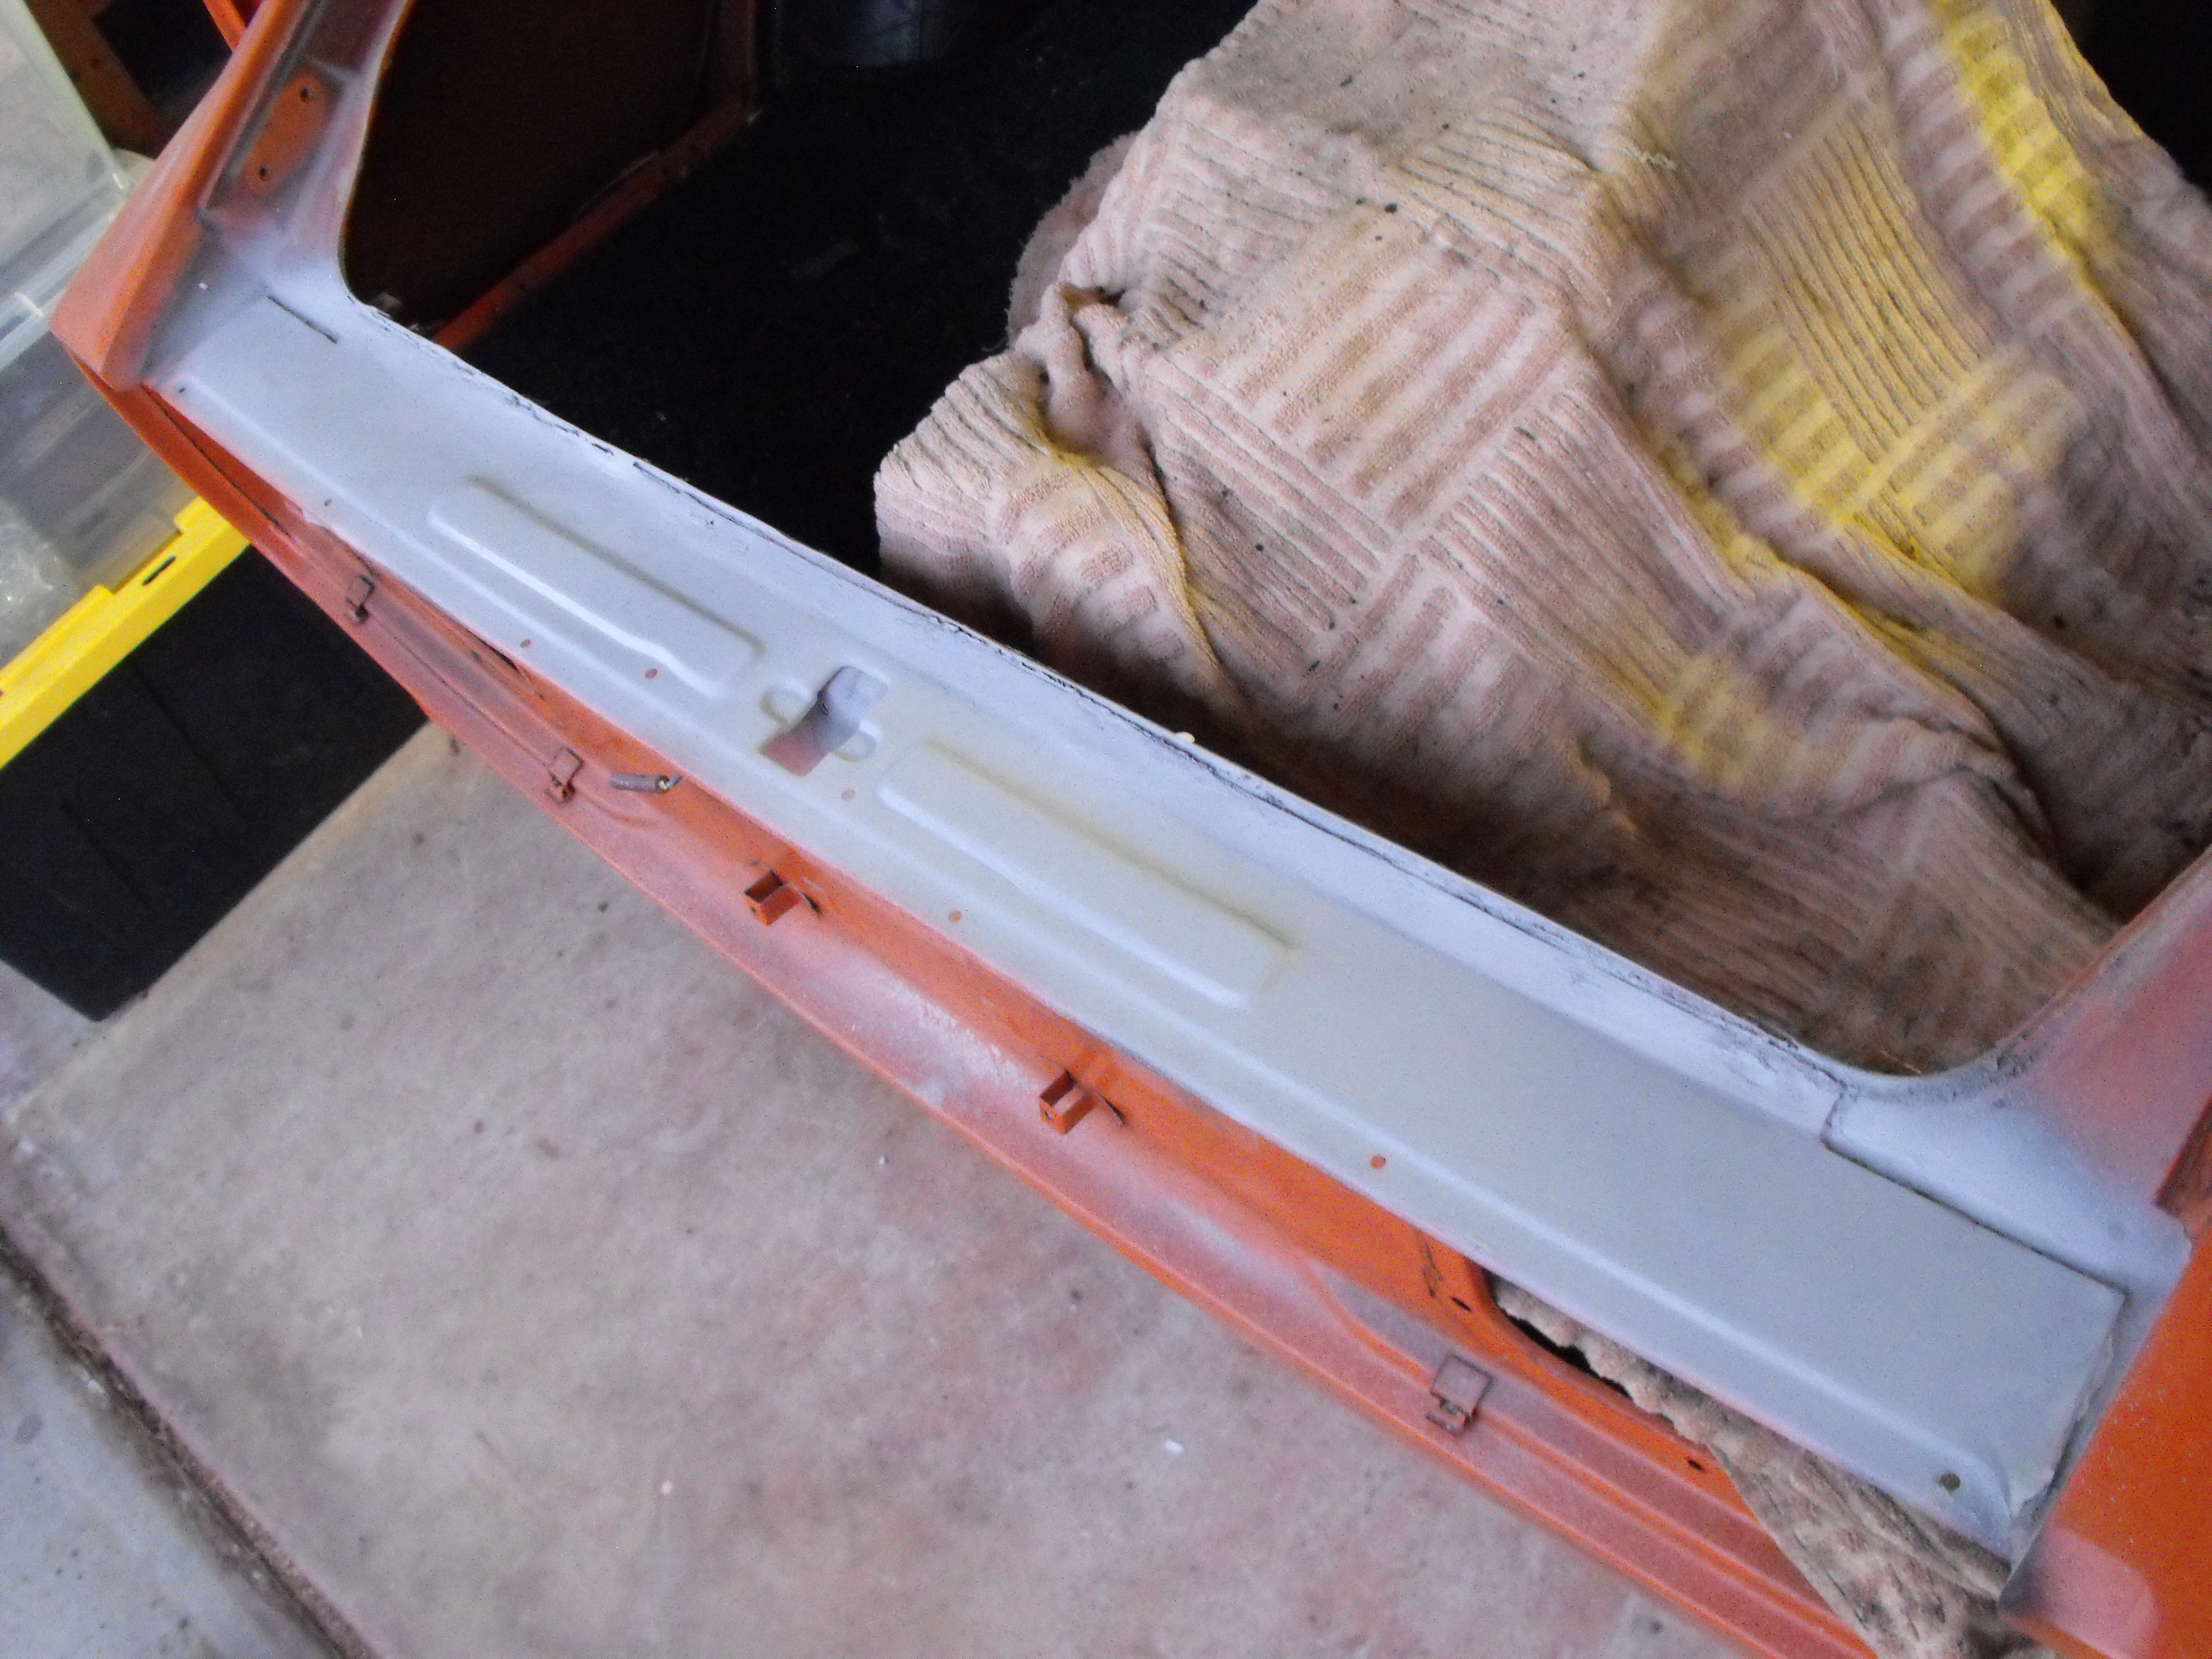
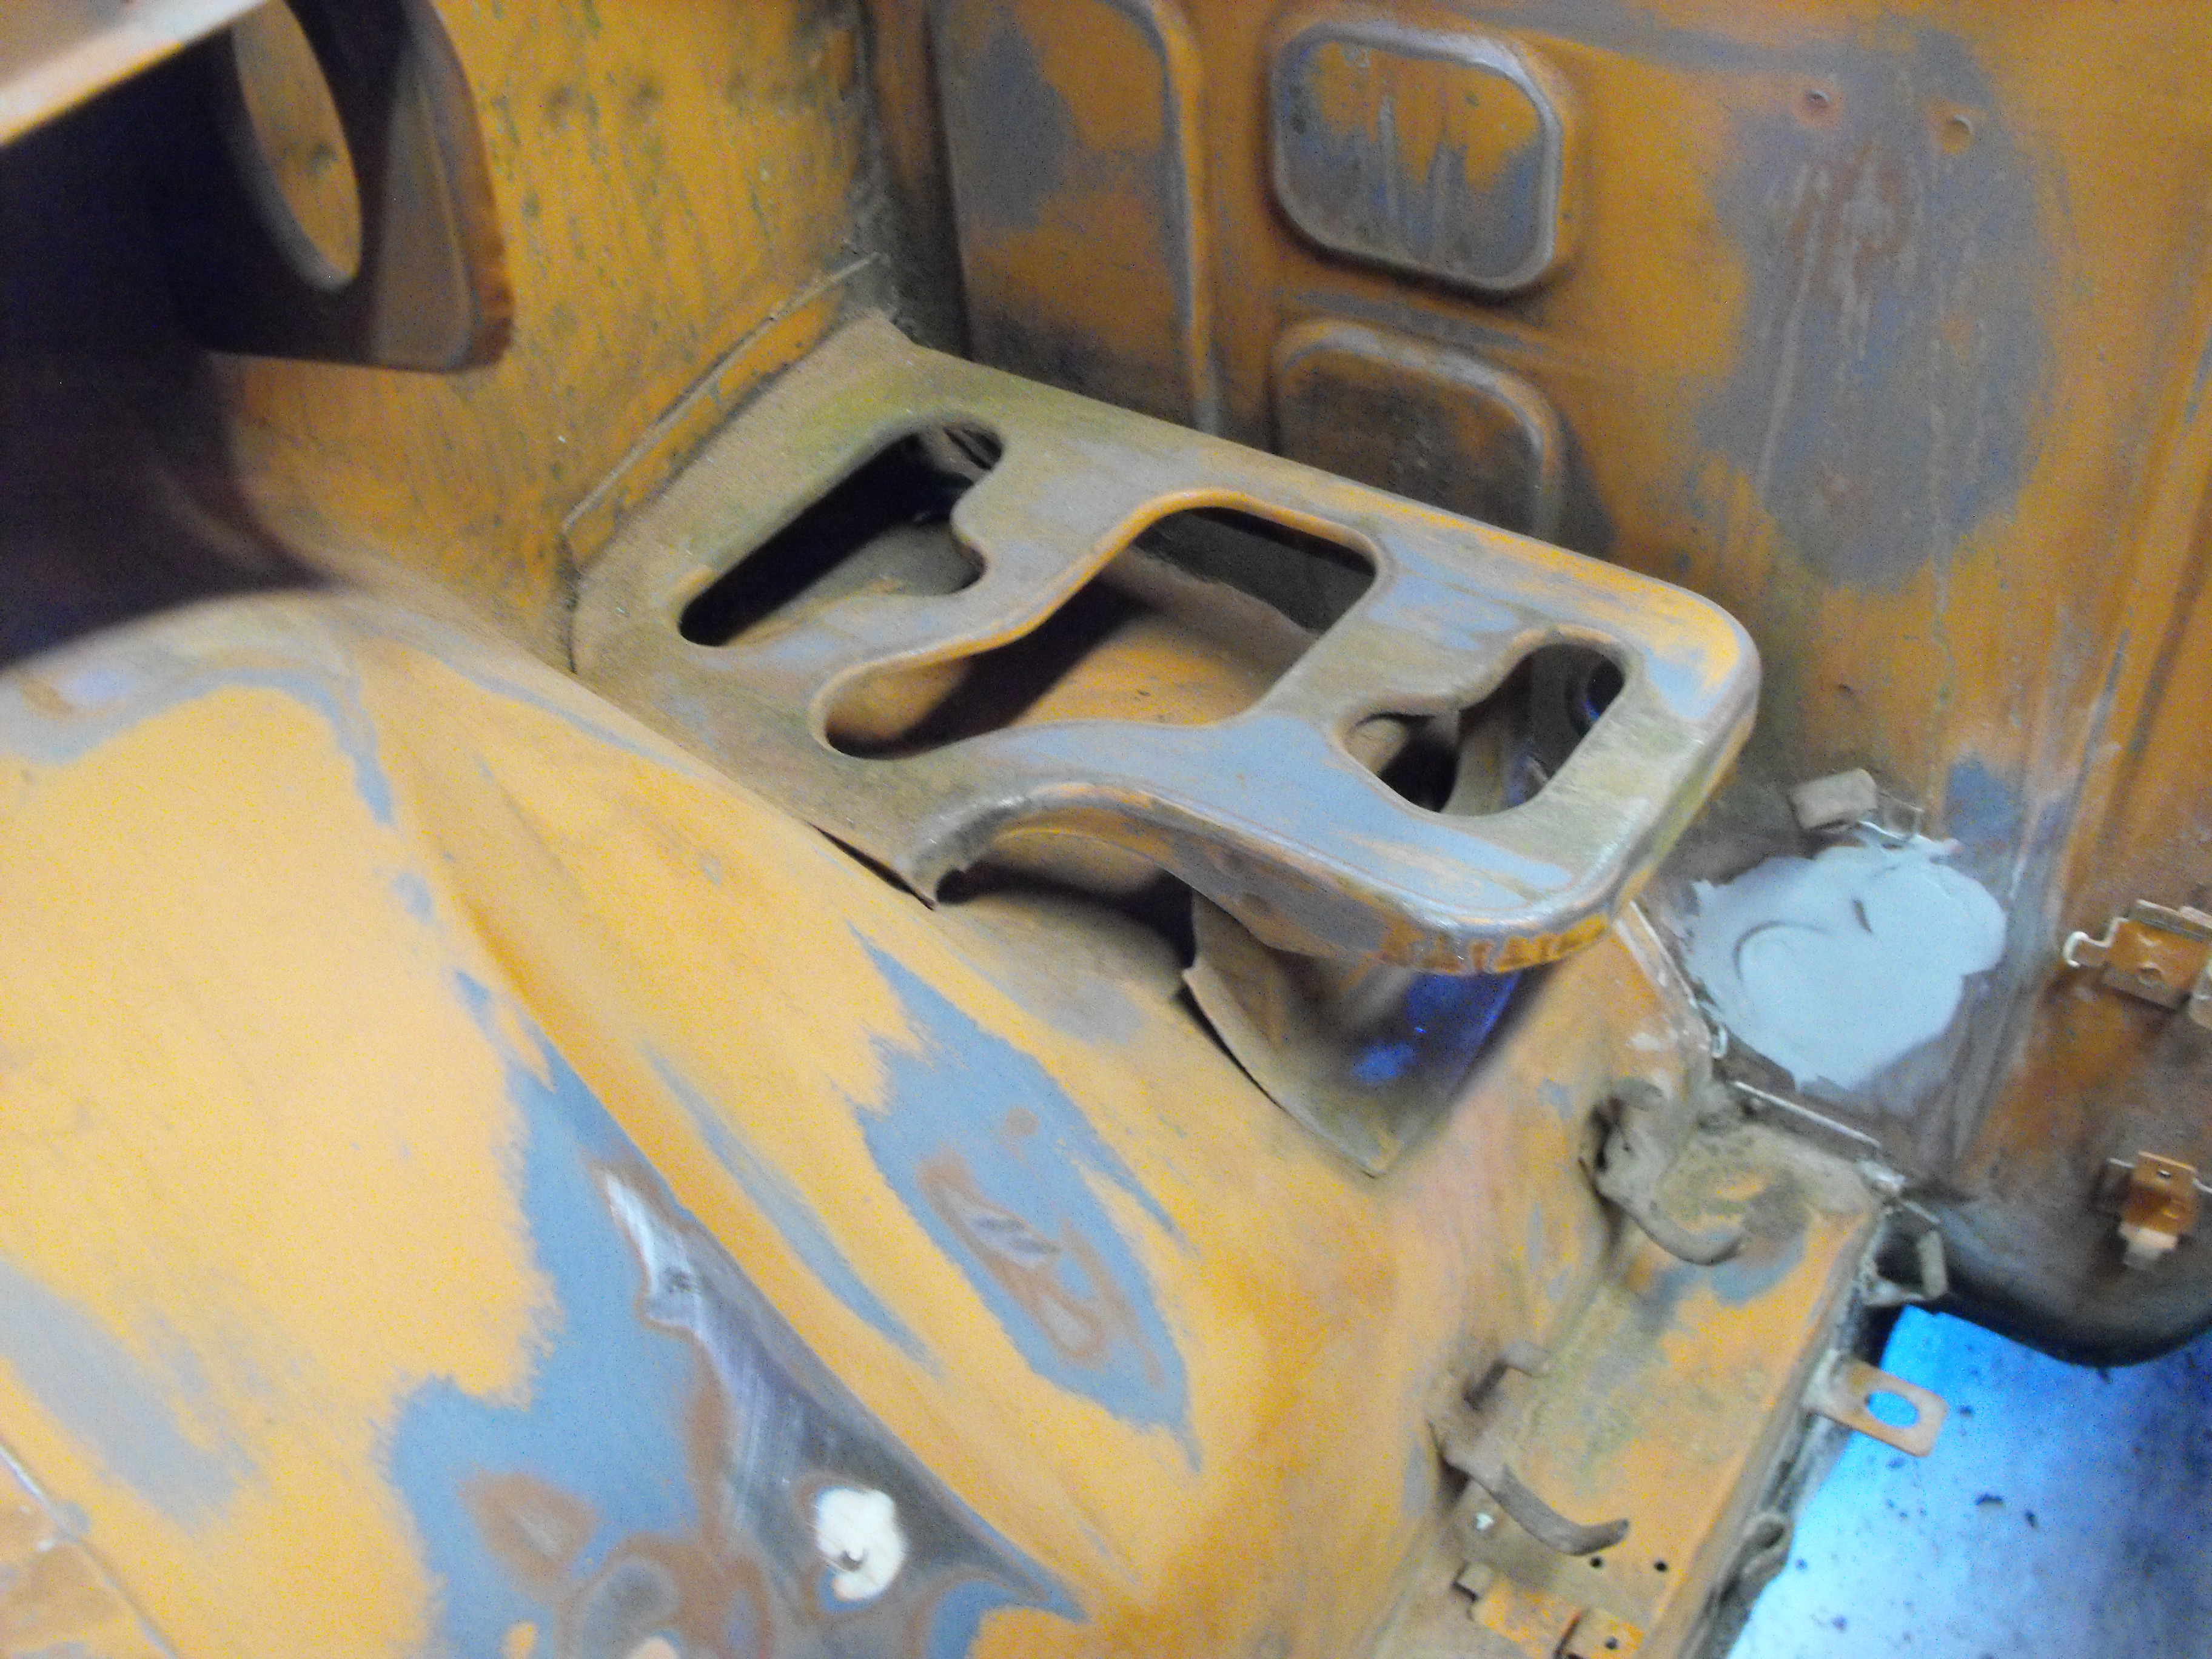
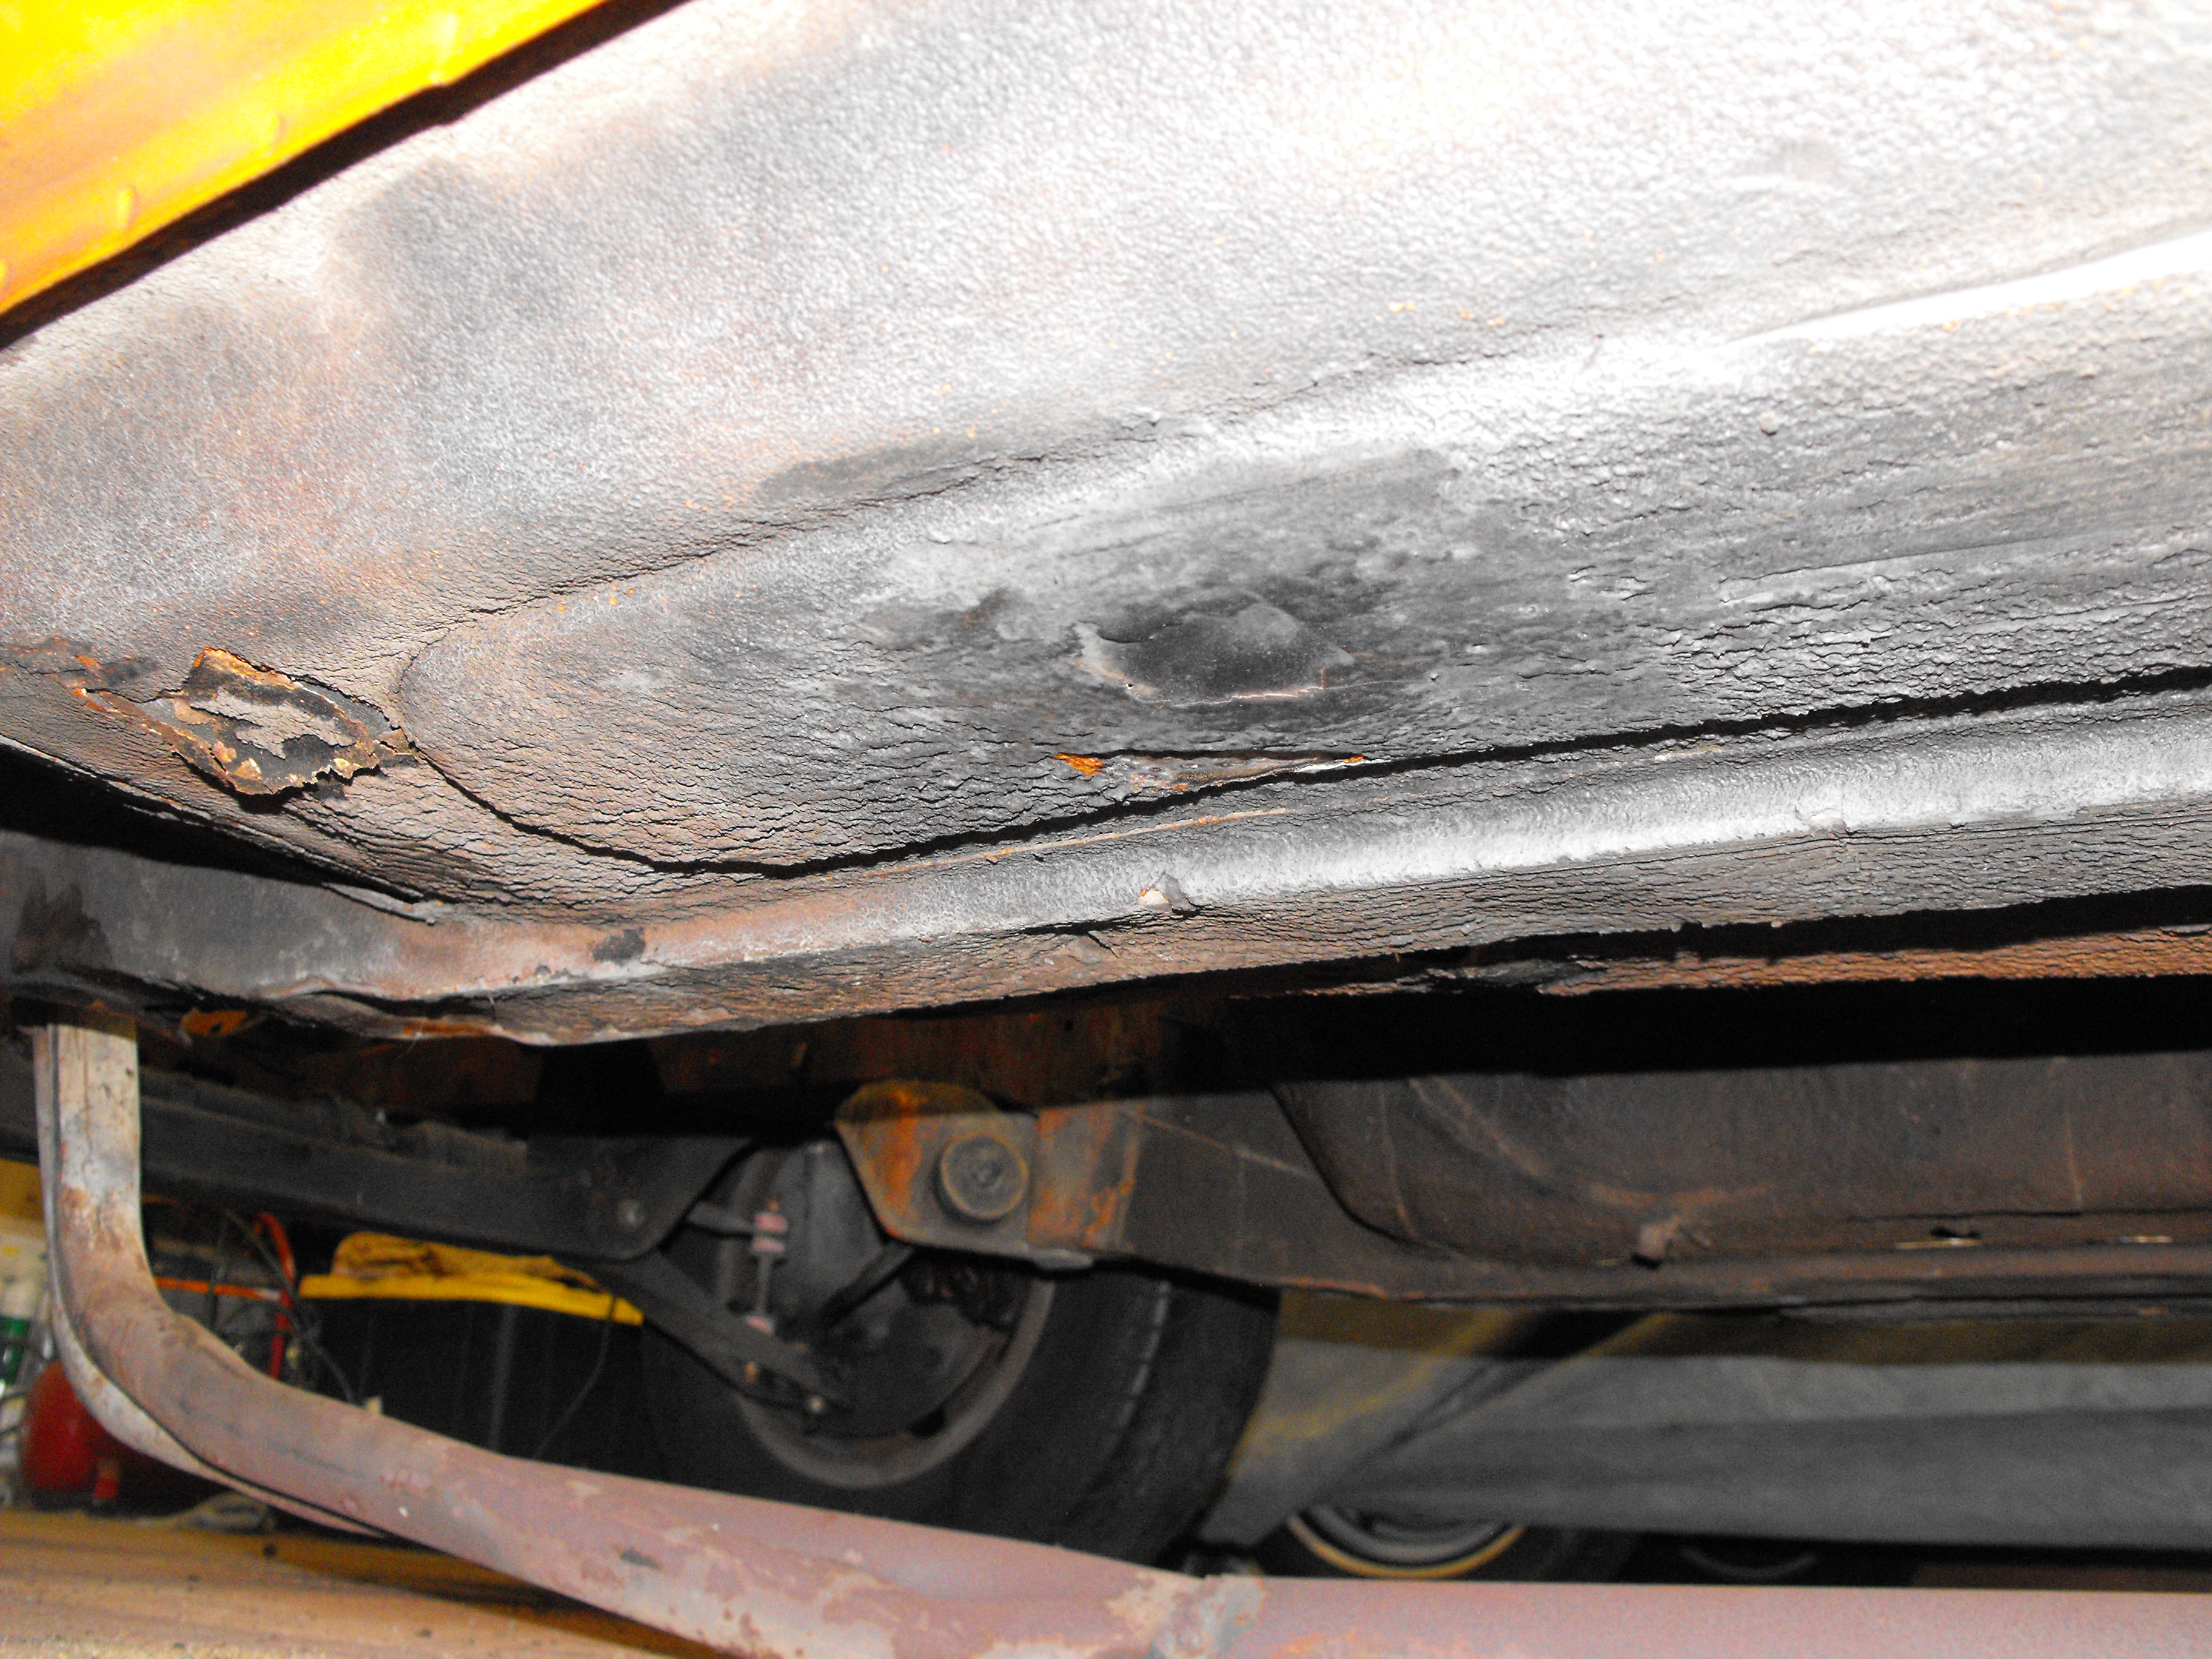
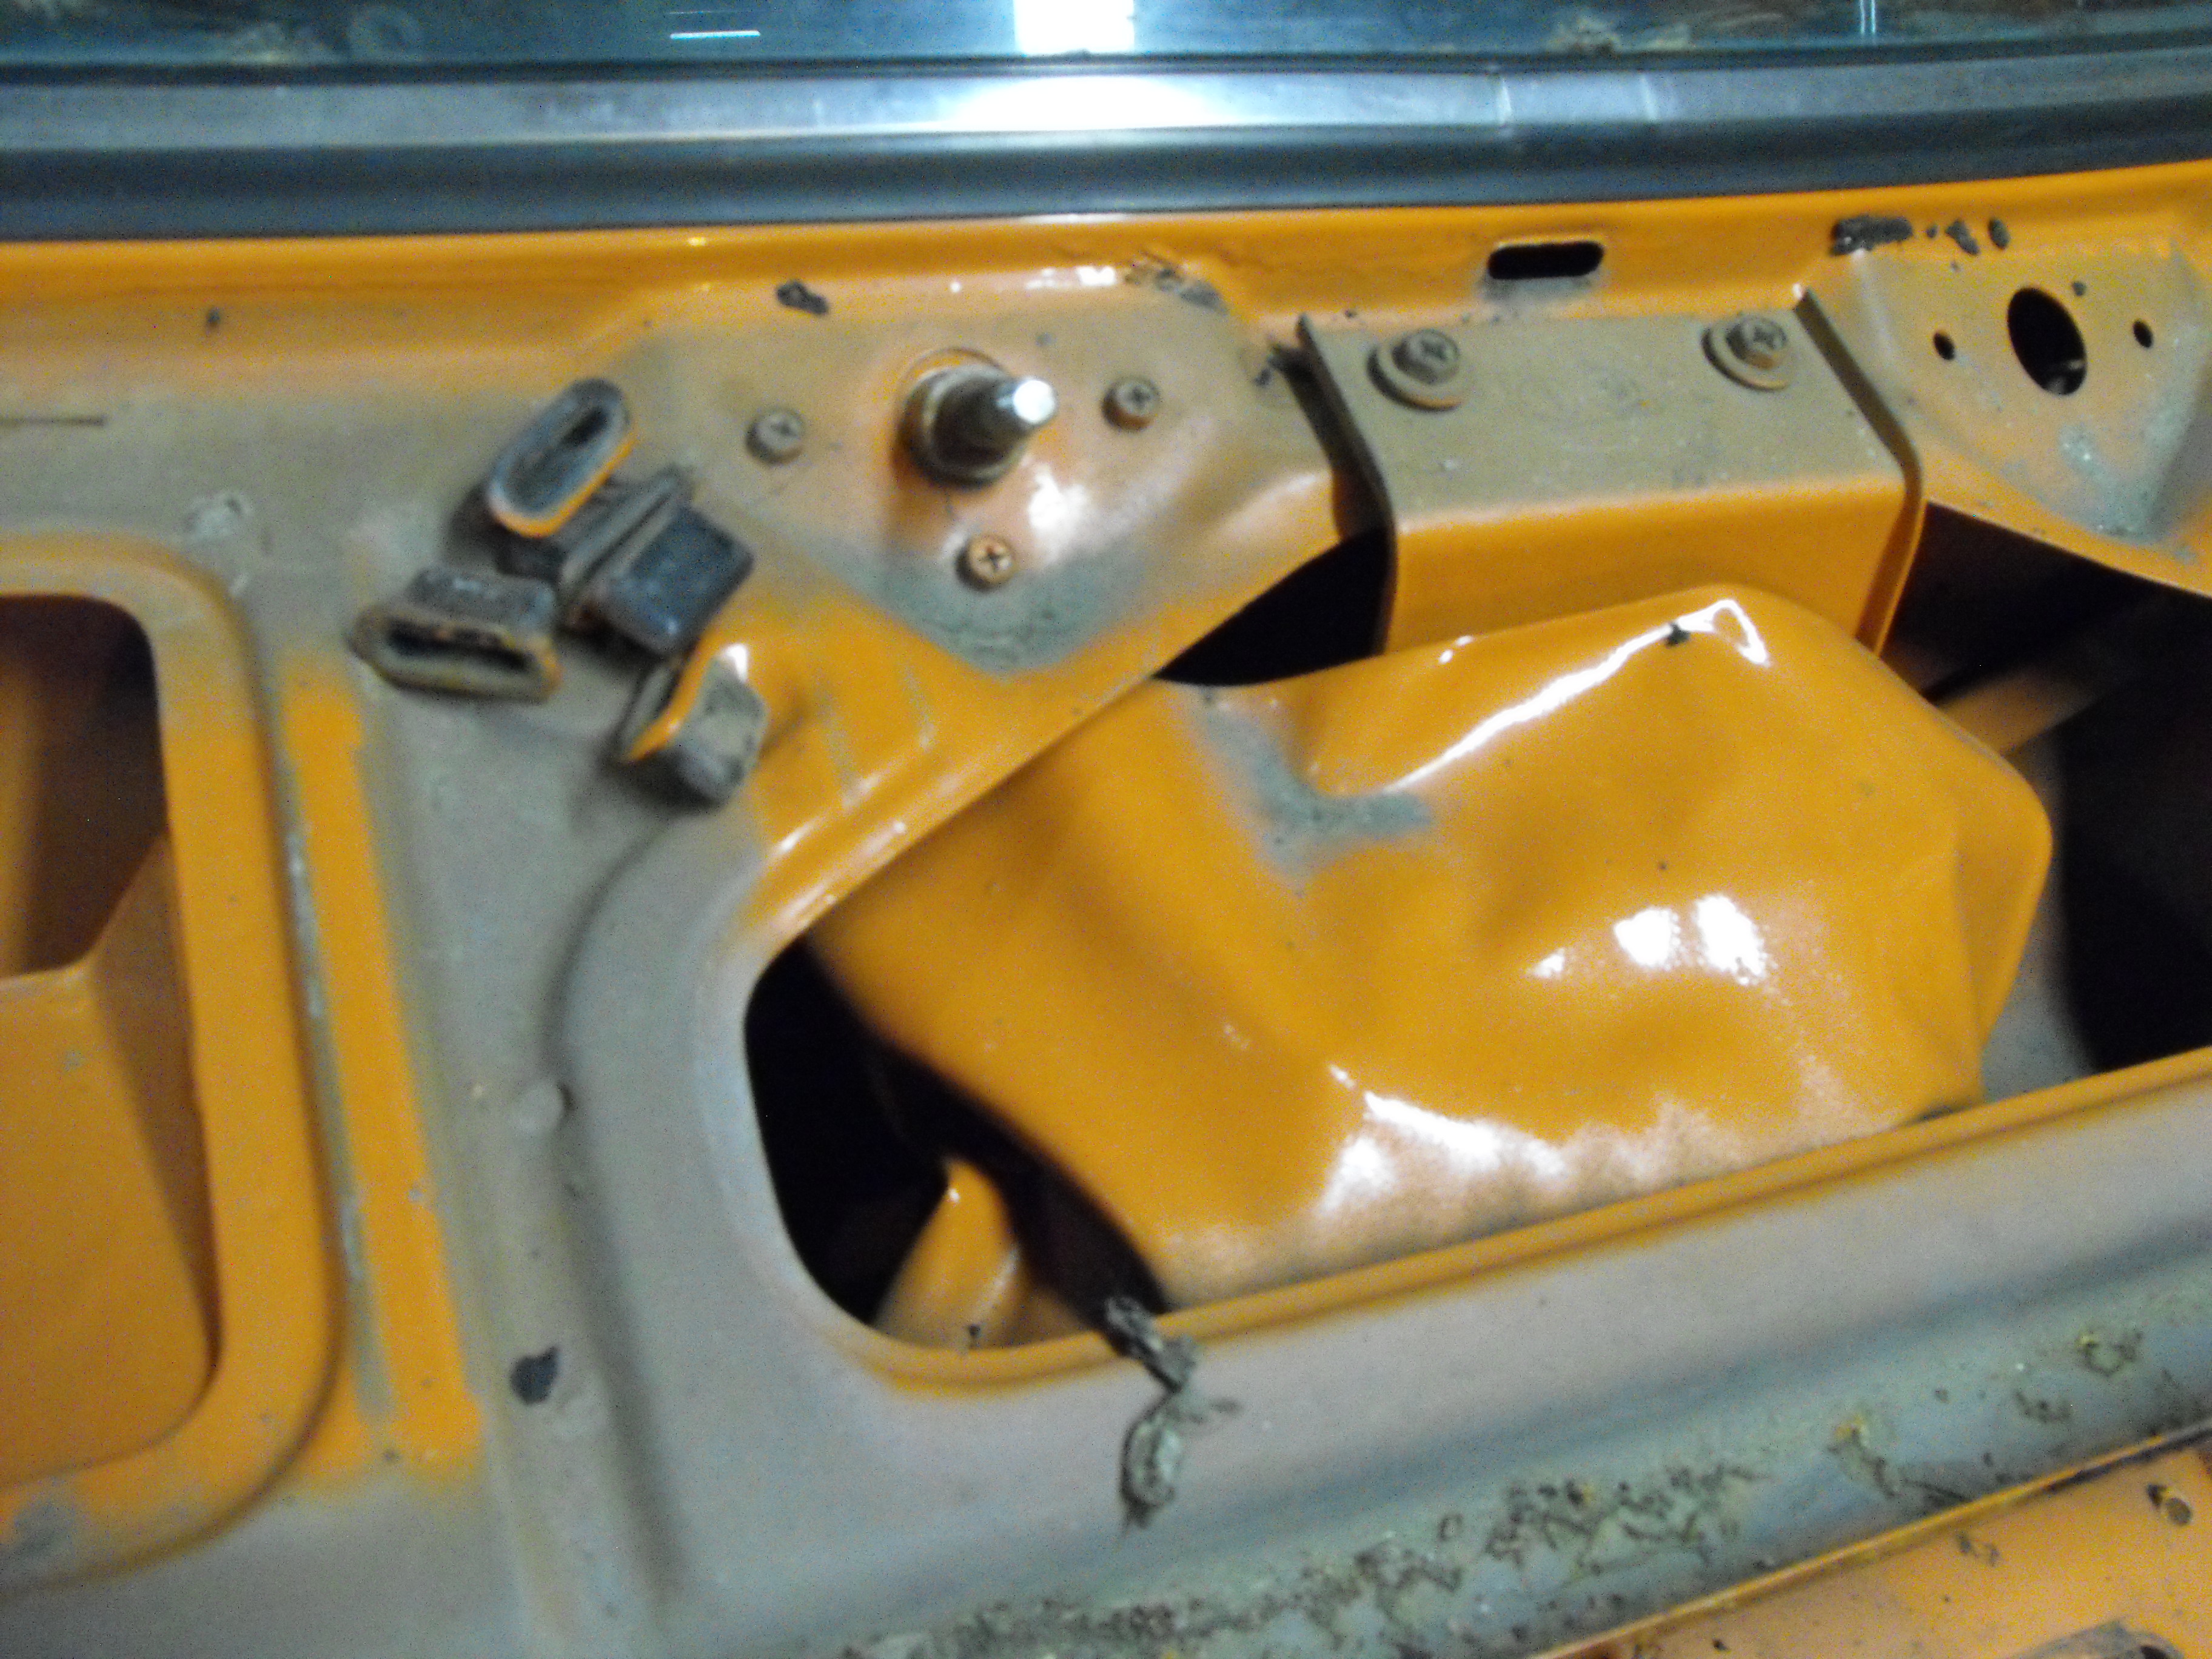
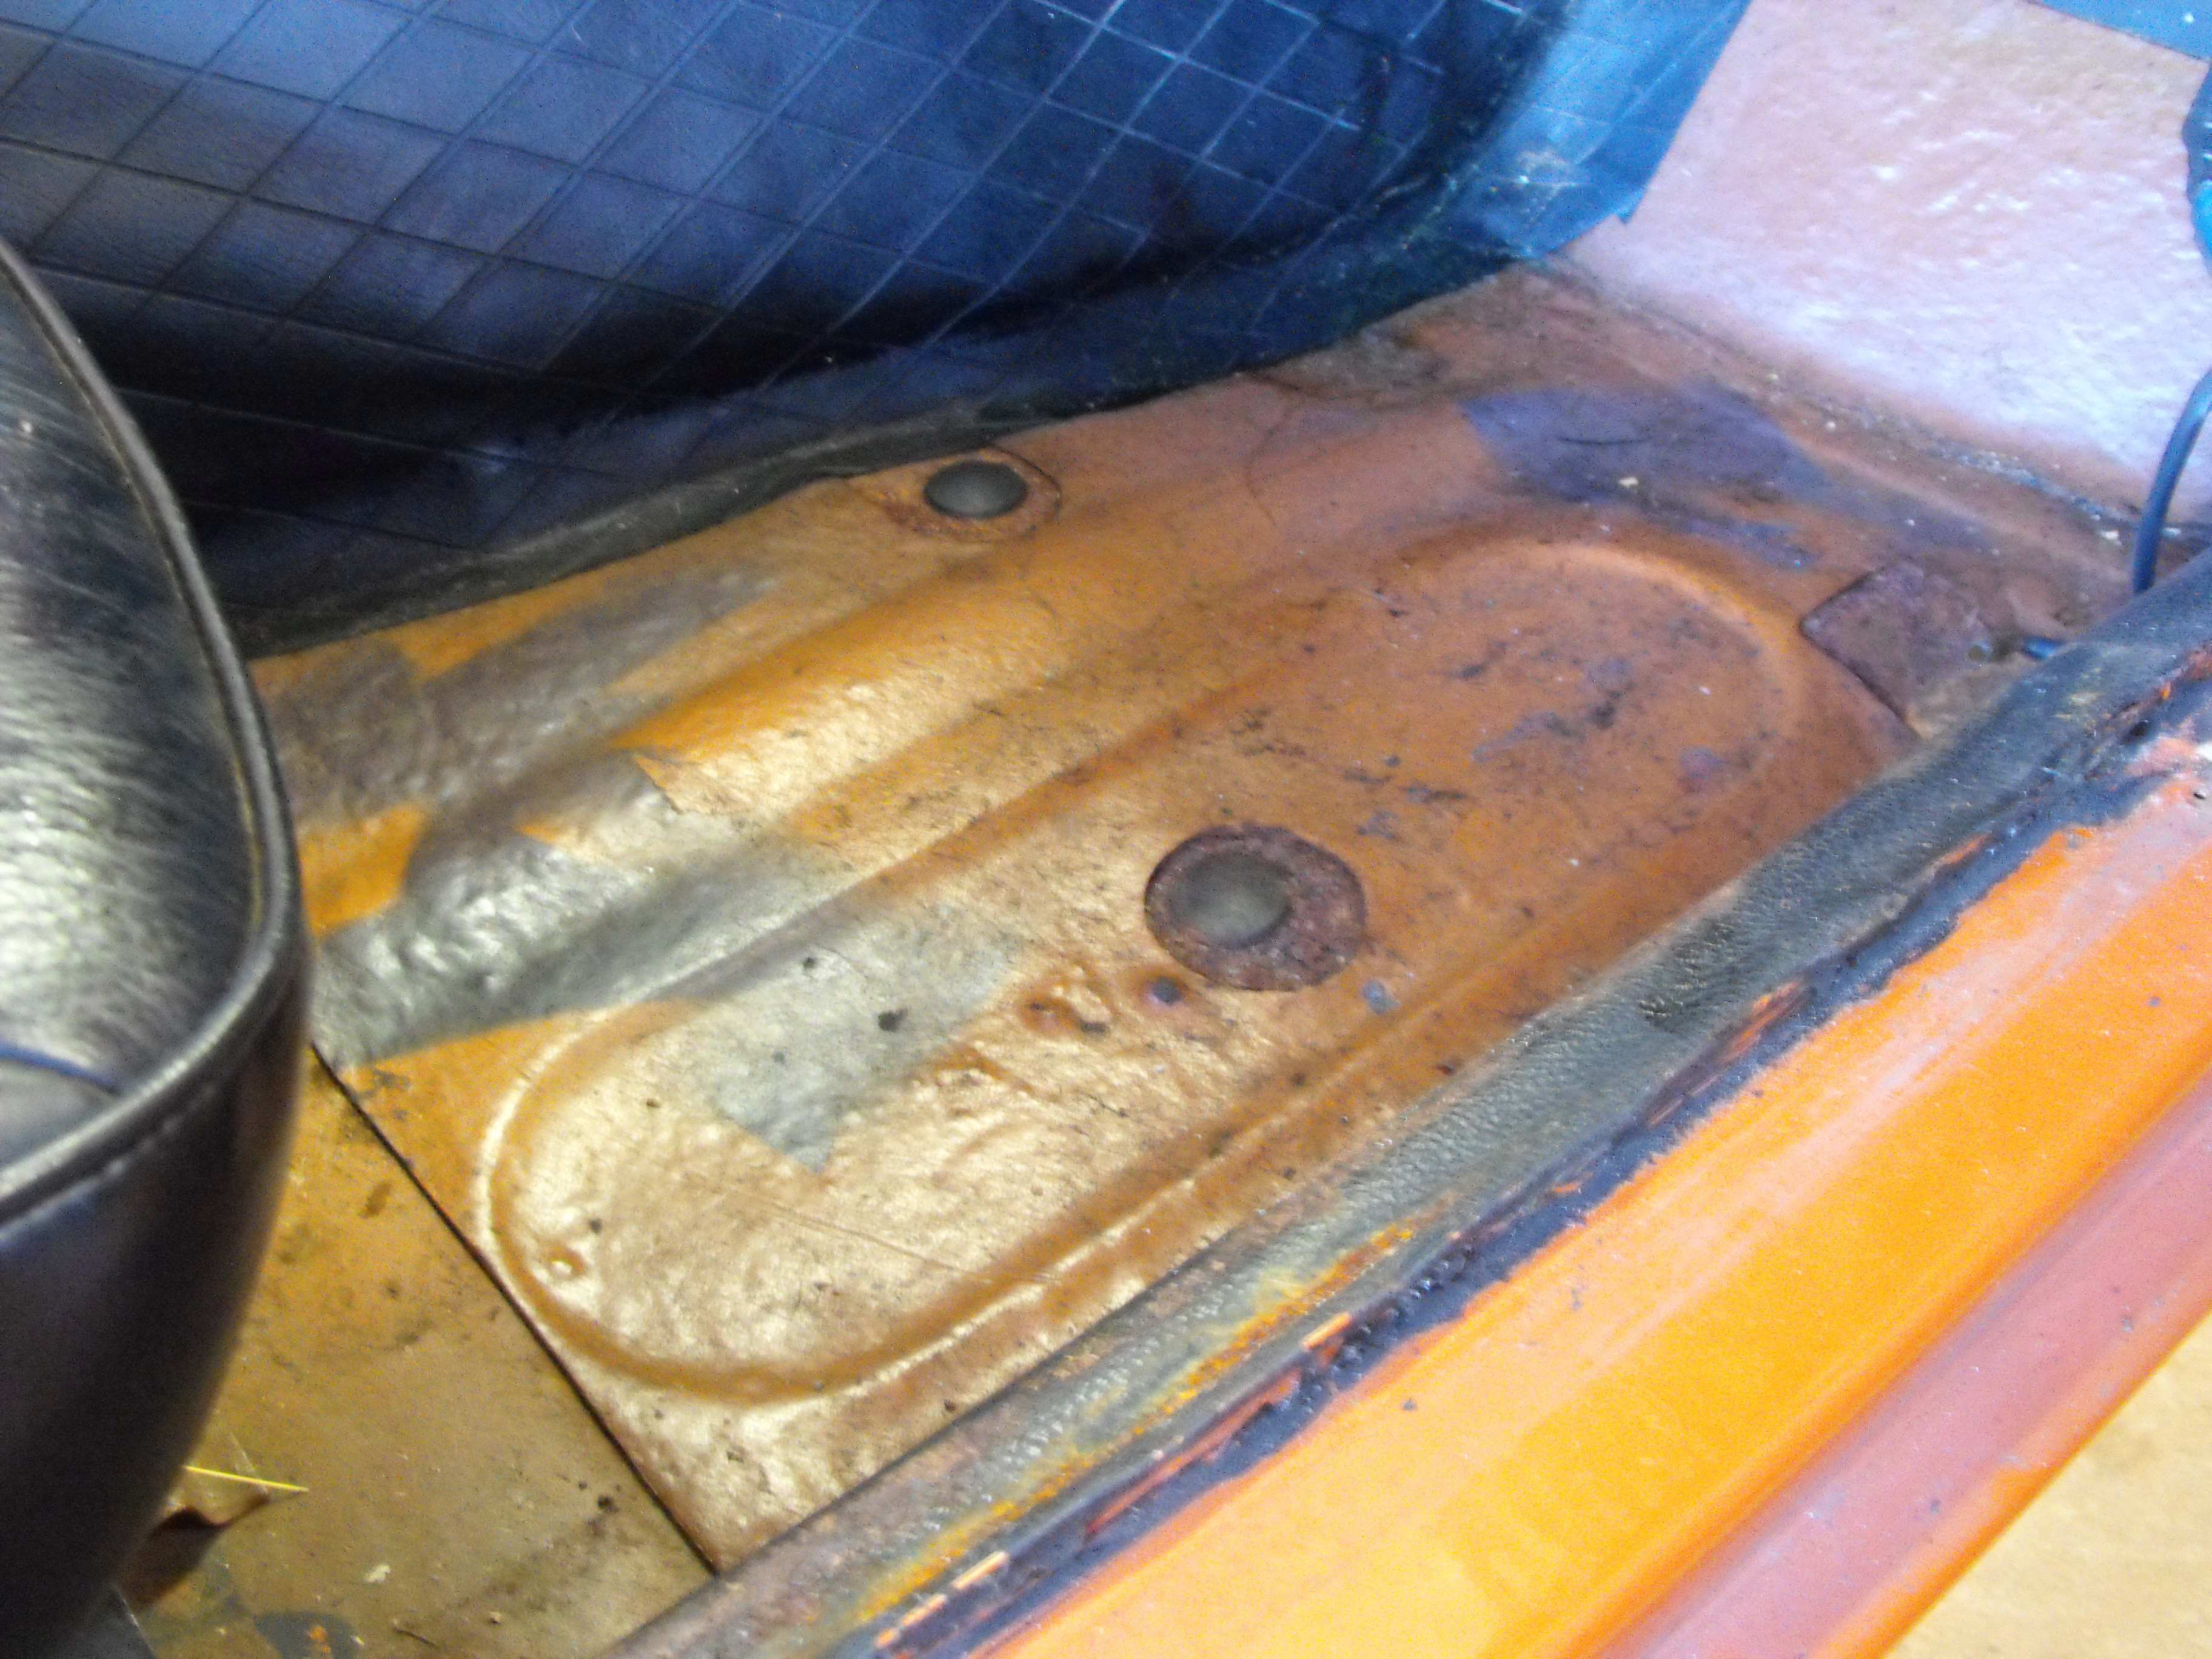
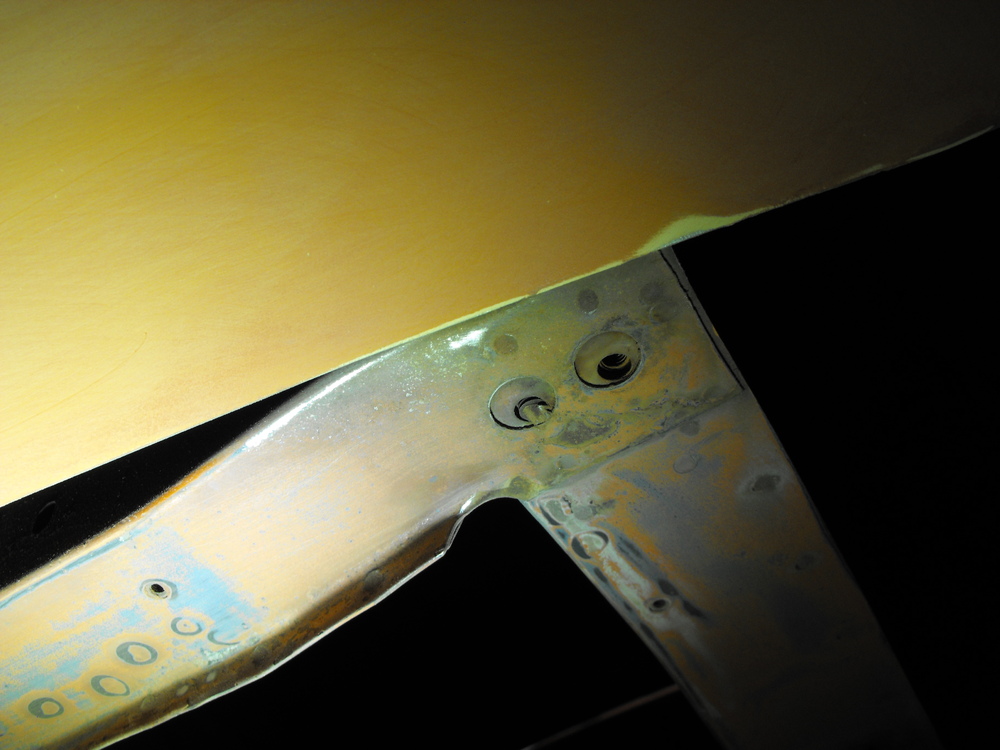
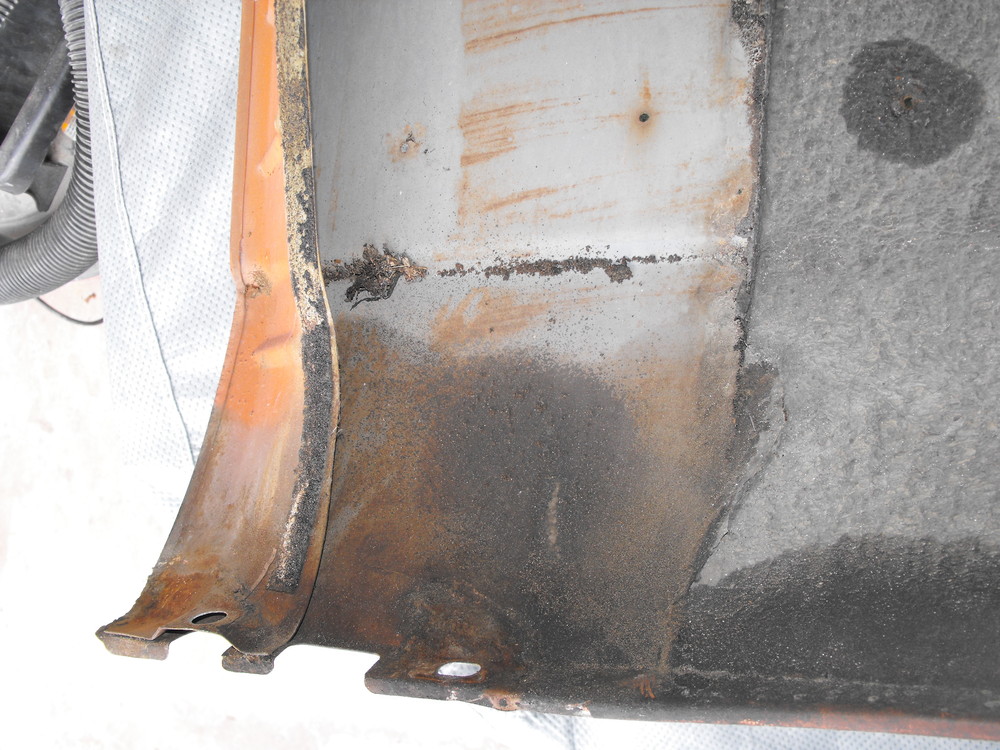
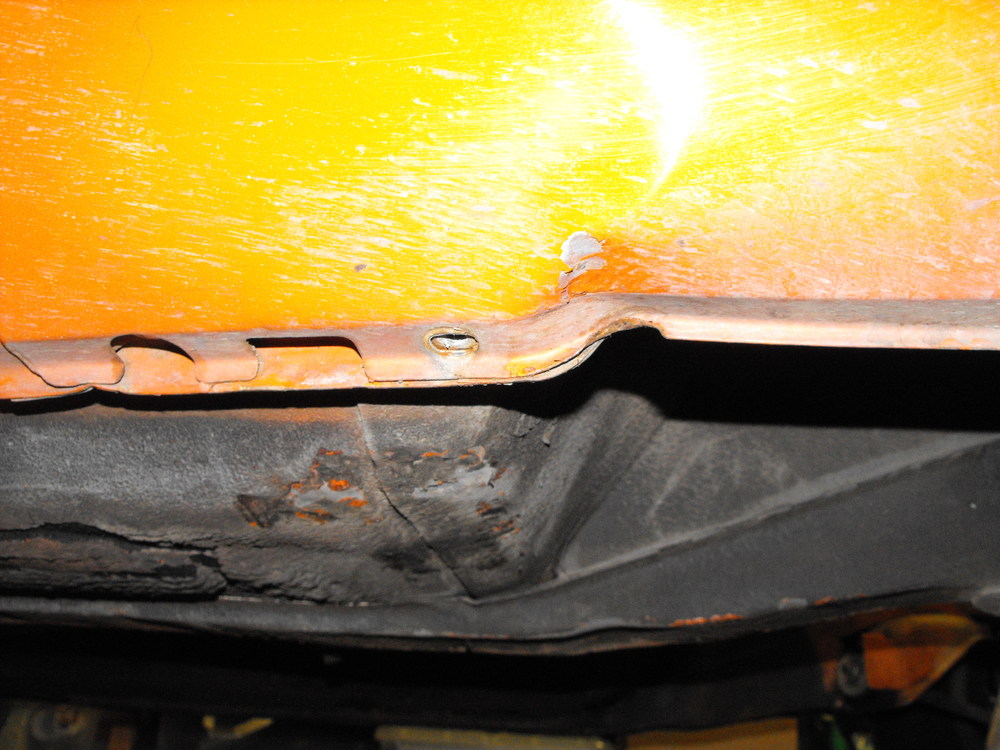
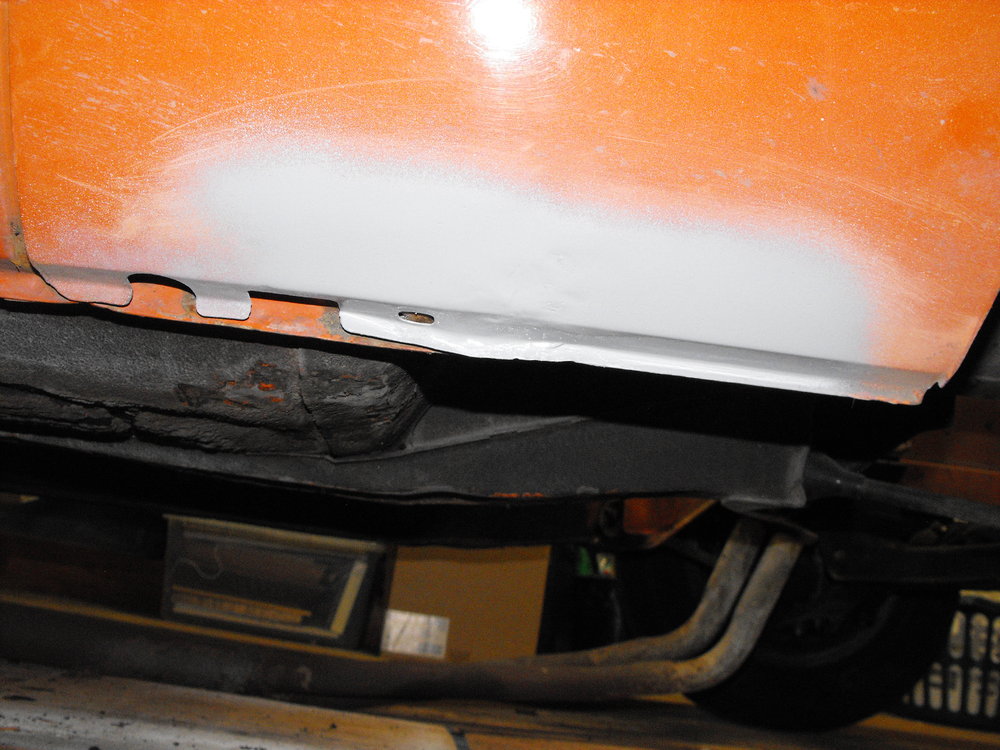
Things like this are always interesting to me. A little more Z CSI. The single panhead phillips screw (wrong type) and the two hex phillips screws(correct type) to support the windshield wiper pivot. Makes me wonder why the wiper system was removed at some point. Fortunately I have a whole box of the hex phillip screws with the yellow zinc coating. so no trouble finding the correct screw. I cleaned up the panel area under the back hatch. That had some significant rust as you can see in the pics. I wire wheeled all of the rust off and put on rust inhibitor yesterday. Used the filler today and sanded the area to form. It still needs a bit of final shaping, but is close to what it needs to be. Pics are below.


-
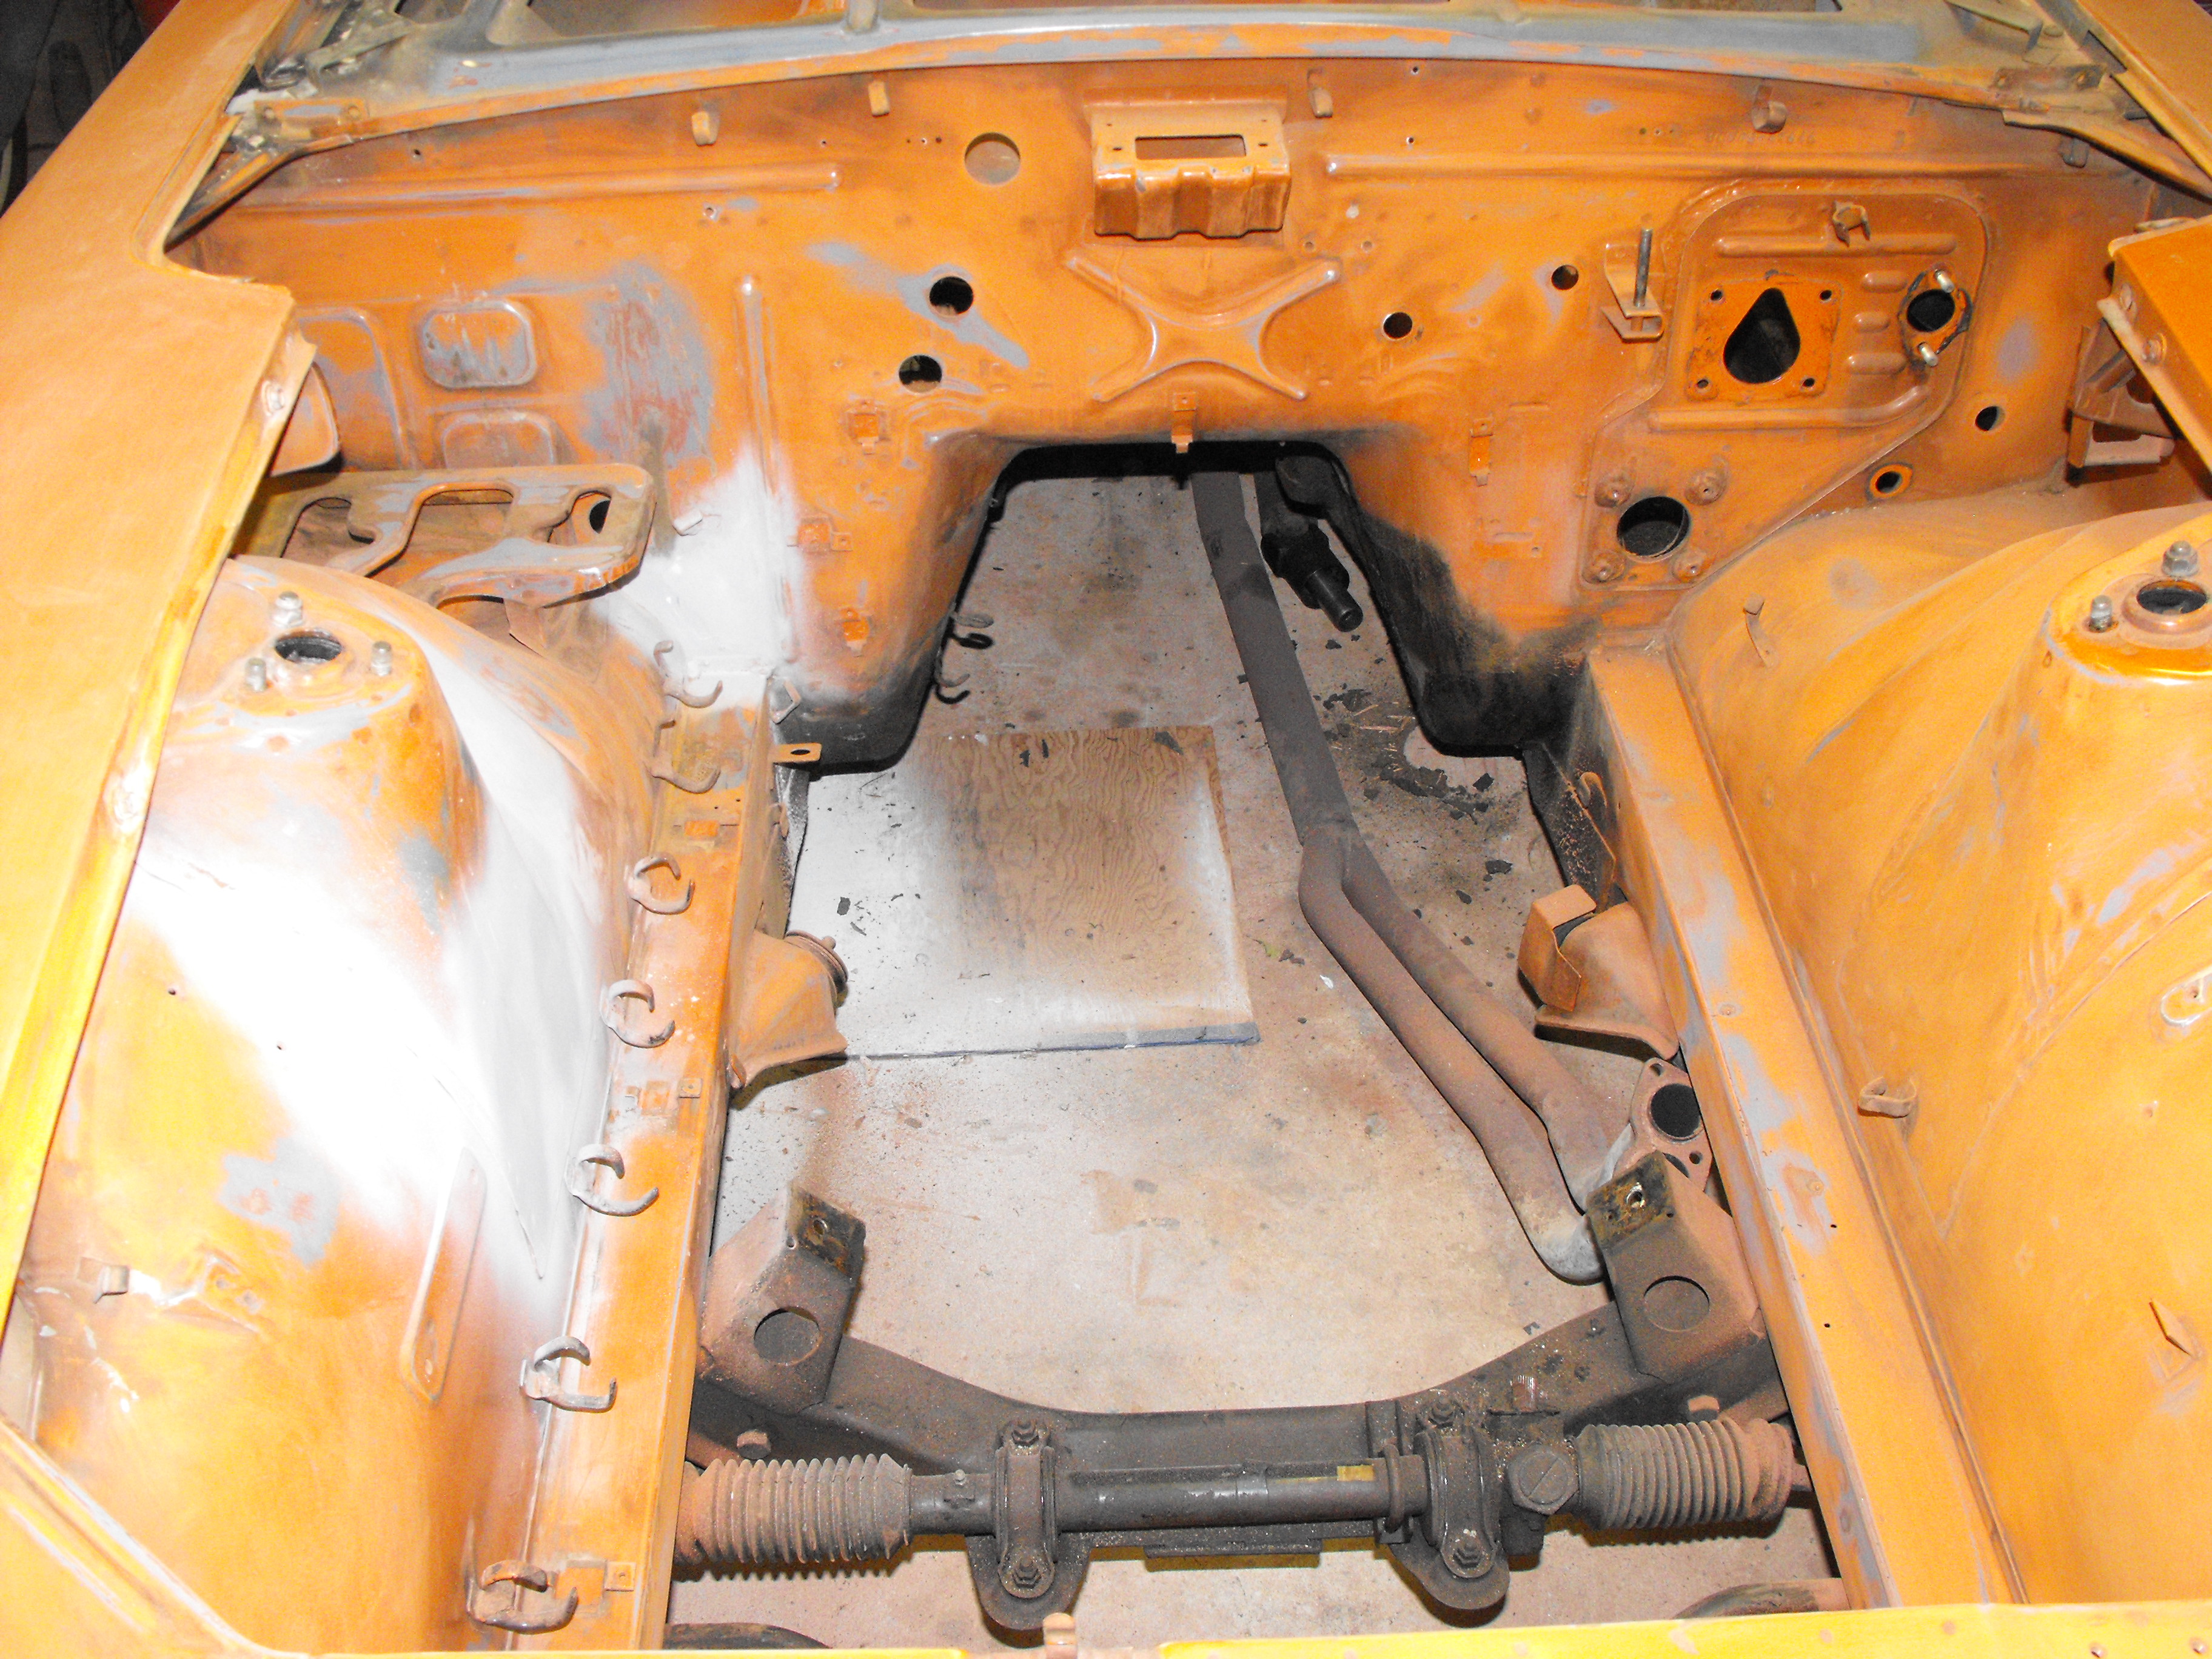
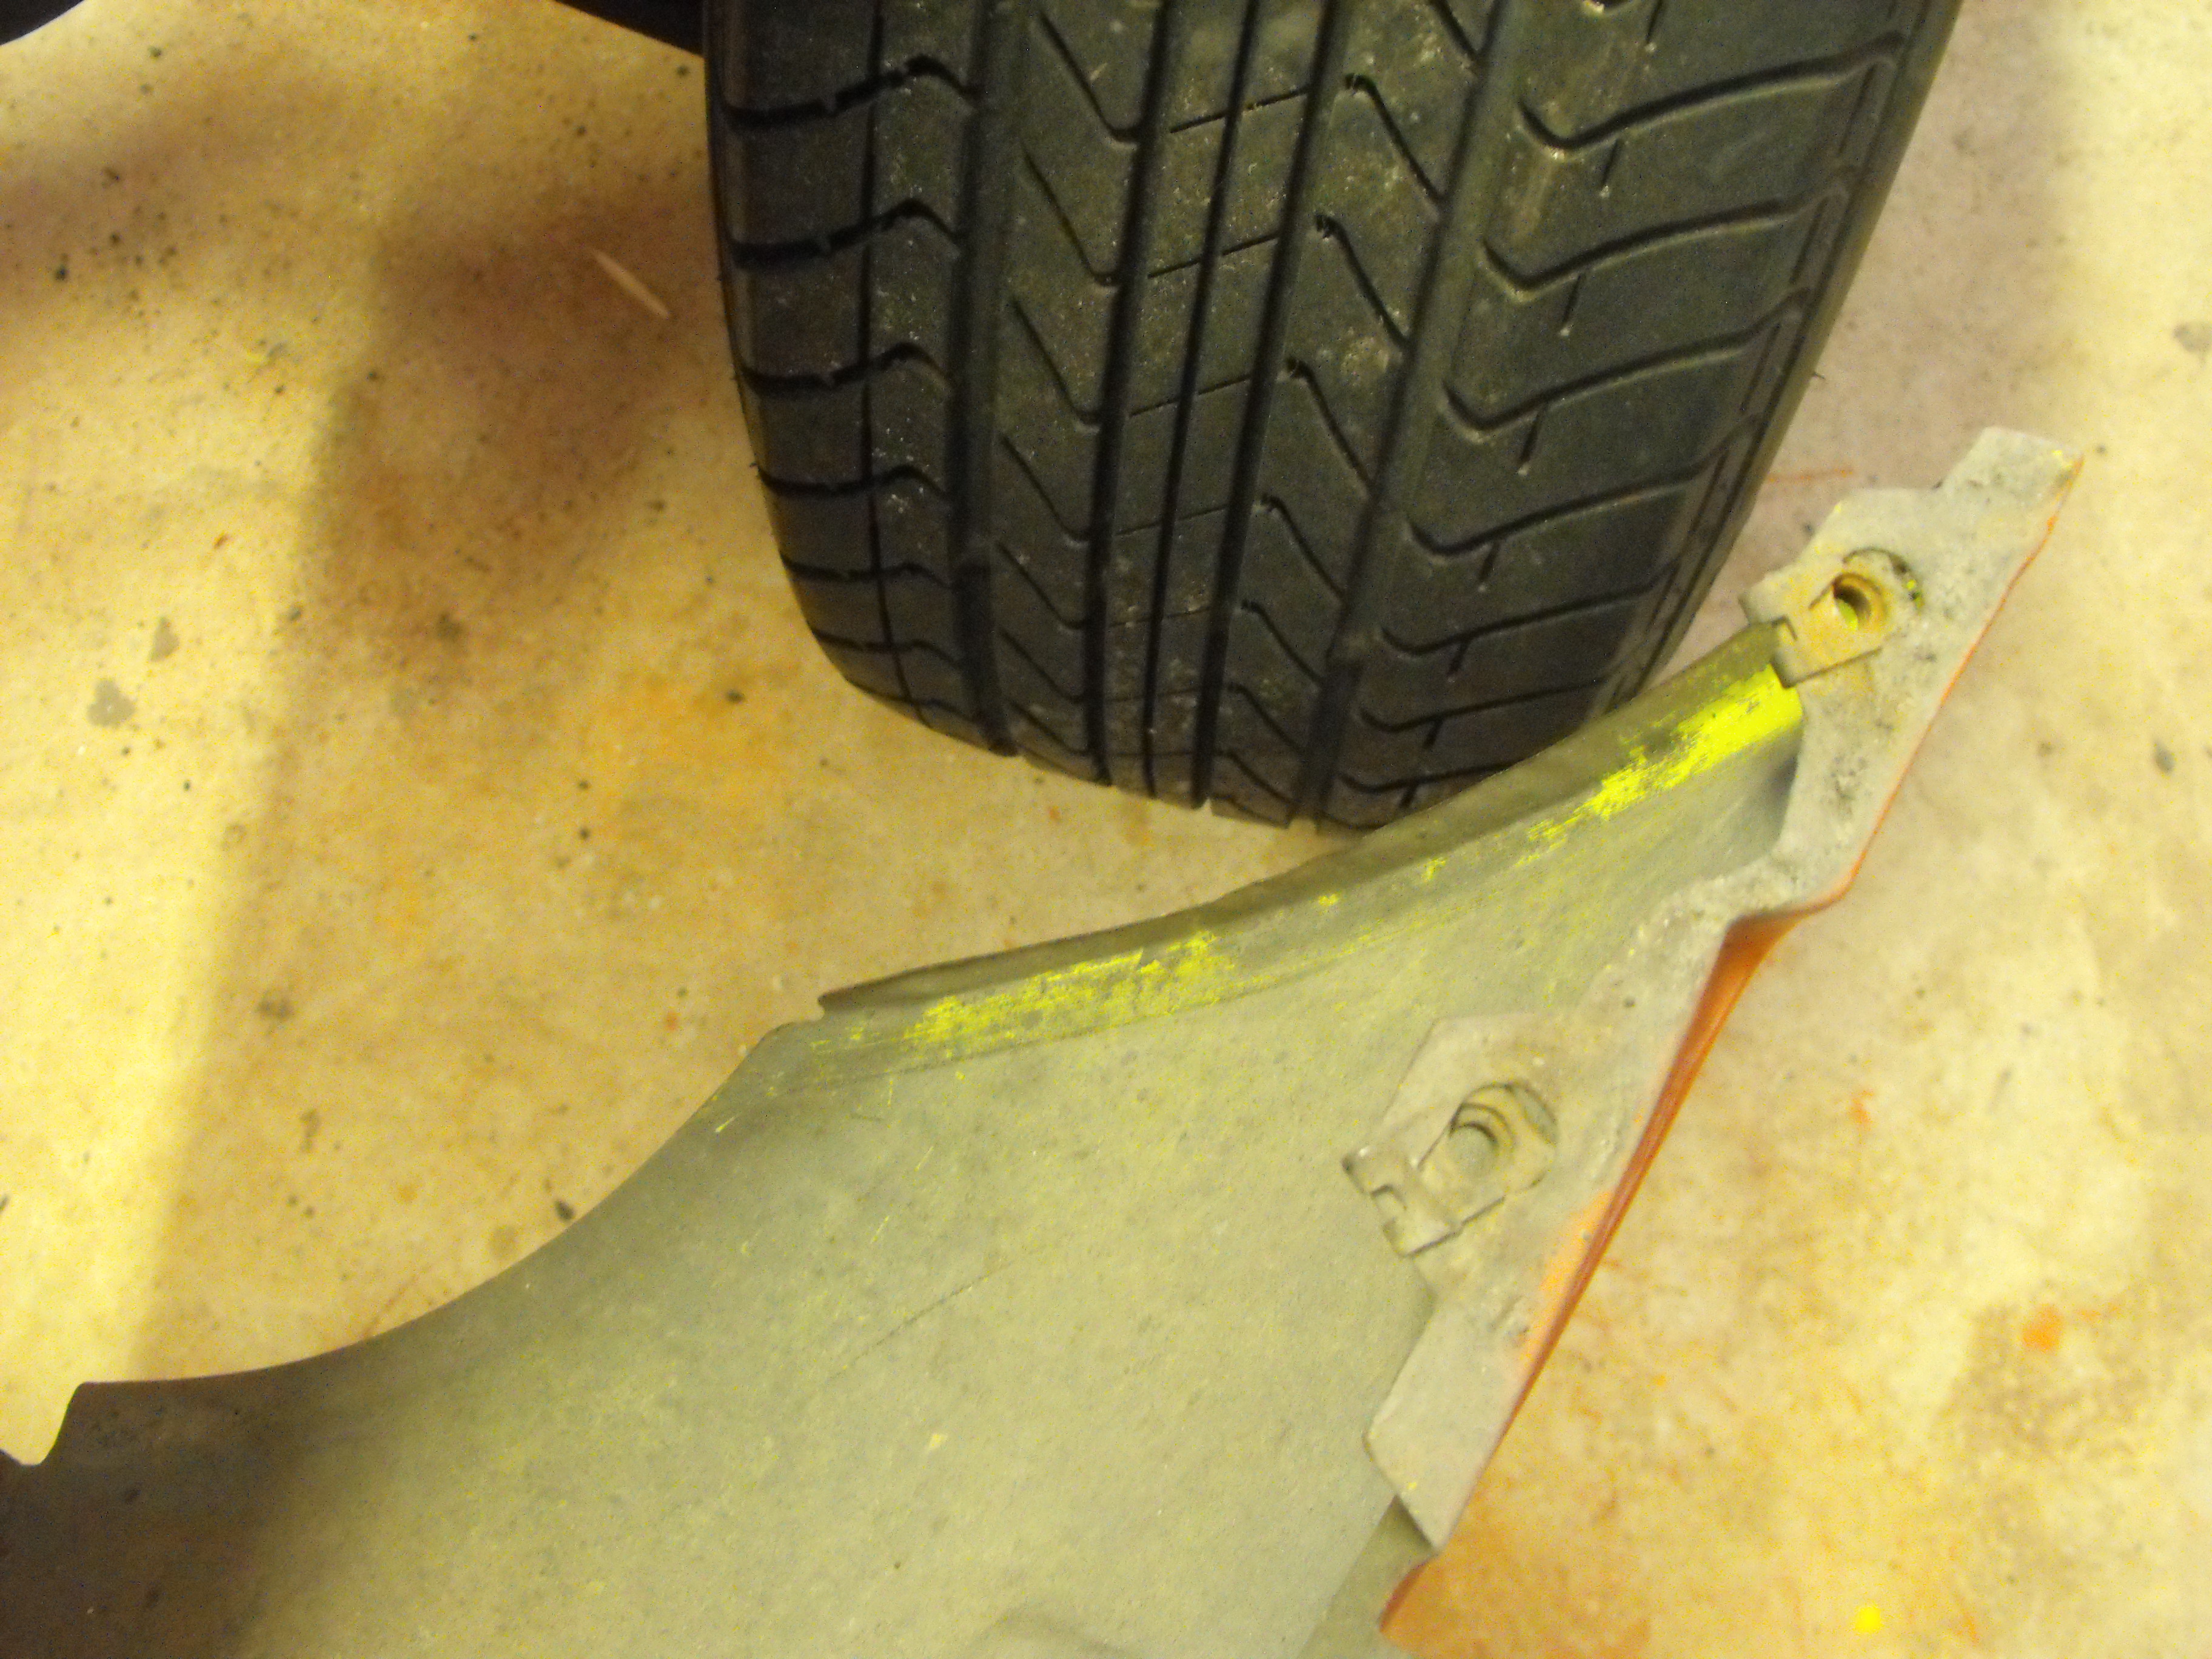
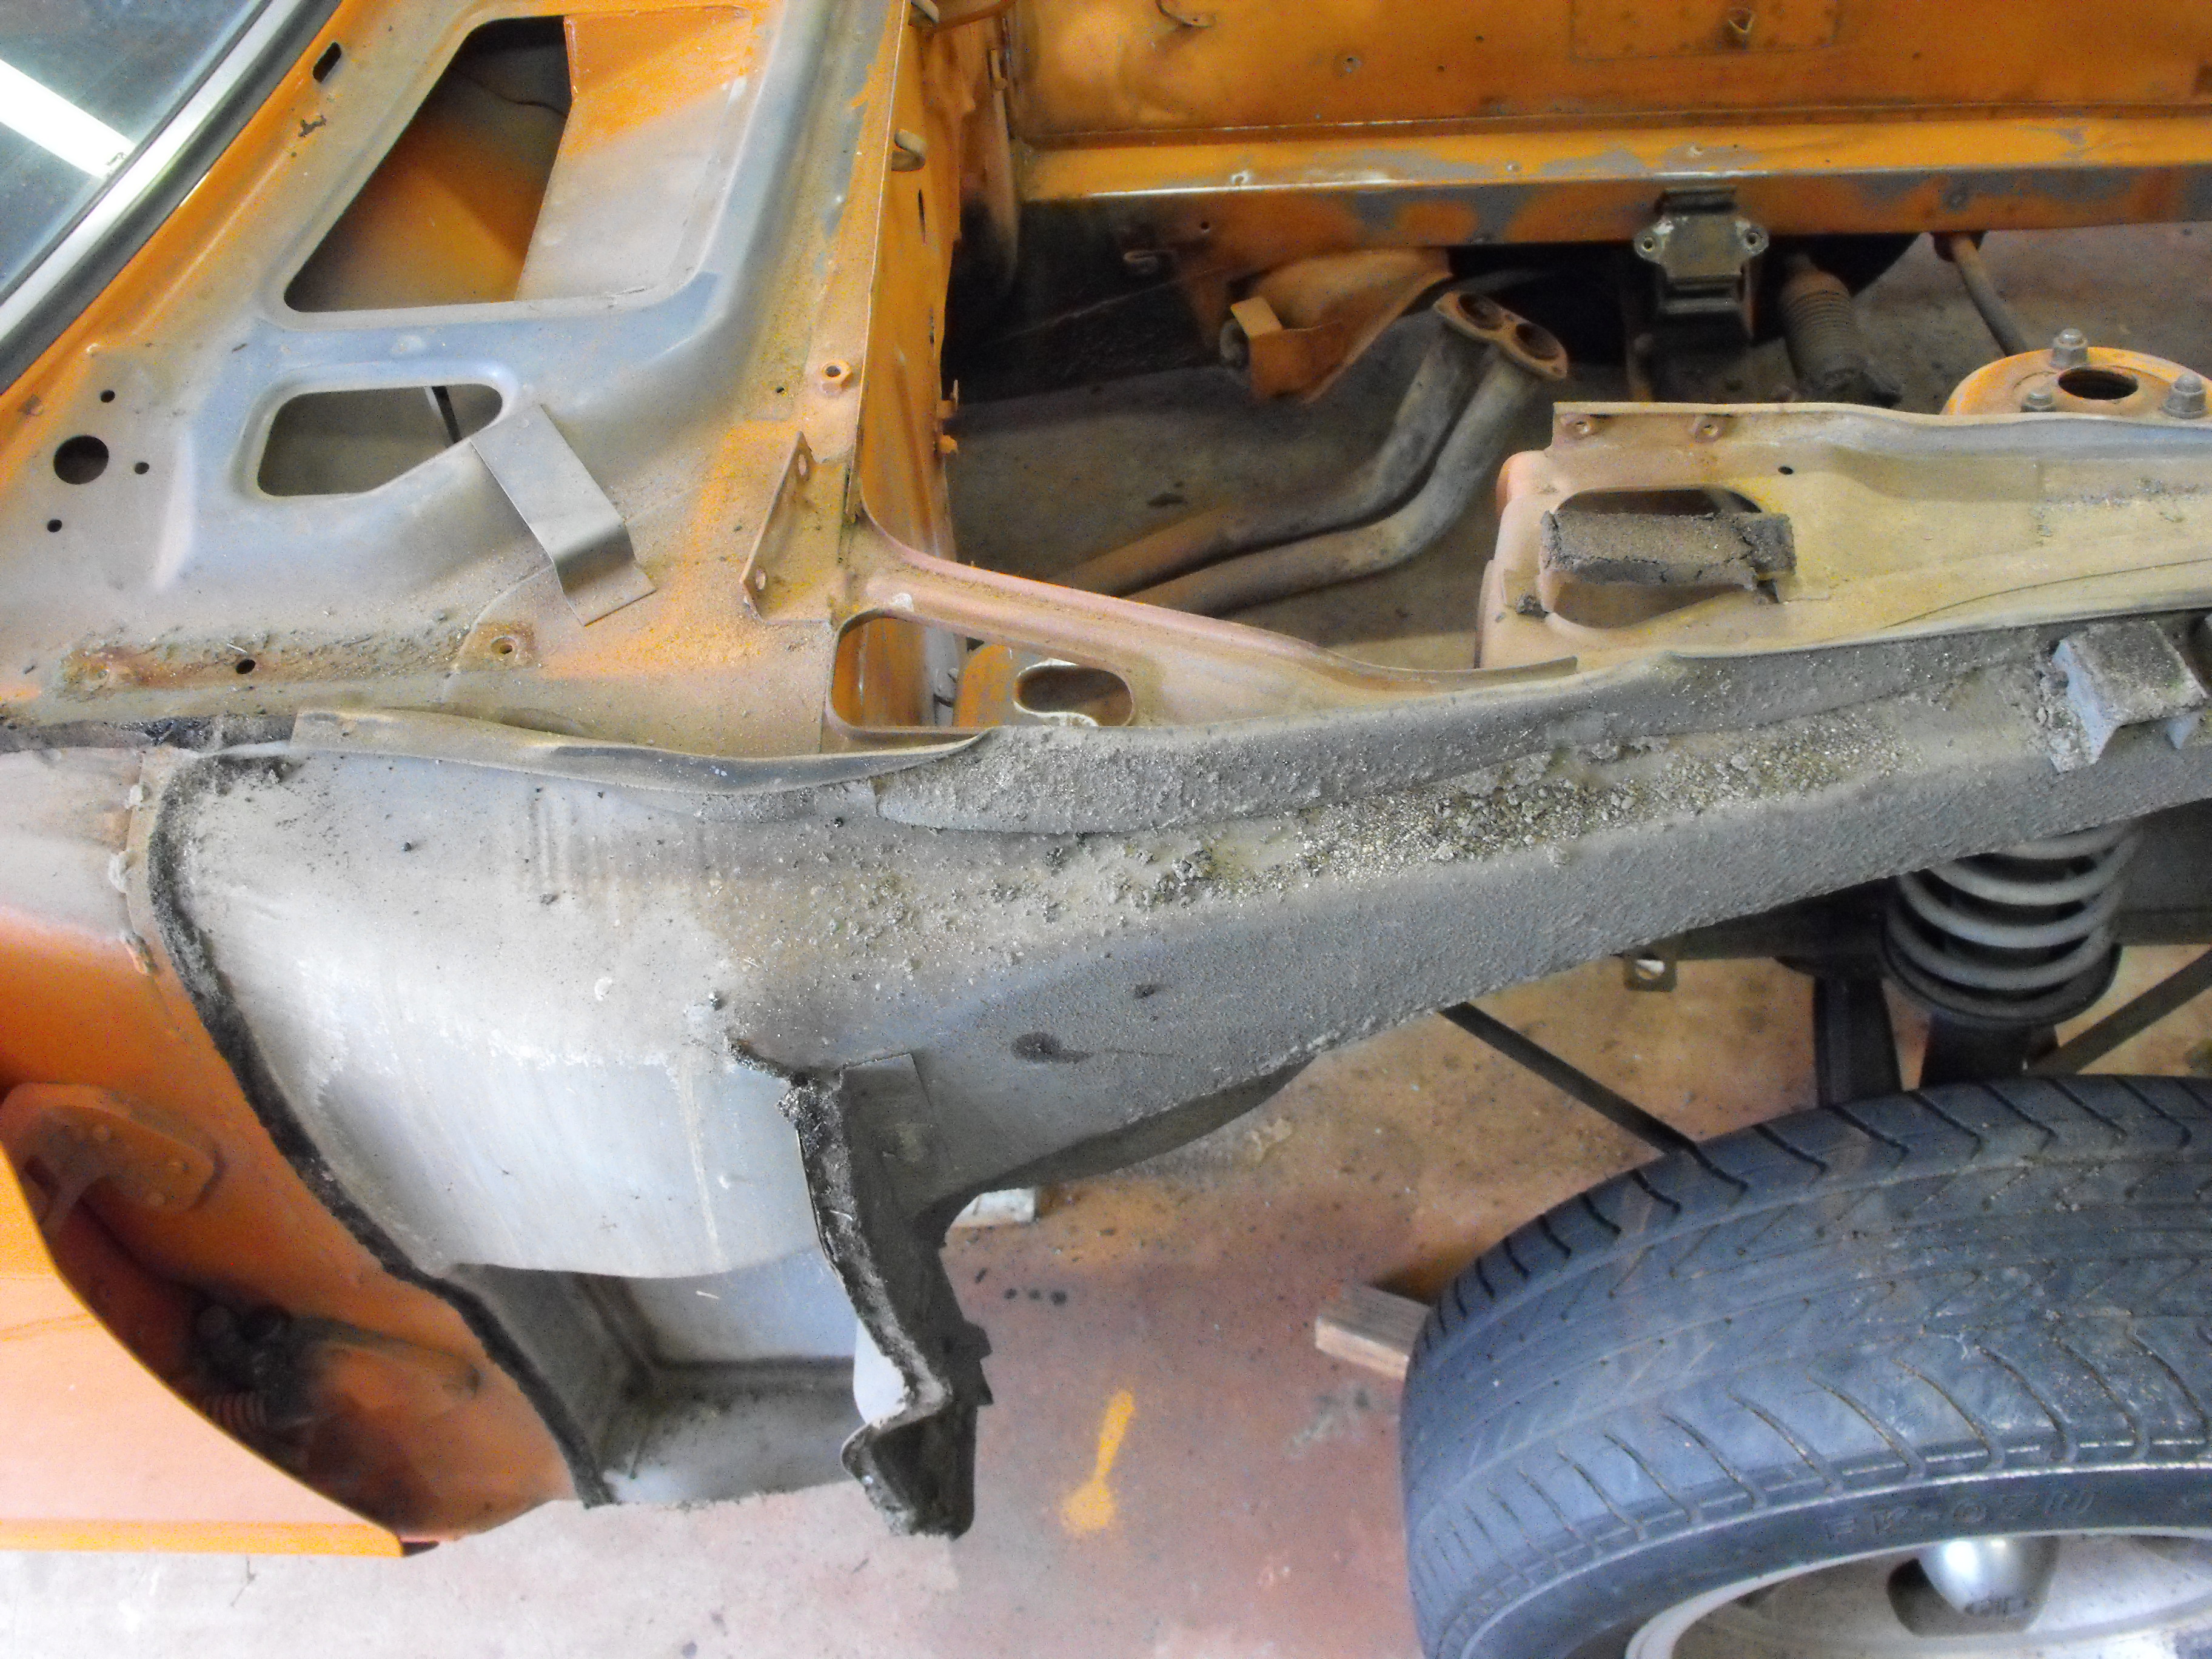
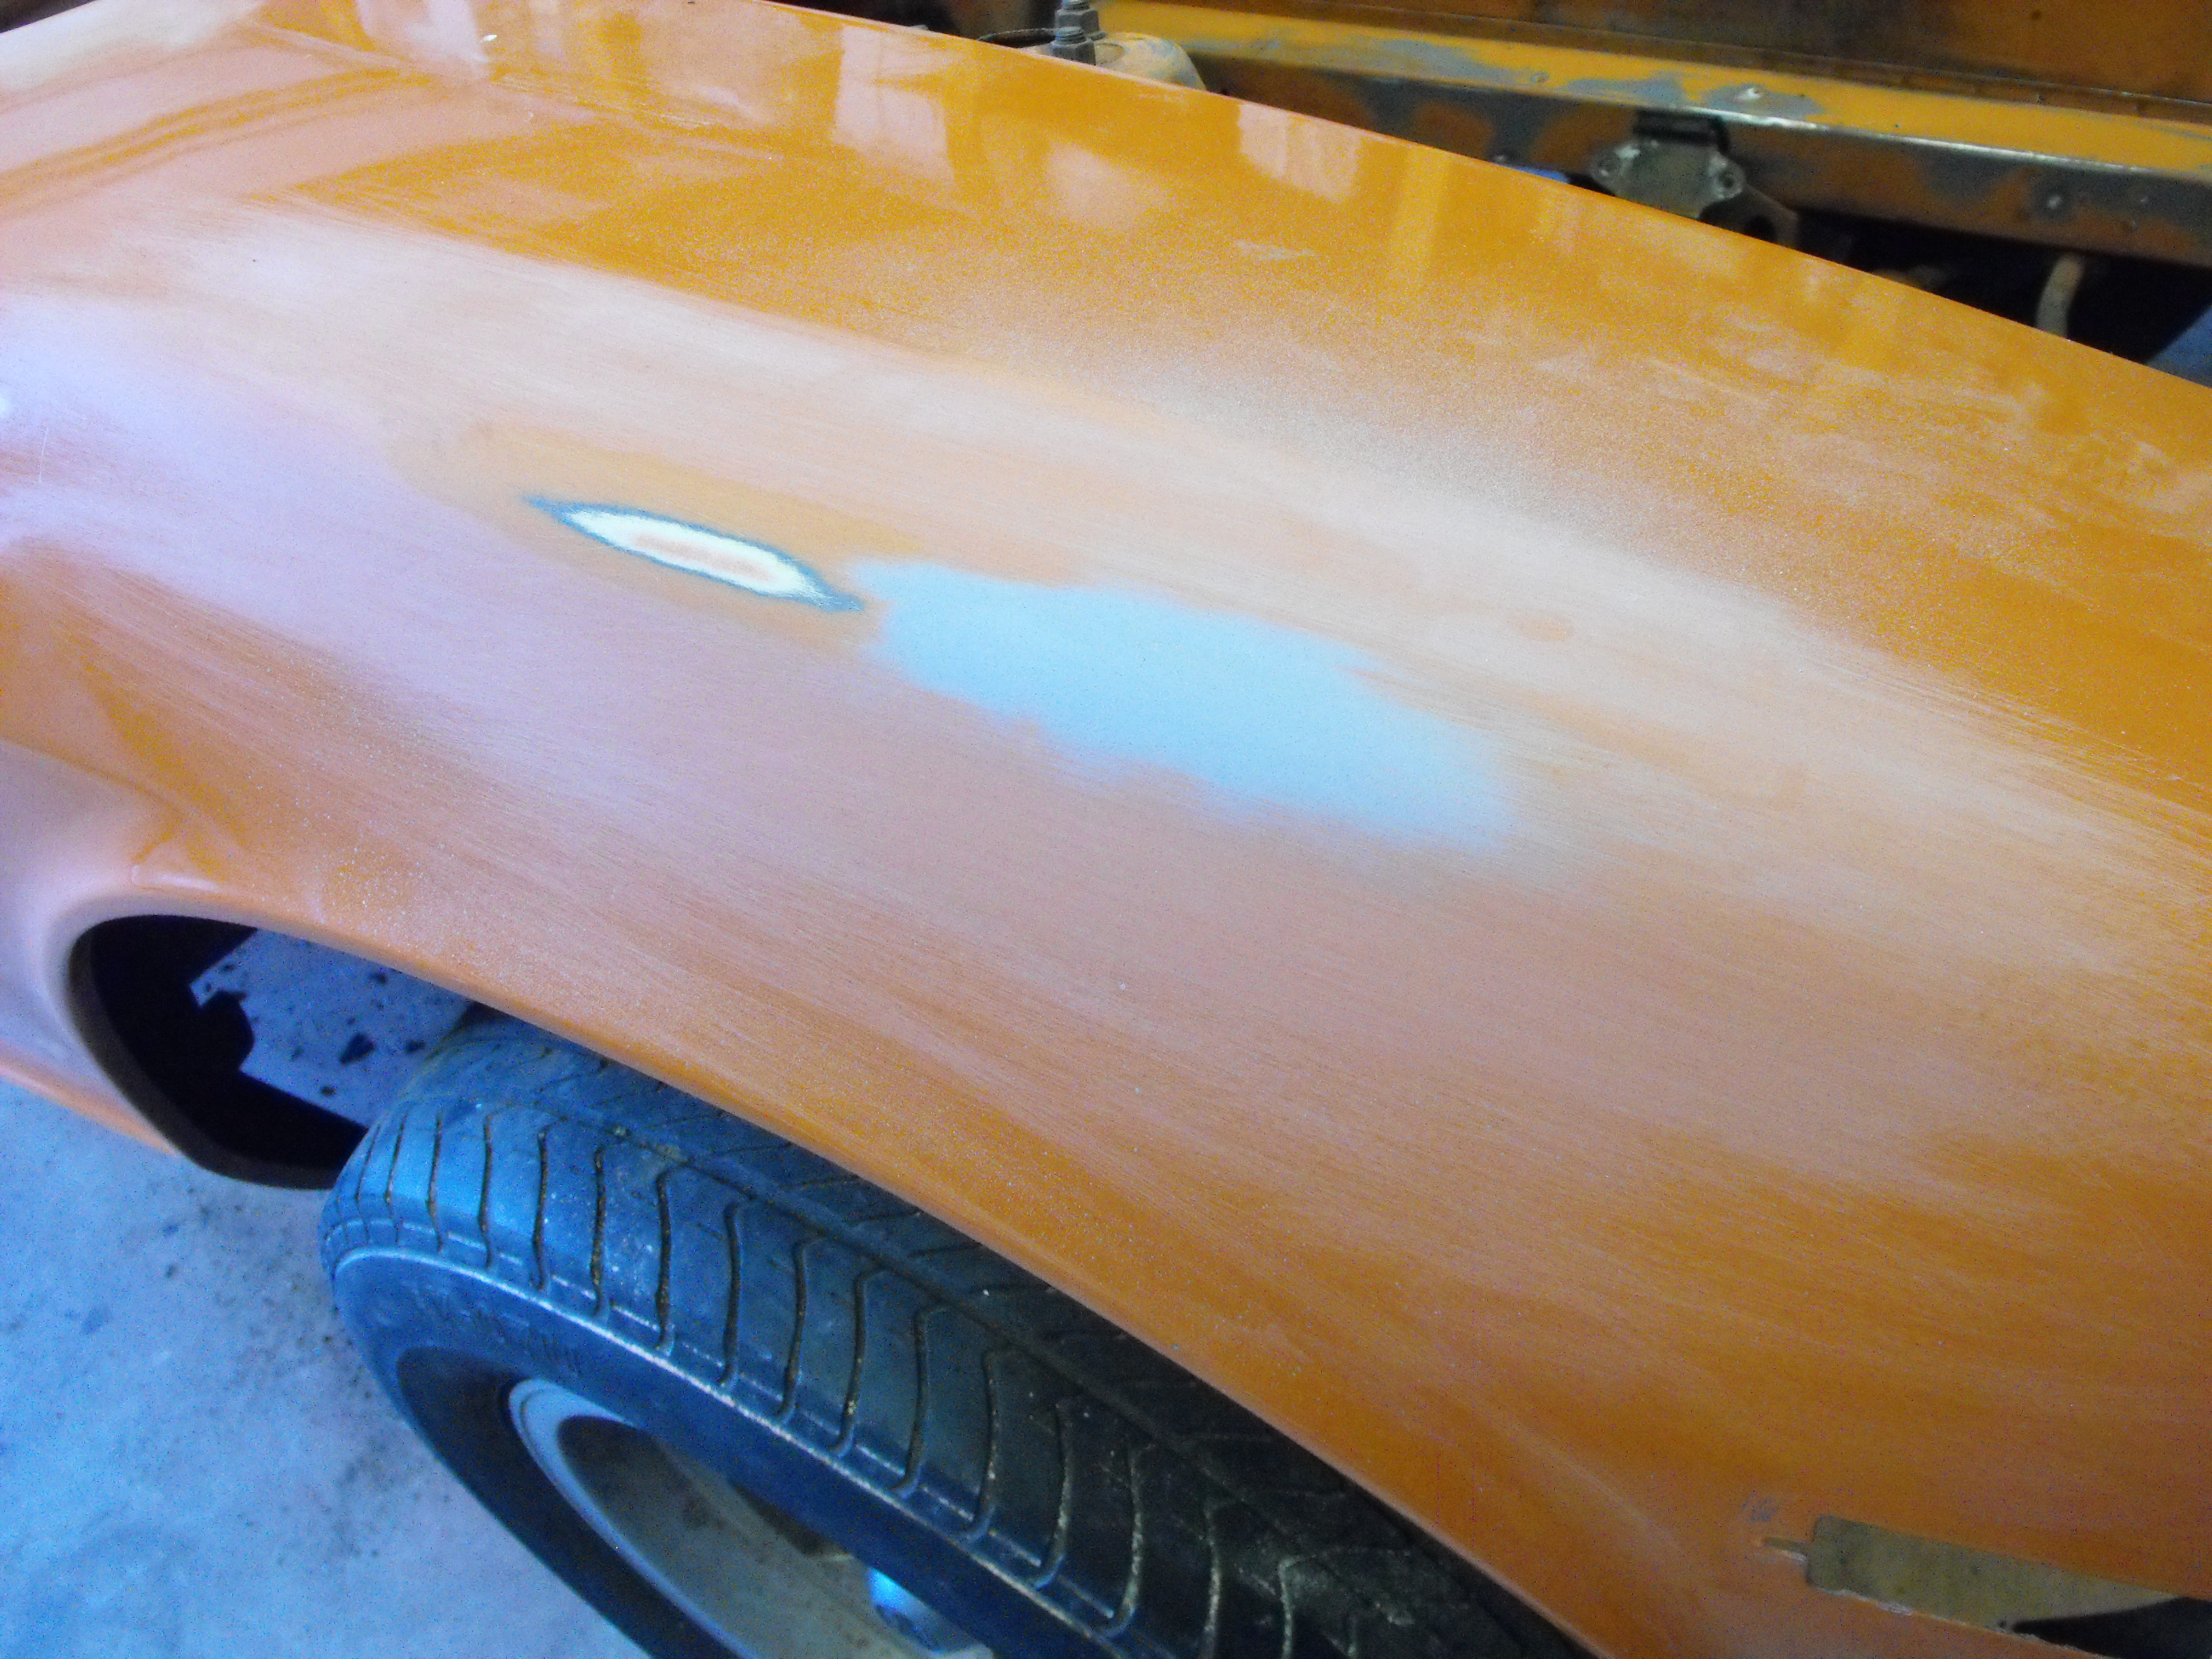
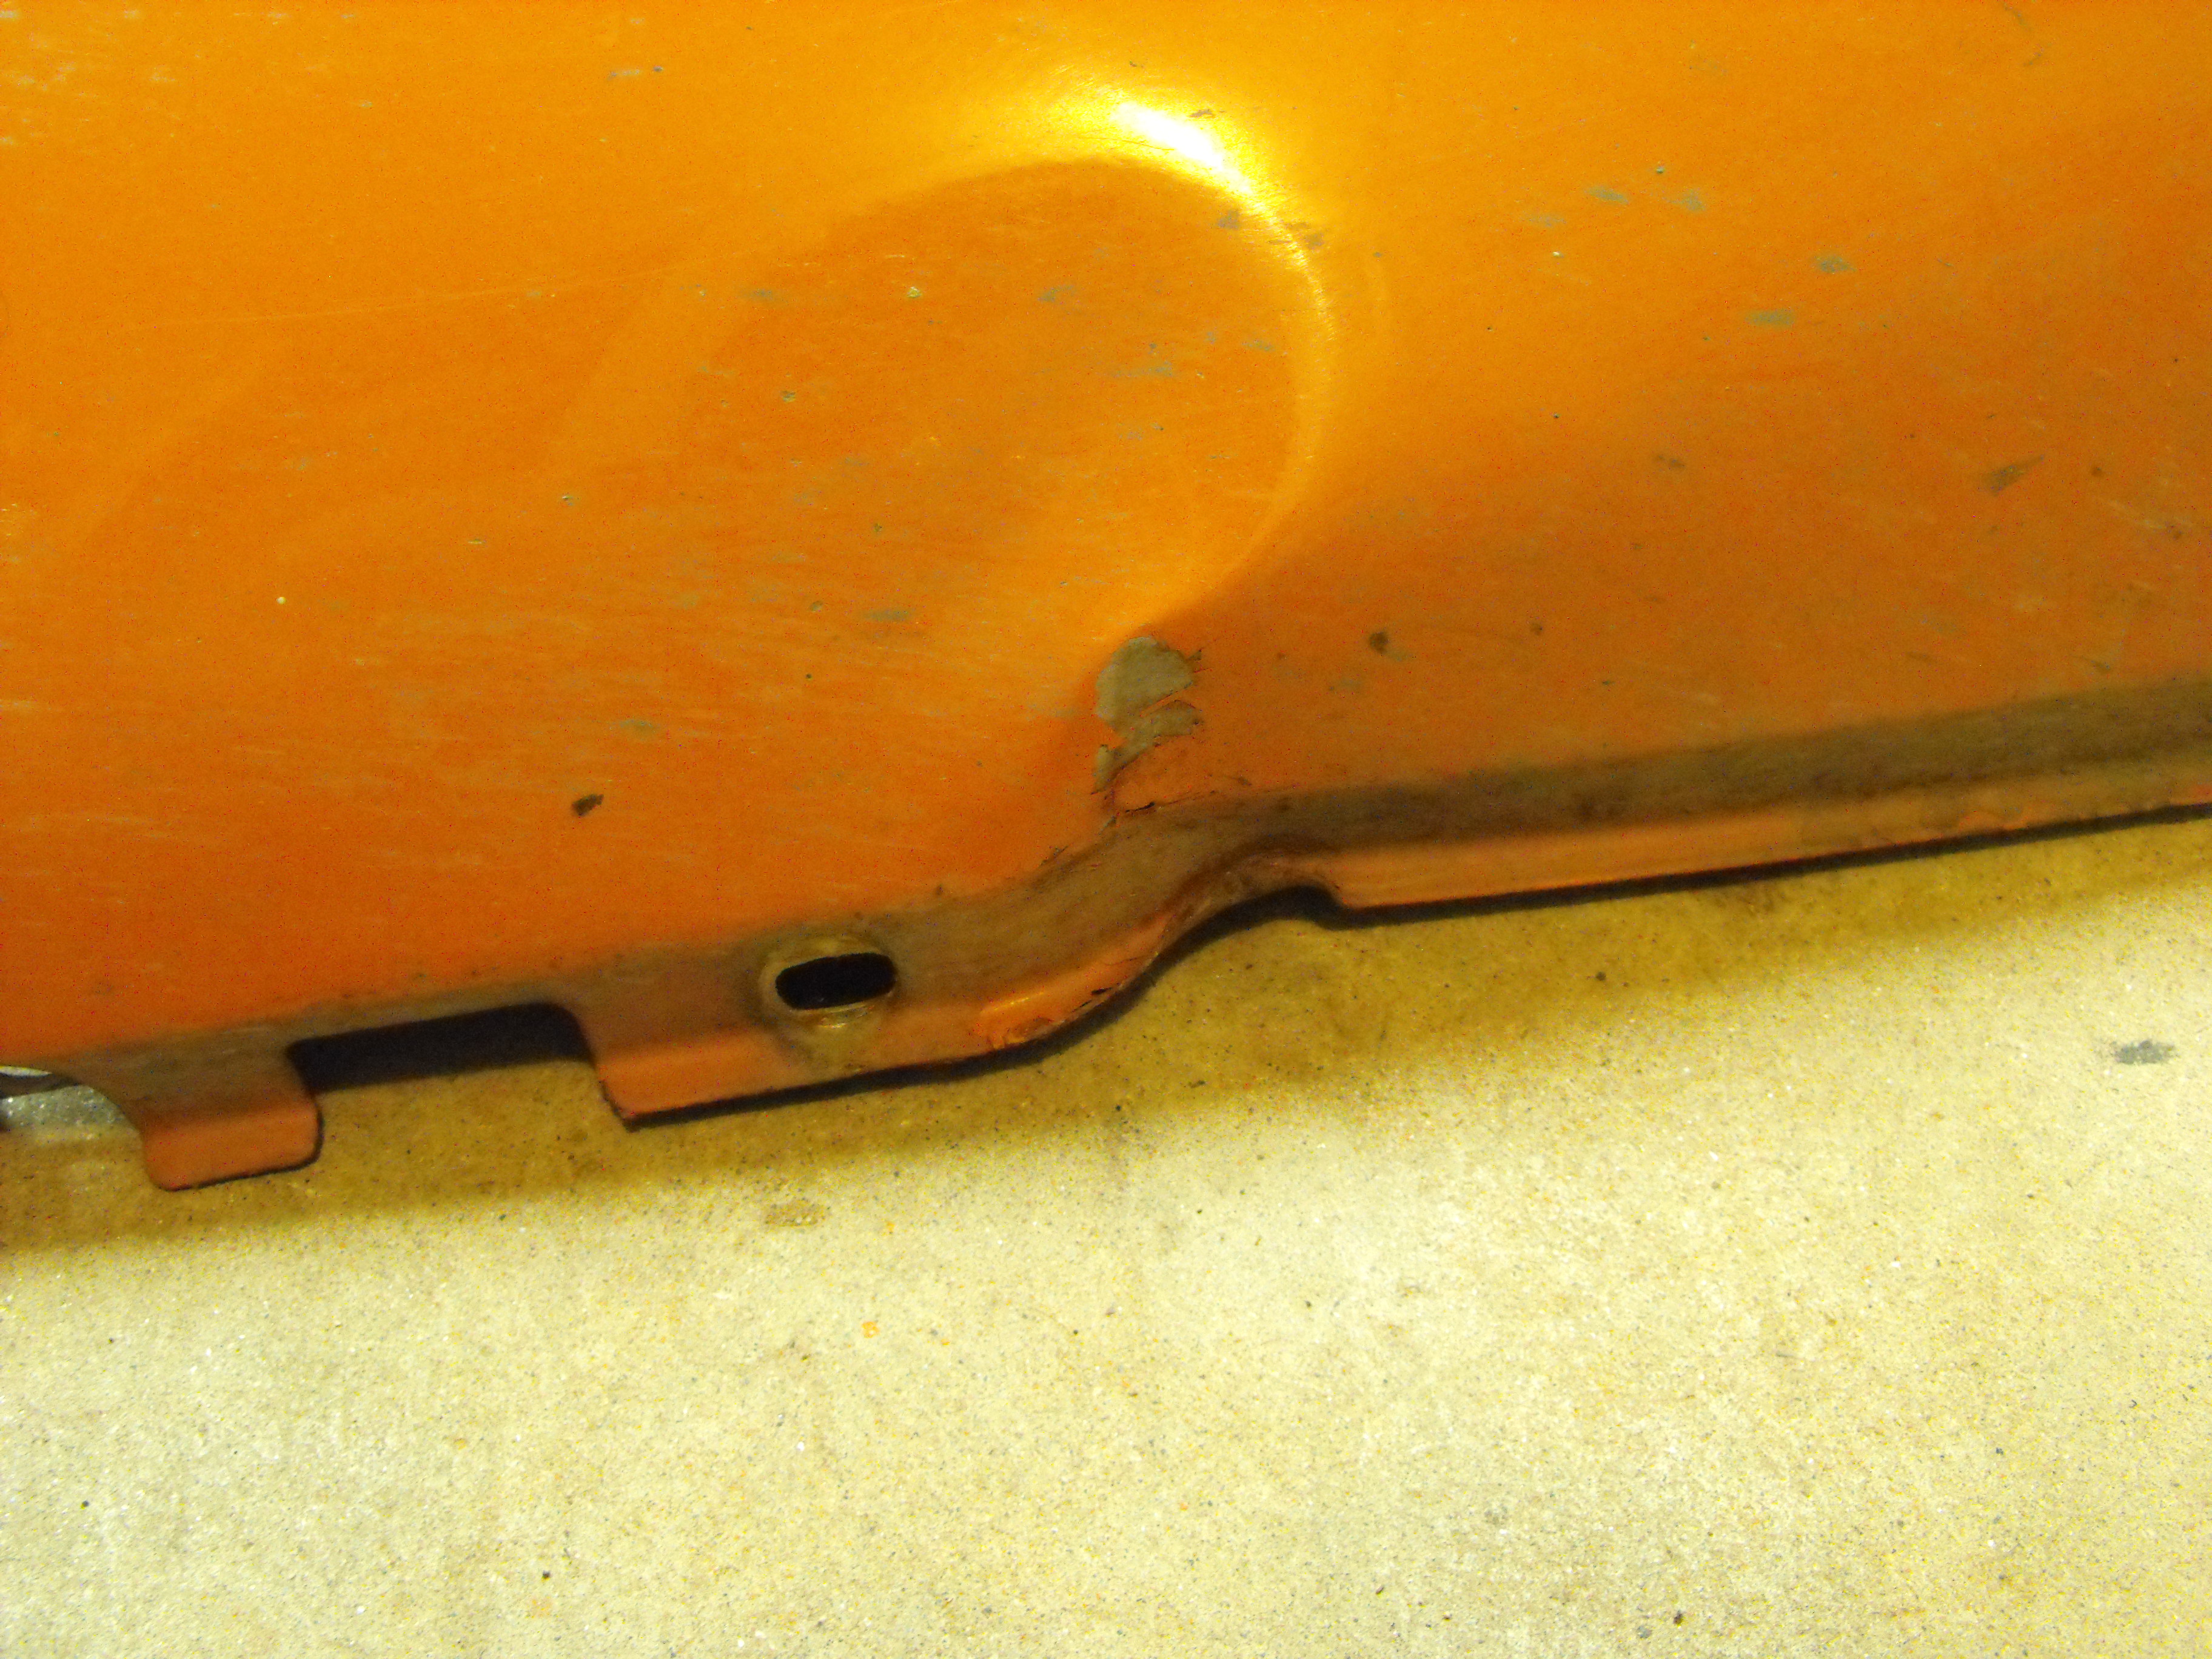
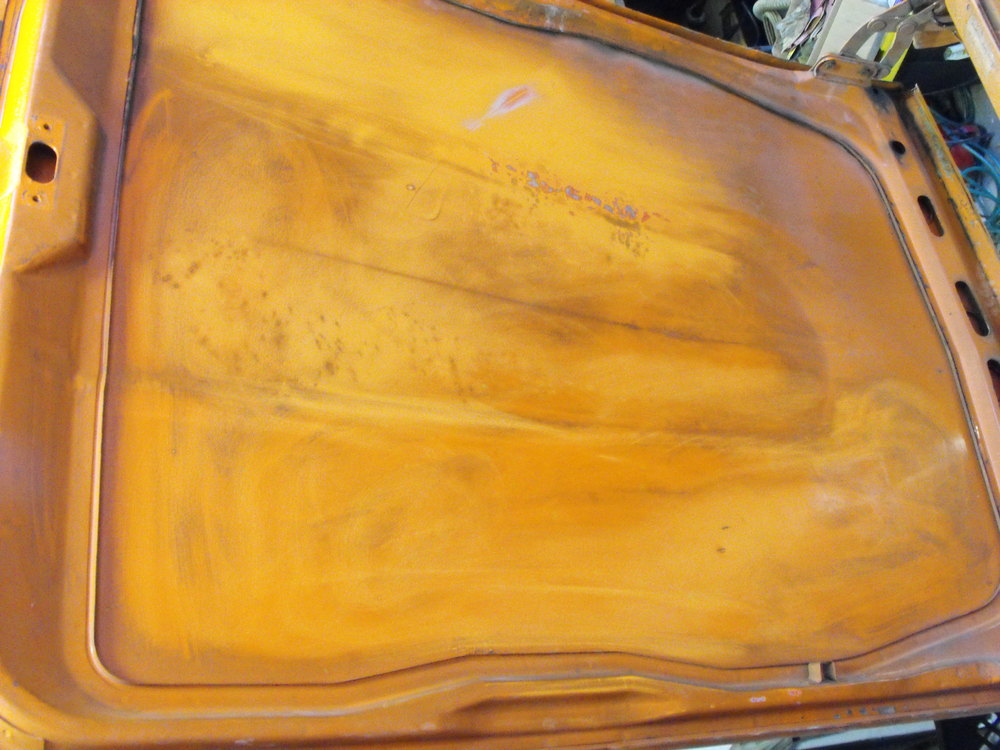
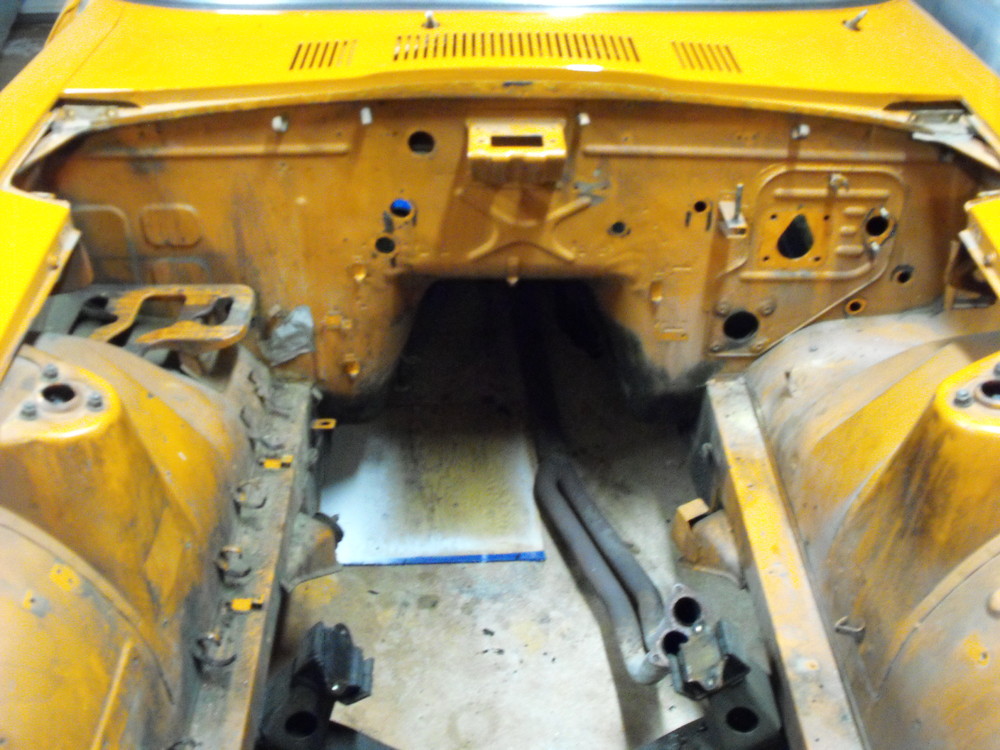
Nothing too exciting at this point. Body work and sanding is the dull slow part. Started on the engine bay prep. Before pic is shown below. Wiped down the engine bay with lacquer thinner to remove the oil residue. I plugged 6 small holes and the 2 large holes that were previously used for the AC system. We won't have the AC system installed so that makes things a bit easier. Also fixed the little ding on the fender. I noticed a little yellow paint as I sanded the fender. I am guessing this fender was replaced at one point and the fender came from a yellow car? I don't think that is primer or filler. The battery area is in good condition with just some trace surface rust. Here are some of the pics.


-
Hi Carl, Yes, I will look in to that. I was planning on doing the entire undercarriage with the POR-15 anyway, just as I did on the previous orange one. It wouldn't be that hard to add this for the inside of the frame rails as well. Thanks for the tip. Rich
-
That'll work :-) Also, thanks all for the wiper bag sources. Will check those out.
-
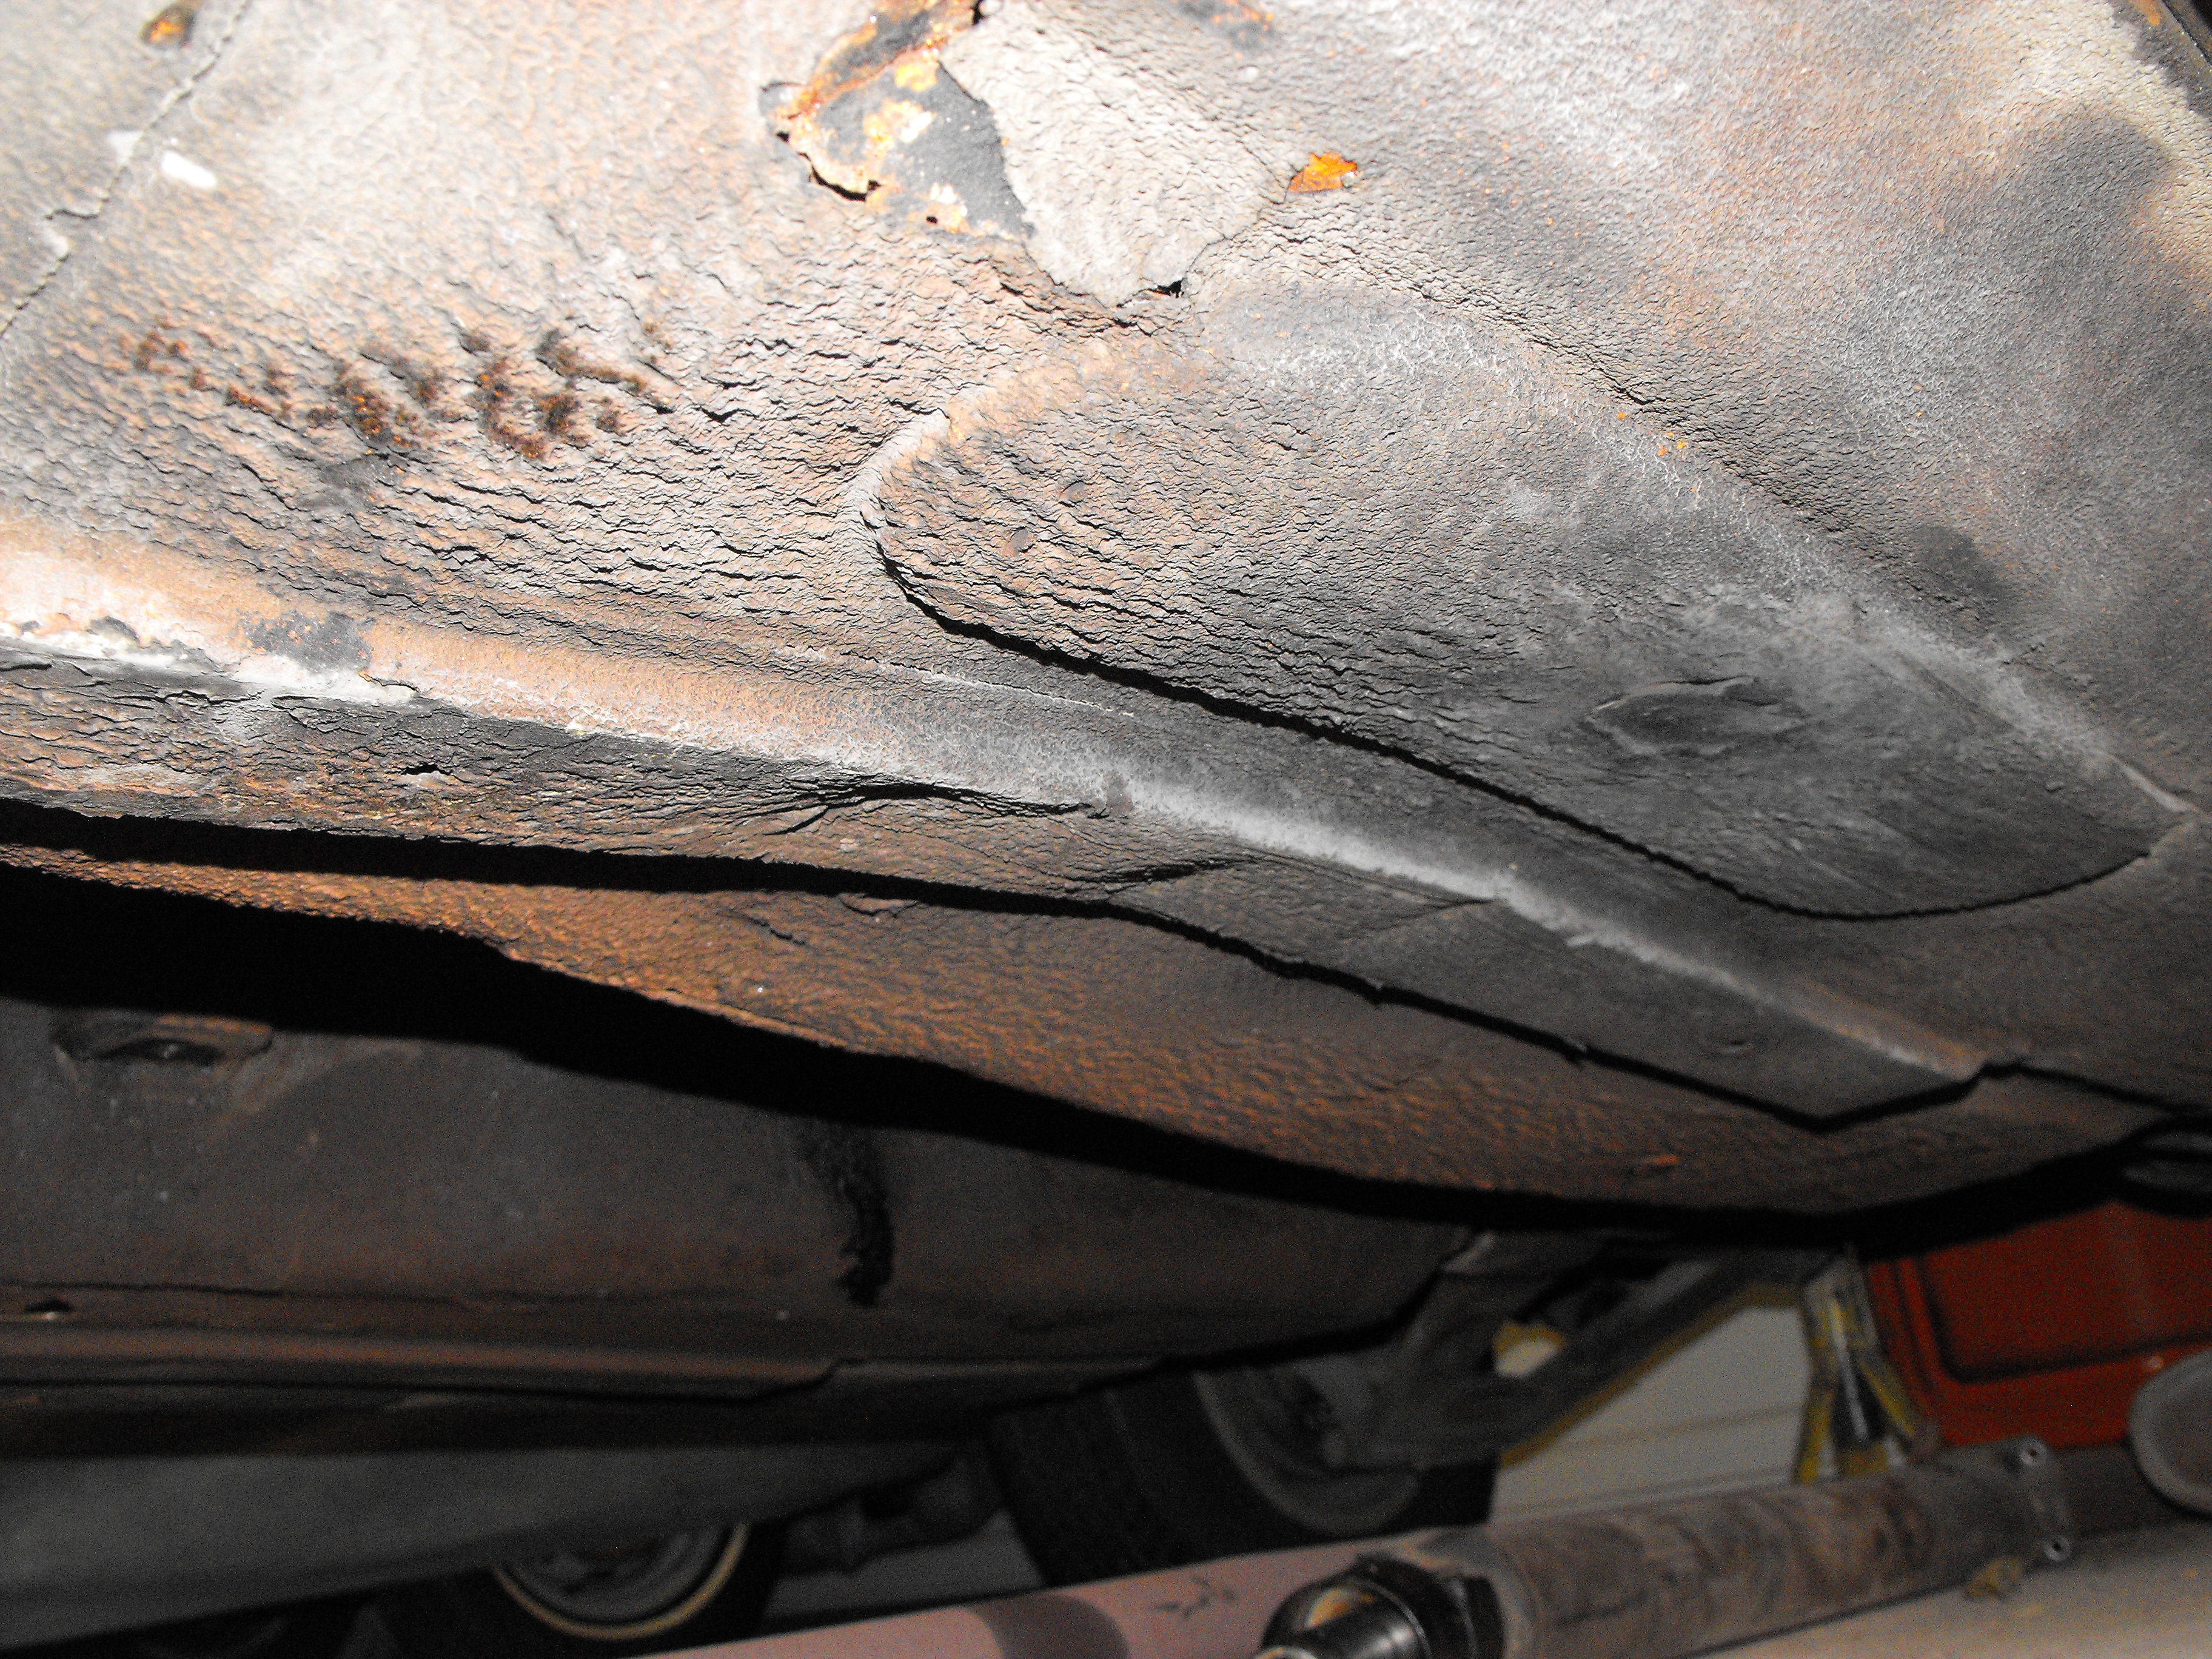
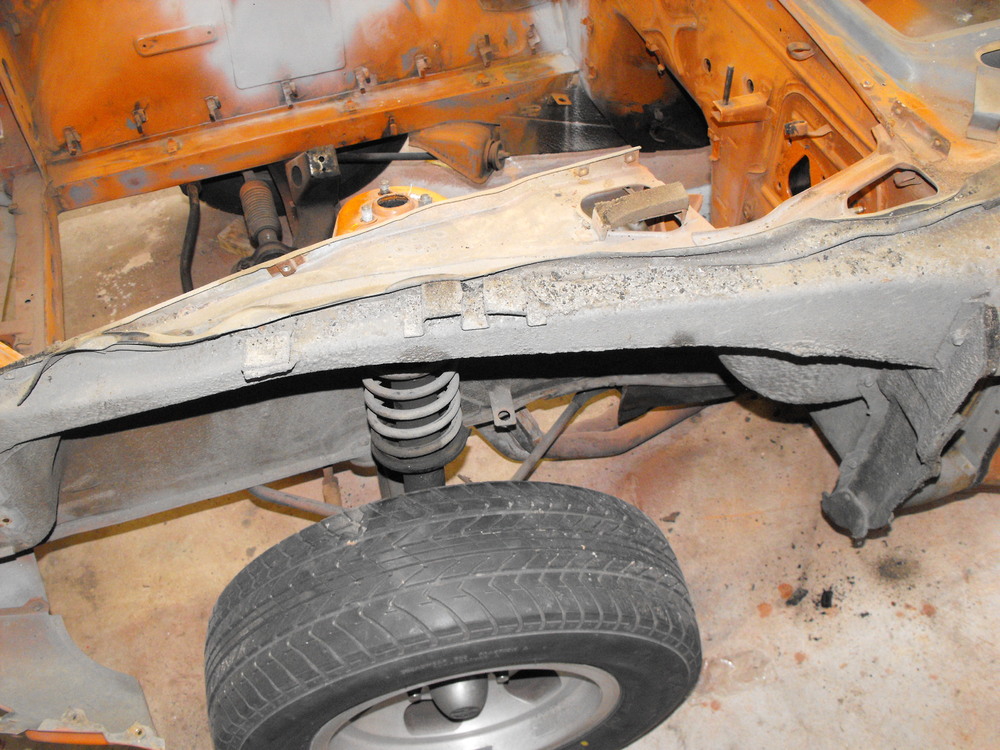
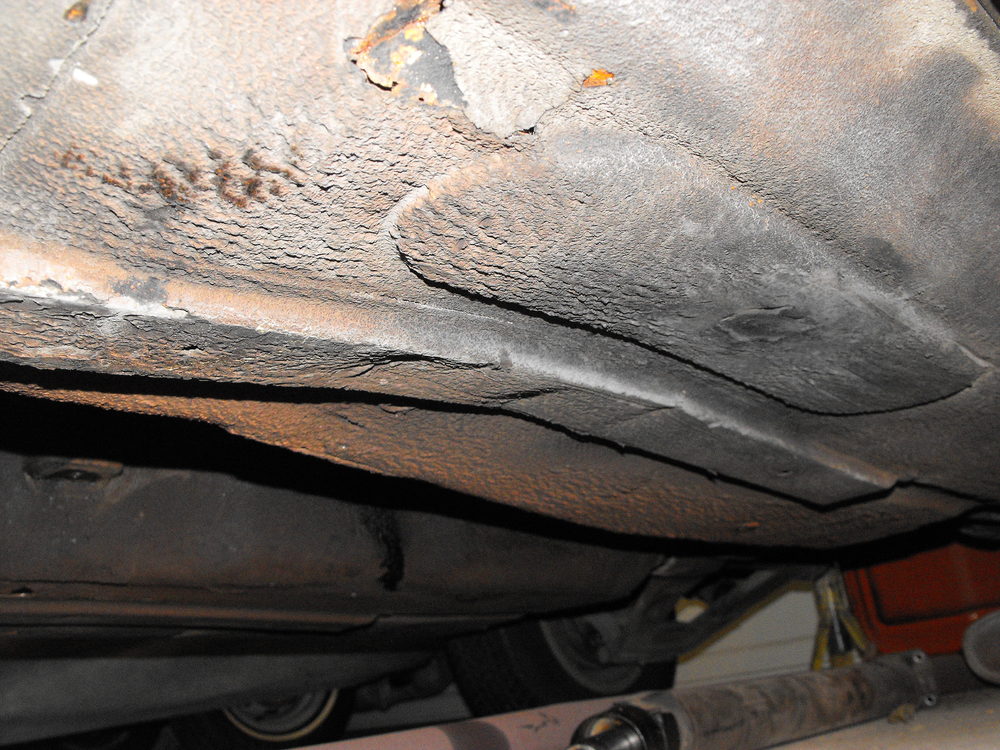
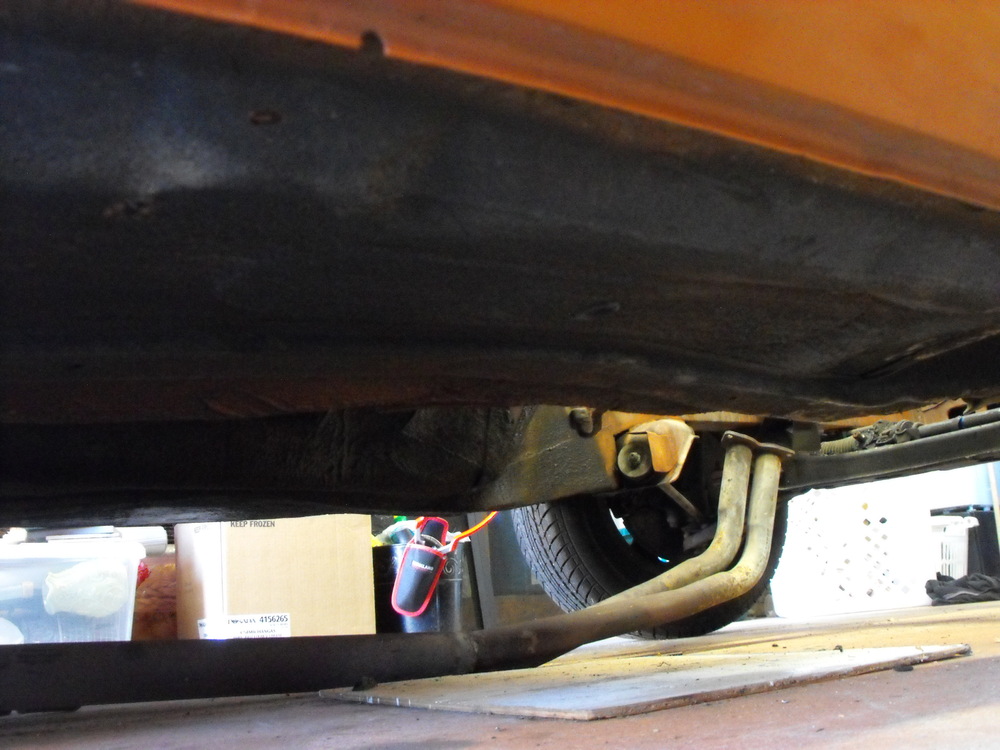
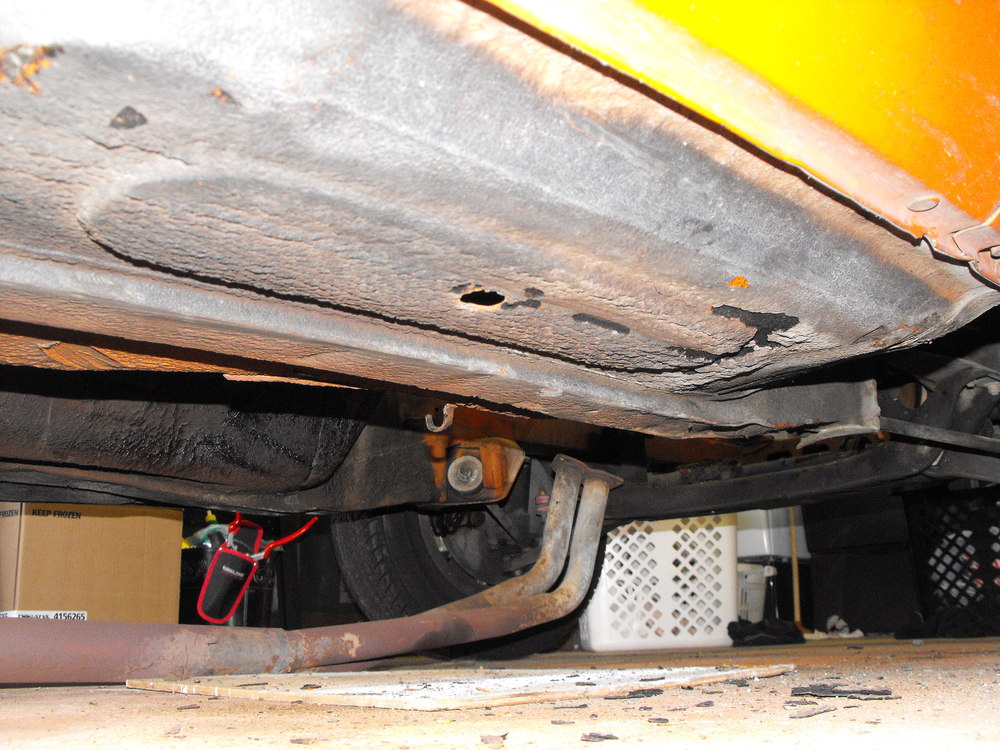
Hi Zedyone, The sides of the square channel seem to straighten out nicely as they are 'massaged' into shape, removing some of the 'kinks'. The center part still needs to be cleaned up with the slide hammer as they are still dented inwards. As you noted, it is covered from the inside and I do not want to put any holes in the floorboard, so I will use the slide hammer. I did this on my '71 and it came out pretty well. I know it seems odd cleaning up the underside of the Z, but when I look at any Z it is one of the first areas I check. Clean frame rails are hard to find now-a-days. Rich
-
The body work continues: Pounded out the driver side floor board this evening. It looks much better but will need some slide hammer work to finish. There is a small amount of rust through on this side. Will probably clean up and weld a 2" X 2" piece of sheet metal here. Removed the cowl. There is a lot of over spray from previous work/paint and a lot of runs in the paint in this area. Also, I will have to check on the availability of a washer motor cover. That may be hard to find. But then again, I may have one in my boxes. Started work on the right fender. Tapped it roughly into shape. The key to bodywork is to get the damaged area as close to perfect as possible WITHOUT the body filler. Once it is close, then the body filler goes on. We want to keep that to a minimum. I will need to go to TCP Global and pick up a small can to finish the fender out. Will also use this in the back hatch area. Anyway, here are a few pics.


-
This Z is actually a '72 Z built in '71, so that may explain why it is silver. I was not aware of the timing of that change, so thanks for the info. I probably need to contact Mike and see if he can change the title of the thread to read '1972 Restoration' instead of '1971 Restoration'.
-
Yes, I guess there are a number of ways to attack this. Hard to say which way is best. I was pretty happy with the hammer results and it actually came out better than expected. Also, the floor is in pretty good condition with no major rust, so no need to replace. Structurally it seems to be pretty solid. I will work on the drivers side dents this Thursday. It is dented about the same as the passenger floor pan was. I also noticed in the pic that I missed a spot at the aft end. I will have to go back and tap that out.
-
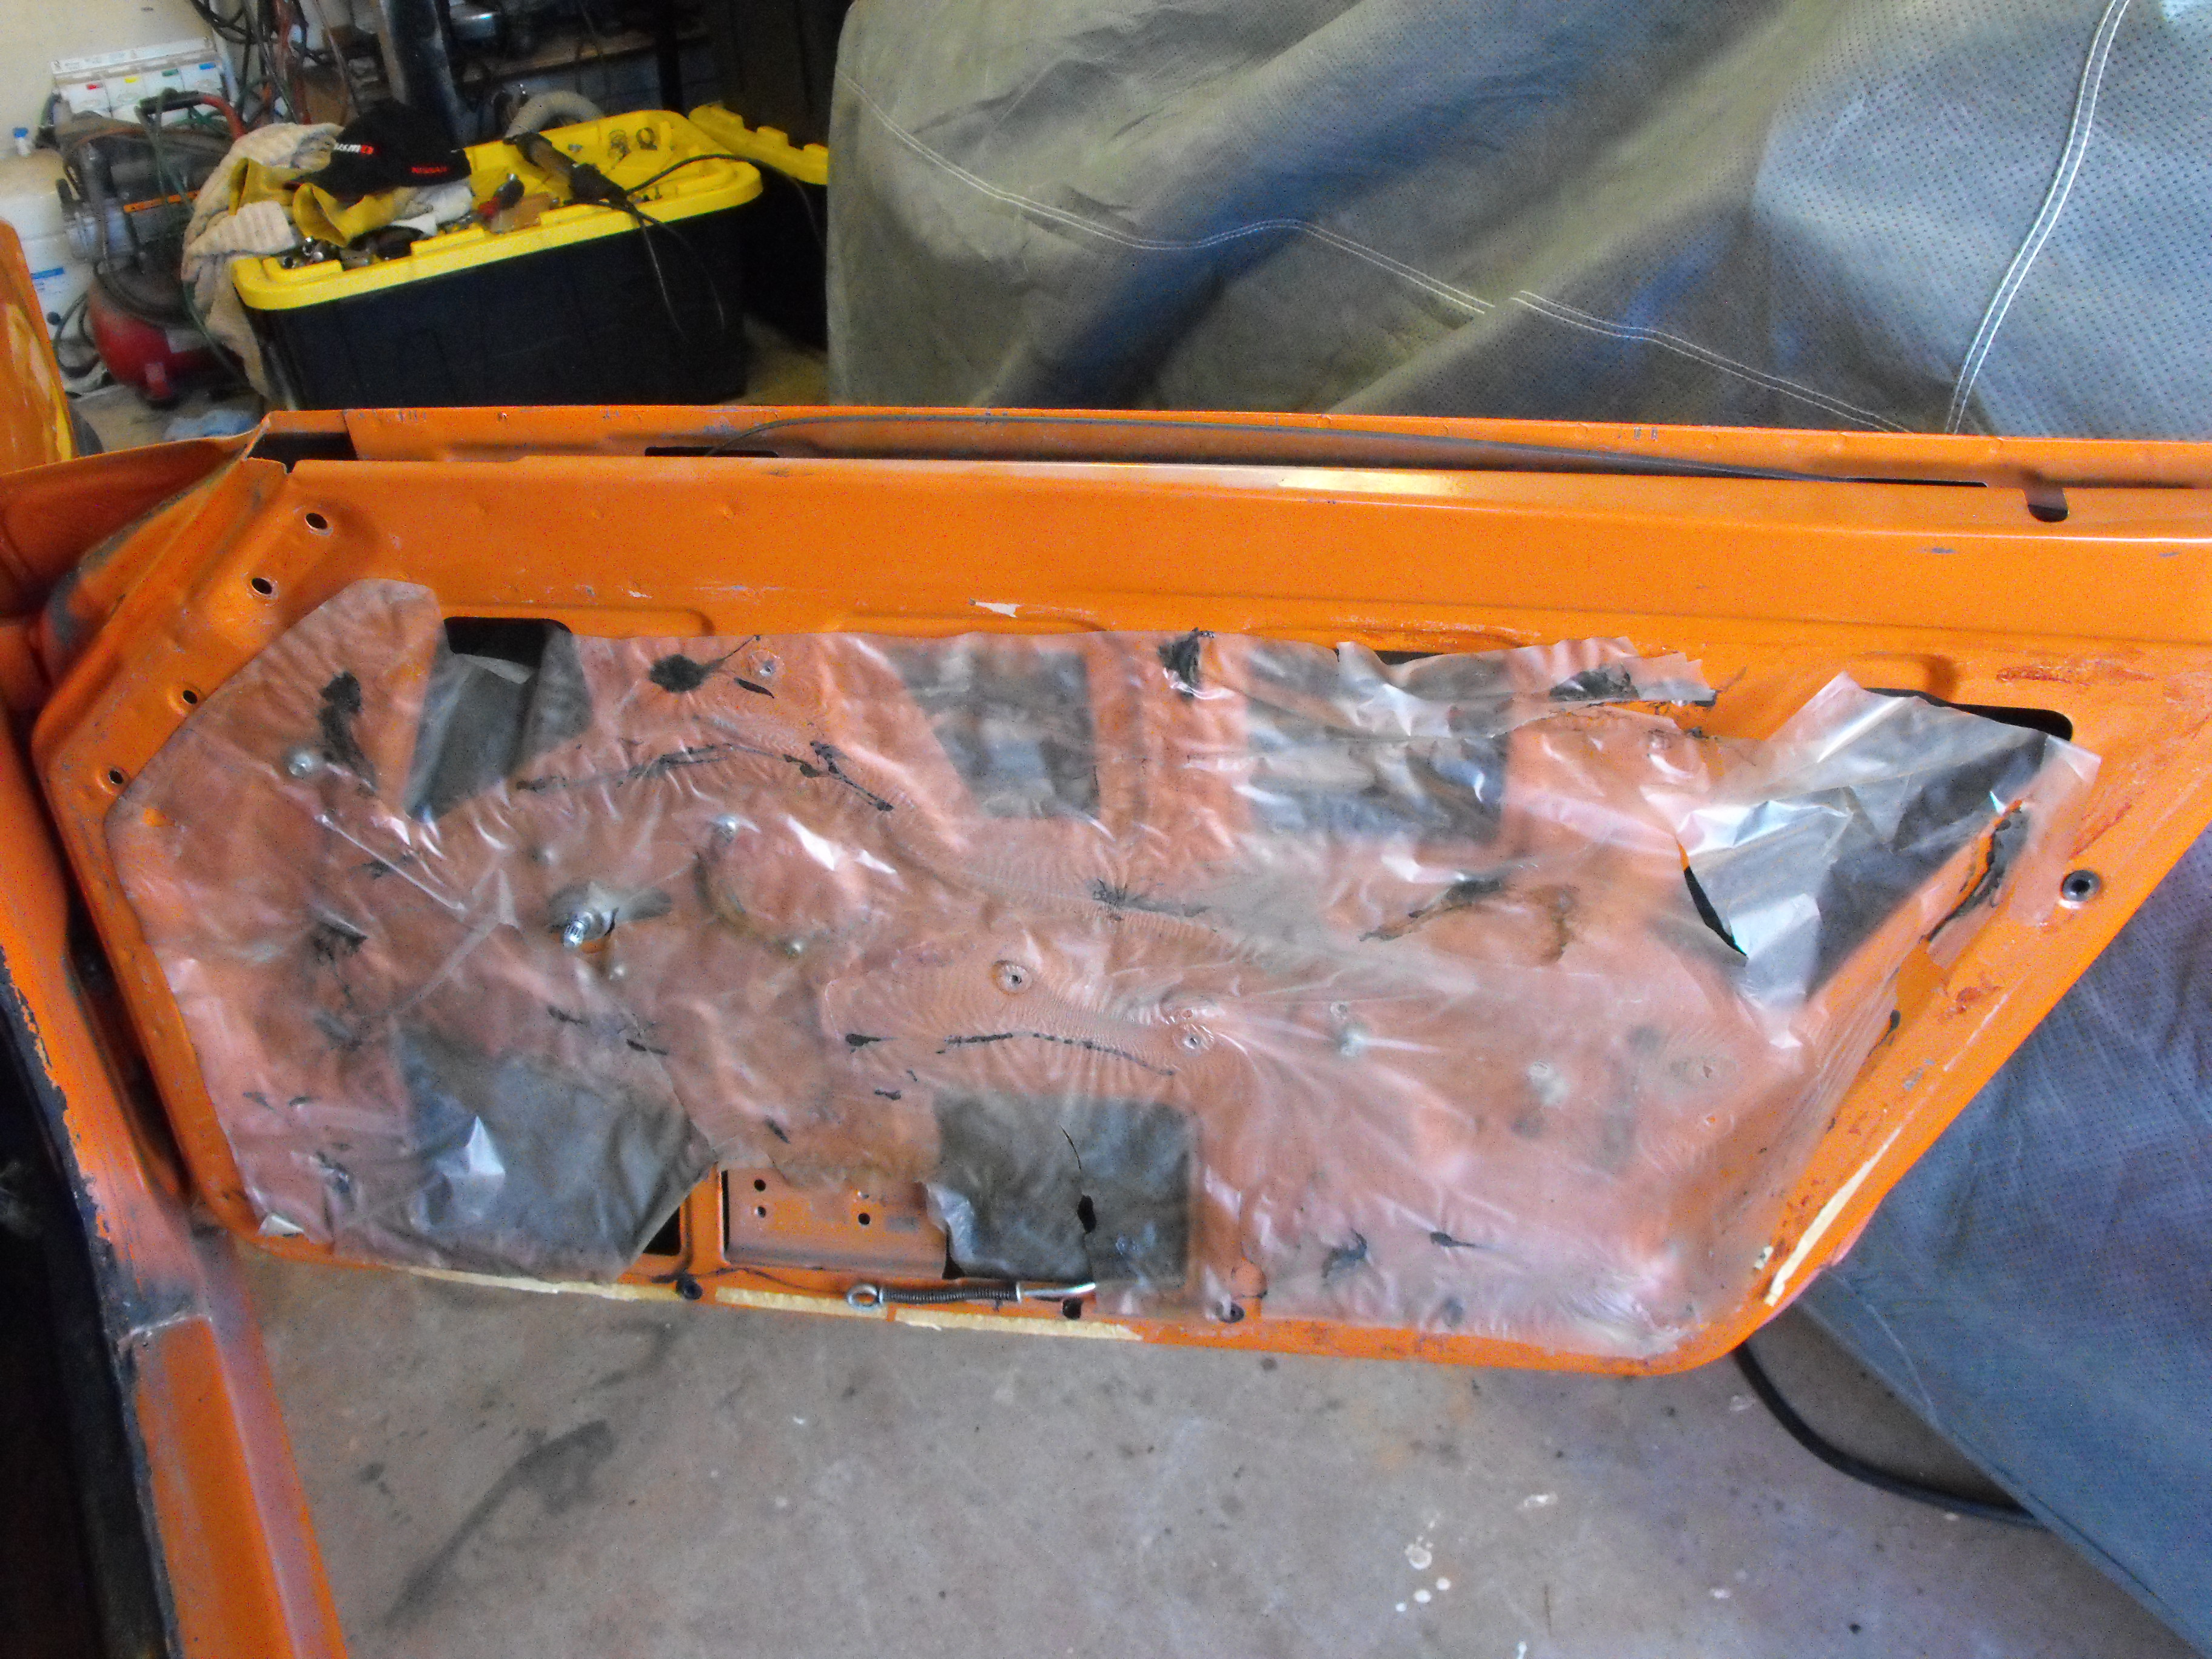
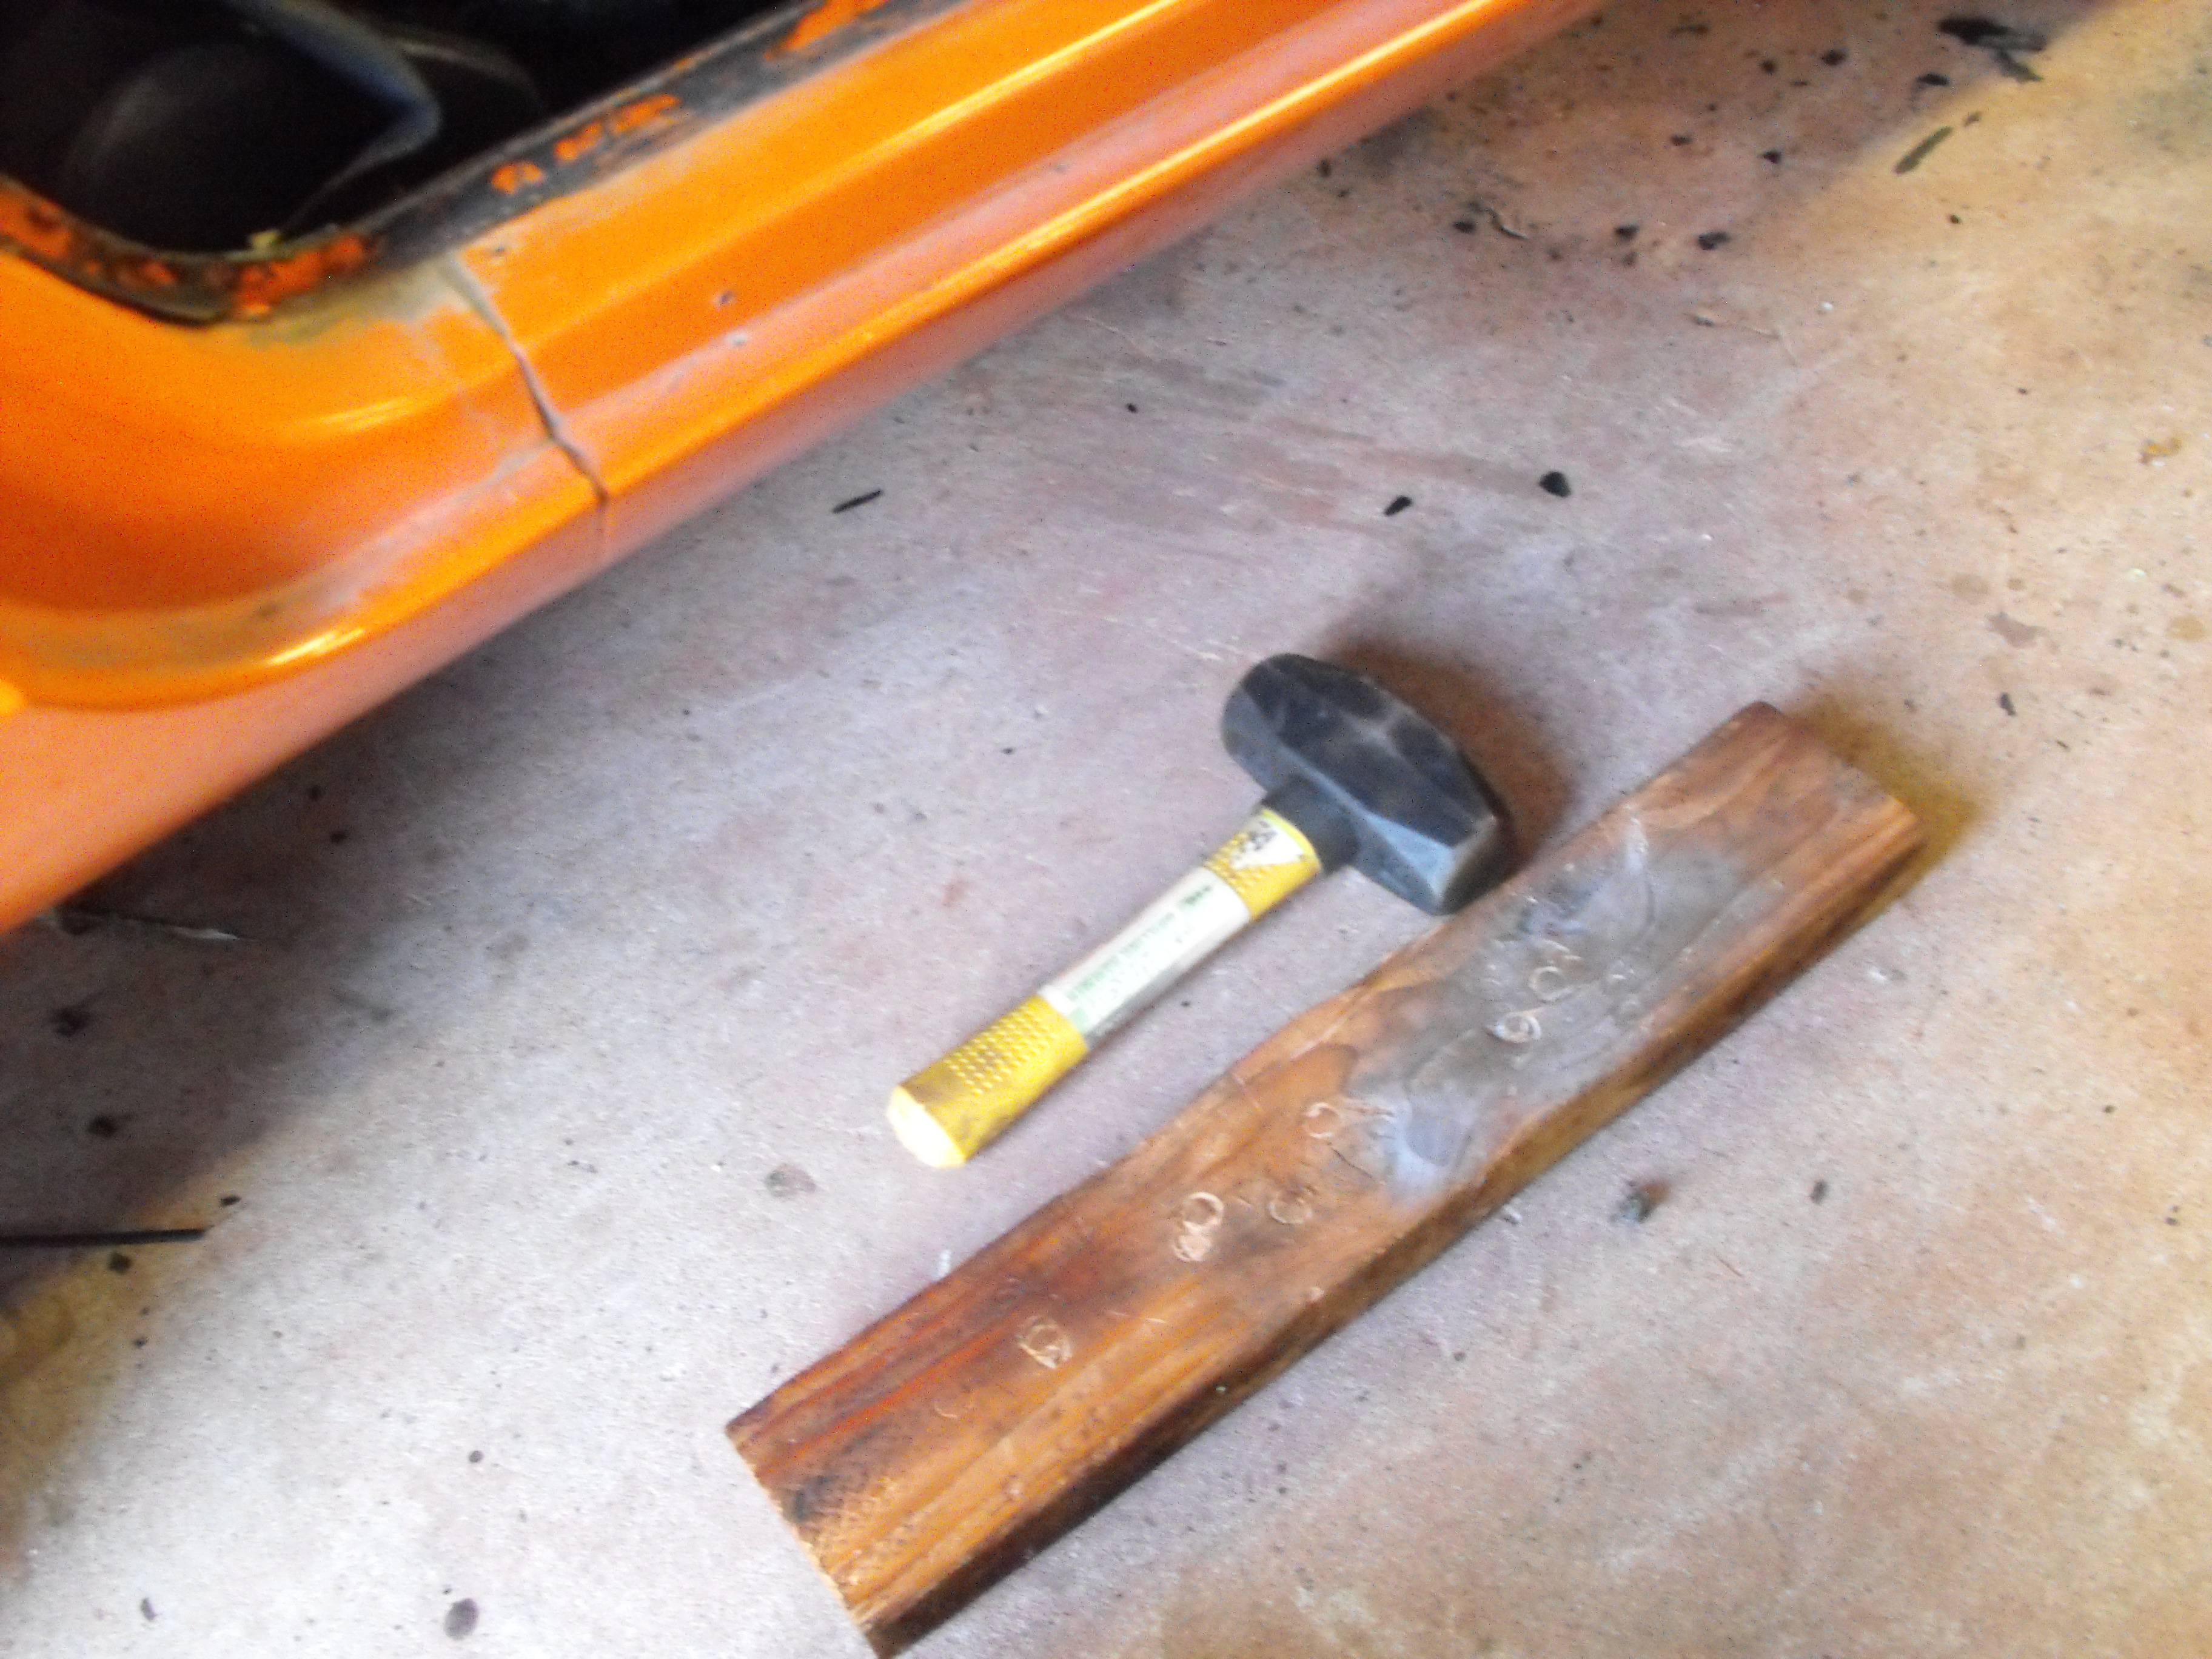
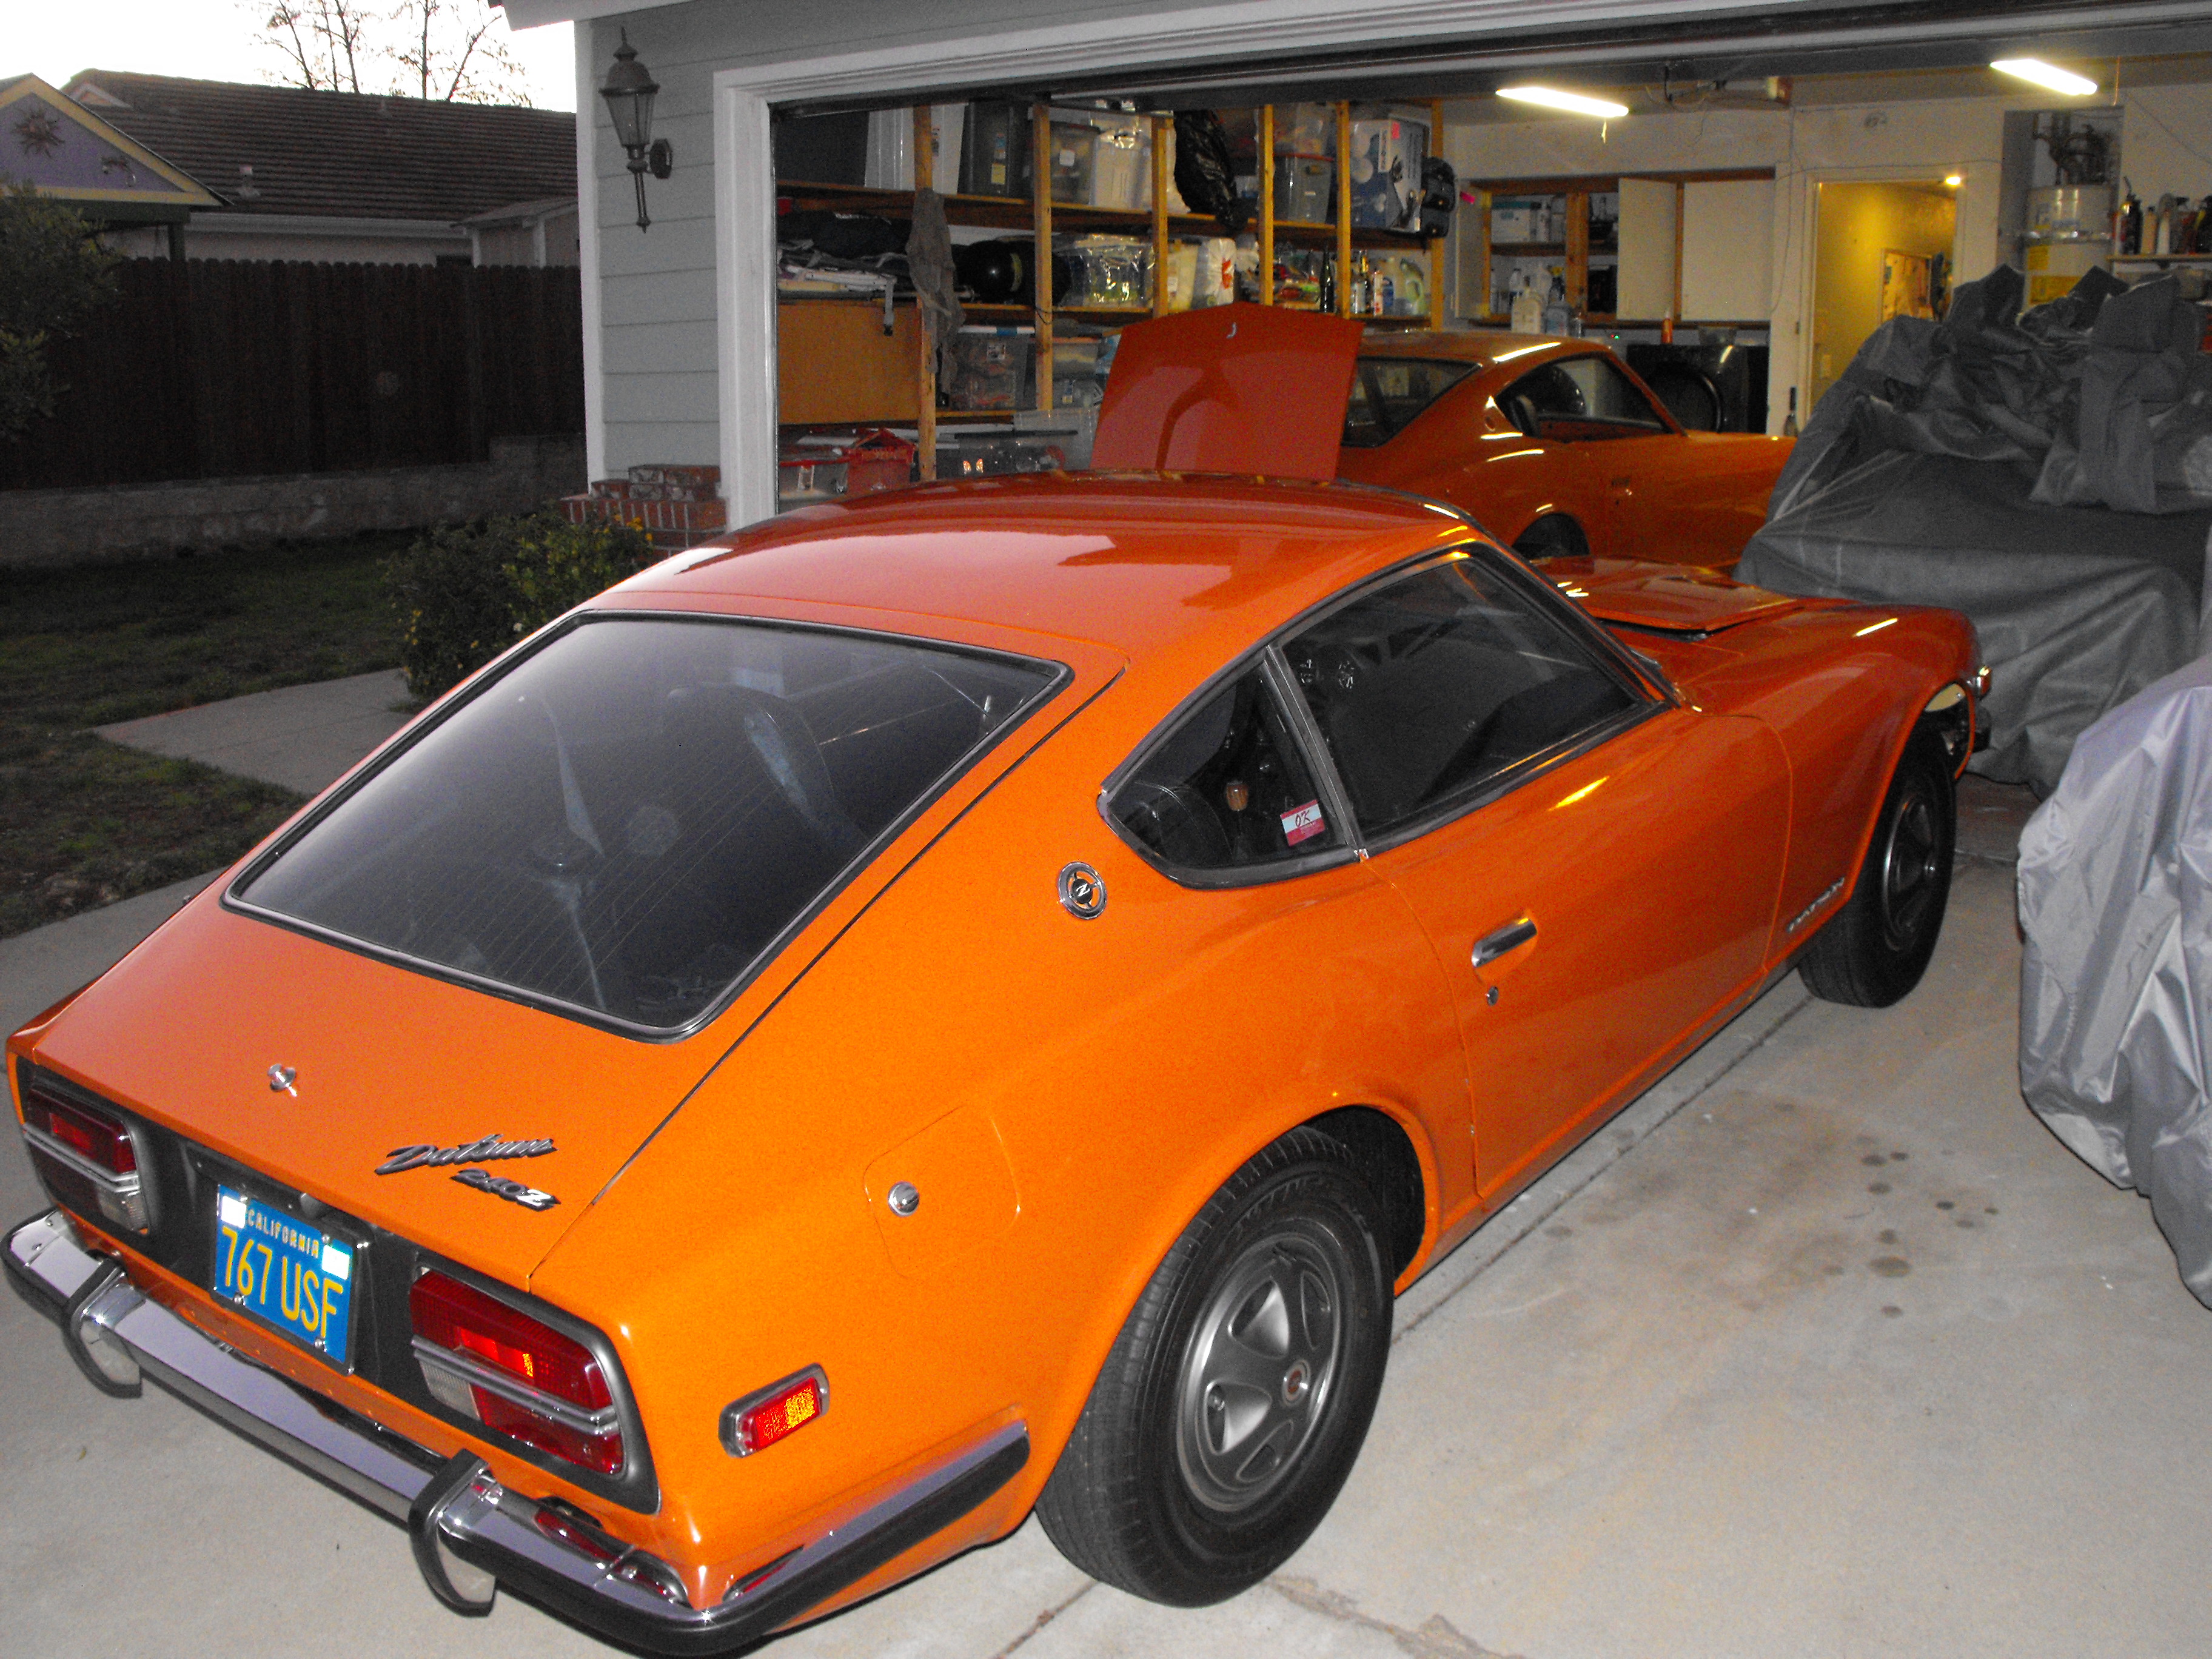
Here are some pics of the door plastic. Neither one appears to be original. I will re-do these when I start doing the interior work. Was short on time this weekend, so did not get much done. I did get the bulging dent taken out of the passengers floor board. Looks much better now. Before and after are shown below. Too often mechanics stick there jacks under the car and just start cranking. It causes the severe dents seen here. The 4 pound hammer and 2X4 did a nice job of putting things back close to normal. I will use a slide hammer to smooth out the rest of the box beam. AAaaahh, and a picture of the twins.


-
Cool, check out the dash restoration video at Just Dashes....its a Z dash
-
Most of the car is original, however the doors have seen some work done to them. As a result the plastic is not in great shape. The drivers side is just a small rectangle near the door handle. The passenger side is a bit more complete. I will try and post pics by tomorrow. Thanks for the offer. I think the heater core is OK, but I will check. The coolant was a very clean green, so I am optimistic. It just seemed liked the valve was bad and I have one of those already. Anyway, the fun part begins soon. The tear down is not that exciting as nothing is really made better. Hope to start doing some of the body work this coming week. That is a bit more useful.
-
Always nice to get a little attention. http://www.msn.com/en-us/autos/enthusiasts/my-fair-lady-a-visual-history-of-the-nissan-z-car/ss-AAlCpSG?ocid=spartanntp Glad they brought up the 'Pre-Z' history. That is how I typically refer to my 1600 roadster at the ZCSD meetings.
-
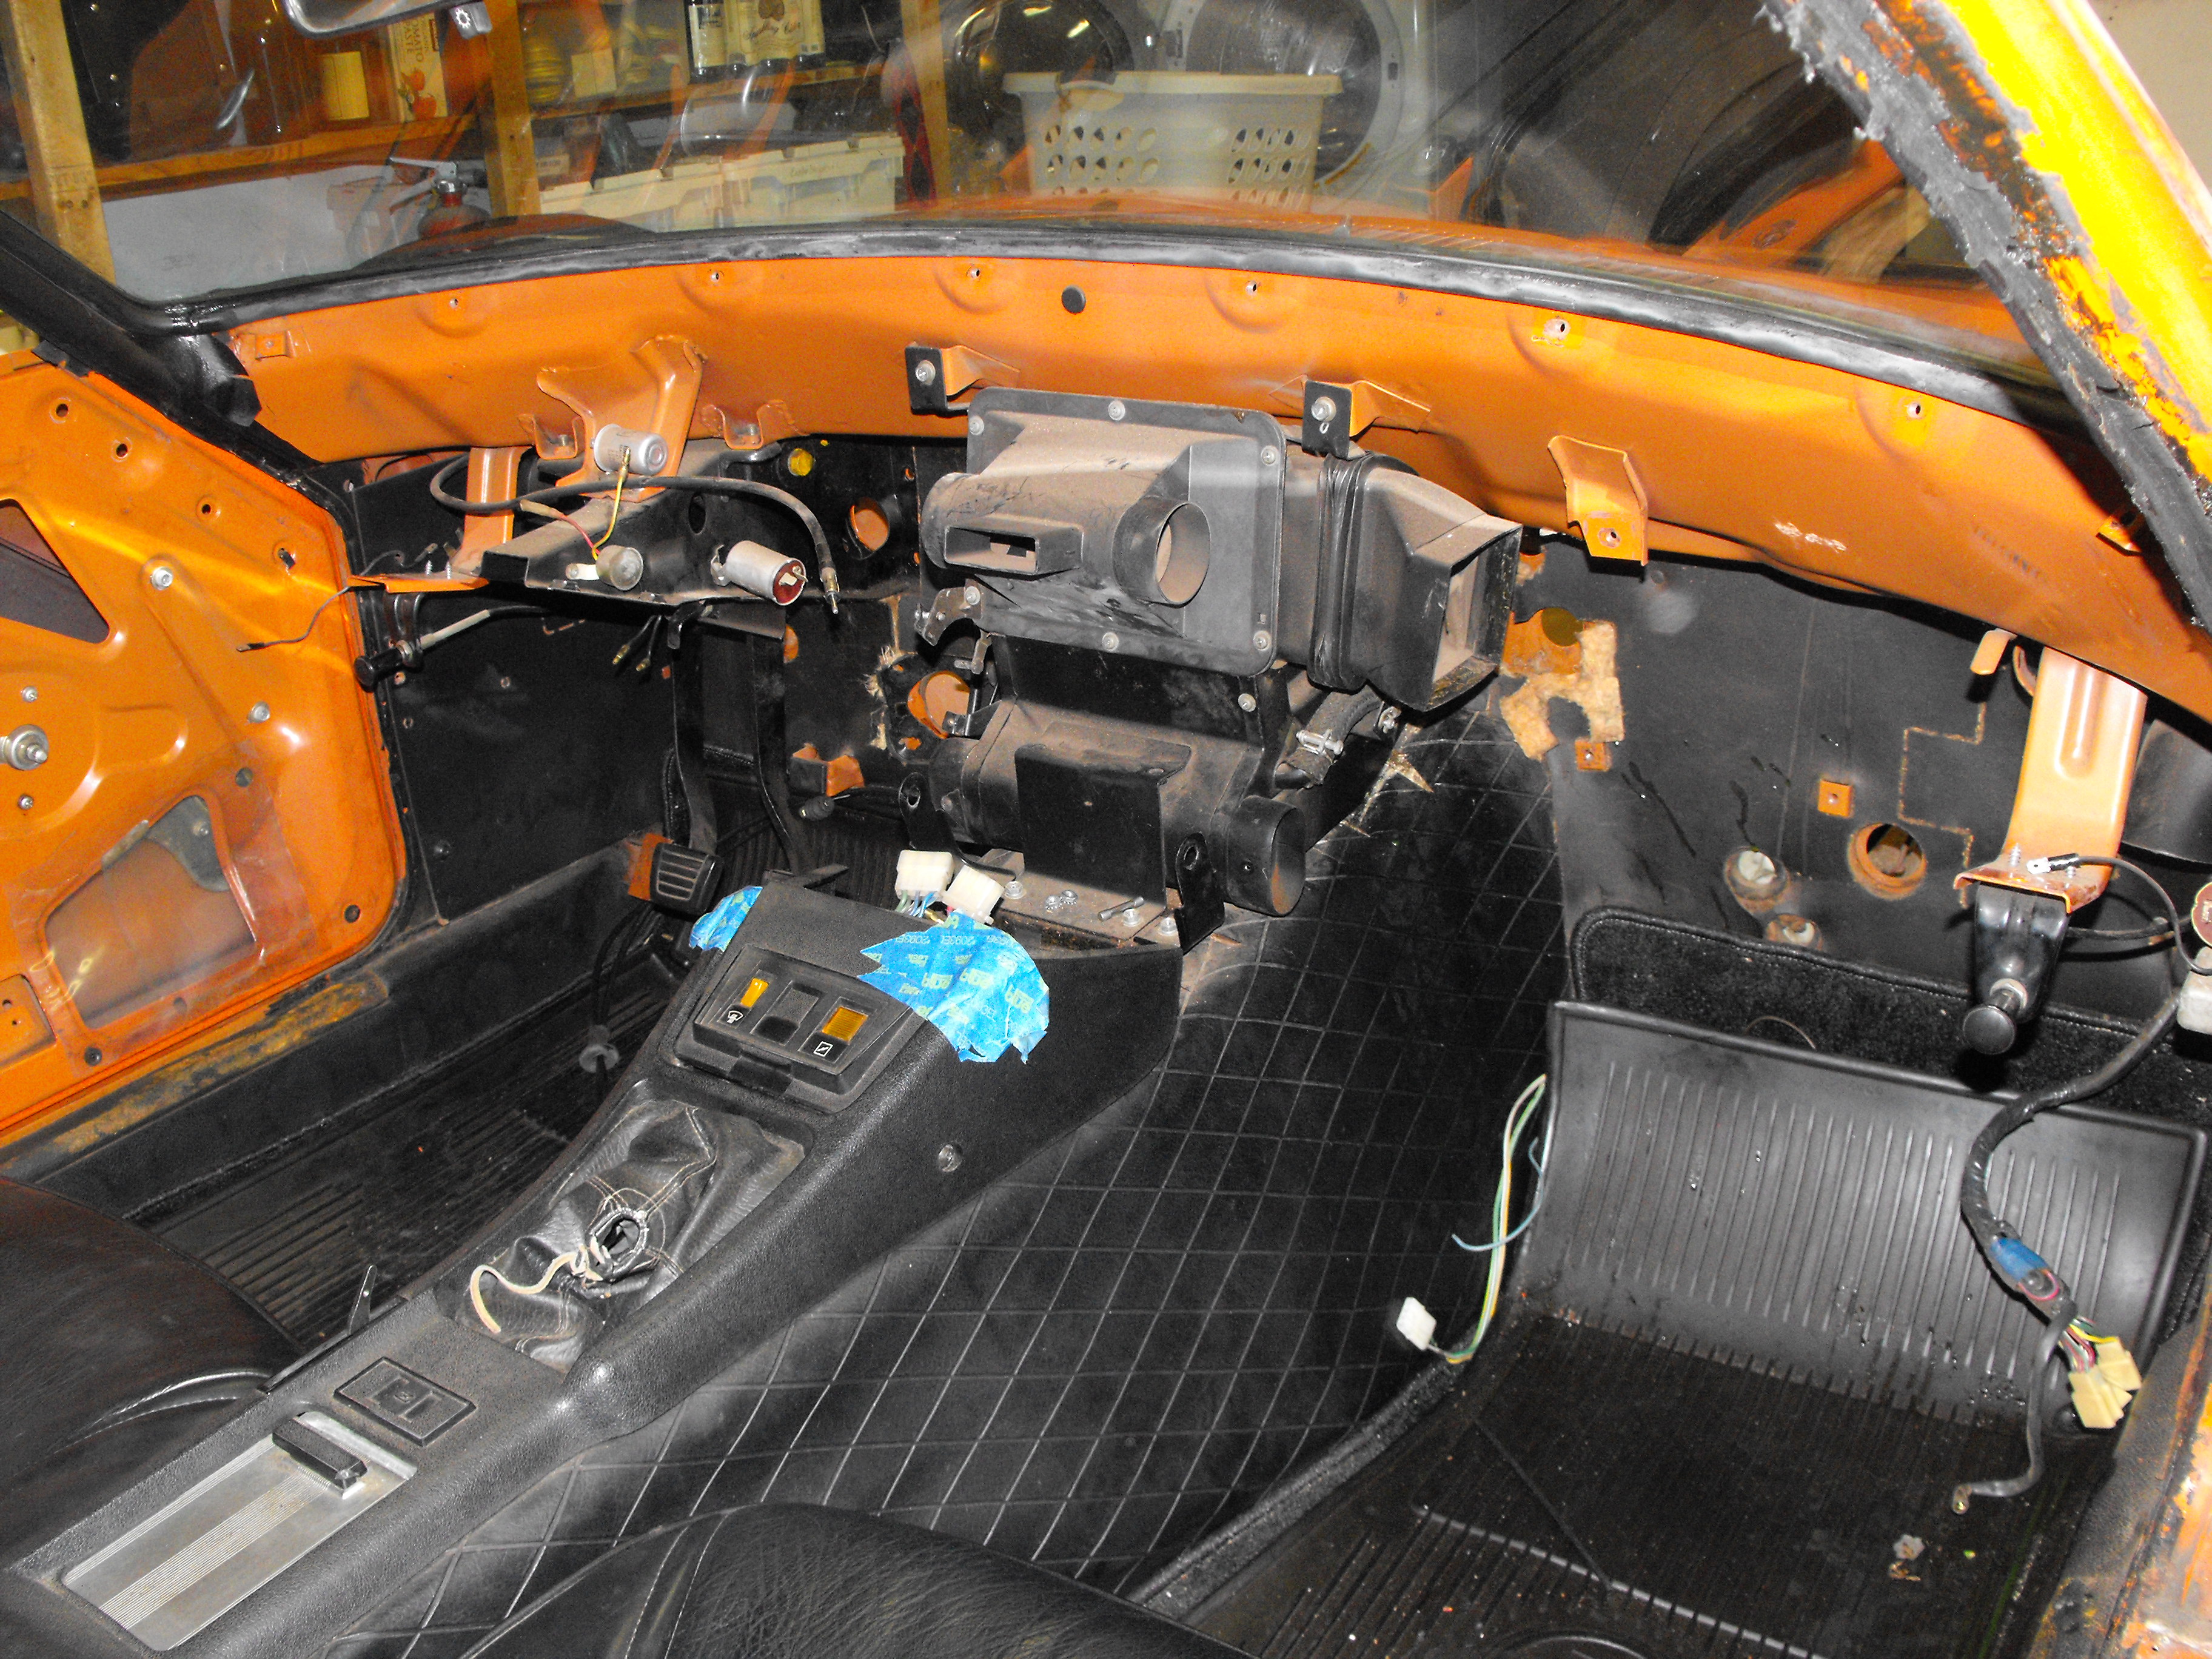
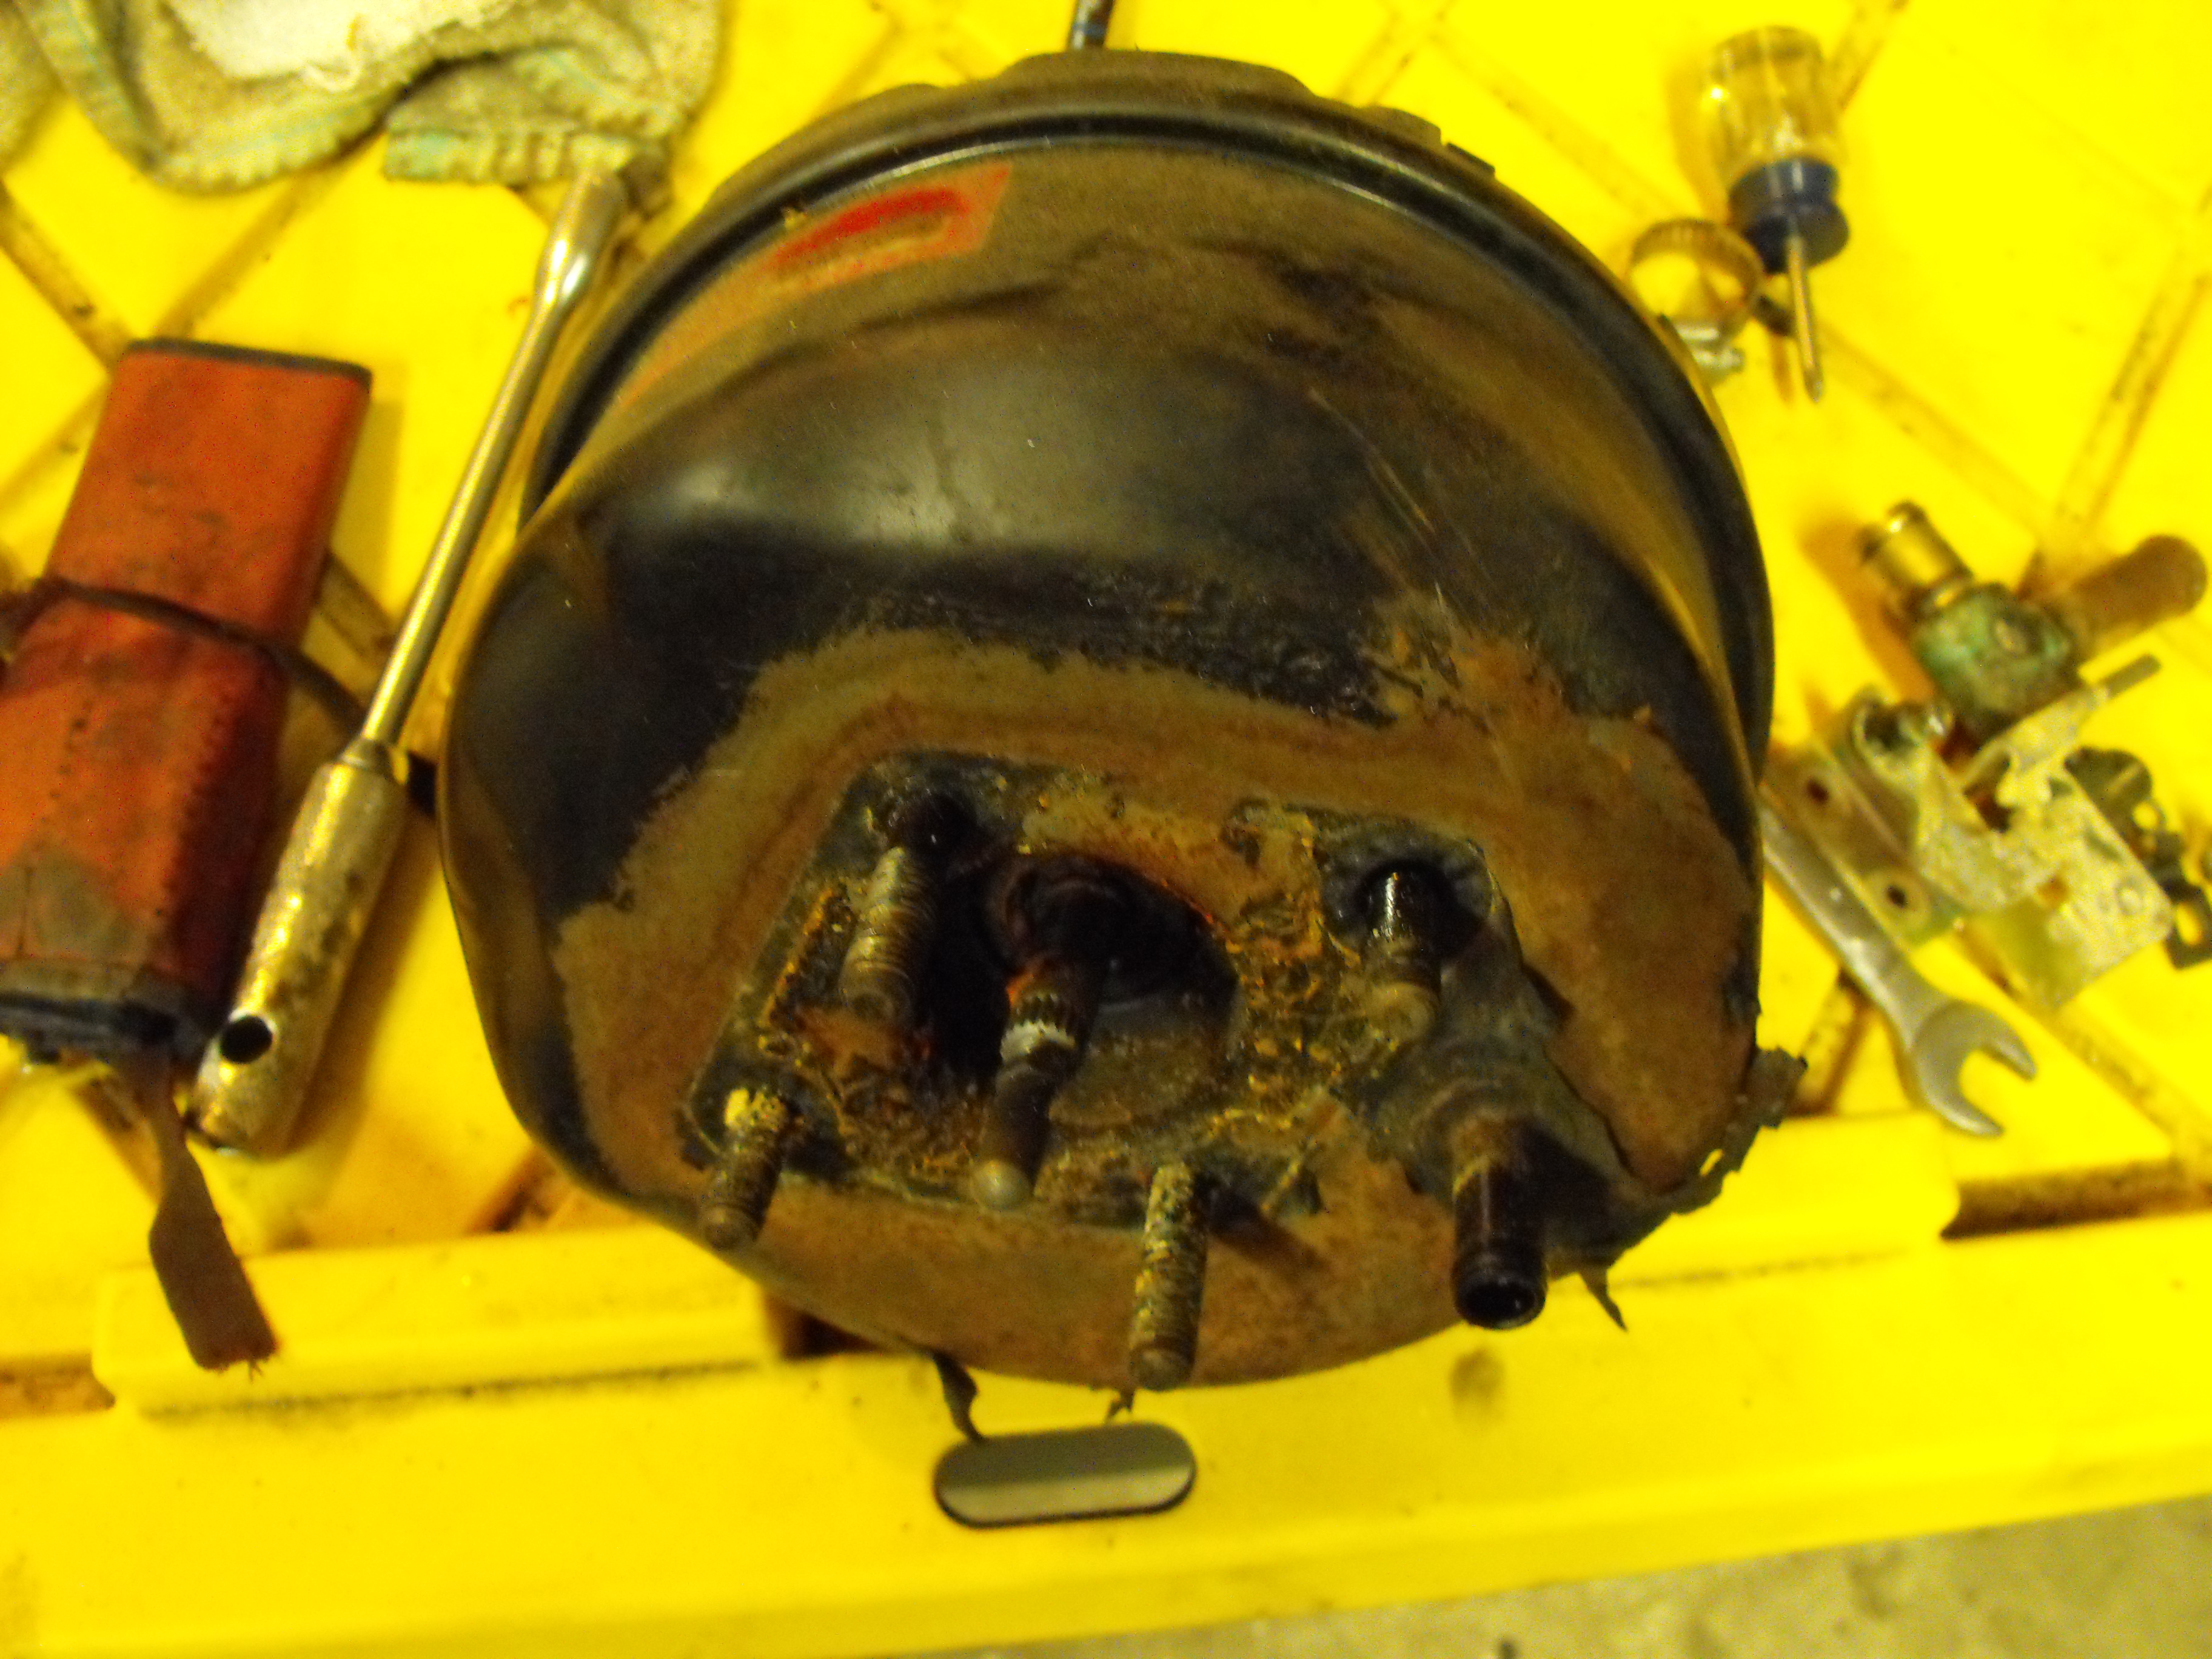
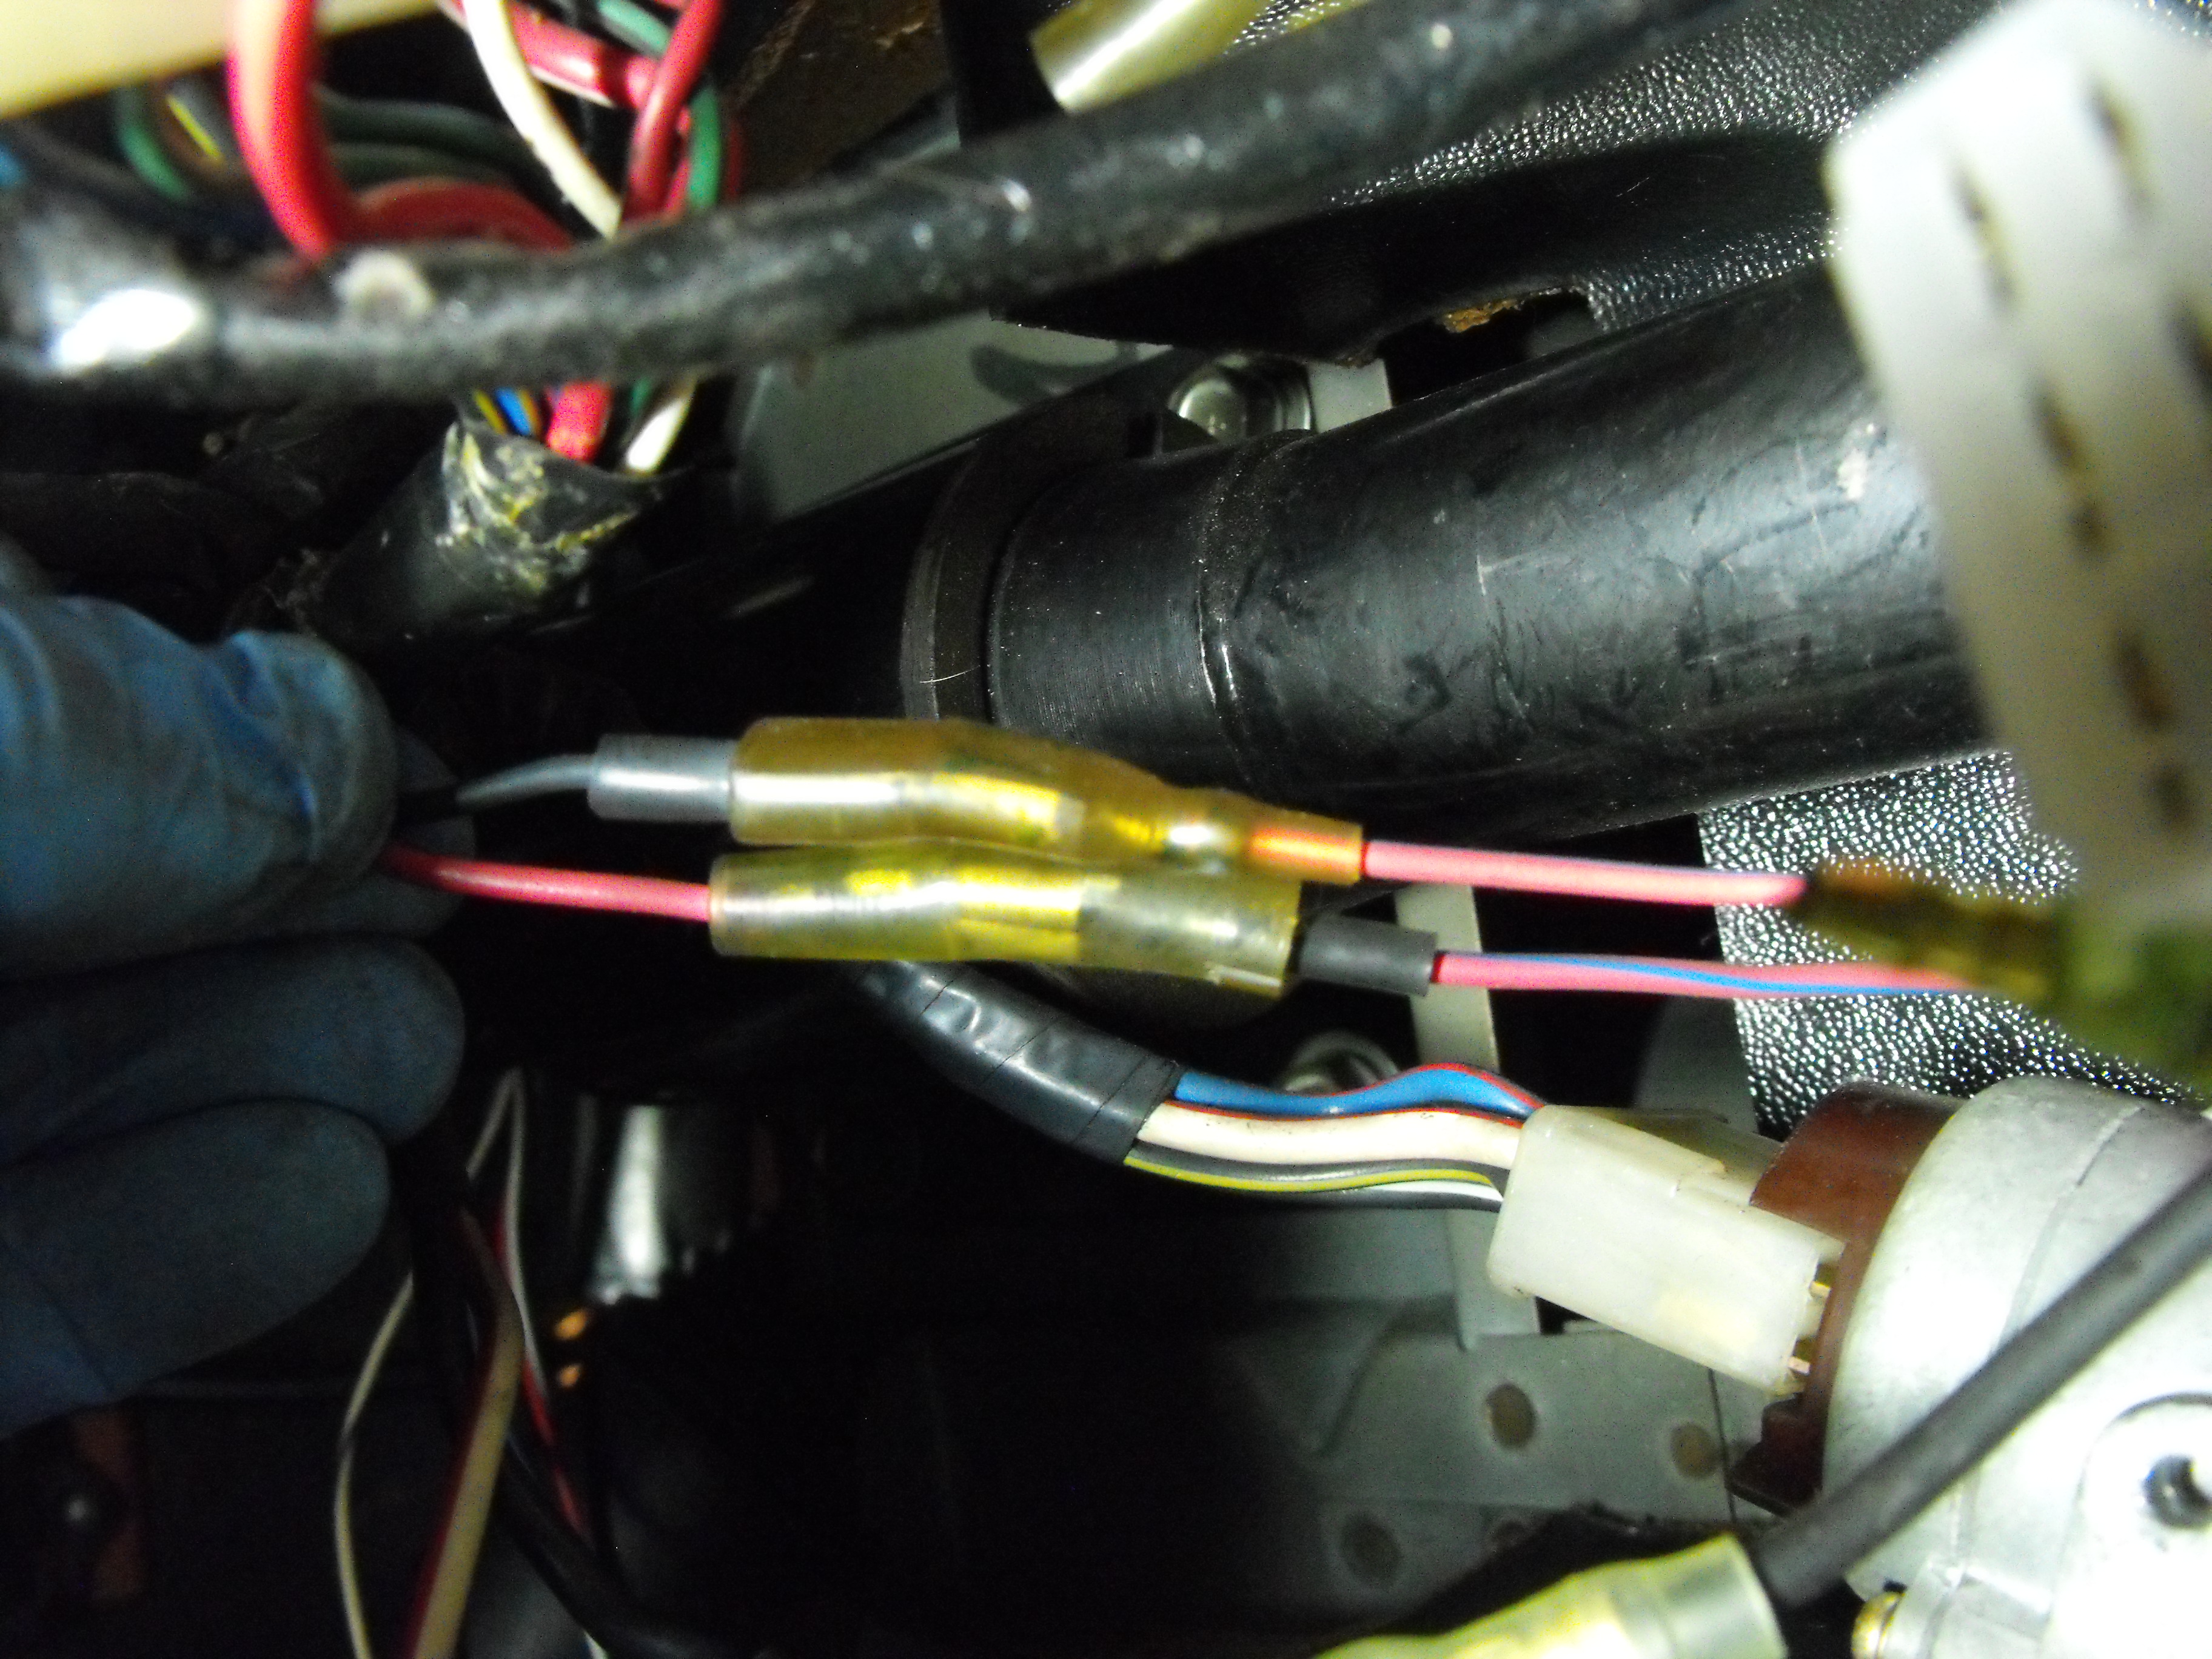
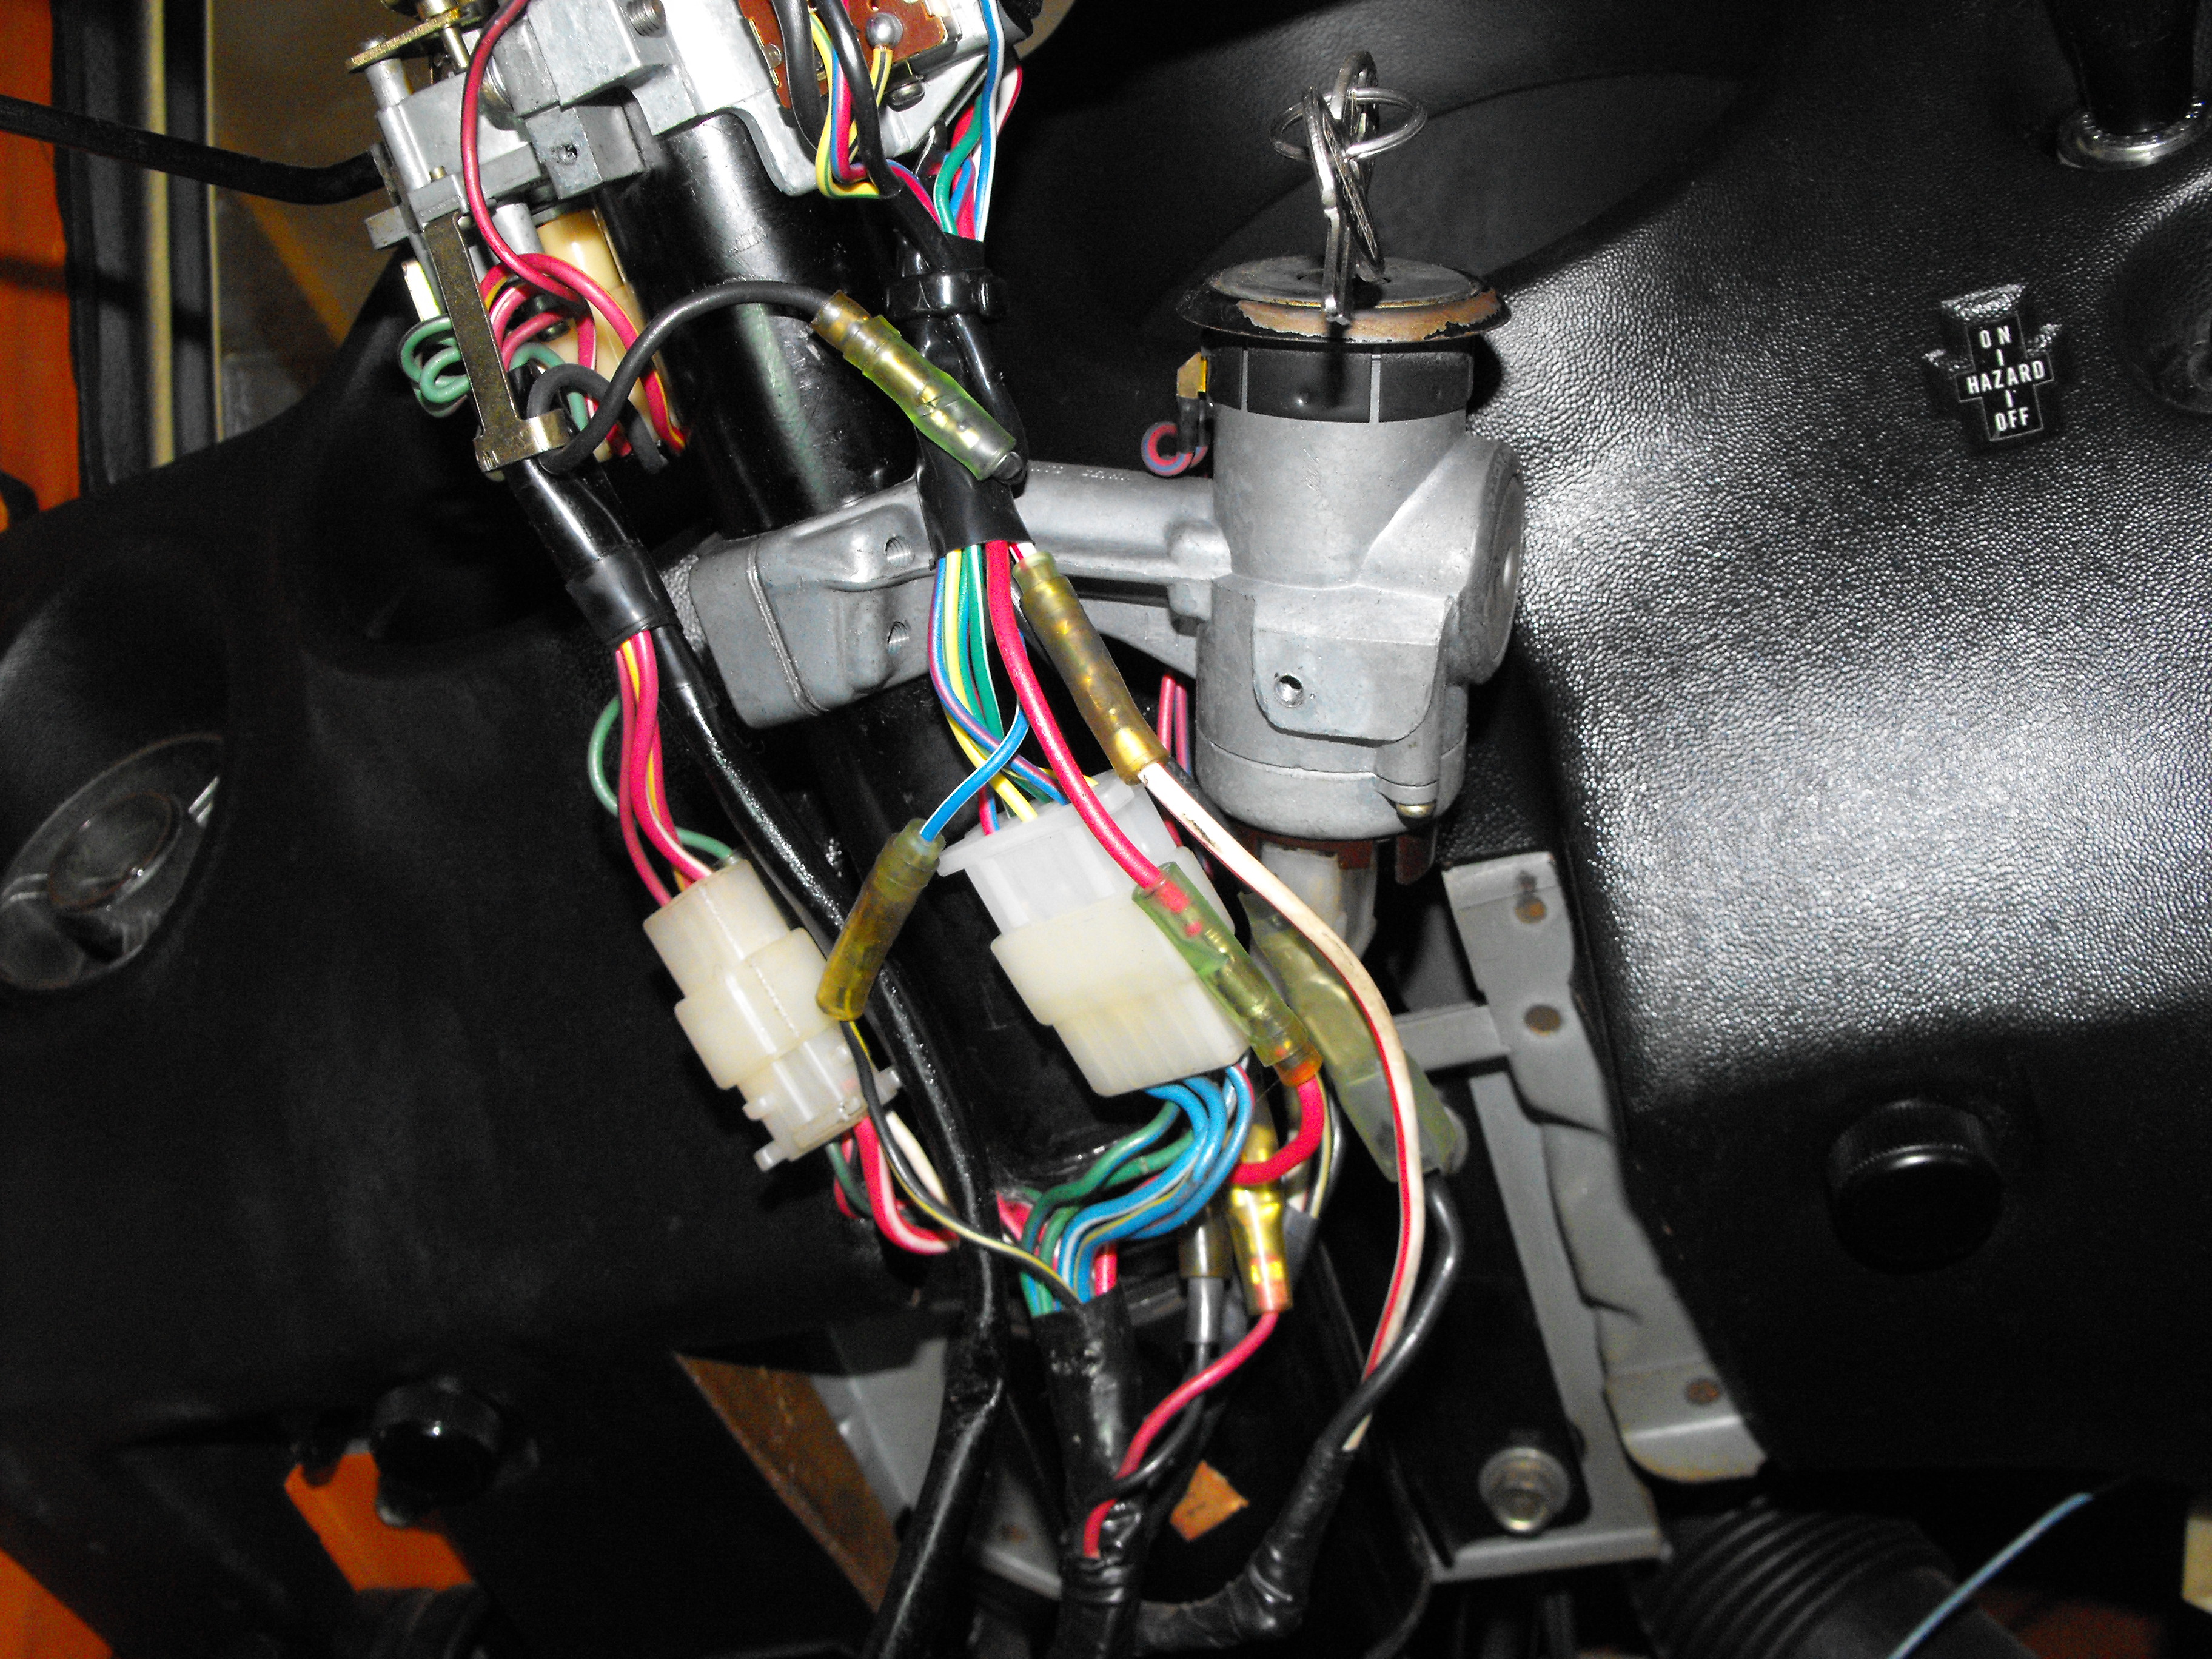
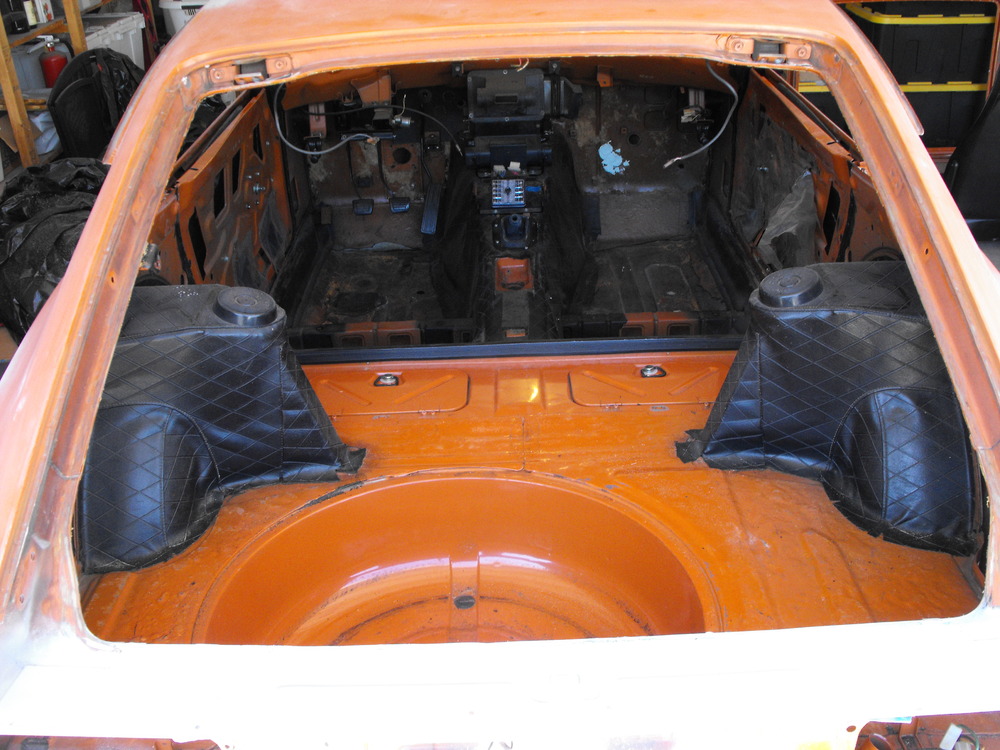
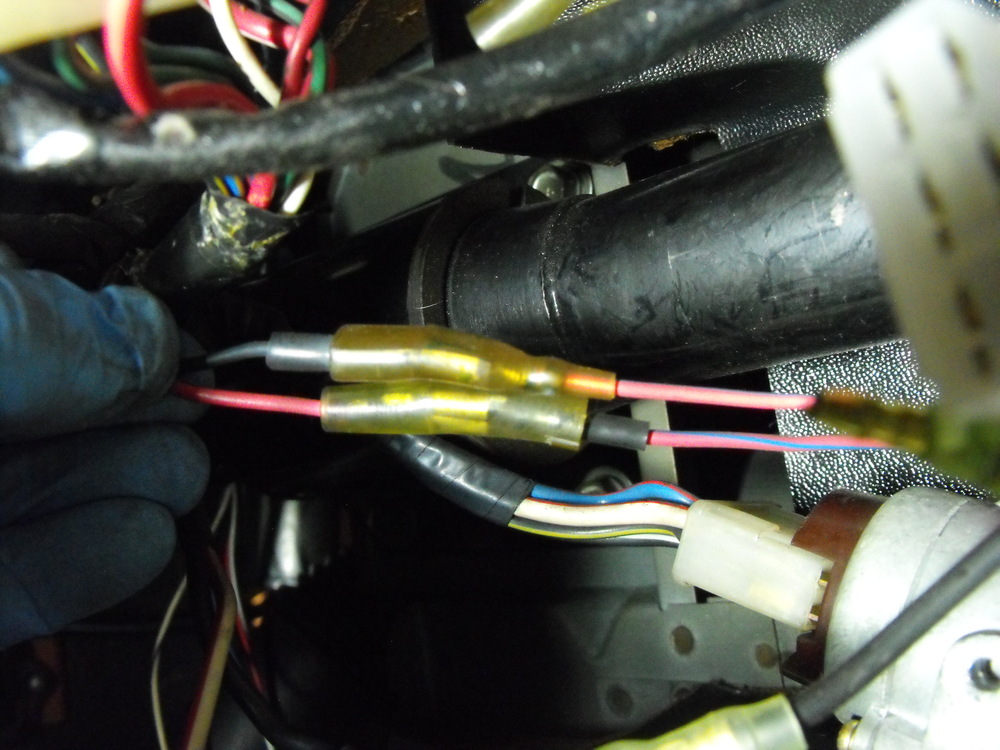
Made a little more progress tonight. I got the dash out. Woo-Hoo! I took lots of pics of the wiring as that is a bit funky under the steering column. Also took out the steering column, brake booster and clutch; so now the engine bay is stripped of parts. I think I just need to take off the rear view mirror and then I am ready to start body work. I will remove the instruments and harness from the dash and send that out to get repaired professionally. I will send that up to Just Dashes in Van Nuys. They did the dash on my orange 71 240 and it looks perfect. The brake booster looks ugly, but will clean up nicely. Here are a few pics.


-
Cool, I like it!
-
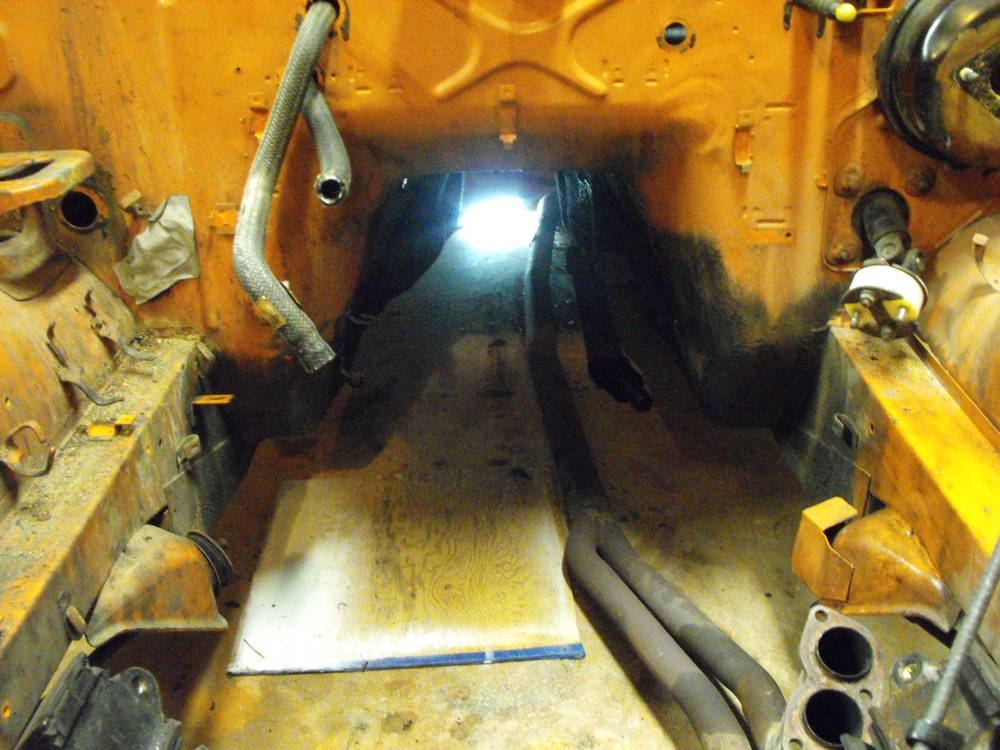
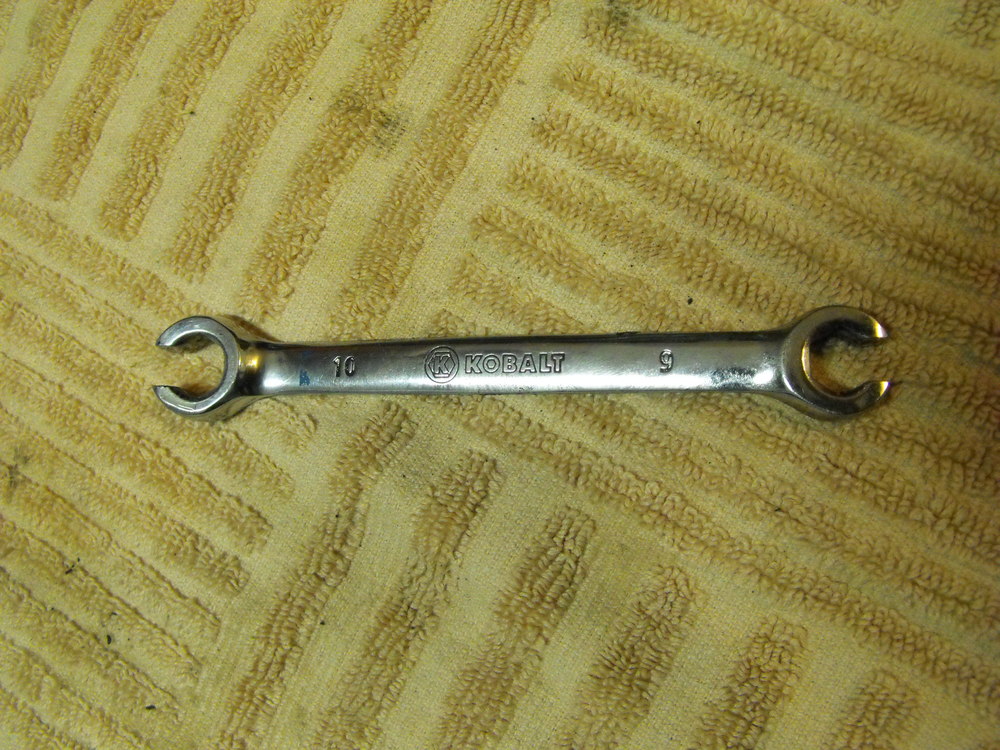
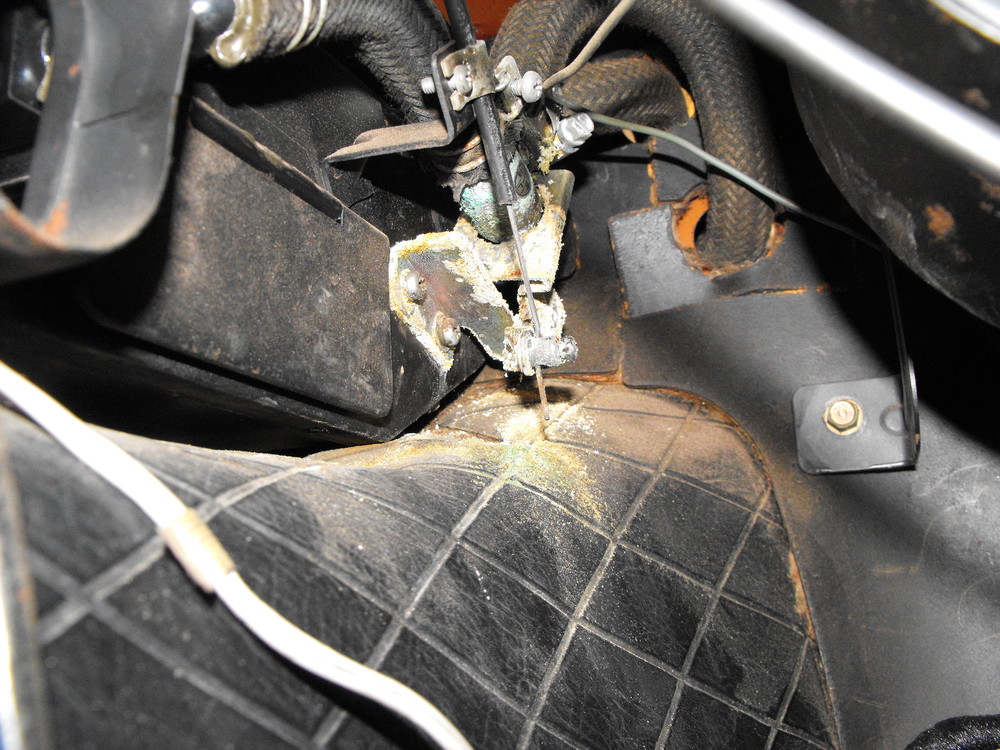
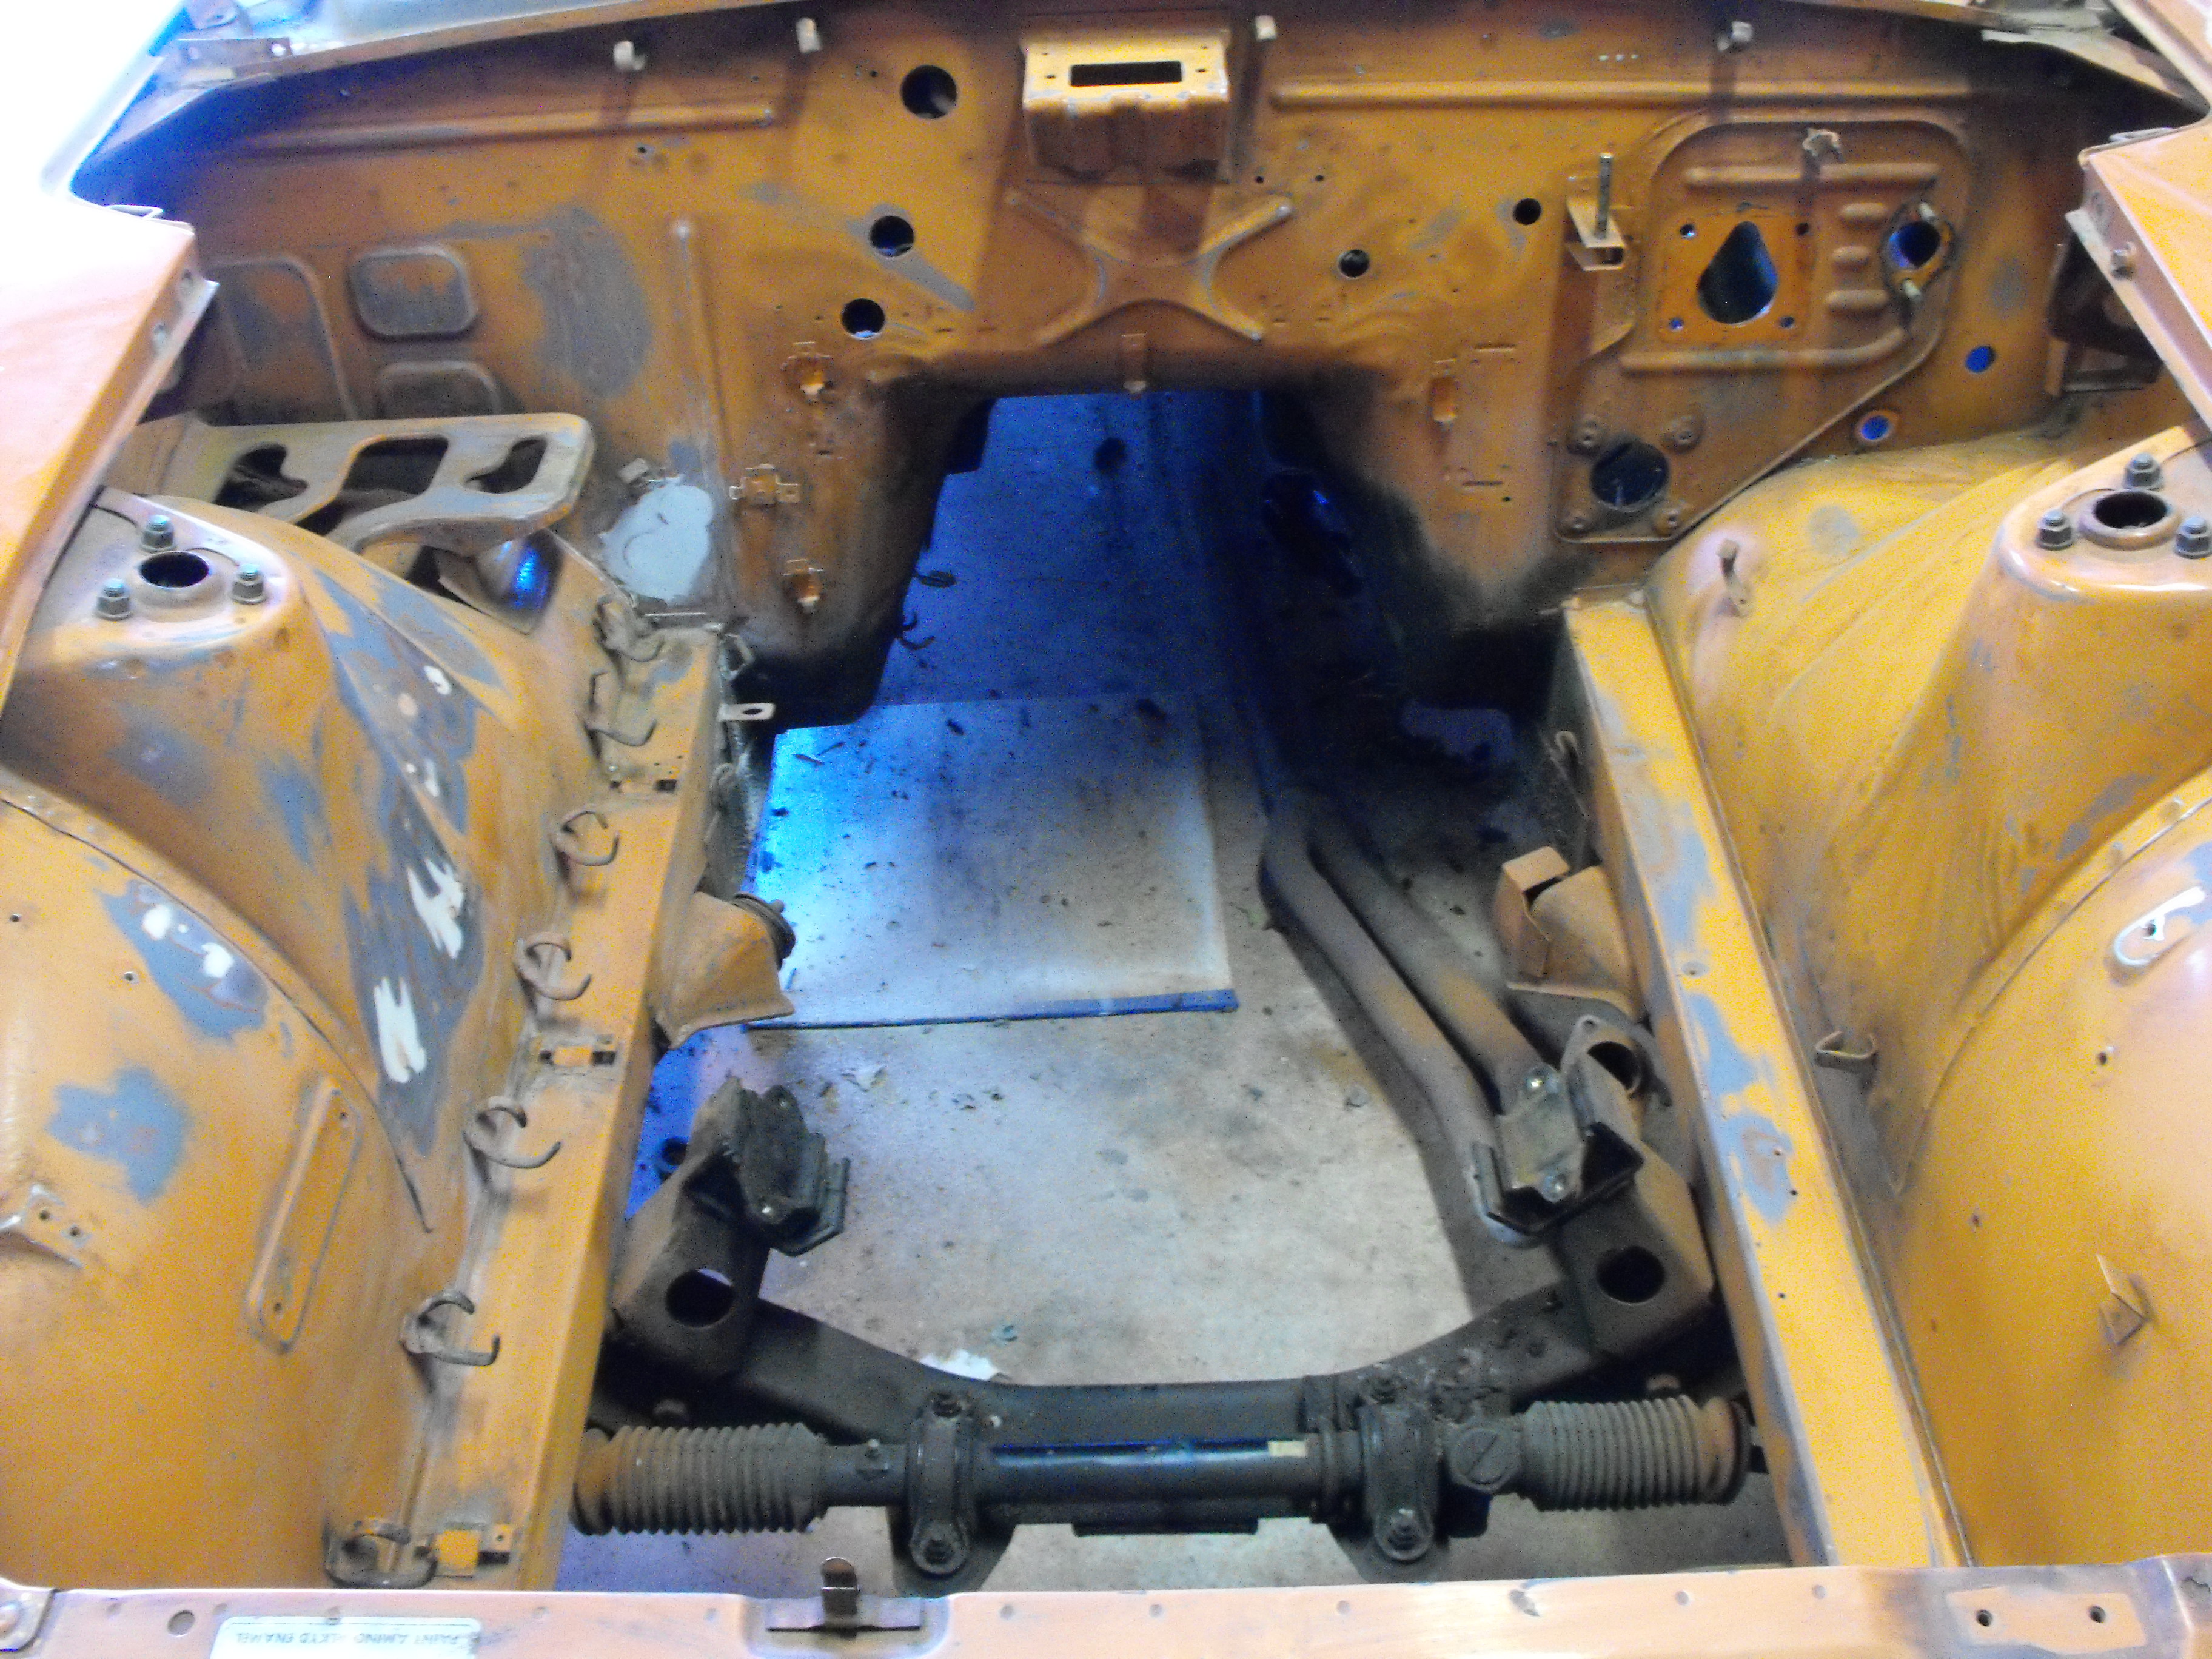
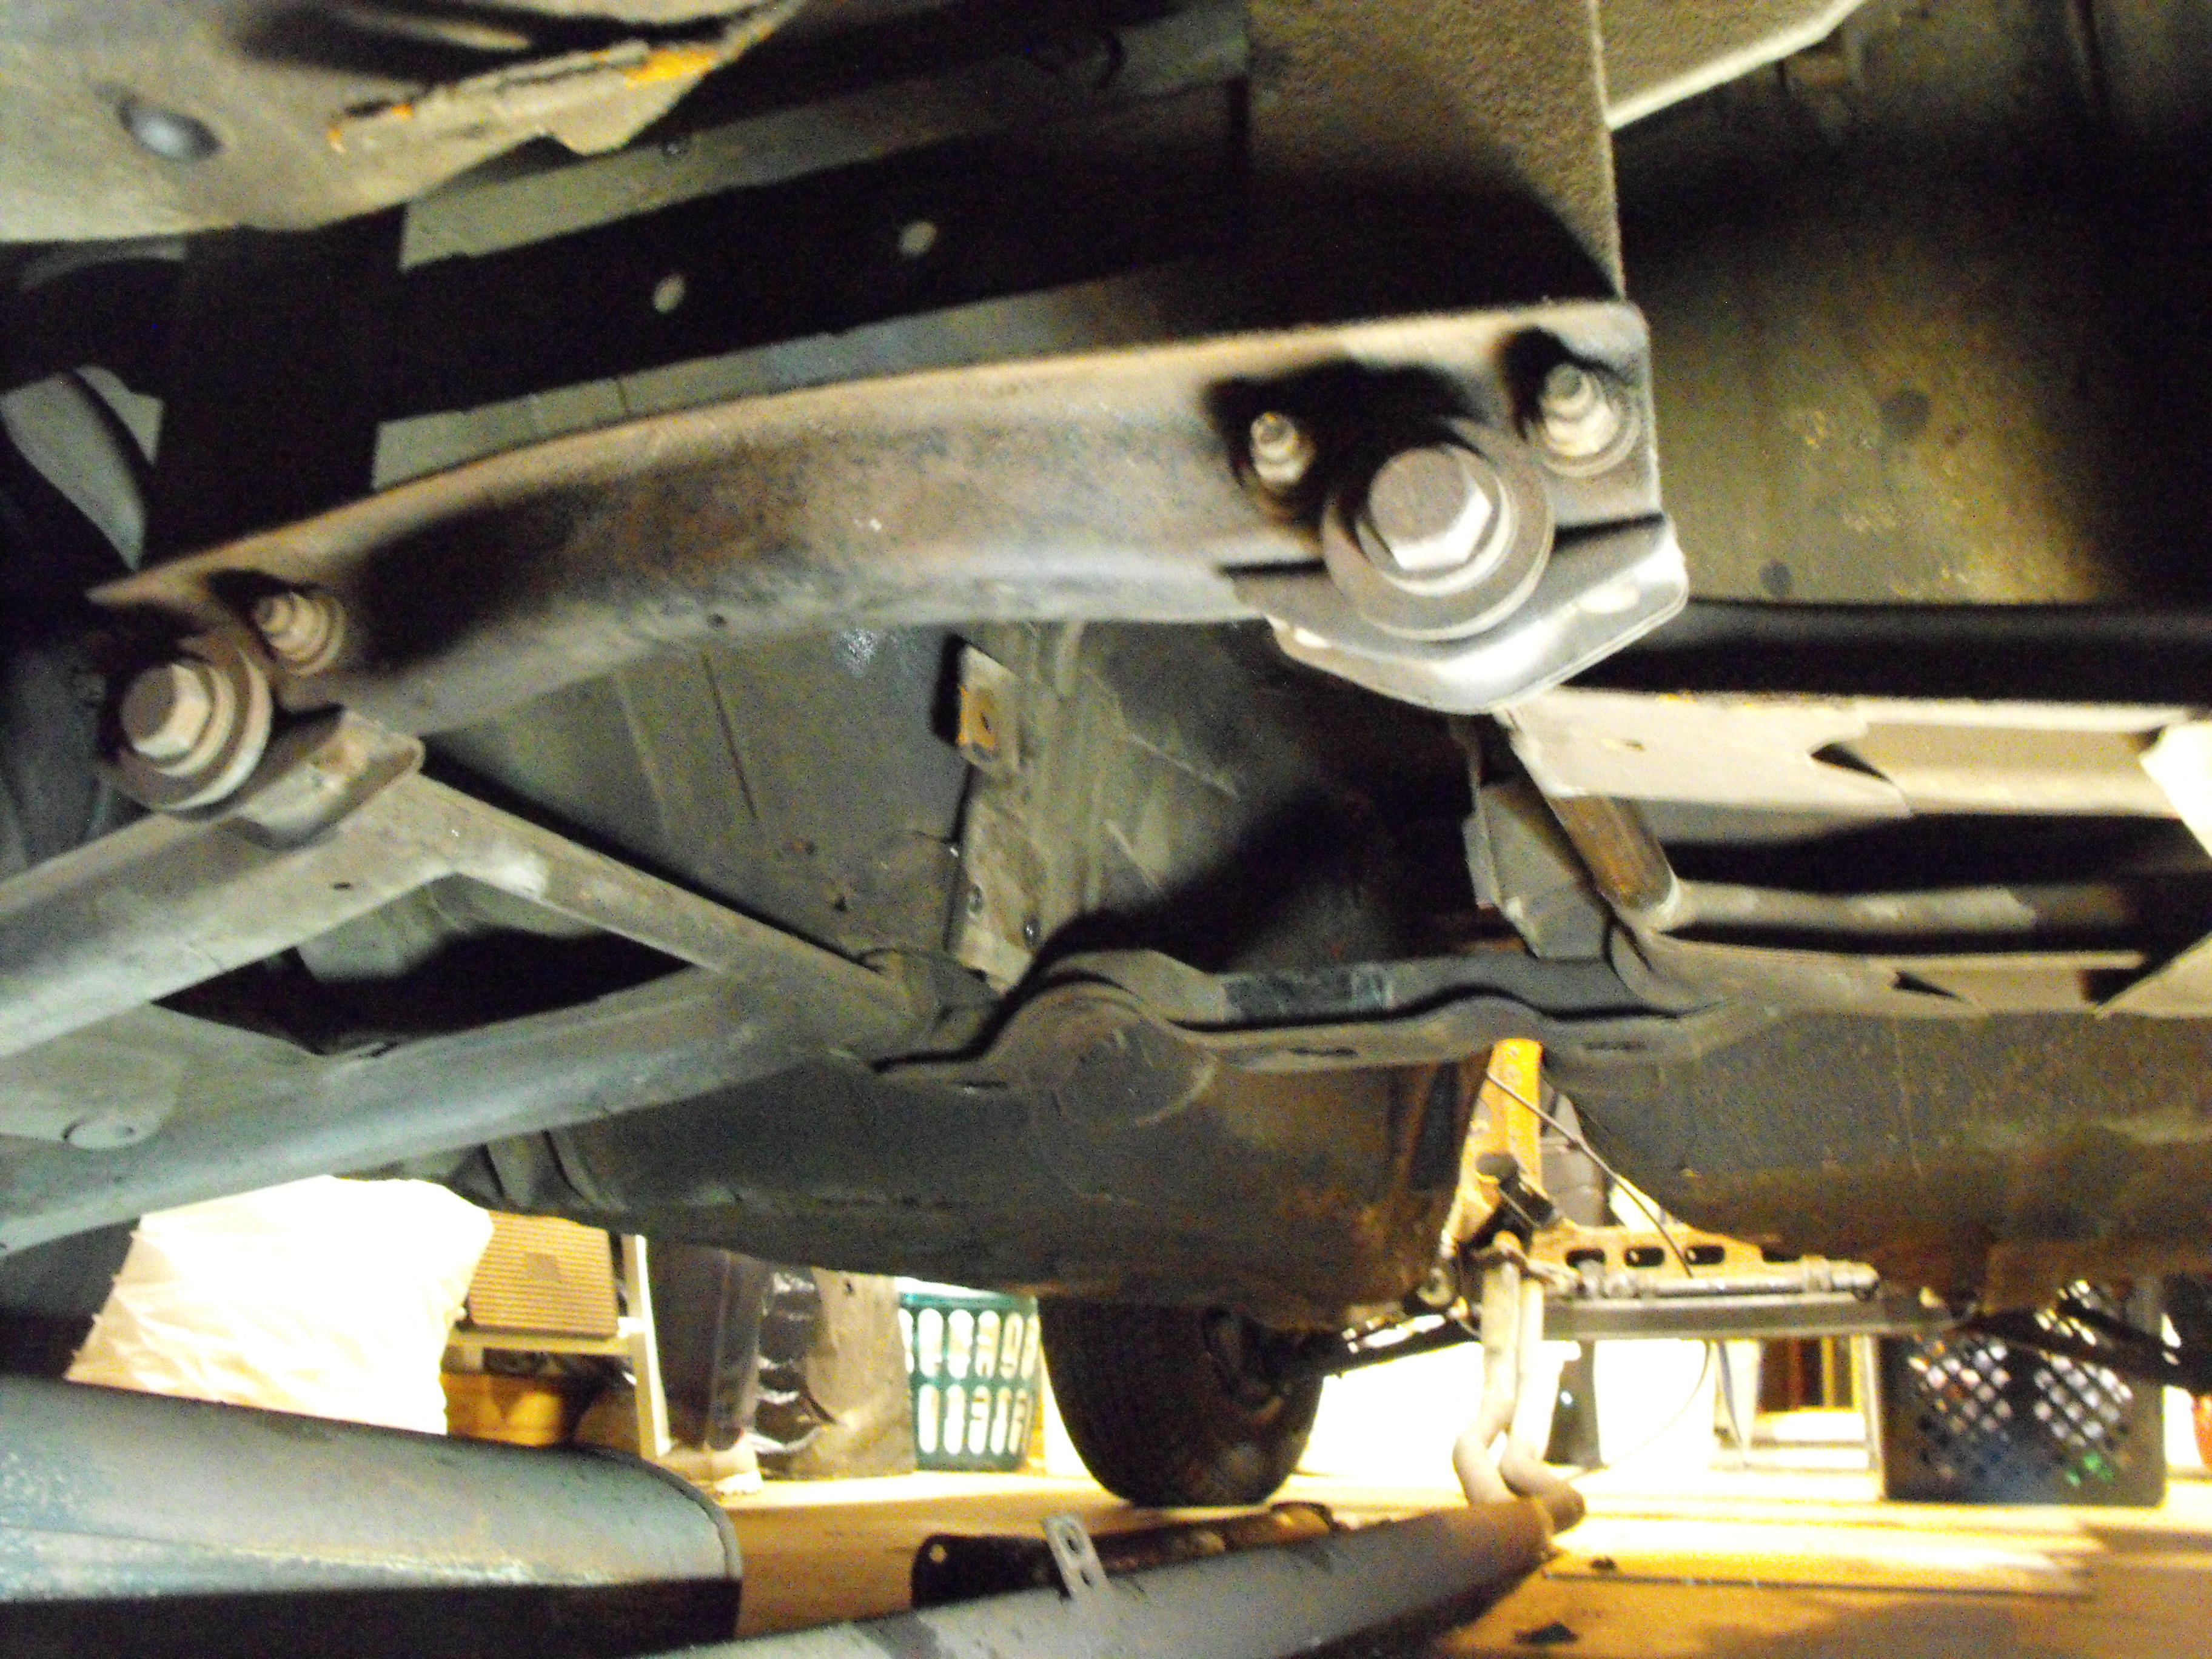
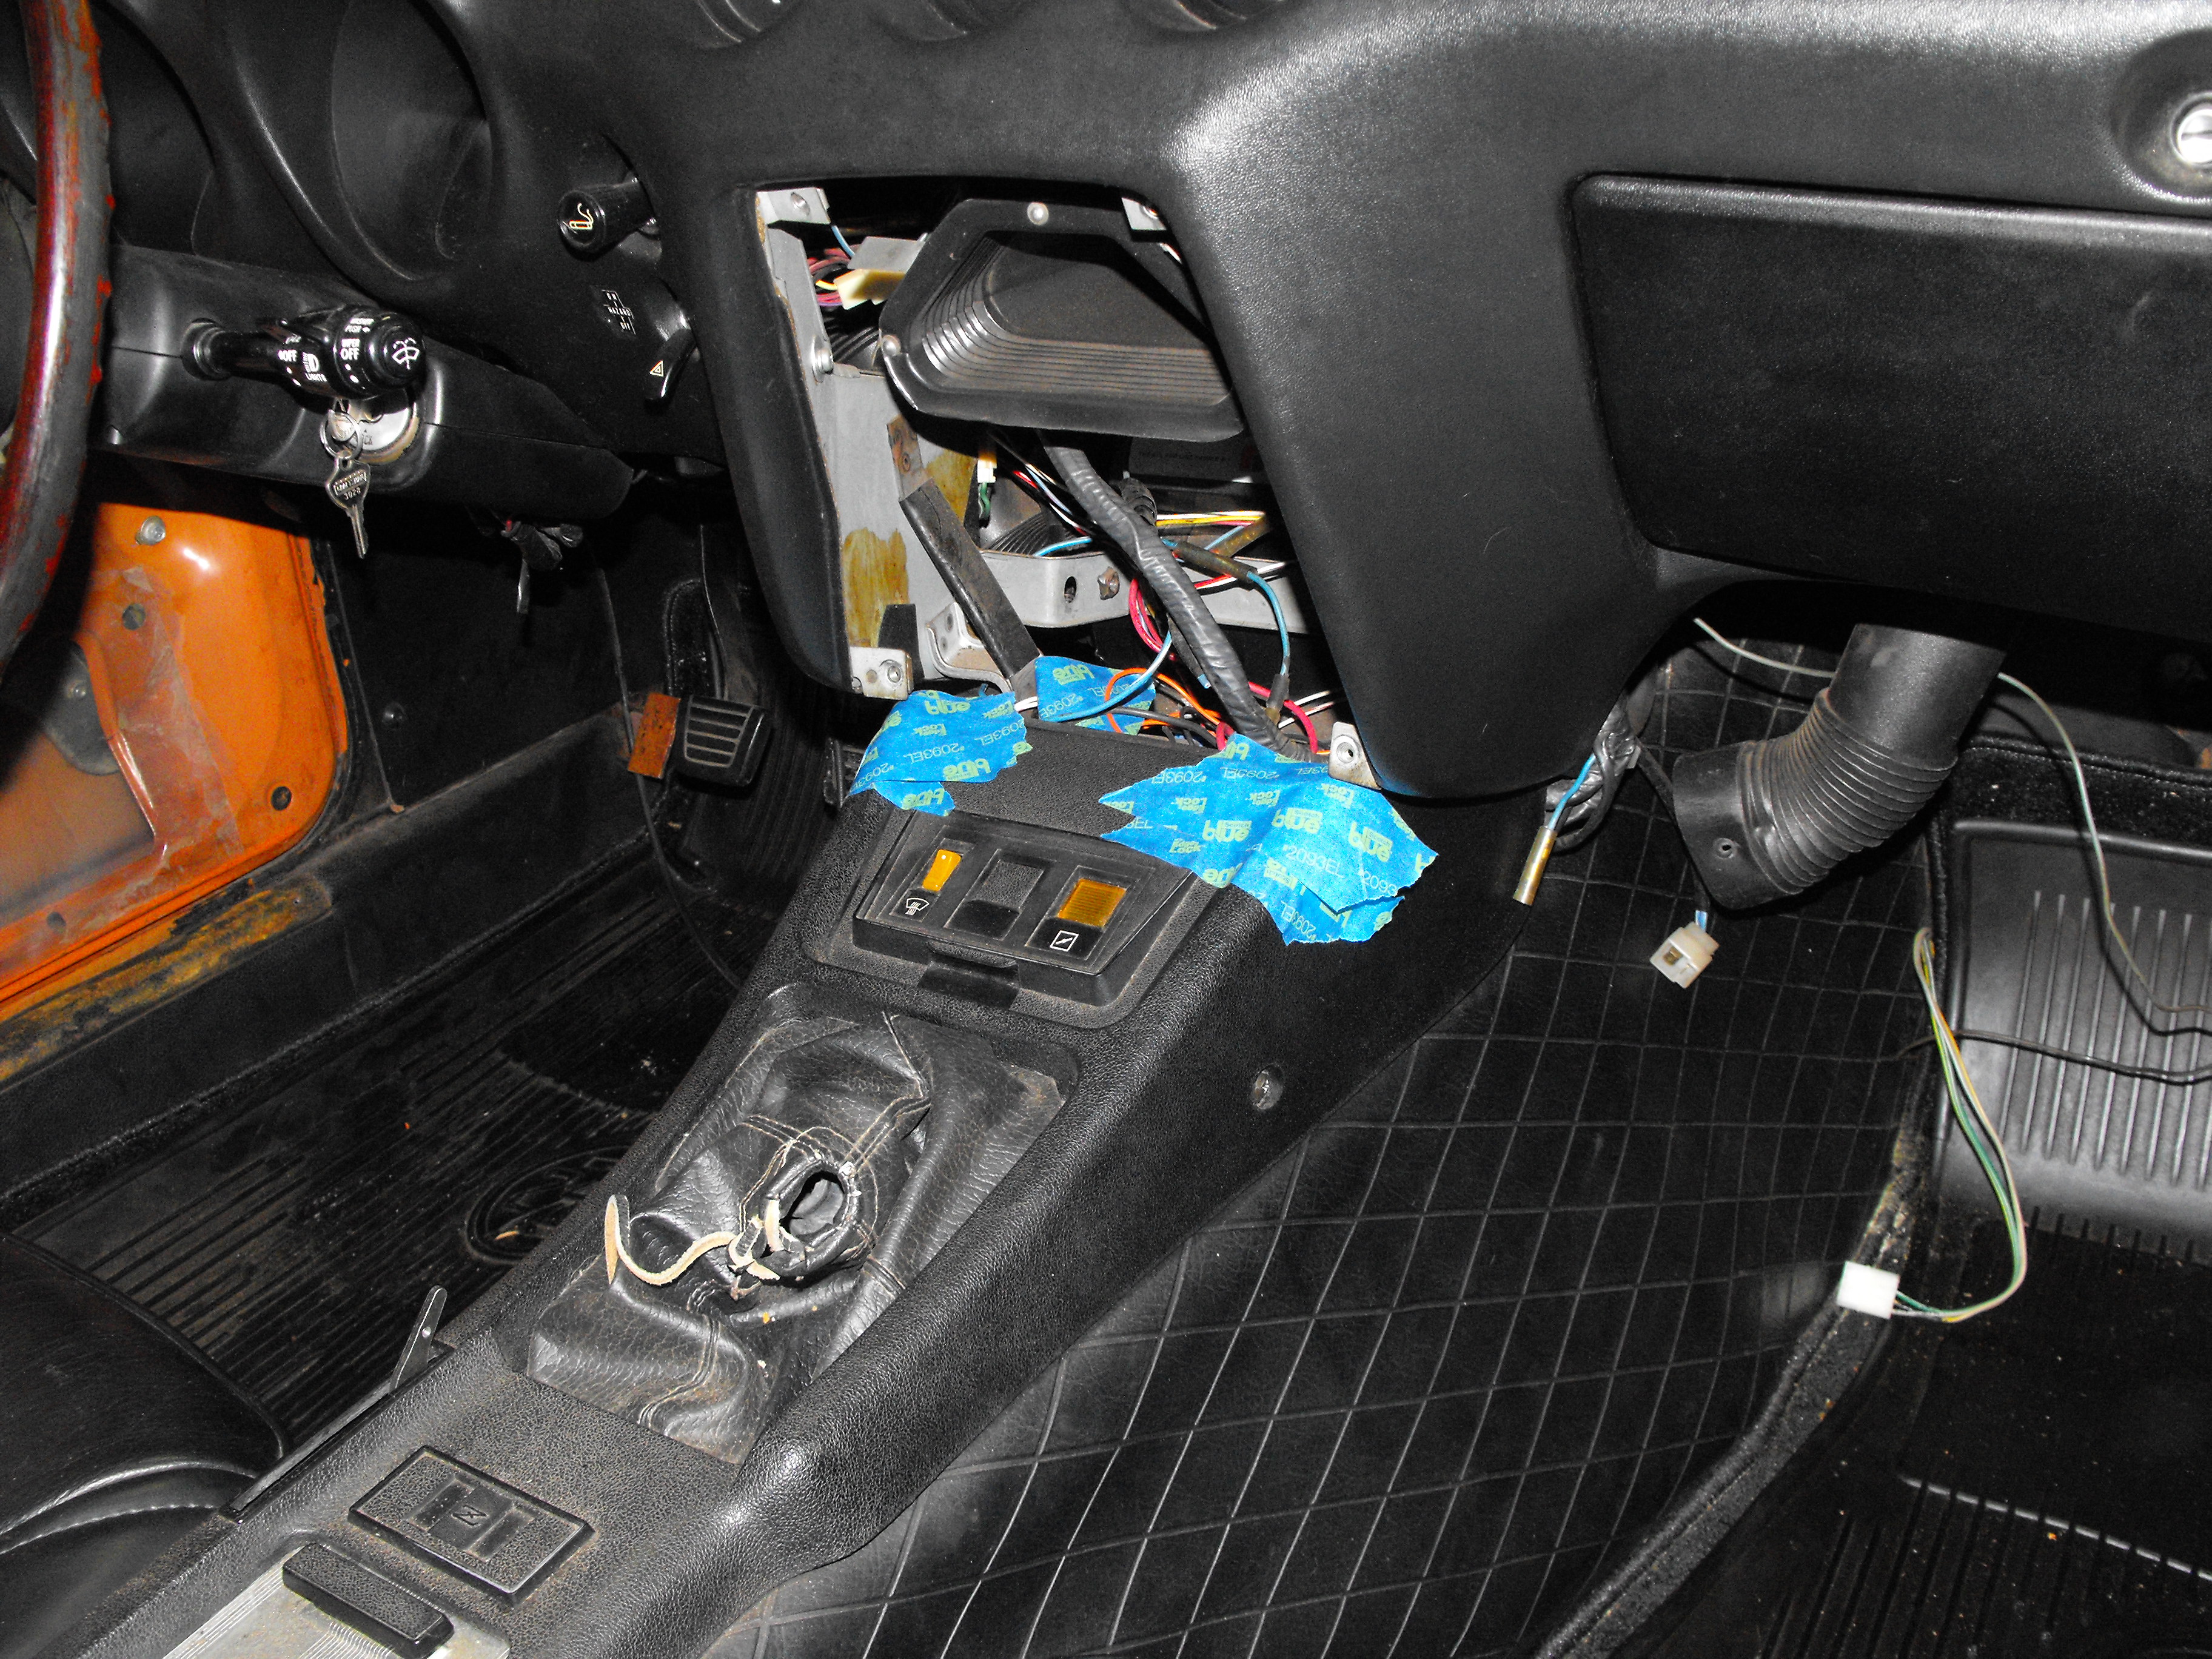
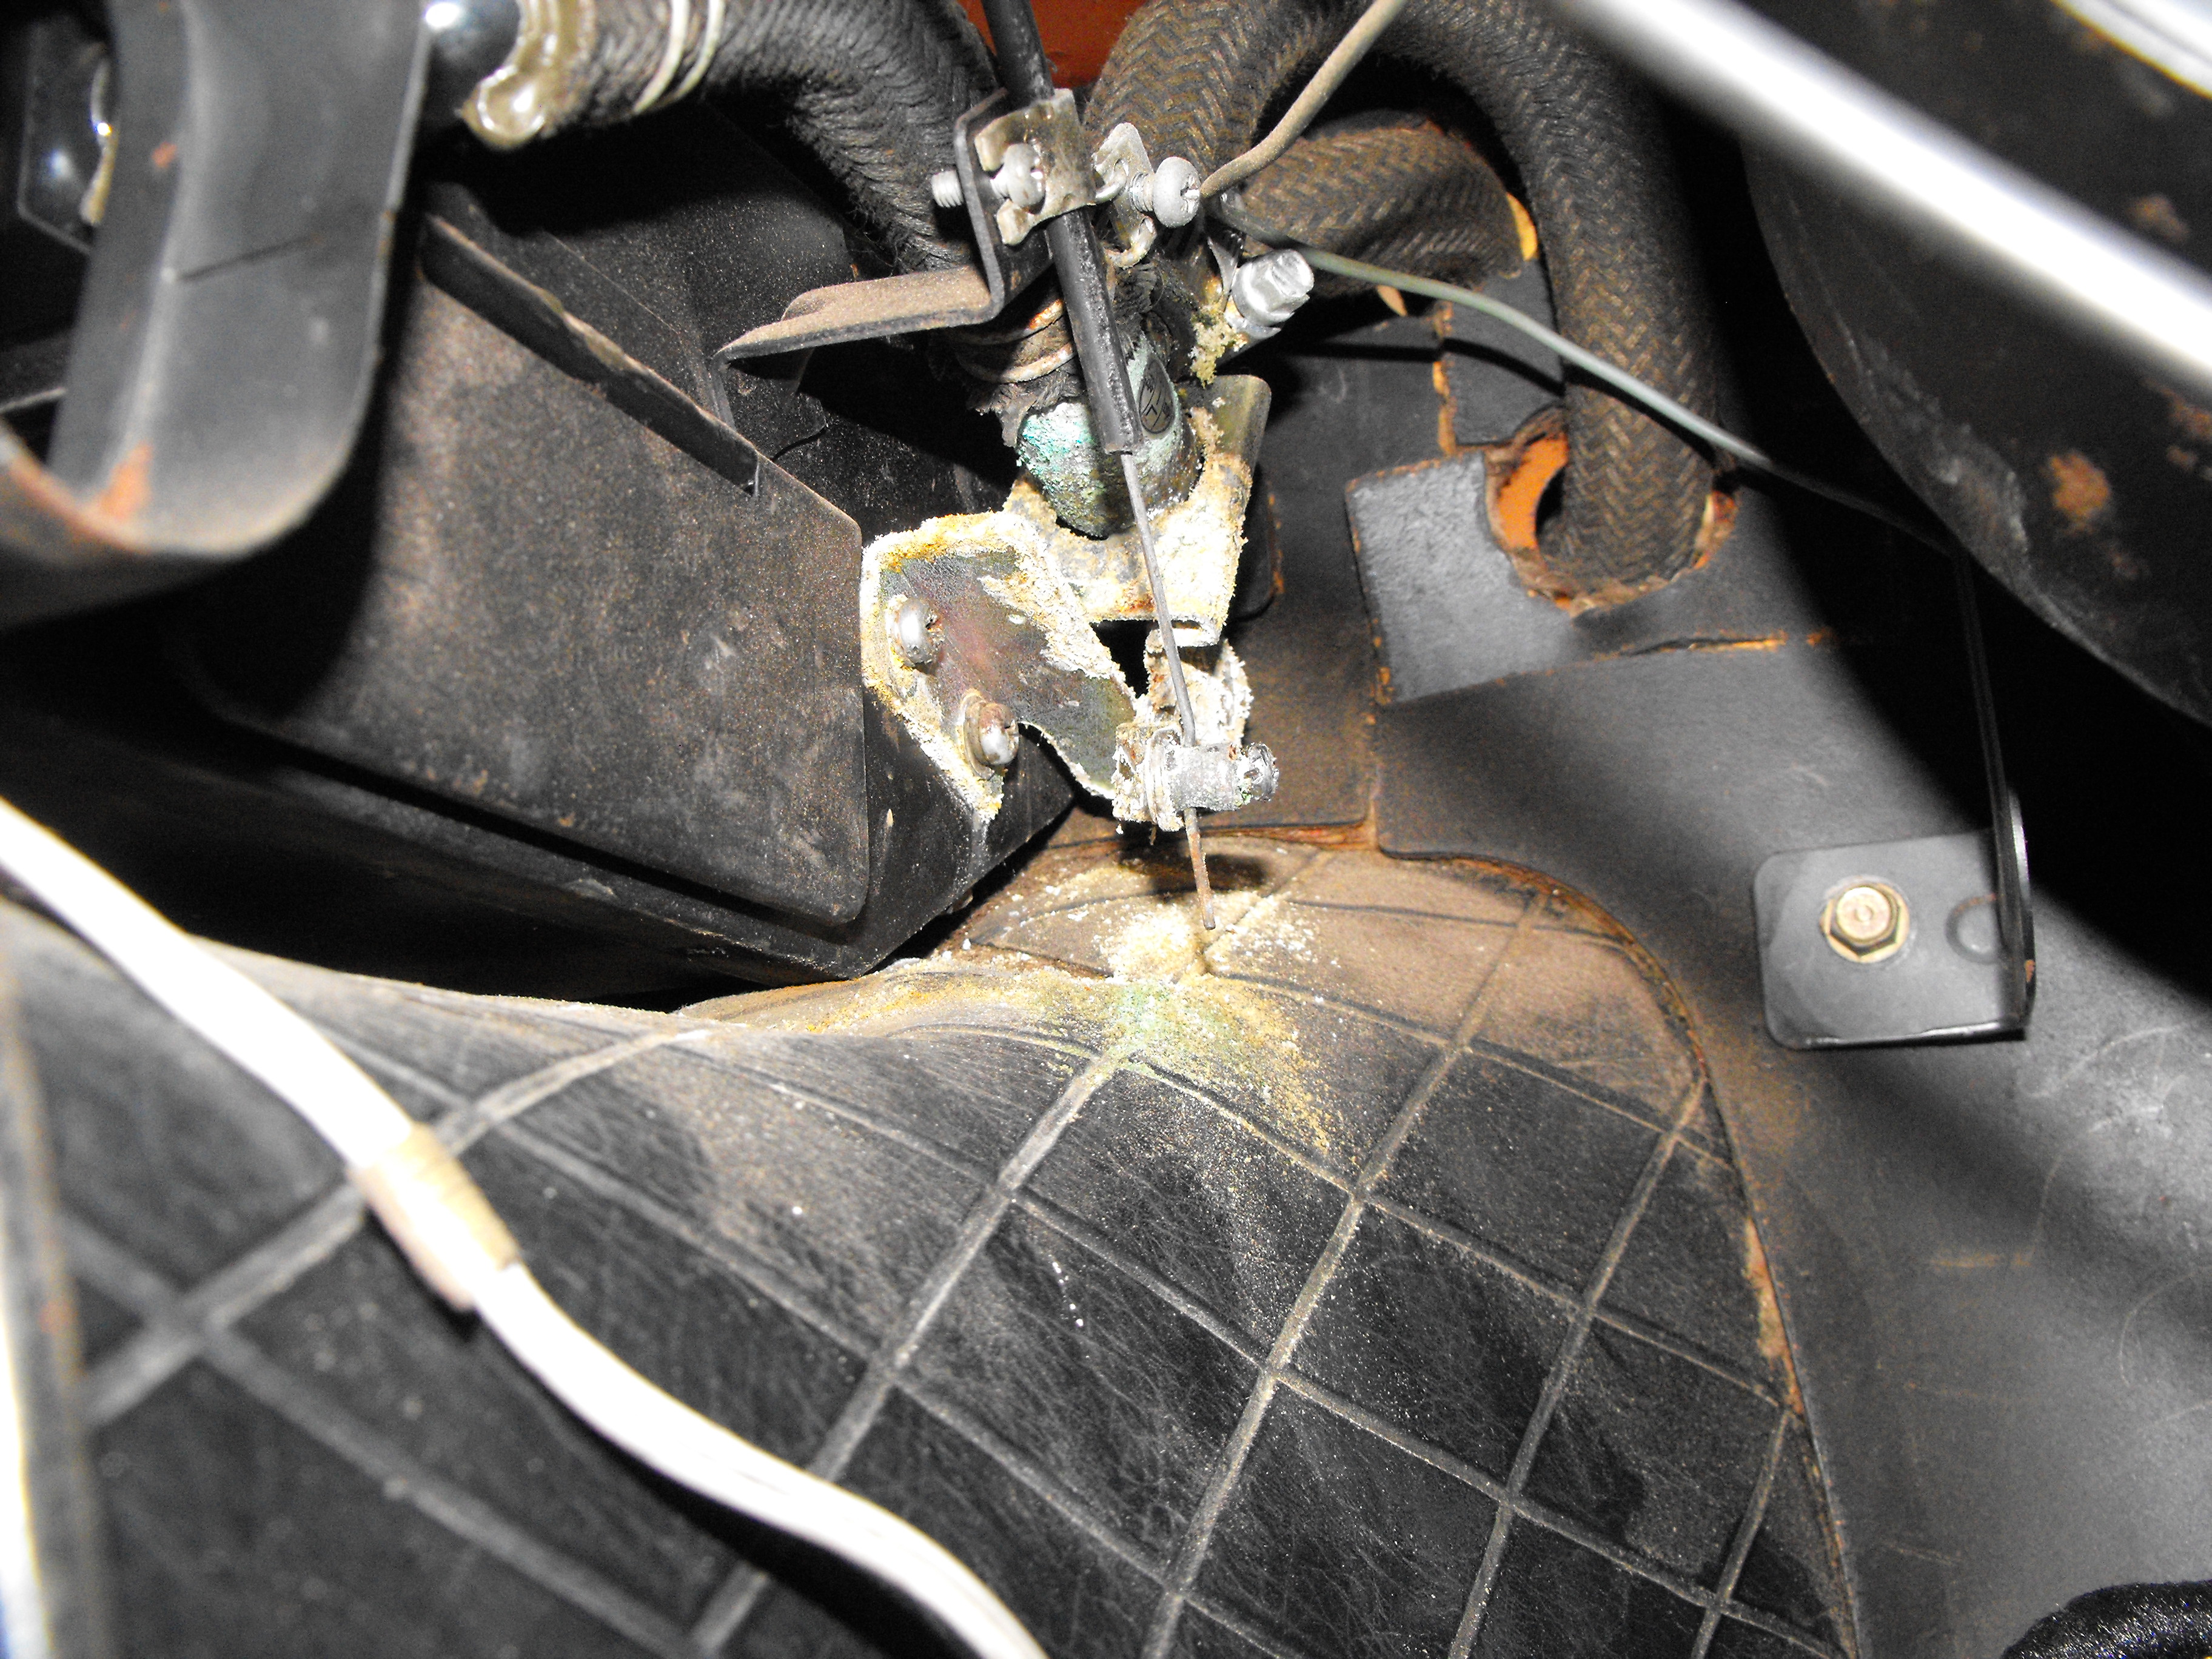
Made a lot of progress this week. The outside of the car is just about stripped (only a few items left). I spent most of the time removing items in the transmission tunnel. I removed the differential, half-shafts and drive shaft. Also removed the fuel lines, clutch lines, brake lines and parking brake system. That 10mm flare nut wrench is absolutely incredible and is a must when removing brake lines. If you use a regular wrench, you will round off the nut flats. I also removed the heater panel and controls, and the radio. I put several layers of blue tape on the center console near the dash and heater panel to prevent scratches. That area is always a very tight fit I noticed the heater valve was stuck and pretty corroded. No problem there as I have an extra (new) one laying around. Should have the dash, seats and other small items out by next weekend, then it will be time to start the body work. I will leave the glass in till last the help reduce the amount of dust in the car. No broken bolts in the disassembly to date. That is pretty good. Some pics are below