Parman
 Subscriber
-
Joined
-
Last visited
-
I spent good money to ship these corner valances back to him so he could see the problem which I marked with tape. Never heard a word.... I bought a set of pre-cut firewall pads from somewhere... they sat for a long time before I was ready to install them, like 2 years. The drivers side holes didn't match up with the holes in the firewall. I cut them more but now it looked like a hack job and I wasn't happy with it. So, I contacted the manufacturer and showed them the problem, maybe their jig slipped or the tooling got moved, something. I then ordered a blank piece and cut it out myself using my original as a template. The response I got was, "you're the first person to complain about these, it must be your car, we're not changing our tooling". Really! You're going to keep making them this way, that don't fit correctly? That don't line up? Unbelievable. There was something else I returned that didn't fit right, the response was, "we only get 2 or 3 returns a year". What kind of response is that? It's basically saying the problem is not our product, it's you. 🤣
-
Yes, you did offer a replacement valance kit, but wouldn't it be the same as the one I got? If I could not use the one I got from your vendor, what makes you think the one I got from you would fit any better? I don't understand, aren't they all the same? If they're not all the same, why aren't they?
-
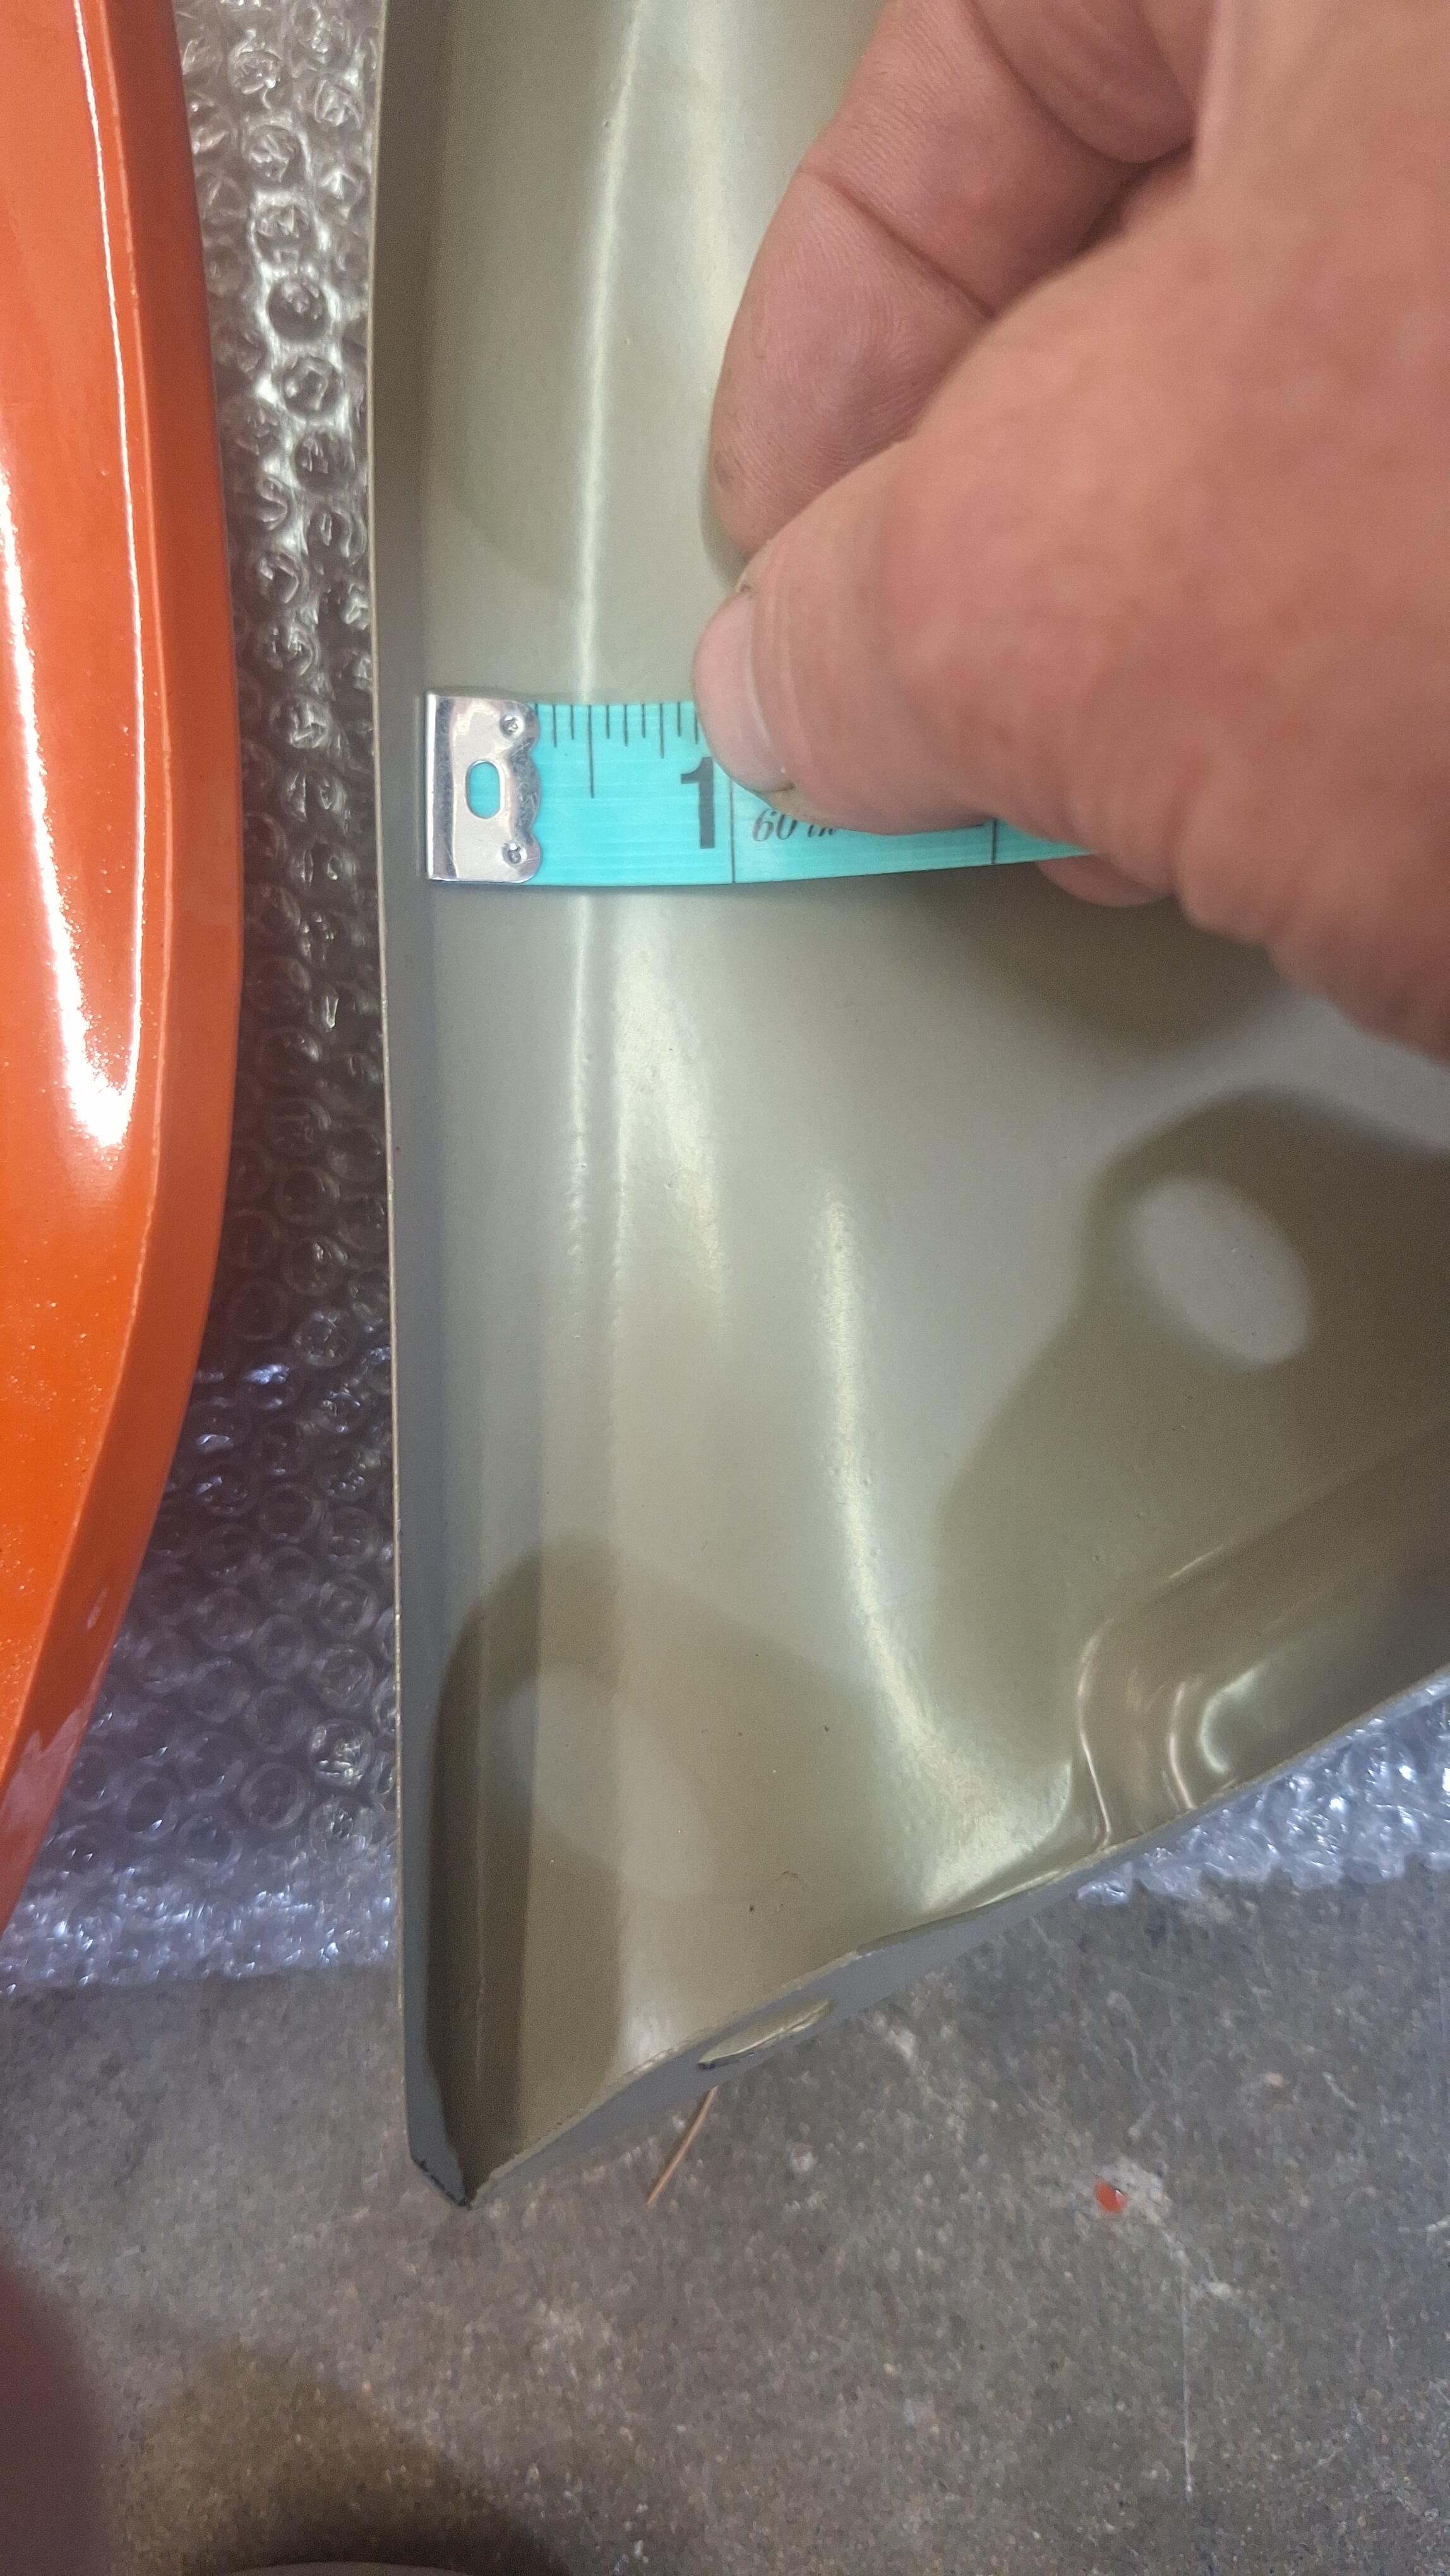
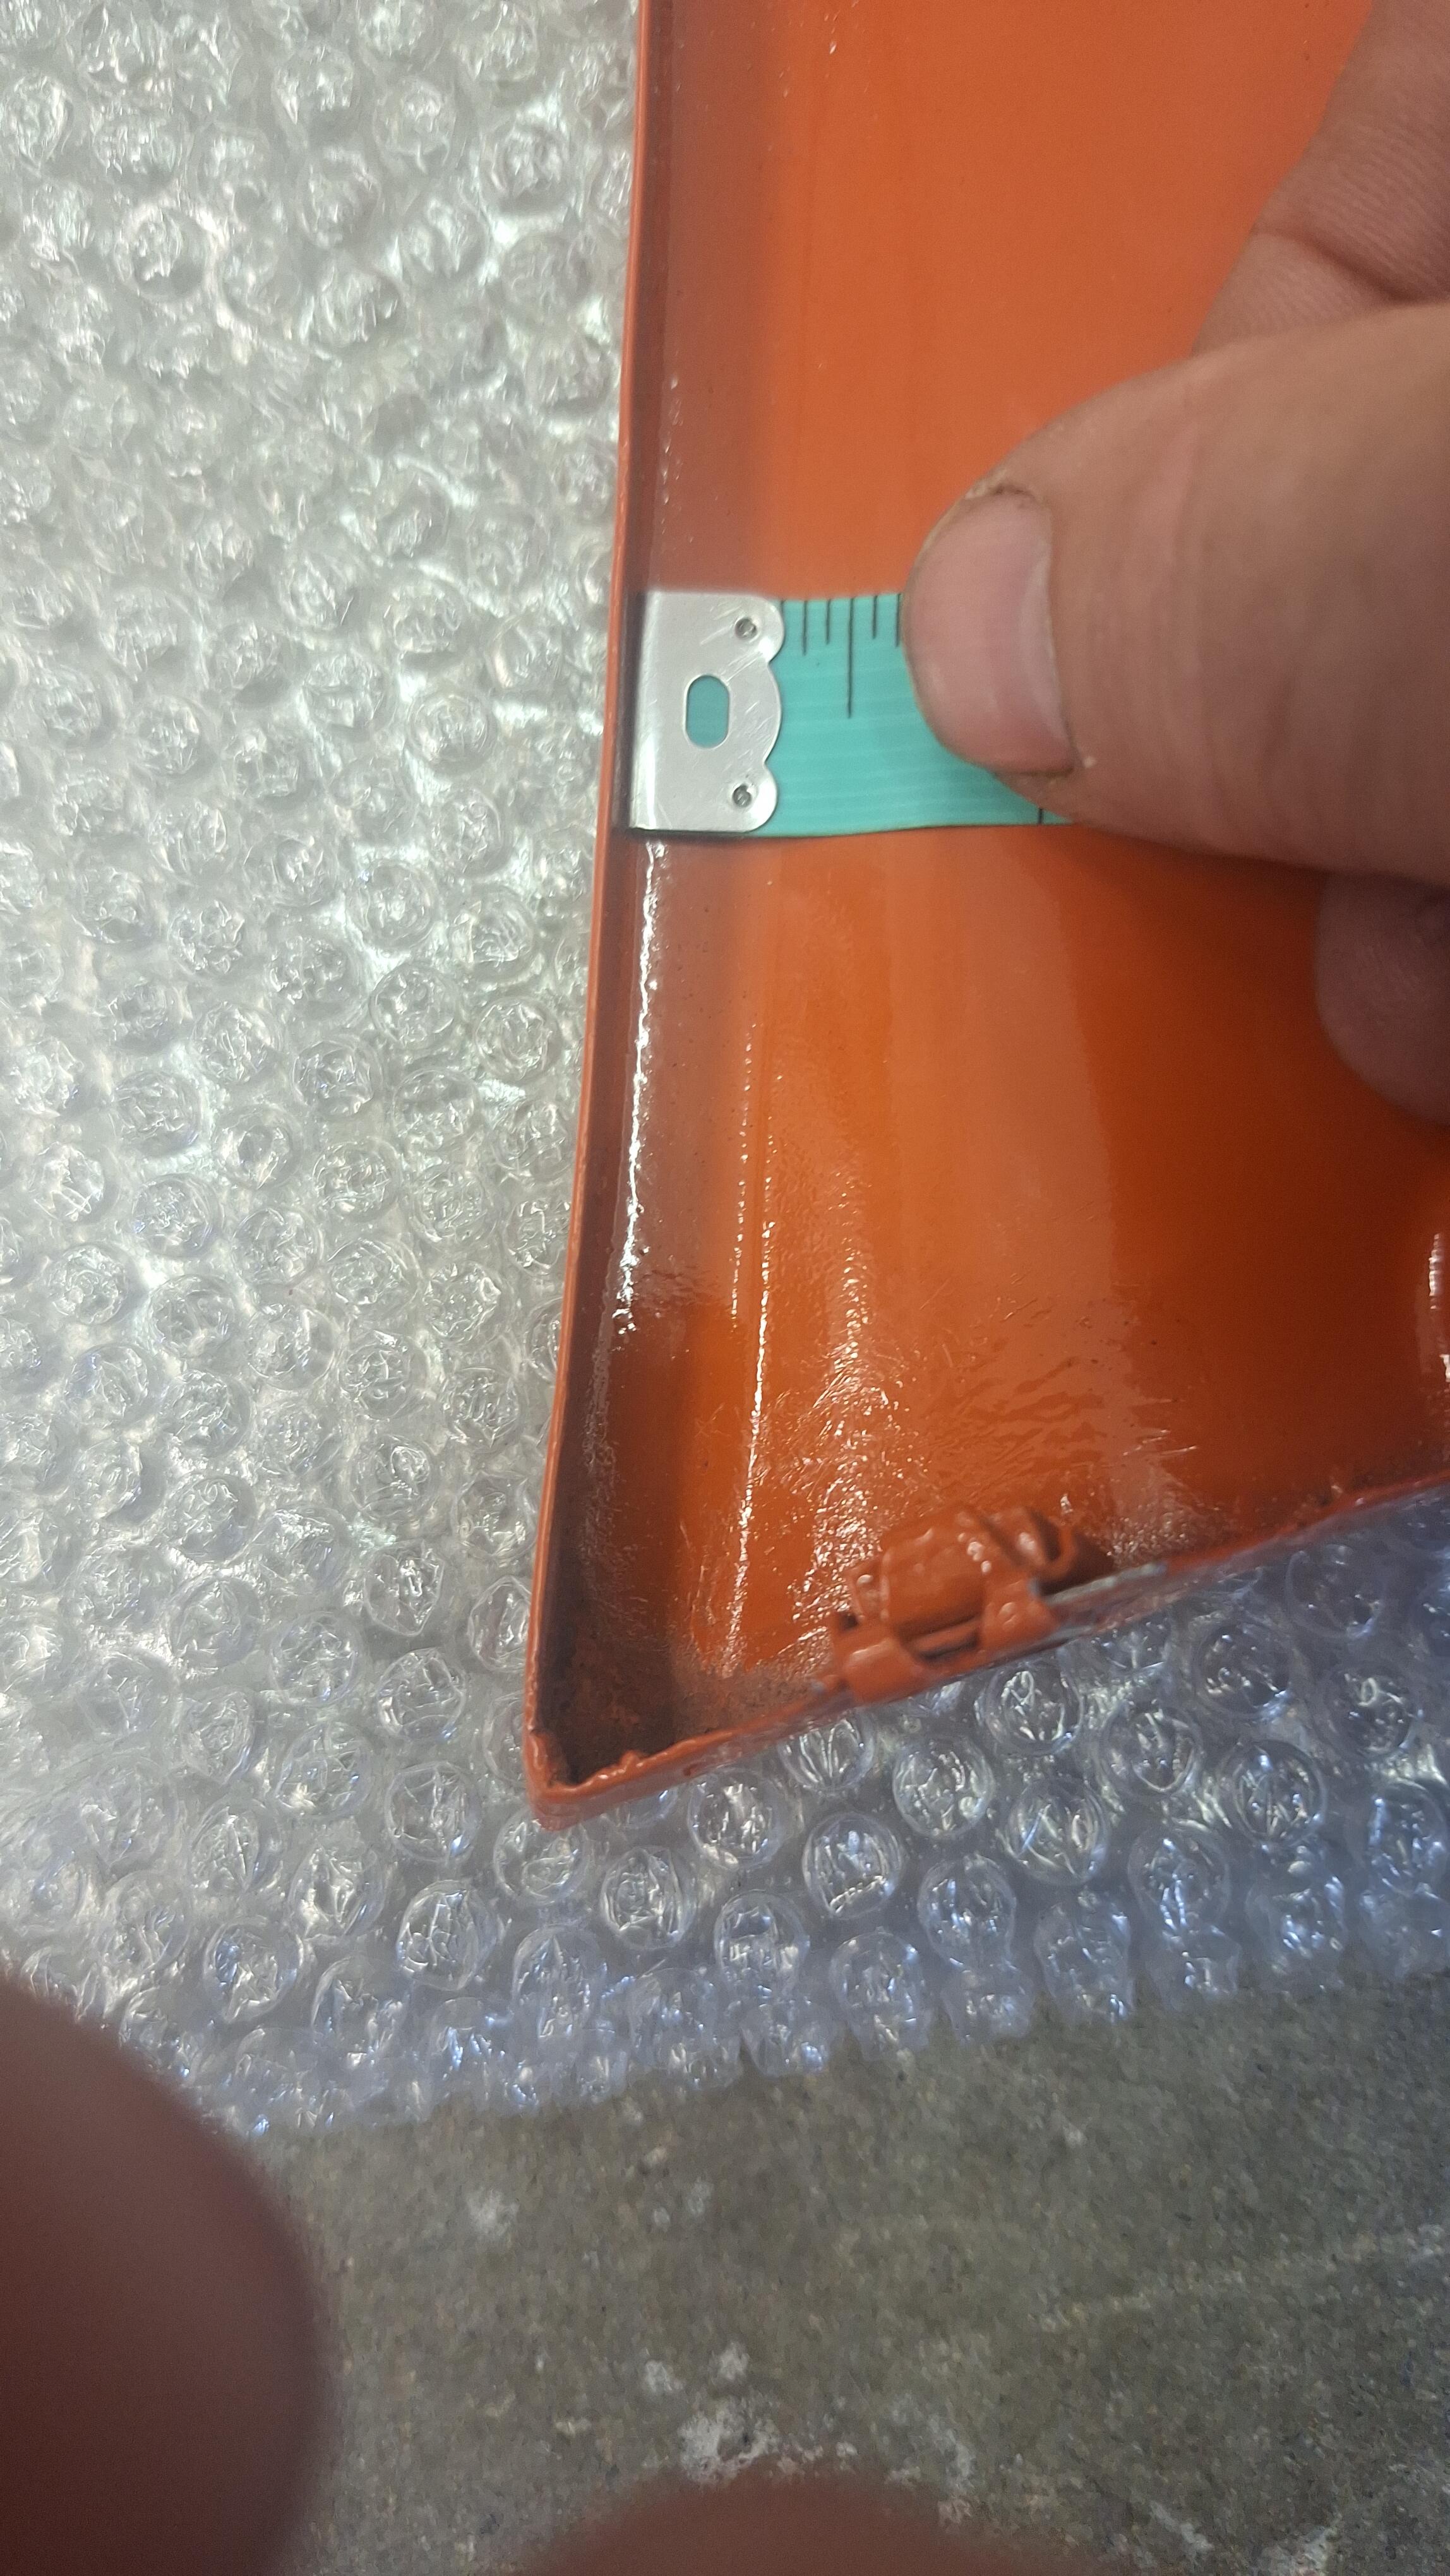
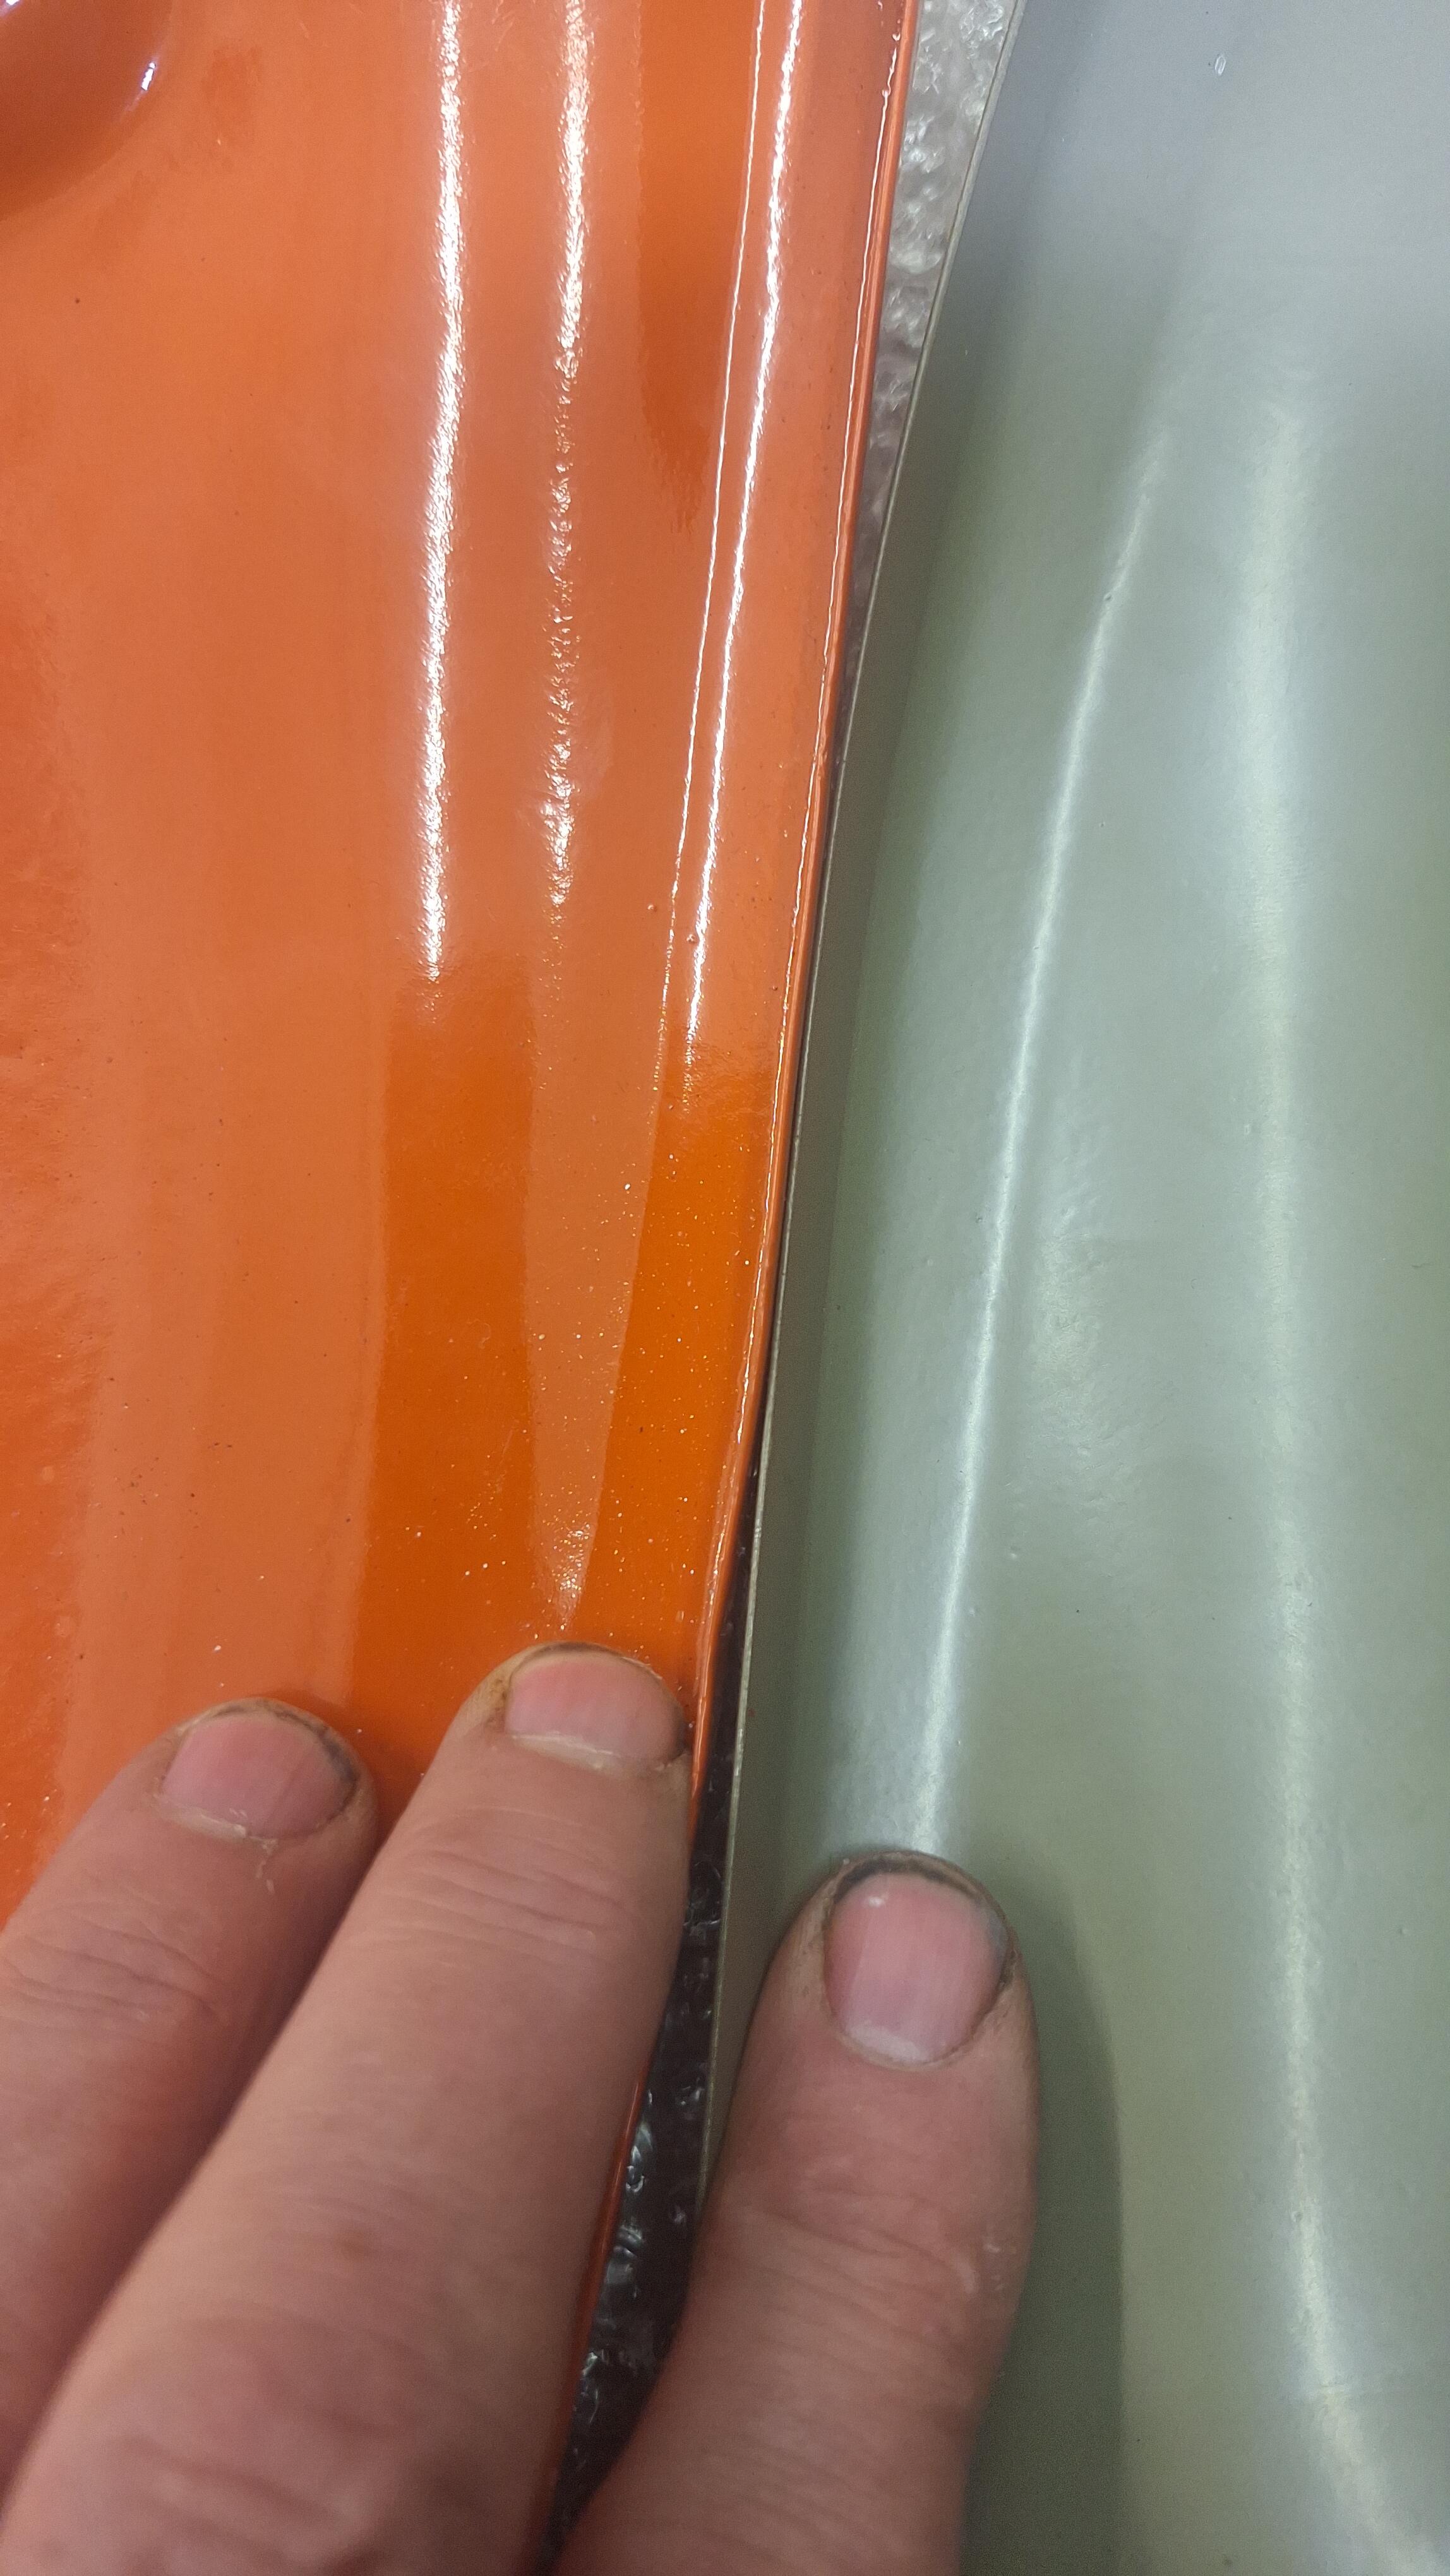
FWIW, I bought a Resurrected Classic's valance set last fall. The body line contours weren't even close. This reproduction had contours that were over 50% wider than the original and didn't match the original fenders. I sent them back the corner valances, showed them the error. No response, no refund, just crickets. I cut and welded on the center valance, moved the holes and got it to fit. Here's some photos of the corners compared to the original.


-
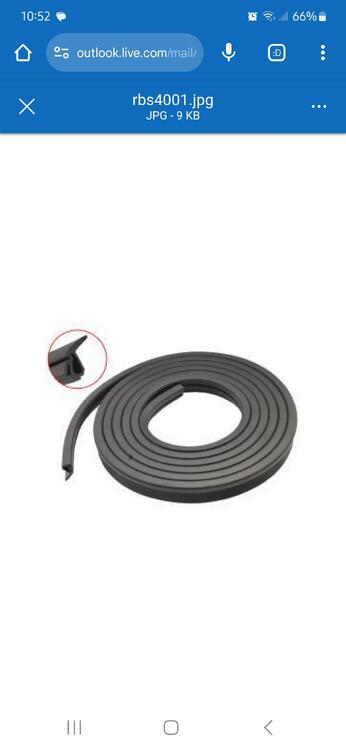
Looking back at pictures of my orange car, there wasn't any rubber pad on there either. There's not one shown in the parts manual. But I like the idea of putting one on there!
-
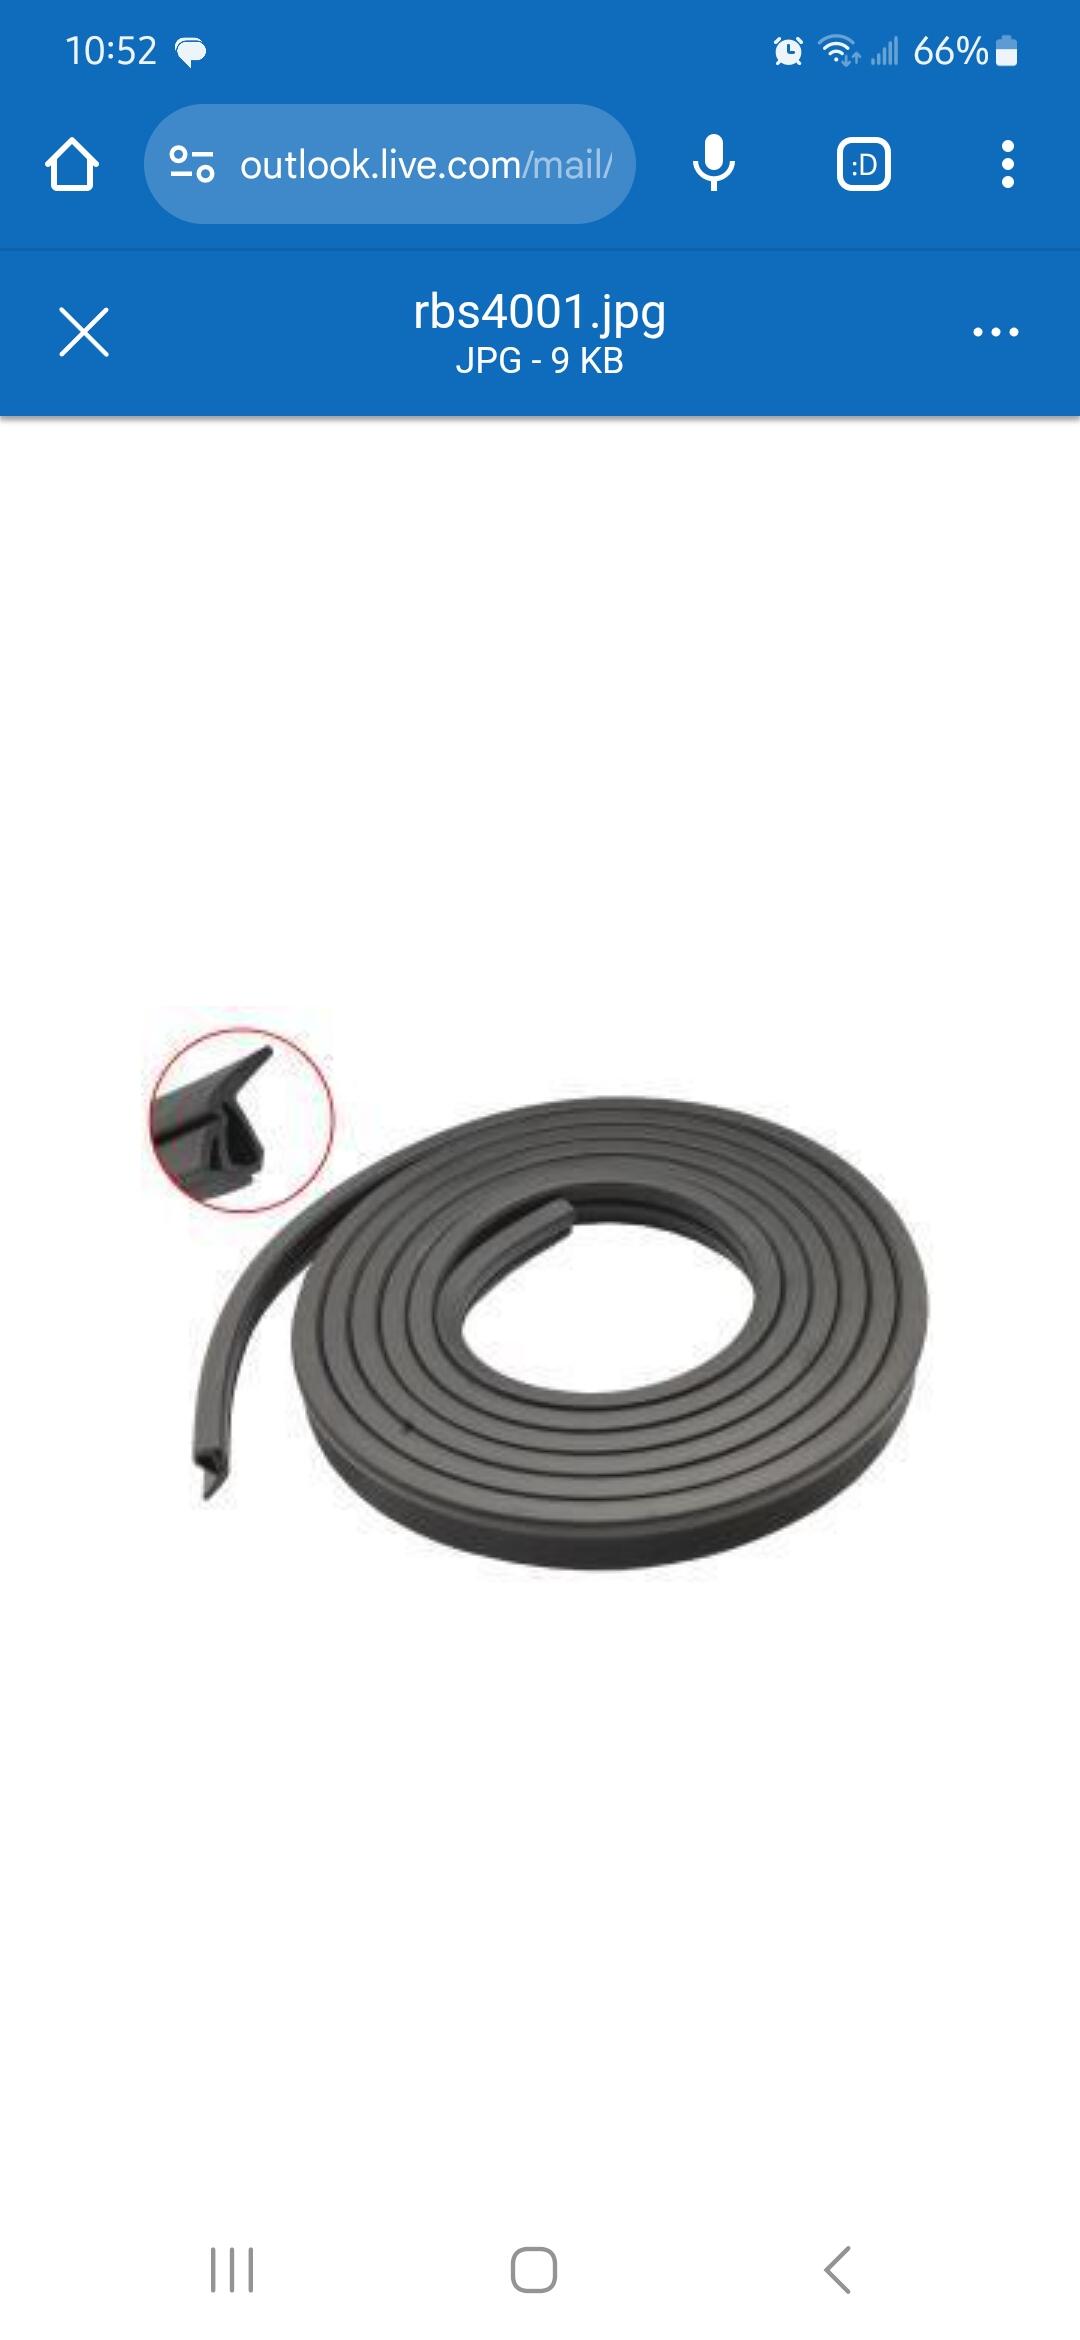
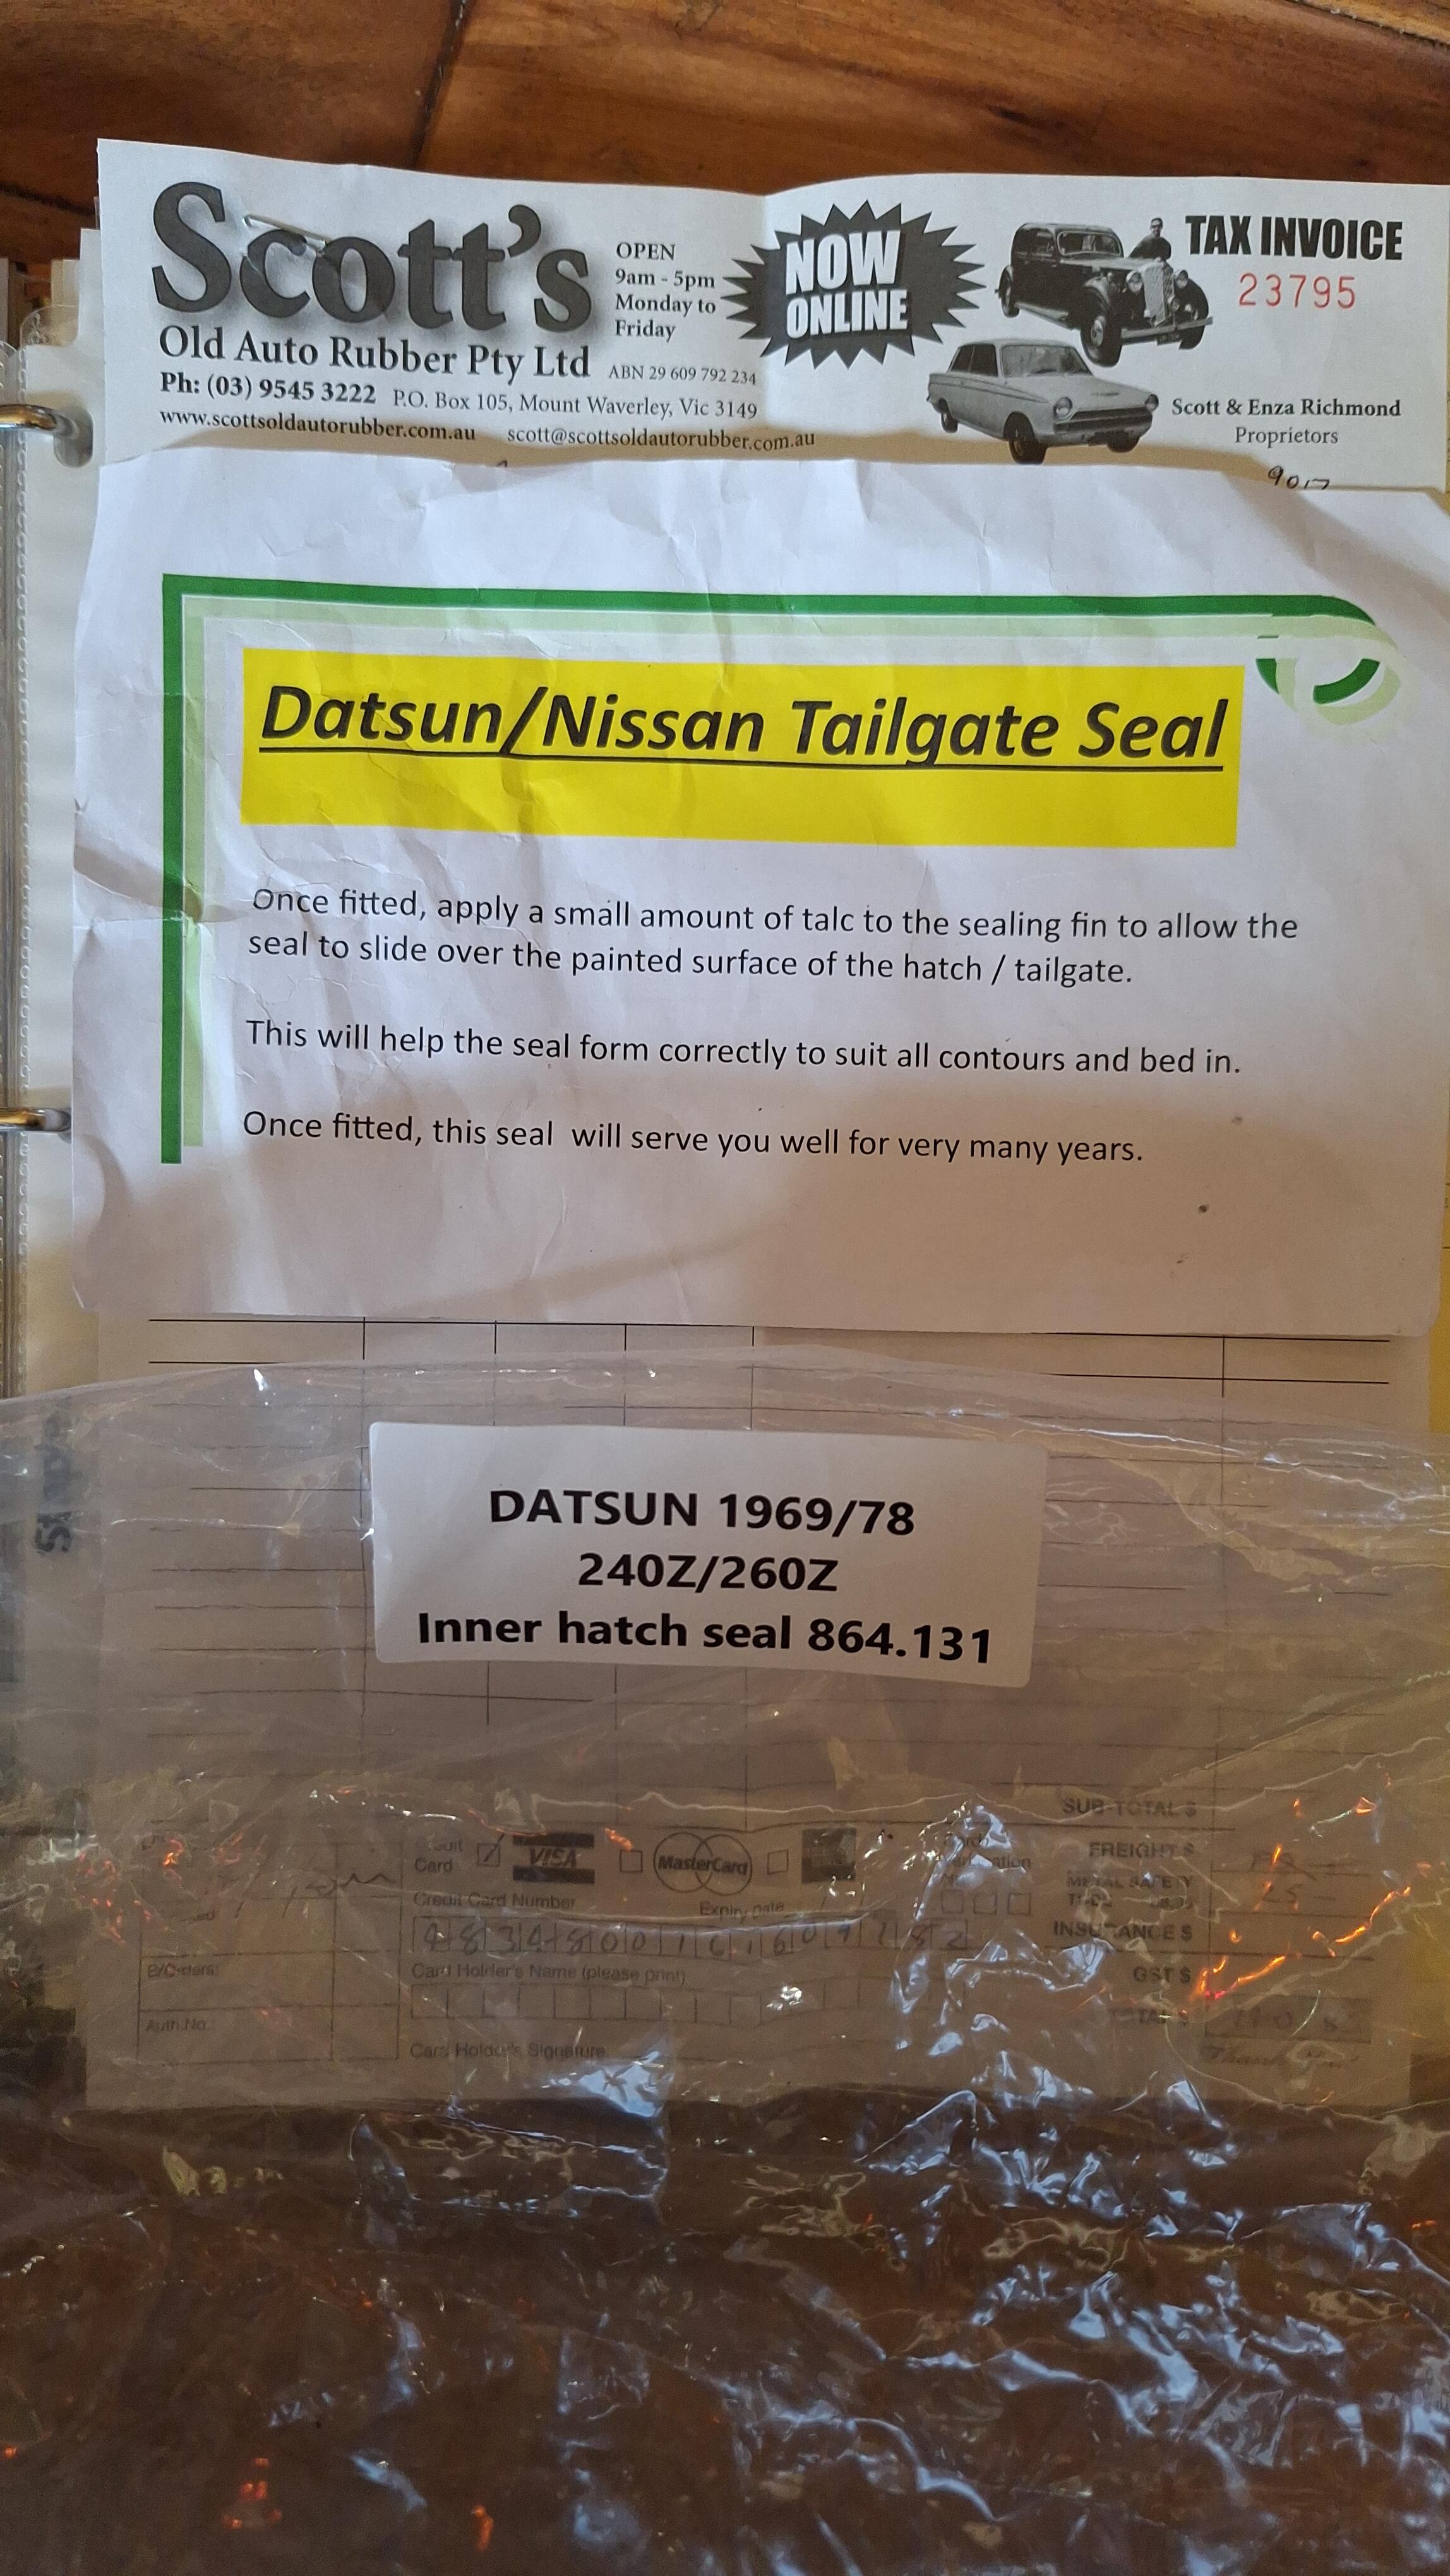
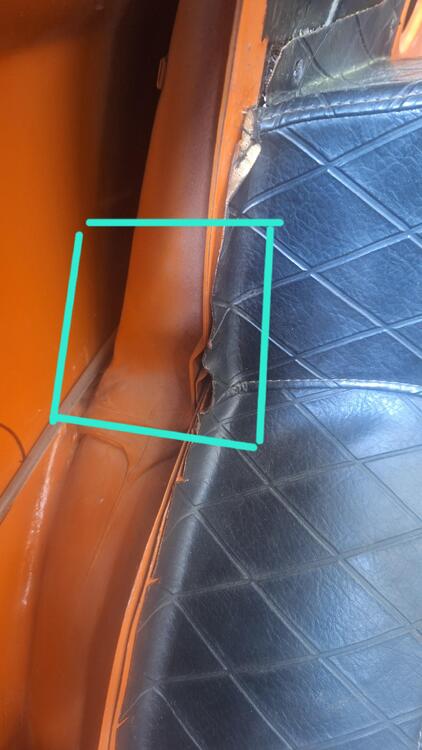
I don't think it's an original Nissan hatch seal, as it's sold by the metre. But it sure is better than what I had. It's not a simple seal swap like it would be for the doors. There's 6 interior panels to remove, then the adhesive. Then there's all those push pin clips, oh, I found out where some of those pins are going, I found the mother load. I think I got 14 of them from this one spot with a piece of radiator hose taped to my shop vac and a piece of screen taped over the end.

-
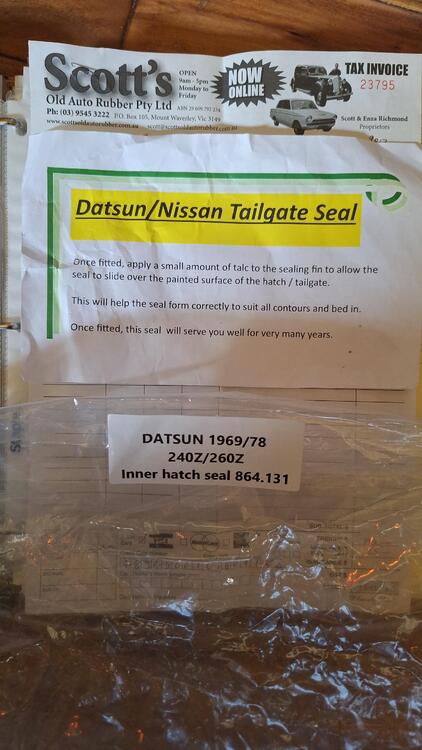
I was going to try it out first, but I just finished installing it and the seal fit like a glove. I think I read on their website that they may be going out of business soon. It's part# 864.131

-
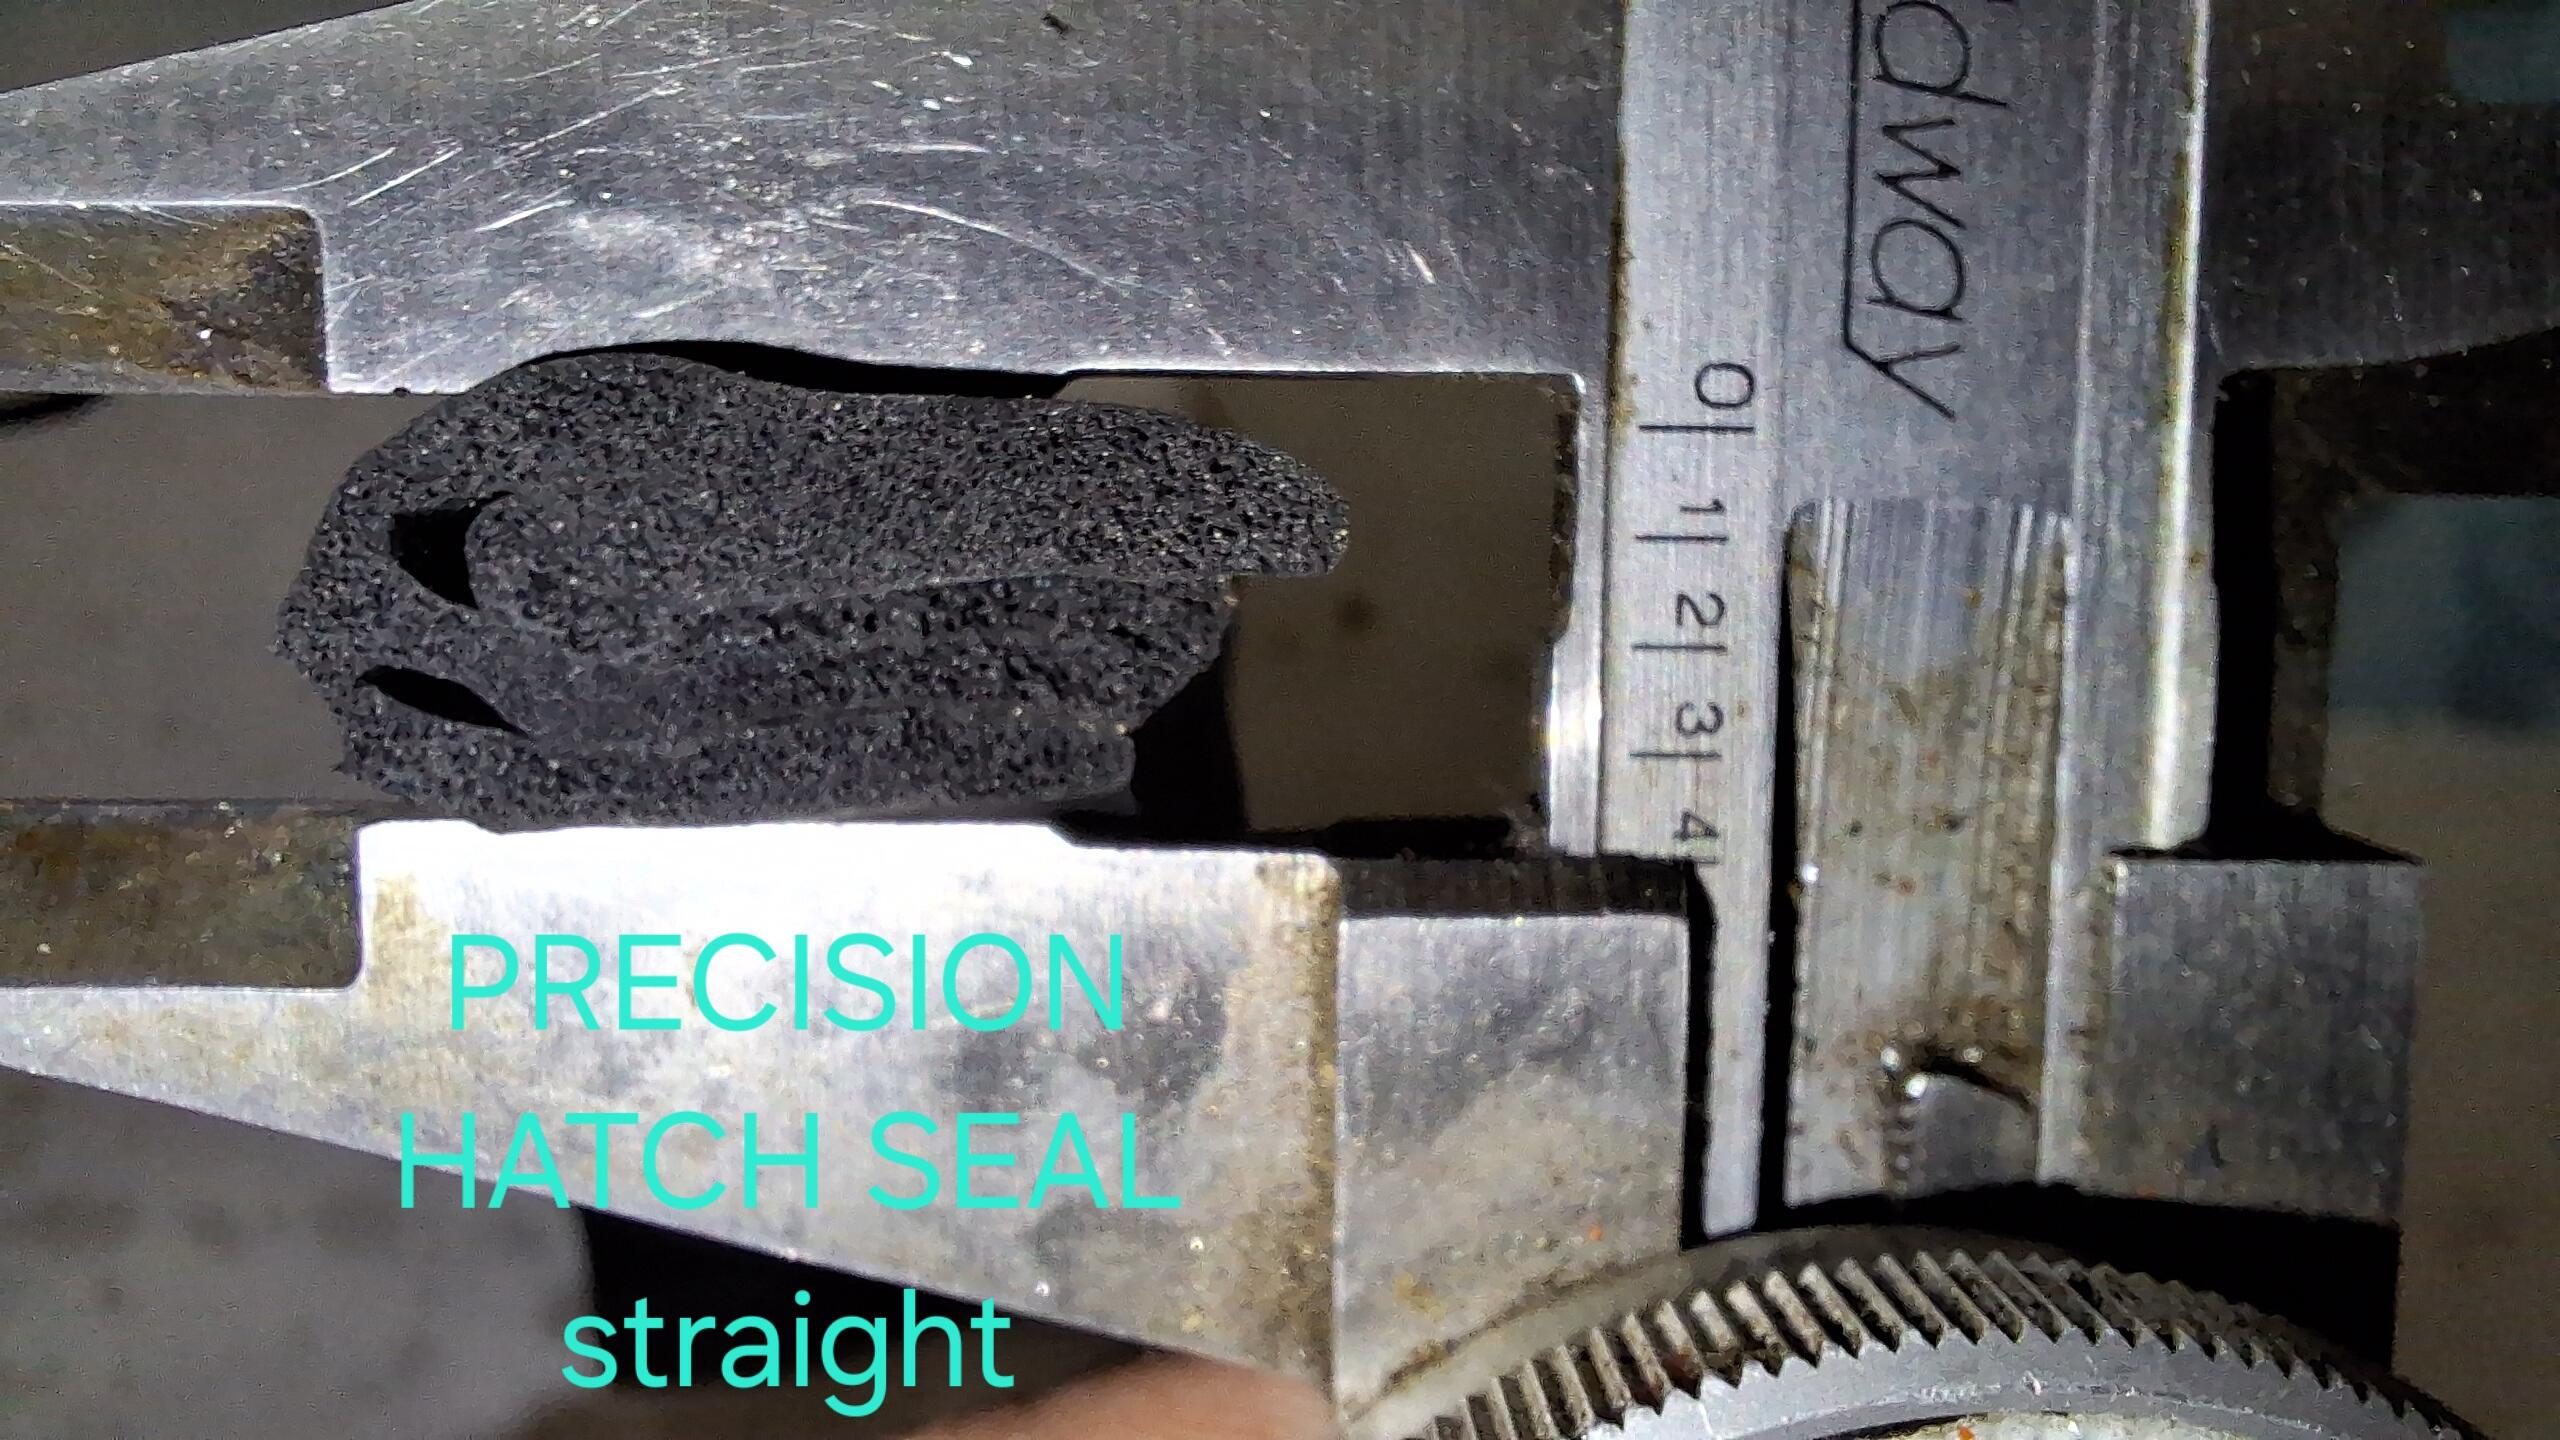
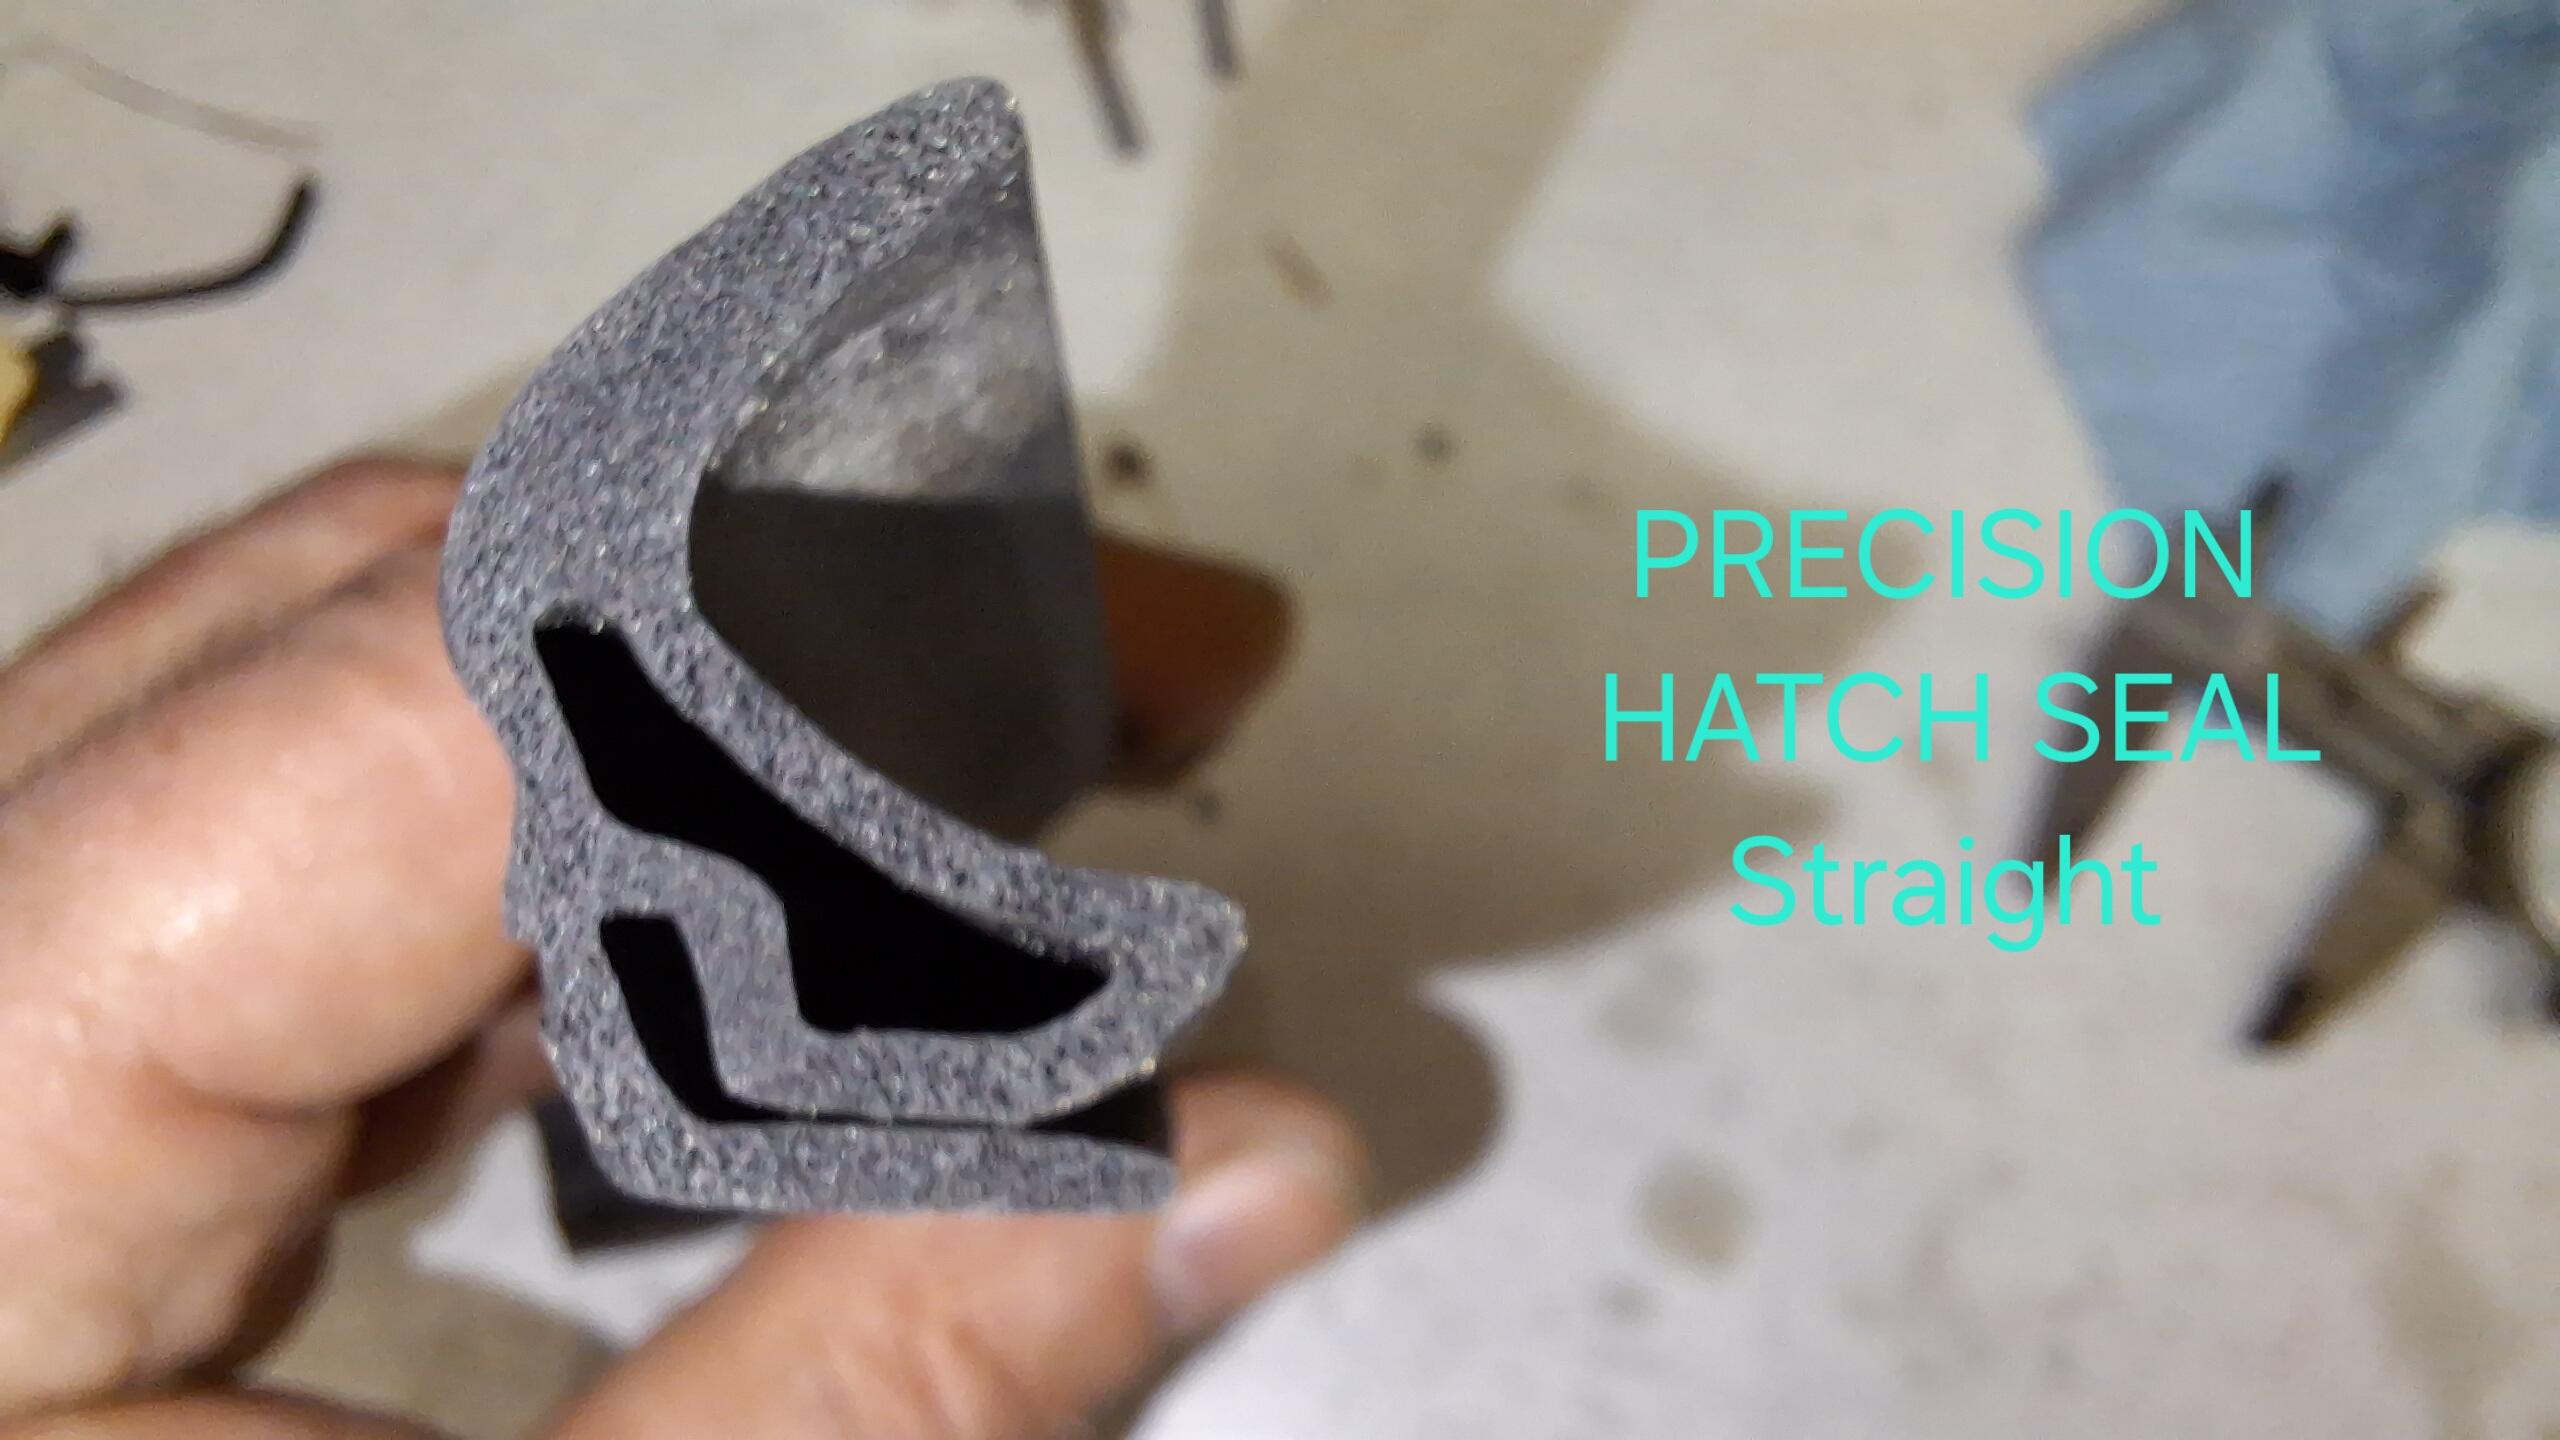
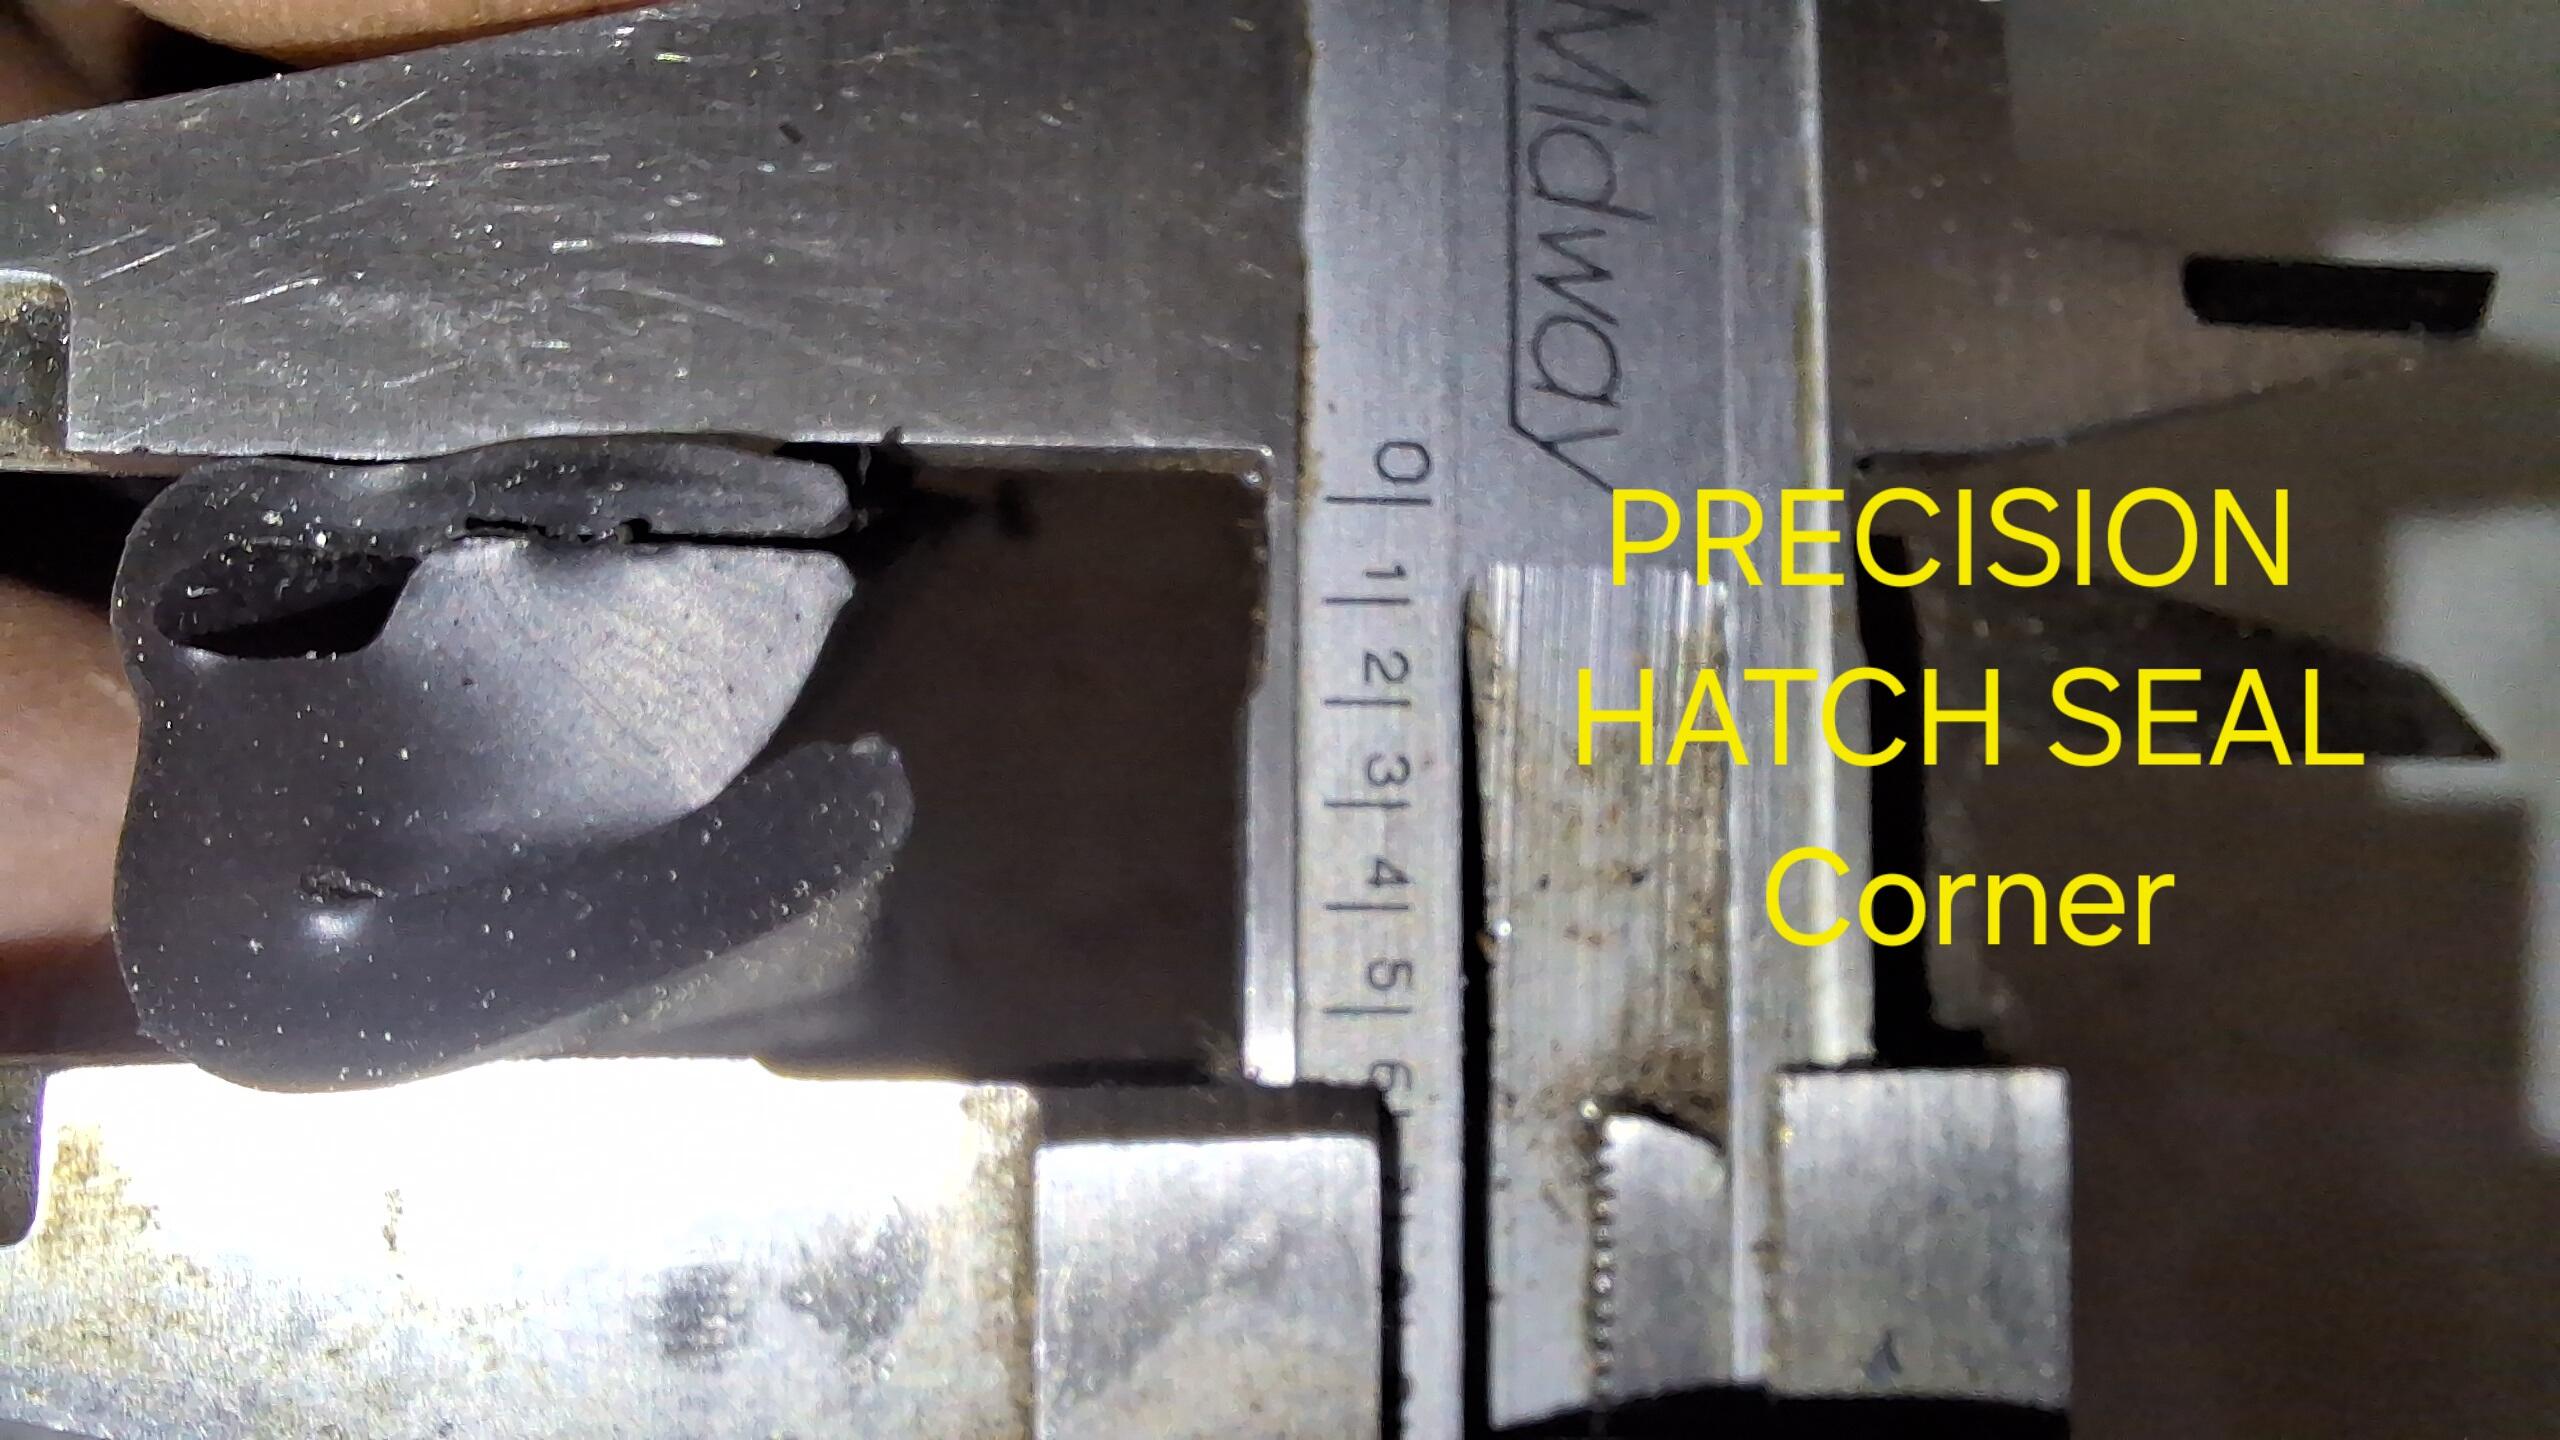
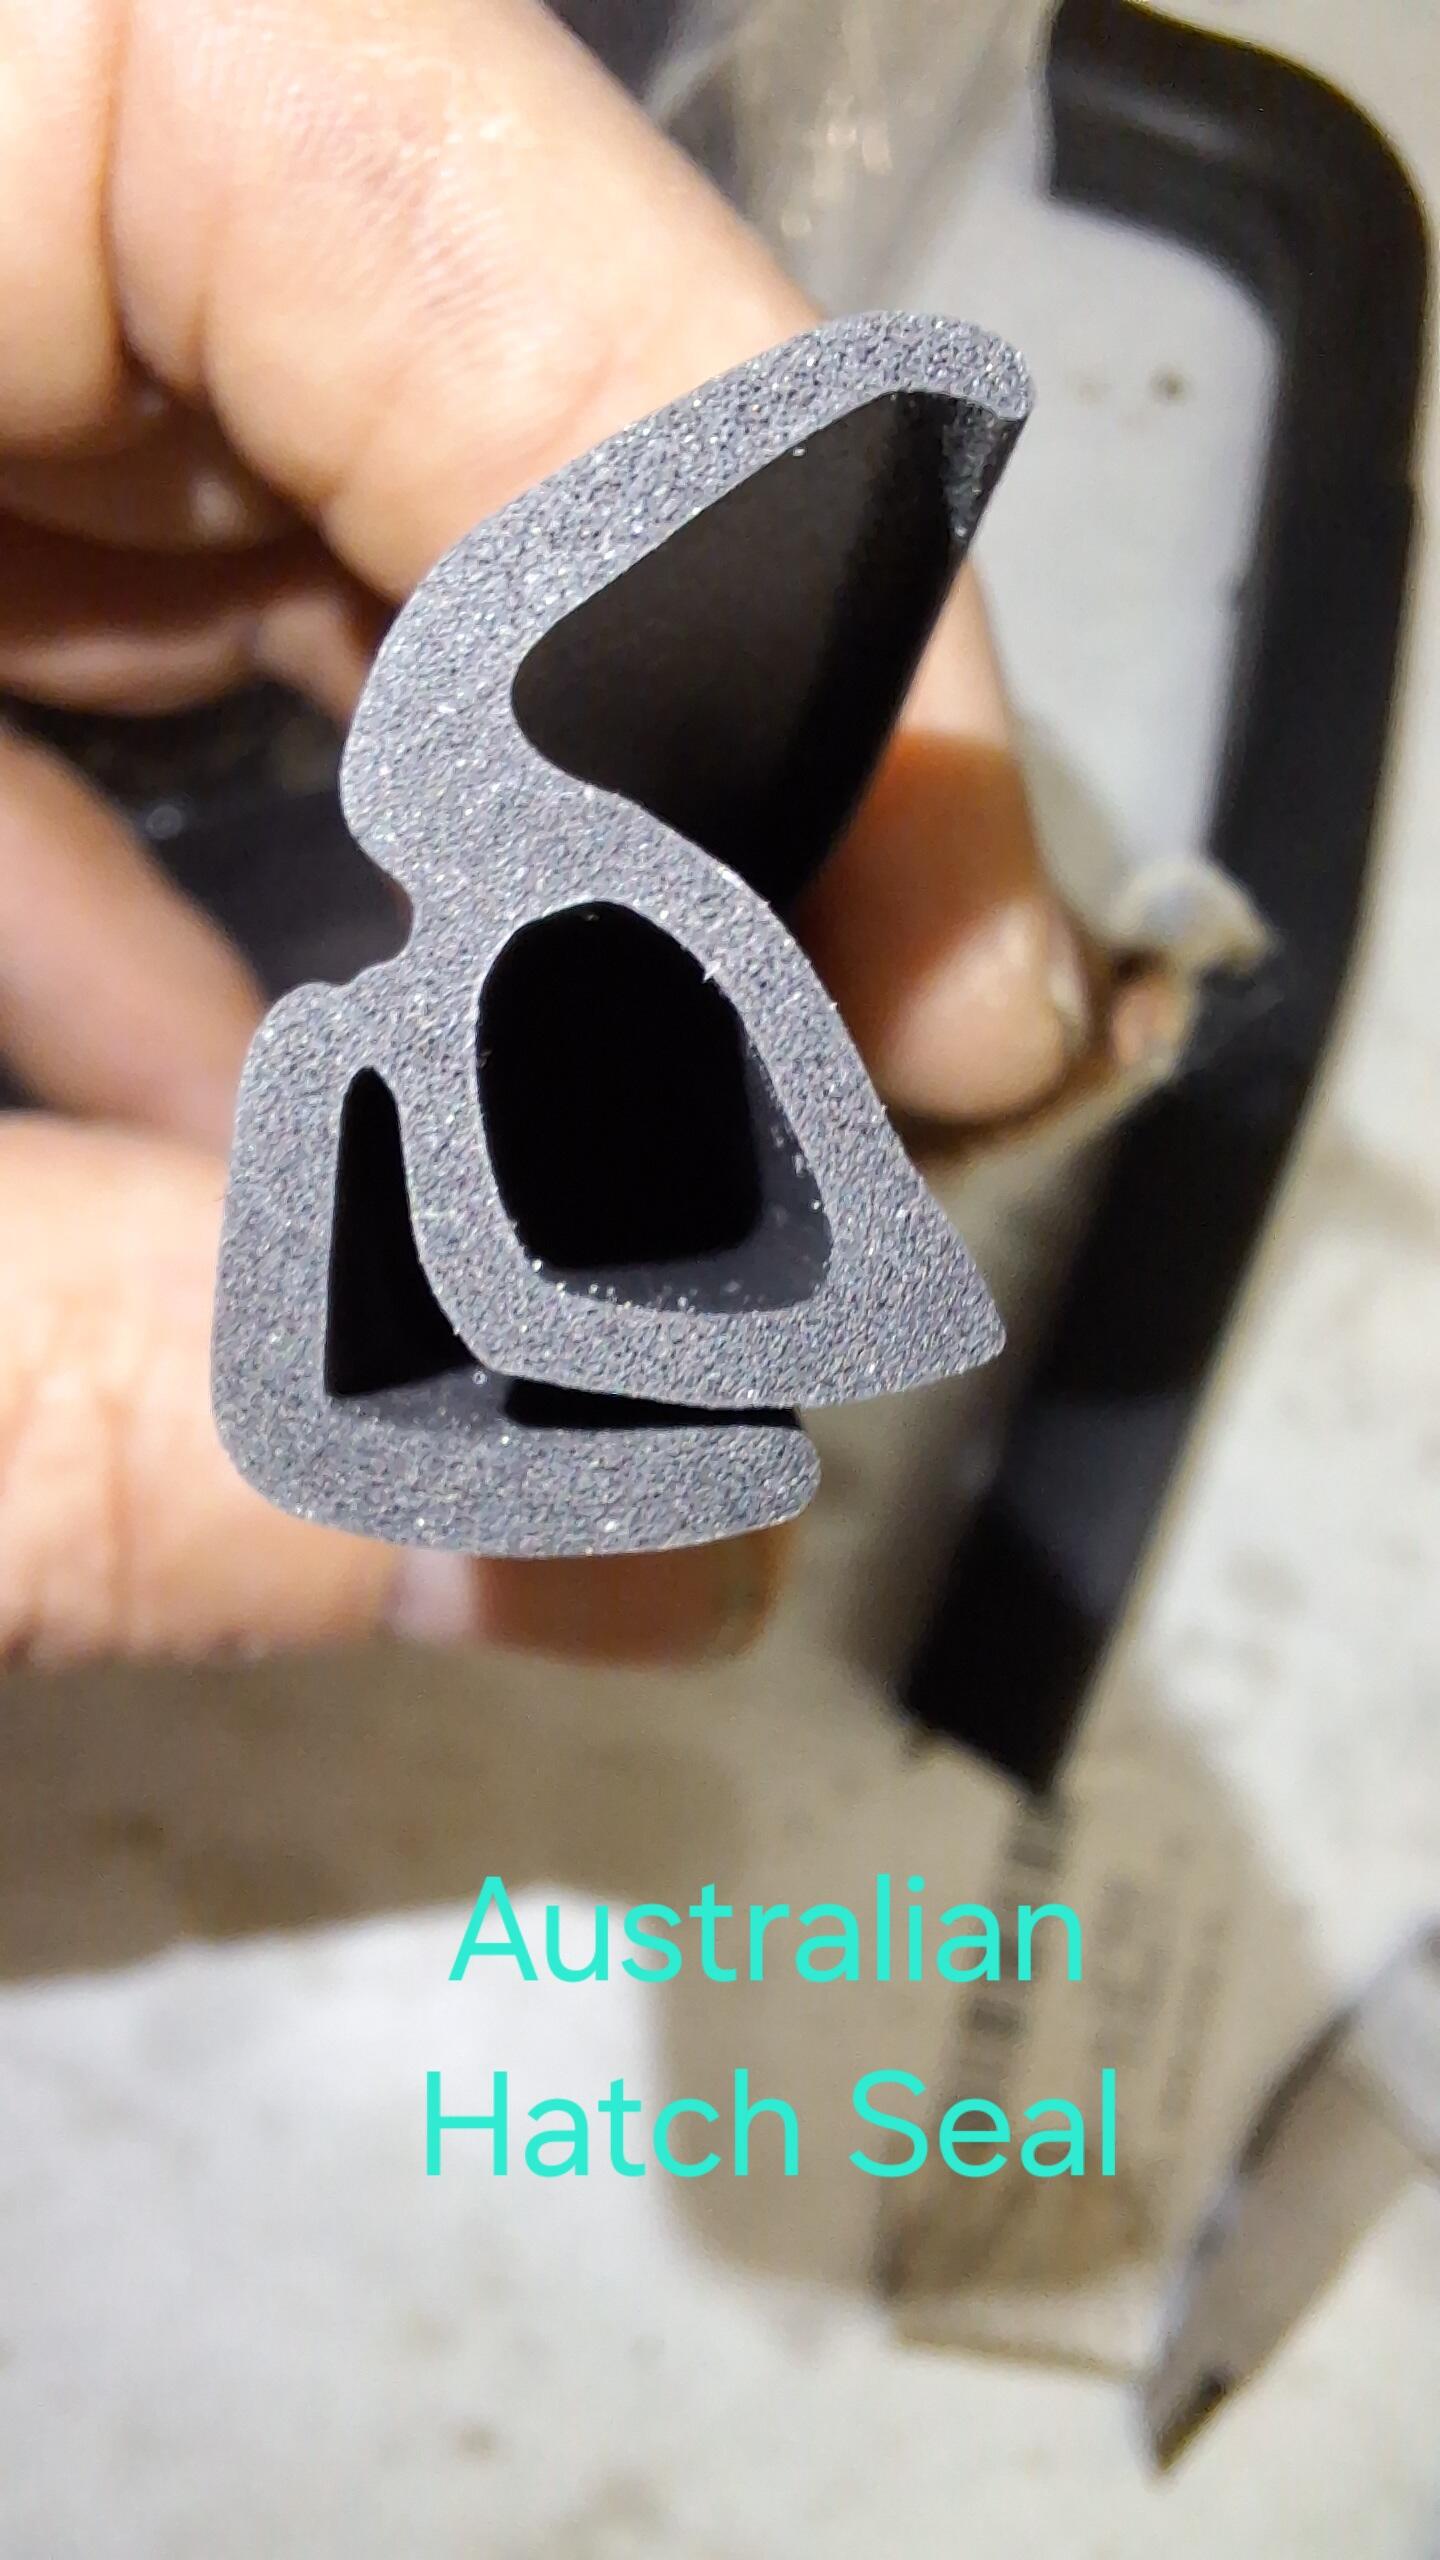
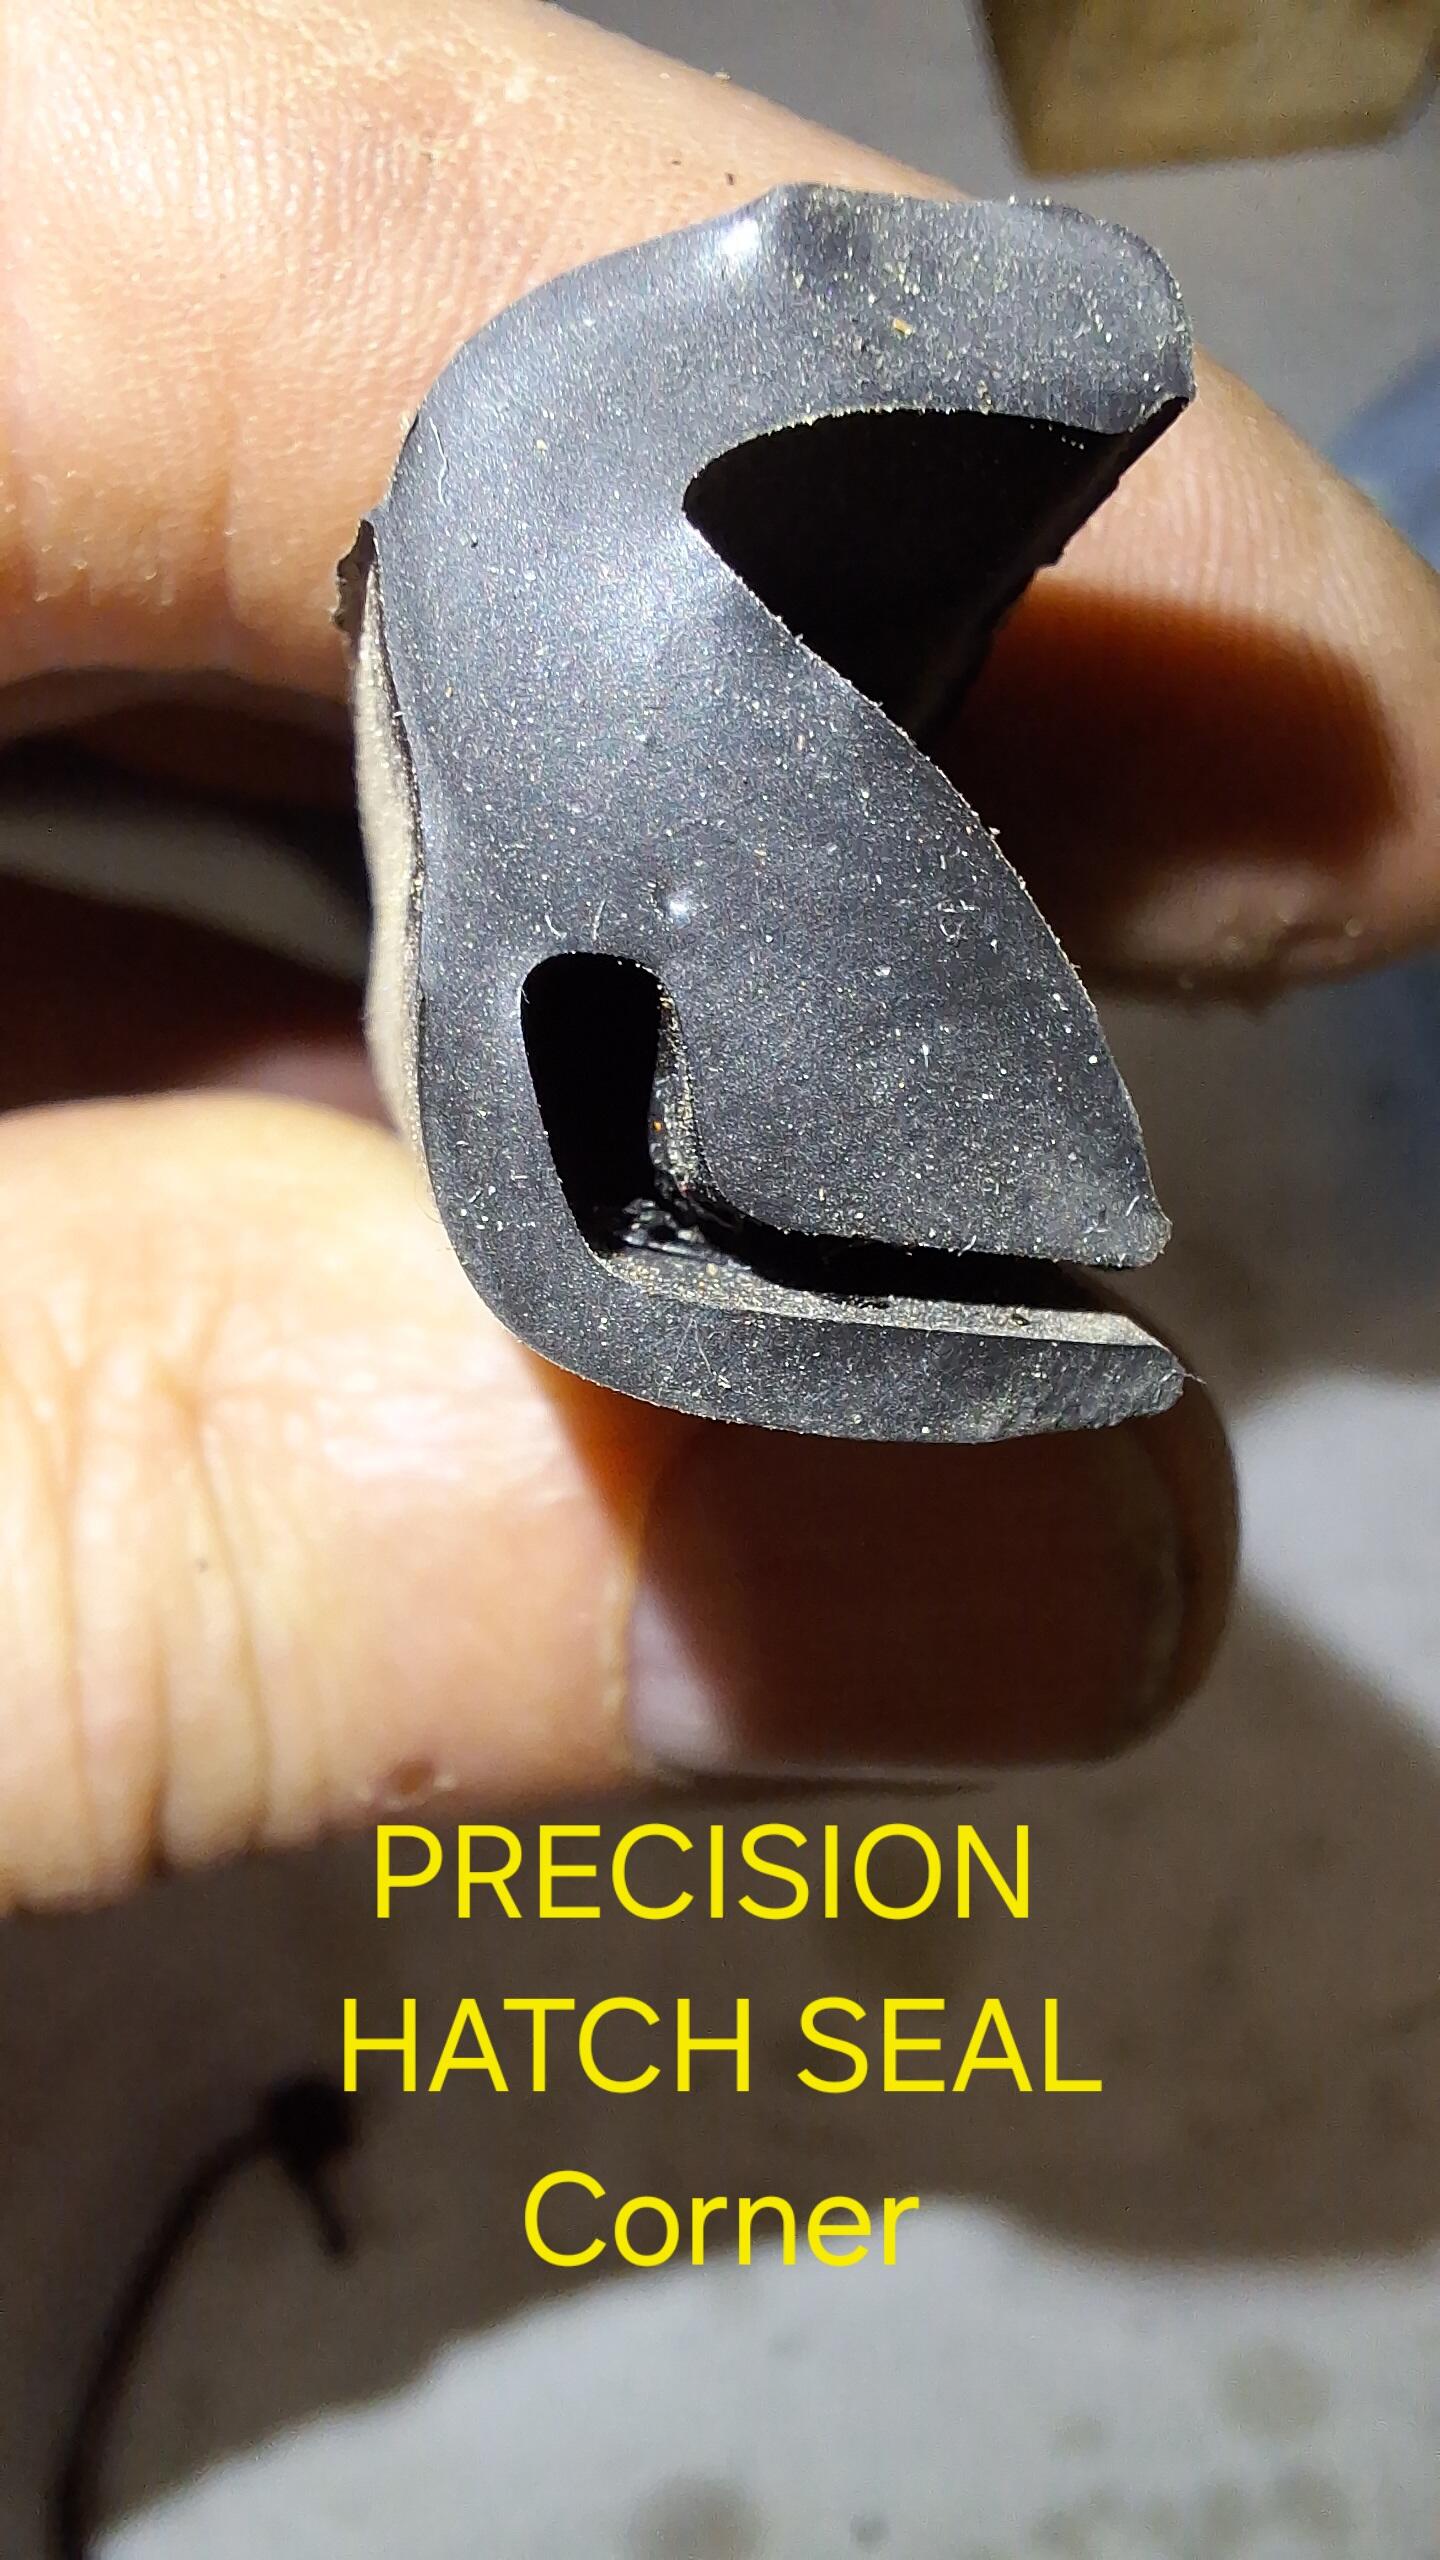
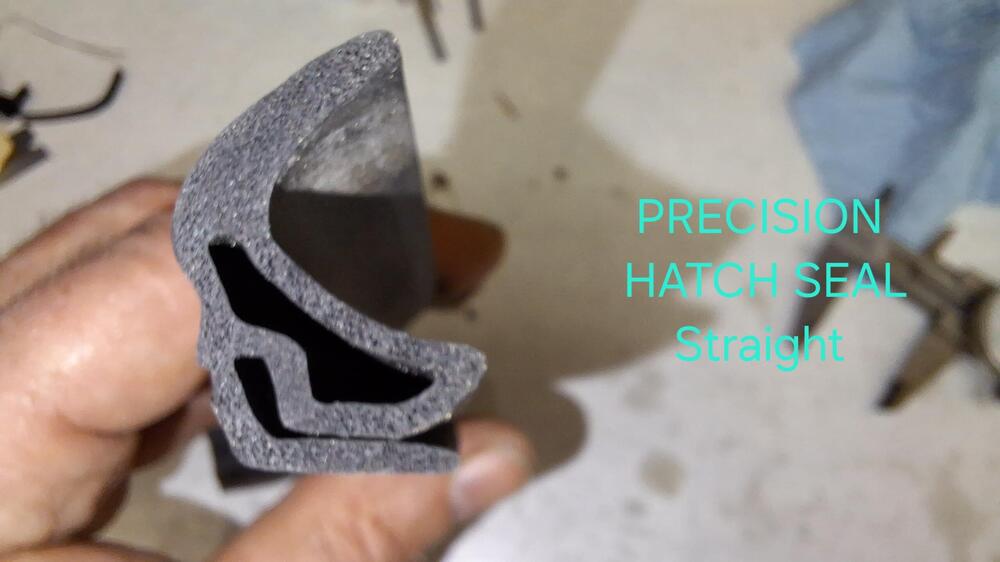
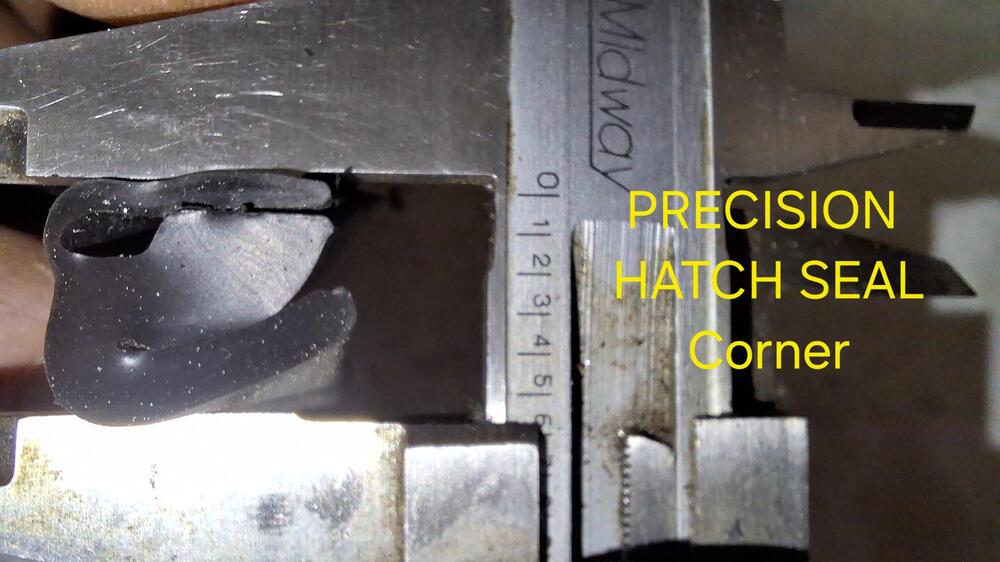
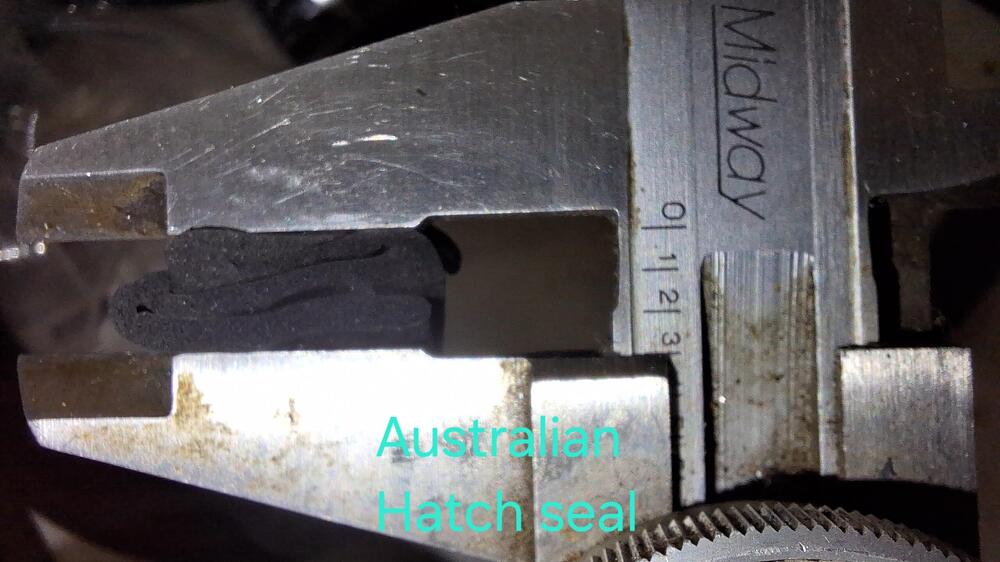
I ordered a hatch seal from Australia. Here are the profile differences between the PRECISION hatch seal and this one from Australia and their compression. This Australian Hatch seal has the same profile throughout the entire seal, unlike the "molded corner" Precision one. The 2nd hatch seal I tried was ordered from VintageRubber and it is identical to the Precision seal, which is anything but precise. 😆


-
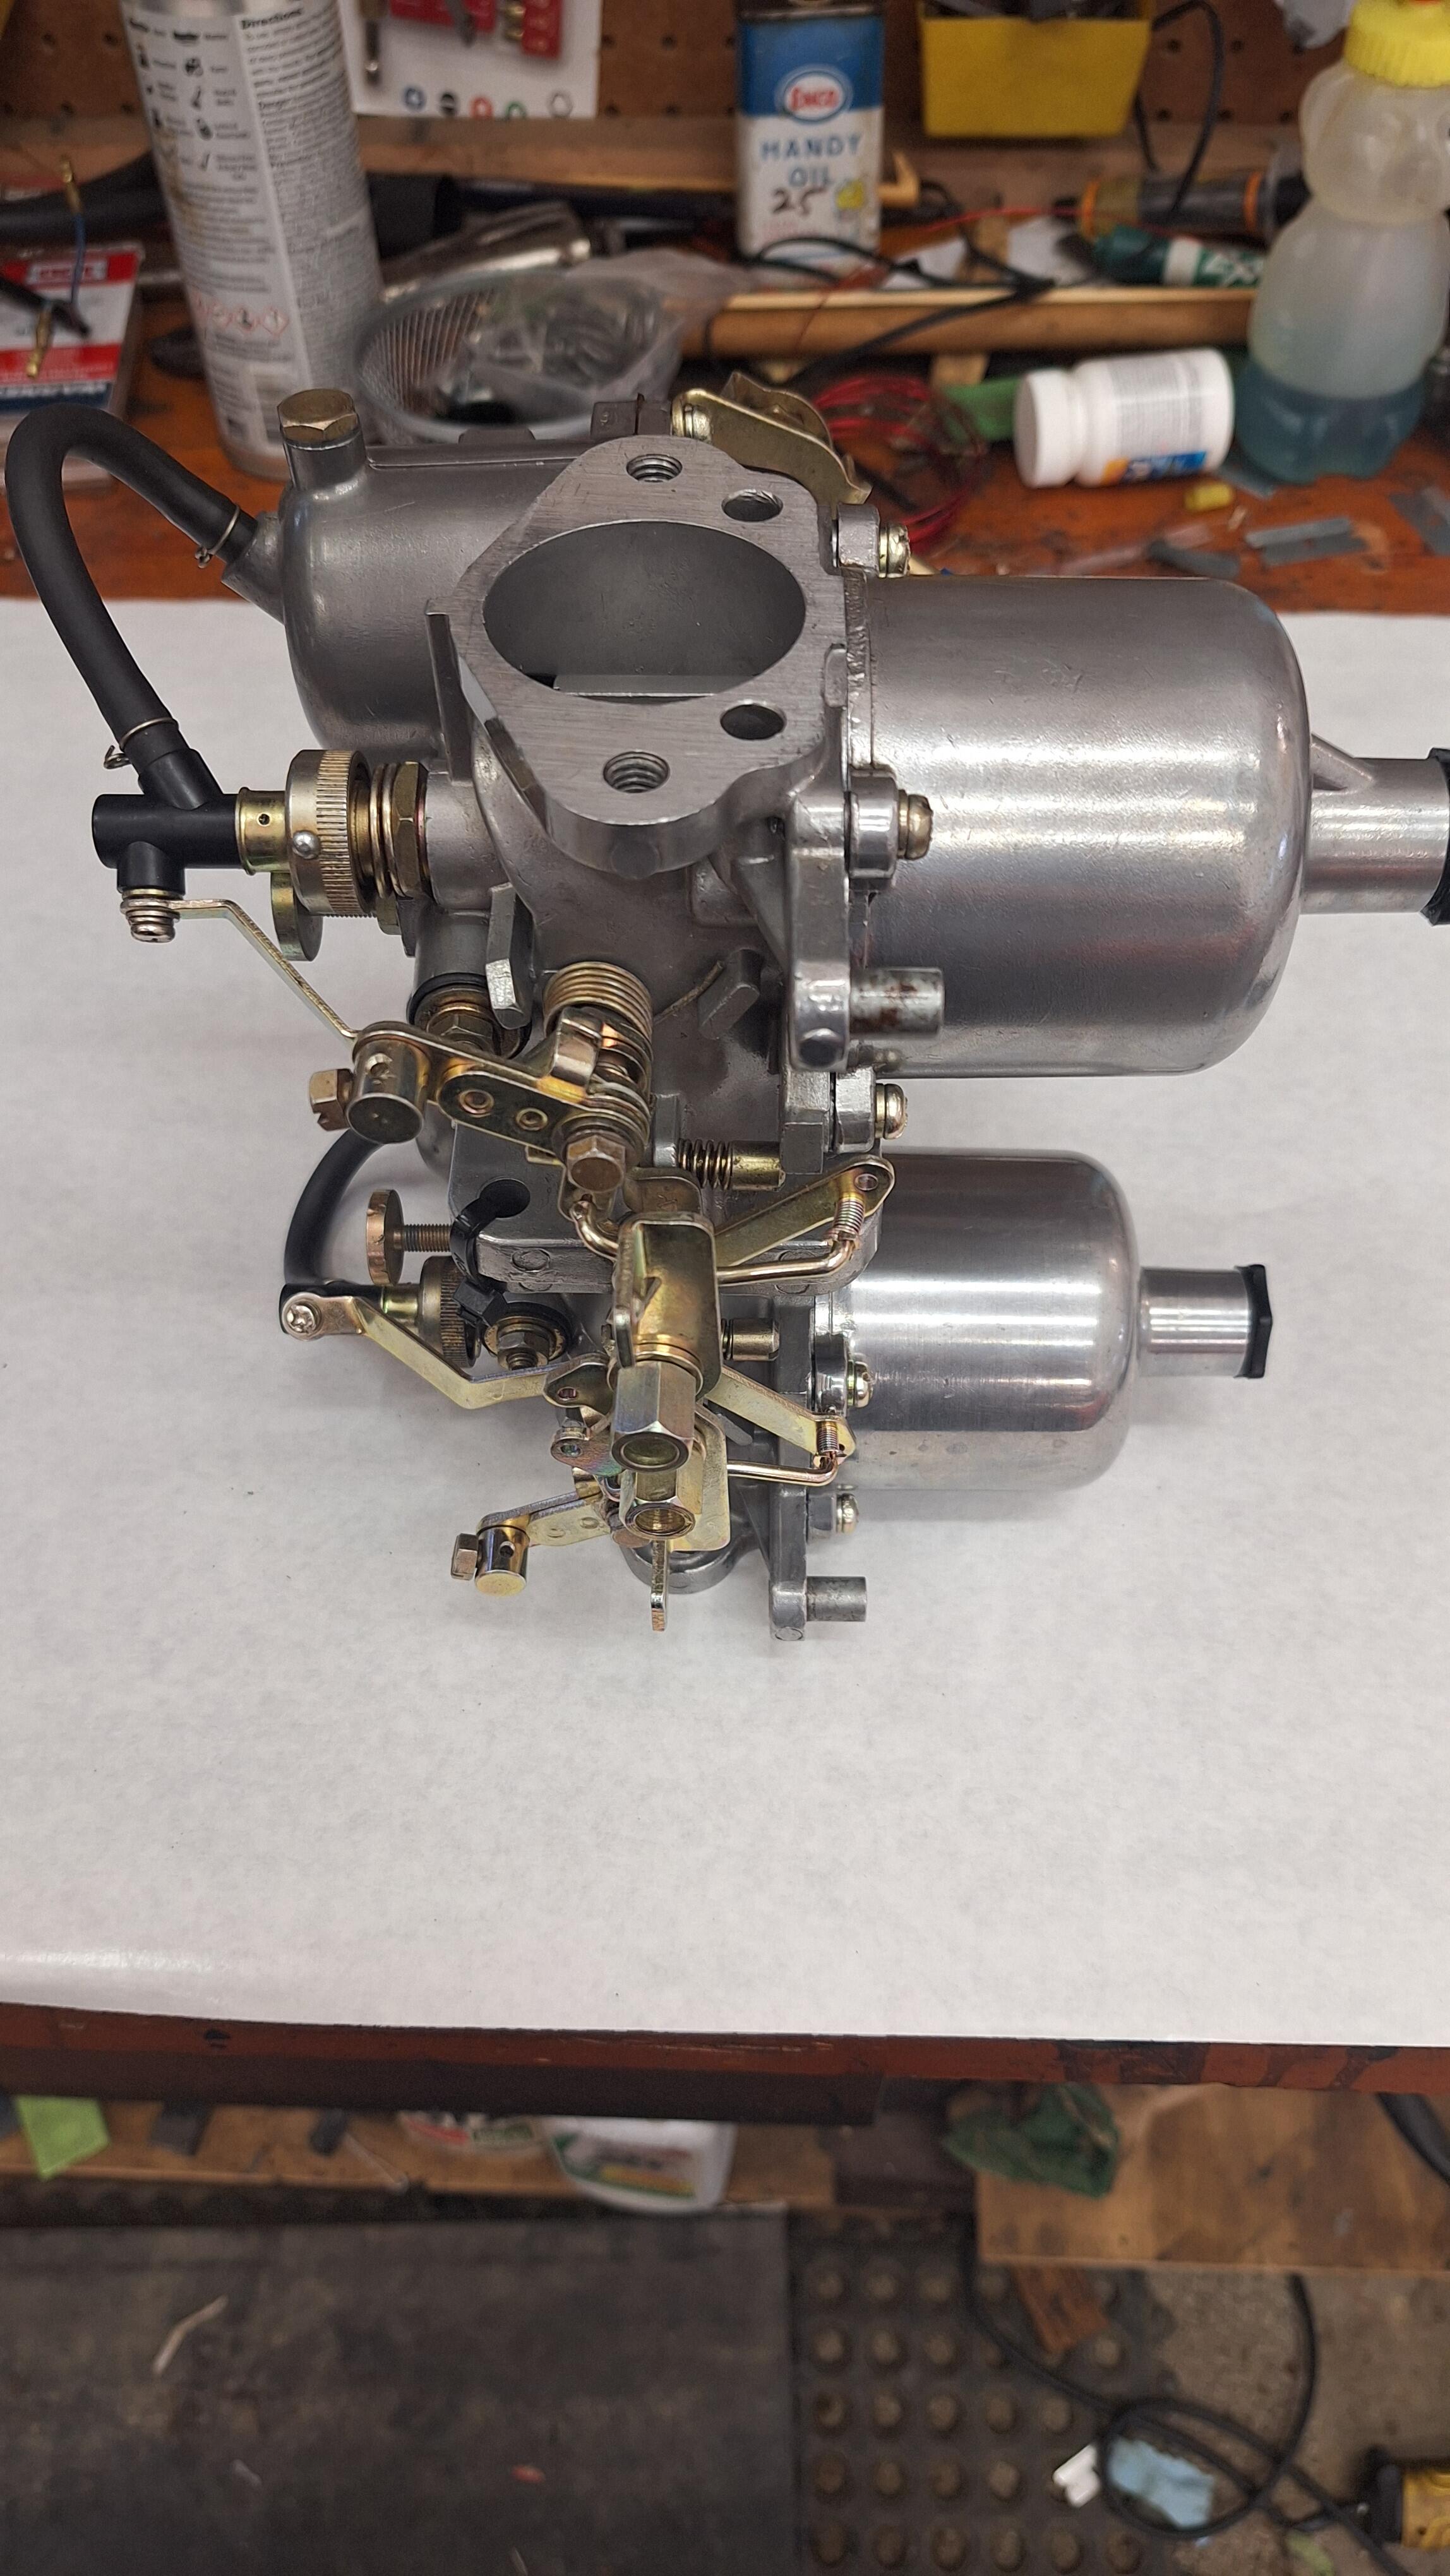
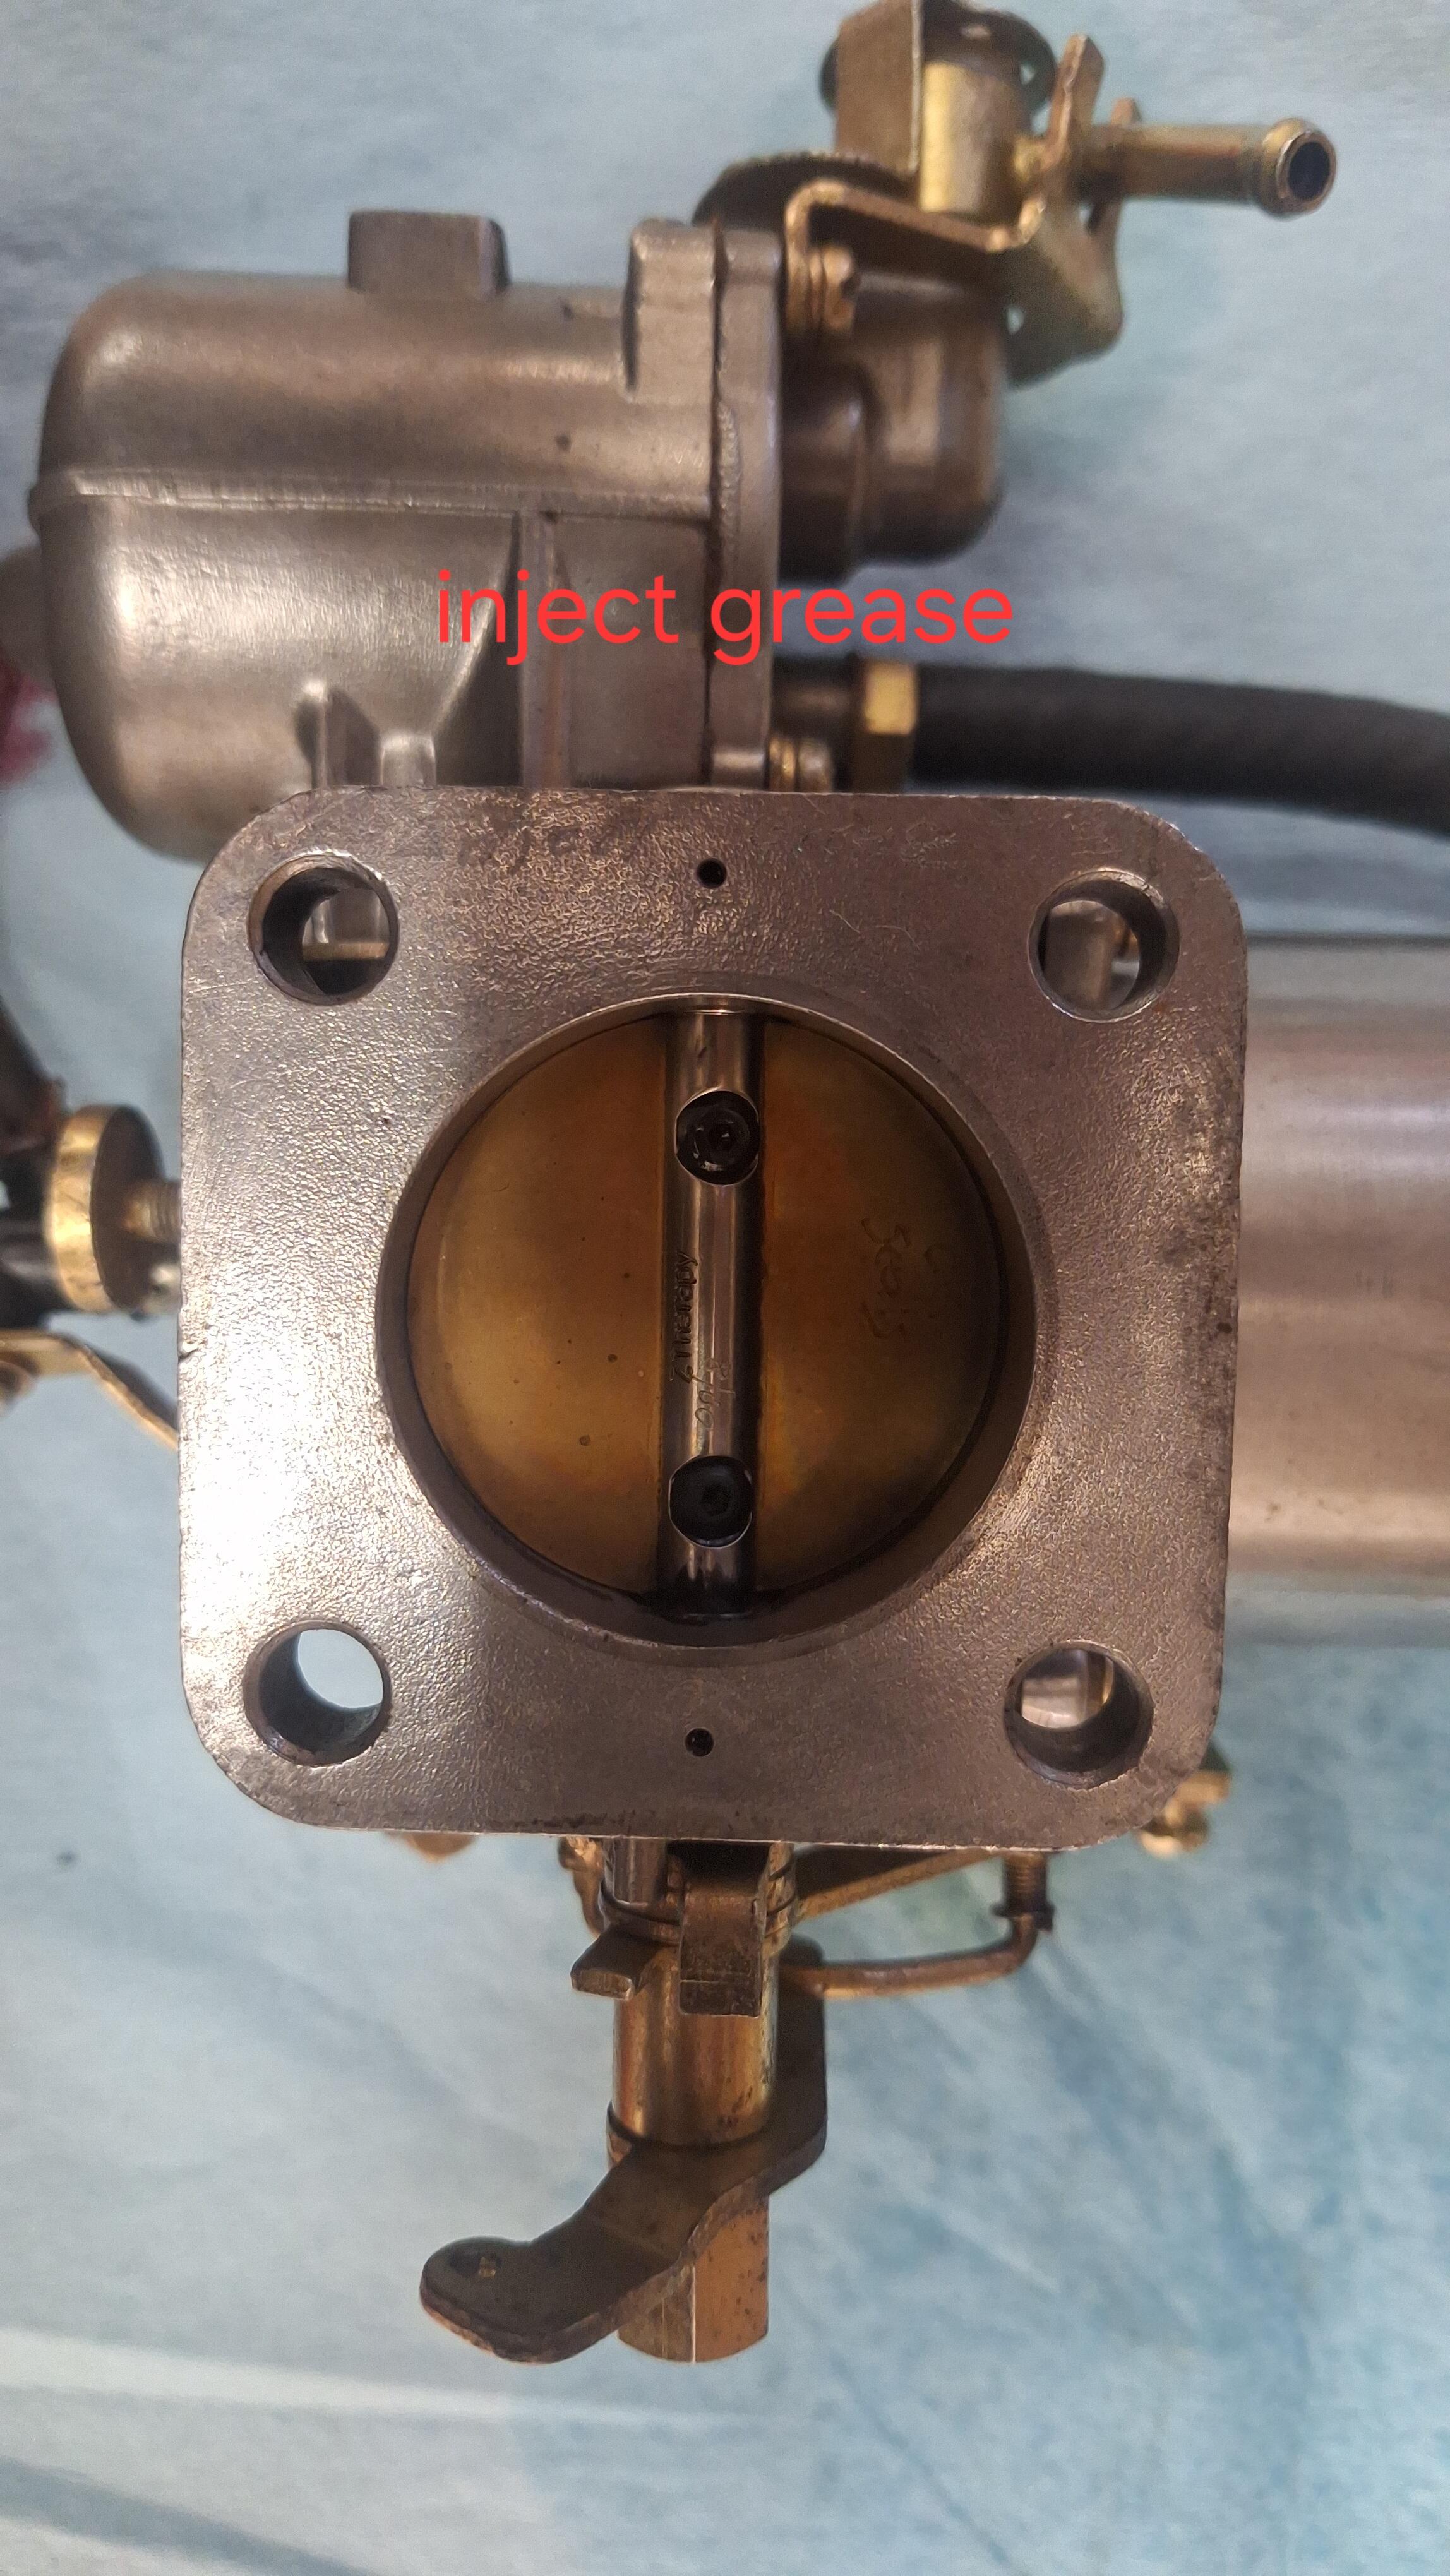
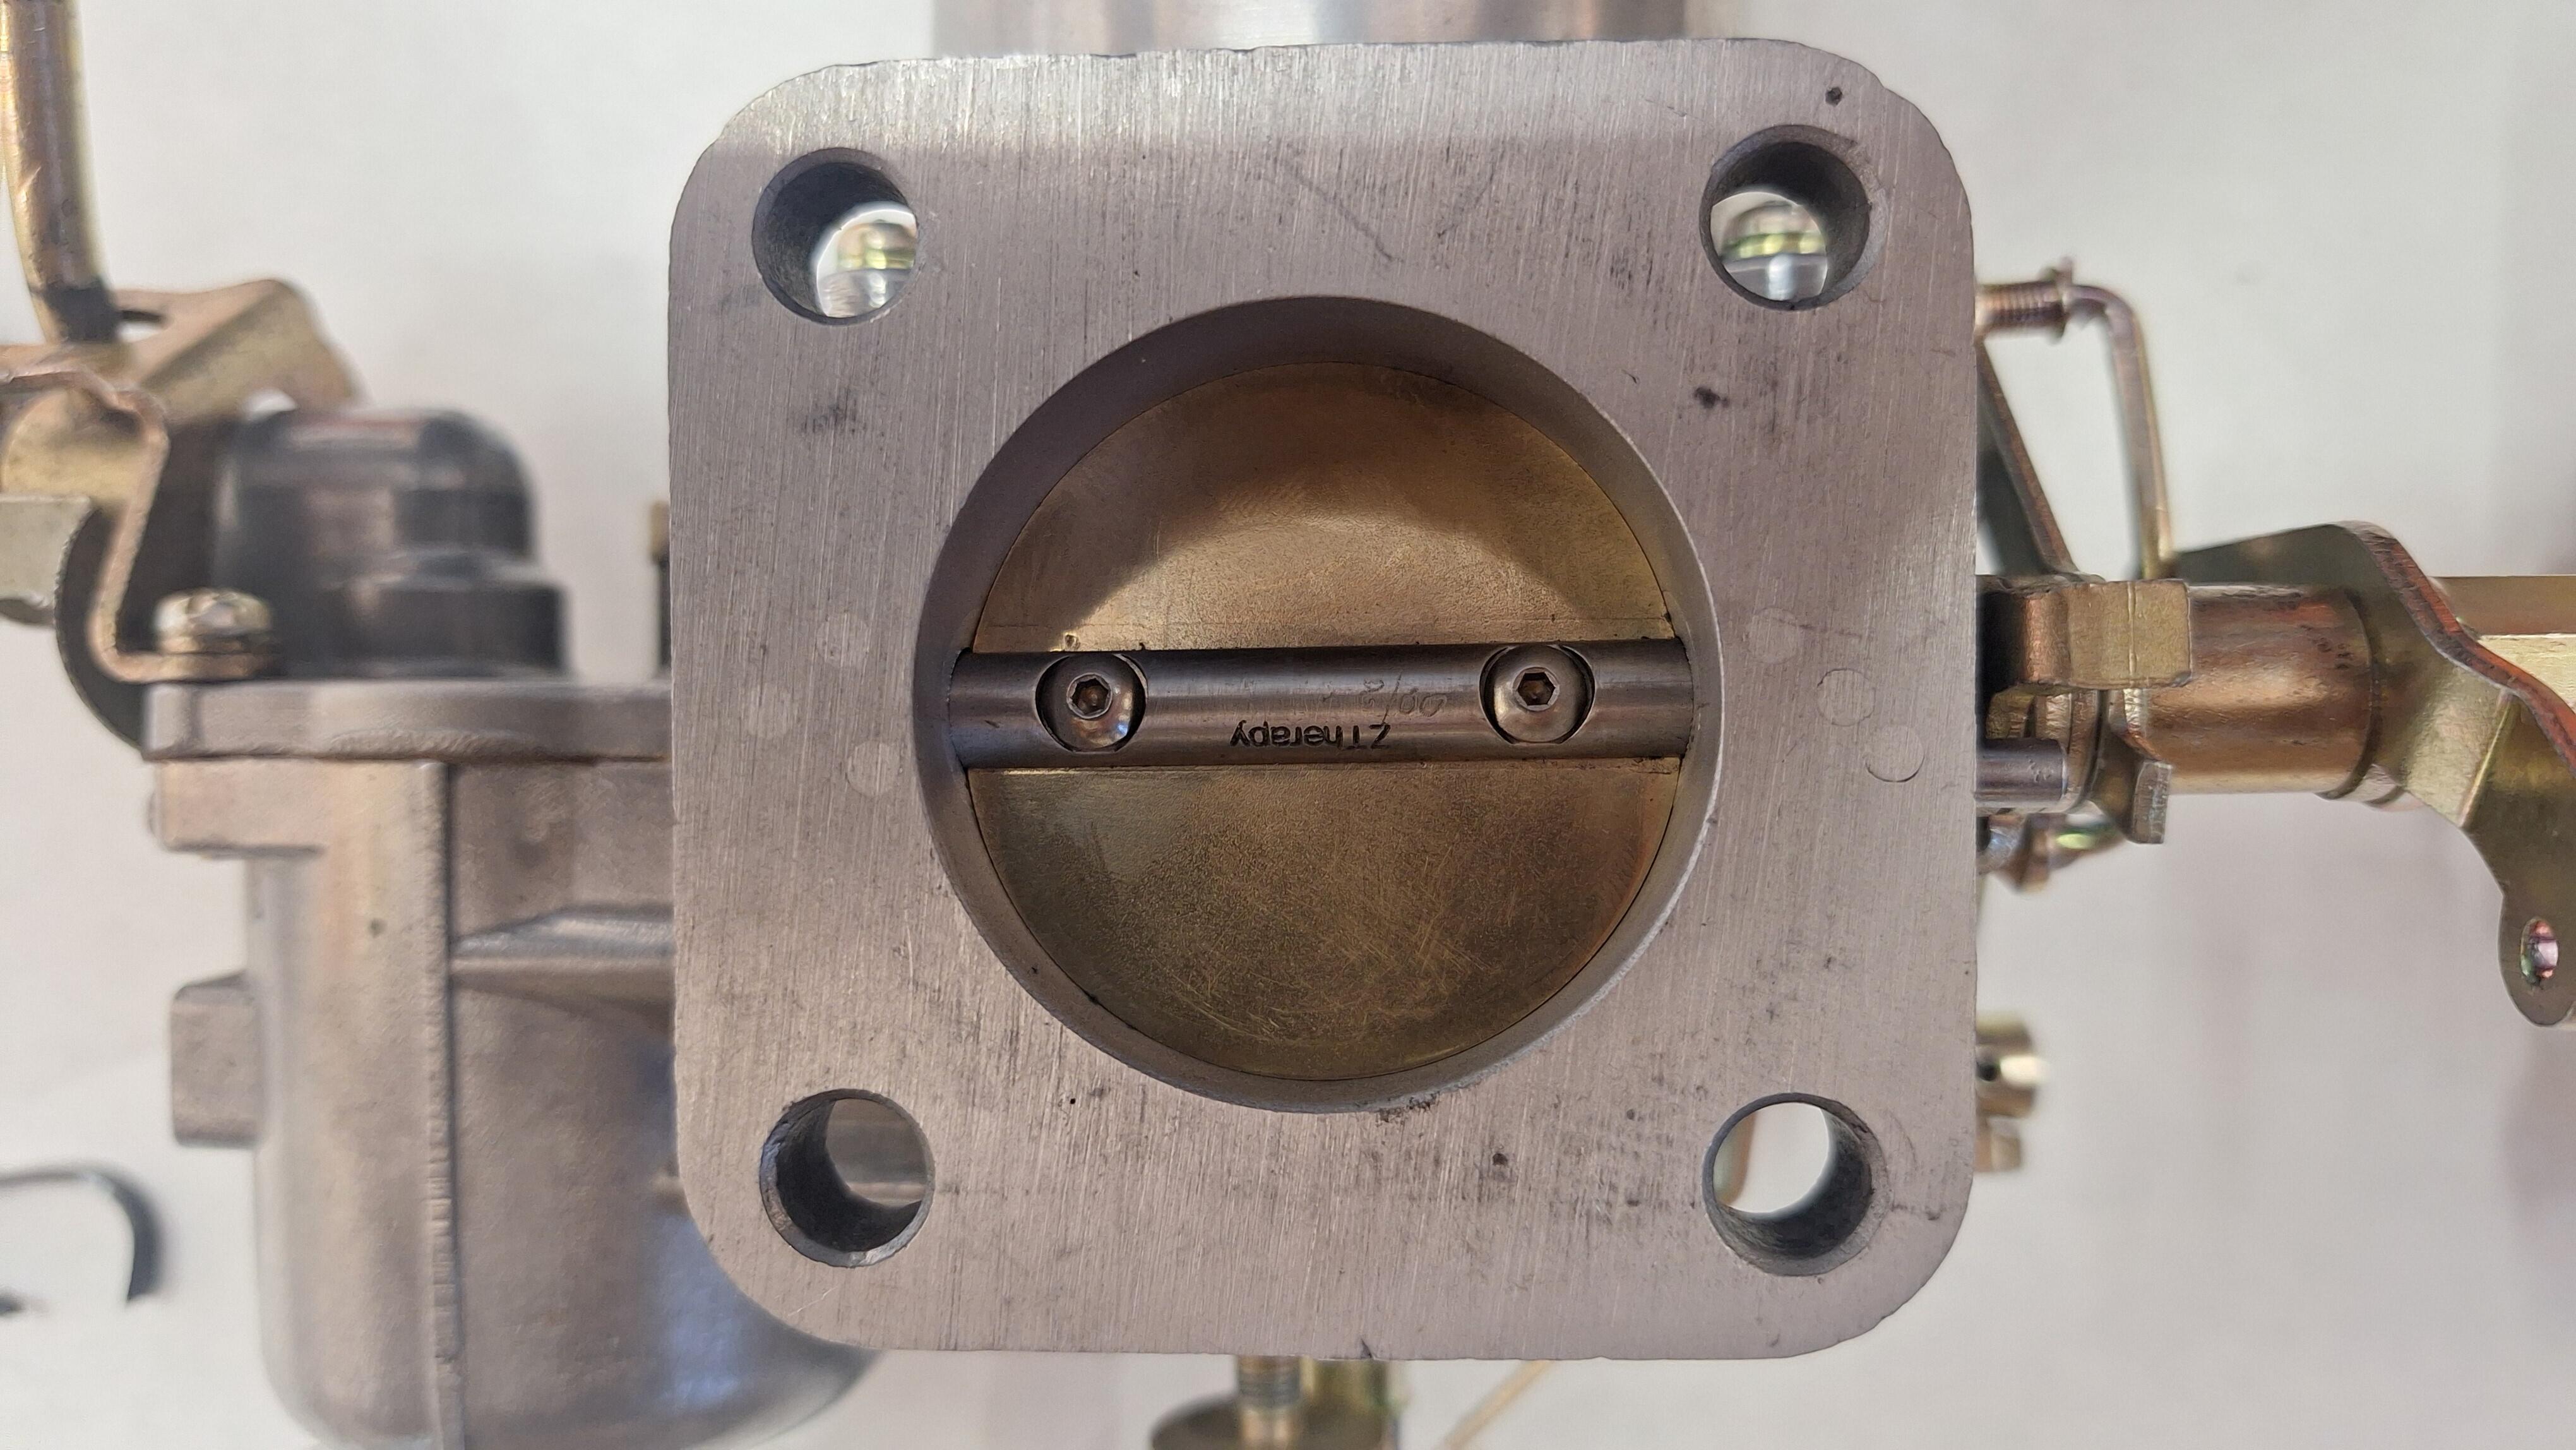
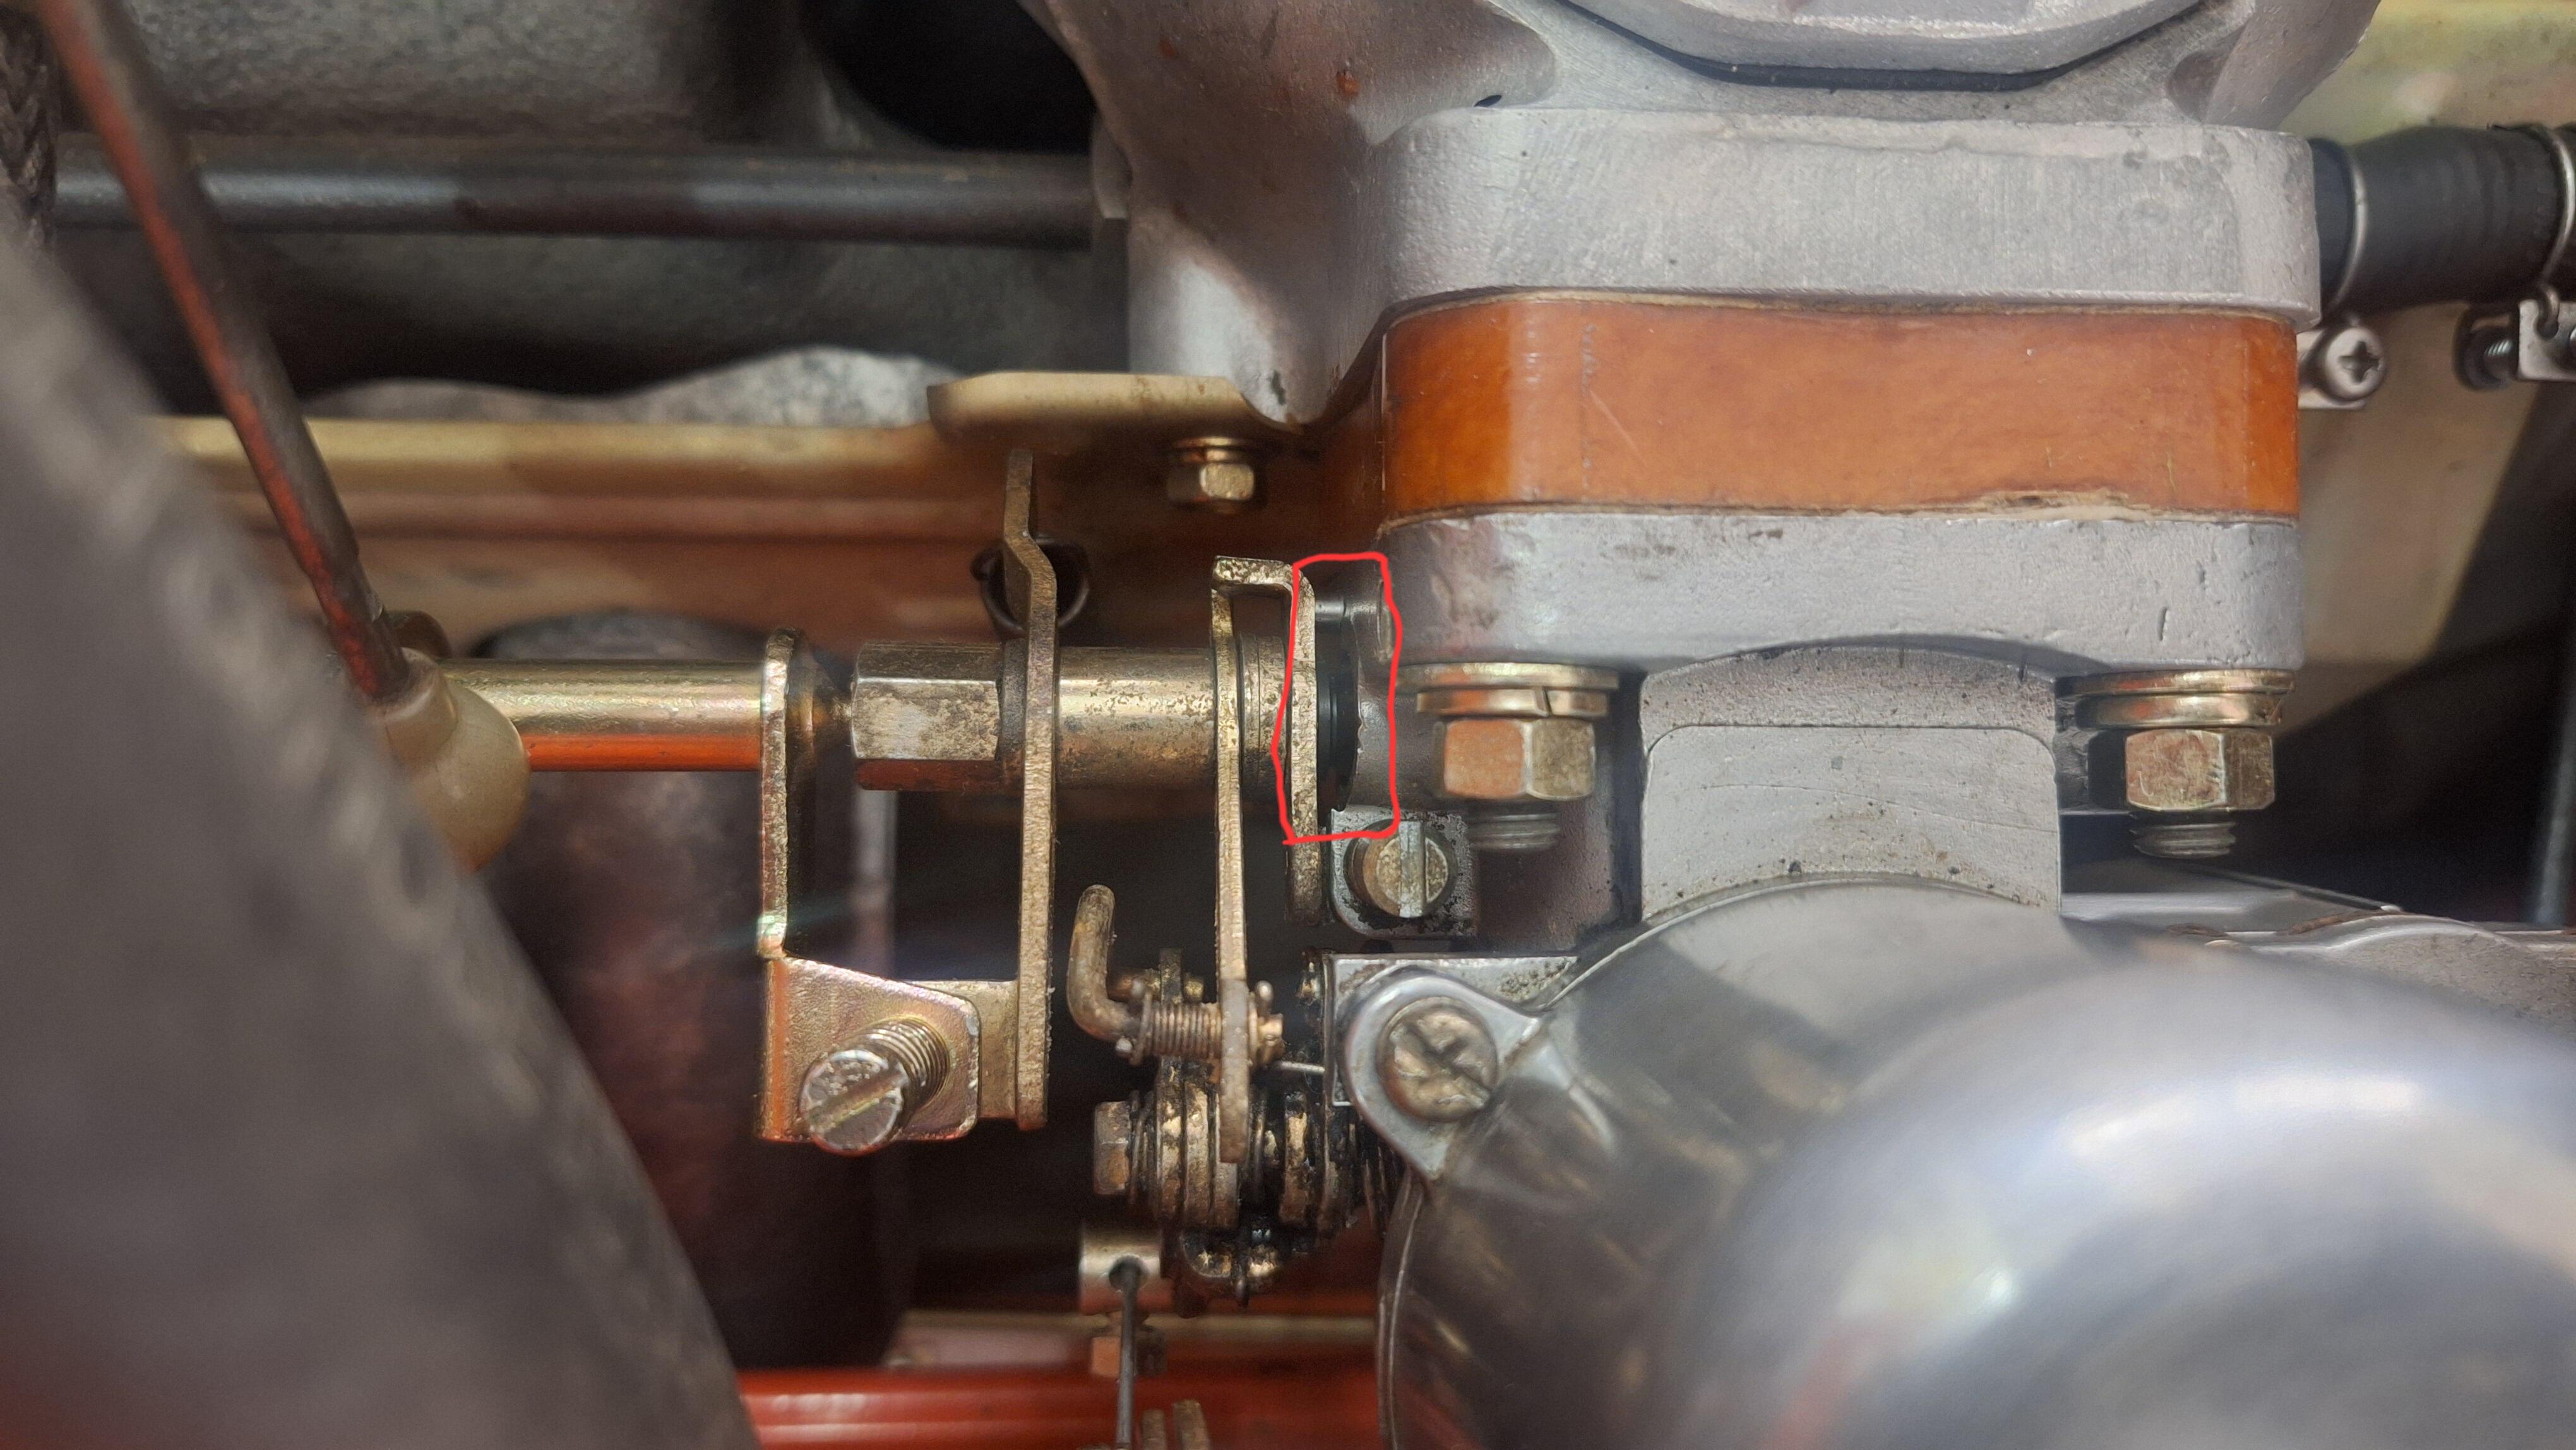
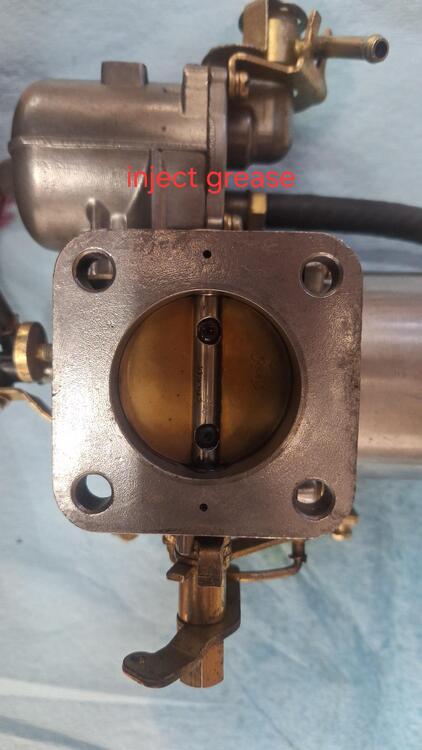
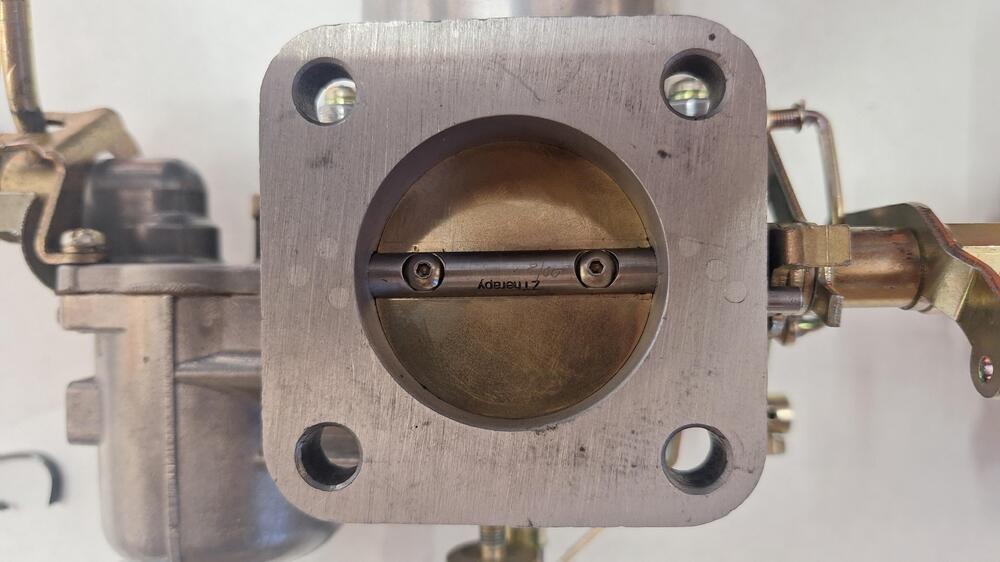
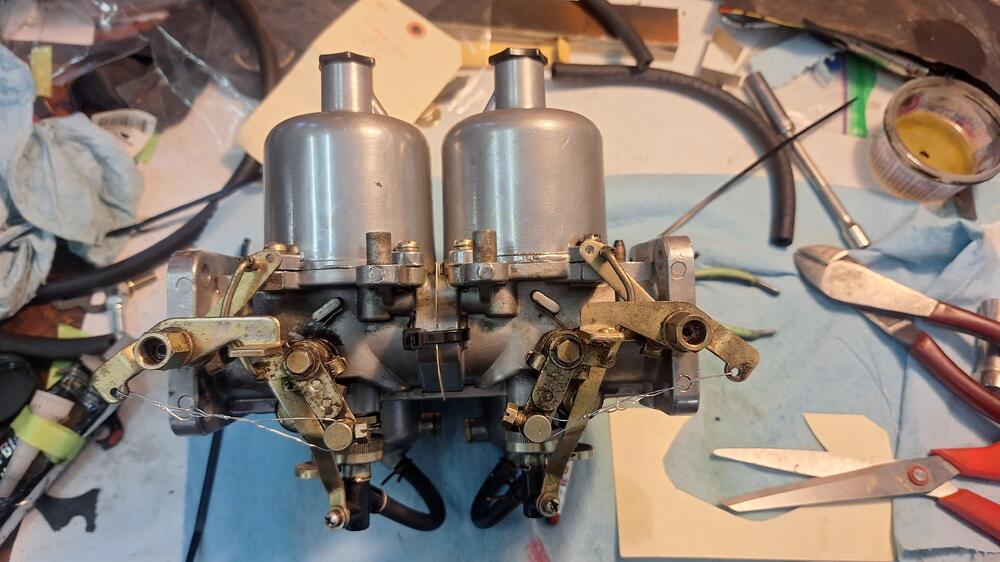
I got the SU Carburetors back from the doctor. When they were done in 8/2000, with updated throttle shaft bearings at that time, there were 2 holes inscribed "inject grease". I believe the grease I injected caused the seal to leak. With the idle screws turned all the way out, I couldn't get it to idle below 1000 rpms, and I couldn't balance them. Ztherapy got rid of those older style bearings, re-machined the bodies, and plugged the old grease holes. I actually have to turn down the idle screws now to keep it running, unlike before.

-
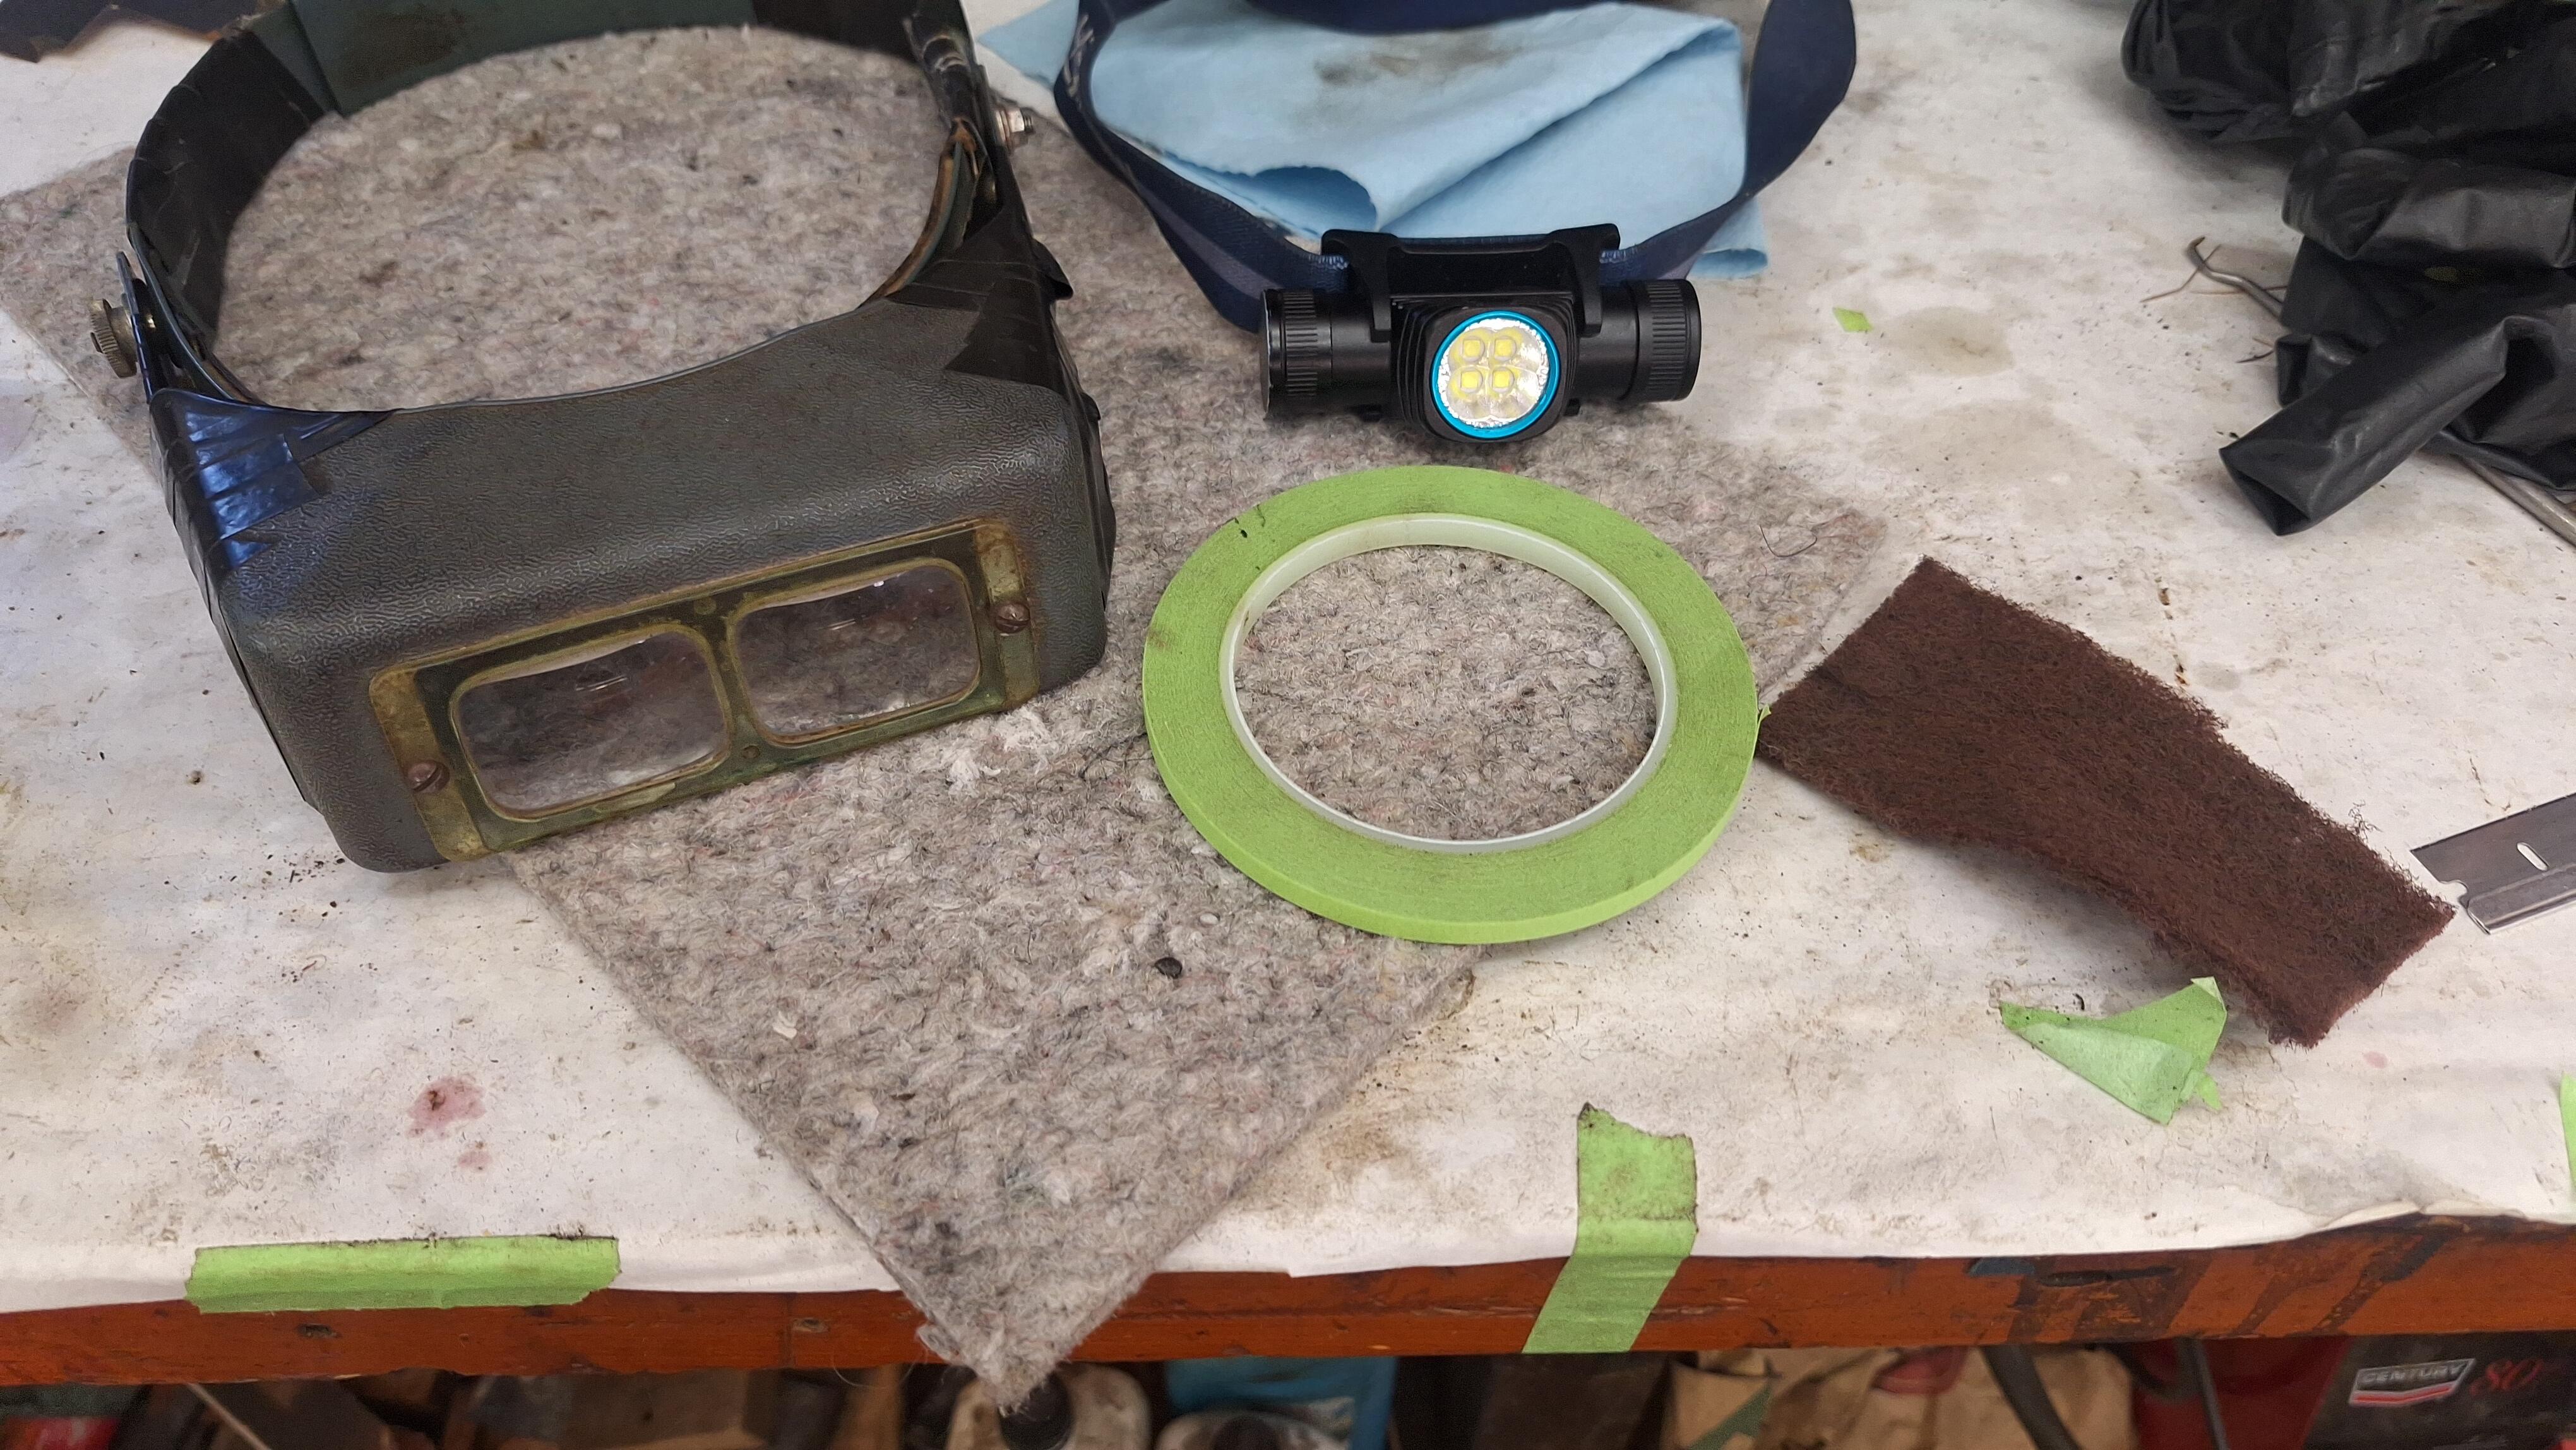
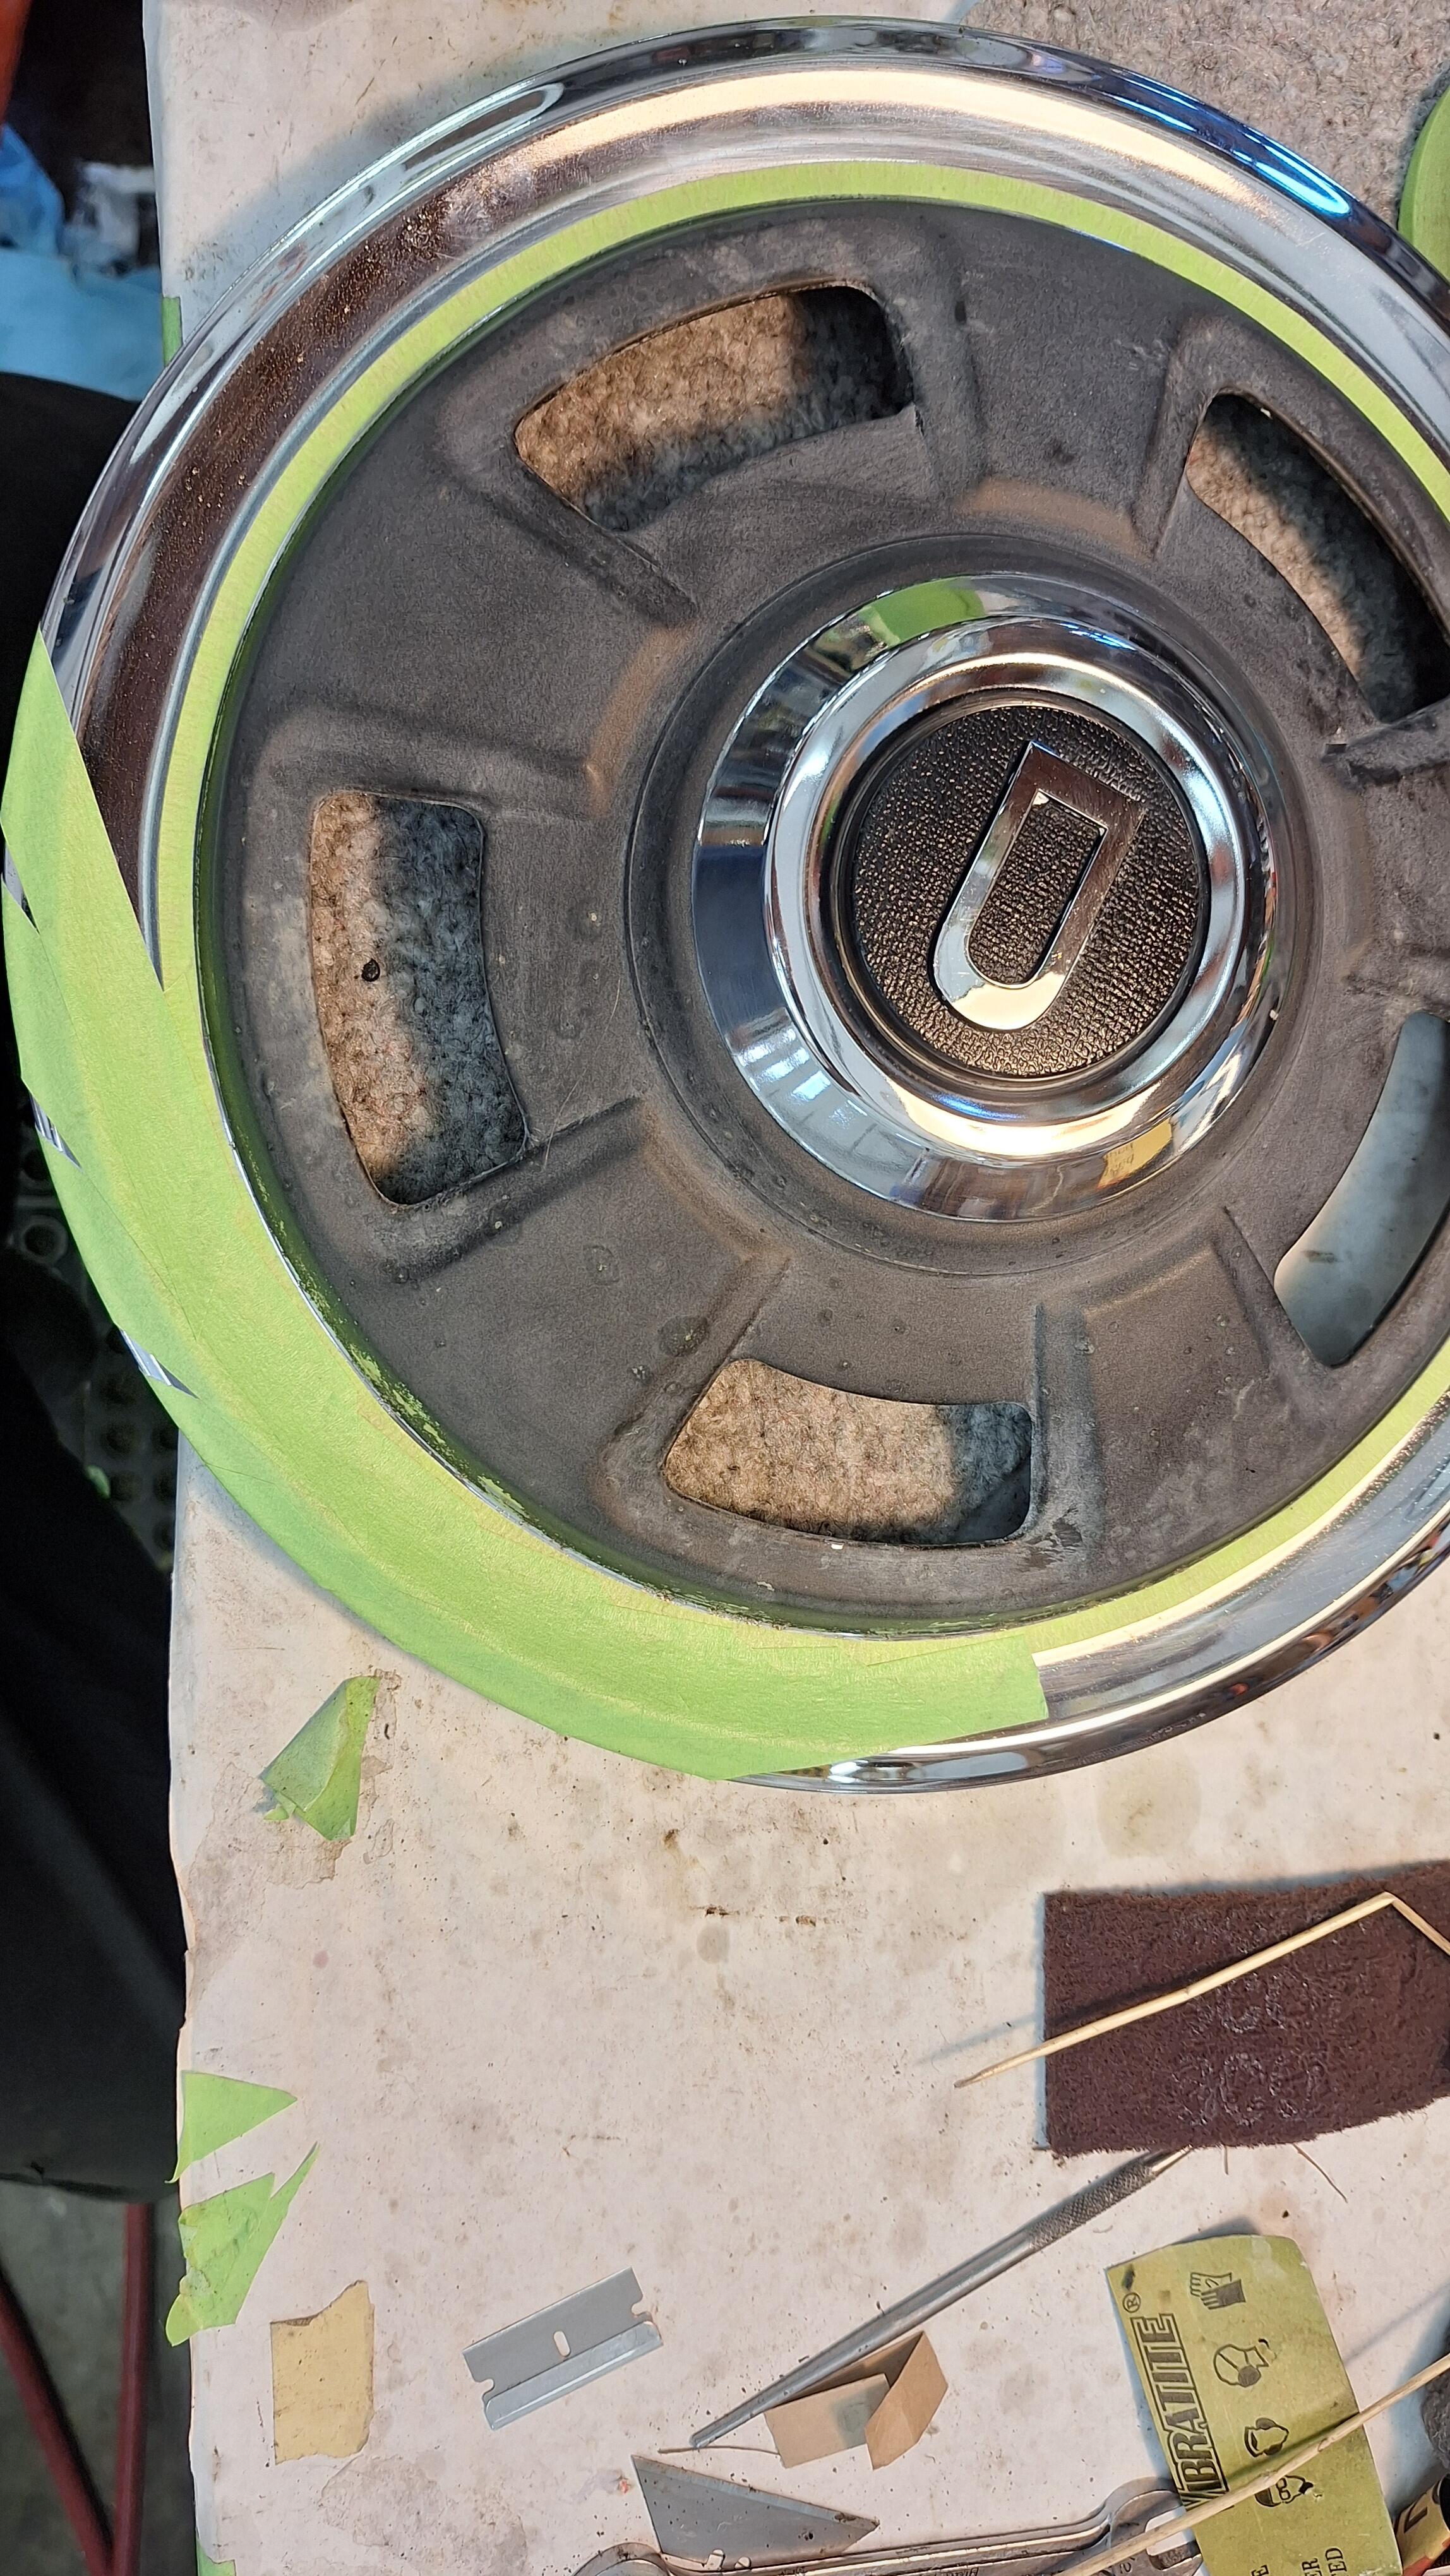
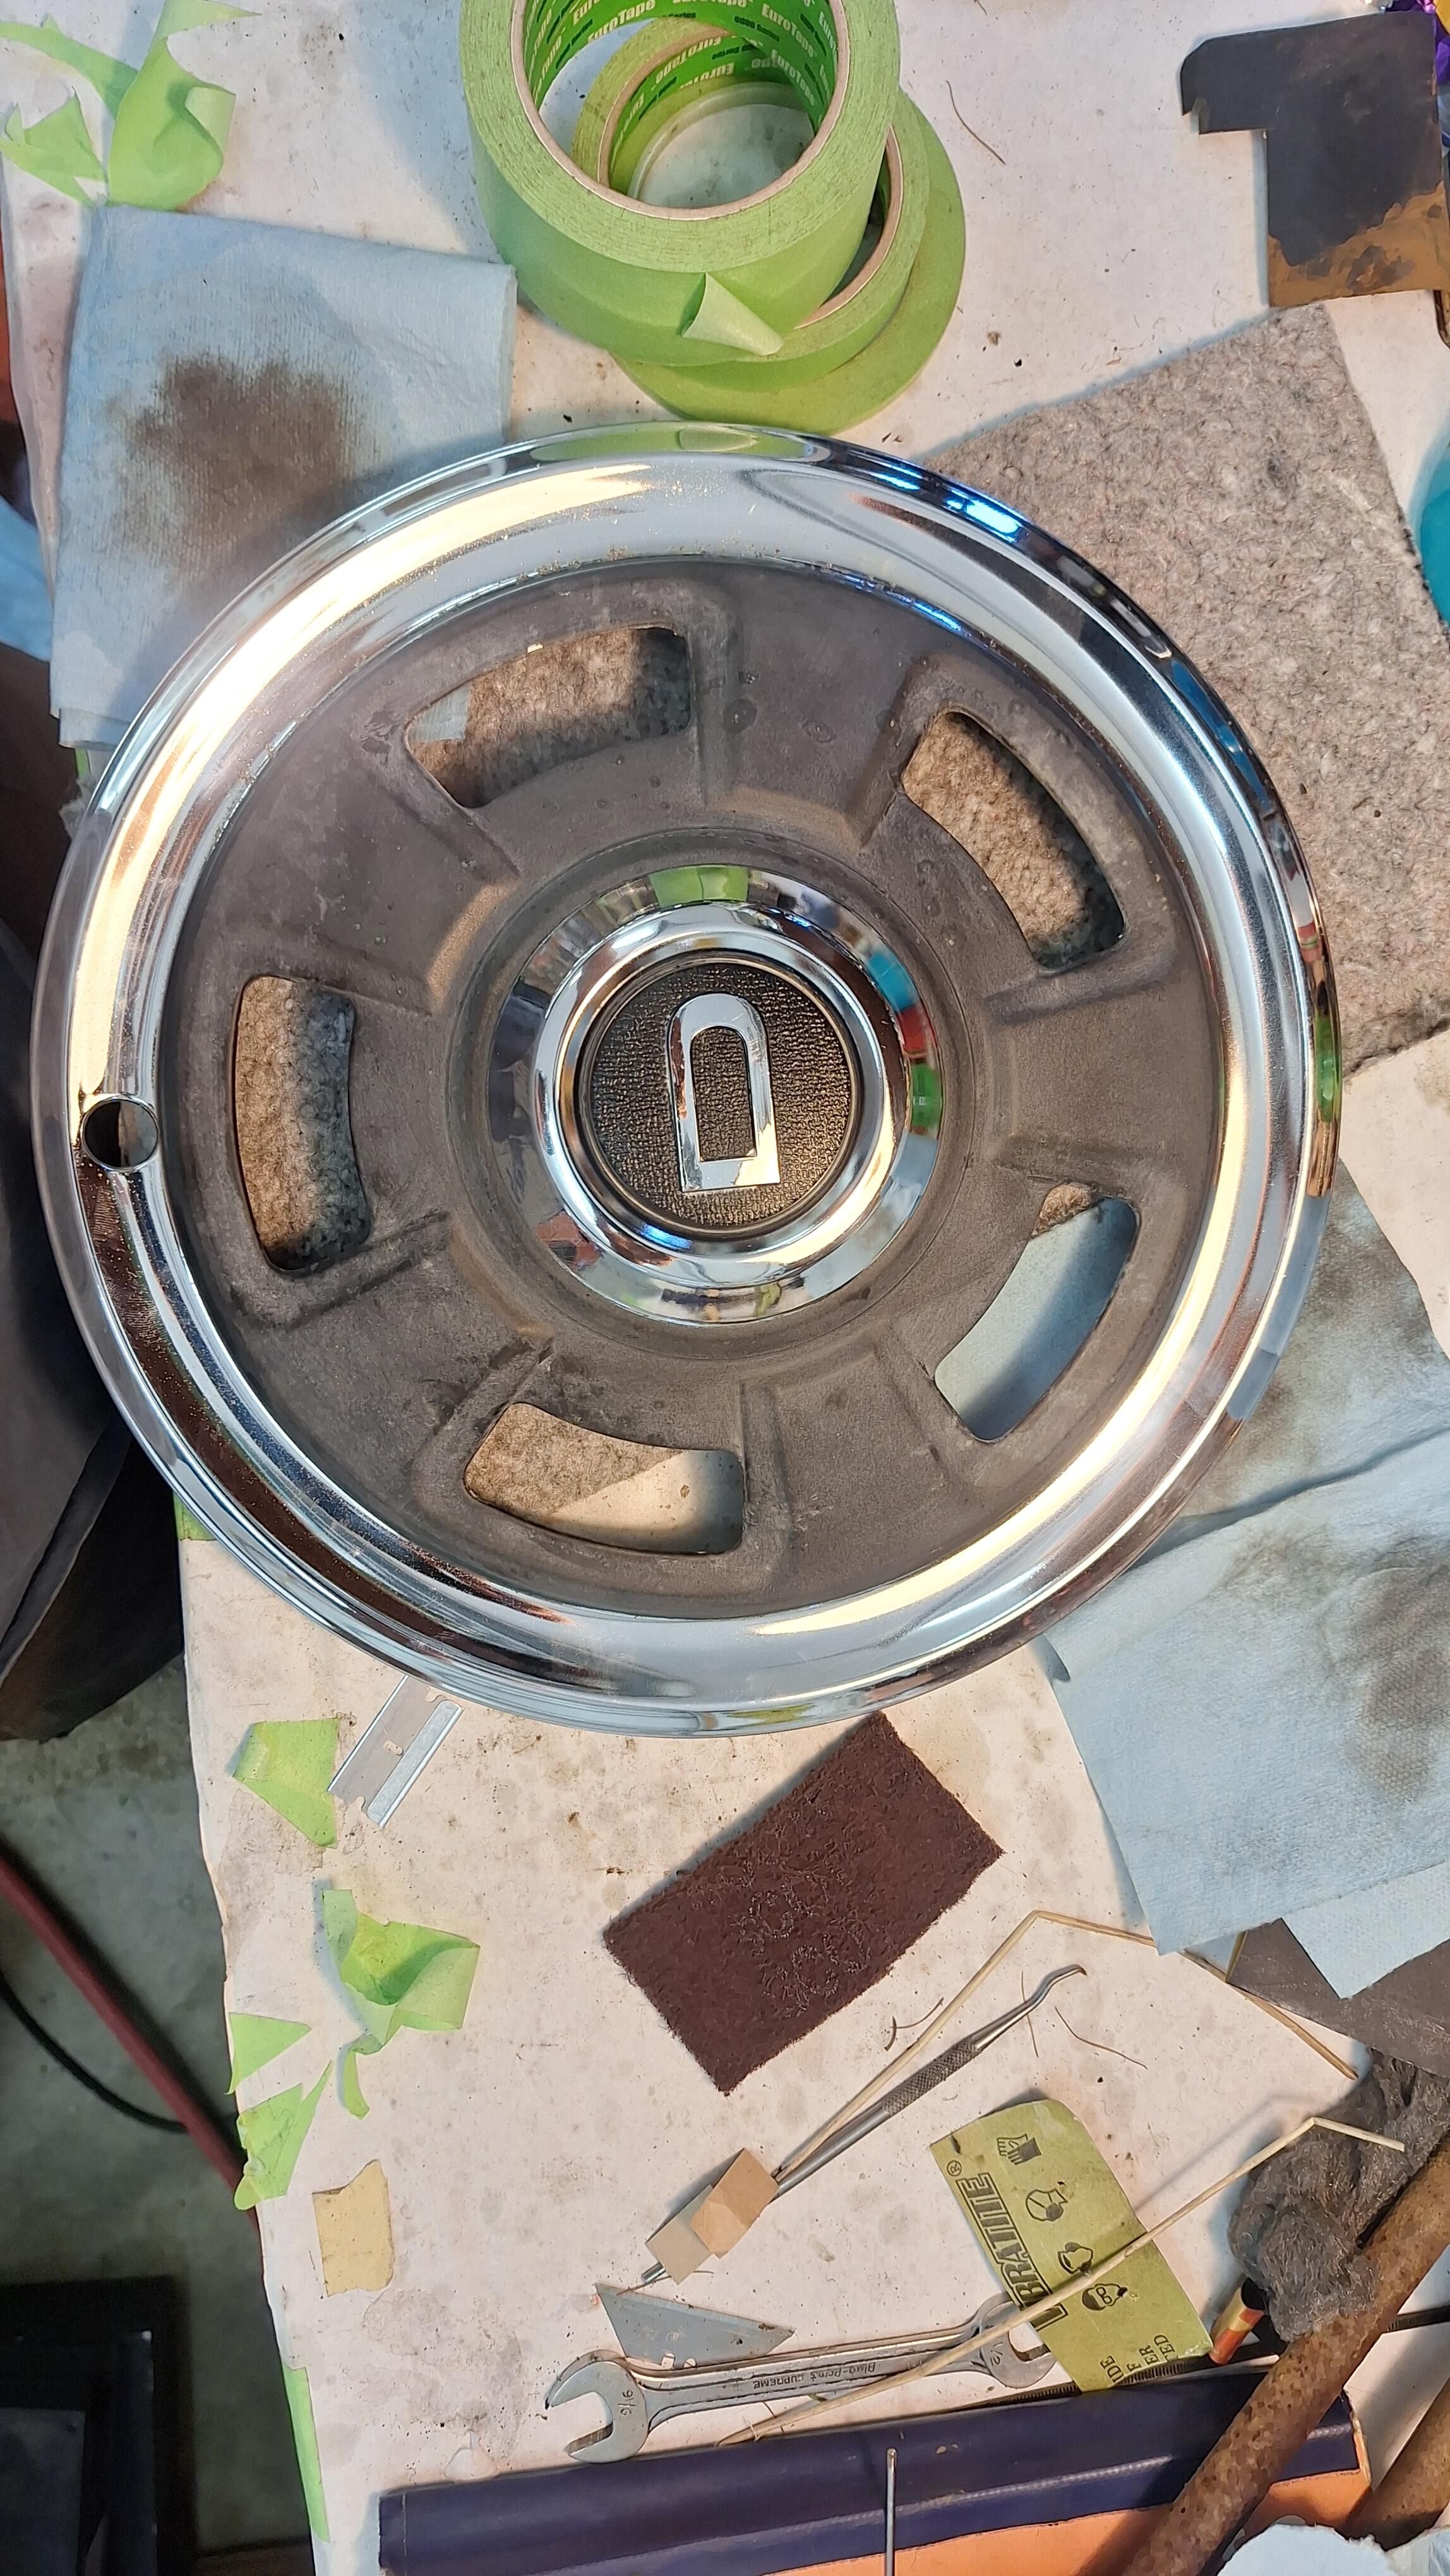
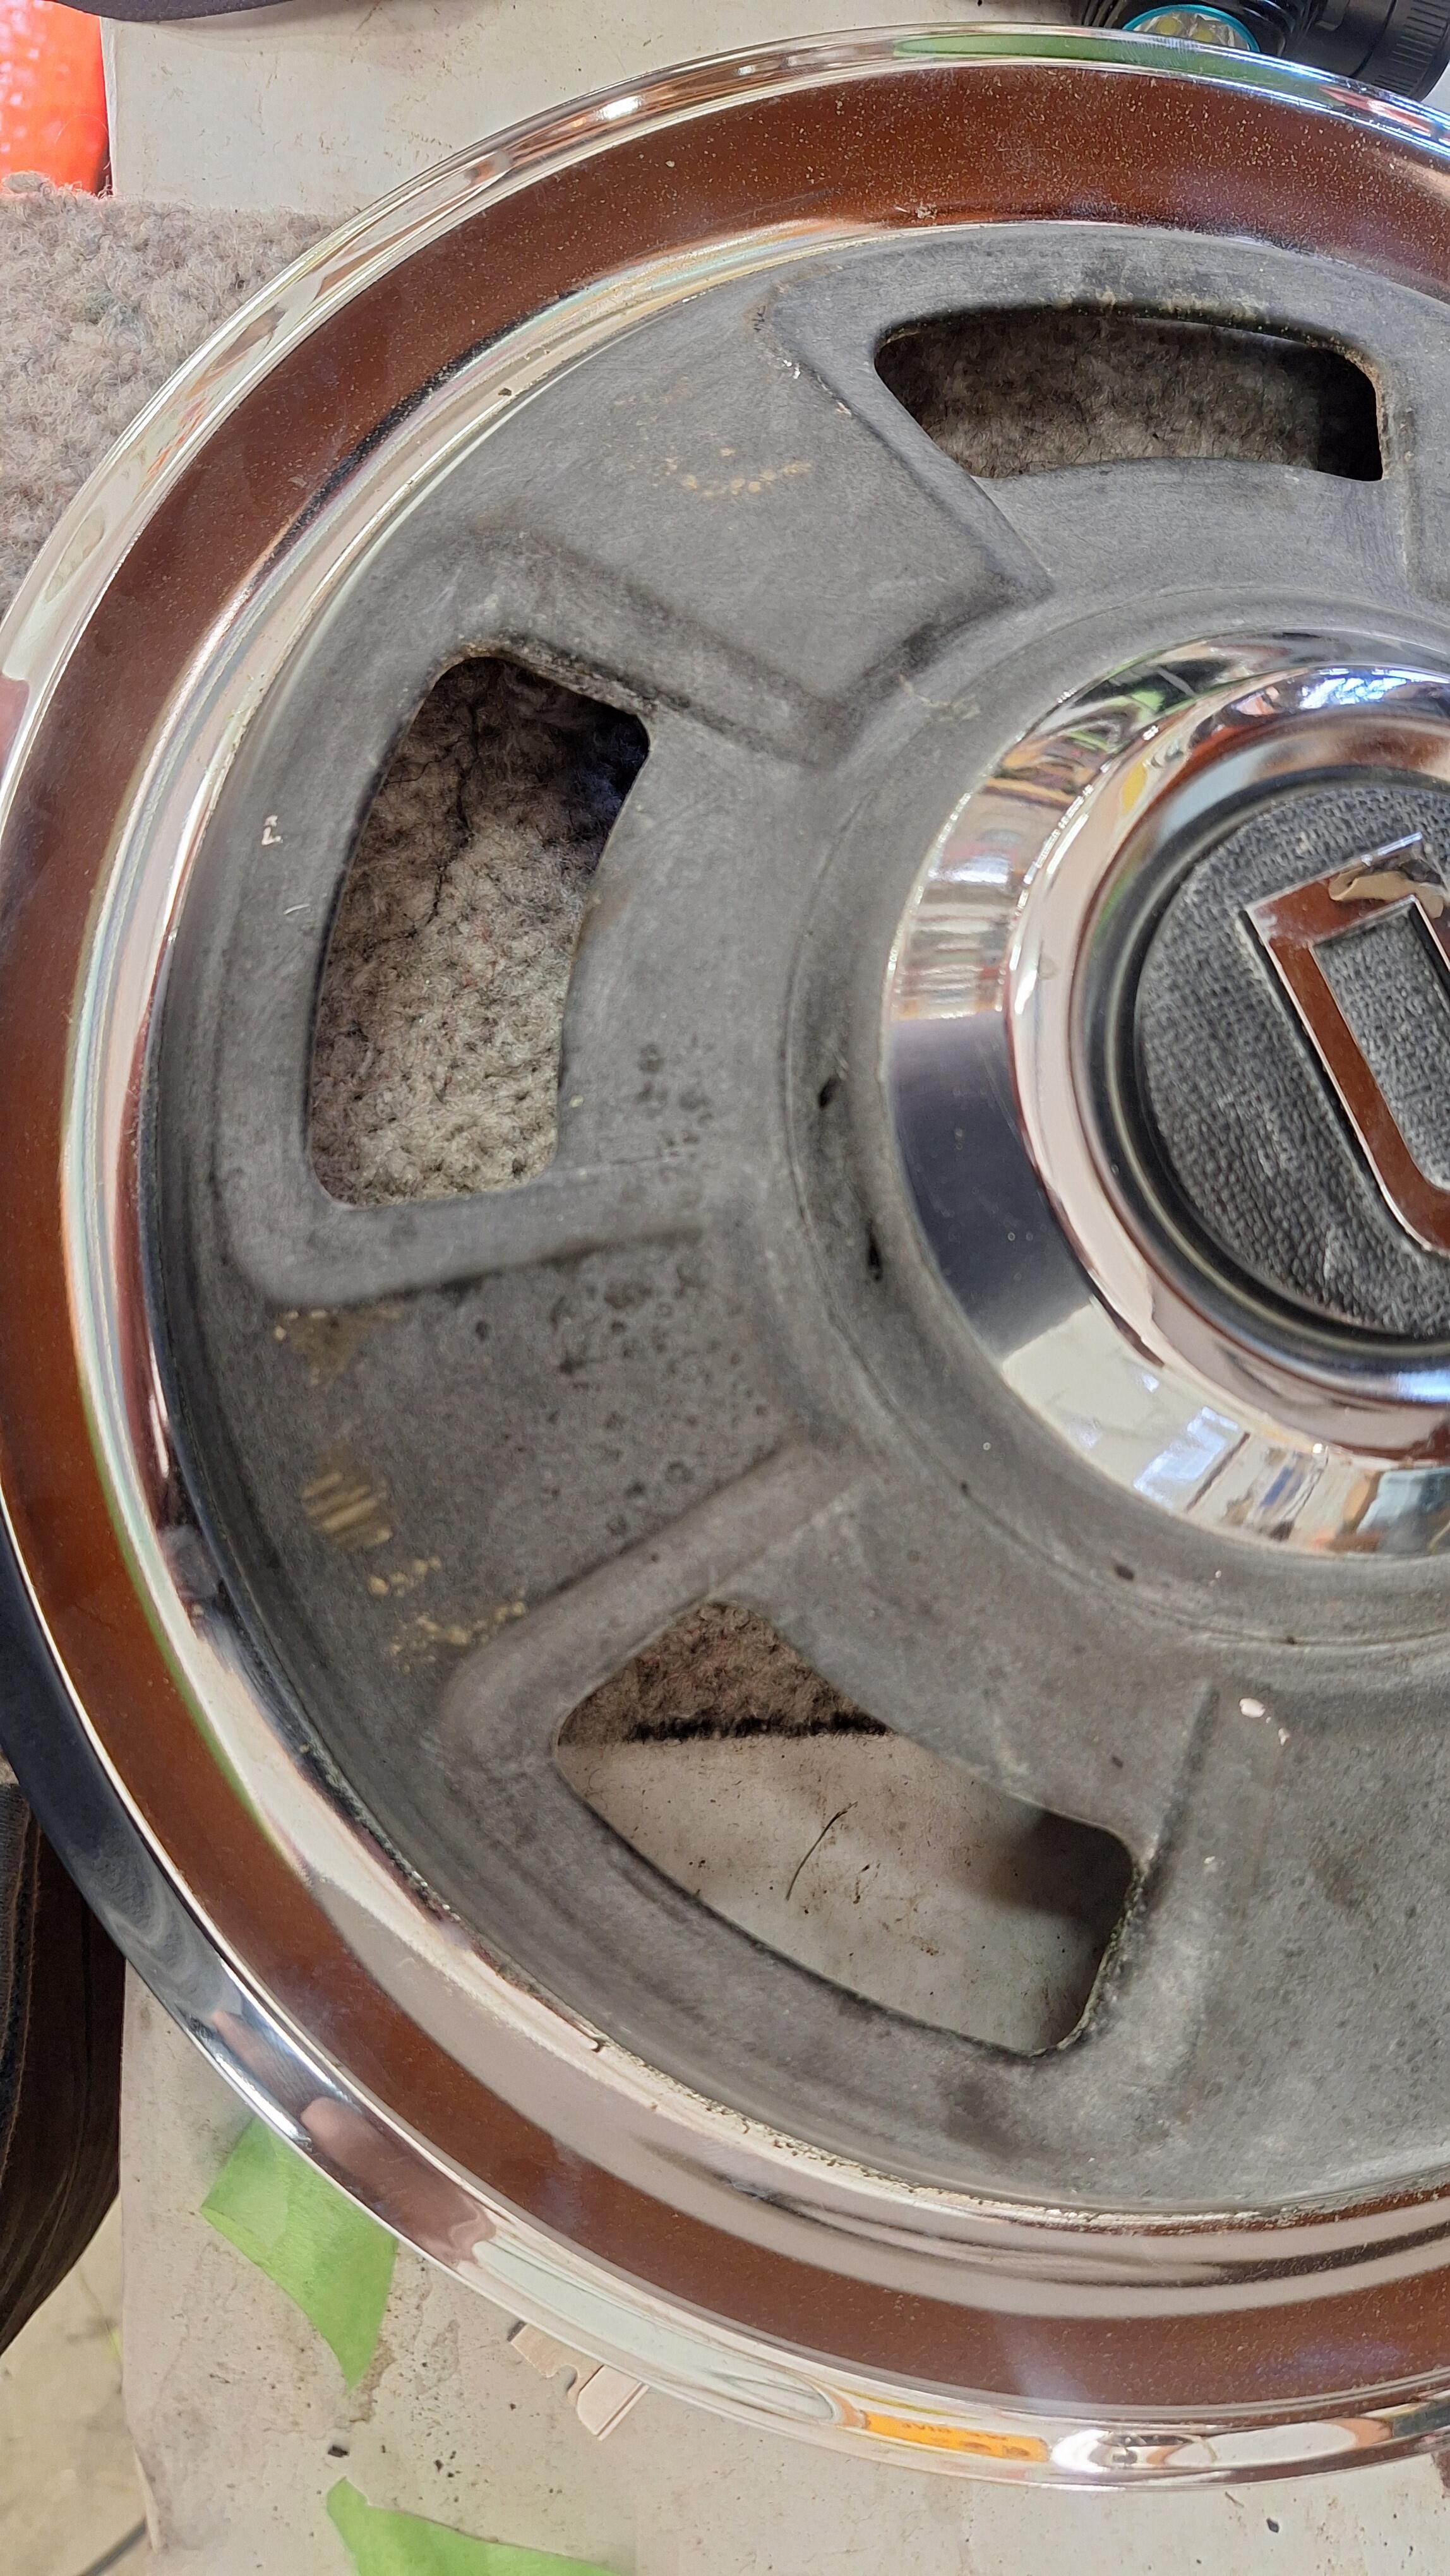
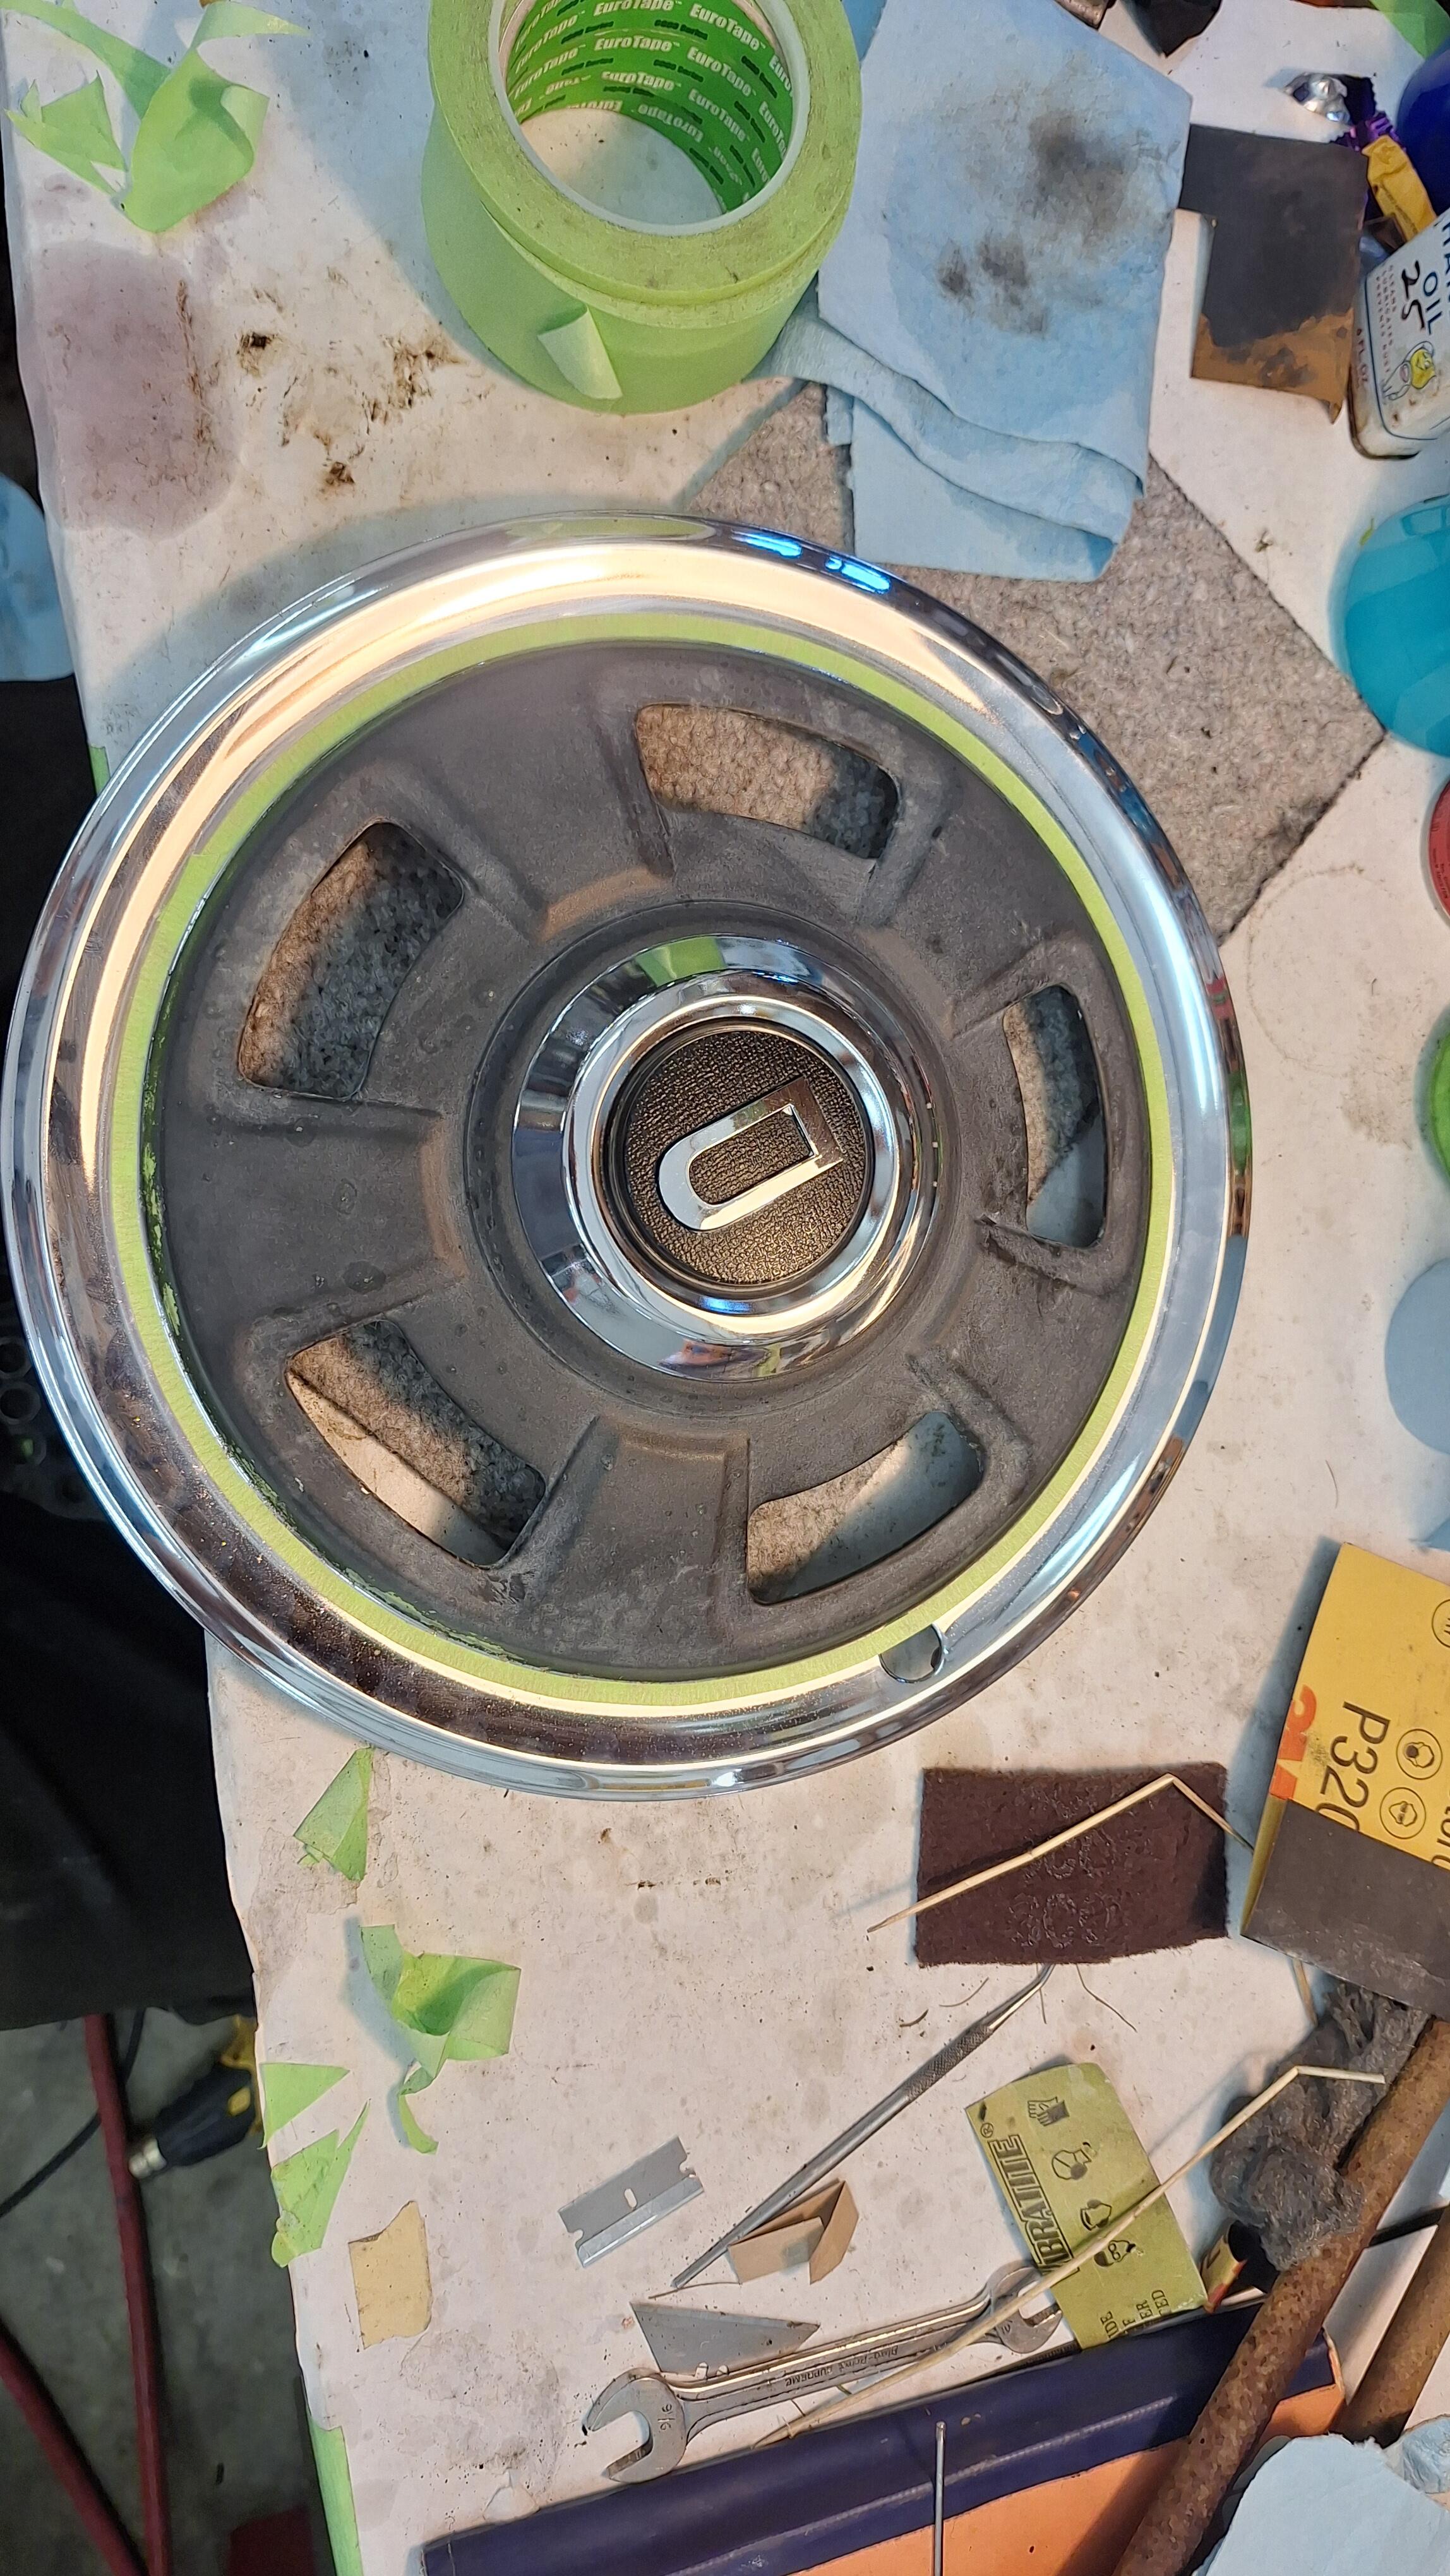
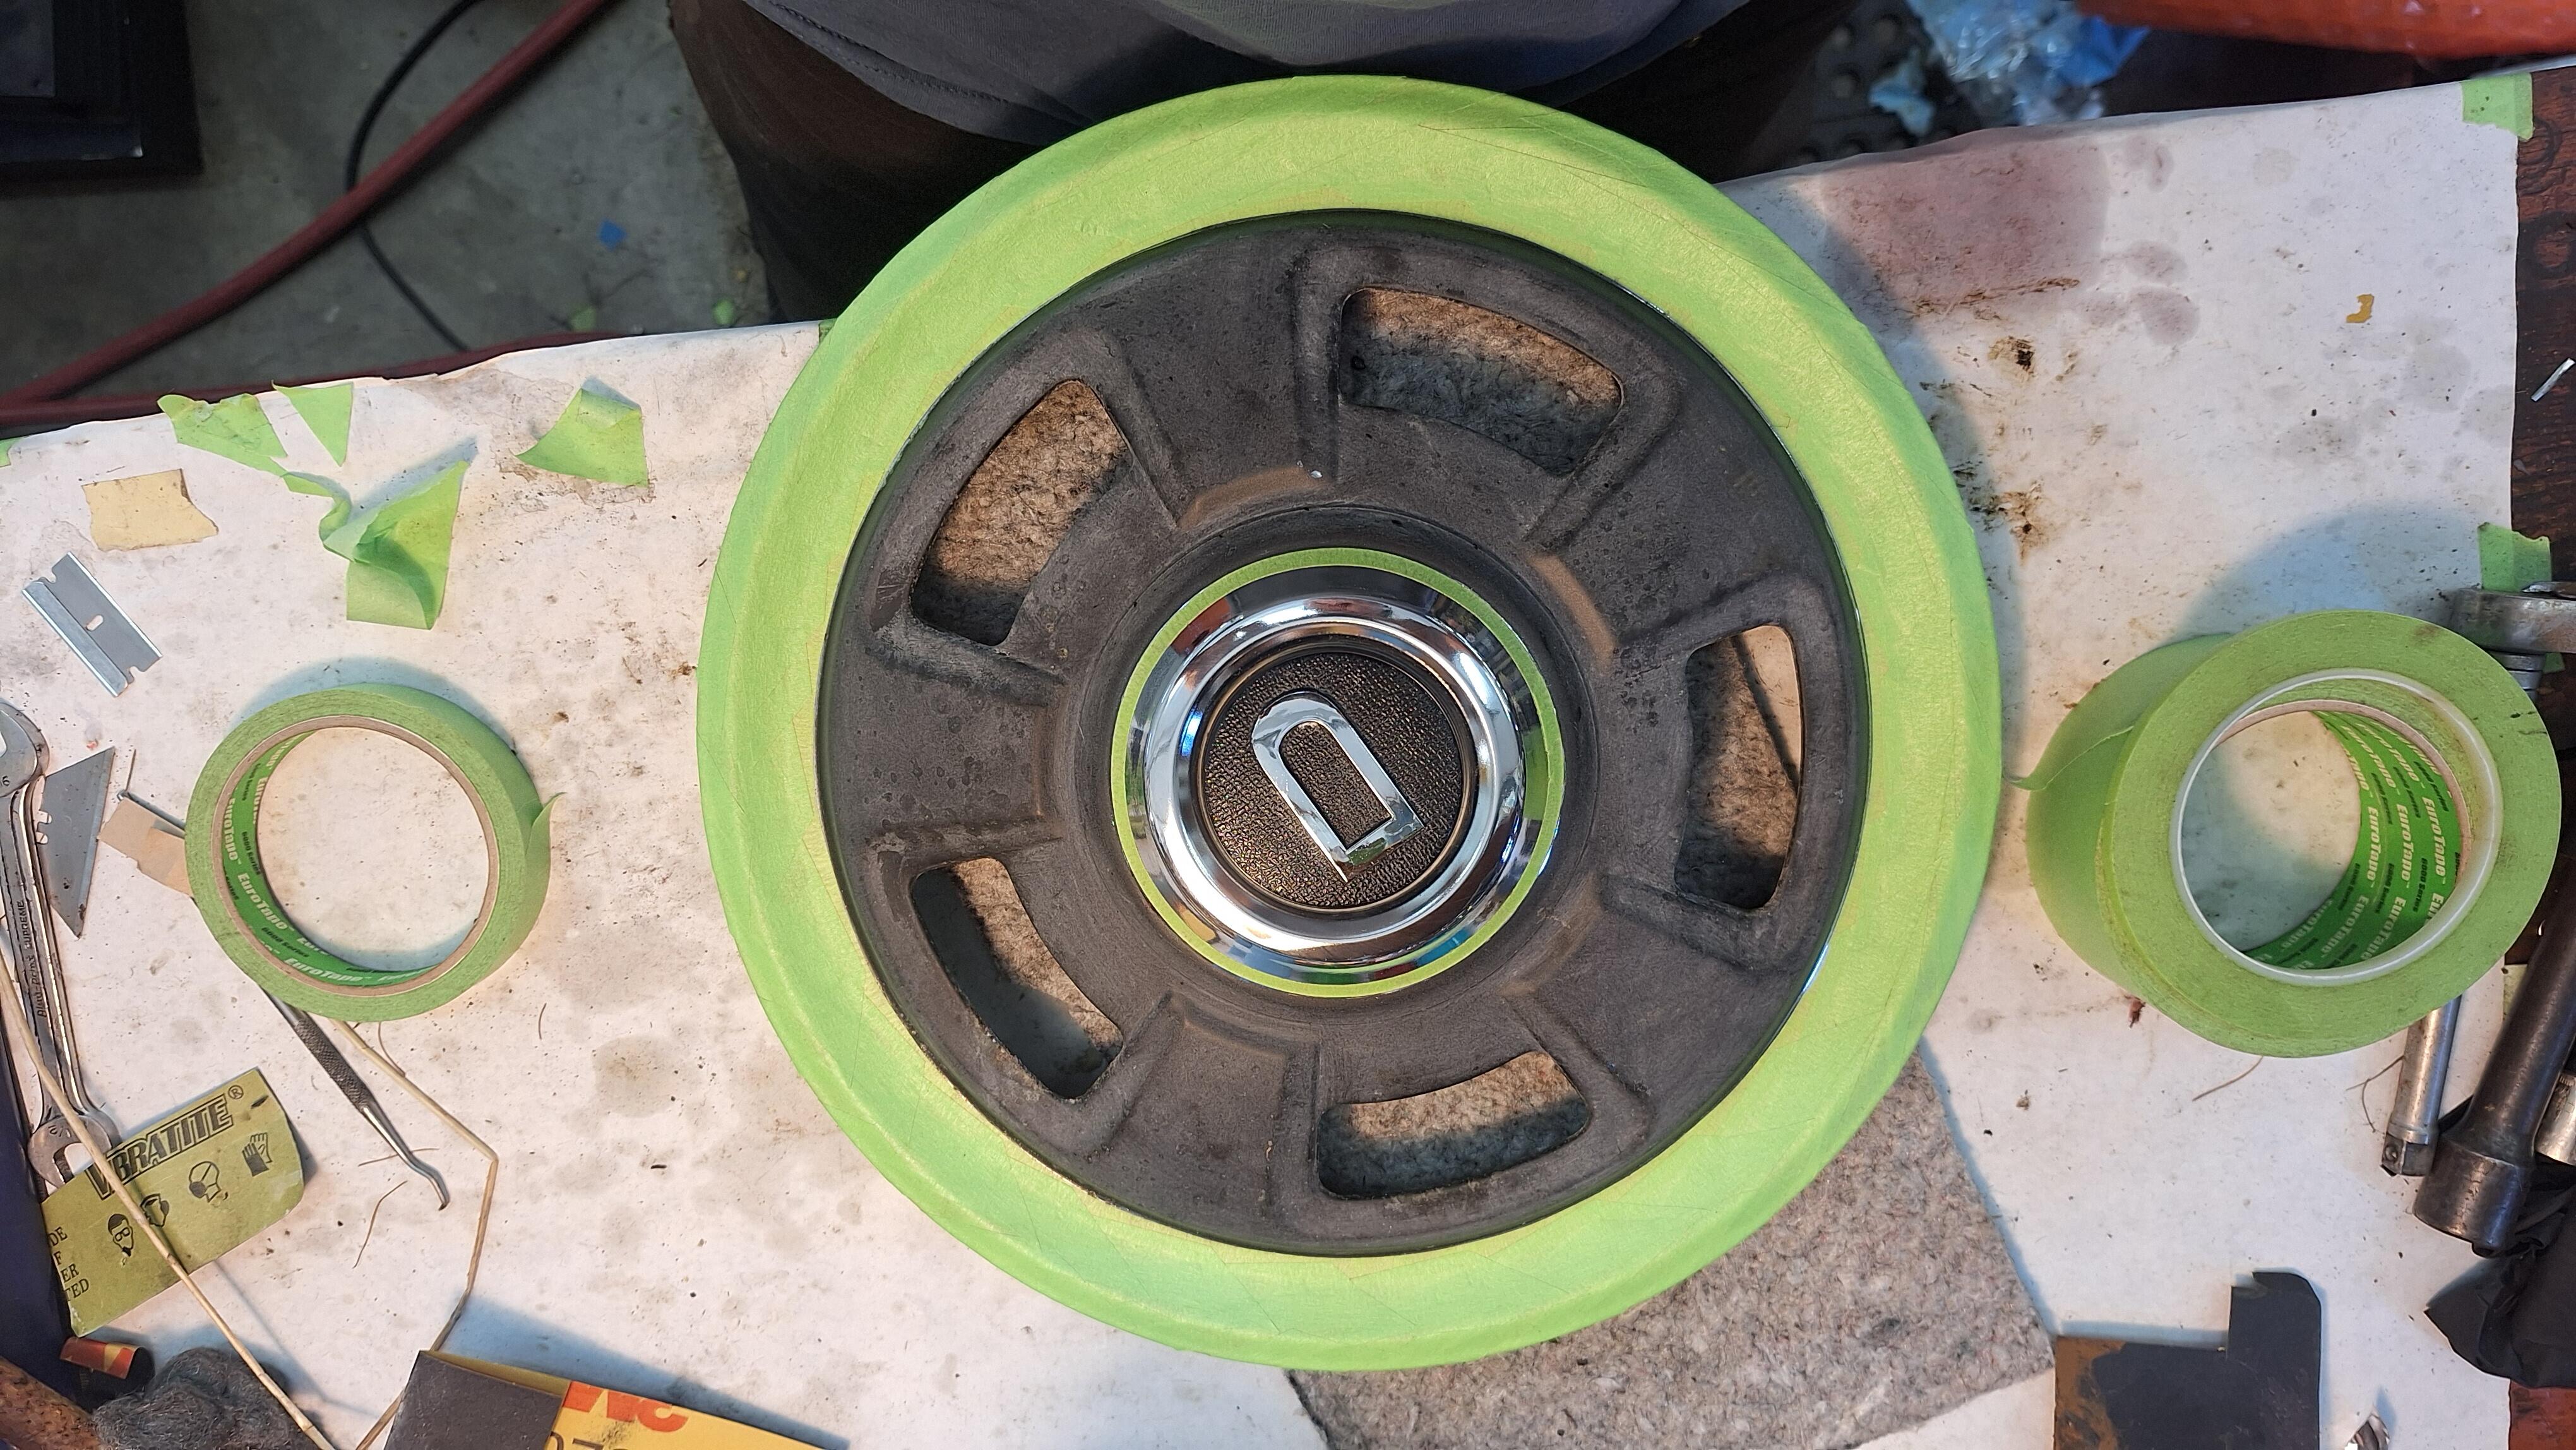
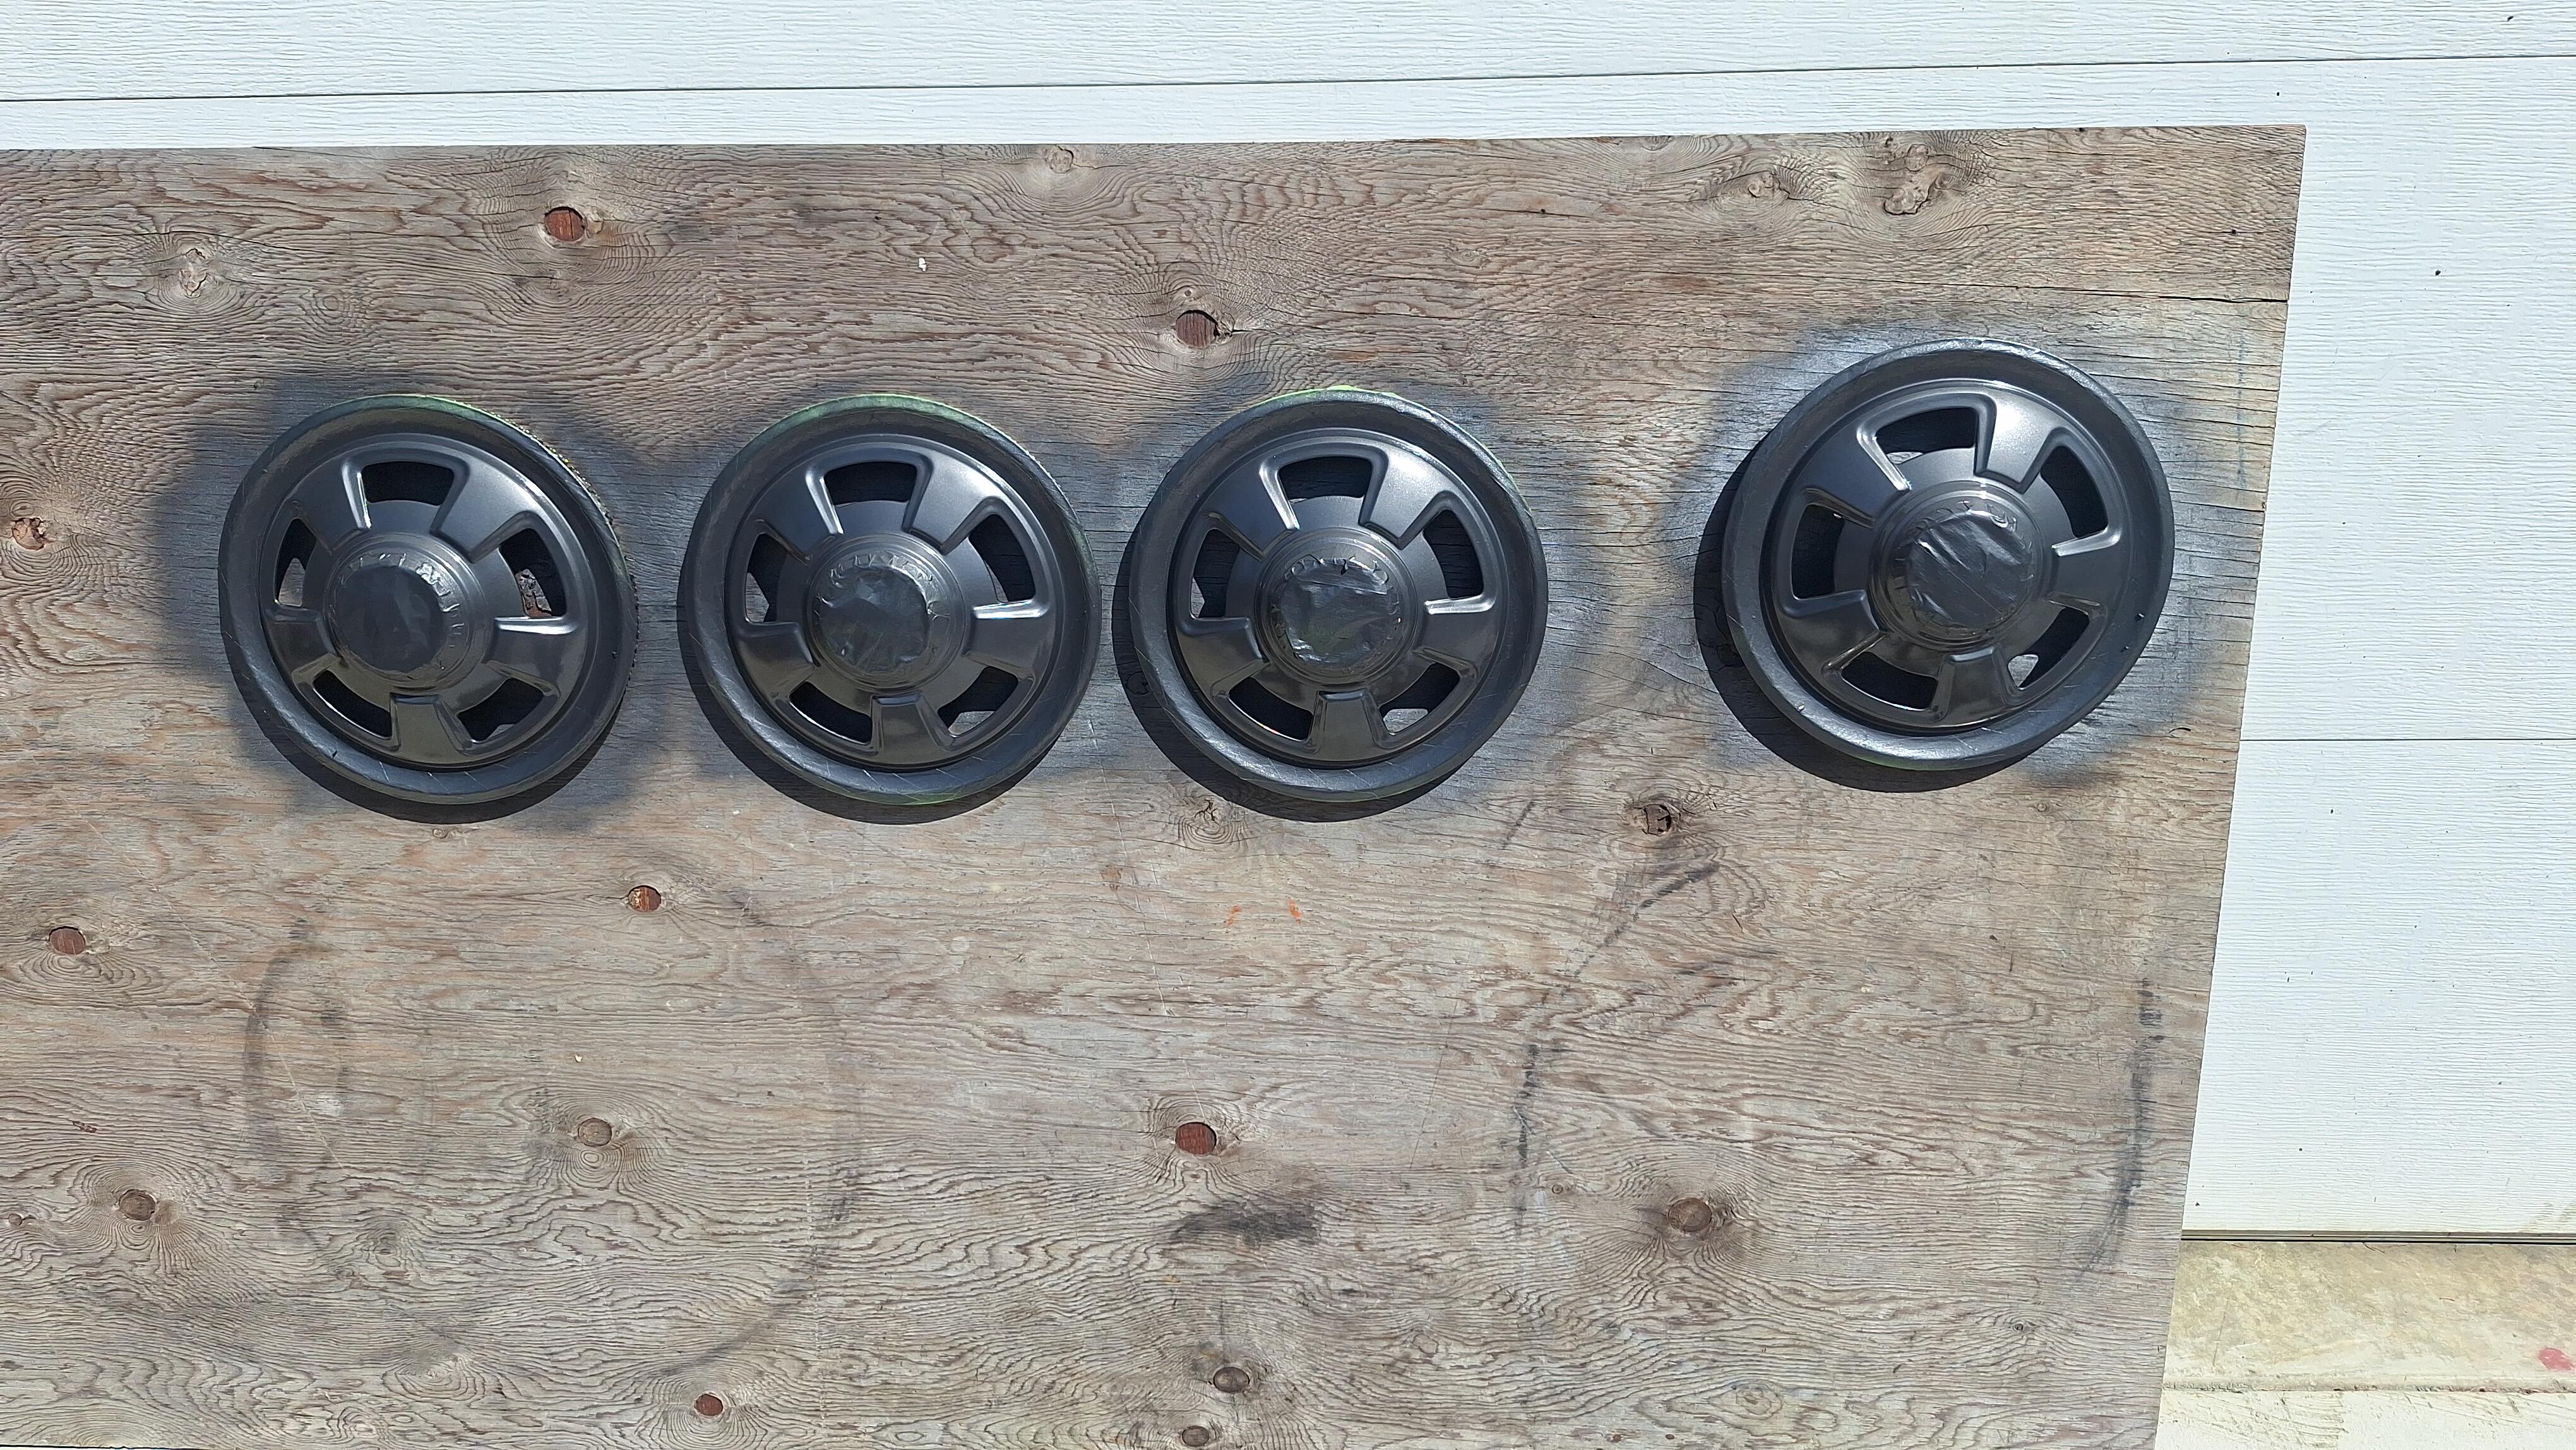
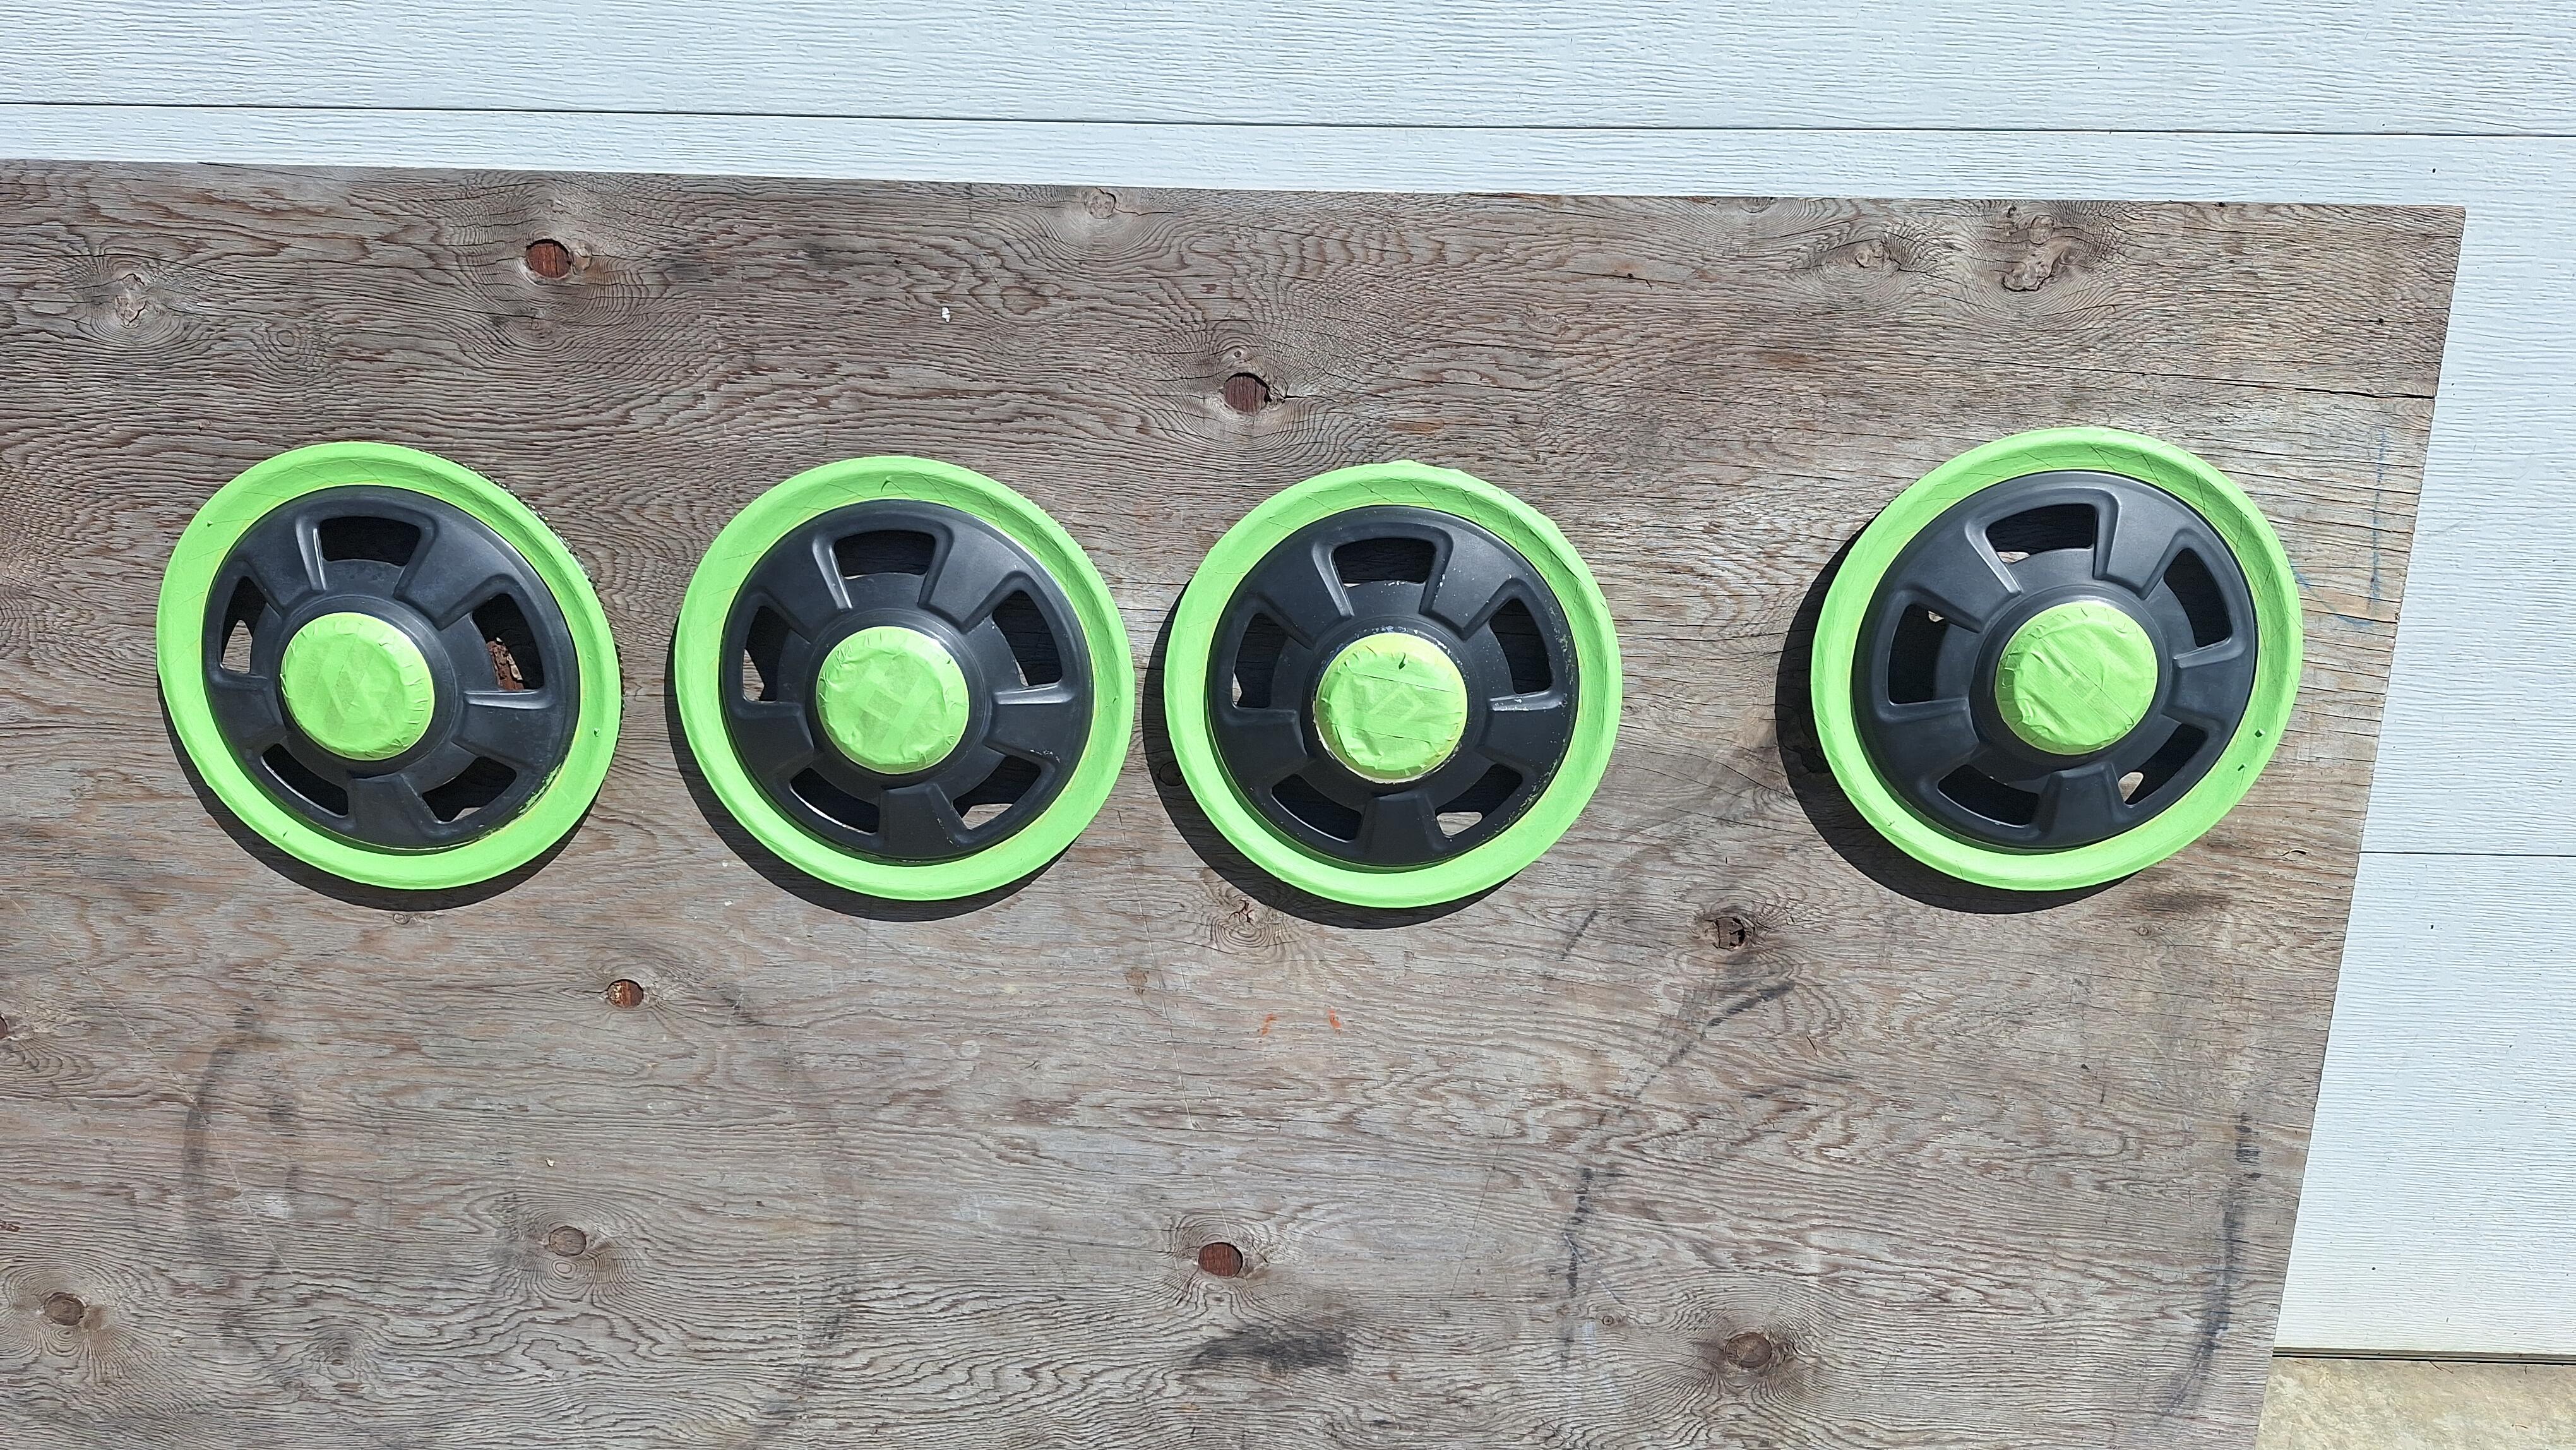
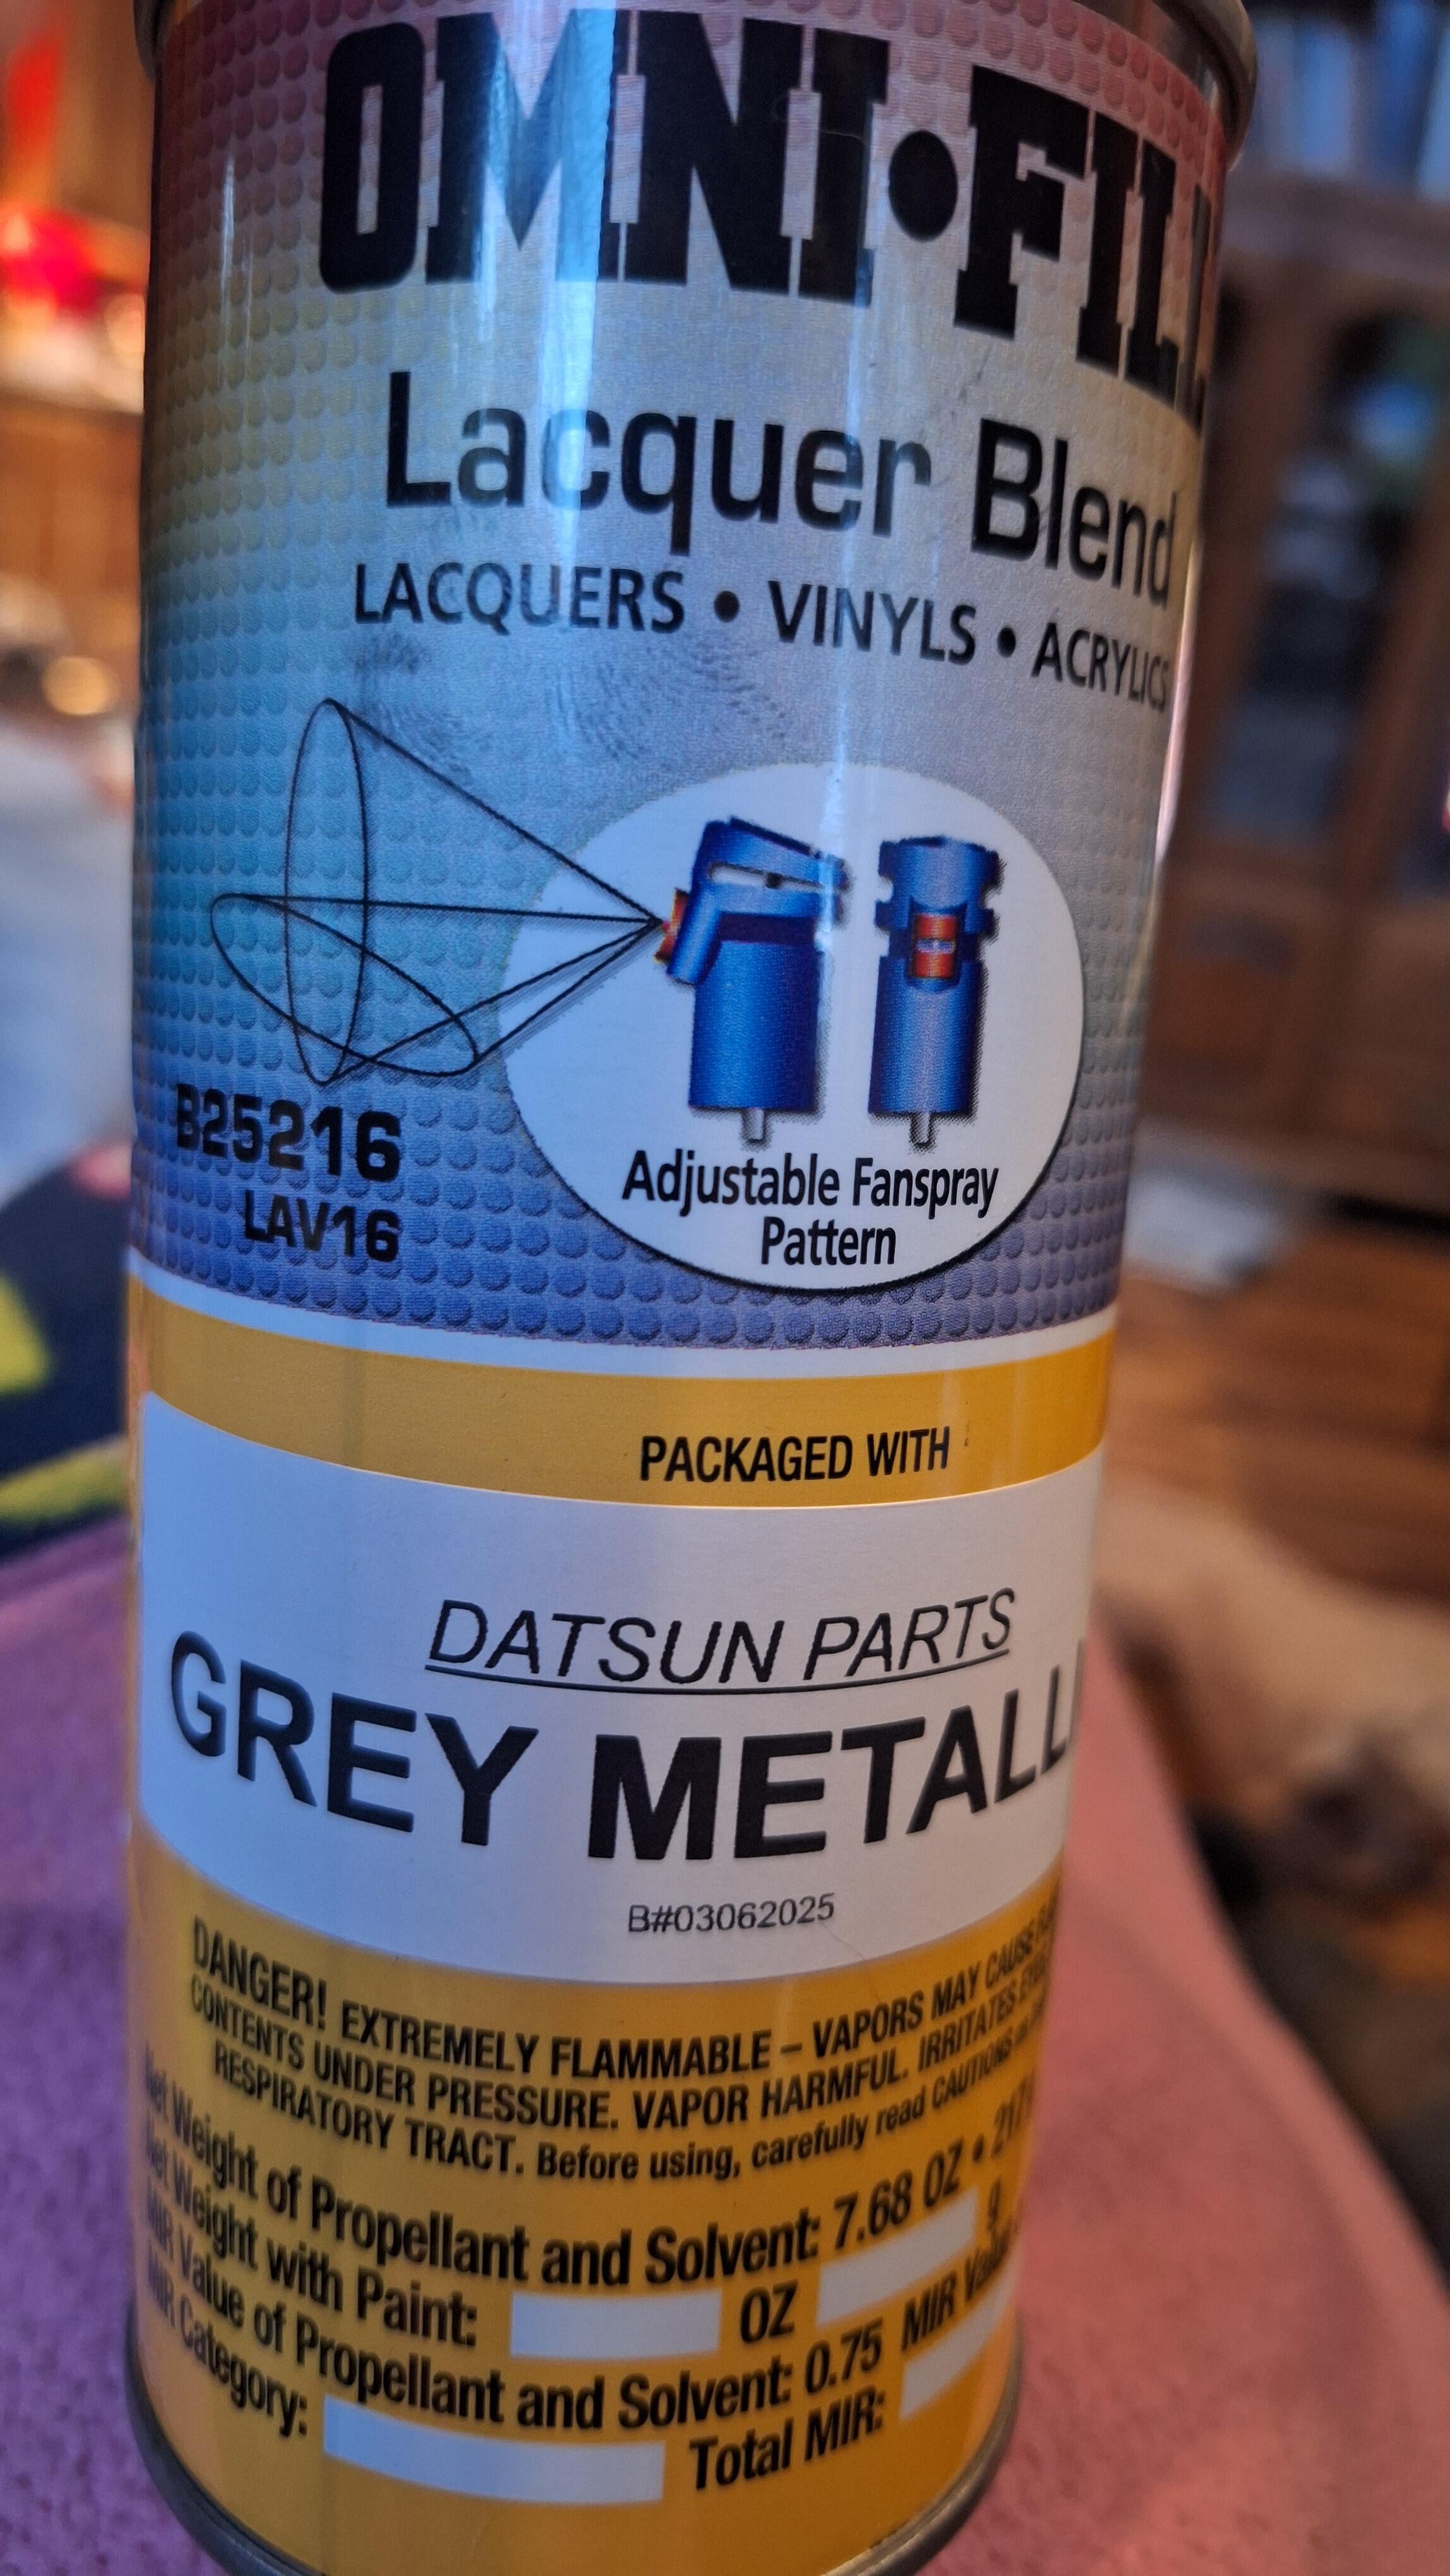
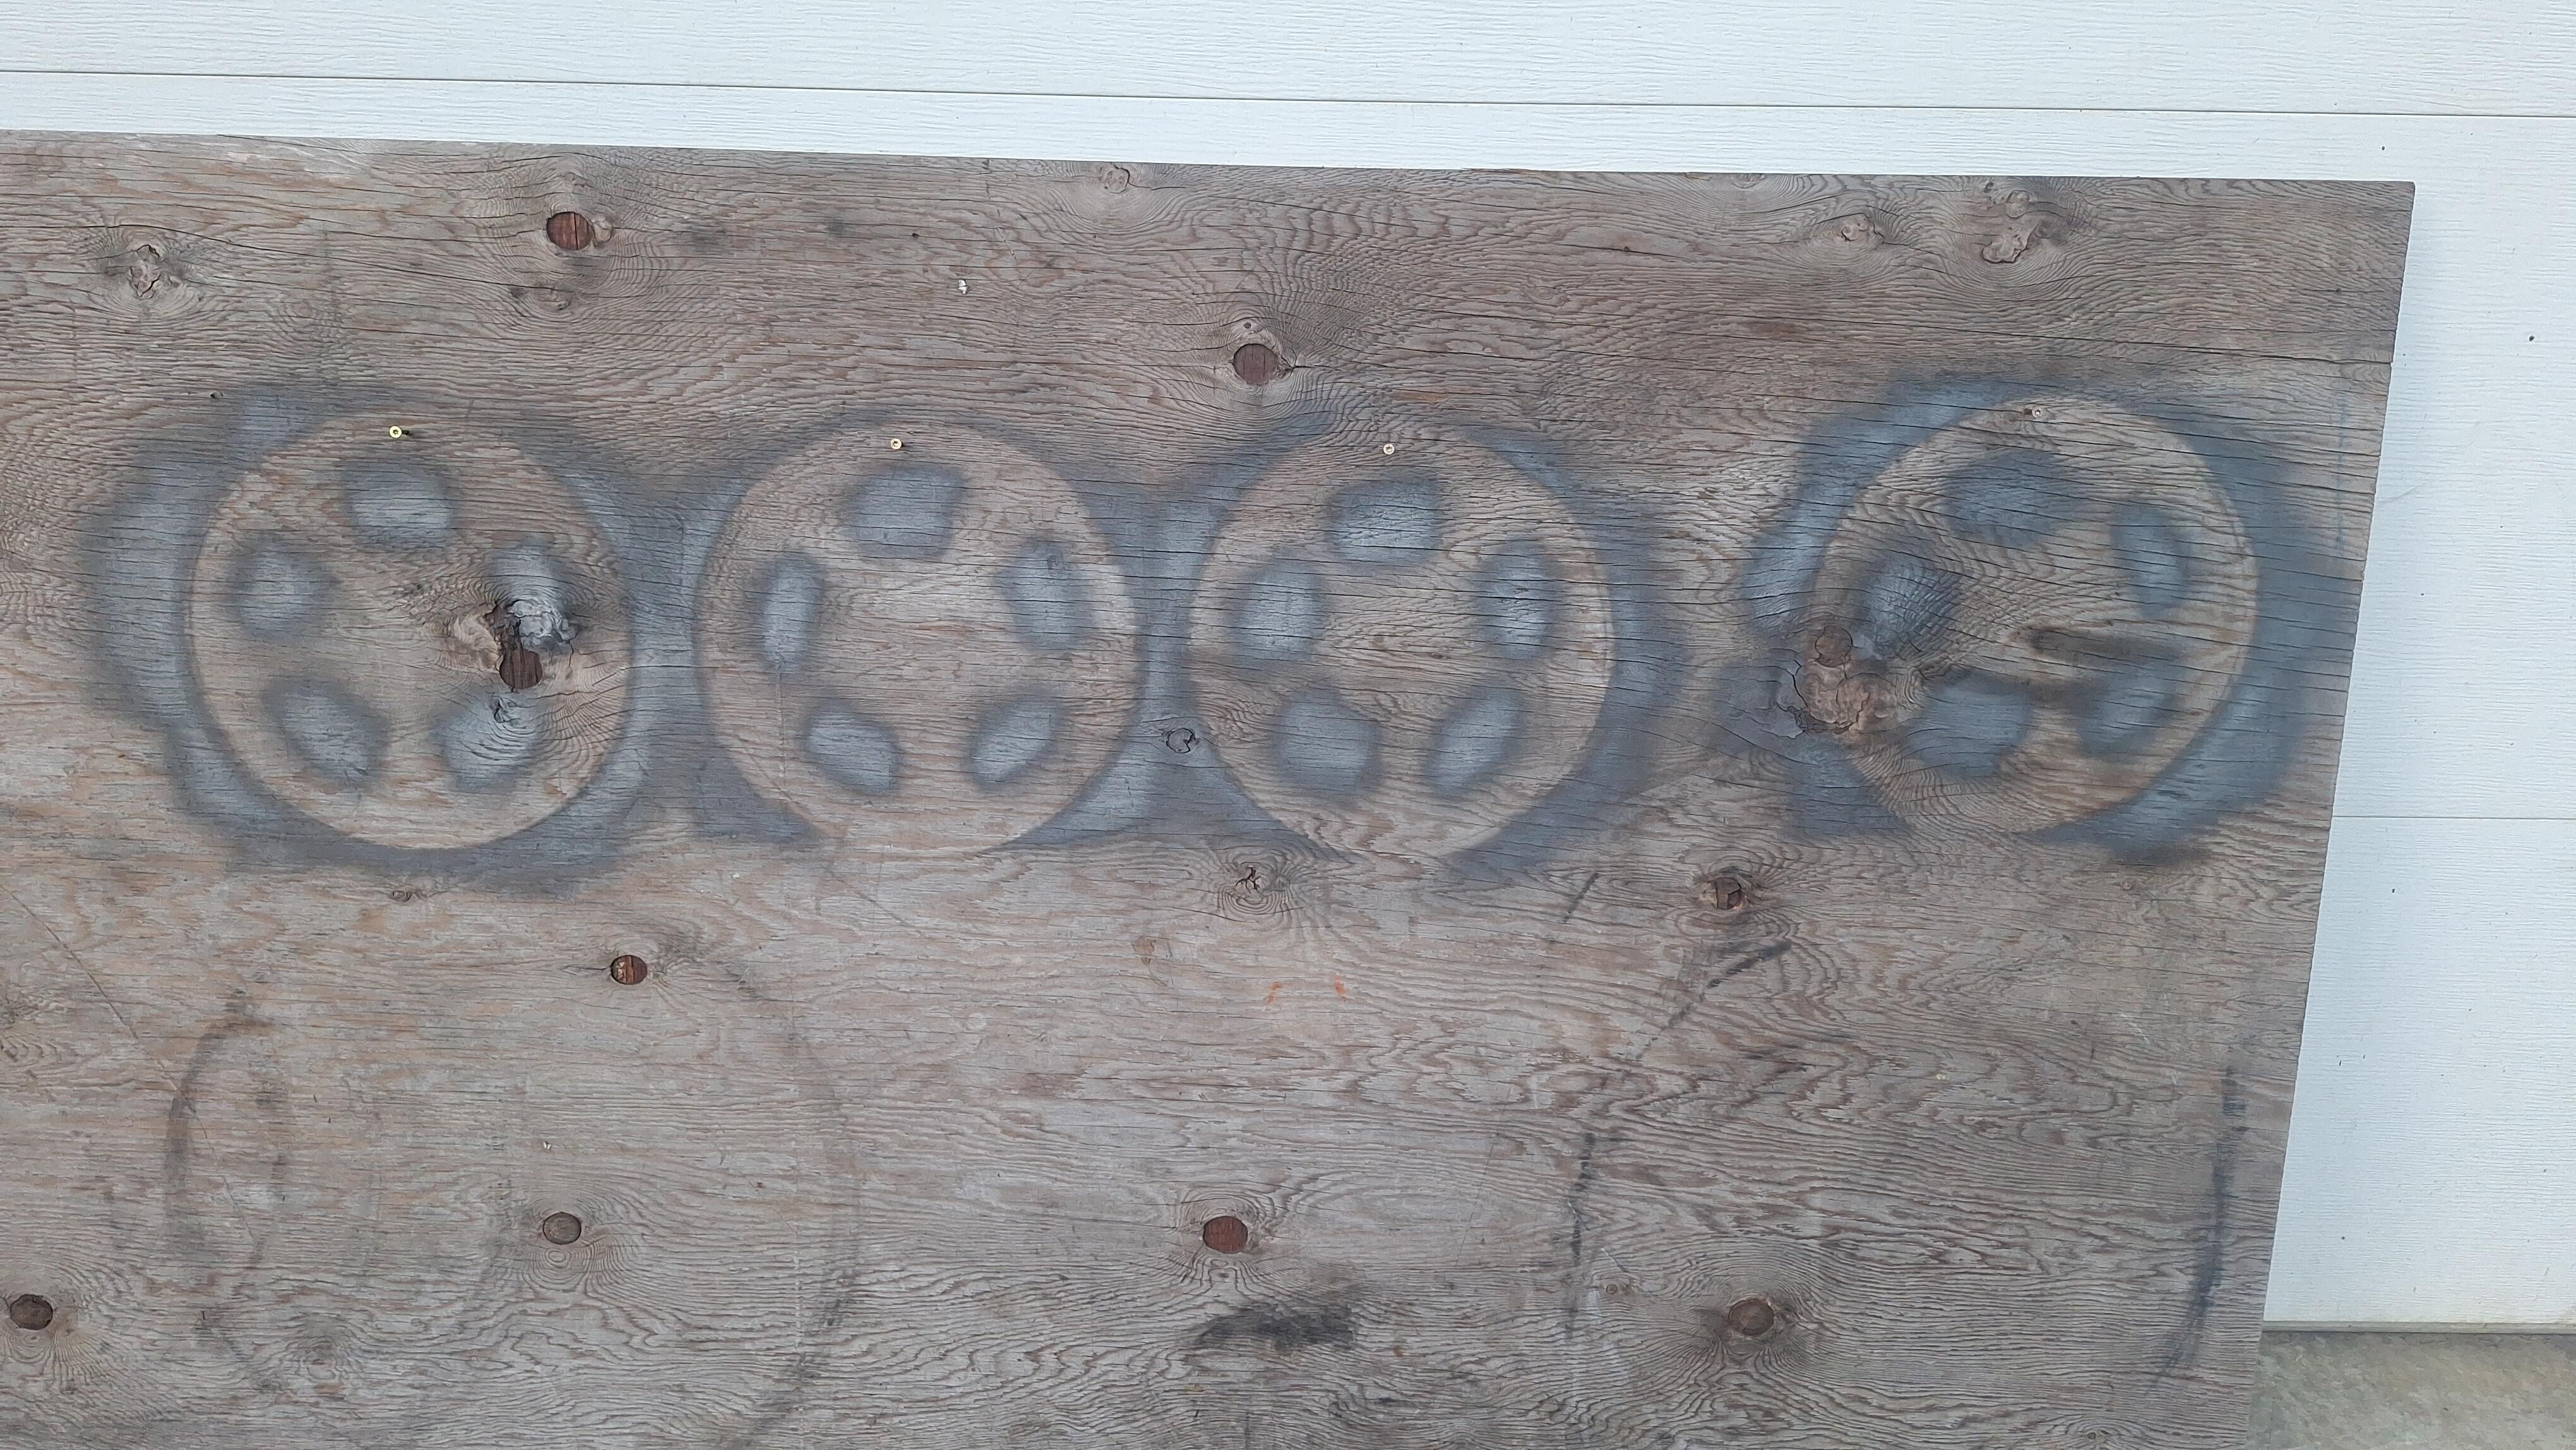
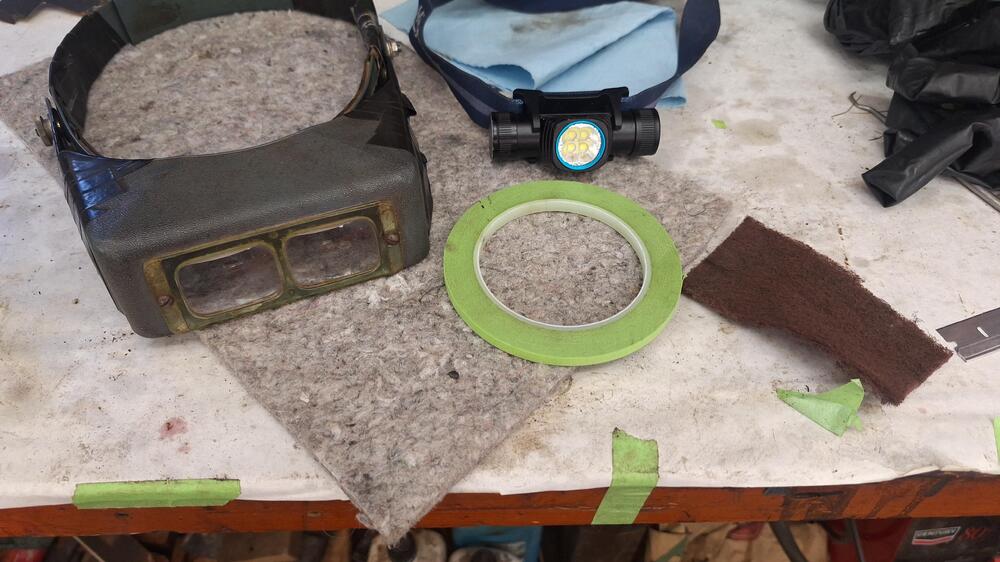
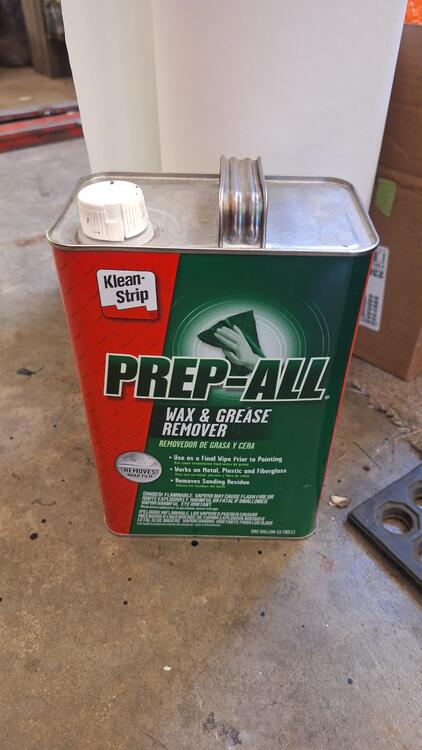
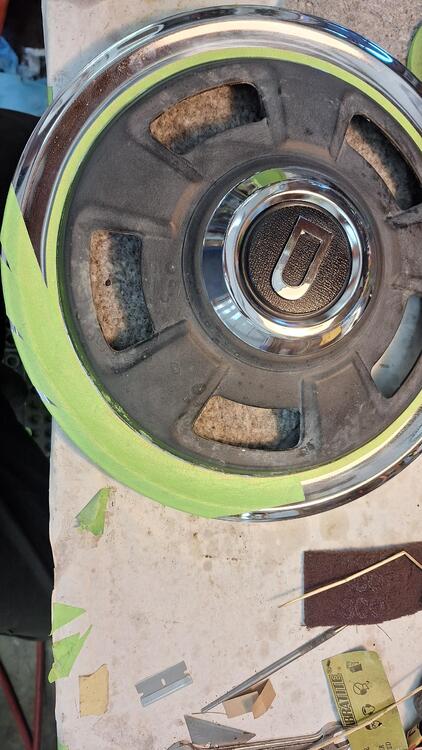
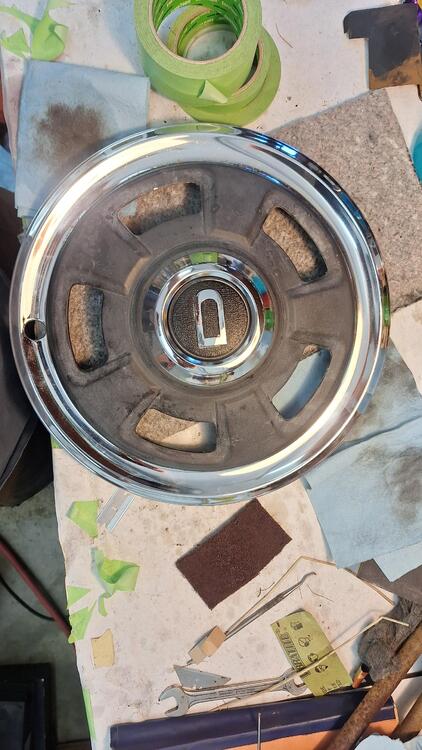
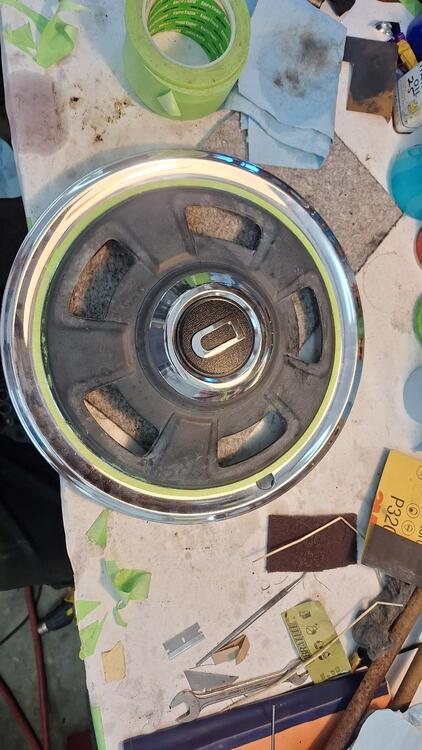
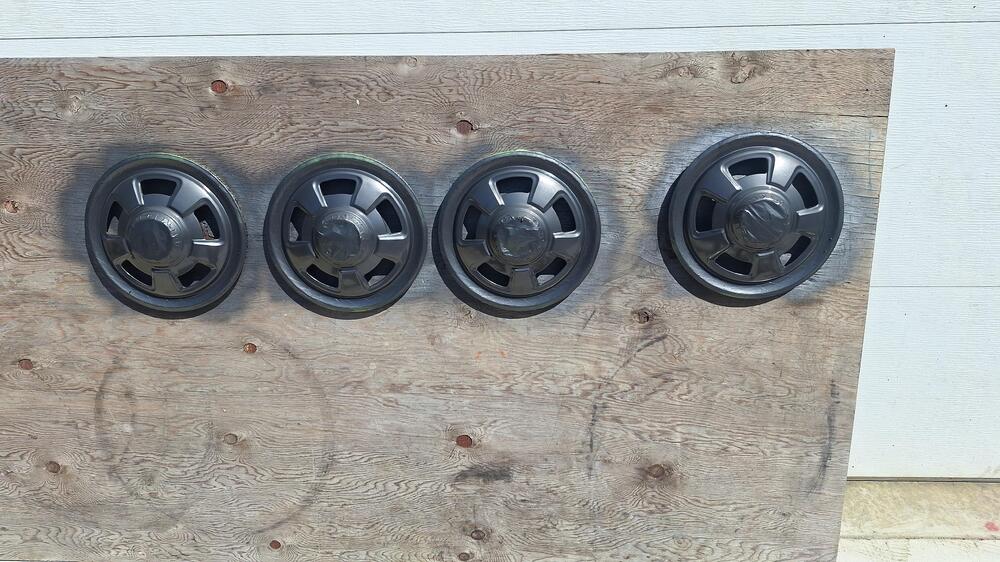
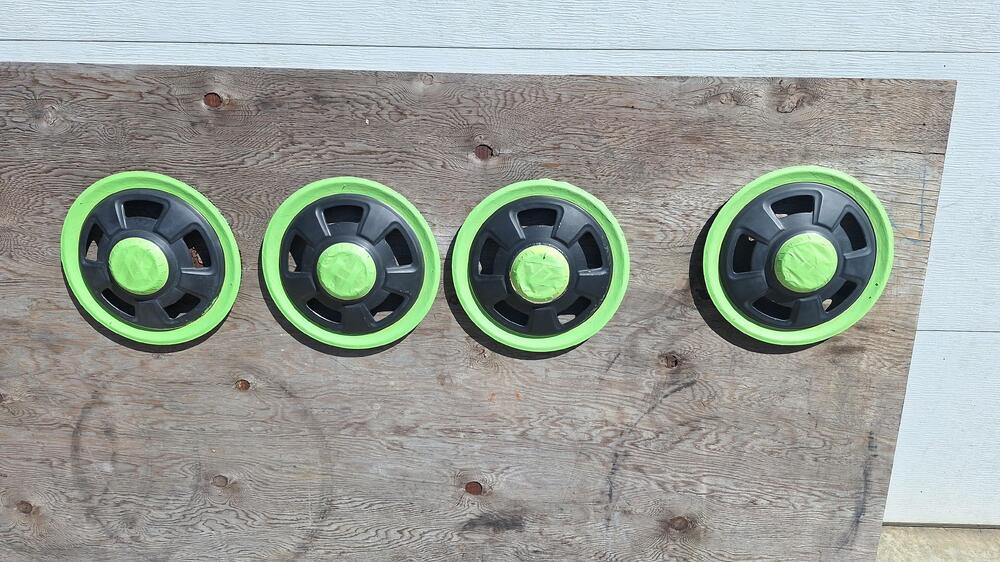
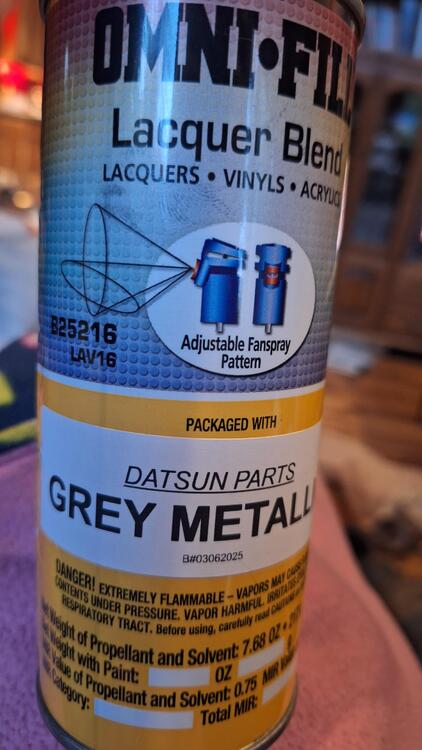
Restoring the hubcaps. I decided to freshen up the hubcaps a little. 3 were a faded gray, and 1 was a darker color, almost blackish gray. My first step was cleaning the area between the chrome and the paint. The tape line. I used 0000 steel wool. Then I degreased it and applied 1/4" fine line tape all the way around. It really helps to see so I used these magnifying goggles and a headlamp, and a good light. Once I had that tape on, I used a wider tape and continued around until it was masked off. Same for the center cap. Then I used a scotch Brite pad and scuffed and cleaned the old paint. Blew it off with air and degreased the old paint until the rag was clean. It took several cleanings, but this is a very important step. Then when the wind quit blowing, I gave them several coats of the Datsun Gray paint purchased from California Datsun, great stuff! An hour later, I removed the tape. It came off easy, pulling at a right angle to the paint.


-
Nice! Thanks
-
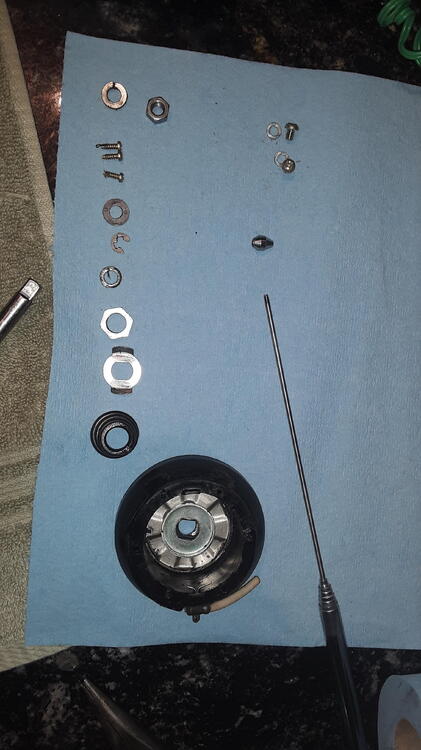
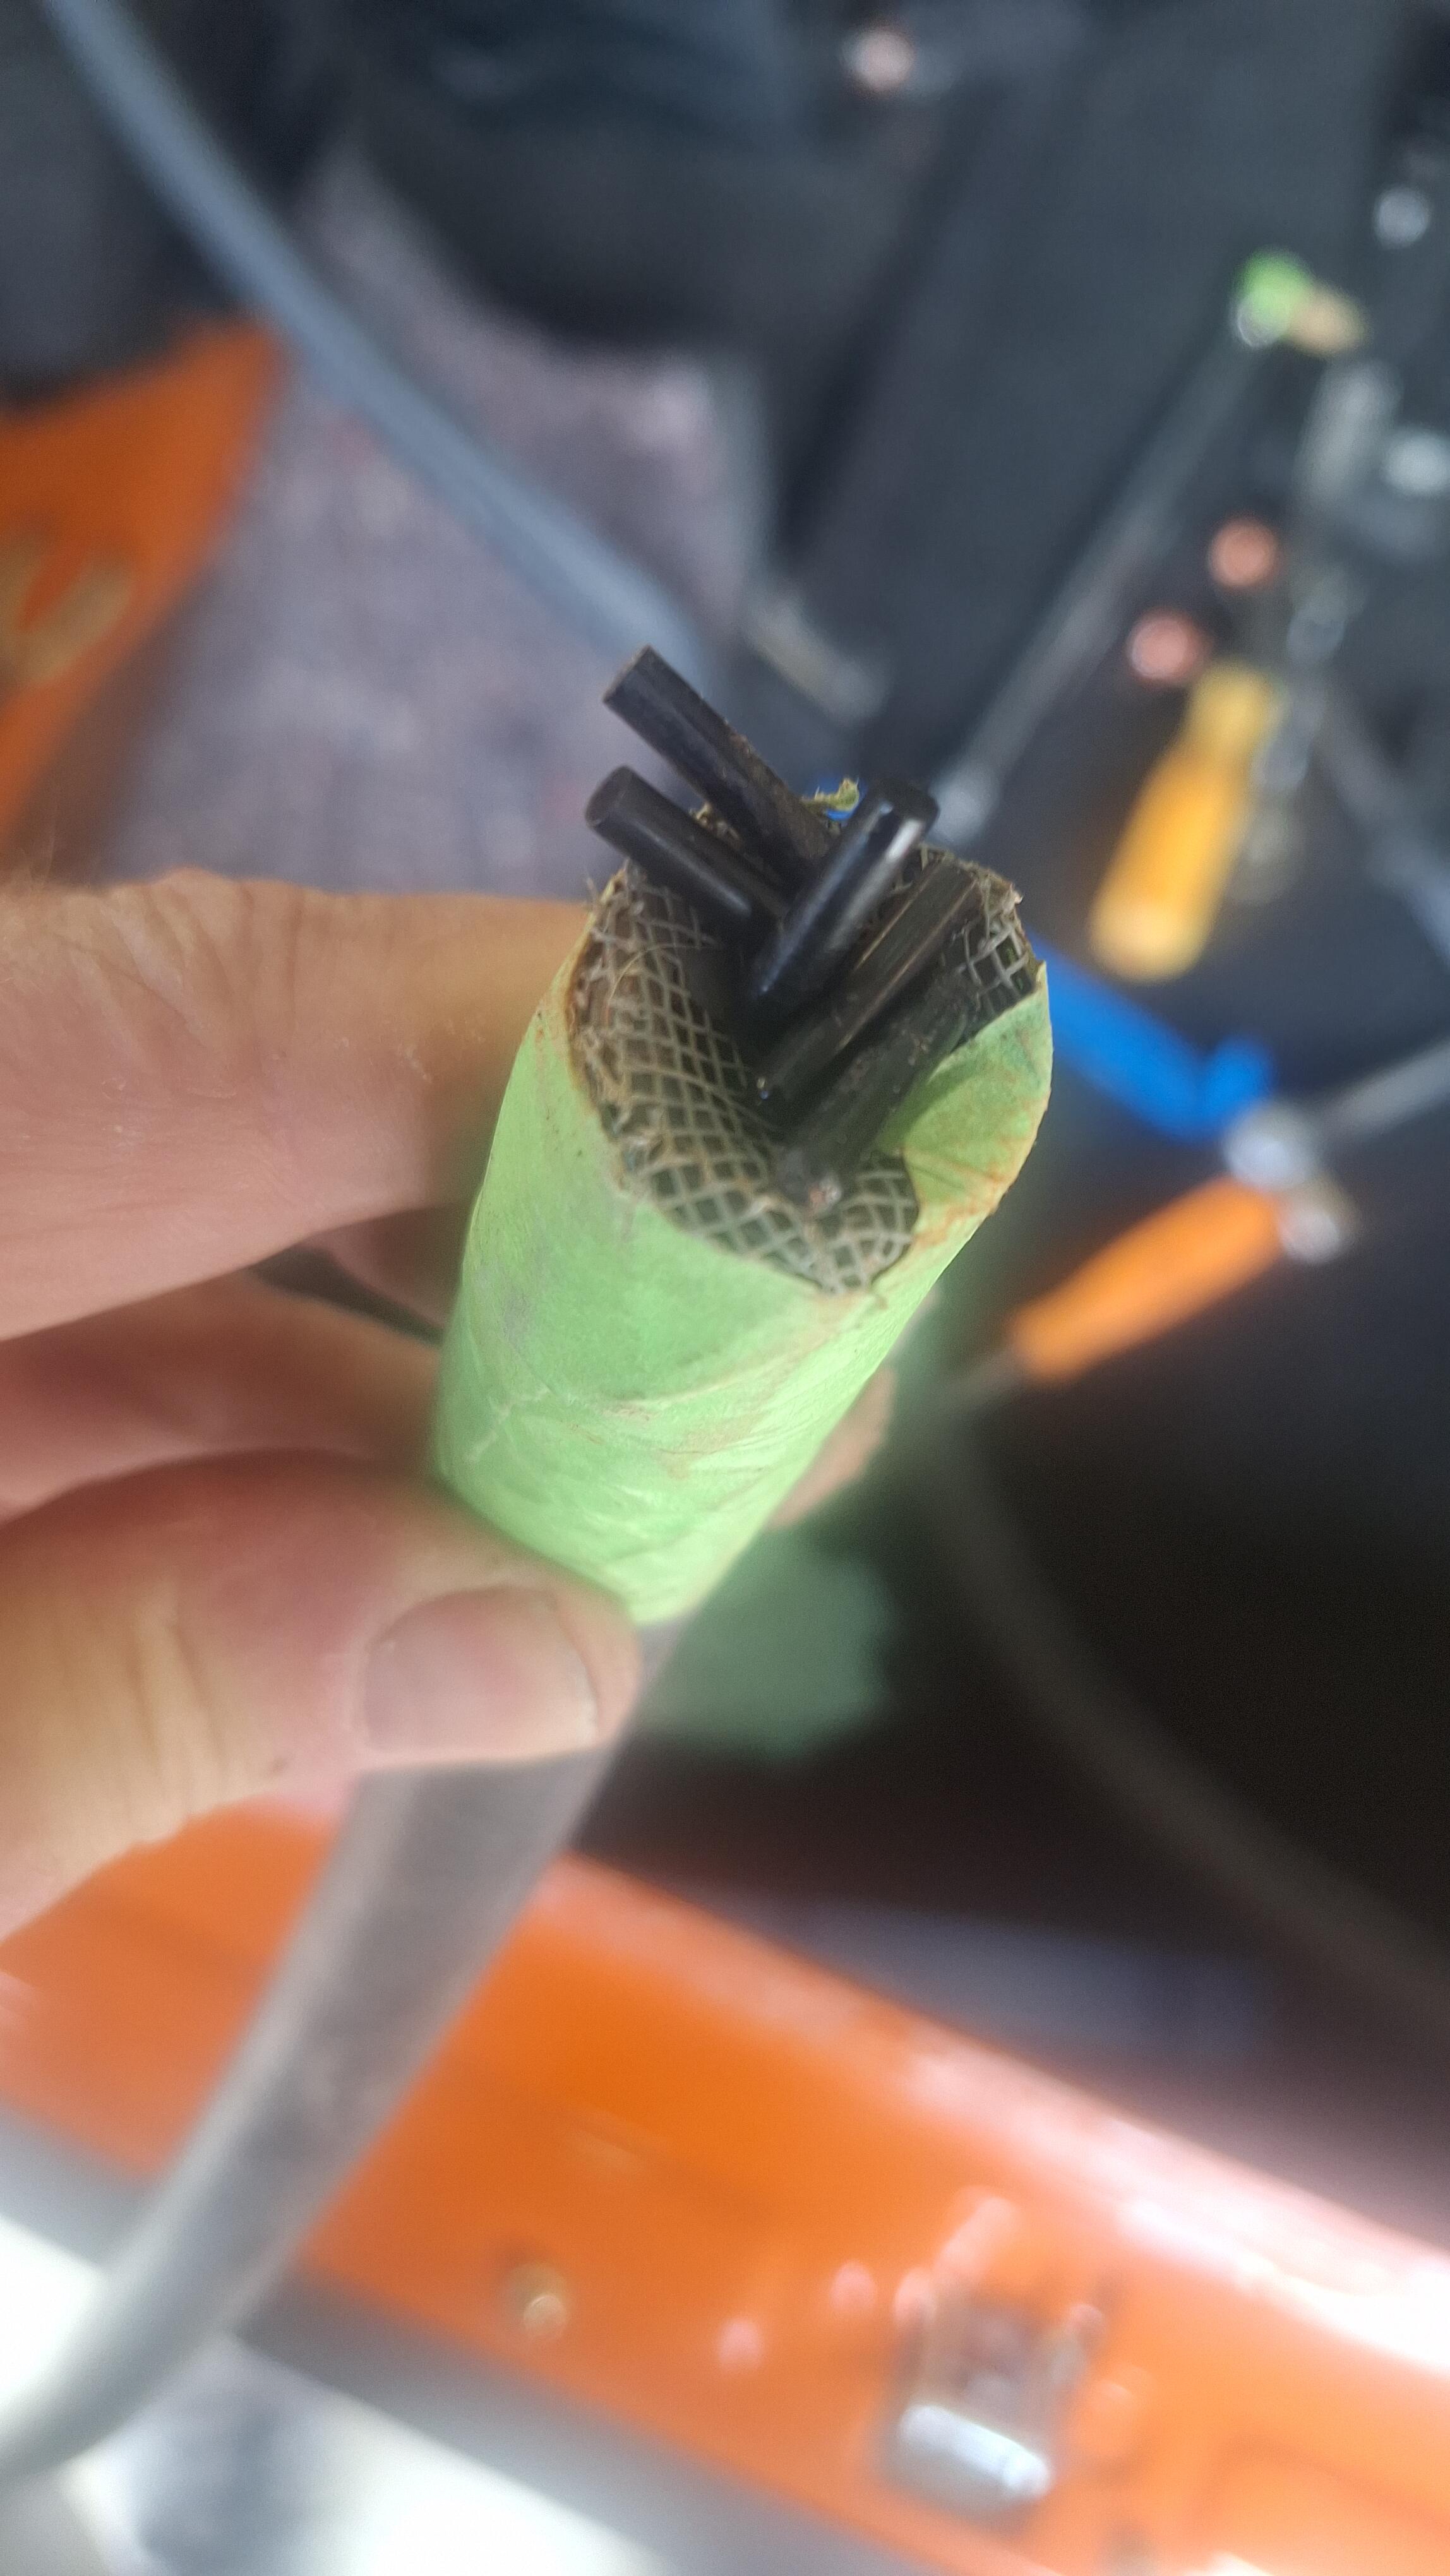
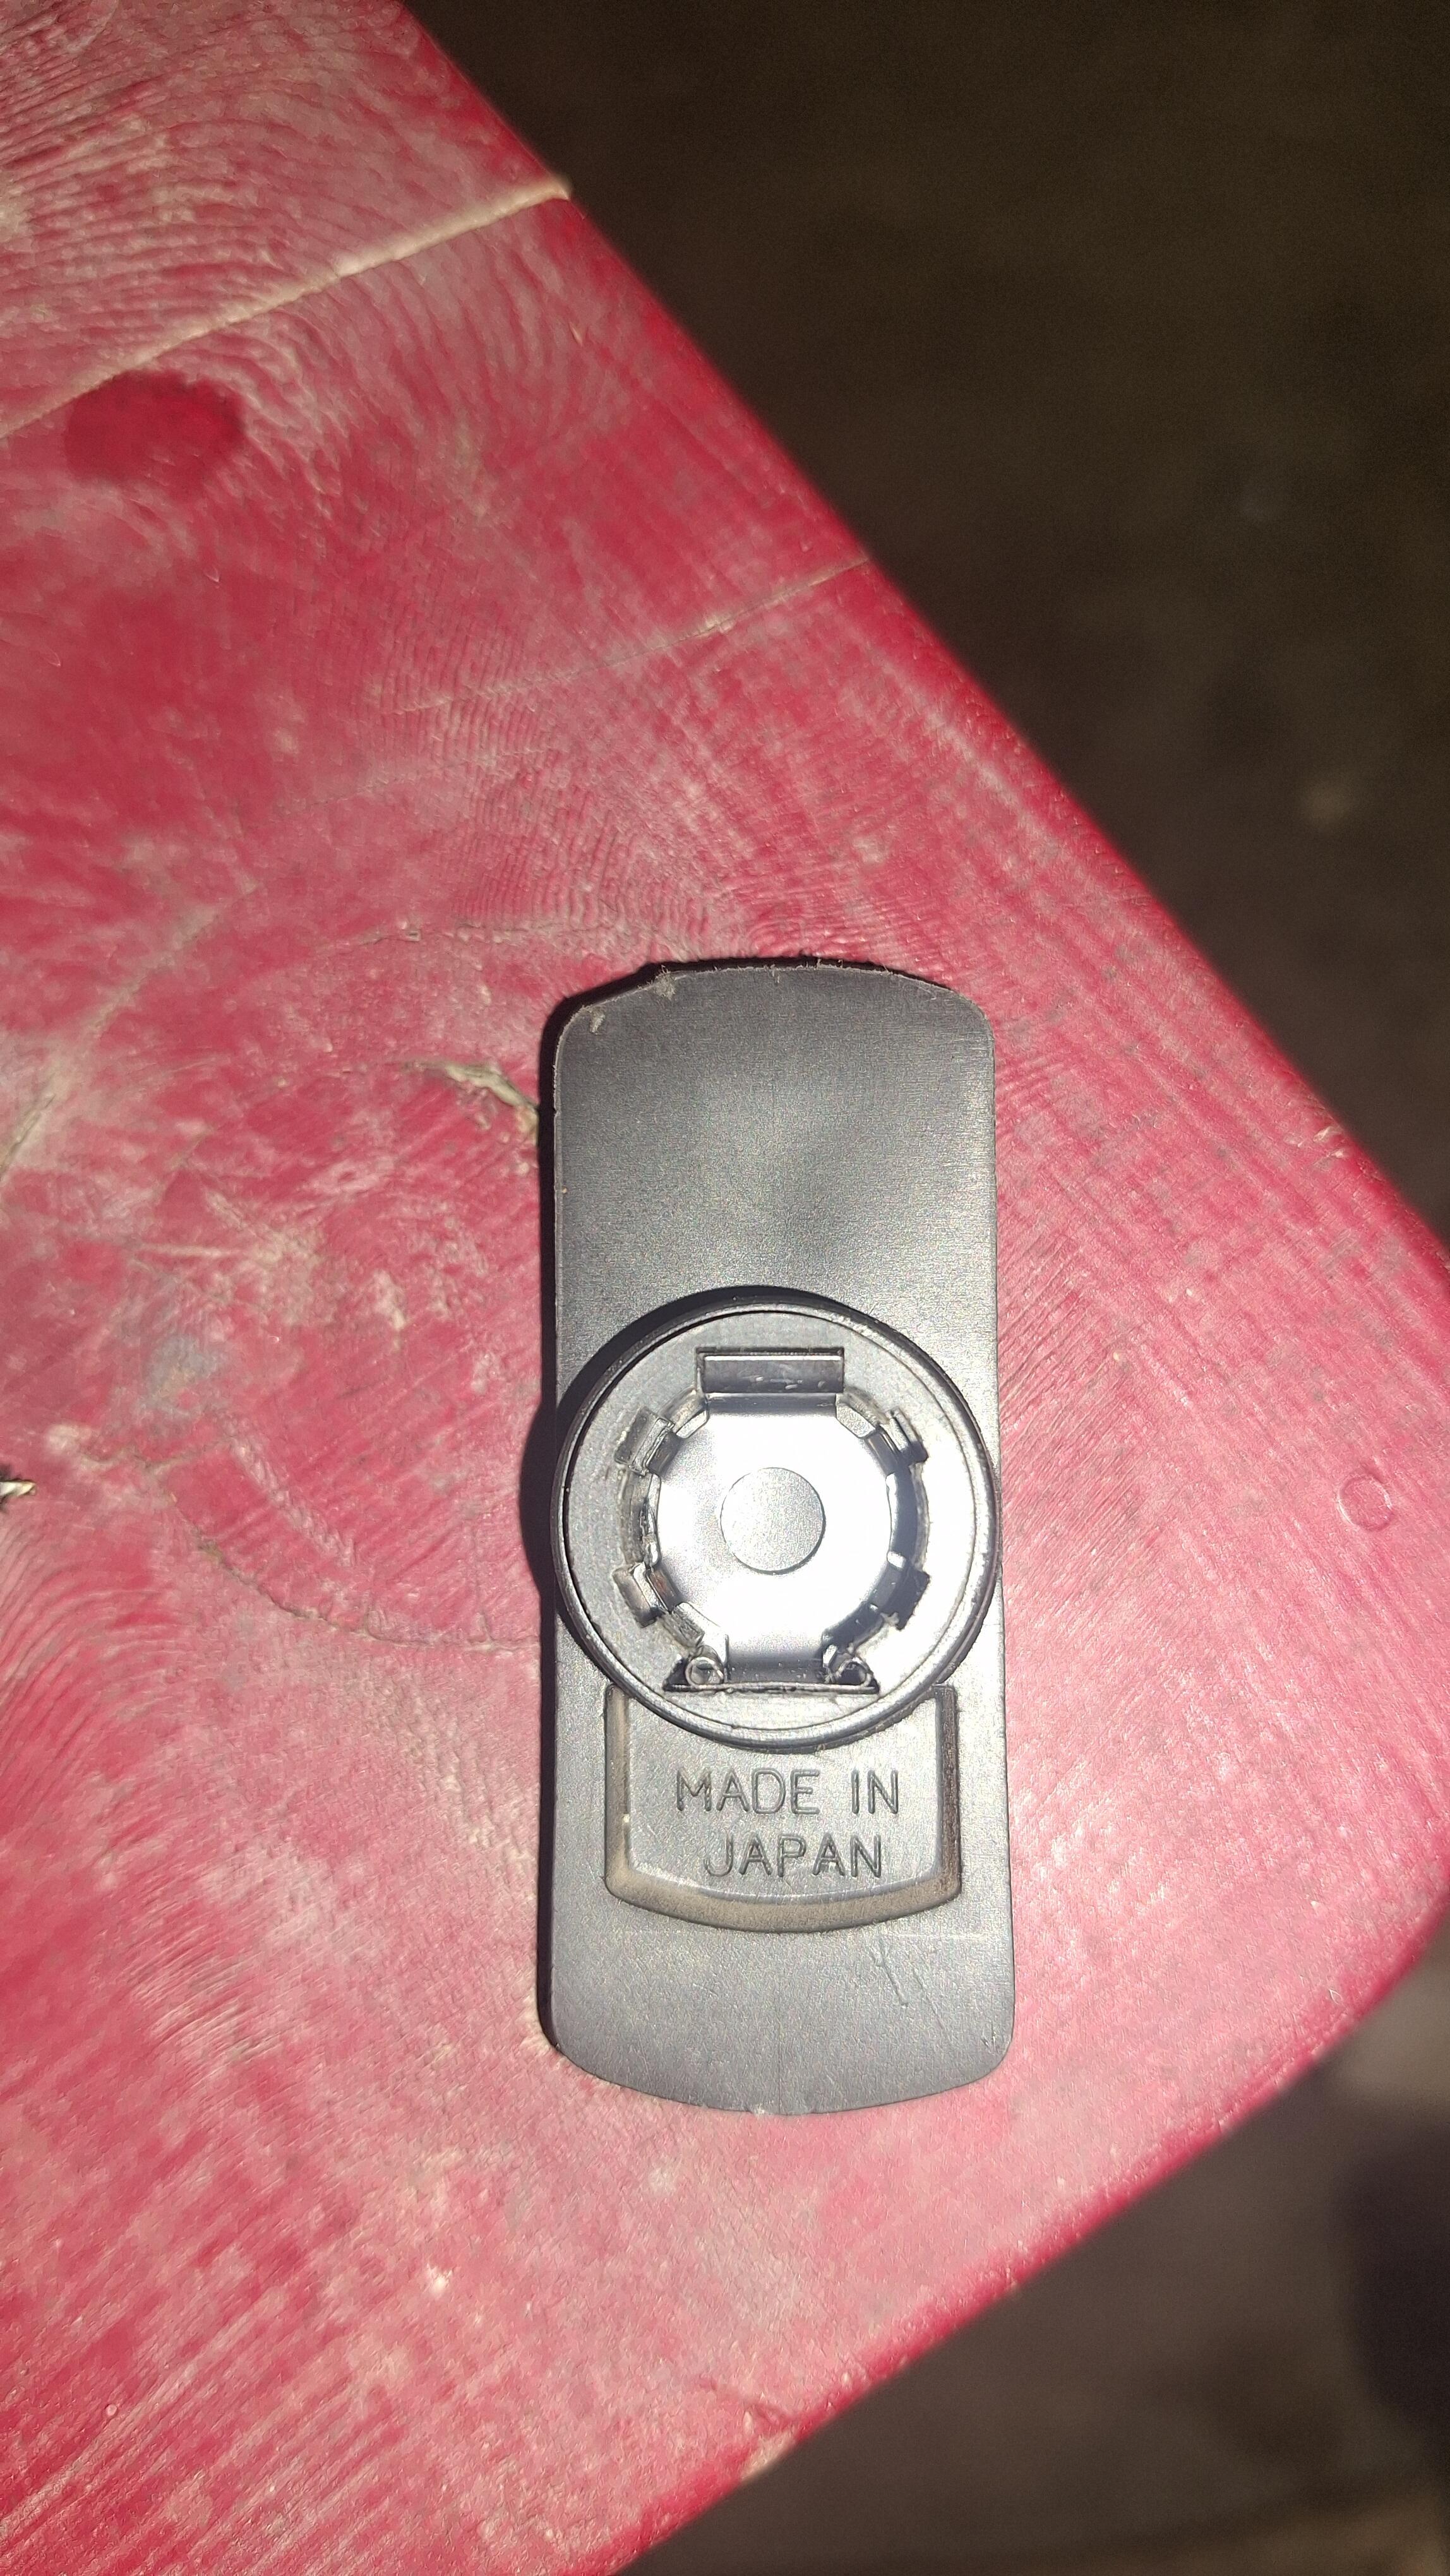
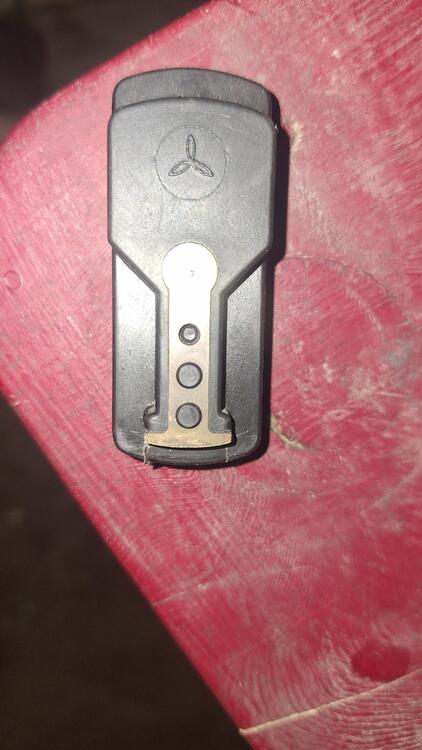
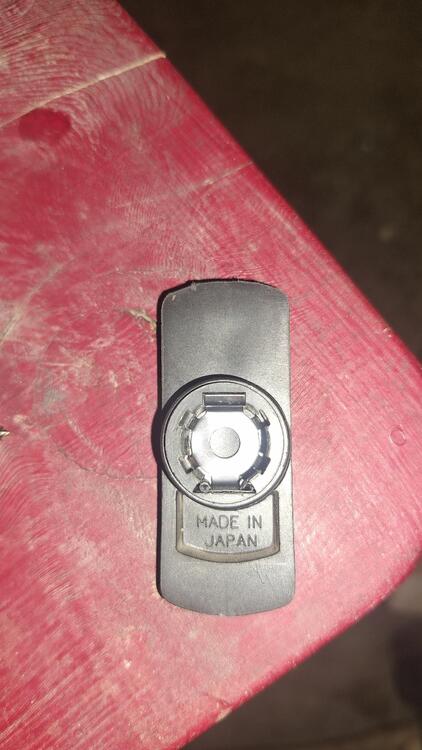
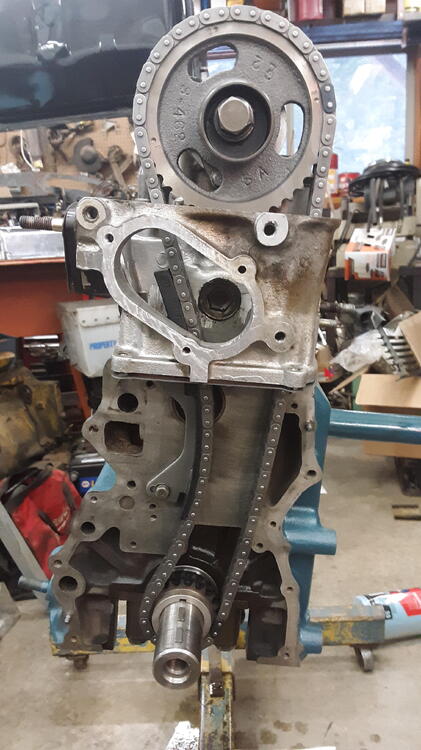
Can anyone identify the logo or symbol on this rotor? It's of high quality and I would like to find another one. Could it be Mitsubishi?
-
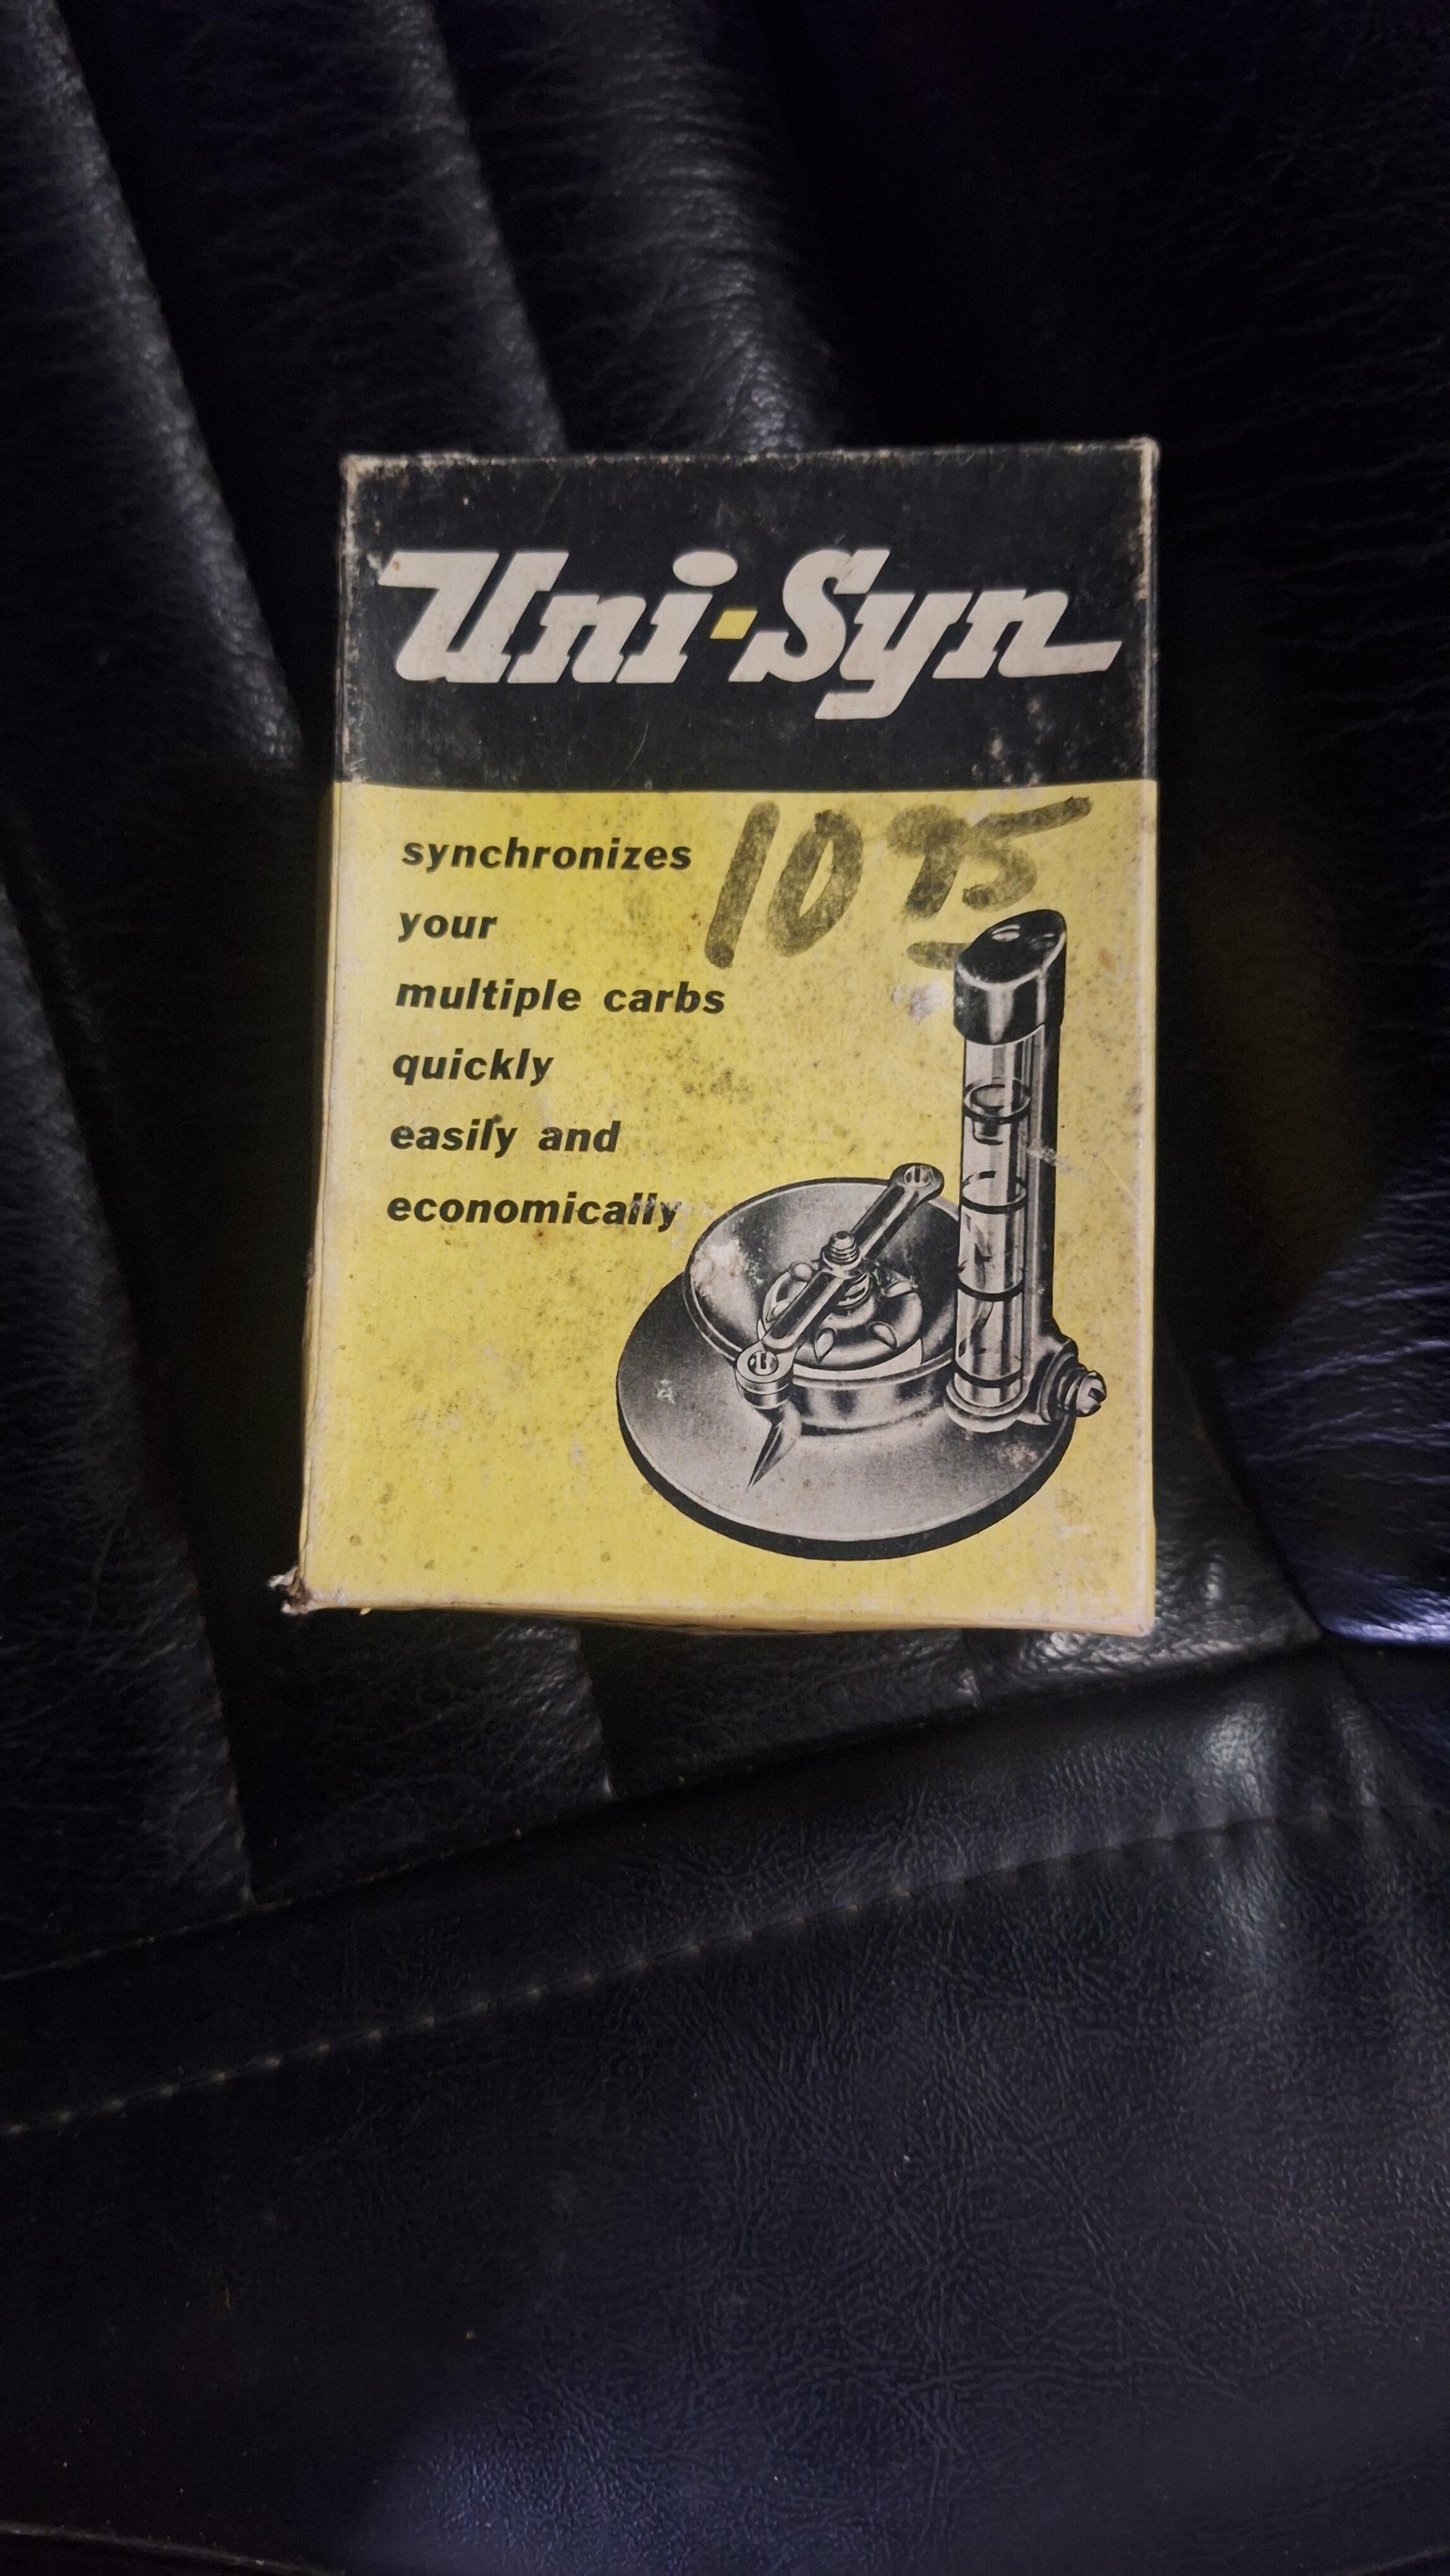
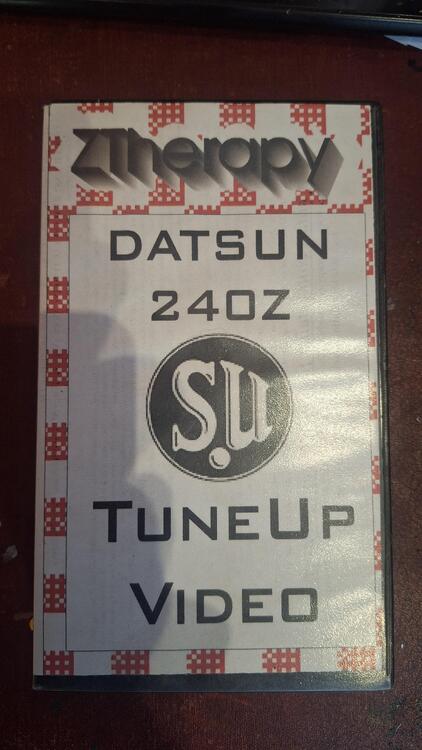
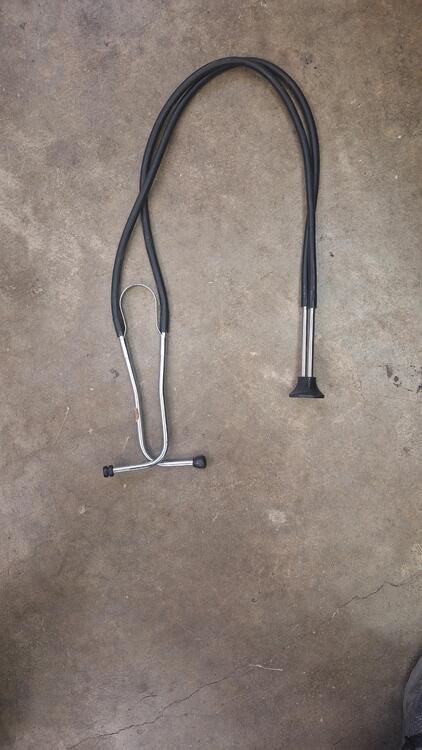
After adjusting the valve lash a couple times, I timed the distributor which was really close. I tried my hand at tuning the carbs. This video VHS and flowmeter came with the car. I backed everything off, but still was getting a 1,000 rpm idle. Seemed a bit high. I would put the flow gauge on the front carb and adjust it so the ball was in the middle. Then go to the rear carb, the ball was way high, no way to back down the idle screws anymore. I figured there must be a vacuum leak somewhere. I squirted brake clean around but didn't make any noticeable difference. I couldn't get them the same. The next day, while fiddling around with it, I grabbed my broken stethoscope, and started poking 1 of the hoses around when whaaam! There it is. The rear carb is leaking around the throttle shaft. These carbs were just done by ZTherapy 2 or 3 years before the car was parked some 22 years ago. I had a chat with them, boxed them up, and they are now in their hands. I hope it's an easy fix.....

-
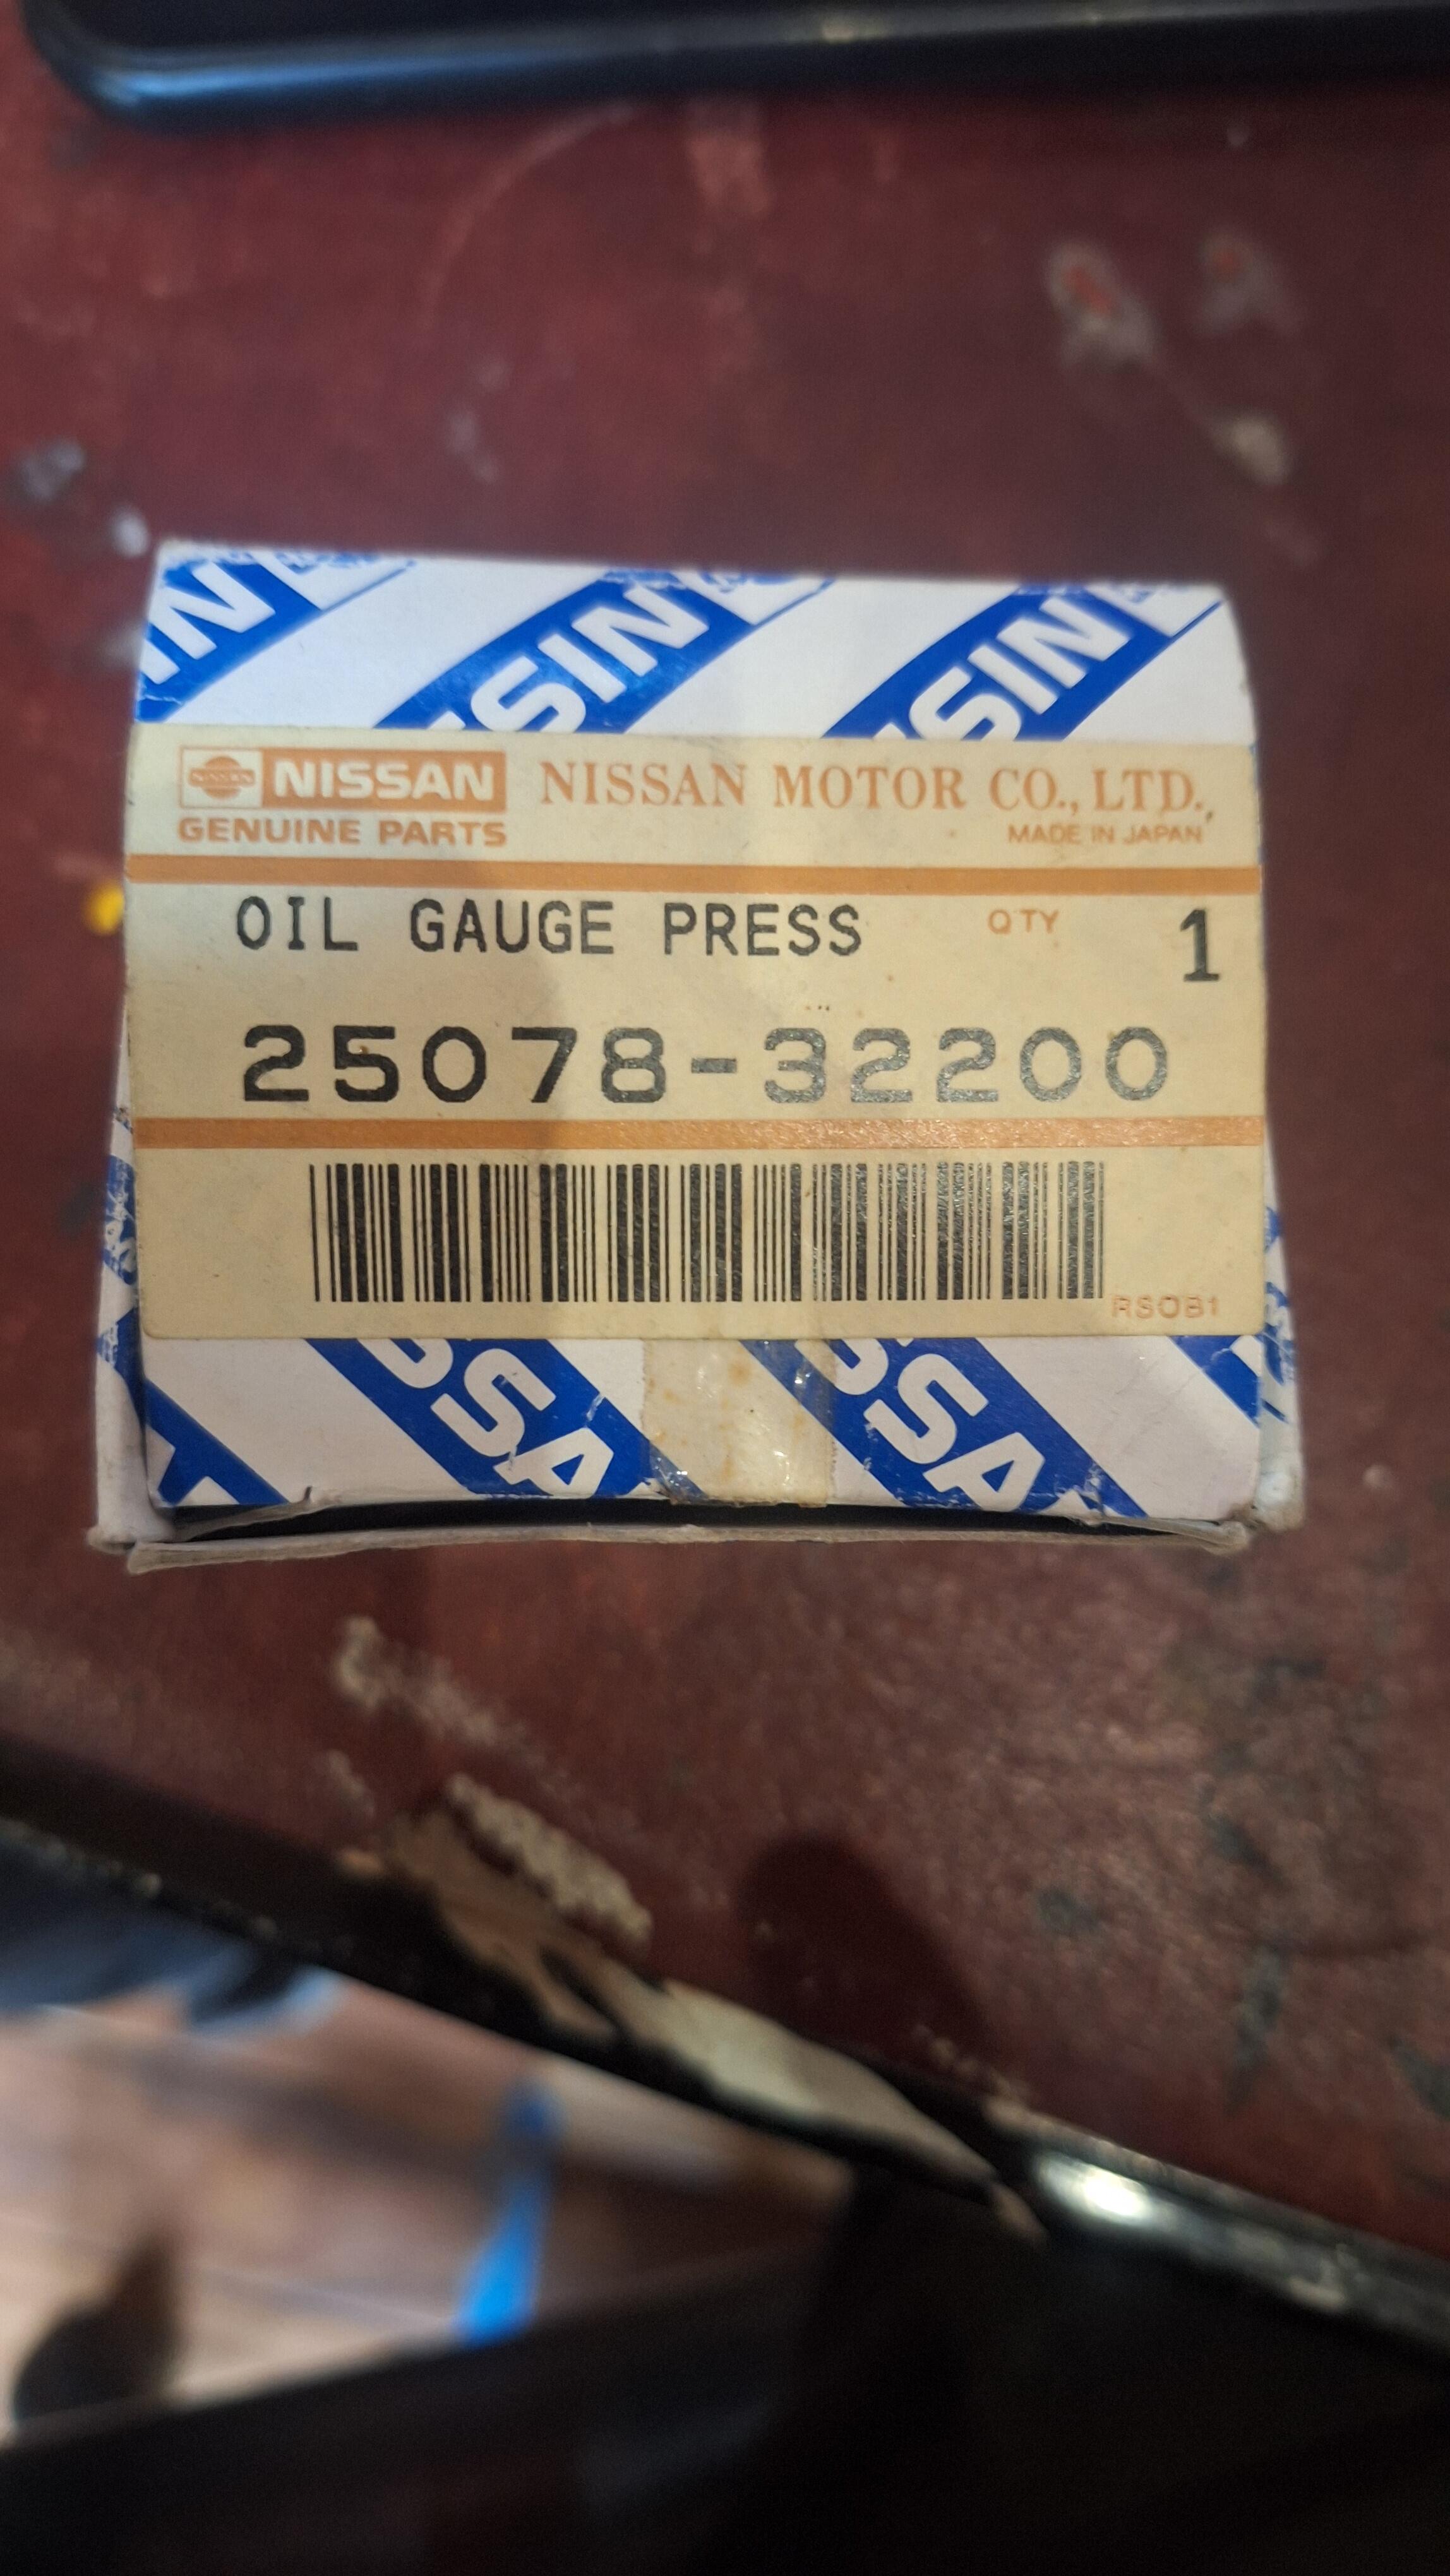
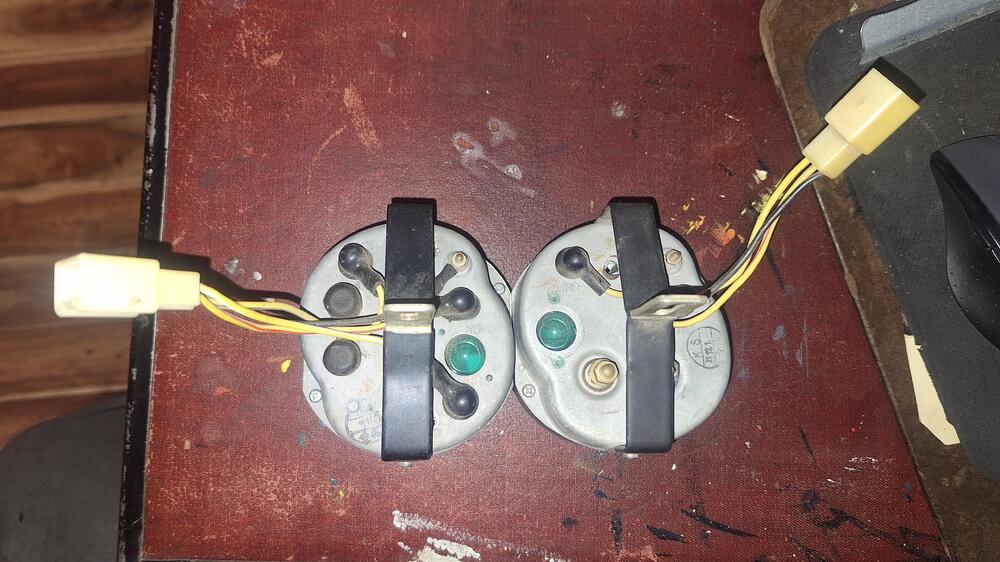
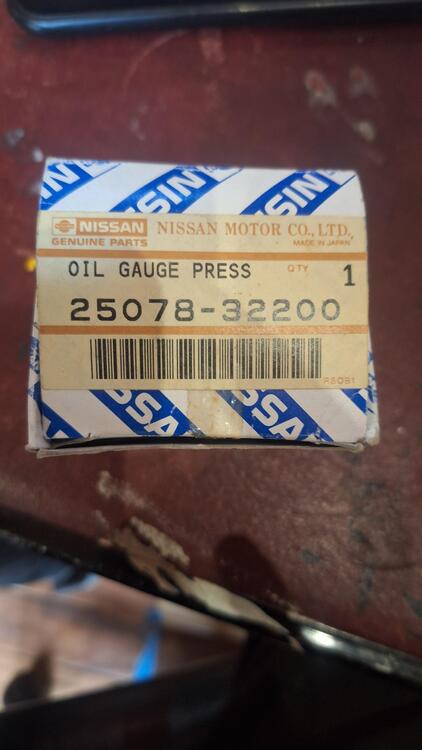
Time to put gas in it and build fuel and oil pressure. As I was siphoning gas into the tank, I decided to check the fuel gauge, turned the key, and watched my oil pressure gauge slowly rise. The fuel gauge did nothing. After freaking out a little bit thinking did I mix up the wires somewhere? Got my spare gauges out and the connectors on the back are the same, but the oil pressure/temp gauge has 4 wires instead of the 3 wires going to the amp/fuel gauge. So I stuck my head up behind the dash with a light and saw they were connected correctly. I unhooked my oil pressure wire at the engine and now I had no oil pressure showing. This car came with a NOS oil gauge press sending unit that I had installed. I put my original sending unit back on and now the gauge zeroed when I turned the key. I moved the connectors a bit at the tank, now my fuel gauge worked. The NOS gauge I had is part #25078-32200. Found out that's not for this car, maybe for a 280z. If anyone needs it, I don't. I removed the spark plugs, the valve cover and cranked the engine over. No oil getting to the cam oiler, which is a Michael Yoes upgrade. I did a little research here and someone mentioned galley plugs. That's the first I've ever heard of them. Were they removed and if so were they replaced? I don't know. I called my machinist who did the block and asked him if he removed the galley plugs. He said, "of course I did! it's standard procedure!" I asked him if he replaced them, "Of course not, that's the assemblers job!" Oh no! I don't remember anything about galley plugs, did they come in my kit? So, After a little more research I found out there are 2 galley plugs, 1 in front, 1 in back. I found a picture I took of assembly, the timing chain, and aha! there's a galley plug in it. Found a picture of the back and the plug is there. They were never removed, thank God! I did not want to pull the engine again. So, I found a great tip here, which was to remove the oil filter. Get a piece of clear hose and stick it in the hole to the galley and shove it as far forward as it will go. Get a small funnel, and fill it with oil until no more oil will go in. I did that, re-installed the filter, and the valve cover and cranked it over. I immediately felt a change, I had oil pressure, my pressure gauge went up. I guess I had to prime the pump. Next I took a vacuum pump and sucked fuel from the tank to the filter. I removed the fuel pump and connected a hose to it into a jug of gas. Back filled it with gas and let it soak in a bit, then pumped with my hand. I had gas squirting out in force! Reinstalled the fuel pump. Cranked it over a bit until I had gas in the carbs. Got some distilled water and started filling my radiator. Used just water because I didn't want antifreeze everywhere when I found the hose clamps I forgot to tighten. Turns out, the water pump seal had dried up and water came pouring out that little hole. Several day later, which was only 2 weeks ago as of this writing, I get my new Aisin water pump from Rockauto and install it. Fill up the radiator, no leaks. It's time! I turned the key and It didn't even make 1 revolution and fired right up! Wow! It started revving up so I shut it right down. My linkages needed adjusted. Got the idle down and after adjusting the clutch a bit, drove this thing out of my shop on it's own power. Yahooo!
-
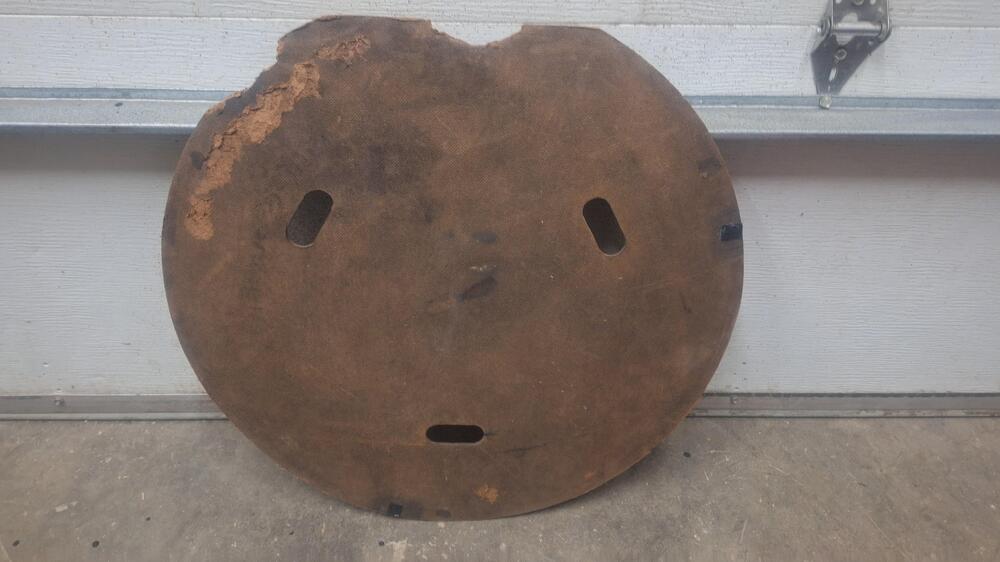
The mice chewed the warped spare tire cover, so my daughter and I went to home depot and bought a 4' x 8' sheet of 3/16" pressed hardboard. It looks identical, might be a hair thinner. Traced my old one and made a new one
-
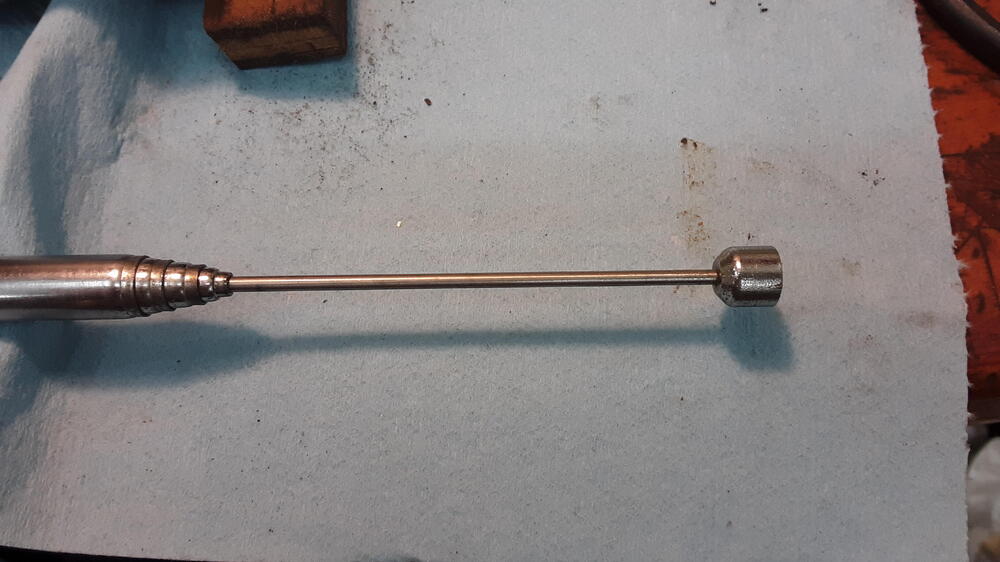
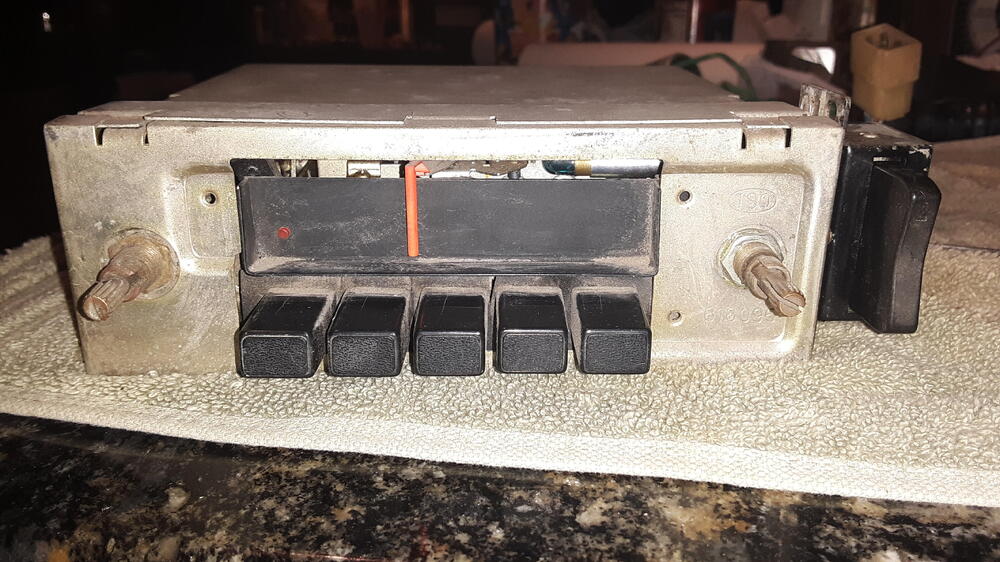
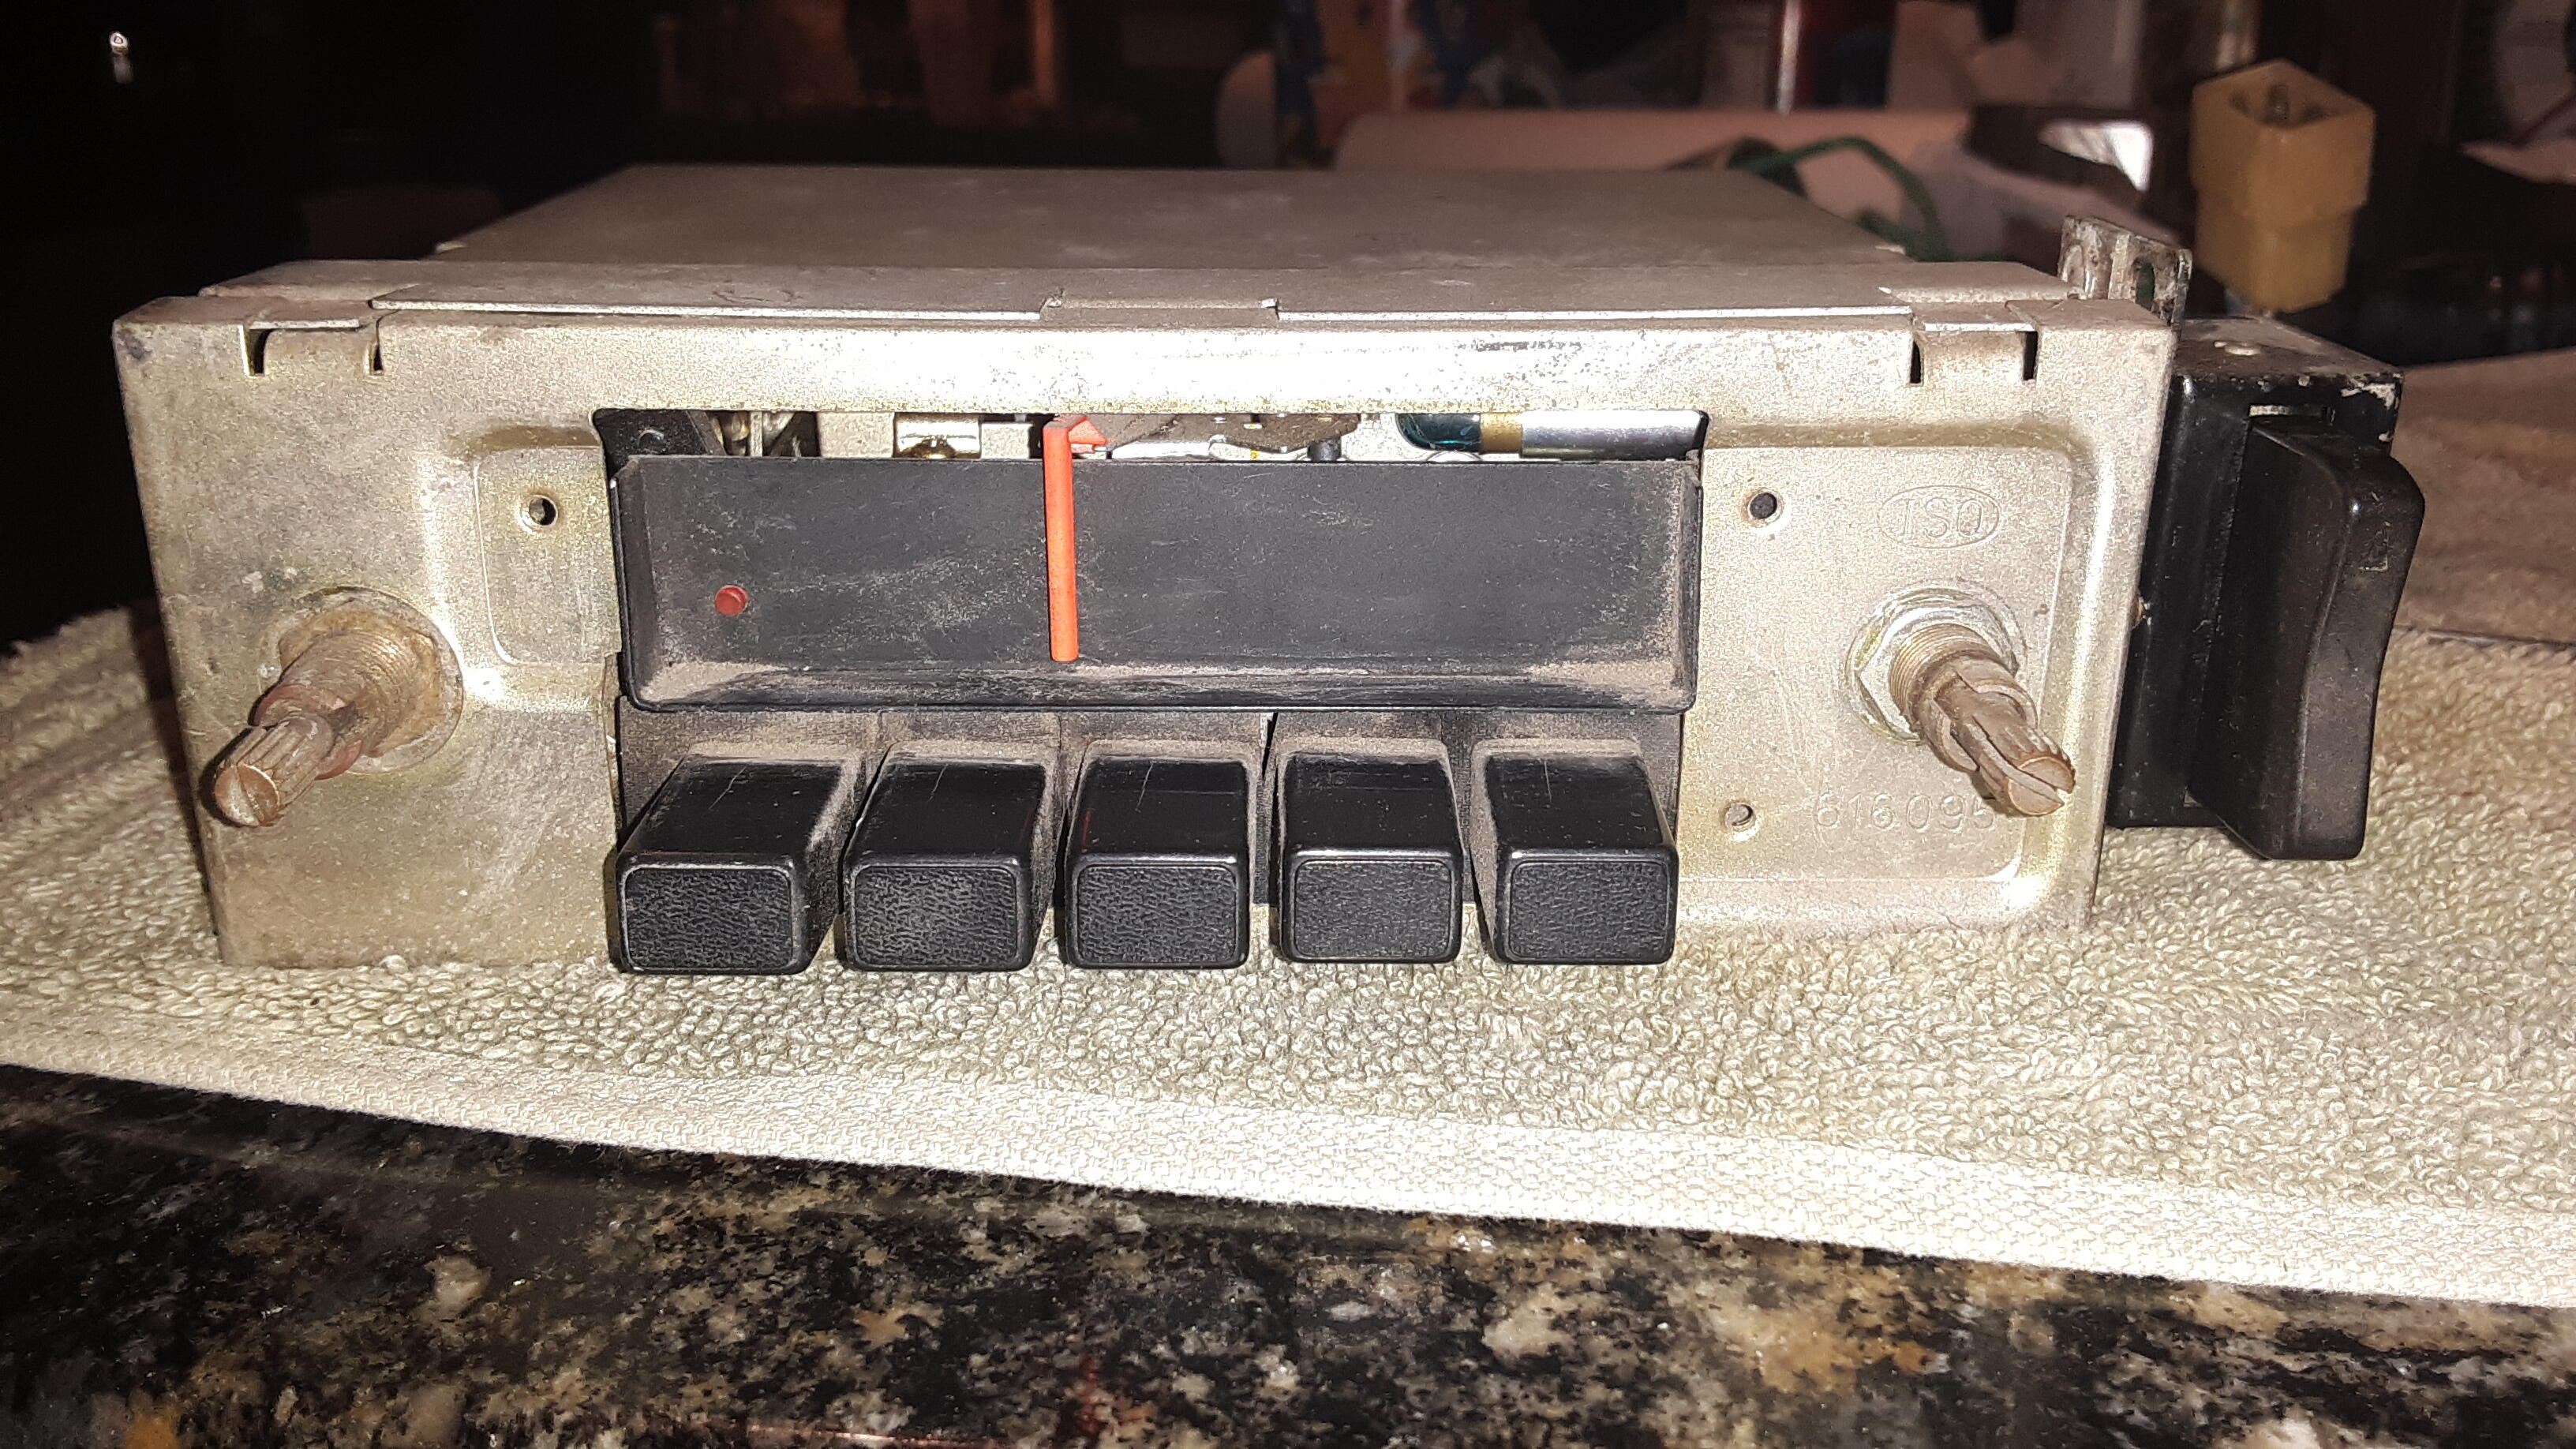
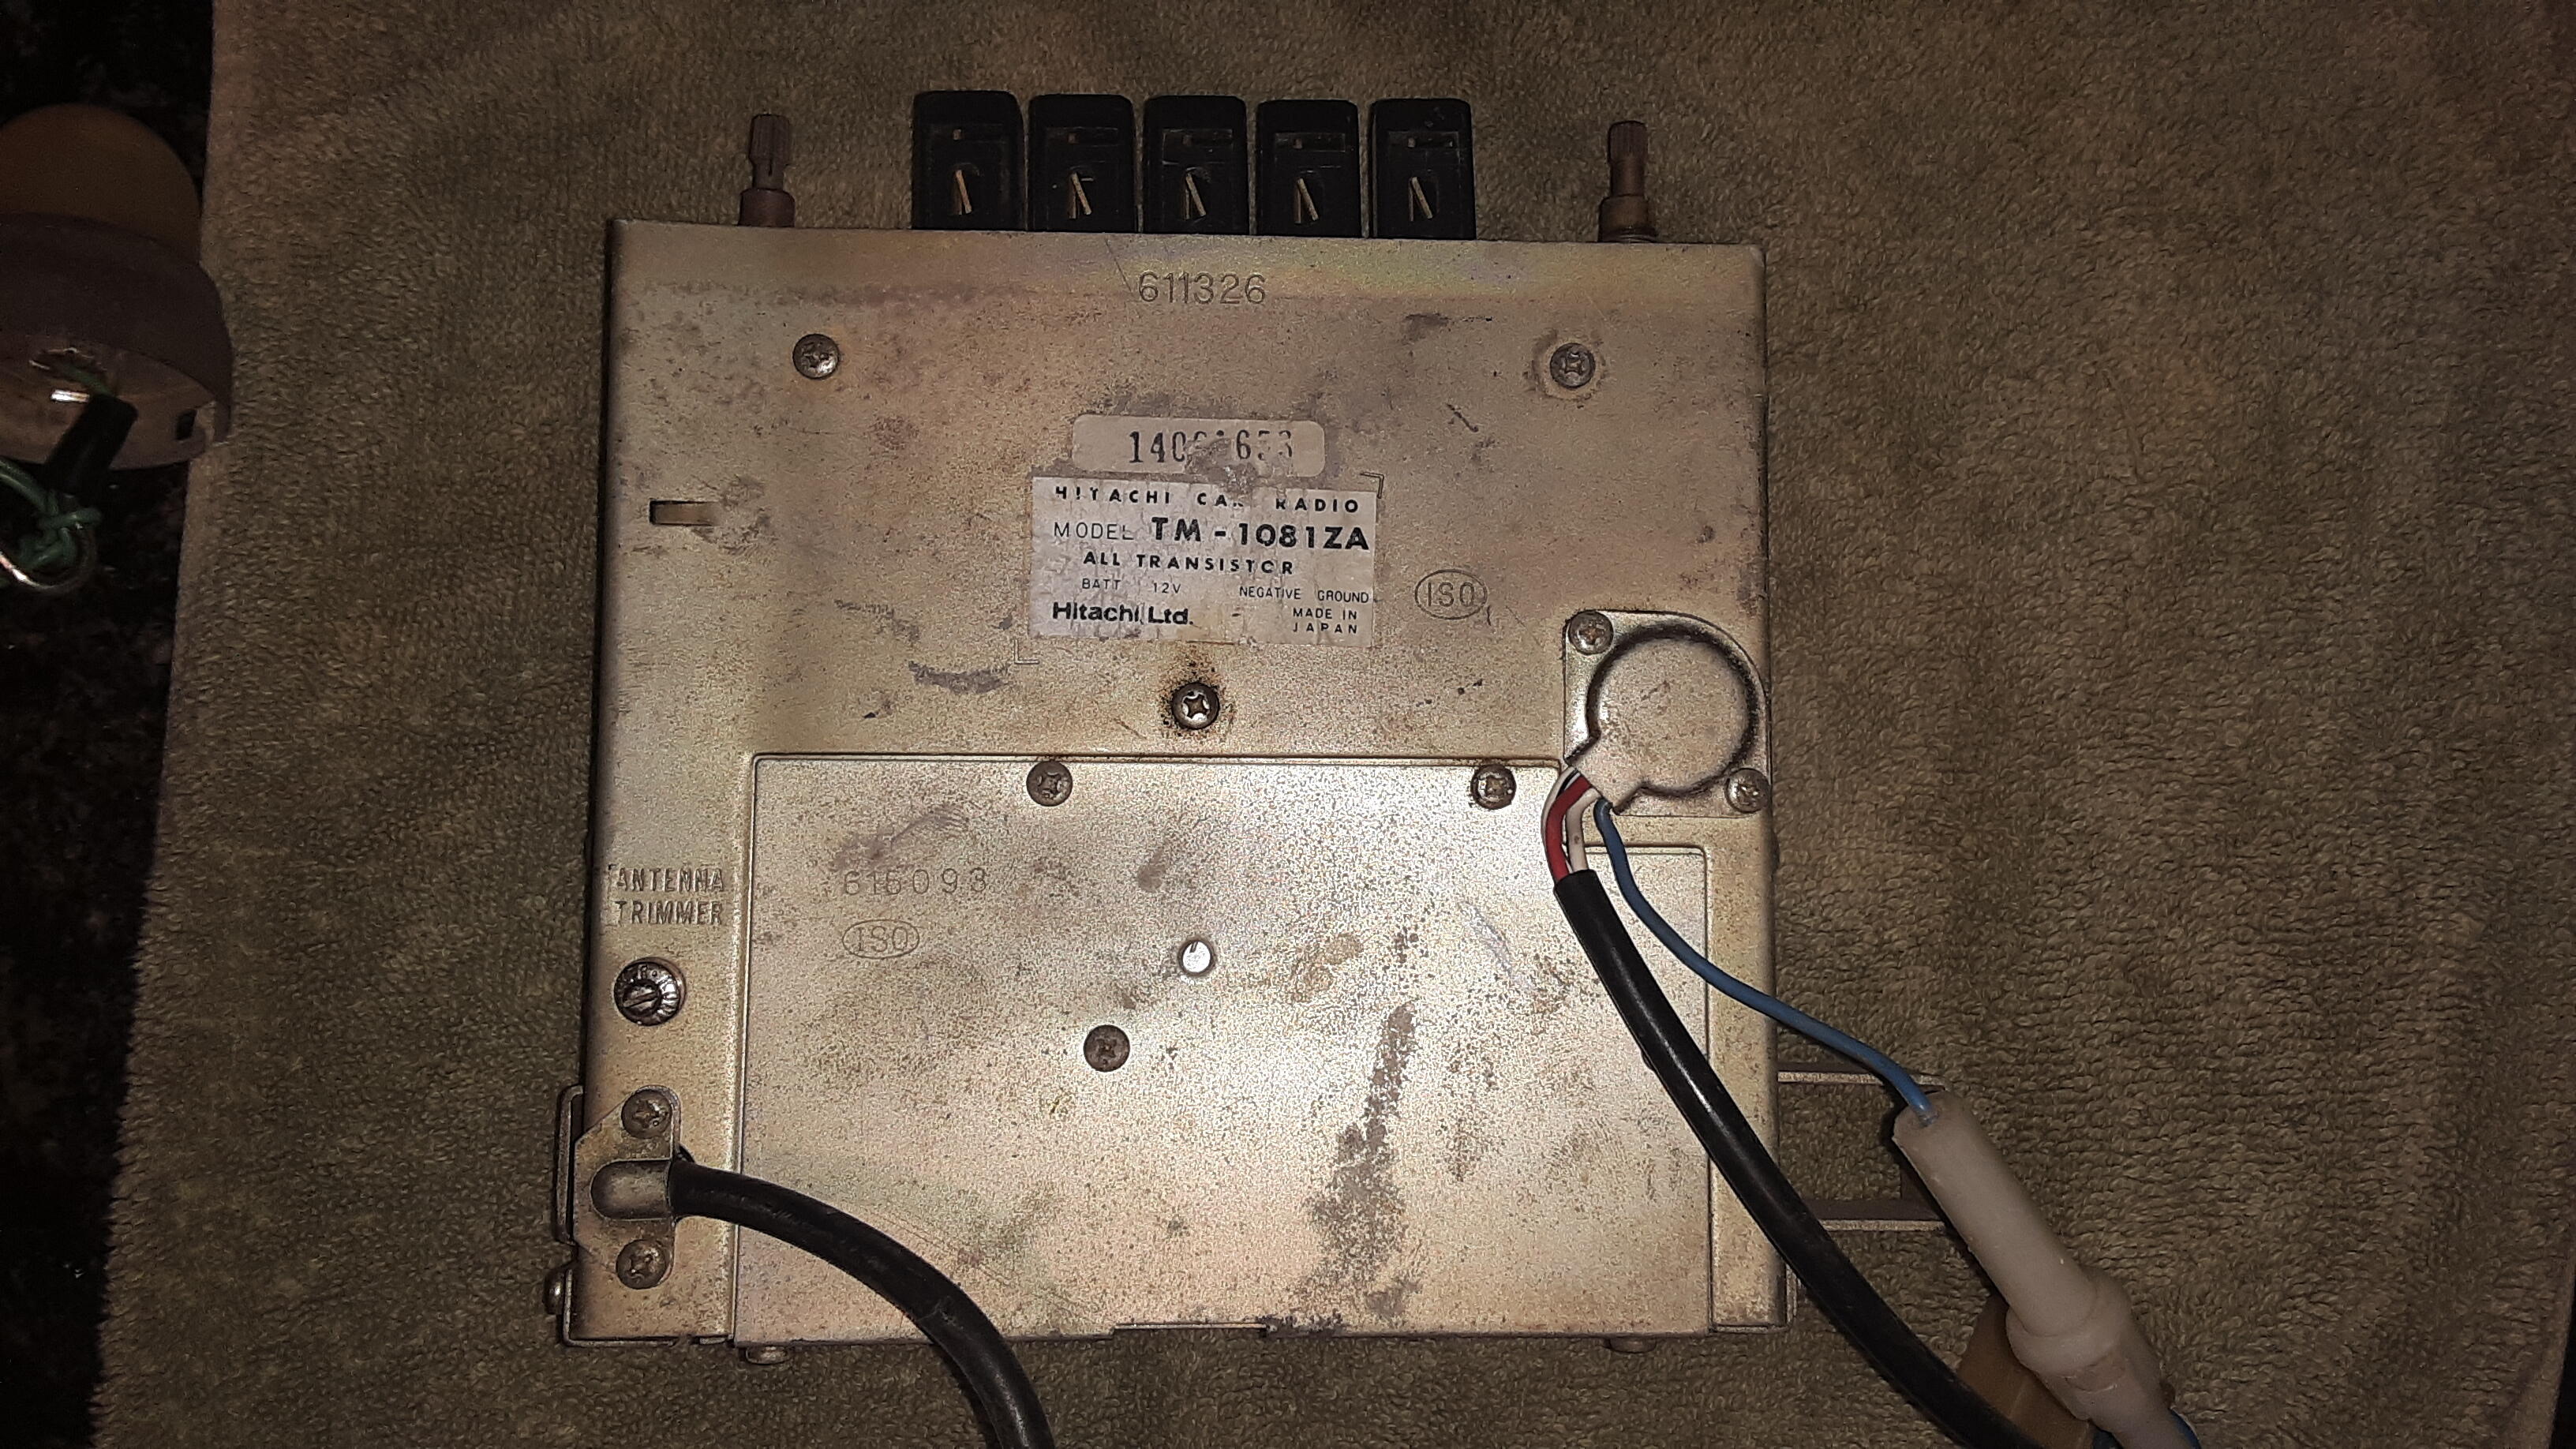
Honestly, I really tried hard to get everything correct for my build date. I came pretty close, but at a certain point I got what I could because financially, this car was eating my lunch. Just because it was a 240z part, the price was 10x the normal. Brake wheel cylinders for example. One of the parts not original to the car, is this bullet tip antenna. My 6/71 came with this tip, I think, unless it was switched. One of the first articles I read on this site was how to fix these antennas using weed trimmer line. I couldn't figure out how to get the tip off, I ended up cutting it off...nooooooo.😣 oh, it unscrews.... The second part is the radio, the one I found is too early for this car, like the antenna and brake master cylinder. It's the red light radio, mine should have came with a green. I would possibly consider trading somebody for the correct pieces........😏