Site will be going down for maintenance today
Everything posted by inline6
-
How to Paint a 240z Just Like Done Originally
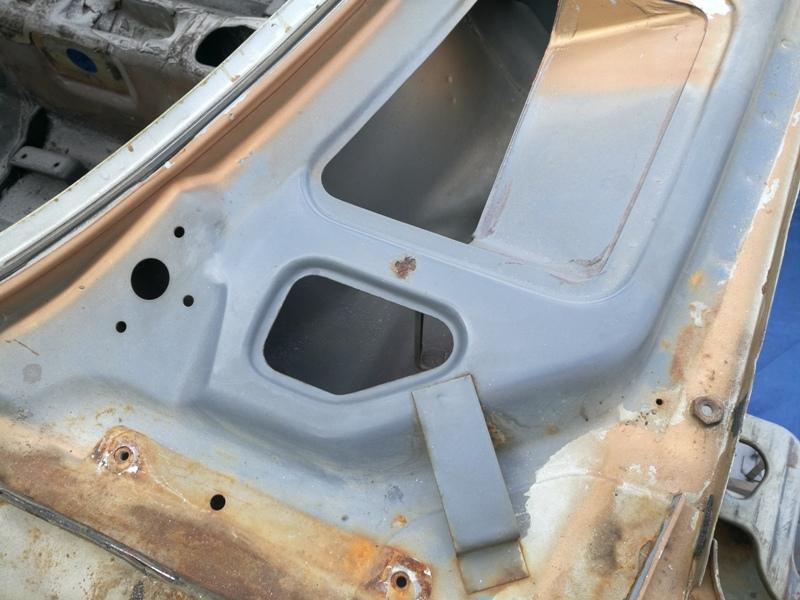
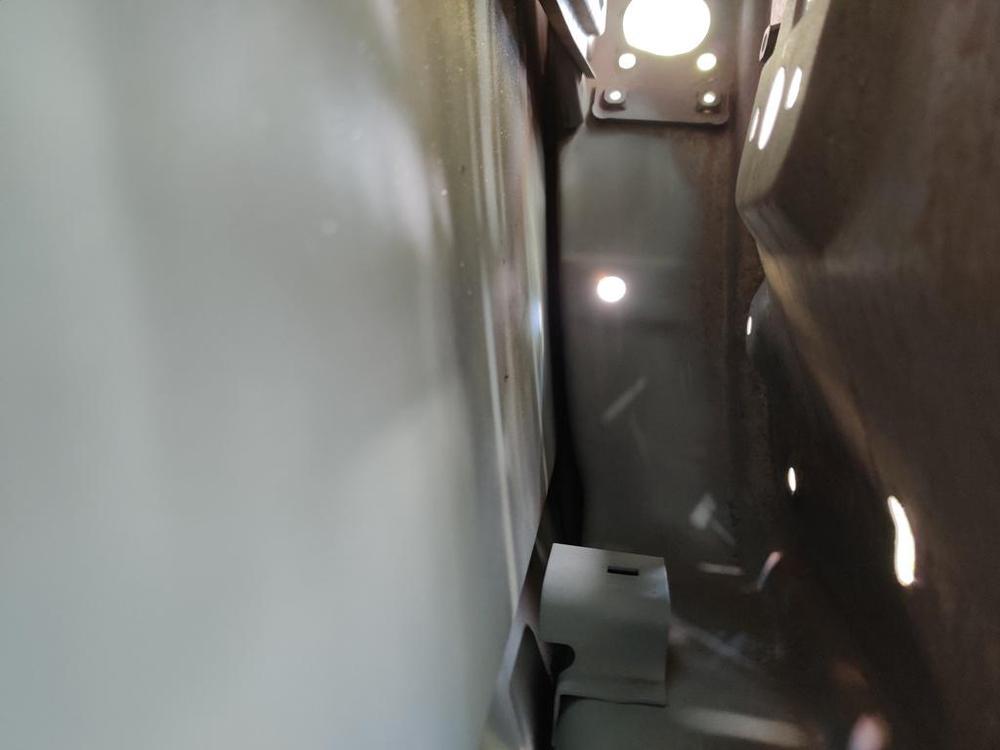
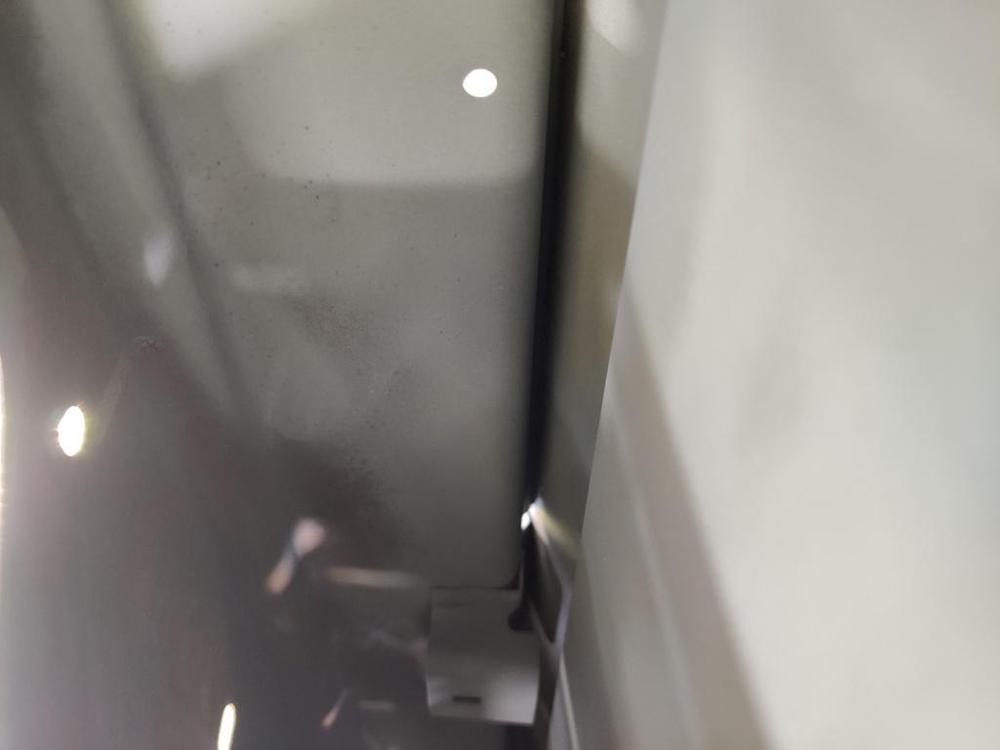
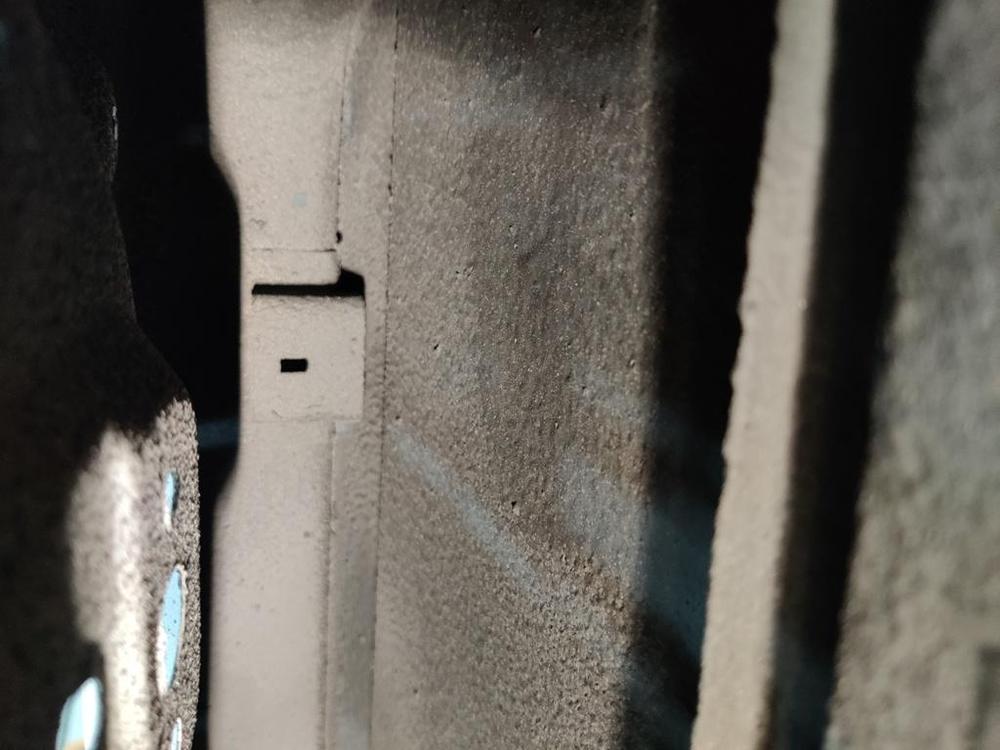
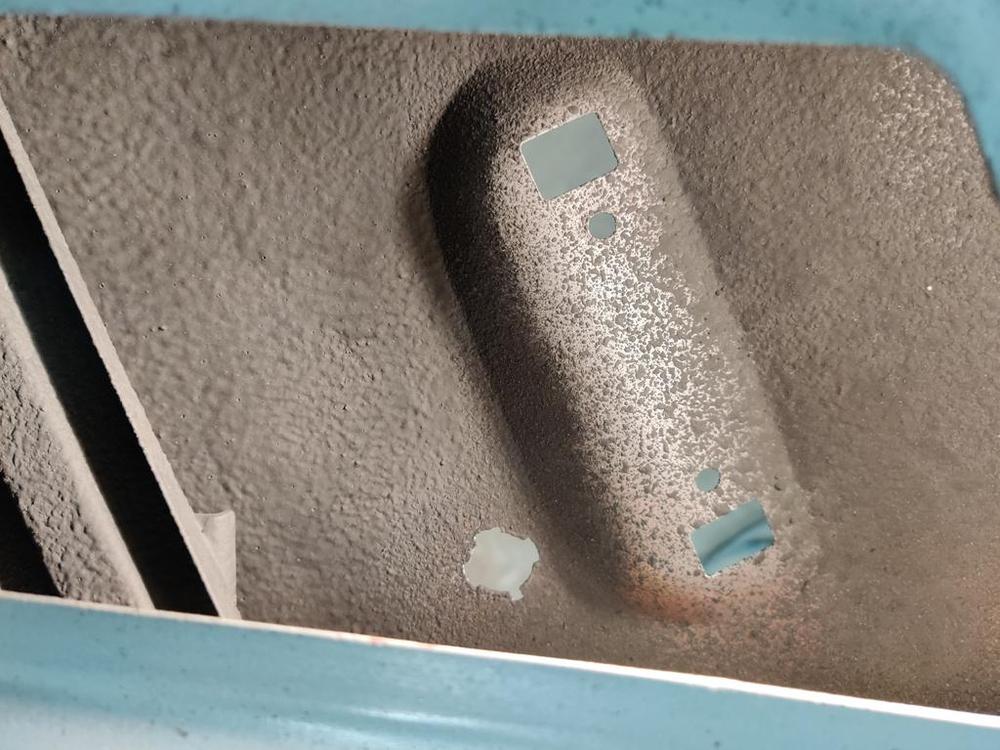
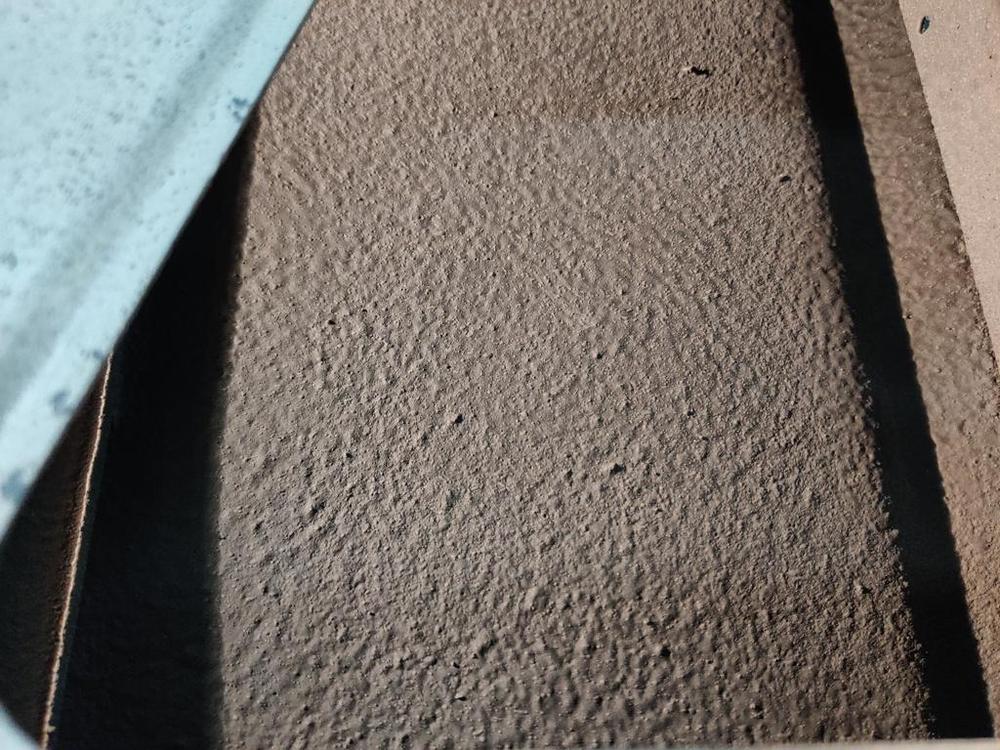
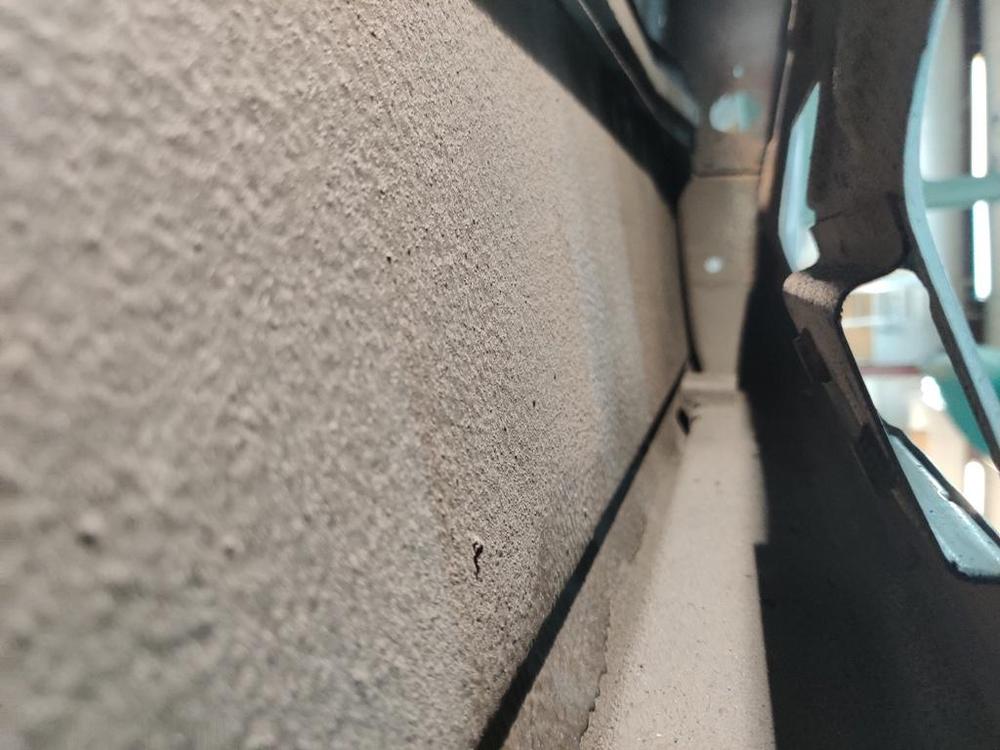
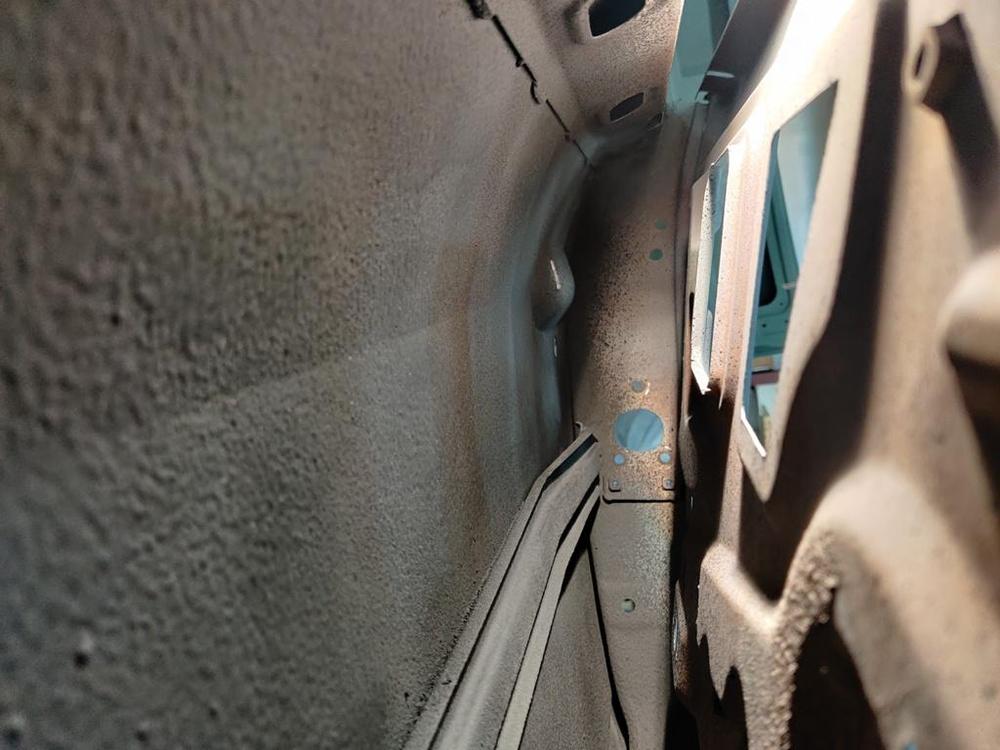
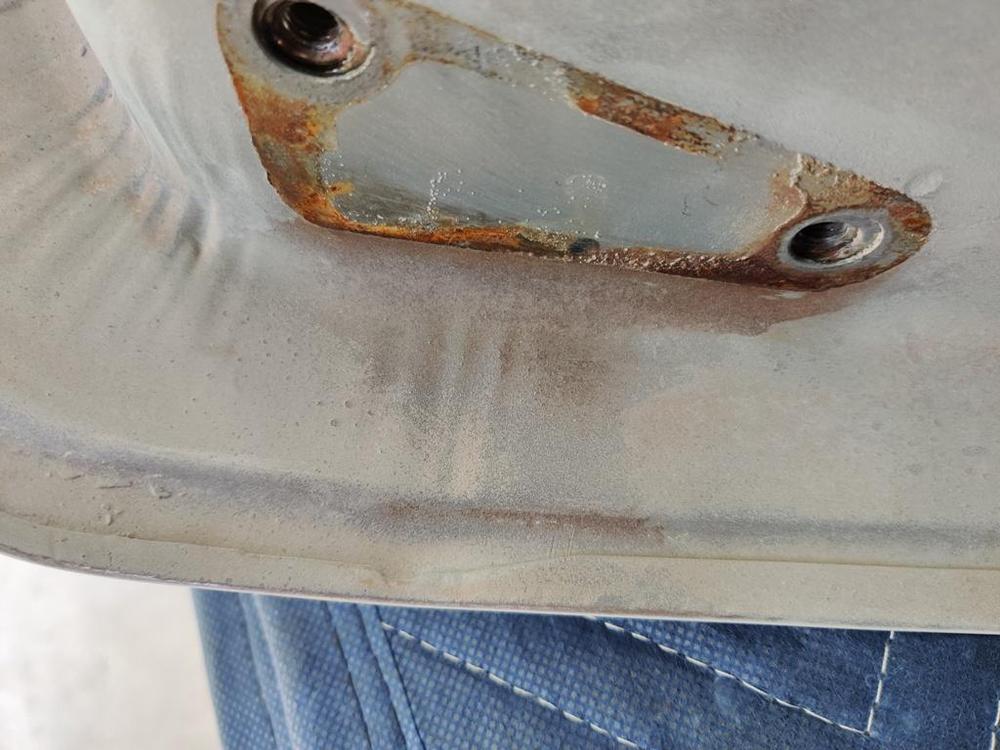
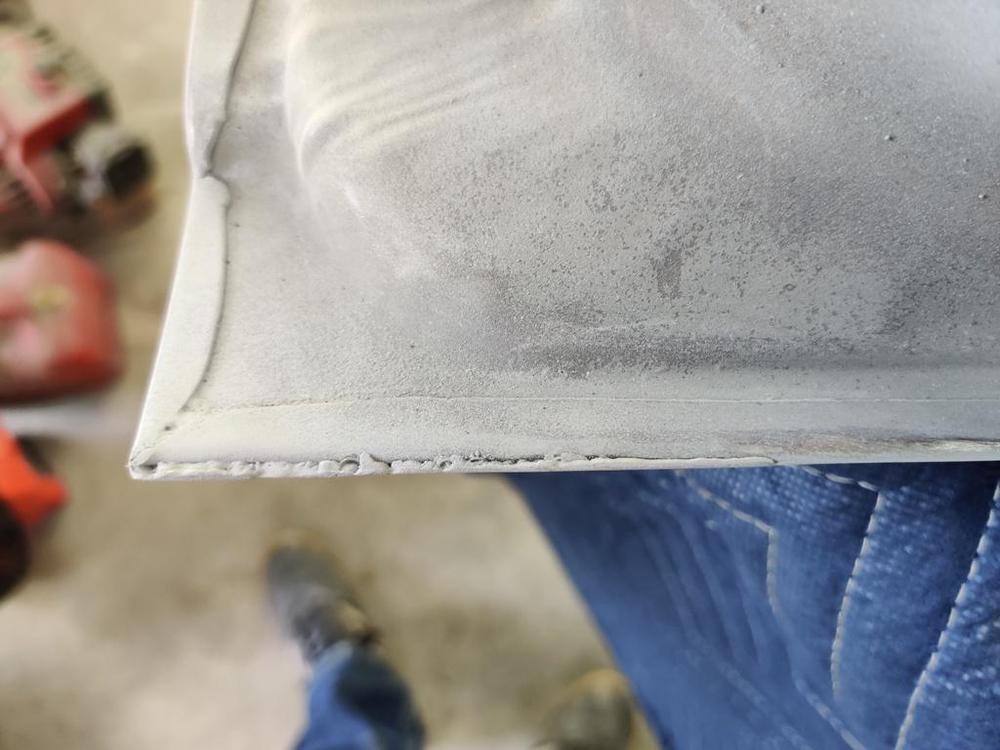
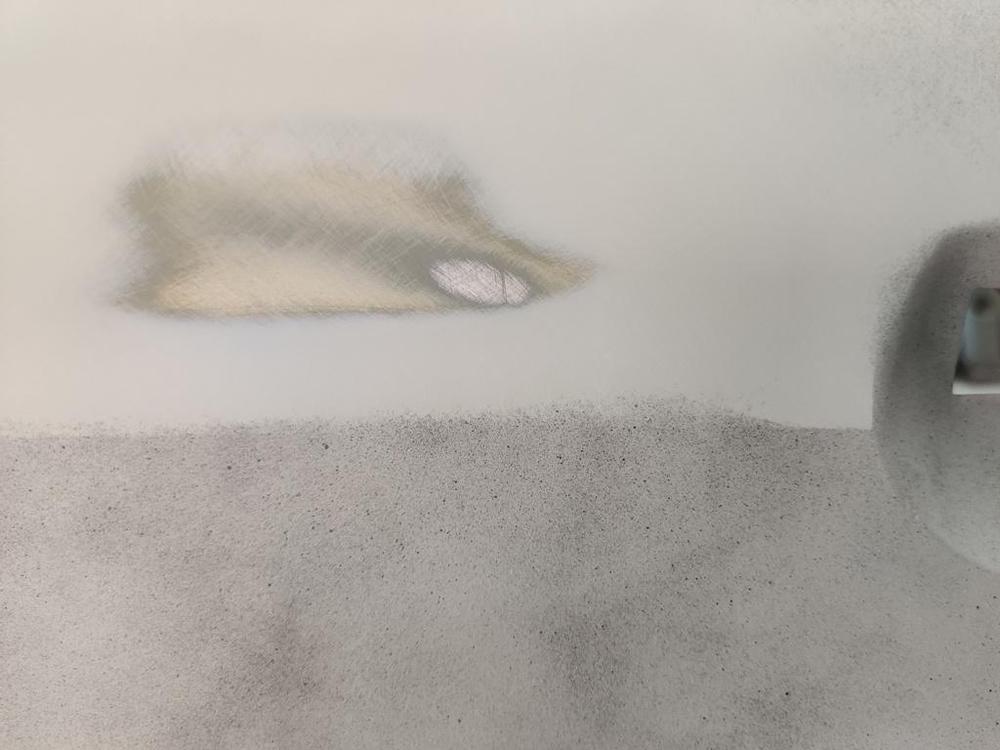
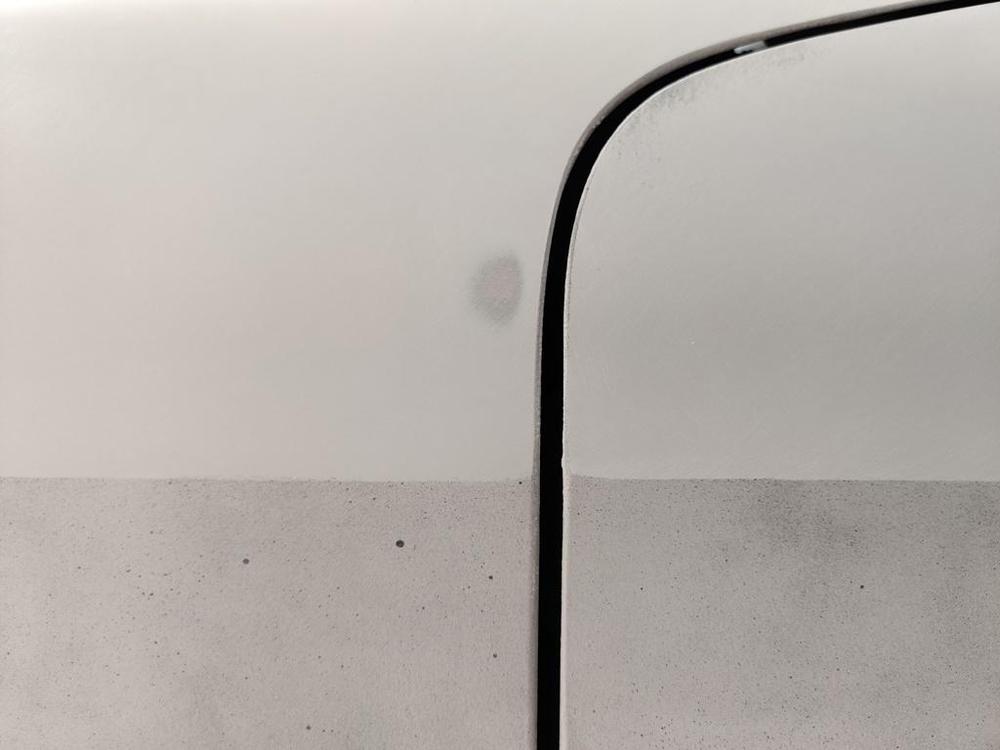
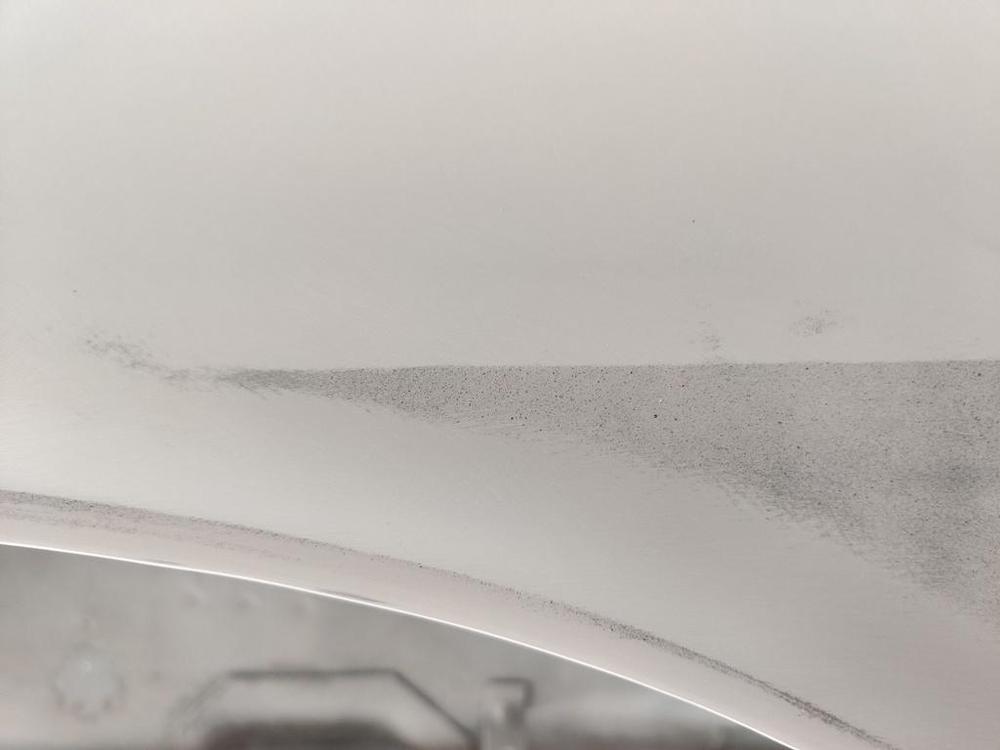
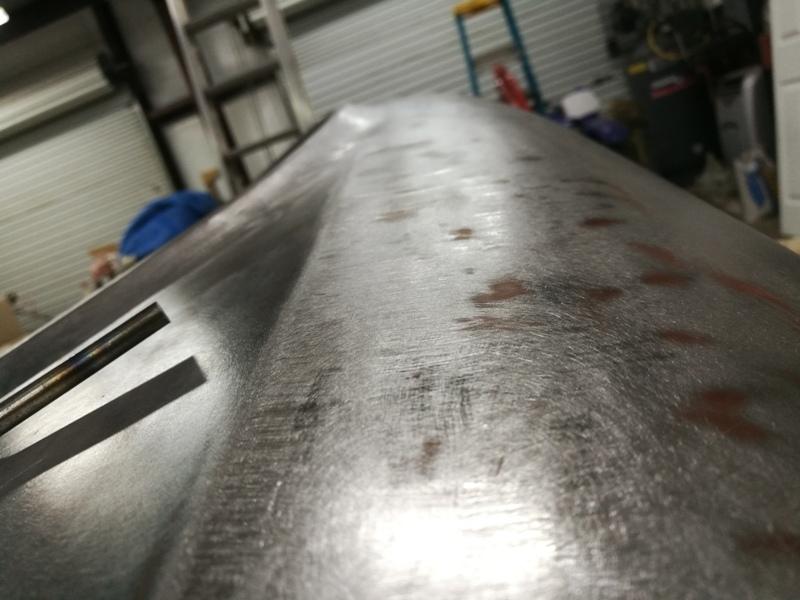
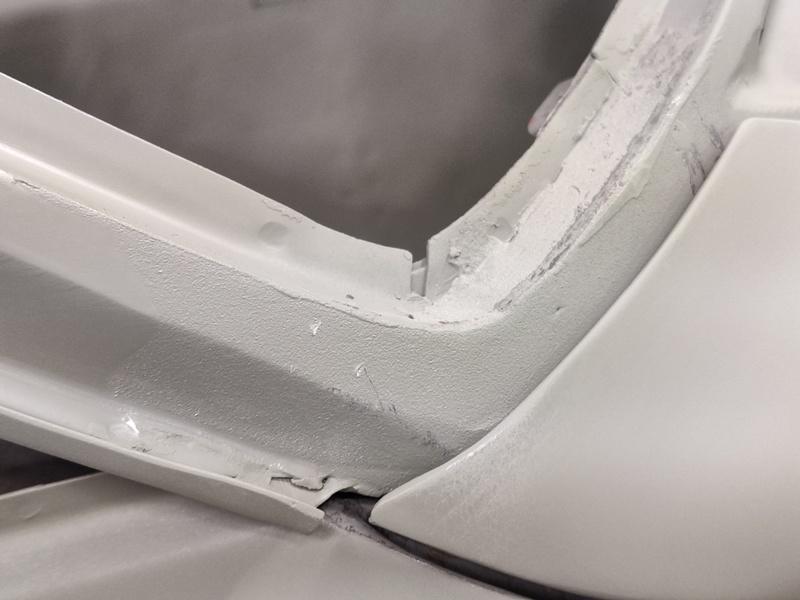
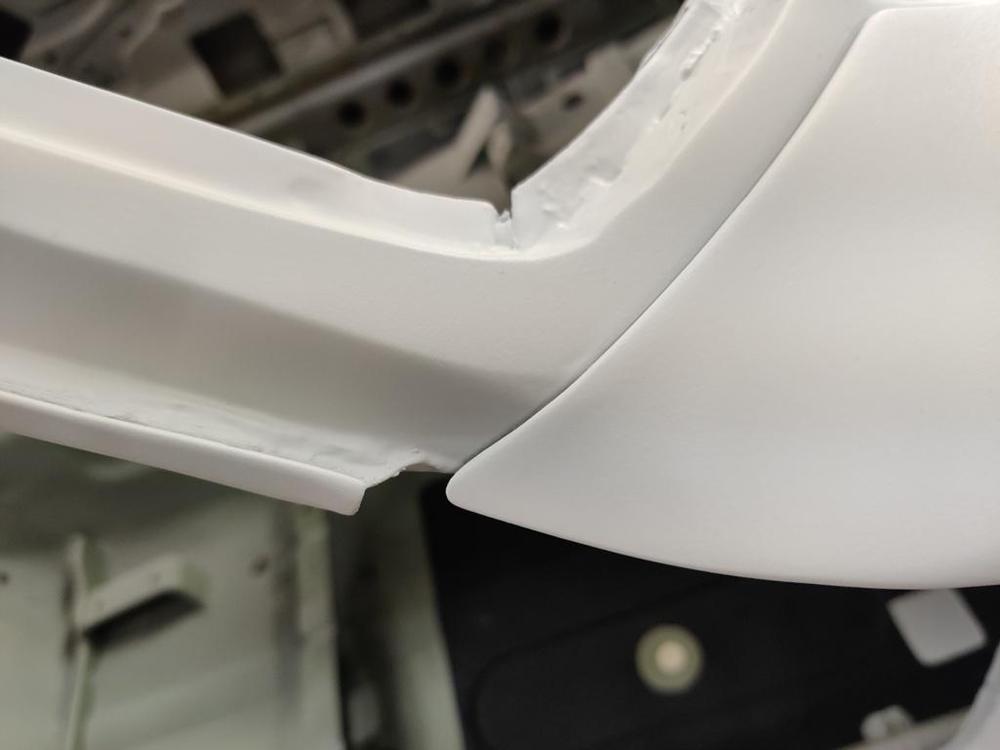
I am soon going to get the 240z I have been working on for a couple of years painted. It was originally 901 silver. My plan is to have the painter paint it like the factory did it. And so, I'd like to confirm how the factory did it, if possible. Why? While doing the body work for the last many months, I have concluded that the fasteners that secure some of the body panels in place change the final shape of the panel. A good example of this is the front fender. There are two bolts that secure the bottom of the fender panel to the unibody. Tightening those bolts down causes a slight distortion in the panel. If you get the bottom of the fender perfect while off of the car, and then bolt it to the car, you will have more body work to do to get the bottom of the fender perfect again. Additionally, I have found that aligning body panels is a task that takes several attempts before I achieve success. I don't want to risk chipping paint while handling freshly painted doors, fenders, etc., and attempting to align, tighten bolts with wrenches, etc. Therefore, my preference is to achieve correct alignment and fit while the car is in primer instead. So, I have these observations based on close examination of my car (production 6/1971) to share: It appears to me that everything on the car originally painted in 901 silver at the Nissan factory was securely fastened in place when the paint was applied with two exceptions: the rear hatch and the front cowl panel. I deduce this primarily from the following: Hatch panel: There was no silver paint on the 4 large, phillips screws that secure the hatch panel to the hinges. Additionally, it appears that the hinges were bolted in place on the body with the rubber hinge "seals" in place before primer and paint were applied. I suspect that the seals, hatch hinges, alignment shims and hatch panel were installed at the factory and correct alignment was achieved. And once properly aligned, the rear hatch panel was taken off by removing the 4 large phillips head screws that attach the panel to the hinges. Then, the hatch panel was painted while off of the car. This would greatly ease the job of applying paint in the top recess area of the hatch opening which appeared to have very good coverage on my car. Cowl panel: For the cowl panel, I note that the 5 phillips pan head screws that secure it to the car were not 901 silver. They were bare plated screws. And of course the black, plastic "receivers" which seal the body at the back of the cowl panel were not installed when the car was sprayed at the factory. Interestingly, the dark grey primer that was sprayed over the entire car just prior to paint, was not covered in silver in the cowl area just below the cowl panel. Examining the silver paint "overspray" from the factory in the cowl area (through the slats in the cowl panel), I believe that the cowl panel was loosely placed on the car body in its proper location, but without the plastic receivers or pan head screws to hold it in place, at the time the car was sprayed with color. The rest of the panels: Other than those two panels, all indications (to me) are that the rest of the panels which were painted 901 silver were all bolted in place when sprayed with grey primer, and the 901 silver paint that followed. All of the fasteners on the remaining panels were undisturbed after paint. Also, I specifically noted a lack of coverage of both the grey primer and silver paint in the area from the top to the bottom of the front, inside surface (frame) of the doors. In this same general area, I found a few silver paint runs on the doors and the hinges (bottom edge of the hinge springs especially). Other than the hood "alignment blocks", which are painted black, and were clearly installed after the car was painted, the hardware which attaches the front fenders to the body was finished with either in the grey primer (the fasteners accessed under the cowl panel) or finished with the 901 silver, indicating the fenders were bolted in place at the time that the car was sprayed with grey primer and then silver. The back edges of the headlight housings (those on my car are fiberglass) were bare, white gel coat - they were not grey or silver, indicating they were bolted in place on the front of the fender at the time that the car was sprayed with grey primer and then silver. The hardware securing the front left, right, and center valences had 901 silver on them indicating they were bolted in place when color was sprayed. The hardware securing the front left and right inspection panels was 901 silver indicating they were bolted in place when color was sprayed. The hardware securing the tool doors in the interior of the car was 901 silver indicating they were bolted in place when color was sprayed. Here is a picture that reveals a lot when you look closely. Note that the car had been repainted once in gold prior to my purchase of it. You can see that the silver is visible "under the gold" in various places where the gold has departed, such as just forward of where the front edge of the cowl panel seats against the unibody. Note where the grey primer is, and where it is not, such as the bottom left corner in the pic, which is where the fender bolts to the unibody. I'd love to hear from others on this topic. Please share what you have found either consistent with my observations or otherwise! Thanks!
-
"The Orange"
Yes, new brake and clutch lines are inexpensive and I procured those, but the fittings on them are clear zinc coated instead of yellow chromate or cadmium, if that was ever done on the originals. Not a big deal as my car will not end up being an attempt at showroom new presentation, but I am sure the original fittings on the brake and clutch lines were gold colored. I have lots of zip lock bags of hardware that I have been measuring and describing in detail (classifying) in a spreadsheet. Before long, I will have to take the plunge and empty all of the "clear zinc" into one box and "yellow chromate" into another. Going to be mentally challenging for sure, as "they all get mixed up" then. 🥶 It will be quite the project to get them back from the plater and spend the time to identify them and put them back in their original locations.
-
Restoration of BringaTrailer 240z - HLS30-35883
Some more progress towards getting this thing painted! Insert pretty boring videos here: 🙂 Roof panel: Passenger door - not good enough yet!
-
"The Orange"
I enjoy seeing these progress updates. I am still trying to finish up bodywork on my project. I have a ways to go. Do you think it would be possible to have brake hoses (assembled rubber ones with fittings) run throught the plating/yellow chromating process? I am not educated as to what can be run through the plating process that is not metal. It seems, for example, that running the emissions pieces through is possible, or at least, I think people are doing that based on pics I see. I forget what the one control valve is called, but I think it is the one that slows throttle closure - I can't believe people are able to source those new, and I don't think people are taking them apart to plate just the metal bits either. Other things like the throttle linkage bar with plastic sockets, the hatch receivers (with plastic wedges captured), and door latch pieces (with captured plastic parts) can be re-plated obviously.
-
Restoration of BringaTrailer 240z - HLS30-35883
In a couple of more hours tonight, I was able to get the driver door, rocker panel, and most of the driver side quarter panel sanded with 240 grit. The door is super straight. I am very happy with it. The quarter panel has a dip at the front that I can probably address when the next round of primer application. The quarter panel is pretty good, but the belt line in the area directly above the wheel well is tricky and I see a couple of spots that are not quite right. Videos:
-
Restoration of BringaTrailer 240z - HLS30-35883
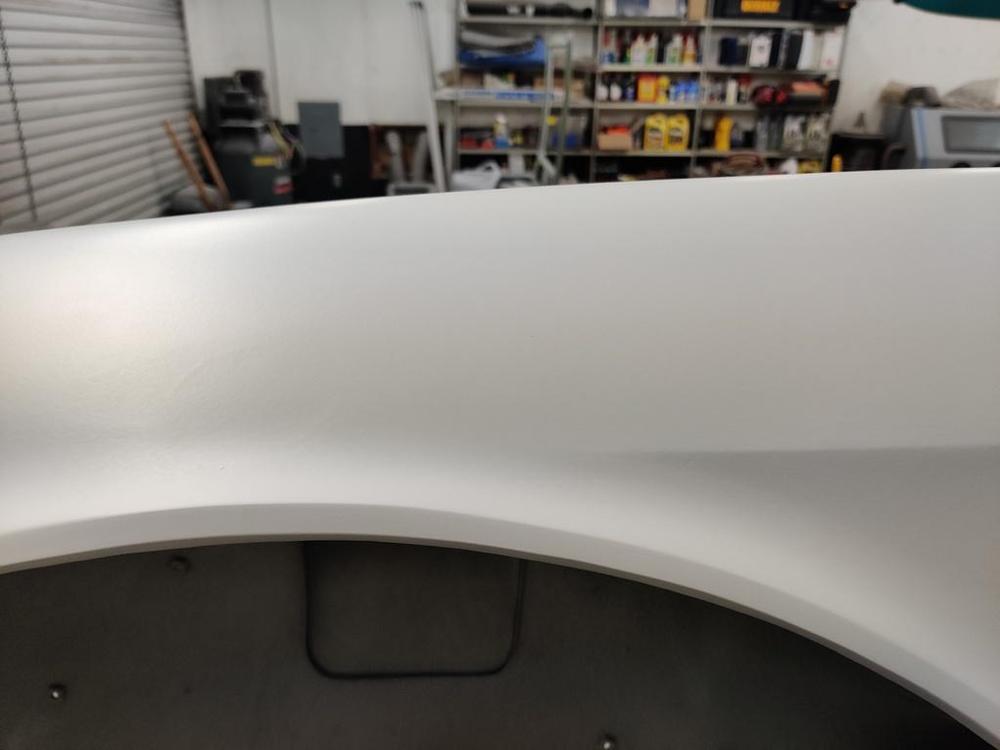
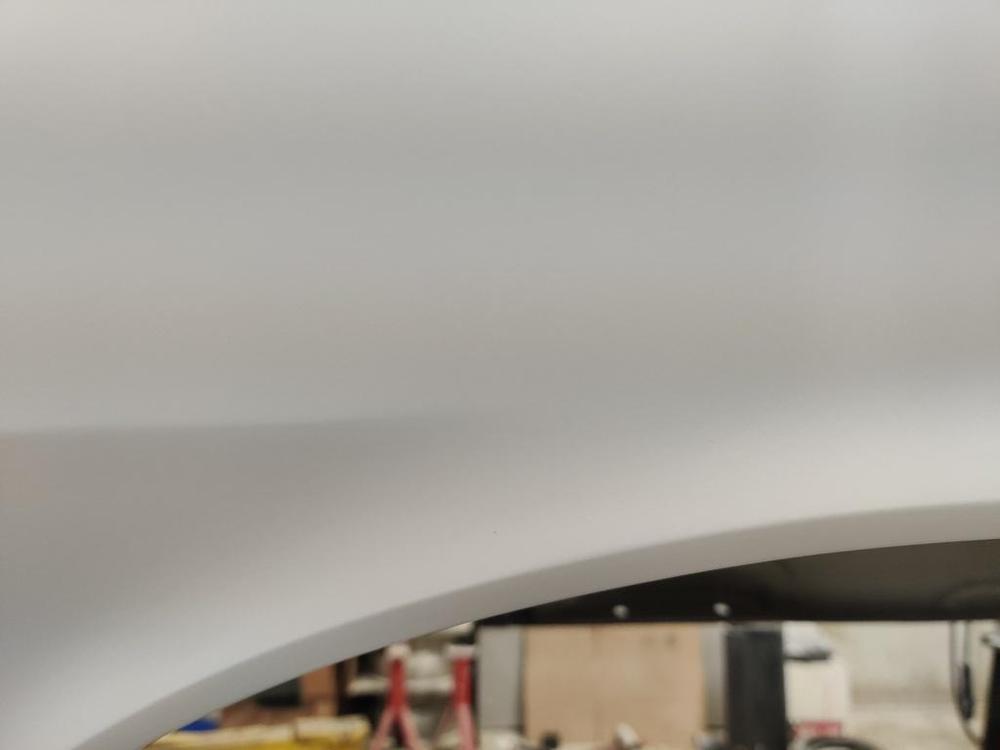
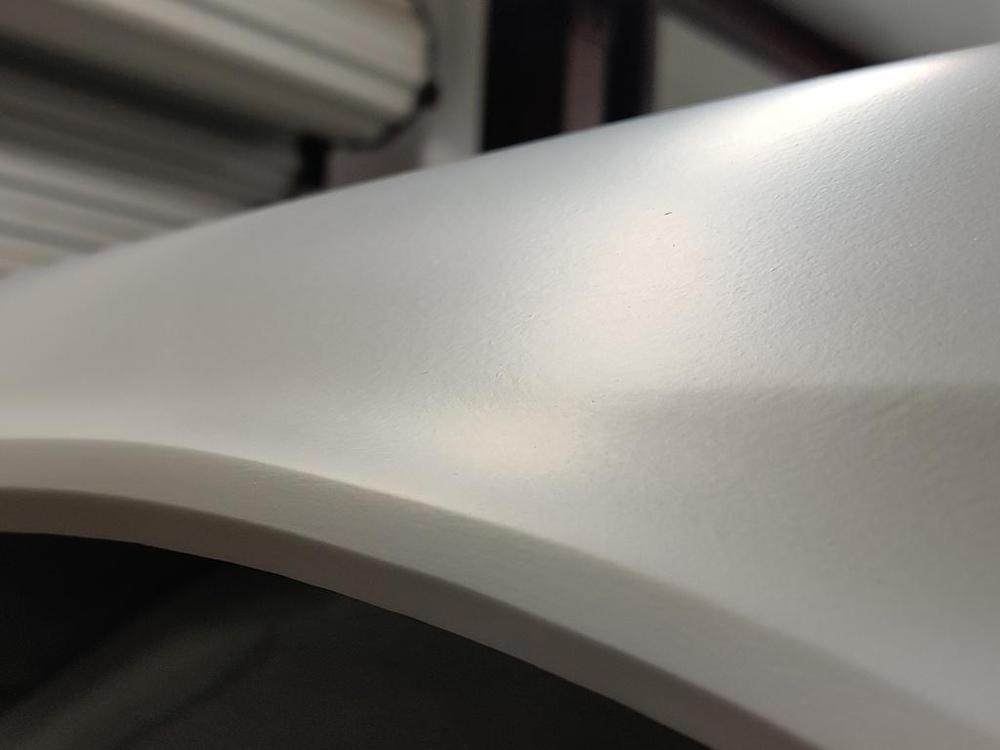
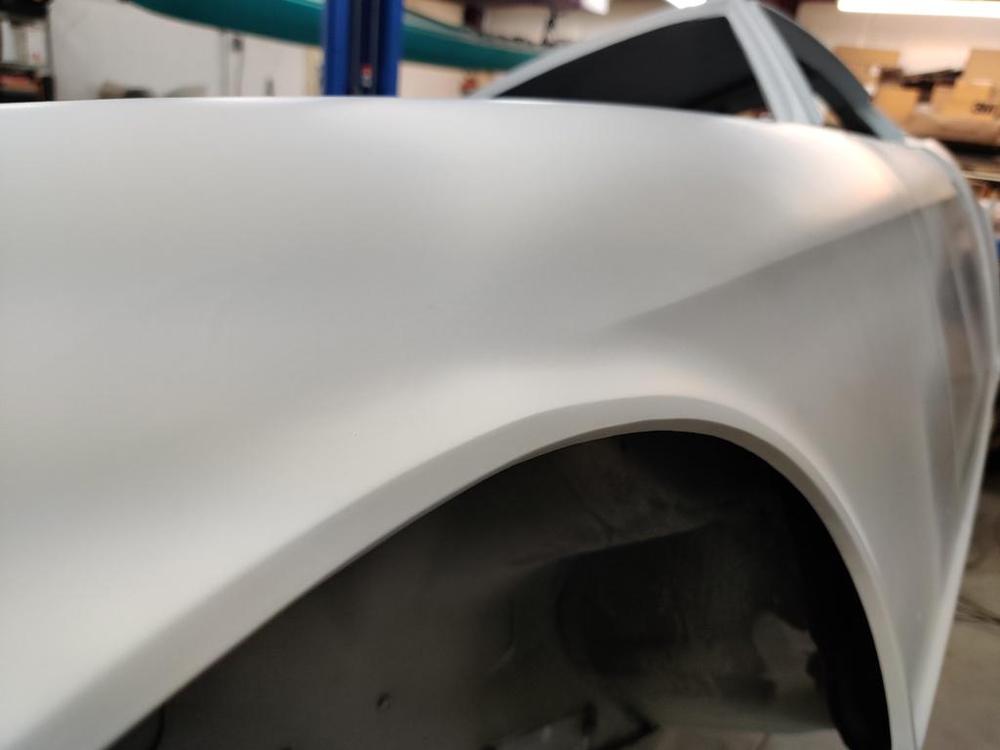
So after another month of weekends, I have little progress to report. I have been sanding more, and applying more primer in the quest for perfection. The panels are slowly being transformed. Here is a video of the driver side fender with silicone/wax remover sprayed on to provide shine so the reflections can be examined. Below the belt line is super straight now. Above the belt, but still on the side of the fender still needs some straightening. It has a high spot in the middle of the expanse between the back of the wheel well opening and the back edge of the fender.
- 240ZBUILTBYME 1971 240z HS-001063 Project Georgia
-
Restoration of BringaTrailer 240z - HLS30-35883
Progress (which at times feels absolutely like none) is happening with the body work. I think. Though most of it ends up on the floor after sanding, I am now two gallons in on the high build primer and need to buy a third. That's going to be over $1000 in primer alone. Not how you should do it folks. Next time around, I think I will try applying body filler over entire panels and sanding down, followed by a few coats of sprayable polyester filler, followed by the high build primer (just a few coats should be needed). Here is a brief video showing the passenger front fender at the critical body line where it starts just above the wheel well opening. You can see that there is some distortion in the reflection, indicating some more work to be done here. Not quite there. Much of the rest of the car is getting to where it needs to be however. I have been spending time as of late, working on additional panel fit issues. The cowl panel is a bit of a challenge. Because it is just a single thickness with no backside reinforcement, the large, flat areas in the front corners are susceptible to moving up and down very easily. Before final sanding is done on this panel, I will be sure to replace the foam that resides underneath in these areas (proper thickness is important) to allow for proper location of the horizontal surface. Then final sanding will be done to make these areas nice and straight. Inspection doors were hand twisted/straightened for near perfect fit. These again, are made from single thickness metal sheet with little in their construction to hold them to shape. Heights of fender top surface, cowl panel surface, and inspection doors were all massaged to make them line up. I actually had forgotten to fit the gas lid prior to doing body work on it, and laughed at how bad it was when I test fitted it to the car. Quite a bit of hand adjustment was necessary to give the right profile curvature to match the quarter panel appropriately. Passenger side door panel gap (with rebuilt hinges is looking good I think):
-
Restoration of BringaTrailer 240z - HLS30-35883
Thanks for the tip. Yes, Schutz gun. I run about about 5 feet of clear tube from the gun pickup tube, to another foot long stainless tube that I drop in the container.
-
Restoration of BringaTrailer 240z - HLS30-35883
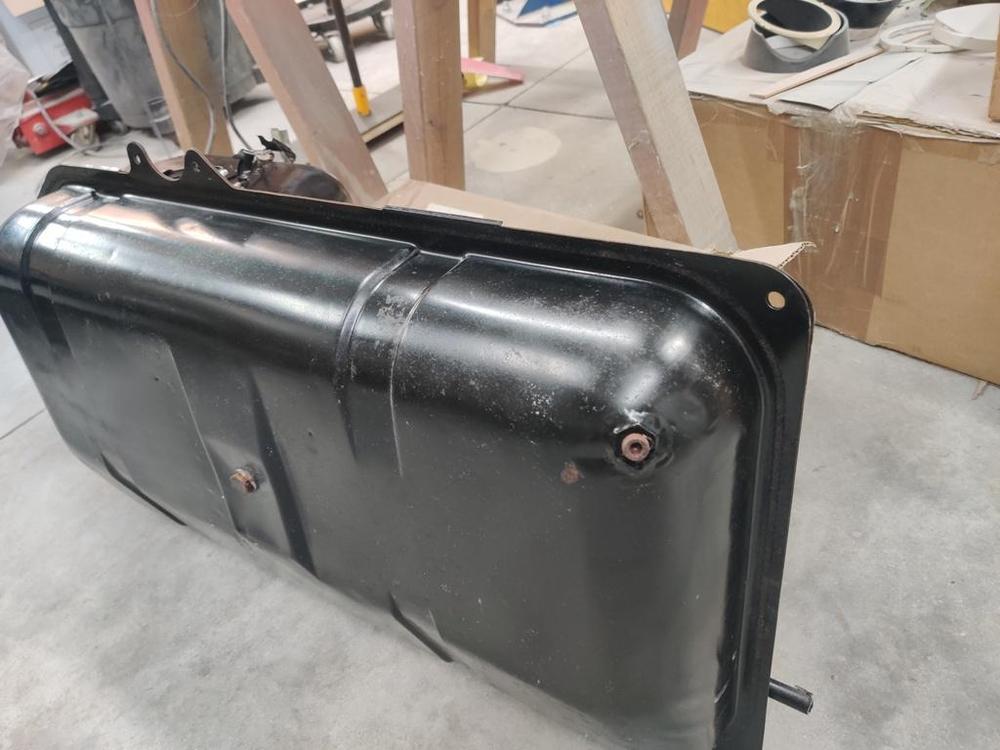
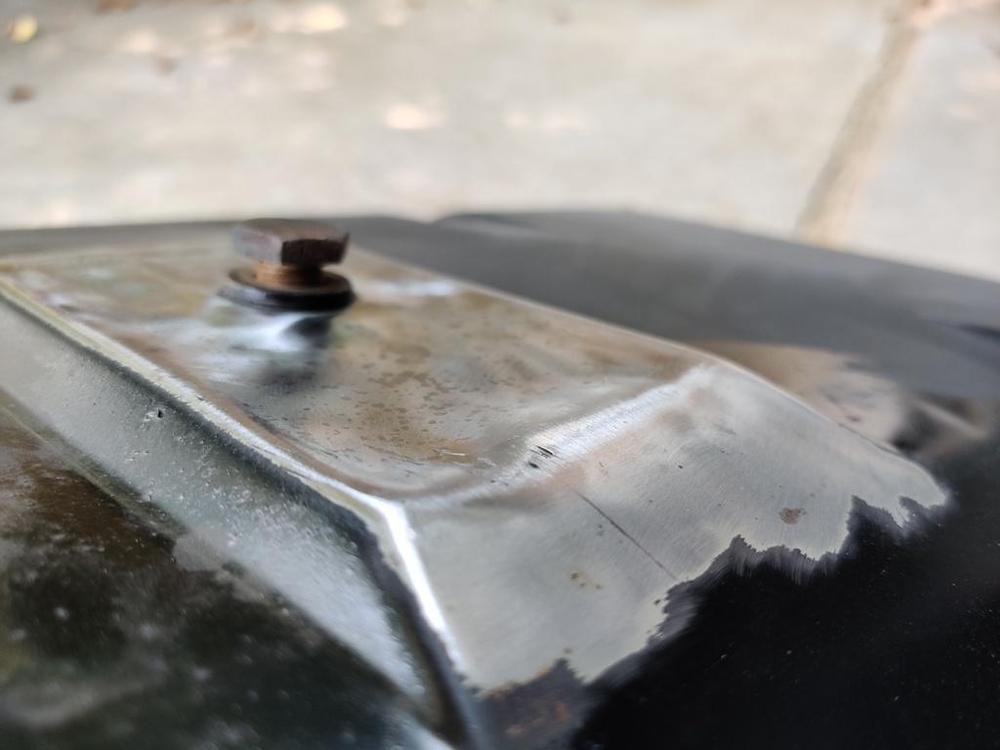
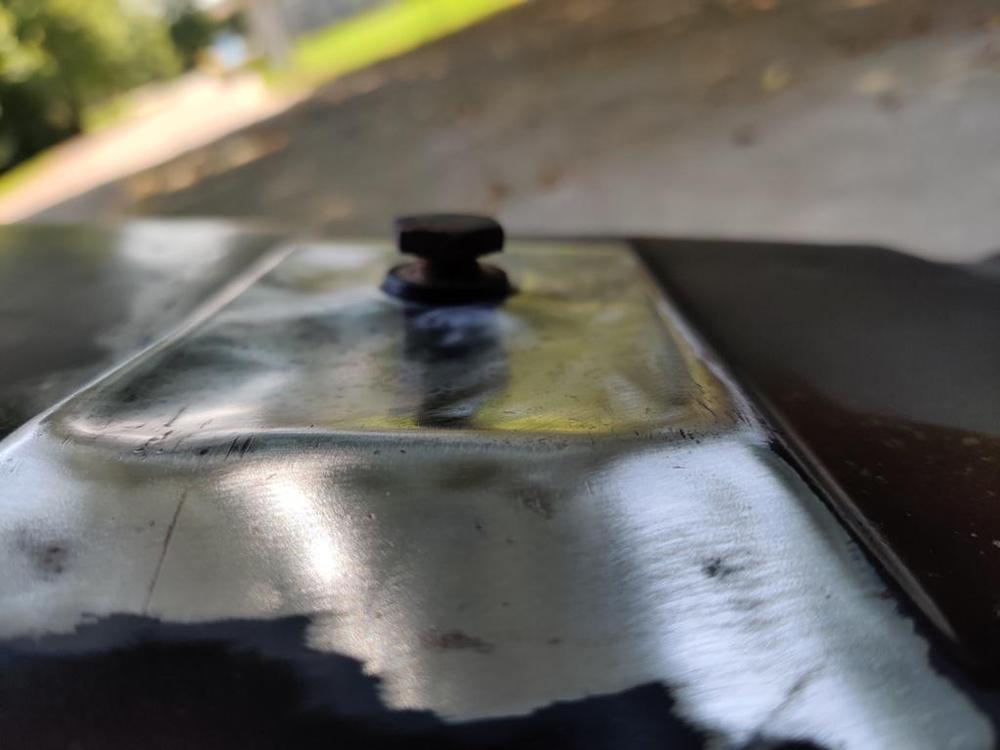
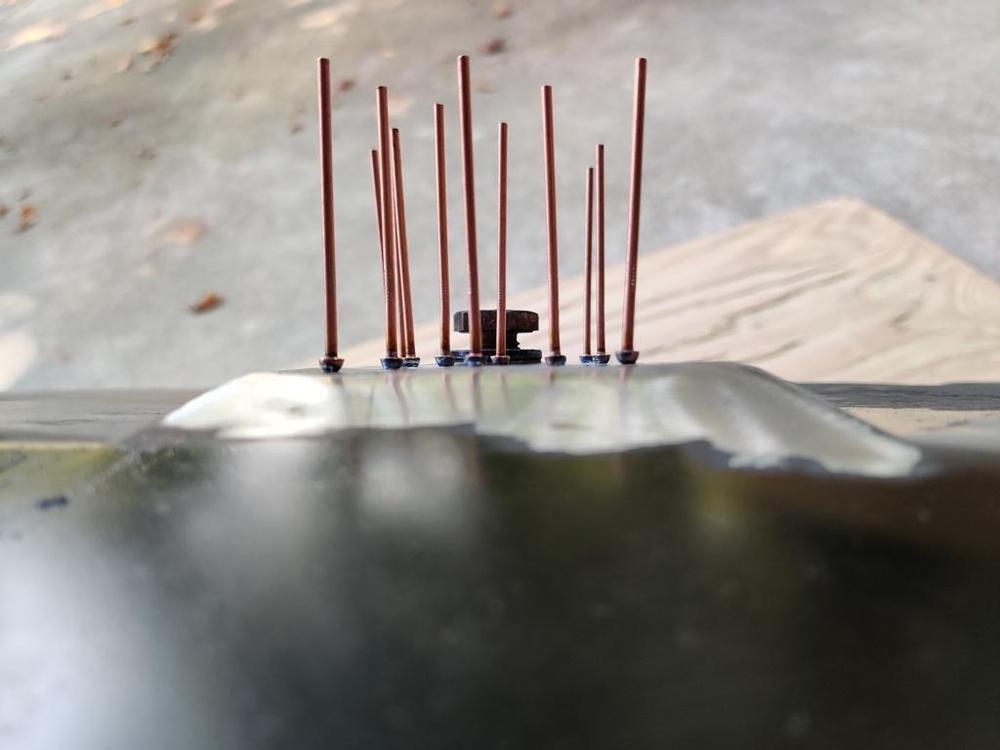
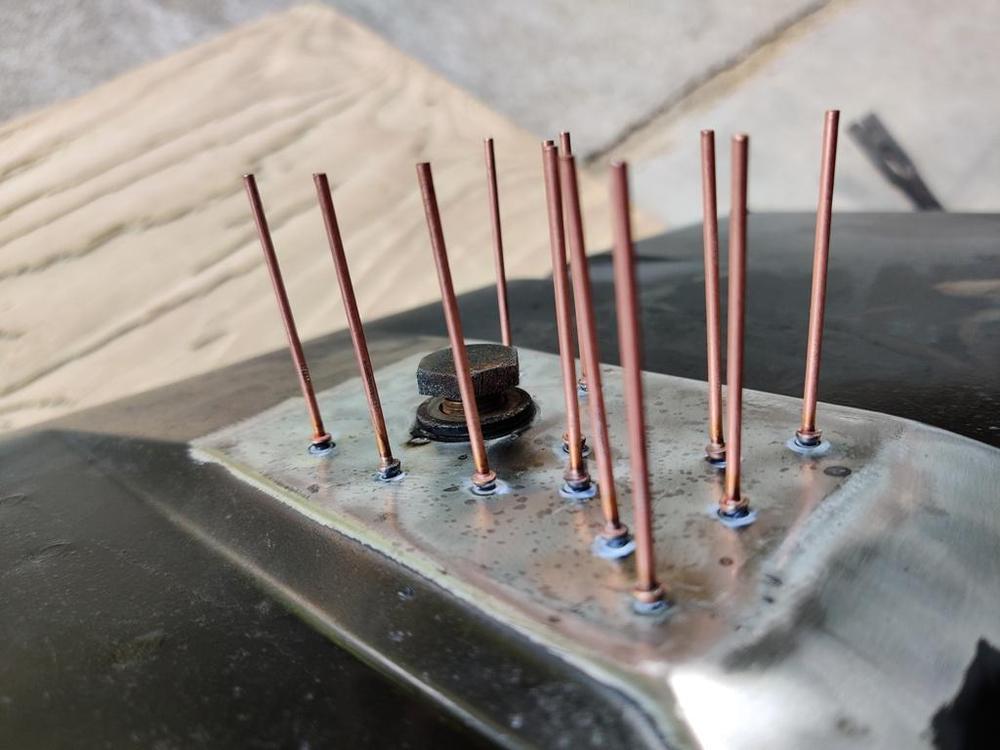
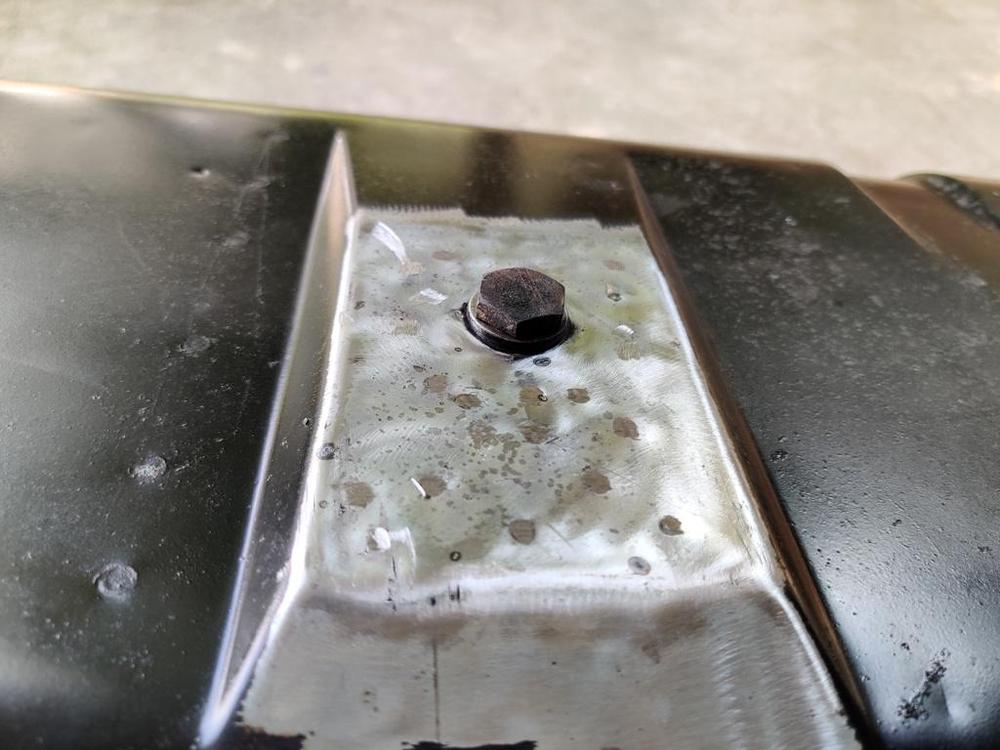
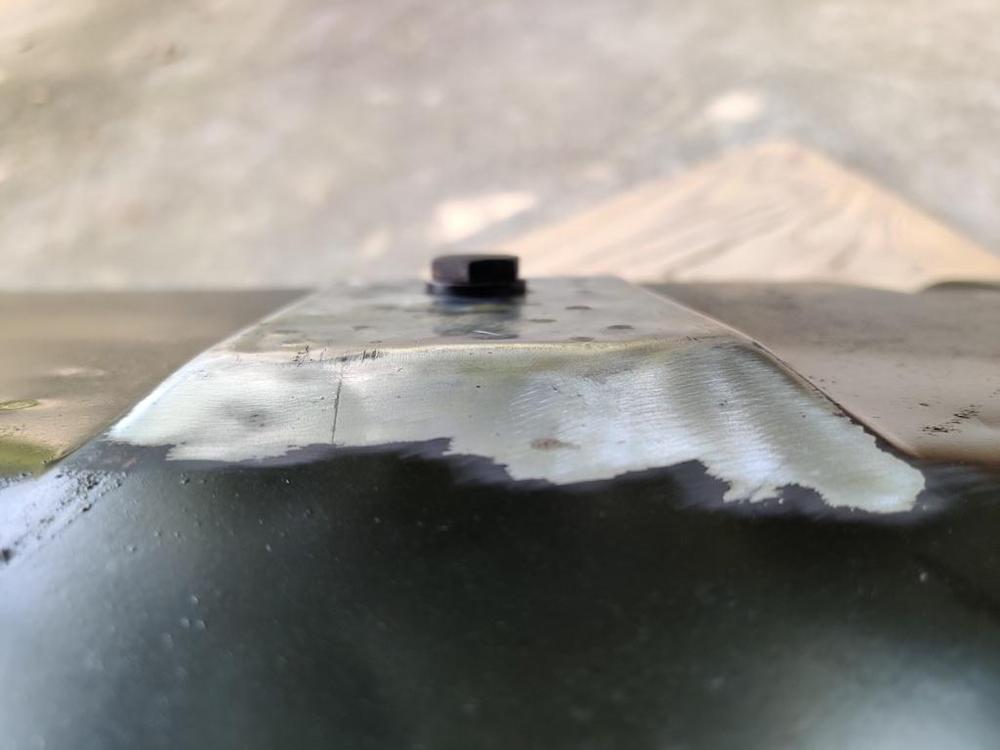
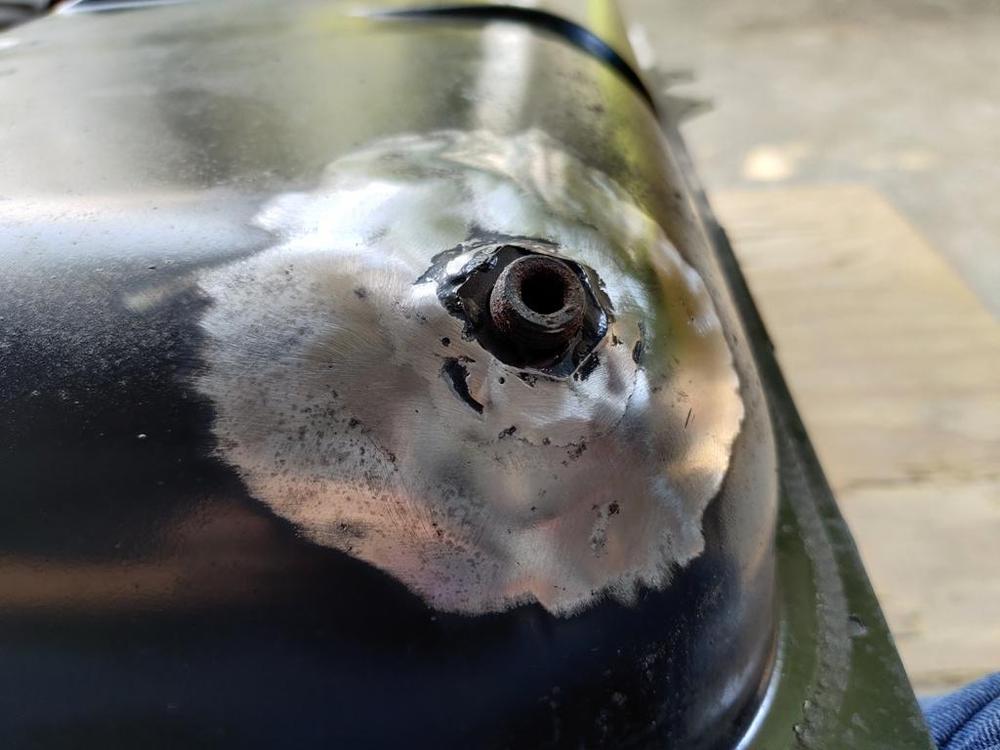
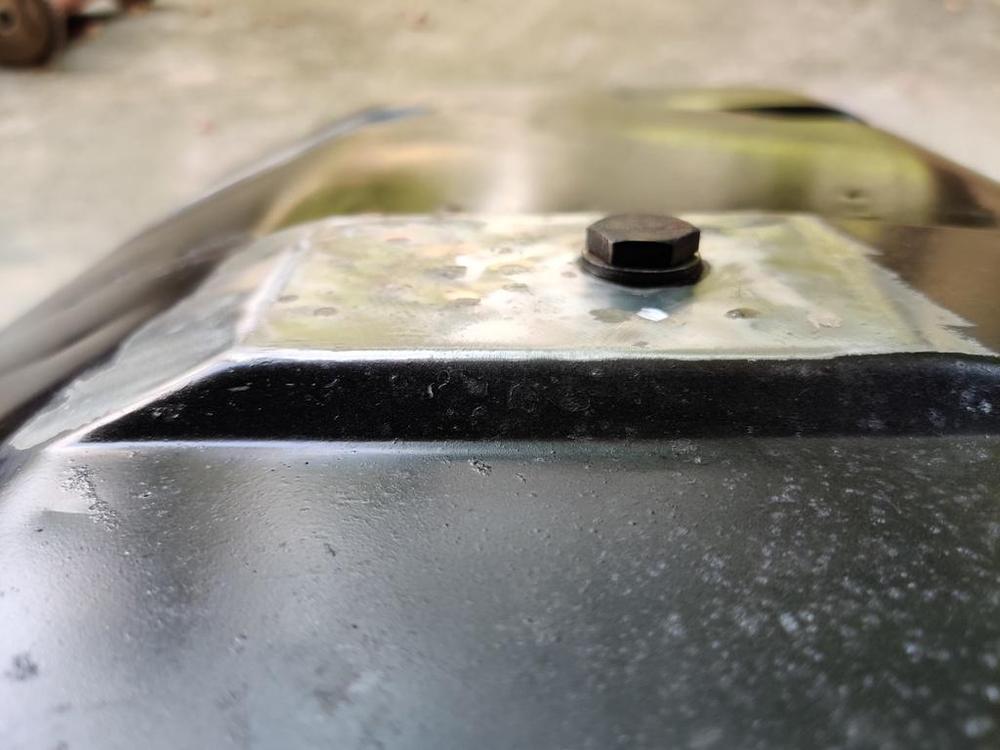
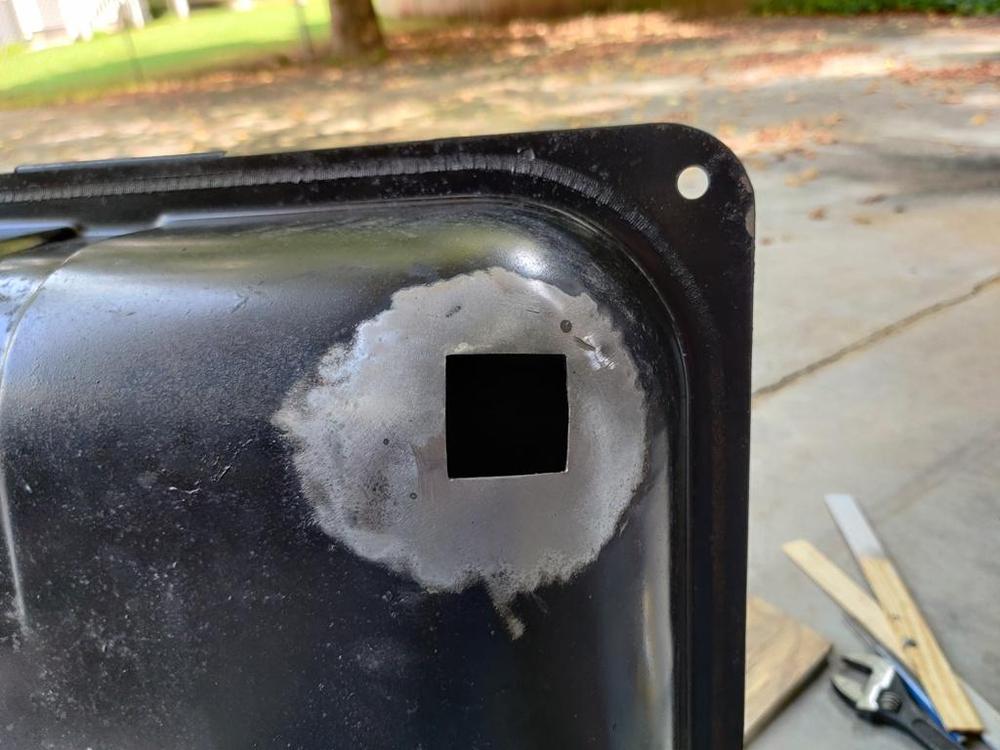
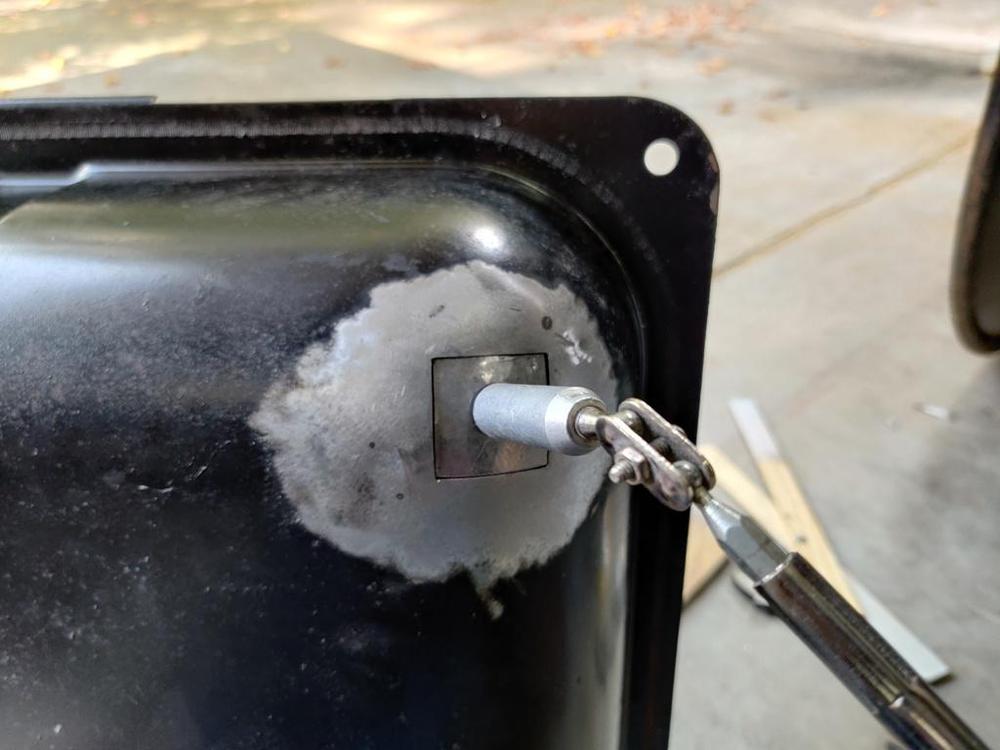
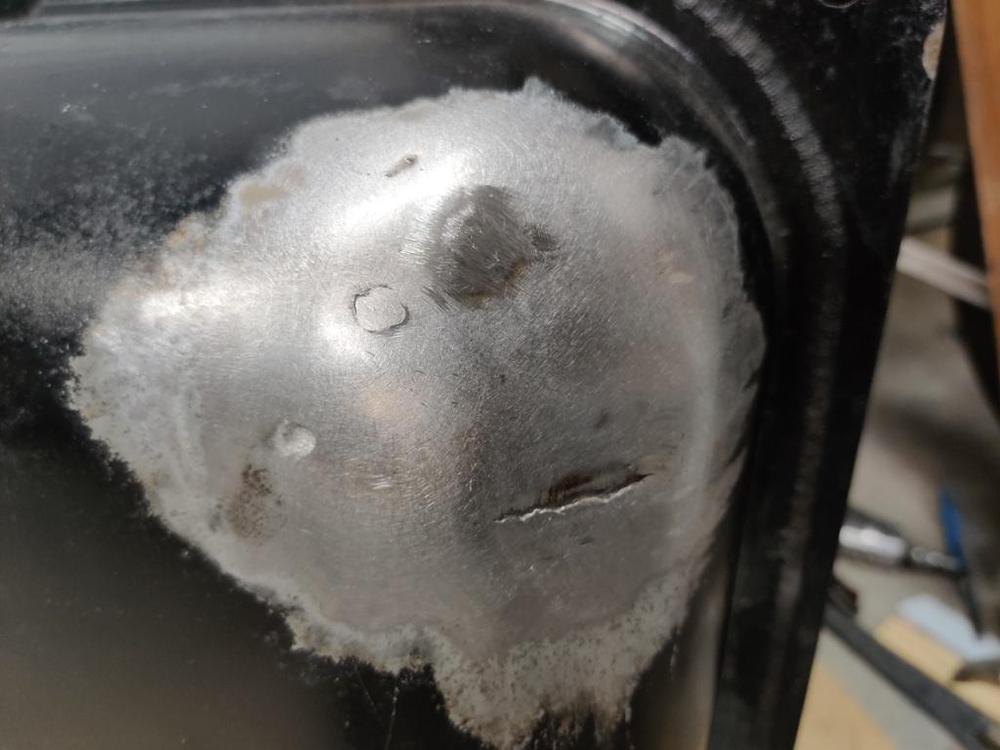
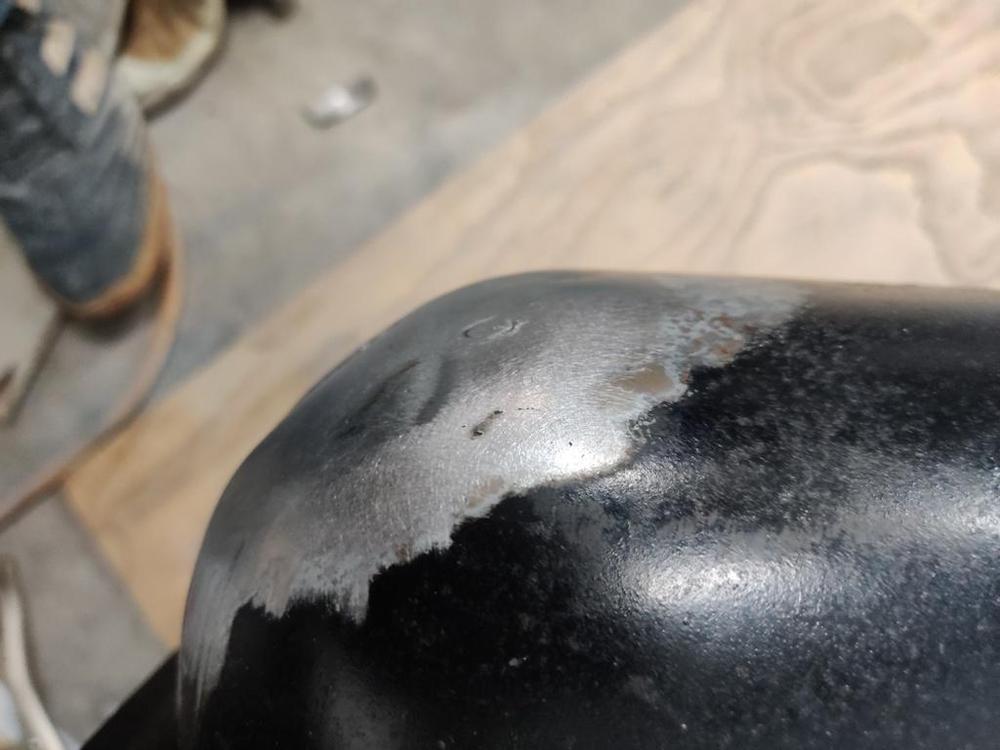
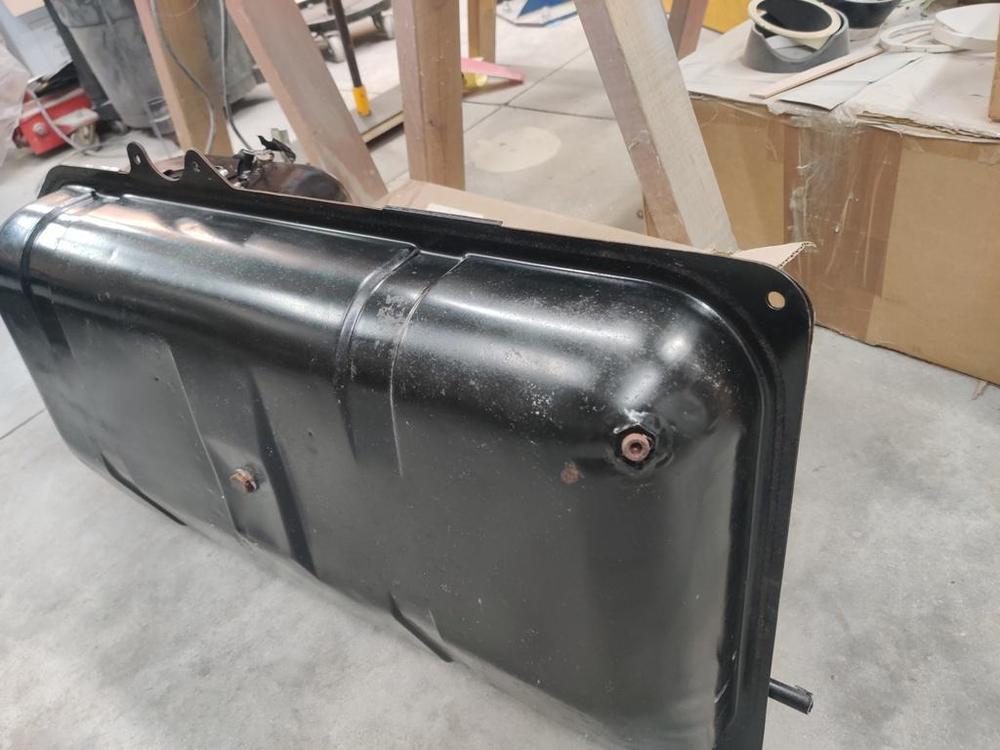
I found myself with the inspiration to work on the gas tank today. I thought it would be pretty easy to be honest. But, when replacing the brazed on secondary drain plug, I ended up having problems welding one side of my patch panel. The metal was too thin and I kept getting contaminants causing pin holes. After chasing that problem for hours, I ended up cutting another section out and making another patch panel. Both patch panels had compound curves... so they took a while too. After something like 8 hours of work on it, I pretty much got past trying for perfection and made a slight mistake with the alignment of the second patch panel. Anyway, I sealed up the openings in the tank and rubbed soapy water on the repair area while I put compressed air in the tank and after sealing one tiny pin hole, it is finally sealed. Starting point - extra drain plug brazed in place an dented bottom where original drain plug is. Paint removed with high speed angle grinder and red 3M paint removal disc. Interestingly, there is a bright silver coating on the outside surface of the tank that I ground through in places. Must be galvanized from the factory. After using a crow bar tip under the edge of the drain plug to pull it up some (with leverage against wood strip set in place against the tank), I used the stud welder to put pin in low areas. I pulled them with the slide hammer puller carefully. Several rounds of welding pins in place, pulling, and cutting them off were required: Original shape for the most part restored. Next, I progressed to the extra drain plug: I cut it out and made a replacement (compound curve). Unfortunately, many more hours and another patch were required. One edge of the second patch panel is not well aligned with the original tank metal. That is the "line" in the third pic here... because the patch panel is recessed a bit more on that edge. Another angle: It's not perfect, but I am confident that it doesn't have any pin holes. I was able to seal all of the openings in the tank and repeated give it hits of compressed air while rubbing soapy water on the repair area. I did find one pin hole that had to be taken care of, but can find no more. I will test it again before stripping the paint on the outside of the tank and prepping for primer and paint. Wouldn't it be awful if I got it all beautiful and in the car and then found a pin hole??? Yeah - that is what I keep thinking. Going to make sure it is air tight before I go to the next step.
-
Restoration of BringaTrailer 240z - HLS30-35883
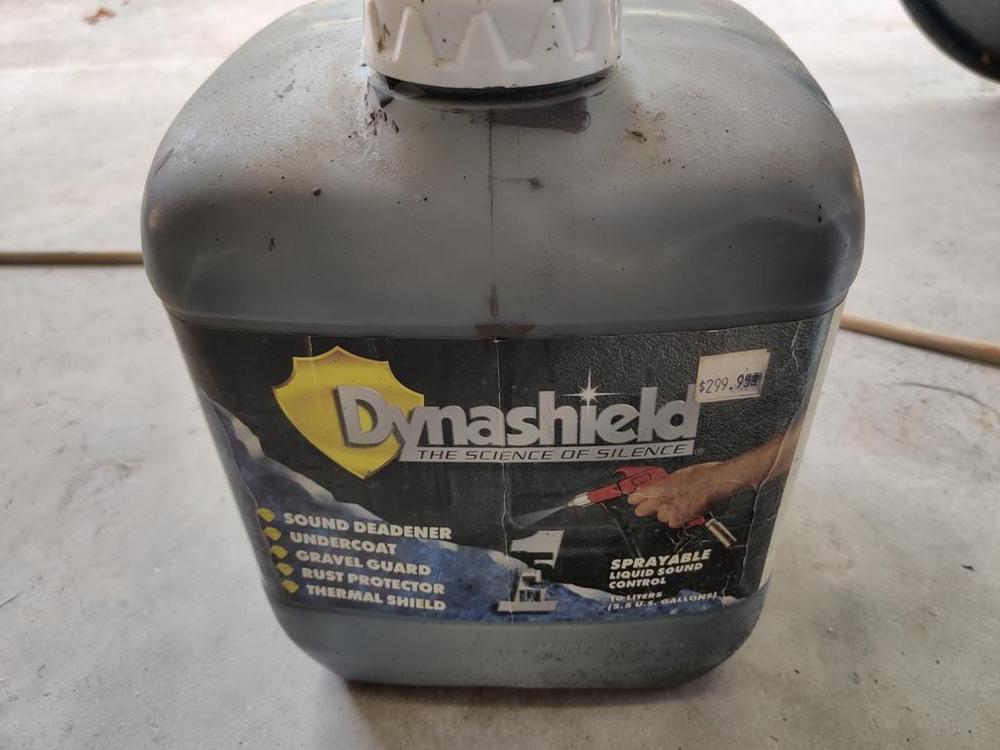
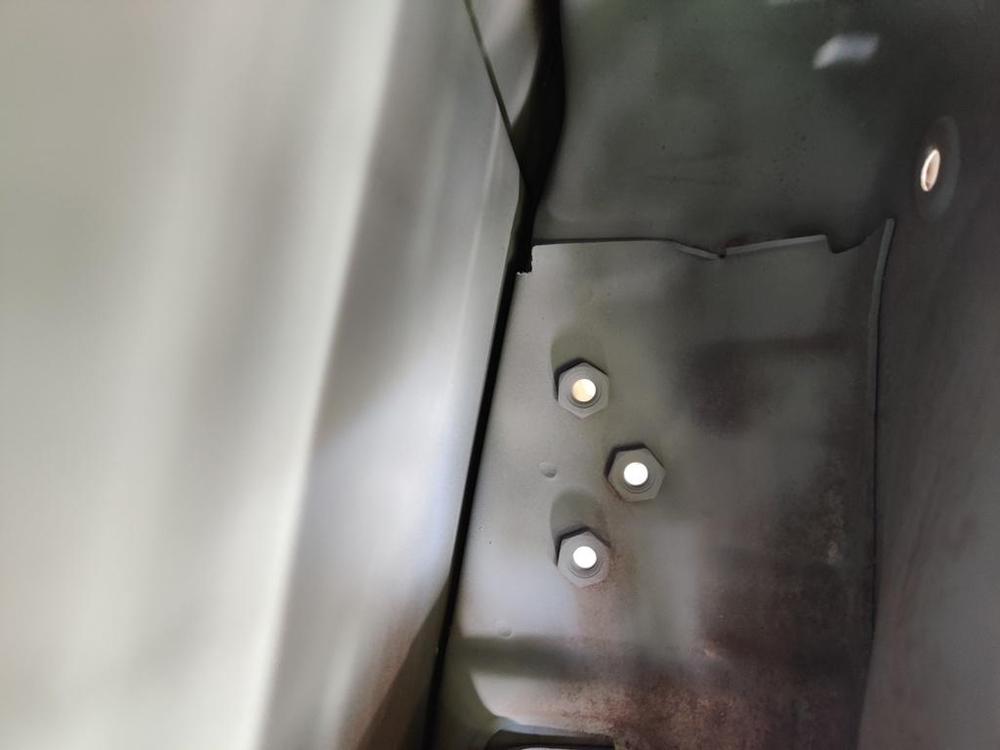
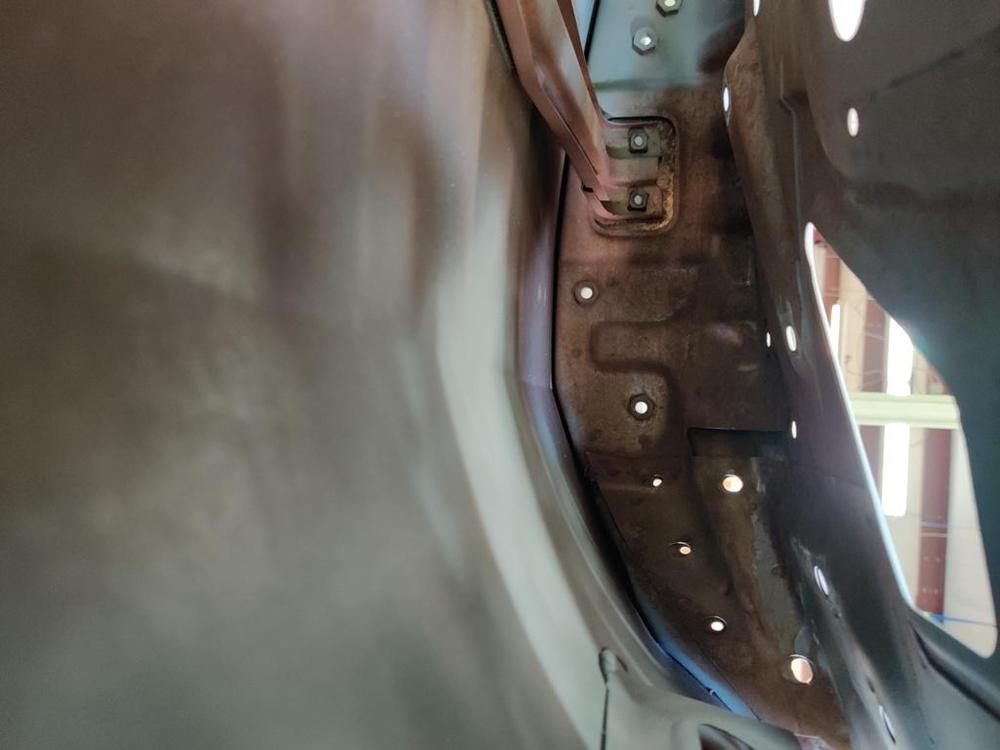
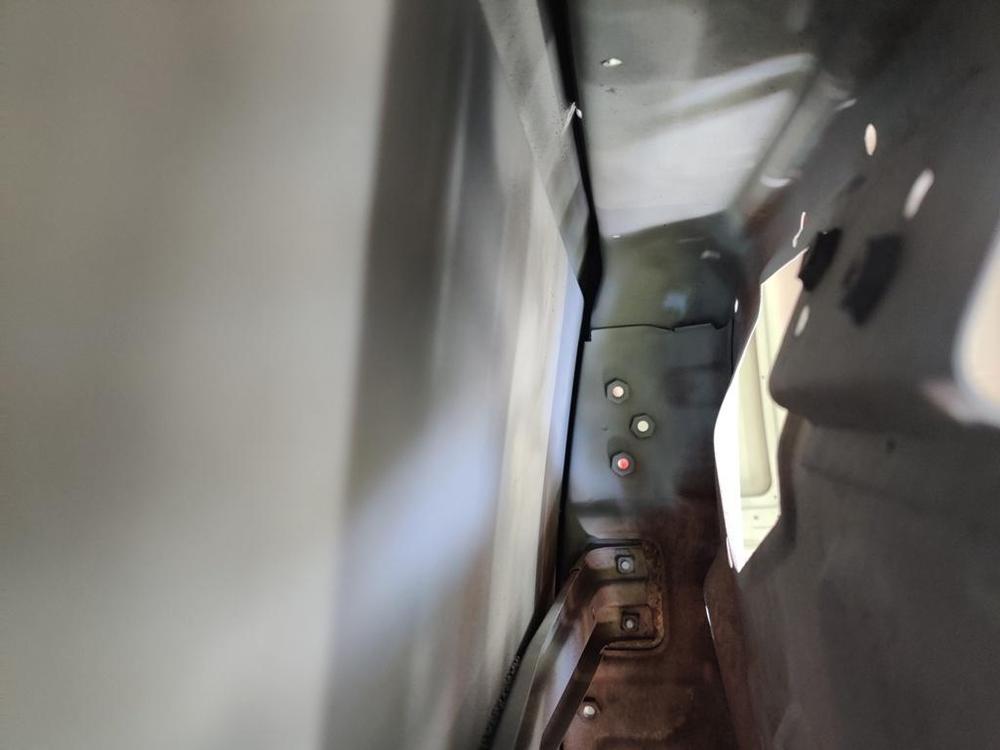
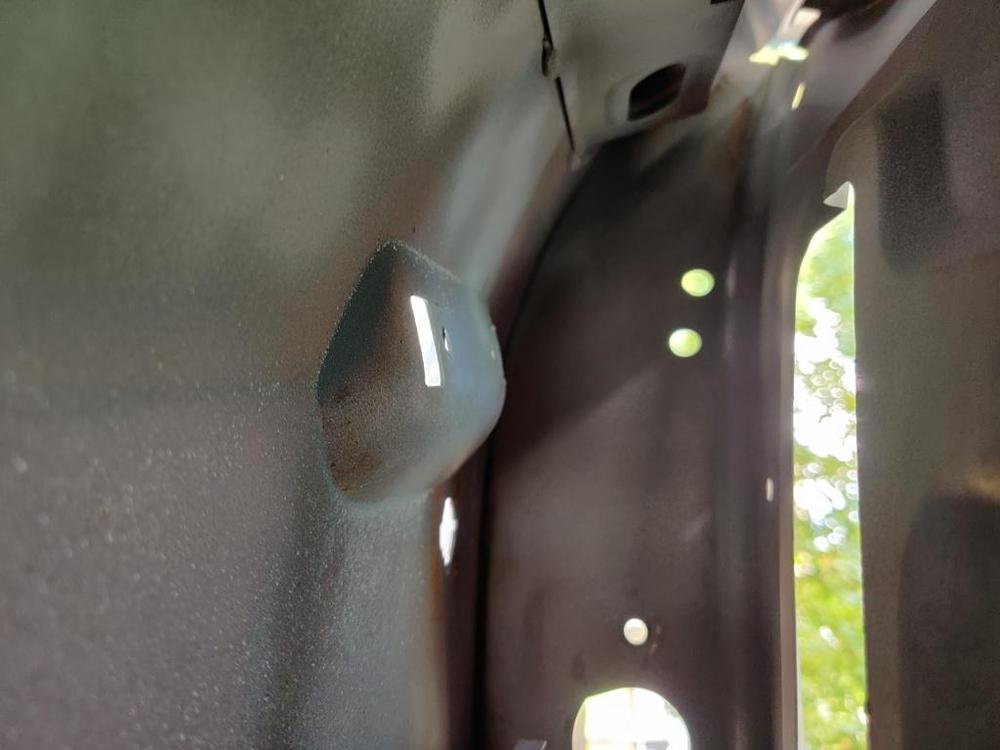
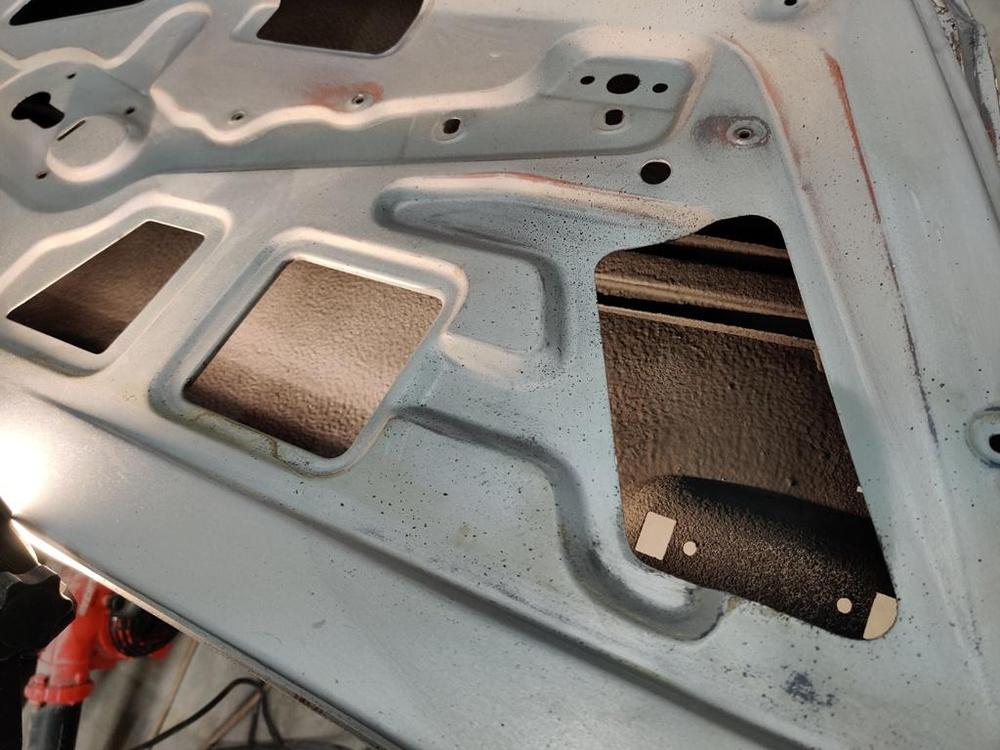
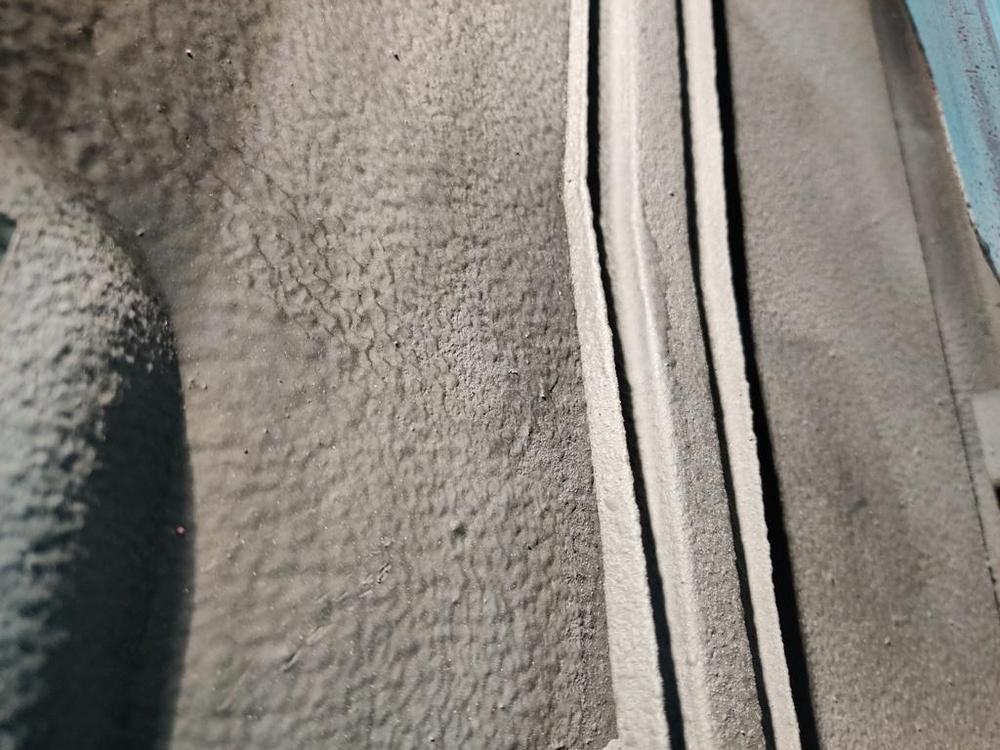
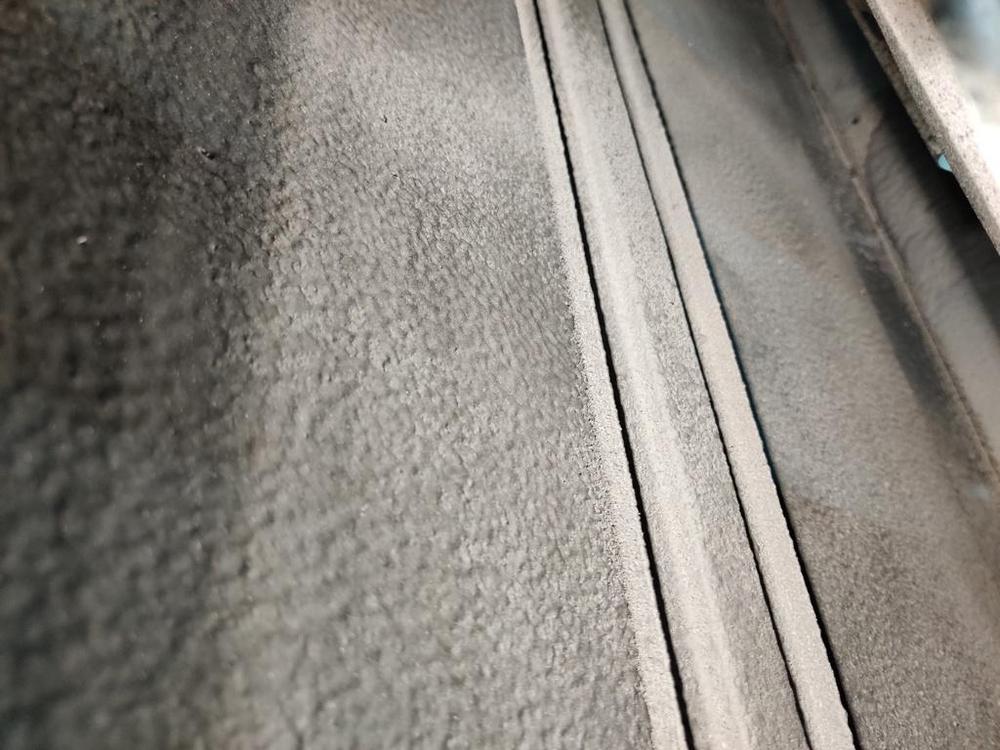
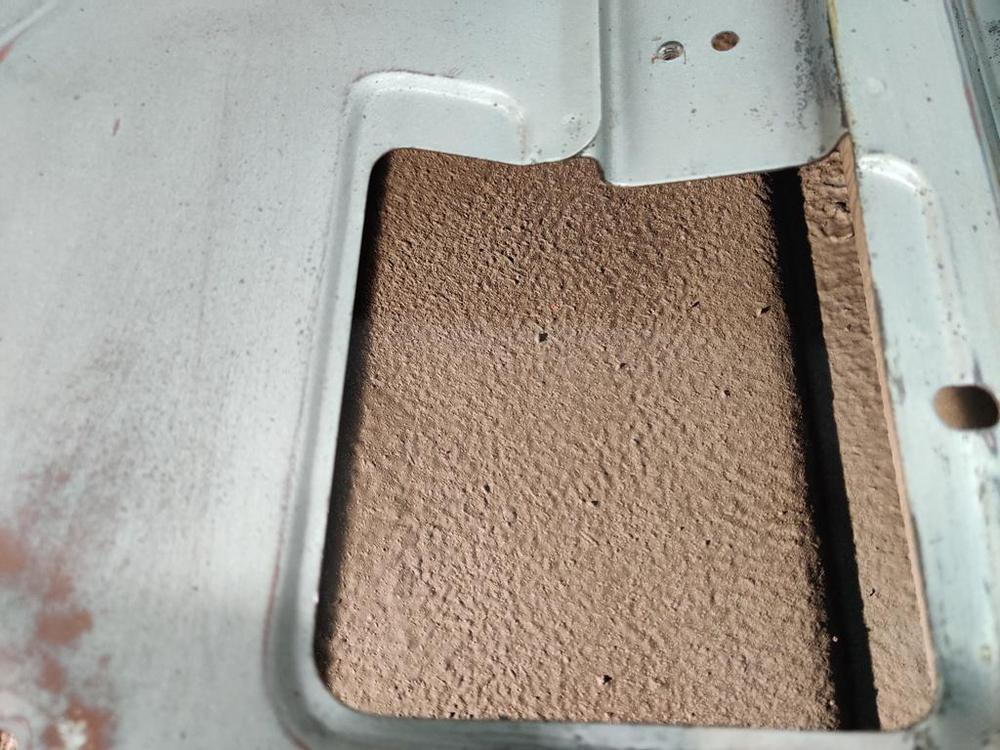
While the doors are off, I finished prepping the insides for spray on sound dampening material. I had some sitting in storage for something like 15 years? And I was shocked to open it up and see it was still usable. I don't think this stuff is sold anymore under this name, but I suspect it is the same as the Spectrum product I bought from Second Skin in this second pic. We'll find out soon enough as I spray more of the inner panels of the car. Pictures showing inside of the doors before spraying the sound deadener. I sandblasted a few spots I could reach to get rid of surface rust. Interestingly, there is bare metal that didn't even have full surface rust inside the door: After spraying the sound deadener. When the sound deadener is fully applied to the car and the truck bed liner underneath, it will have substantial reduction in Noise Vibration and Harshness (NVH) compared to stock. The doors will have a very different sound and feel than stock ones. I think it will be quite a noticeable improvement around the whole car.
-
"The Orange"
Exciting stage of the process!
-
Restoration of BringaTrailer 240z - HLS30-35883
I have read/heard the same thing about bondo vs. fiberglass. Since both use the same activator, I would think the resin isn't the part that is susceptible to water, but the other primary material might be the issue. And now searching (via Google), it looks like the other primary ingredient in body filler is clay/talc which absorbs water, whereas fiberglass does not. So, that is the difference. In applications for which I can not be 100% sure that exposure to water is eliminated, I use fiberglass filler. For example, I used a bit in the inside of the dog leg of the quarter panel/rear of the rocker, in an earlier repair, mainly to fill pitting and a few very small holes left after sandblasting prior rust damage. I will attempt to seal the car so water will not get in there ever again, but I used a bit of fiberglass filler there just in case. For repair areas where I am sure water will not ever be present, I use standard body filler. Along that door edge, seam sealer will seal the lap joint of the skin to the frame, primer and paint will seal the outside of the repair, and I will be using a spray on sound deadening coating on the entire interior of the door which will seal the joint on the inside and keep any water away from the area.
-
Restoration of BringaTrailer 240z - HLS30-35883
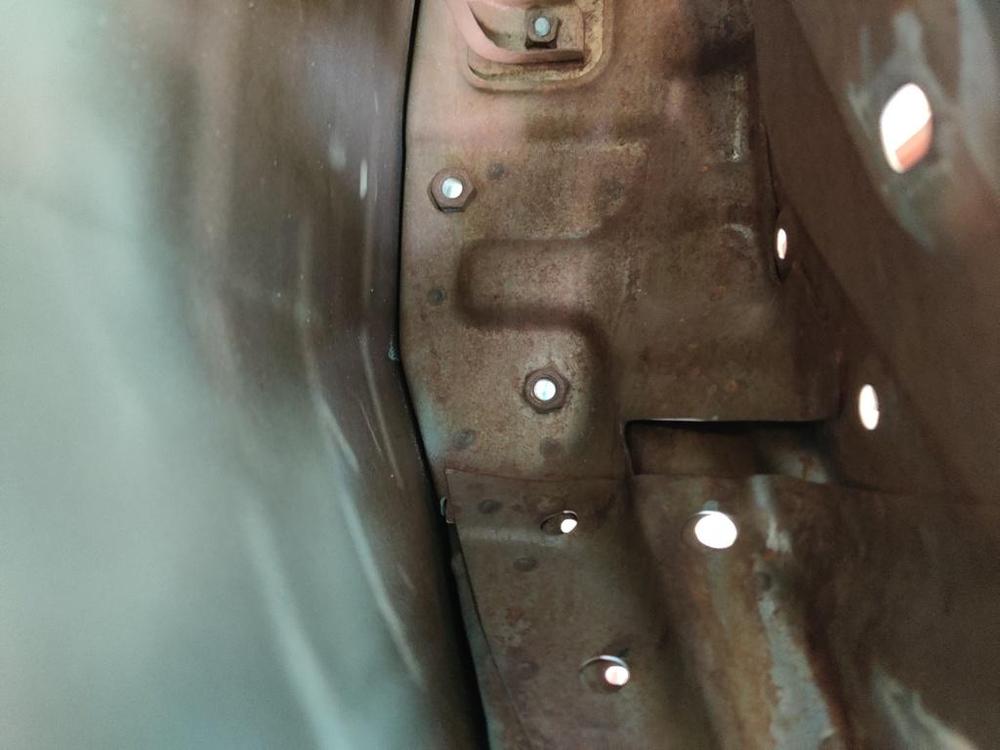
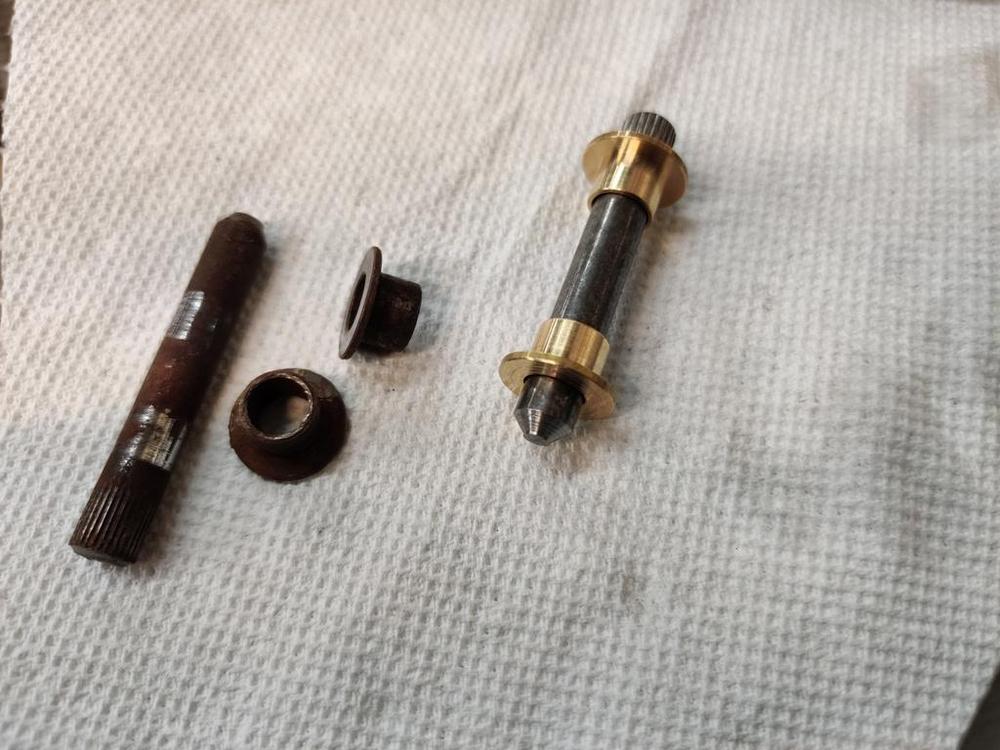
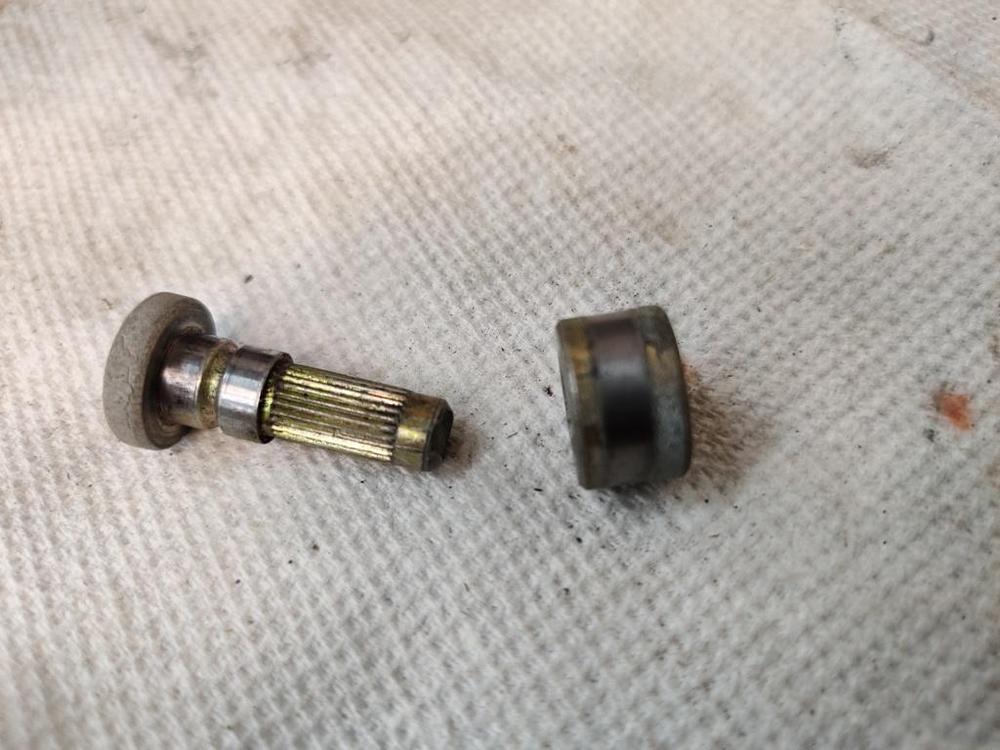
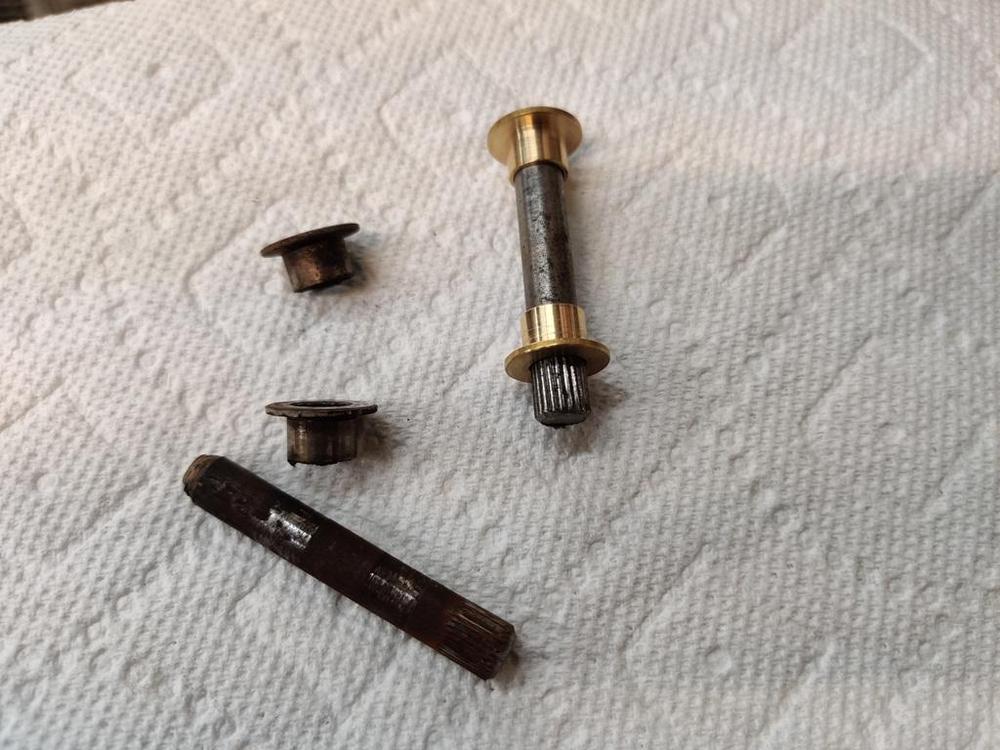
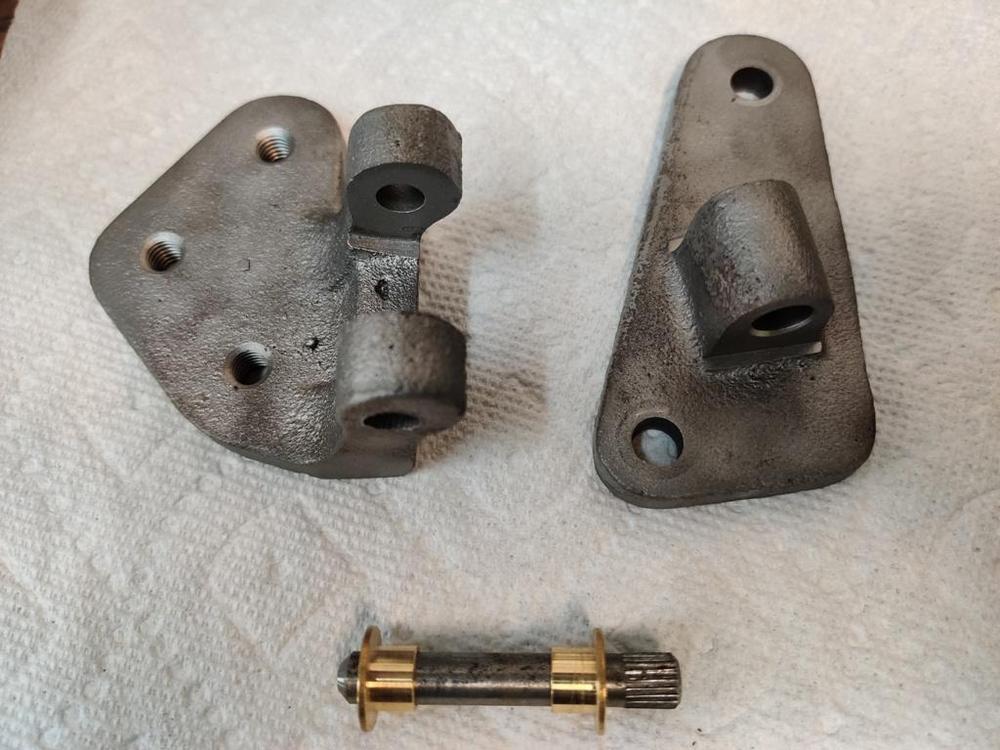
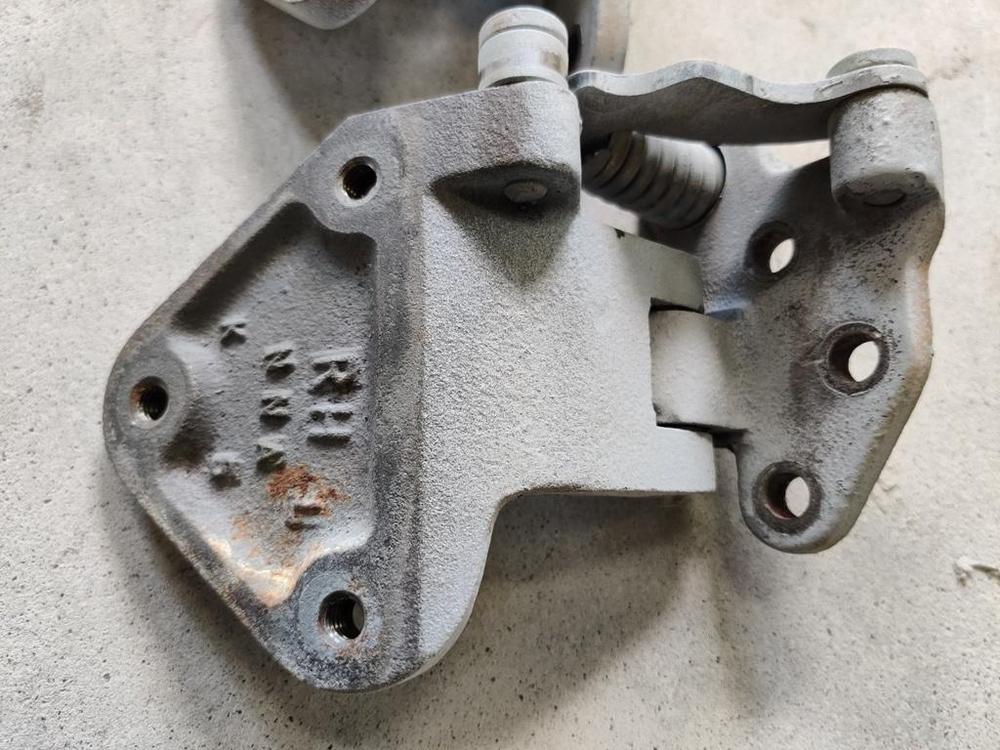
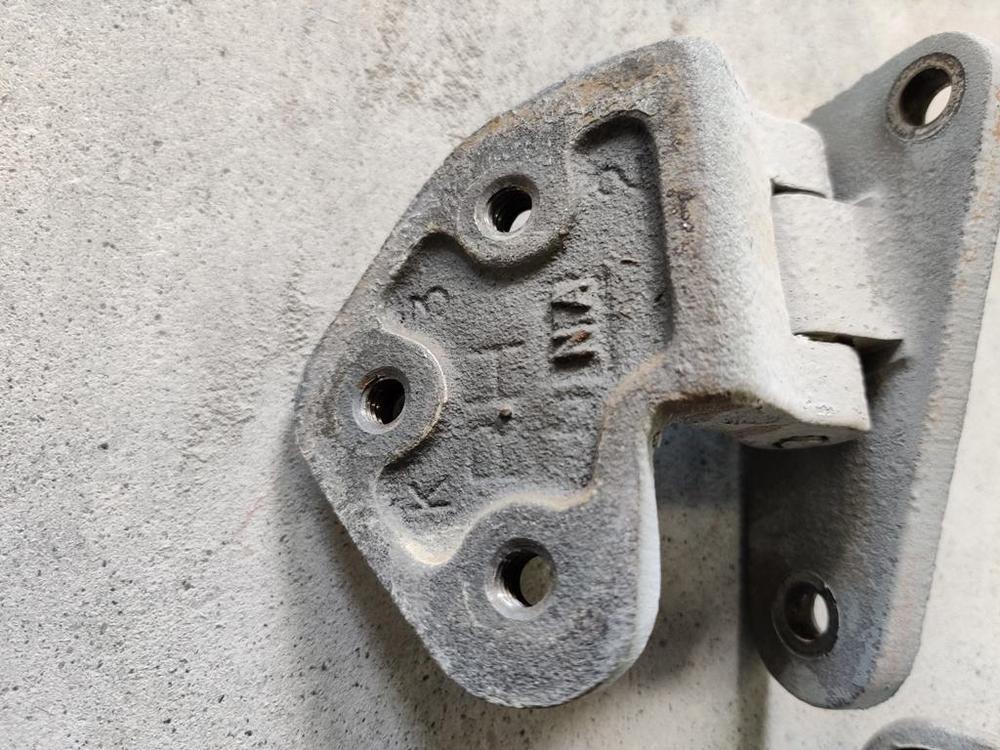
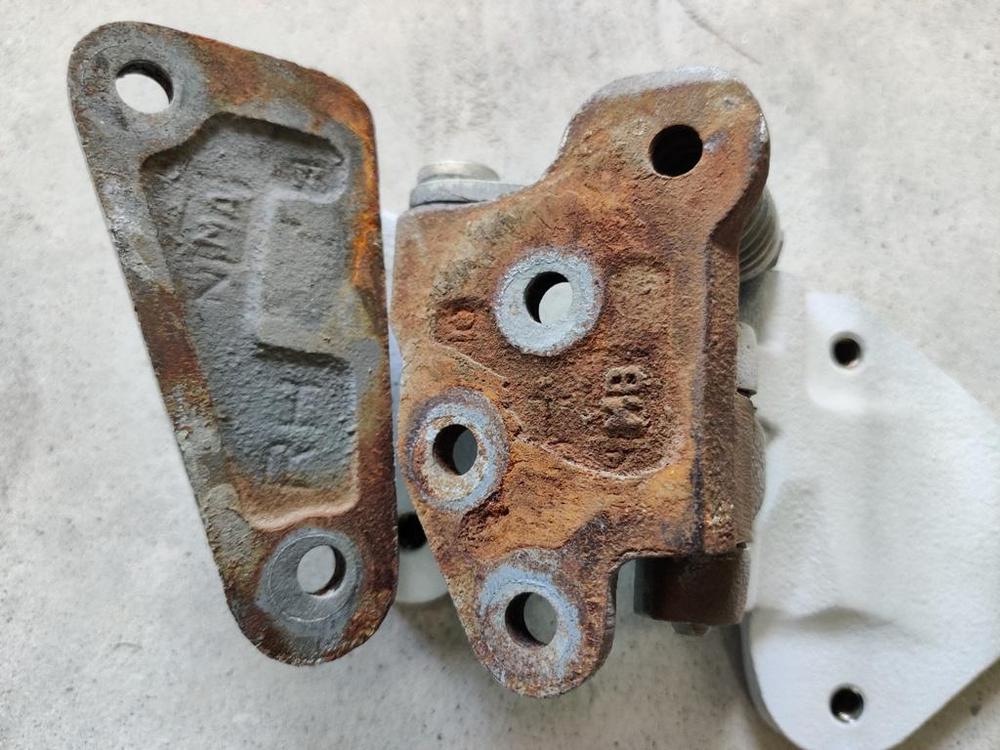
I rebuilt the door hinges yesterday with new pins and bushings I got off the seller from Malta on eBay. I needed to sand the door frame to prep it for paint also, so the doors came off the car for the first time since I have had it. While off, I will do some light prep to the insides of the doors so that I can spray Spectrum sound deadener in them. I got it directly from the manufacturer. I did this with my other 240z way back and it made a big difference in the sound the door makes when opening and shutting. Just in case I enter the car in shows, that kind of improvement doesn't hurt with judging, right? Hinges as removed - some rust formed between doors and hinge, but not body and hinge. A grey primer was used on the mating surfaces: Note - doors were mounted on the car when it was painted. See lack of paint and factory paint run. Third pic shows back side of my fix to door gap by putting some weld beads along the edge. Some body filler will be used to finish this area on the back side. Old hinge pins and bushings had some wear. I don't know what the old bushings are made out of but they are seem like a "soft" metal. Factory pin securing "roller" has to be removed to replace the main hinge pin. I was surprised at the good condition of it. Lower hinge: Upper hinge: Nearly all the wear occurs on the pin and bushings. The replacement pins and bushings fit very well. Though movement was only slight with the hinges prior to rebuilding for this car, the doors will be not wiggle up and down at all after this fix.
-
Restoration of BringaTrailer 240z - HLS30-35883
Wow! Zilver is super nice. I think for the next steps of sanding, I will use tape in the manner you said. I have been making some progress without, but will need to do that to get it just right. These pics clearly show imperfections, but at least I am getting closer. Guide coat is visible below the belt line... Front left fender... Back of front left fender and front of left door... Left door in front of handle (line is not sharp here)... Above rear wheel well arch (not as defined as it needs to be)... Rear quarter panel... I didn't think that drain was stock, and don't know if it was or wasn't there when I dropped the tank off to have it cleaned out. It had about an inch of goo in it from gas that sat for 25 years. So, maybe they did that to facilitate cleaning it out. Tank is nice otherwise with just a little work needed to straighten out where the original drain plug is. I will cut that additional drain out and weld in a repair section. What brand did you use for undercoats/paint on your car? I thought Glasurit didn't have a base coat in silver for my car, but I figured out that their database is just incorrect. They have 901 silver listed for the 240z, but their year range does not include 1971 (I think it shows 72-74 in their system). They only have the base coat in their 90 line, which is water based. I watched some videos and learned that it is no problem to use that and then follow with any of their solvent based clears. That is a big weight off of my mind, as I was thinking I would have to mix brands and hope for the best - not exactly a risk I want to take after spending some much time and effort on getting the body work right.
-
Restoration of BringaTrailer 240z - HLS30-35883
Anyone ever see this on the 240z gas tanks? A second drain on the corner? I didn't notice it until it came back from the shop that cleaned it out. If not stock, looks like I have another welding project.
-
Underside OEM Finish's
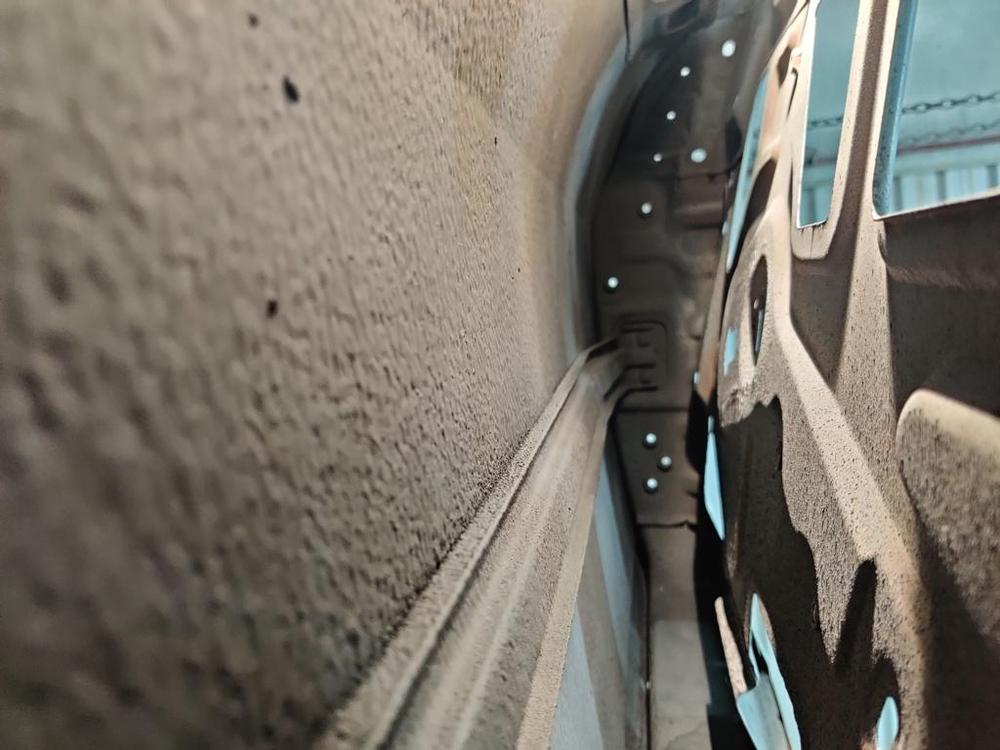
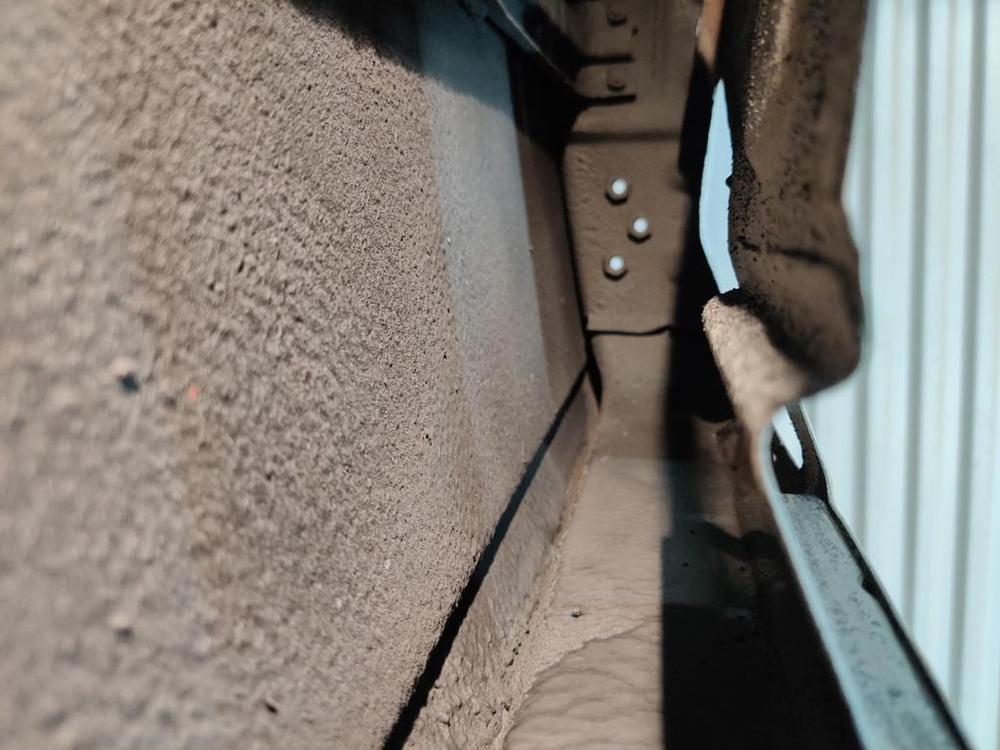
Jim, your car is just like mine. The entire bottom of the car has been coated from the factory with a black "undercoat". I'm not sure what to call it, as it isn't super rough in texture like the later cars. I also think some are referring to it as primer. You can clearly see that it was not sprayed in the area behind the fender that is behind the narrow panel that bolts to the inner fender and seals the back area. There is a little rubber flap attached to the bottom of that panel. If the car was not coated at all, the entire bottom would look like the area in the above pics where the cowl drain tube dumps out. The black coating and lack of texture there is noticeably different. The over spray is on top of the black "undercoat". Keep in mind that when the car was painted with color, all metal and fiberglass body parts (and nothing else) were bolted into place. The headlight opening in the headlight housings is a big hole for paint to come into the front wheel house, which explains the heavy coverage of over spray in that front area.
-
Restoration of BringaTrailer 240z - HLS30-35883
I happened to come across this pic while researching (again) pics of 901 silver. This picture illustrates what I am seeking to avoid the final look of the "belt" line of the car. High resolution pic available: When you examine the body line closely, you can see that it varies both in direction and in sharpness. At its origination point at the fender, it is a bit soft (instead of sharp). As you move your sight from there towards the back of the fender, the line sharpens and then softens at the rear fender edge. Moving onto the door, the first couple inches is soft and actually moved down. Then you can see the line move up and down along the door. That stuff is what I am looking to avoid.
-
Restoration of BringaTrailer 240z - HLS30-35883
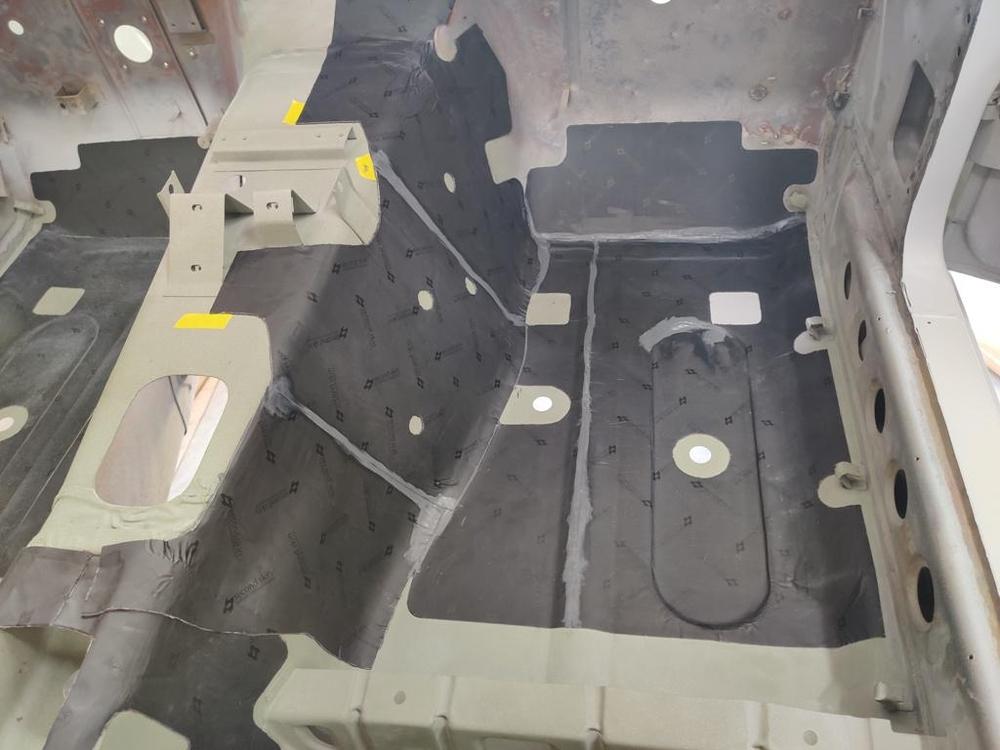
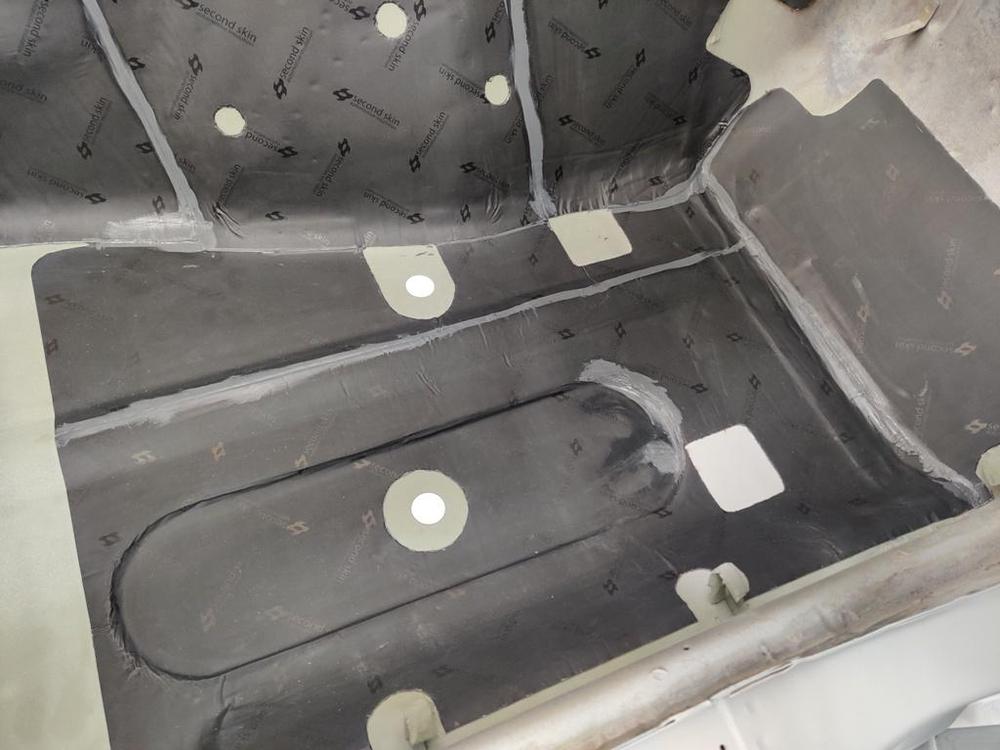
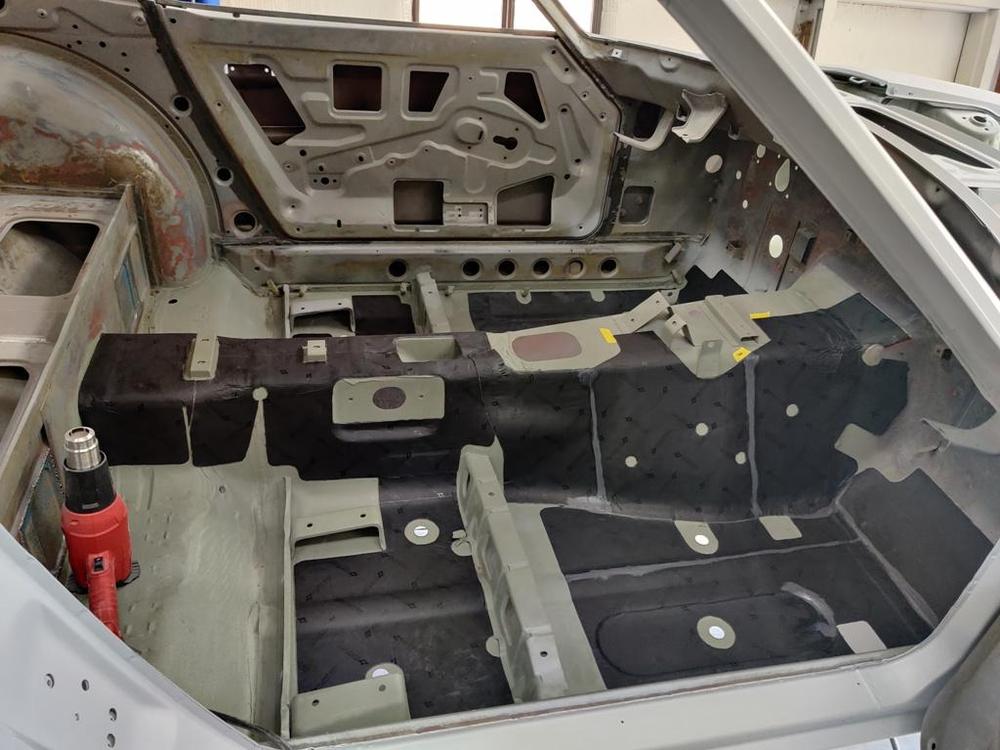
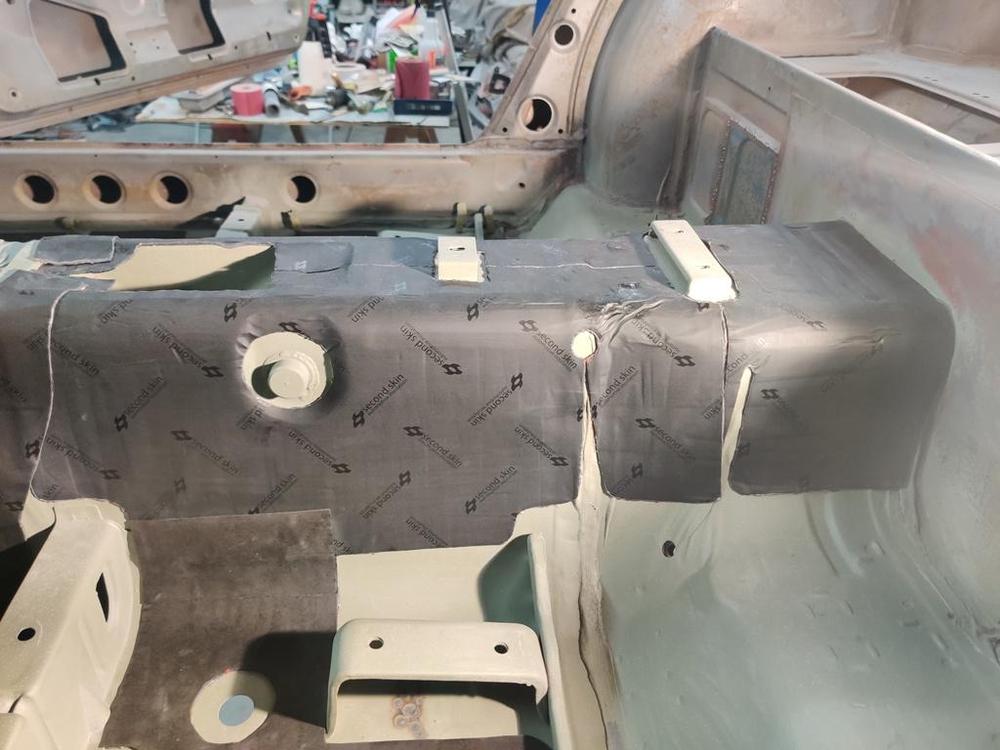
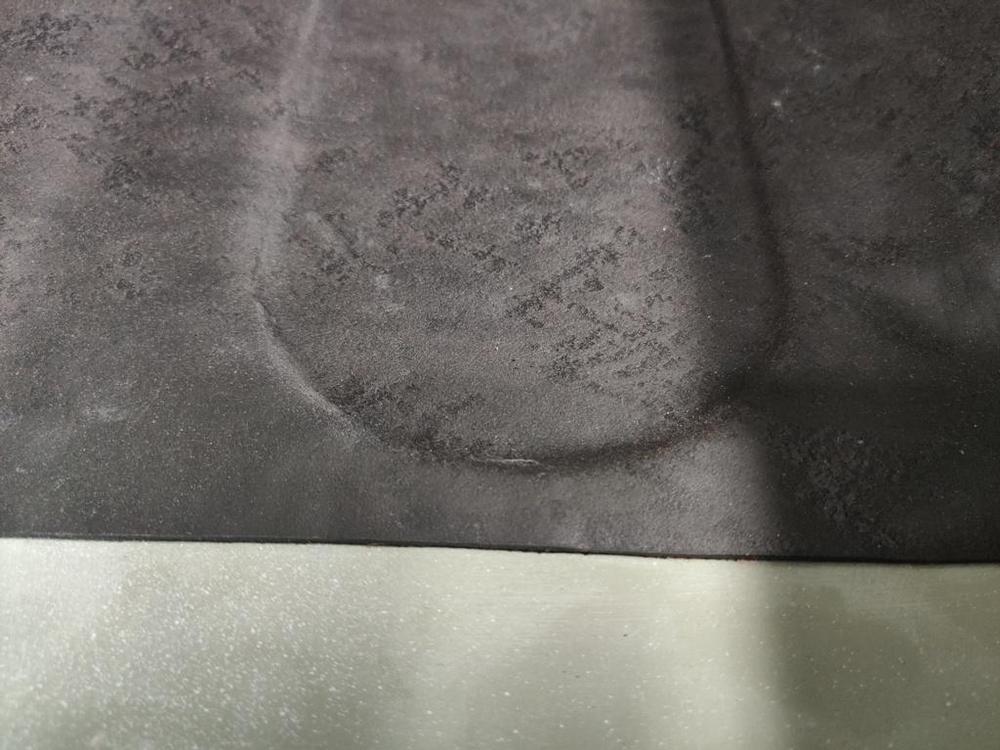
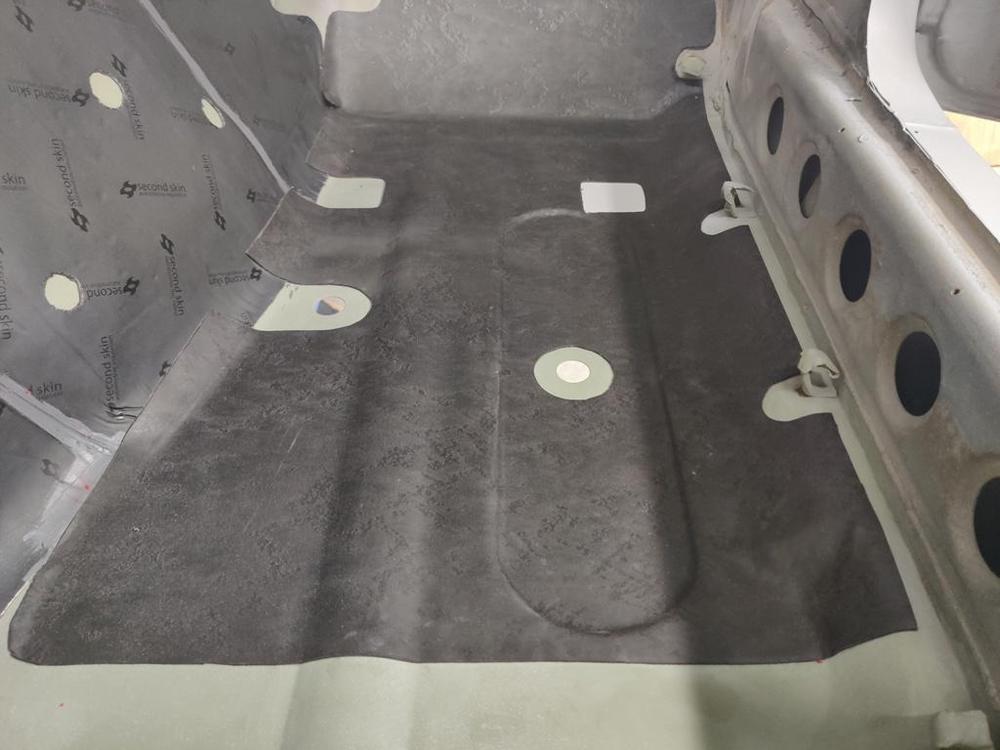
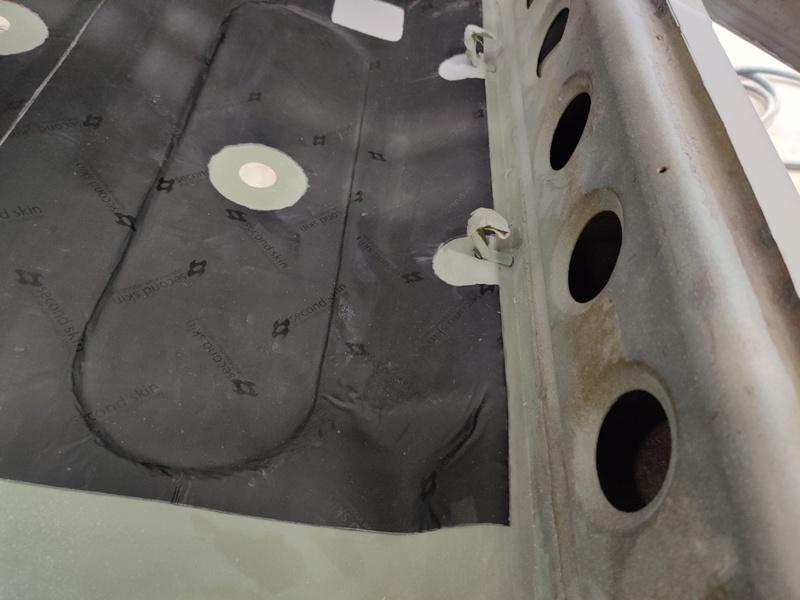
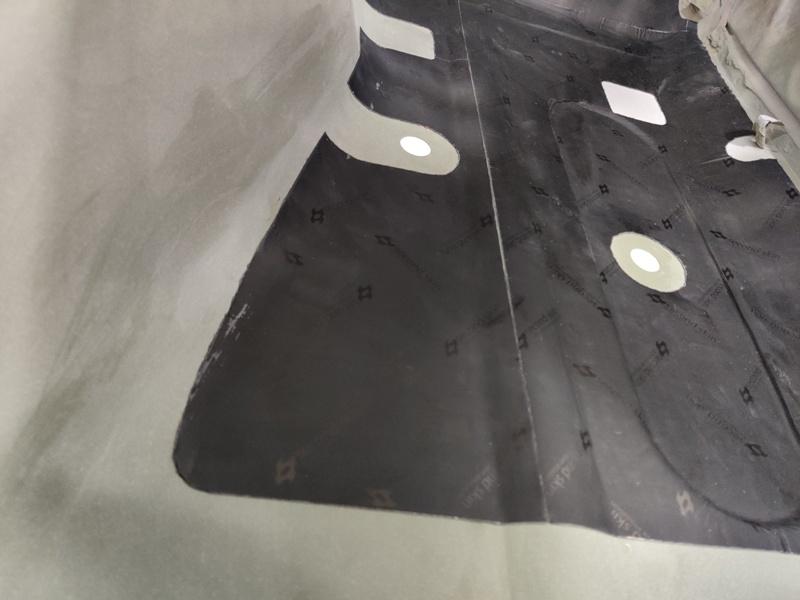
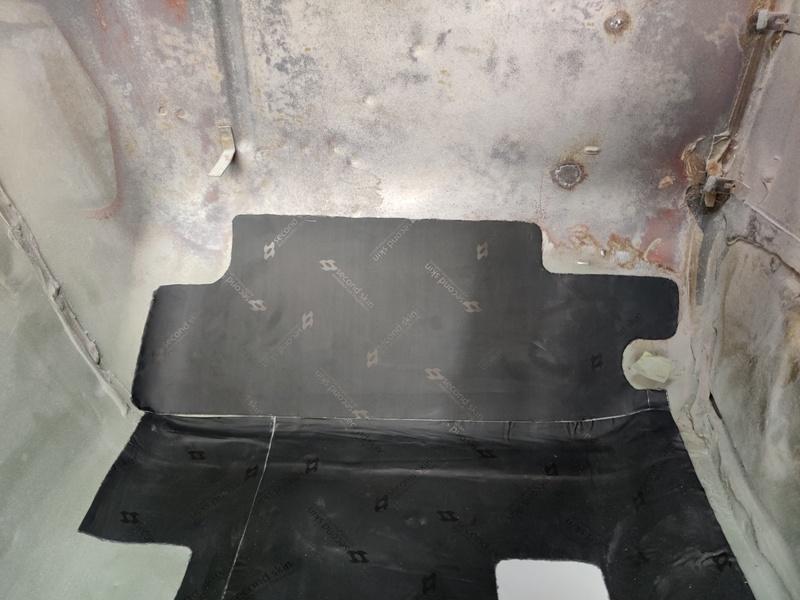
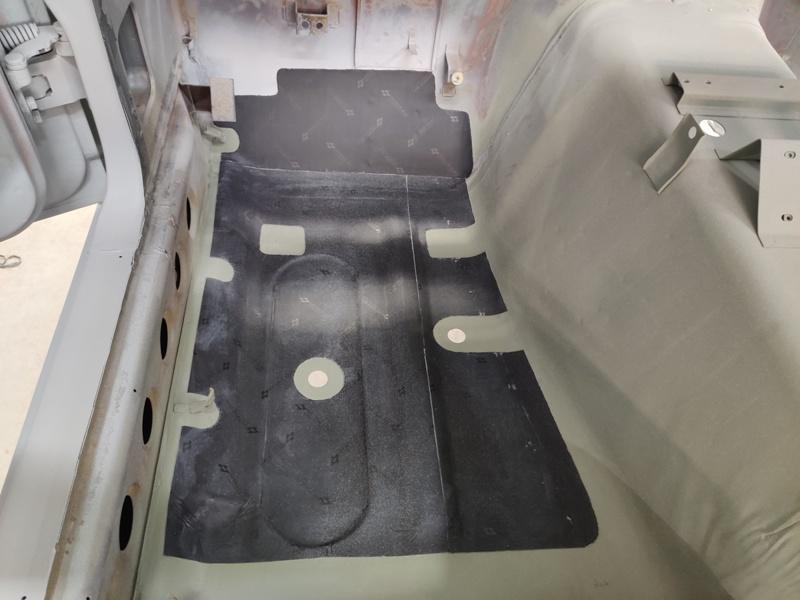
Hmmm. Good thought. It might be close. I continued with the sound deadening mat today. Unfortunately, one of my packets of OEM stuff had only one sheet inside instead of two like it was supposed to. Too late to do anything about that, as I have had it for maybe a year now. I will have to order another two pack and hope it is still available. Damplifier Second Skin being installed - seam sealer applied to crevices between individual pieces. I did not use the heat gun for these pieces as they have a thick foil layer on top. I used a roller with a hard rubber wheel to conform the sheets to the metal. OEM bitumen material put on top. You can see the difference as the logos are present on the foil, but obviously not on the OEM stuff. I cut the bitumen about a 1/16" of an inch larger than the pattern which ensures that the piece underneath doesn't show. The bitumen shapes nicely with the heat gun - looks better than the foil with the wrinkles.
-
Restoration of BringaTrailer 240z - HLS30-35883
I find myself looking at certain body lines and wondering exactly how they should look. For example, the "belt" line on the side of the car originates in close proximity to the front fender well. But how close? And how sharp should they be? Consulting earlier pics of fenders in bare metal gives me some idea, but my car had light impact damage to both front fenders that had to be straightened, so, I am not certain. Currently: This original paint car currently on BringaTrailer looks like a good reference car. This pic is a nice one, as the lighting is contrasting the above and below belt line nicely. Also, this area of the A-pillar needs to be done right. Light sand blasting of the original revealed this on the passenger side - the sharp line down the outside of the pillar appears to soften just before the top edge of the passenger fender: How it looks now - but I have seen pictures of other Z's that show this line stays sharper than this. Here are a couple that show this area "ok" (the same car on Bringatrailer.com): Anyone out there have an original paint car and who would be willing to take some detailed pics for me?
-
Restoration of BringaTrailer 240z - HLS30-35883
Nice. Someone should make the templates available on eBay. Mine are kind of "deduced" too much from the old paint lines - the original mats were installed prior to painting the car at the factory. It would be better to have templates made directly from the original bitumen before it is removed.
-
Restoration of BringaTrailer 240z - HLS30-35883
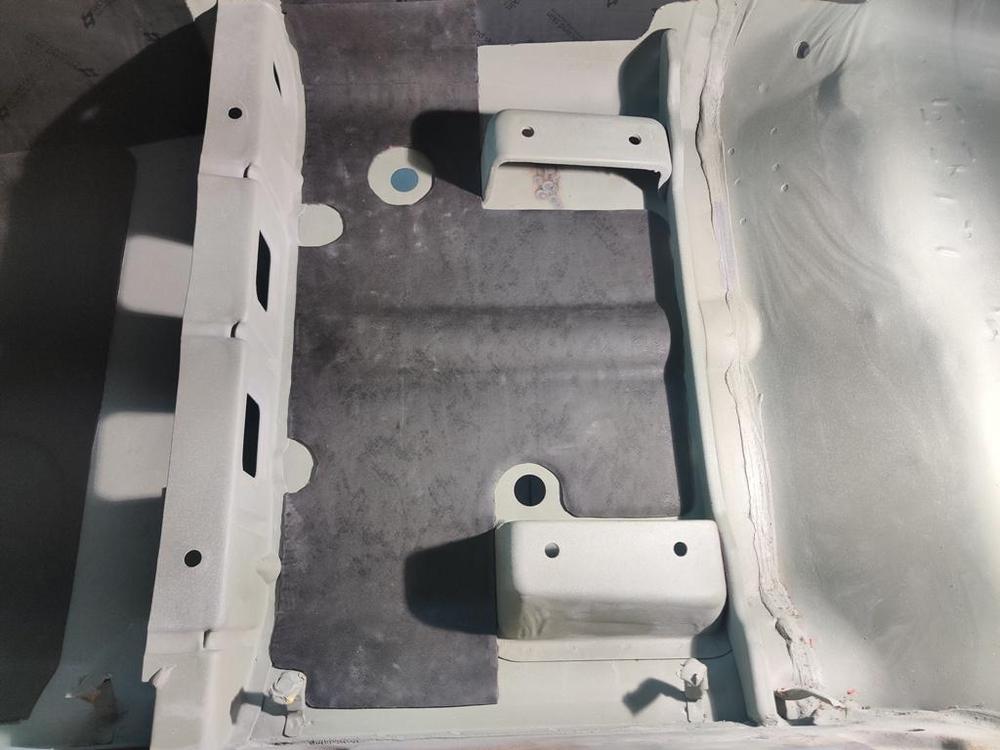
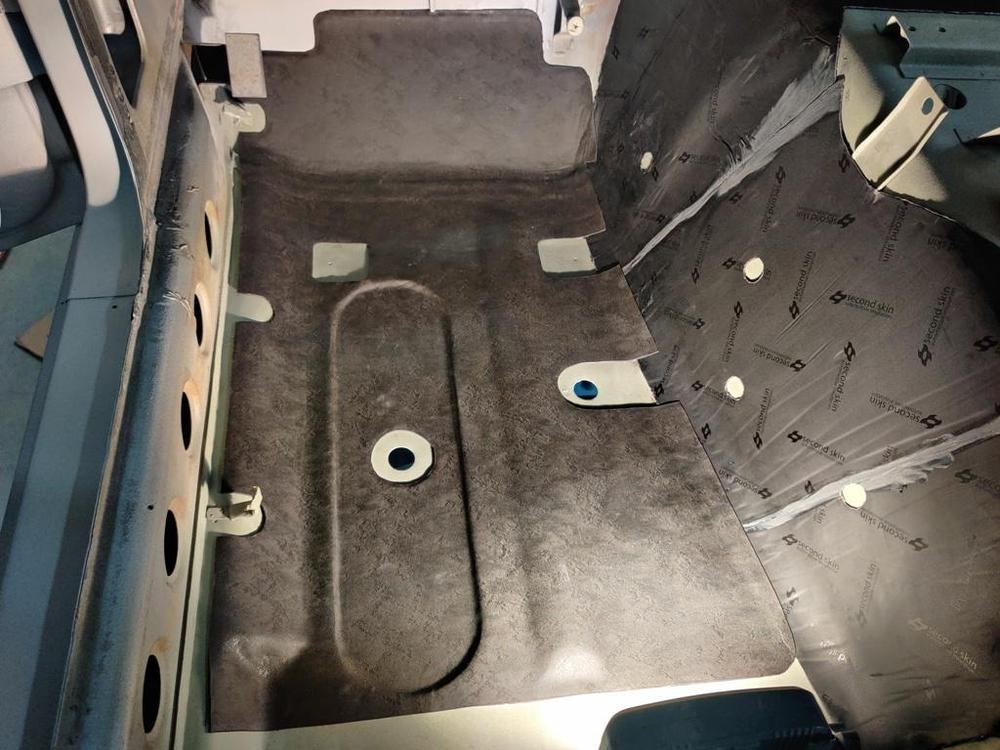
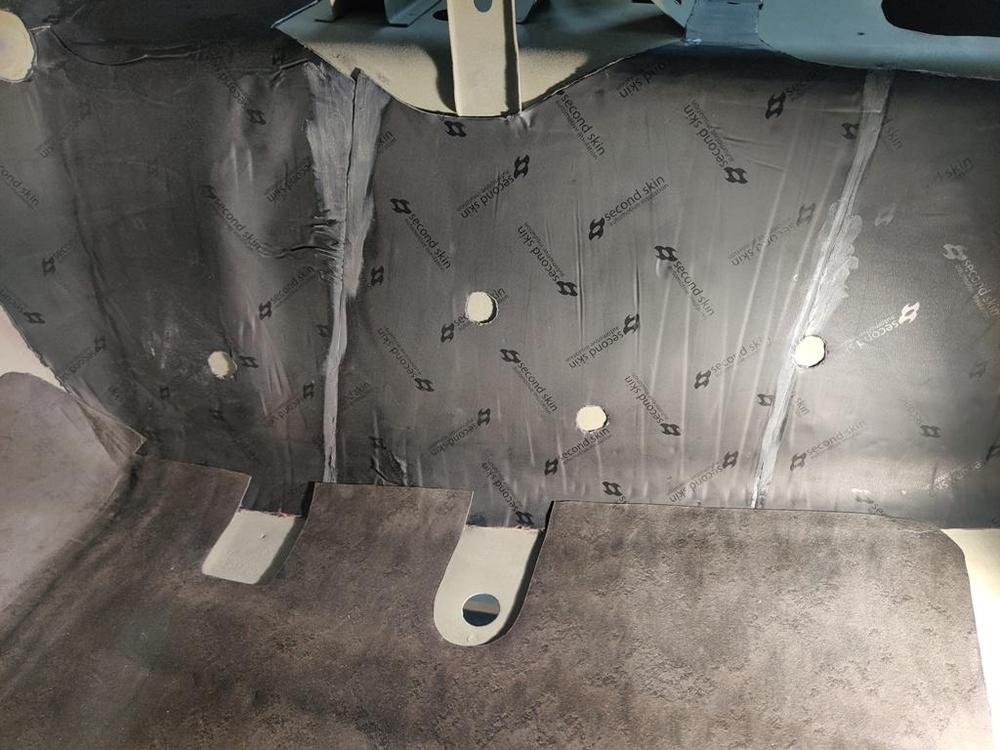
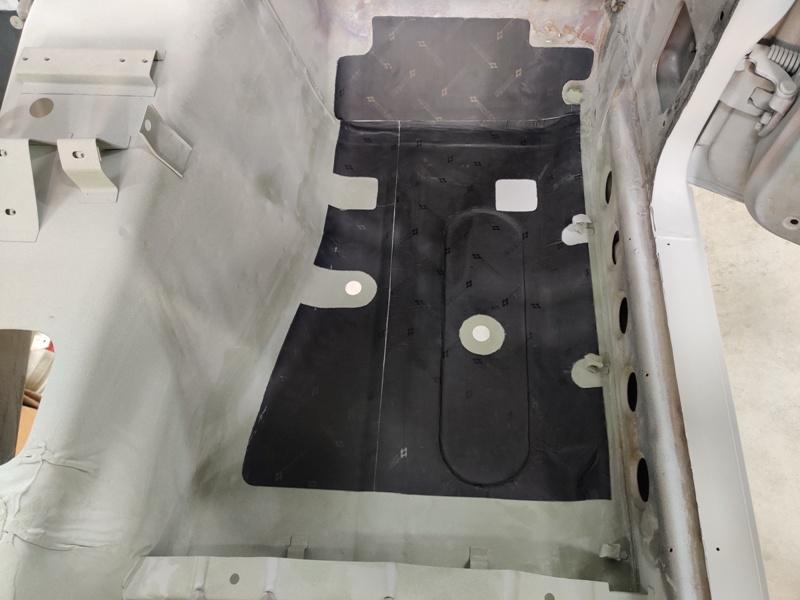
Starting to put in the sound deadening which I cut from the patterns I made. First layer of sound deadening material (standard Second Skin) has been installed on the front floor sections. I did buy the 1 mm version for the floors, so that the thickness after installation of the OEM stuff over top of these pieces will be closer to original: The floor (inside) has been sandblasted, straightened and sprayed with Glasurit 801-703 chromated epoxy primer. I will be applying seam sealer to the edge of this matting (and to the seams/gaps between the individual pieces used) after I install the OEM bitumen material on top. Then I will spray with a coat or two of primer in preparation for paint which will be done by at the same time as the outside of the car (same color). Hope it looks like factory when I am done.
-
Photoshoot of Diseazd 72 Z
Are you at stock height with the car? The ST springs I have will lower it about 1.5 inches I believe. But that is nice to know. Your pics show an incredibly nice paint job in my opinion. I hope the paint on the car I am restoring comes out that nice. I actually decided those would be the wheels I went with a while back, but I keep rethinking. Seems like a very nice wheel especially for the money: Konig Rewind Graphite 16x7 Wheel Kit, 70-85 - four wheels which come with center caps, stems and lug nuts for $474!!!! plus shipping... The Panasports cost $1300 for four plus $110 for shipping and come with center caps and lug nuts. Quite the difference. Glad I bought the Panasport C8's for my track car like 20 years ago - can't imagine what they would cost now. Don't want to jack the thread... again super pics of your Dad's car, Diseazd! Garrett
-
Photoshoot of Diseazd 72 Z
Nice pics! Nice car! Are those 16 X 7 wheels? What size tire? I was told by ZcarSource today that those wheels would likely require fender rolling. I am planning to run Suspension Techniques blue springs and didn't even begin to think Panasport 16 X 7's would rub. Appreciate any insight you can provide there.
-
It's come a LONG way...
Looks great! That silver looks more original to me than most. Do you know the paint brand that was used? And would you be able to get the code for that manfacturer's 901 silver?


 Subscriber
