Site will be going down for maintenance today

siteunseen
Free Member
-
Joined
-
Last visited
Everything posted by siteunseen
-
 Another question. To static time? my dizzy I should put the pointer on the 10 degree BTDC mark on the pulley. Then rotate the cap until the #1 mark on the cap lines up with the center of the rotor button. I can take a Sharpie and transfer the caps #1 line onto the body of the dizzy and turn until the button lines up with the Sharpie mark, no? Thanks for any help, I'm done lubricating the small stuff for today and am having trouble typing this as I've become blinder. "Where's my only cigarette?"
 -
I agree with Jonathan and from recent experience I can add another thought. I rebuilt my 2.4 then it sat for about 9 months on an engine stand. The thought of new rings on the newly honed cylinder walls got me thinking about turning the motor over without the rings being seated. The walls have very fine ridges that should be worn down to match the rings during break-in, not turning the motor with a ratchet and socket. They'll also get a slight bit of flash rust My $.02
-
Congratulations! I'm not too far behind.
-
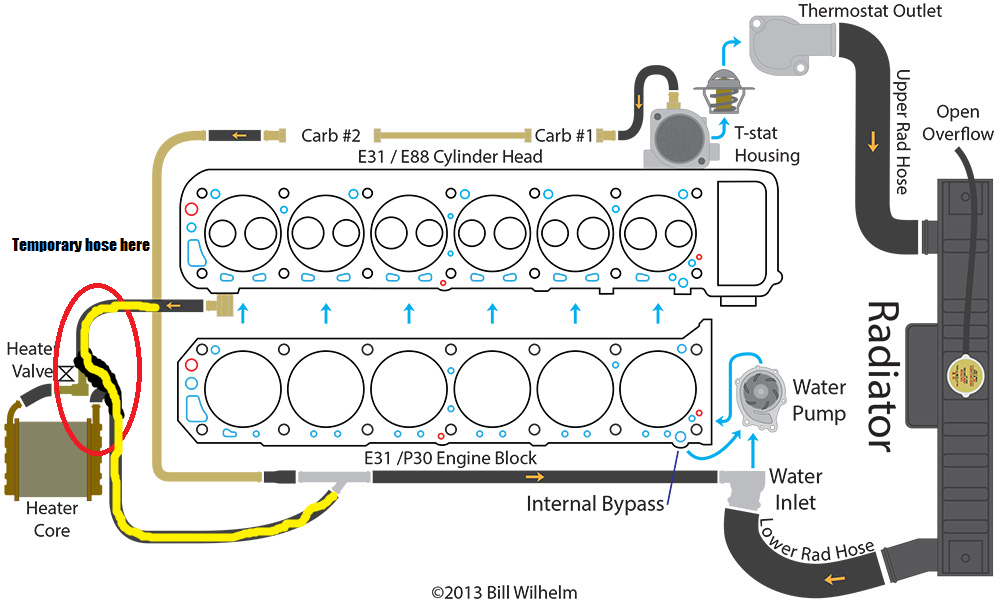
Could I run a temporary hose from the cylinder head to the hose below the spark plugs, bypassing my heater core until I can get the hoses and valve replaced? That way I think it would flow less through the carbs and have some circulation at the back of the head. Anybody have any thoughts on doing it this way? The yellow marking would be one hose. Thanks.
-
Captain, I'm over here!
-
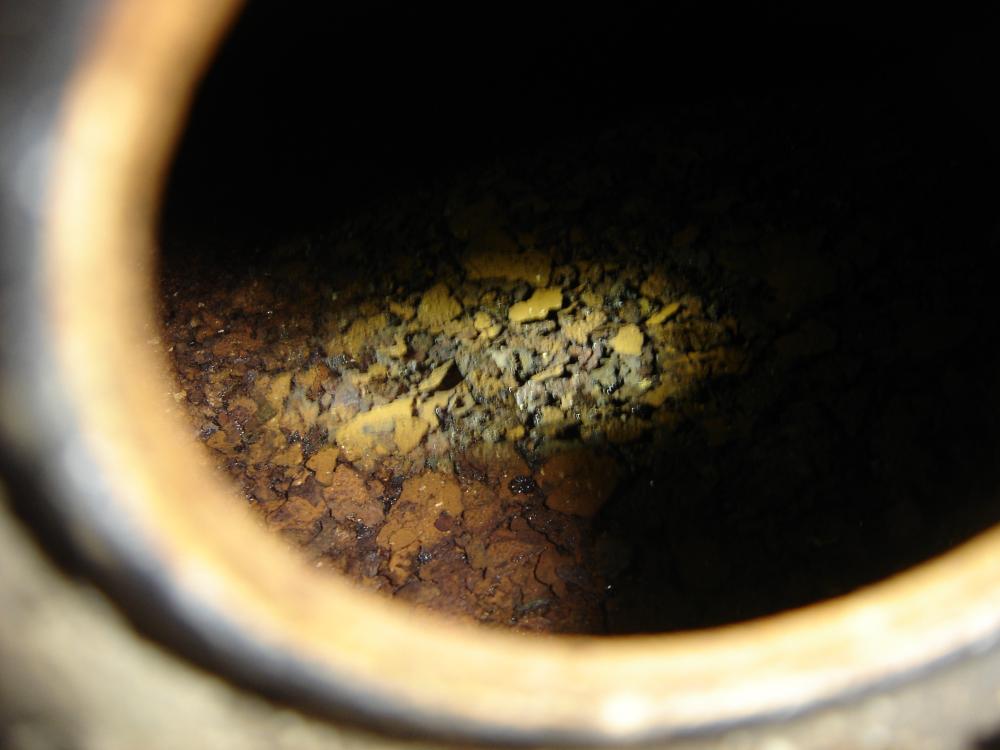
I read this a few times,http://atlanticz.ca/zclub/techtips/fuel/gastank/index.htm Then this, http://www.damonq.com/techsheets/red-kote.pdf Made a list and order of the steps, the acid and the liner are time sensitive, beforehand. If you have everything lined up and ready to use it's pretty easy. The first one I did, I had know idea what to expect and wound up getting a little flustered. The 2nd one was kinda fun. Just playing, it's not fun using acid in the heat of the summer.
-
Did this end up working? @grannyknot
-
I need that hoist this morning to get out of bed. I've been crawling all over that car. This part is fun though, I get to dress it up and lubricate all the small stuff.
-
I'd take the fronts if you're selling them as complete sets. Greg and I could work out the details. Thanks Chas, they look great and you made them. Winners all around.
-
It doesn't give me the "camera" option! And I've had to sign in 2 or 3 times since installing it. Had to dig out my file showing the pword. Working out the bugs I'm sure, I'll wait another day or so.
-
-
That's my concern with vatting them. Same chemicals they use for radiators, not as strong and dirty. Probably leaves a film too that the liner won't adhere to as well. My .02 cents. 8^)
-
I apologize for sounding arrogant, I didn't mean to. I got all my instructions from Blue's Tech Tips on how to clean it with acid. Then the red kote instructions are on the internet. $30 for a quart of liner. $10 for a gallon of muratic acid and $10 for a quart of denatured alcohol. You need at least 4 five gallon buckets and a $.50 lb of baking soda. I have a leaf blower that helped speed things up. Sent from my SM-S765C using Classic Zcar Club mobile app
-
You can buy the stuff and do it yourself, I did, for $50 and a Saturday afternoon. When I bought the car, After a muriatic acid sloshing, After Red-Kote, I have clear glass filters on the two cars I've done and have never seen anything that looks pink or red. The Red Kote needs to cure for at least a week, until the smell goes away plus a couple of extra days.

-
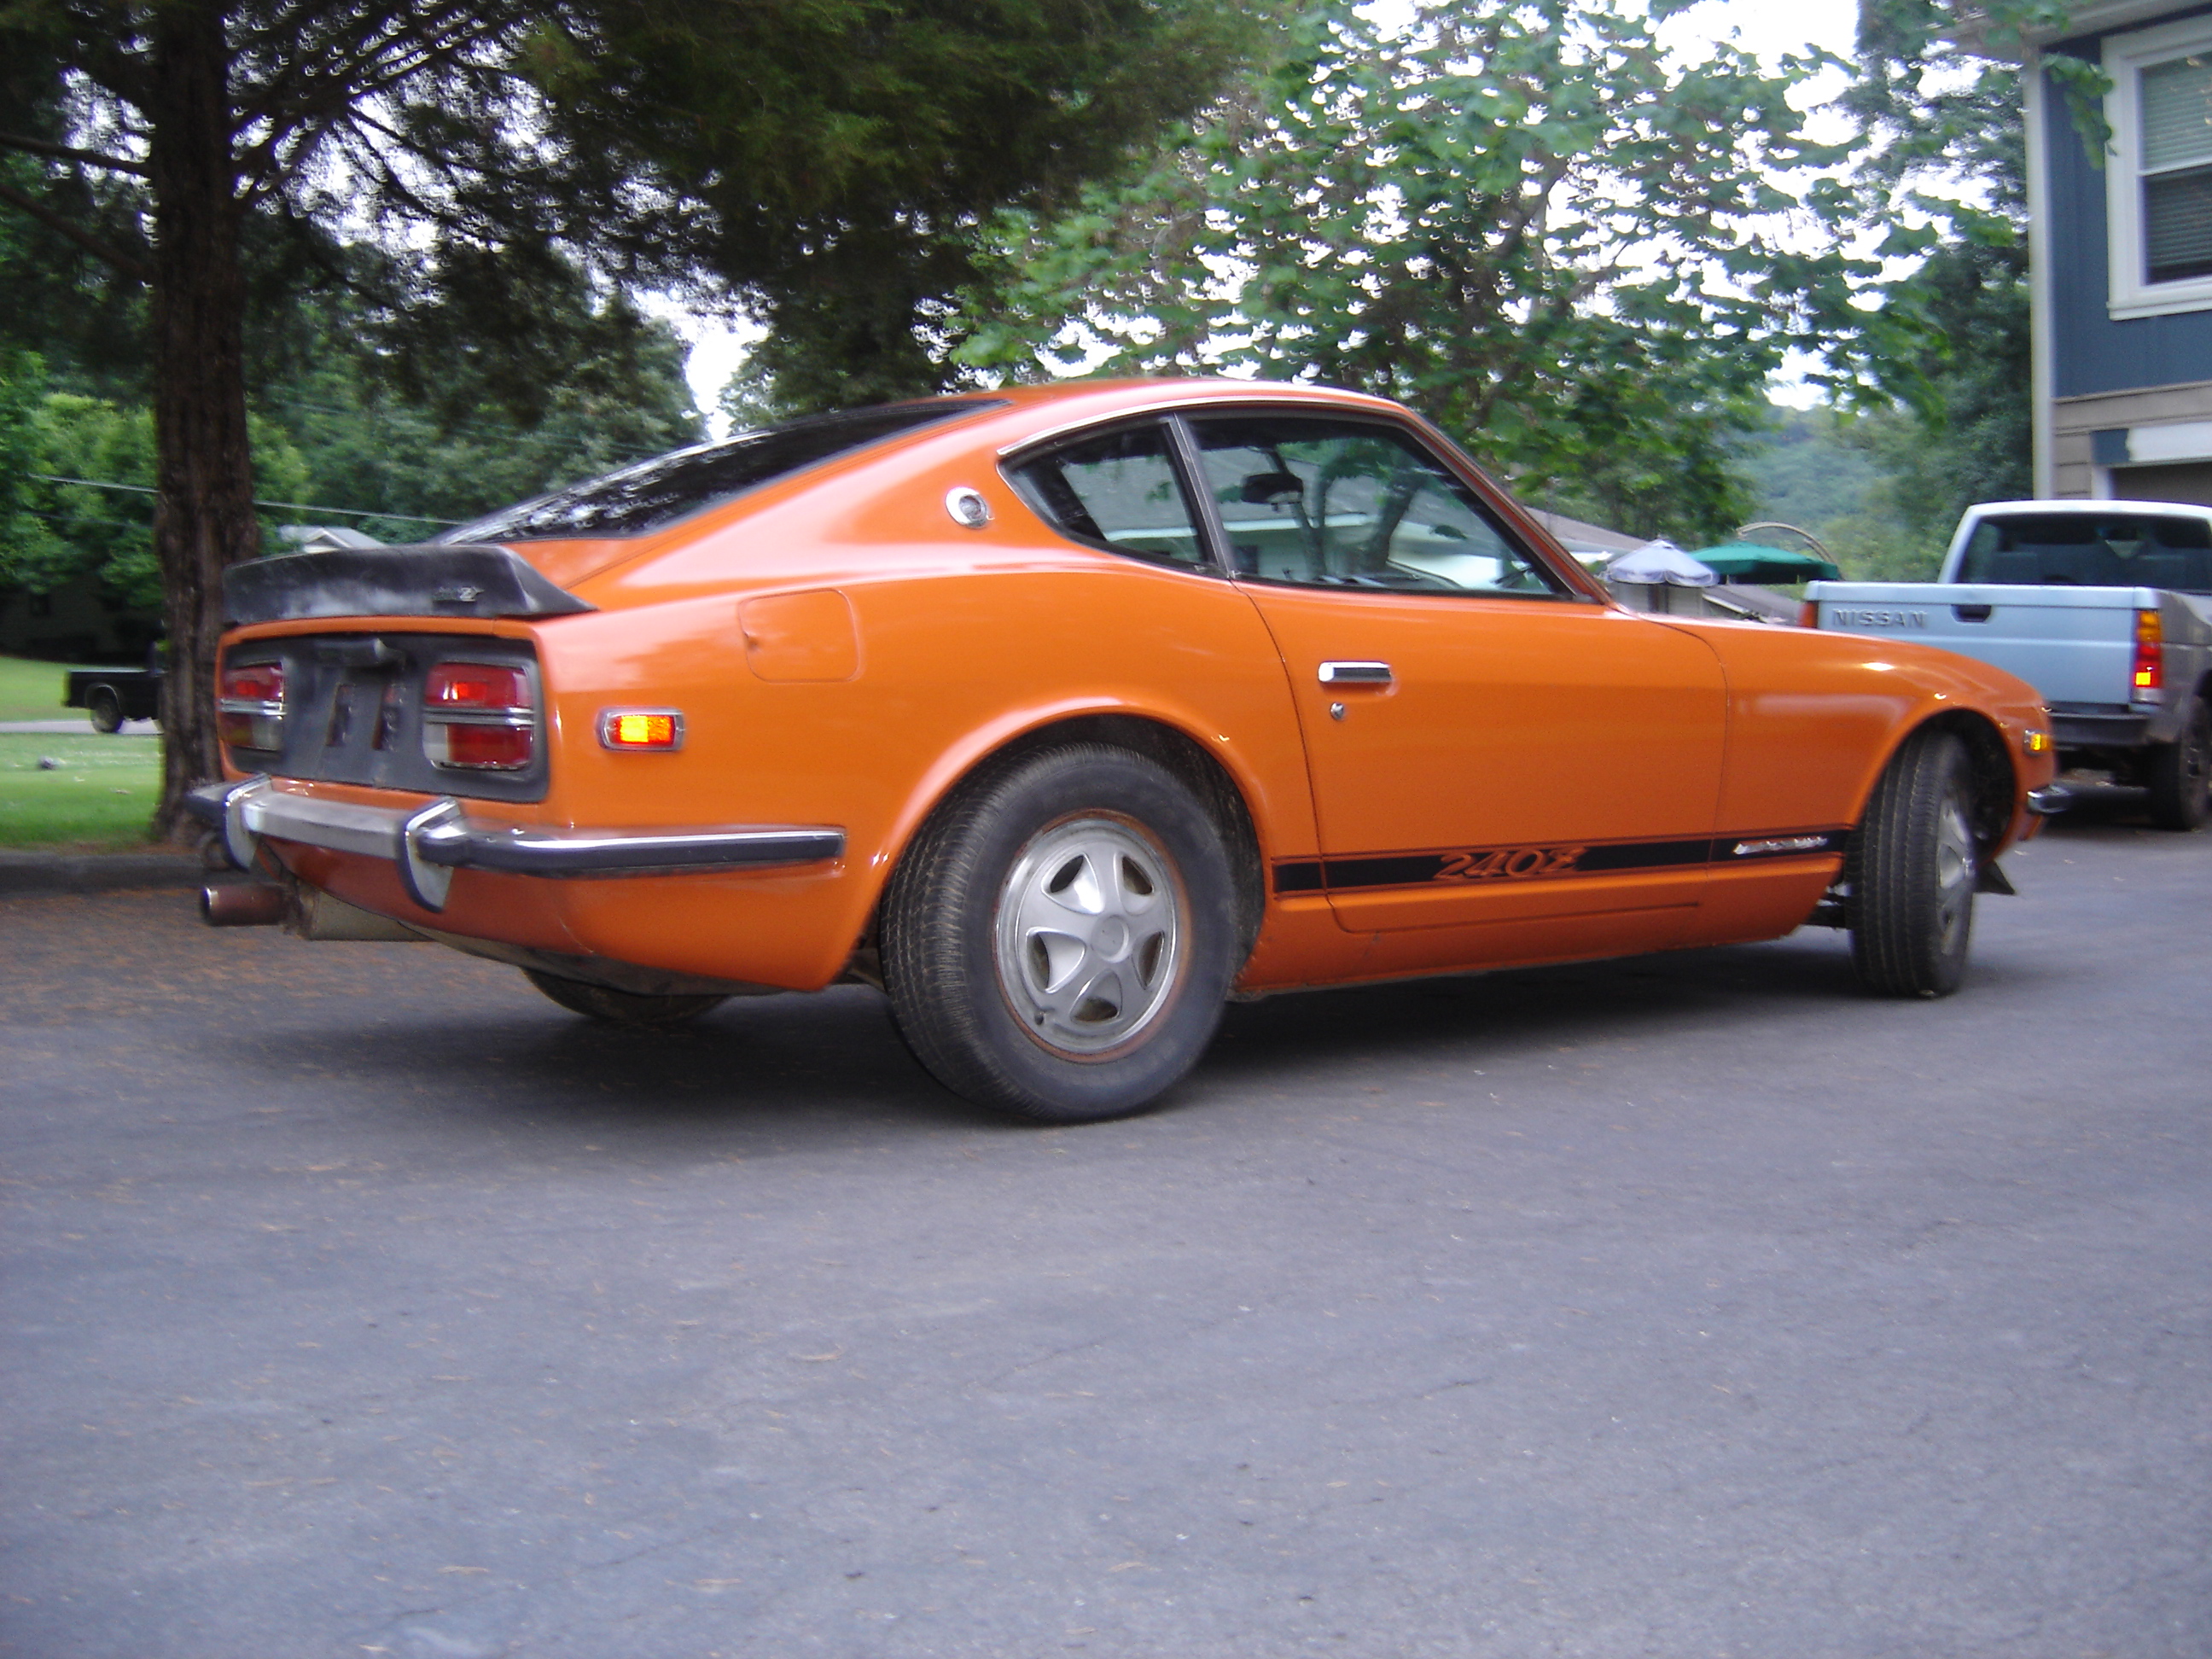
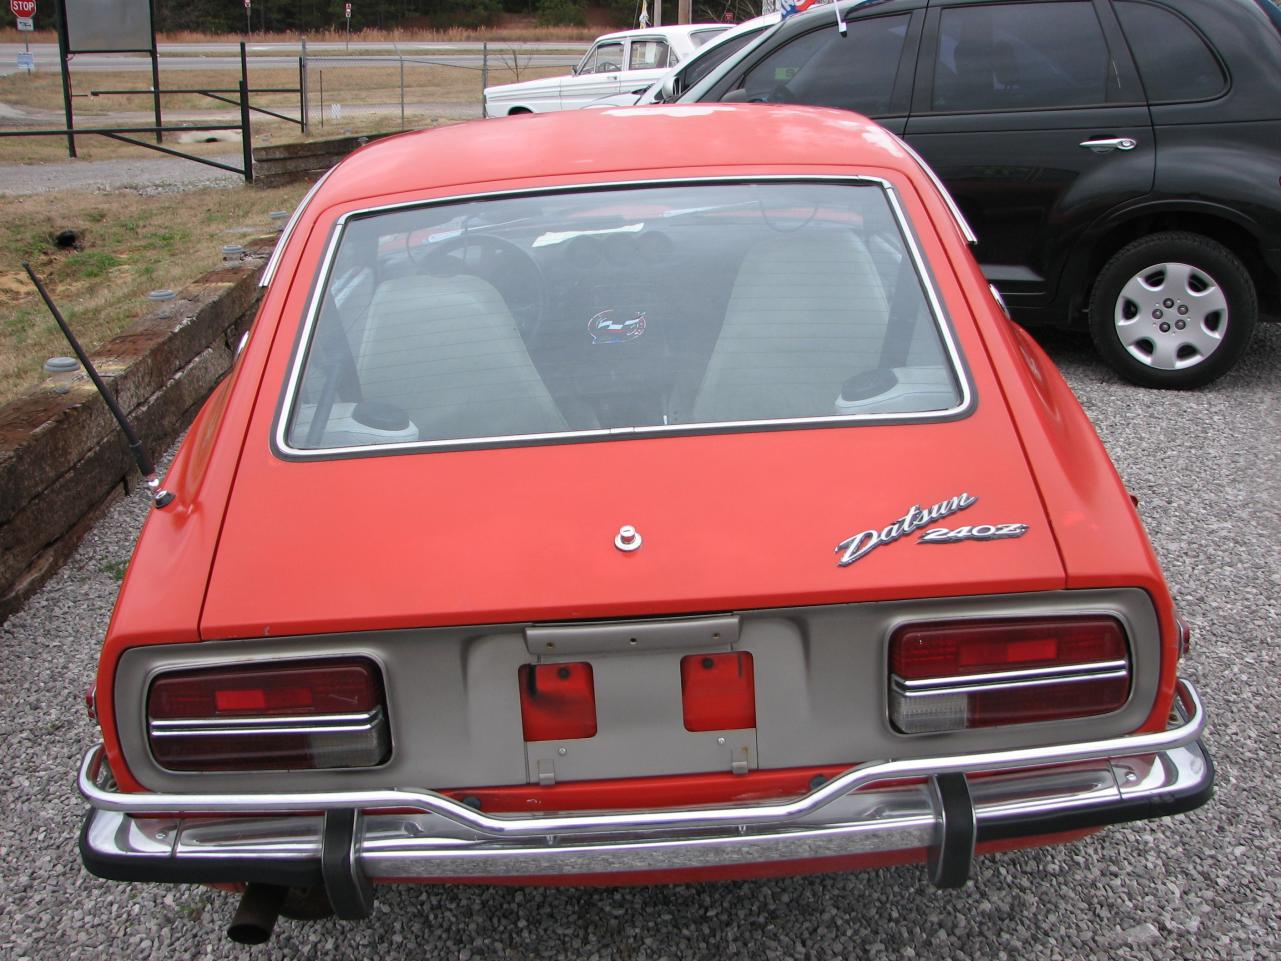
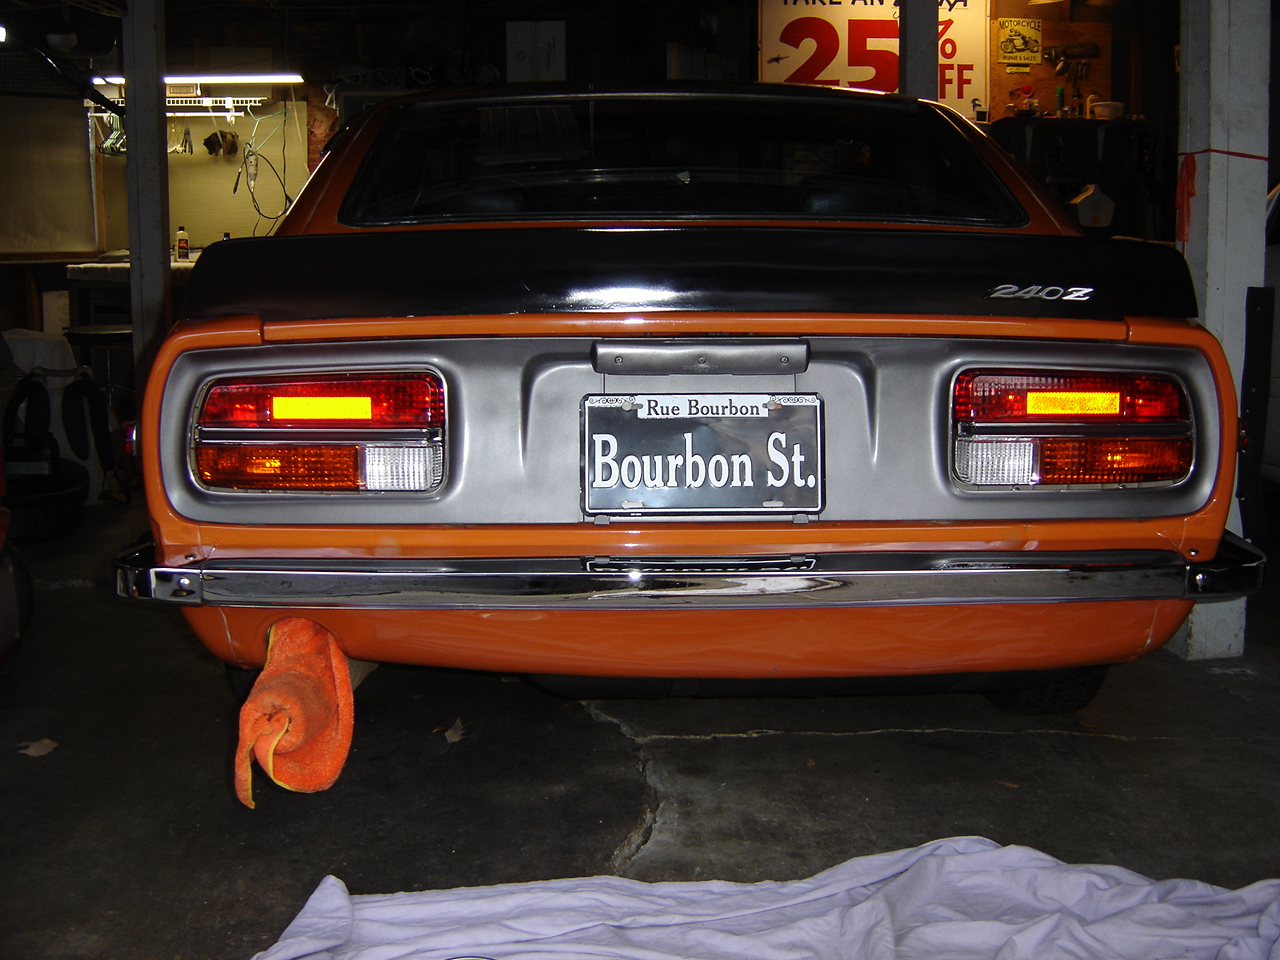
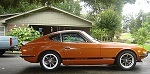
I painted mine back to the graphite color when I bought it. It was painted black as was the finisher. I've always thought the dealership did it when they put the black rocker stripes and the black spoilers on. The reason for thinking that is behind the tag is the only part of the car that's painted black, like they didn't pull the finisher off. Just taped off the lights and stainless strip and sprayed it with no tag. My other 240 is the body color behind the tag, not black. I think that metal is to keep the bulbs from melting the clear lenses, my guess. Here's a picture from the day I got it home. You can see the black where the tag holder is. Here's the other one;


-
I have ser. # 69,000 something or the other, early '72, that does not have that knob.
-
The only other time I've used it to reinstall an engine was my 280, about 3 years ago. I put the leveler in the middle and had that big front bumper on there. It took me and my Dad, my next door neighbor and his father-in-law to push and pull that thing into place. I see now why I was so anxious about doing this one alone. But I know now to ask the group, everybody's got a trick or two, for the easiest way.
-
I lost my point to the OP. I totally agree with 26thZ, this paint has some glittery looking particules that will sag together if you hold it vertically. They'll pool together if you do too heavy of a coat laying flat. Very light coats with the piece laying flat. If I ever do another one. 8^) Sent from my SM-S765C using Classic Zcar Club mobile app
-
That's funny you mention that! I bet I sanded and painted that finisher panel 3 or 4 times until I was happy enough with it. Then when I sprayed the clear matte finish to knock the sheen down, it blended in and turned even better. The camera shows more reflection than in person. It really looks like a suede finish to me. I did the front grille the same way. Both cans were probably $15 or so. You need to tape off the stainless/chrome looking strip around it too. If you take it off, the bottom is held in place with built in clips on the car under the taillights. Easy job that helps the looks in my opinion, front grille and rear light finisher. Sent from my SM-S765C using Classic Zcar Club mobile app
-
I almost put my impact wrench on there but I was nervous enough already. I also used two hoist handles. One for the valve and a seperate one for jacking up. It's sure nice getting my garage back in order. [emoji122]
-
You might make a couple hundred parting that one out if you could get it for $1,000. [emoji104] [emoji15] [emoji90] [emoji126] [emoji133] Sent from my SM-S765C using Classic Zcar Club mobile app
-
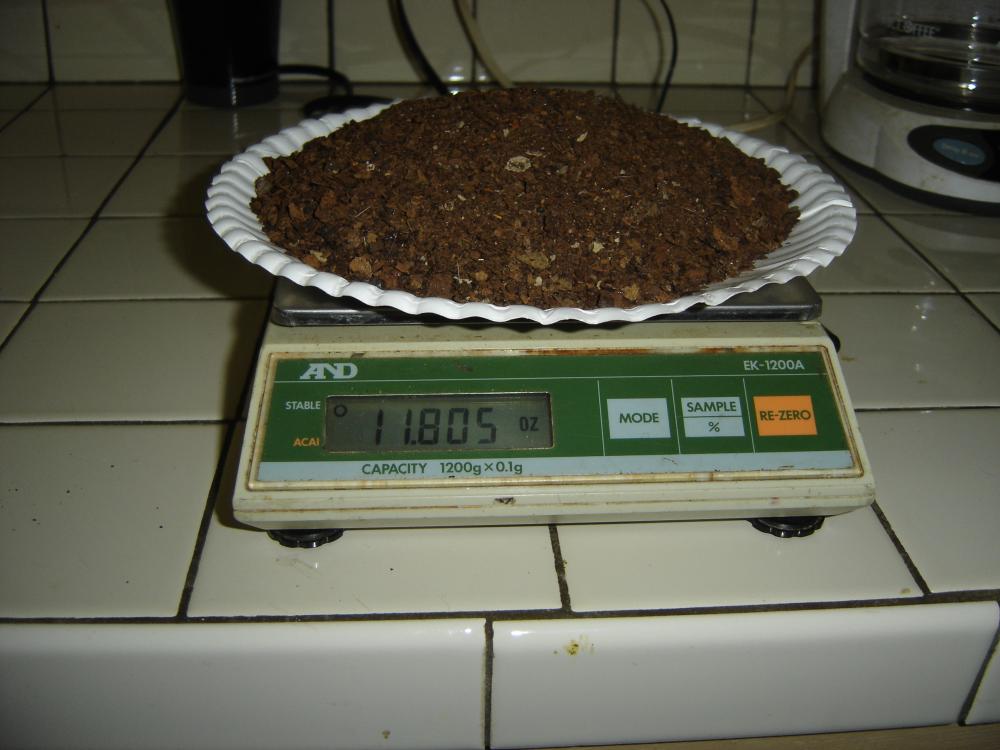
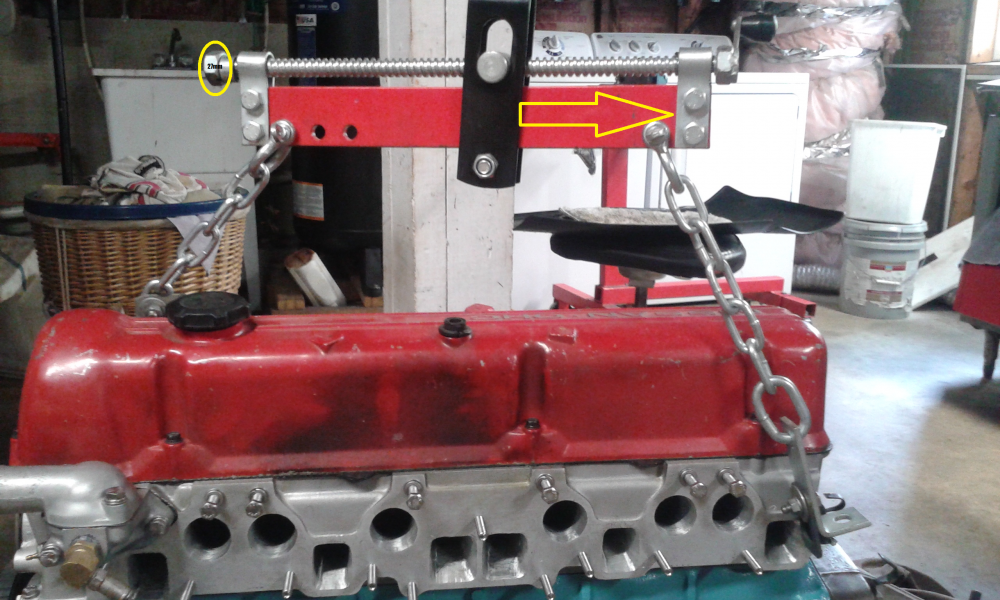
Just to let everyone know, the way that worked for me was to have the "fulcrum" part of the leveler as far back towards the transmission then level the whole assembly with the chains. My little handle on the fulcrum got pretty tough to turn and had to be bent out to keep from hitting the chain, luckily the opposite end just has a nut. And I got lucky again! That nut is the same as the crank nose bolt, 27mm. So I used a ratchet and that socket to smoothly lower the tranny down then back up.
-
-
I did exactly what Rossi says and love the sound. Quietened it down and did away with the constant speed drone on the interstate. $40 at local pop and two sons.
-
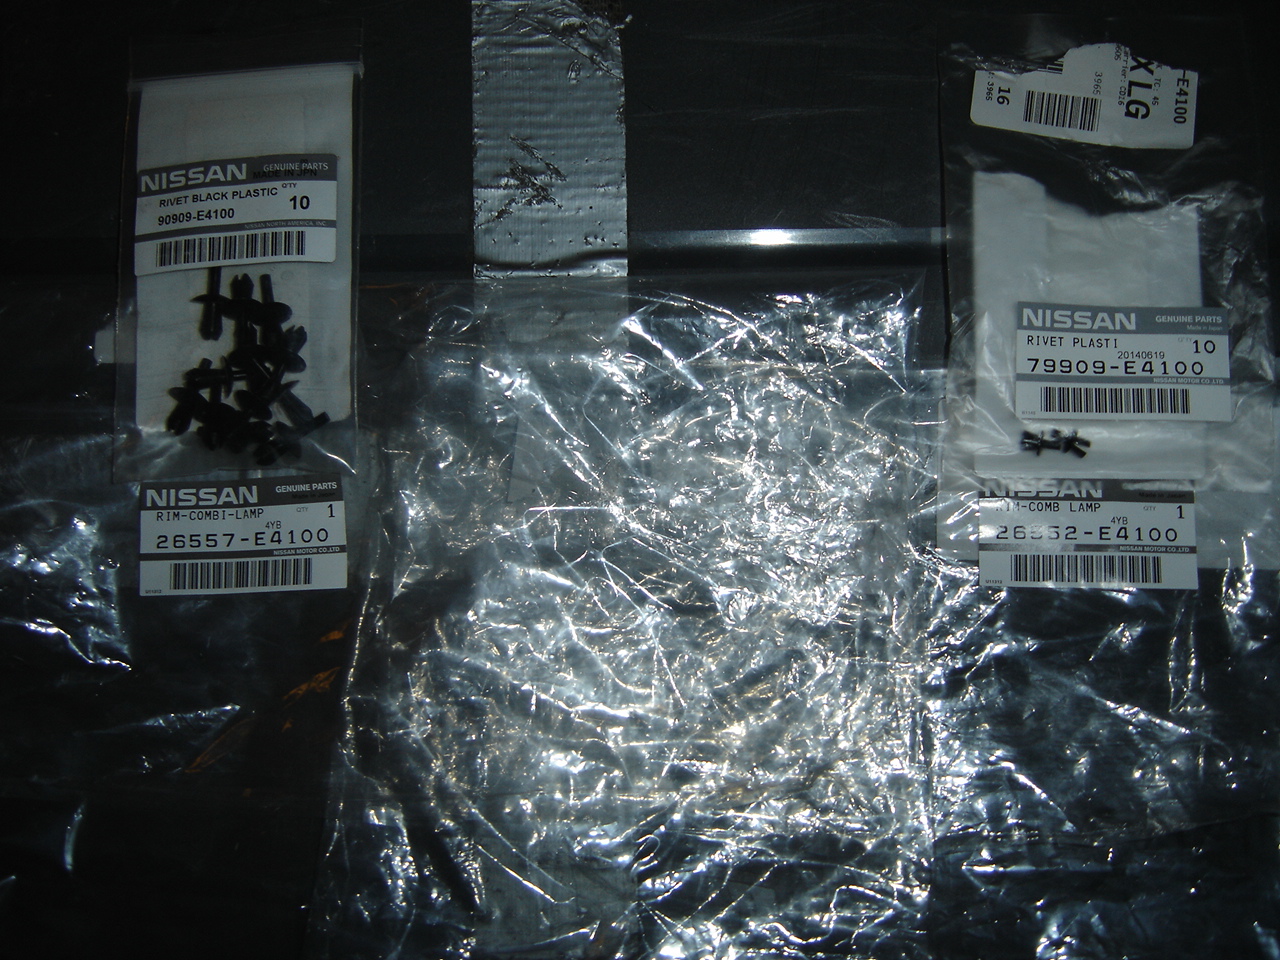
If you do it right and remove the rear finisher you'll need two different size push pins. The big ones on top and two smalls behind the tag. You may be able to reuse the old ones if you're careful and able to find the center pins. Those on top are hard to find. I've got both style Nissan part numbers at home, if you need them let me know.