Site will be going down for maintenance today

motorman7
 Subscriber
-
Joined
-
Last visited
Everything posted by motorman7
-
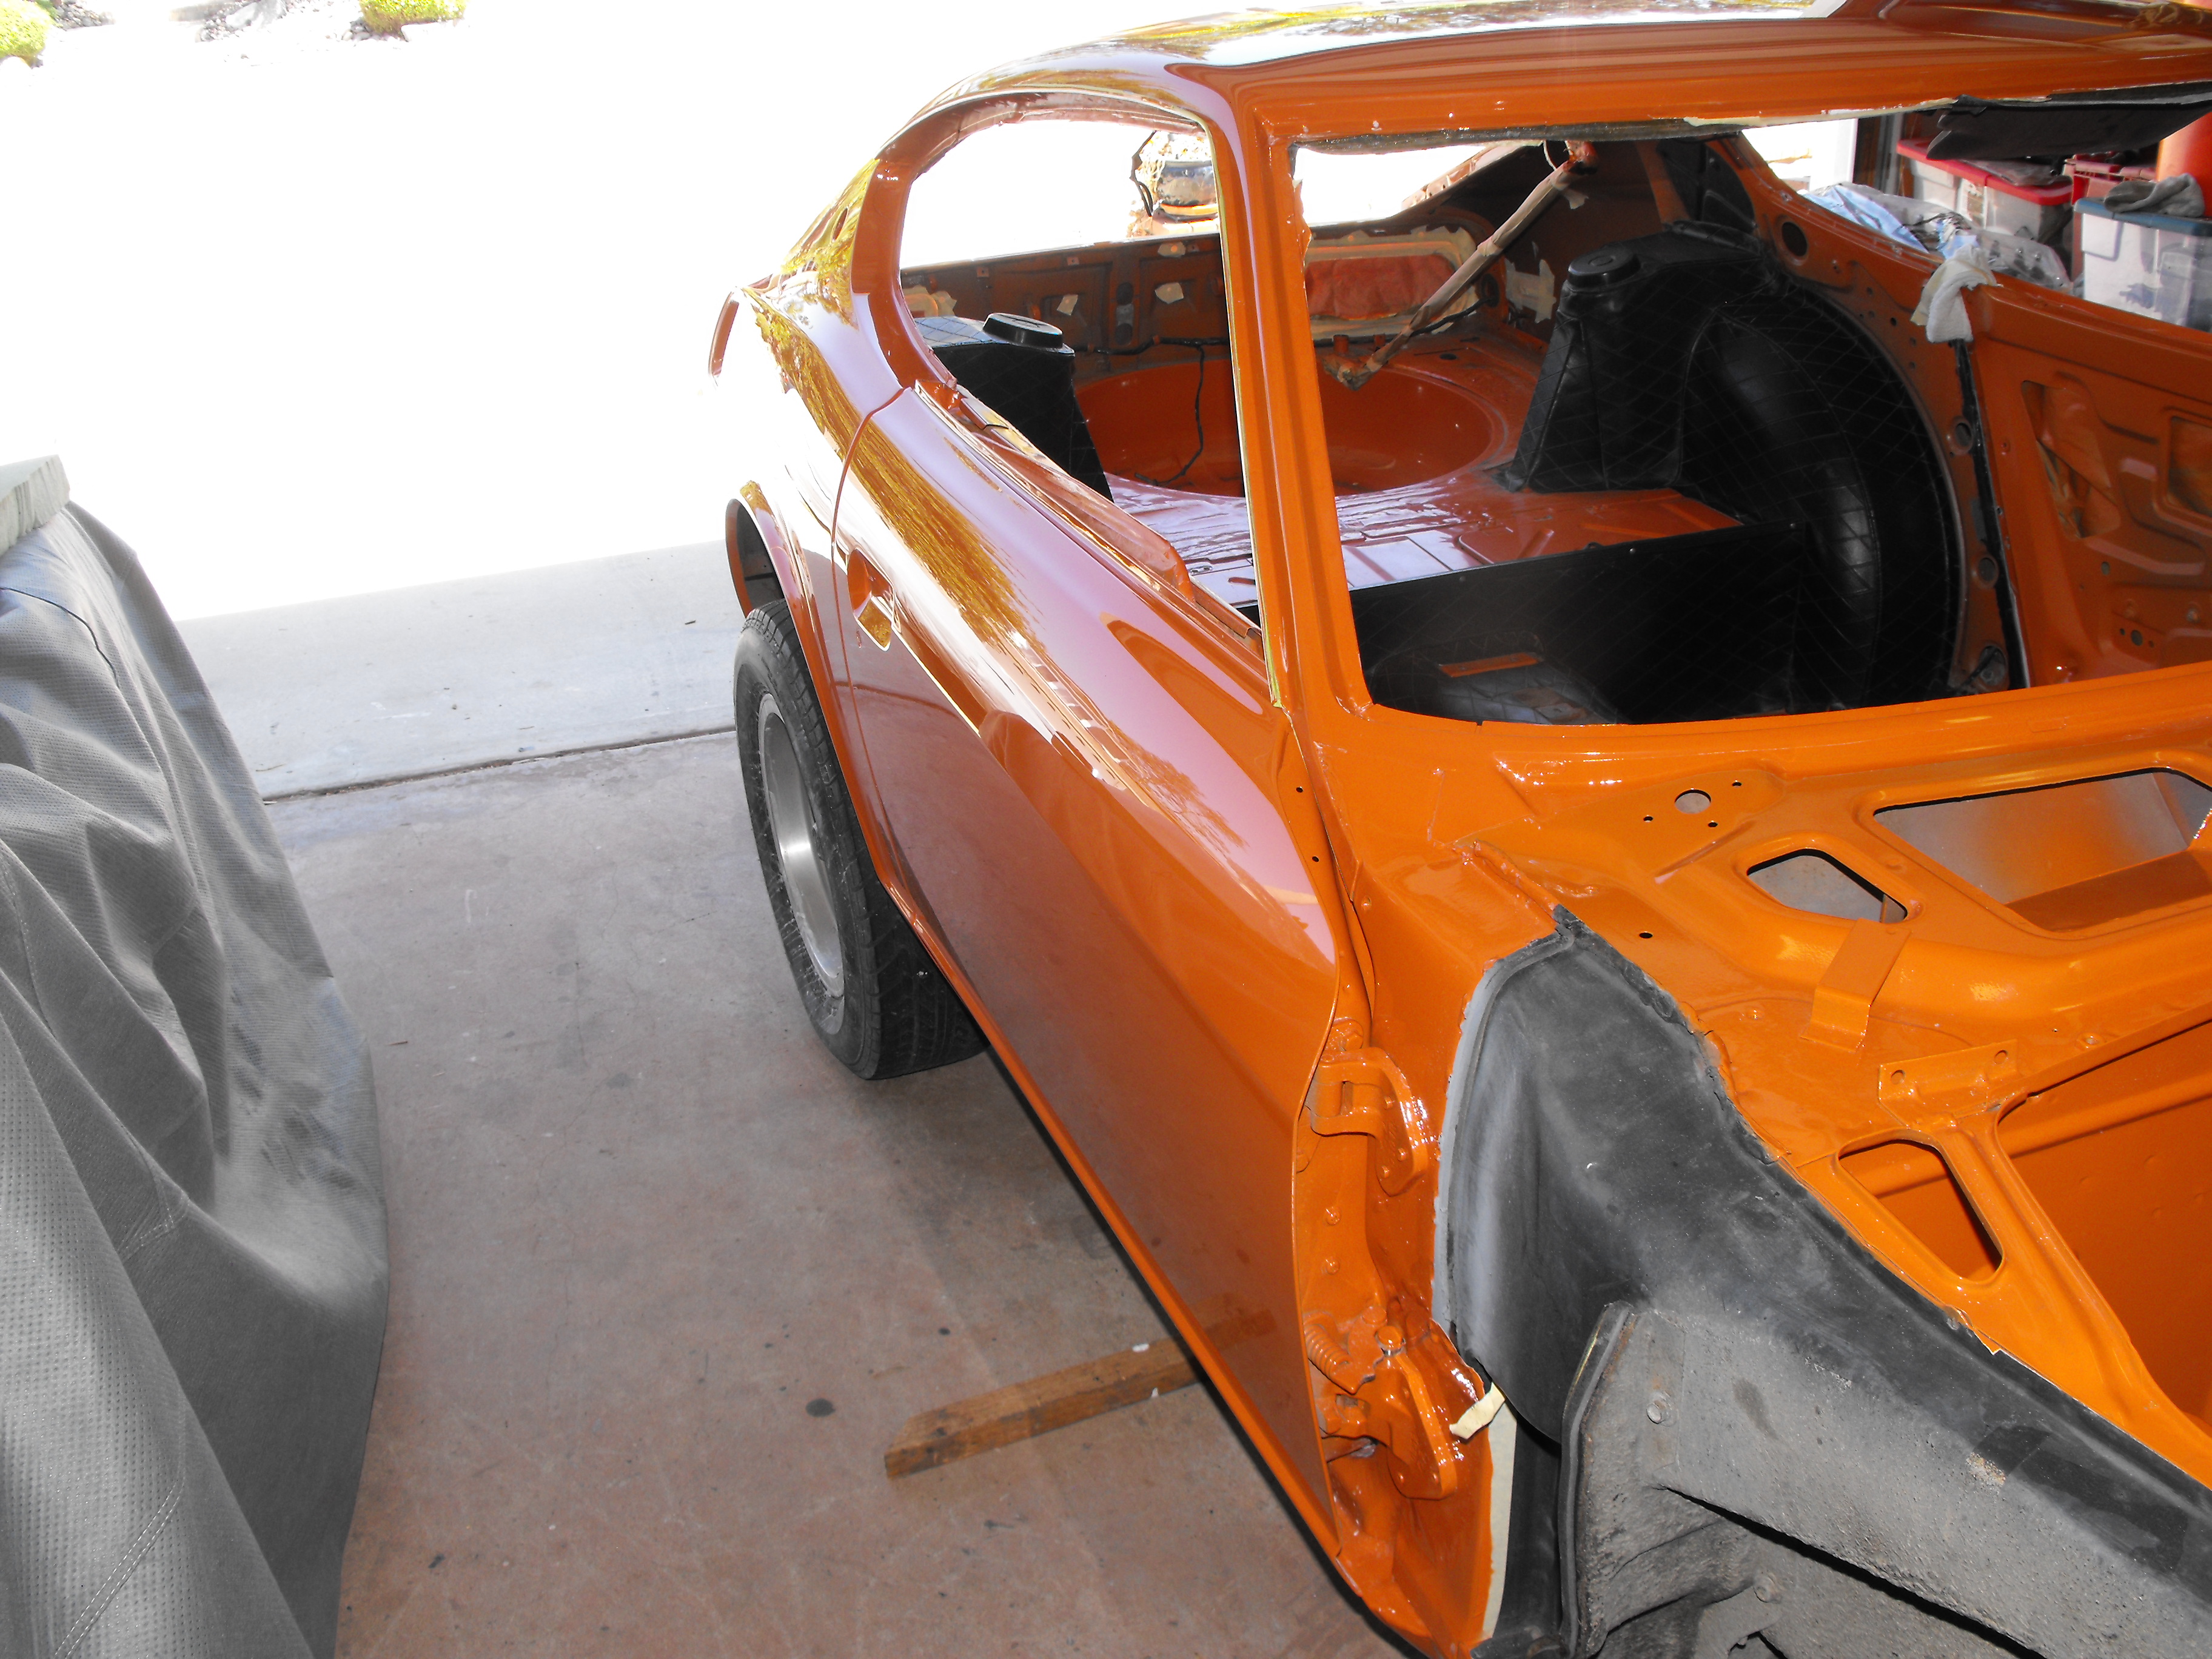
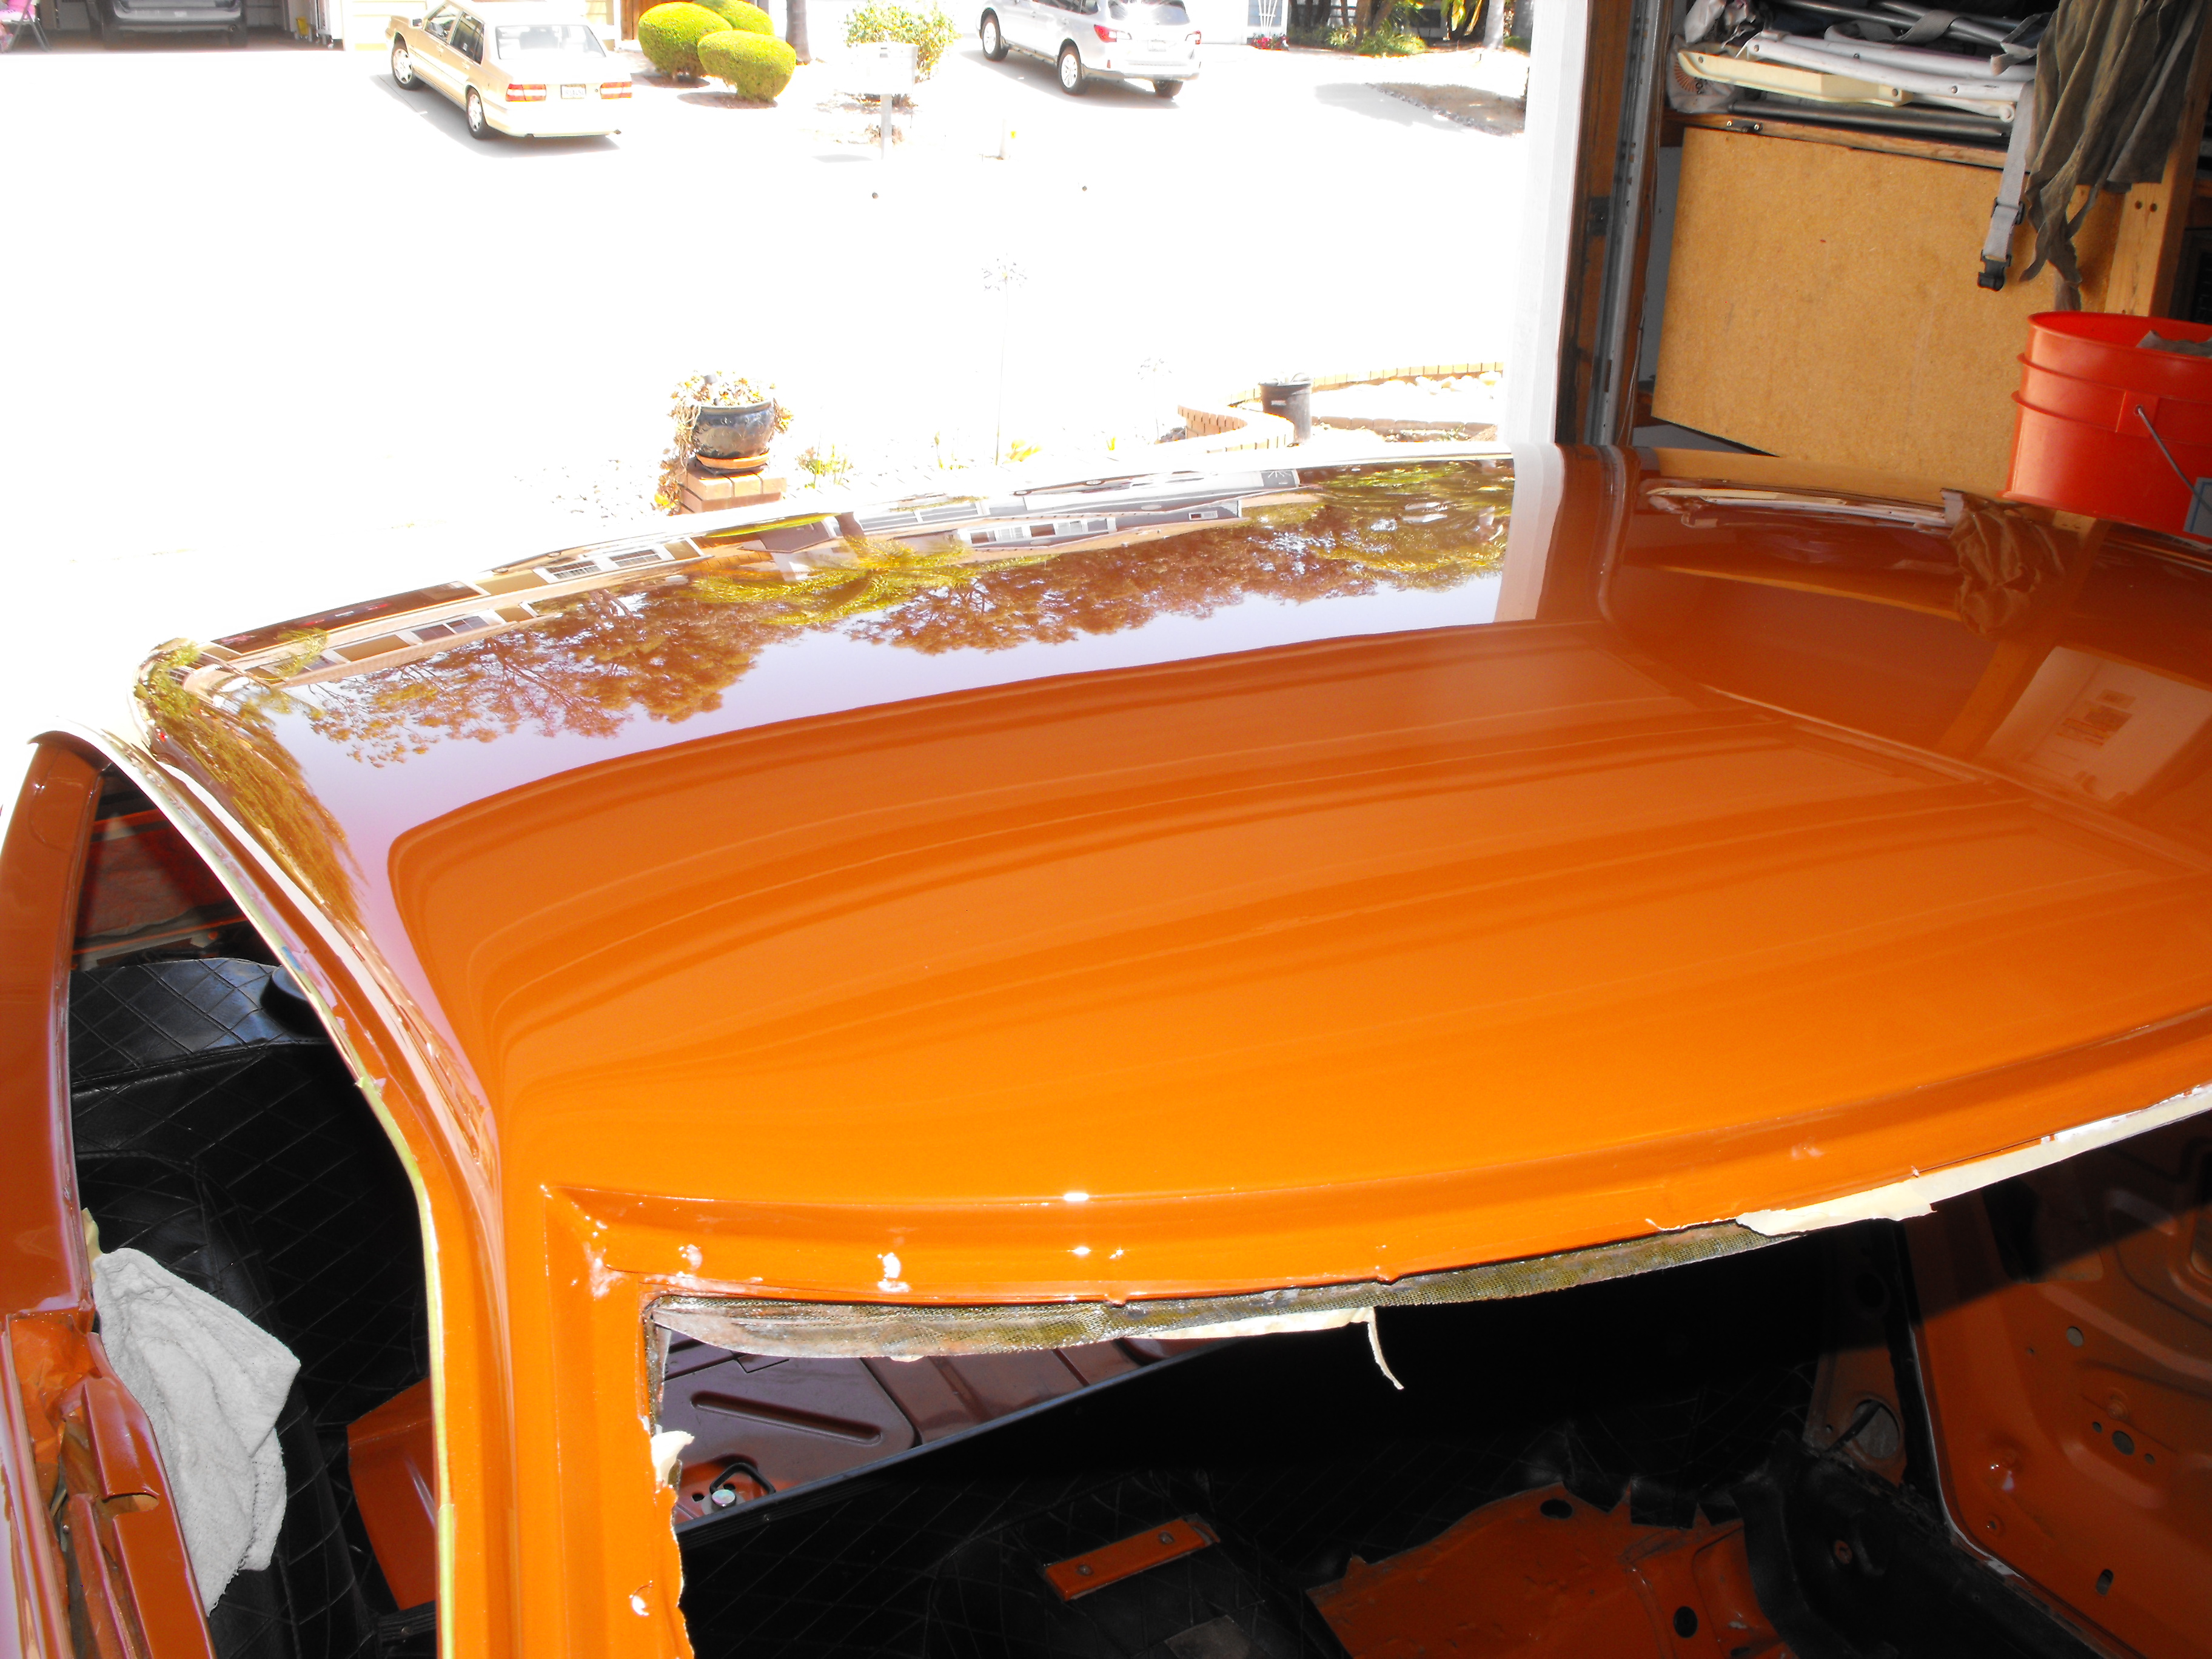
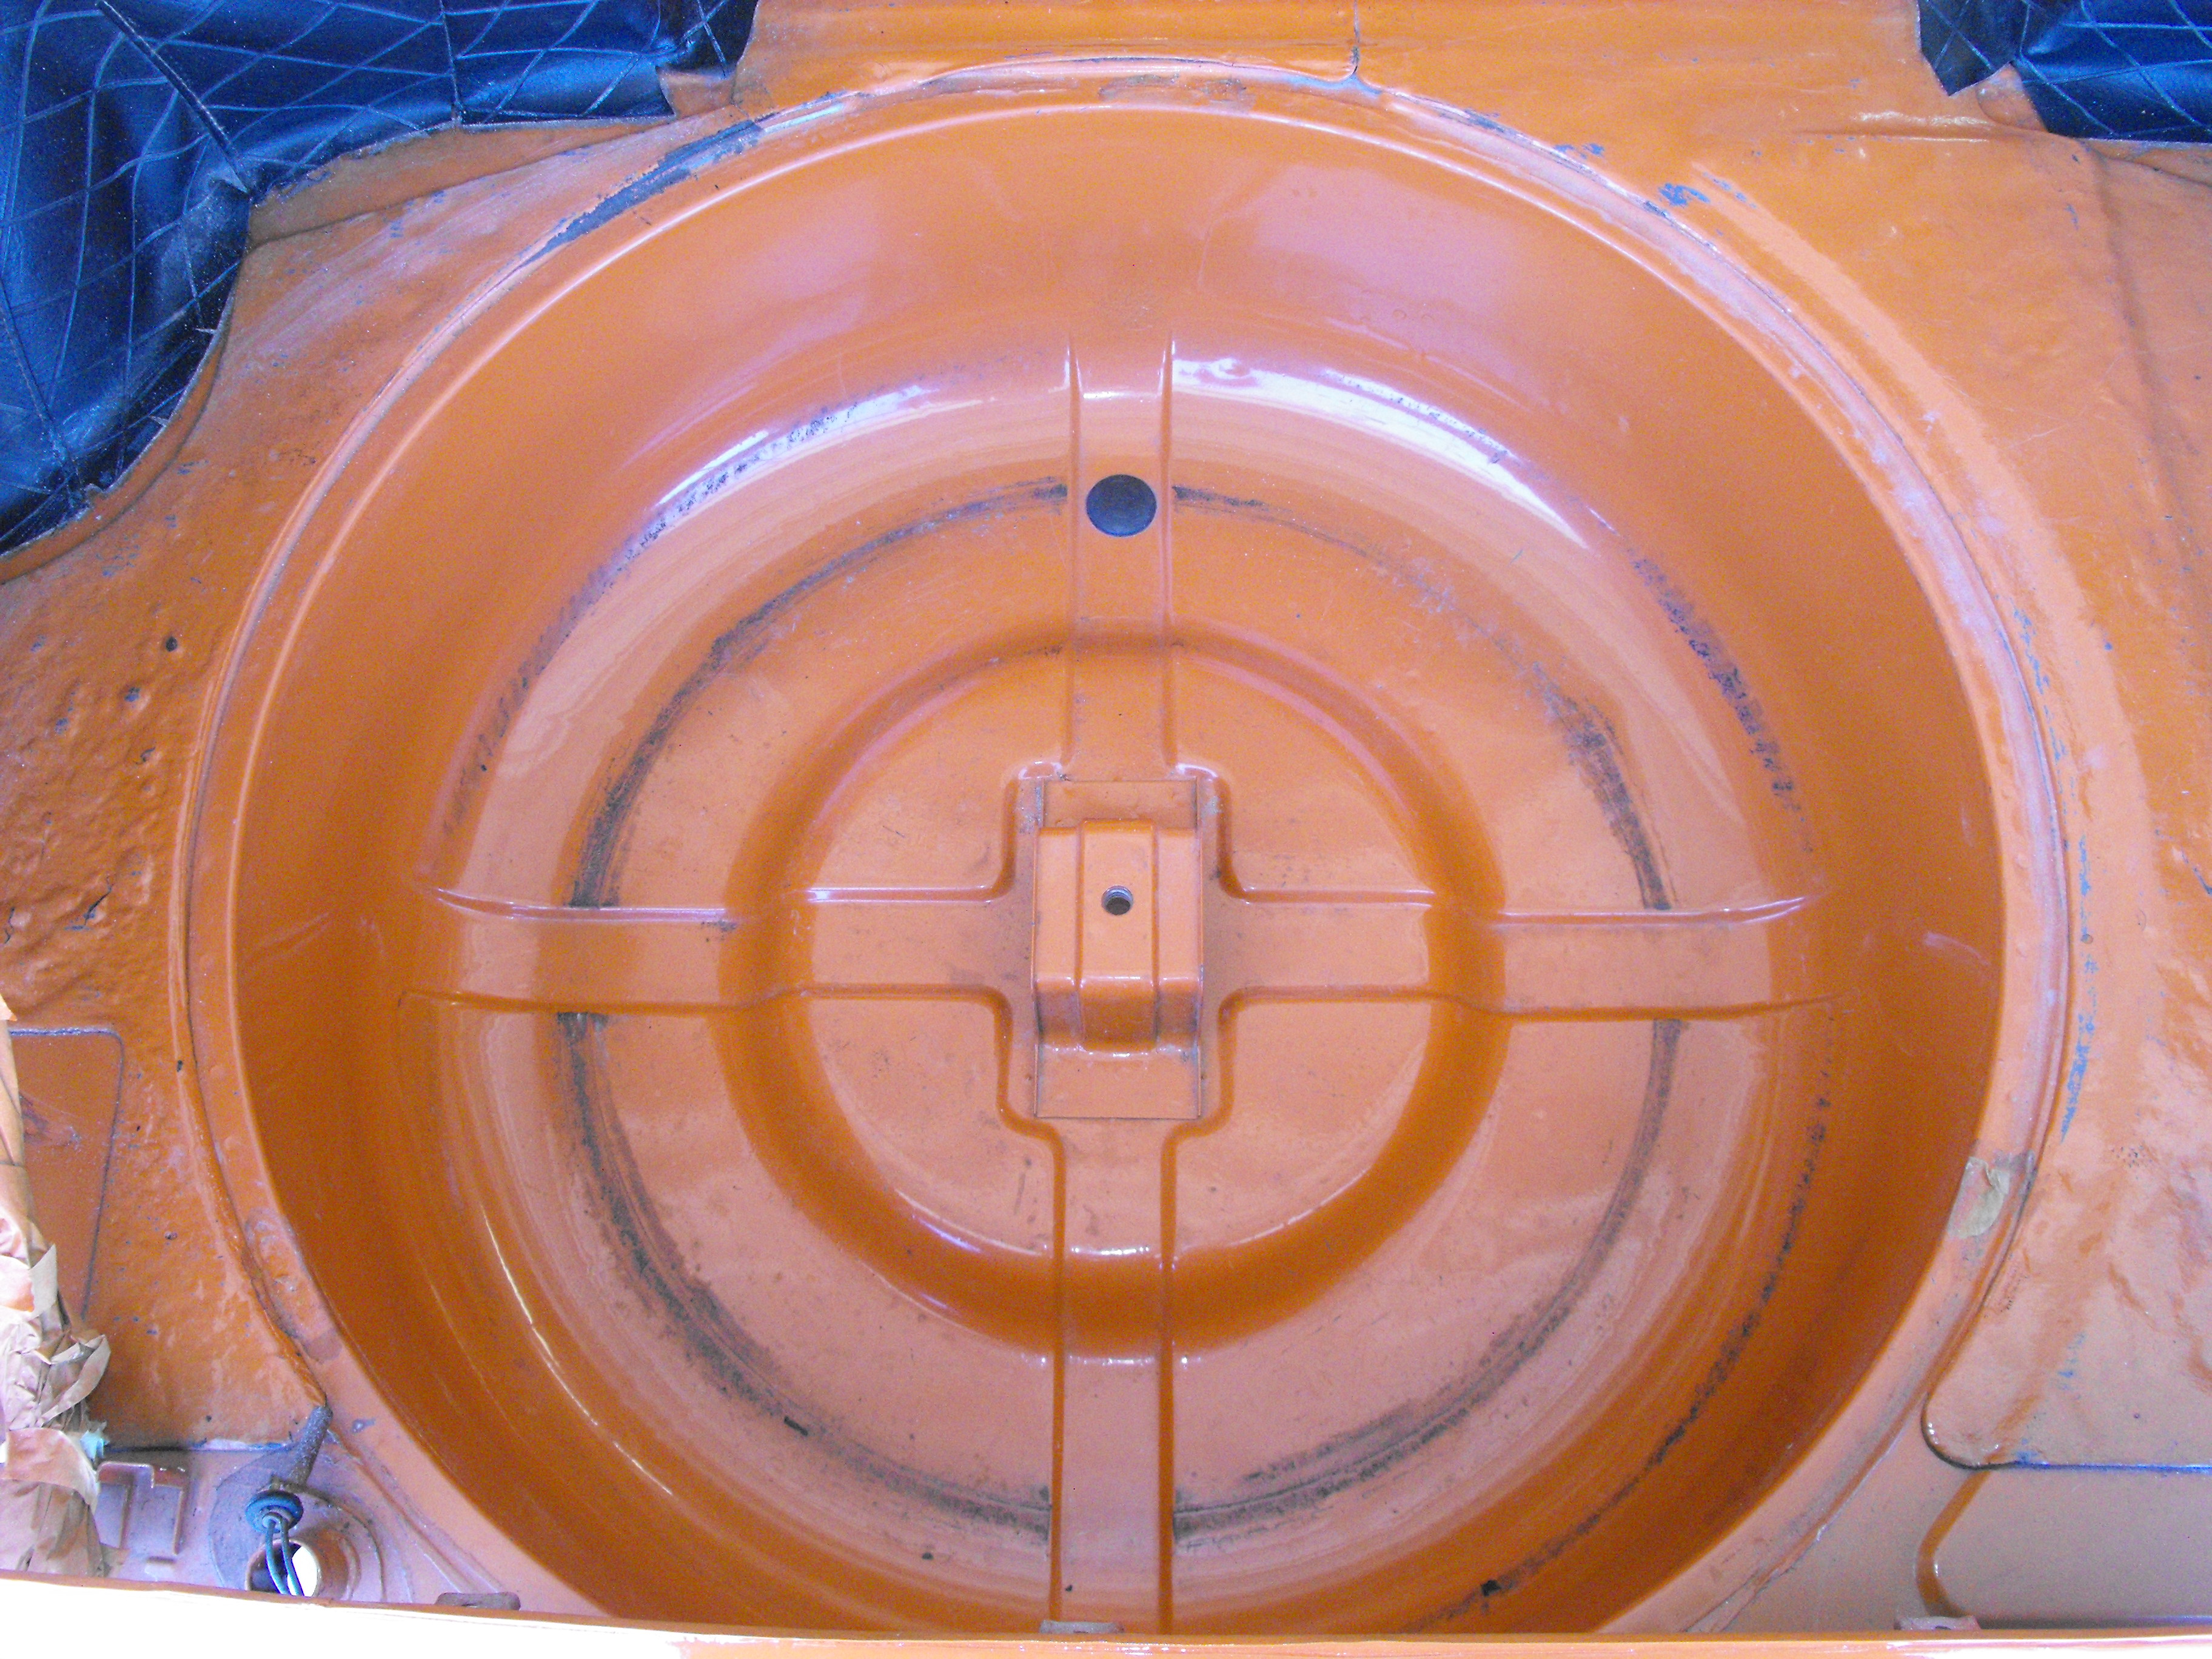
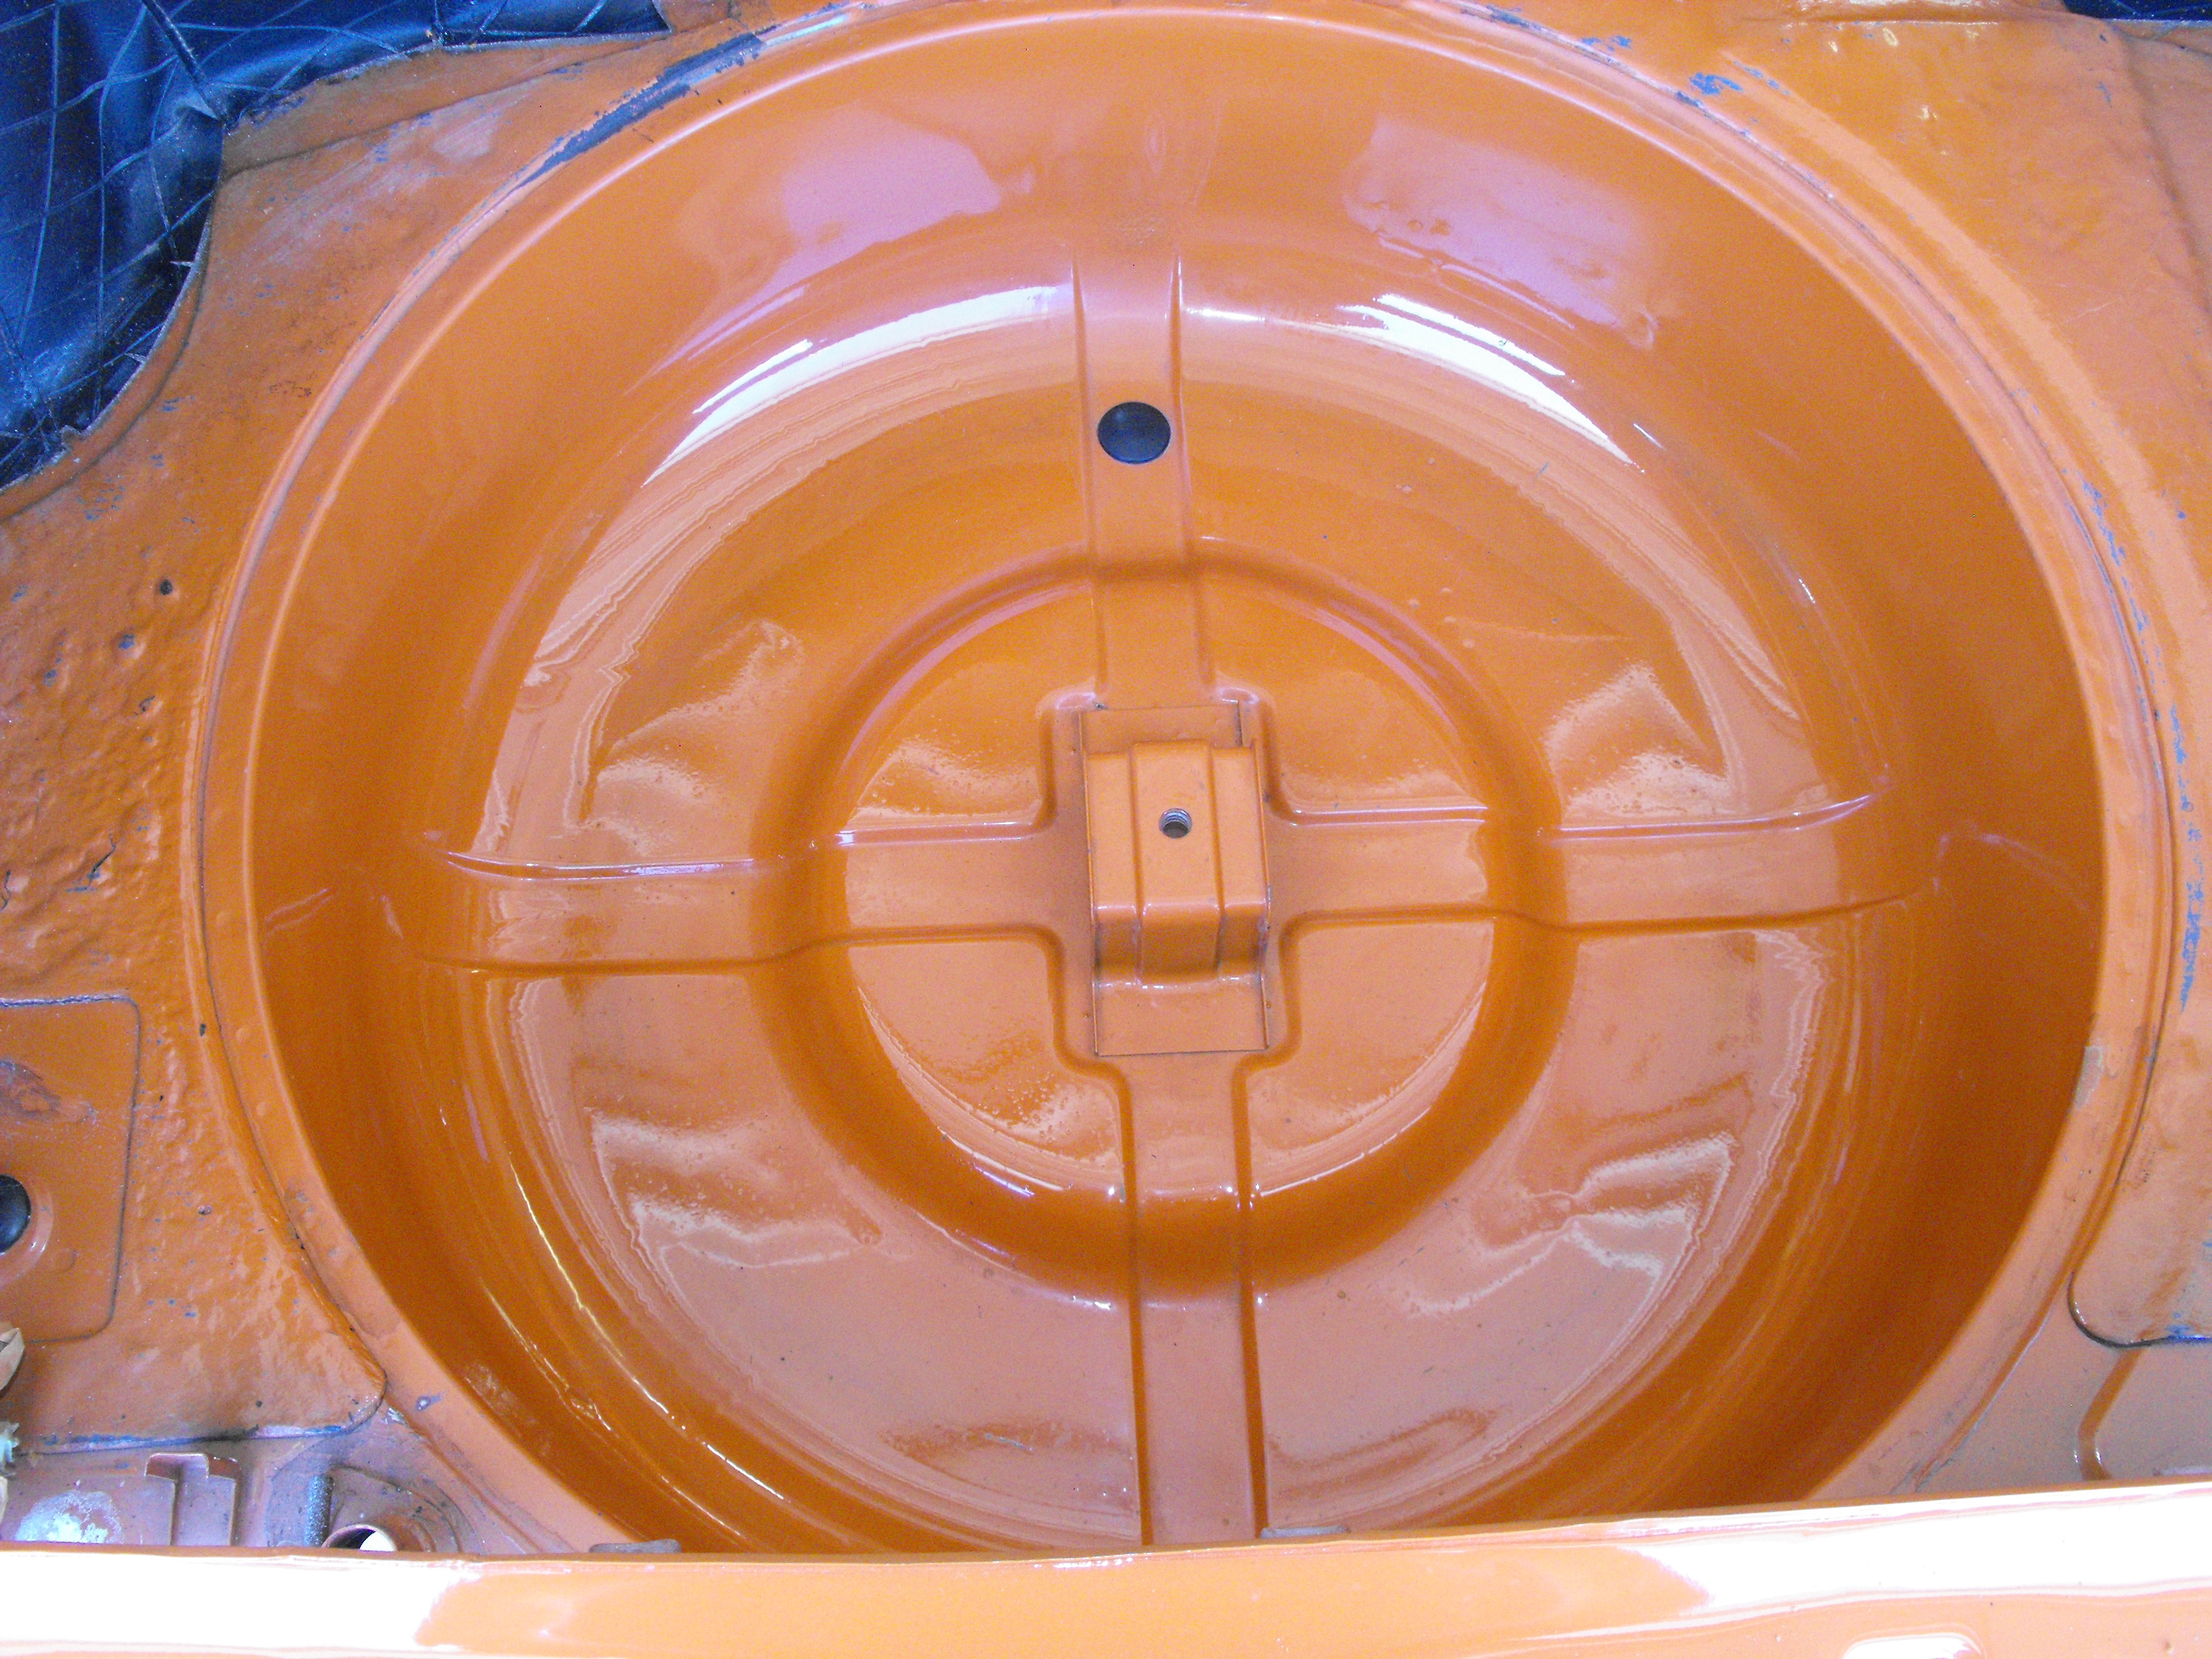
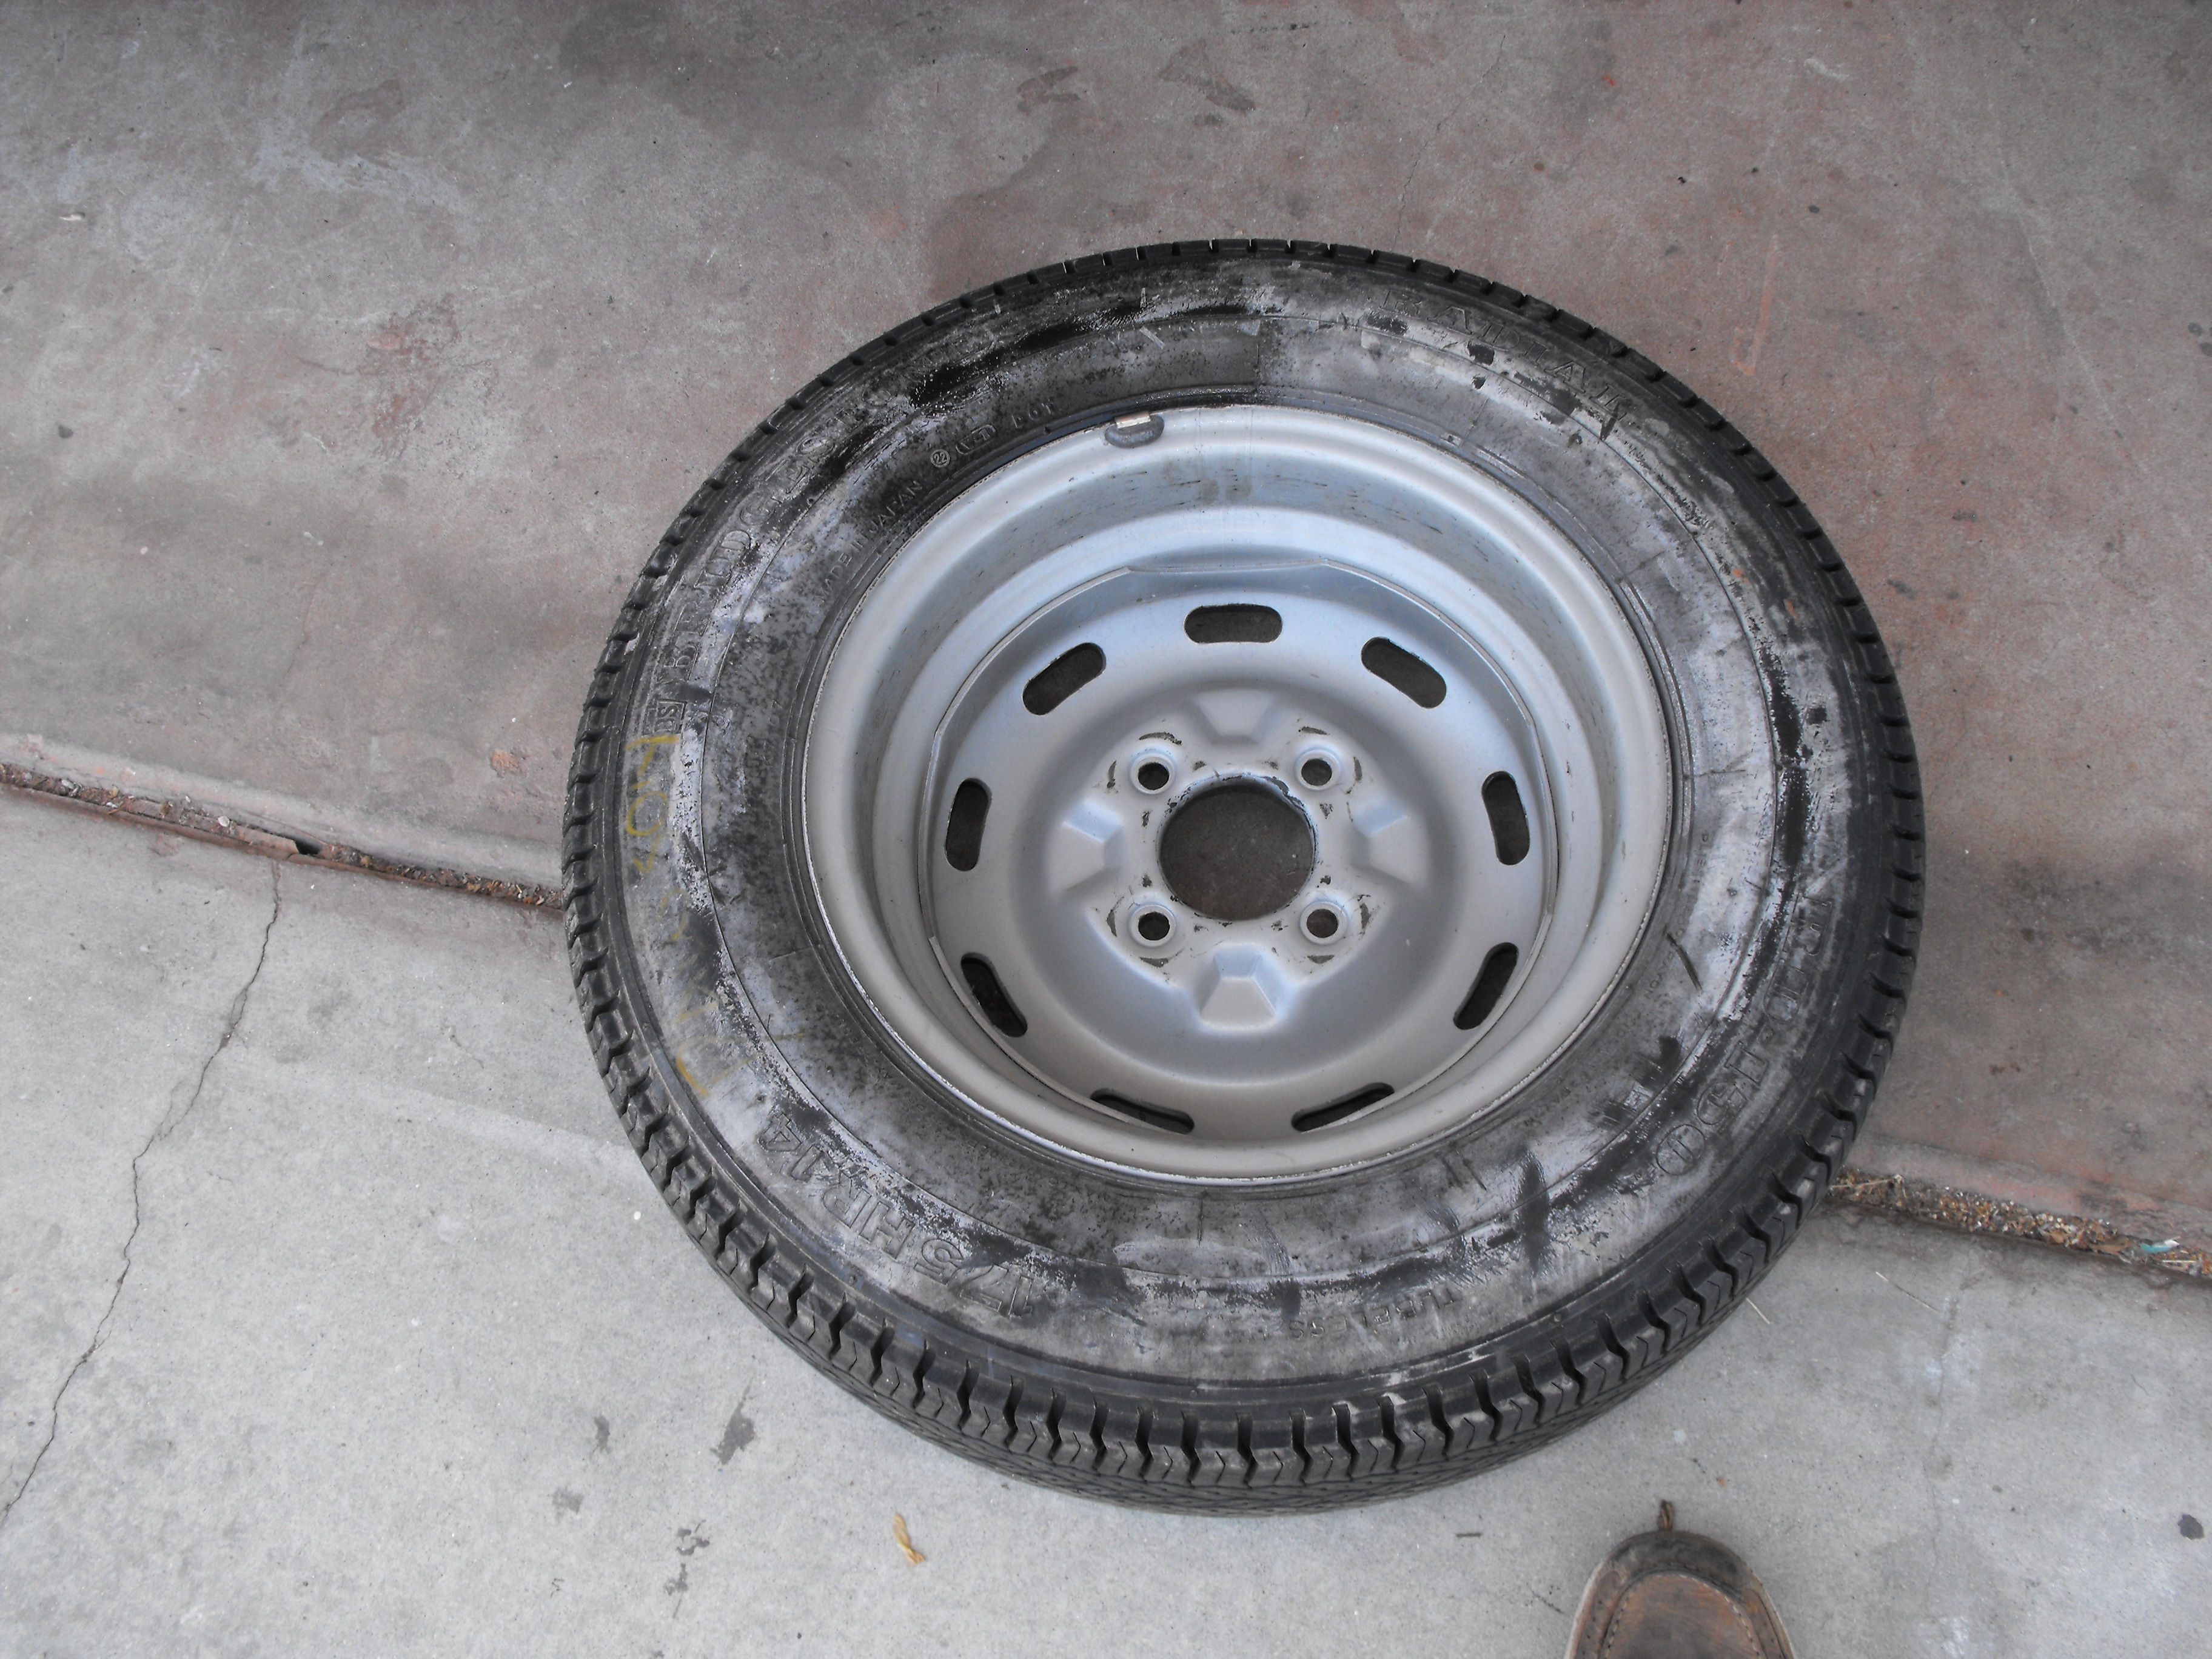
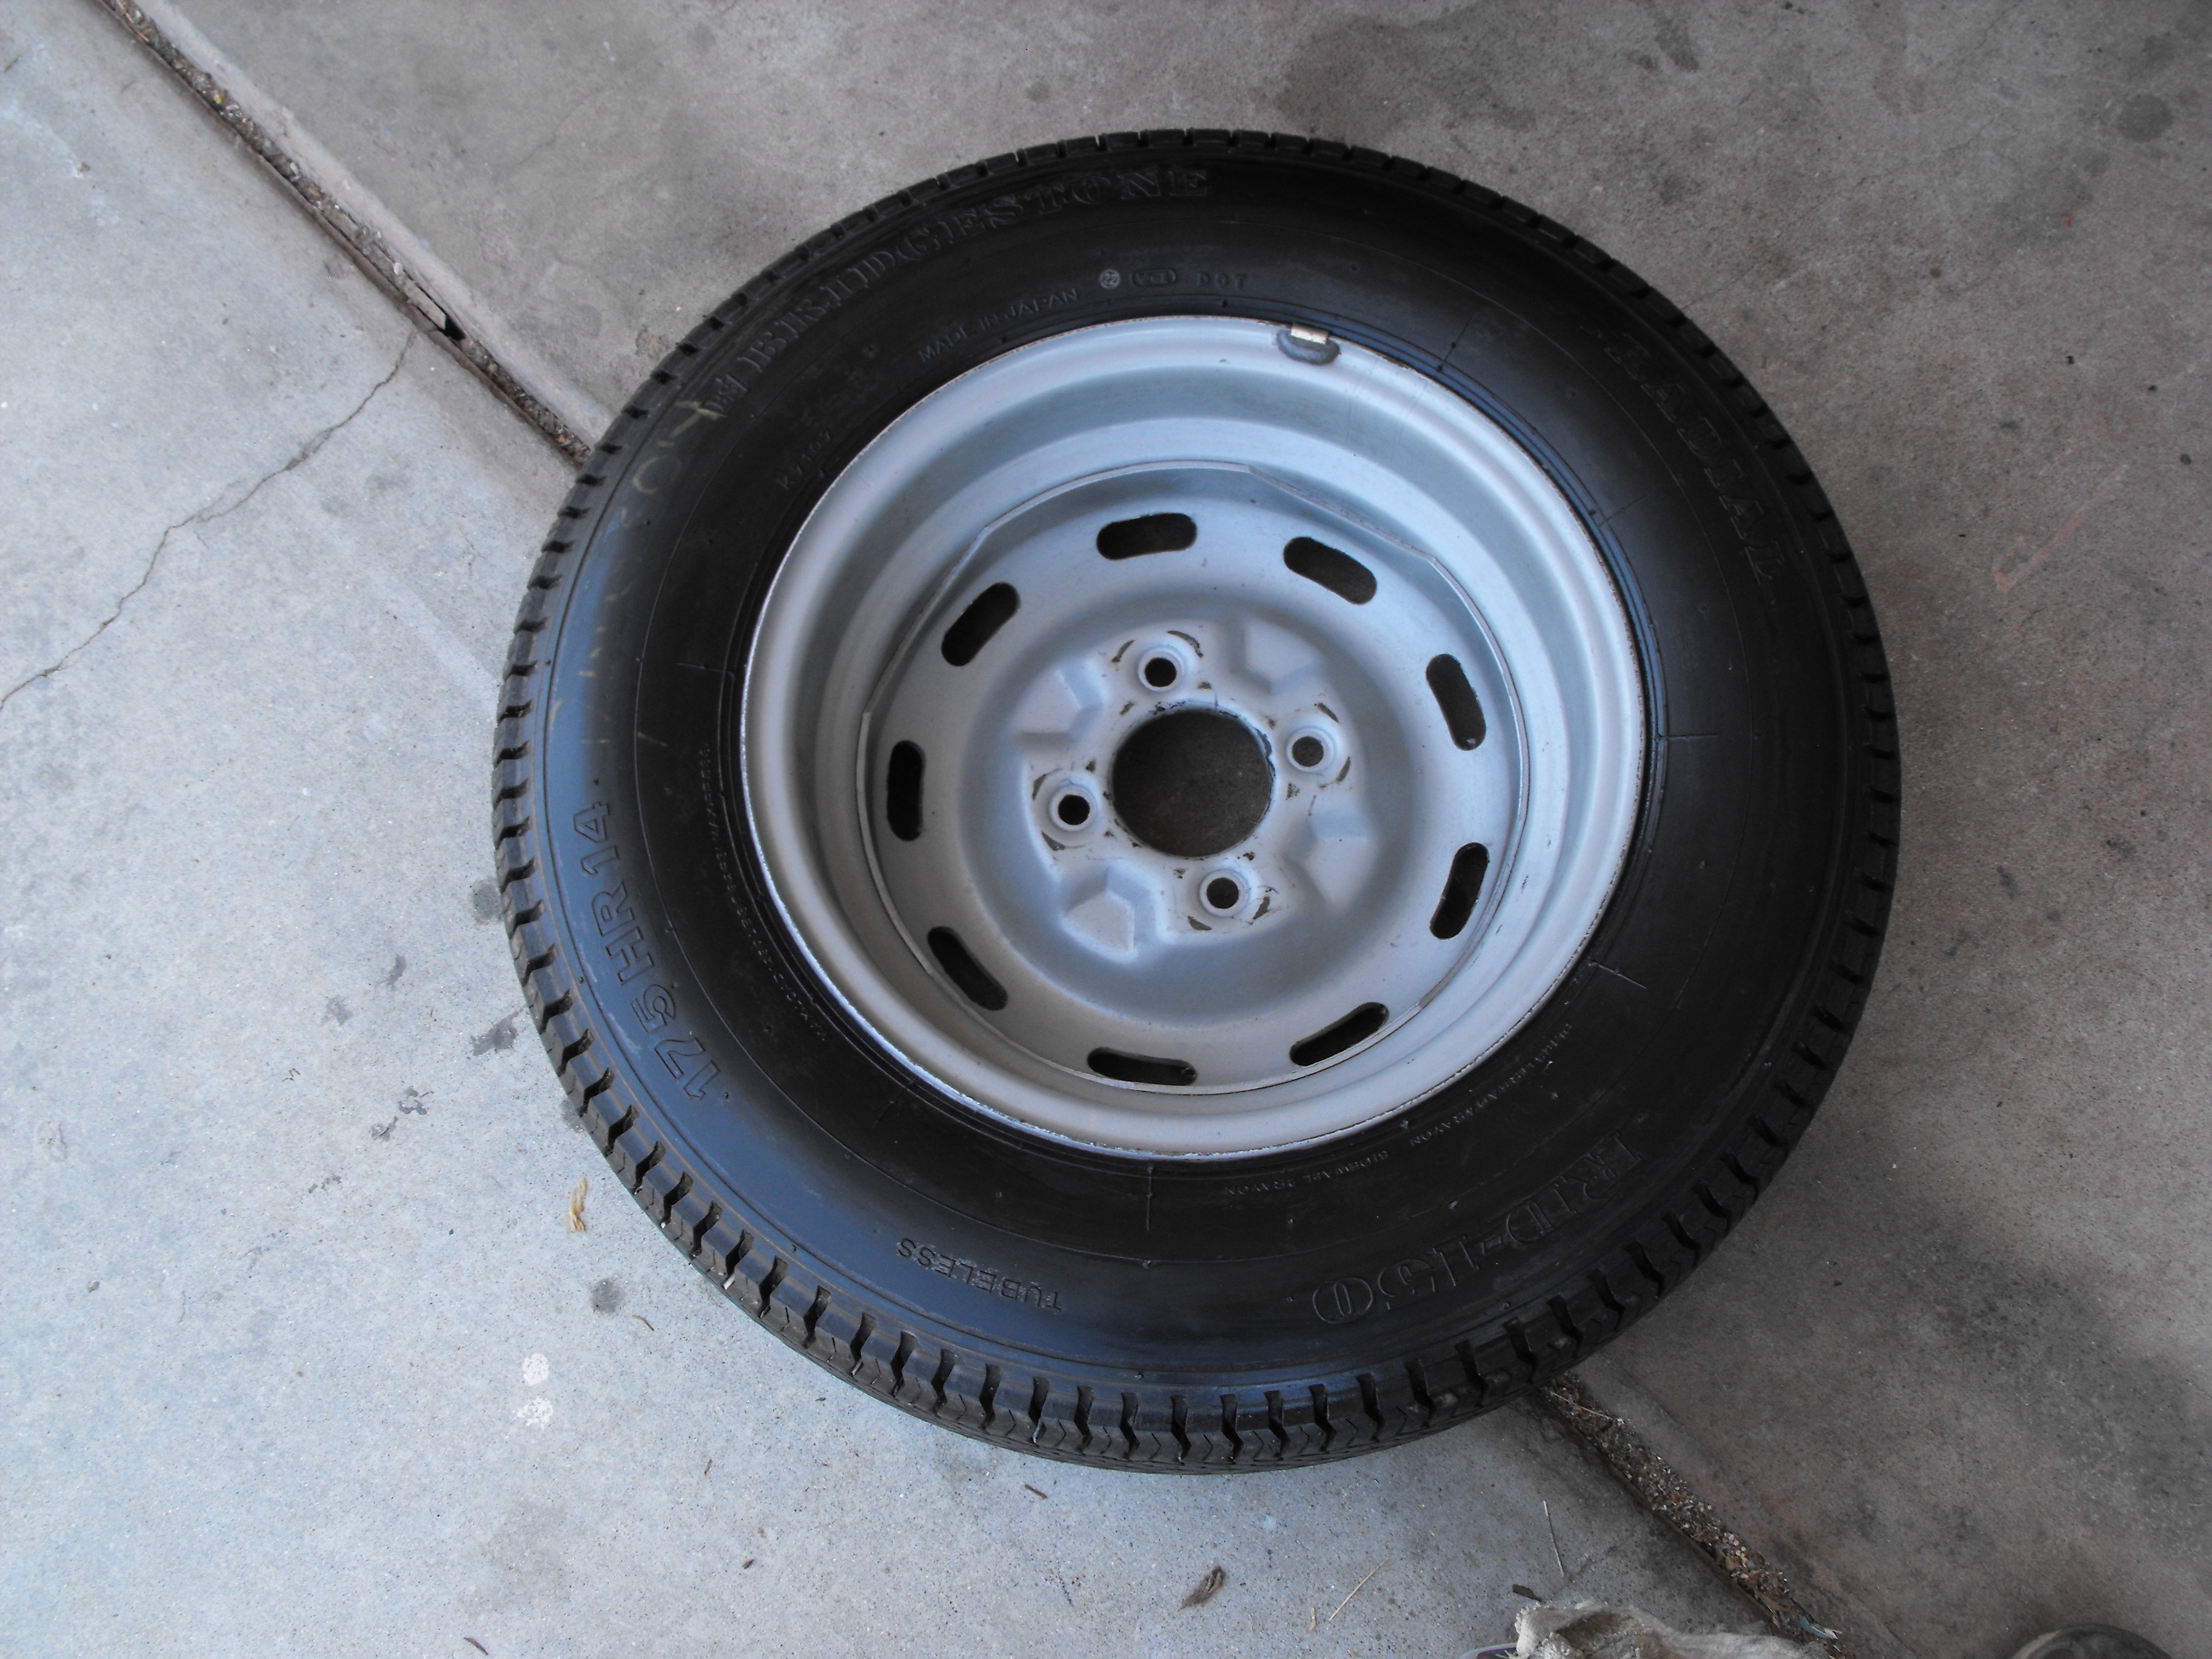
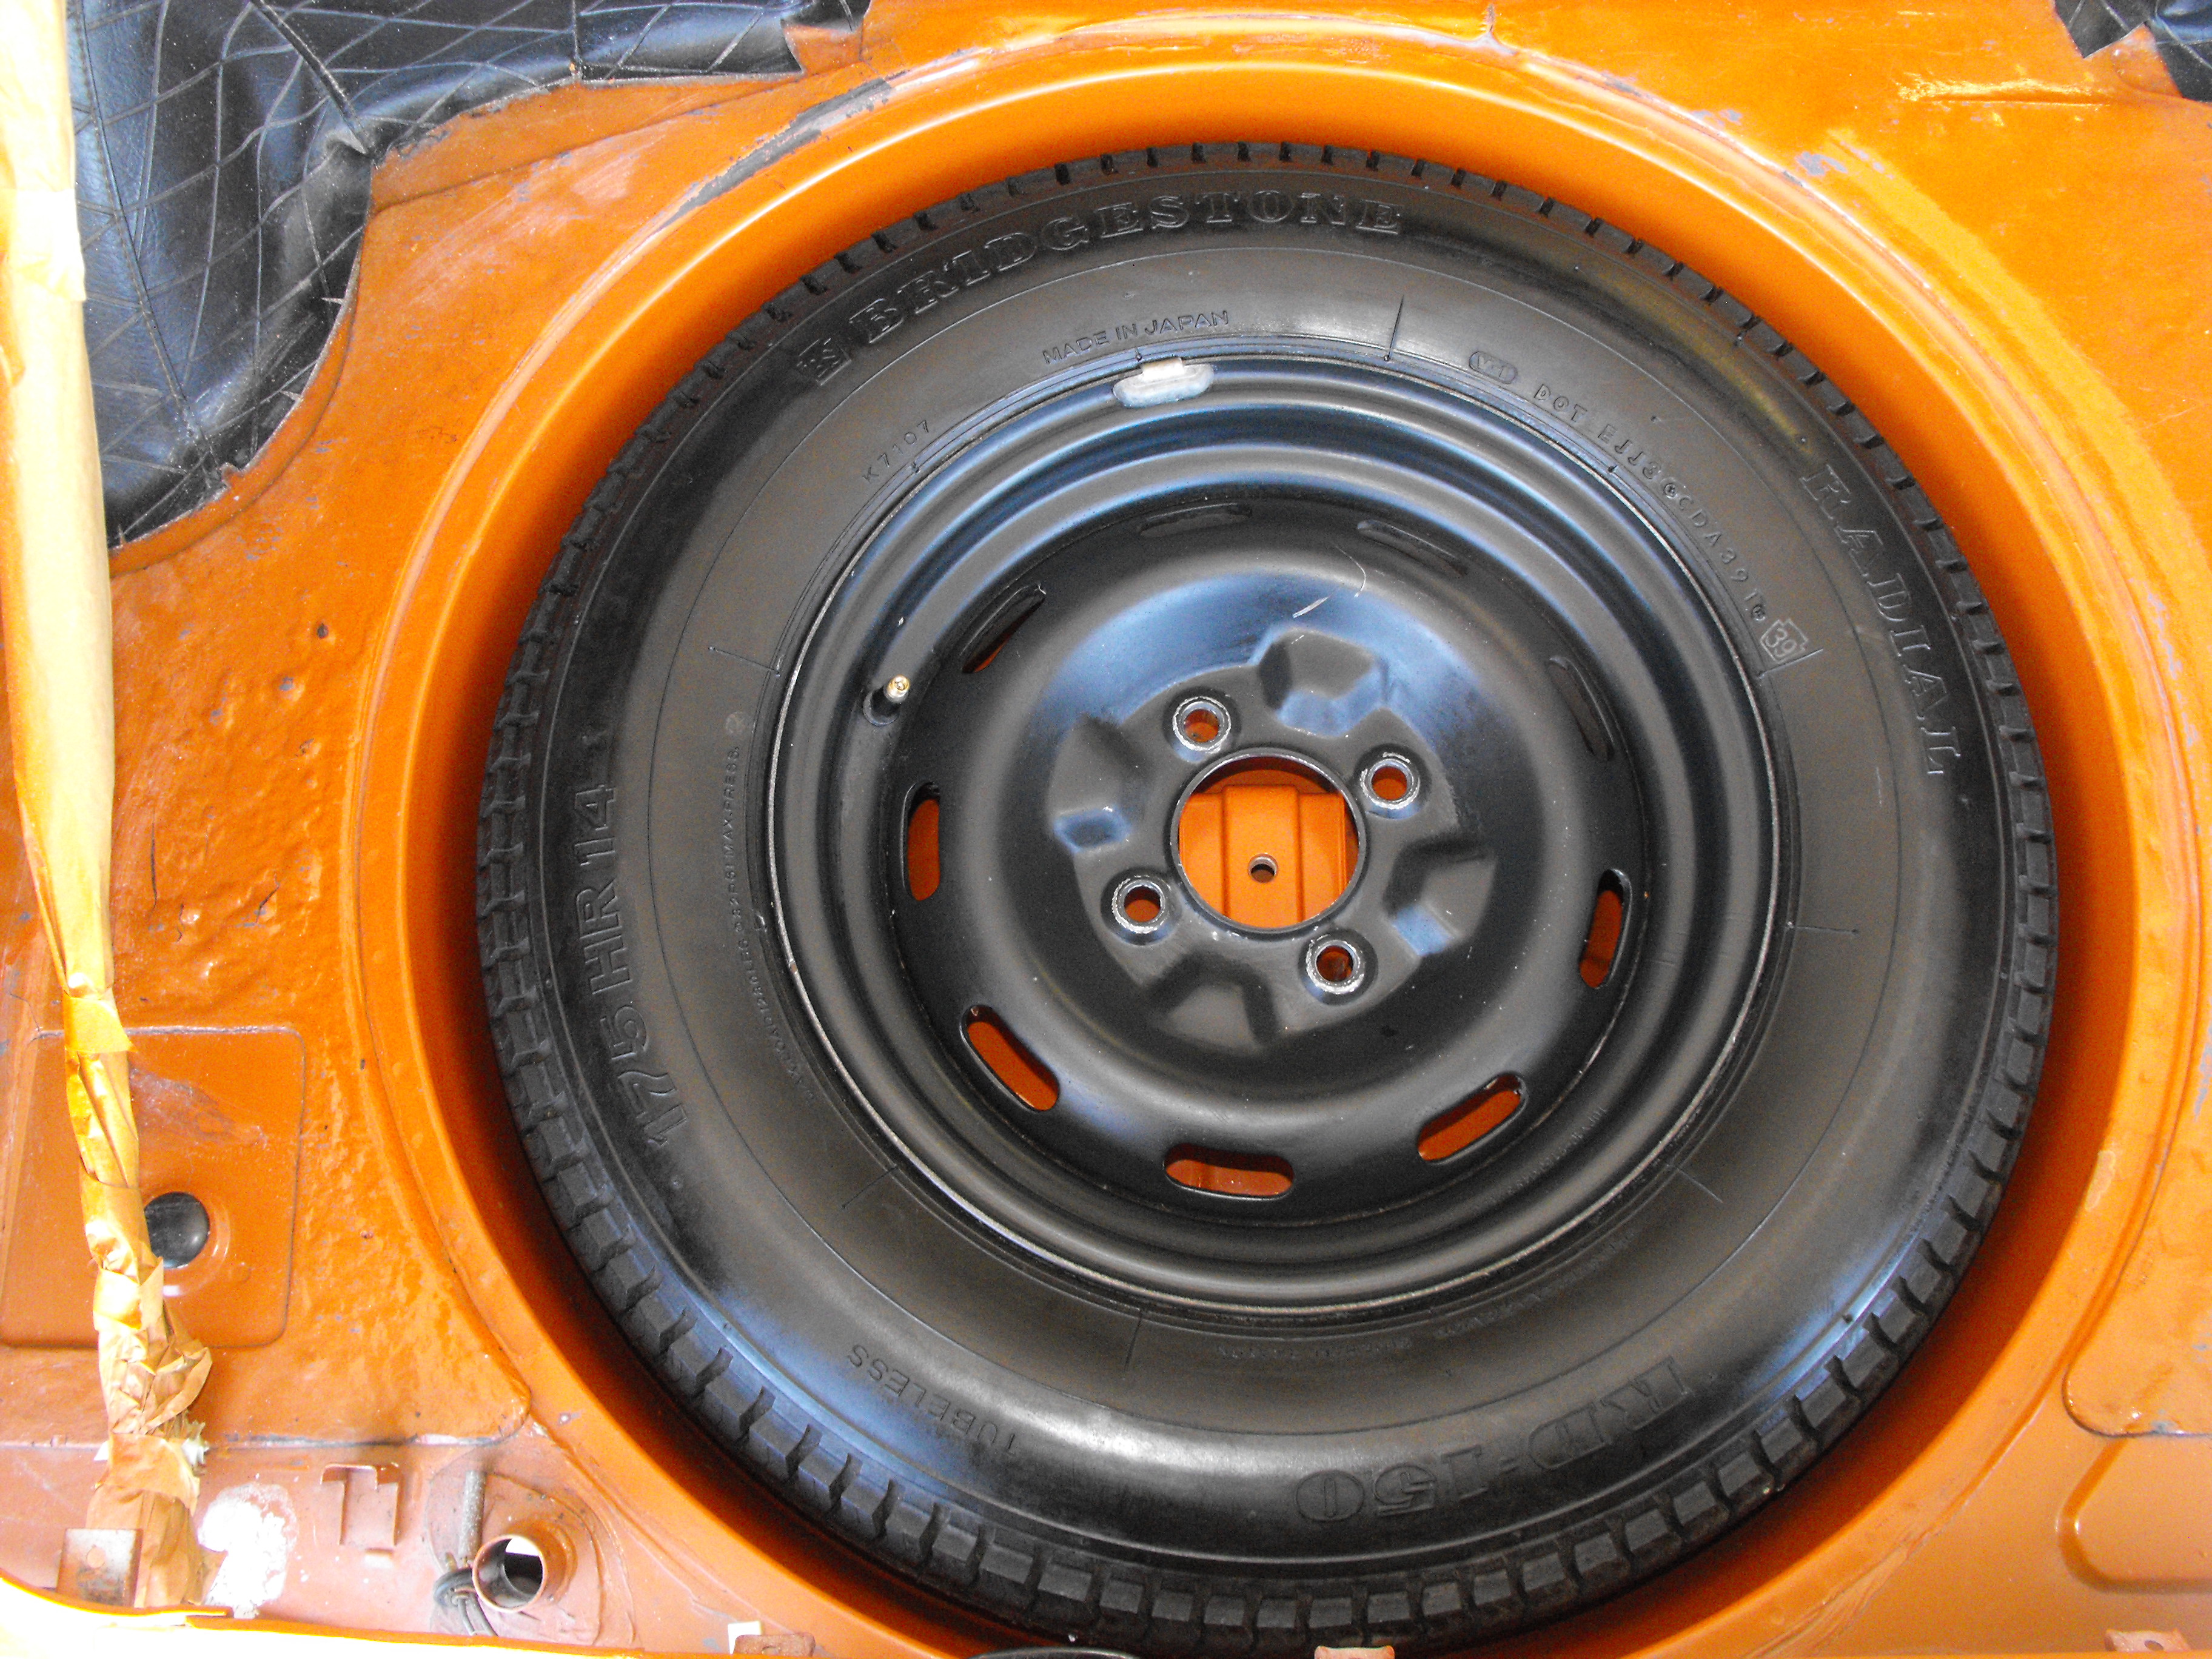
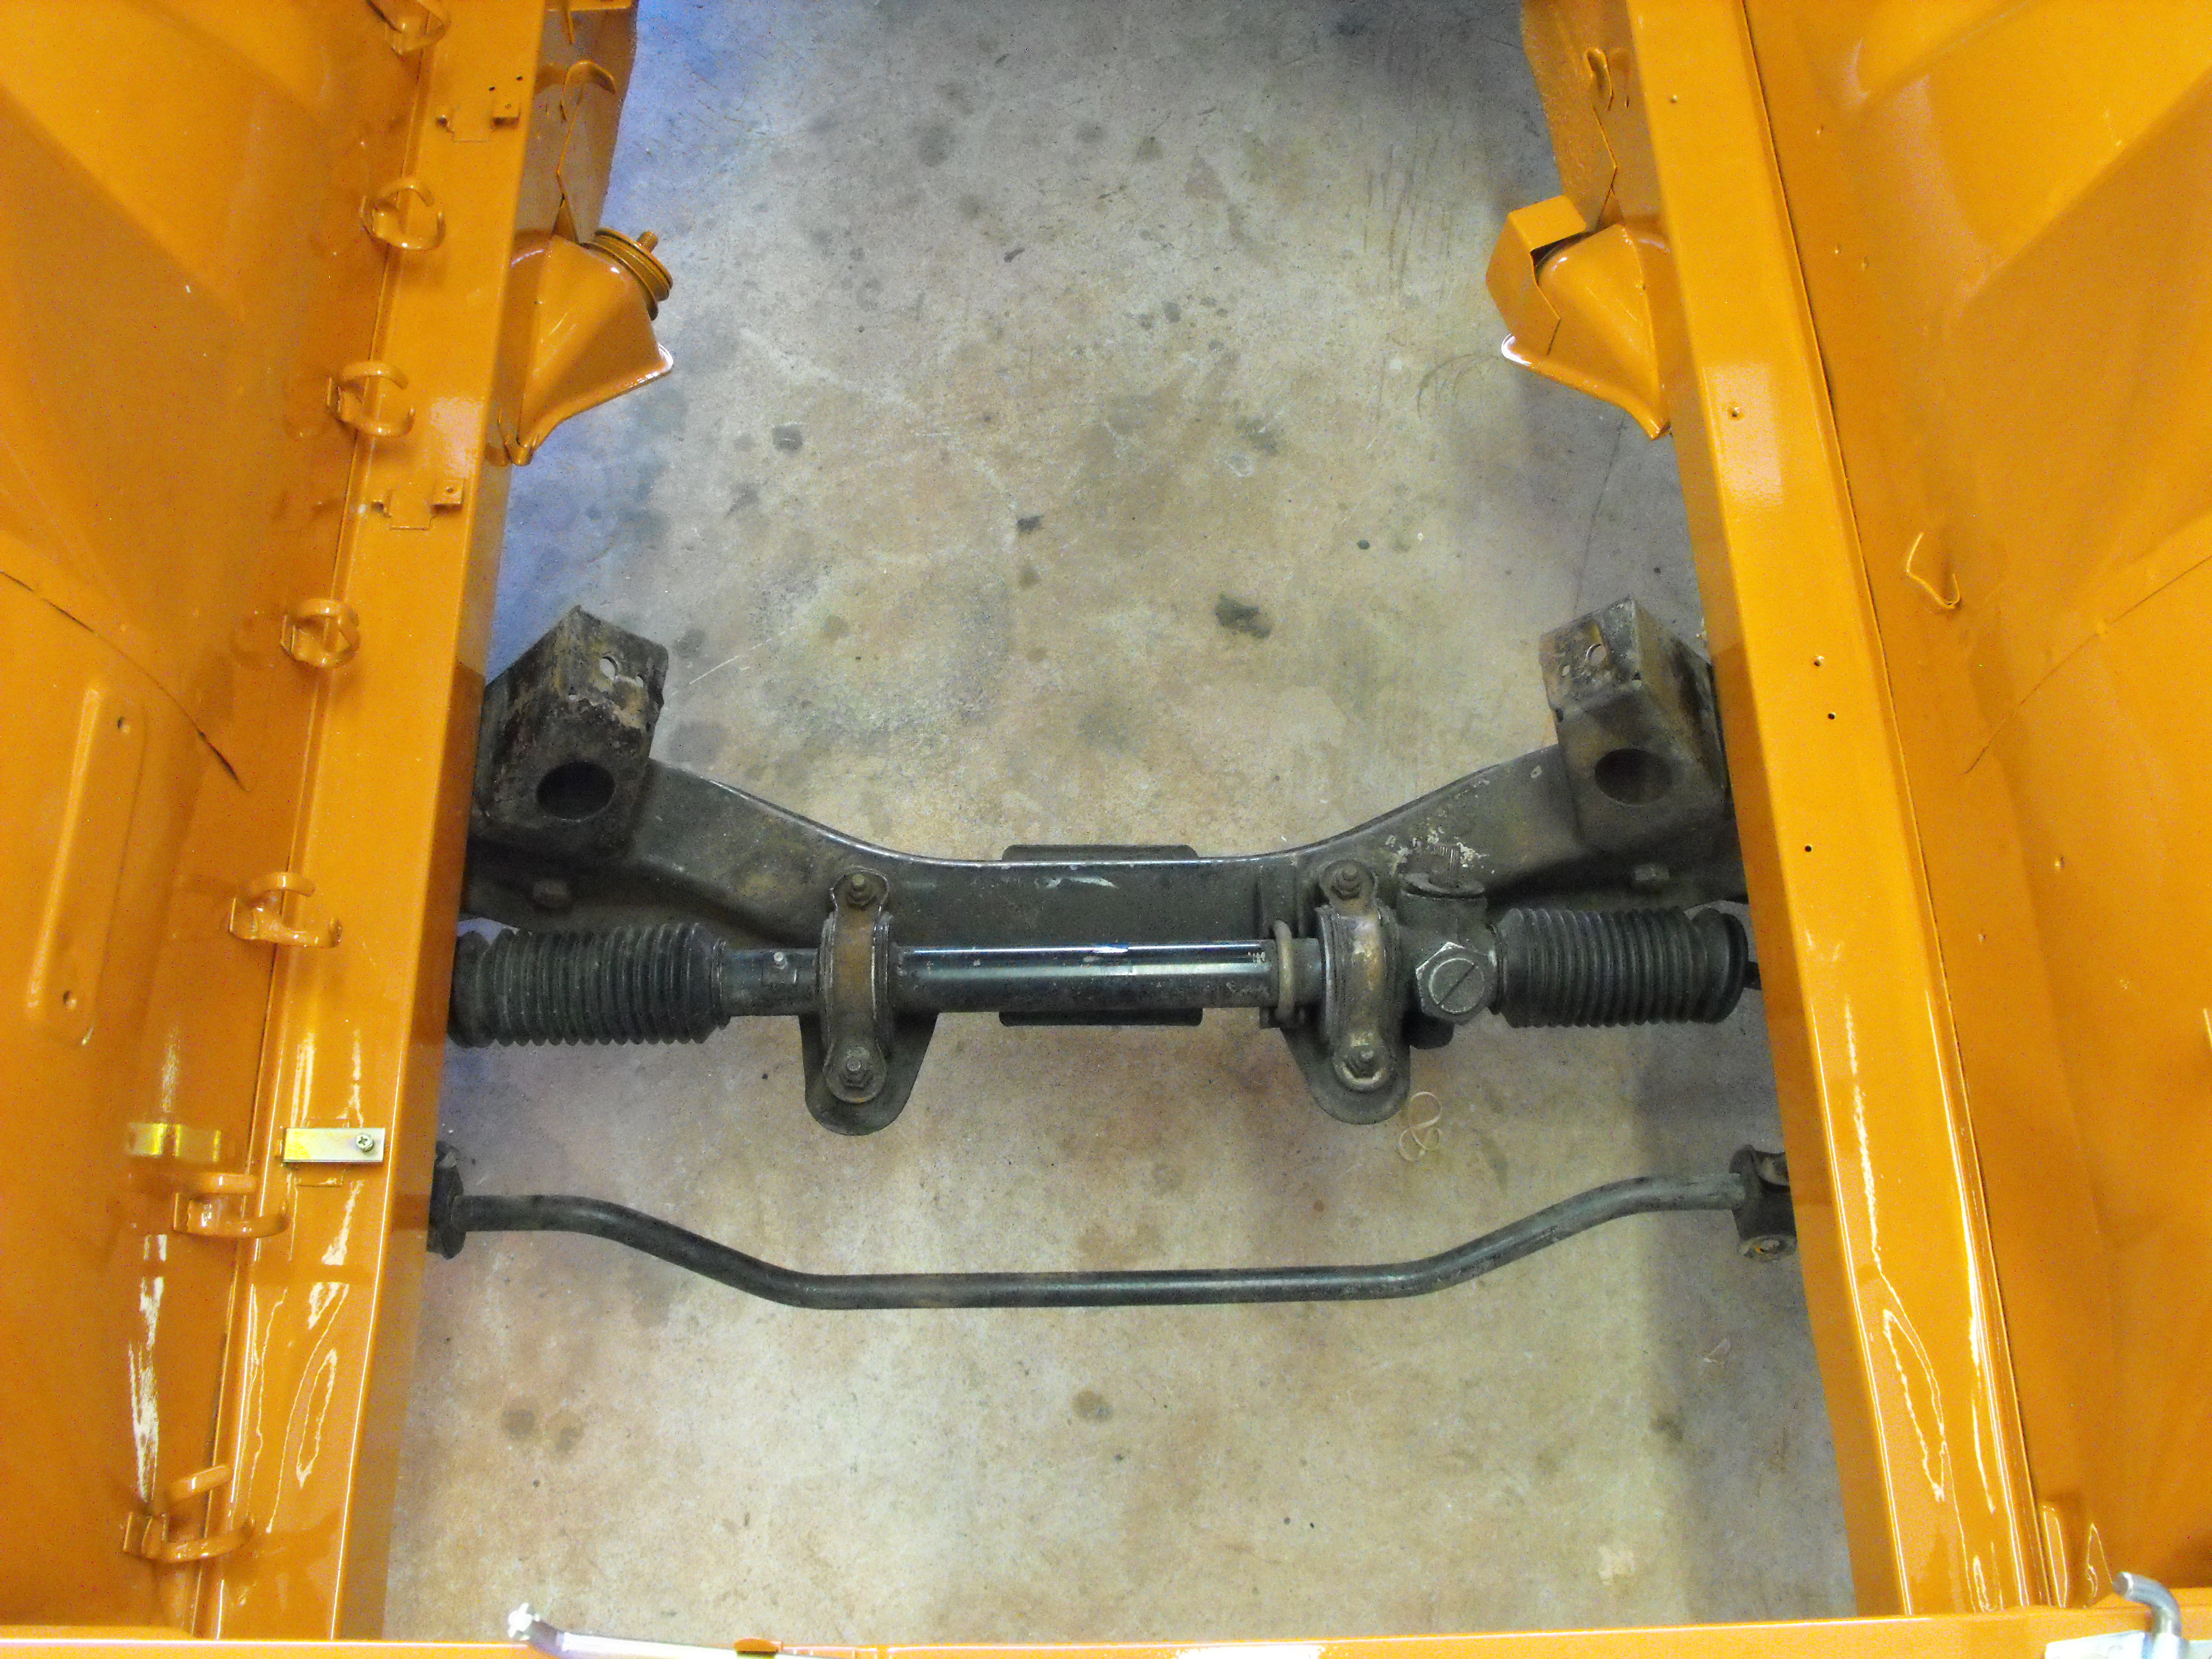
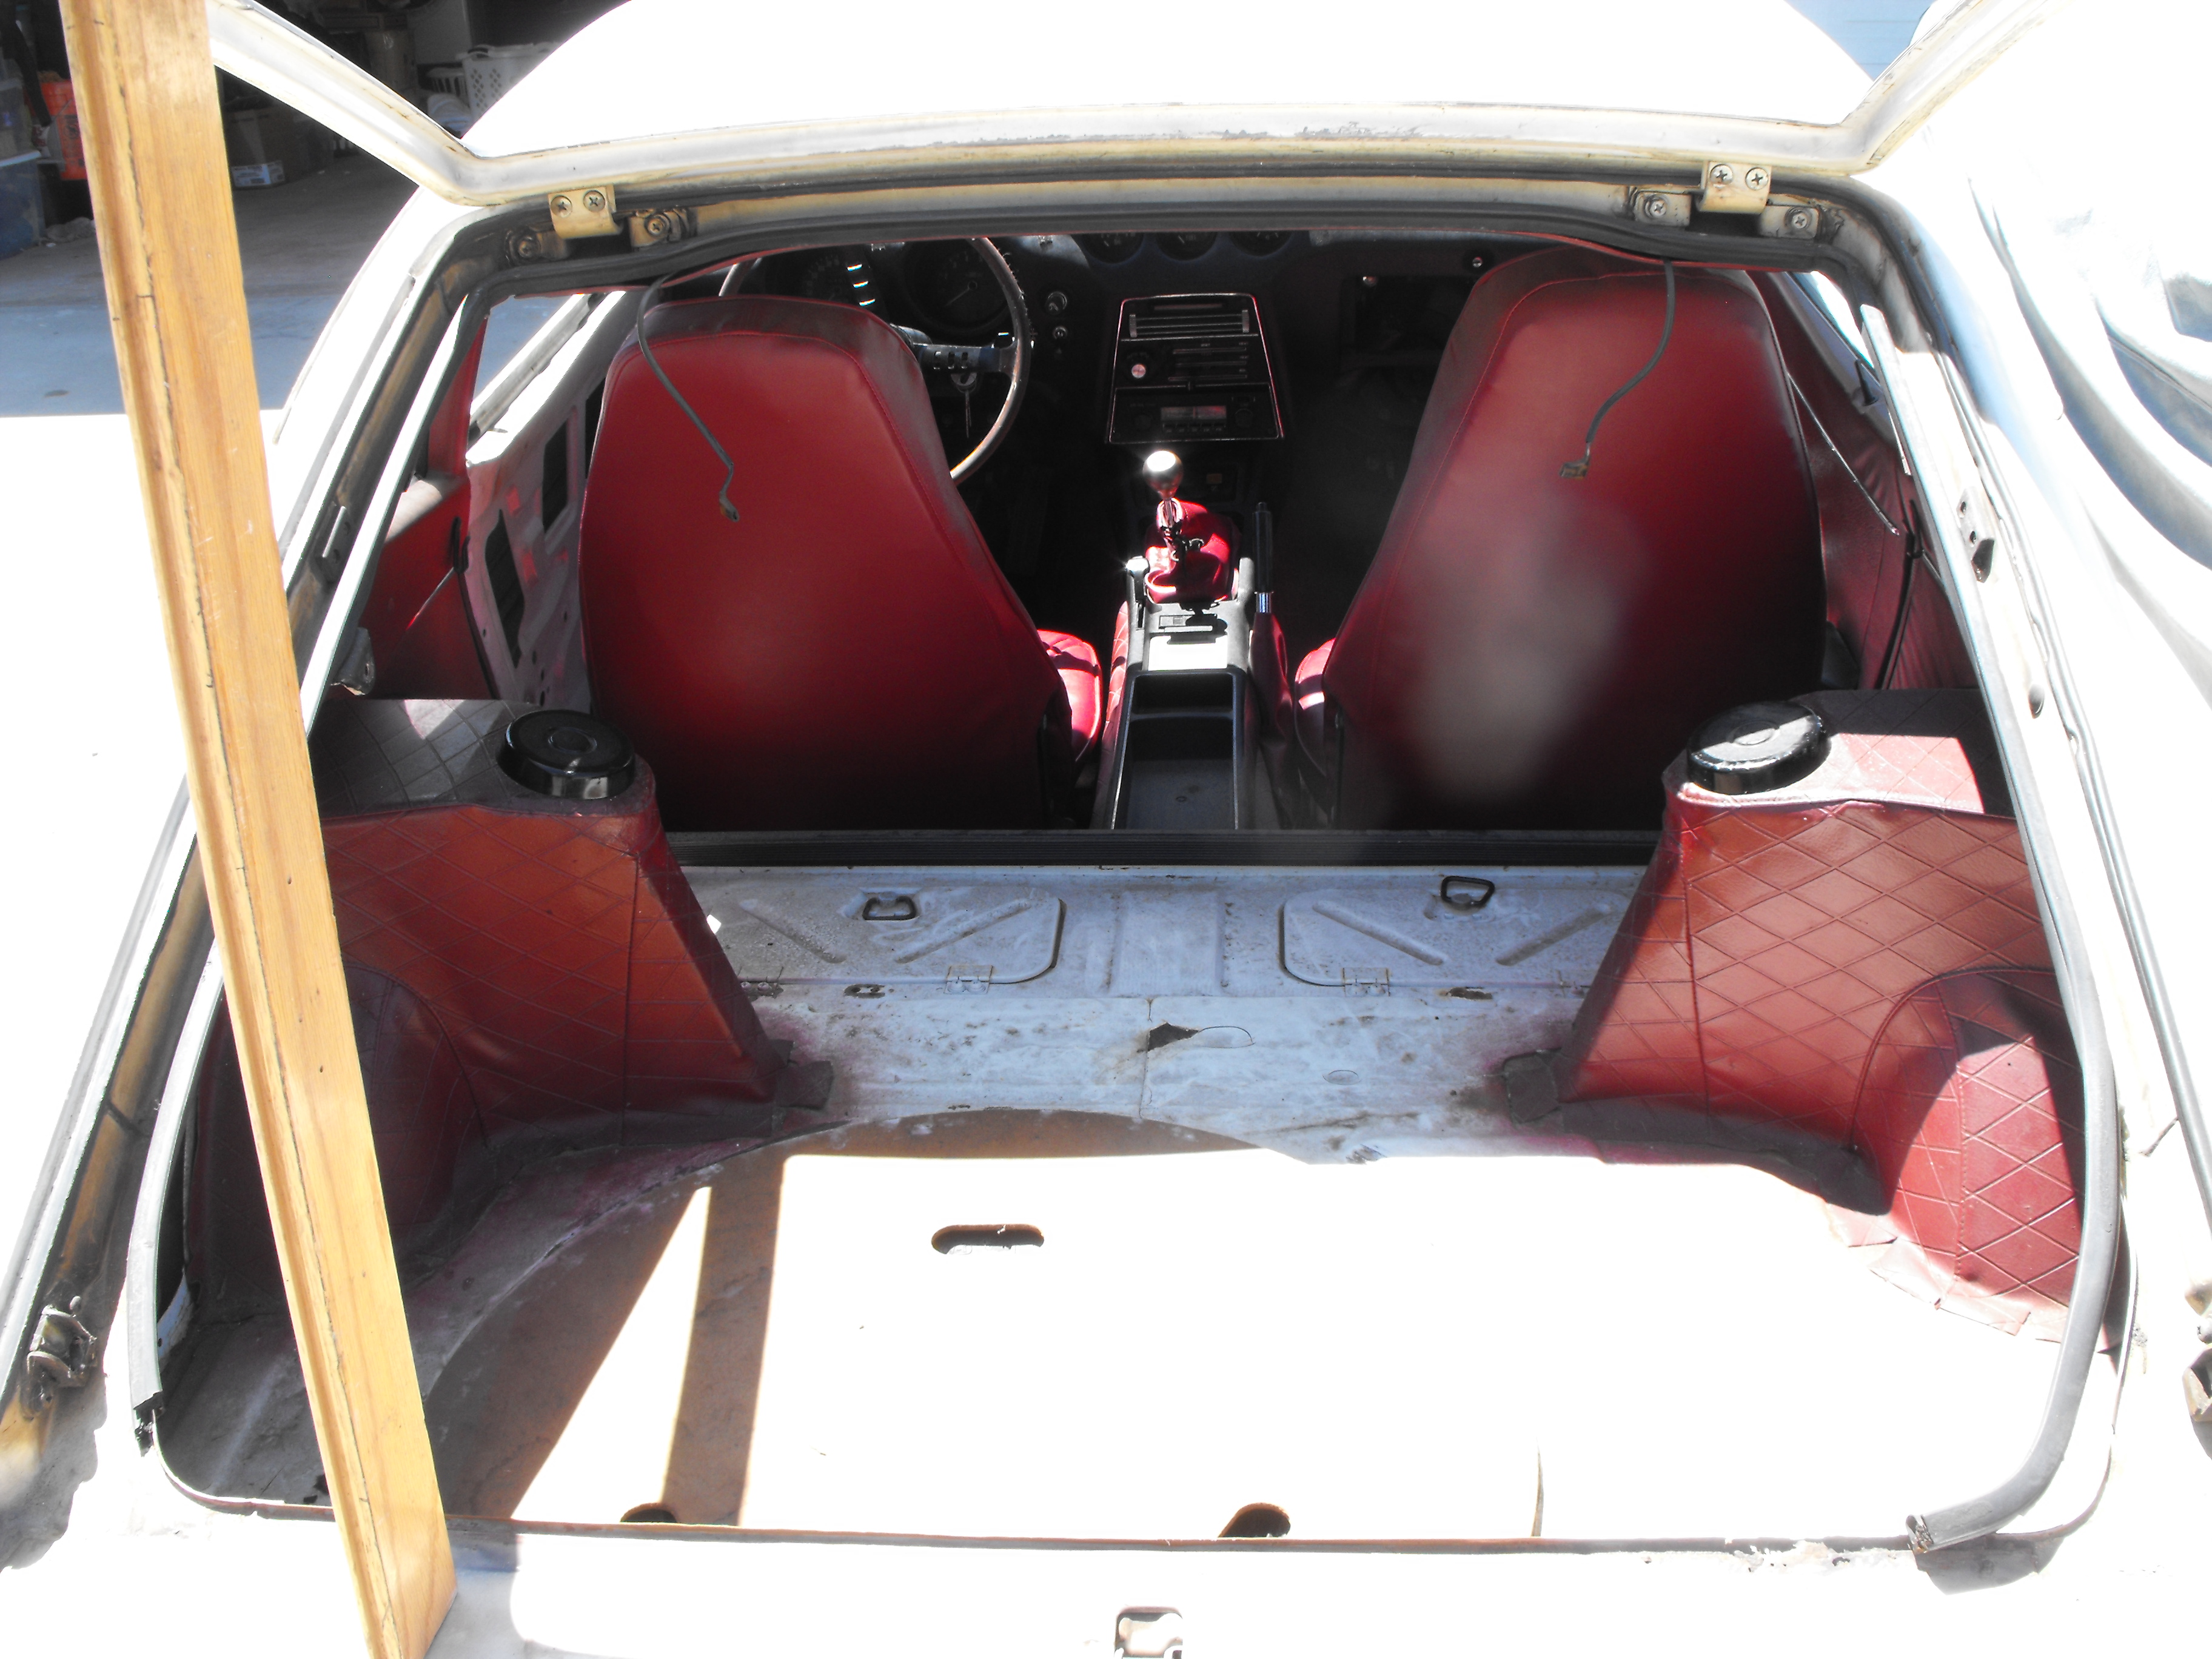
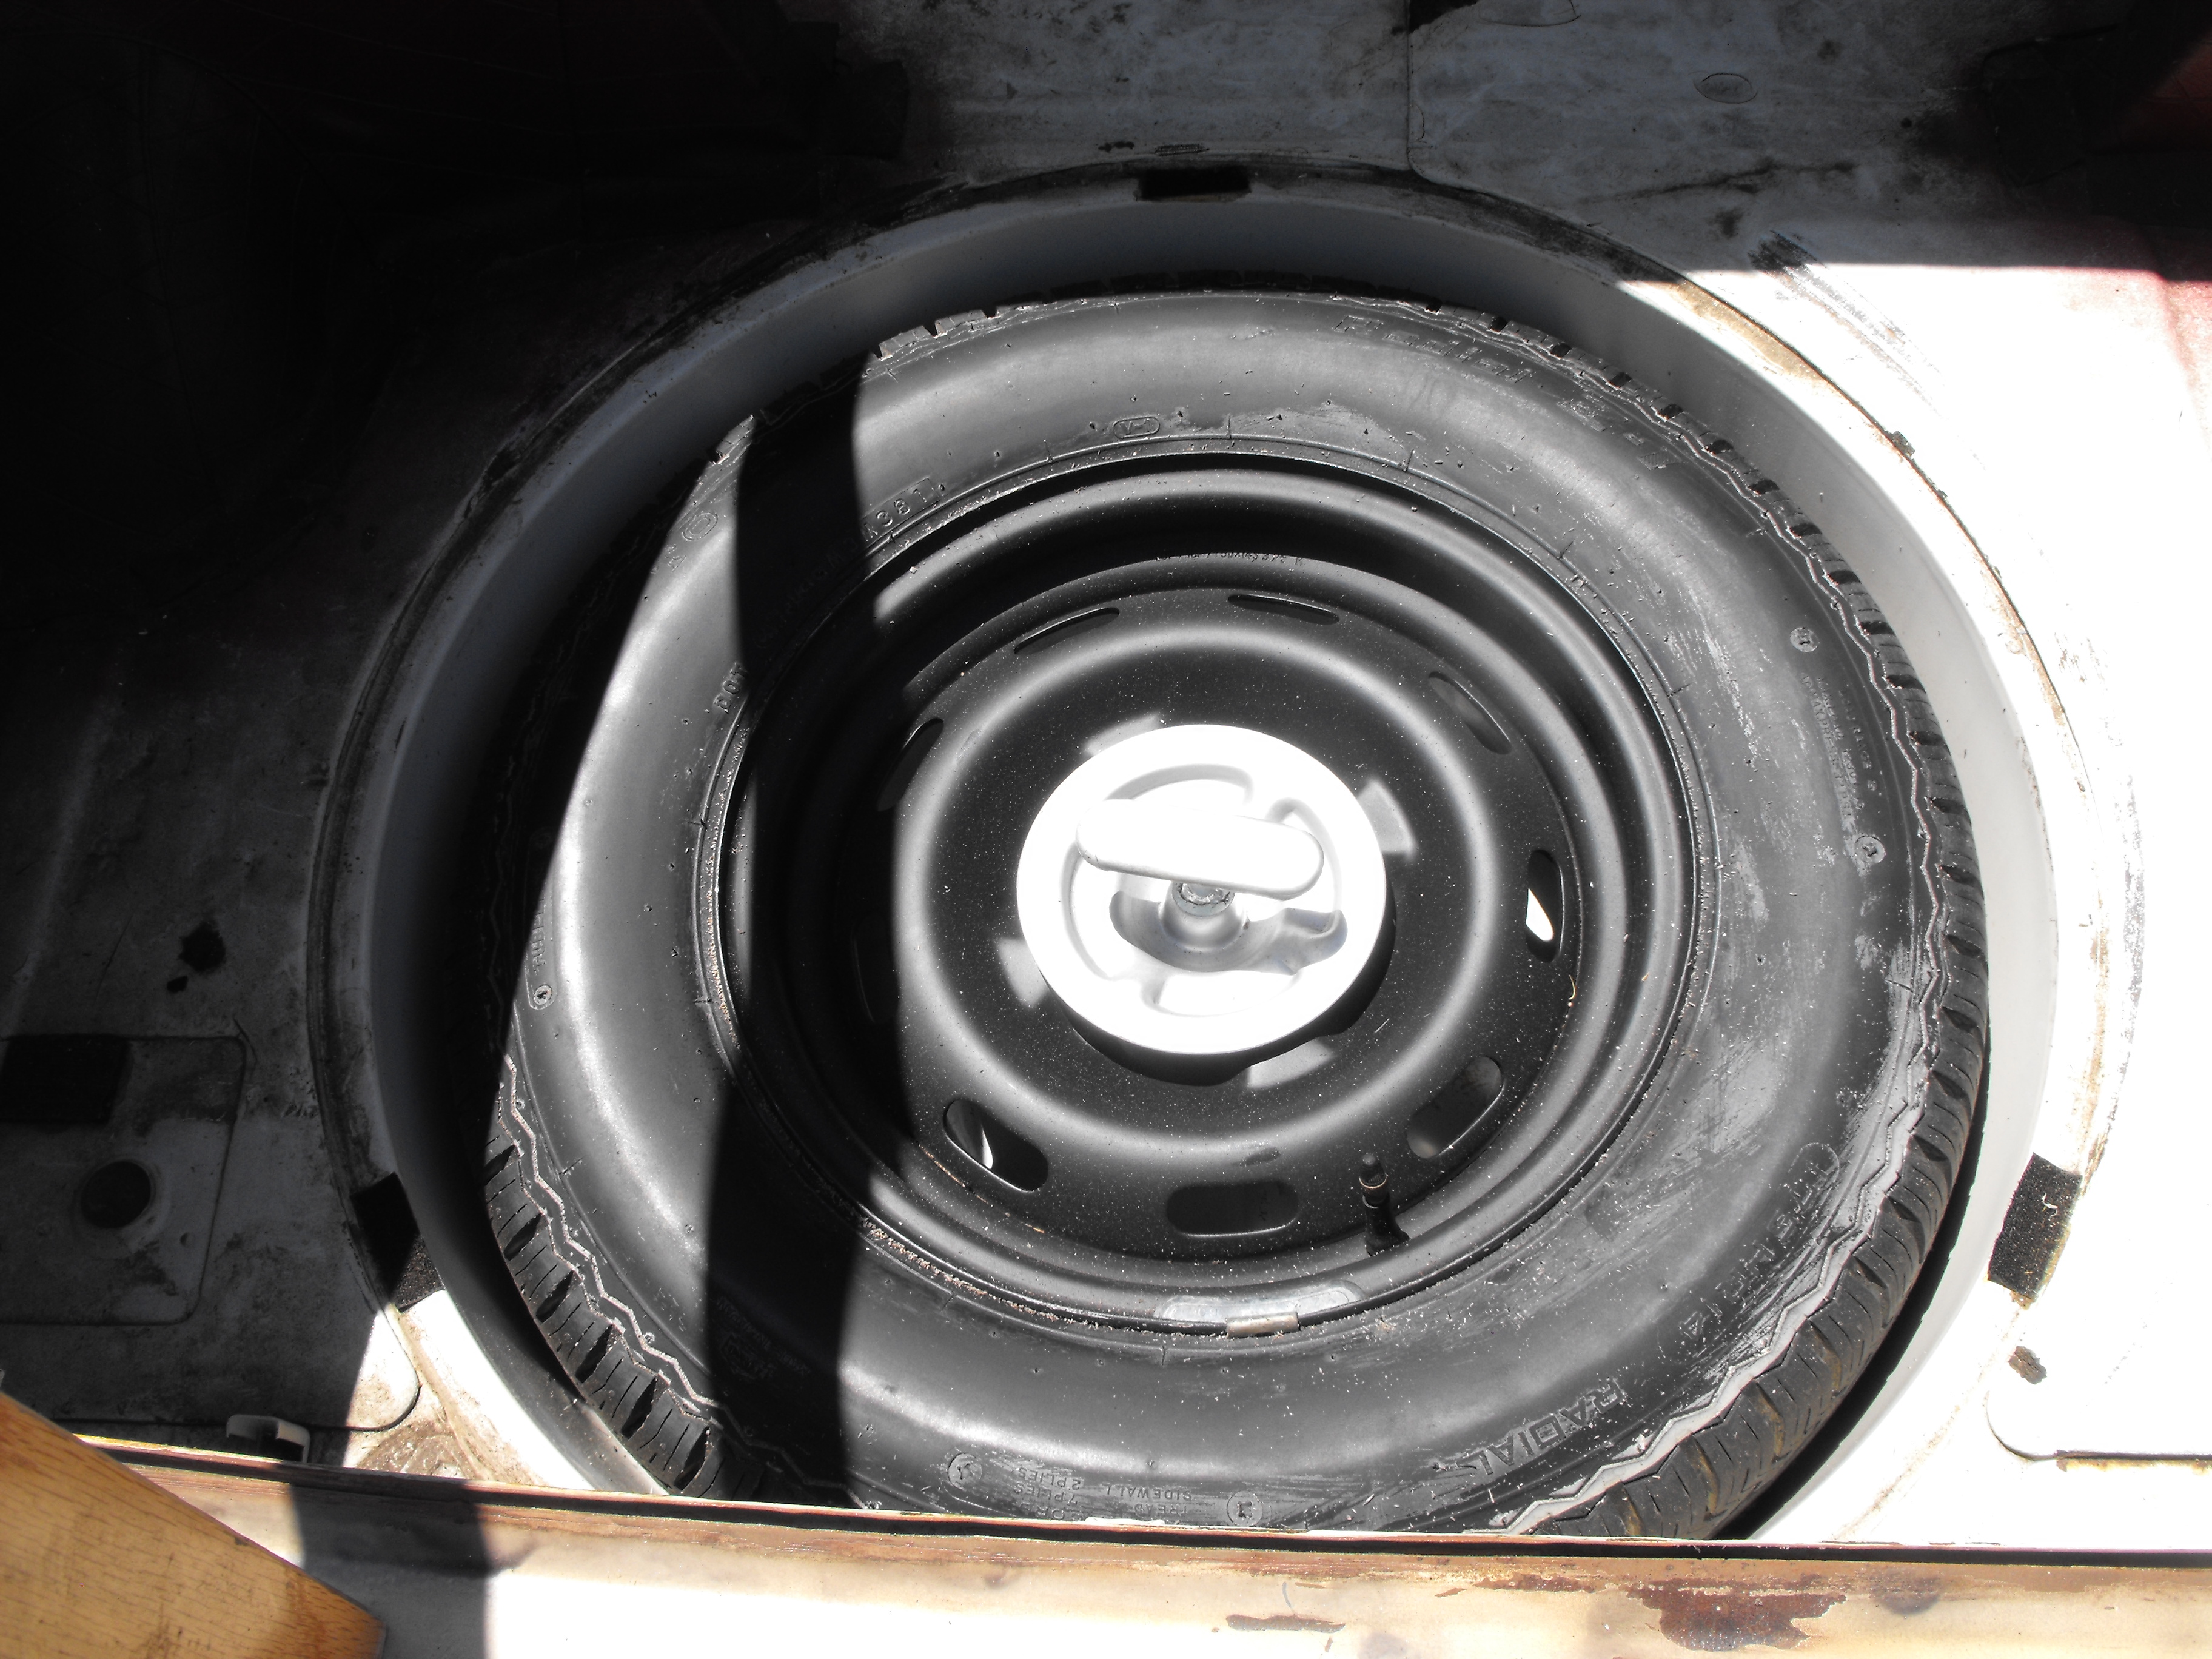
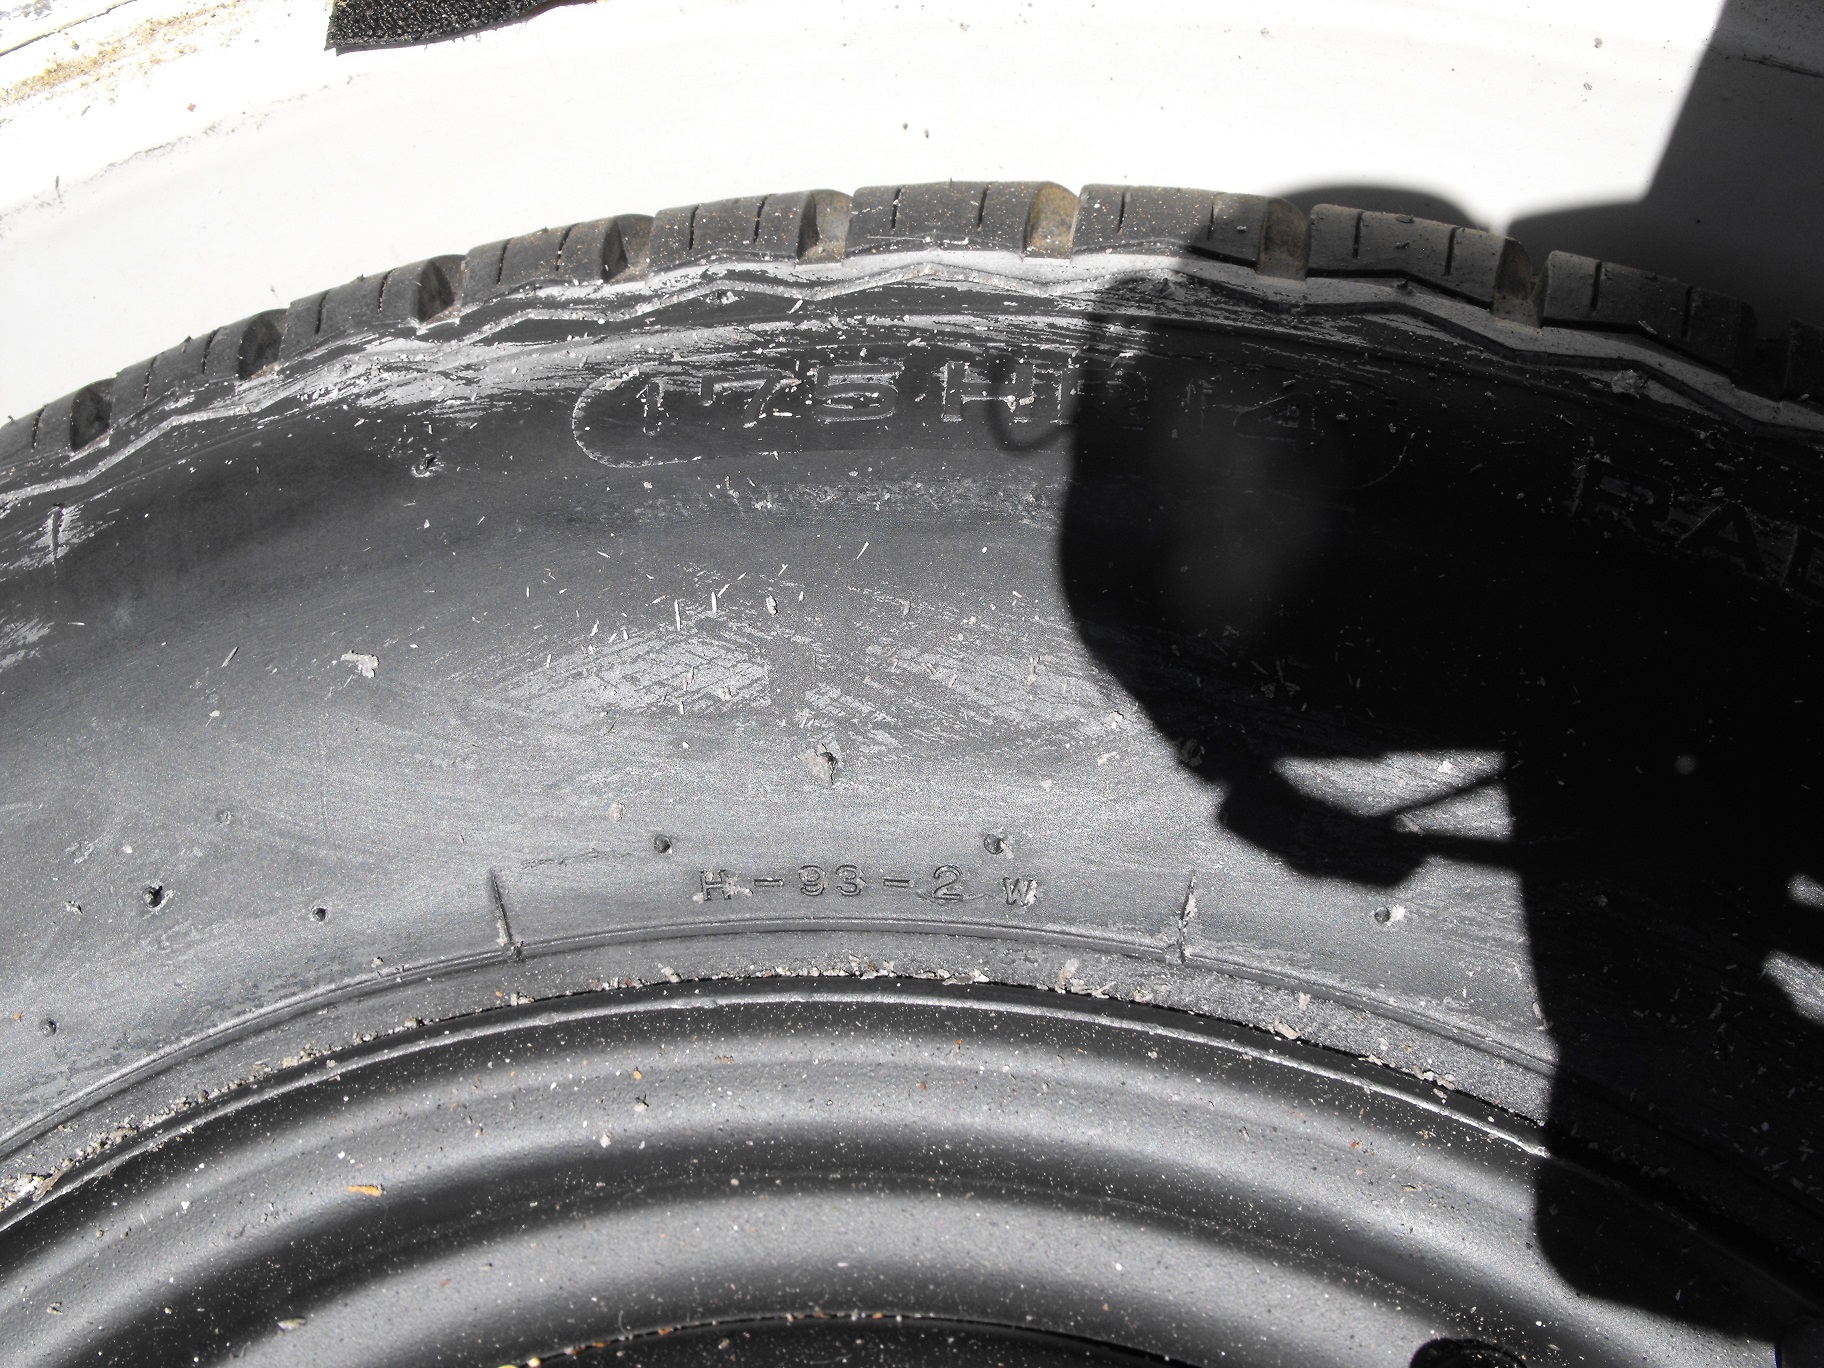
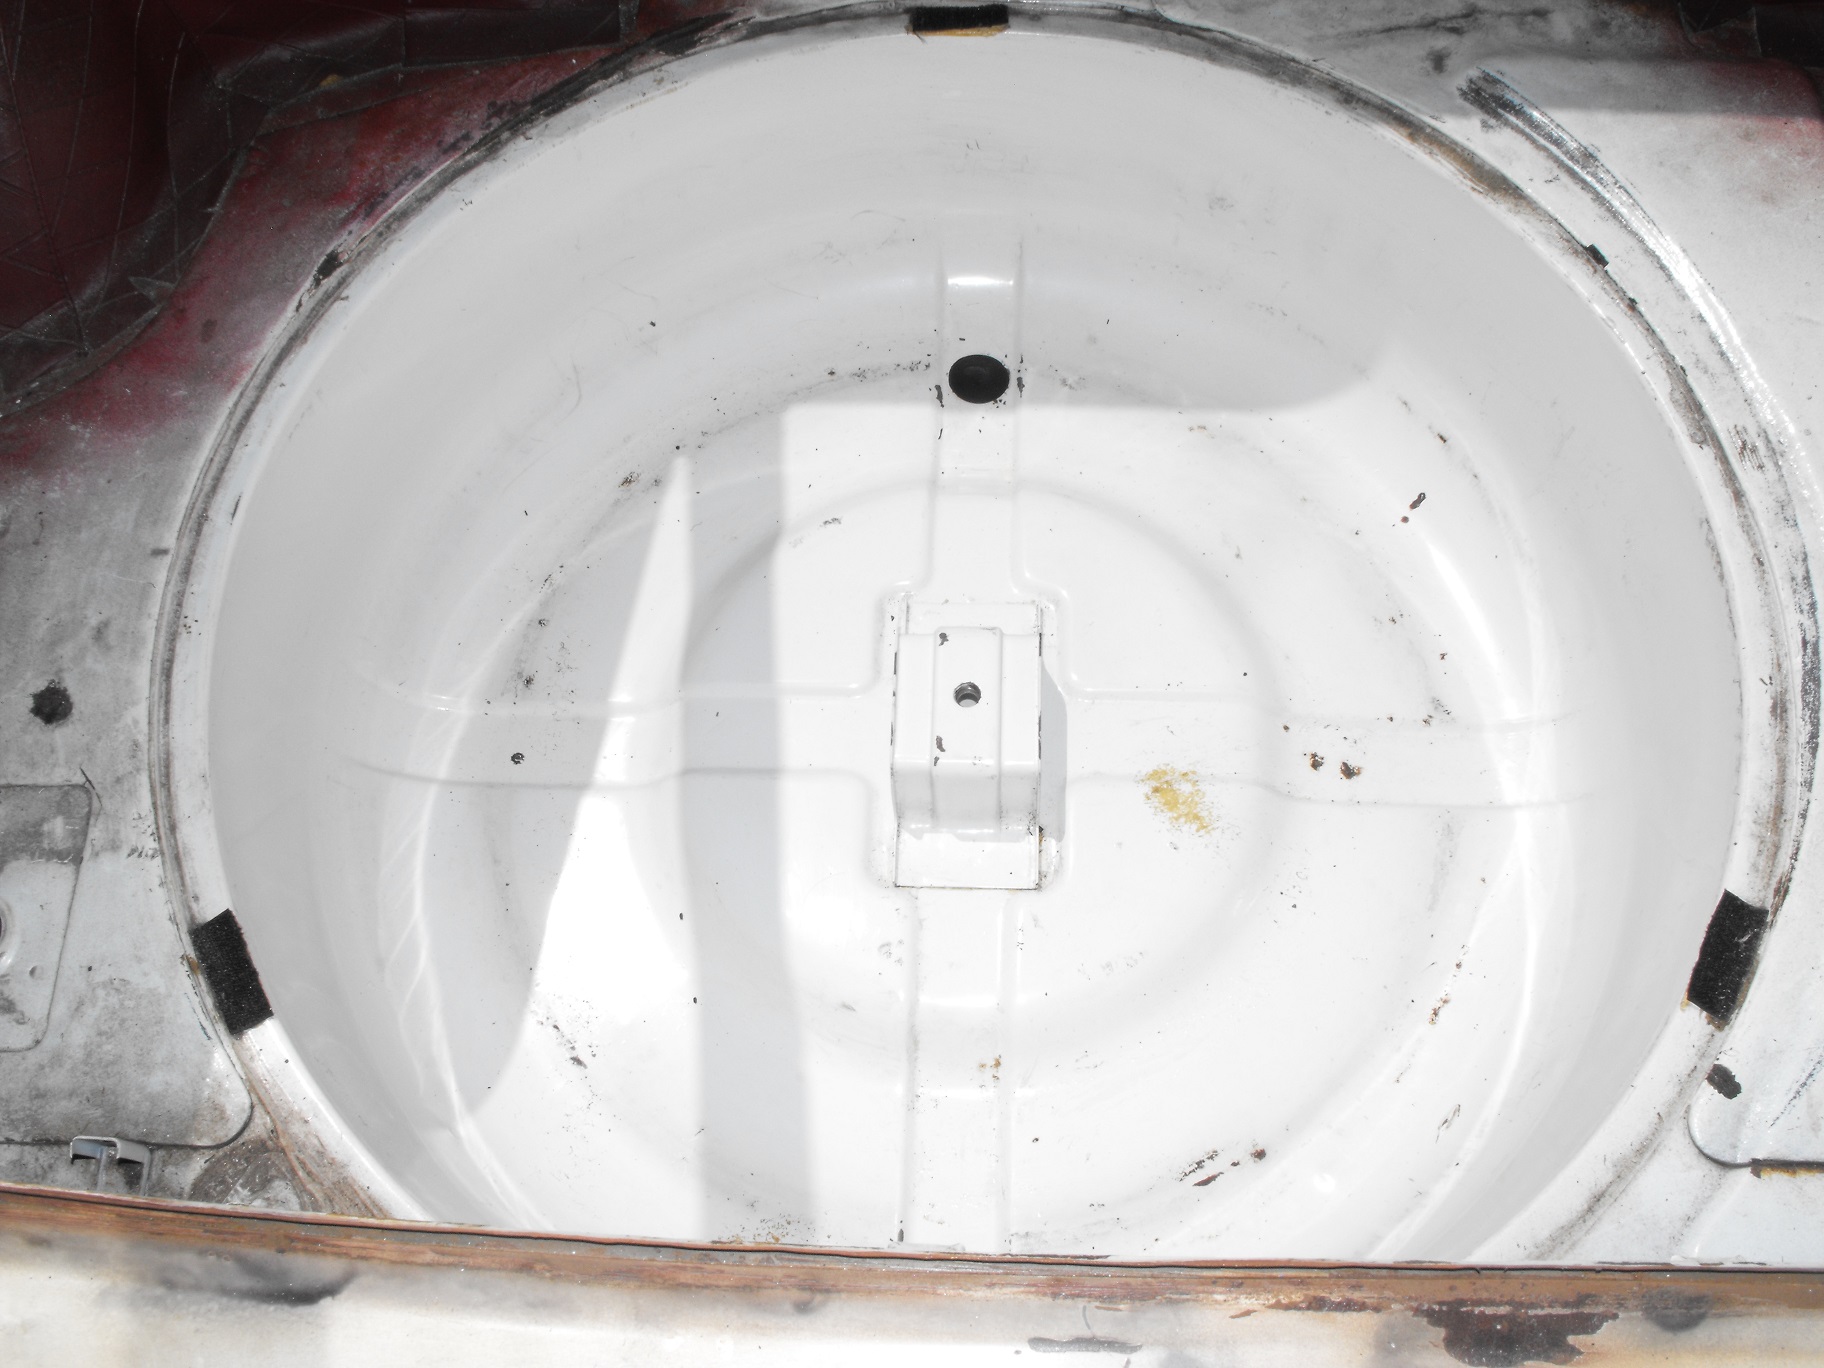
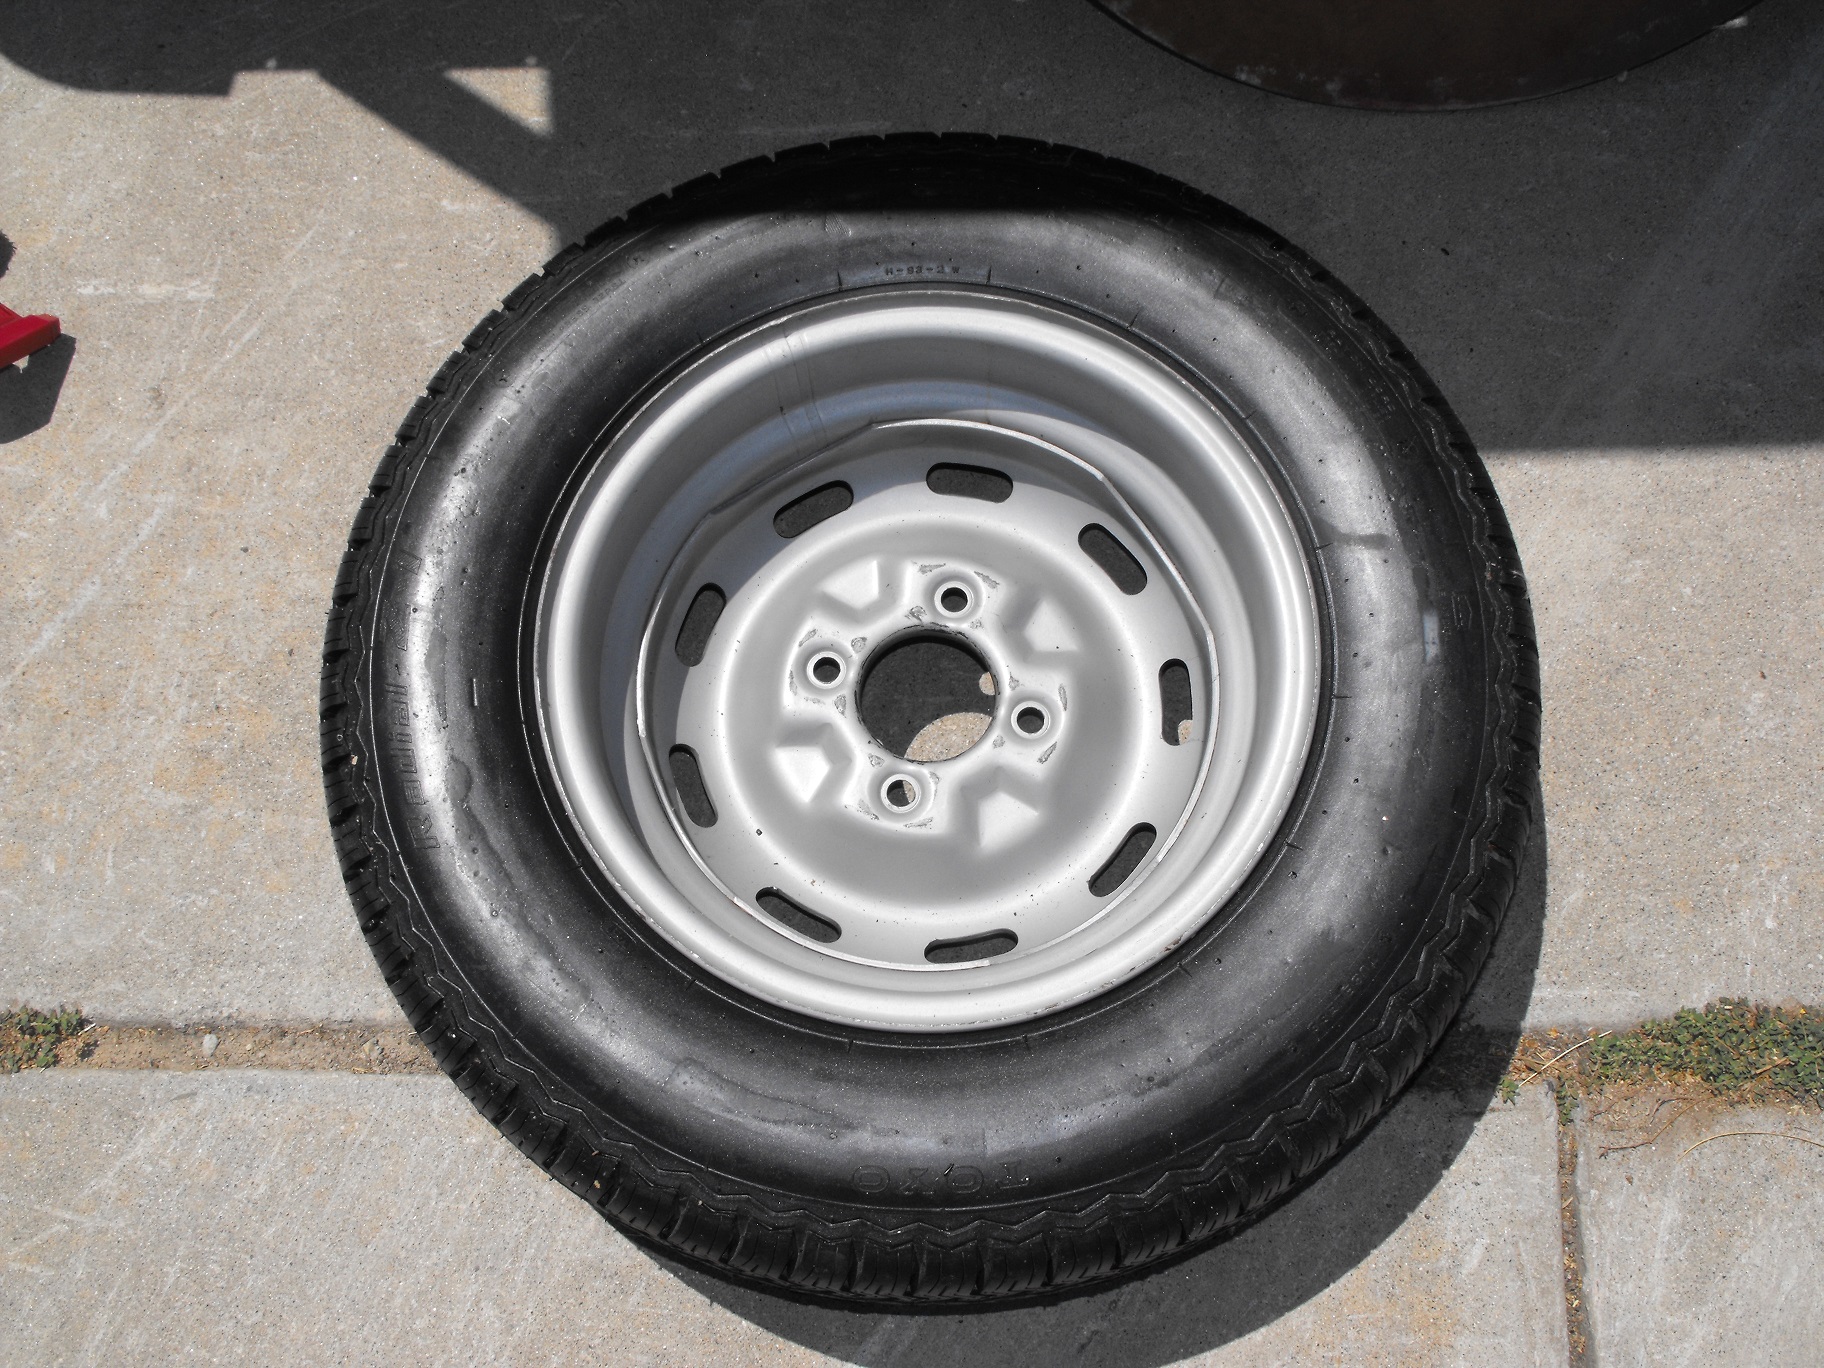
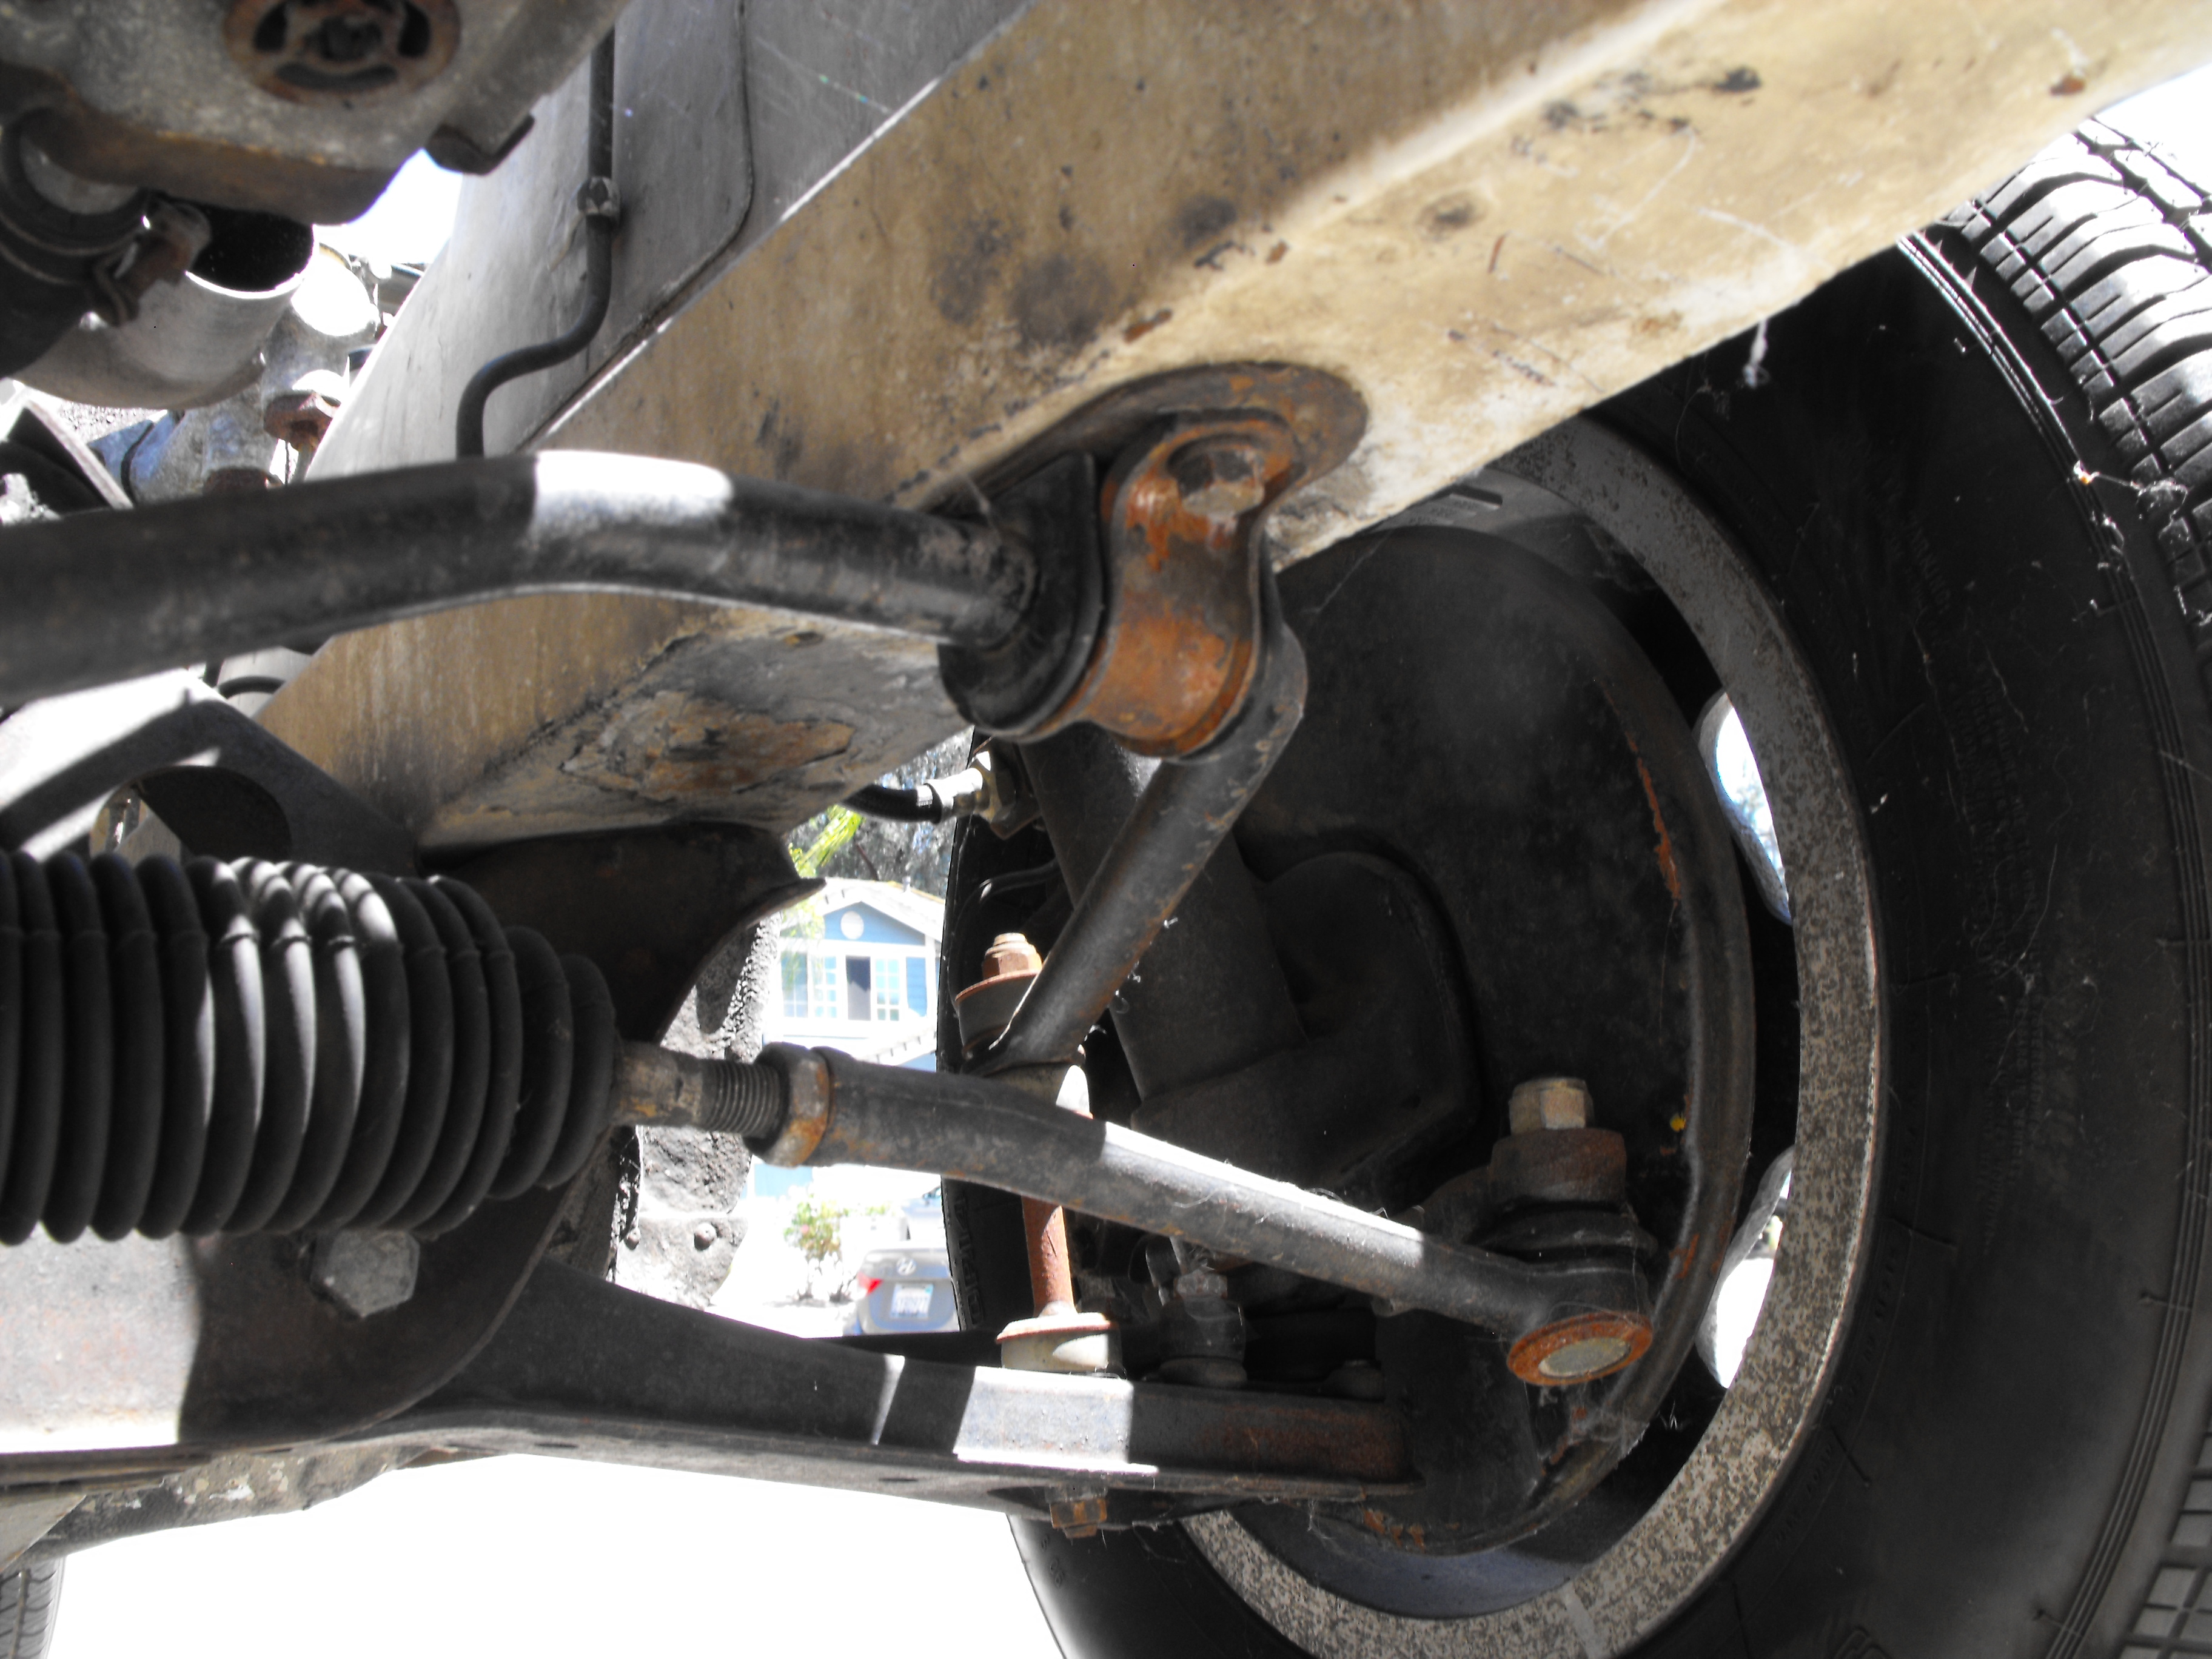
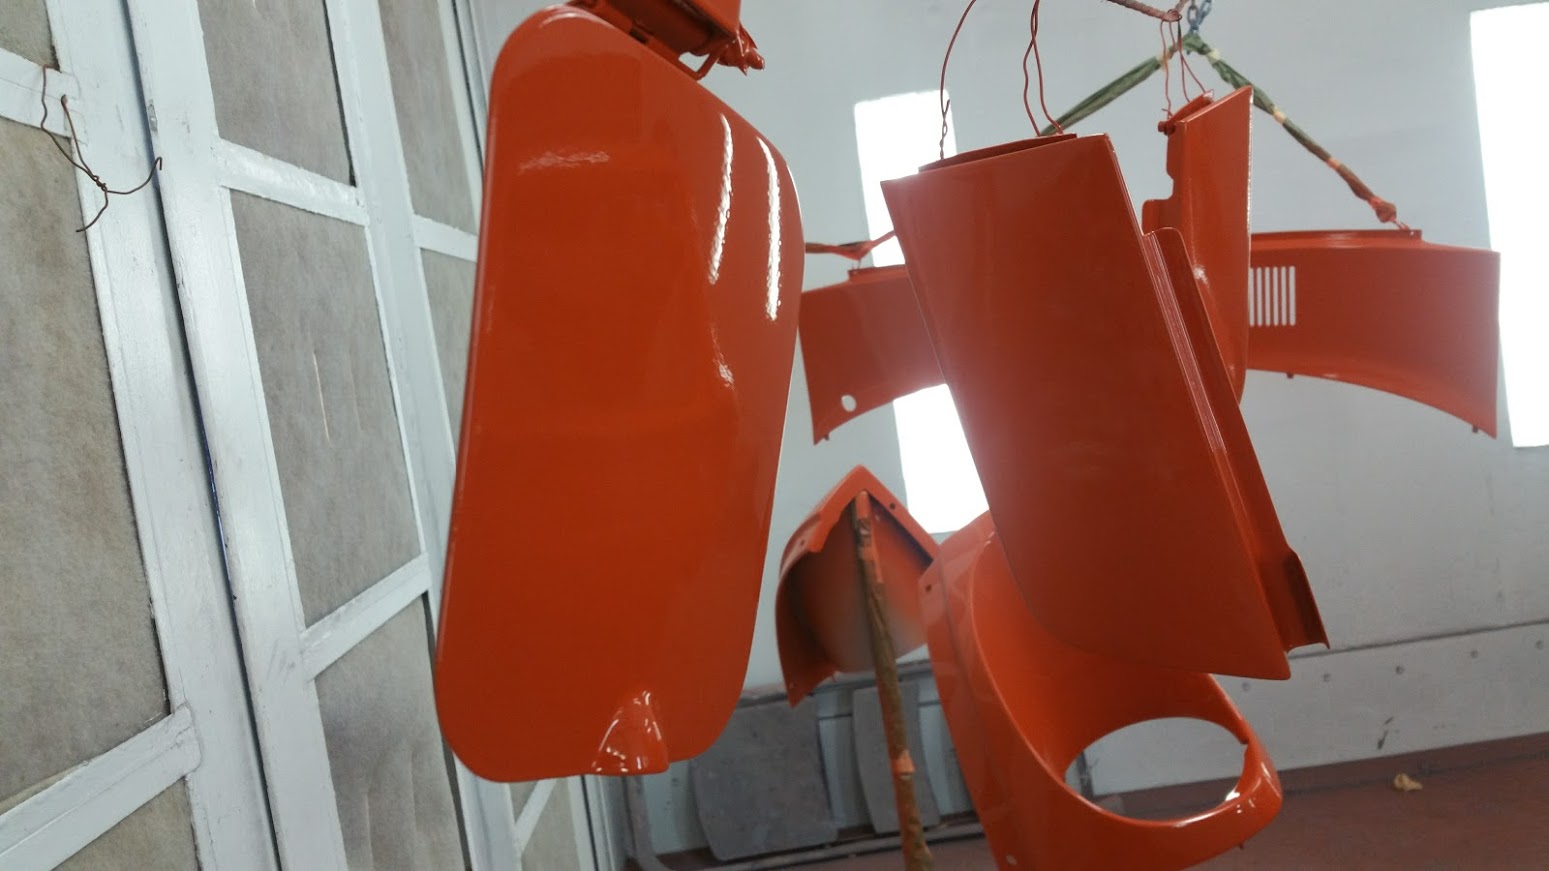
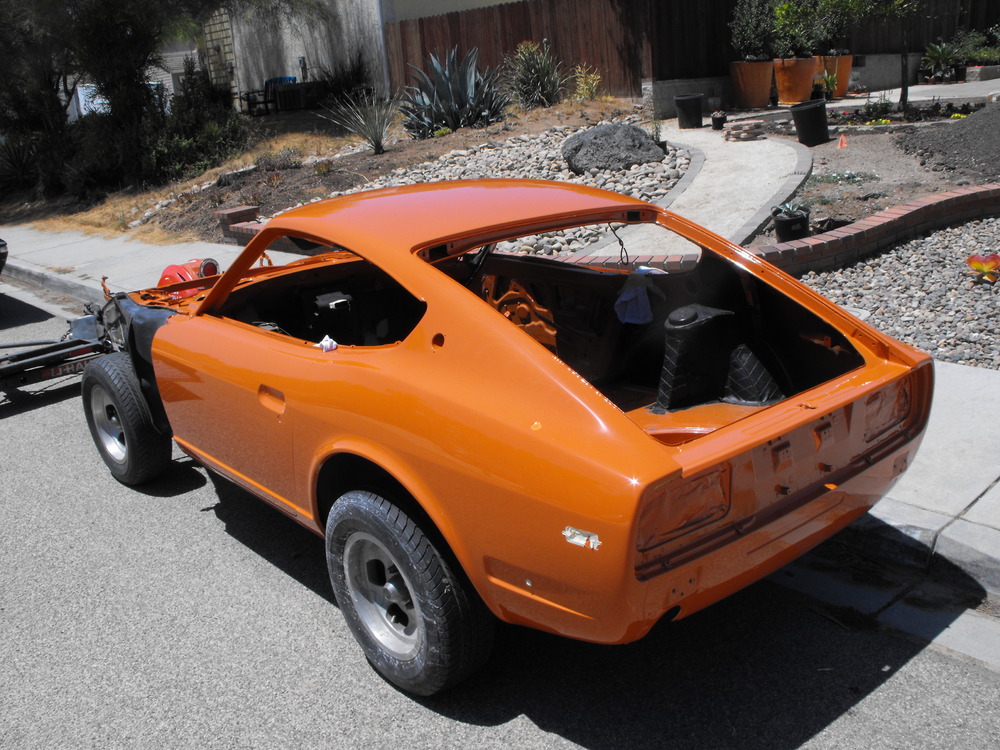
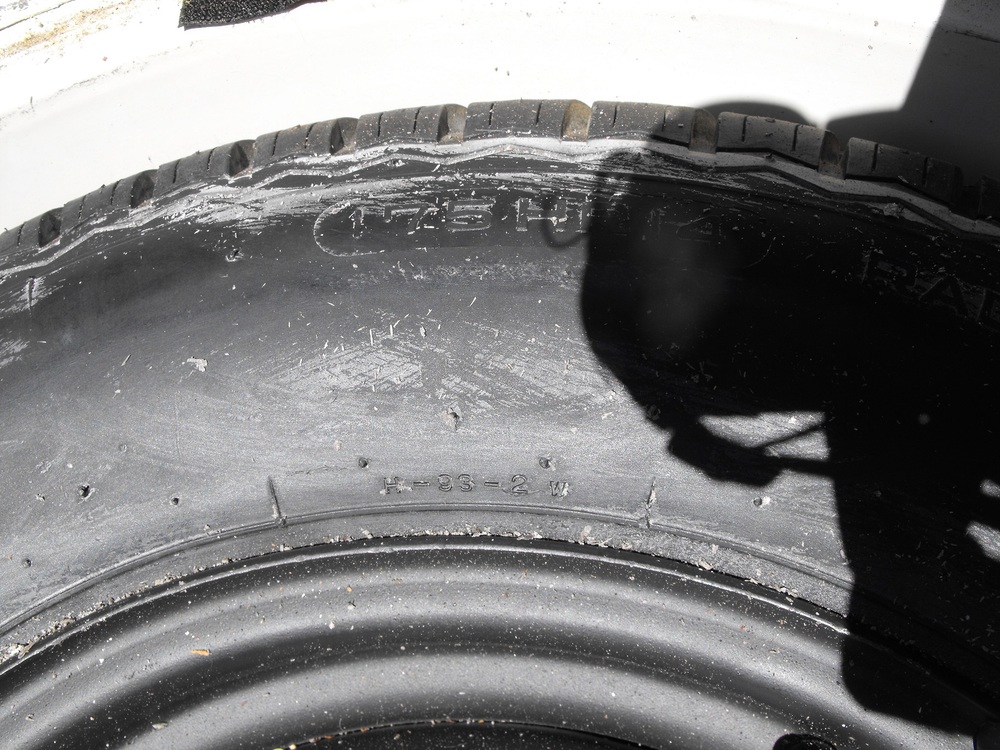
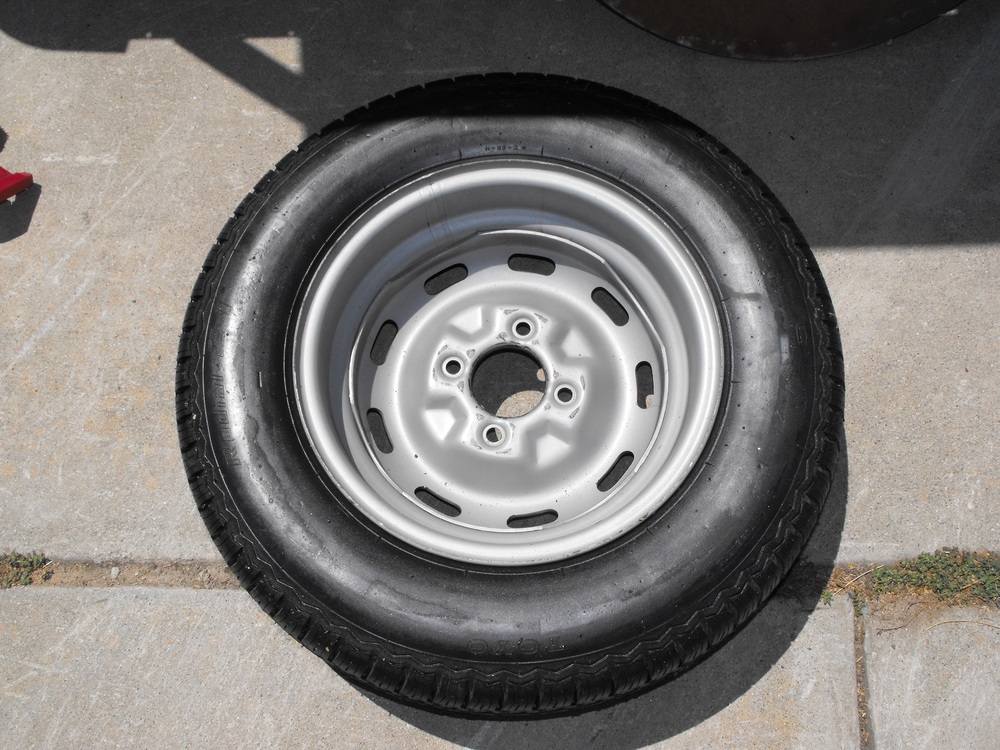
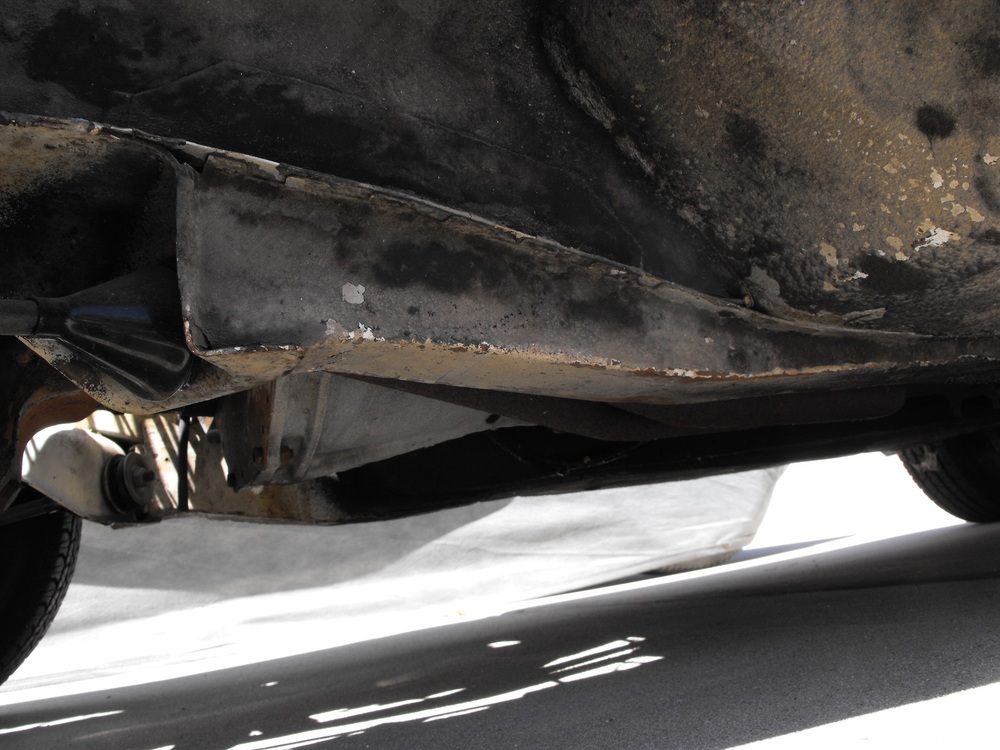
 I got the rolling chassis back from Miguel today and the paint is just AMAZING, way better than I was anticipating. The clear coat is like smooth glass. Factory paint NEVER looked this good. Anyway, nice to have it back in my garage. I removed the a lot of the protective paper which was like unwrapping presents on Christmas, very enjoyable. I did clean up the spare tire area and put that in. I am now removing the the front suspension. Will have most of the parts powder coated and fasteners zinc plated. I got a new Energy suspension kit to install once the parts are finished.


-
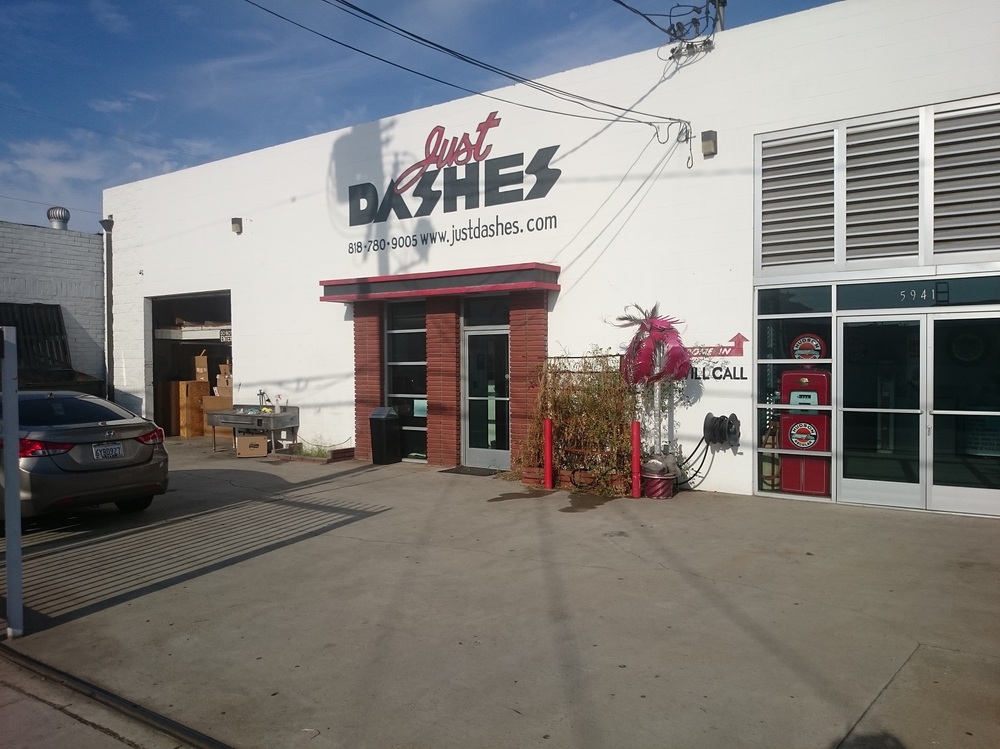
Yes, I think the part where he said he just 'machined' a part clued me into the fact that it was a little more involved than it reads. Thanks for the feed back. The lead time for the dash recover at 'Just Dashes' is 12 weeks. It is a long time.
-
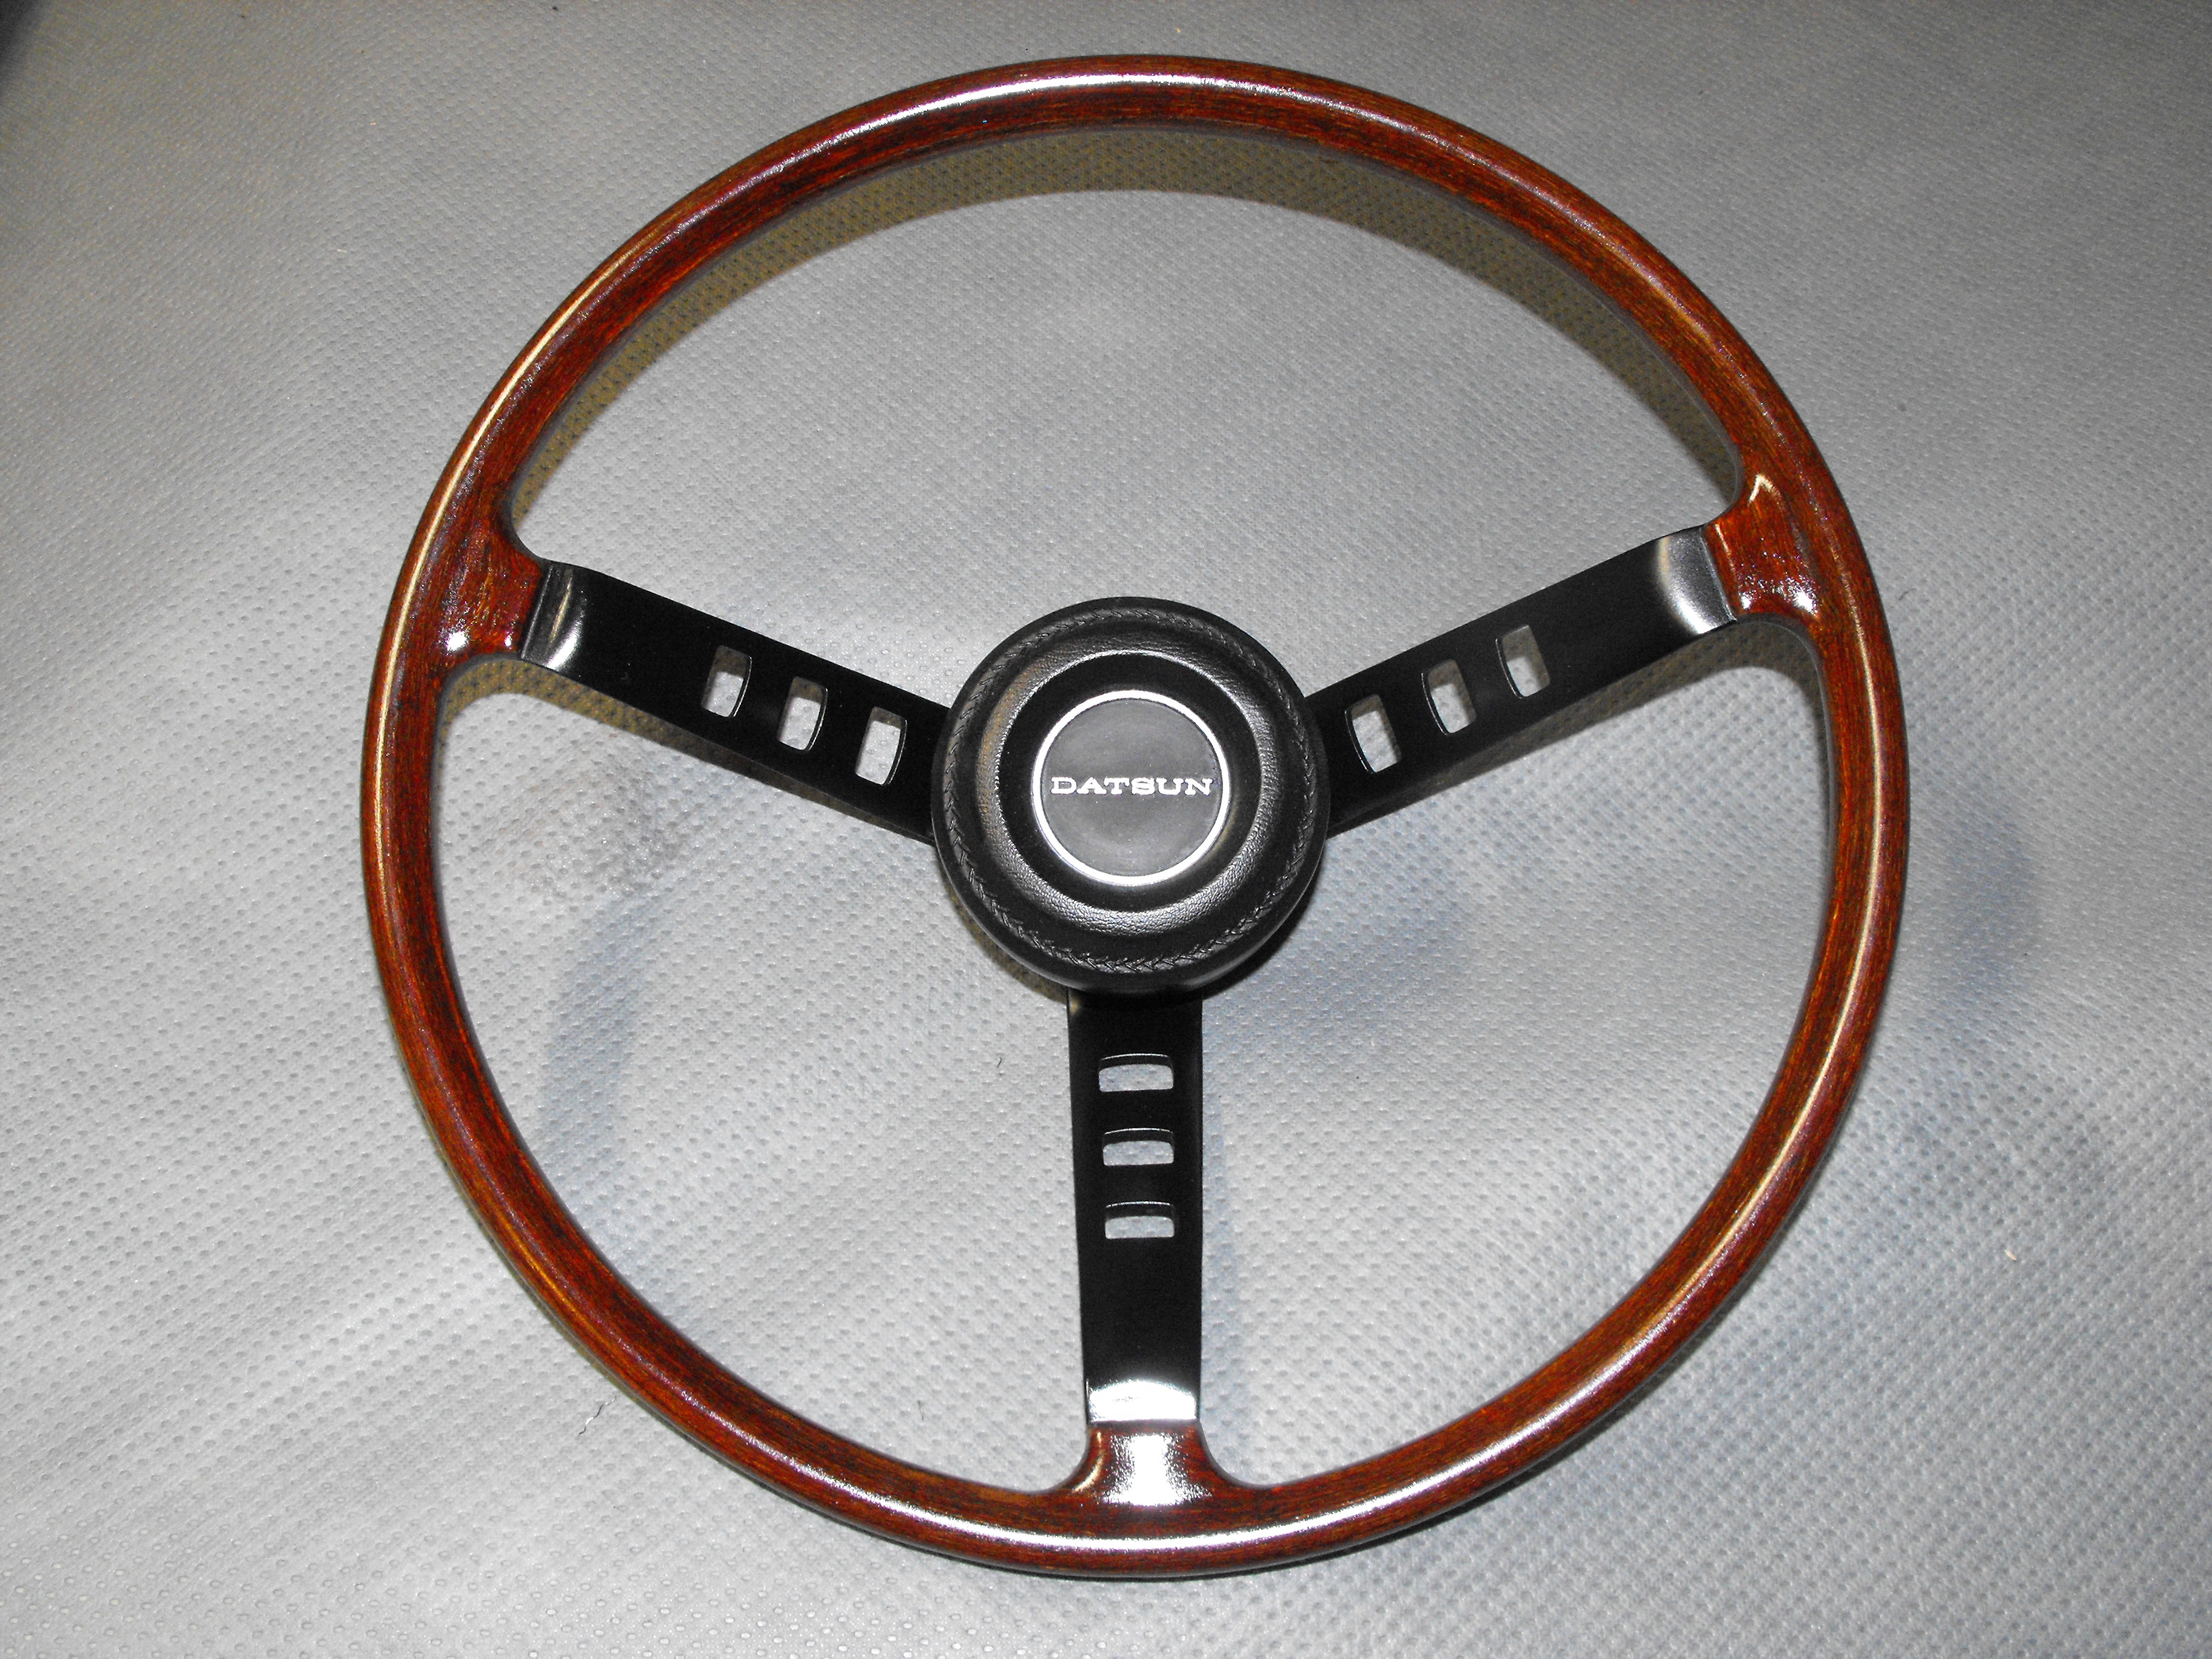
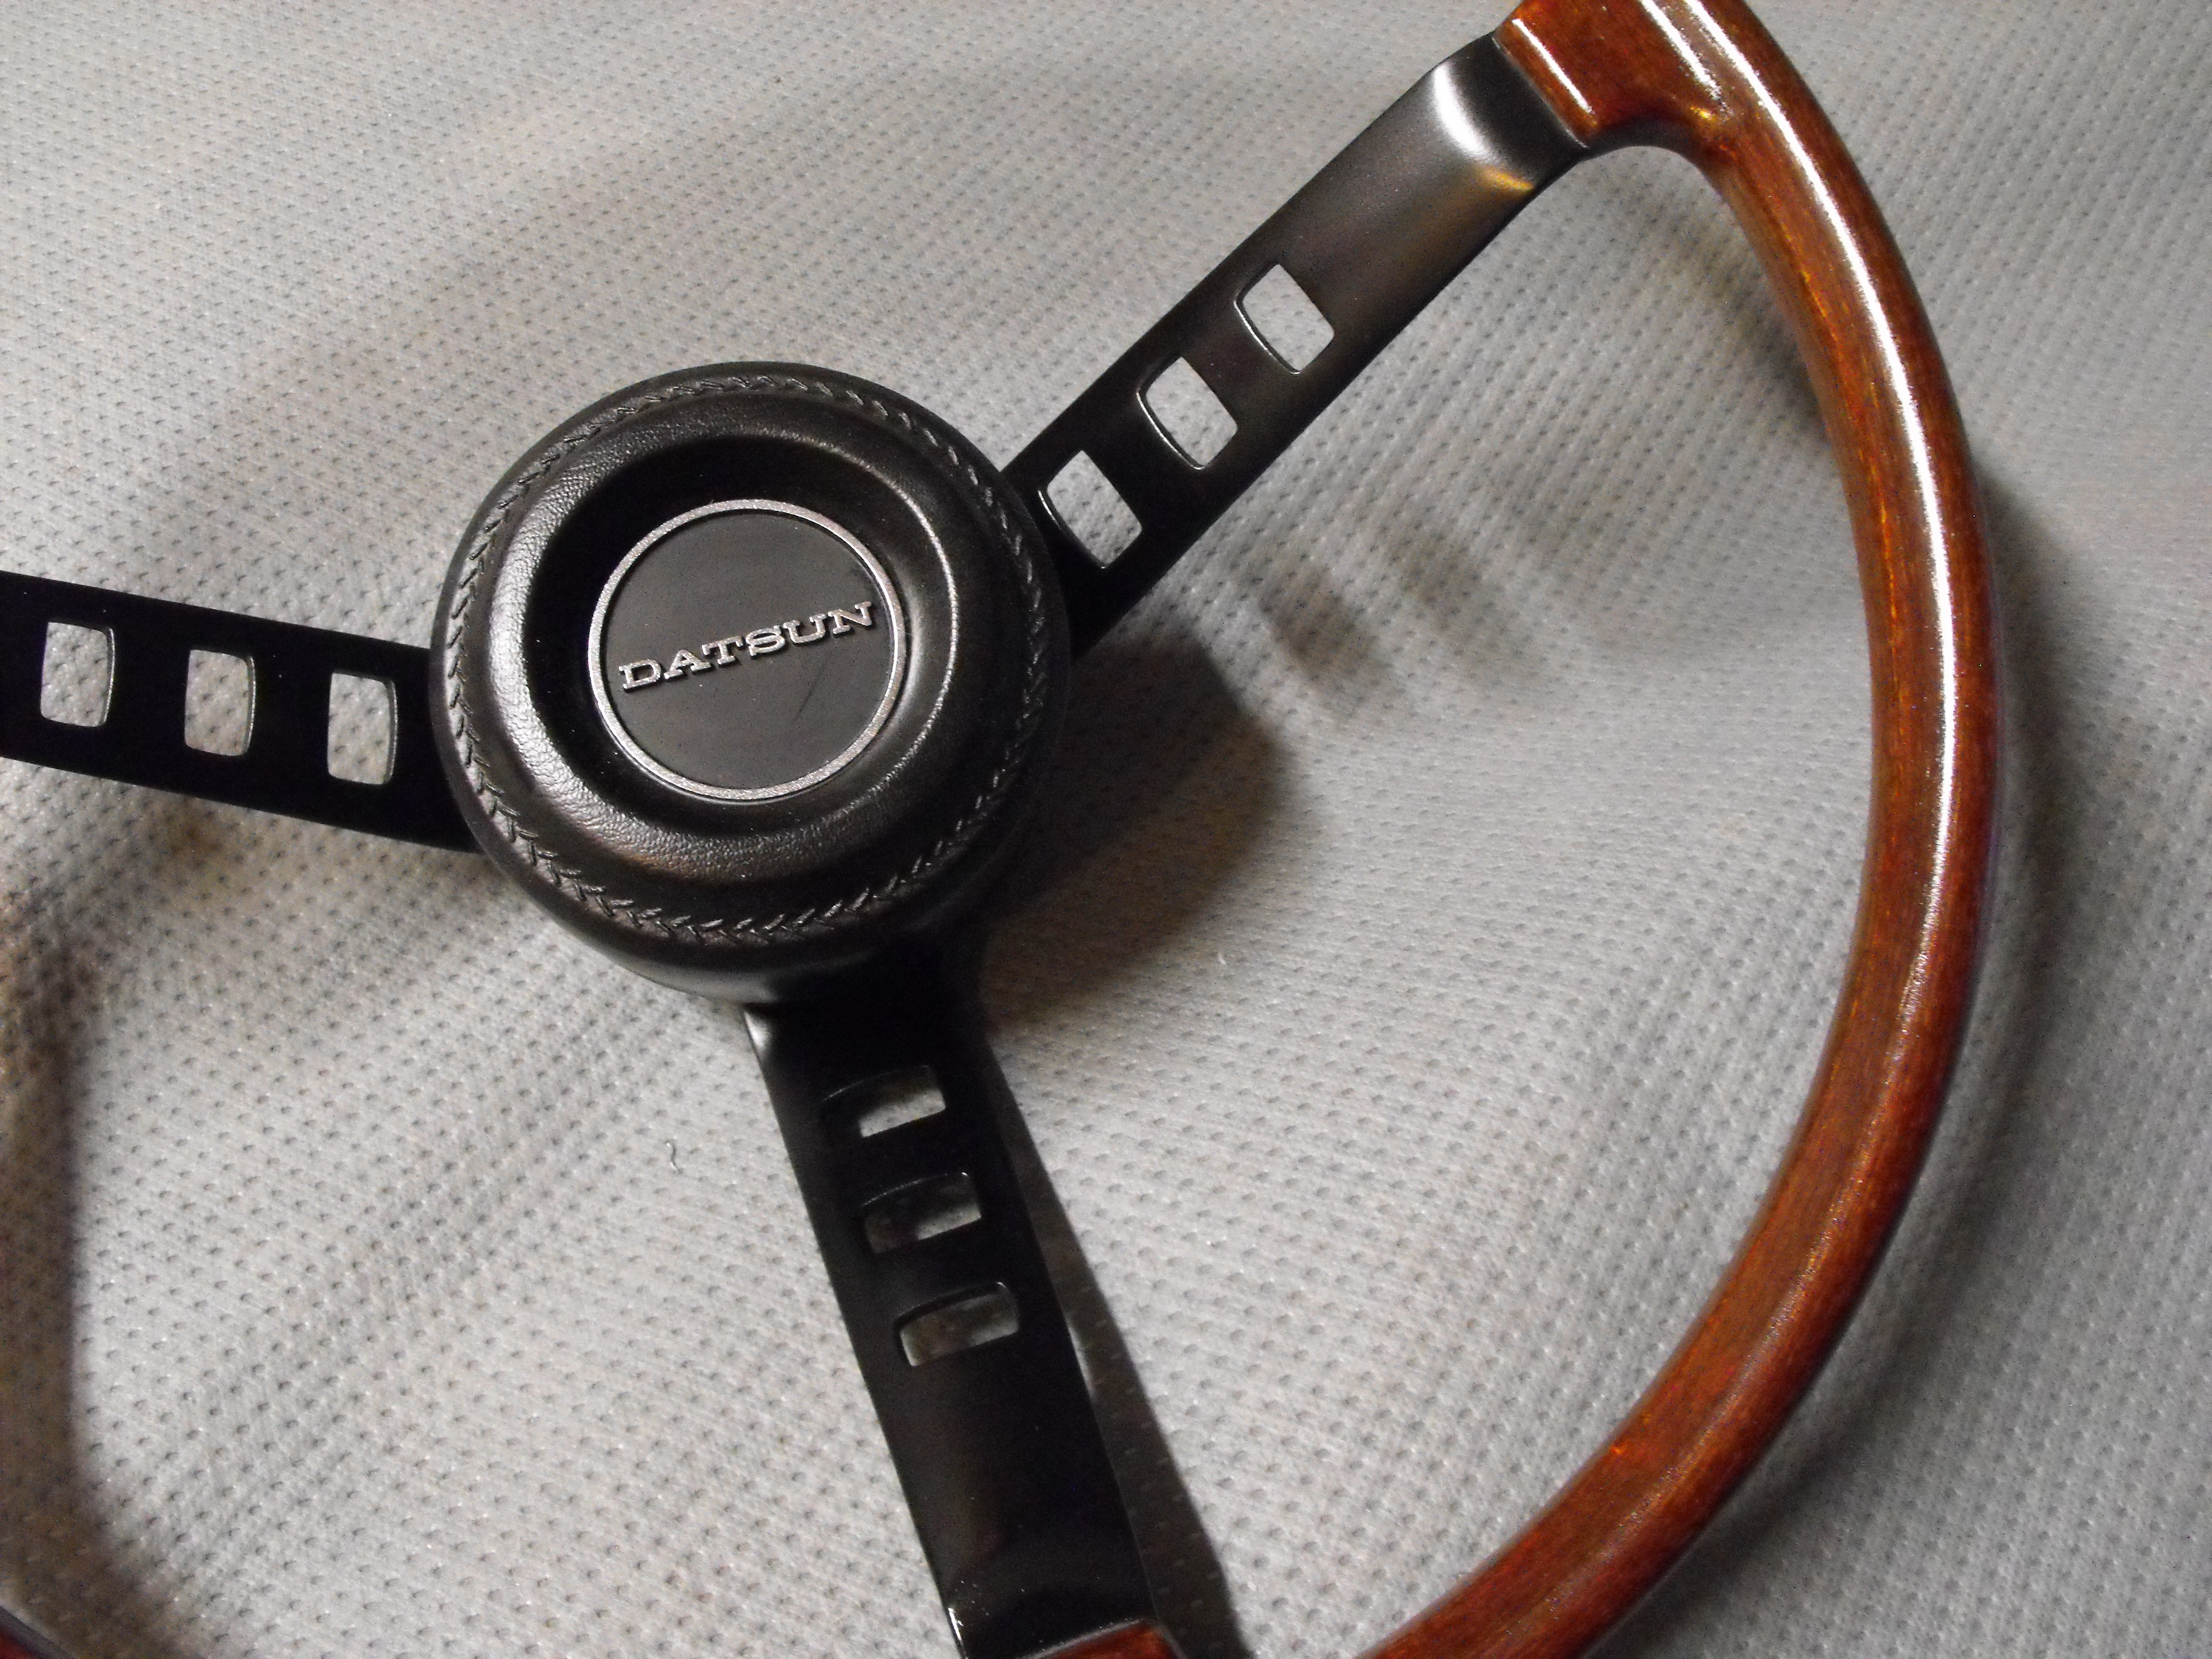
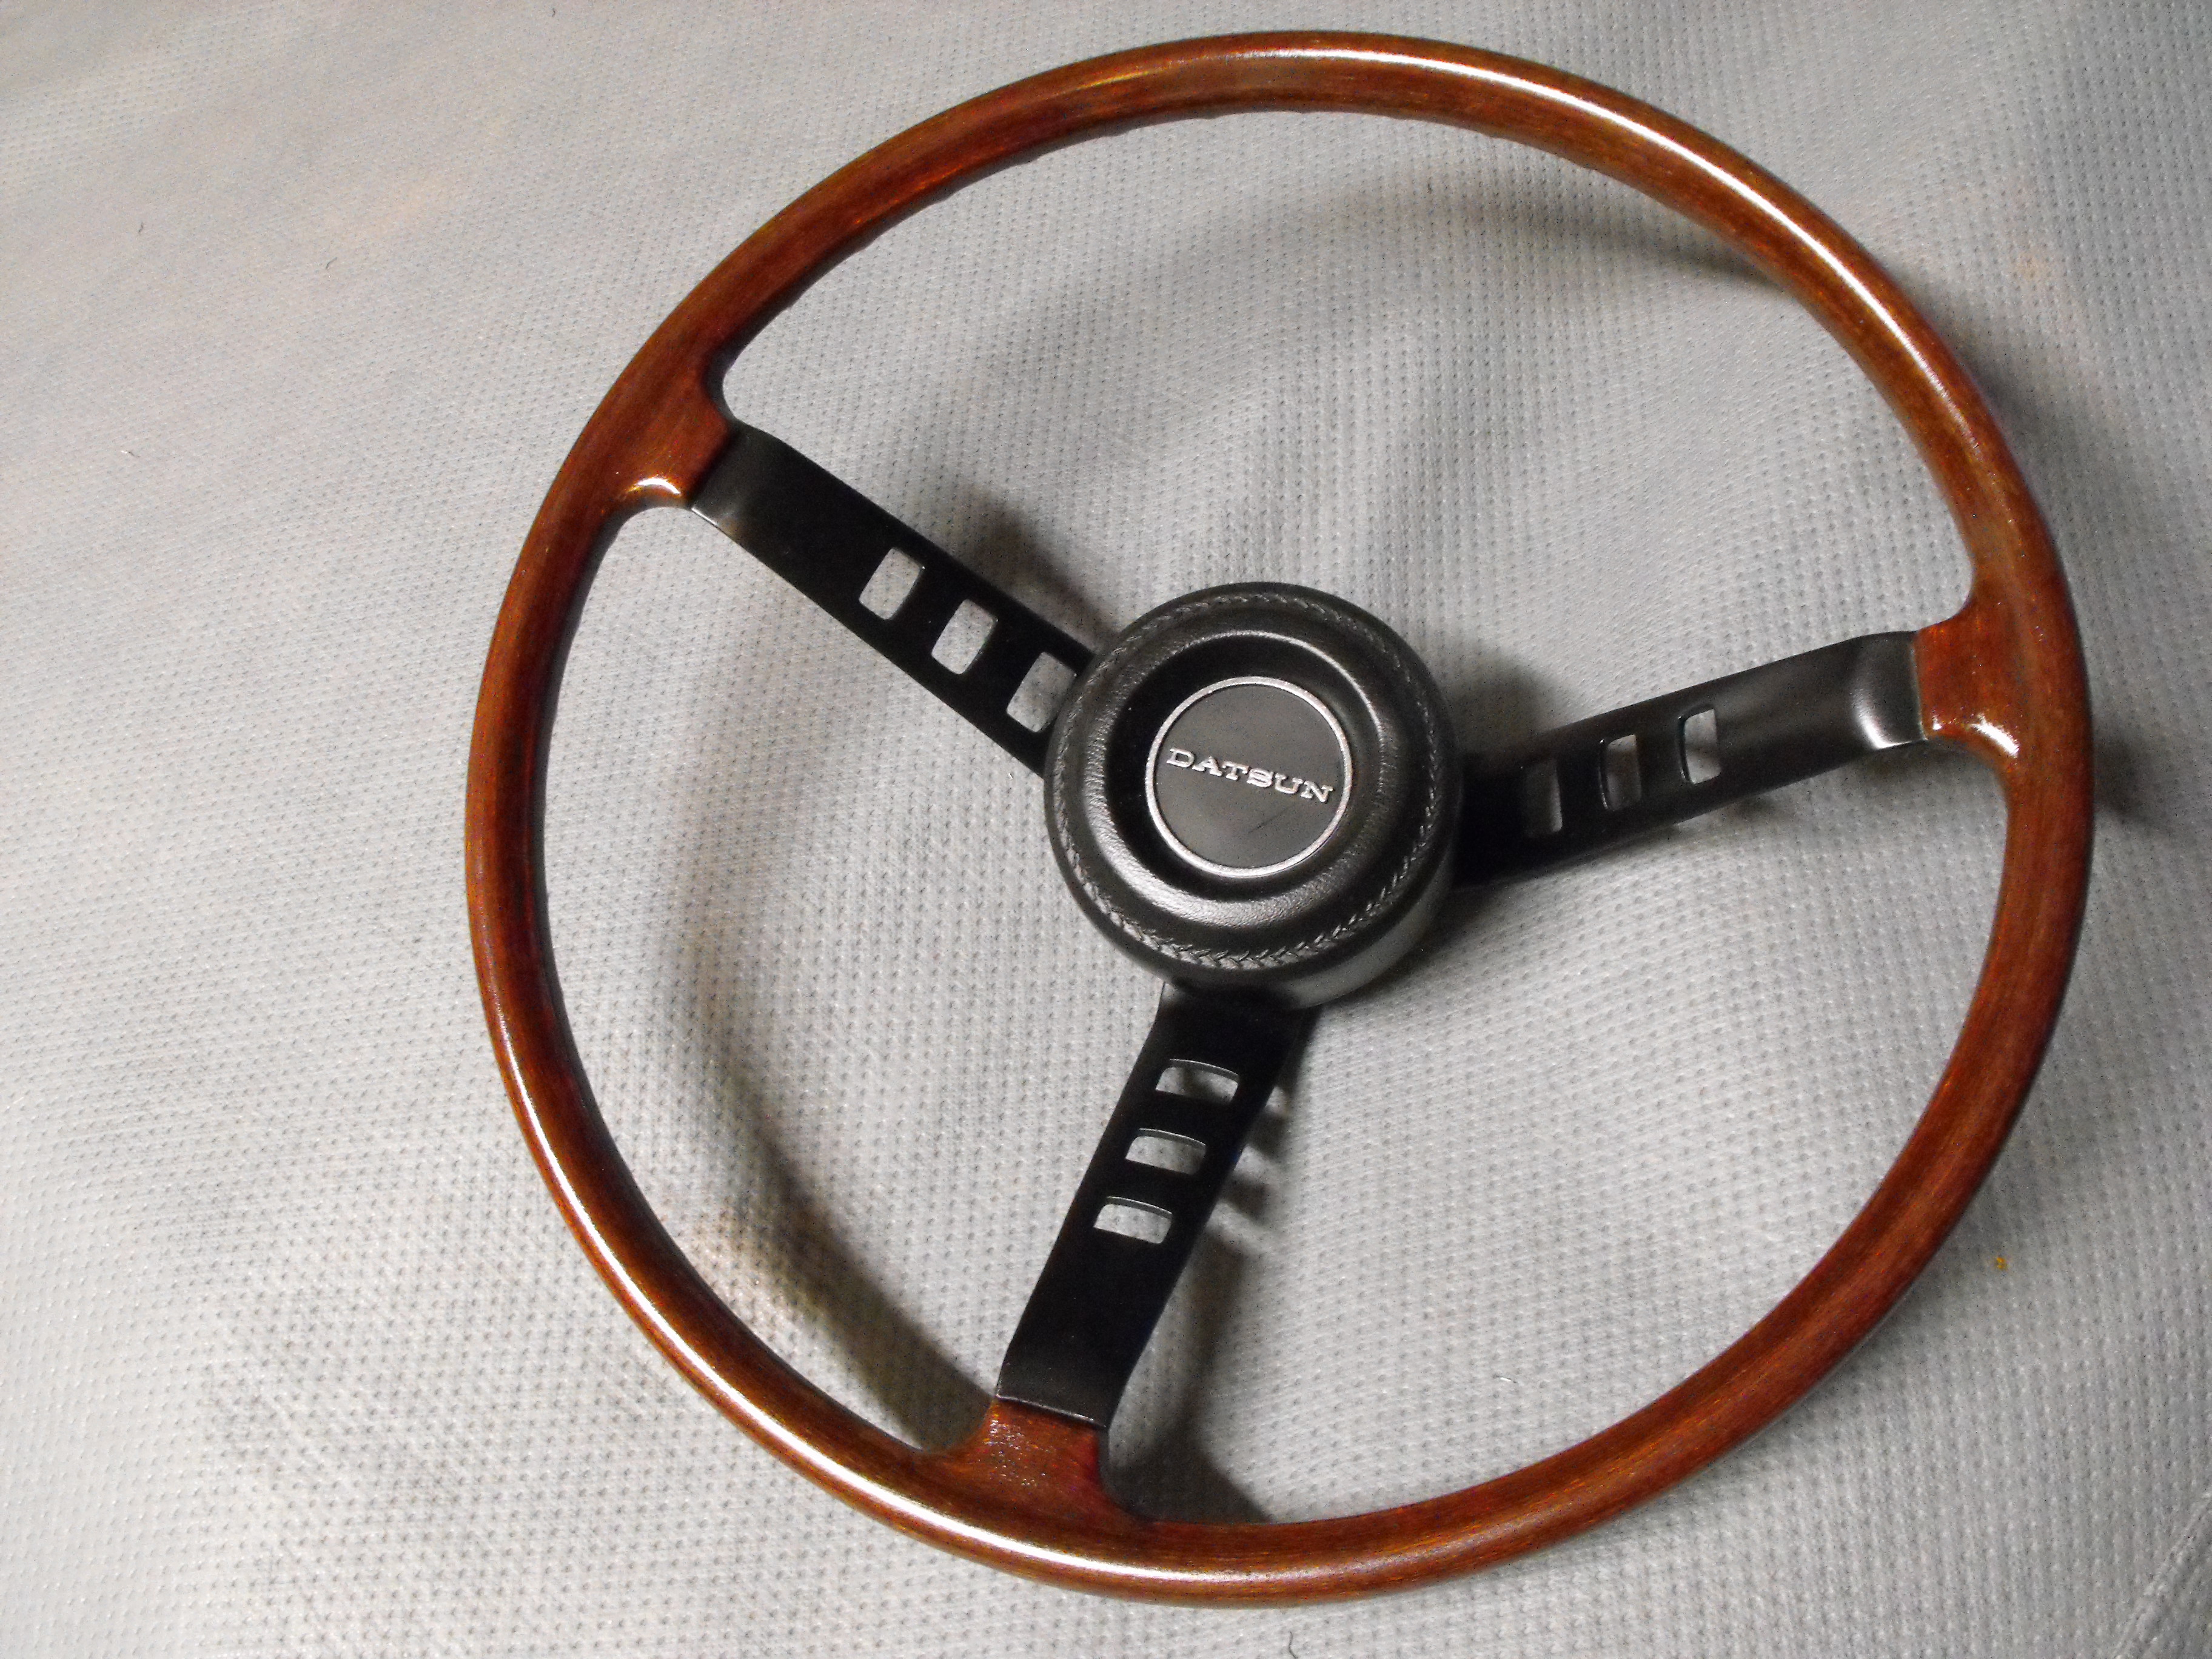
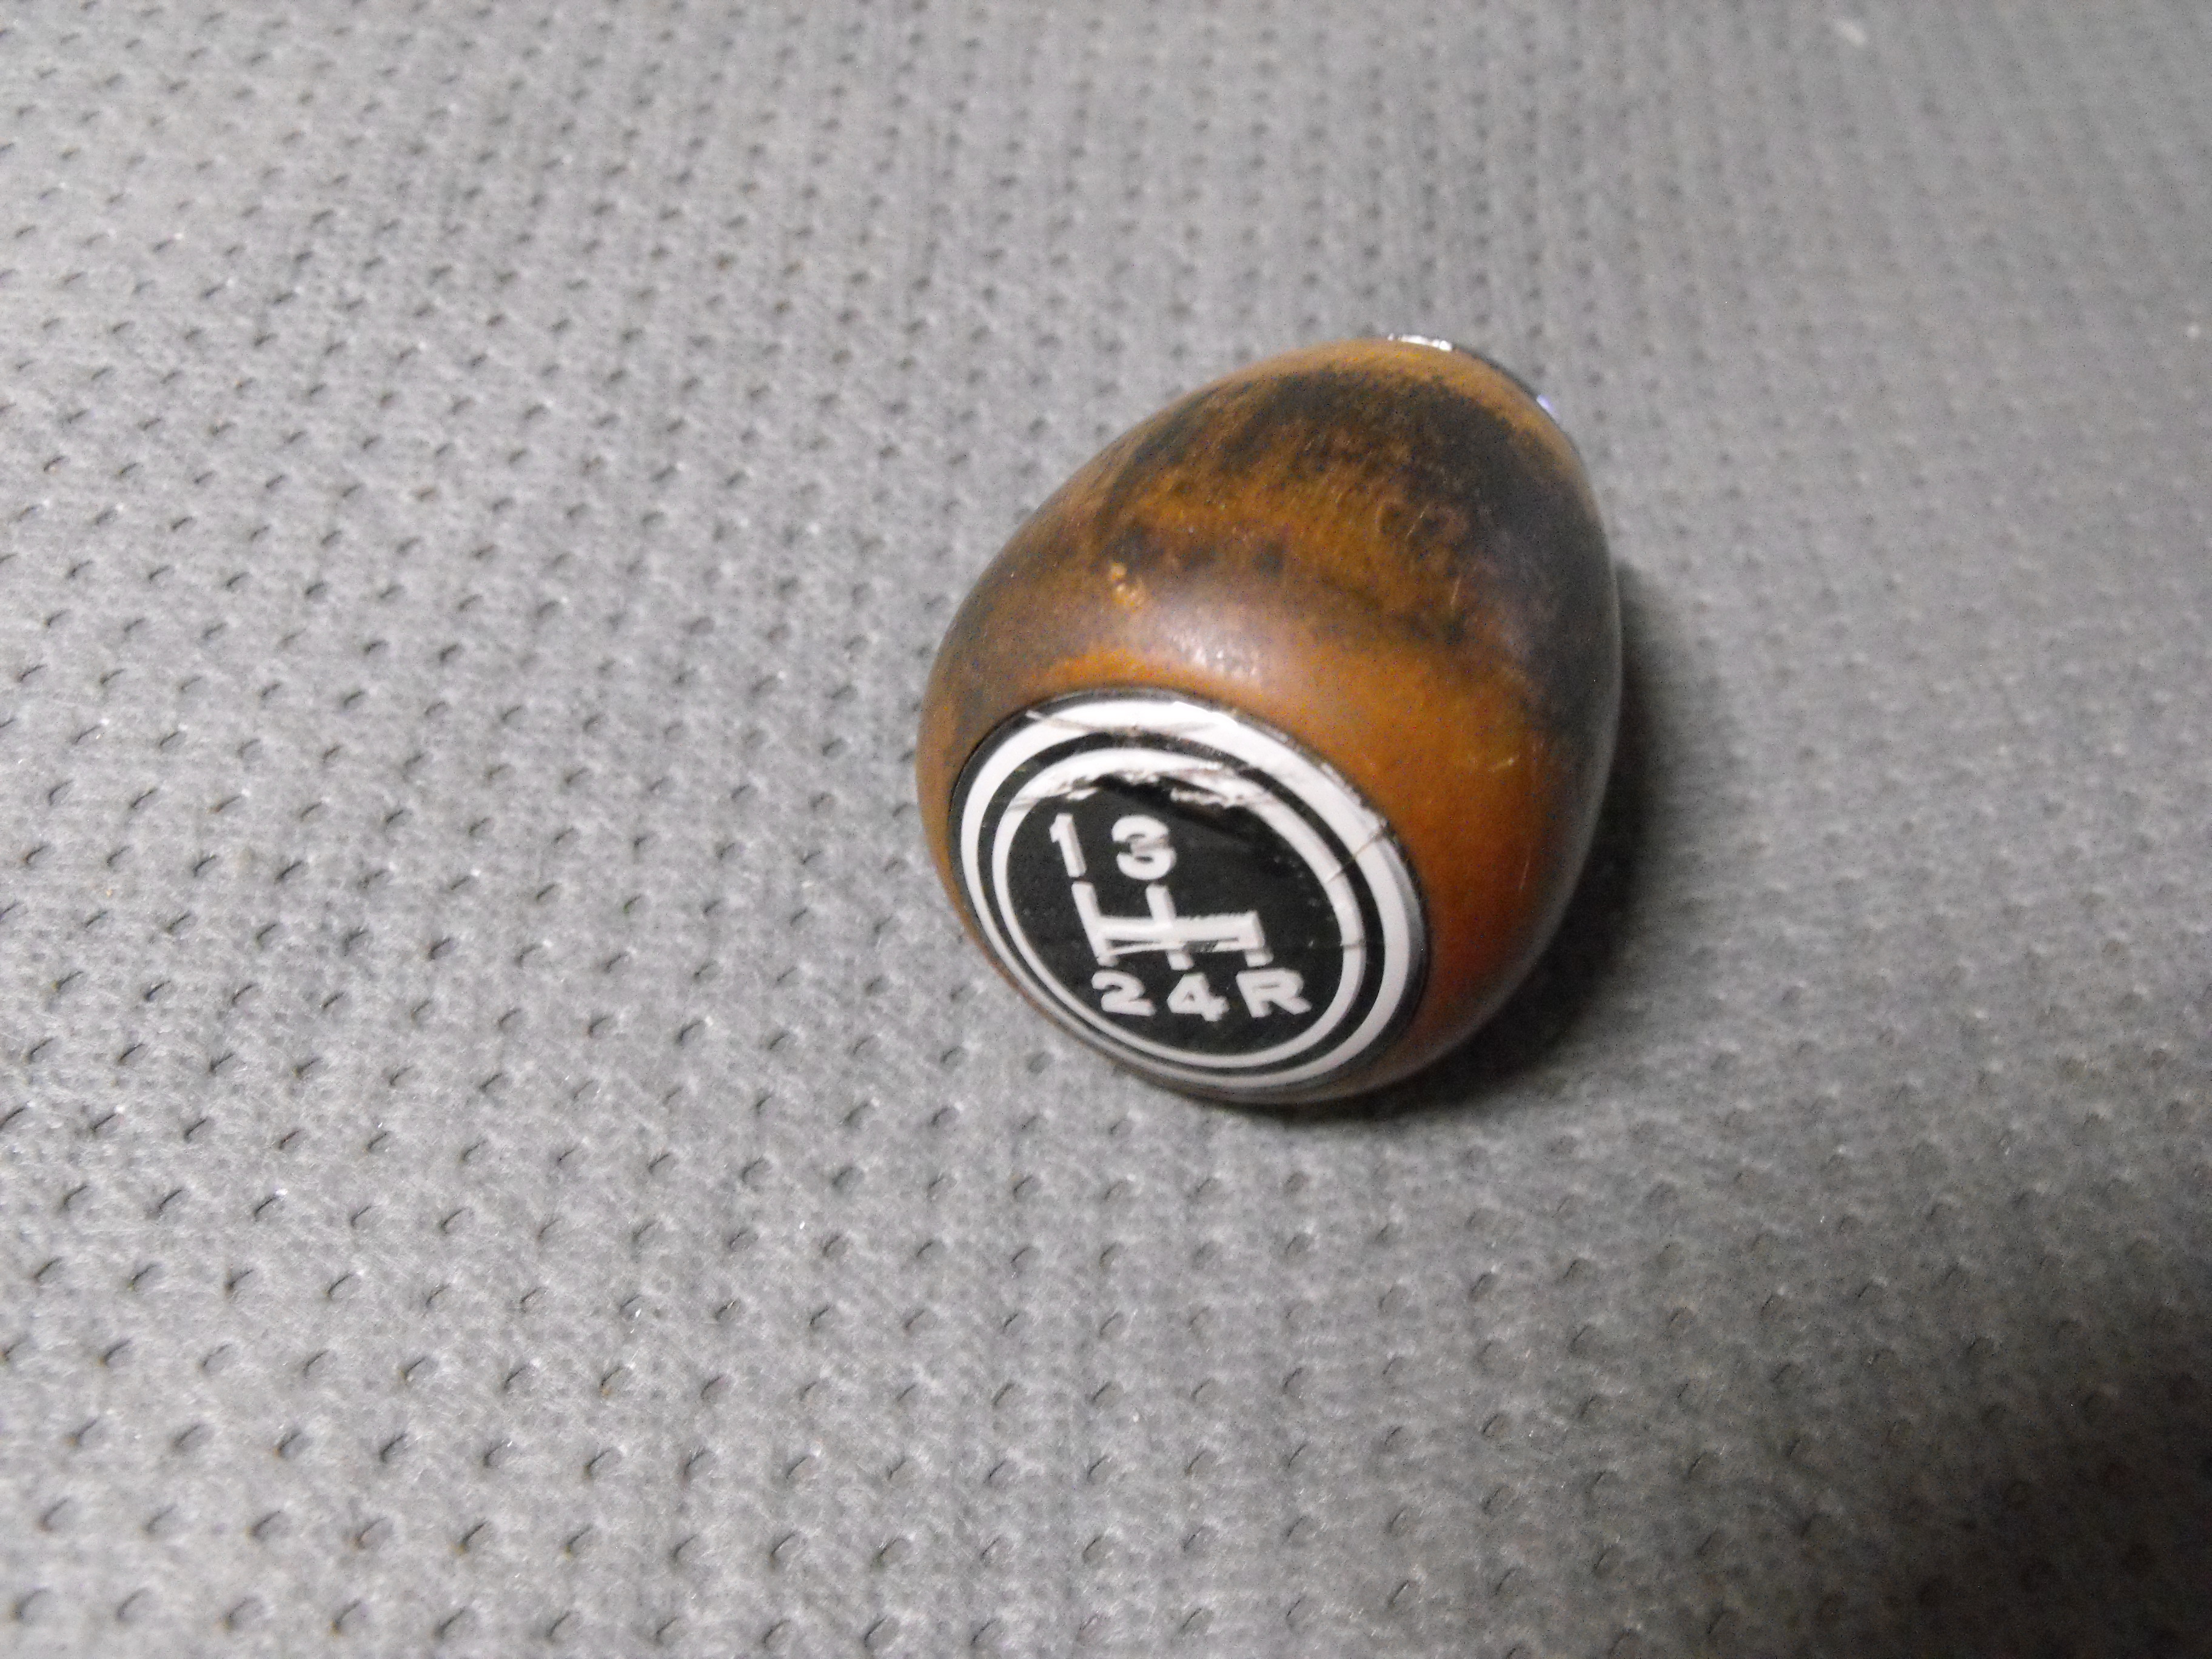
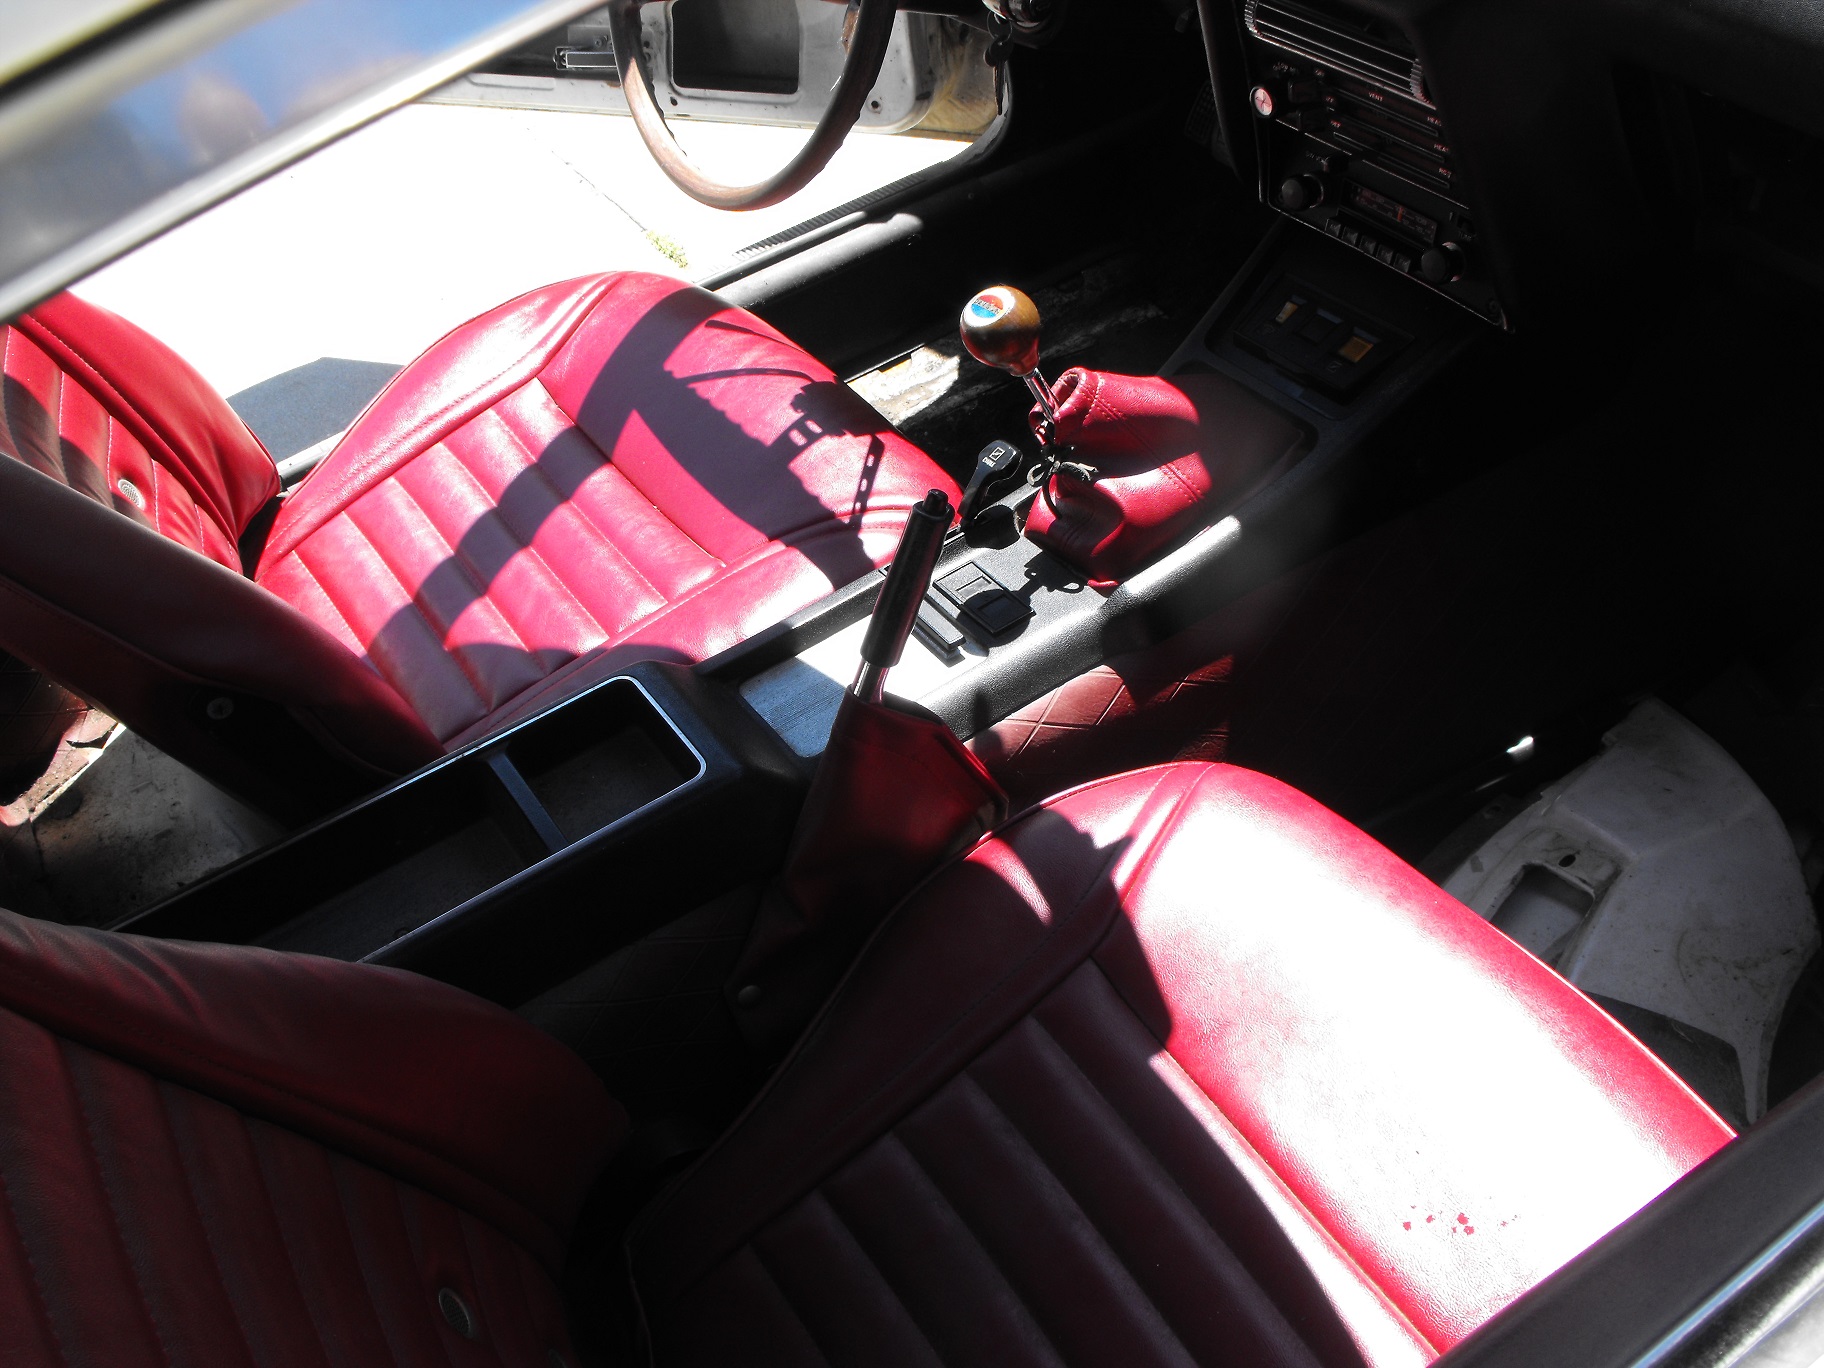
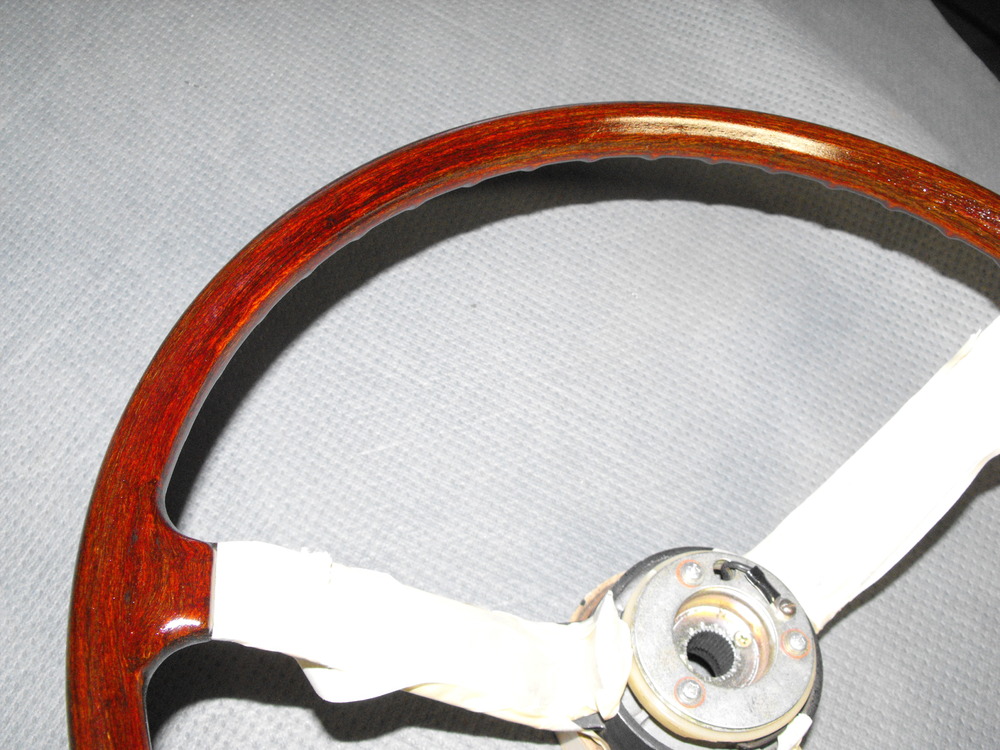
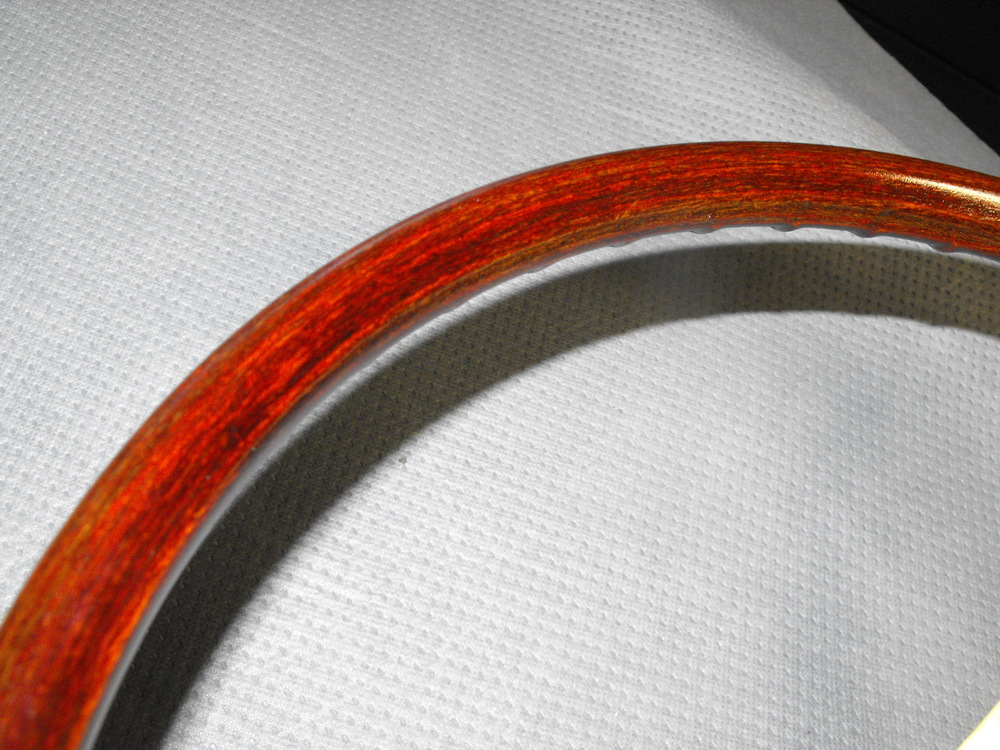
And here are the final pics on the steering wheel. Now for the shift knob. Hopefully I can make this work.


-
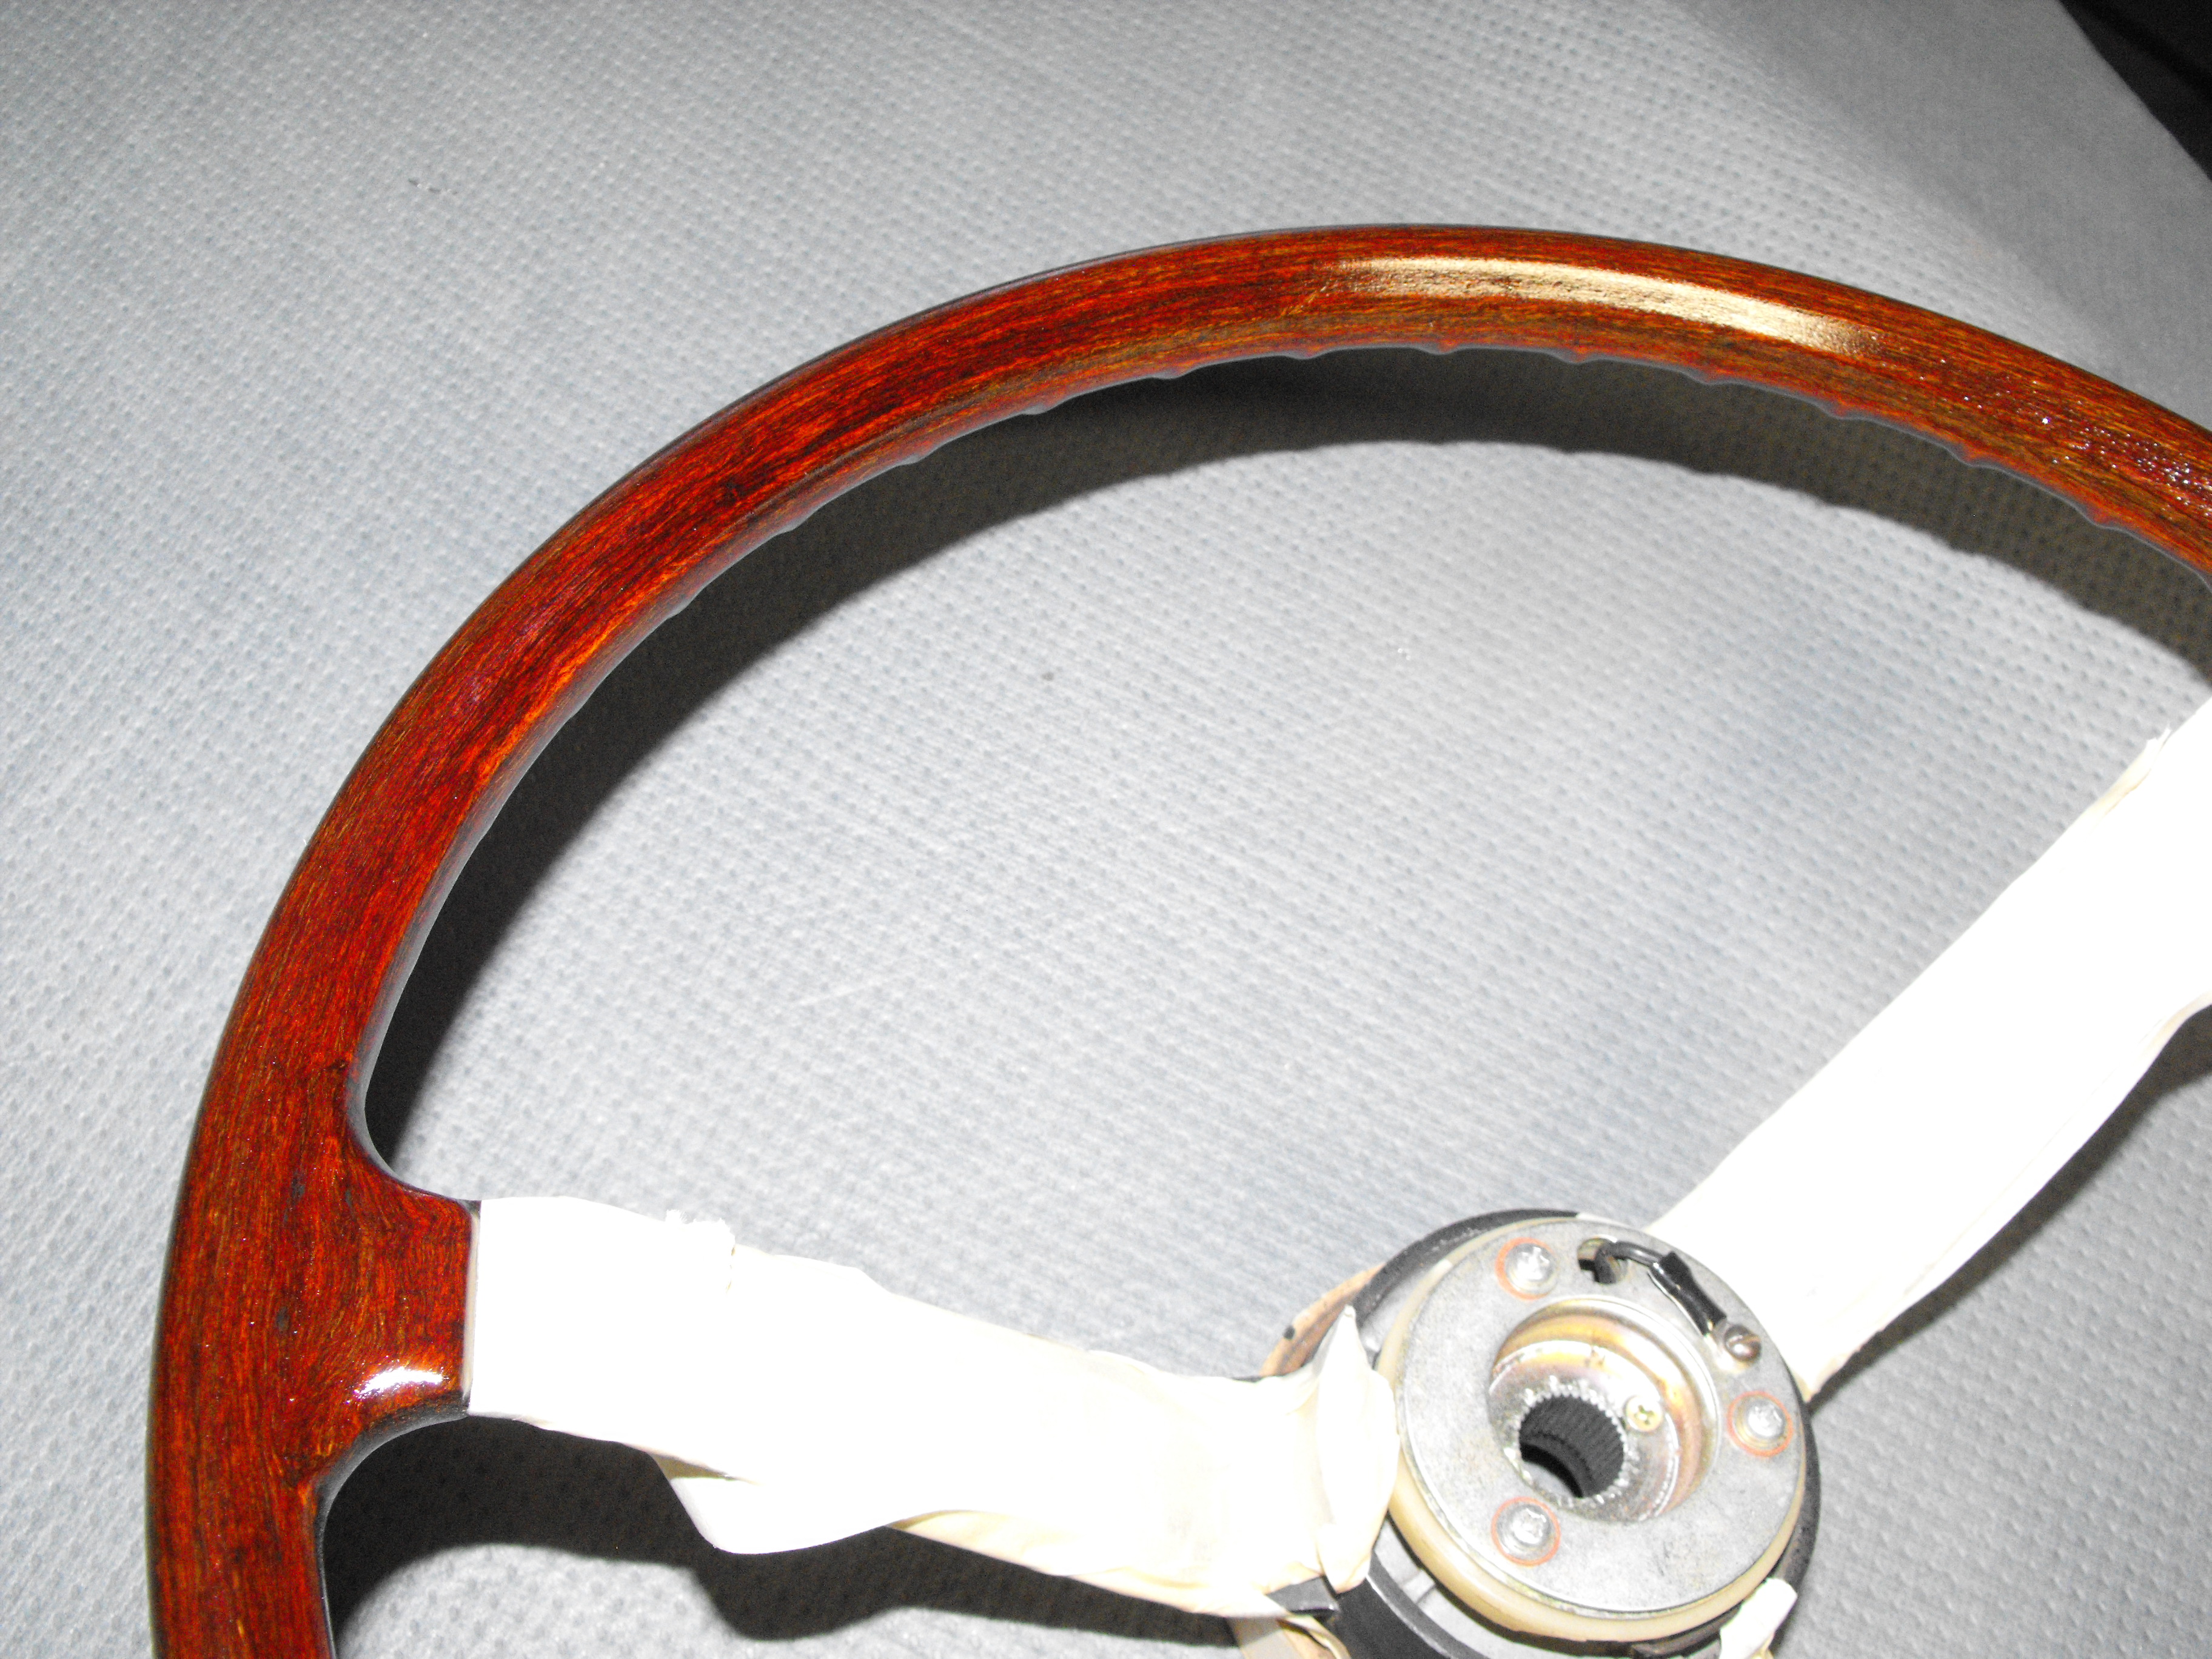
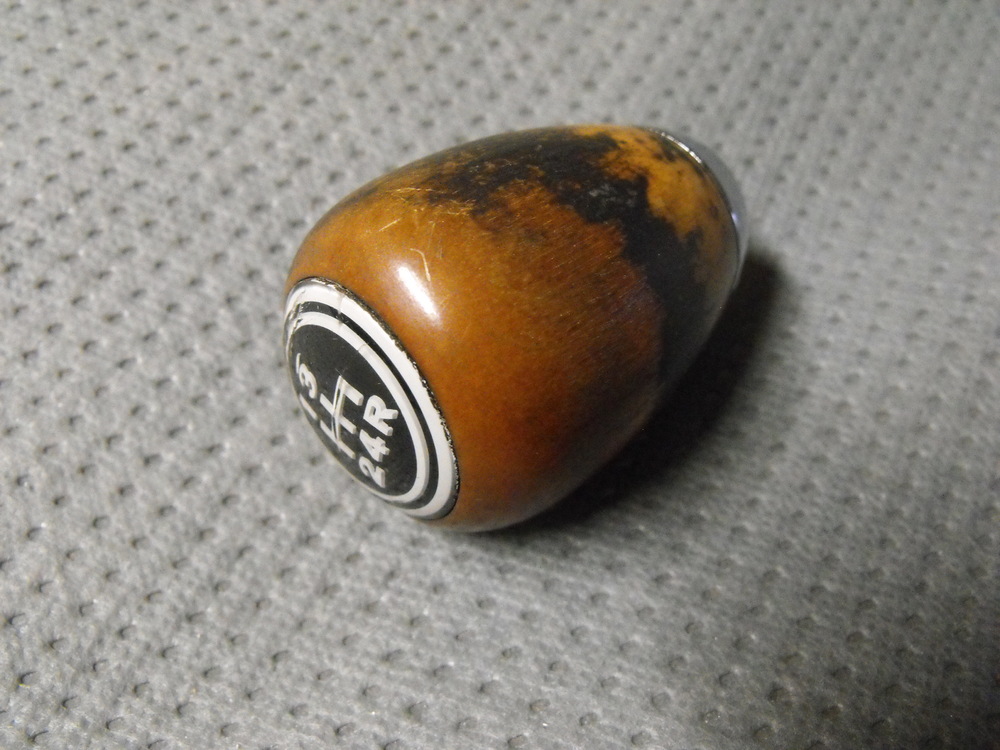
Thanks, I have learned that the key is to keep the sanding to a minimum. That way there is no need to re-stain. I learned that the hard way. I think they put a thin wood veneer over the a beige plastic steering wheel form. I way over-sanded on a previous steering wheel. Still have that sitting in my garage as a reminder. Thanks for the tip on this. The shift knob is worn and the plastic has a small crack. I was thinking that I would most likely replace it, but I think I will attempt to restore using the method you mentioned here.
-
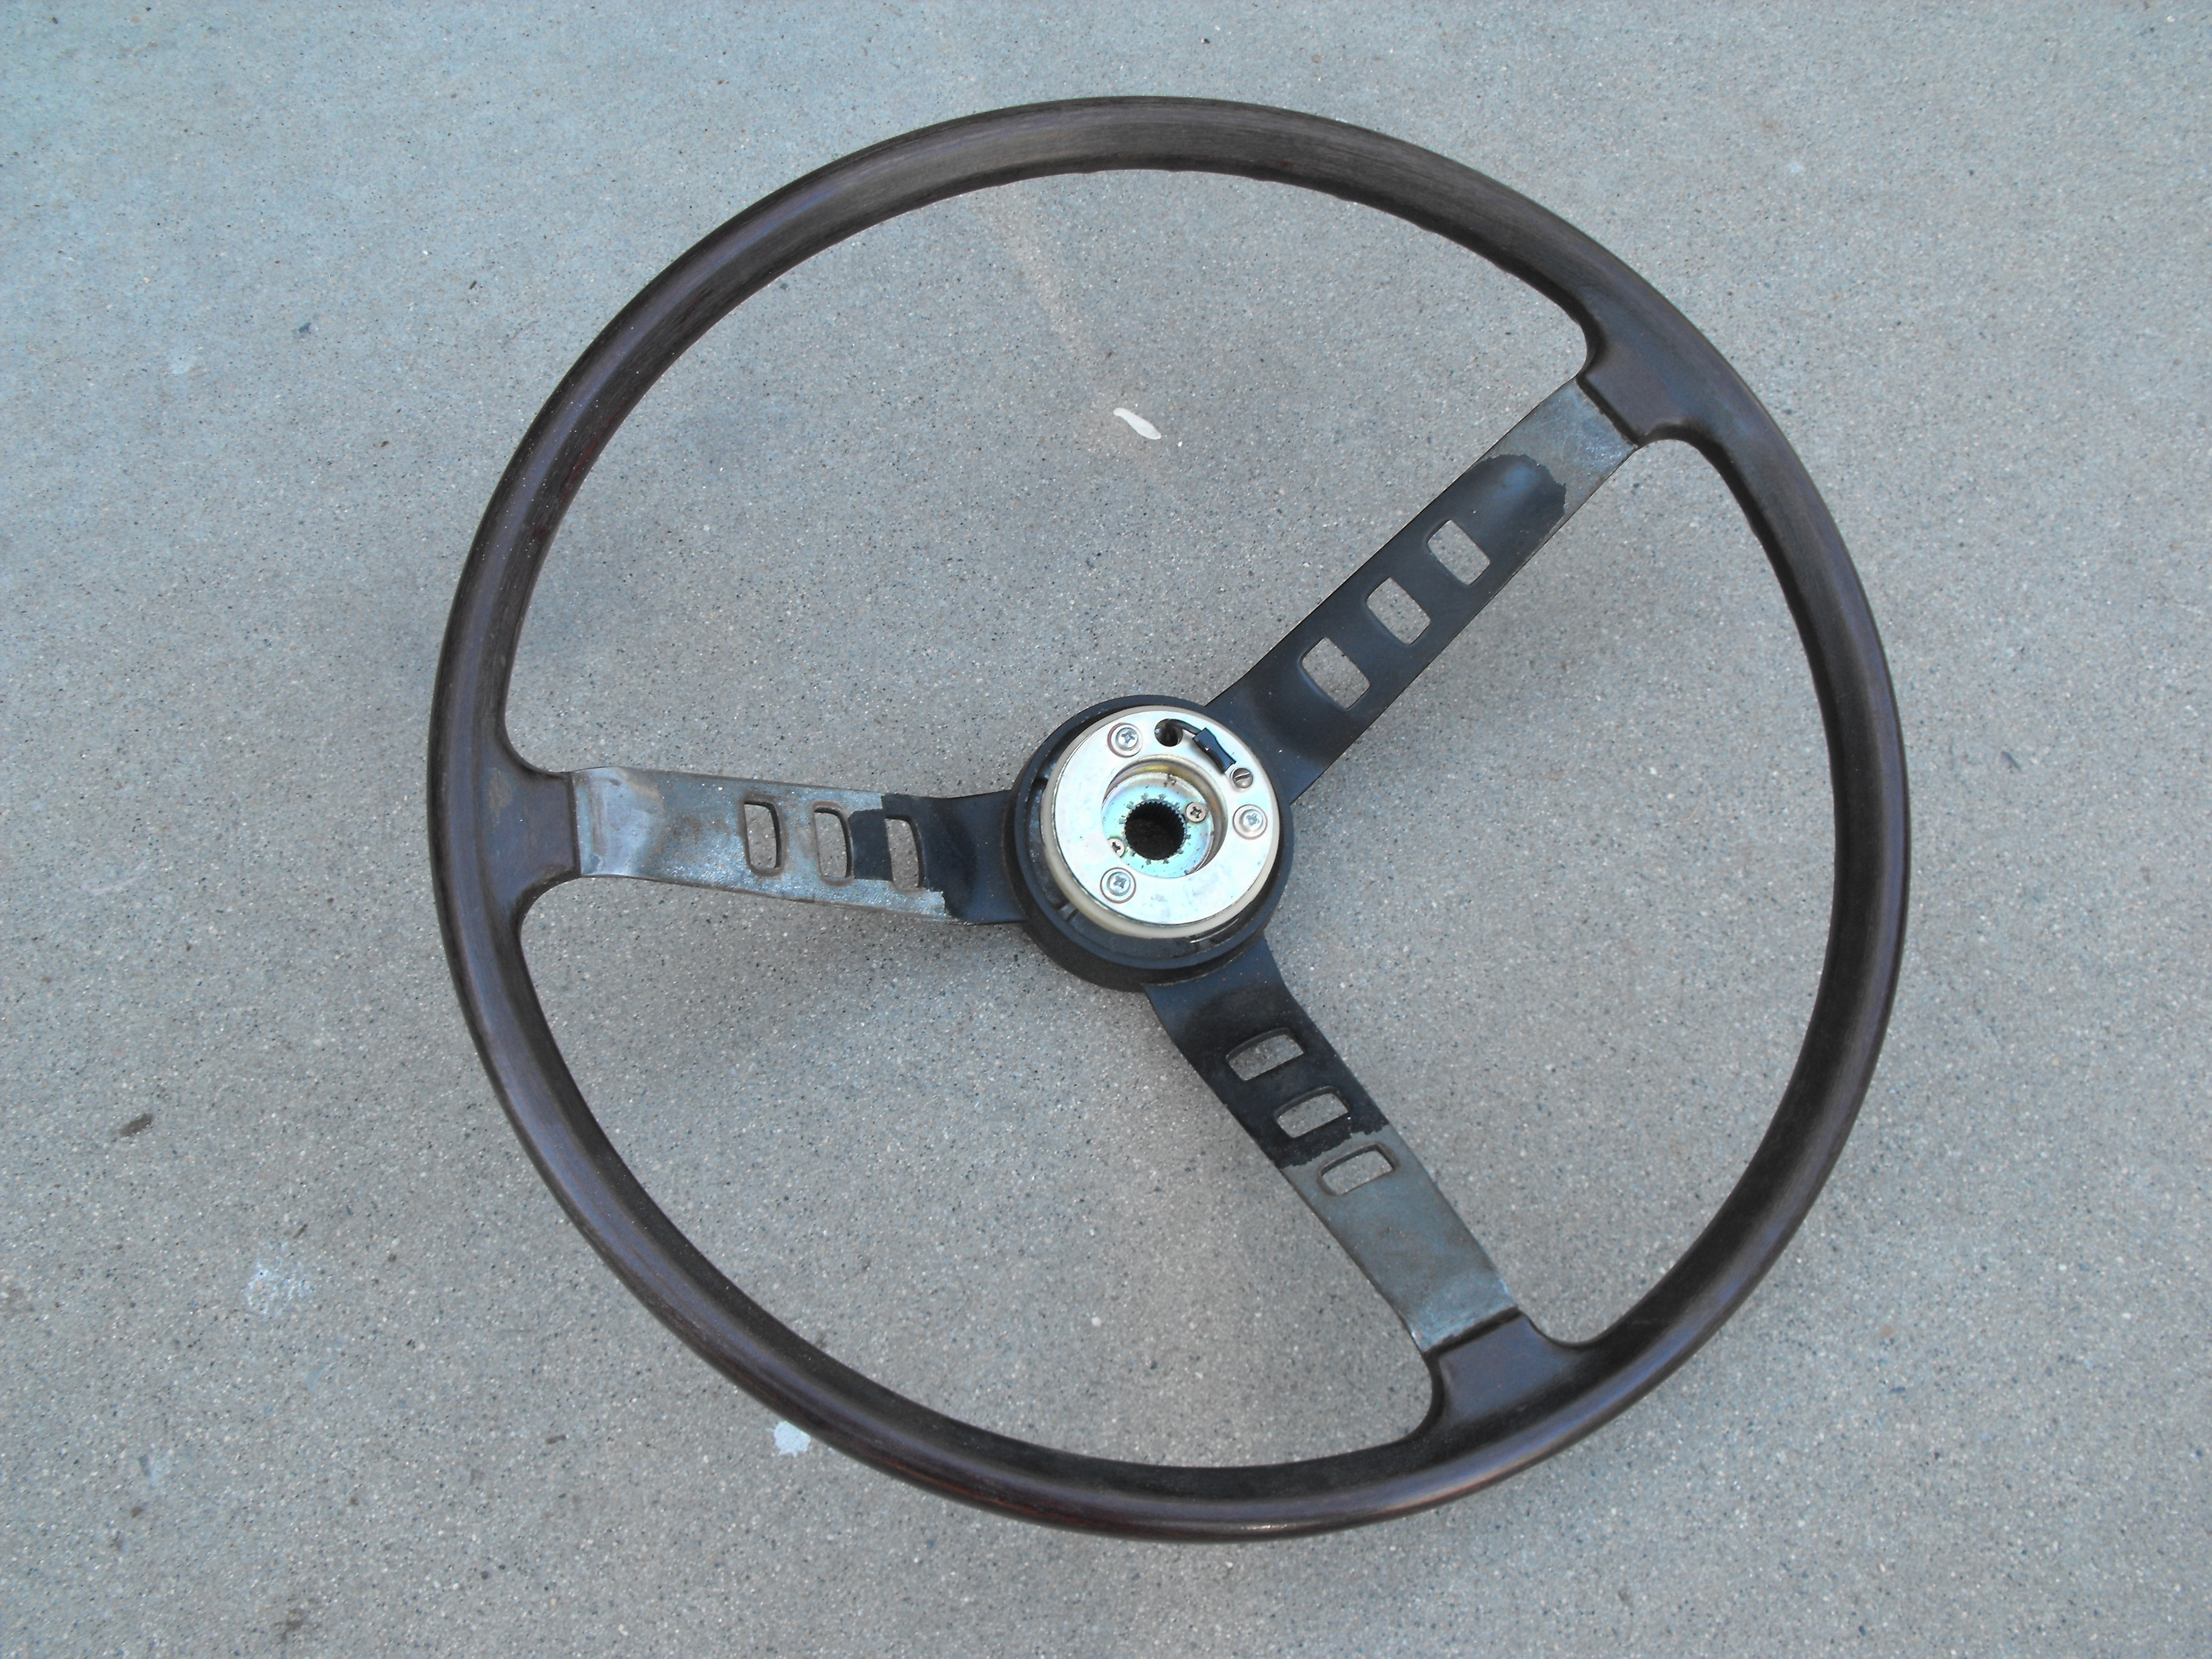
Continued work on the steering wheel. After cleaning the wood grain with lacquer thinner, I gently sanded the wood grain with 220 grit sand paper. I then taped up the spokes and sprayed the wood with clear enamel. The wood came out nice as seen in the pics. That's was the hard part. I will let the clear dry for a day or two and then tape off the wood and spray the spokes with satin black. Pics below with one before pic.


-
Your car looks Fabulous! Thanks for posting the pics. That really is a very impressive project that you have completed. Well done!
-
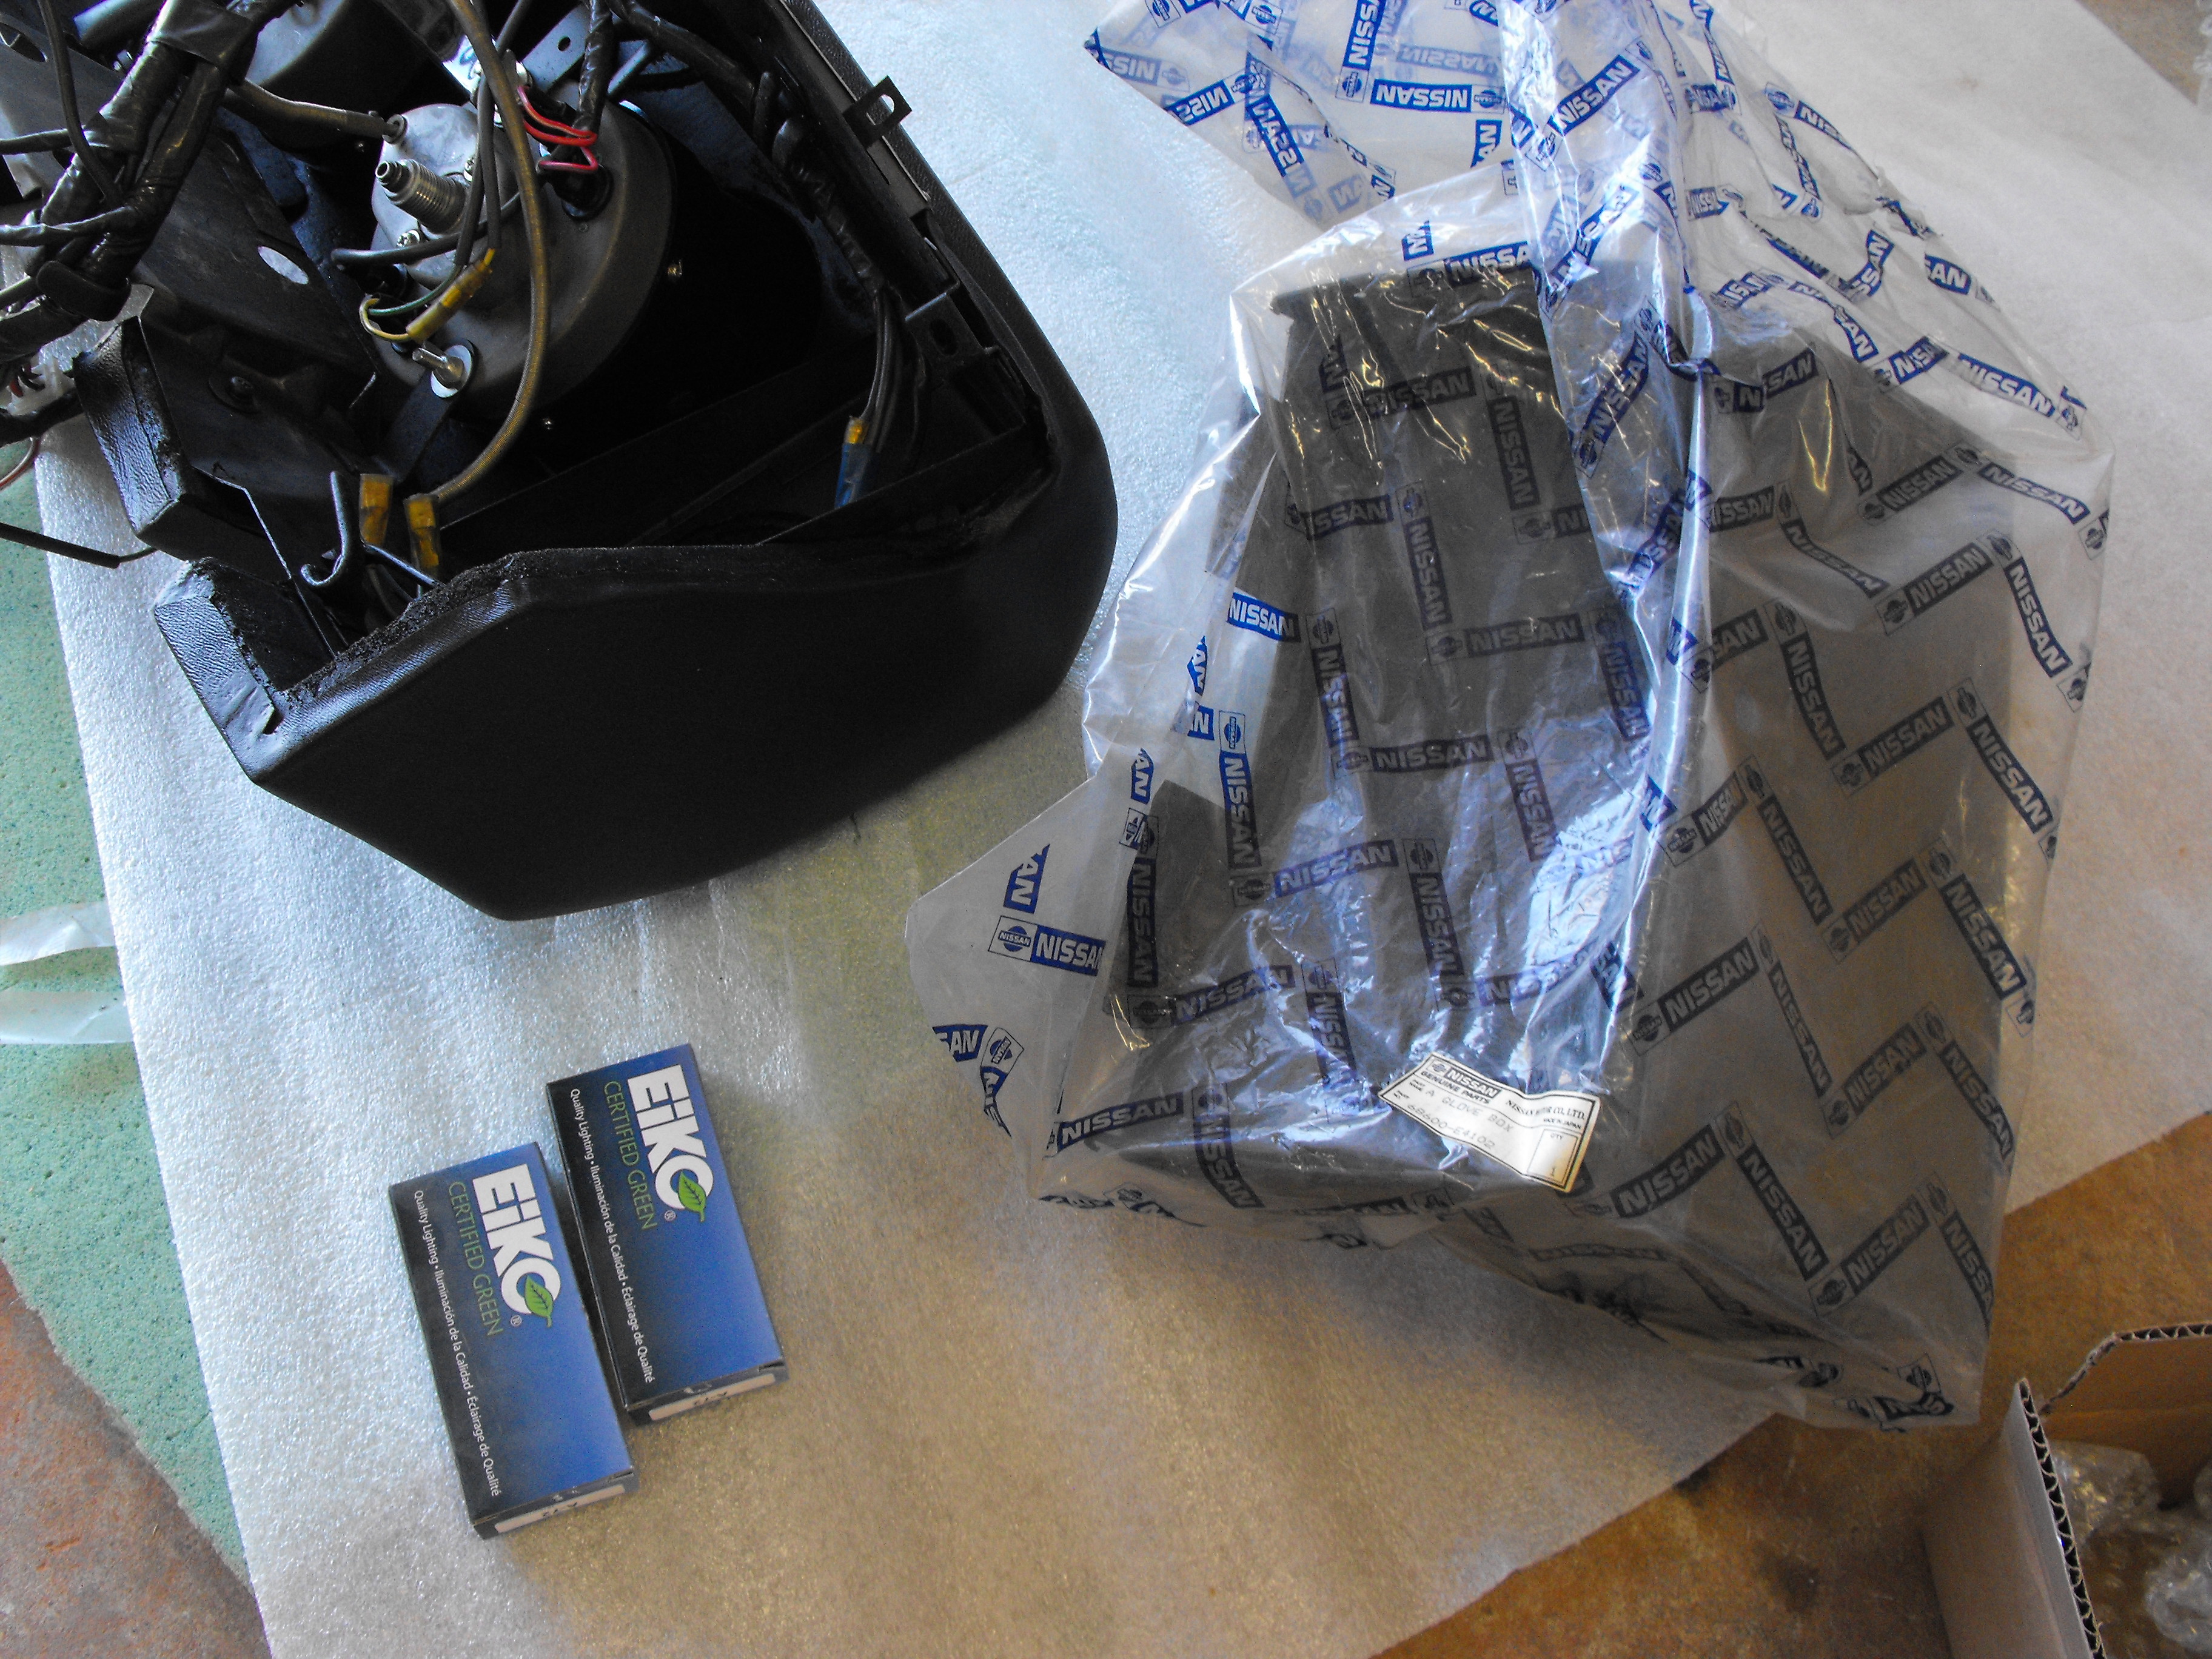
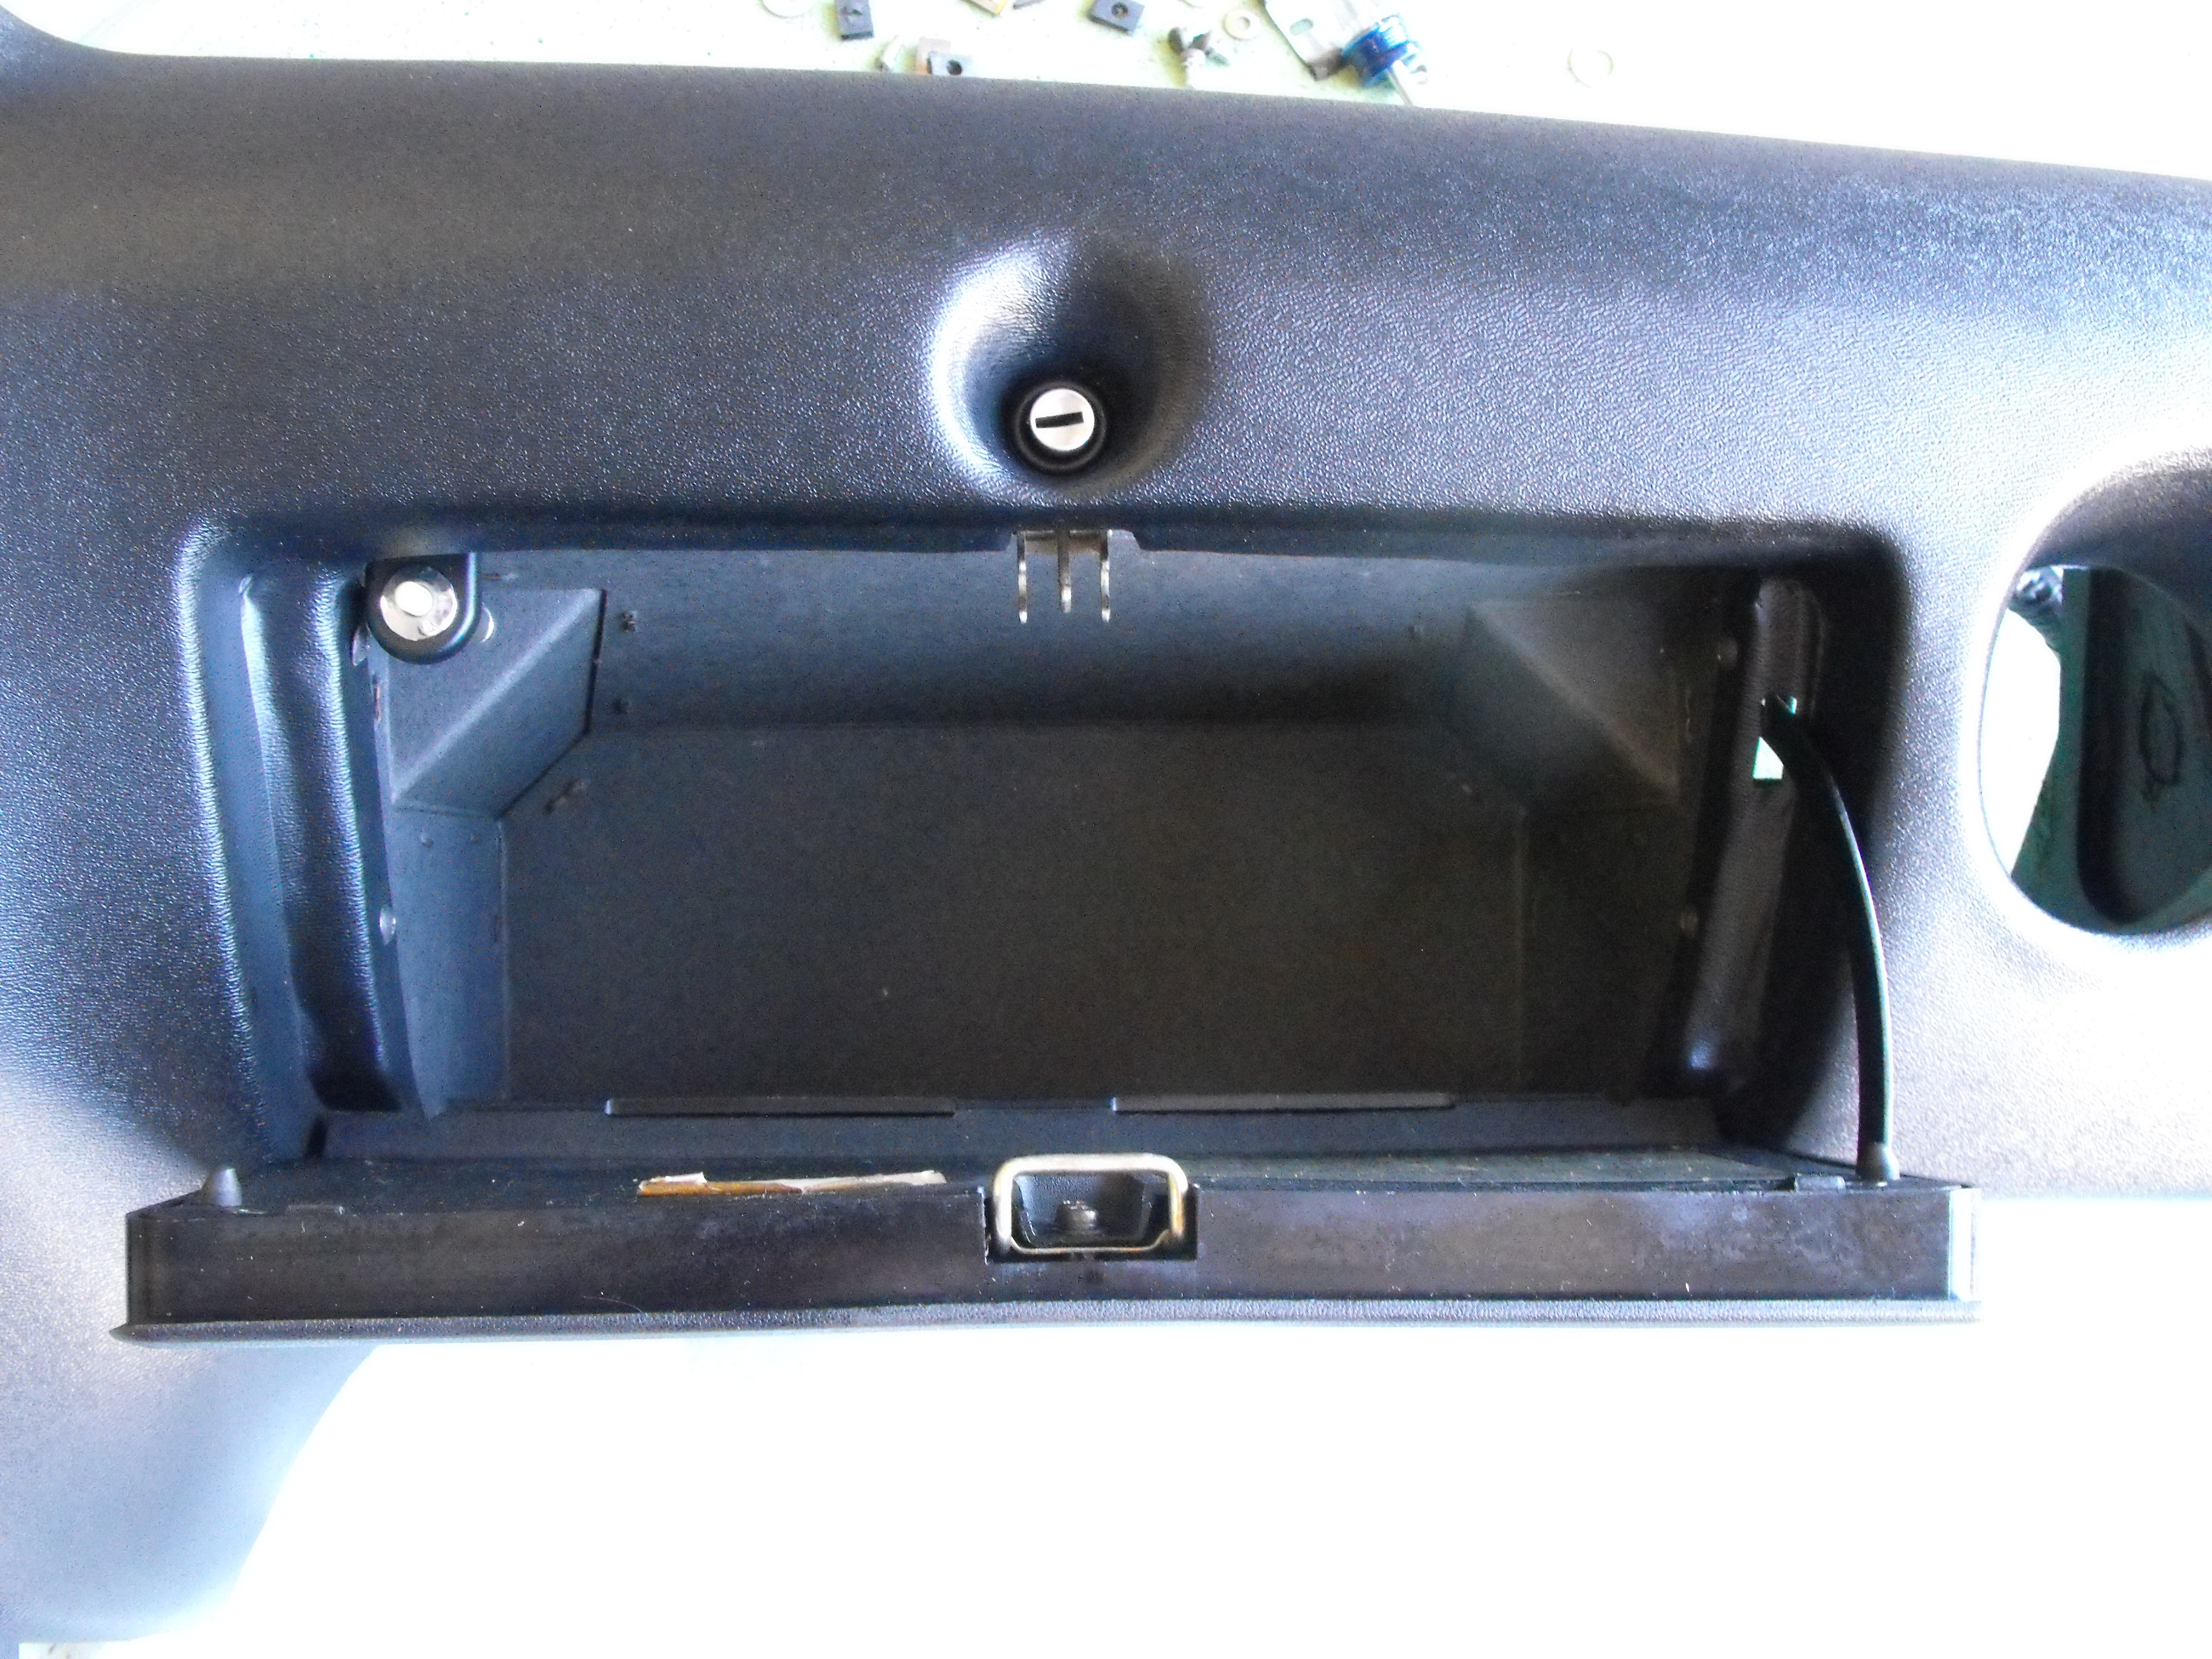
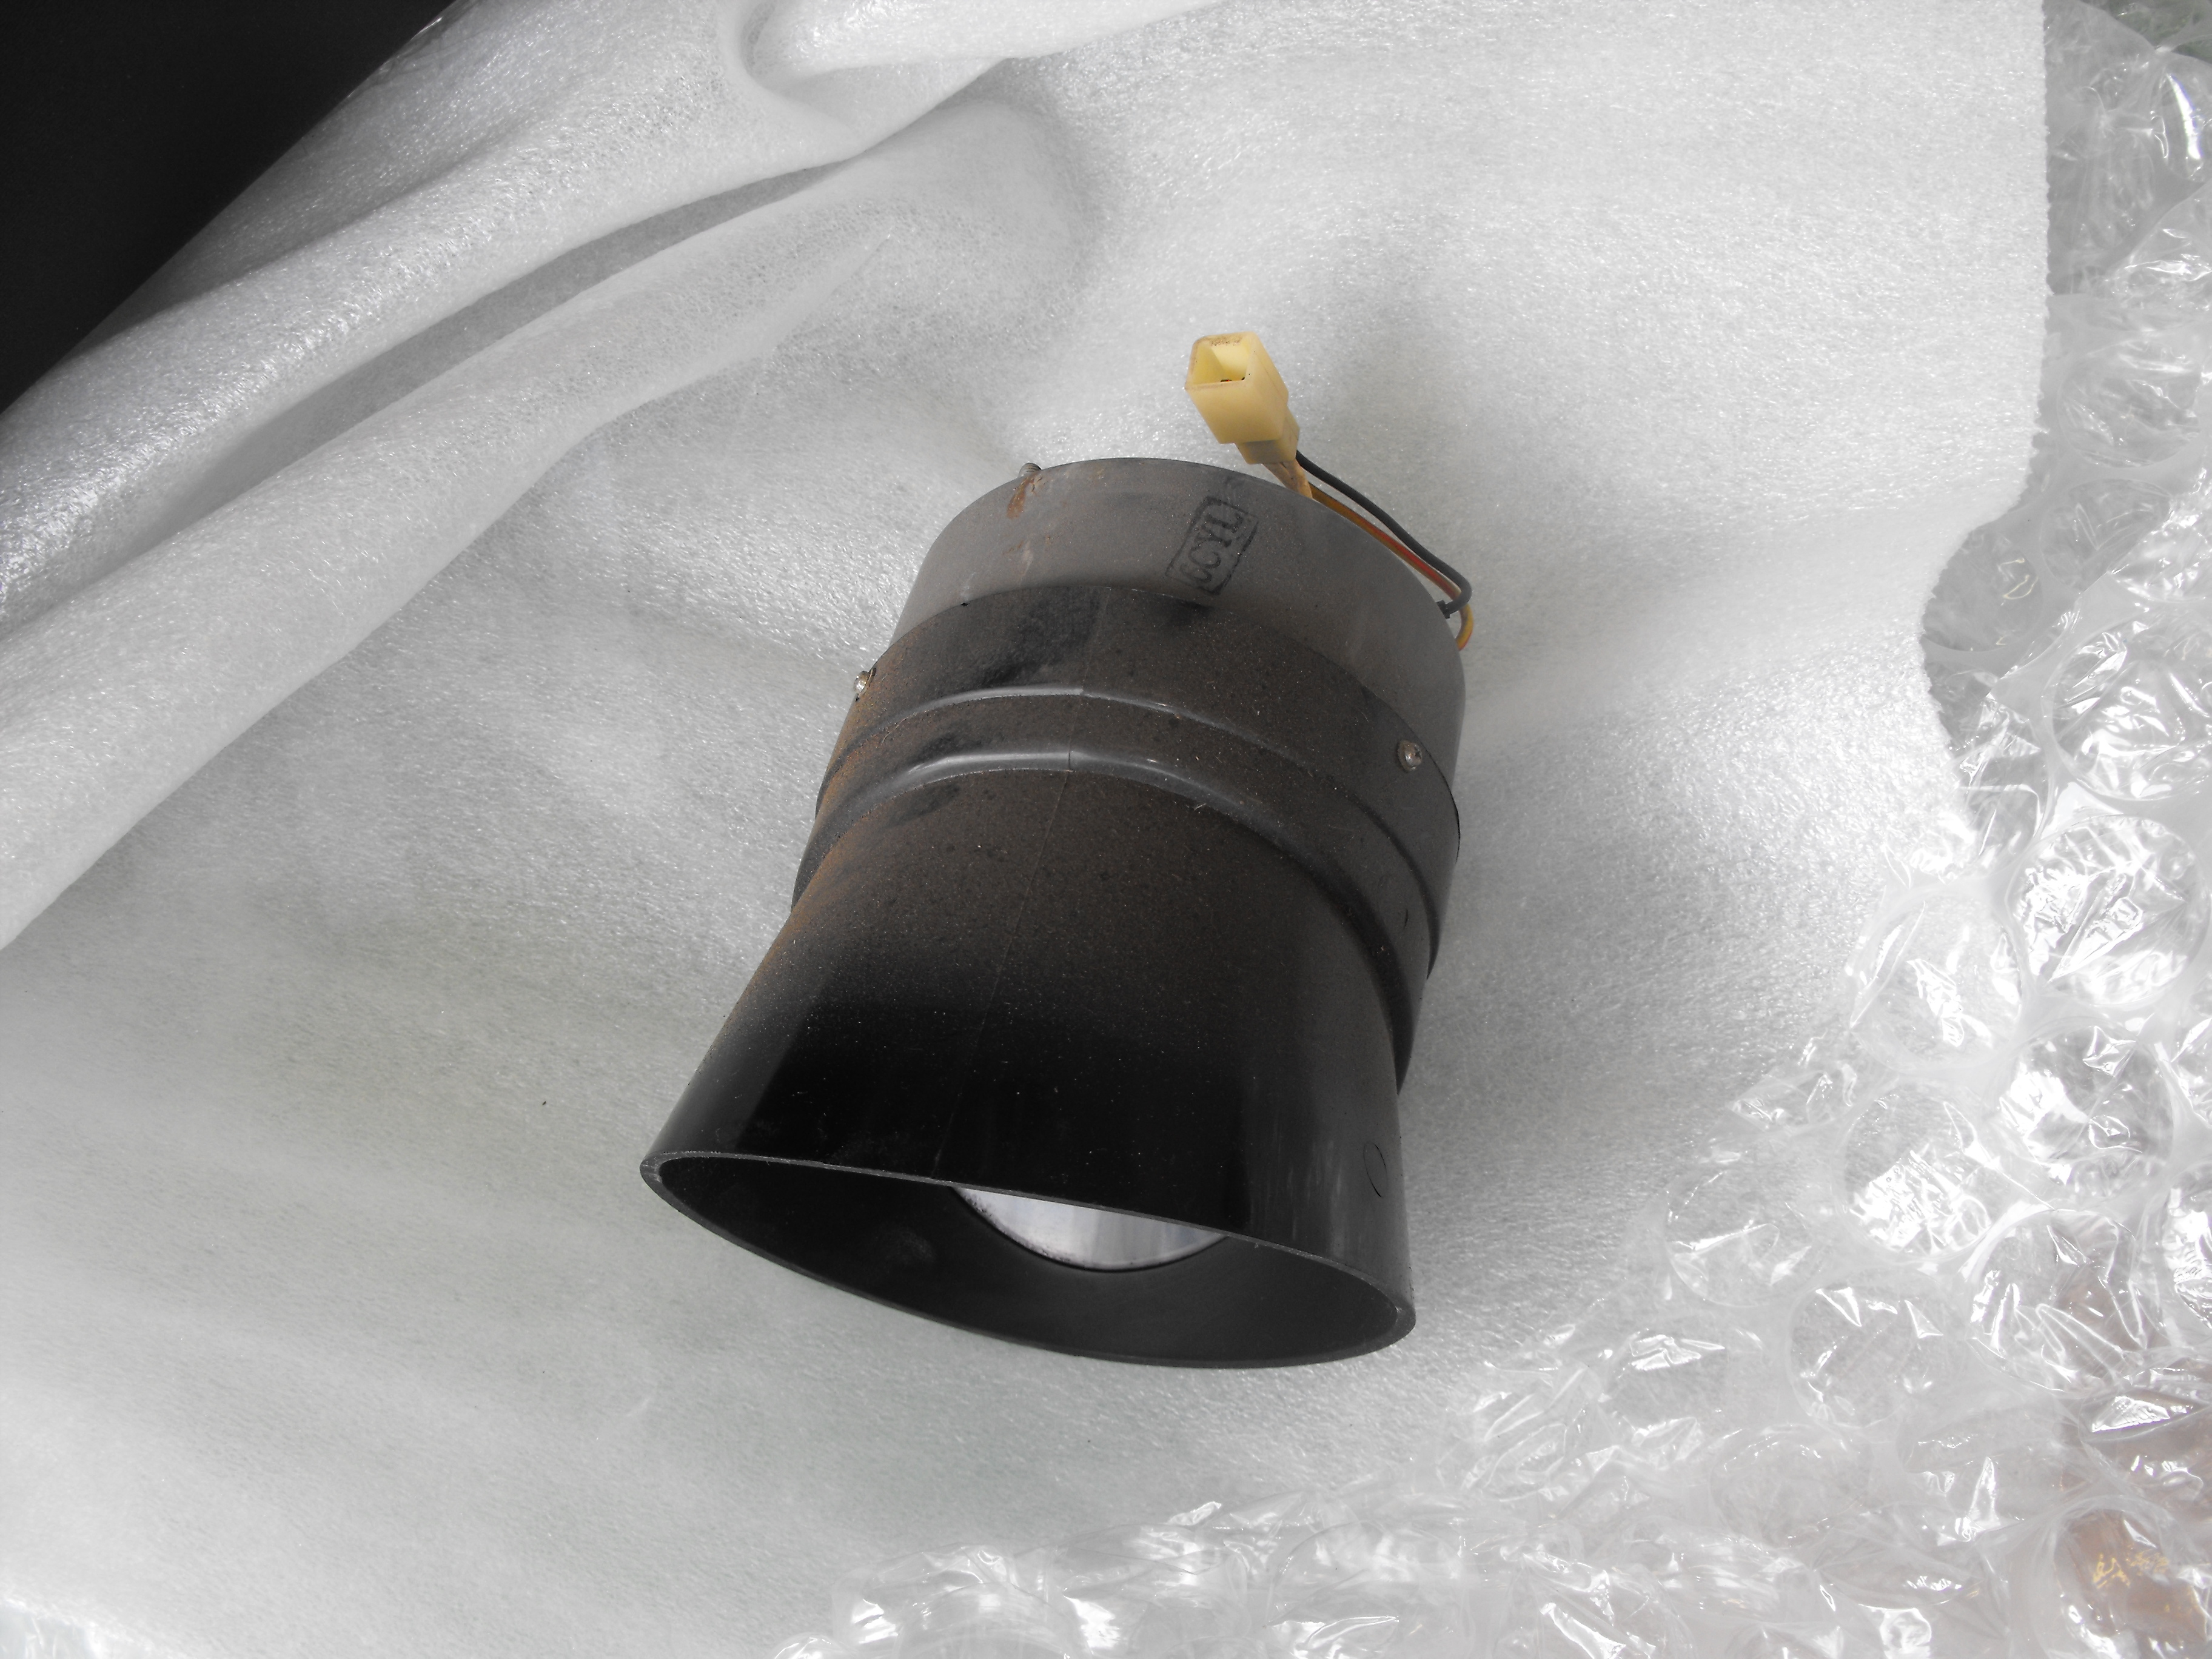
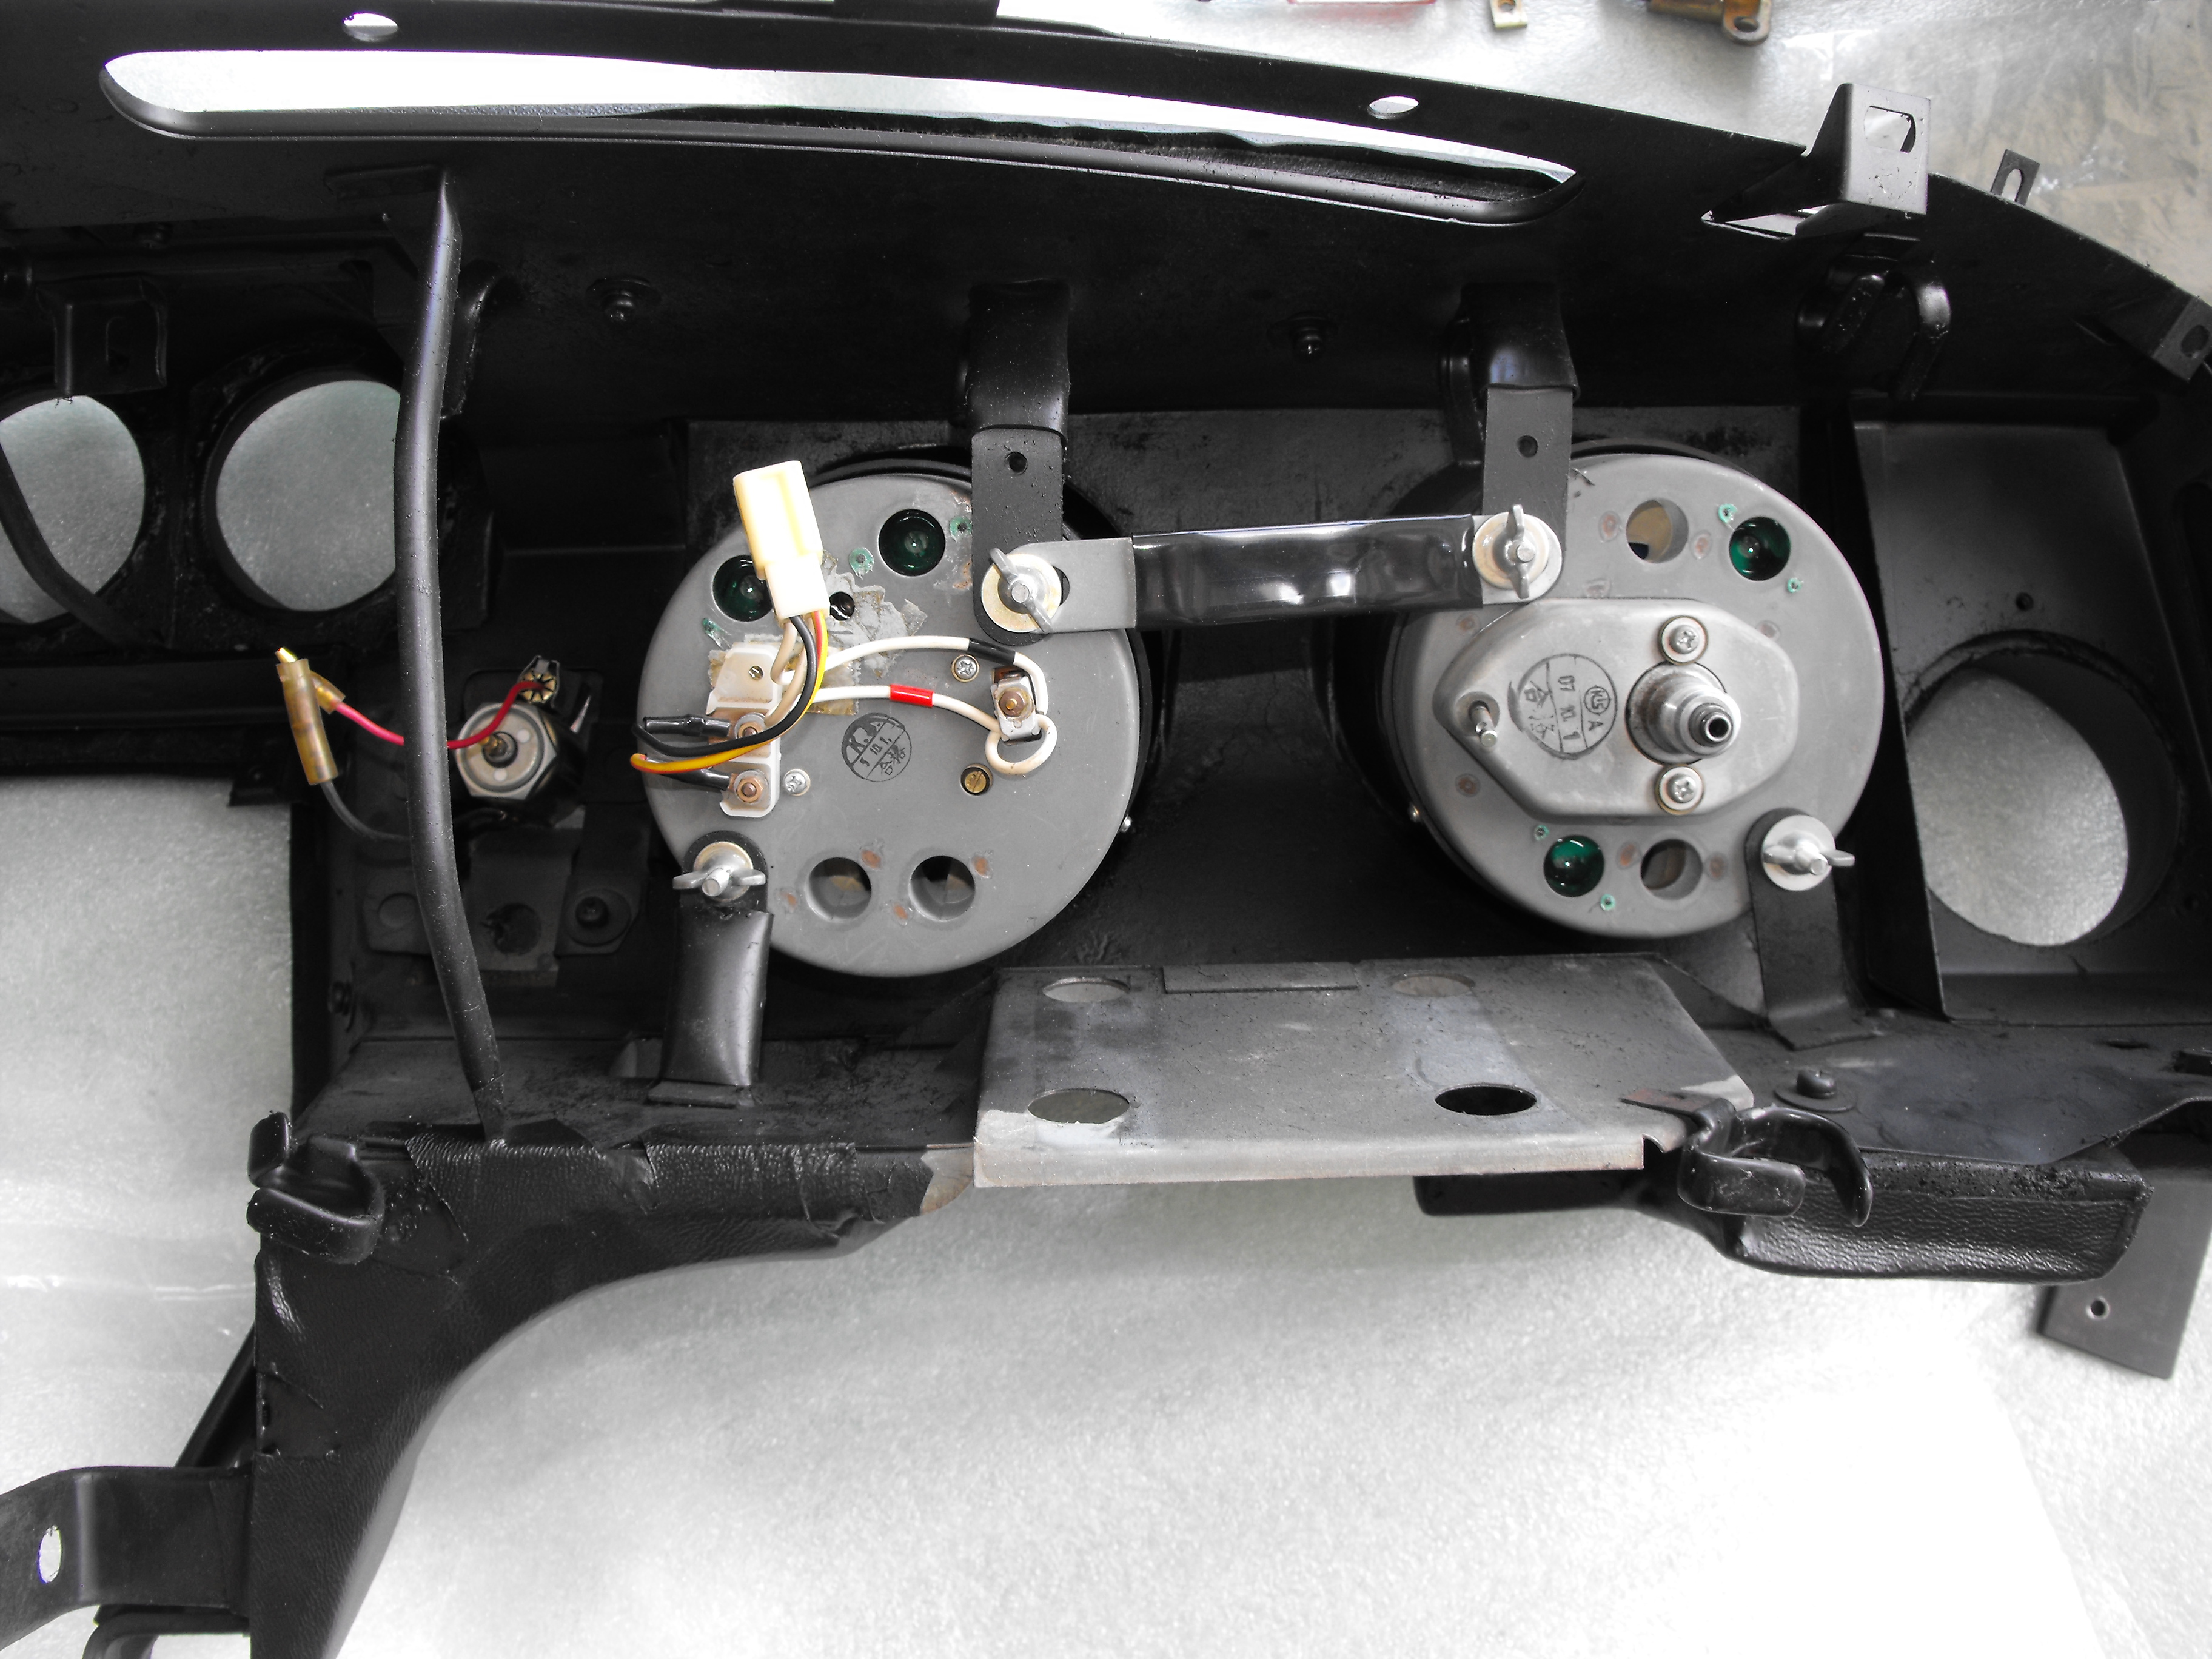
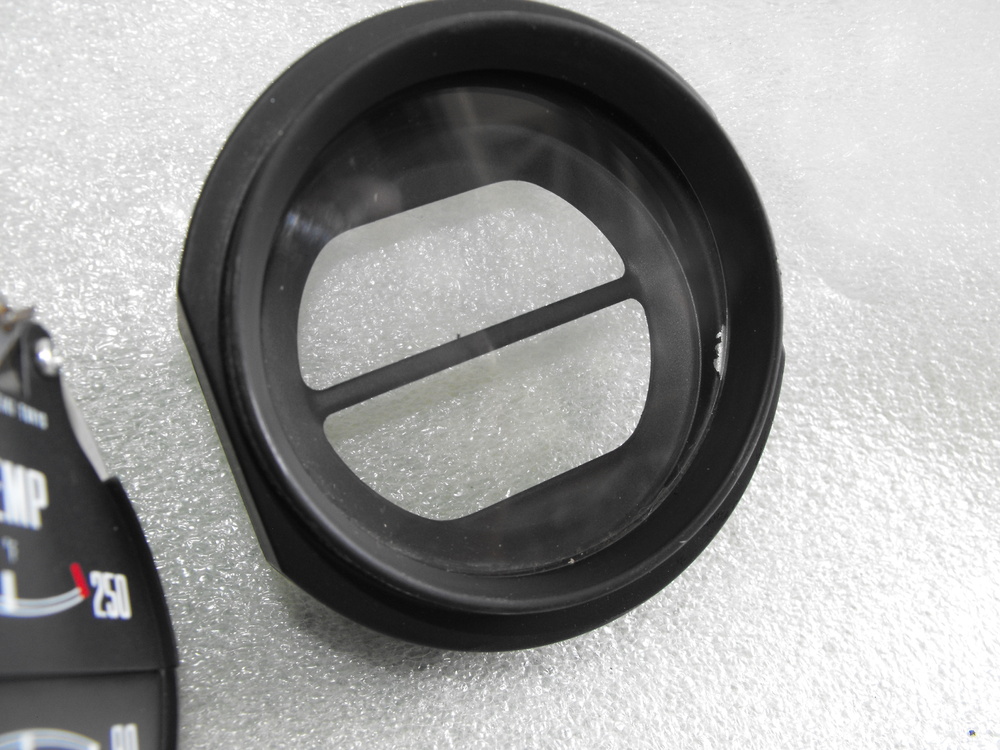
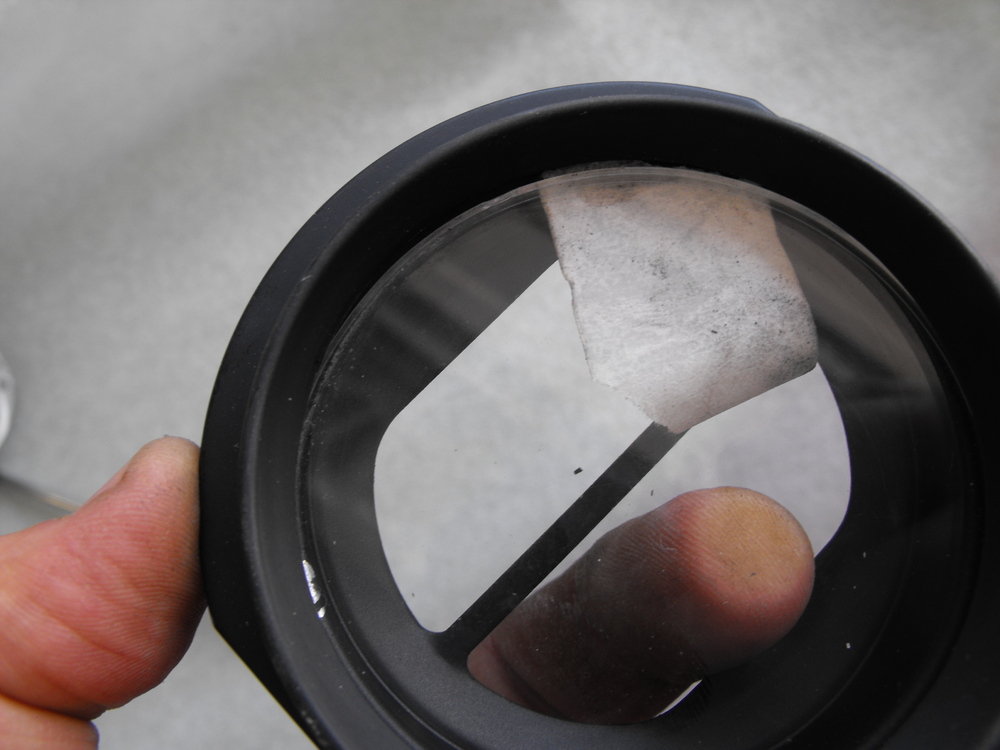
Got the Eiko A-72 4 Watt bulbs. Also got an original Nissan Glove box from the car owner this weekend. I bet there are not too many NOS glove boxes out there. This is the first one I have seen so it was treated with much care. I installed the new bulbs and the glove box, pics are below. I need to fix the glove box emblem. Not sure what to do with the rolled edges on the glove box inside sticker. I may just leave it since it is original. More Z CSI. Looks like some type of work was done with the ammeter/fuel gauge unit. As I was rotating the dash around, one of those little plastic heat stake pieces was on the glass. When I opened it up to remove it, I saw the epoxy fix. Interesting. Started restoration on the steering wheel. The key to doing the steering wheel right is to be very gentle on the 'wood grain'. I sanded the metal with 220 grit today and cleaned the wood 'gunk' with lacquer thinner. The 'gunk' is the black build up on the wheel. I will do a very light sand on the wood portion, then spray with clear enamel. Will spray the metal with satin black. Should have this done in the next couple days. The big news is that the car should be back from the paint shop this weekend. Woo-hoo! Should be picking that up on Saturday.


-
Congrats! Looking forward to the pics.
-
Thanks for the suggestion @jfa.series1. I went with the Eiko's
-
I am leaning towards this one. It is 25 lumens, in cool white with 90 degree beam angle. https://www.superbrightleds.com/moreinfo/instrument-panel-light-bulb/ba9s-led-bulb-4-led-ba9s-retrofit-car-classic-car-bulbs/6/ The Eiko also seems like a good option for incandescent with the 4 Watts. I am leaning toward the brighter LED with the longer life. Pricewise, it is just a bit more, but I like the fact that the LED would be longer lasting and maybe a bit brighter.
-
These look interesting: https://www.superbrightleds.com/vehicle/1972-nissan-240z-instrument-panel-light-bulb?make=55&model=61&scc_id=1364&year=1972 Says they work with the standard dimmer. Also, long lasting. This looks like a good option and could be cheaper than the Motorsport 4 Watt incandescents. PS: the photobucket images are not coming through.
-
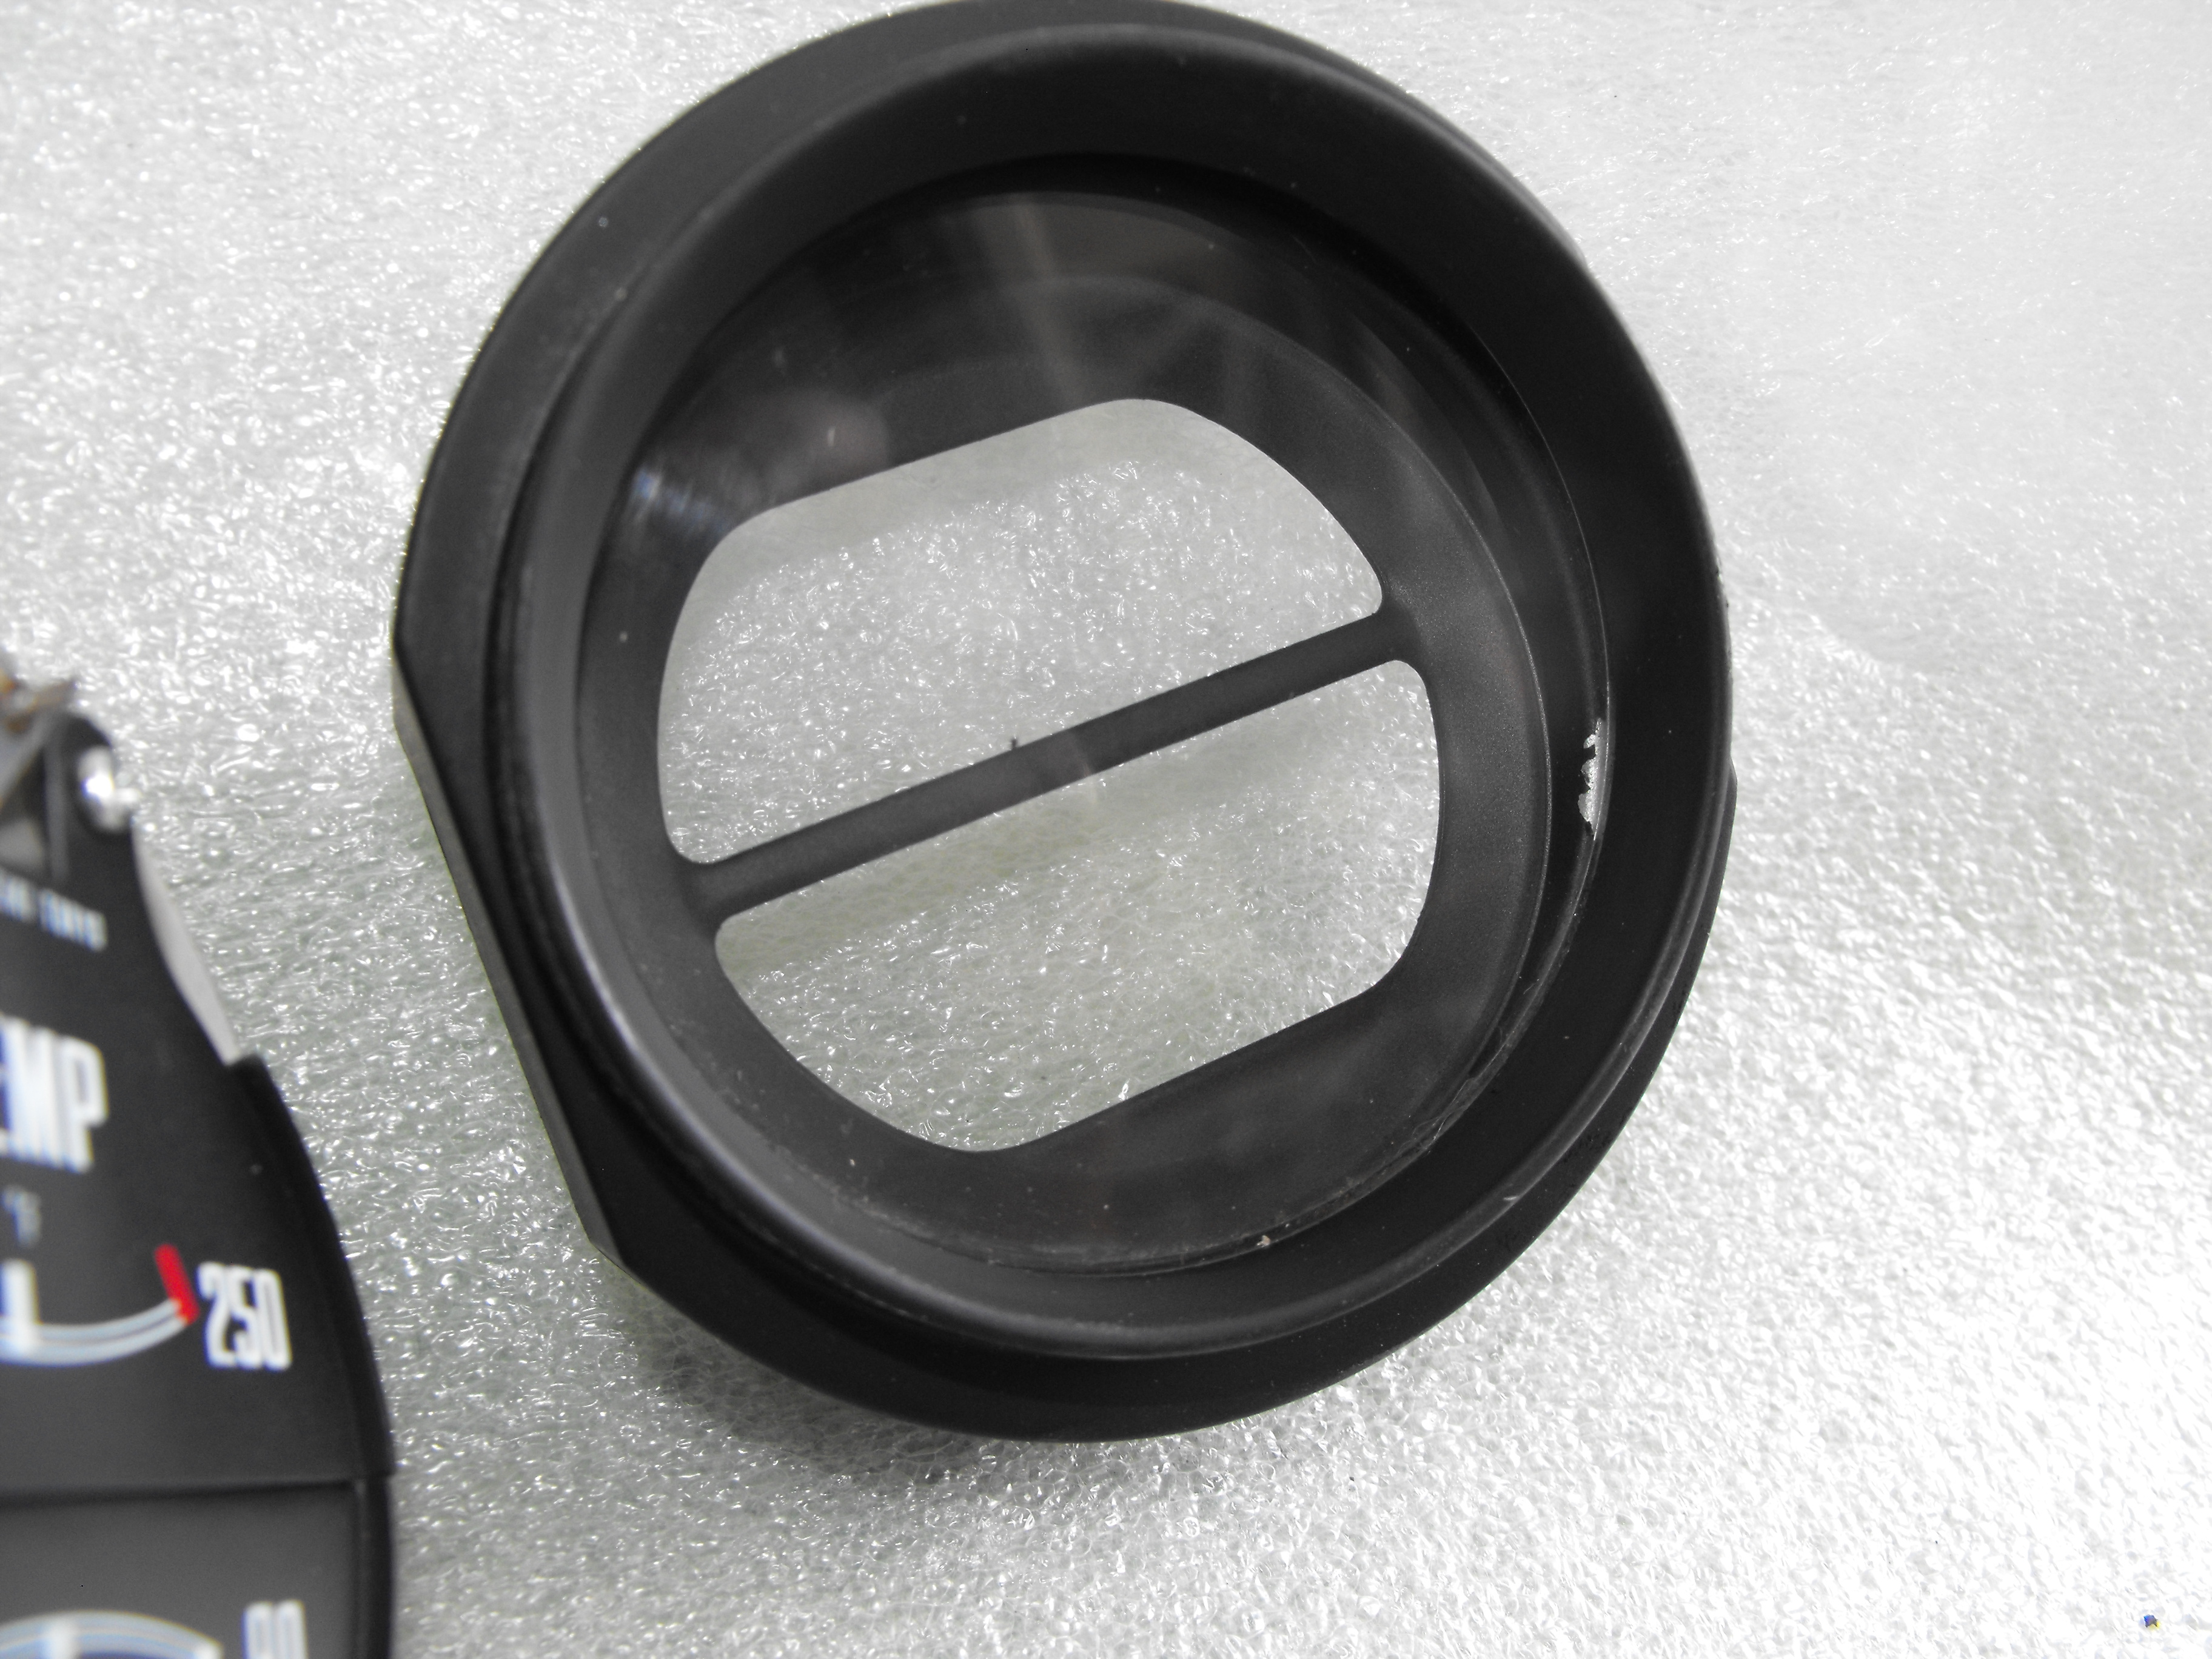
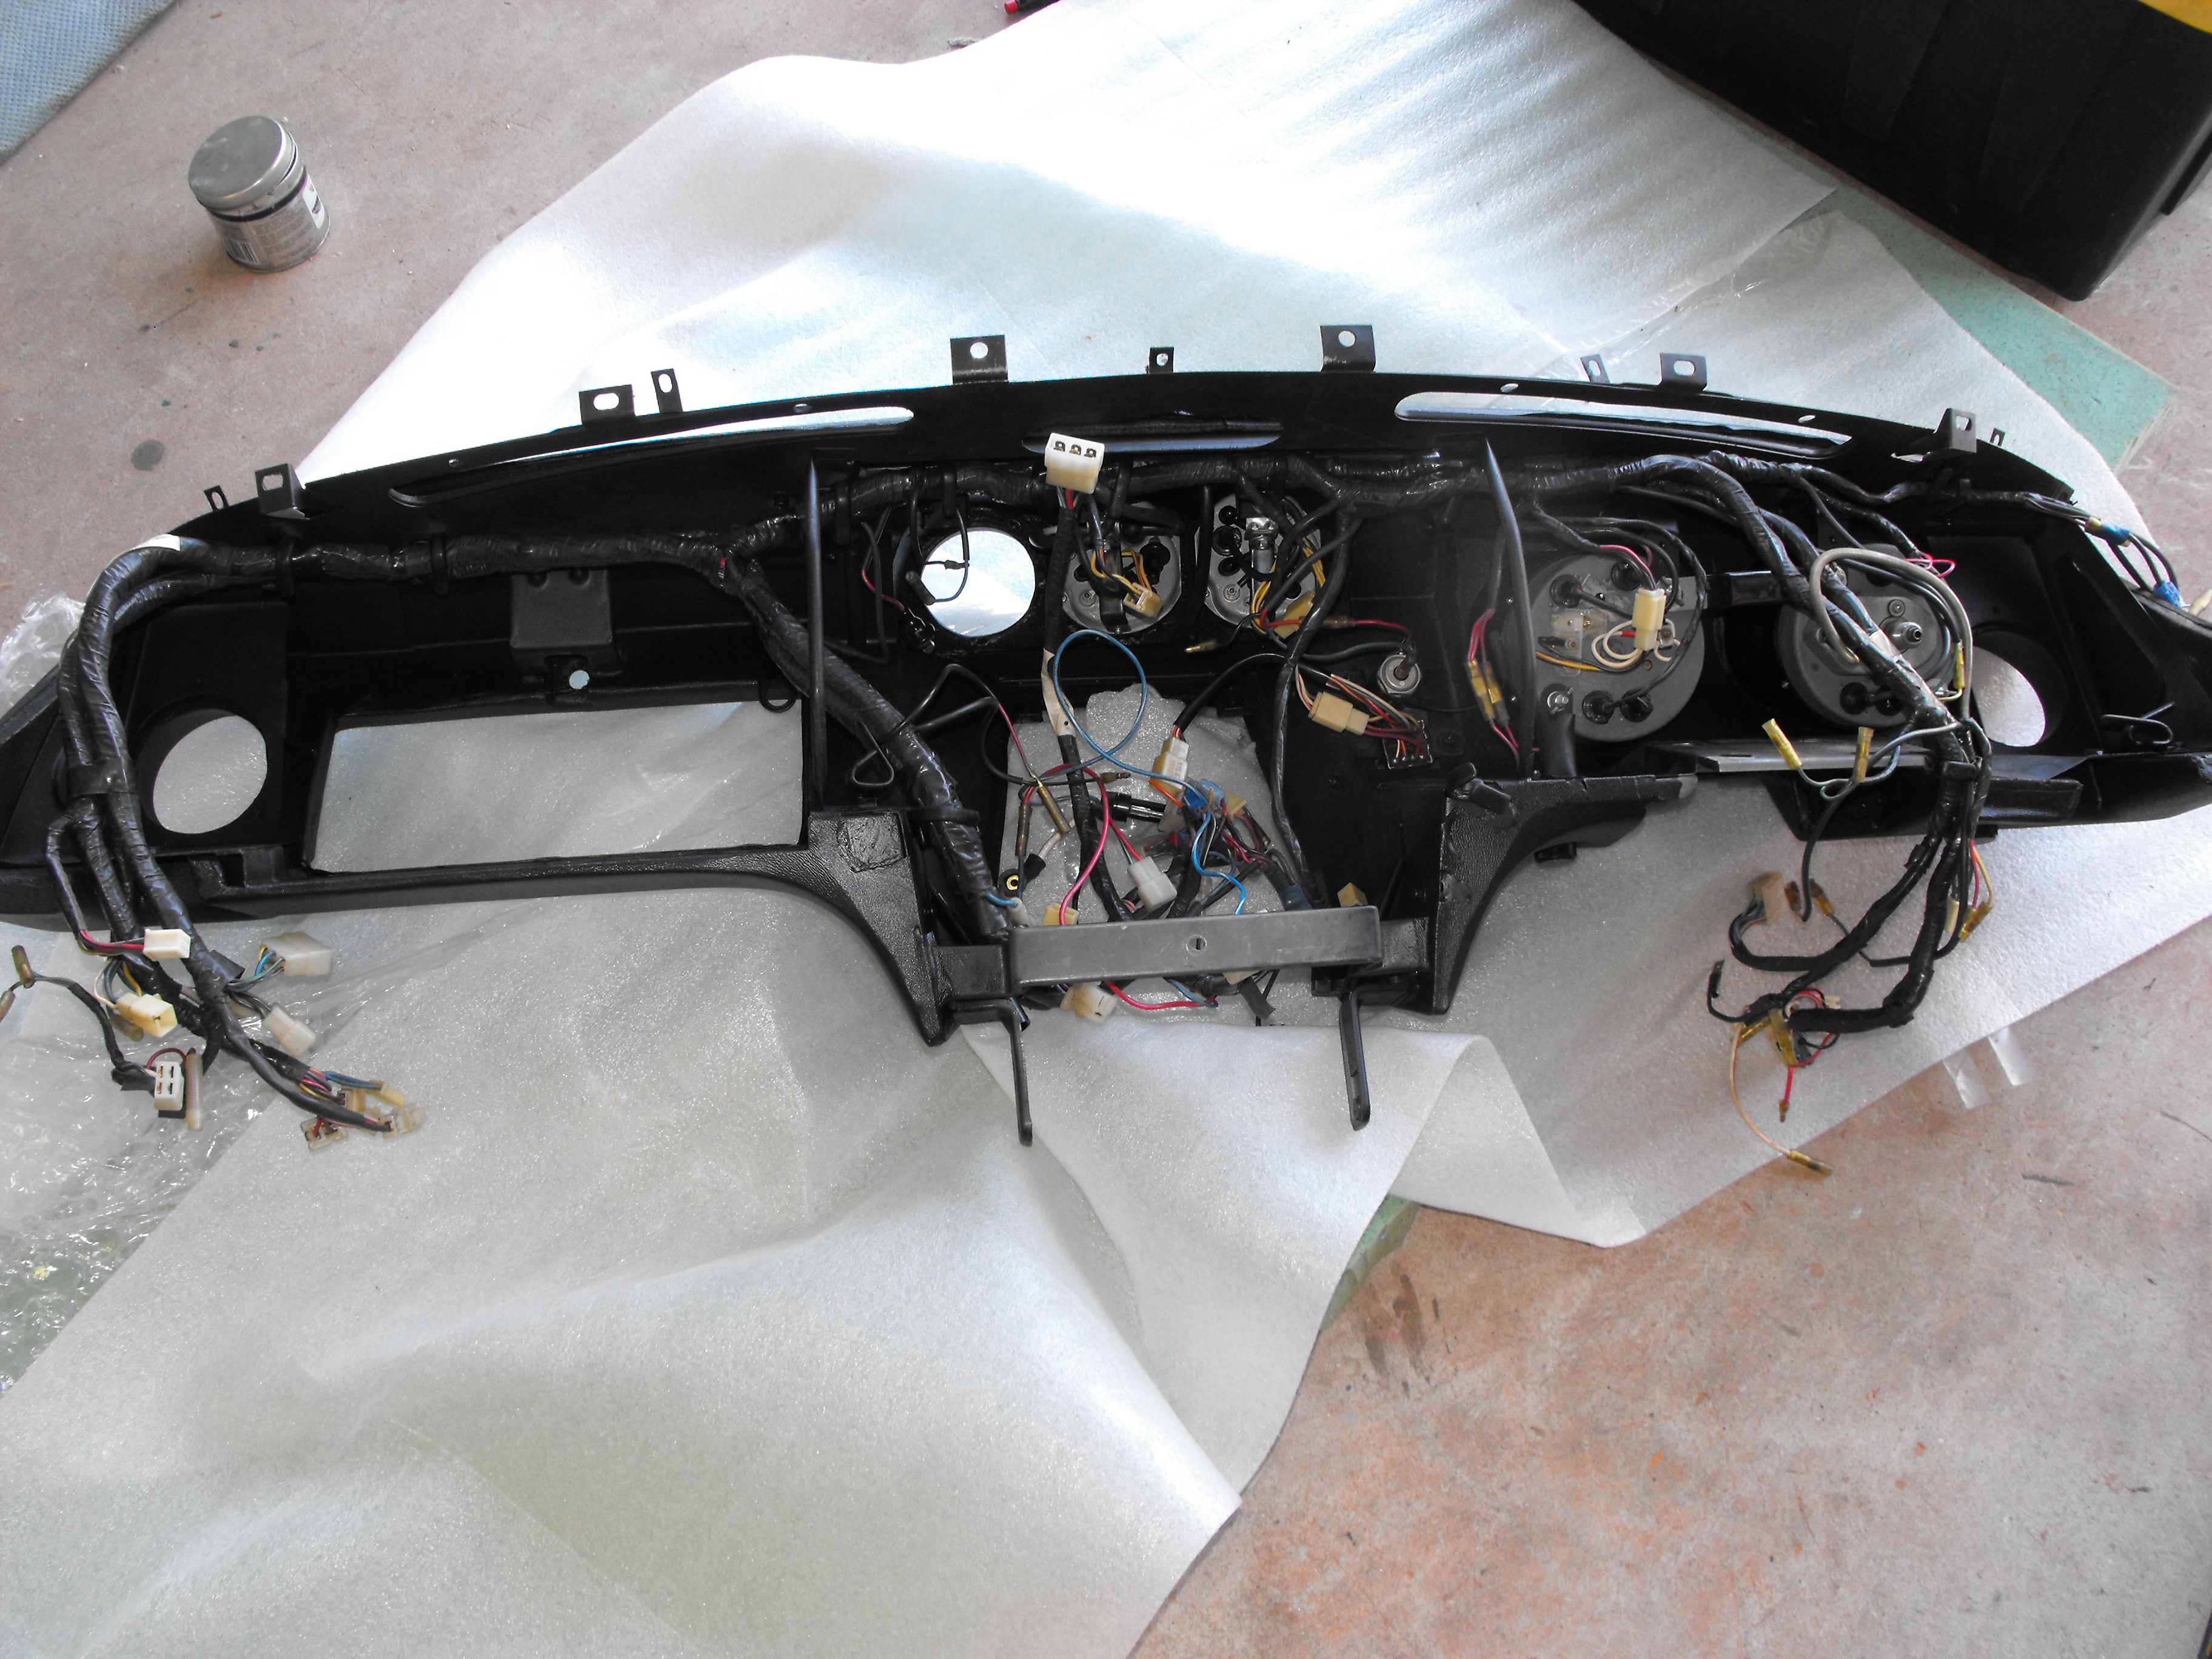
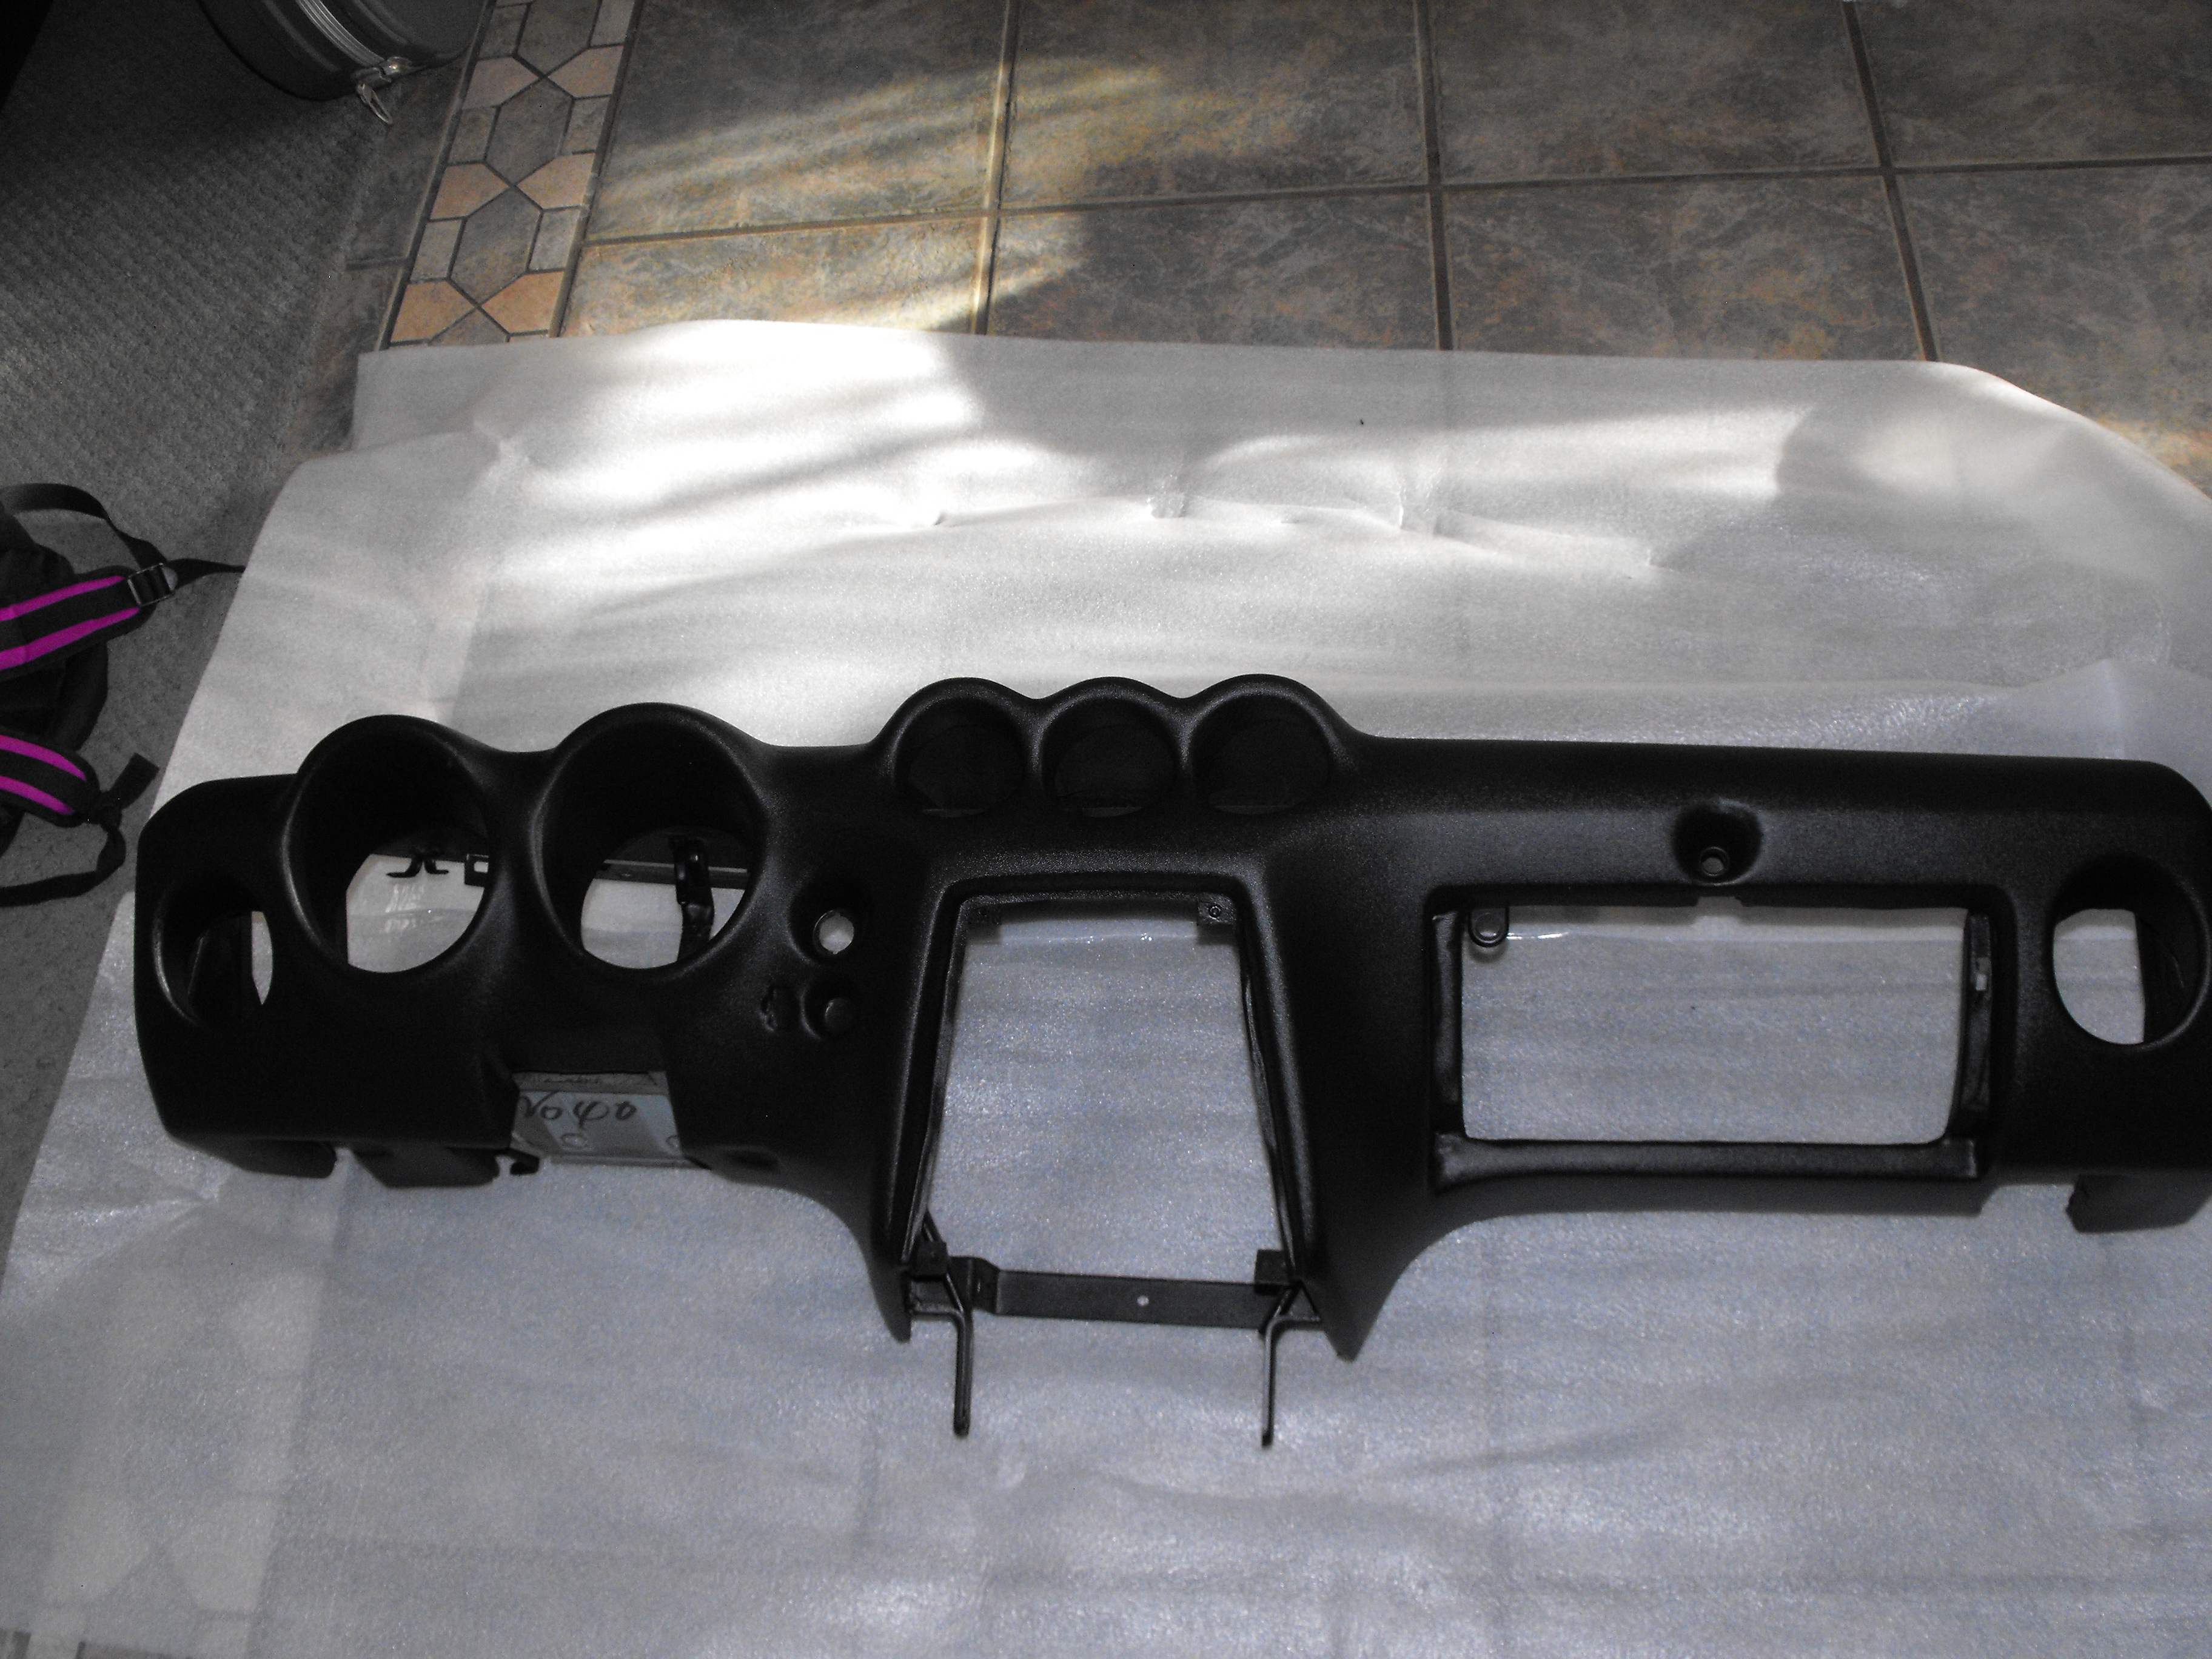
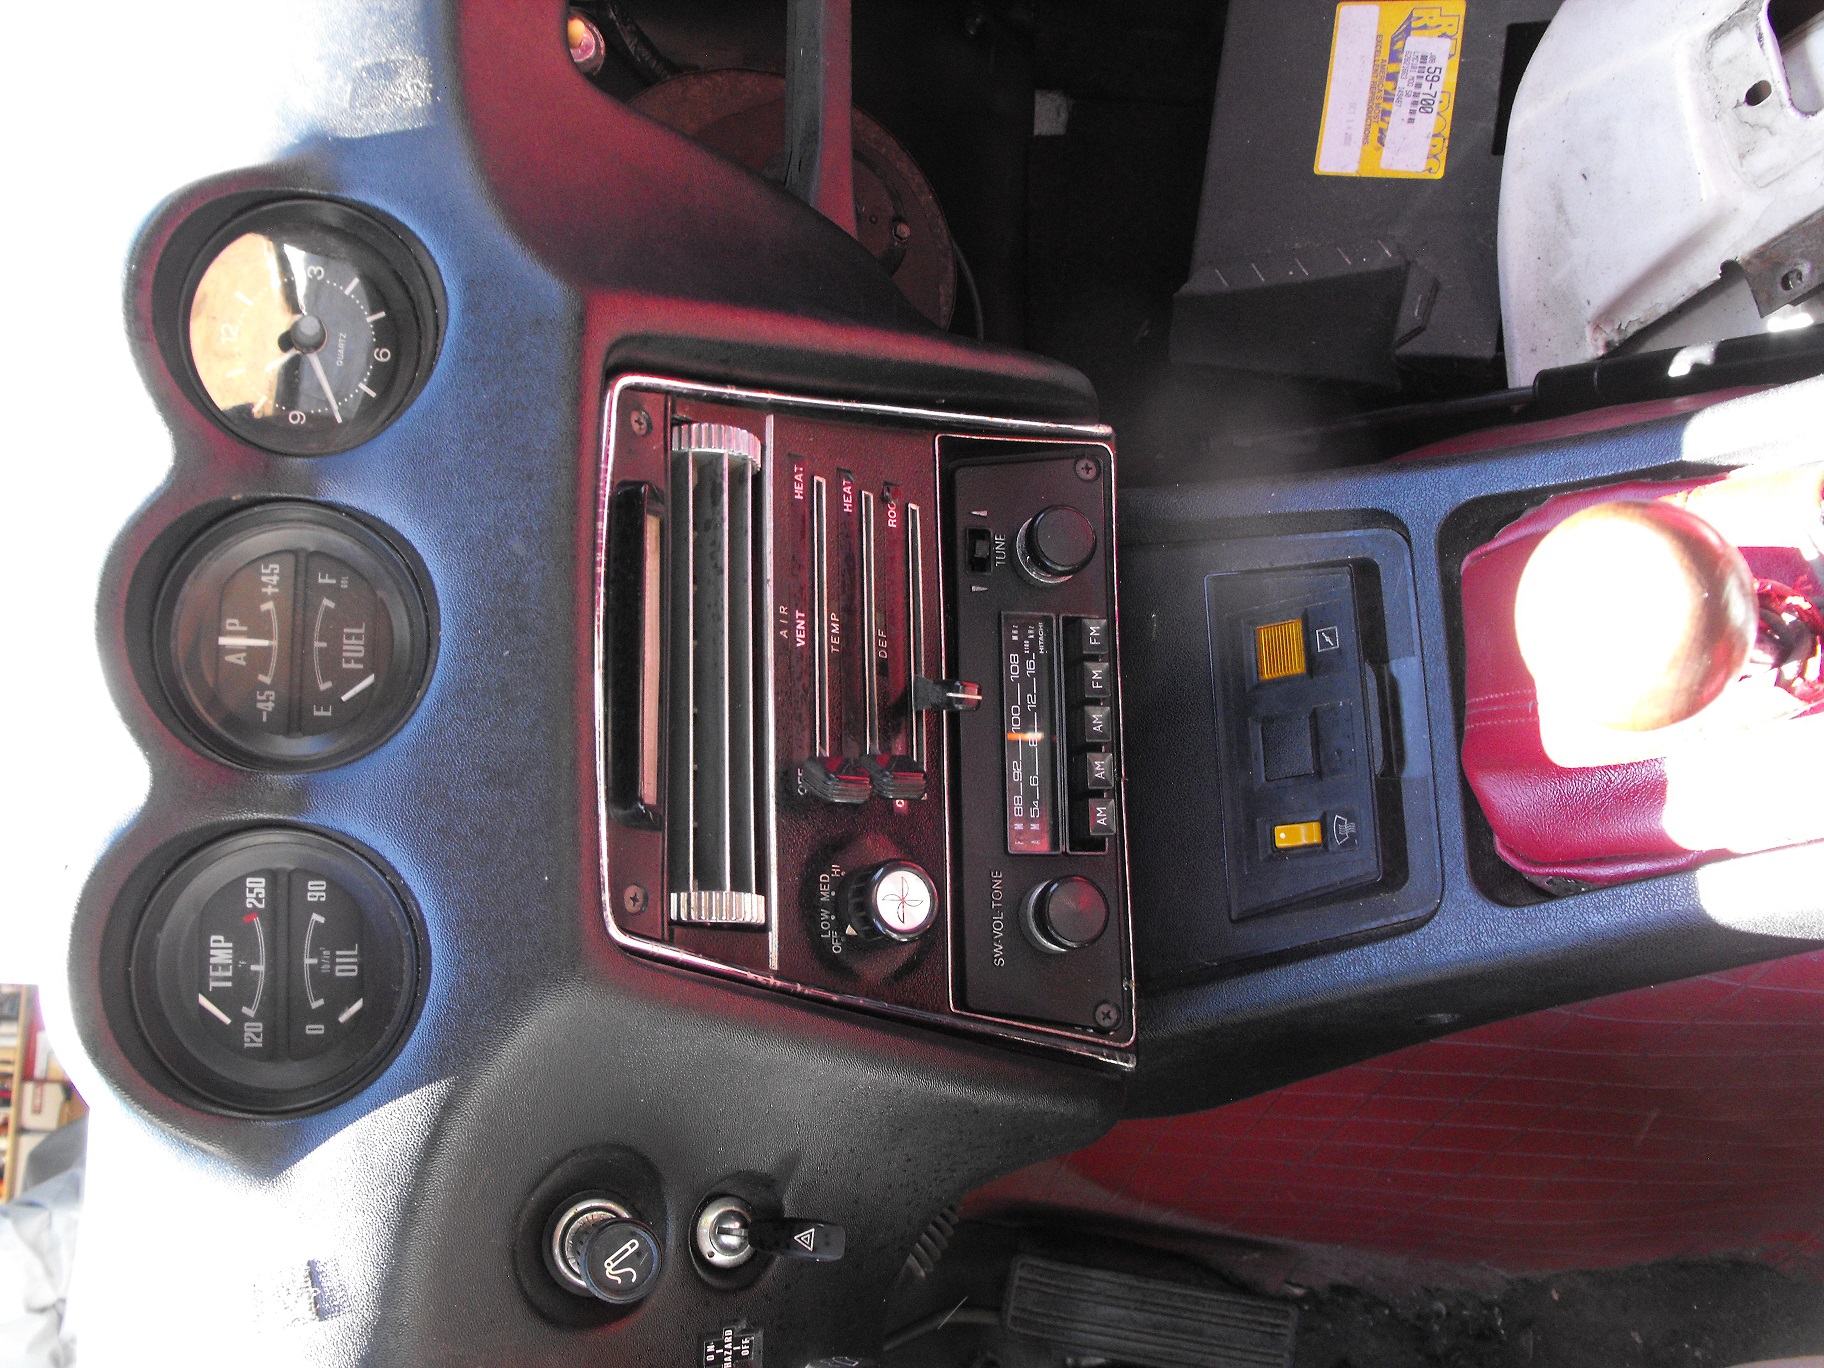
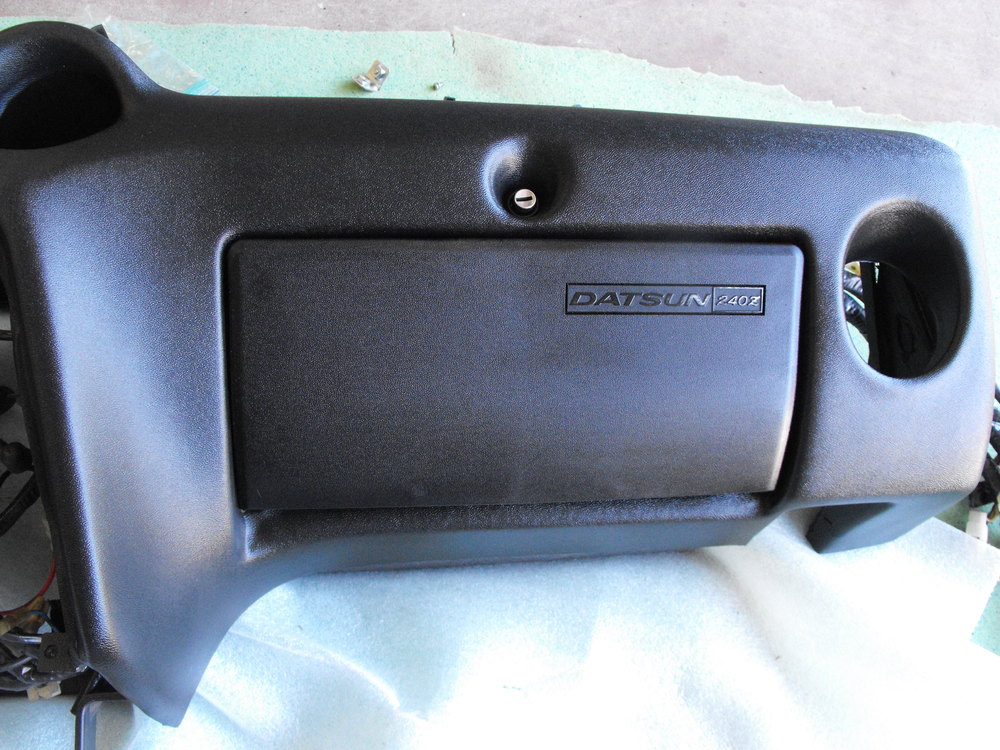
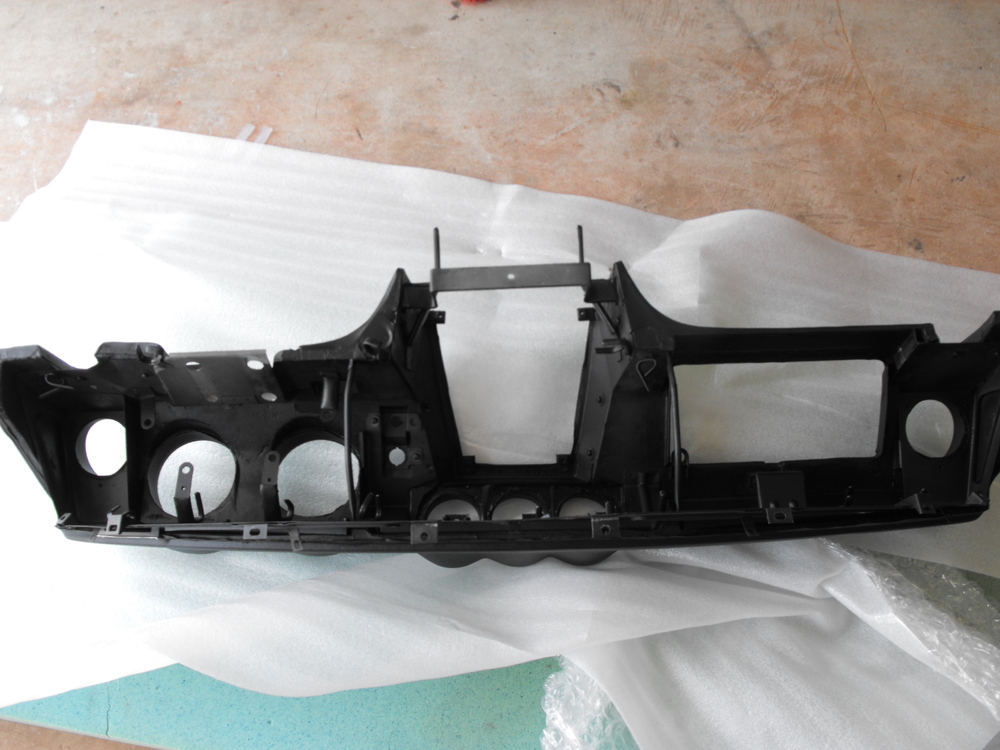
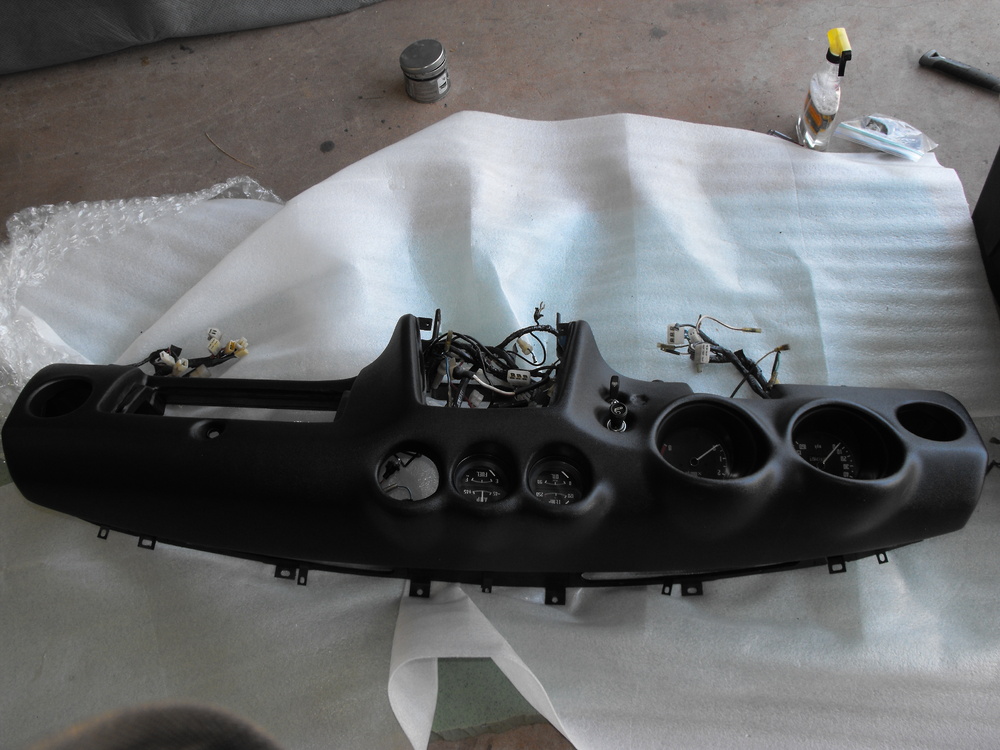
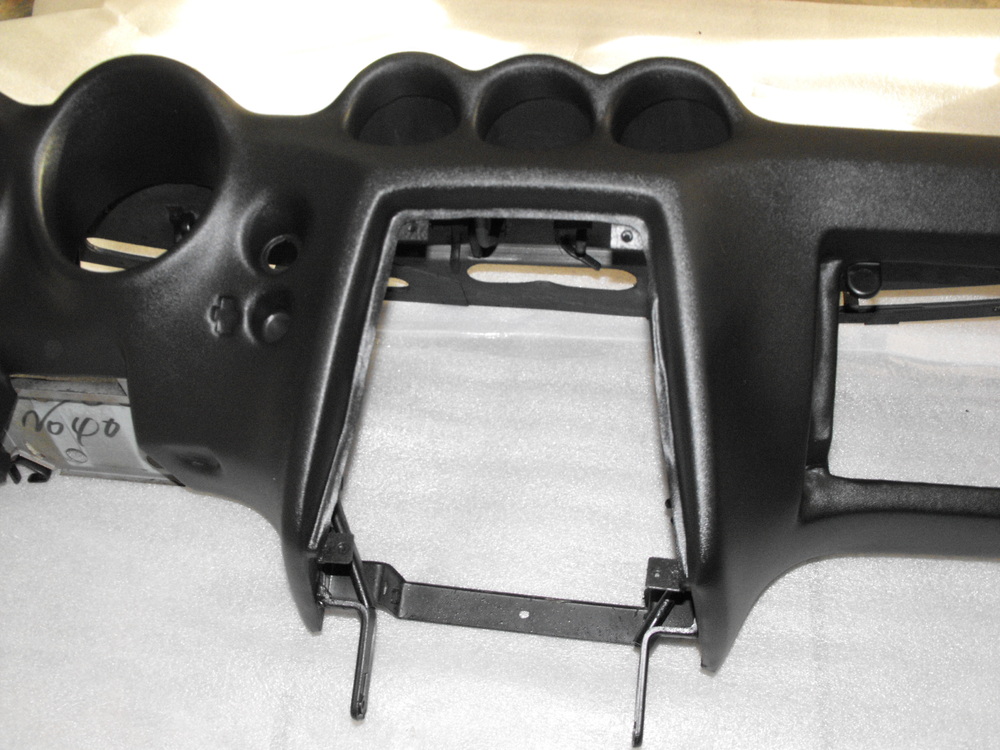
Started putting the dash back back together. Did a a little clean-up on the gauges before installation. Also touched up a some of the chipped and scraped areas on the instruments. Trying to decide what to do about the non-working clock. I think I will send the clock out to this guy and get the quartz mechanism so it will last for a while and be accurate. http://www.zclocks.com/ Although, I am really tempted to try this: https://hyllest.wordpress.com/2014/09/28/quartz-clock-movement-into-a-240z-clock/ That might be worth my time. I have a couple other Z's with clocks that don't work, so could be handy. I installed most of the dash harness and will install the ducts soon. Oh, 'Just Dashes' covered up three of the holes that that should have been open: The dash light dimmer hole, the emergency flasher switch and the odometer reset. So, I drilled those open and installed those item. It was a bit scary drilling into a $1750 dash, but was actually fairly simple as it was just the vinyl I had to go through. I also need to look into the panel lights. I am thinking that there is a better option than the original bulbs but not sure. I will have to look into this more. Anyway, here are the pics so far


-
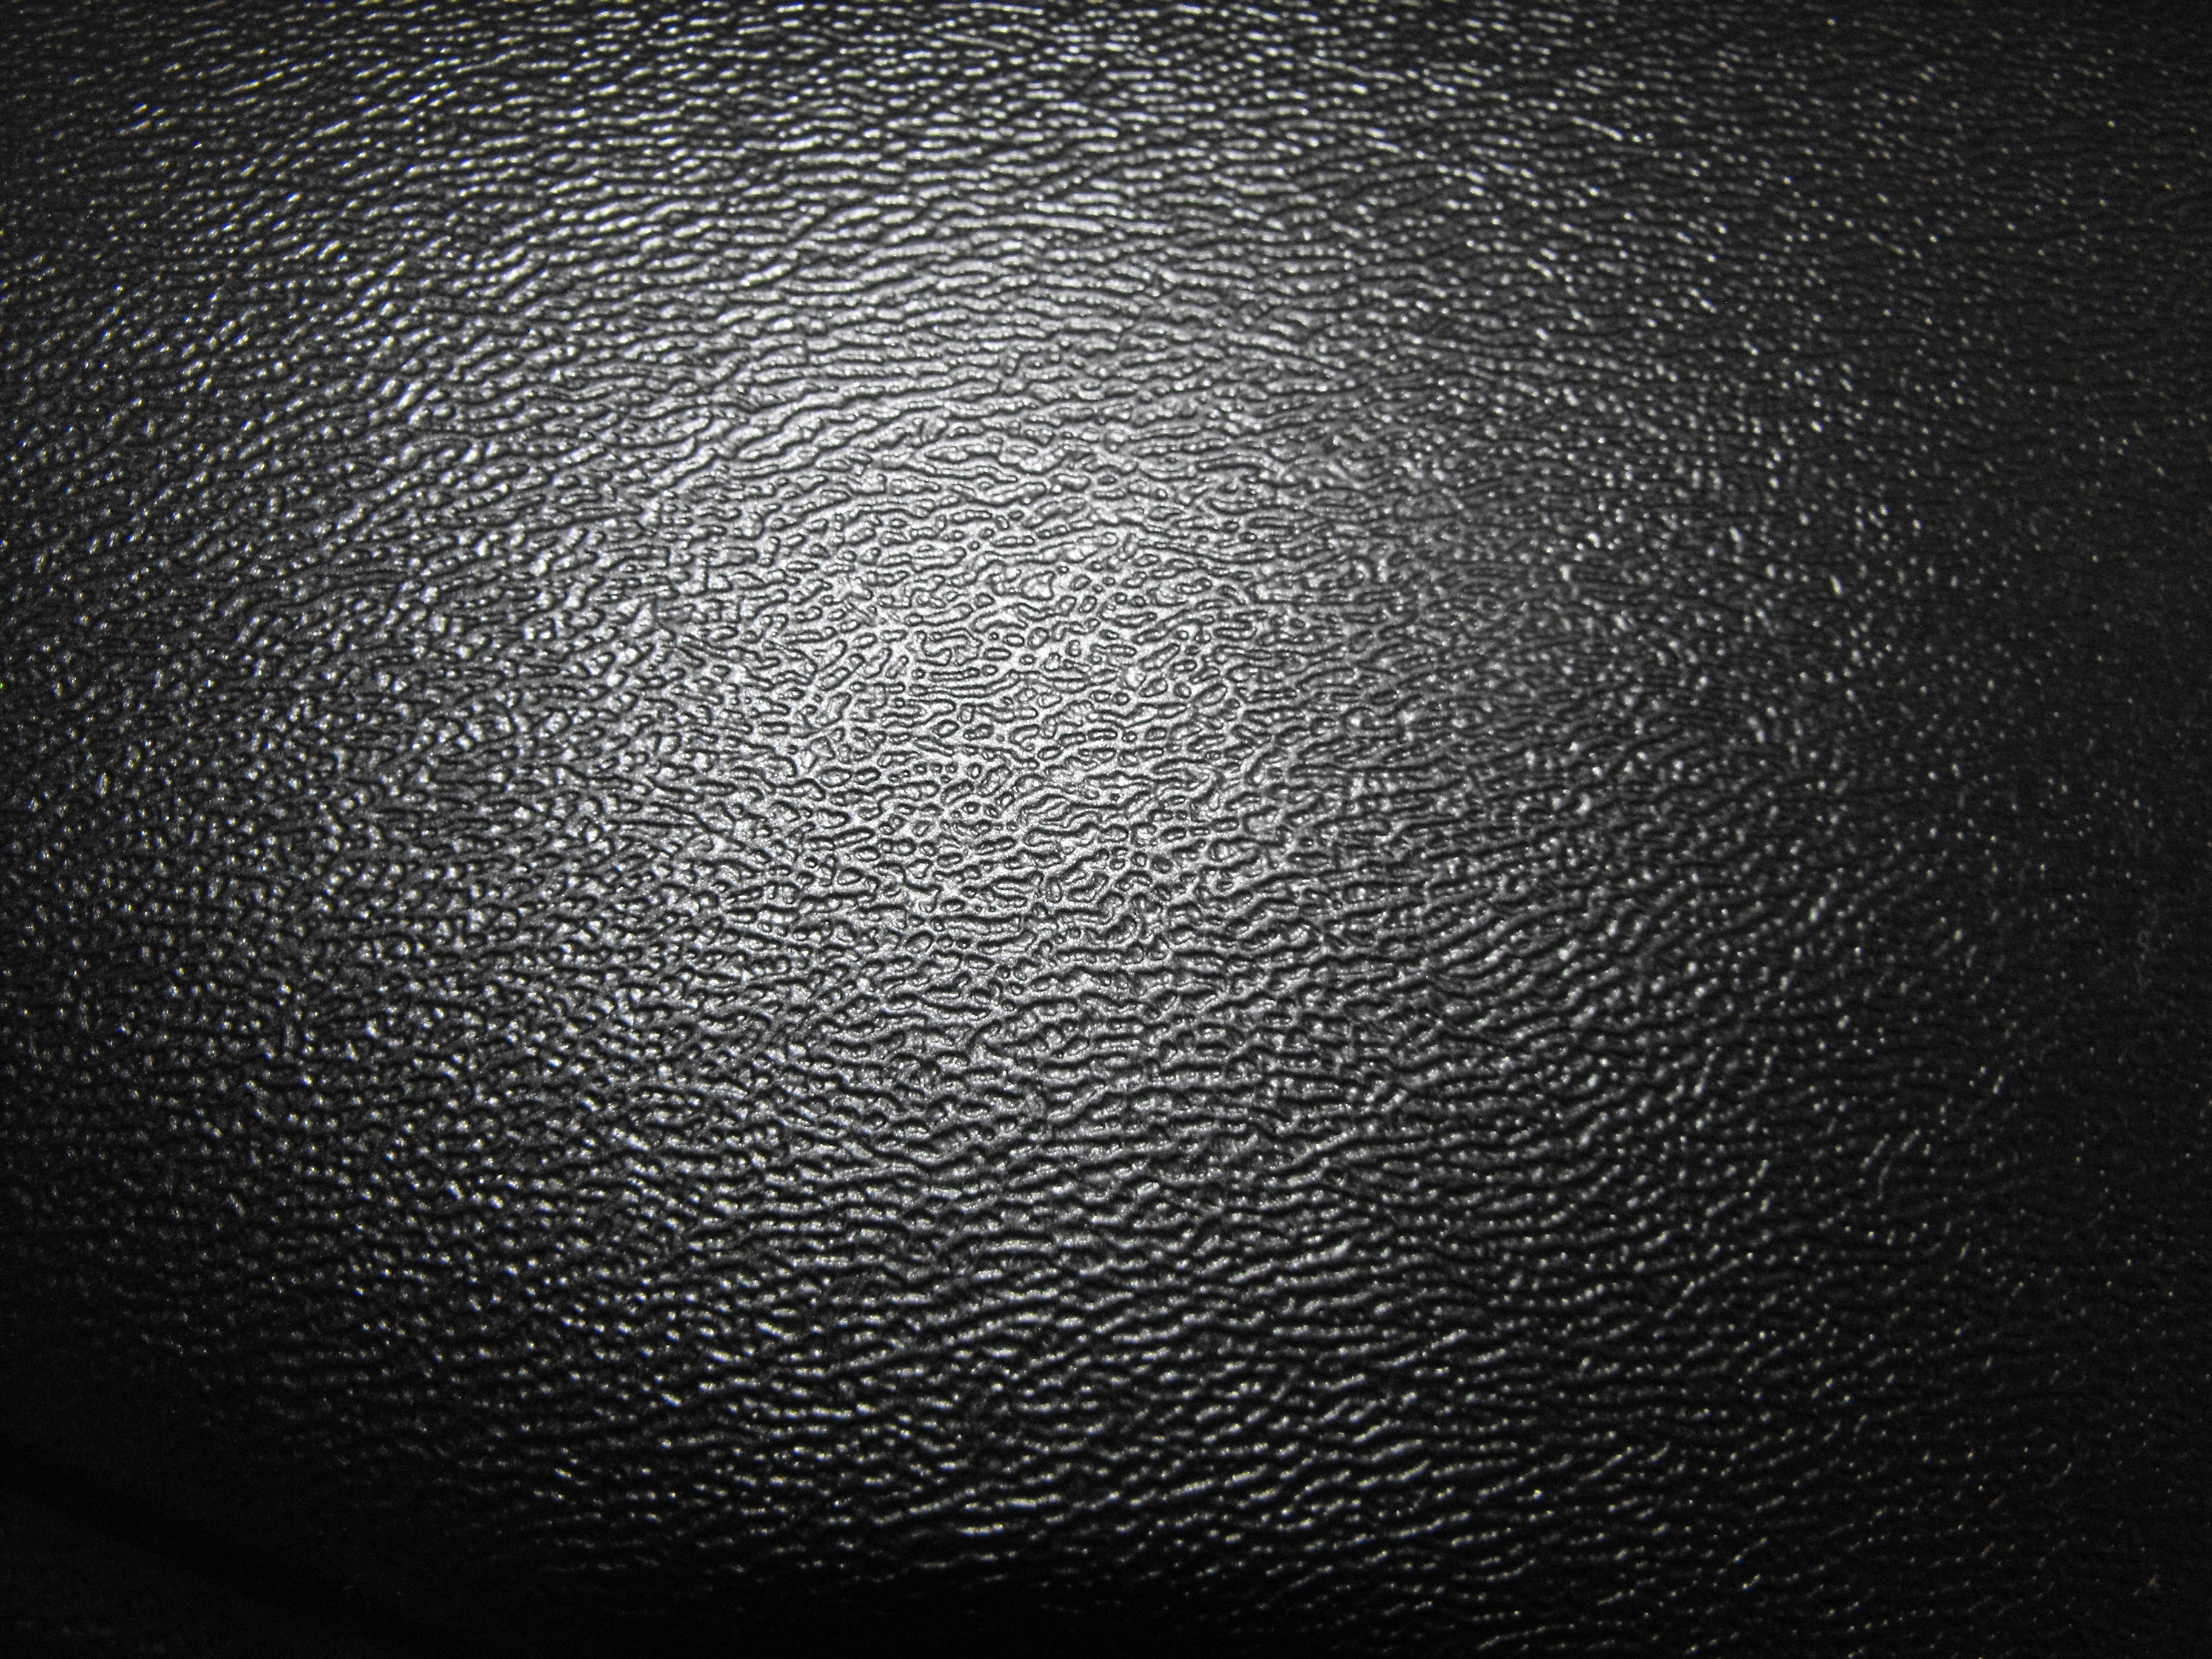
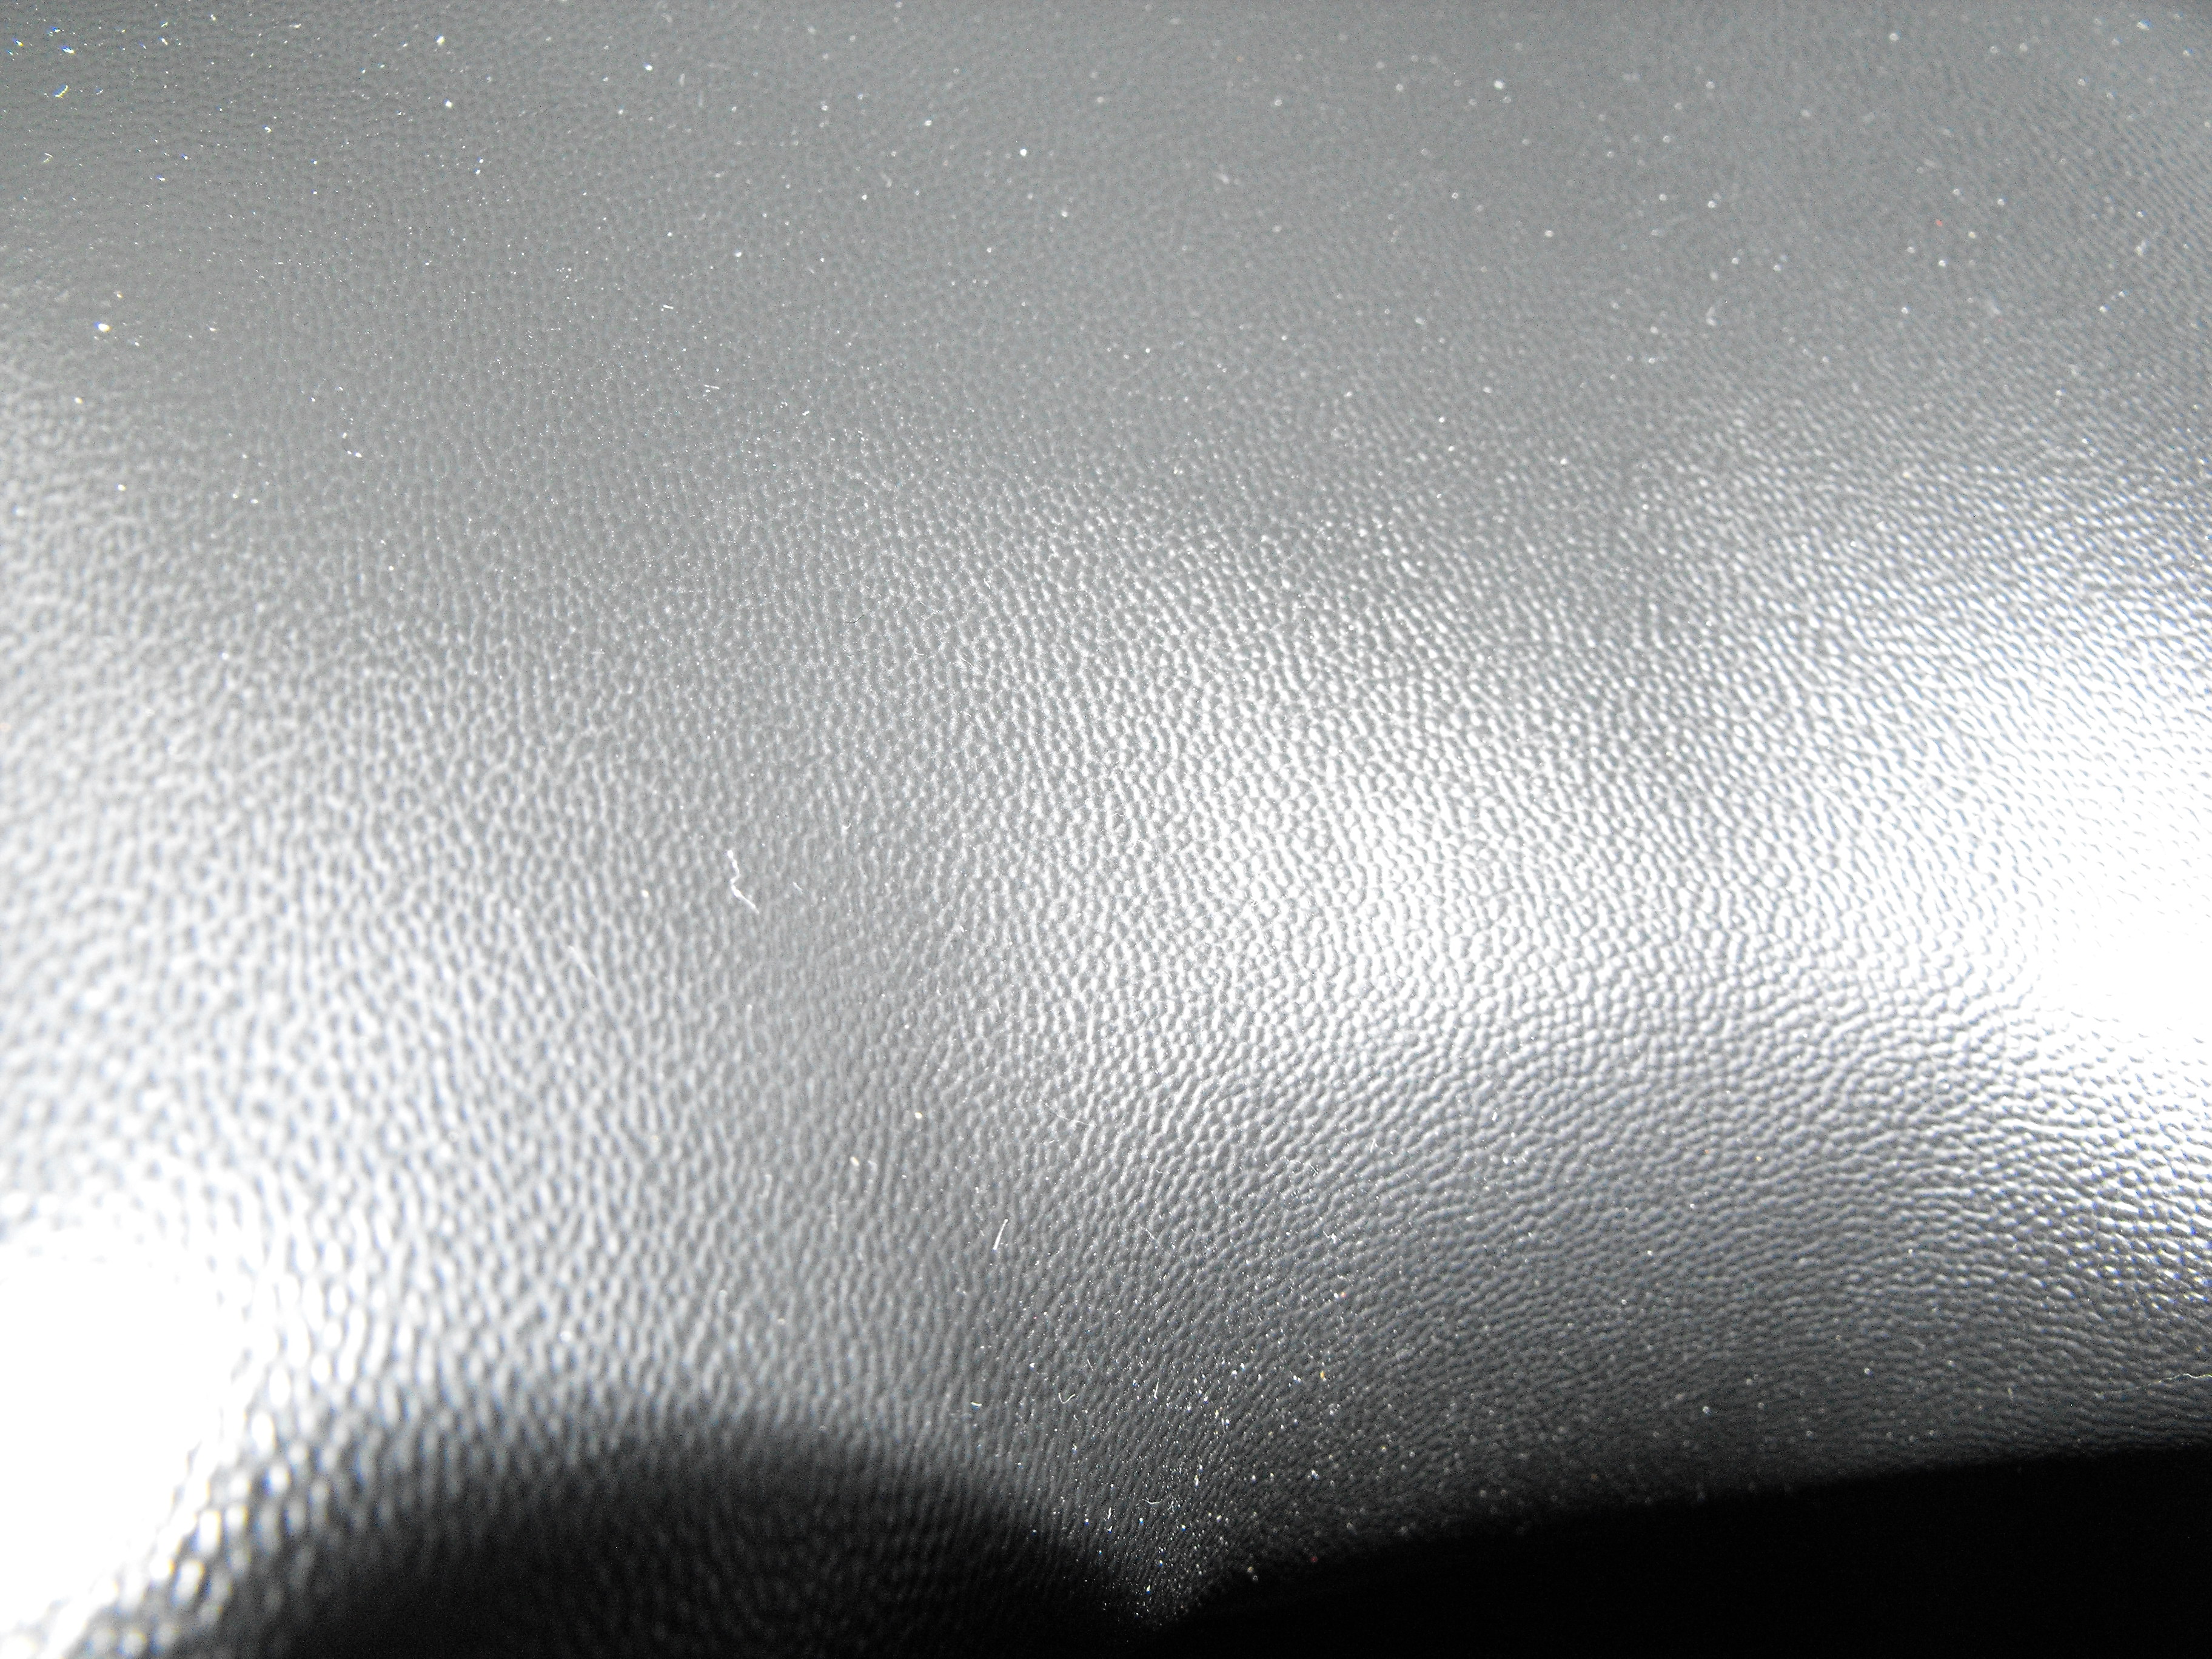
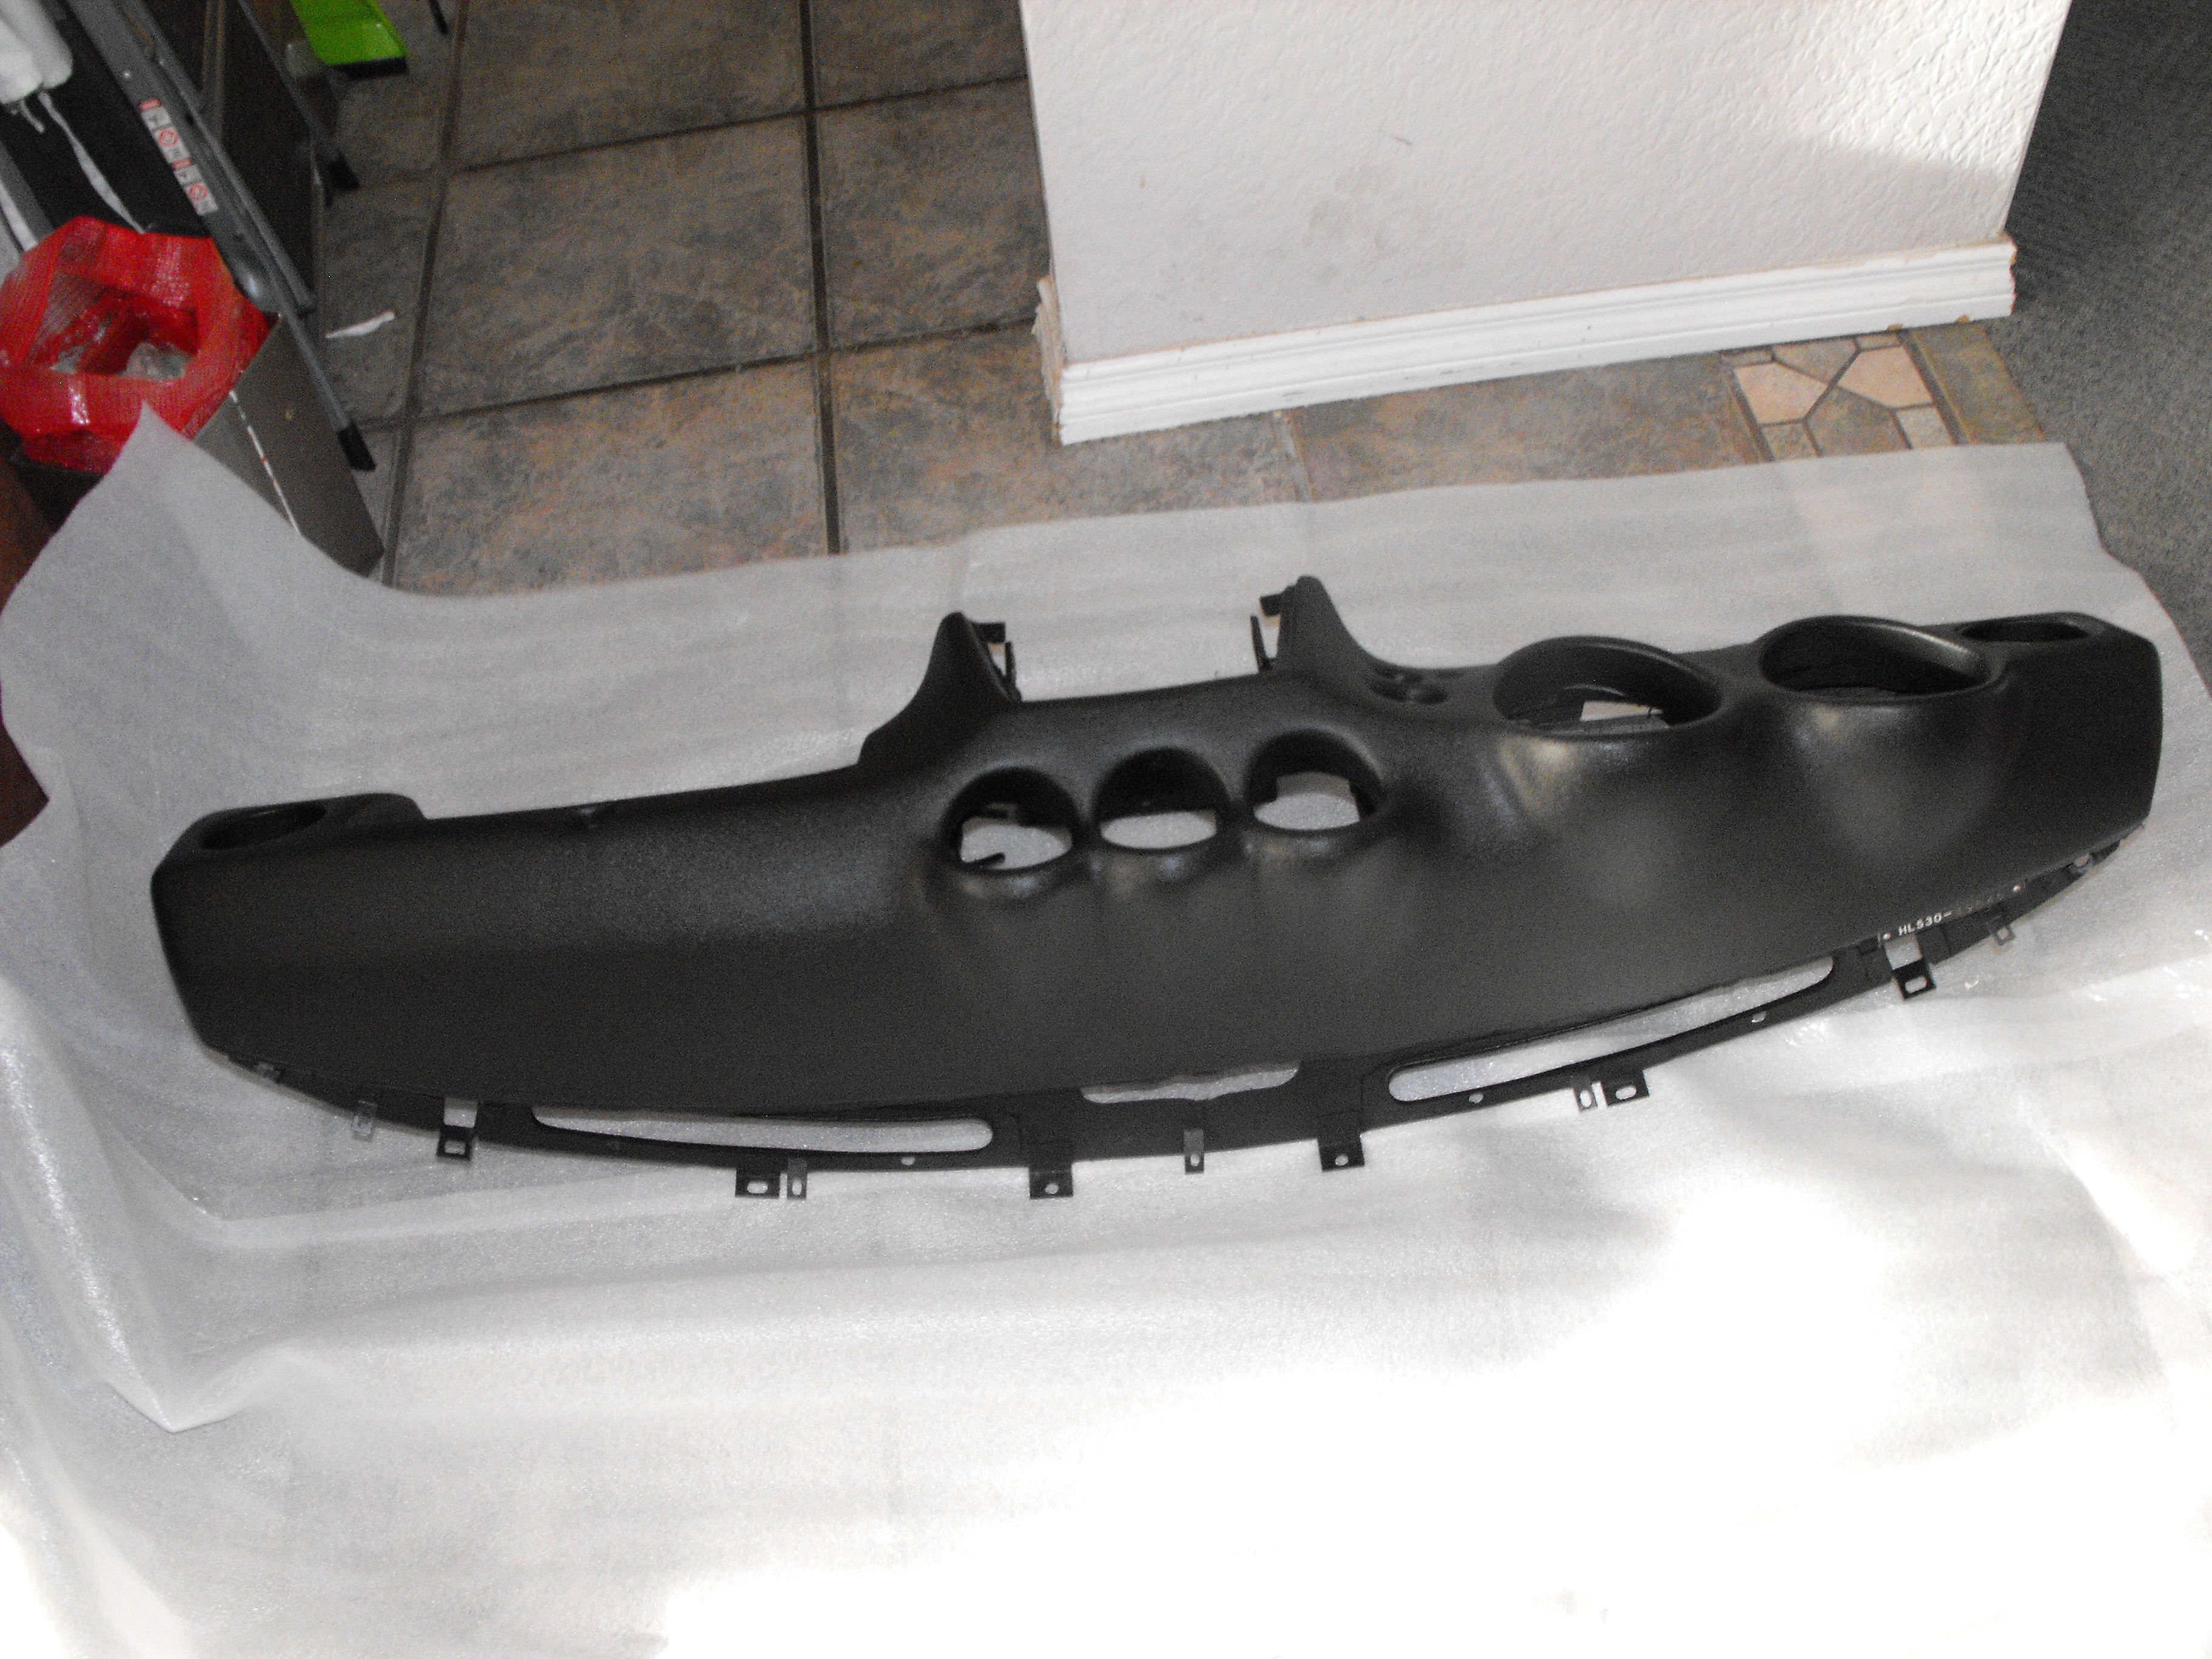
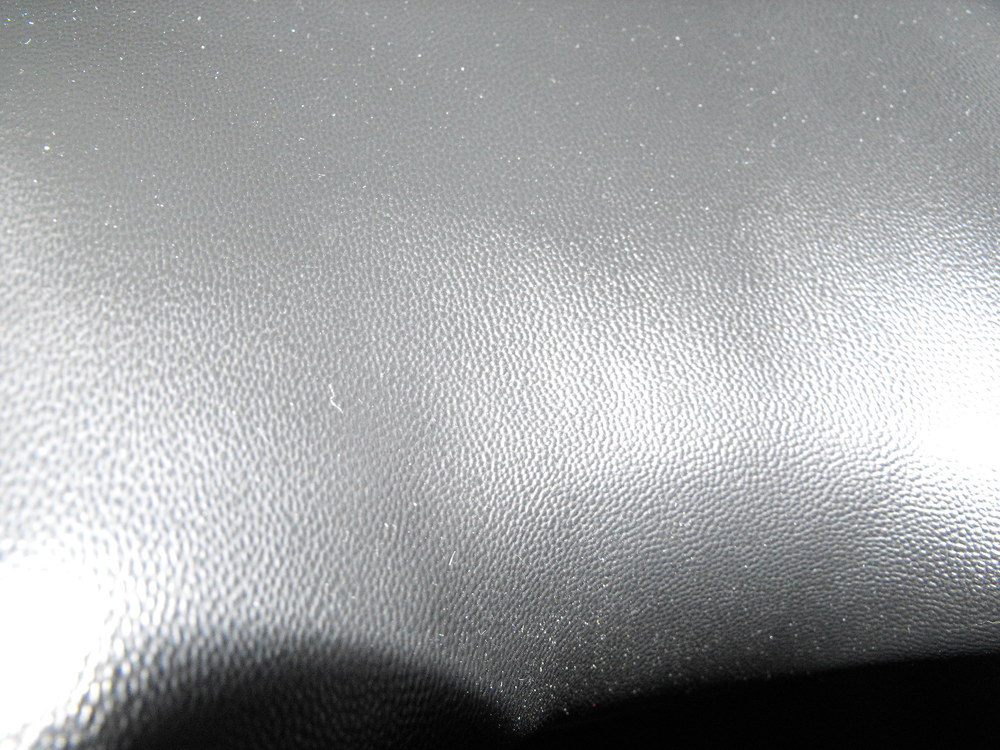
Yes, just dashes will do the glove box, but I am betting it is very pricey. Best bet may be to look for one on e-bay to get one for the best price. For faded plastic, I use that Mother's color restorer for black plastic. That works well. Paint is an option, but you would have to do the dash as well to avoid the color variation. Below are close-up pictures of the two different dashes. The darker pic is the new 'Just dashes' material. the lighter pic is from my original '70 dash. The colors are actually the same, it's just the camera lighting is different for the two pics. While the texture feels the same to the touch the pattern is definitely different when you are close-up. From a two to three foot distance, the texture looks very similar. But as you can see from the close-up, it is definitely a different pattern. I should do a little research and see if I can find the Mold Tech or Yick Sang or CH number for the patterns.

-
I will check tomorrow AM.
-
LOL.....great comment . if only it were that easy. Yes, it's definitely nice to be working with a new dash with new plastic. It really looks nice. Old plastic scares me as I know it is just a matter of time before it gives way. Still trying to brace myself for the day the dash on my '70 cracks. I am hoping that it makes it to 50 years. The cost is expensive but necessary for a high end Z. Throw in my transportation and it's almost $2K for everything. If you pay on credit and not cash, then they add tax. Not sure if the tax is on the complete product or just materials. Receipt breakdown was $875 materials, $875 Labor. This also makes me realize that I got my '71 for a steal. Total cost for the car was $4K. That included a fully reconditioned dash WITH reconditioned instruments including a working clock, and all the parts zinc plated. Not bad.
-
And here are the pics. It looks great!


-
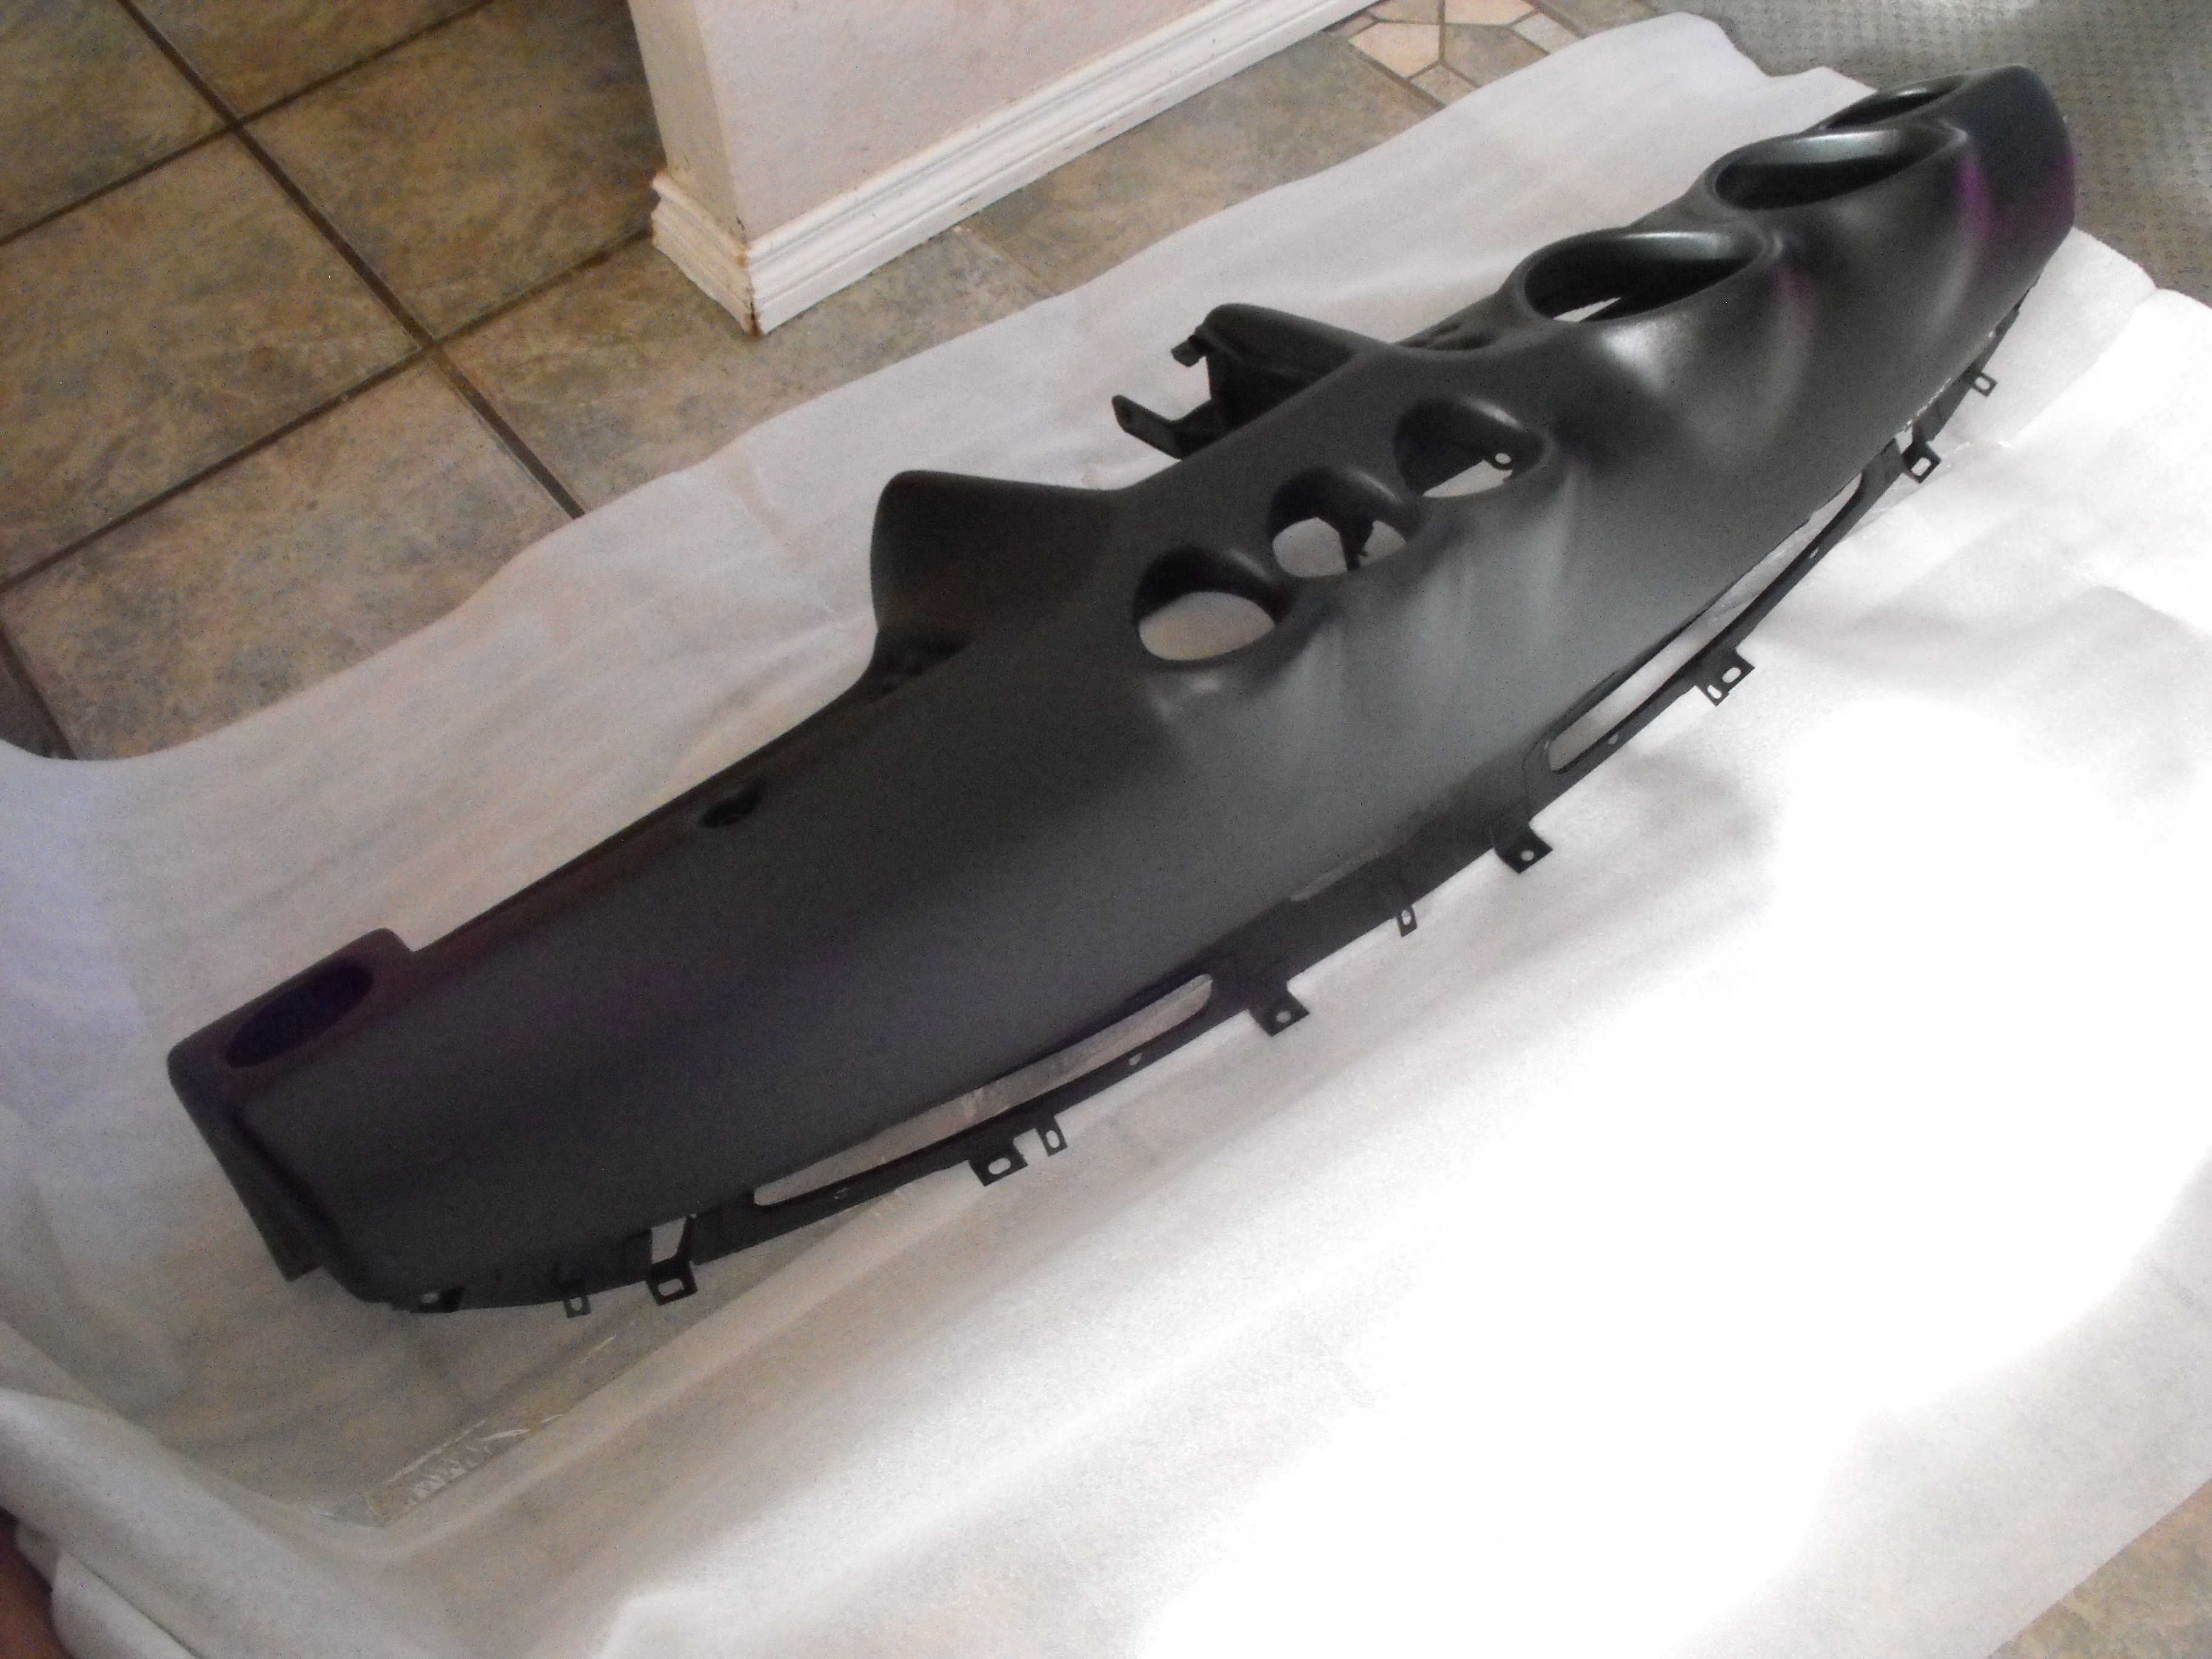
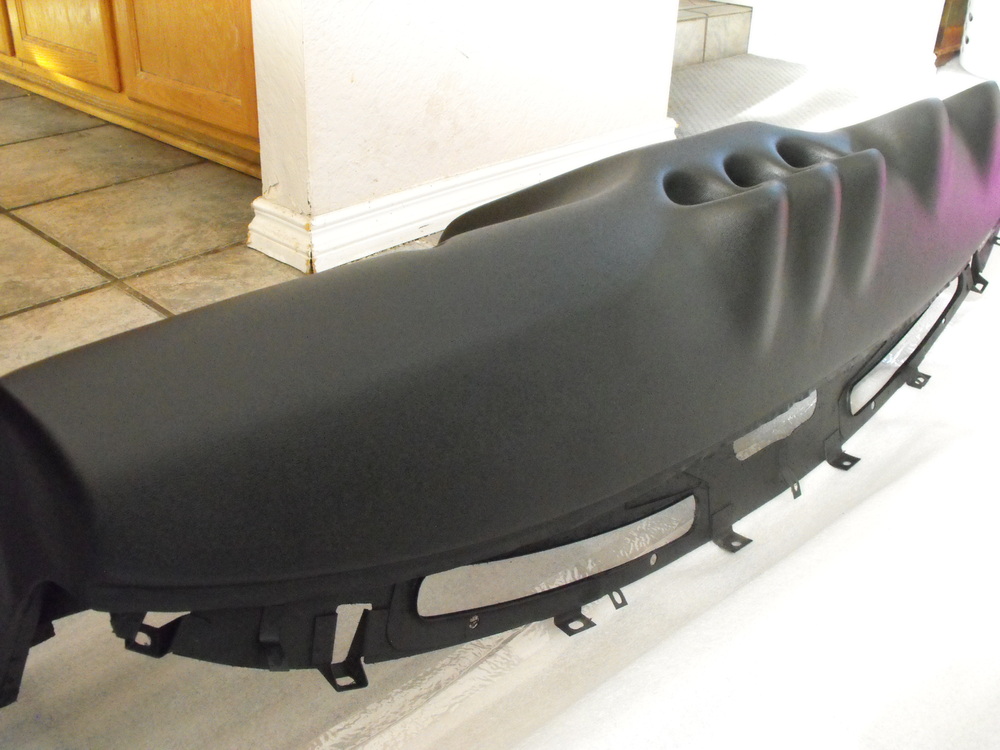
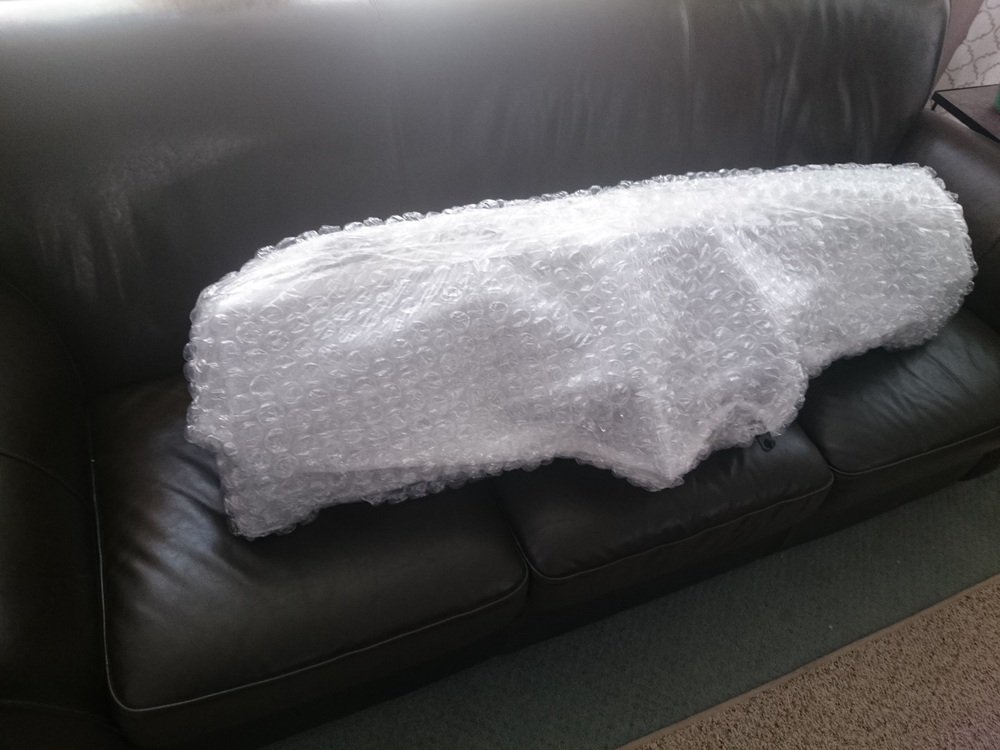
Made the trek up to Van Nuys to Pick up the restored dash. I inspected the dash before they bubble wrapped it for the trip home, but forgot to take a pic. The dash looks great and the Kanji was nicely taped off. Will unwrap tonight and post pics. Below is a pic of the dash in its' comfy bubble wrap resting on the couch. On a side note, I noticed a damaged dash package in the company lobby. Apparently UPS 'mishandled' the package during shipping. Makes me glad I made the drive to pick it up.
-
This one looks pretty nice. Frame rails are near perfect and looks fairly original except for a few items. https://sandiego.craigslist.org/nsd/cto/6205678699.html
-
The car is looking great. Nice job on the welding and undercoating, and I love that color....'Ticket me Yellow' I think it is called.

-
I think I would advertise that as a 'moon roof'
-
All mine are 72 and older, all 4-speeds. I don't have a large enough sample set
-
The second one (no cross-member) looks like your standard Z transmission. I do not recognize the first one. The bolts on the top near the shifter are unfamiliar to me.
-
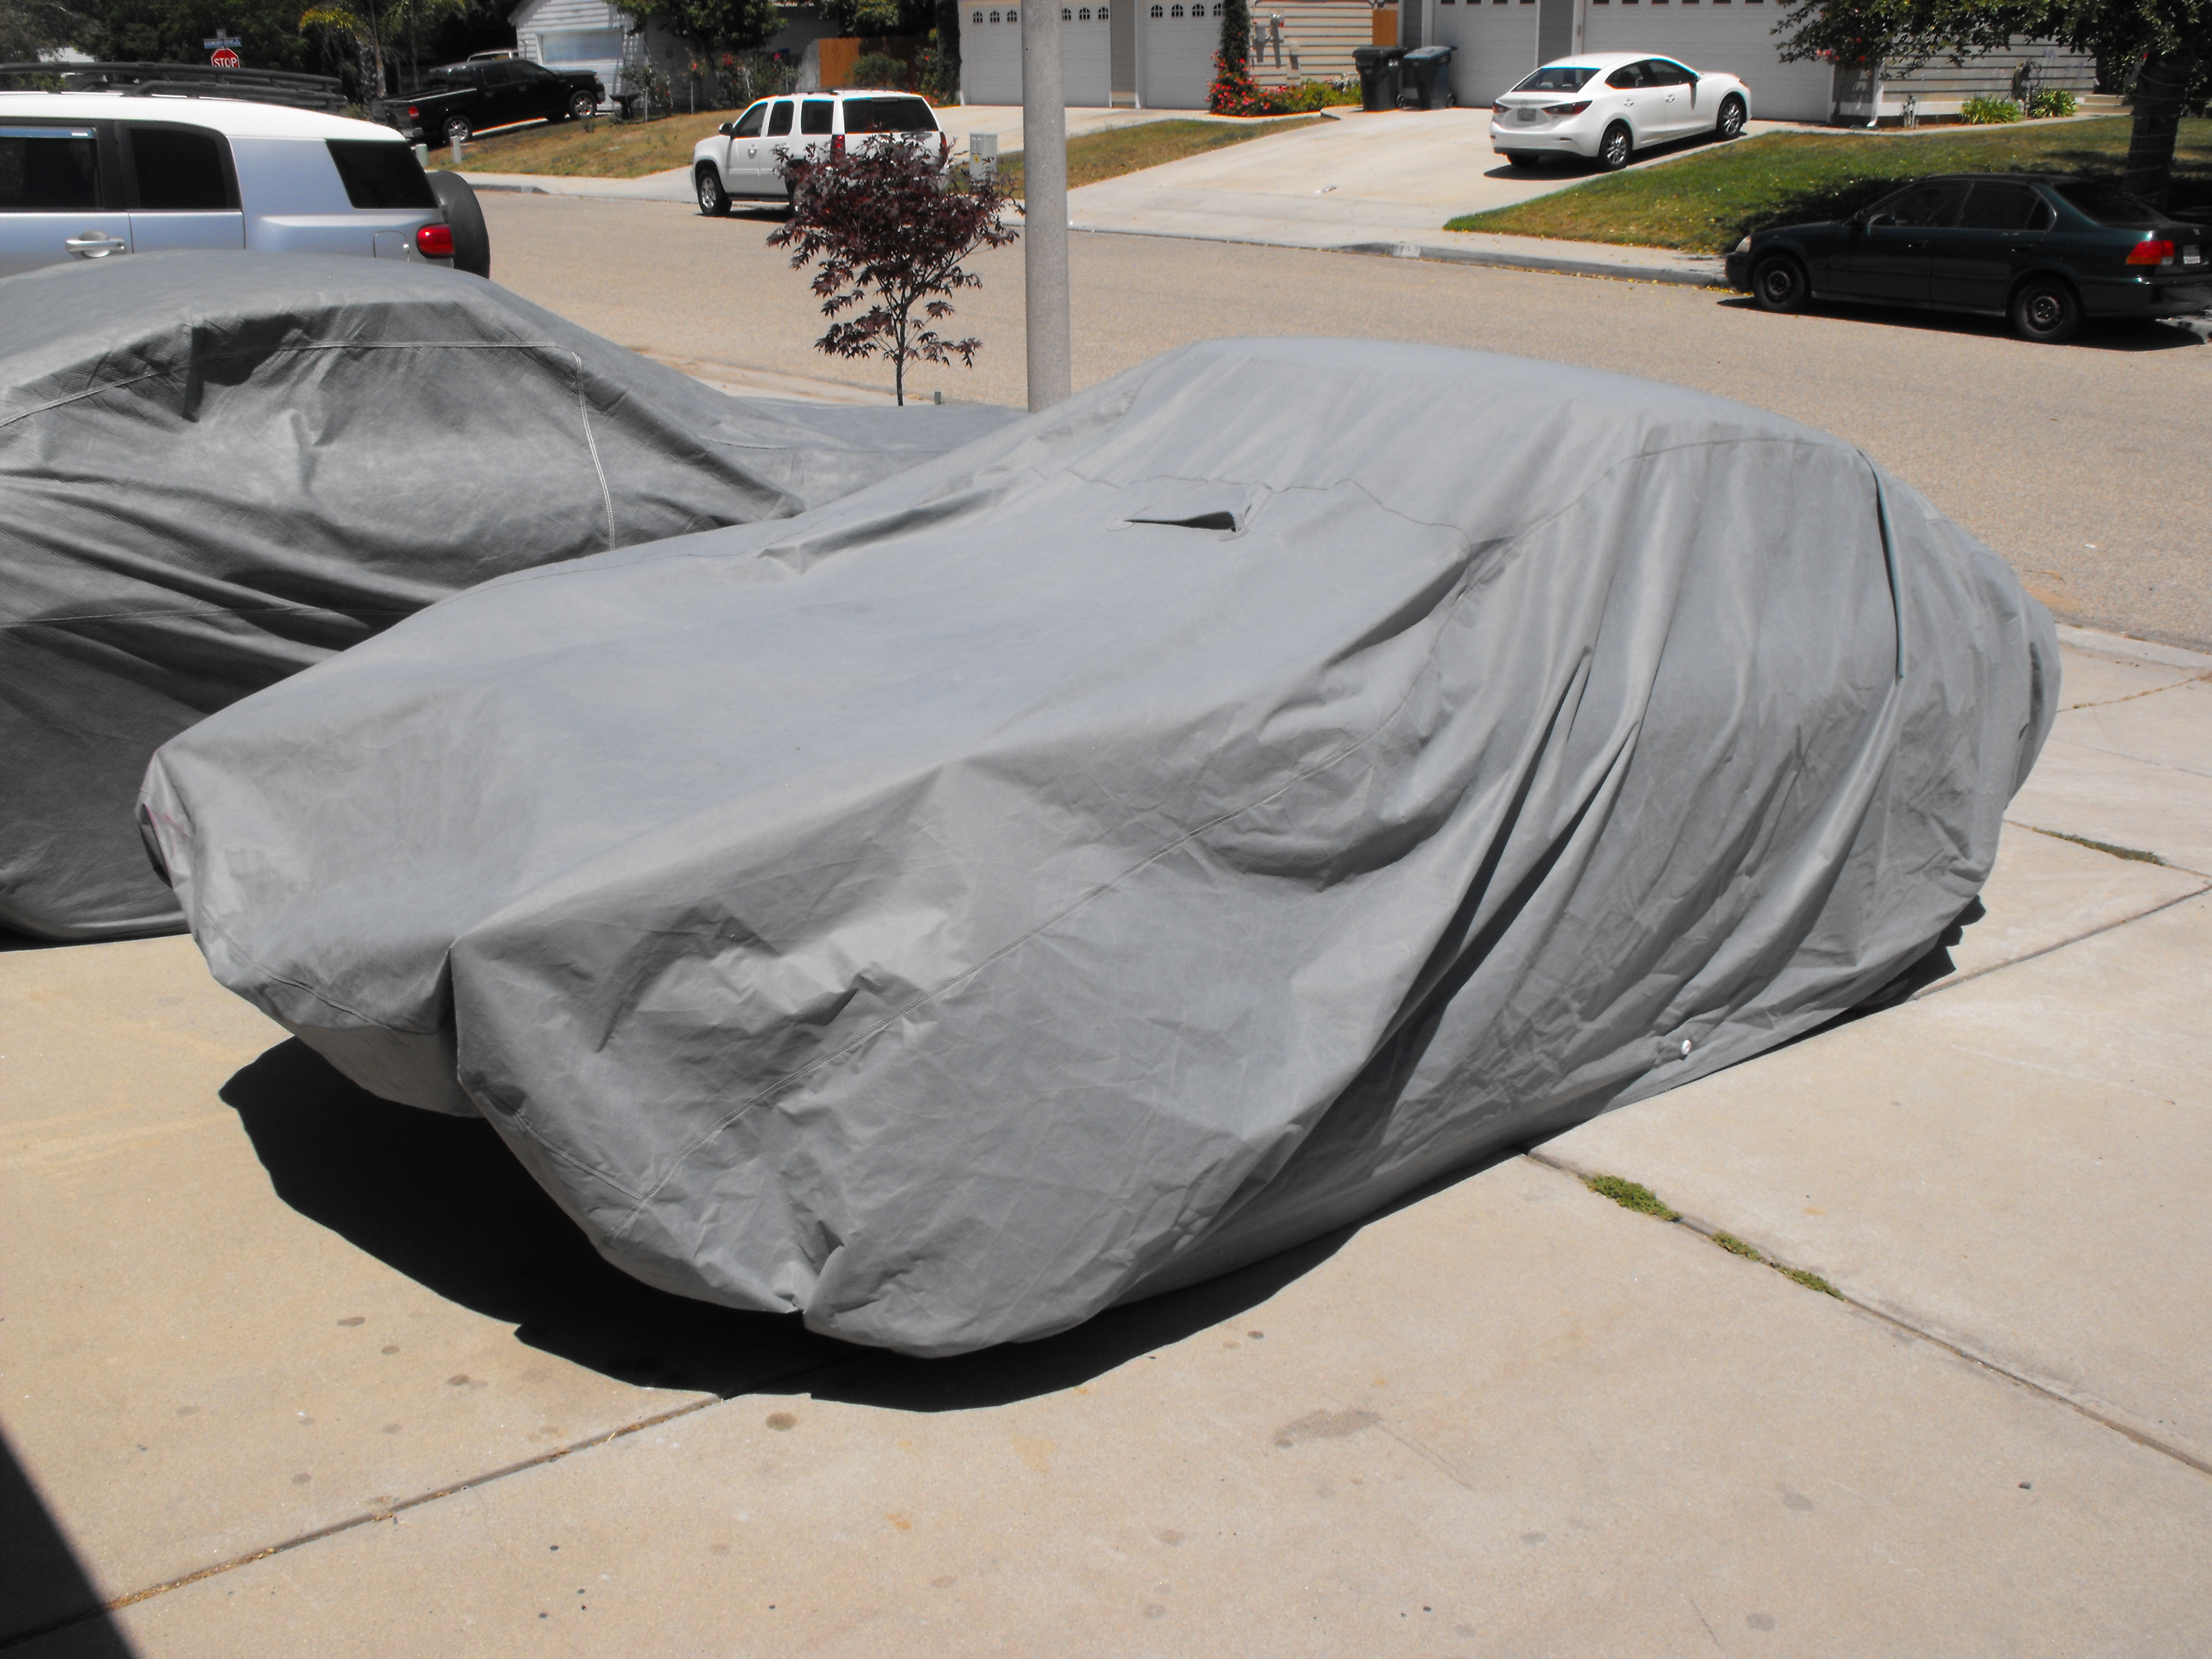
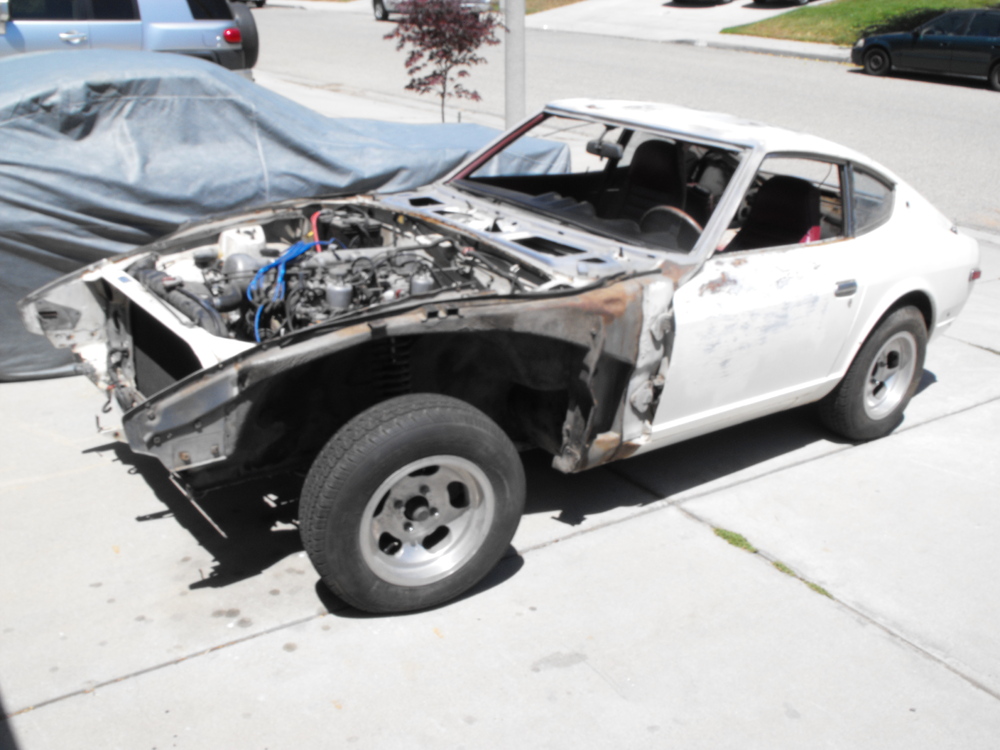
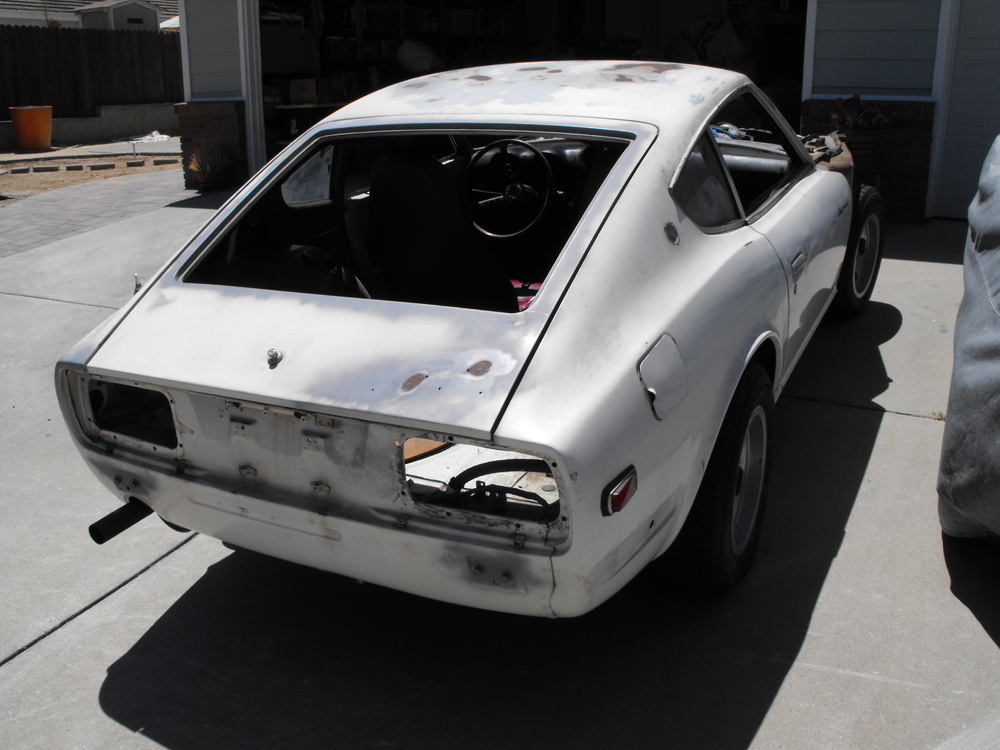
Here are some pics of the new '72. I boxed up most of the parts and took them to the storage garage. I still have things that I need to pick up from the PO like fenders, hood, bumpers, 5 speed trans, brake lines, etc. This will have to sit for a bit while I finish other cars but I may dink on it here and there. Oh yes, and it came with the car cover, nice.


-
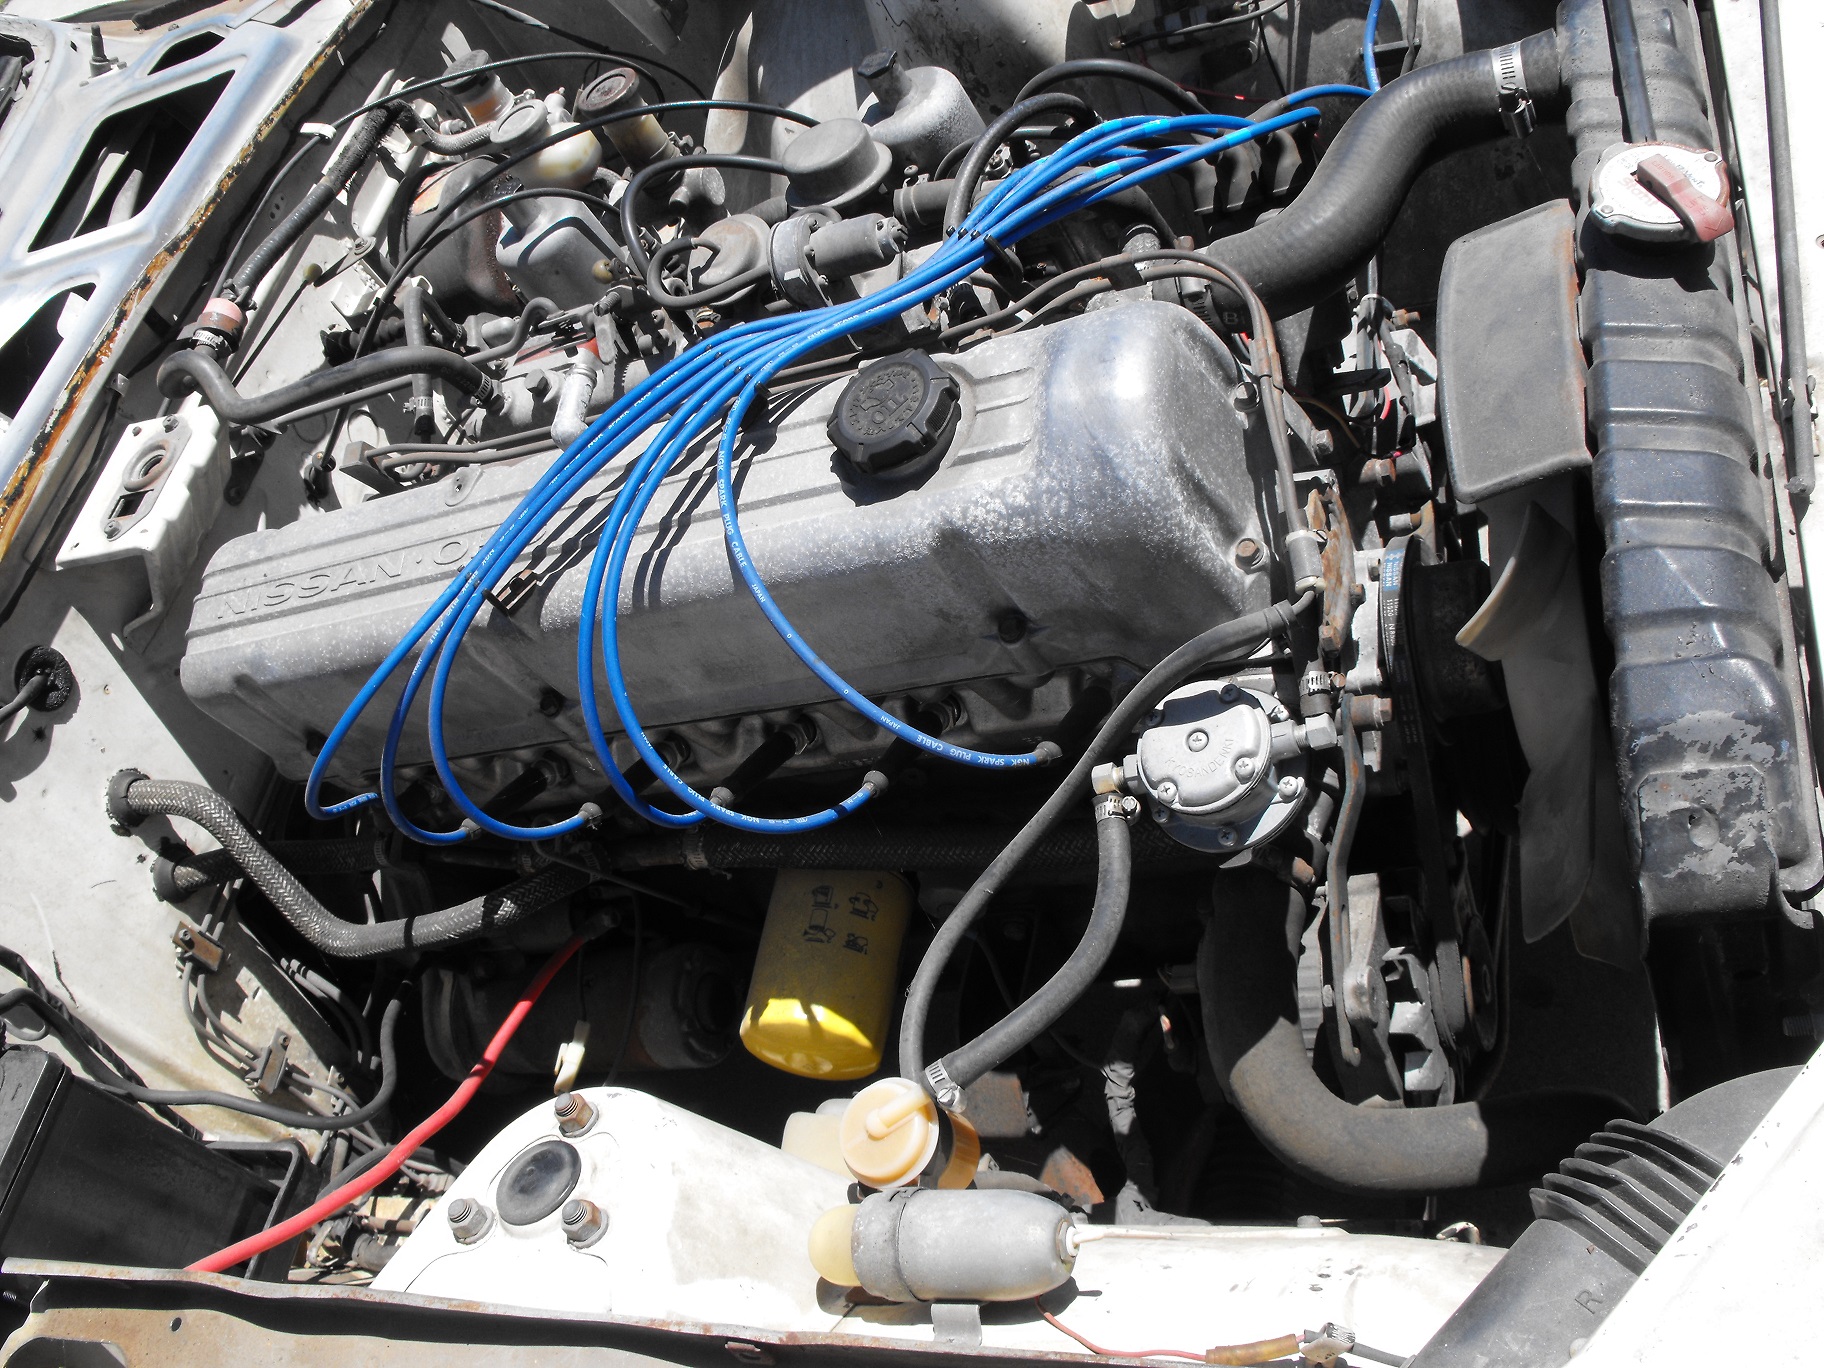
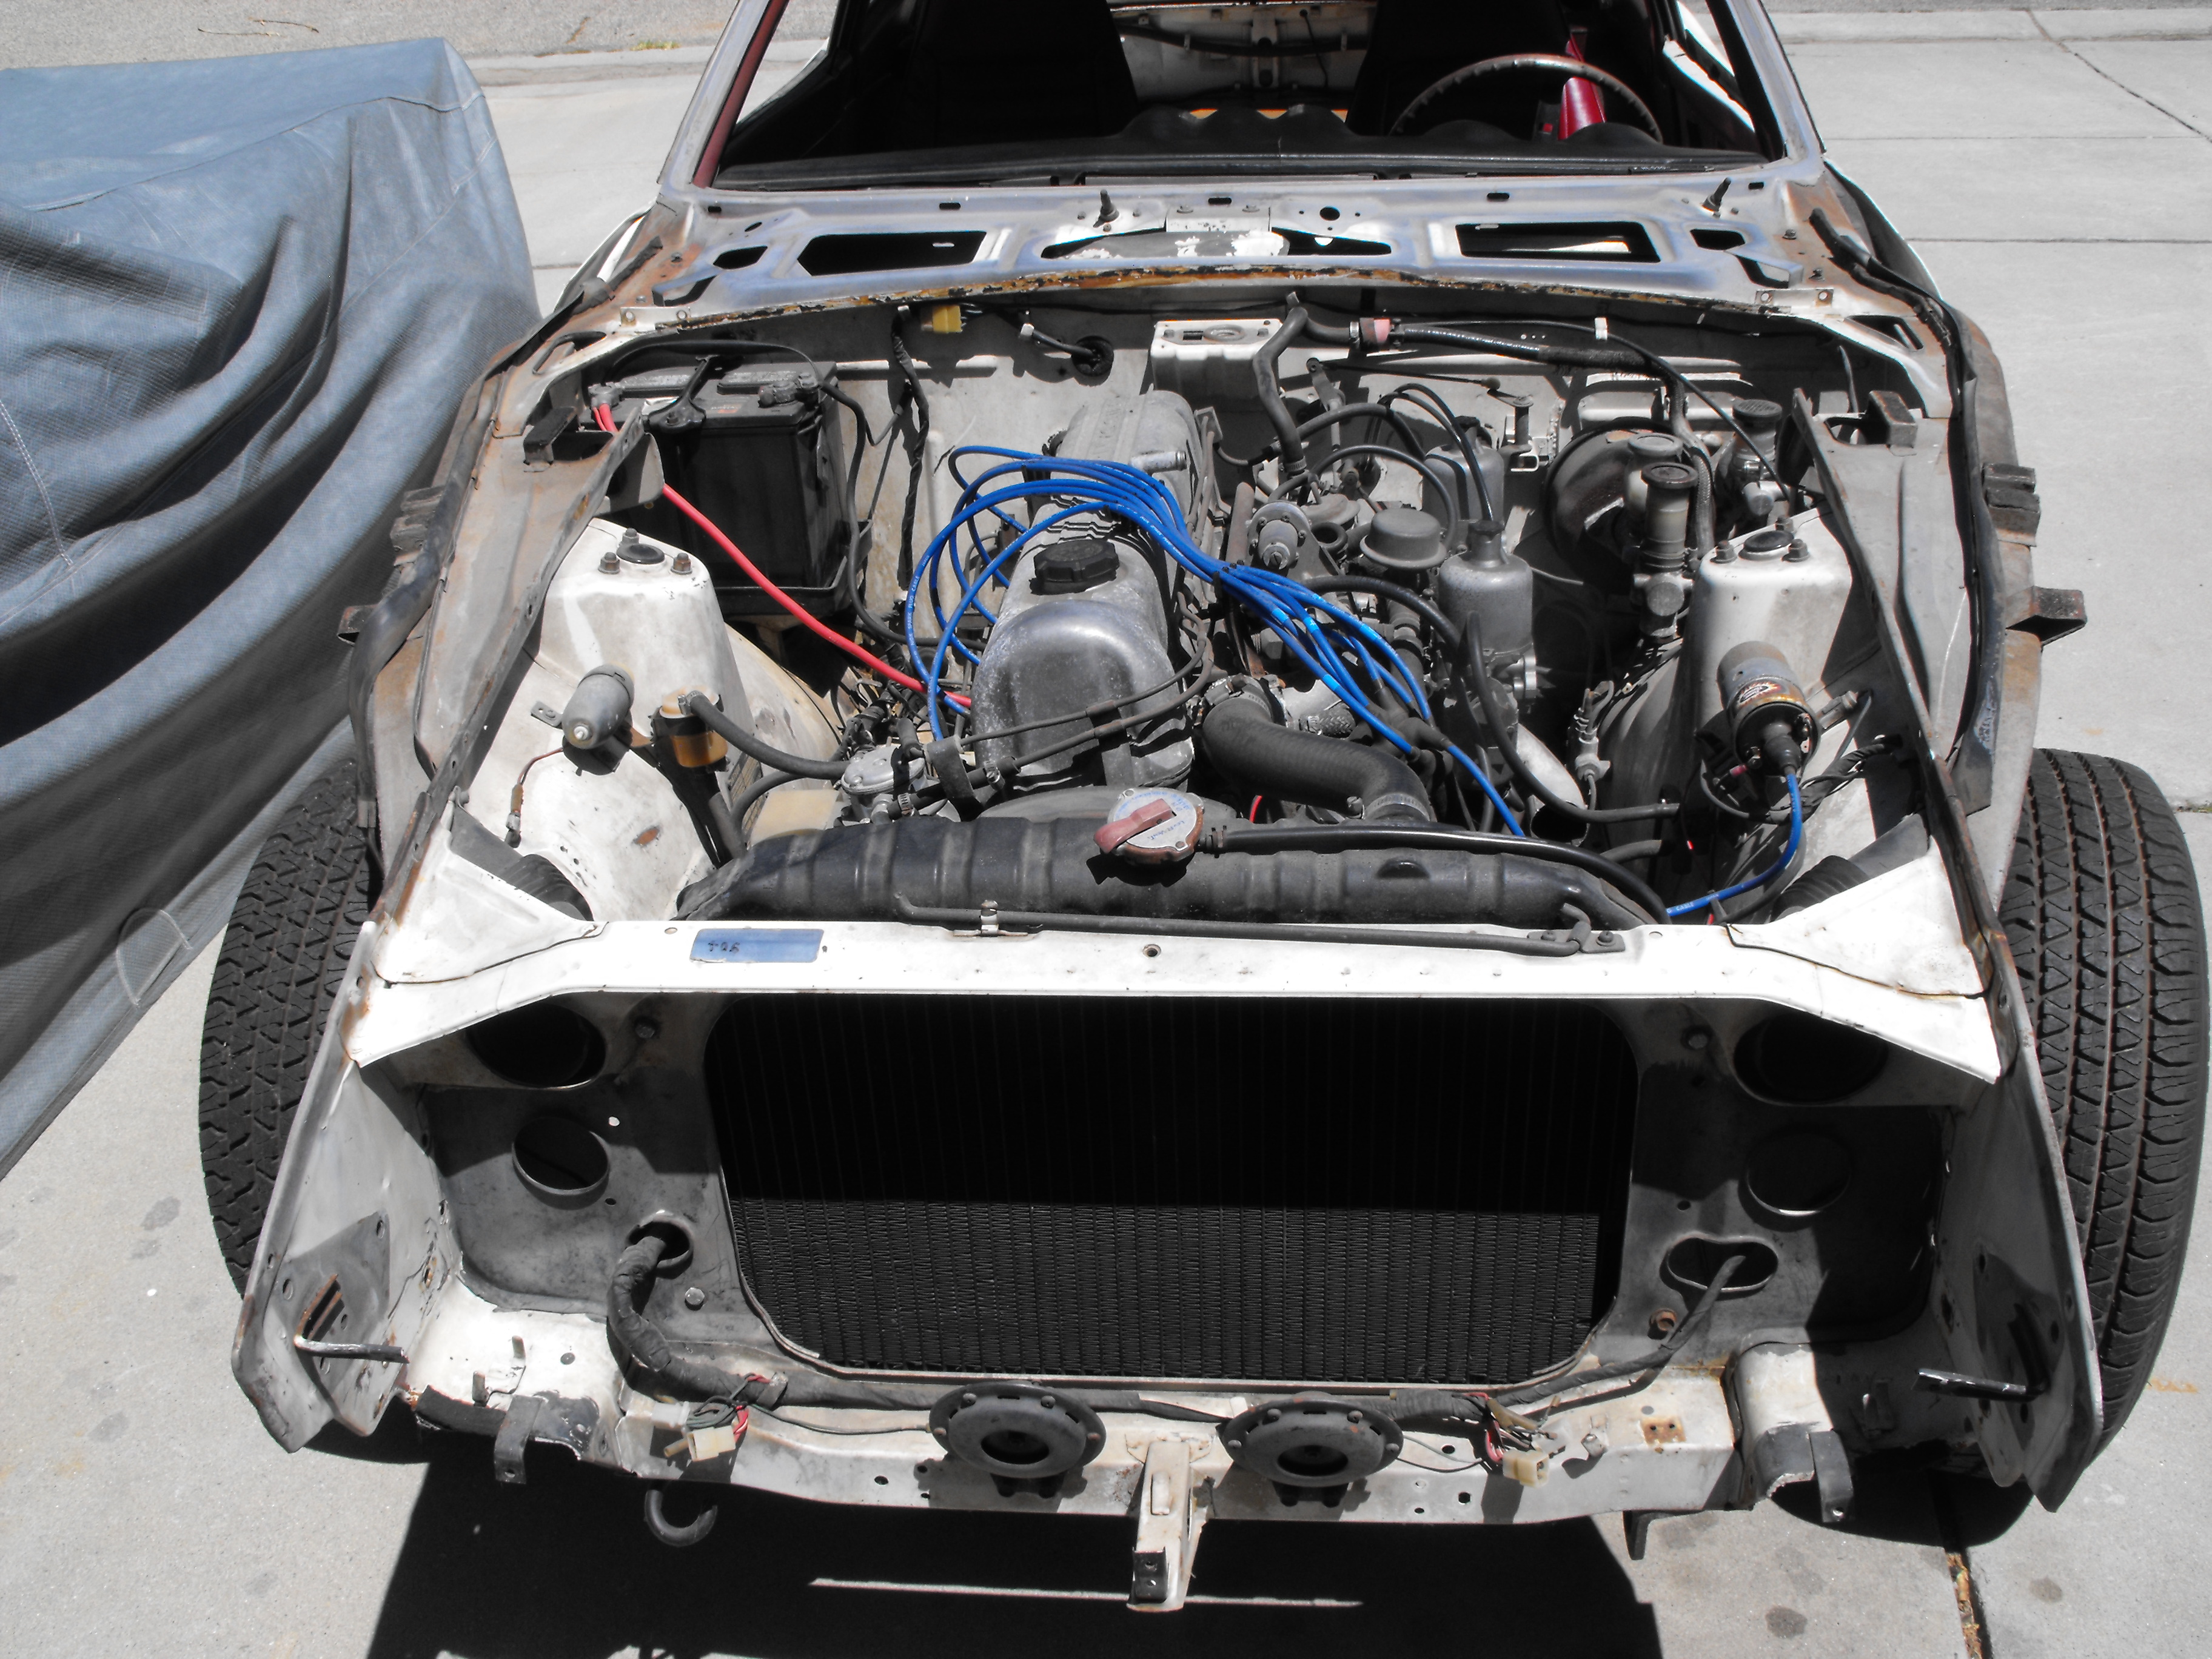
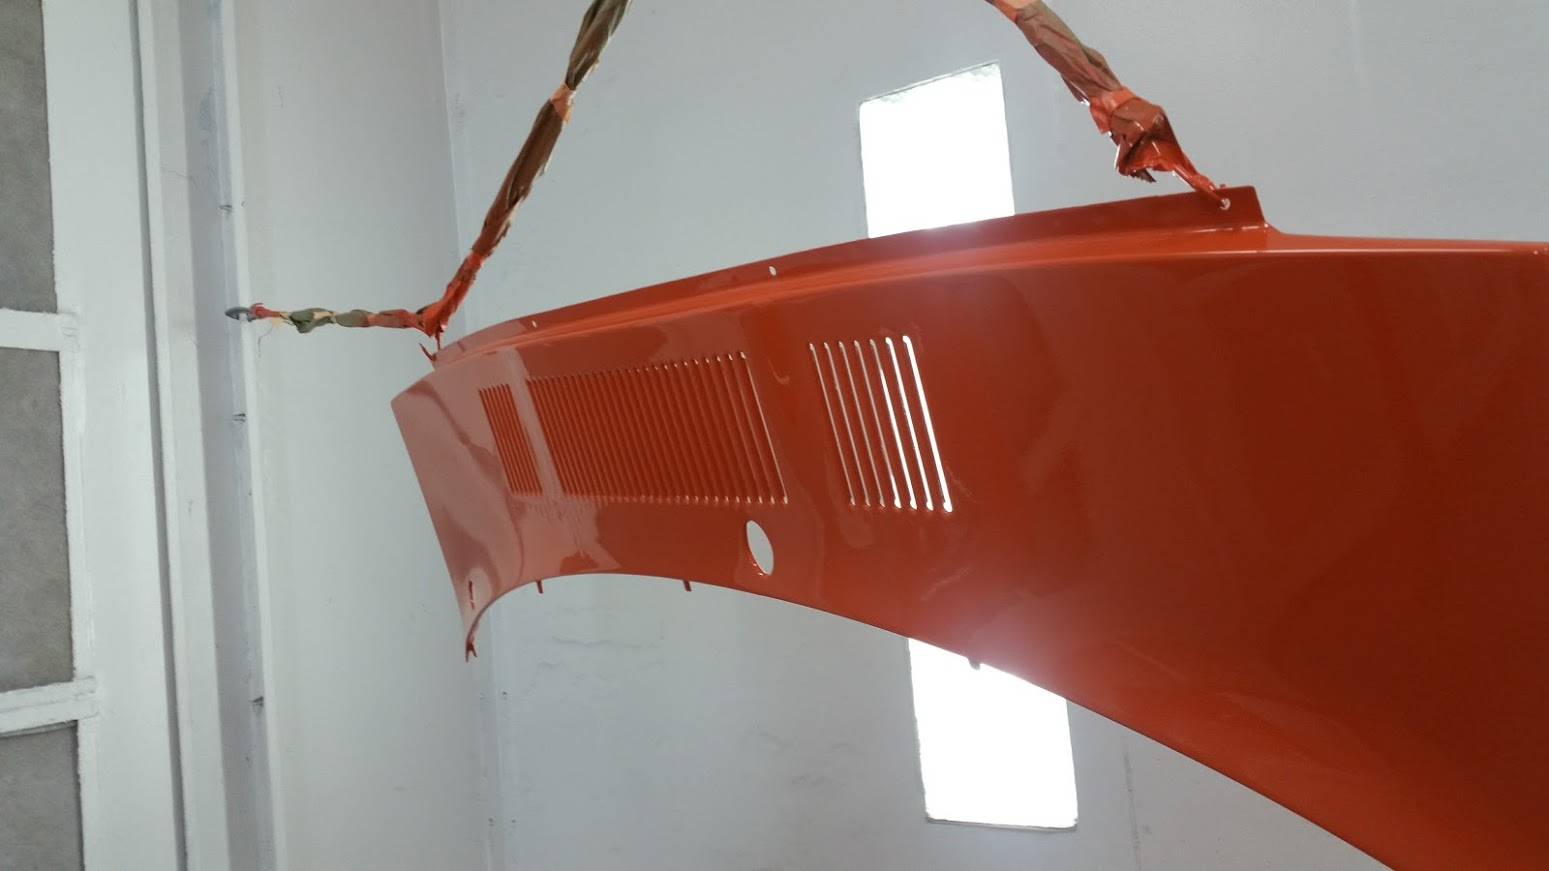
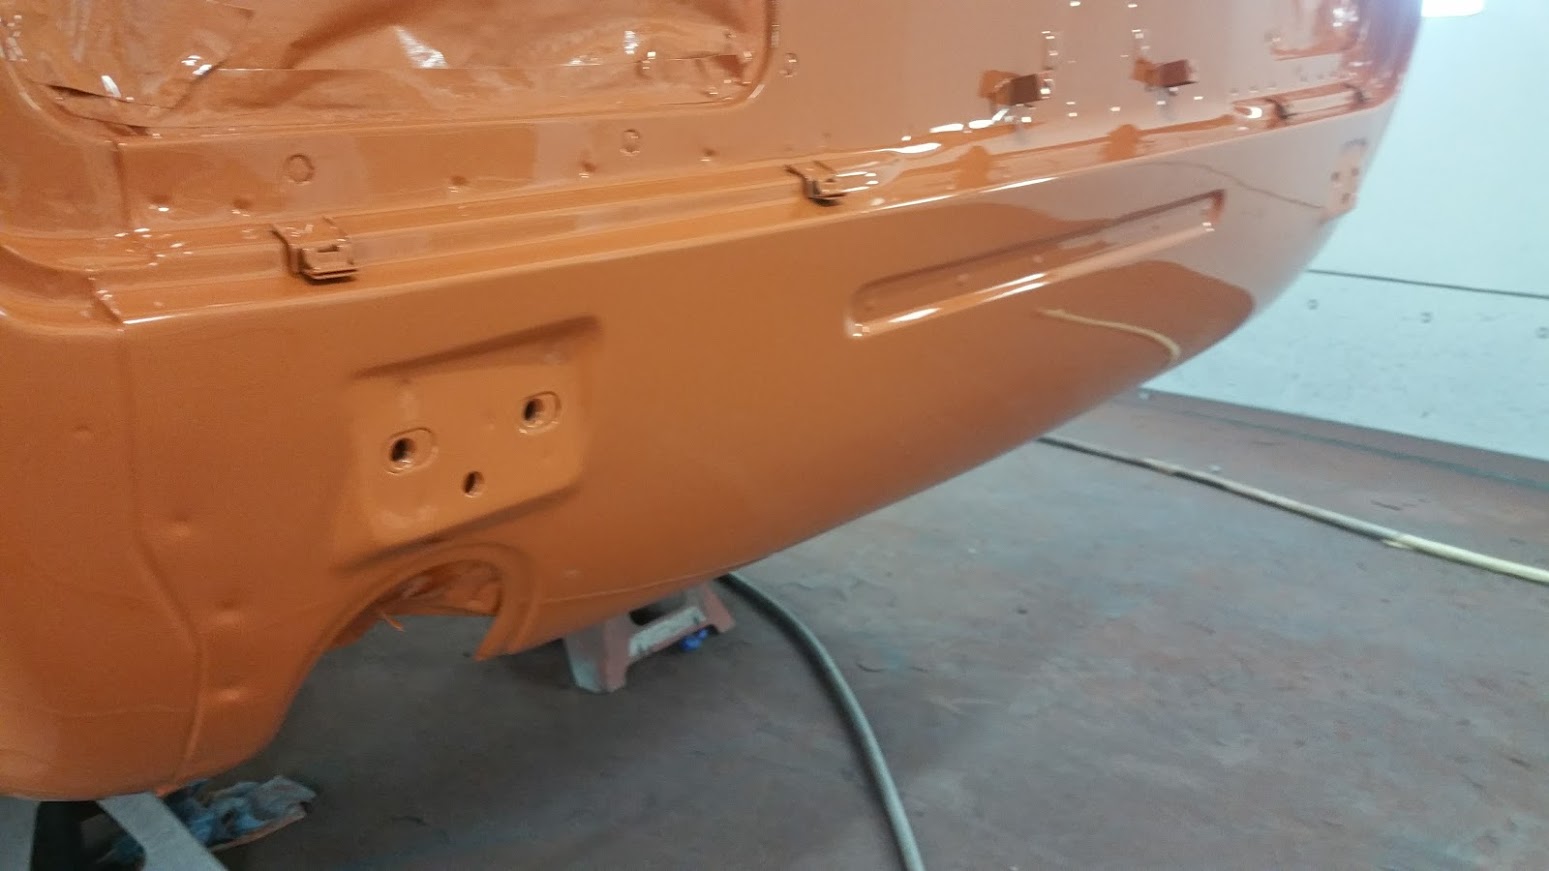
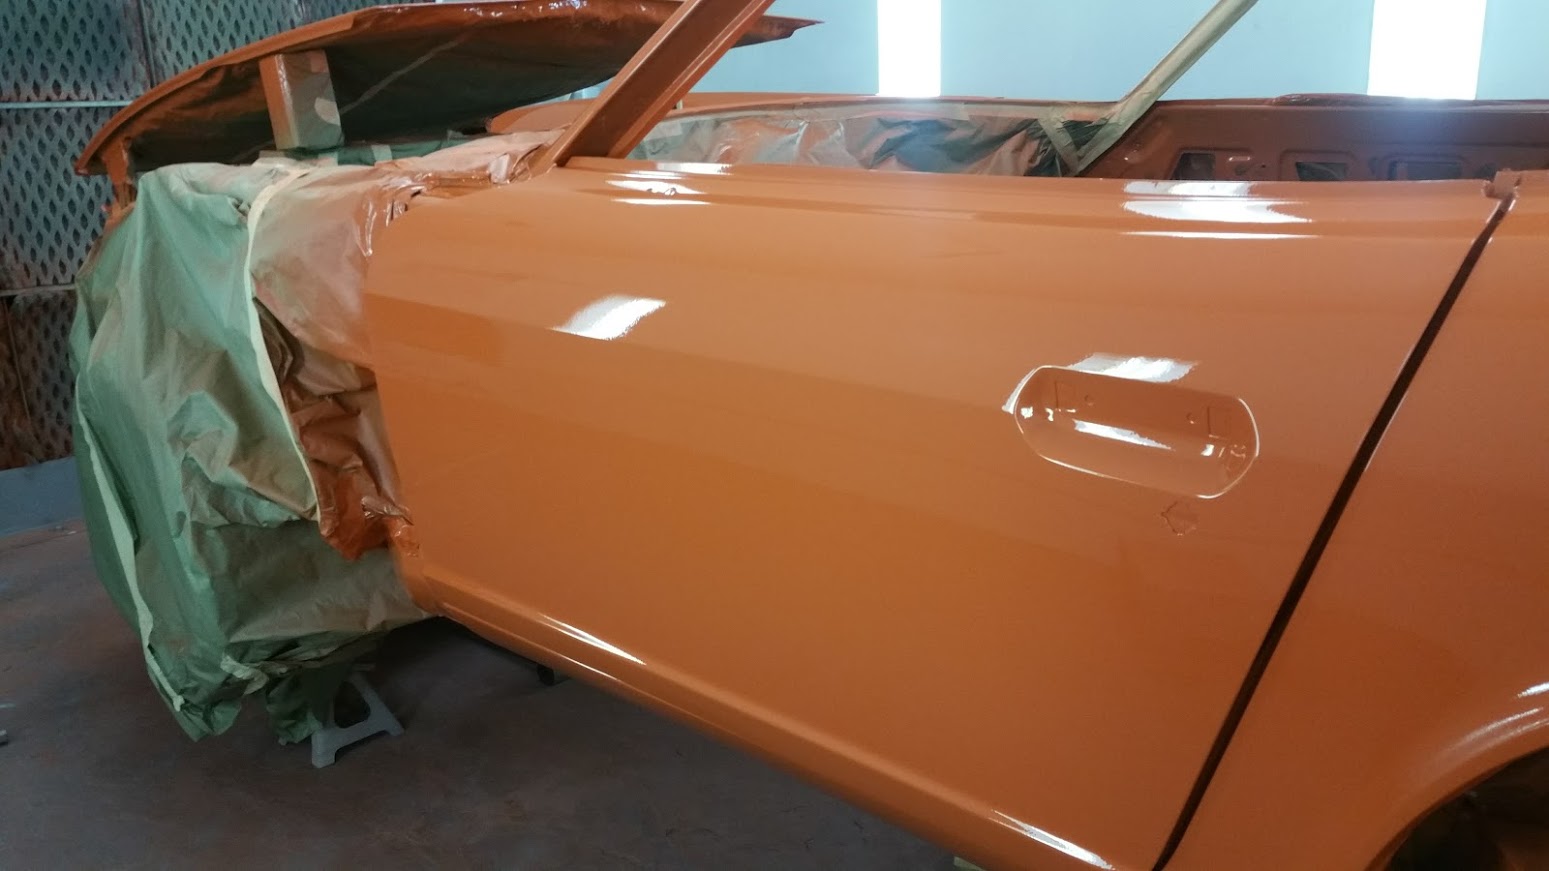
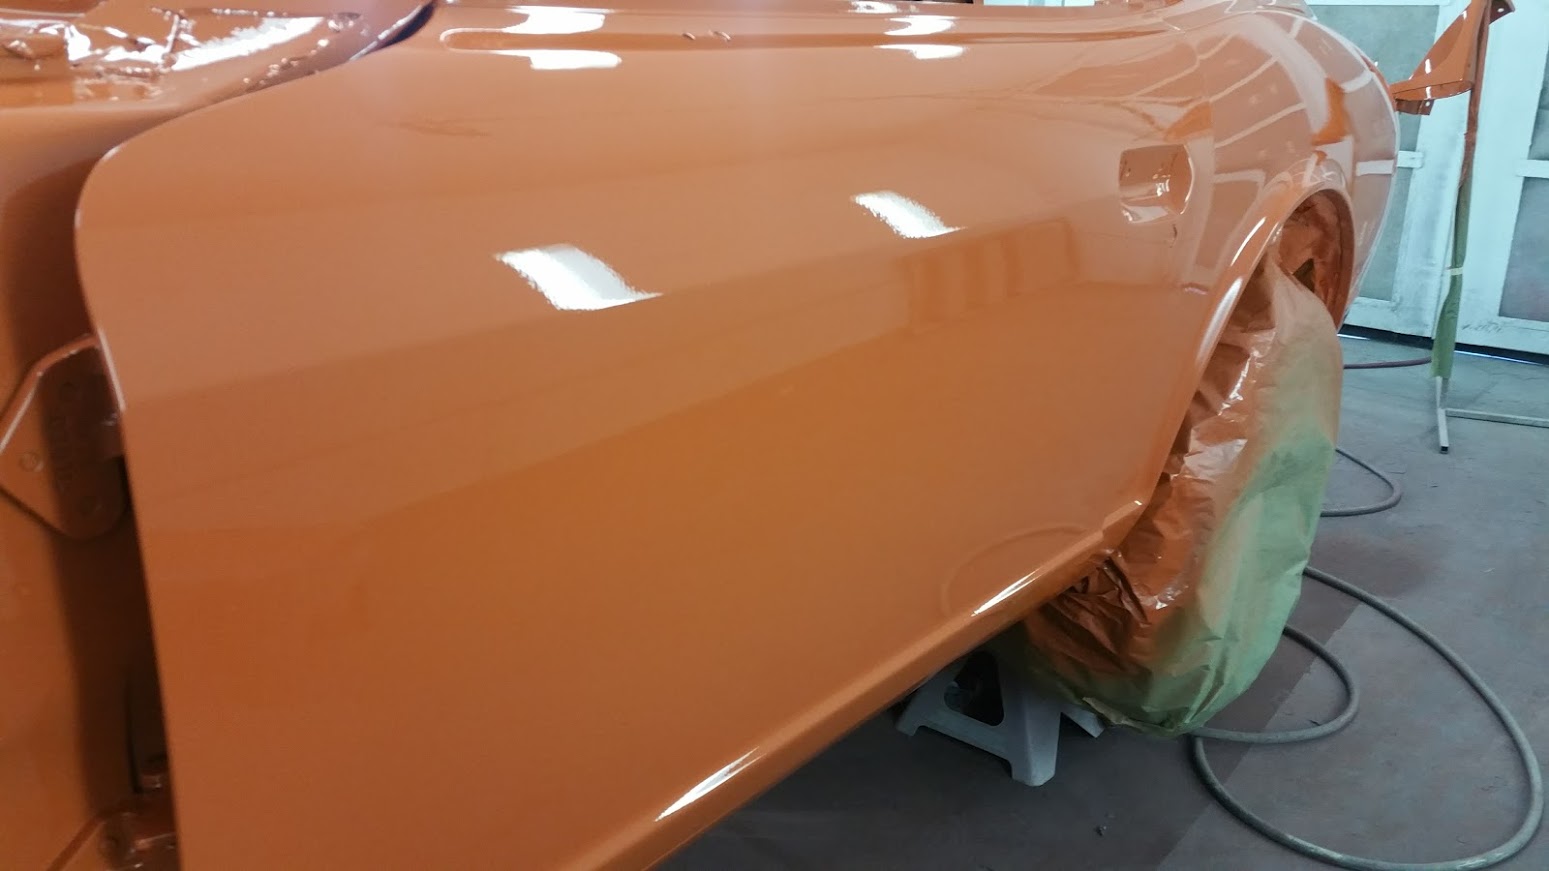
Yes, engine bay and underside of the hood were sprayed last weekend. Base-clear
-
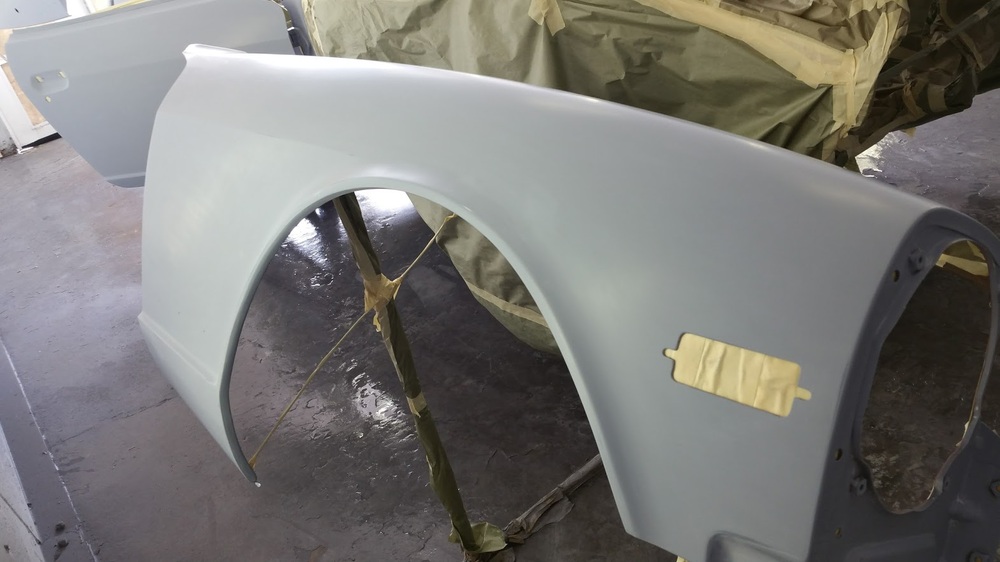
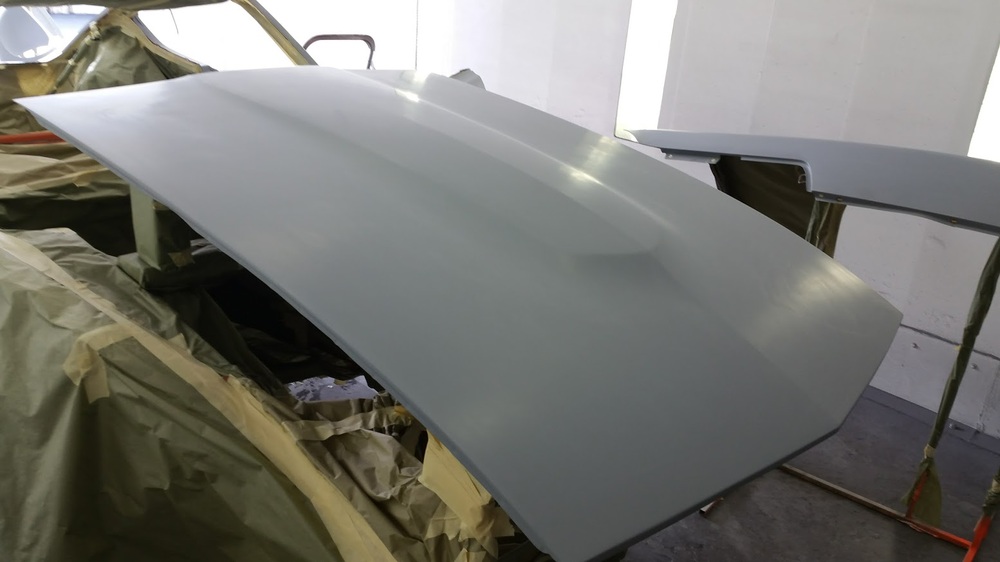
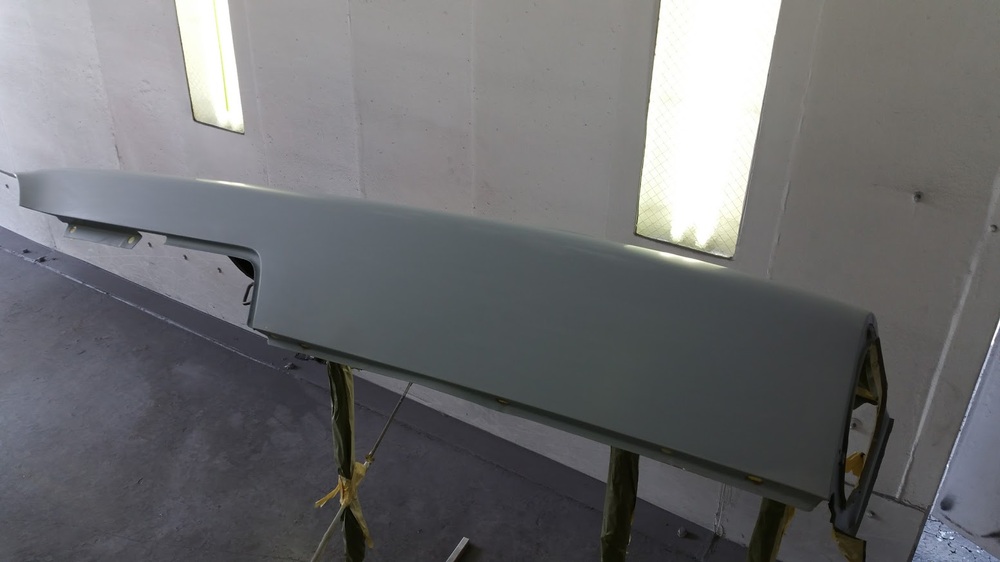
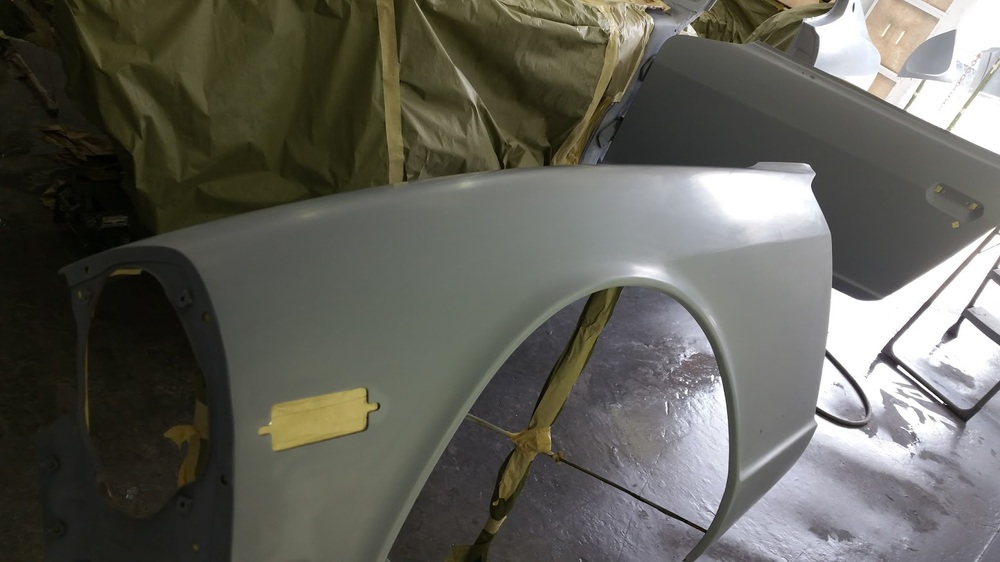
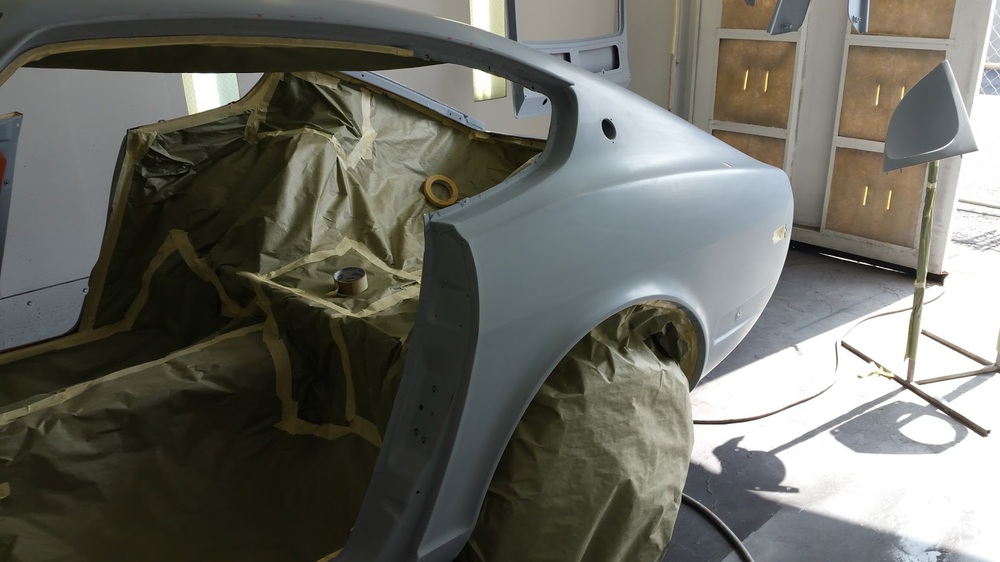
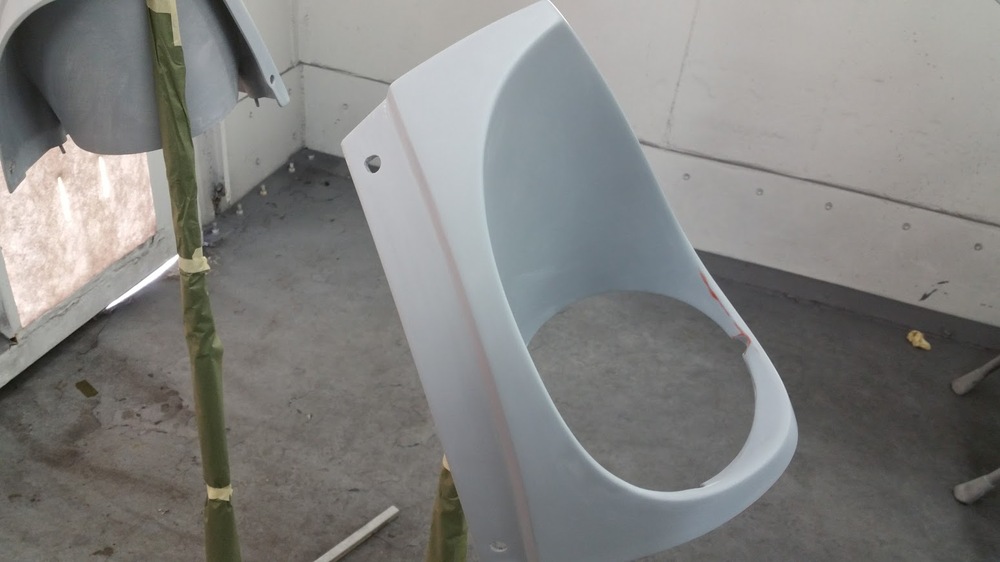
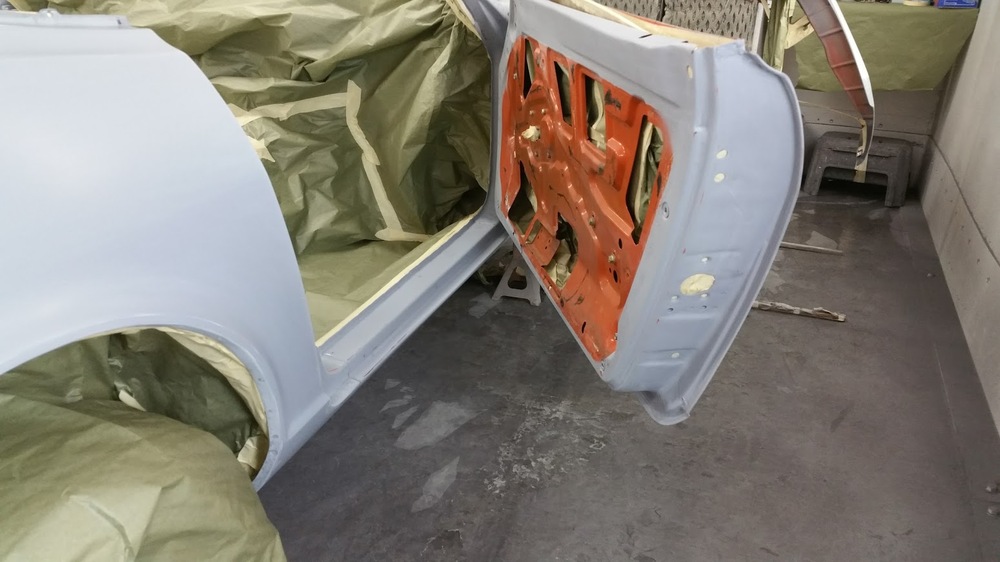
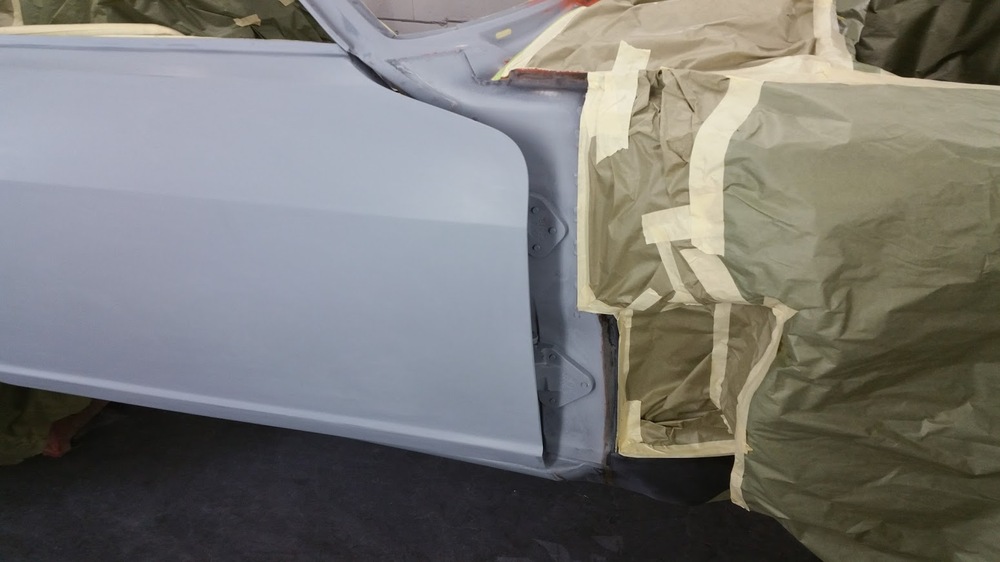
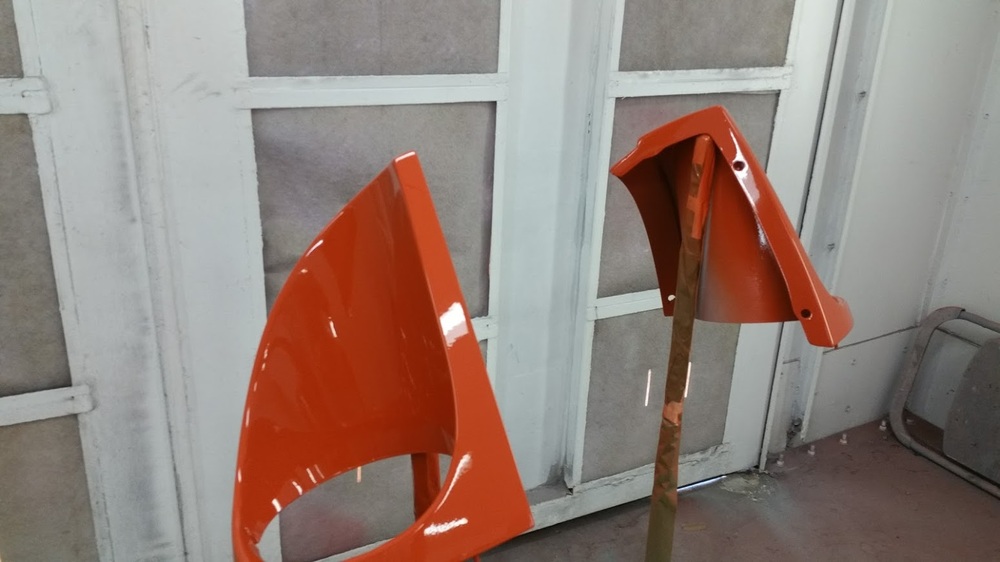
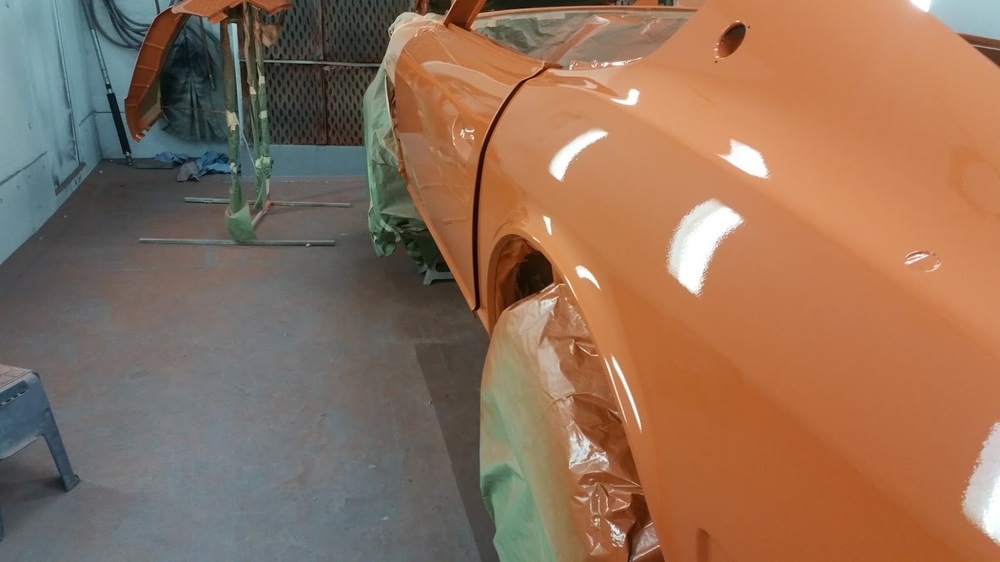
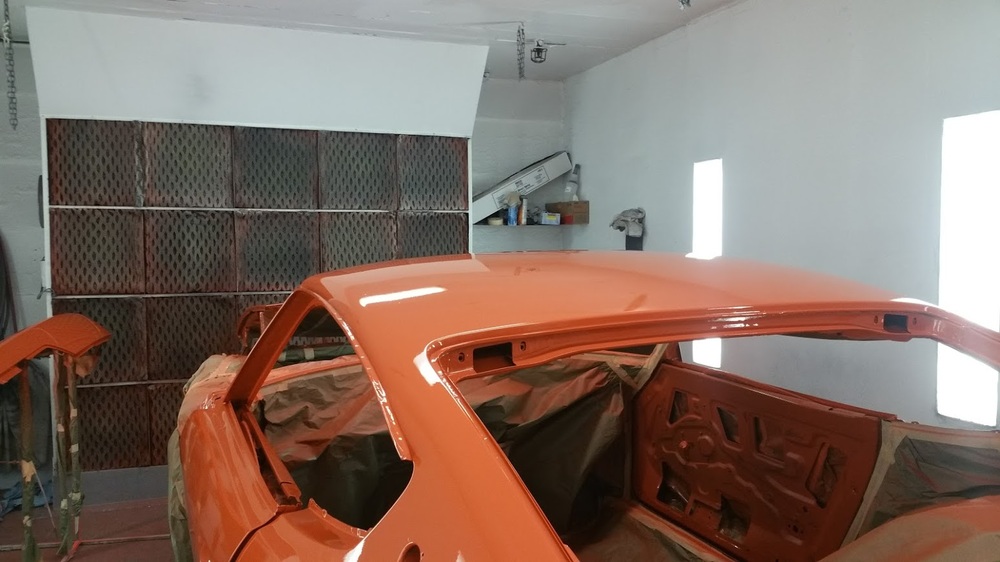
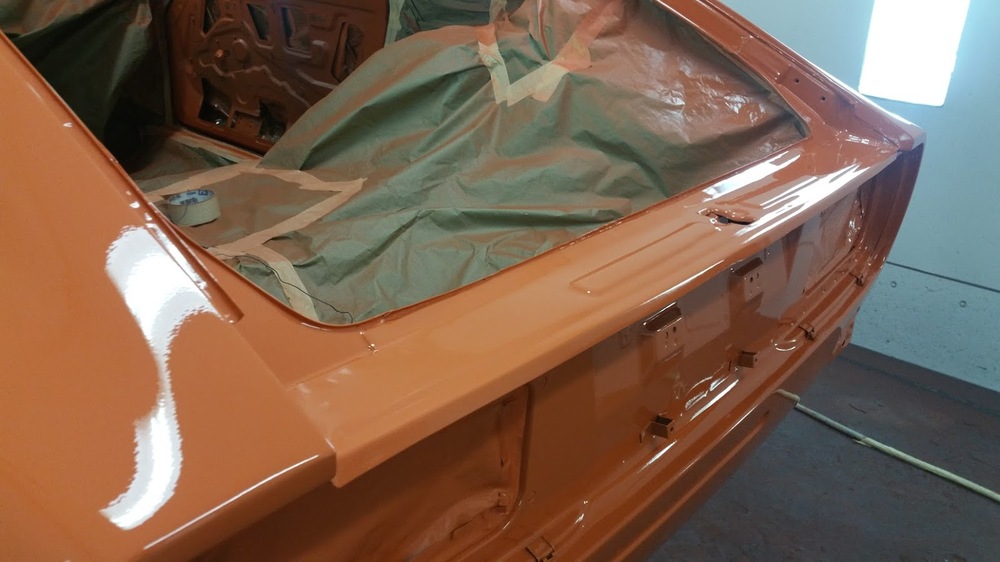
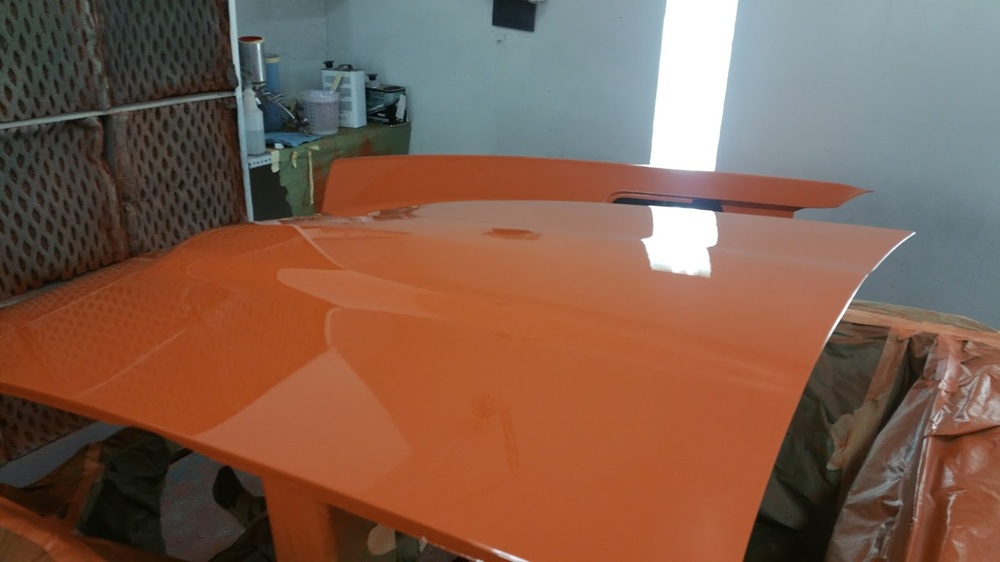
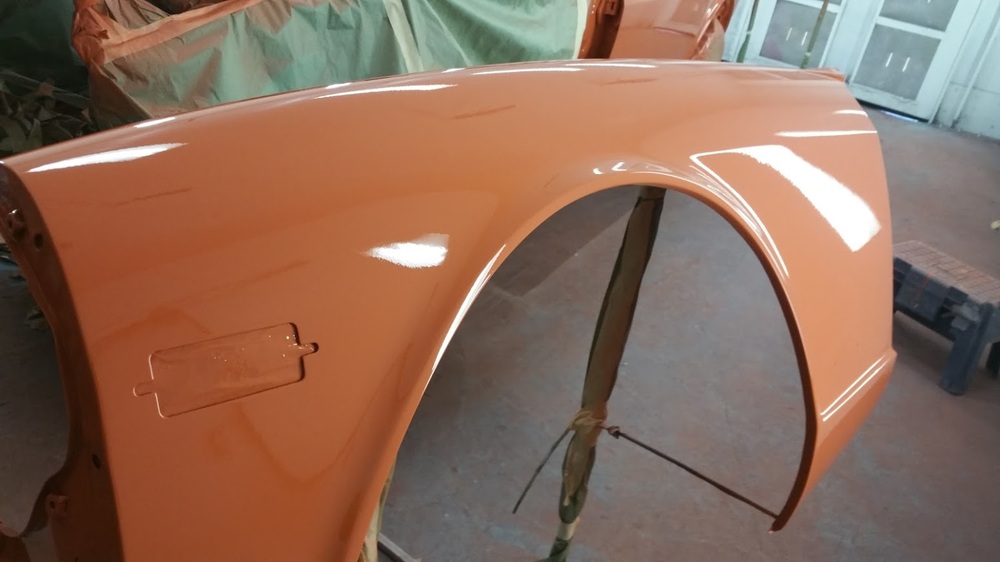
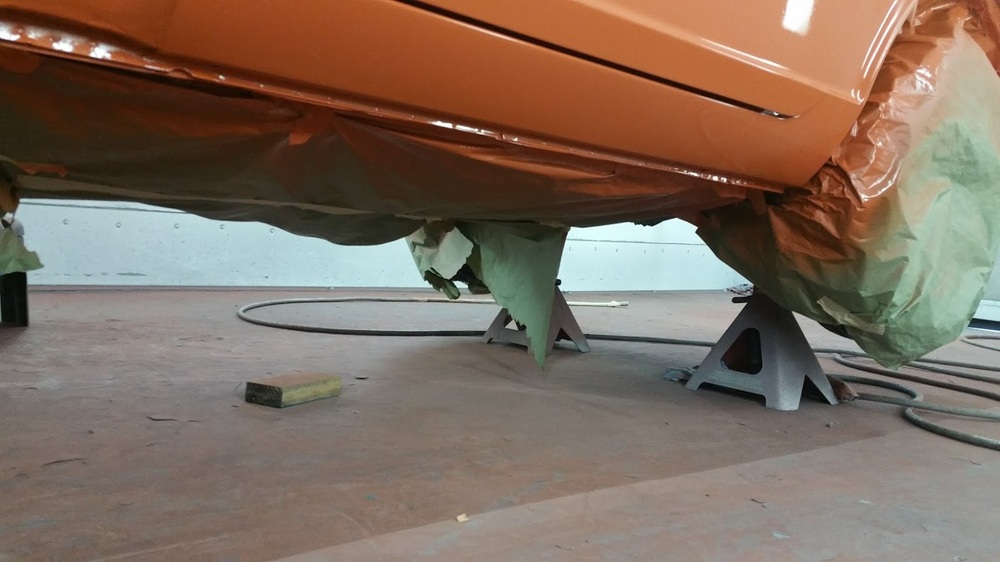
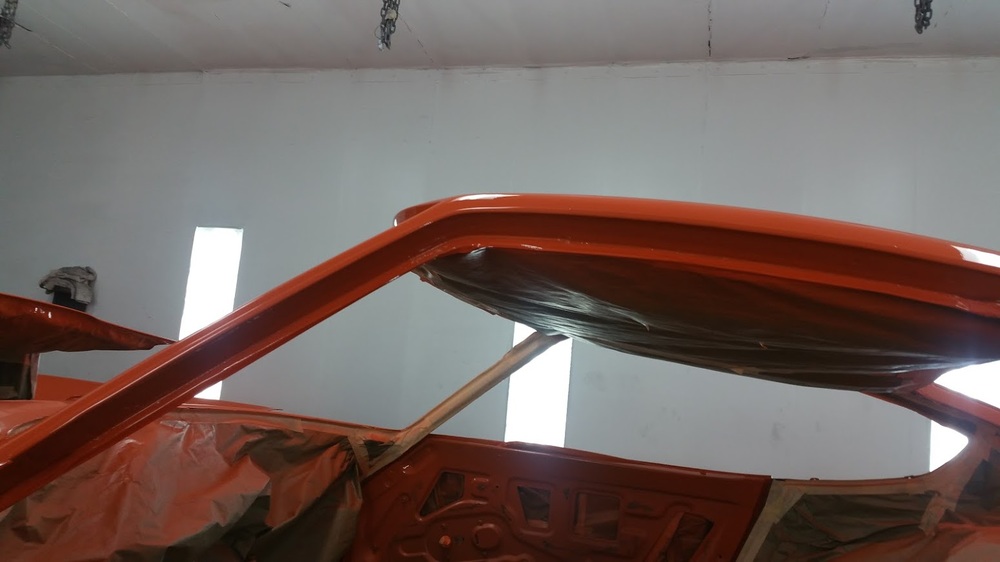
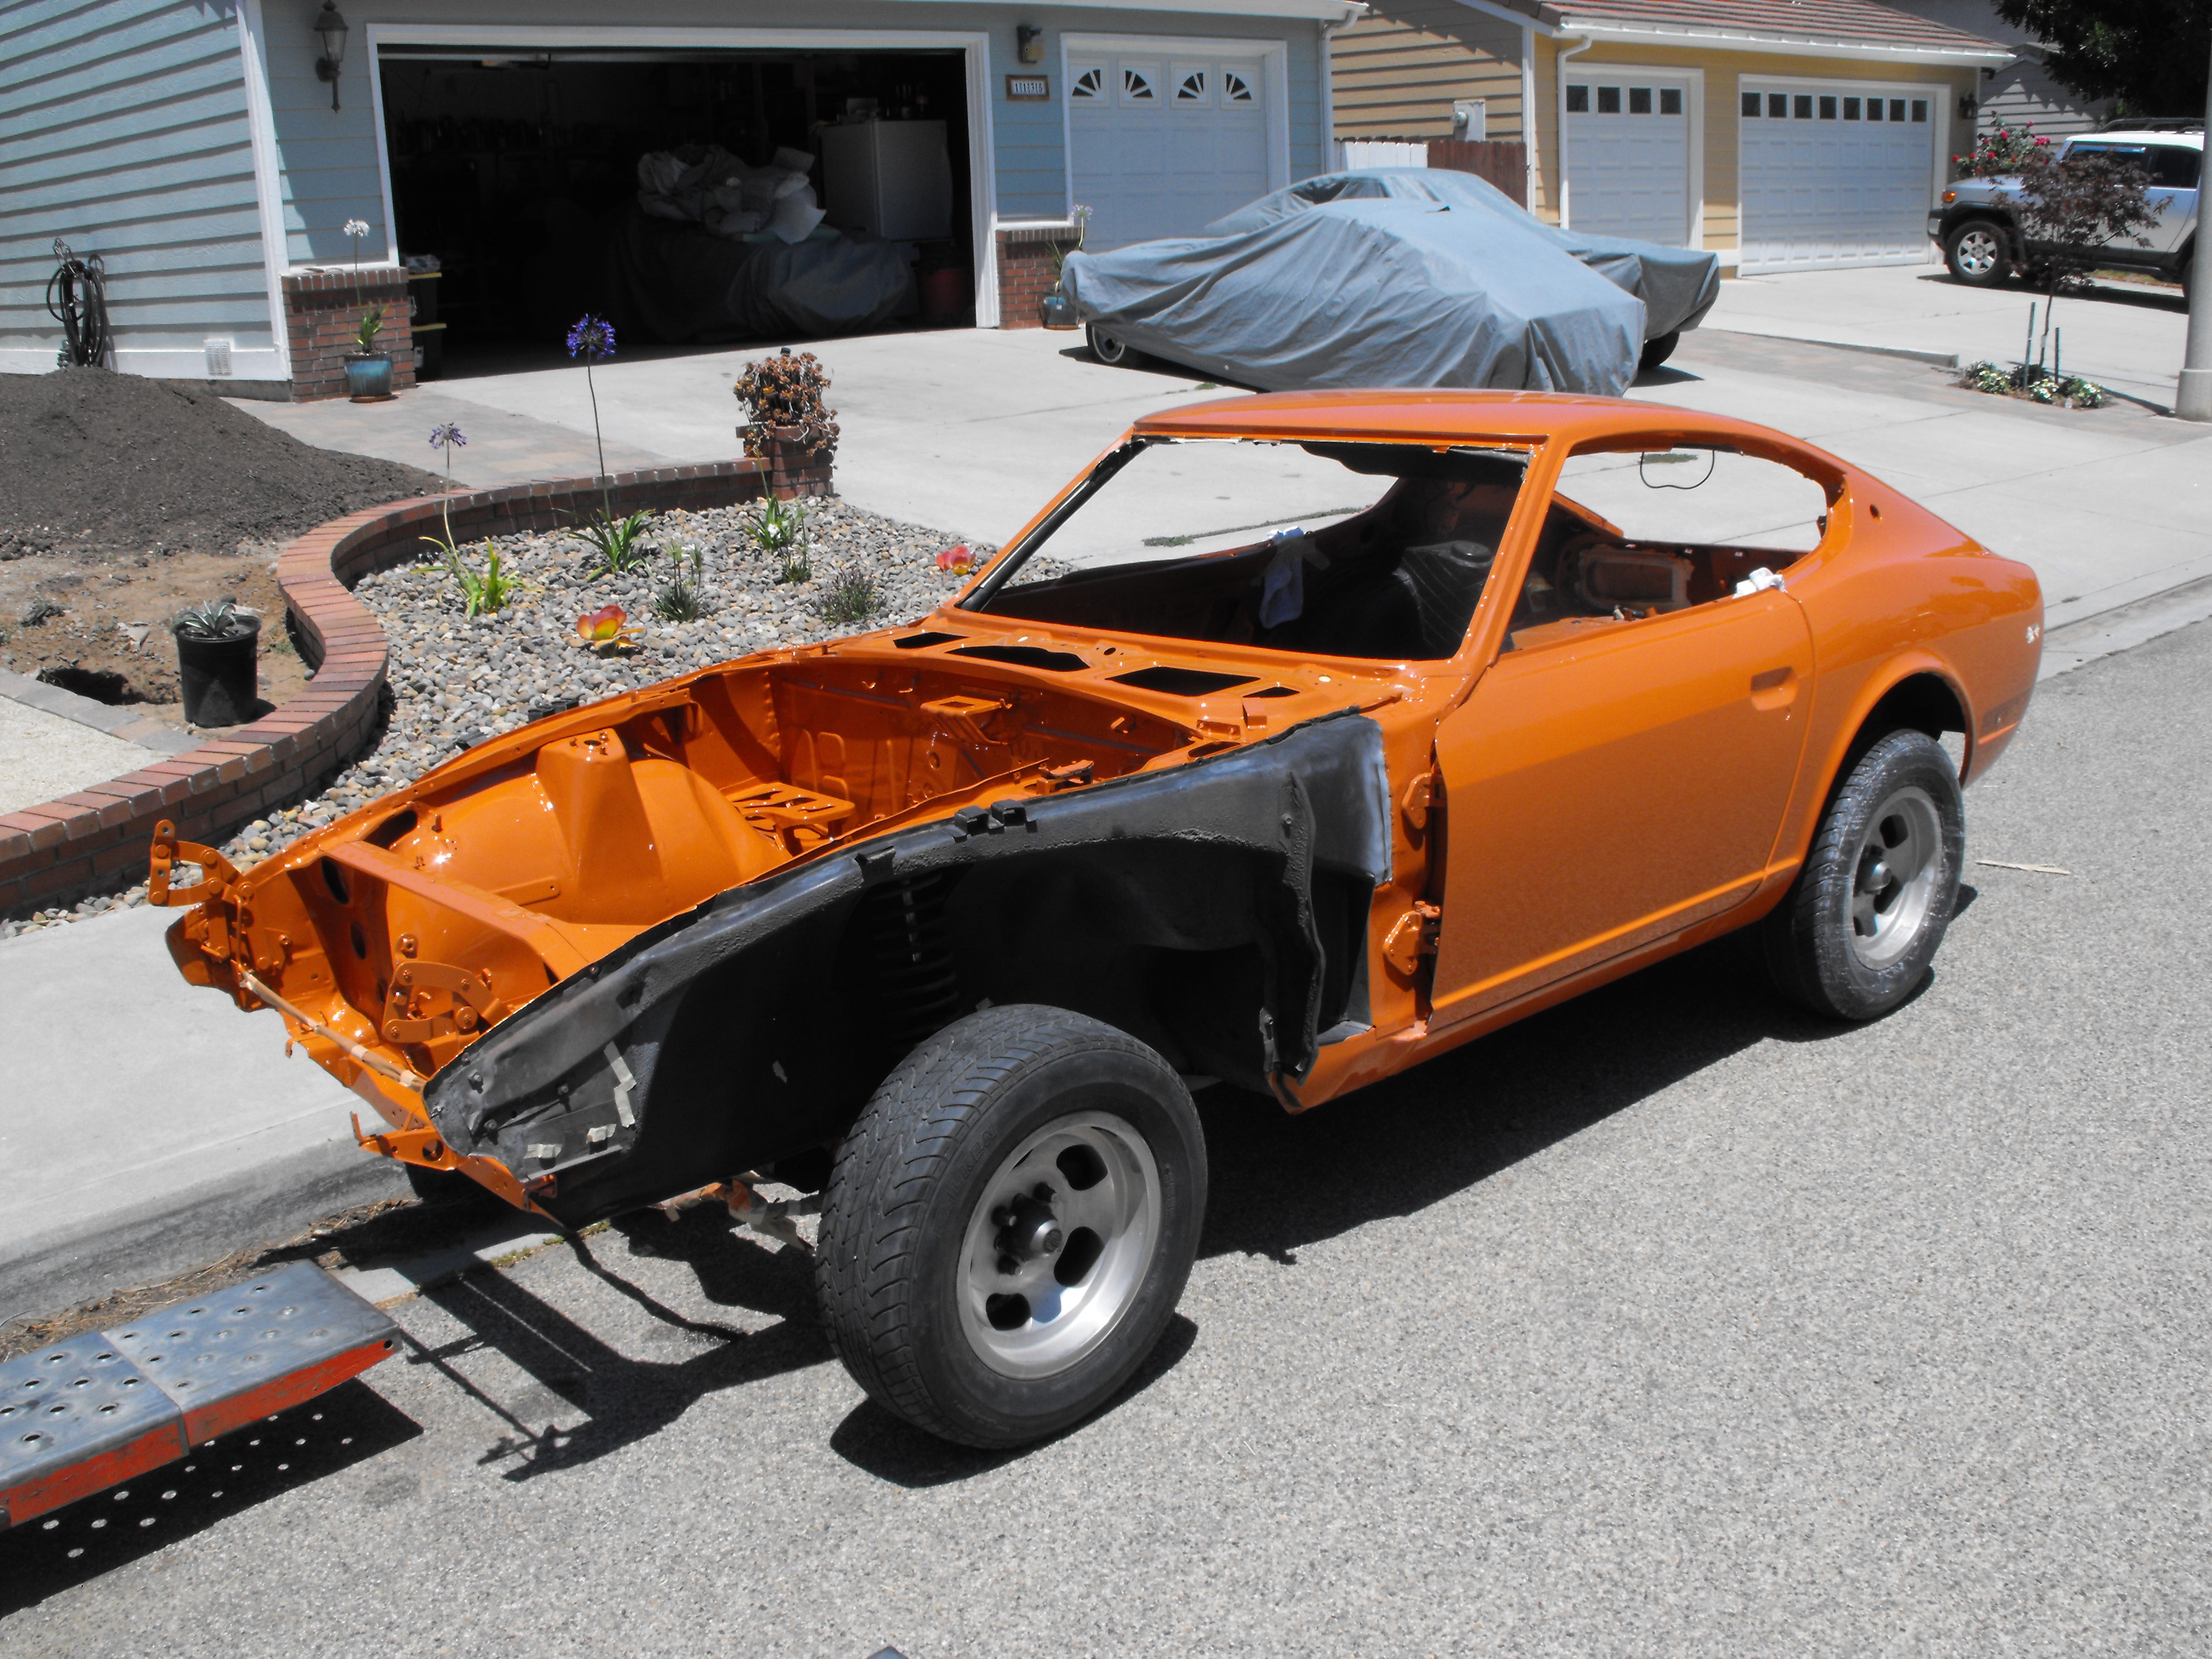
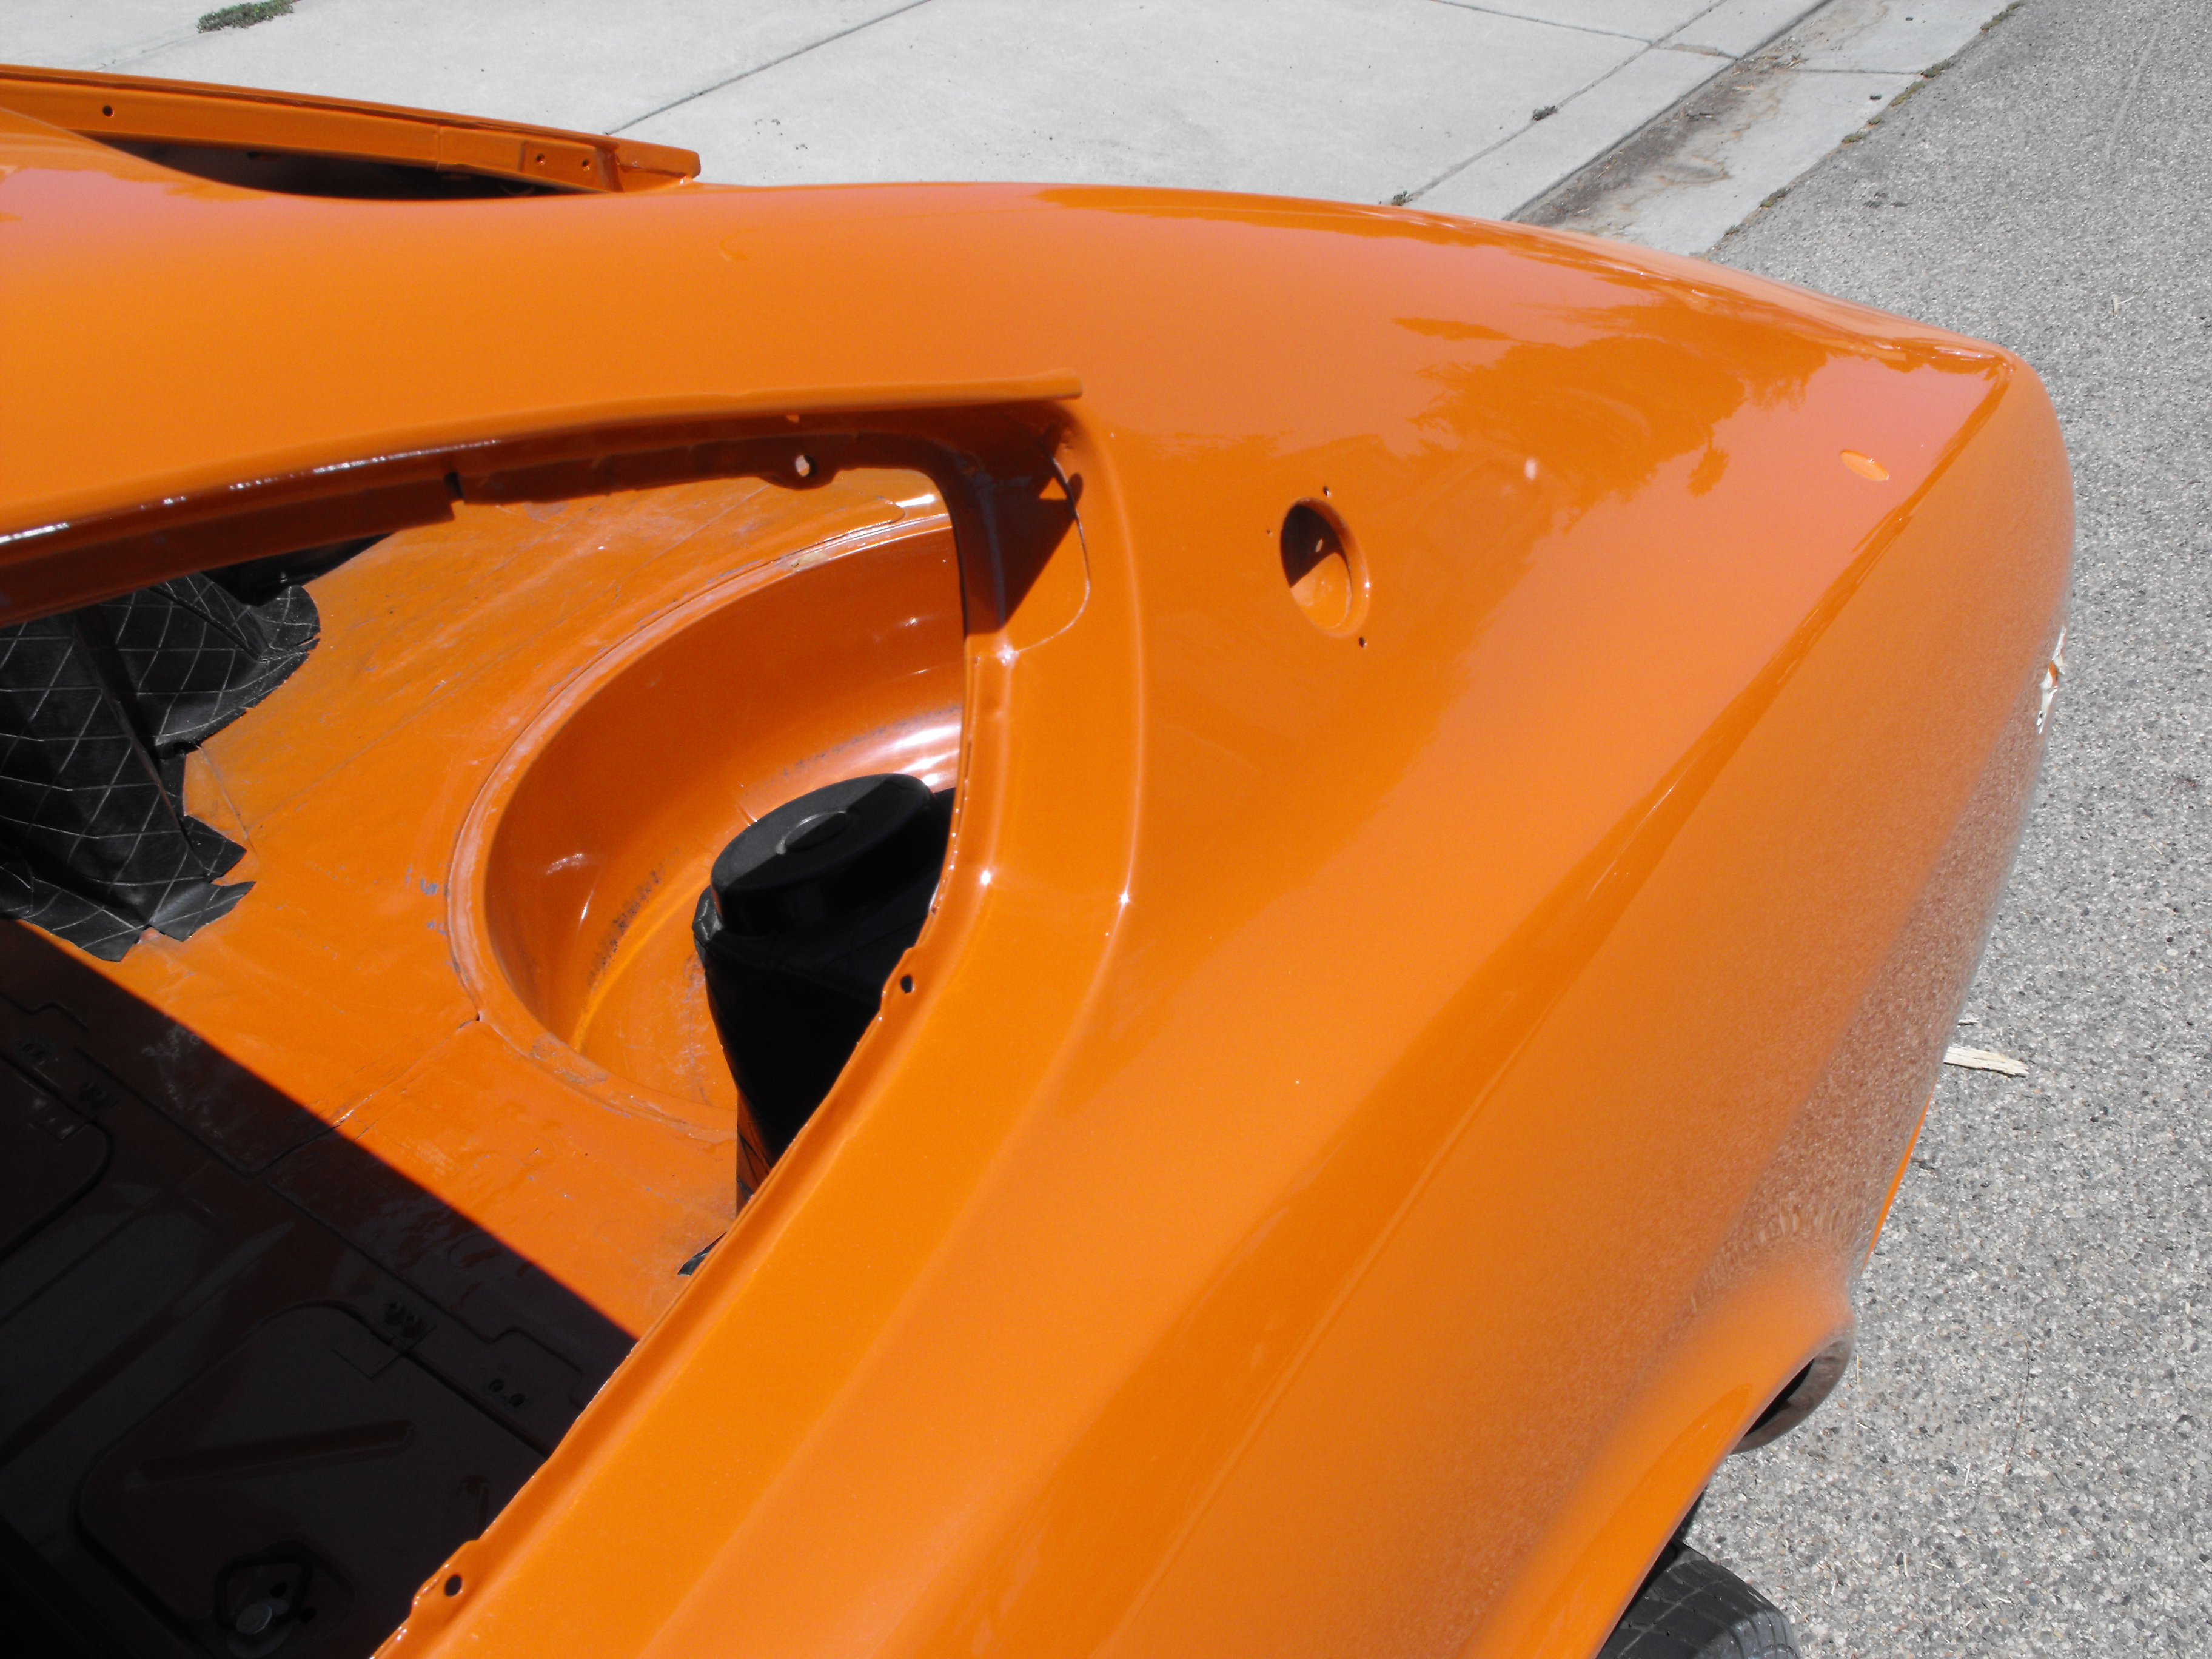
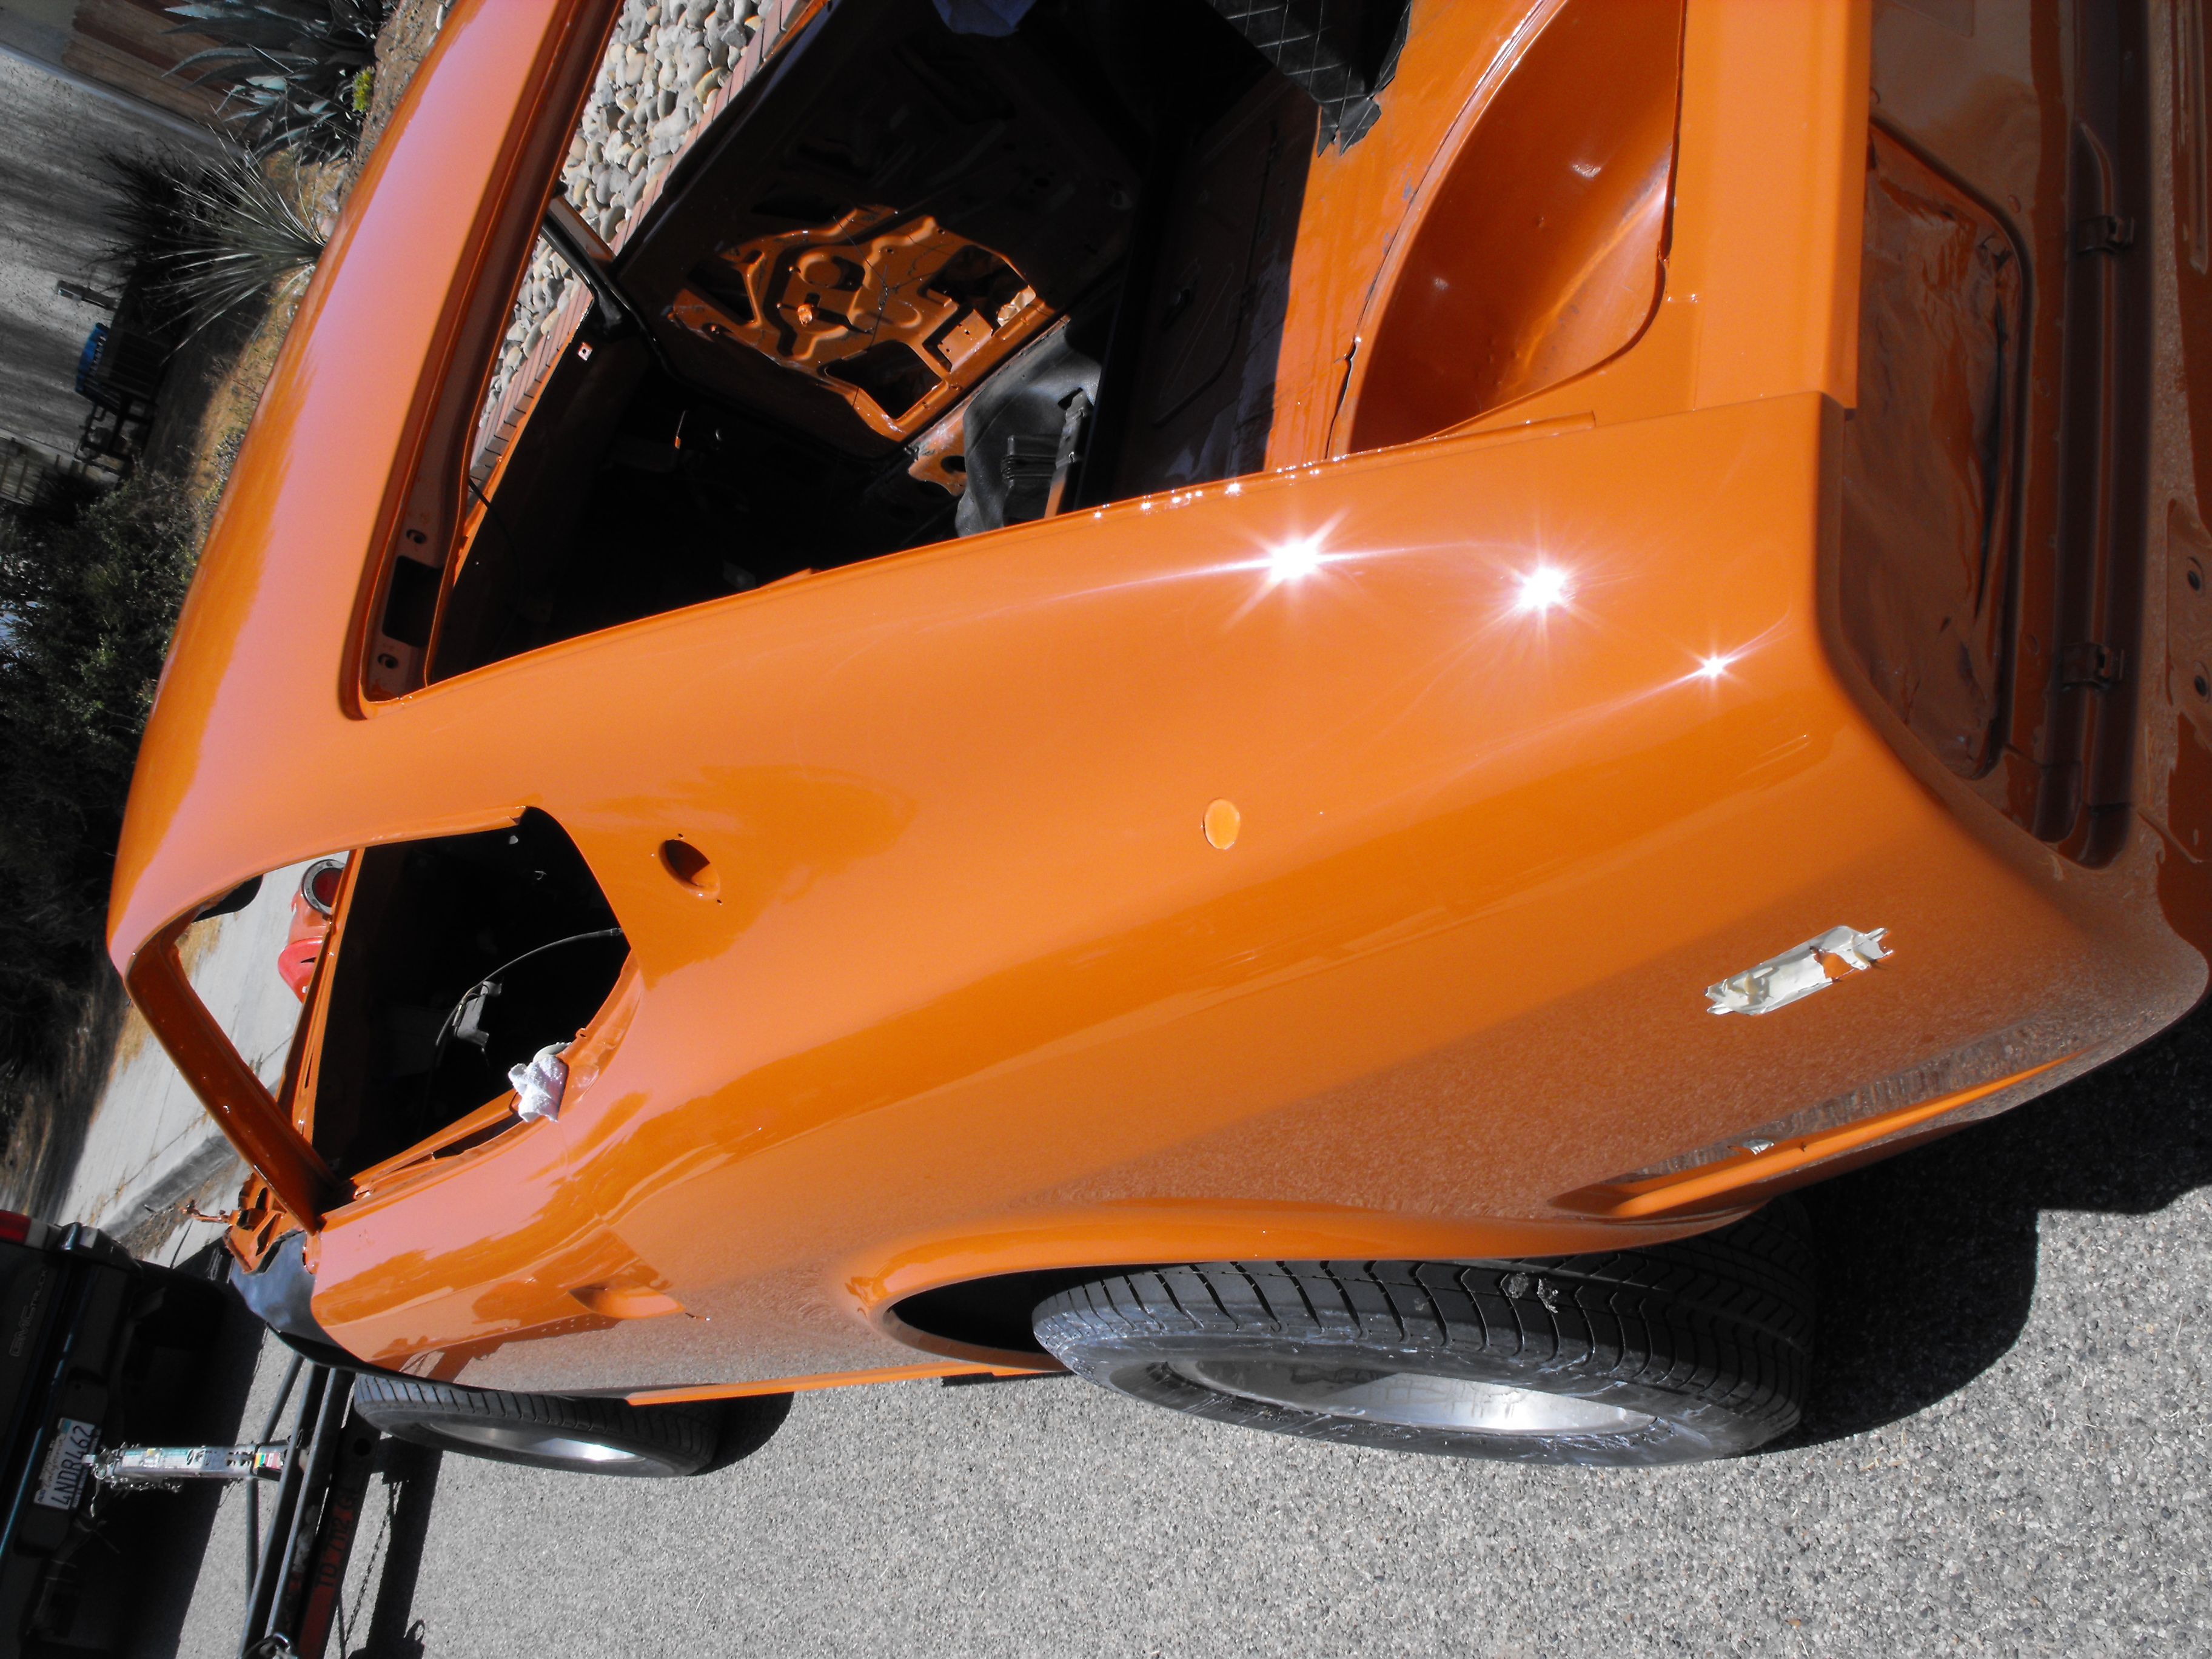
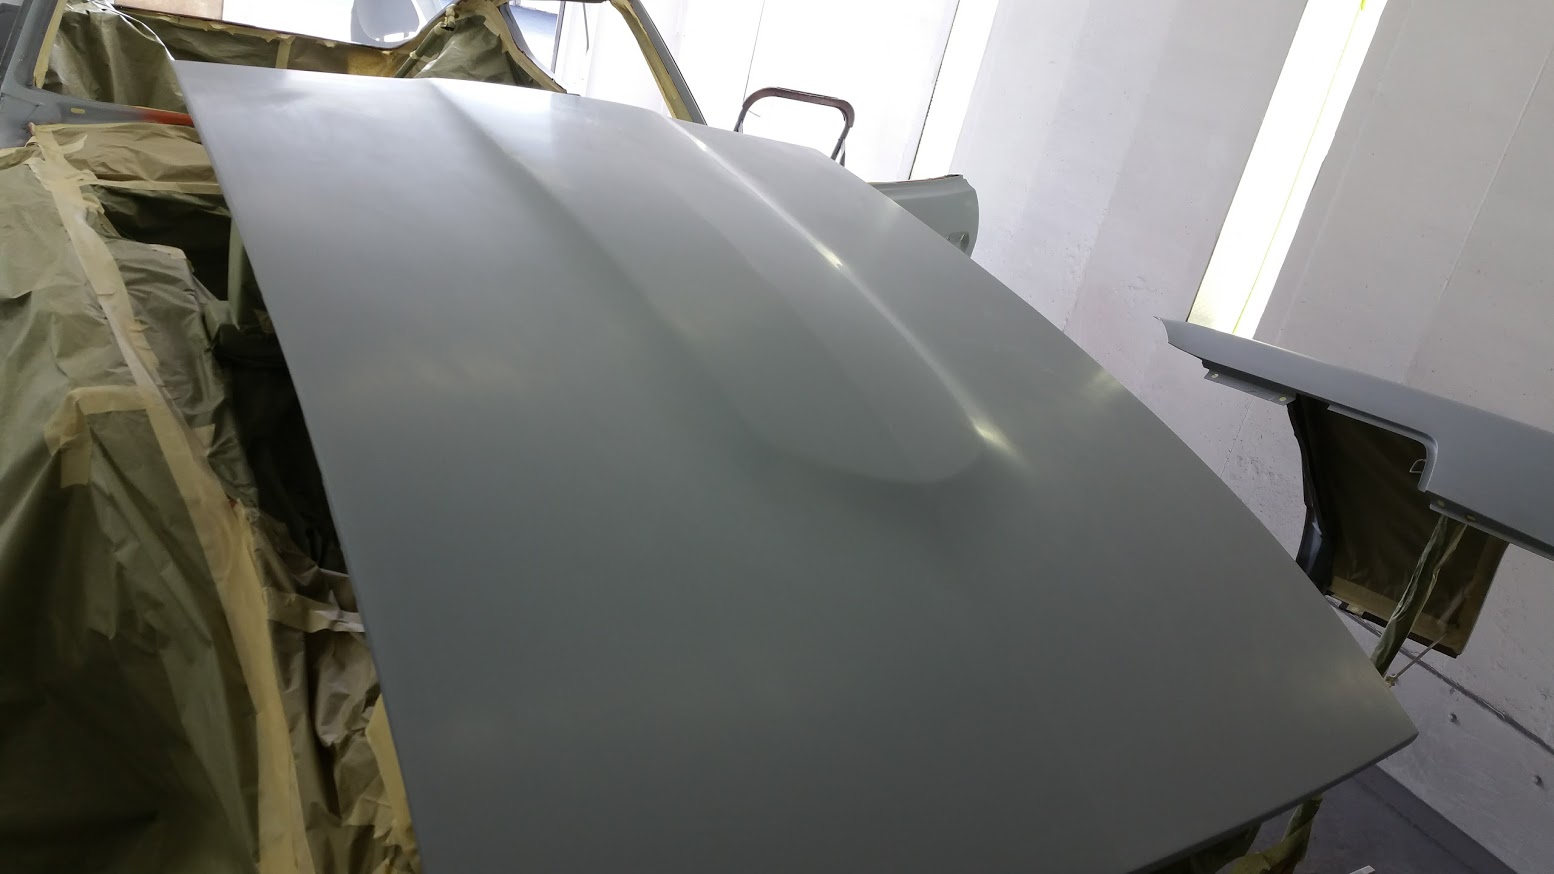
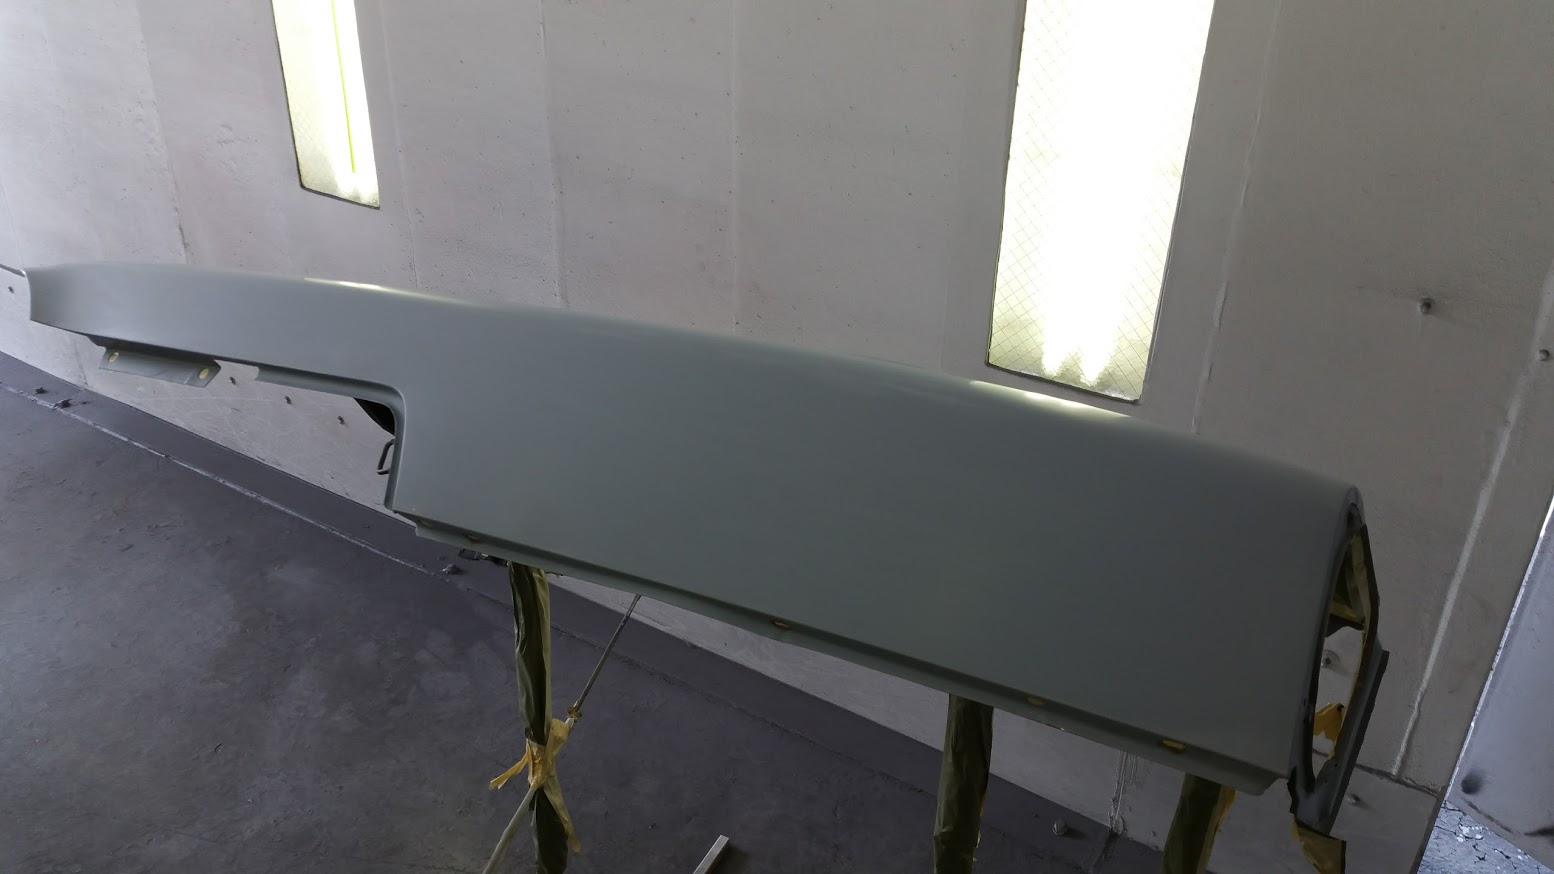
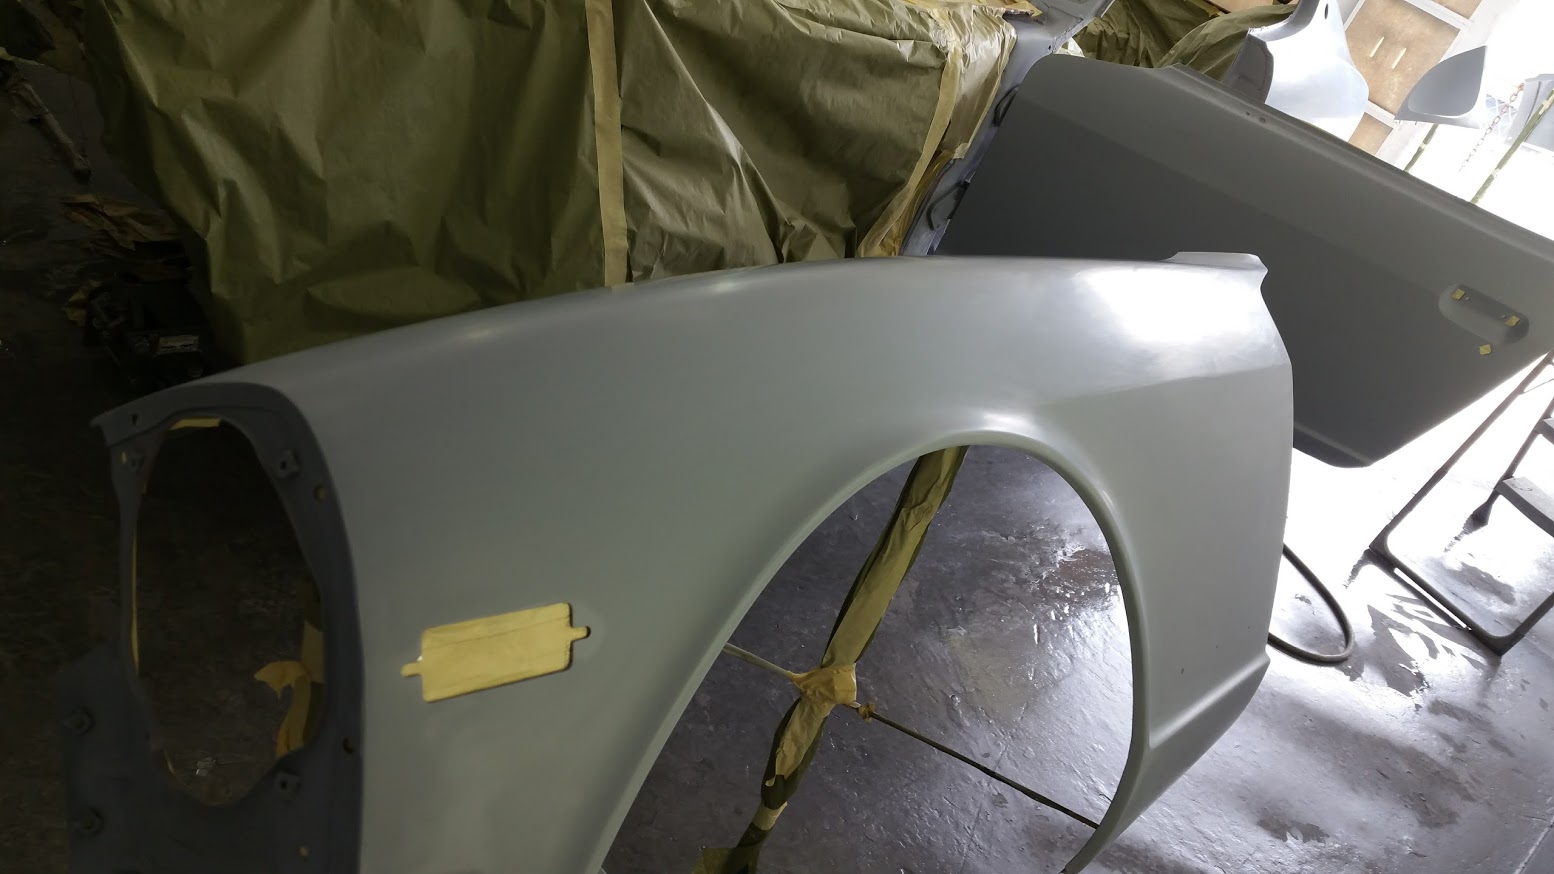
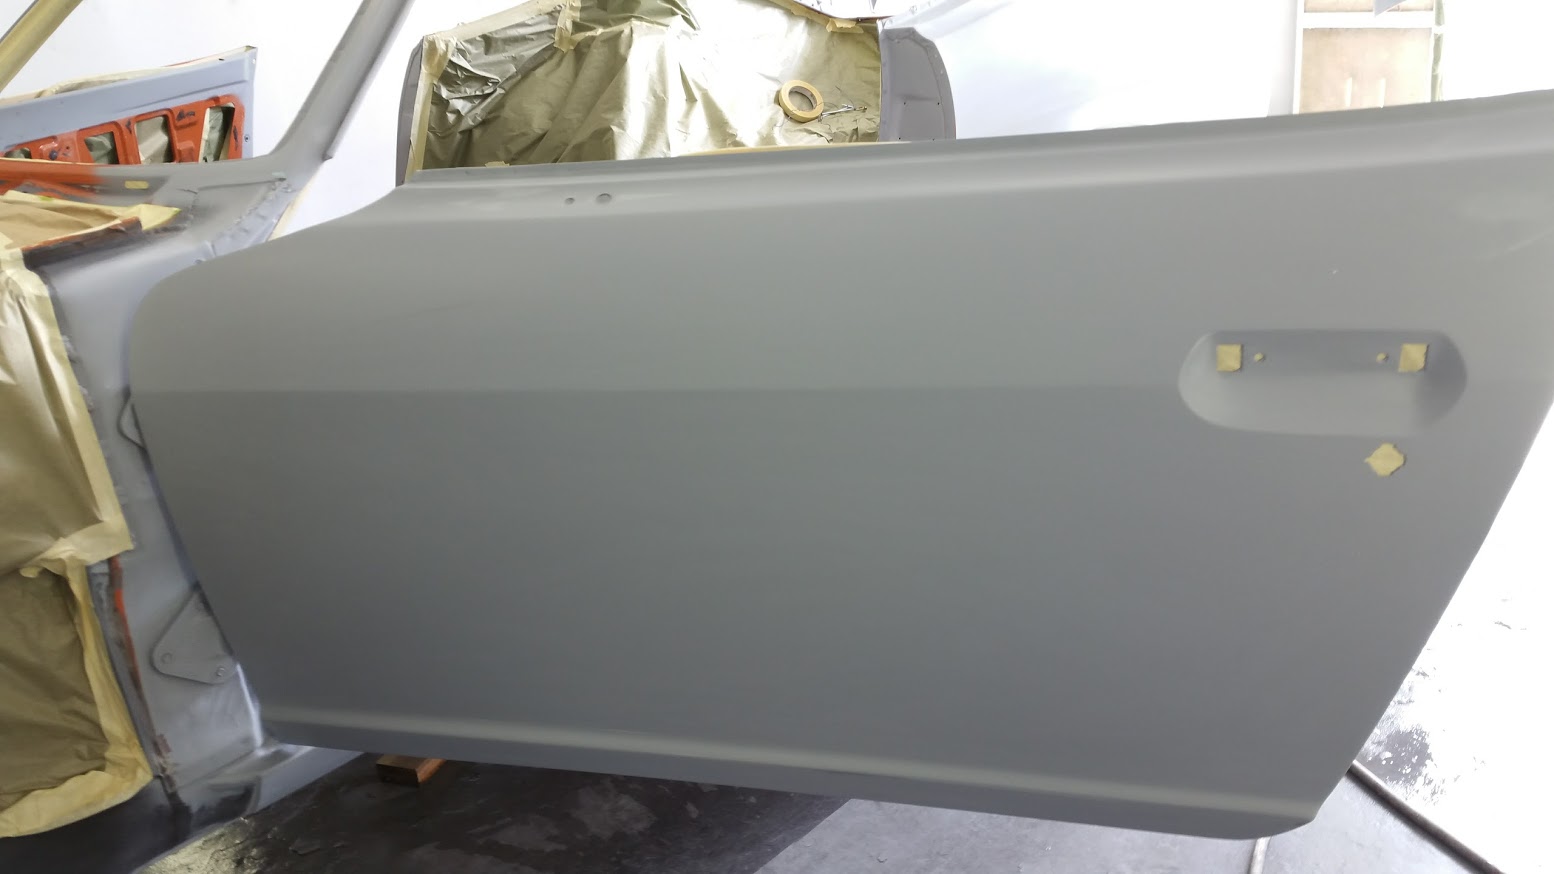
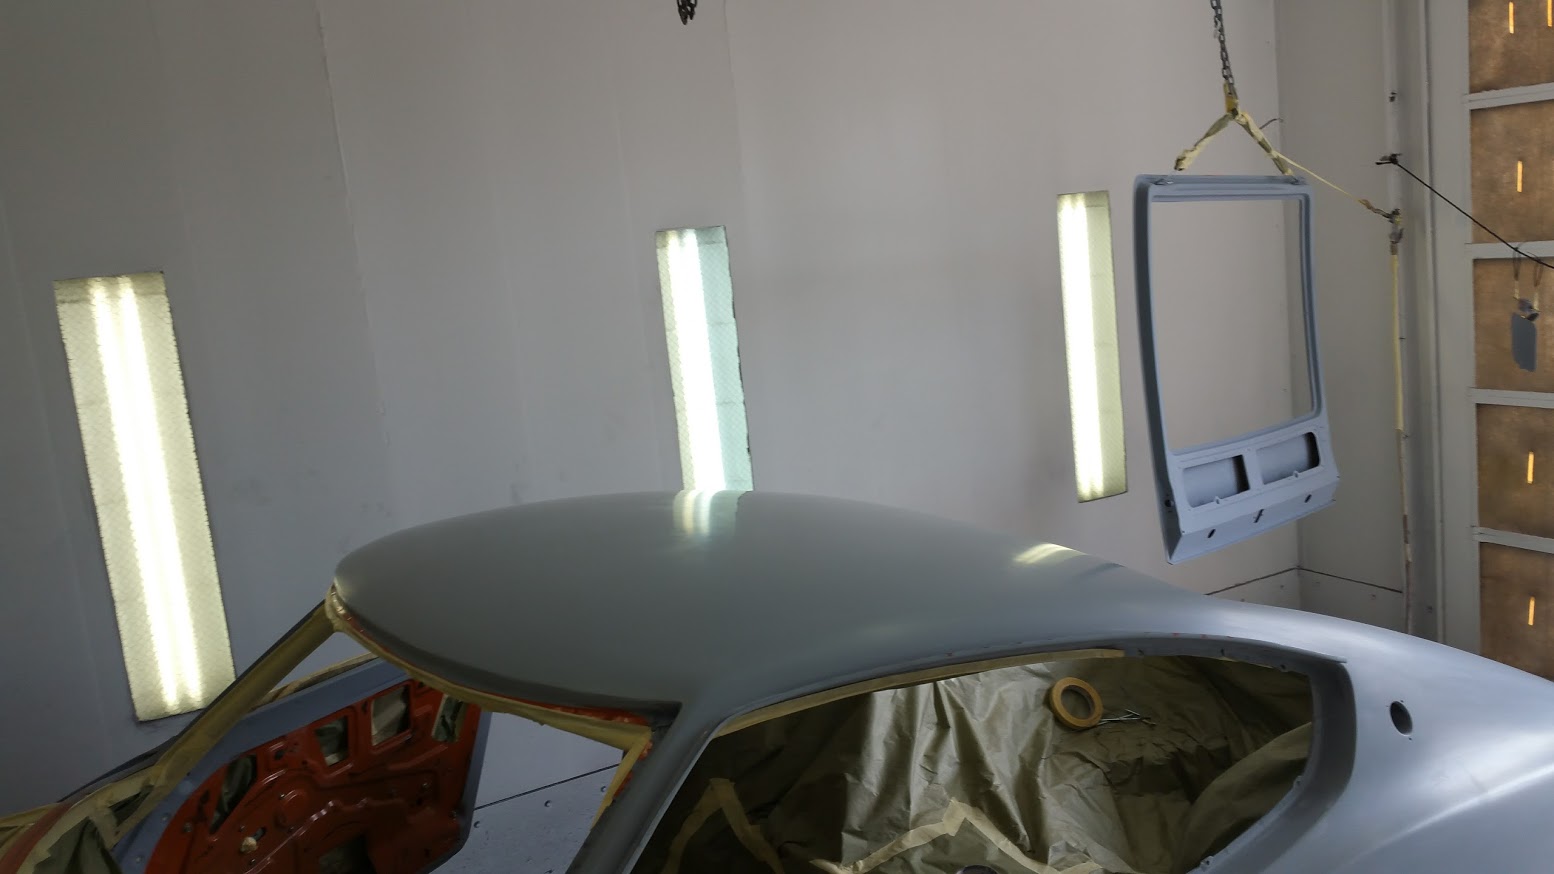
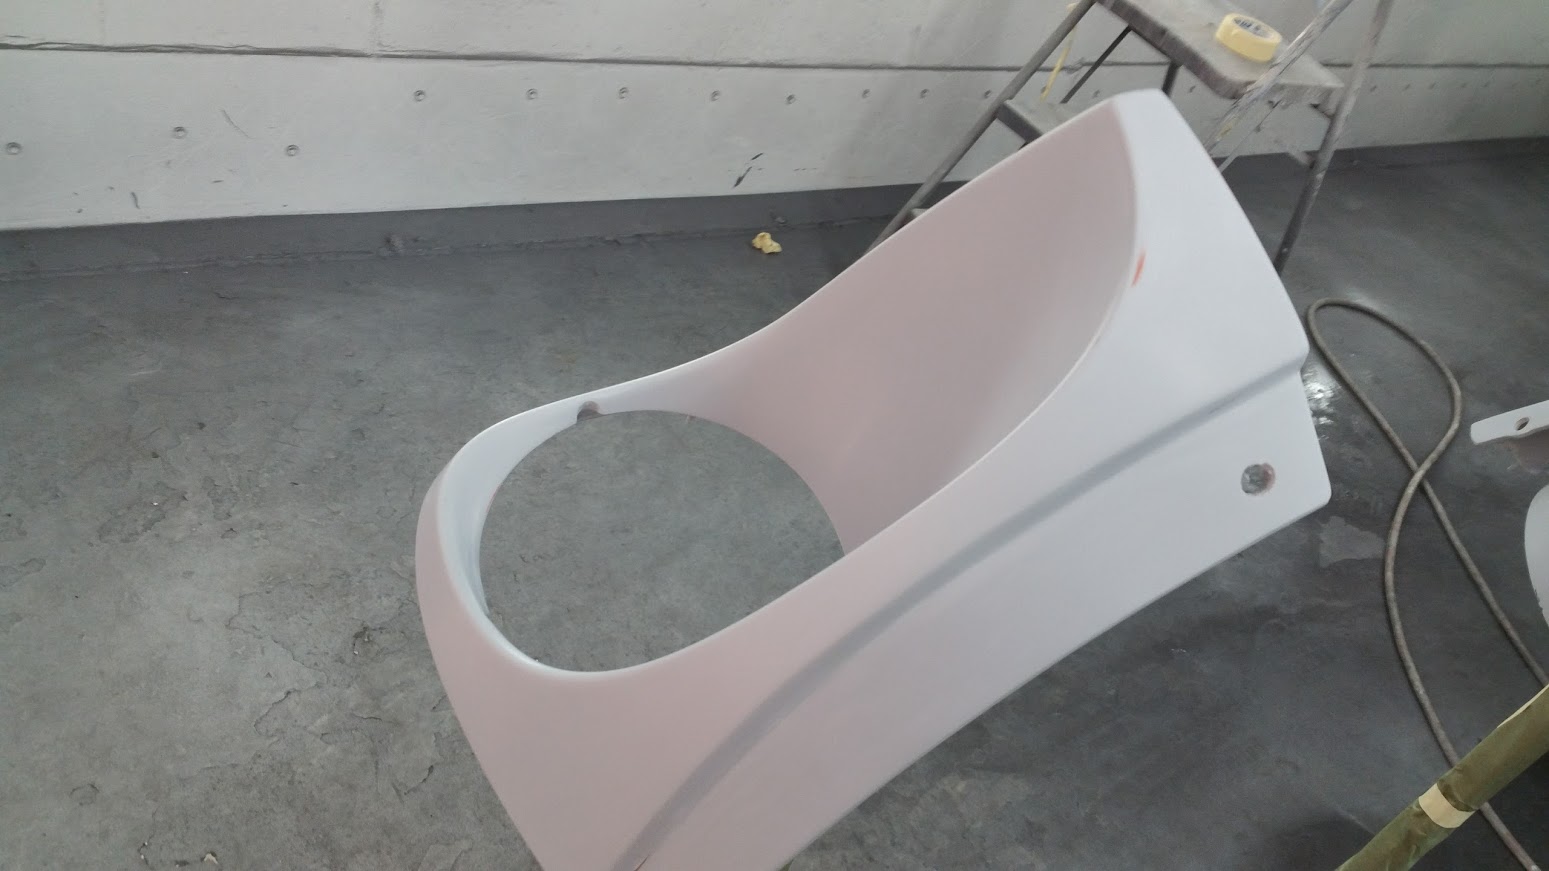
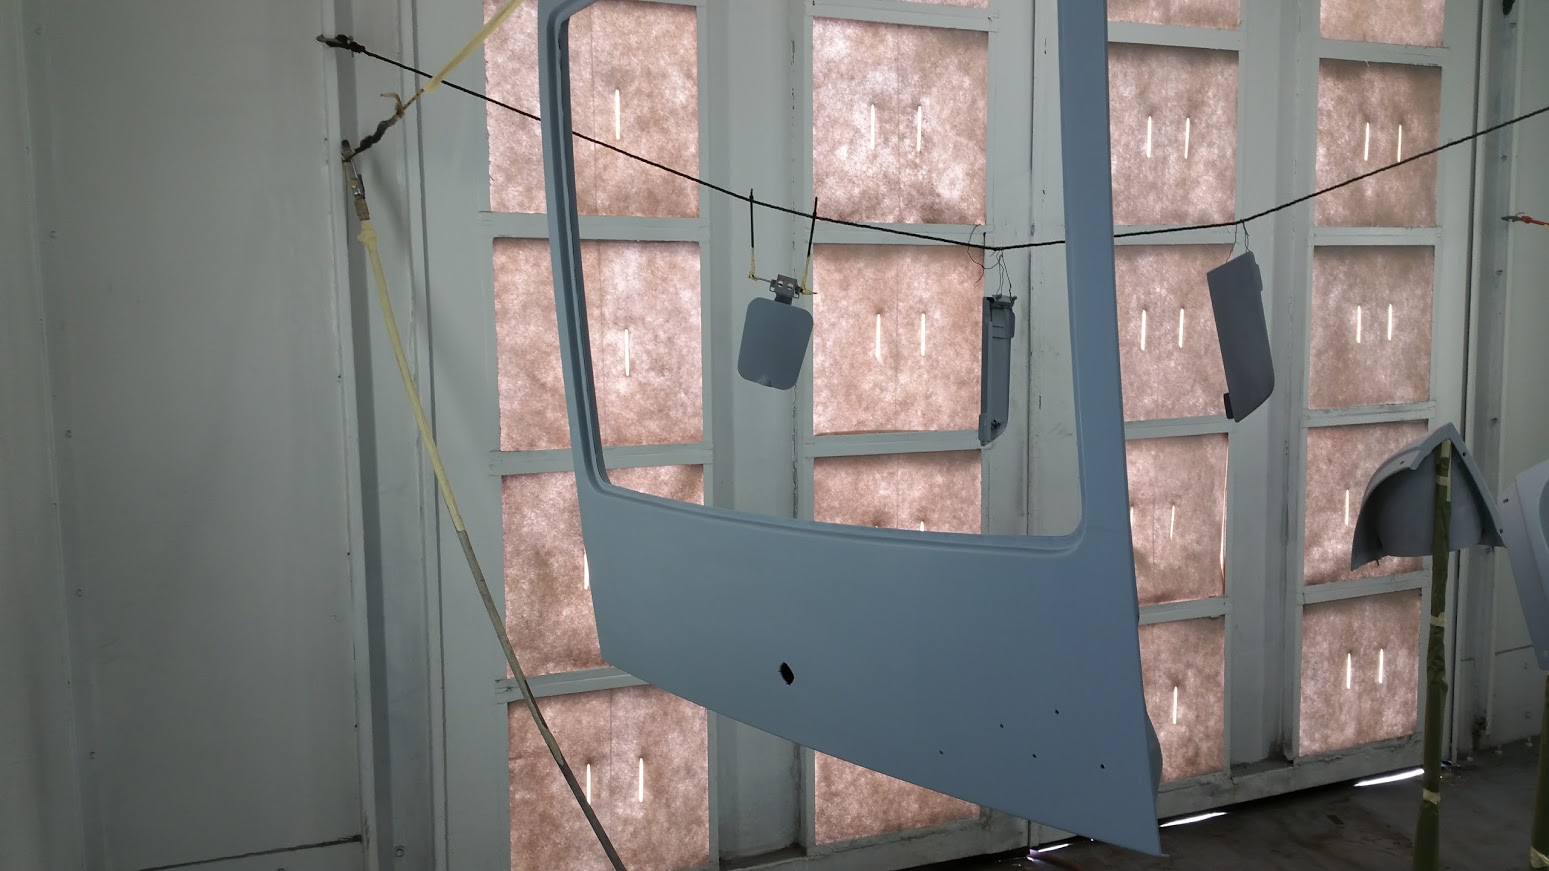
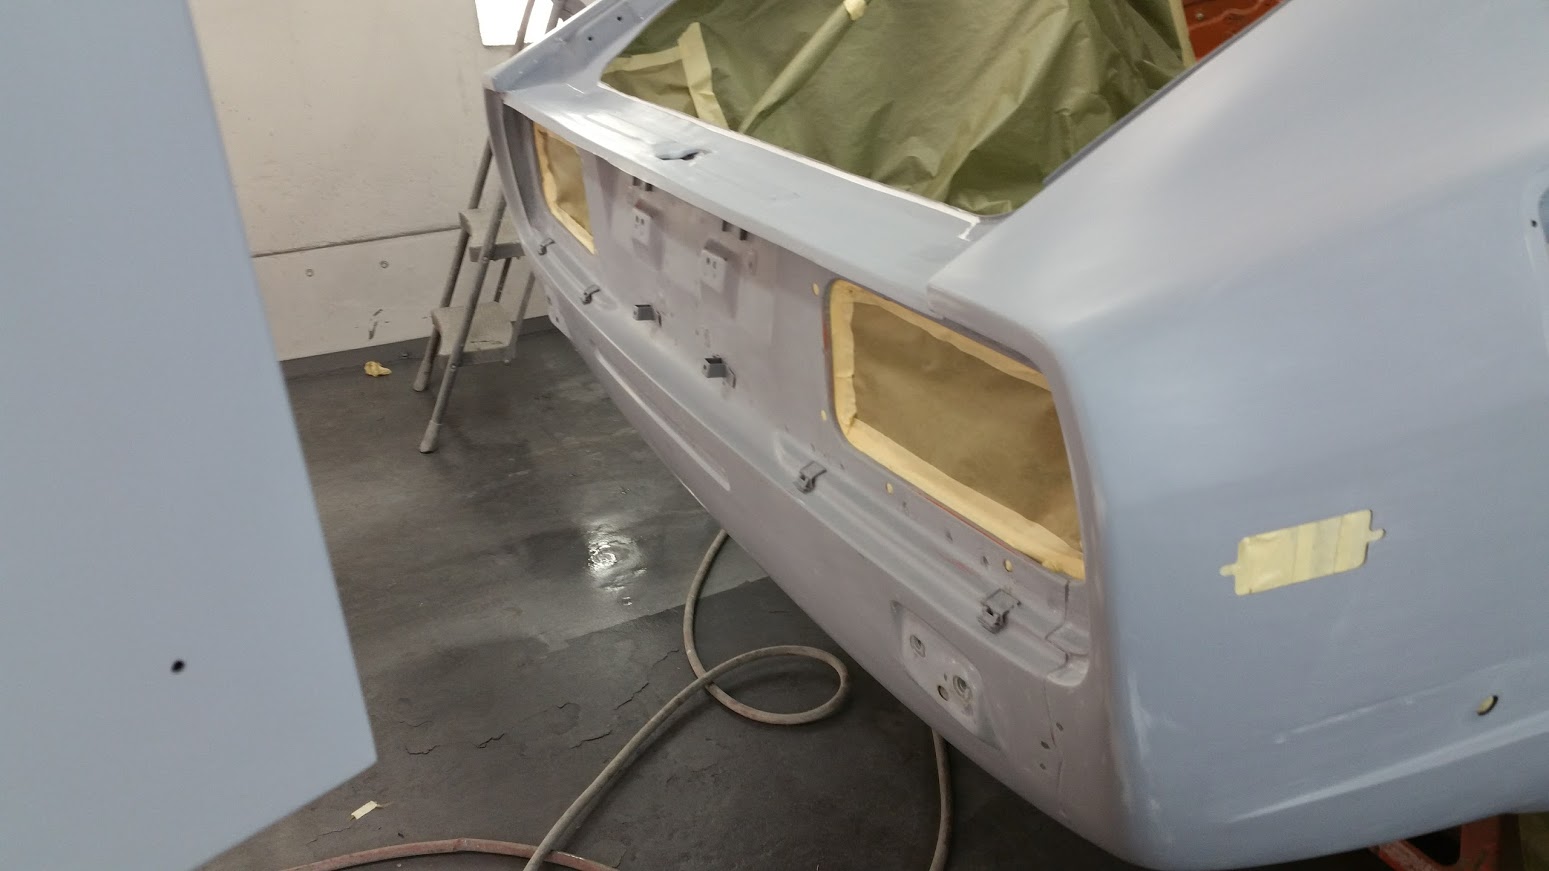
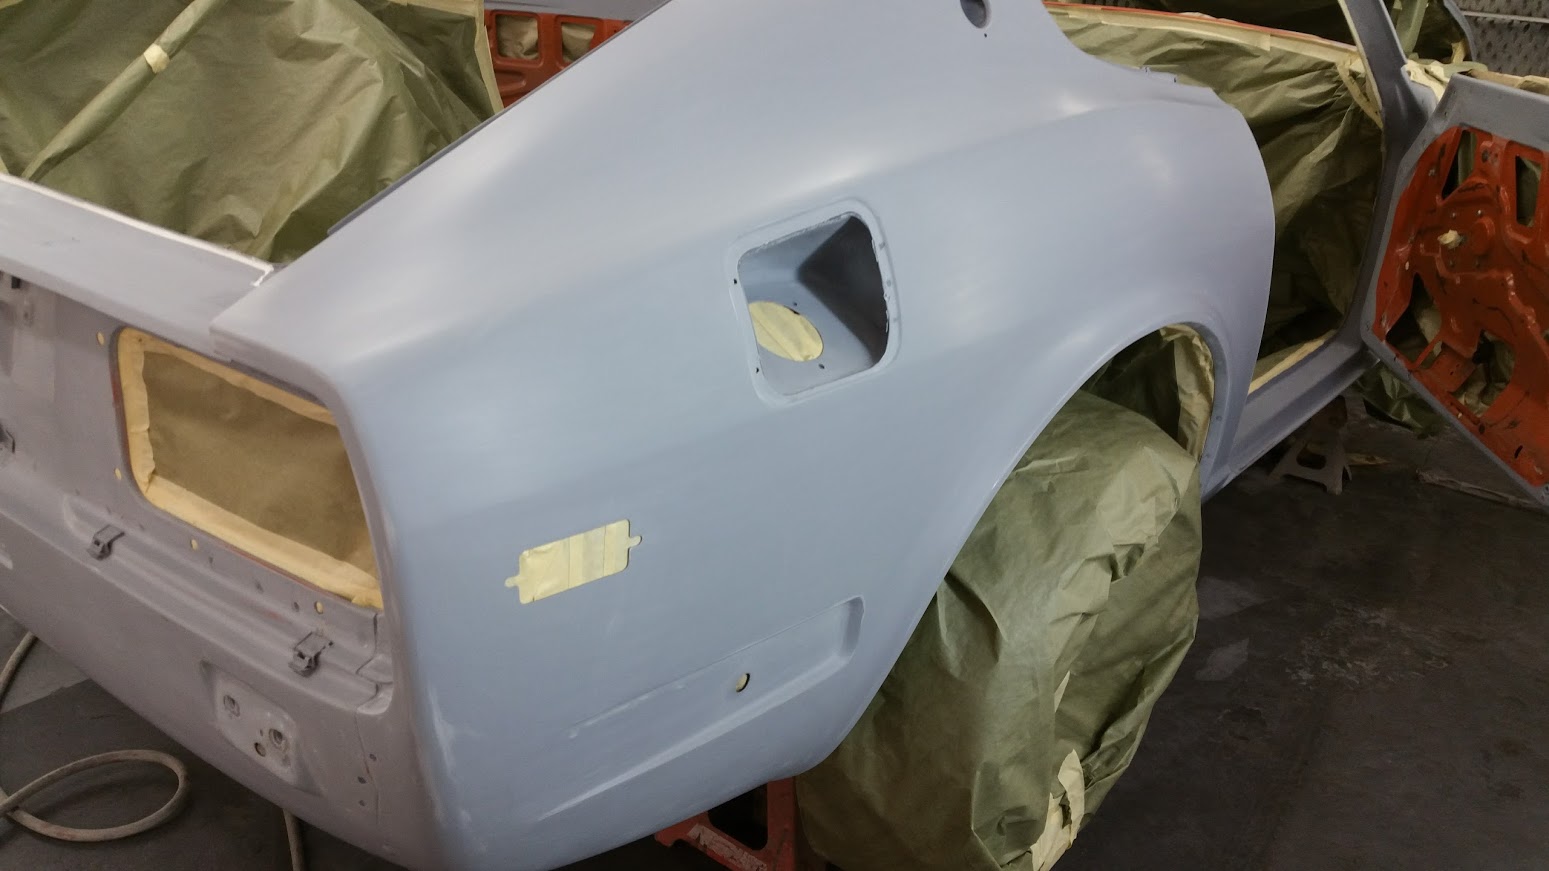
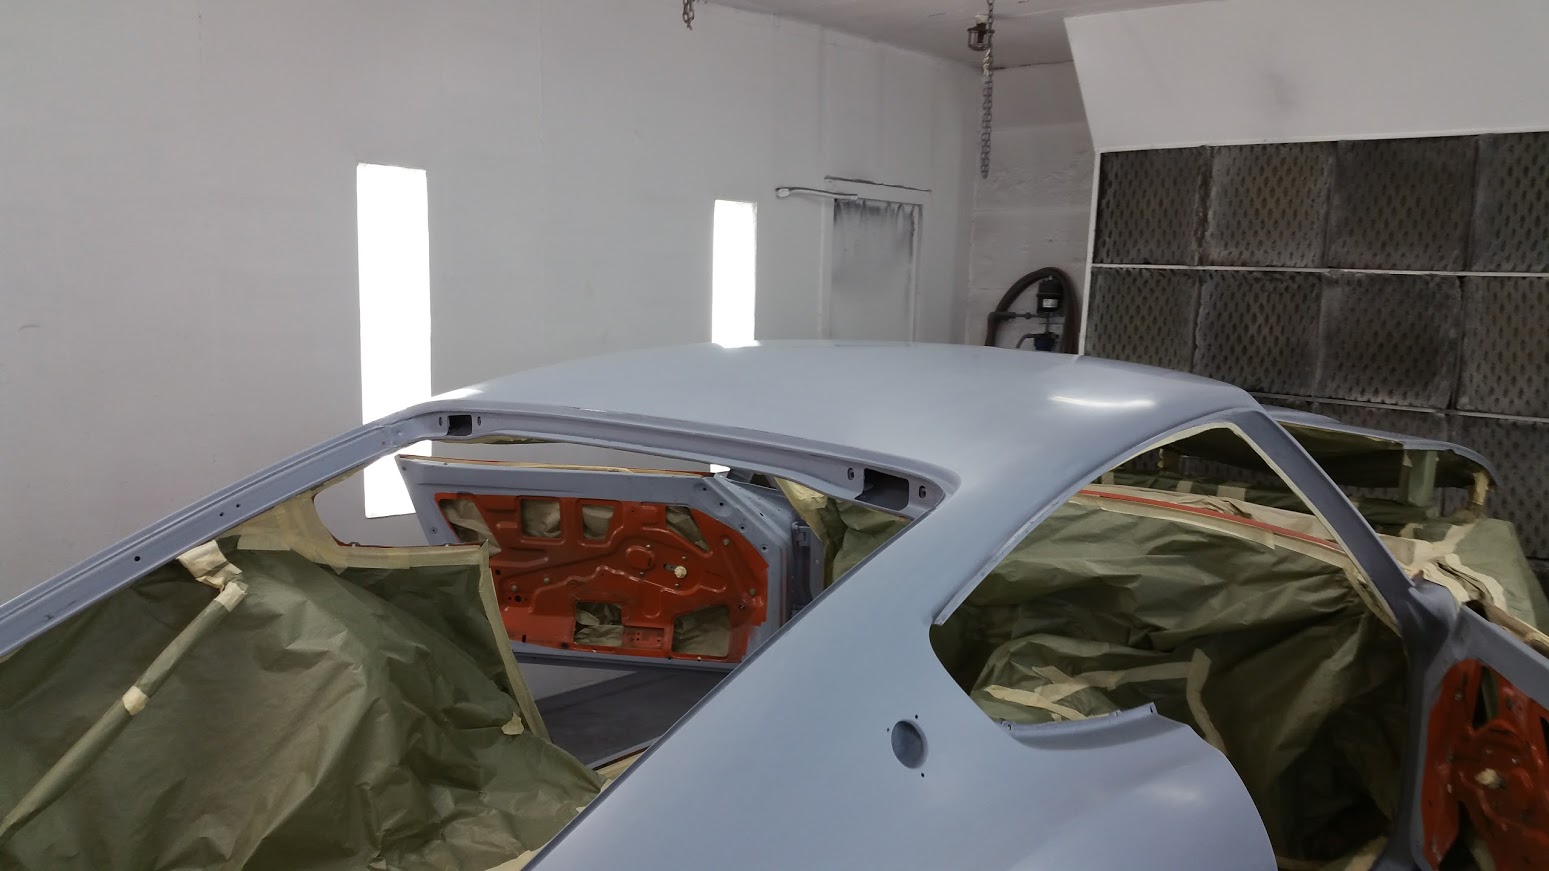
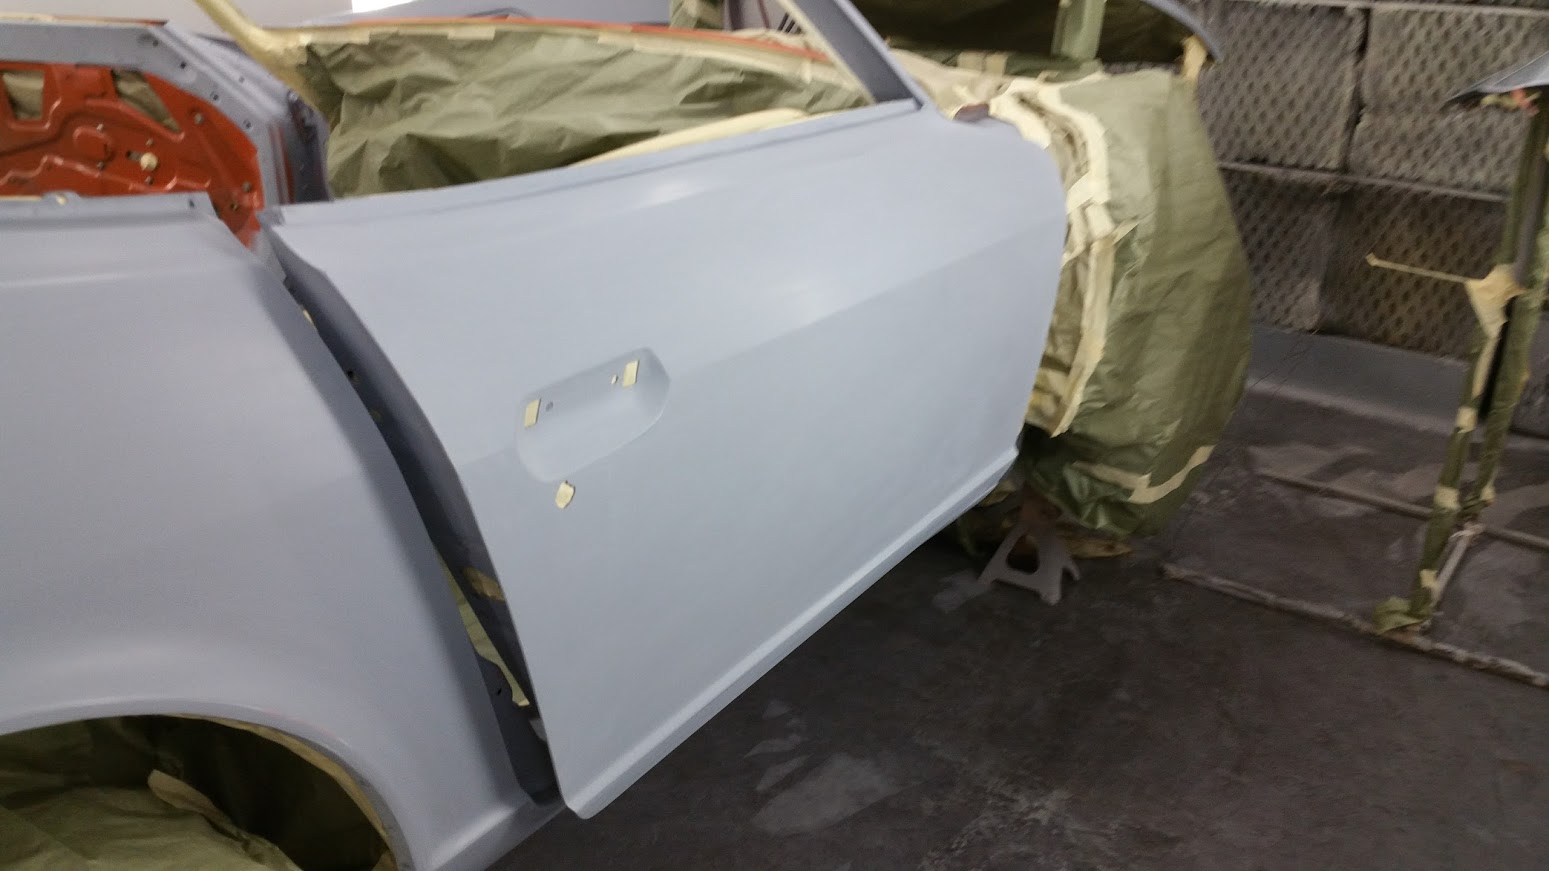
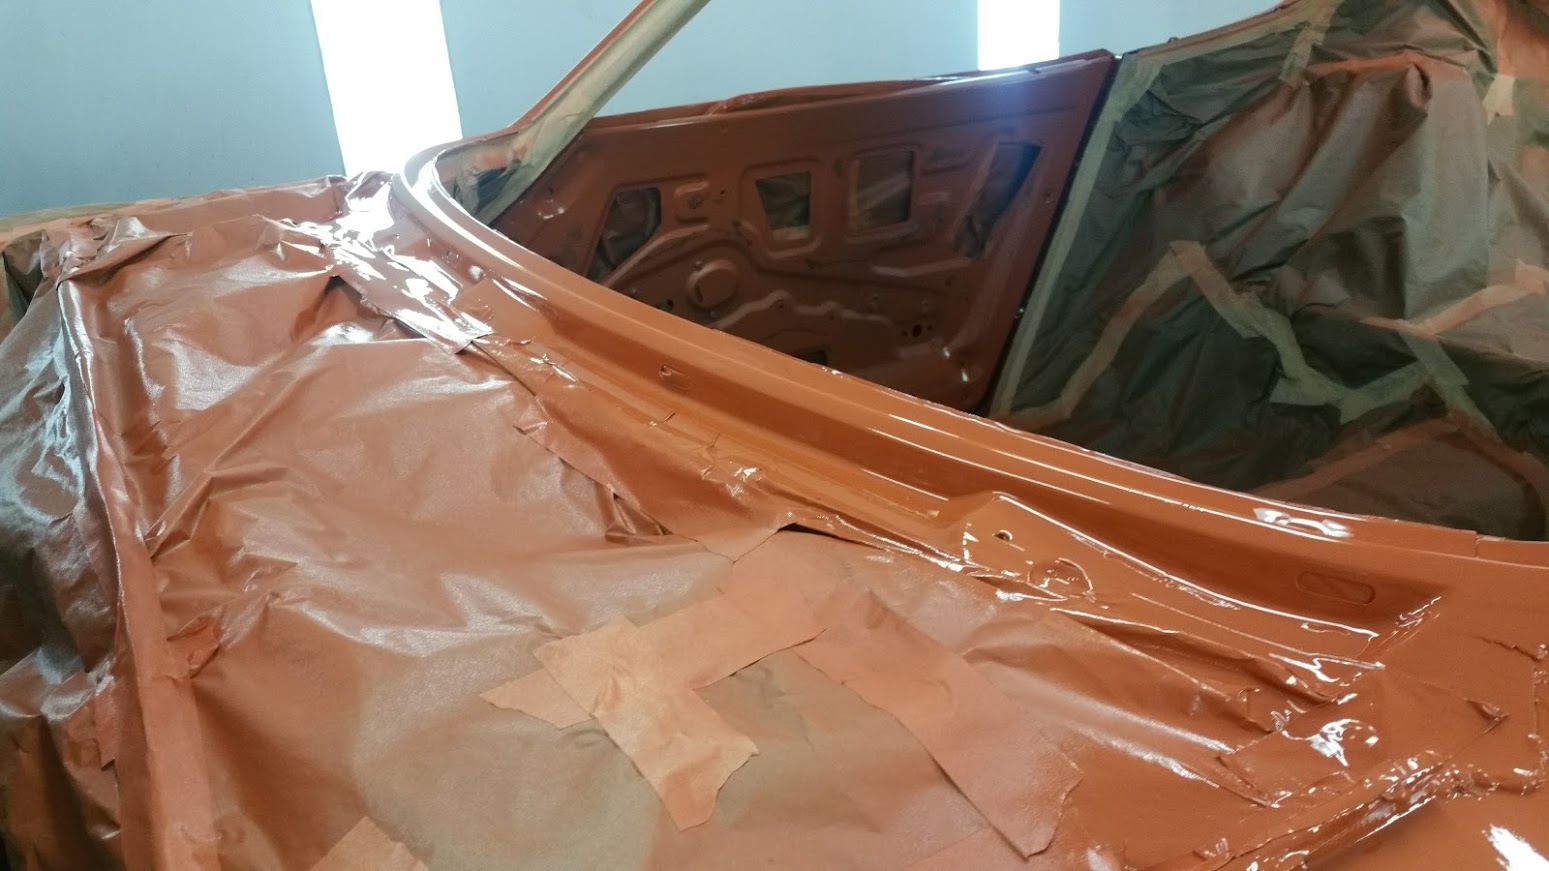
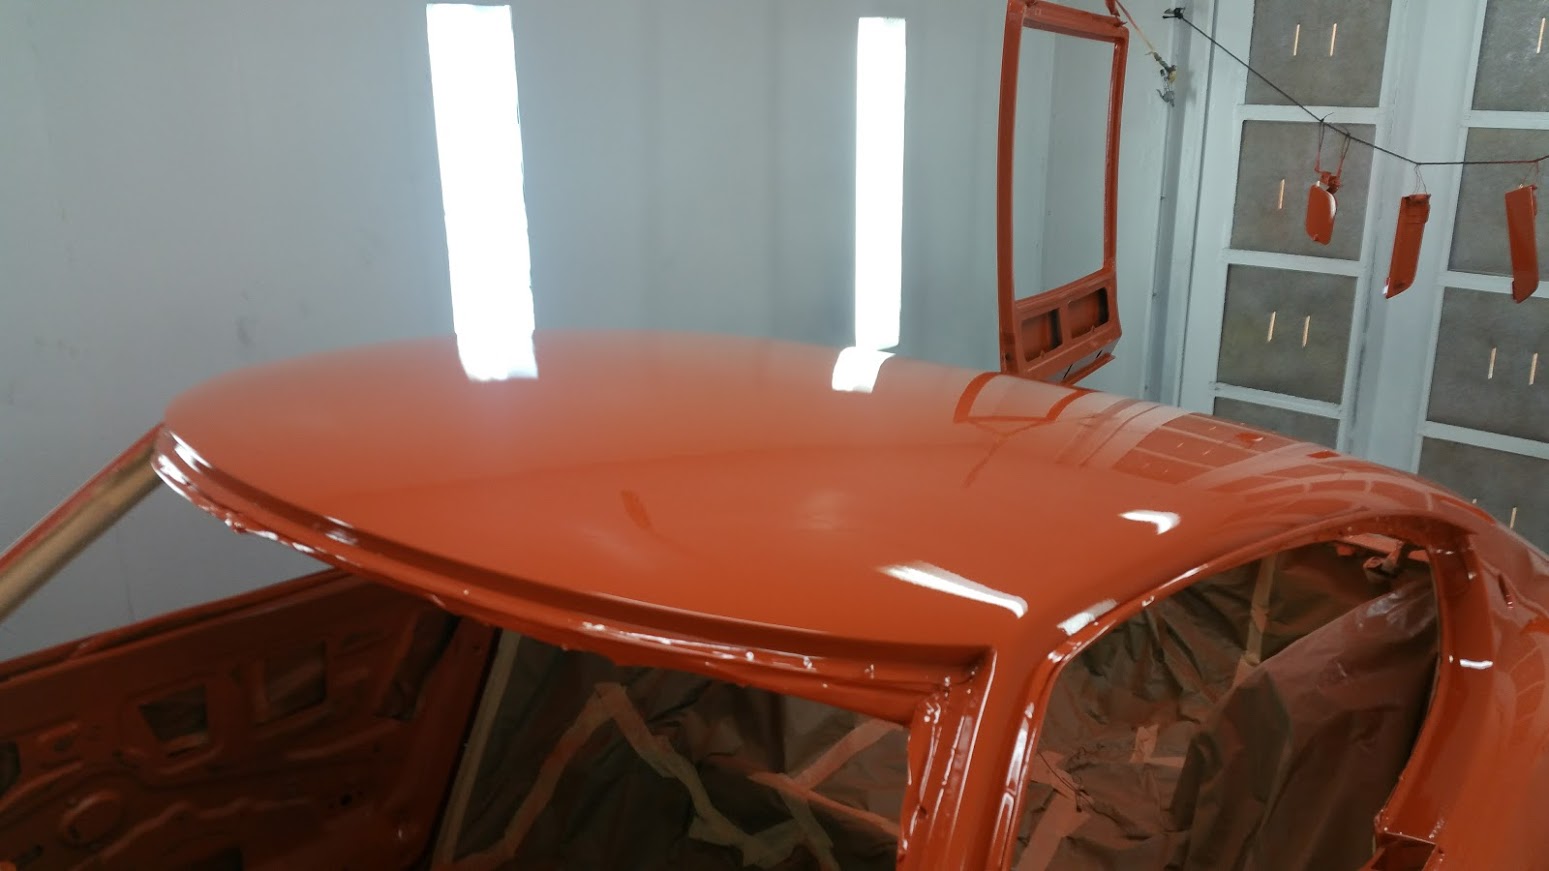
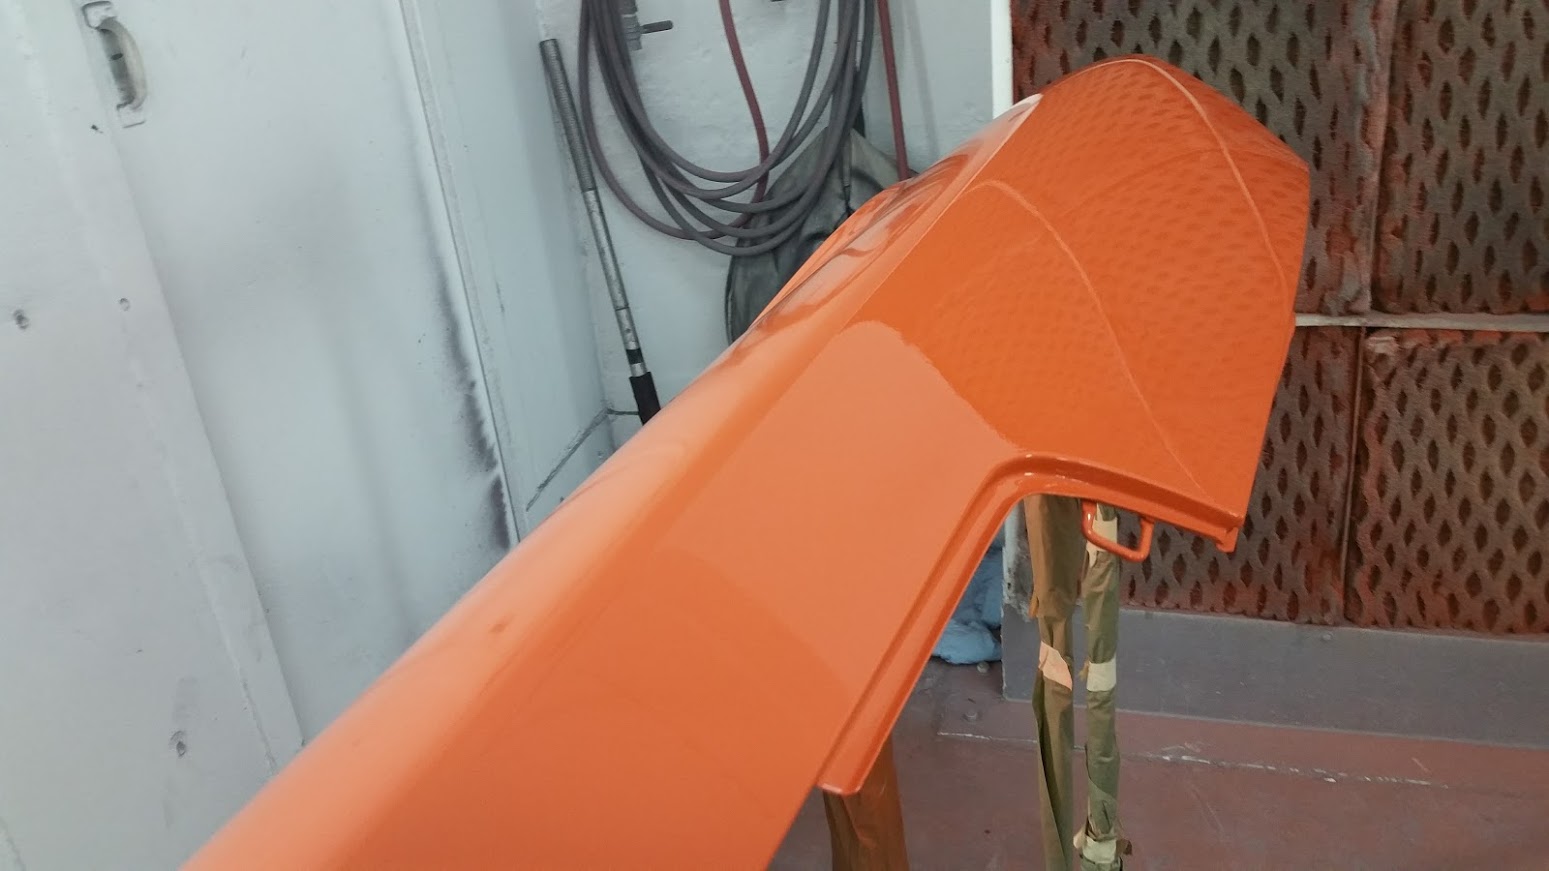
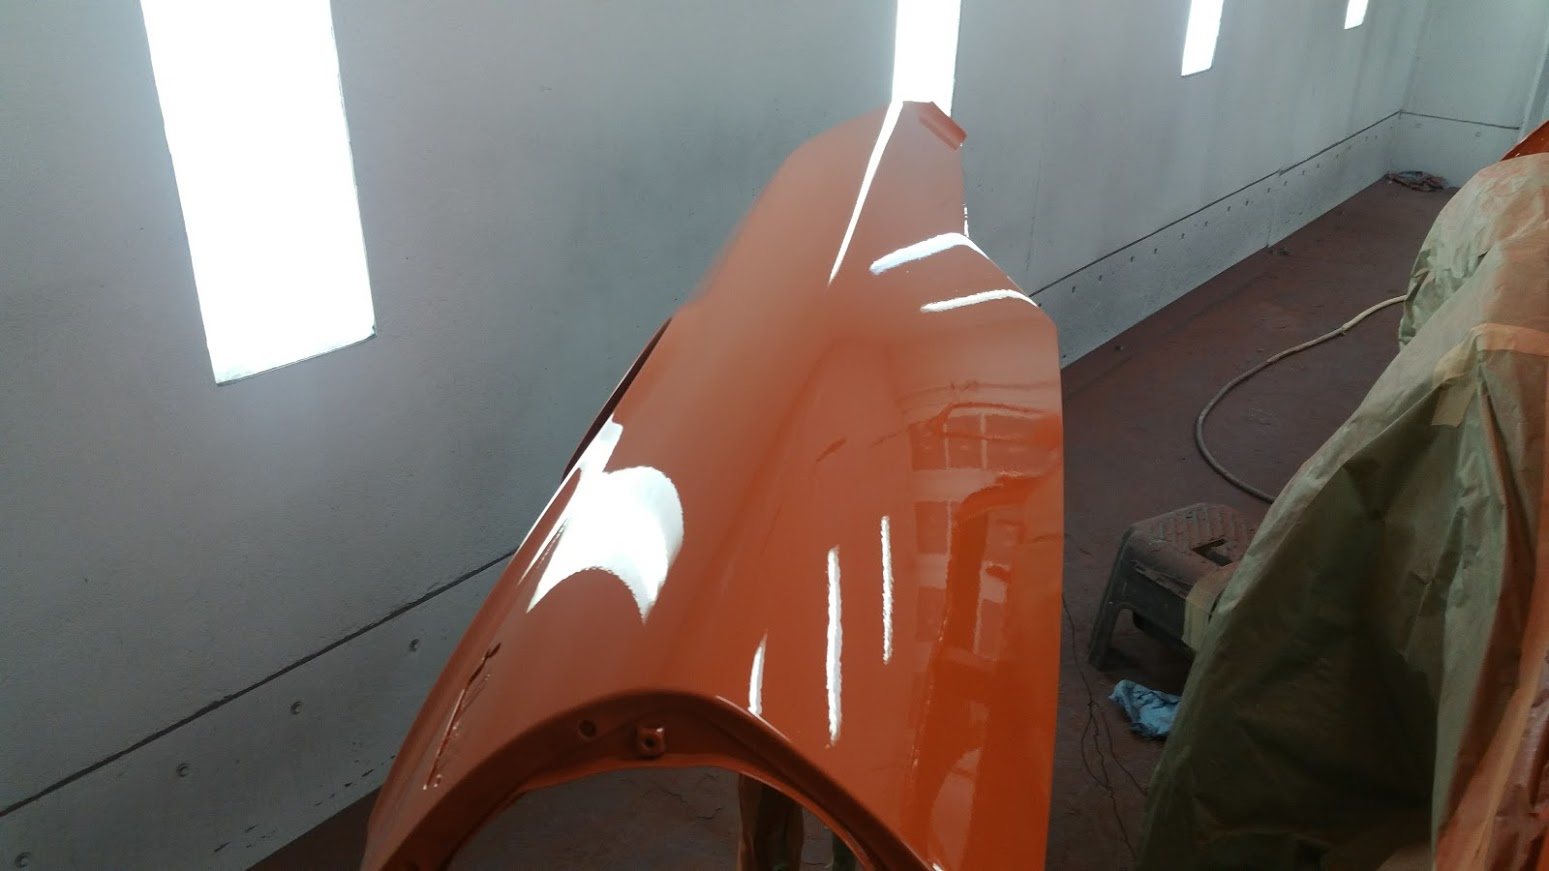
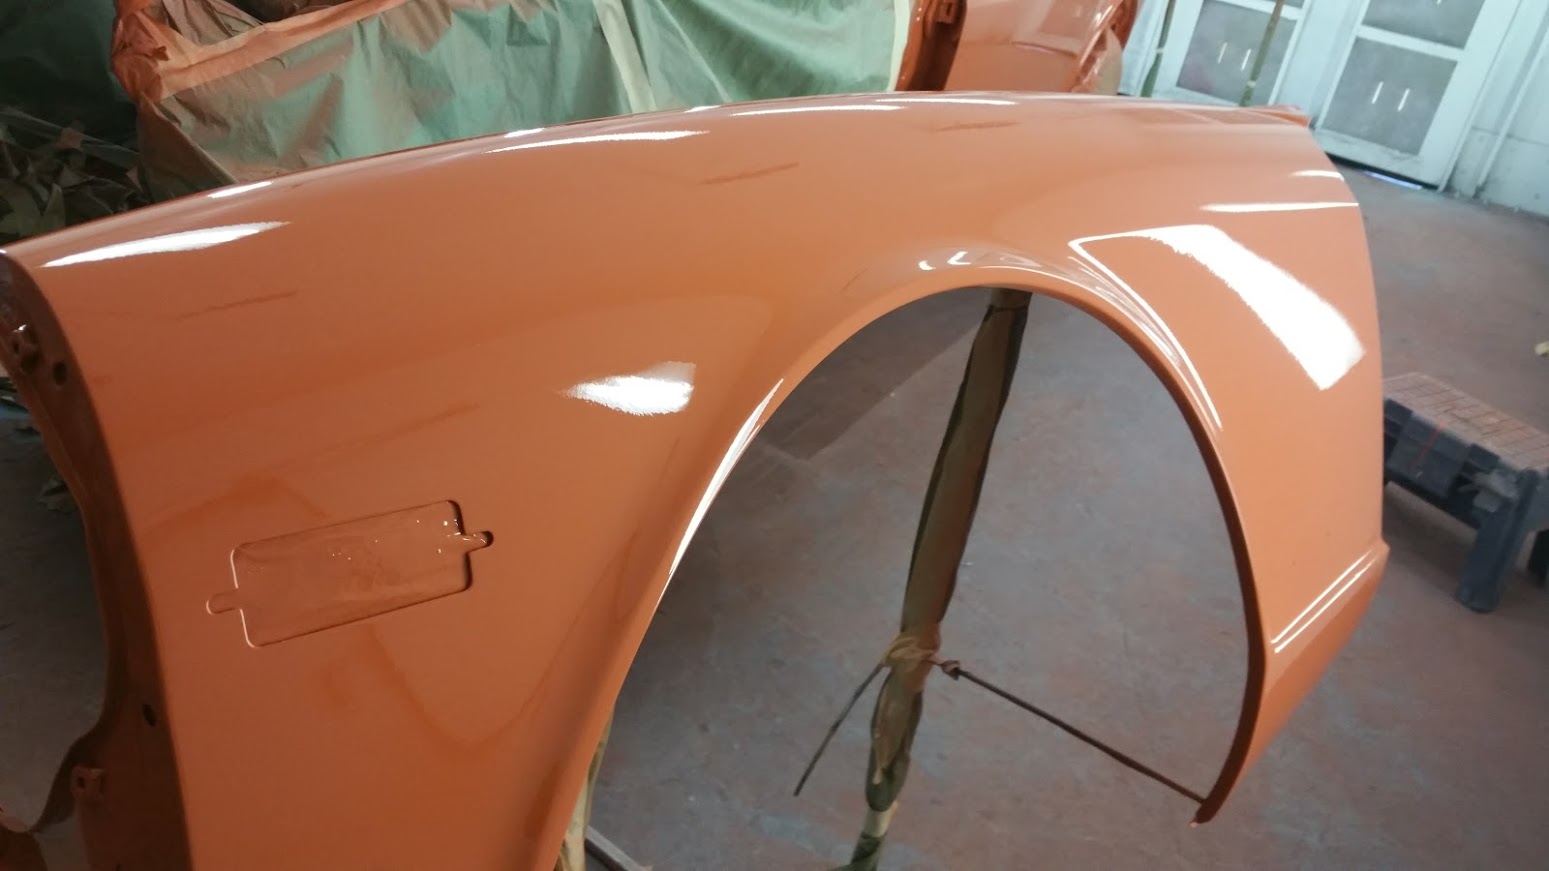
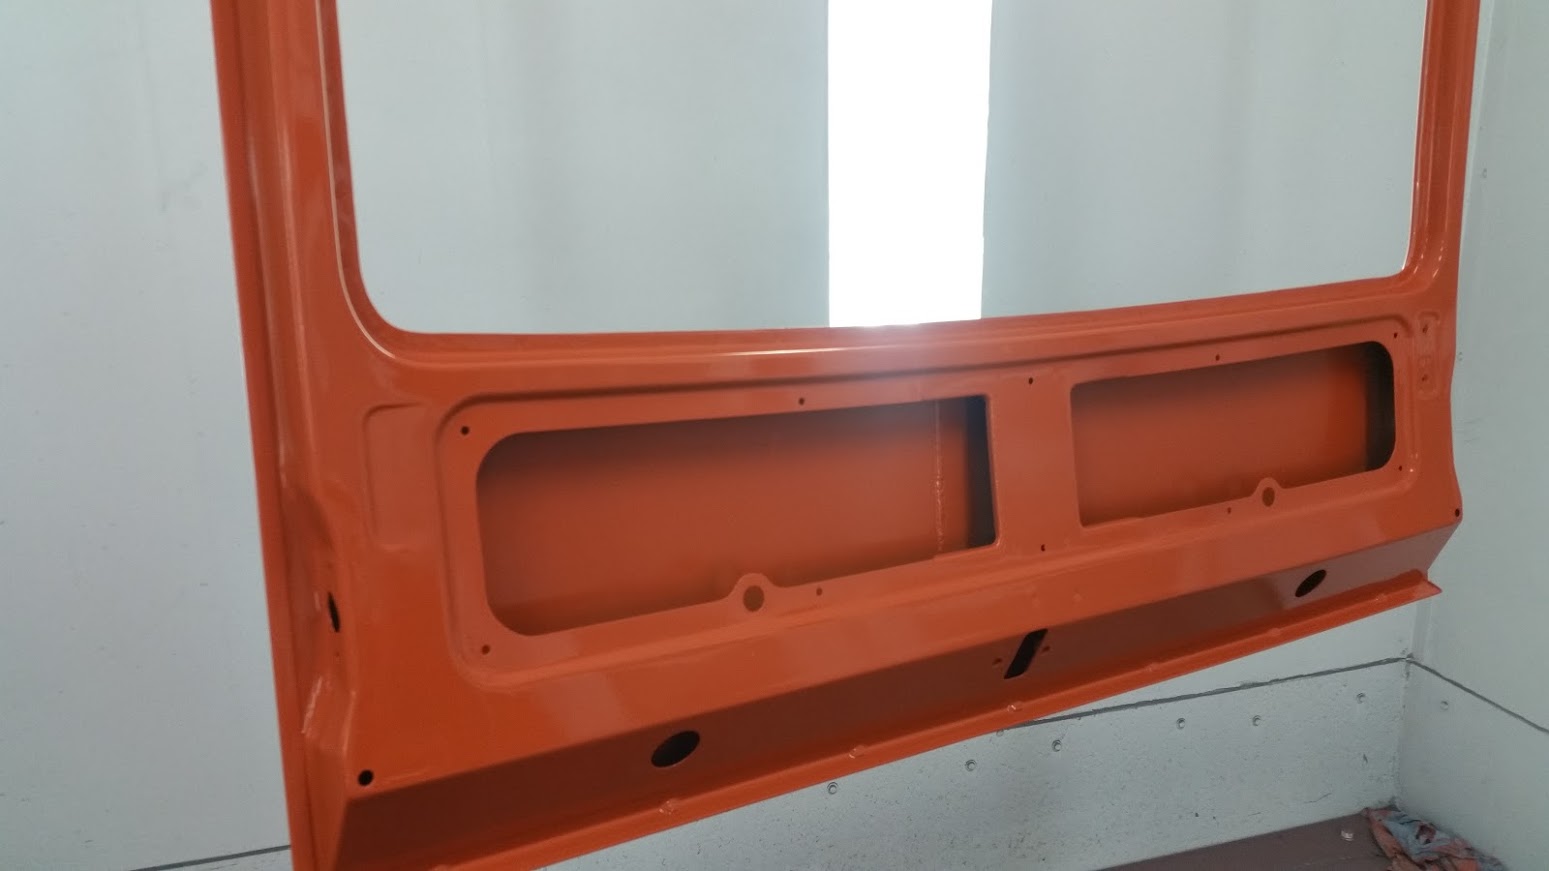
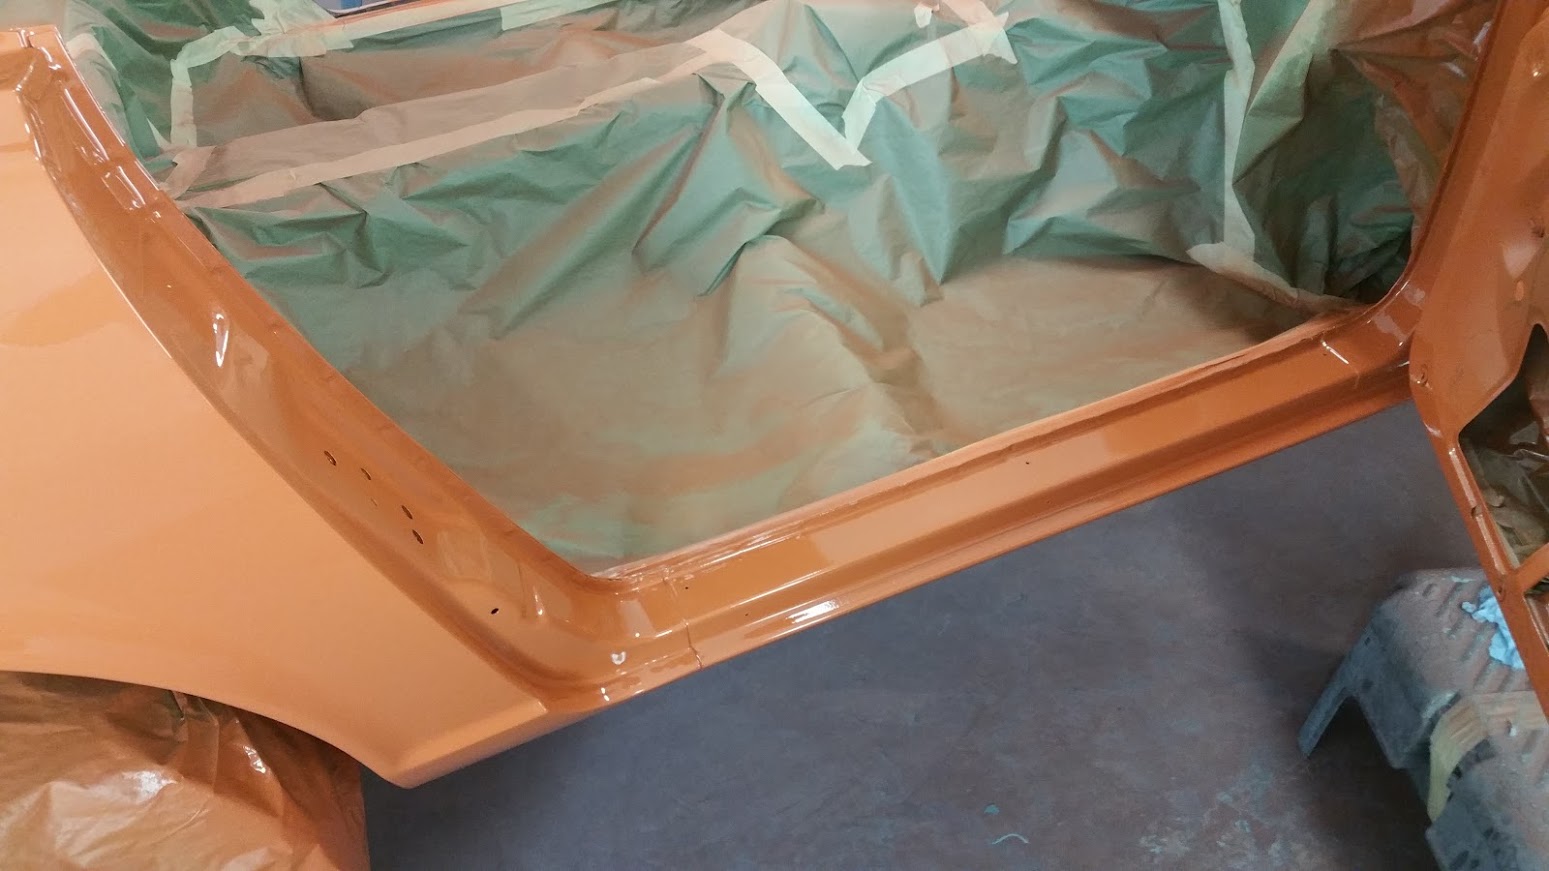
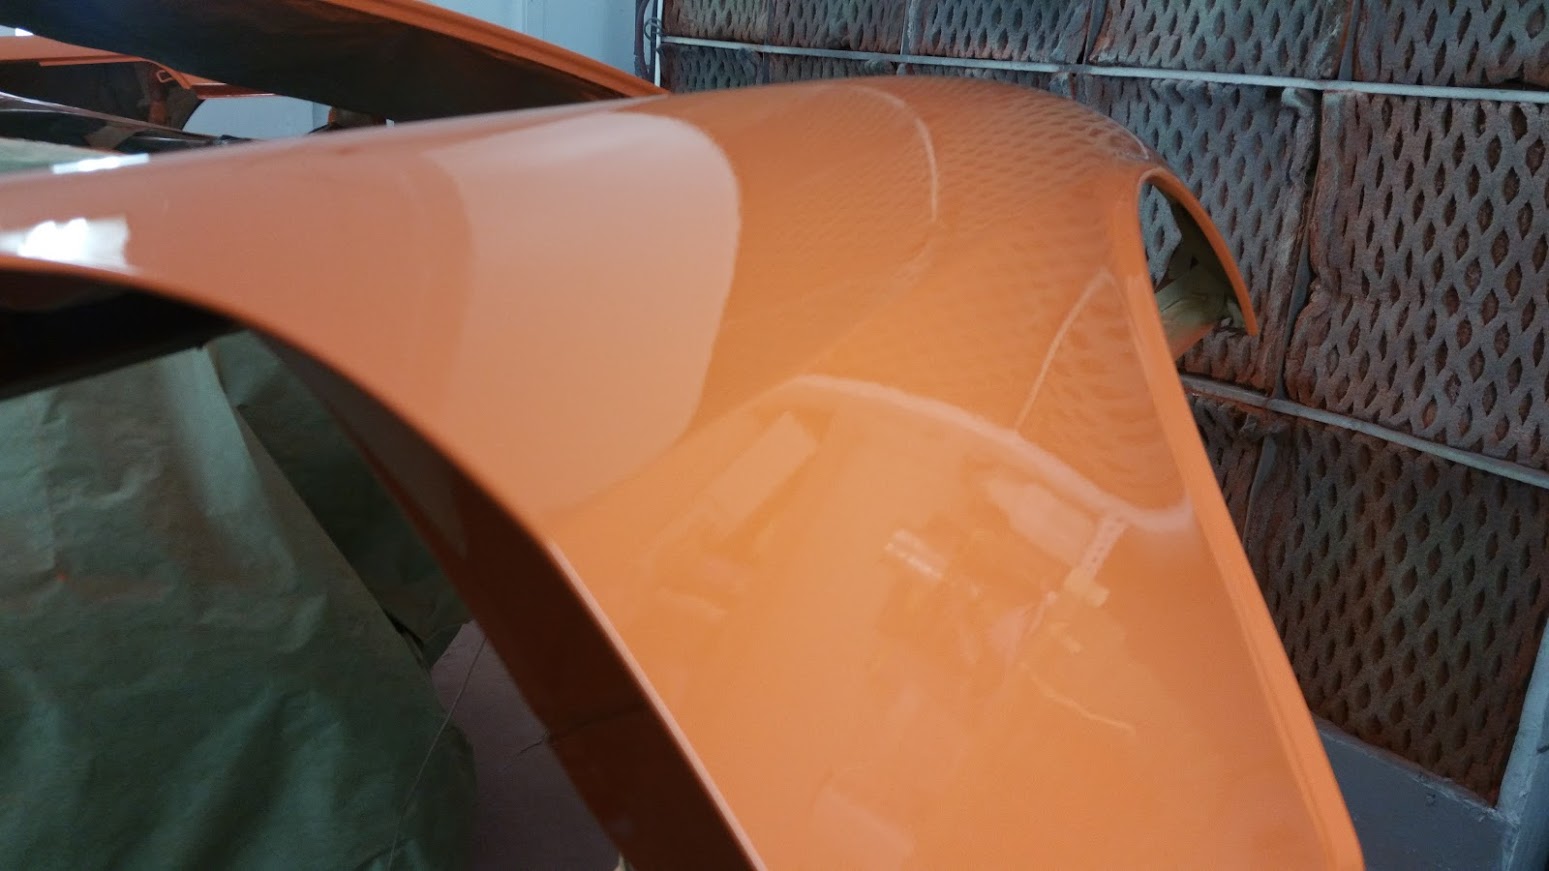
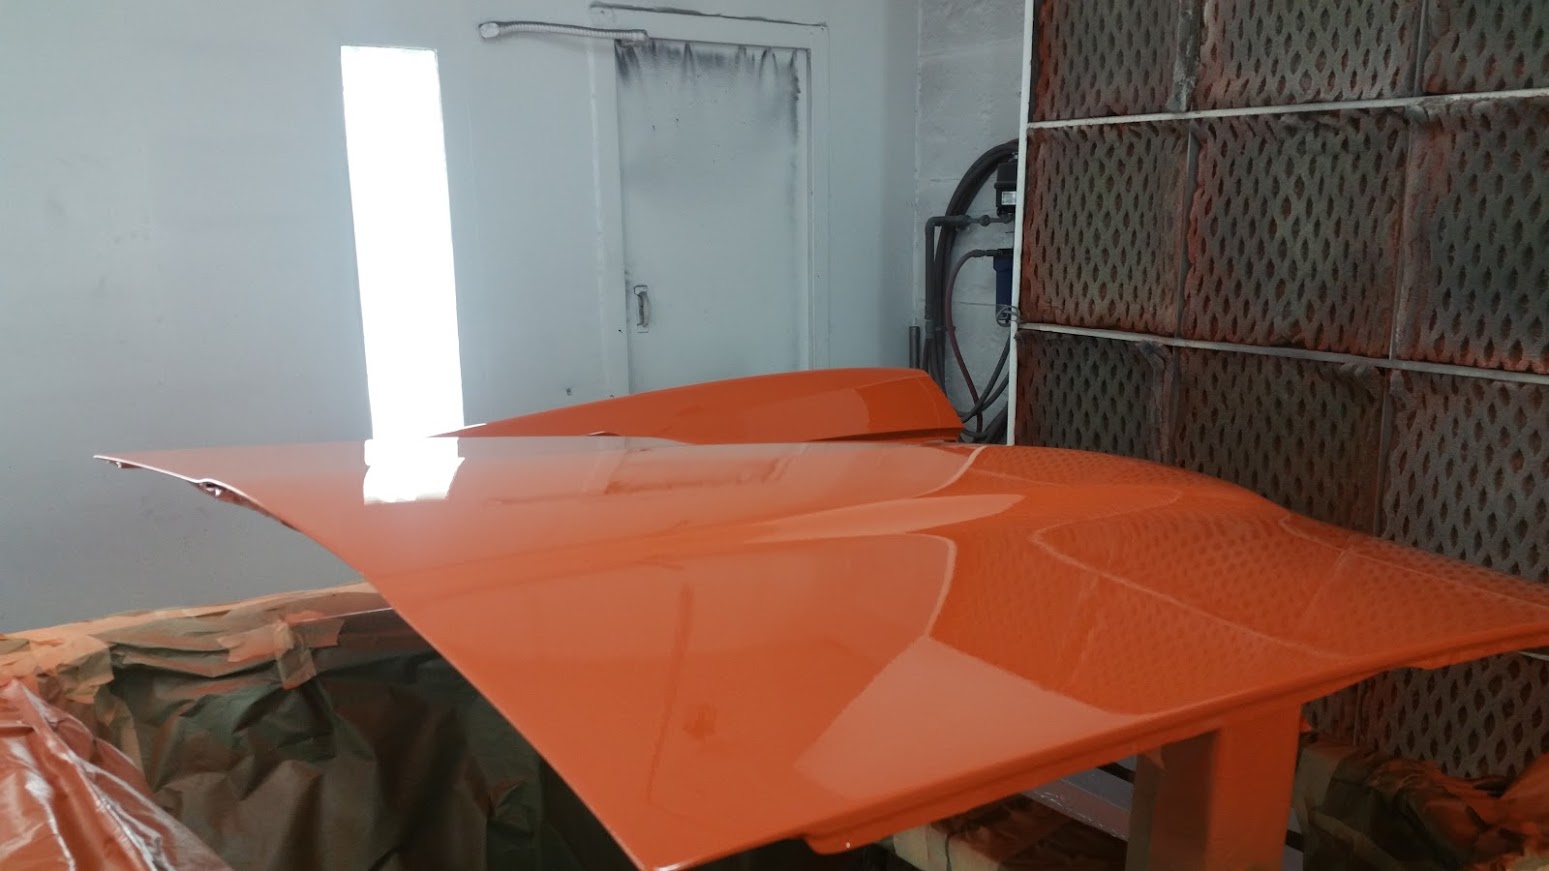
Pics from the paint shop. Color looks a little funny in some of the pics because of the lighting. I love the gloss finish. I guess we let this dry and then have it polished out and we should be ready to get back to my 'shop' for assembly. WooHoo