All Activity
- Past hour
-
 While the wiring diagram shows a fusible link at the alternator, I personally have never seen it in the wild. The output from the alternator goes to the battery through the ammeter. If you do not have continuity from the alternator output to the battery, that usually indicates the ammeter failed or the fusible link at the starter failed. In either case, the car would not start/run (unless it was hacked up by a previous owner).
 - Today
-
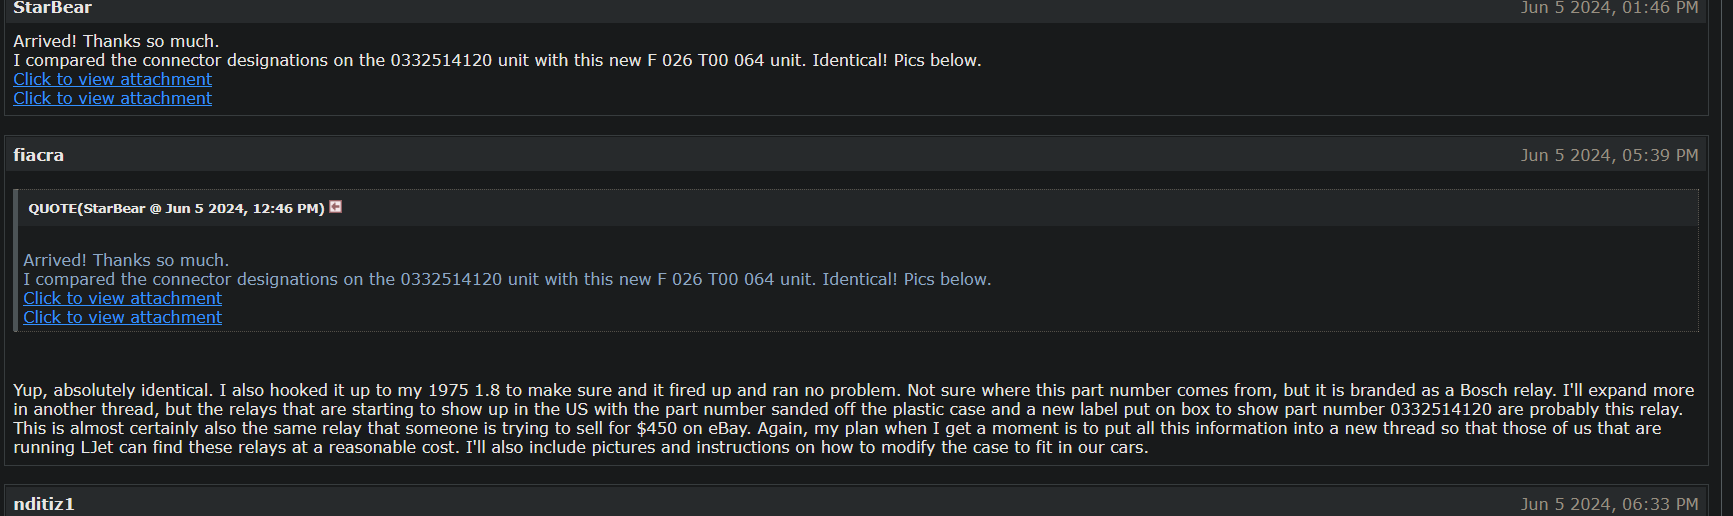
 Thats good to know. I went back to Jbugs website and saw that they did have the relay you posted but it was for California Models. I wonder if the same applies to the Z's? The pin layout and number appears to be the same. I'll have to see if I can find the diagrams Edit Did a little bit of digging and found this posted in the 914 forums. Seems like it worked for this guy. Last edit, The more and more I look, it appears that these two relays are in fact the same and correlate with many other bosch relays
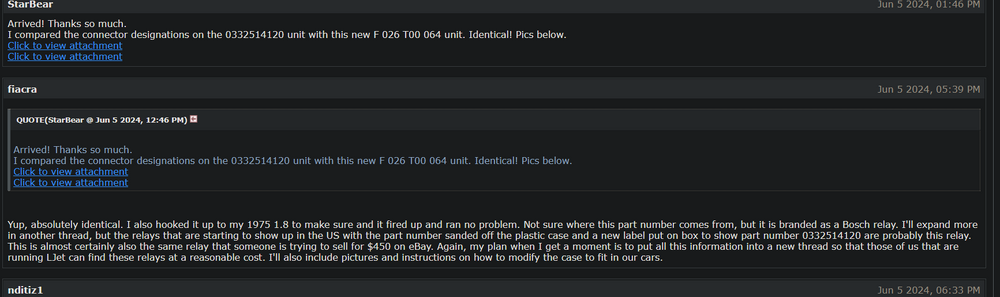


-
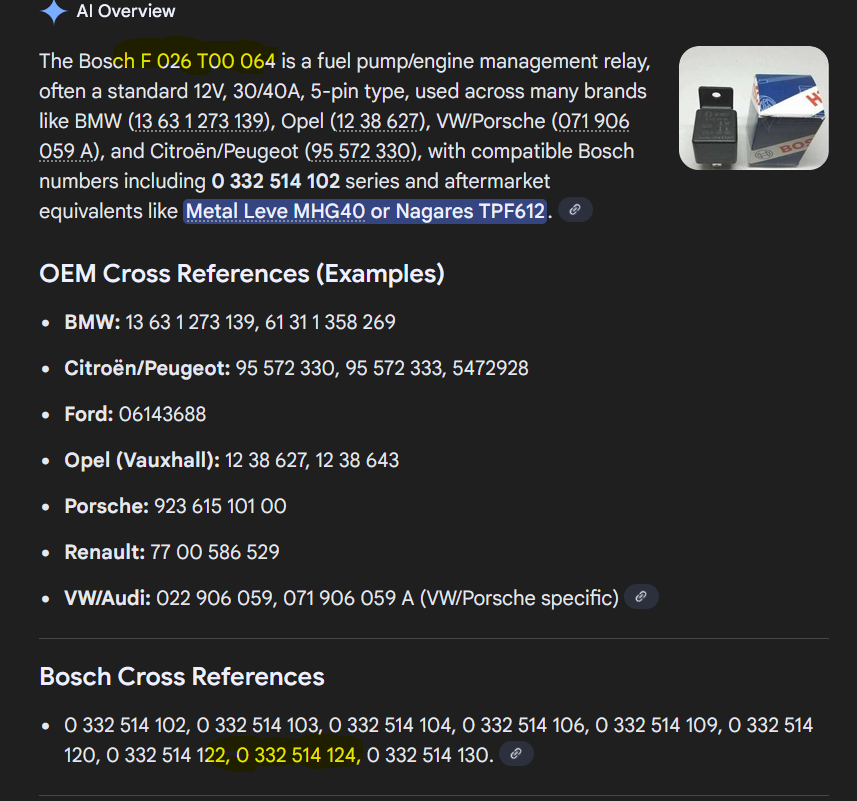
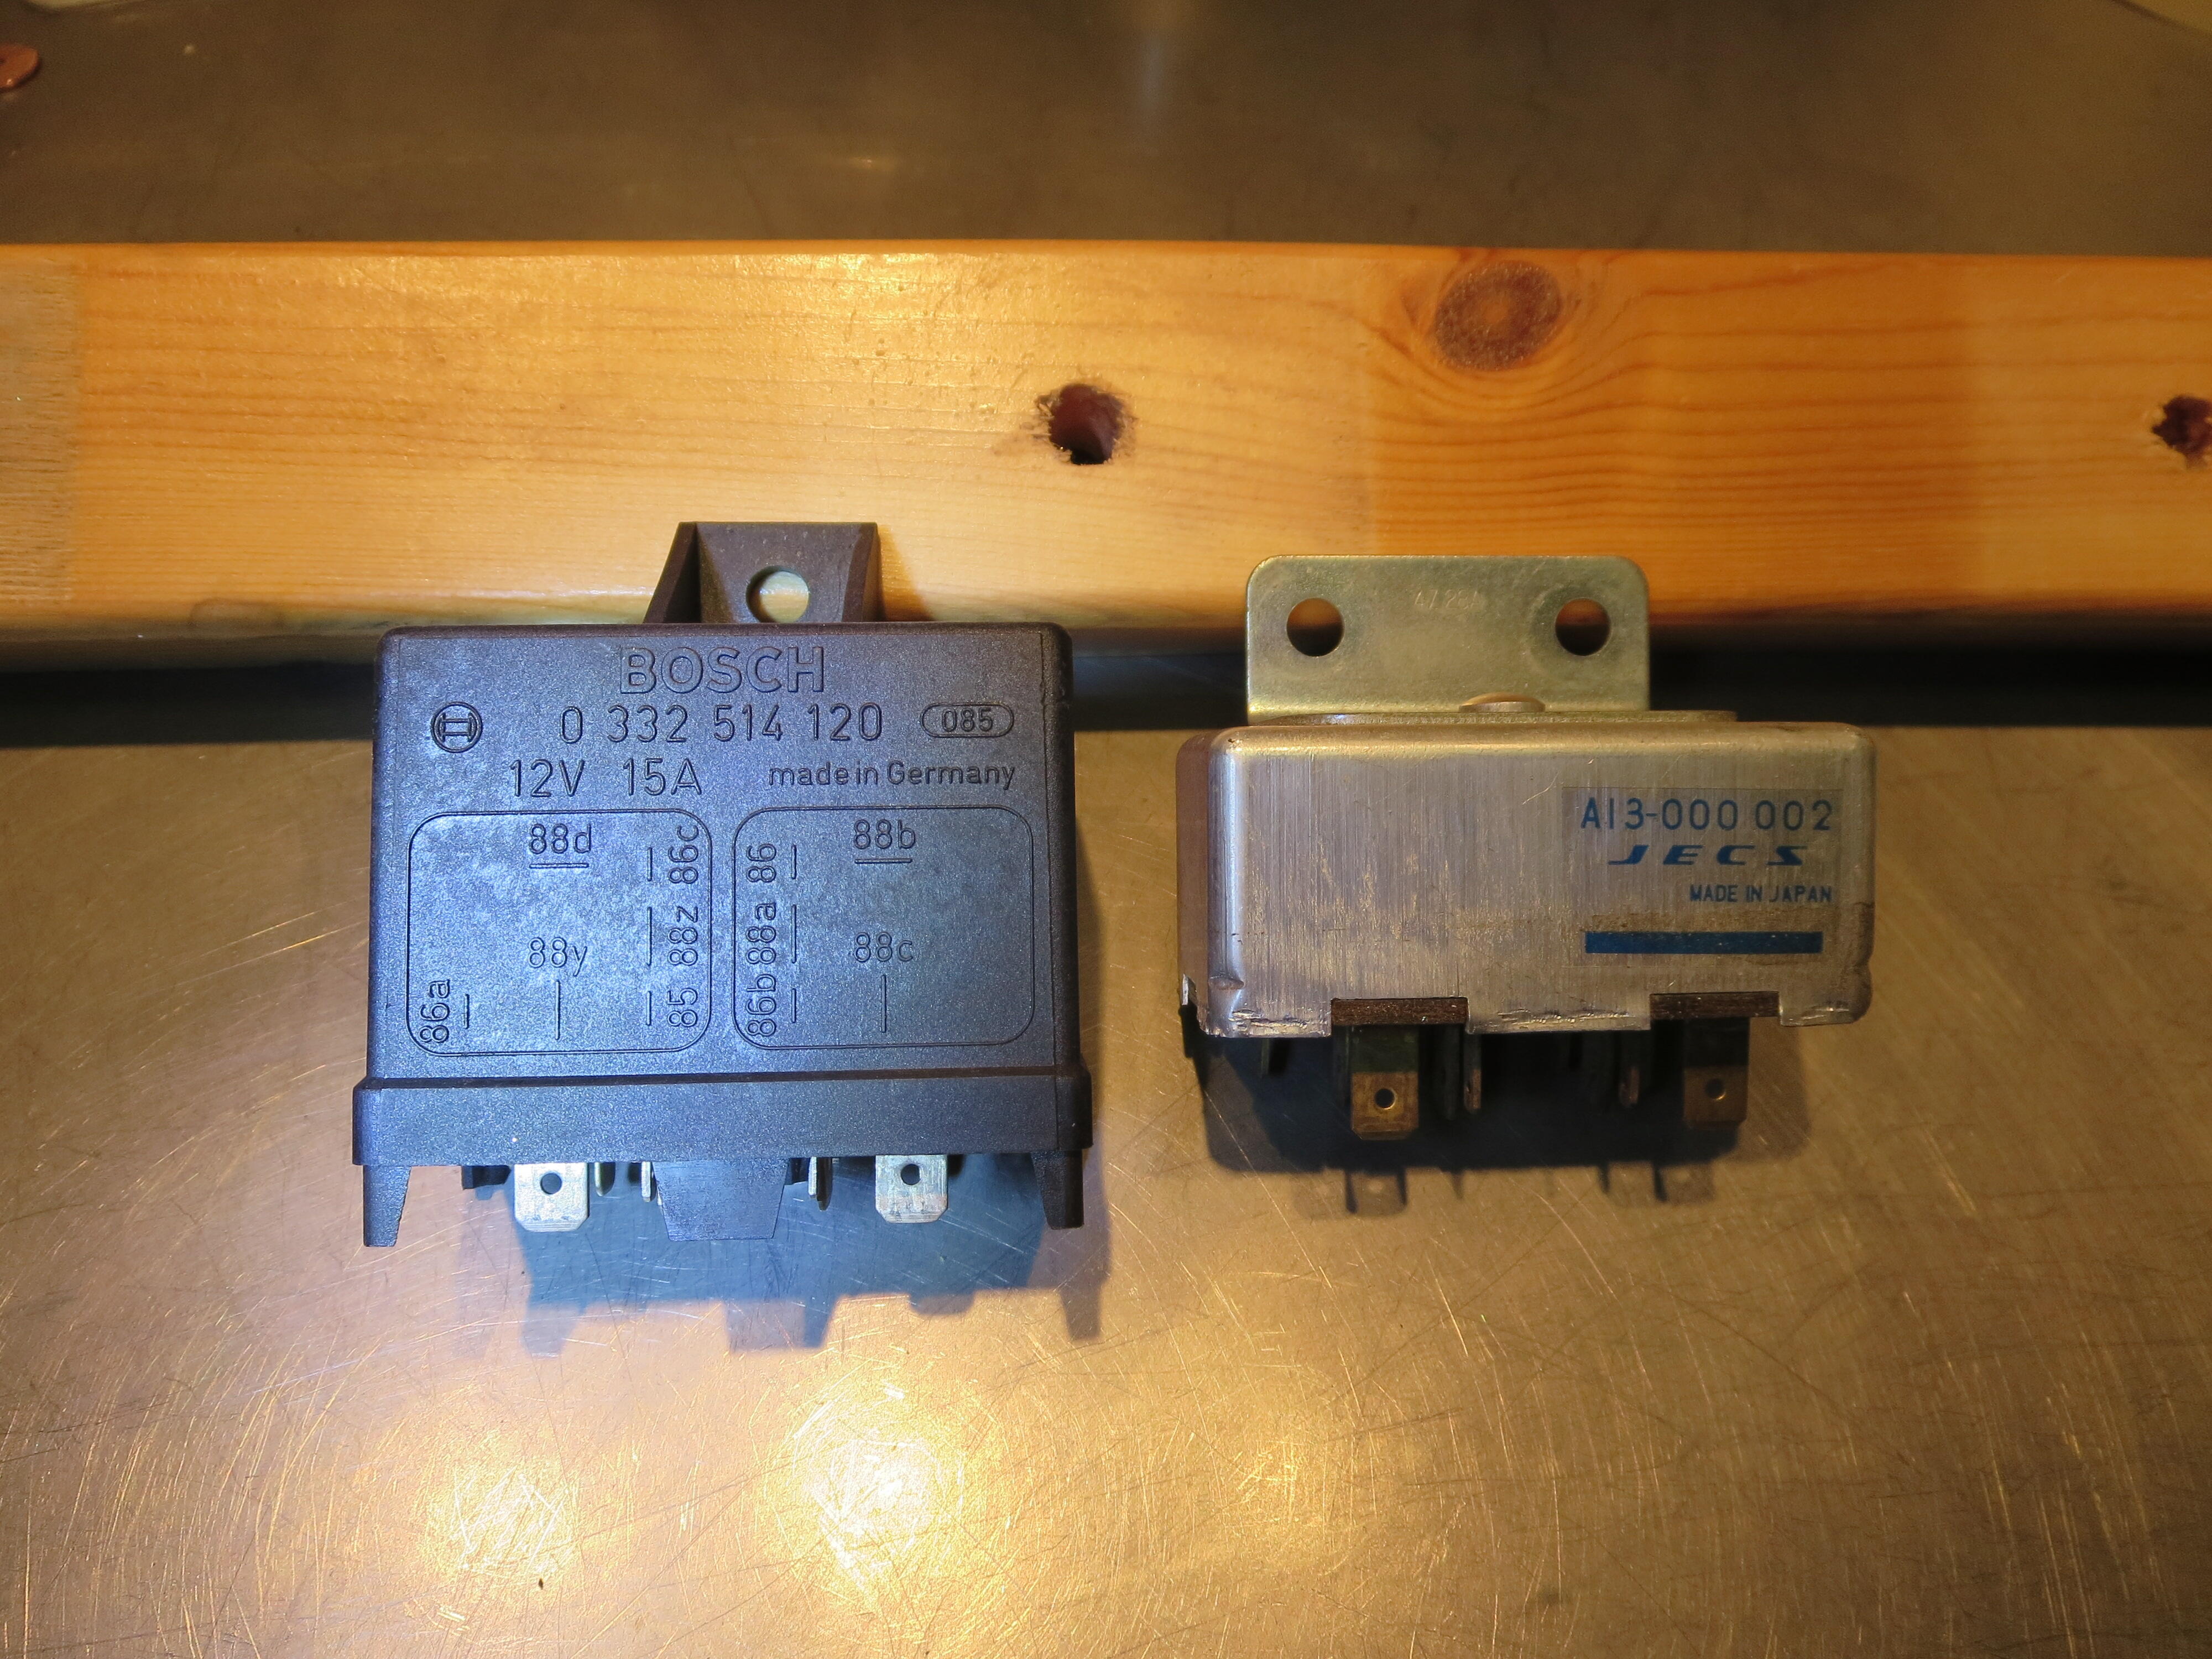
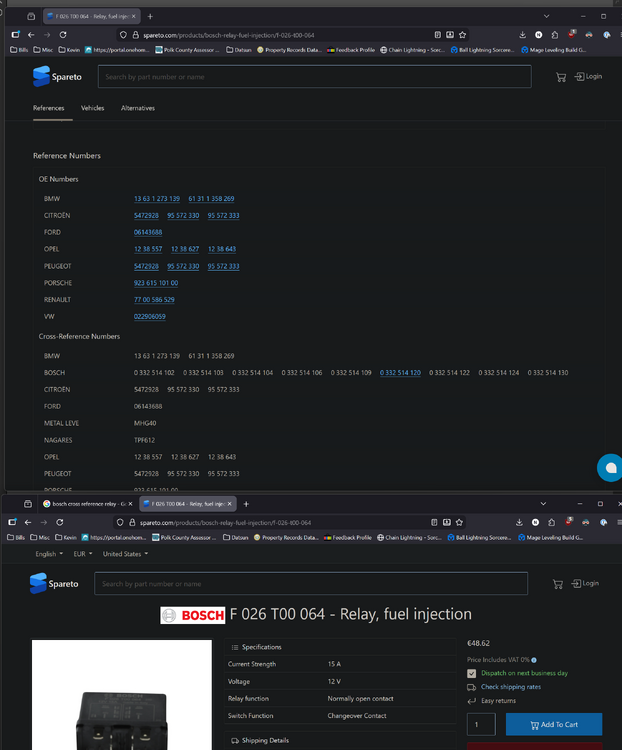
 Not sure that relay has the same function. It might need some wiring changes to get it to work. The correct bosch relay is 0332 514 120. Bosch have several variants for the VW's
-
 https://www.amazon.com/Zig-furniture-upholstery-tempered-sinuous/dp/B01FE3PSZE
 -
 I did get the alternator checked out atNAPA, tested good,,,,, so will put it back in the car. Is there a fusible link on the charging system? I will test for 12v at the t connector when I get back together. Gives me something to do on Tuesday after work. Thanks for the advice….
 -
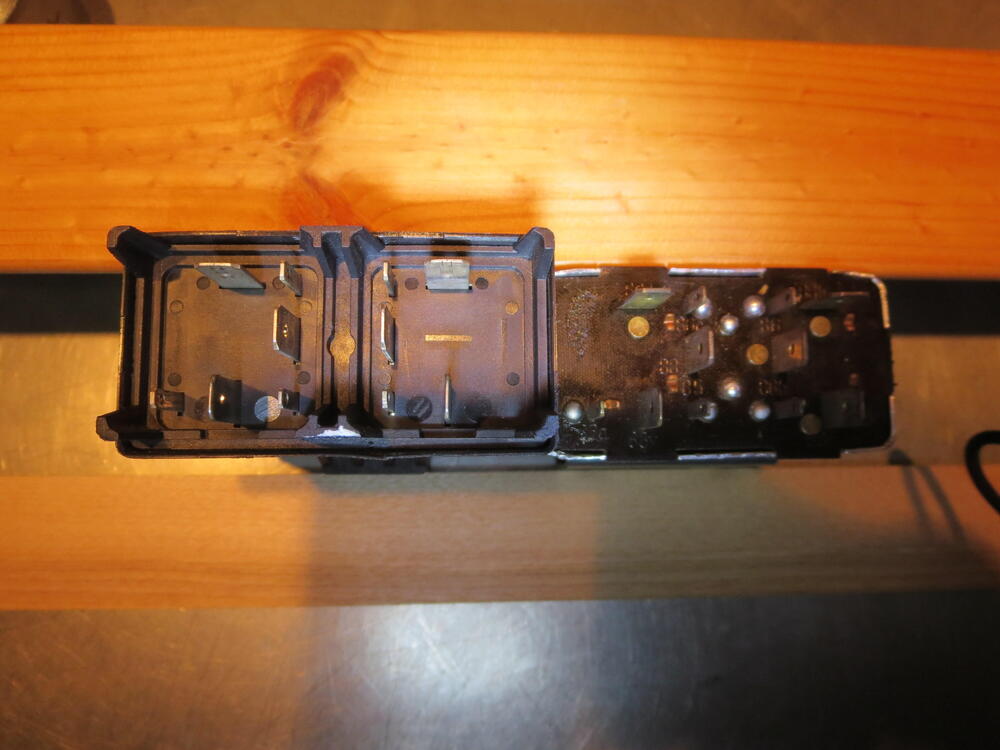
 Thanks for the information. So, let me know if my rewording here is accurate: there is a B/W wire going from the ignition switch (routed through the factory wiring harness) to the Ballast Resistor. On the other side of the Ballast Resistor, there is a G/W wire (which again is routed through the factory wiring harness) to the 4 prong tach connector in the dashboard. This is the "re-route" to the back of the Tach (not the B/W back to the Tach). At that connector, the G/W wire connects to one side of the loop in the Tach (white wire with black band which connects in some way with the white wire with the red band - thus the loop). Continuing... in the 4 prong connector, the white wire with the red band connects to another B/W wire. This B/W is again, routed through the factory wiring harness and is connected to Coil "+". So... I am not using the ballast resistor any longer. I have a CraneHi6 aftermarket ignition and a high voltage coil (for mulitiple spart discharge requirements of the ignition). So, if I take the B/W wire that was connected to the ballast resistor, and connect it directly to the Coil "+", I am simply moving the B/W wire which is coming from the ignition and moving it to the coil "+"... directly. Doing so frees up both the B/W and the G/W wires (which already are routed through the factory harness). Question: could I not just attach either of those freed up wires to coil "-"... and then connect whichever of those I choose to the single yellow wire for the Speed Hut gauge? At least that way, I don't have to route a stand alone wire... and I can repurpose one of the now "extra" wires already present. My 12/70 Tach connector (4 prong) definitely has a RL wire in it (I edited my post and added a picture of the connector). That wire is "supposed to be" green according to the wiring diagrams, but it isn't. No doubt, this is a difference when comparing "earlier" 240z's to later ones. I know the gauge lighting (IL = illumination?) is RL as well (both in the wiring diagram and in my car). So, yeah... that certainly added to my confusion.
 -

-

-

-
Yes, it can be checked, but there is a risk of shorting out the fusible link if the owner does not insulate the end of the alternator wire properly. I try to lay out the tests to minimize the chance of introducing another problem.
-
 Not sure what and red interior hardware springs you're referring to? I did get my seat foam from MSA and the leather seat upholstery from Interior Innovations. The seat foam is substantially cheaper at MSA vs from Interior Innovations.
 - Yesterday
-
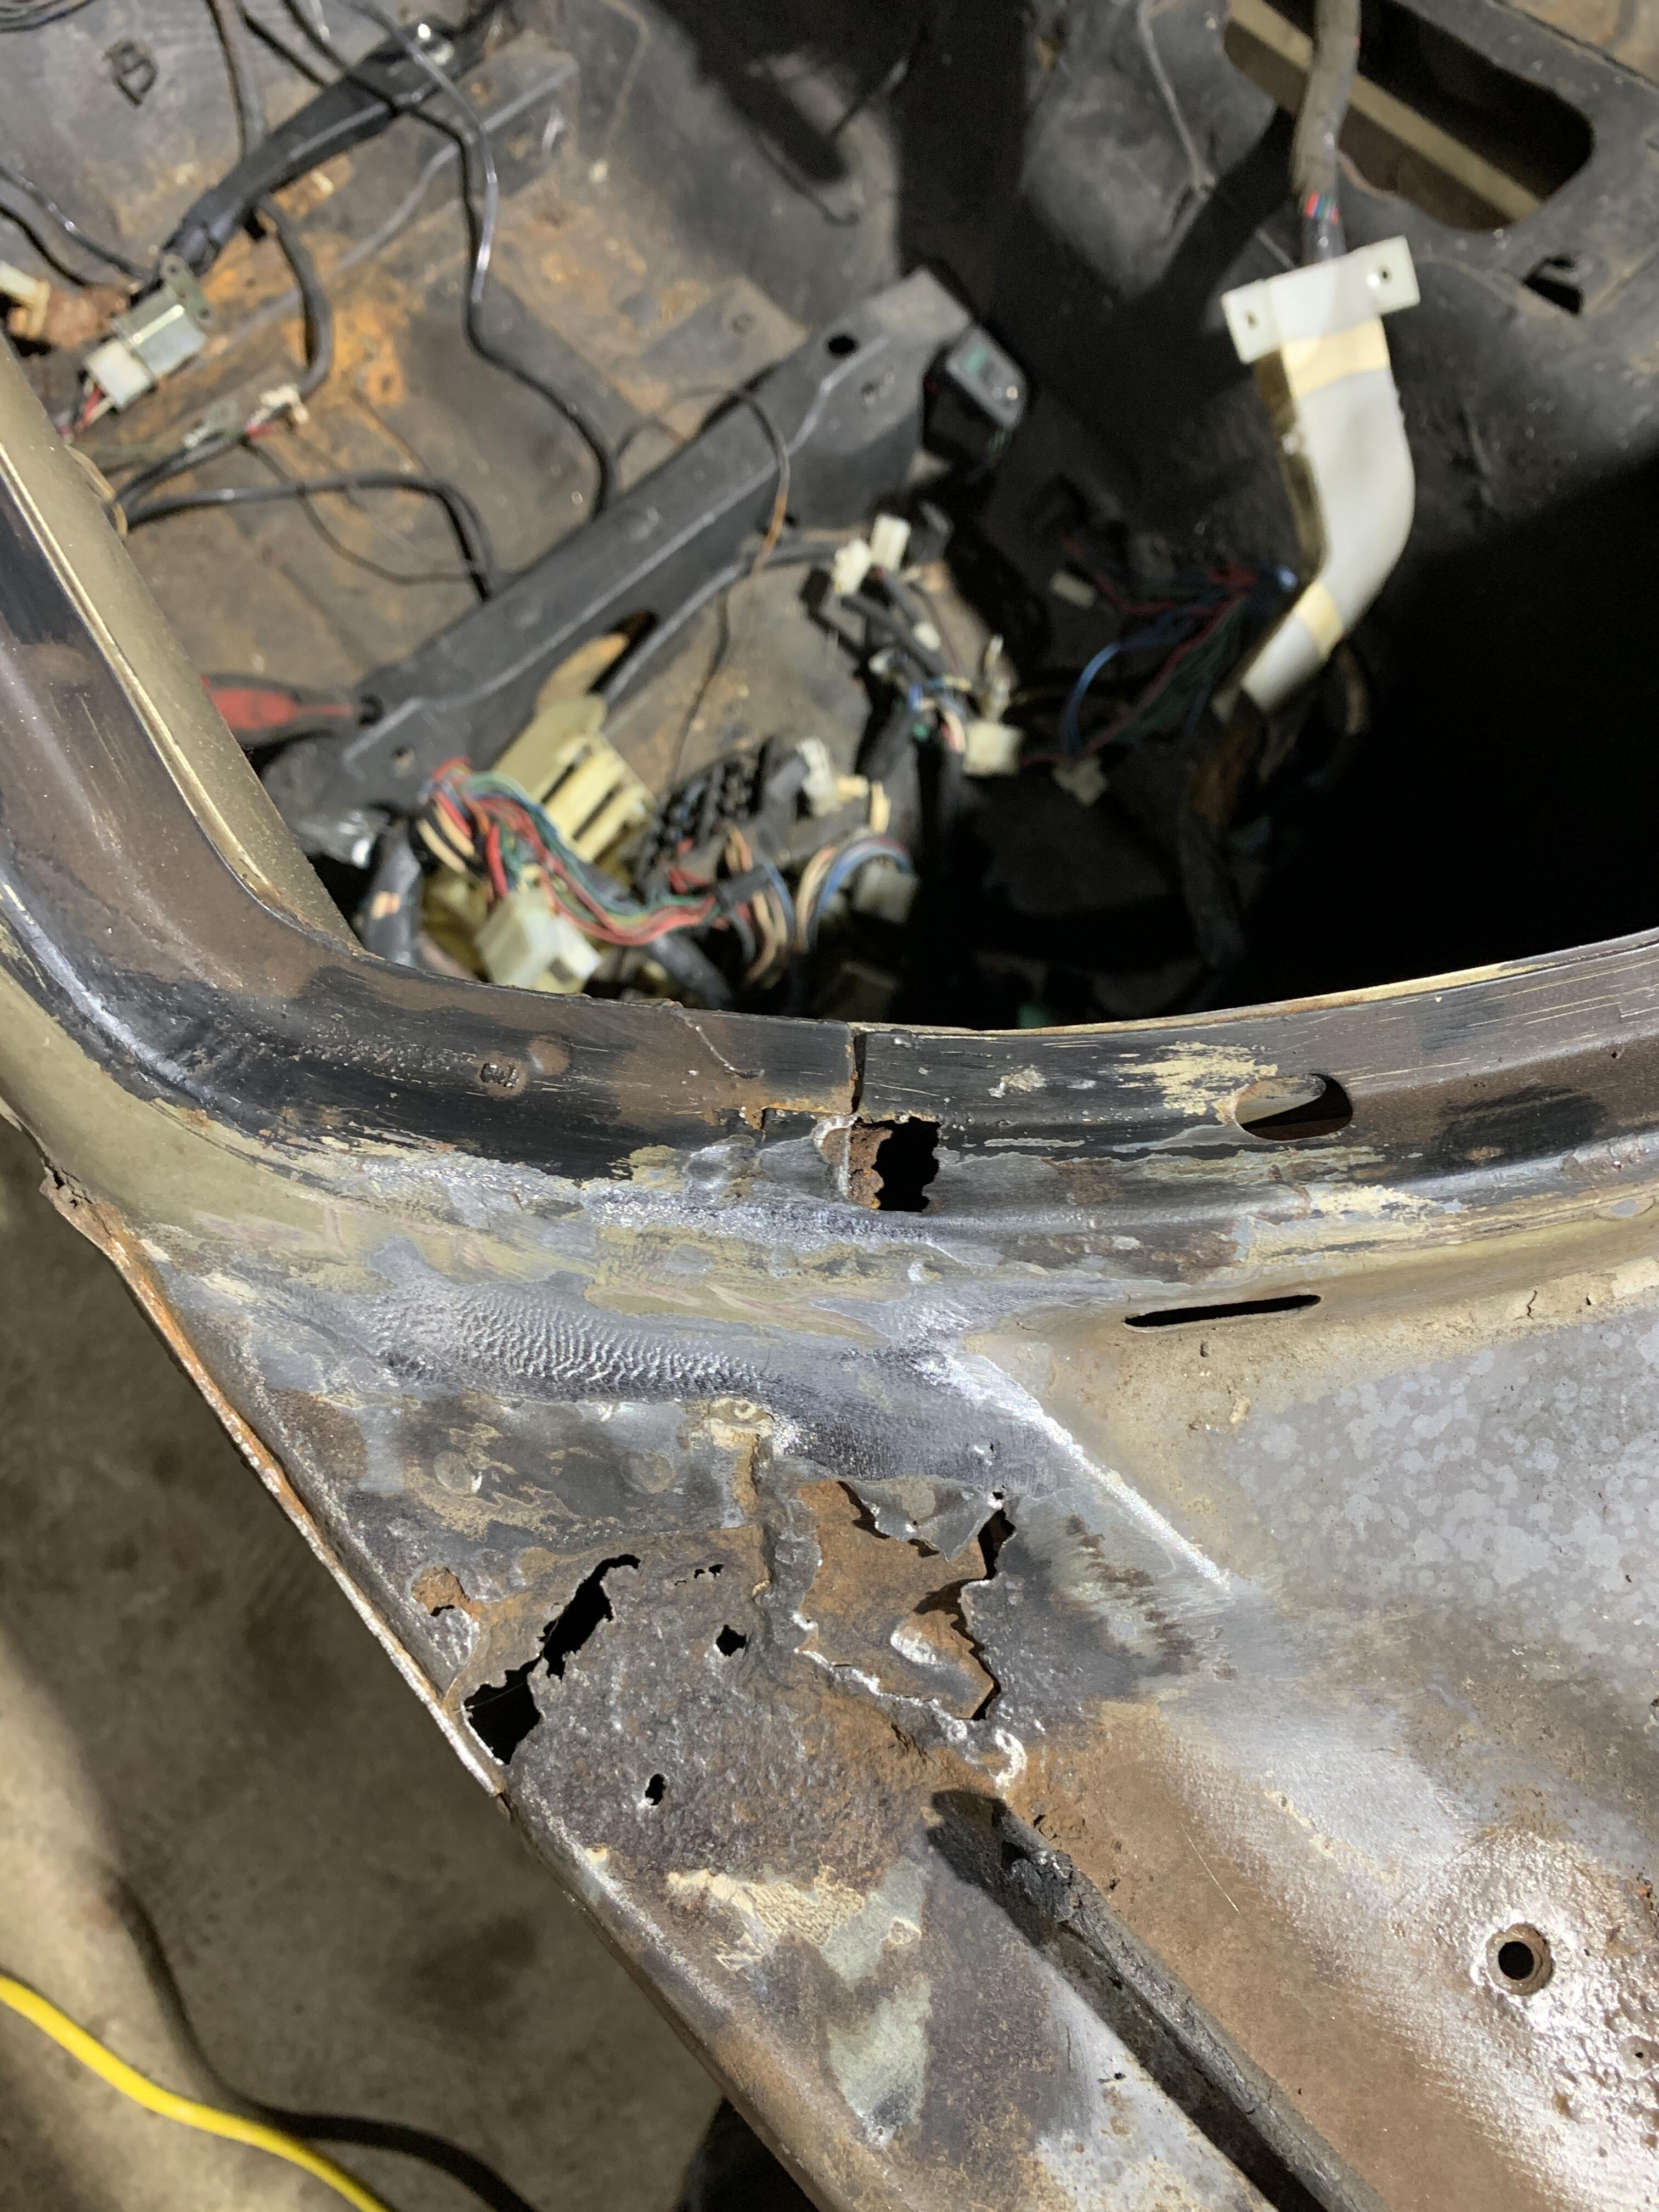
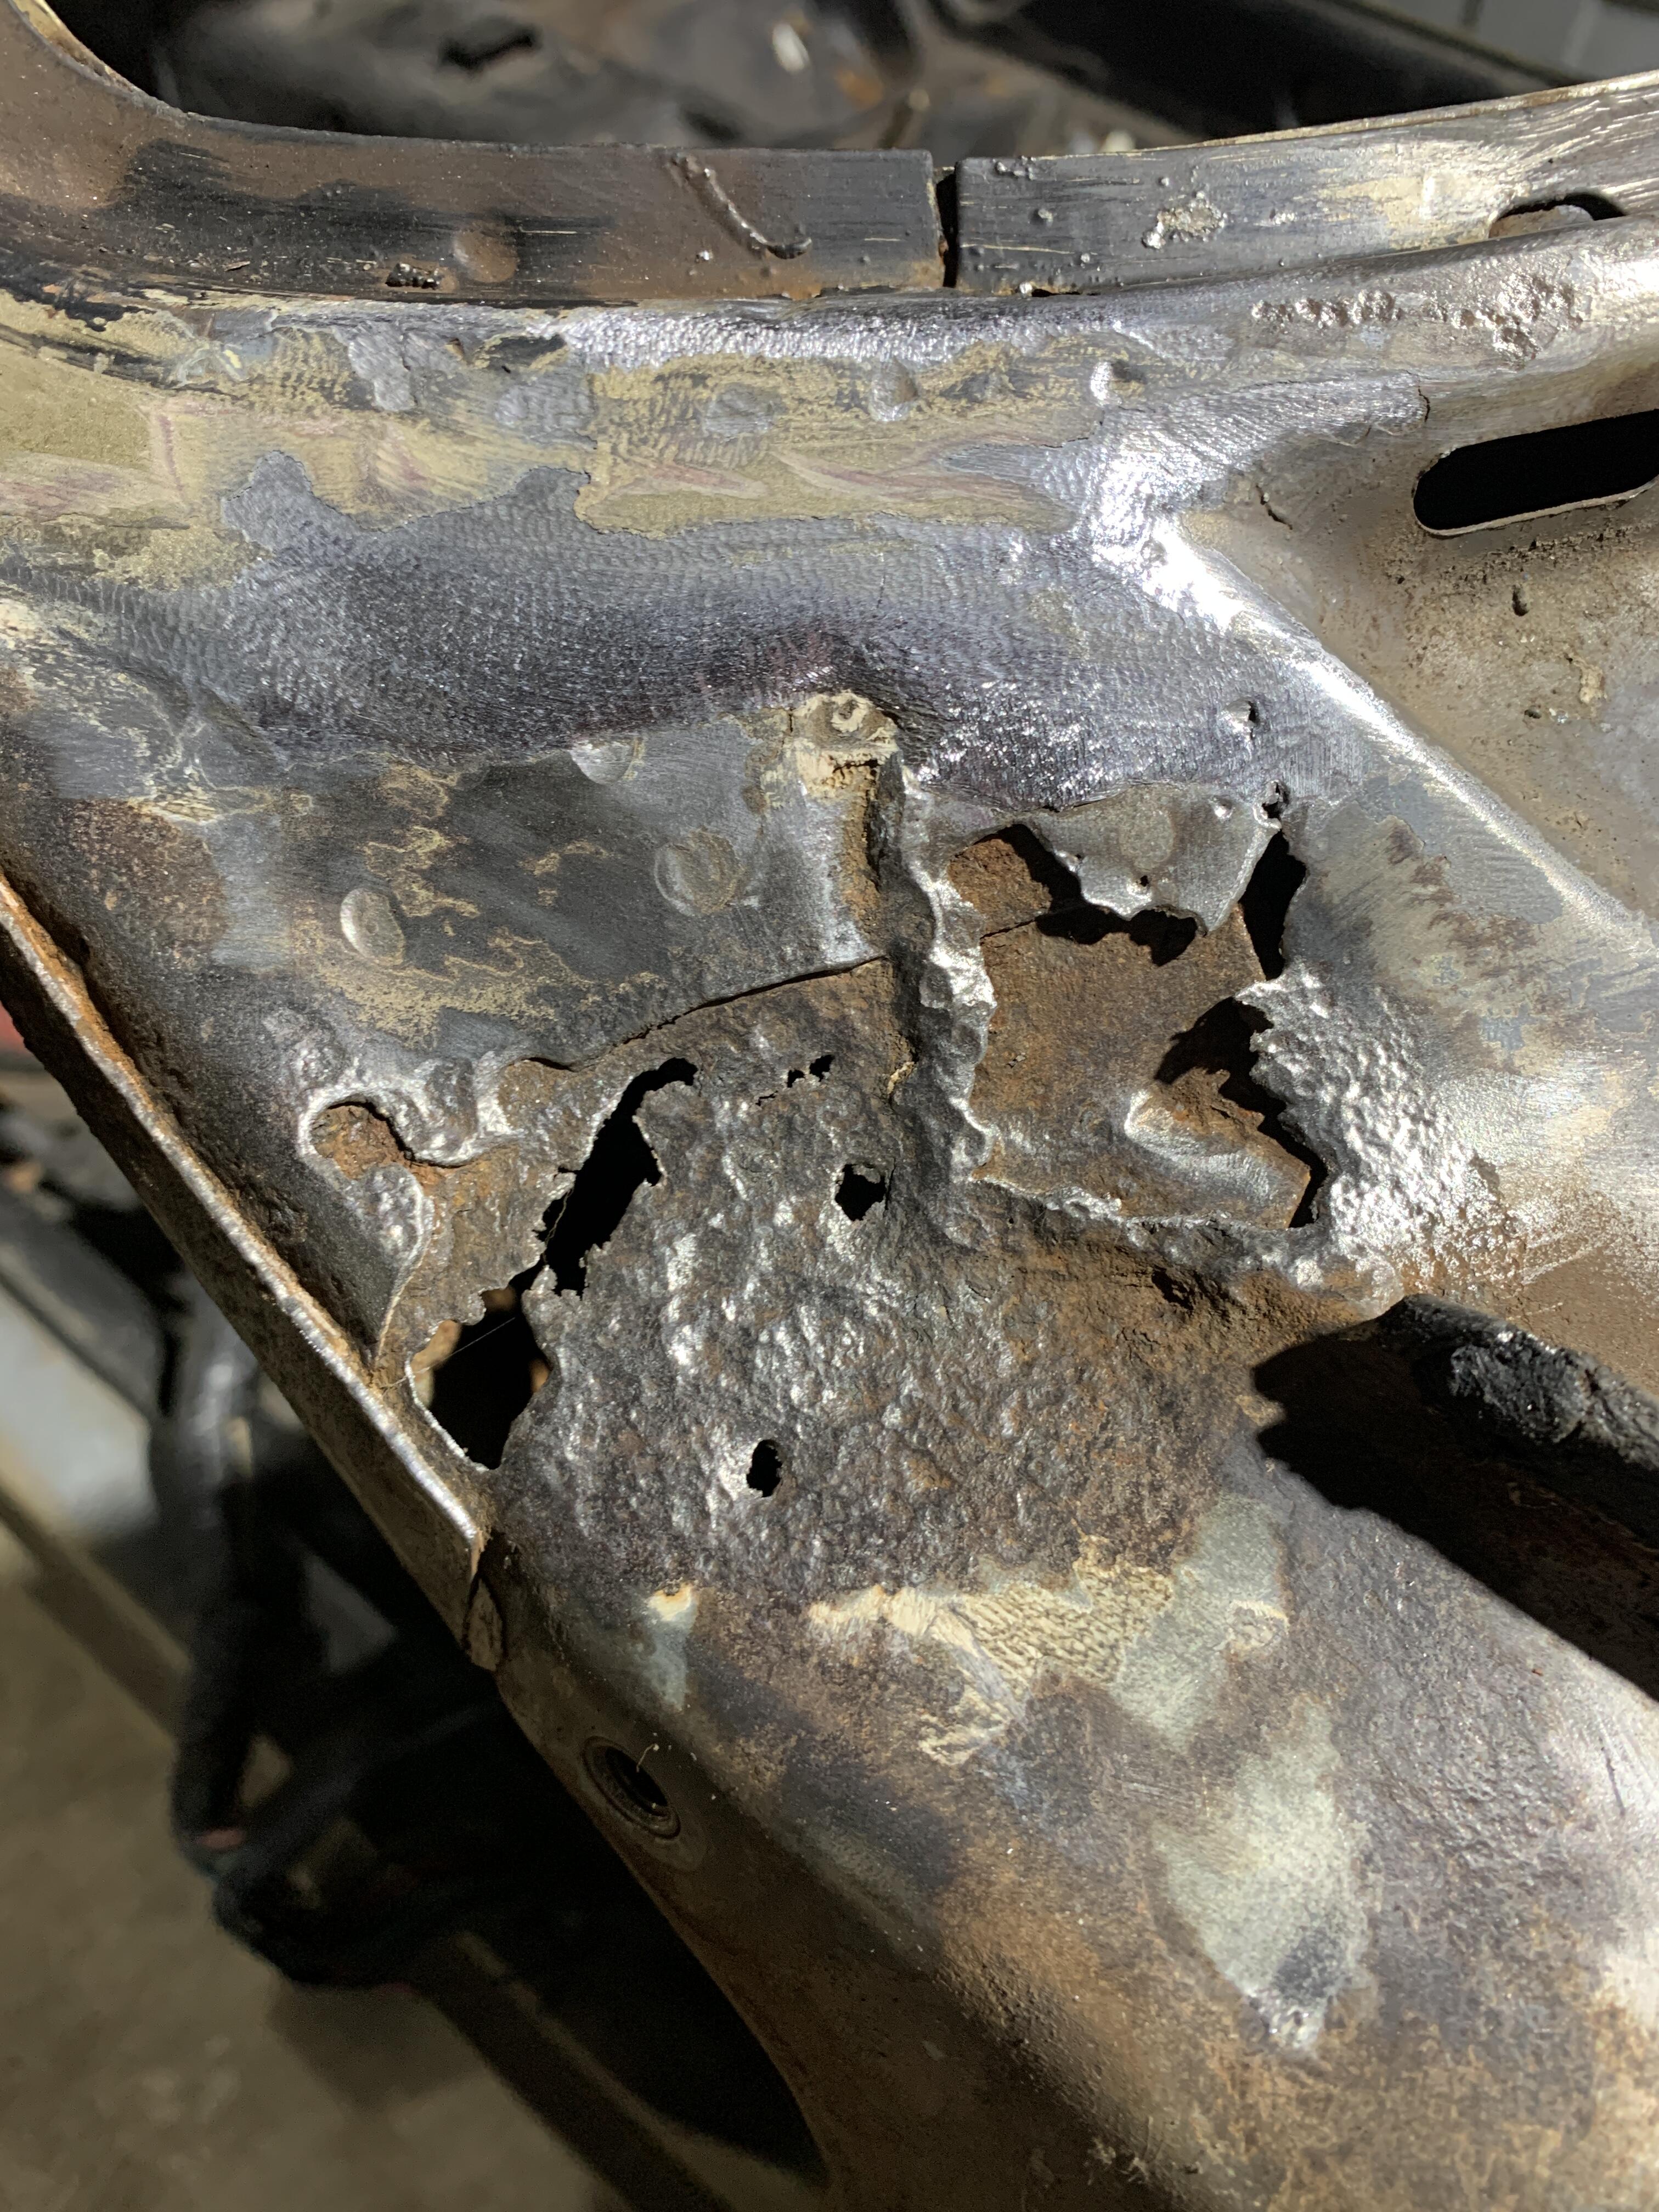
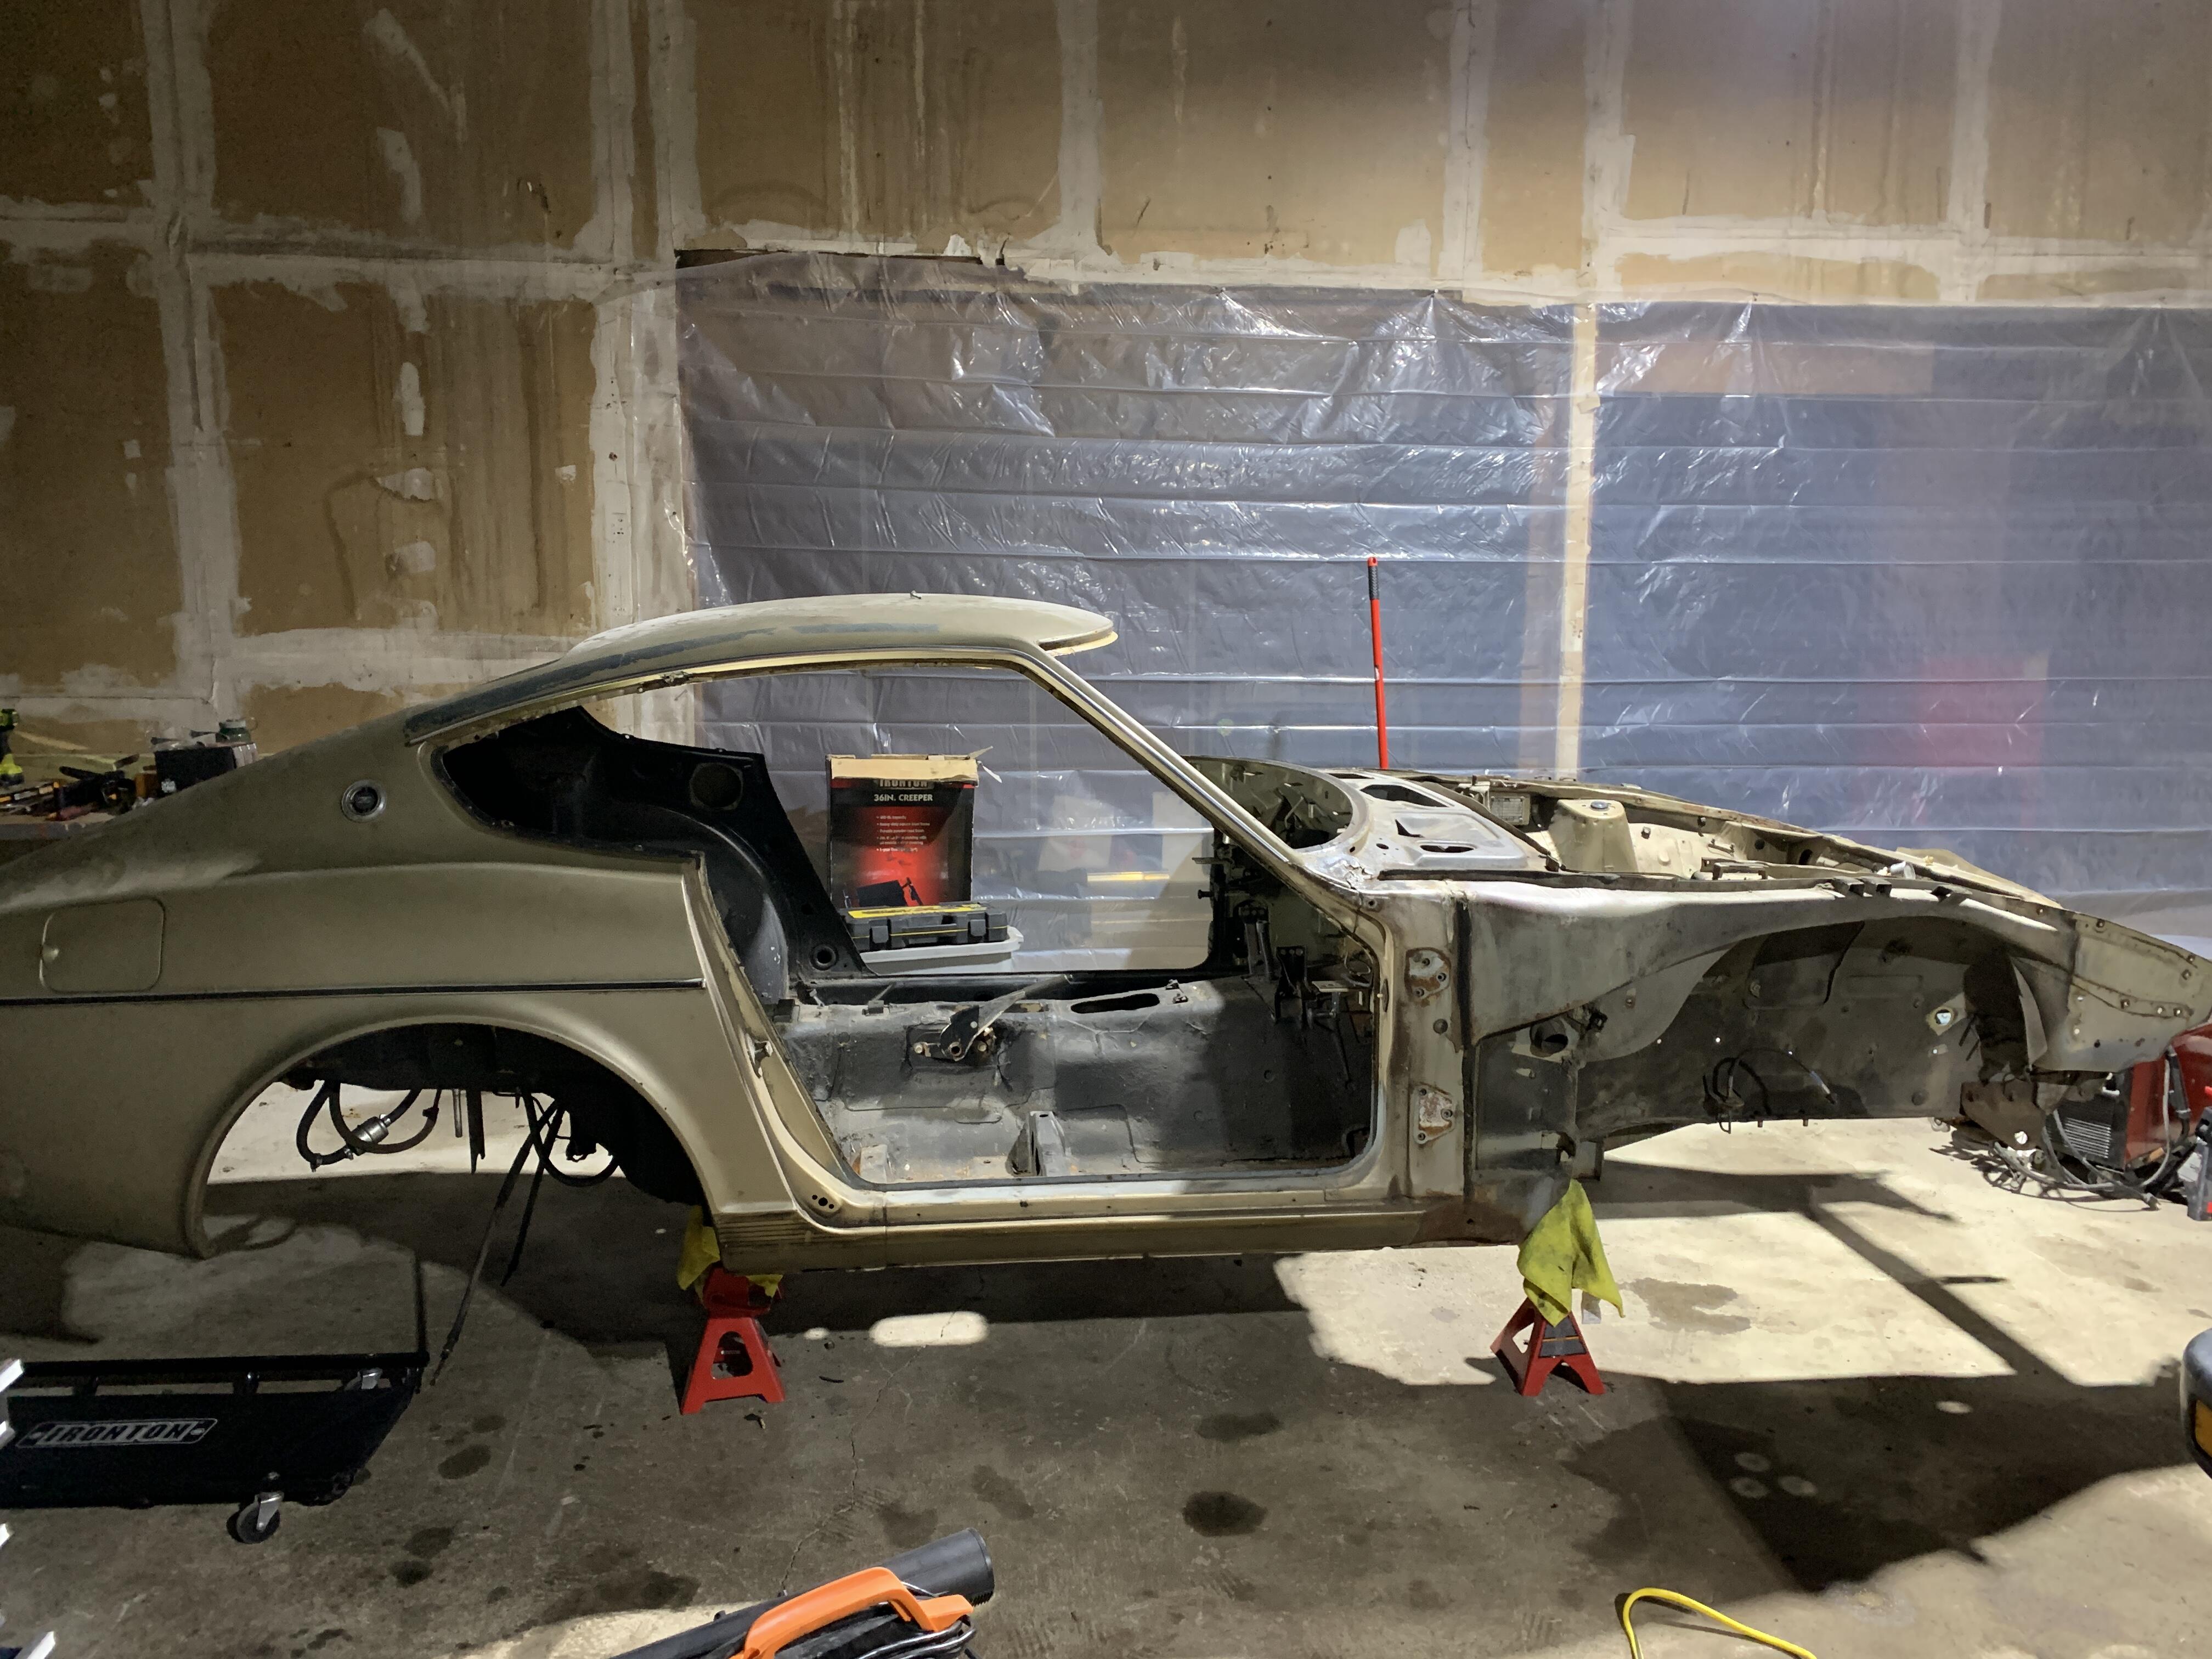
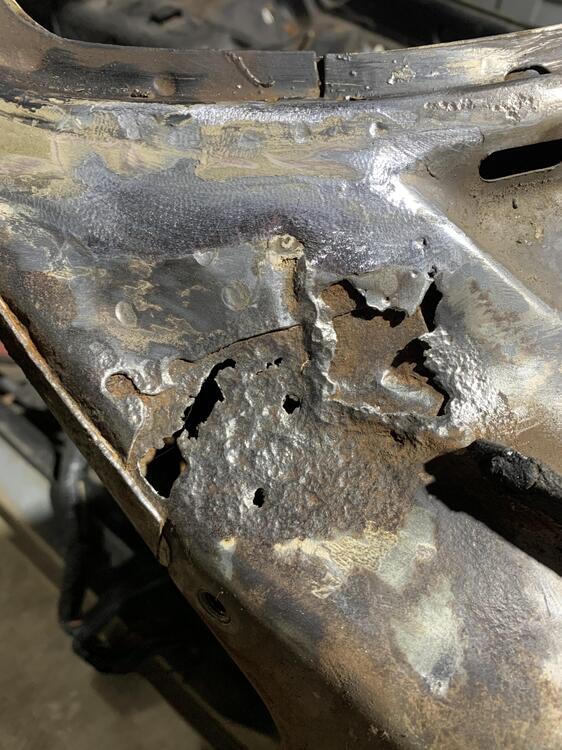
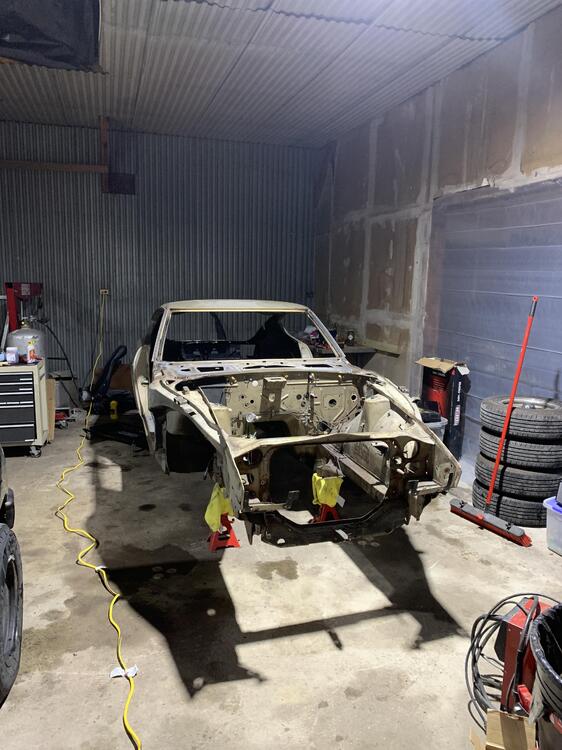
 Hey everyone, I’ve got a 1978 280Z that I’m in the process of restoring. The plan is to make it “OEM plus” with a 3.0 Rebello. I might start a build thread for fun but for now I have the chassis stripped down and am starting to tackle the rust areas. One area of rust that I hope the community could give some insight on is the area at the corner of the cowl that meets the inner fender and windshield. The car sat in a yard in the Conroe, TX area for years and I imagine rainwater pooled up and did its thing. Has anyone had rust here before and if so what would be the best way to repair it? I also noticed that the fresh air shaft/vent for the HVAC blower motor is pretty rotted out. How bad is it to remove the cowl sheetmetal welds and tackle it from above? I appreciate y’all’s time and any input to tackle these areas!
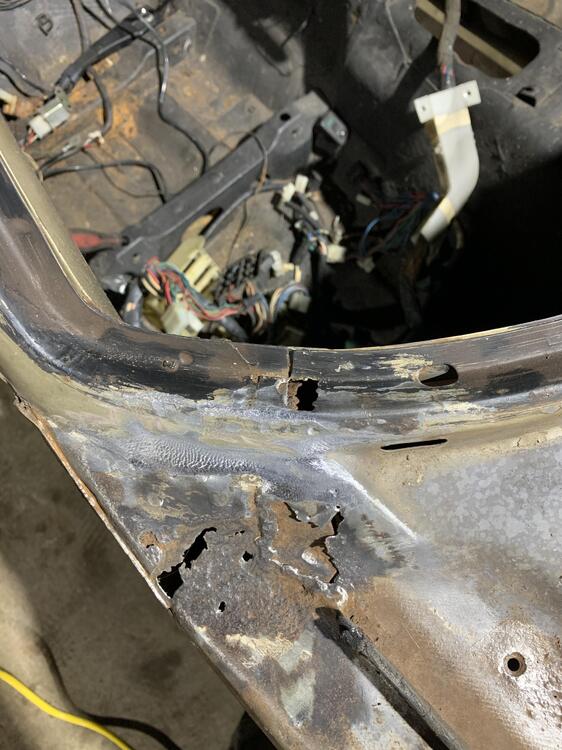

-
Bayside01 joined the community
-
 Not sure where you could get springs. Sorry.
 -

-
 Ah yes. The "right setup" would include proper harnessing (no cutting or splicing), relays to isolate the power, adequate drivers for the blubs, no flicker, and adequate cooling. Also my opinion of the right setup would make it look period-correct for the car. Overall, I believe the only real reason to consider LED is to provide more powerful light output for driving. There's no real power savings needed on a gas powered car unless maybe to support a lower rated alternator. In my case, I don't really need LED unless I just want to go down that path for fun. I also considered LED's for my Land Cruiser, because the light output is pretty weak. However, I also decided against it because I couldn't find many options that met my requirement above.
 -
 Without this the diode and alternator problems won't matter. No voltage, no charging. This can be checked with the alternator removed. Also, might as well check both pins. The top one should have battery voltage also.
 -

-
 Mechanic finally managed to get the 6 spark plugs working. All seem burning correctly with no fouling. Car does start misfiring if i turn the air conditioning on. Id like some advice on replacing the ac fan, condenser and compensator so i can have an efficient air conditioning system that cools well and does not make the needle move to 3/4. We are getting there!
-
Can you guide me where should i buy the red interior hardware springs and molded seats? I thought at msa i could get everyrhing!
-
-
 Hey Mike, can you please elaborate on what is "the right setup" in your mind? Are you referring to installing relays? What separates Morimoto bulbs from others? My need is reducing electrical load in the system (headlight switch connector is already partially melted) while maintaining reasonable light output with minimal fuss. The idea of using a low-current, high-output LED bulb instead of installing extra wiring and relays is very appealing to me. Very curious to get these parts and try them out for myself! If my $100 experiment doesn't work, then it's on to other solutions. ;)
 -
 M Hutch joined the community
 -
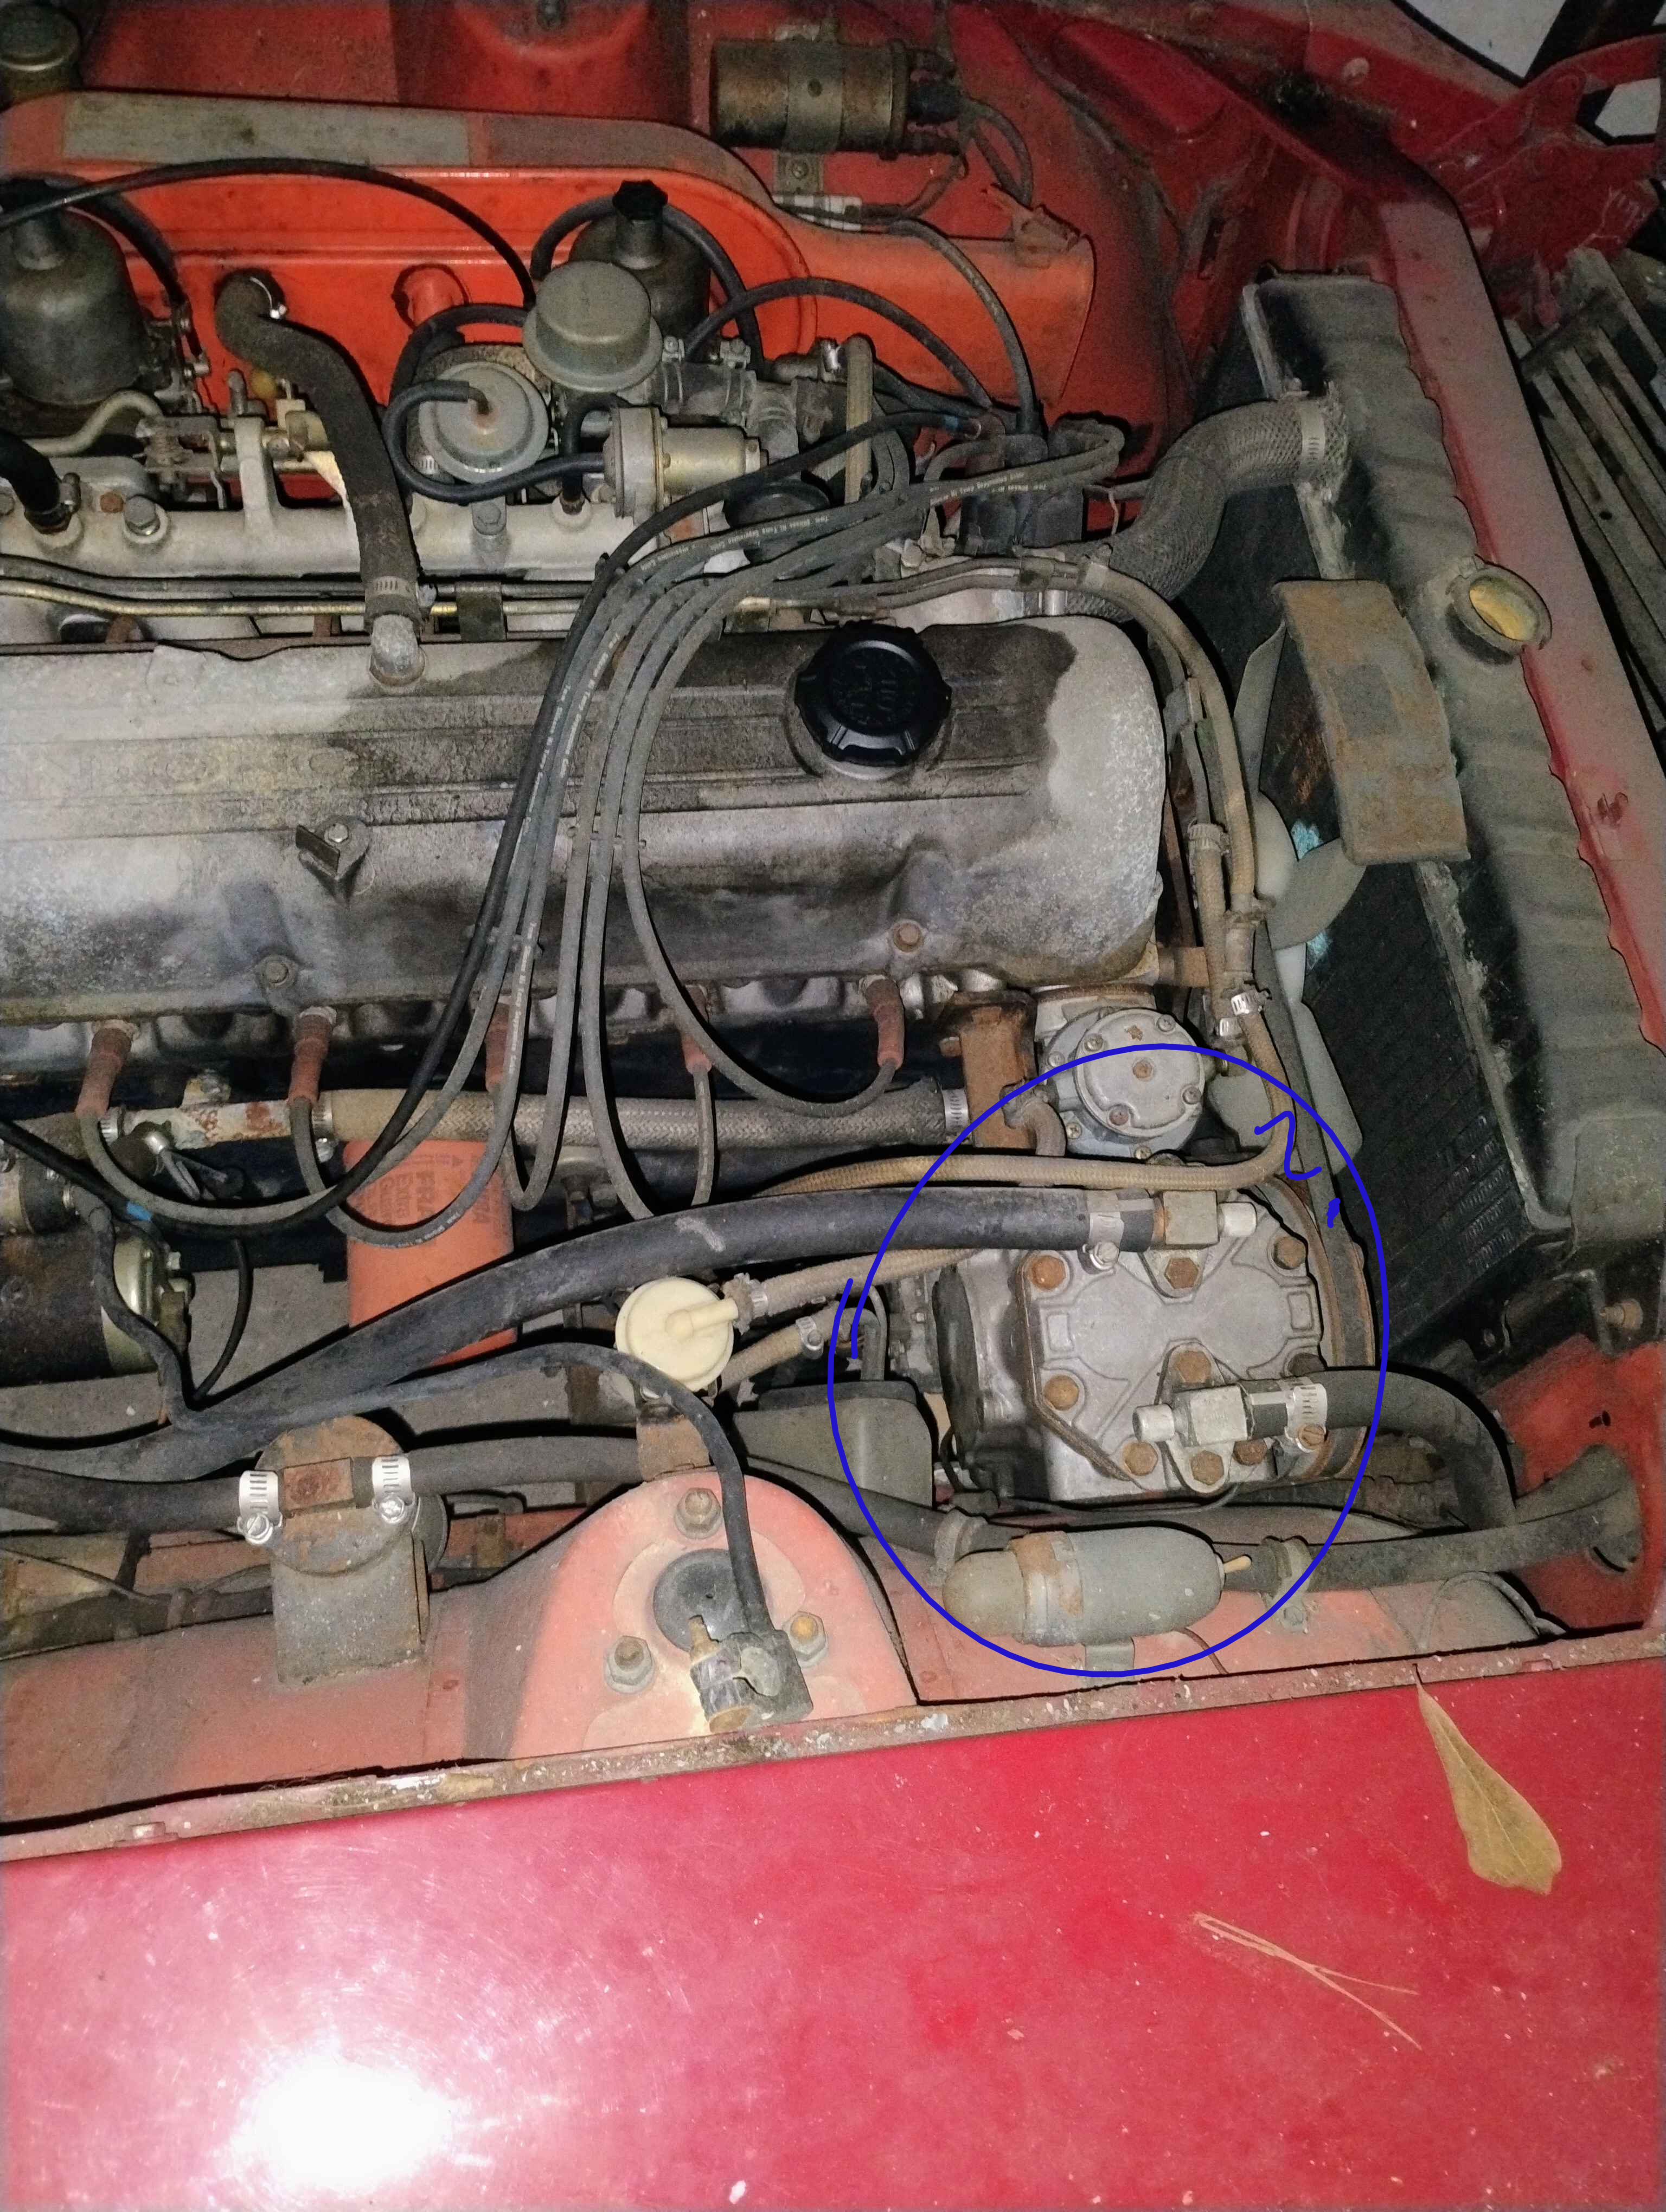
The York compressor is very heavy and as @siteunseen mentioned, the compressor mounting bracket makes it very difficult to change the fuel pump. I had the same set-up installed on my '71 a few months after buying it. But, years later, removed it all and replaced with a modern rotary compressor and mount. I still have my York installation instructions and compressor mounting bracket on a shelf.
-

-

-
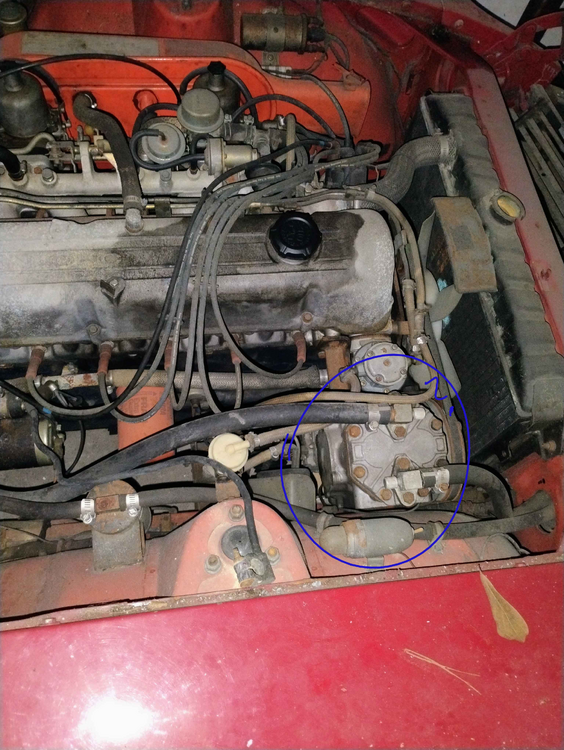
I'm not much of a car person, so the resources I know of to reach out to are... low. There's 2 Datsun 240Zs in my garage and, while neither run, one is a bit closer than the other. Figured I'd use one as an example for the other, in case I took something apart and didn't remember how to put it back together. Though, one has a part that I'm having trouble naming and it's not there on every image I've seen for the car online.