Topics Last Week
Showing topics, images, events and files posted in for the last 7 days.
- Past hour
-
 I am working on installing a set of Speed Hut gauges in my 240z (my "track car"). Manufactured in 12/70, the wiring for the tach doesn't match the wiring diagrams I see online. Other than power and ground and illumination wires, the Speed Hut tachometer has a single yellow wire that is supposed to be hooked up to the "coil -". It seems to me, after looking at the stock wiring, I have to not only figure out which wire is "coil -", but I think I may have to connect some of the other stock wires together in order to "bypass" the stock tach. Color legend is: blue = L yellow = Y Black = B Red = R White = W Green = G Ignoring the wires for gauge illumination, I am looking specifically at a 4 prong connector for the stock tach. Here is what I am looking at... on the left are four wires from the harness that are in the 4 prong connector, and on the right are the four wires coming from the tach that are in the 4 prong connector: Harness wiring Description Connection Tachometer wiring Description RL red with blue stripe ---- YR yellow with red stripe GW green with white stripe ---- W white (with black band on it) B black ---- B black BW black with white stripe ---- W white (with red band on it) Additionally, I am running a Crane HI6 (multiple spark discharge) ignition which also has tachometer adapter hooked into the circuit. The ignition and adapter were previously in use and worked perfectly with the stock tach. The wiring for the ignition and adapter has been untouched since the car ran. What I need help with: Which wire is the negative from the coil? Which, if any, wires do I have to jumper together with the stock tachometer no longer in place? My guesses are: Black - connect the Speed Hut yellow wire to the black wire in the 4 prong connector Connect (jump) the green with white stripe wire and the black with white strip wire (to bypass the stock tachometer) But, I am not sure. And don't know what to do with the last of the four wires (red with blue stripe at the four prong connector).
 - Today
-
 Thanks for the replies...... I did let the battery charge overnight, and it is reading 12.8V with the meter. Tested it with my harbor freight battery tester, and it tested at 750 cold cranking amps. I pulled the Diode plug and tested it with a meter, it looks correct, shorted on the two pins, and diode tested fine on the other two pins. It does look a little melted on the top of the white plastic top... When I start up the car, and at different revs.......the battery voltage stays constant, so thinking no output on the alternator. I might yank the alternator out tonight and take it to Auto Zone and have it tested.........IF it's bad, I wonder how Motorsport Auto will deal with the warranty, it there is one......... So, do you guys go looking for a new alternator or roll the dice with a rebuilt one?
 - Yesterday
-
 Planning to swap an R200 into my Series 1 car (12/70 build date) and am looking for the mustache bar, front diff mount and insulator and the rear transverse link mount from a later 280Z that came with the R200.
 -
-
 Awe man this is a trap!
 -
 S30 parts are rare and expensive. Not enough competition or volume of sales to keep the price down.
 -
 that makes sense
 -
 This is the other name and email used during the email communications with Sully. Phaedra Rosengarth armychick44@hotmail.com He sent several pictures of the new tank and a few pictures of a partially restored tank that he allegedly was working on.
 -

- Last week
-
 For sale are 3 280zx gauge clusters (without clocks). One is for a right hand drive. I make no claim as to the function of the 2 gauges per cluster, but they should be good. Asking $15 plus shipping If interested contact me @ ron@zclocks.com
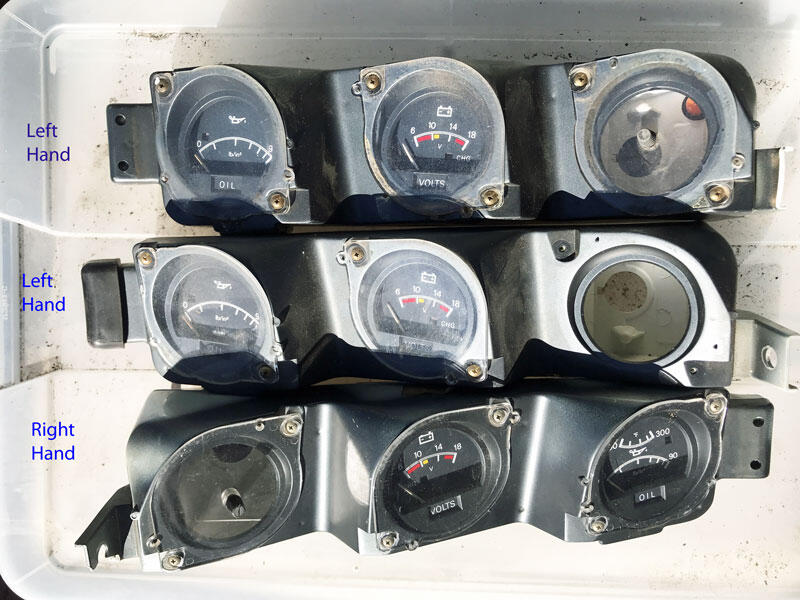
-
 The reason I mess up when talking about ChatGPT with my colleagues on campus…
-
 This bot is not like the others. The link actually leads to a real business. In Dubai.
-
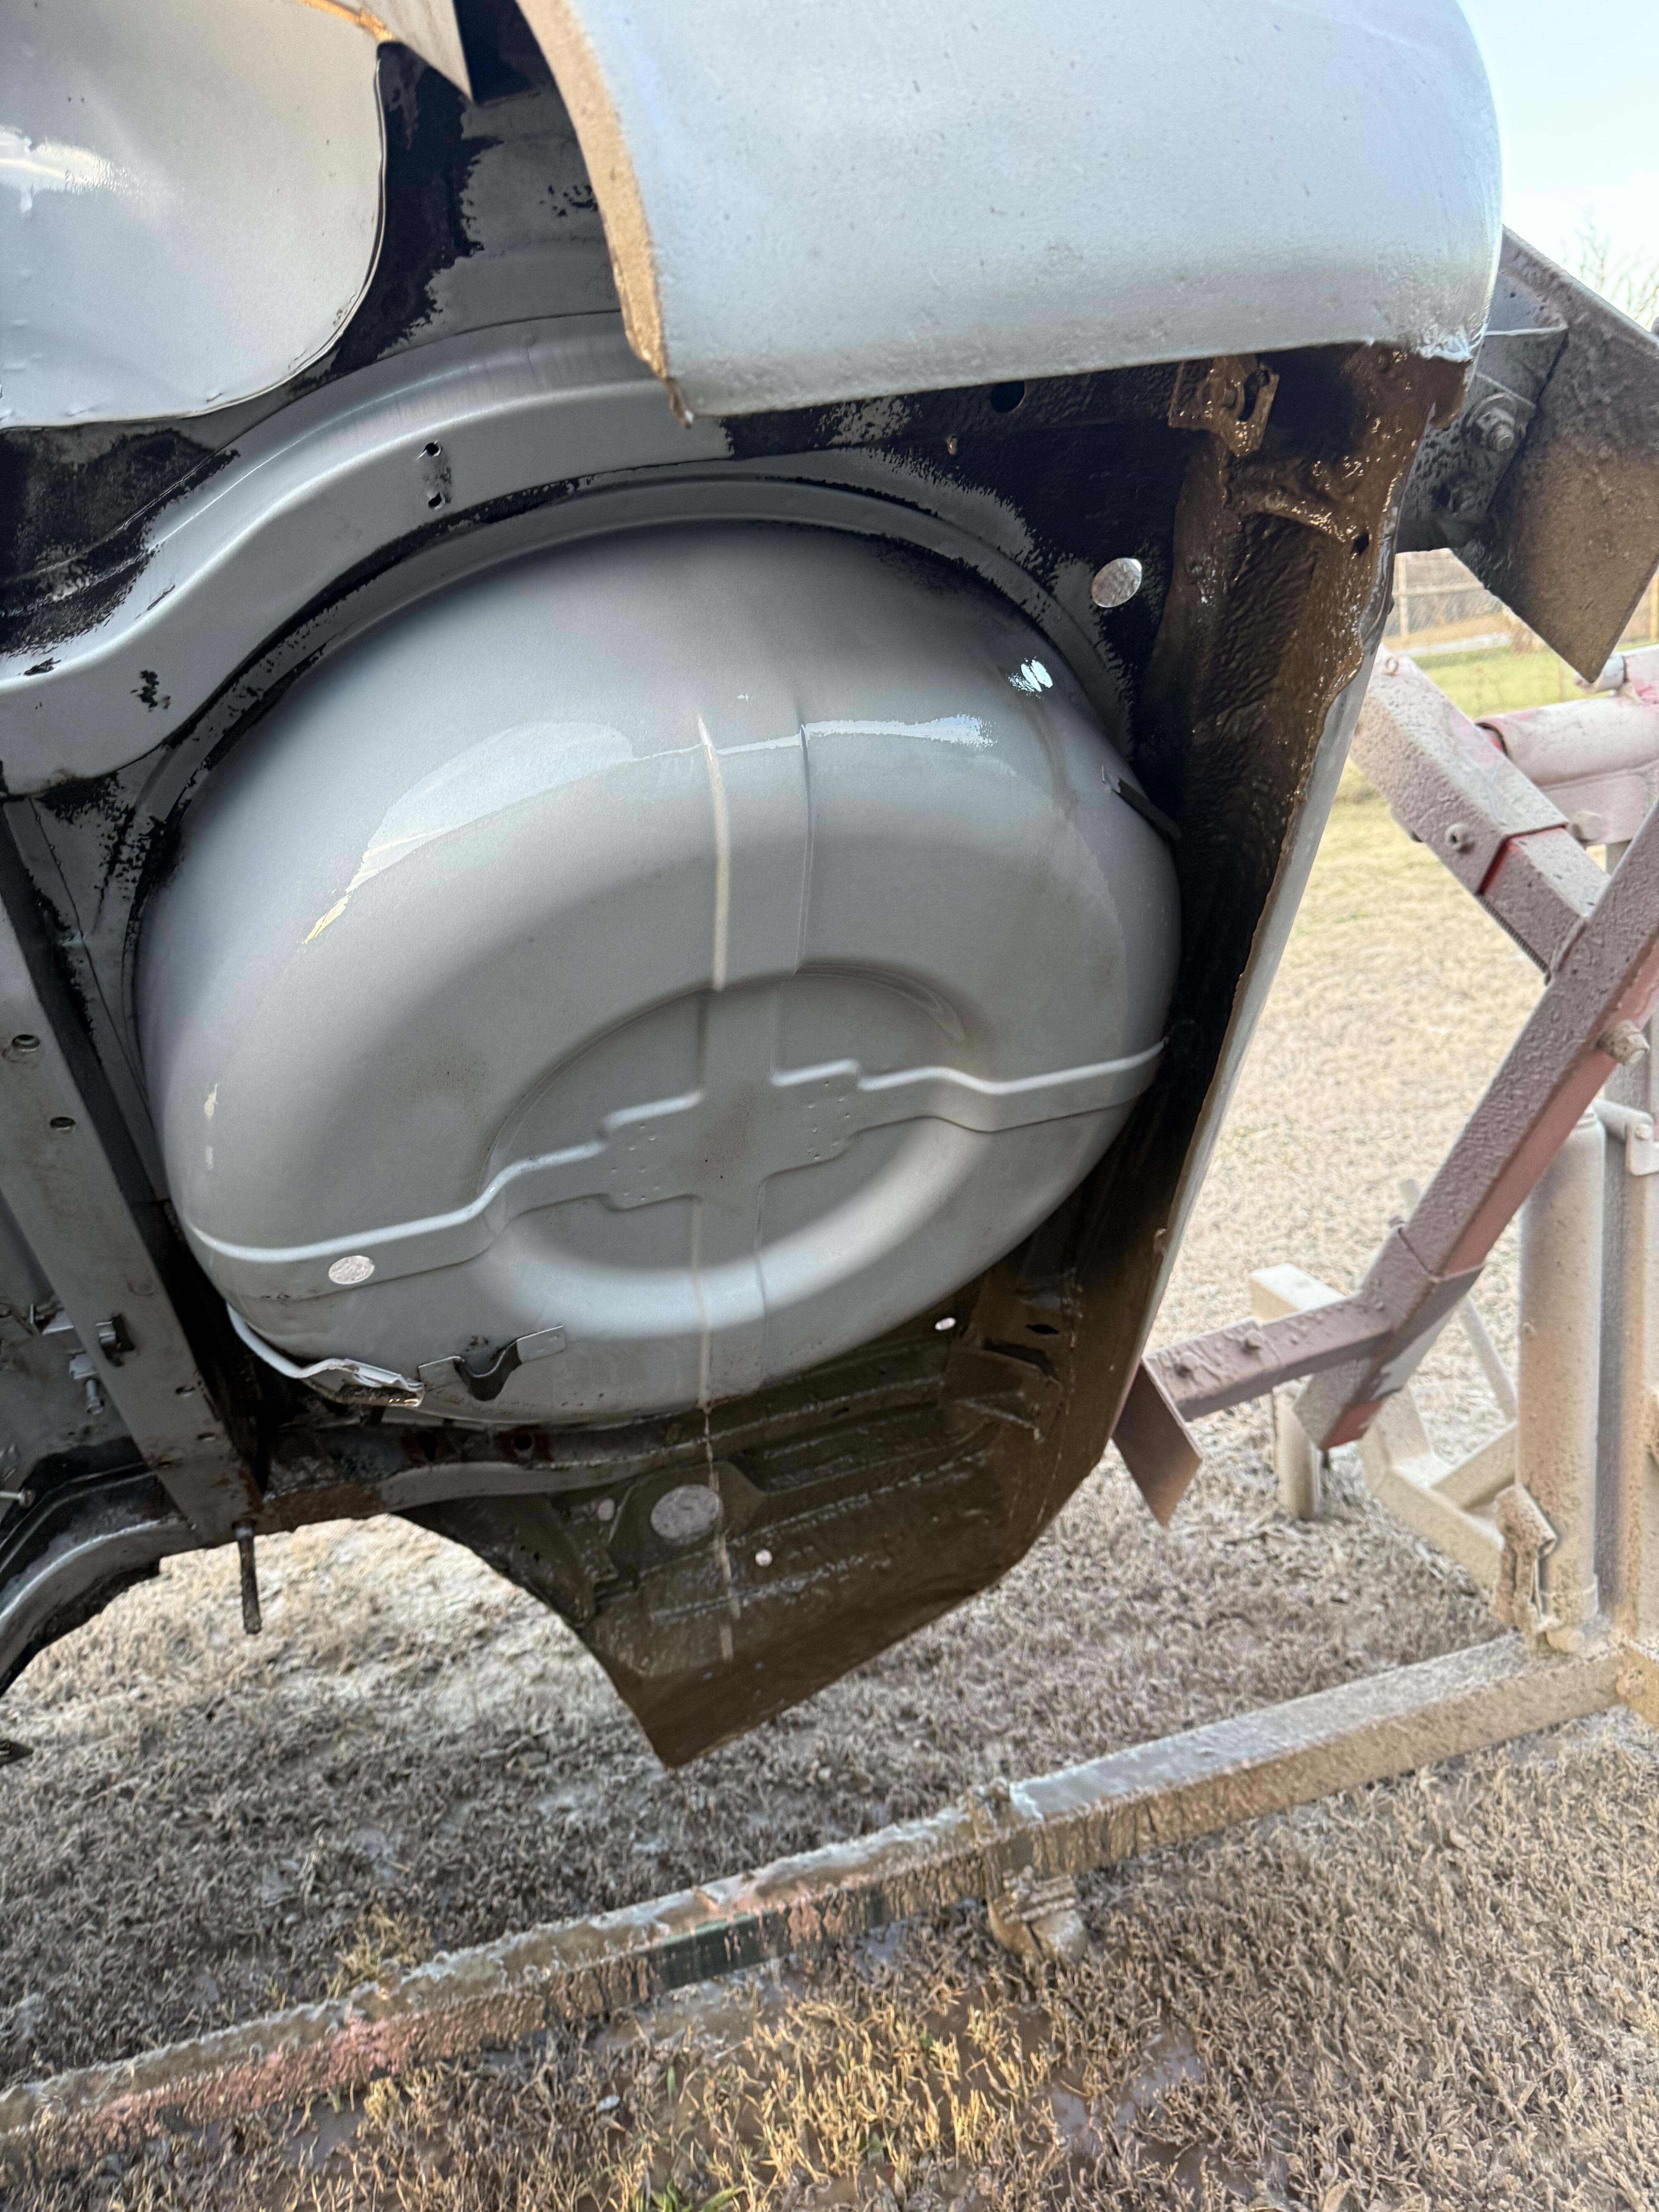
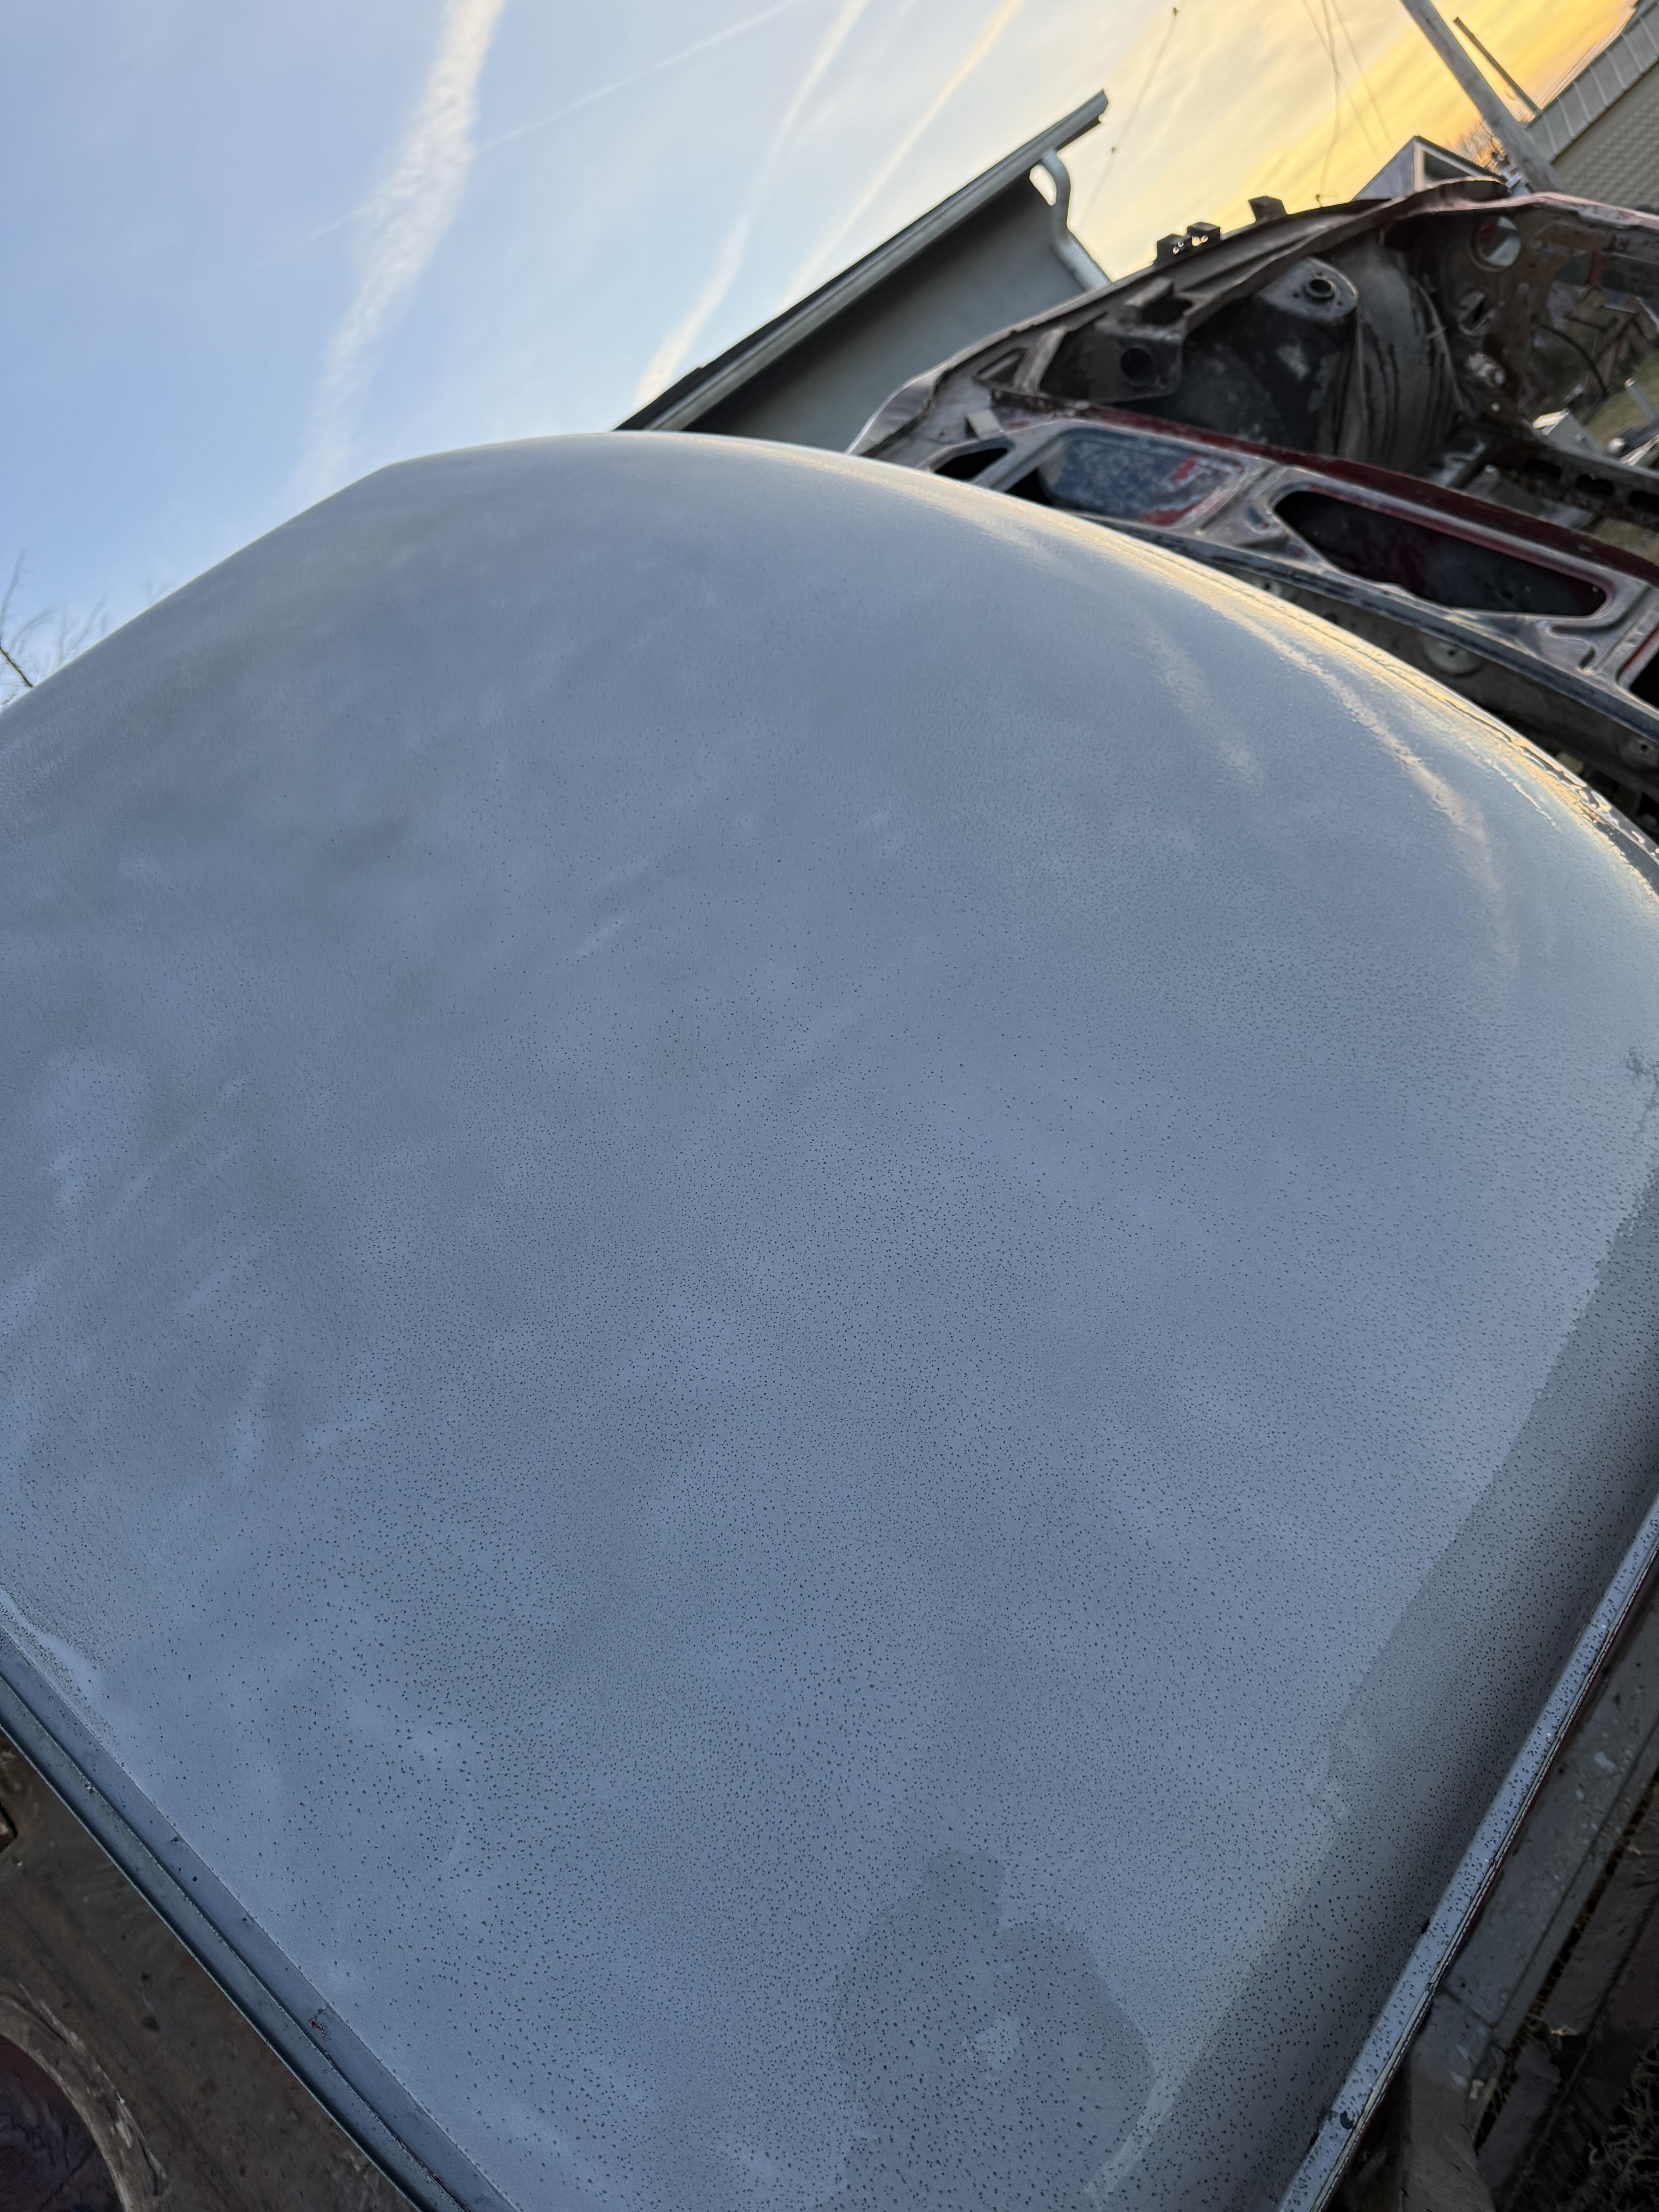
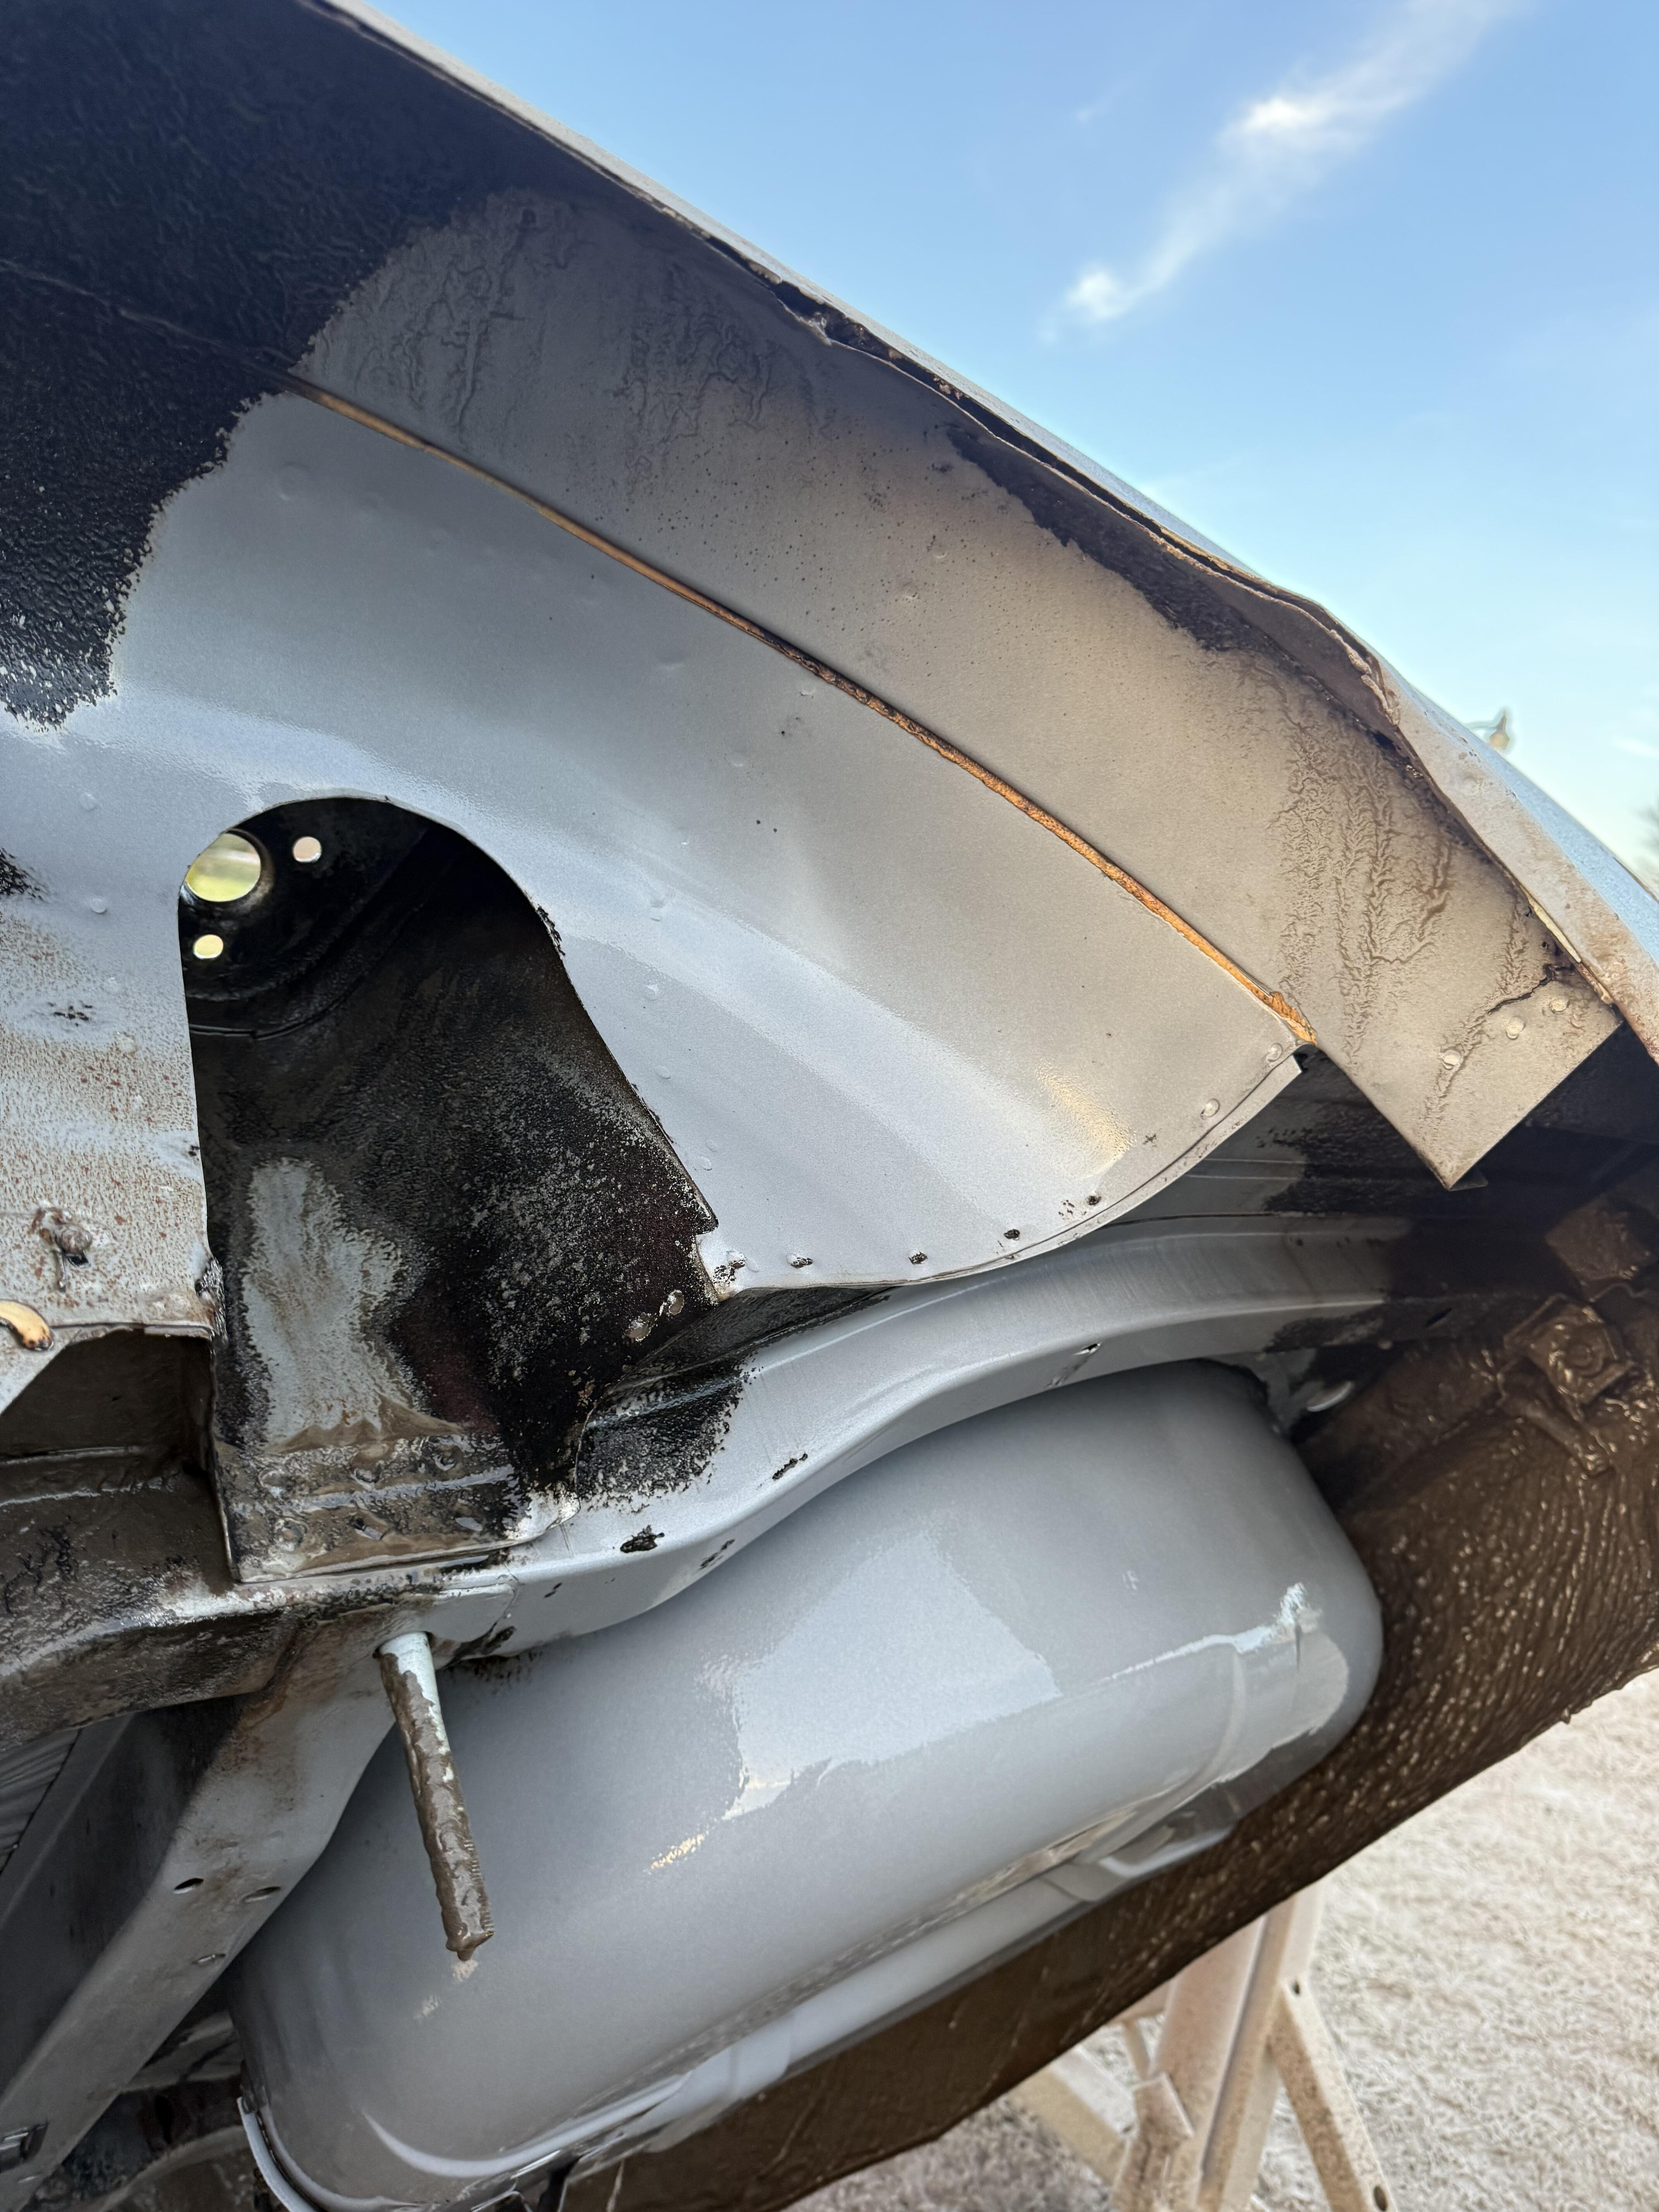
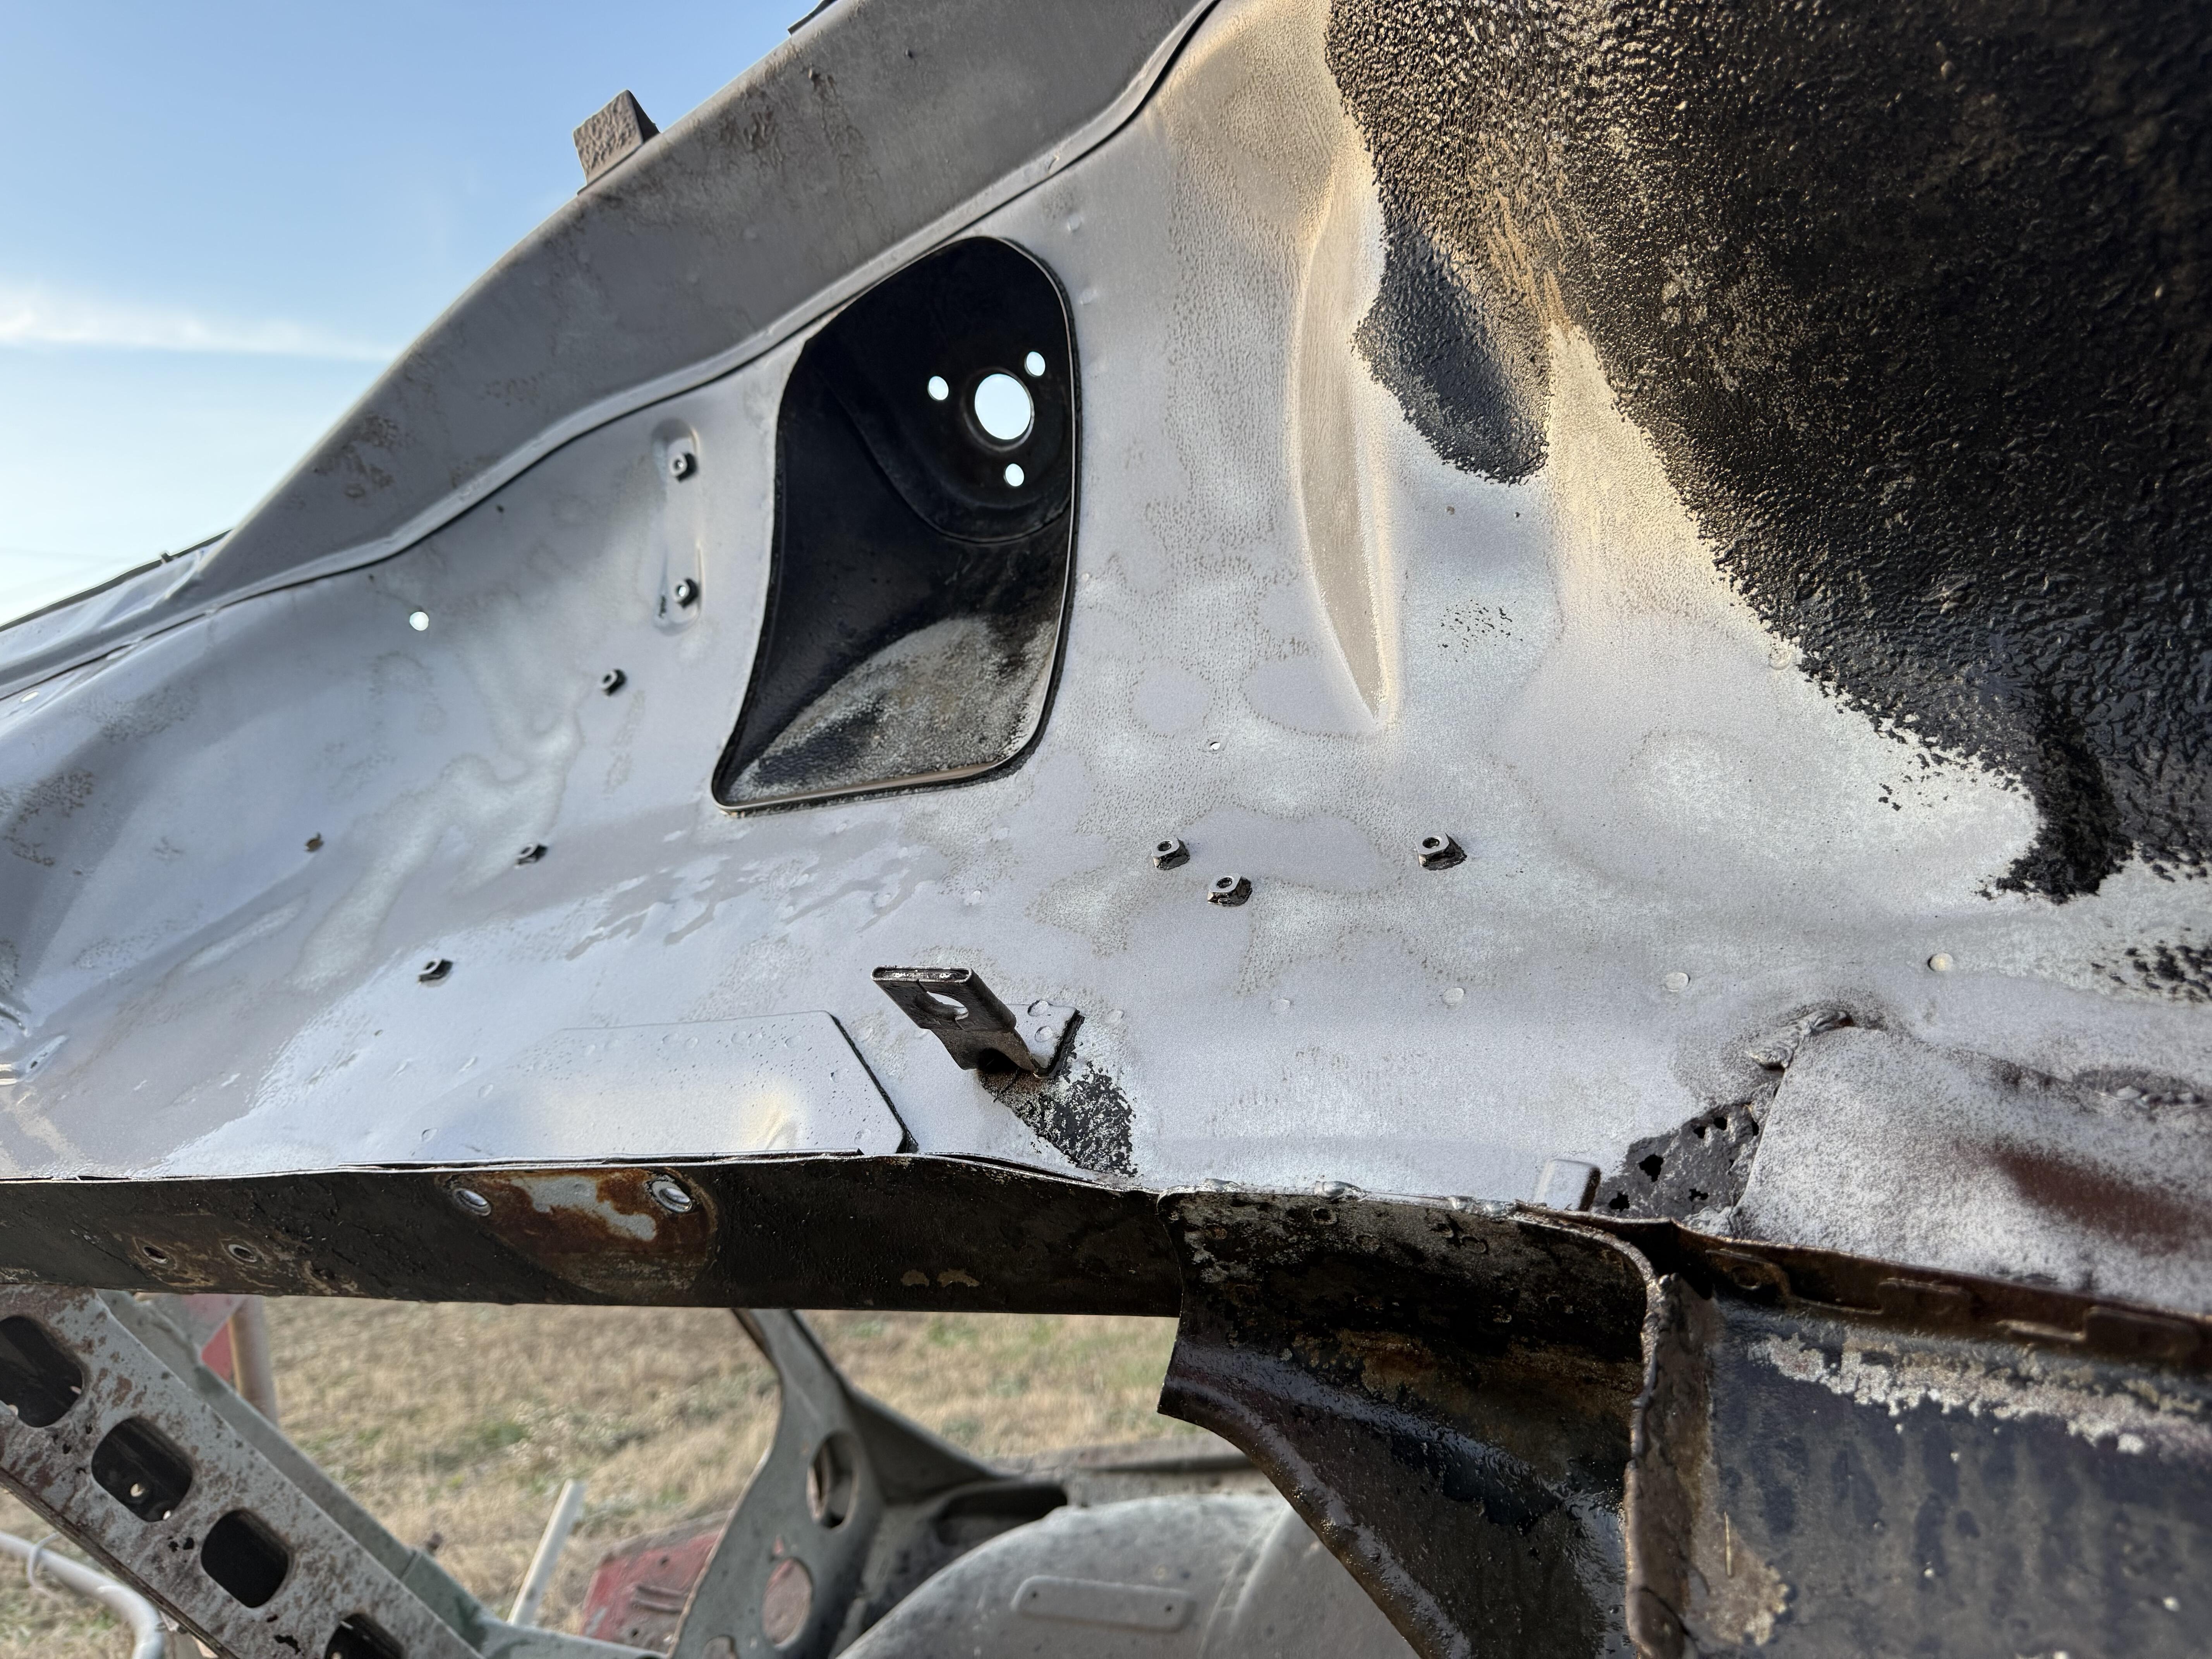
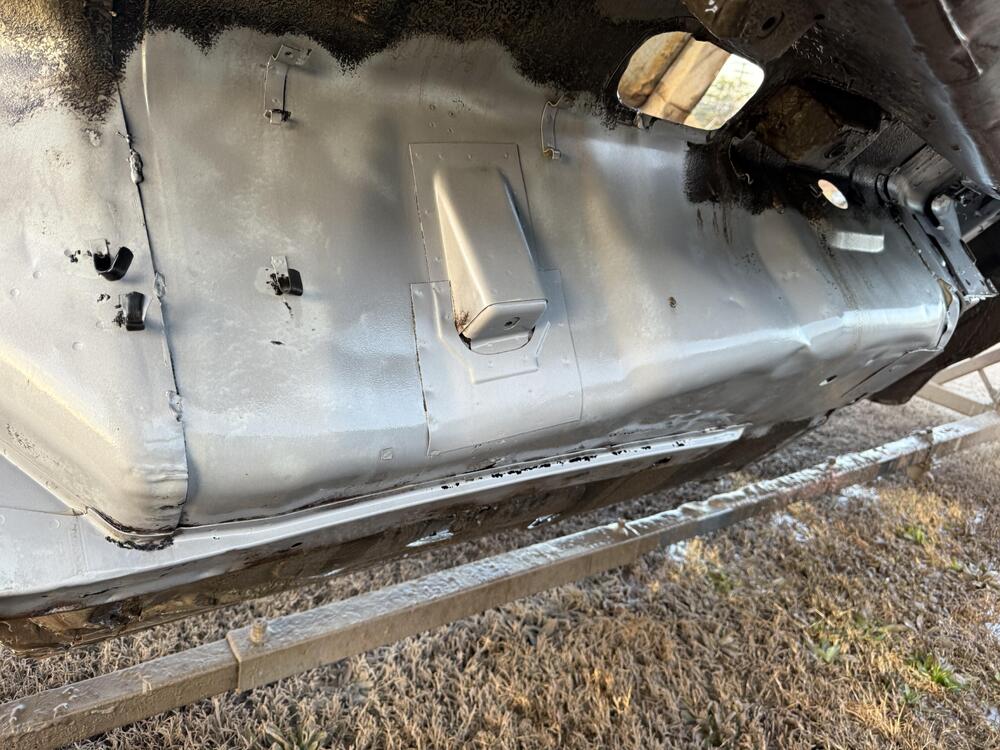
 Roof in really nice shape….a surprise. Frame rails, outer rockers and floors toast ….not a surprise. Firewall, spare tire well and inner fenders are nice..surprise. Tunnel and inner rocker area in great shape, perfect to attach new floors. Have rails, need both floors. I’ve seen gnose cars trim lips off the rear to allow wider/lower tires/suspension. Debating on leaving them trimmed off, or replace entire rear quarters to have the complete outer rear well.


-
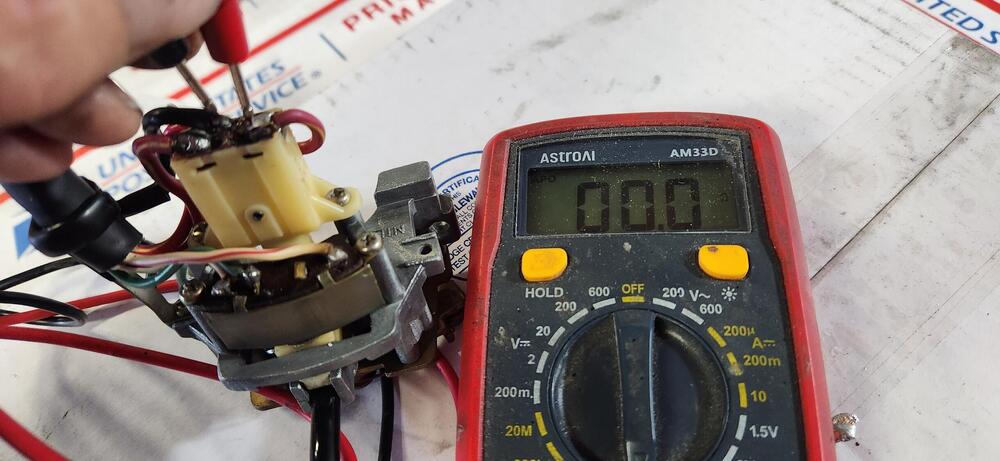
 The first picture from the left shows a completed repaired hi- lo beam switch circuit board repair. The next 2 pictures show continuity on both of the hi- lo beam switch closed circuits. In the mail on the way I have a parts turn signal switch with broken hi- lo beam switch circuit board. In the near future I can detail my repair protocol if there is interest out in Datsunland.

-
 I also used an electric knife on my seat foam and it worked just fine.
 -
Both the original tensioner and the new one have rubber type washers between the tensioner pad and it's housing.
-
 Seek and ye shall find! I was able to find it and jumper the connection. It was really burried at the back. For others coming to this thread, when looking at the two wire bundles from the passenger side it's connected to the one on the right. It splits off from that. (see pic with finger pointing to it) Just grab the smaller taped up bit coming off it and start pulling. The Nismo pump is a bit noisier than I'd like but I'm really happy none the less. Initial pressure on start up is around 6psi and then once it warmed up it dropped to 4 to 4.5psi. I've moved the red wire from the + side of the coil to the ballast and it runs. But, I've currently got a intermittent misfire on two cylinders. Number 2 and 5. I found them by attaching the timing light plug wire connector to them and the light flash wasn't consistent. I've ordered new NGK plug wires, plugs, cap and rotor. I'm not sure of the cap and rotor though. I went ahead and assumed they're for an L28 though I could be wrong. How can I identify the difference between a L24 distributor and one for an L28? I'm guessing they're not identical. I know the 240Z had points and the 280Z didn't. As the car has a L28 from 2000 I'm assuming they also threw in a later distributor with the Pertronix. I pulled the plugs and they were really sooty. I cleaned them with a wire brush and that didn't really help. I'm wondering if it's my ignition or if I'm just running super rich. Both of those are on the most direct line from the carbs and I'm assuming would be getting a more fuel than the other cylinders to their sides. Brakes also need to be fully bled as I've installed the 8.5" booster upgrade from JDM-Car-Parts and new master cylinder as well. So it drives and stops and can be driven around a parking lot or paint shop if need be.


-
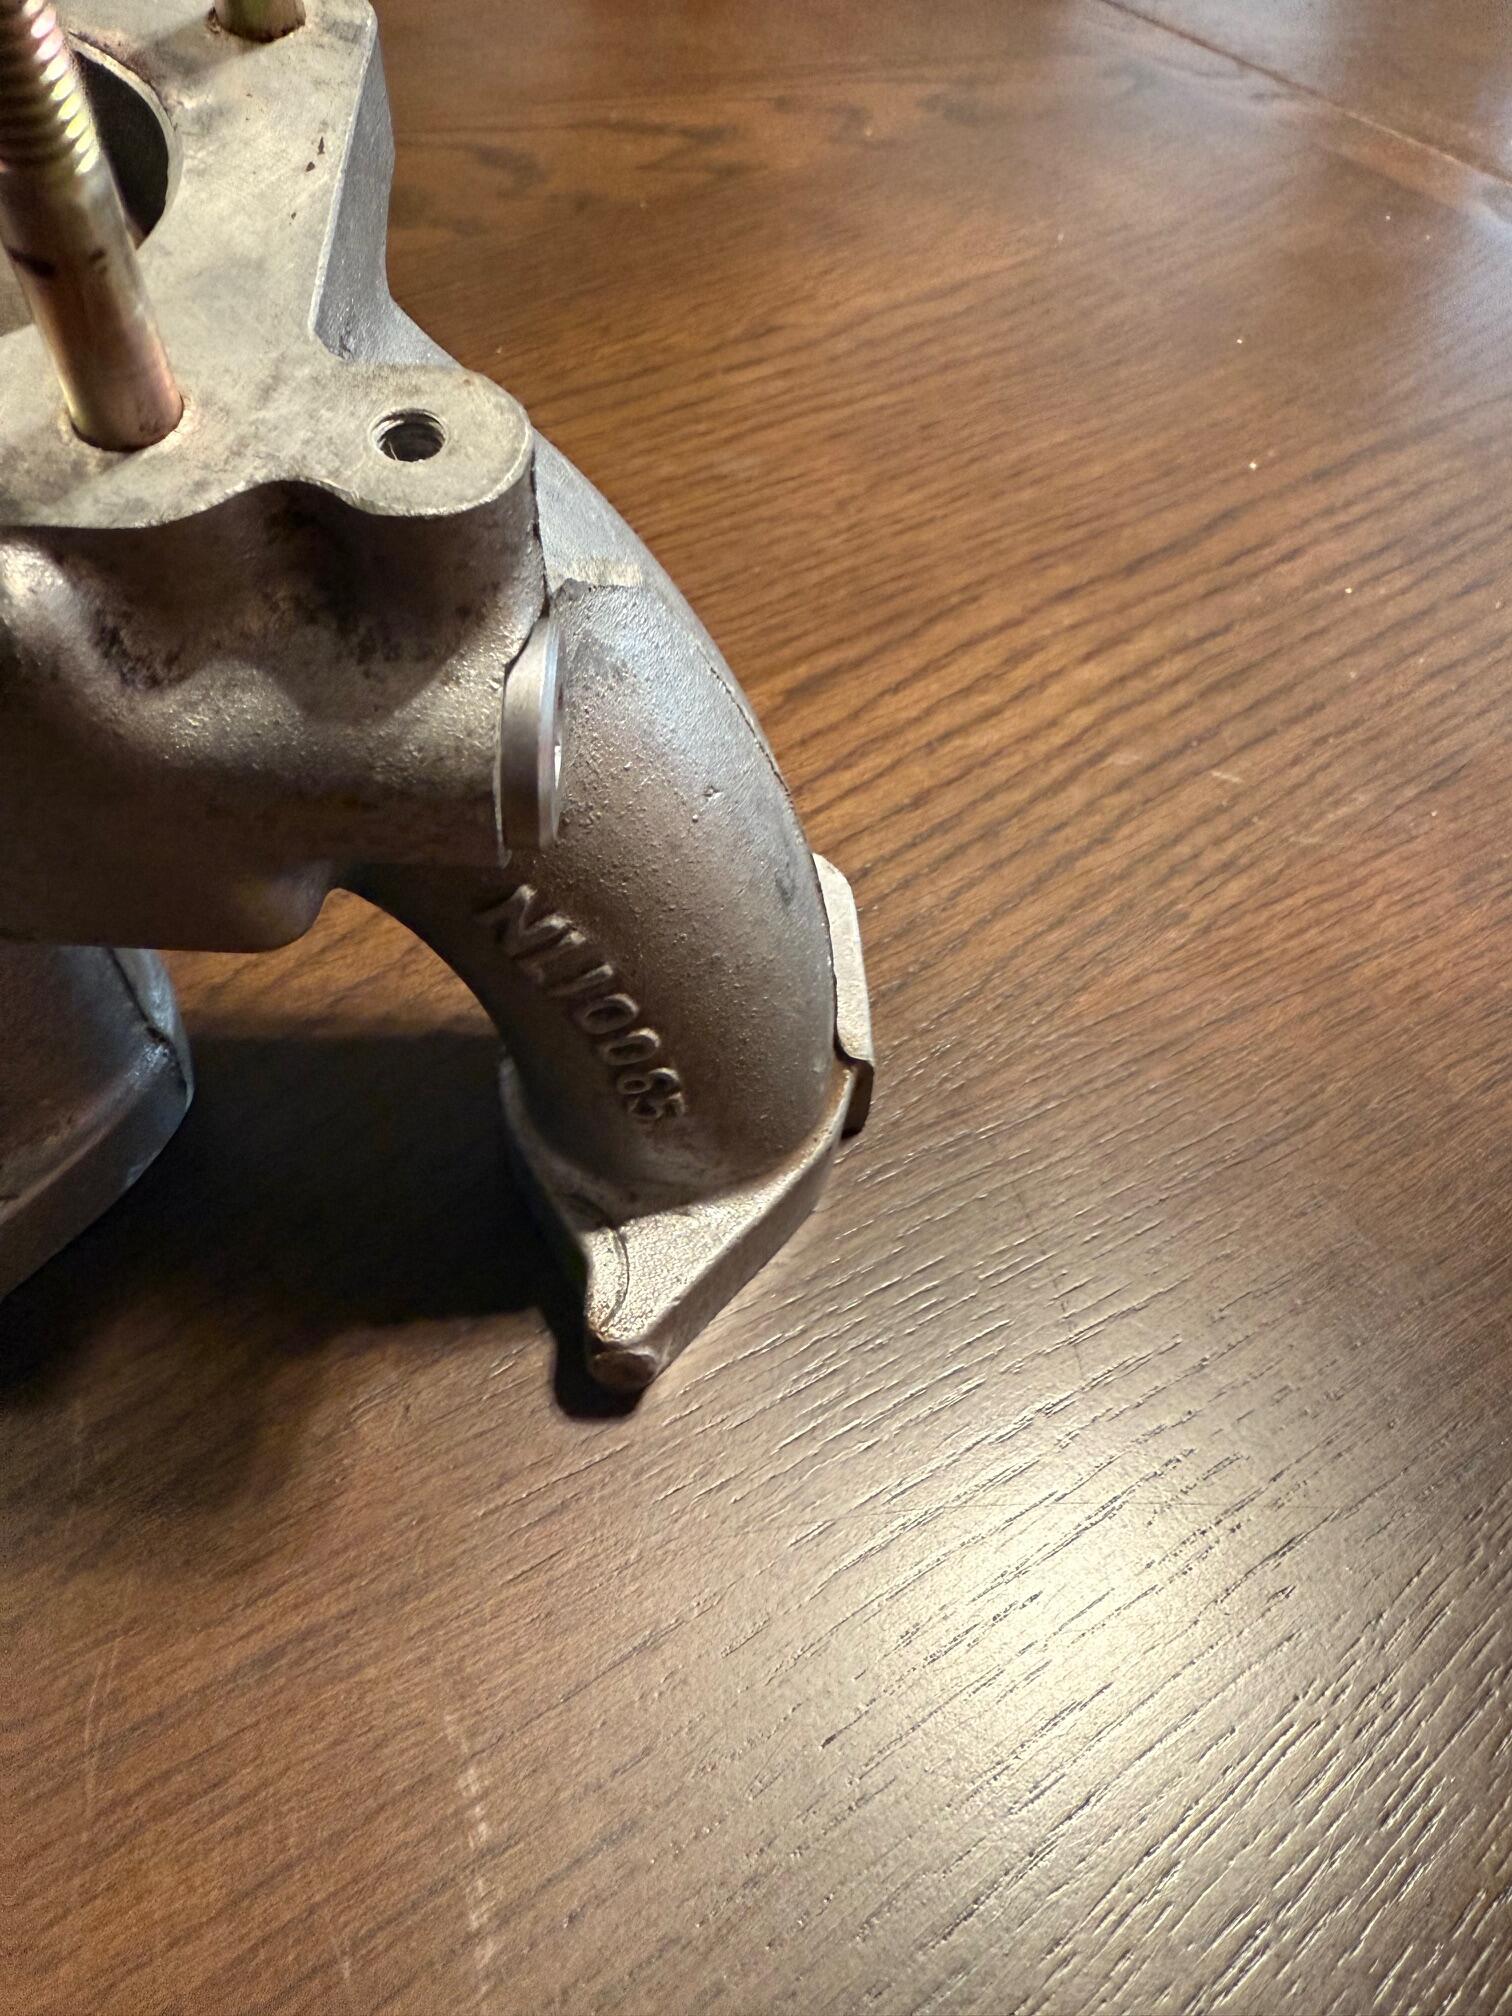
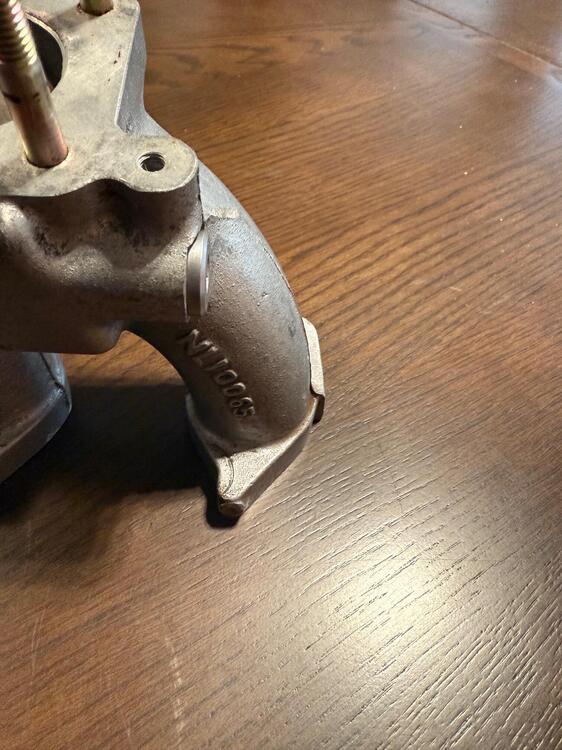
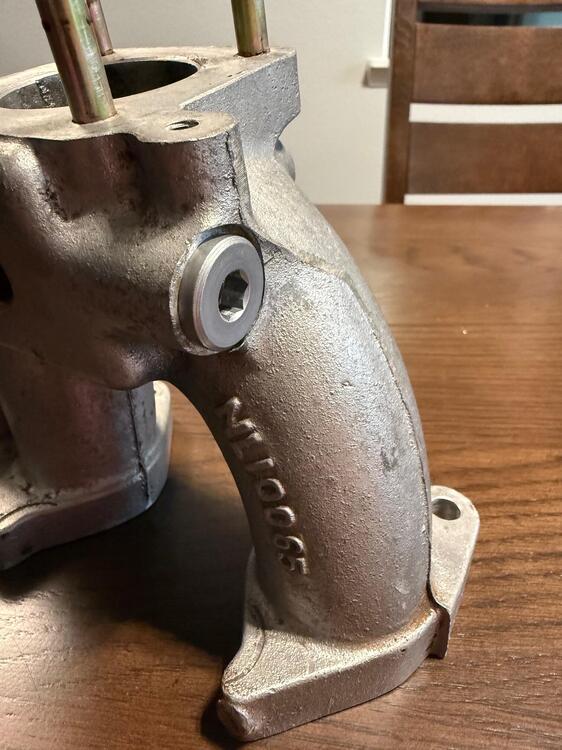
OK. Just got the last of the plugs in. I like the M16 x 1.5 low headed plugs to fill the inside ports of the intake when one has removed the water heating. Purchased them from Belmetric.

-
Well, Here I am, a year late, but better late than never! I paid $3,000.00 for my all original, 100,000 mile, 12/70, 1971 240Z in 2006.
-
 Between Iran and Saudi Arabia
 -
 Cunifer! Found reference to it. Will see if it is something he'd make for me. If I do go this route opinions? From what i saw it was easy to work with, could be polished to a nice finish, but not sure how close that would be to "original cad type plated look".
 -
 Yes, with the parking lights dead, I still have the back feed
 -

-
What year is your 280Z? Is it a bot also?
-
 Good to see someone else rebuilding them. He did miss out one part on reassembly, there's a disc with 4 holes in it that goes over the shaft to restrict the flow of grease into the rubber boot that he deleted. Also the Nissan boot has a bleed nipple on it, they are still available.