CDL1542
-
Posts
168 -
Joined
-
Last visited
CDL1542's Achievements
")


-
Sent you a message.
-
My first set of watanabe wheels were 16x8 rears on 225/45 and I had to use spacers for positive offset. Combine that with them sticking out past the fender, blown struts and NJ potholes on a cold day(very very big pothole) and you get a wheel hitting the fender pretty hard with nothing to push it back. I should have known better but it happened. Cut the fenders back for flares and welded them shut since.
-
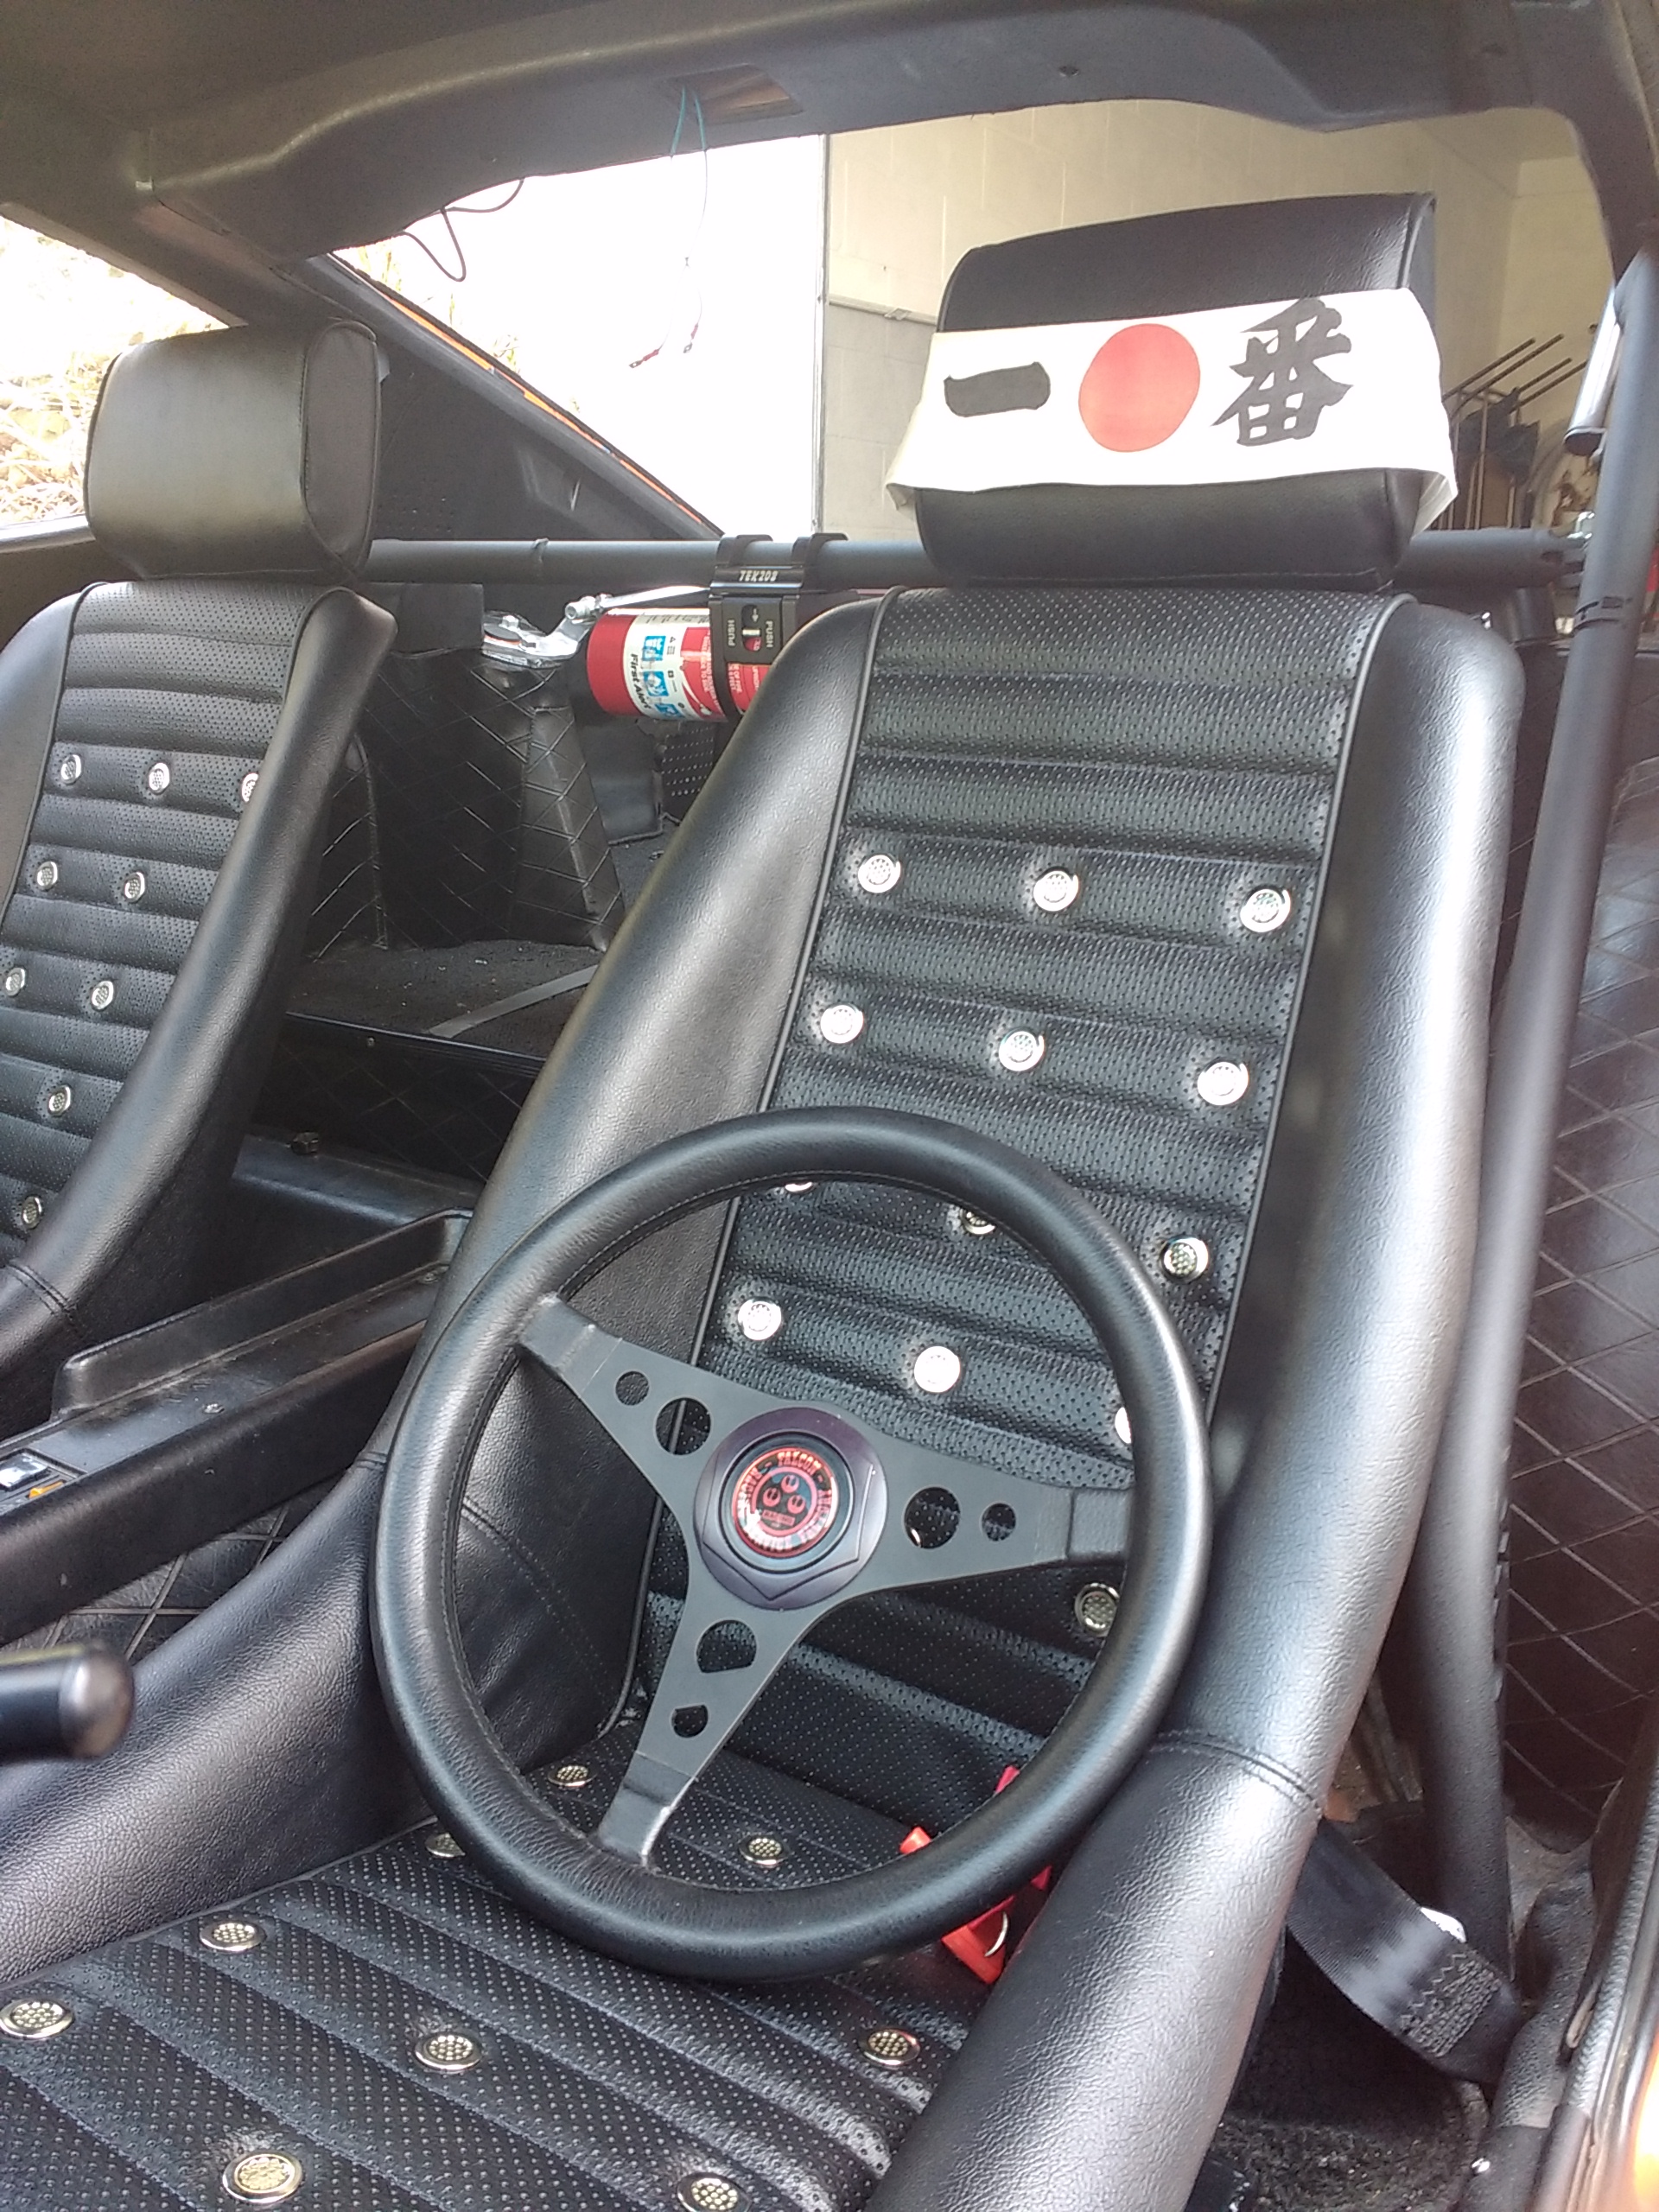
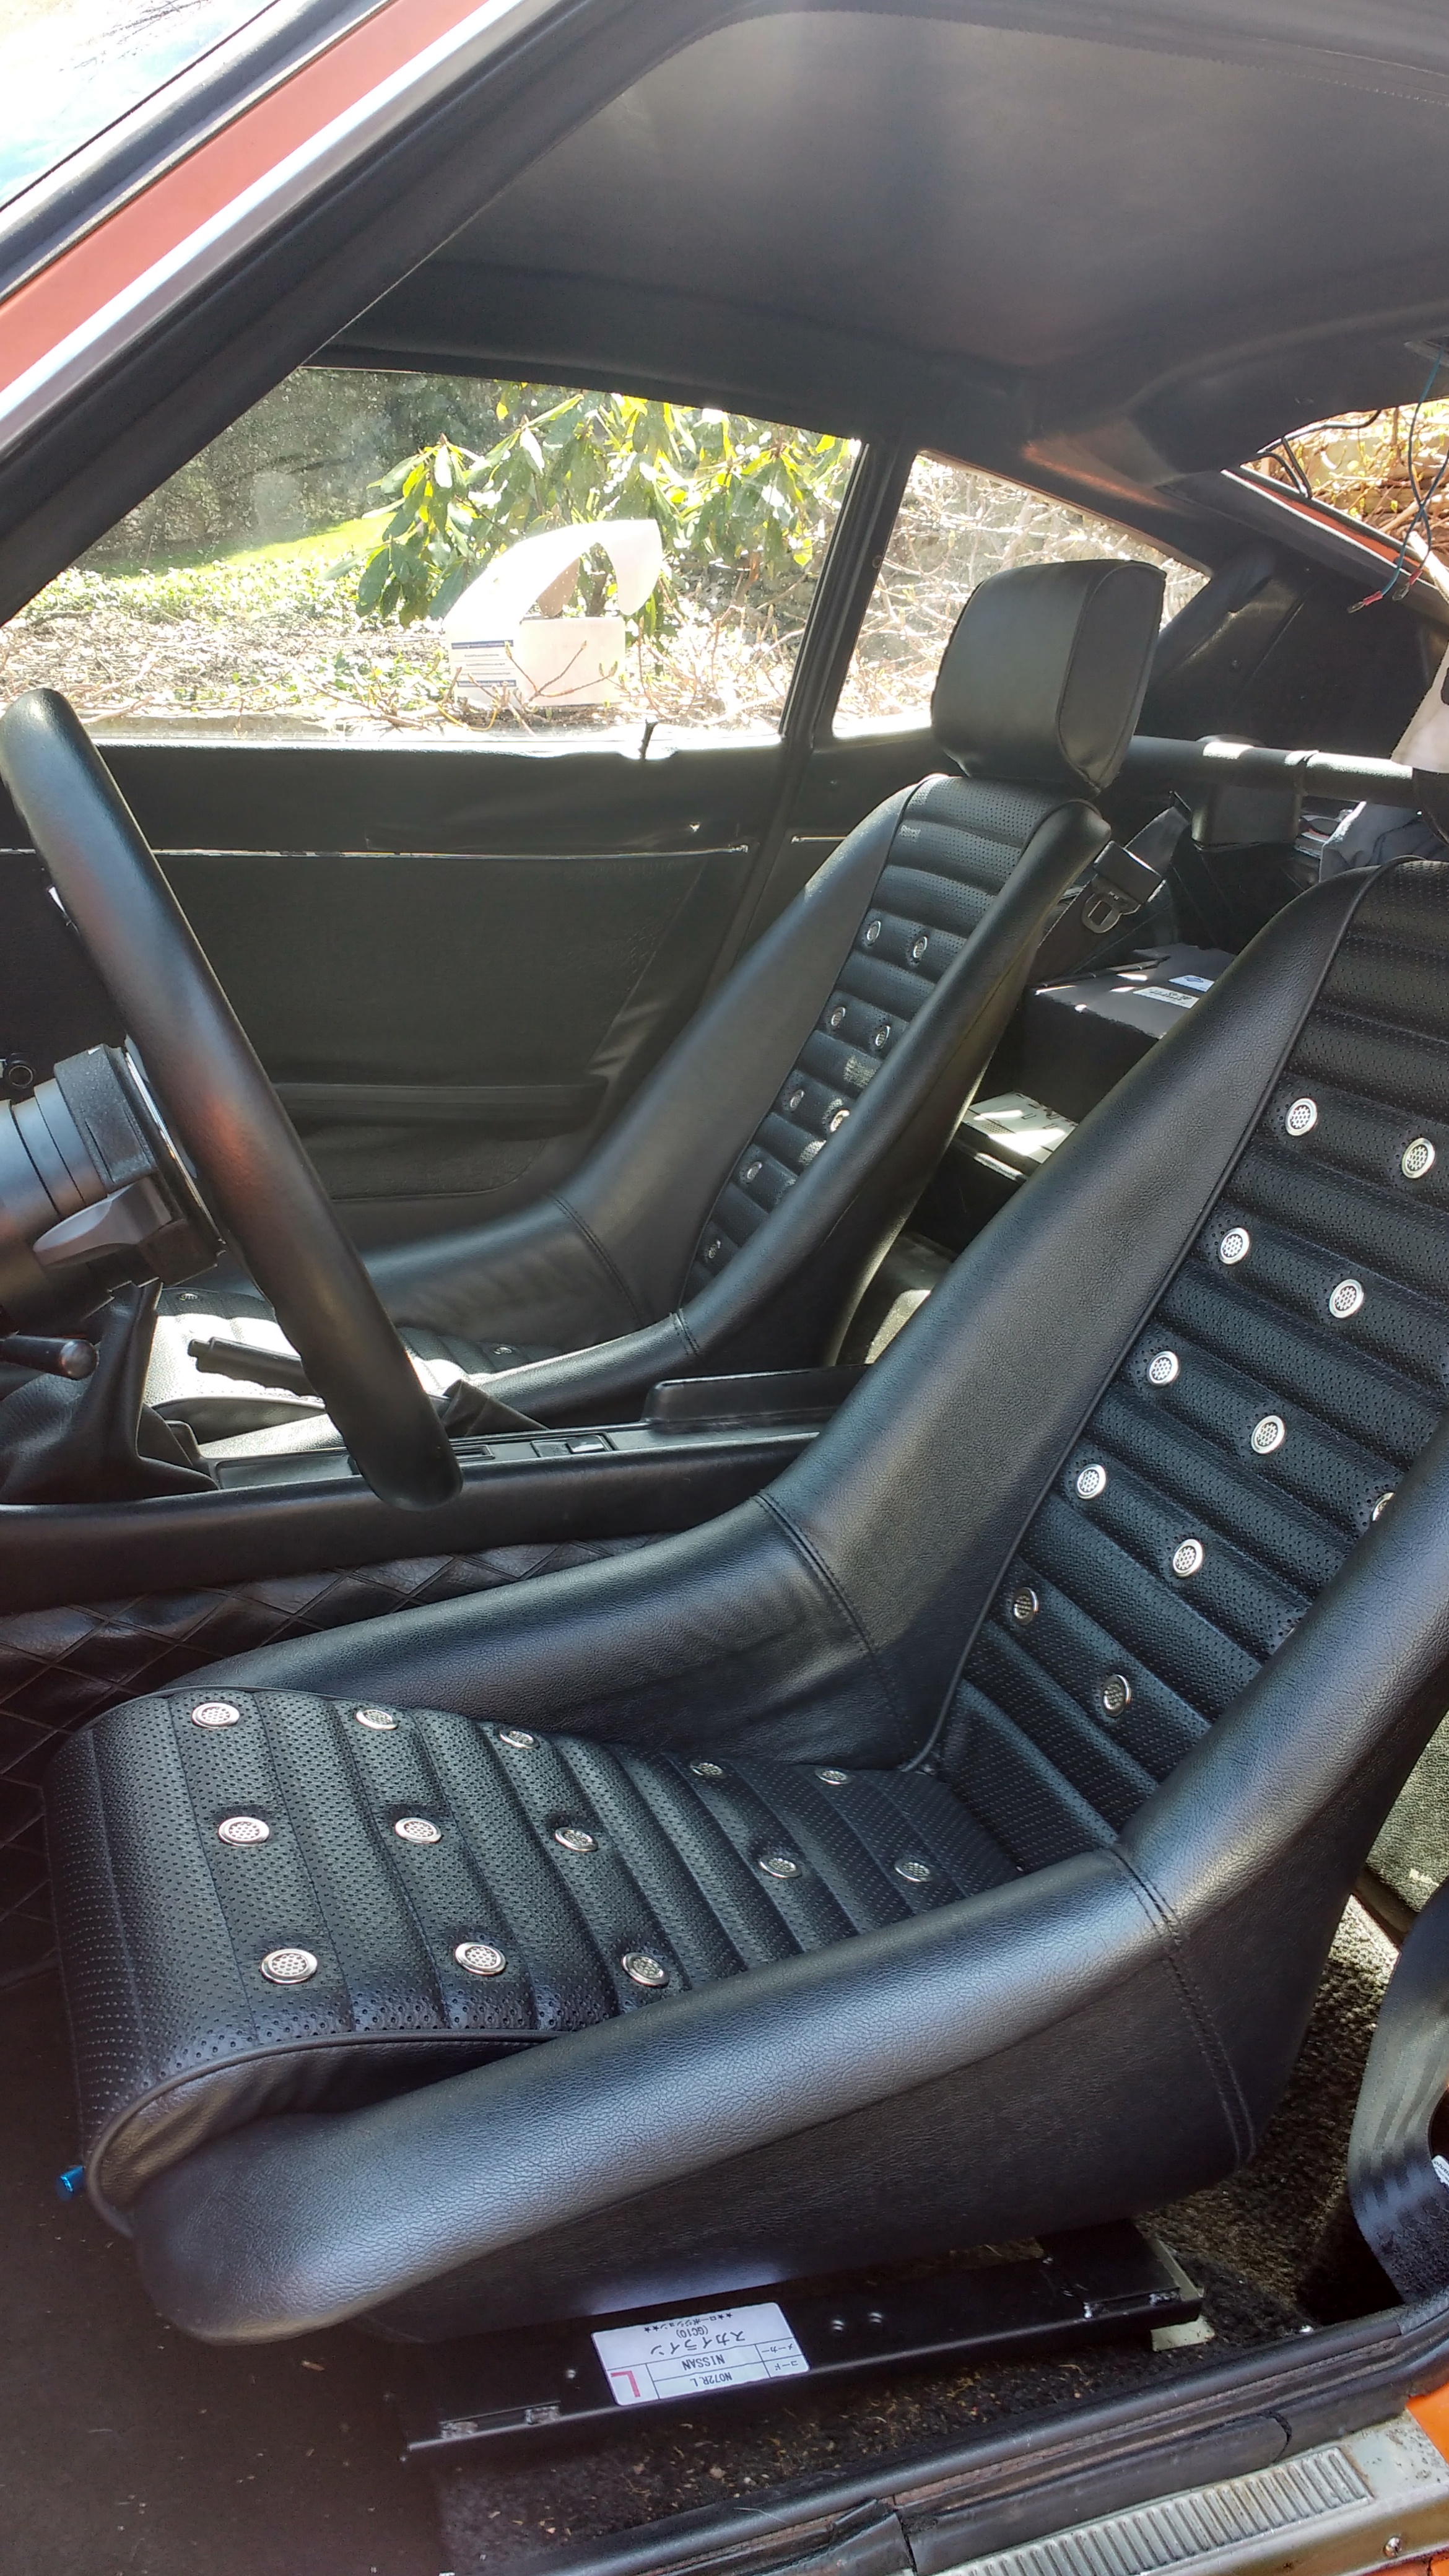
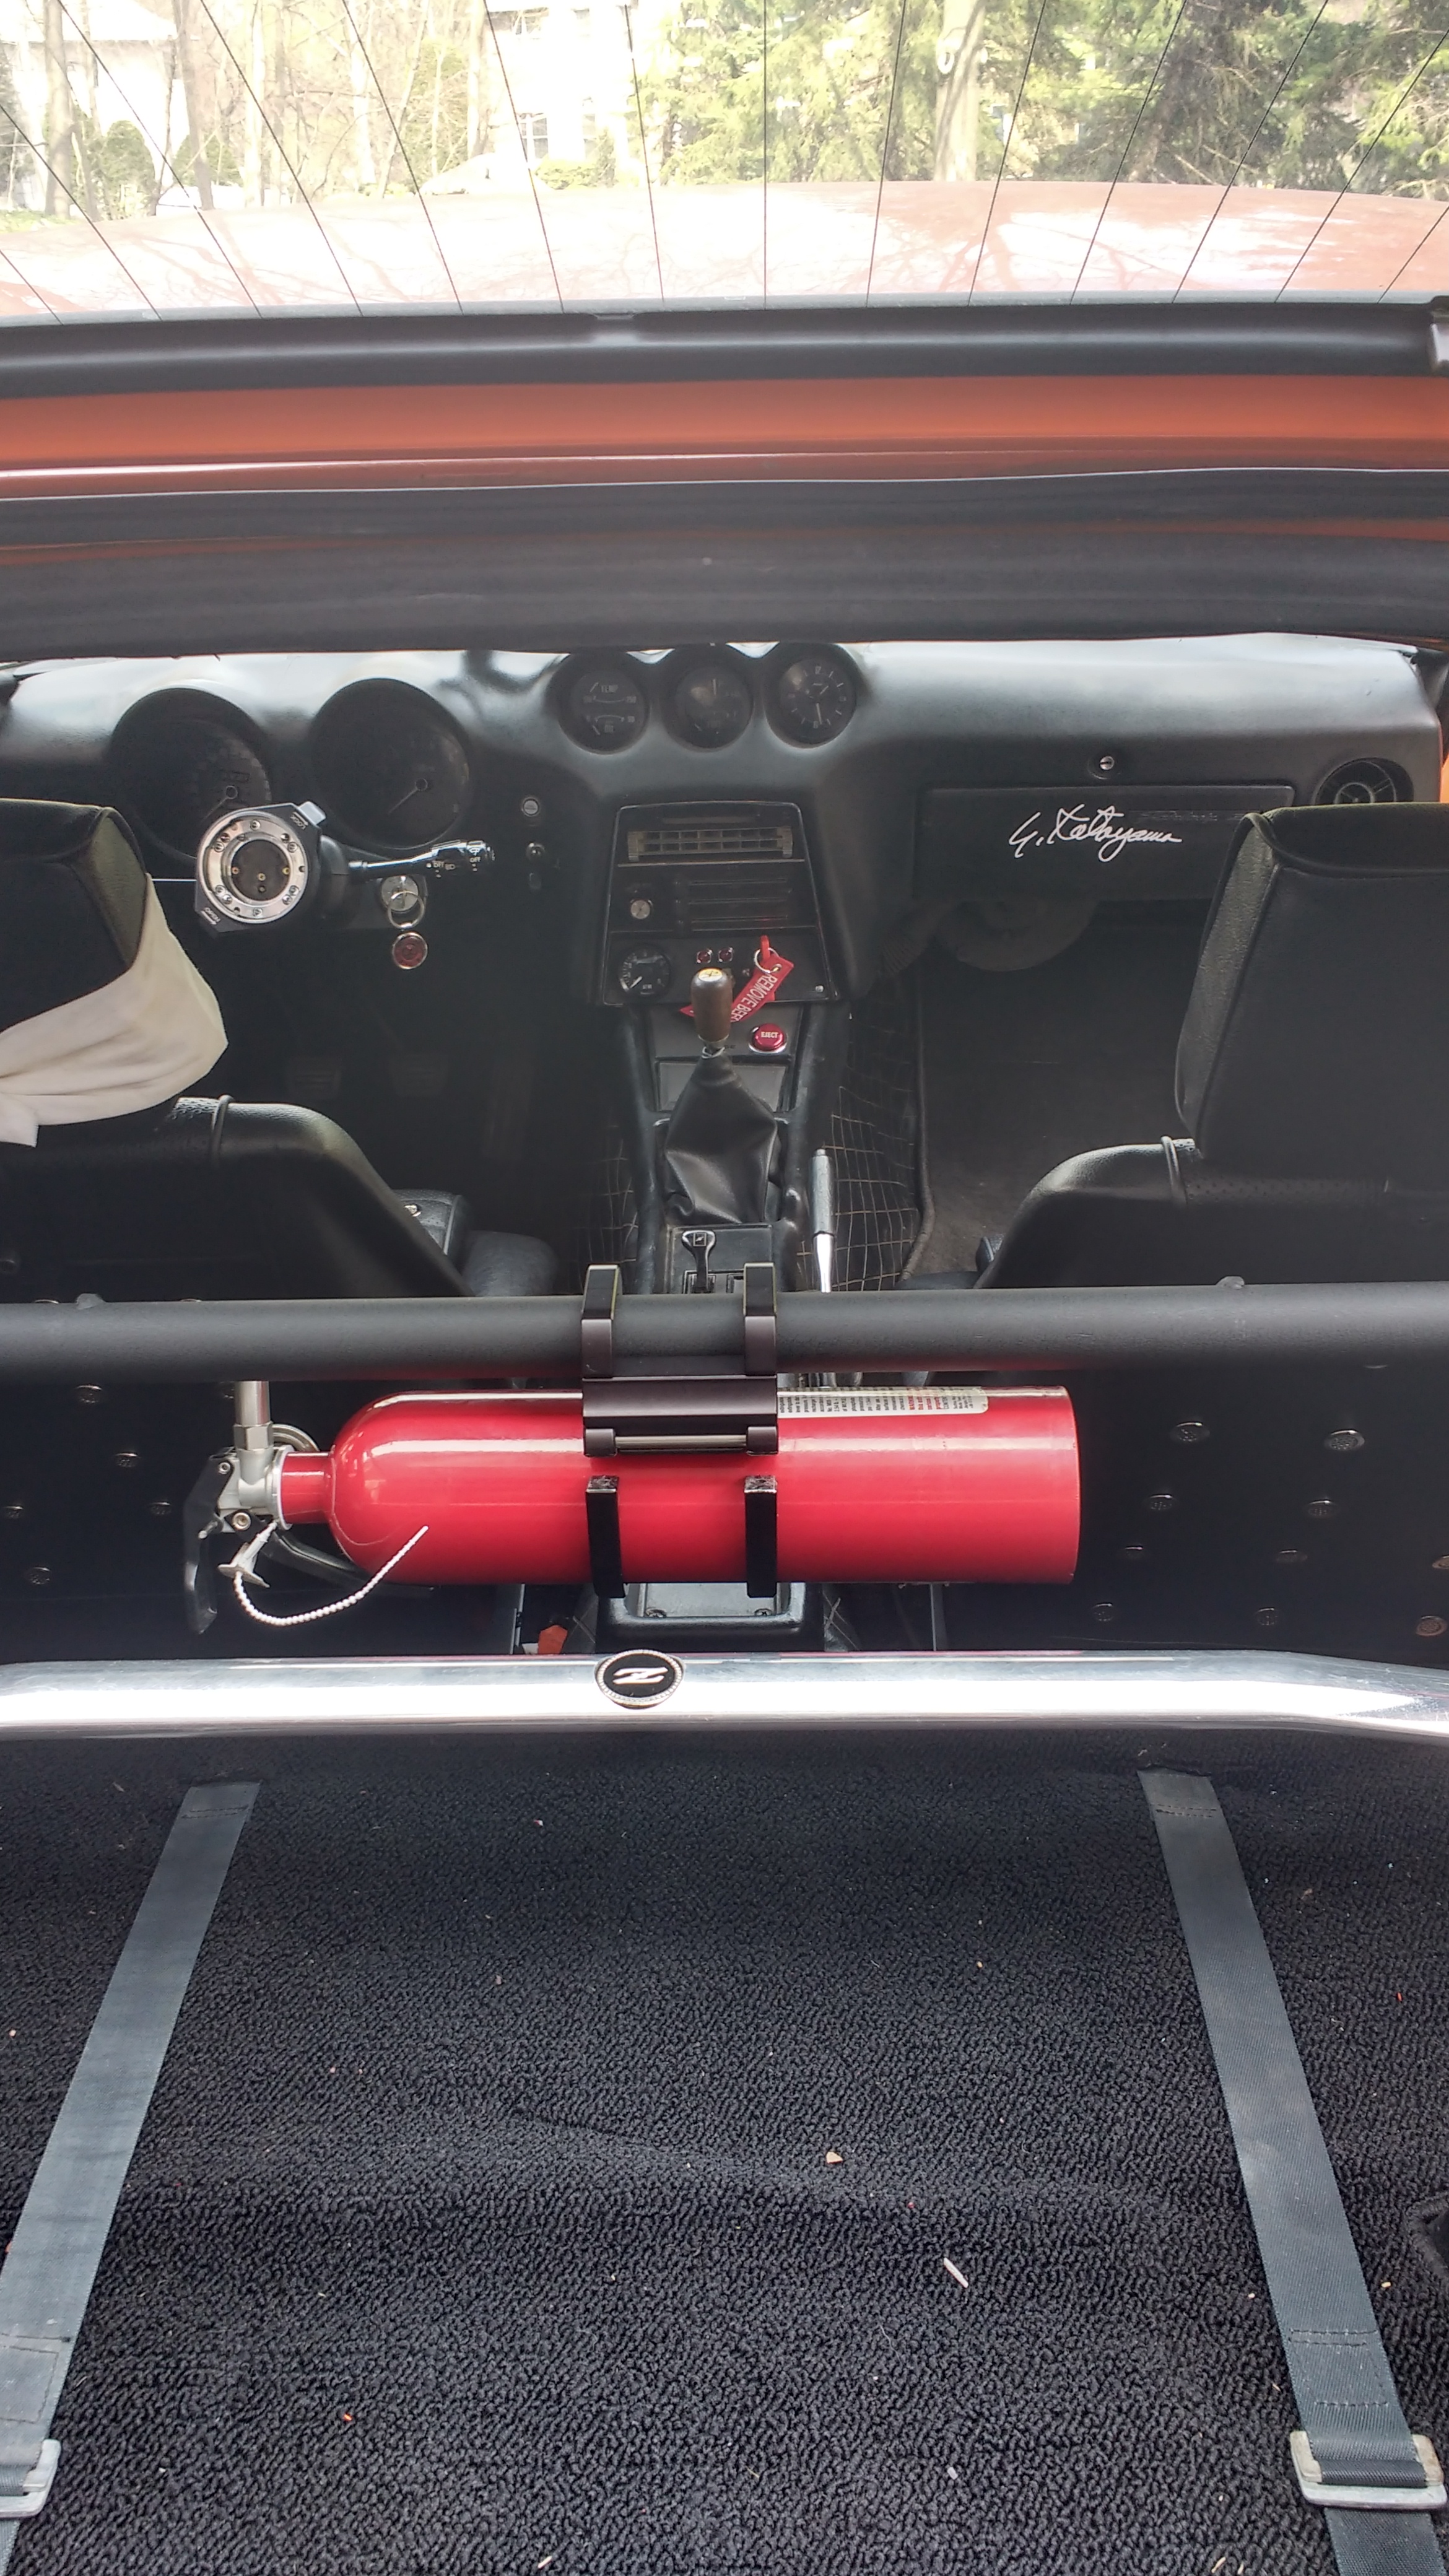
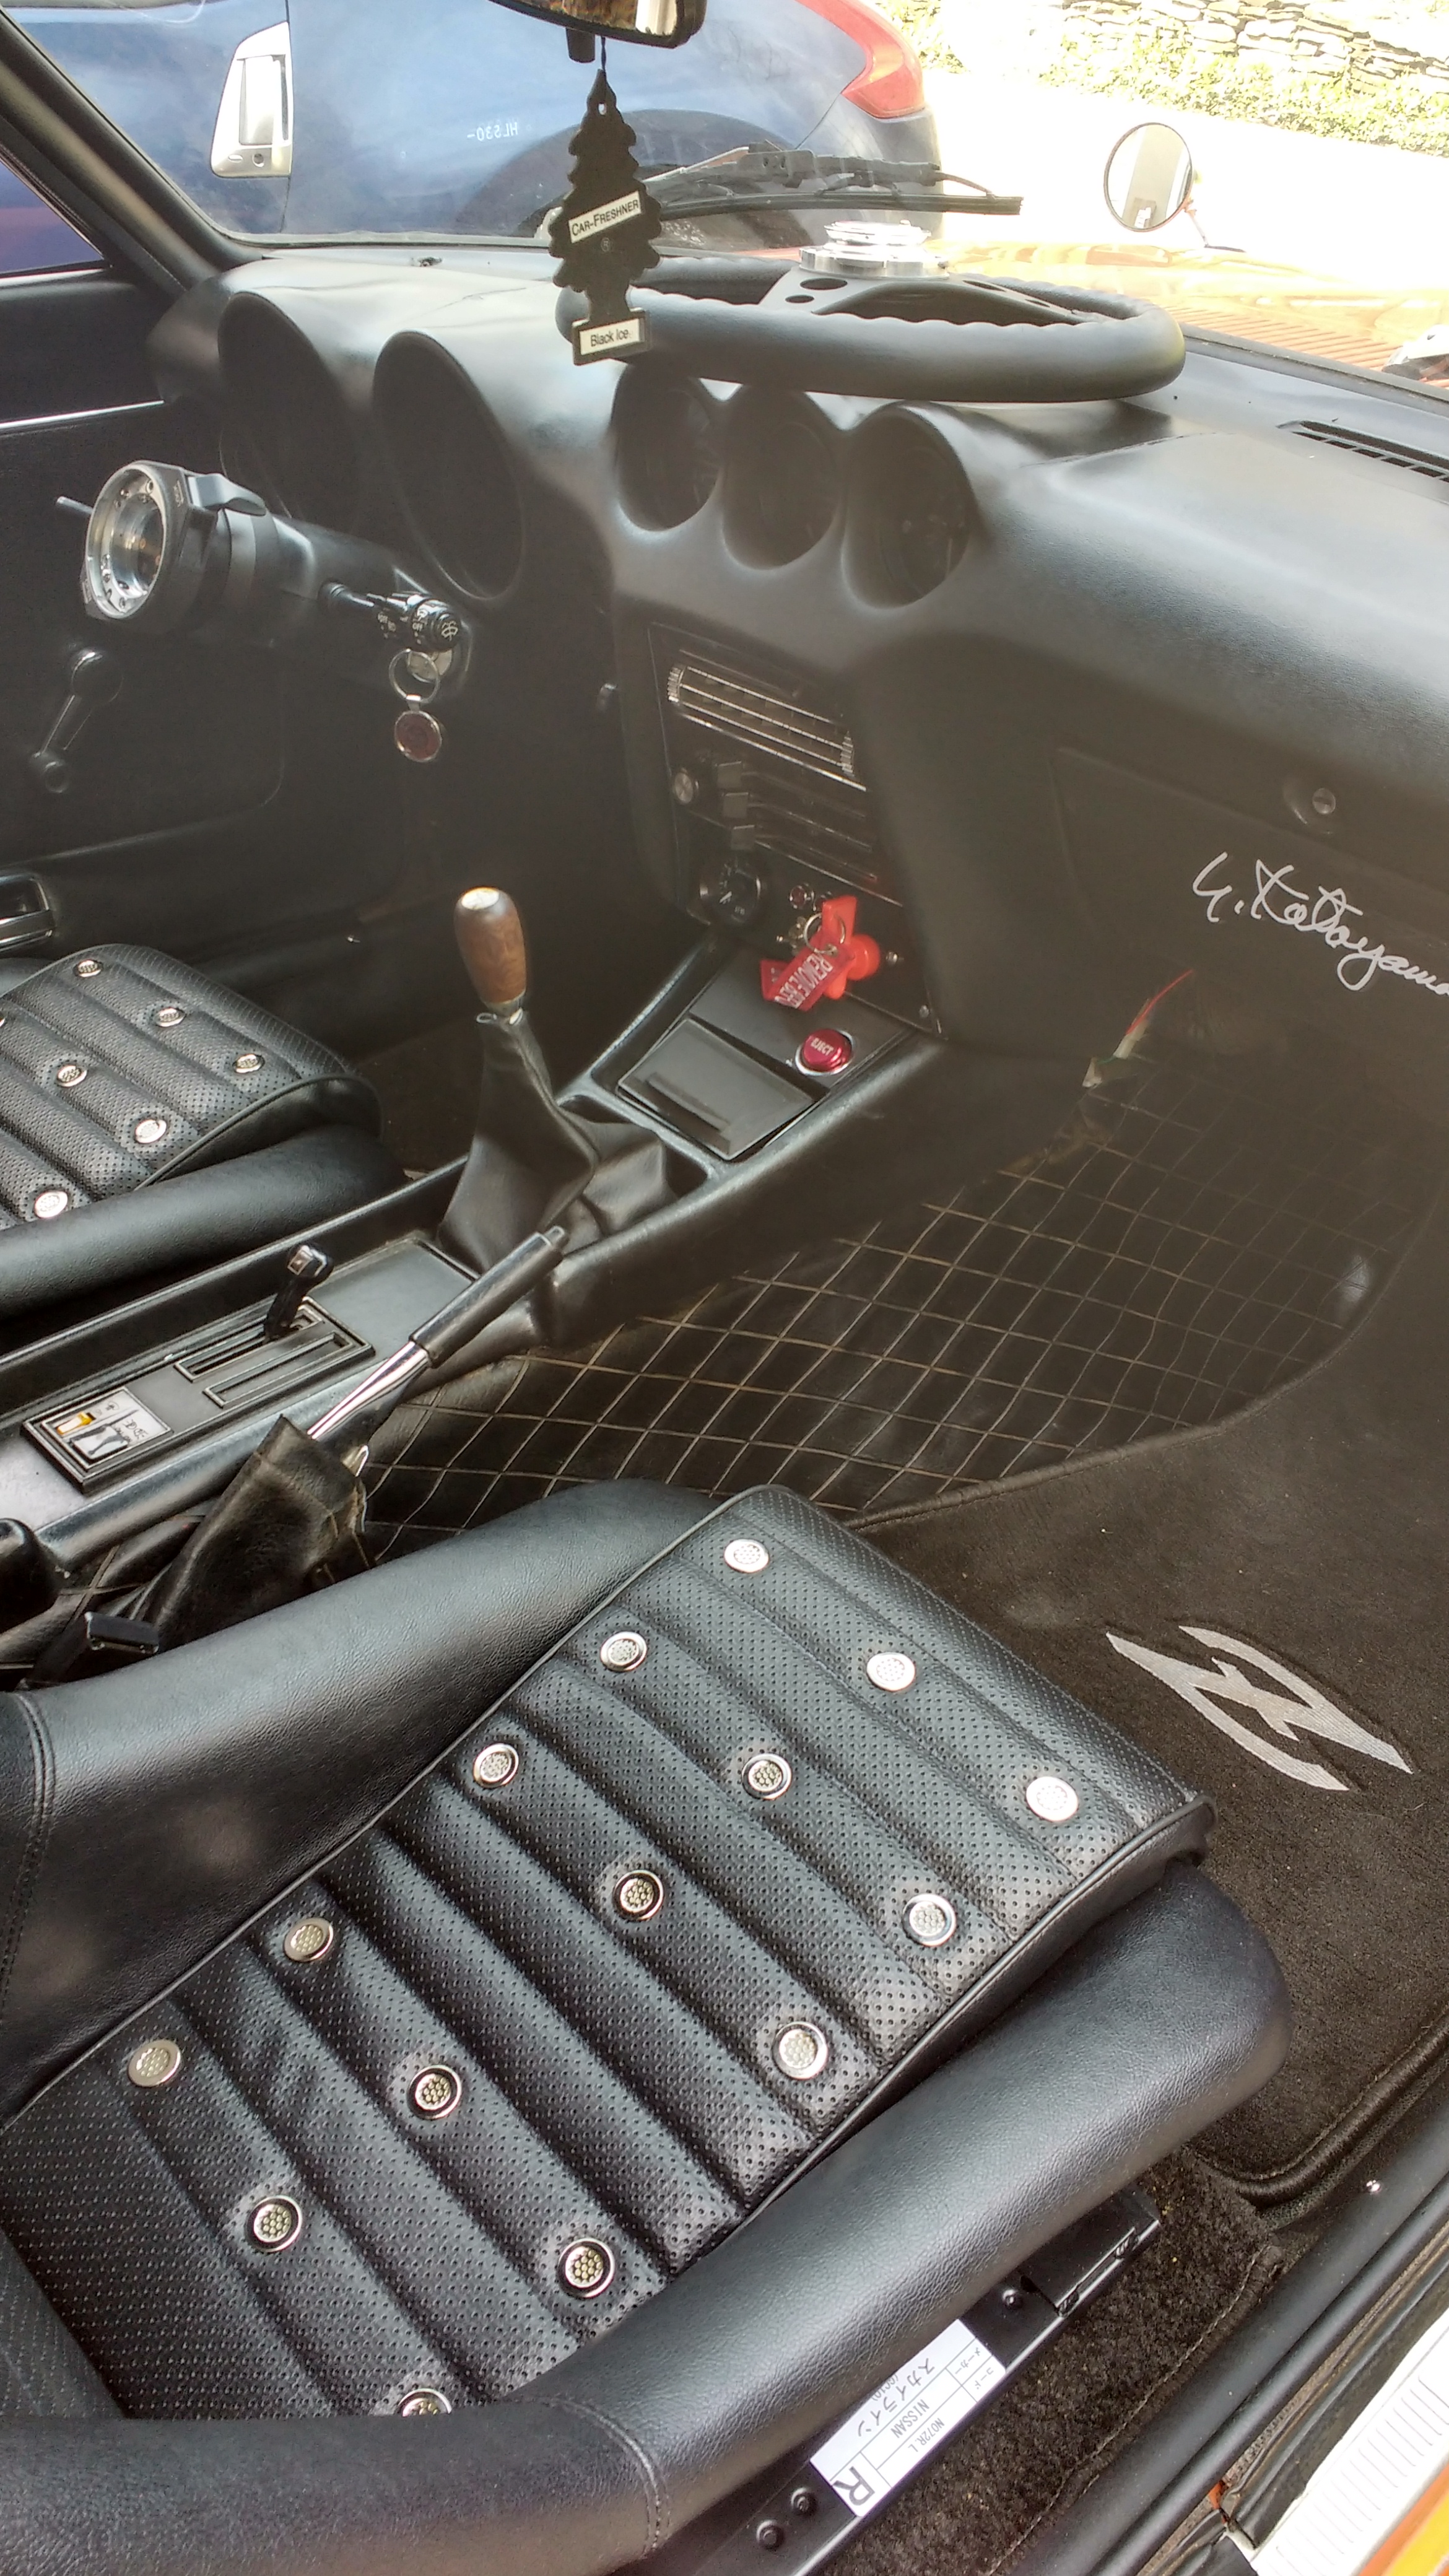
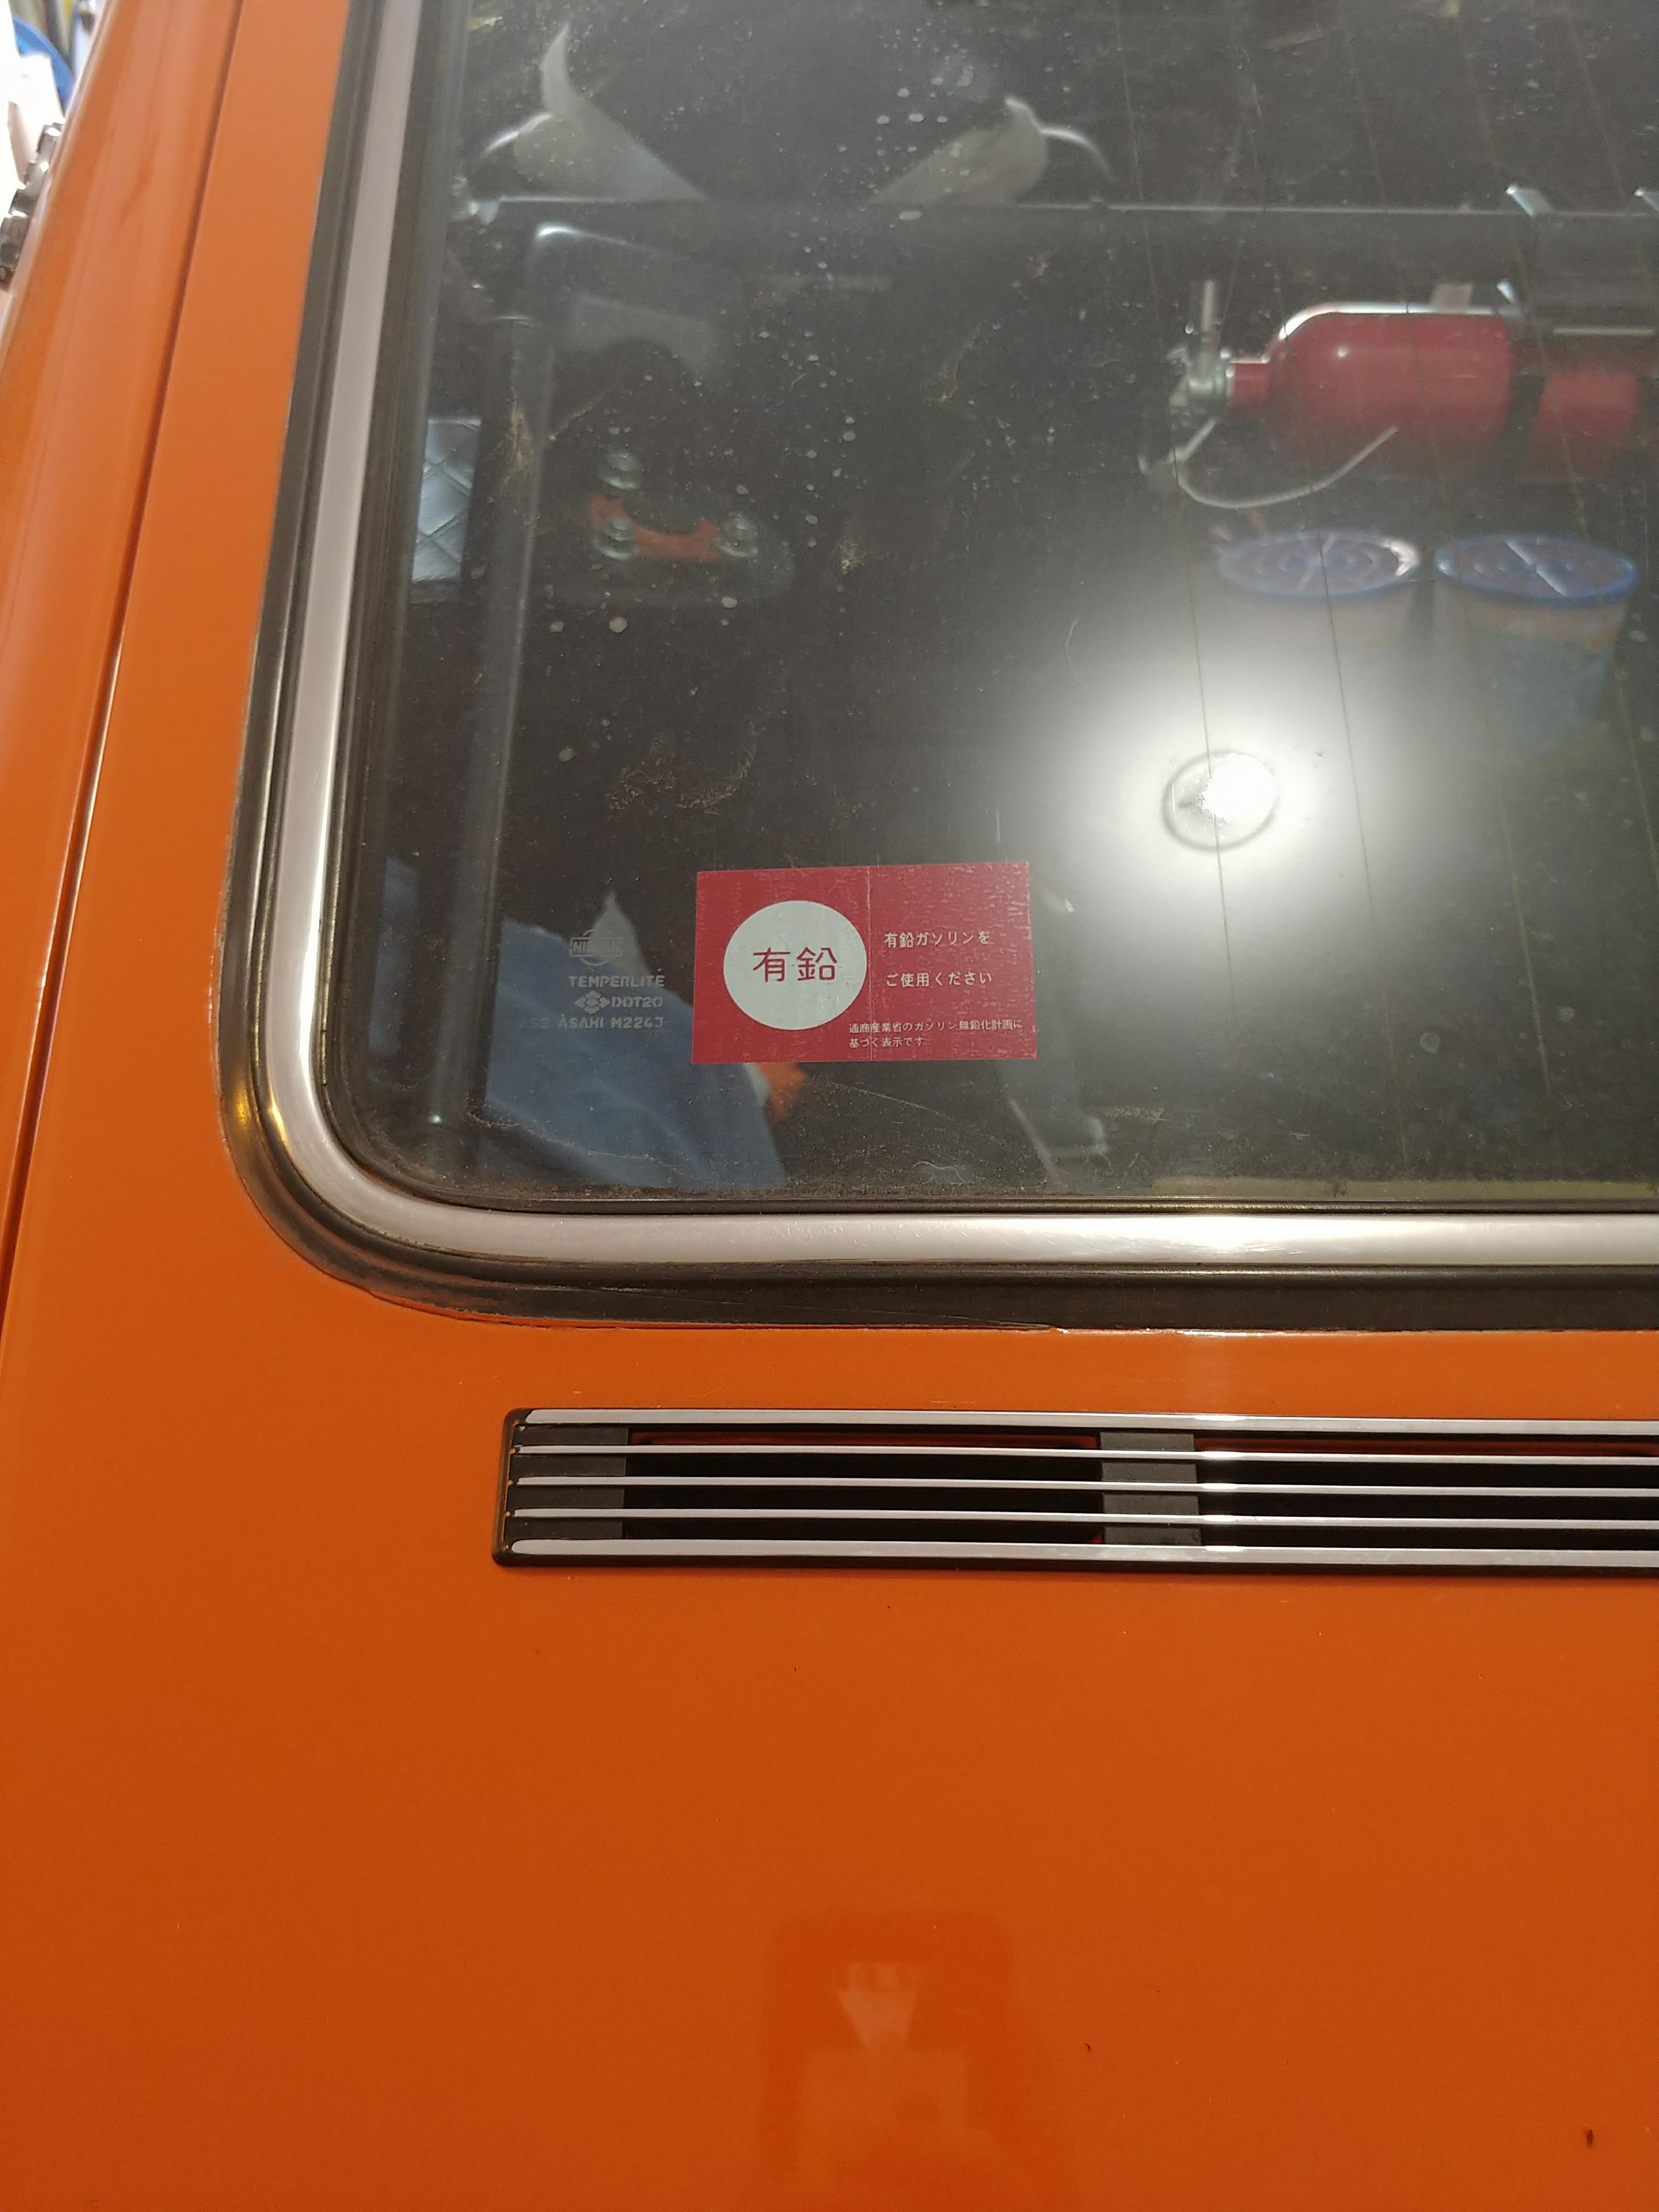
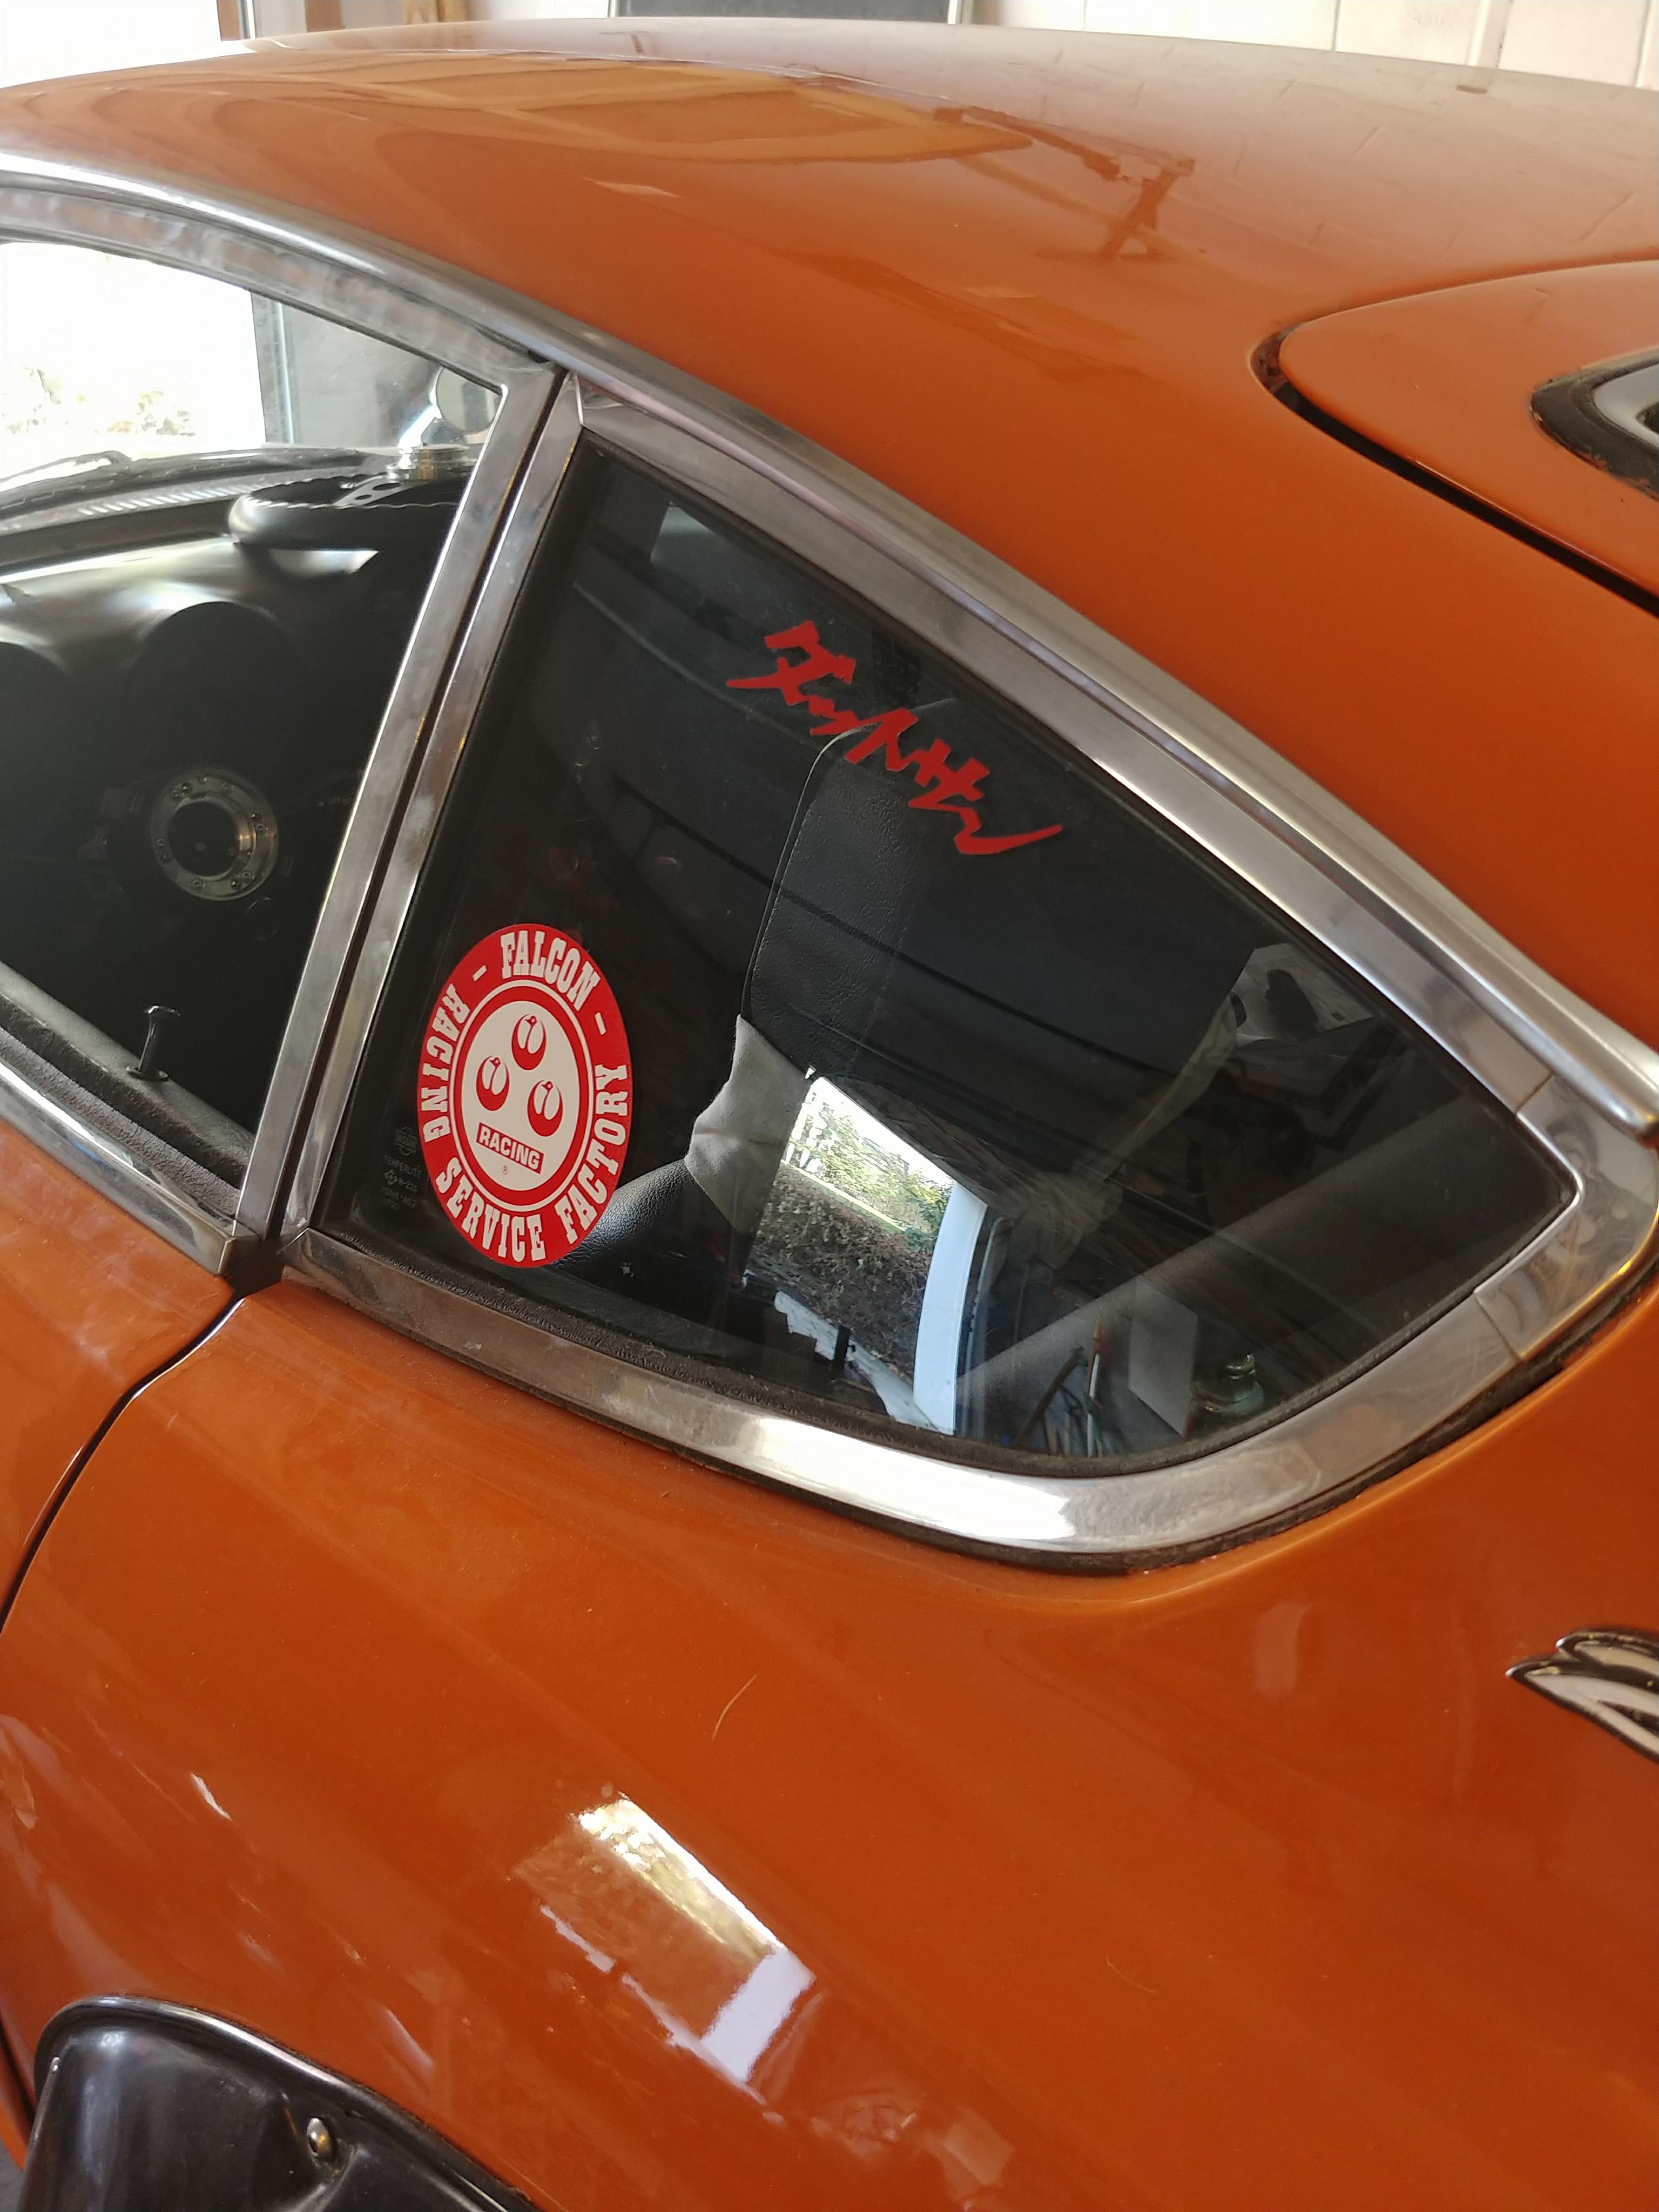
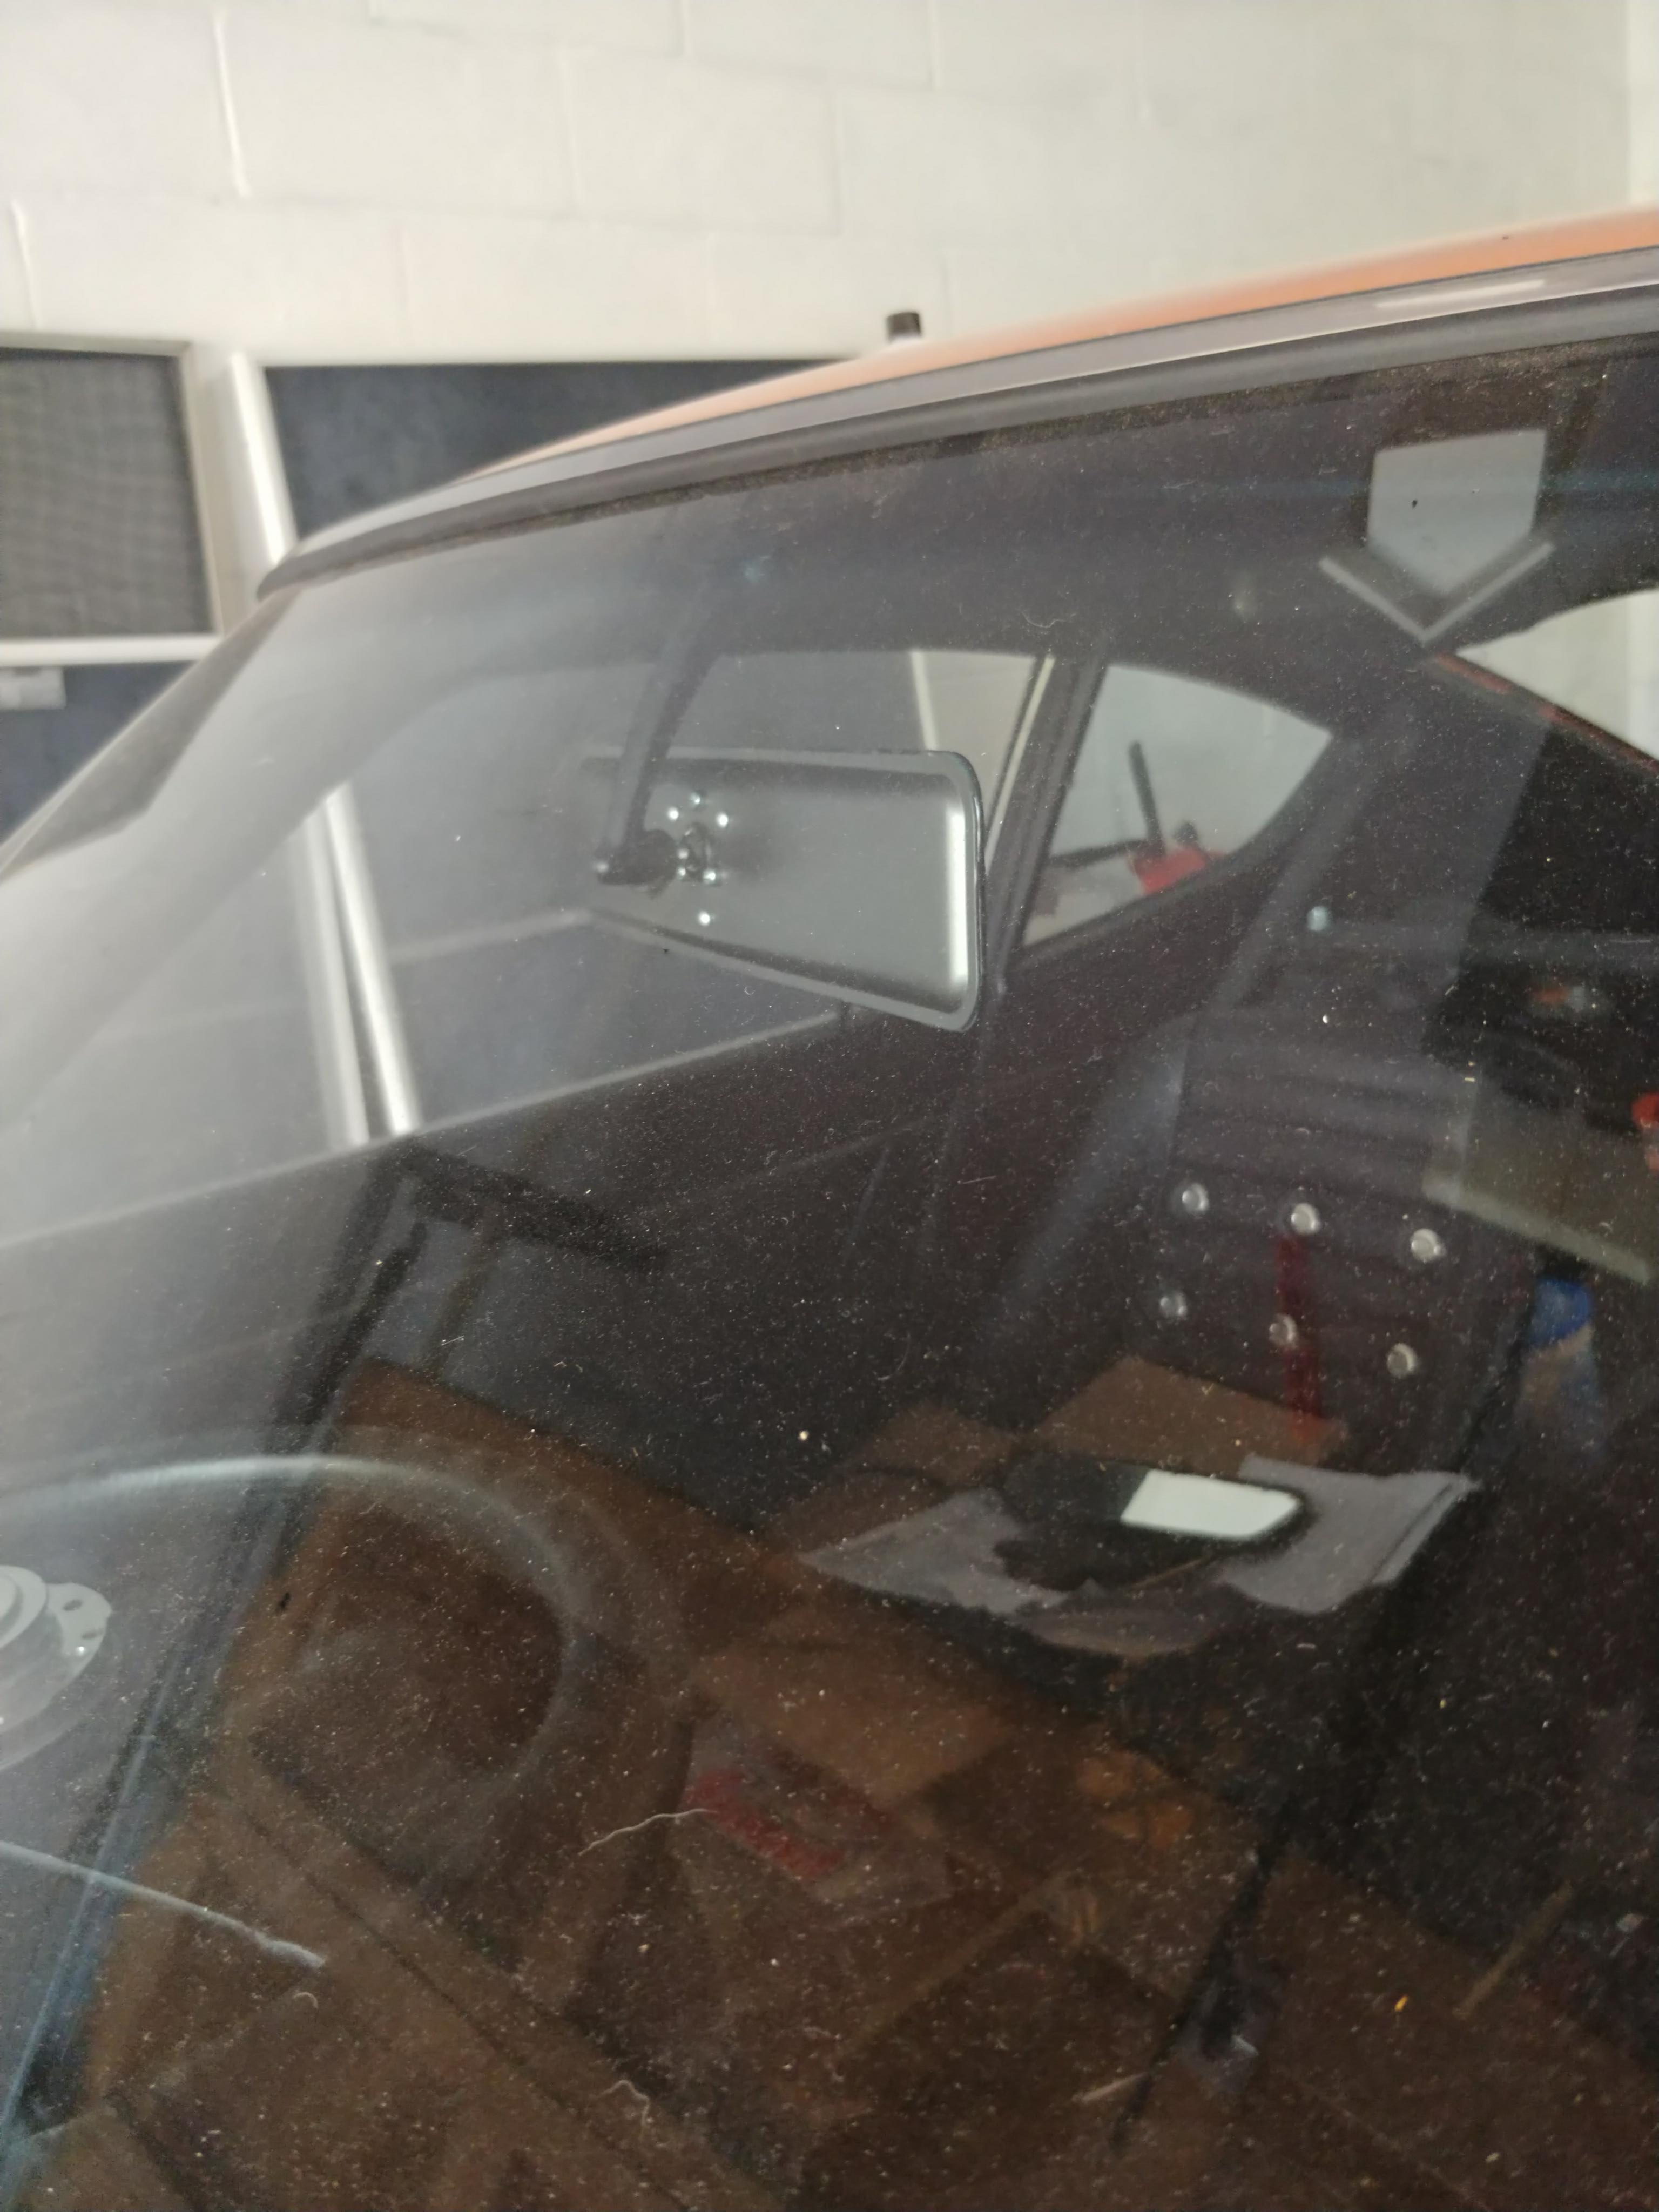
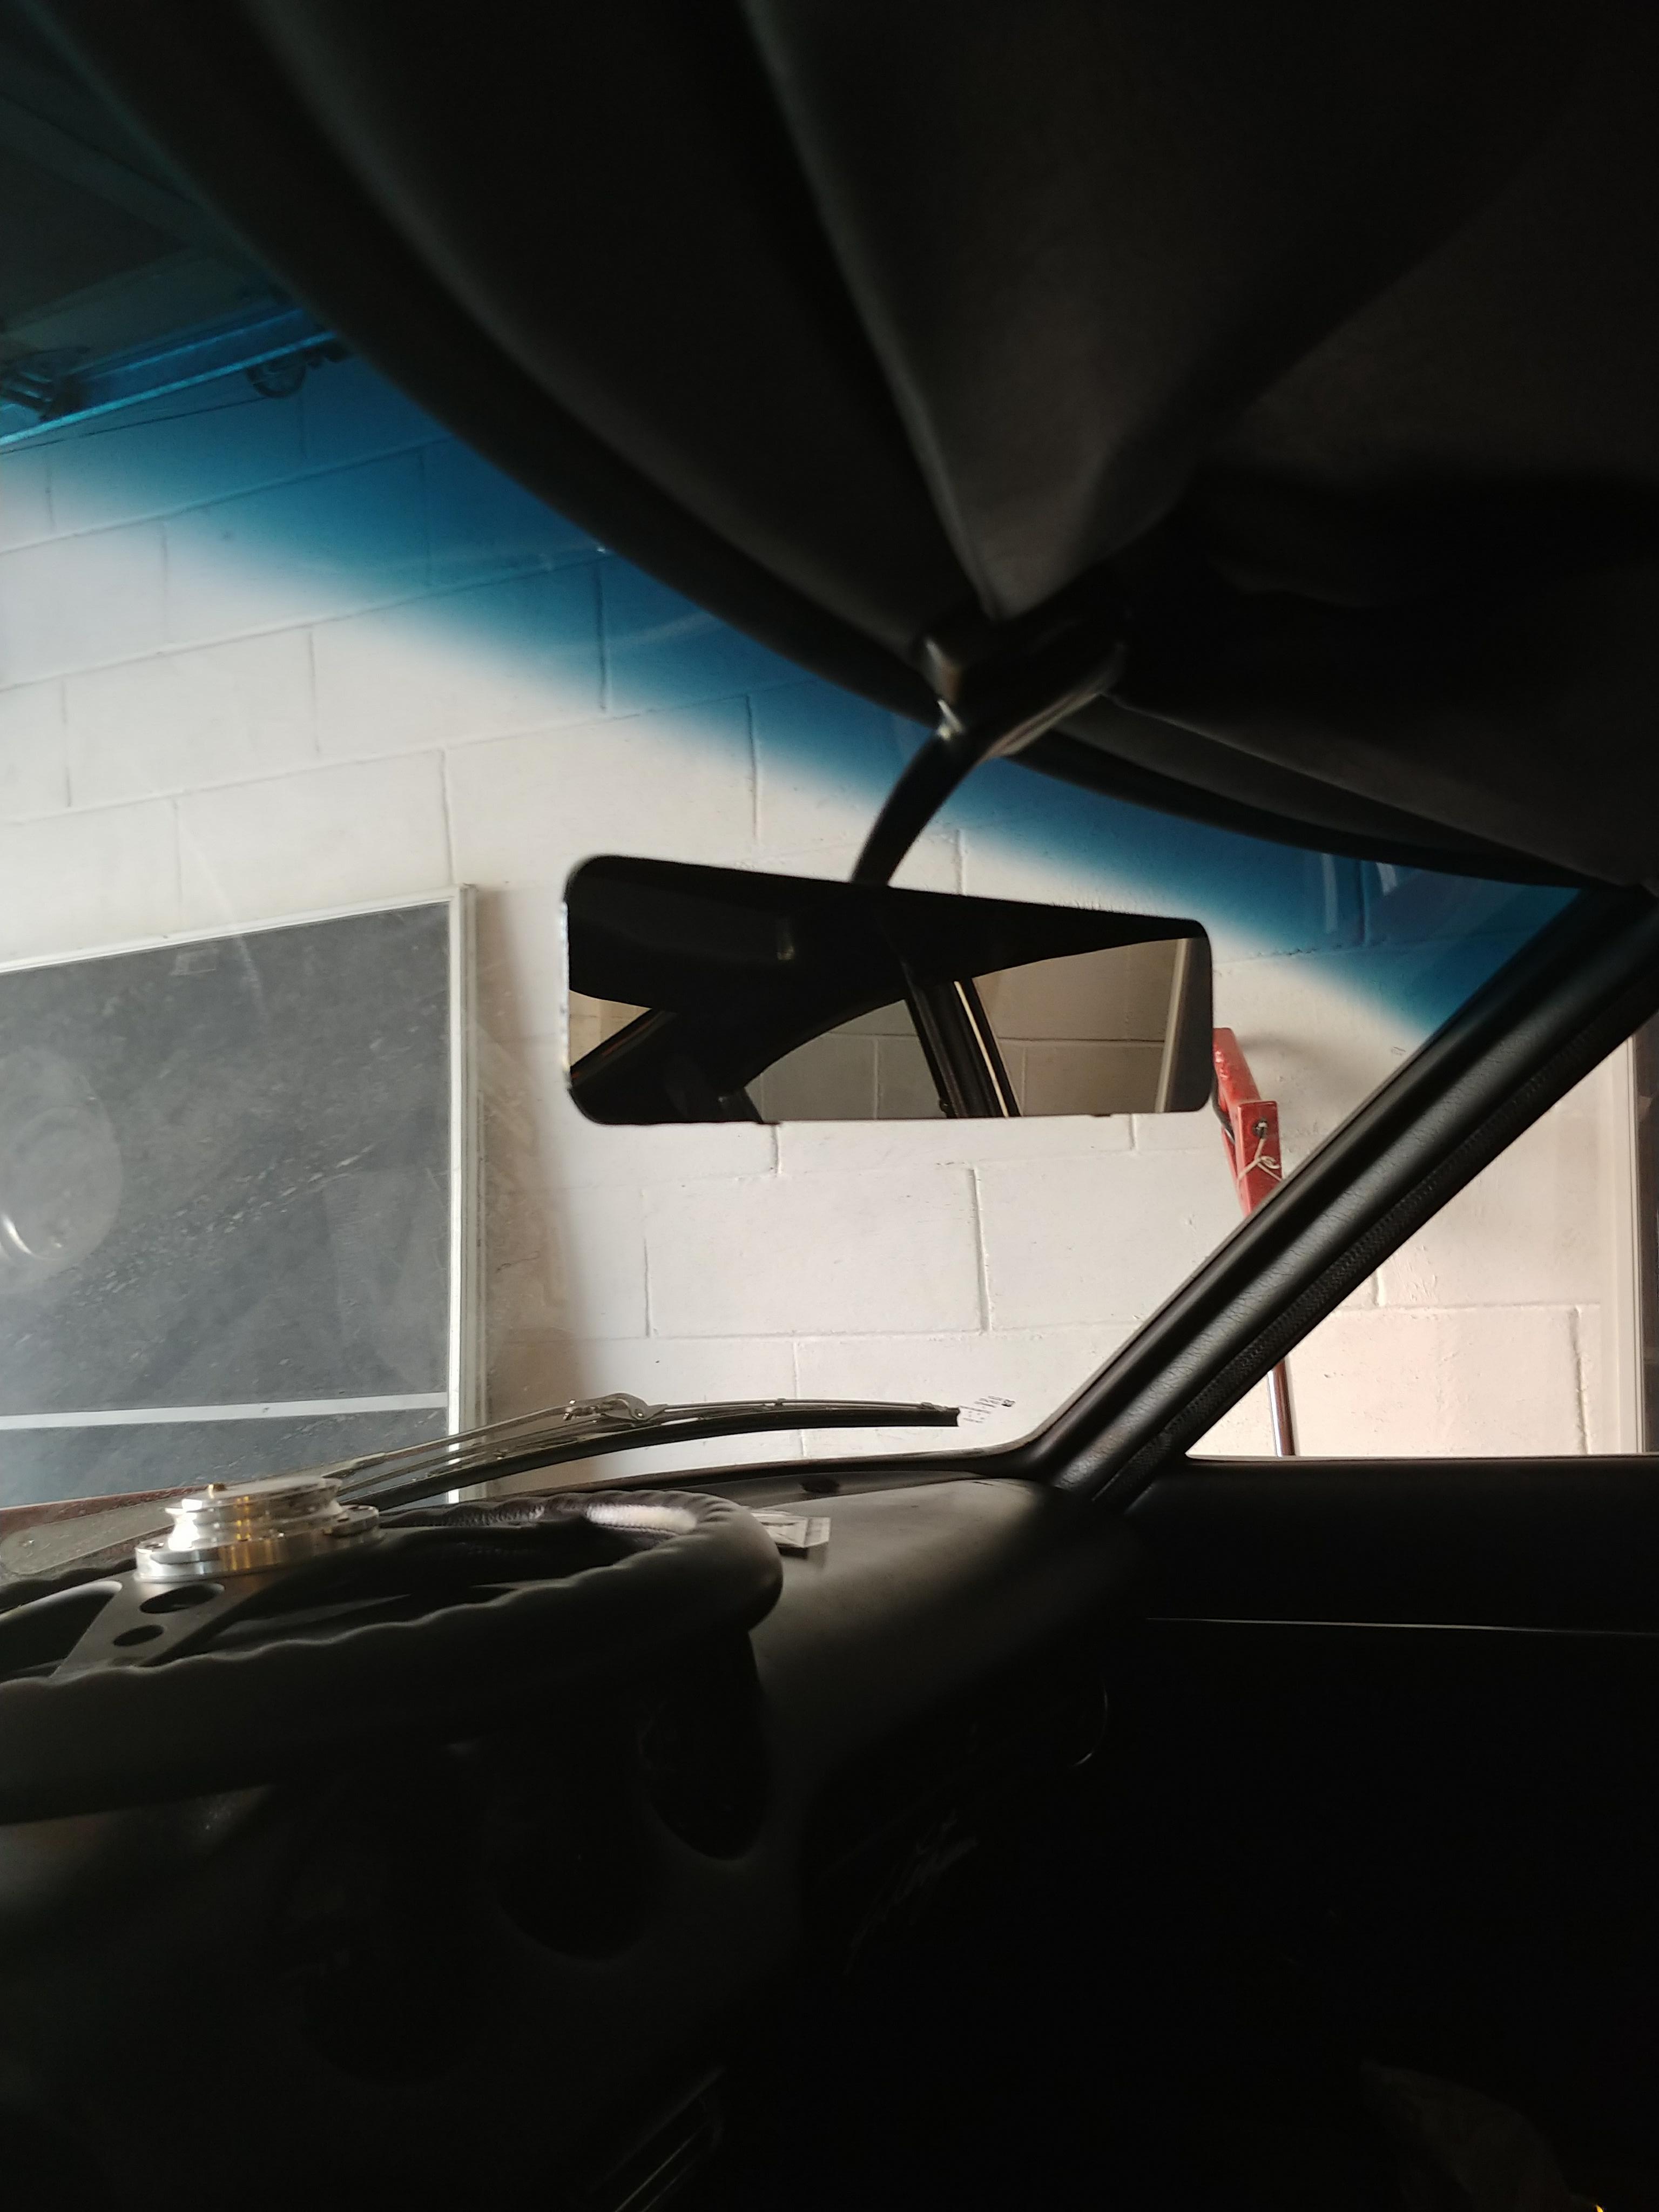
The competition seats are the ones that Kameari produced a while back. I would advise to stay away from the cheap ones just because they're a safety issue. These ones weren't too cheap but they're prety small. If you have greater than a 36 pant size you're out of luck. As far as comfort goes, for bucket seats they're nice and I like them but the high sides make it difficult to get in and out of the car without a quick release on the steering wheel. That's a good call, will have to try that with the jack. Should help make things a bit easier. I have to confess that while I've been looking for a signed one for 3 years I haven't had any luck. It's a vinyl sticker someone had made up. I do have a few things signed by Mr. K like his book and a couple diecast 1:43 cars though. The harness bar mounts to the existing holes above the quarter window where the seat belt mount is as well as on the floor where the stock seat belt anchors. I have nothing but good things to say about technotoytuning products. All of their stuff is top notch. I'll get an updated clip for you when I get my carbs back. Just had the set on the car restored and rebuilt. To each his own. The flares are actually fiberglass and they're ZG flares commonly found on gnose fairlady z's. Ride height is a little high for ease of work and I had to cut the fenders after breaking one open but hey, not trying to convince you to cut your fenders. Check out this fnose fairlady z. The coil overs are a little high because I've been working on the car. Angle of the pictures is a little low too but I'll have to drop it down and take some new pictures. I have a set of Marugen ZG wide style flares that I was thinking about having painted and putting on. They extend downwards a little more and would tuck the wheels in a little but we'll see.

-
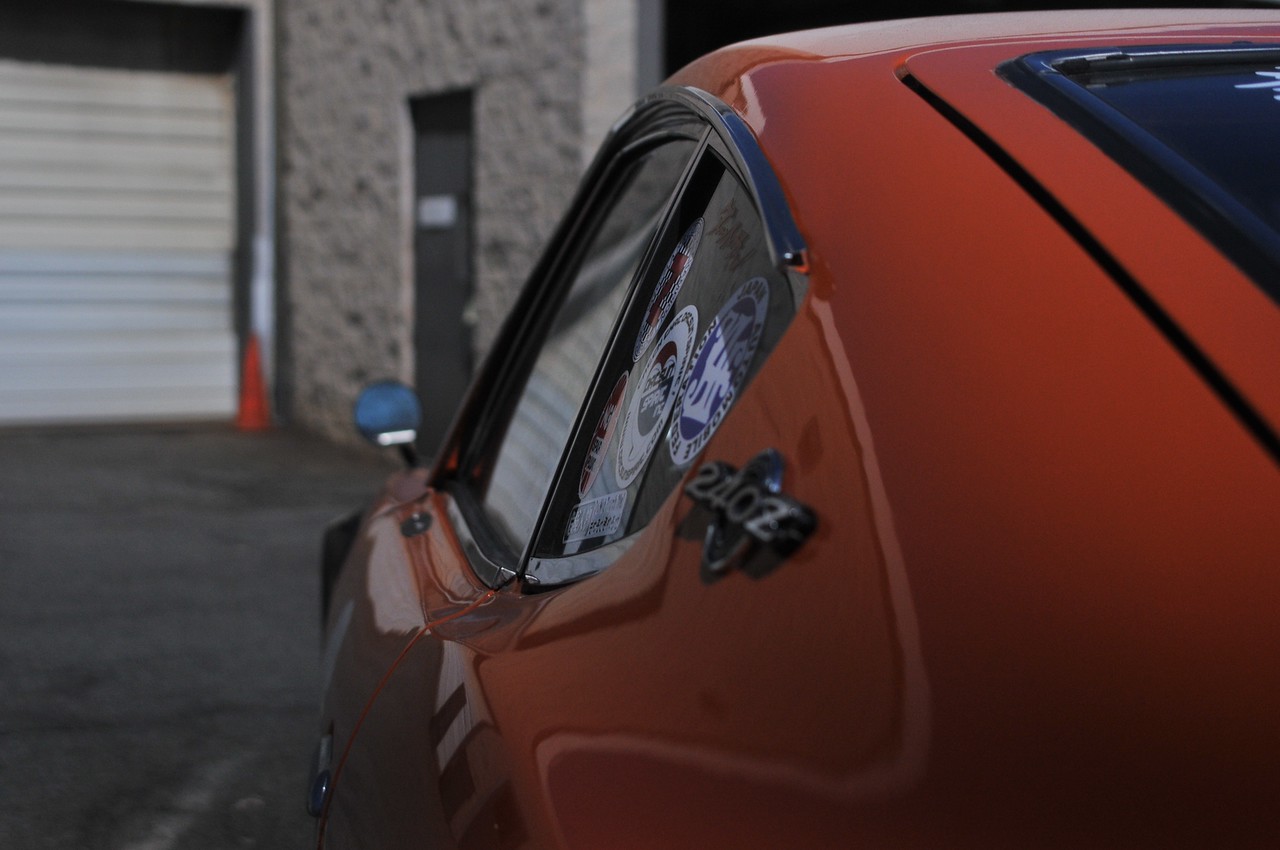
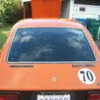
Flares were never a plan for the car. I went through a set of wheels before this that were just a little too wide and a little too big that rubbed and hit the fender and cracked it good so I decided to go with flares. Since that first set of wheels I'm on a different wider and bigger set now. I have the front end of the car jacked up just a bit high to get a jack under the air dam easily but can lower it down a bit for a closer fit with the front and rear ones. It's on coilovers but has room to go lower. Being in and out of the garage, I have it at a height where I can work on it and get a jack under easily. Mirror is from yahoo japan like most of the rare bits and pieces!
- 15 replies
-
- 1
-

-
- 240z
- series one
- (and 10 more)
-
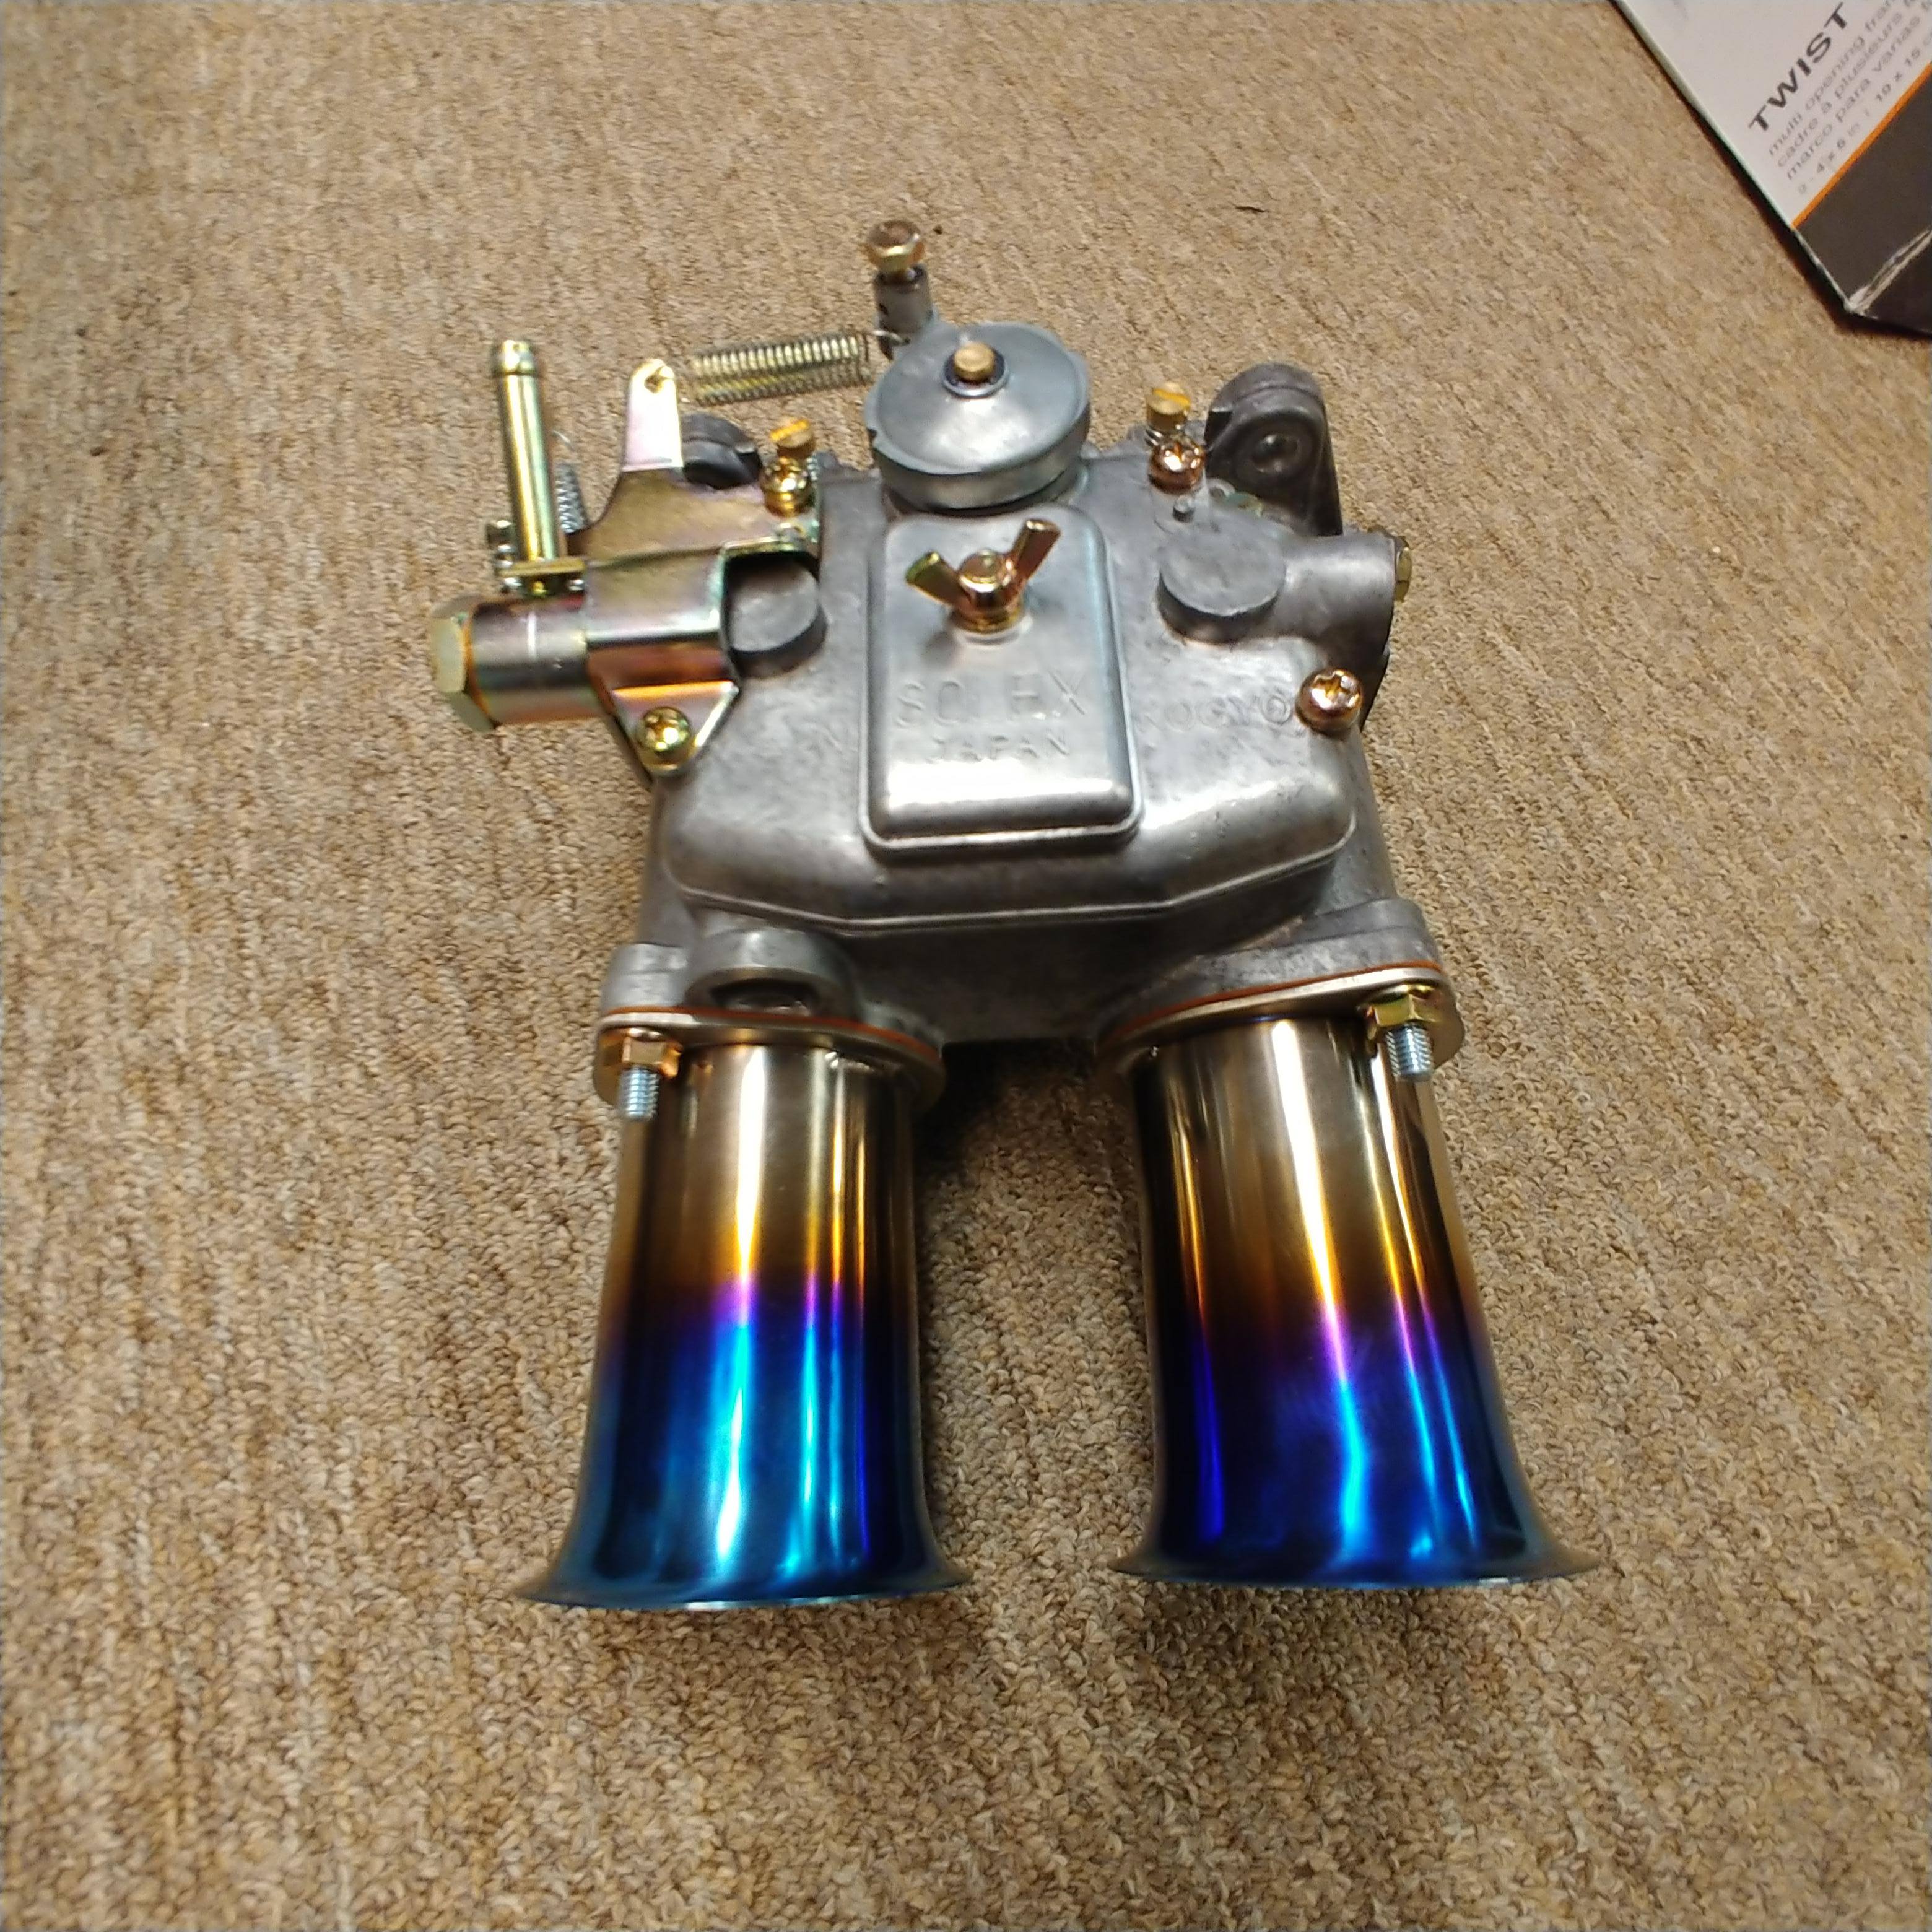
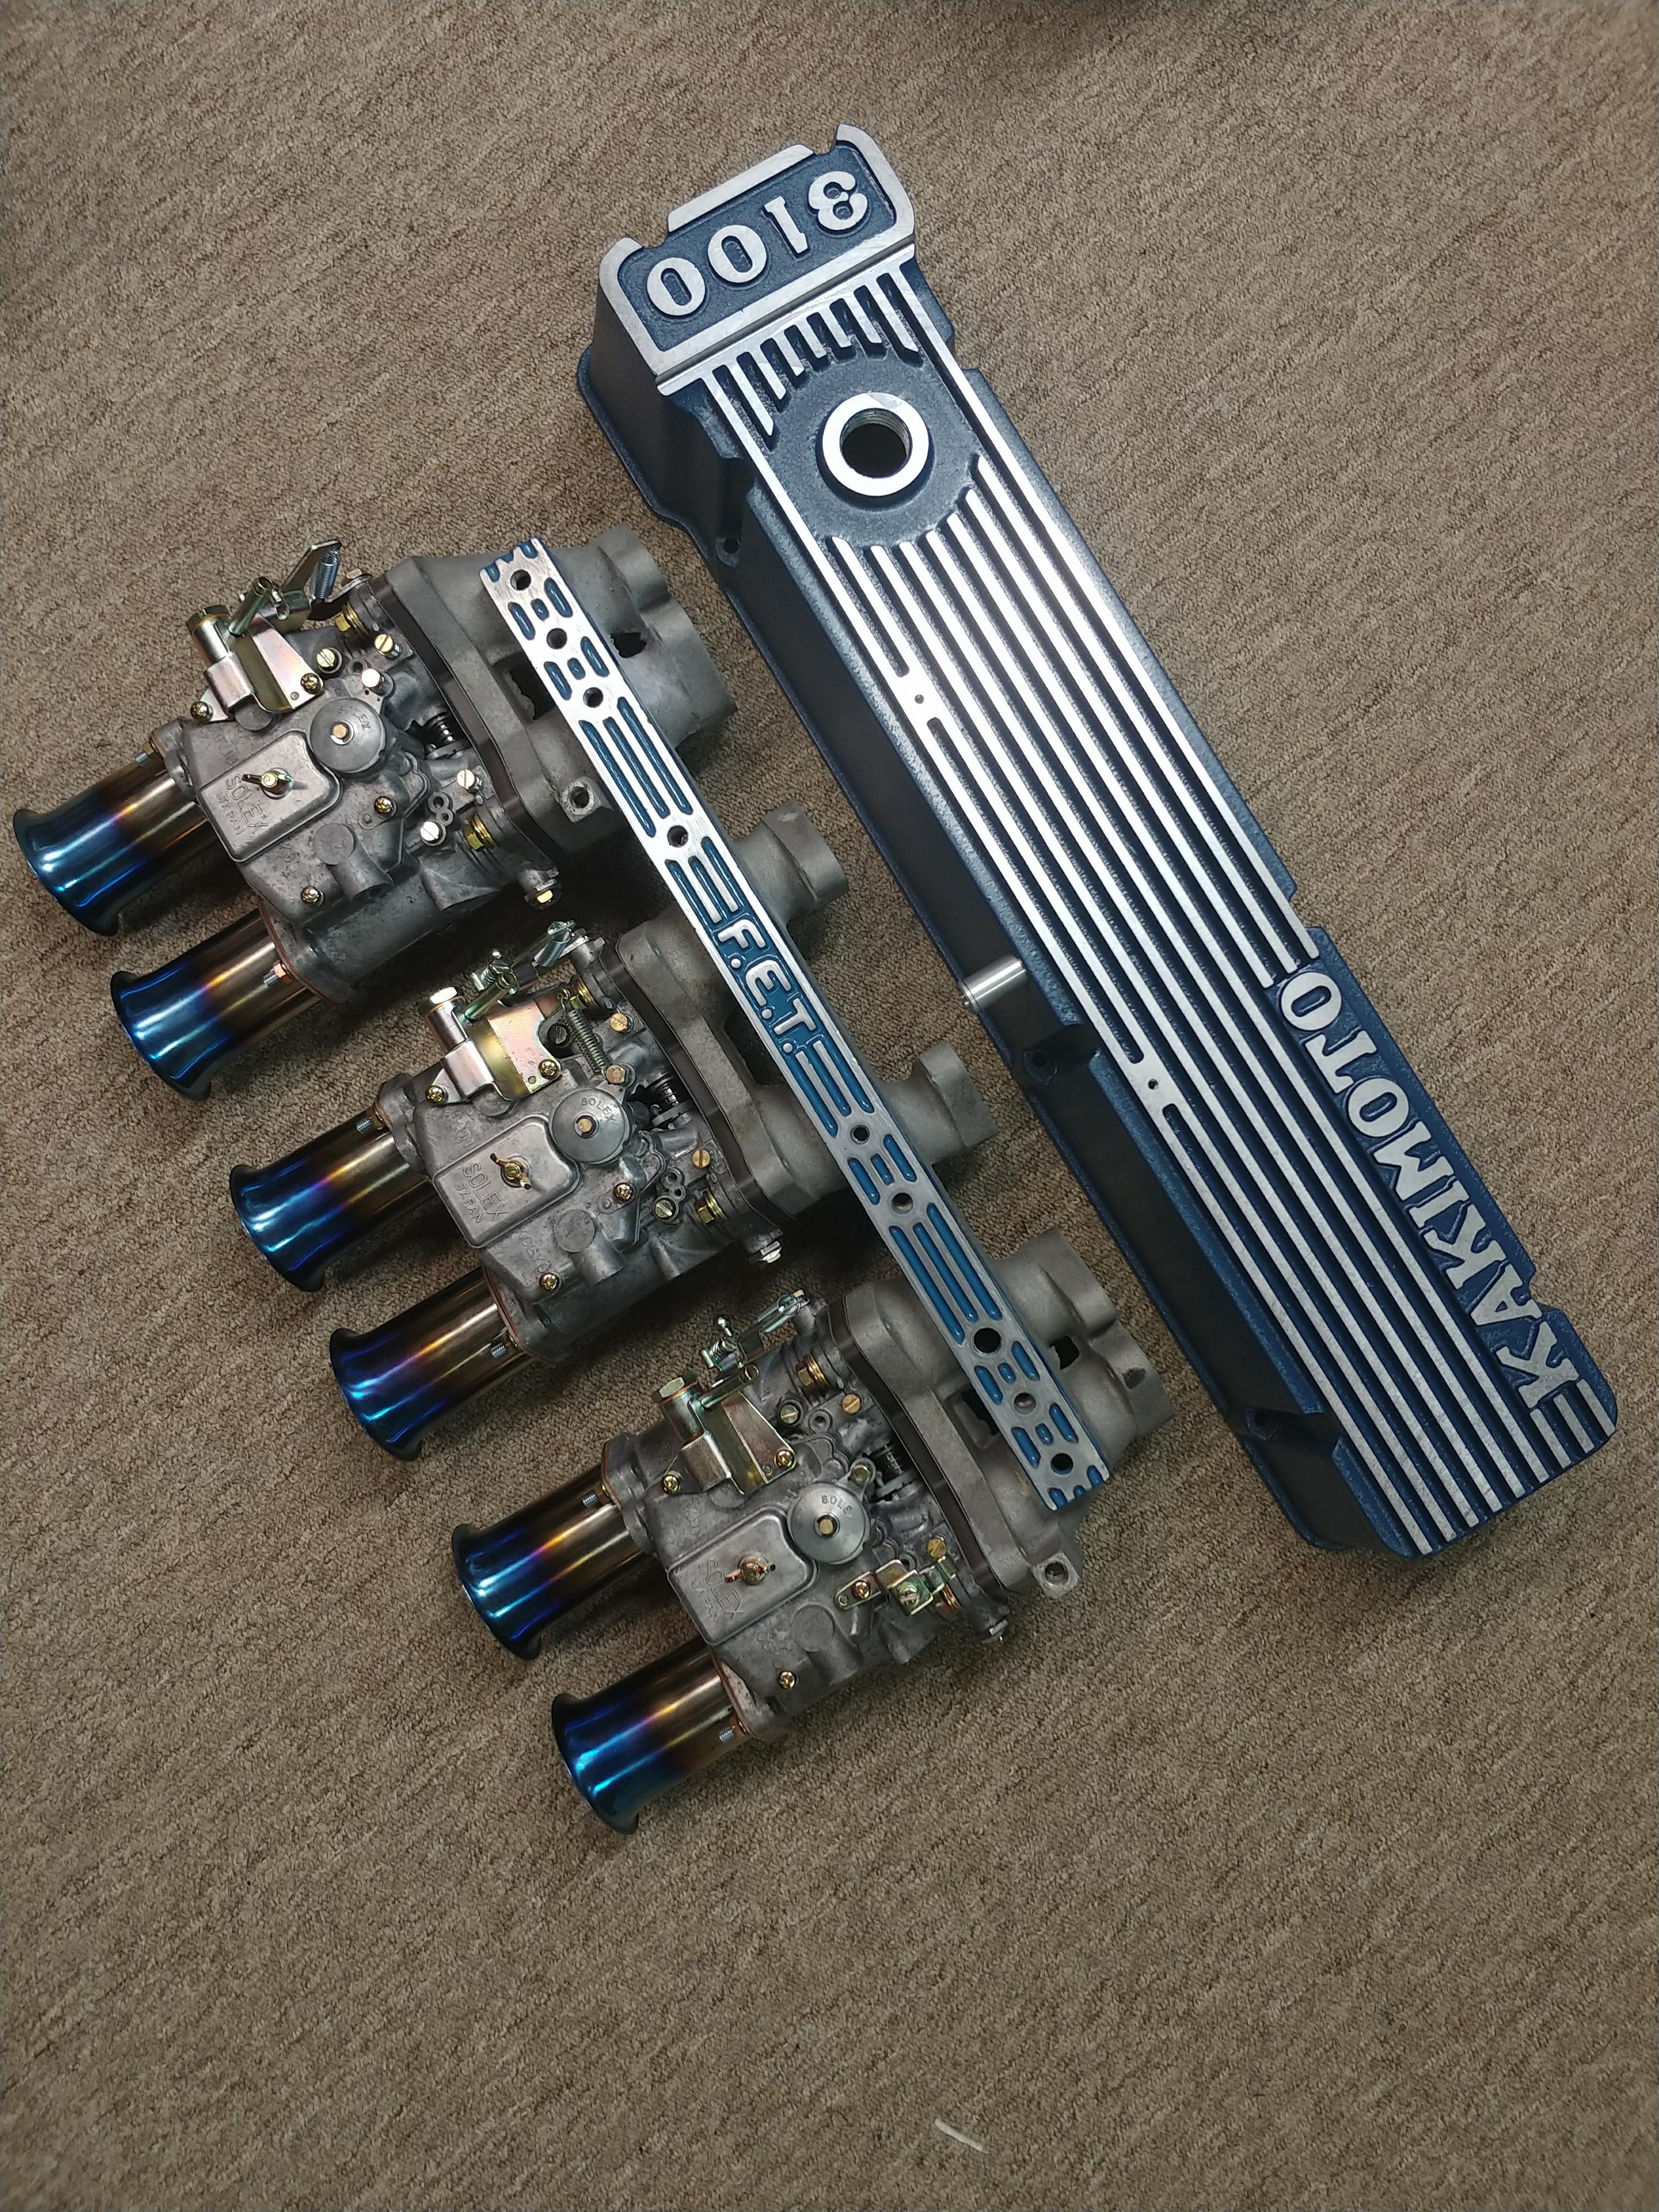
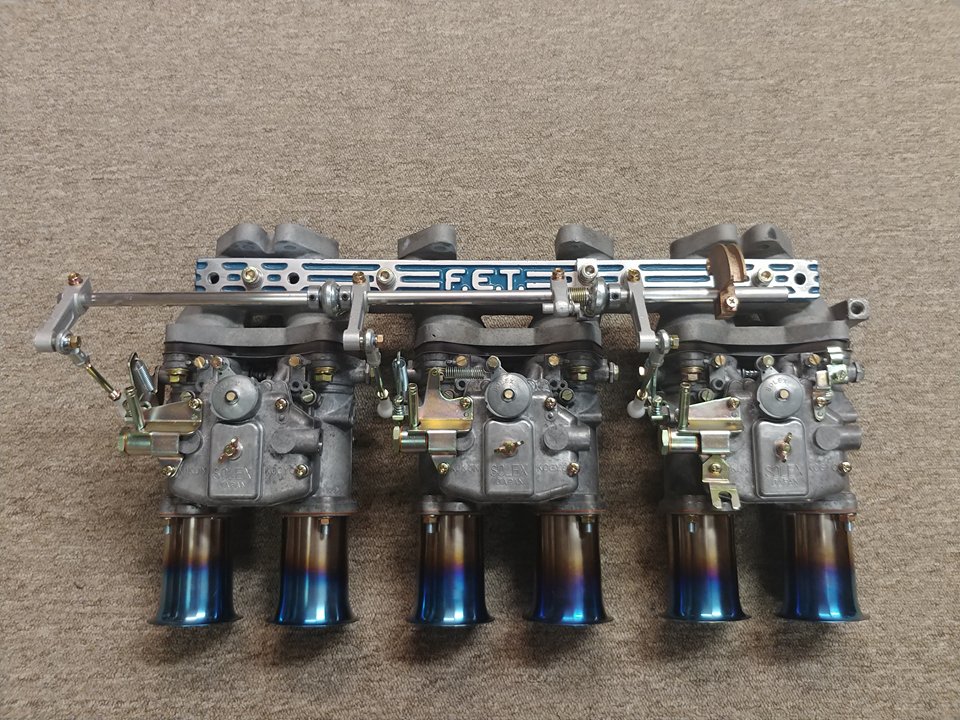
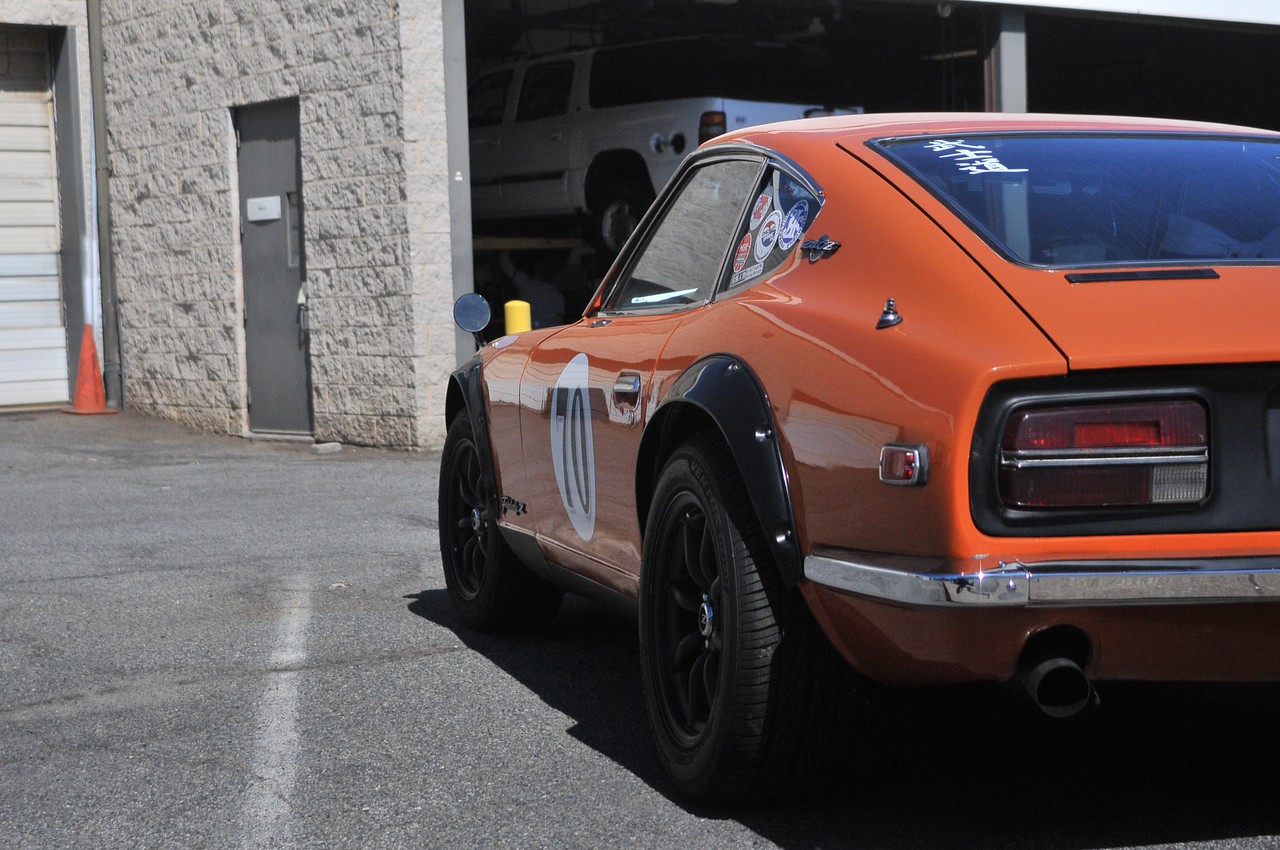
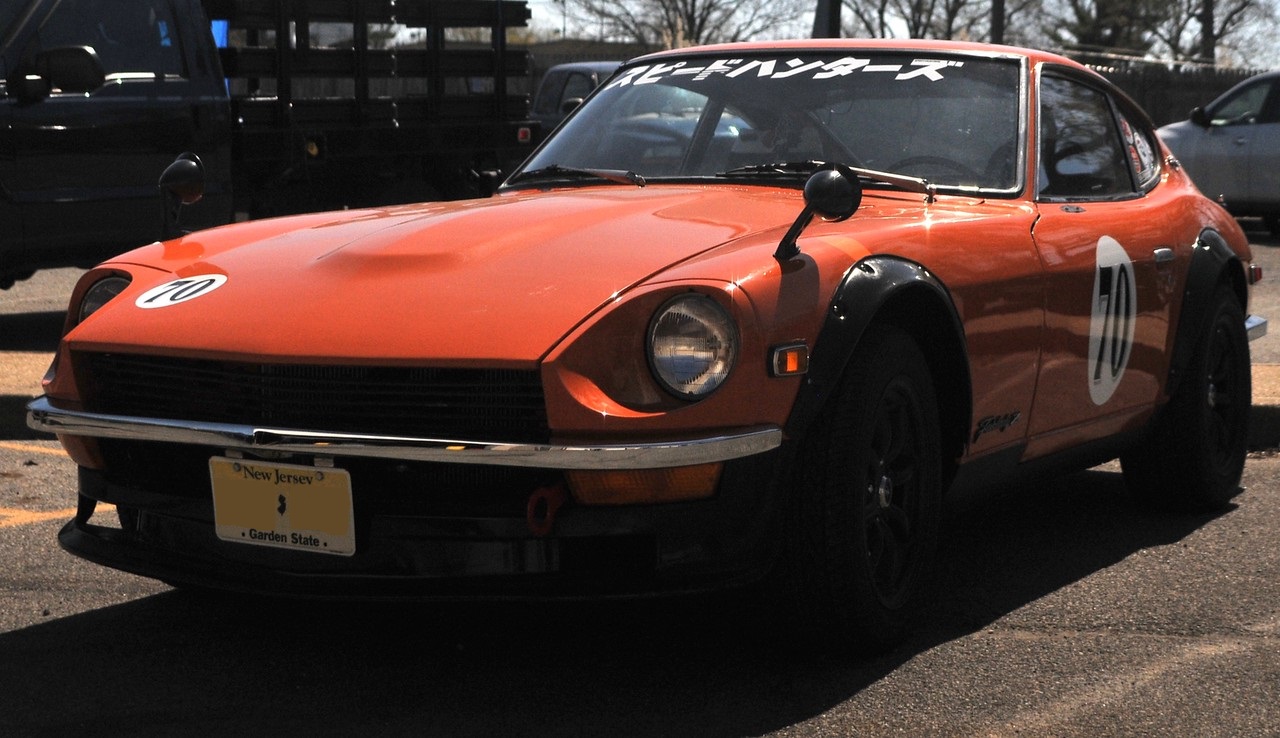
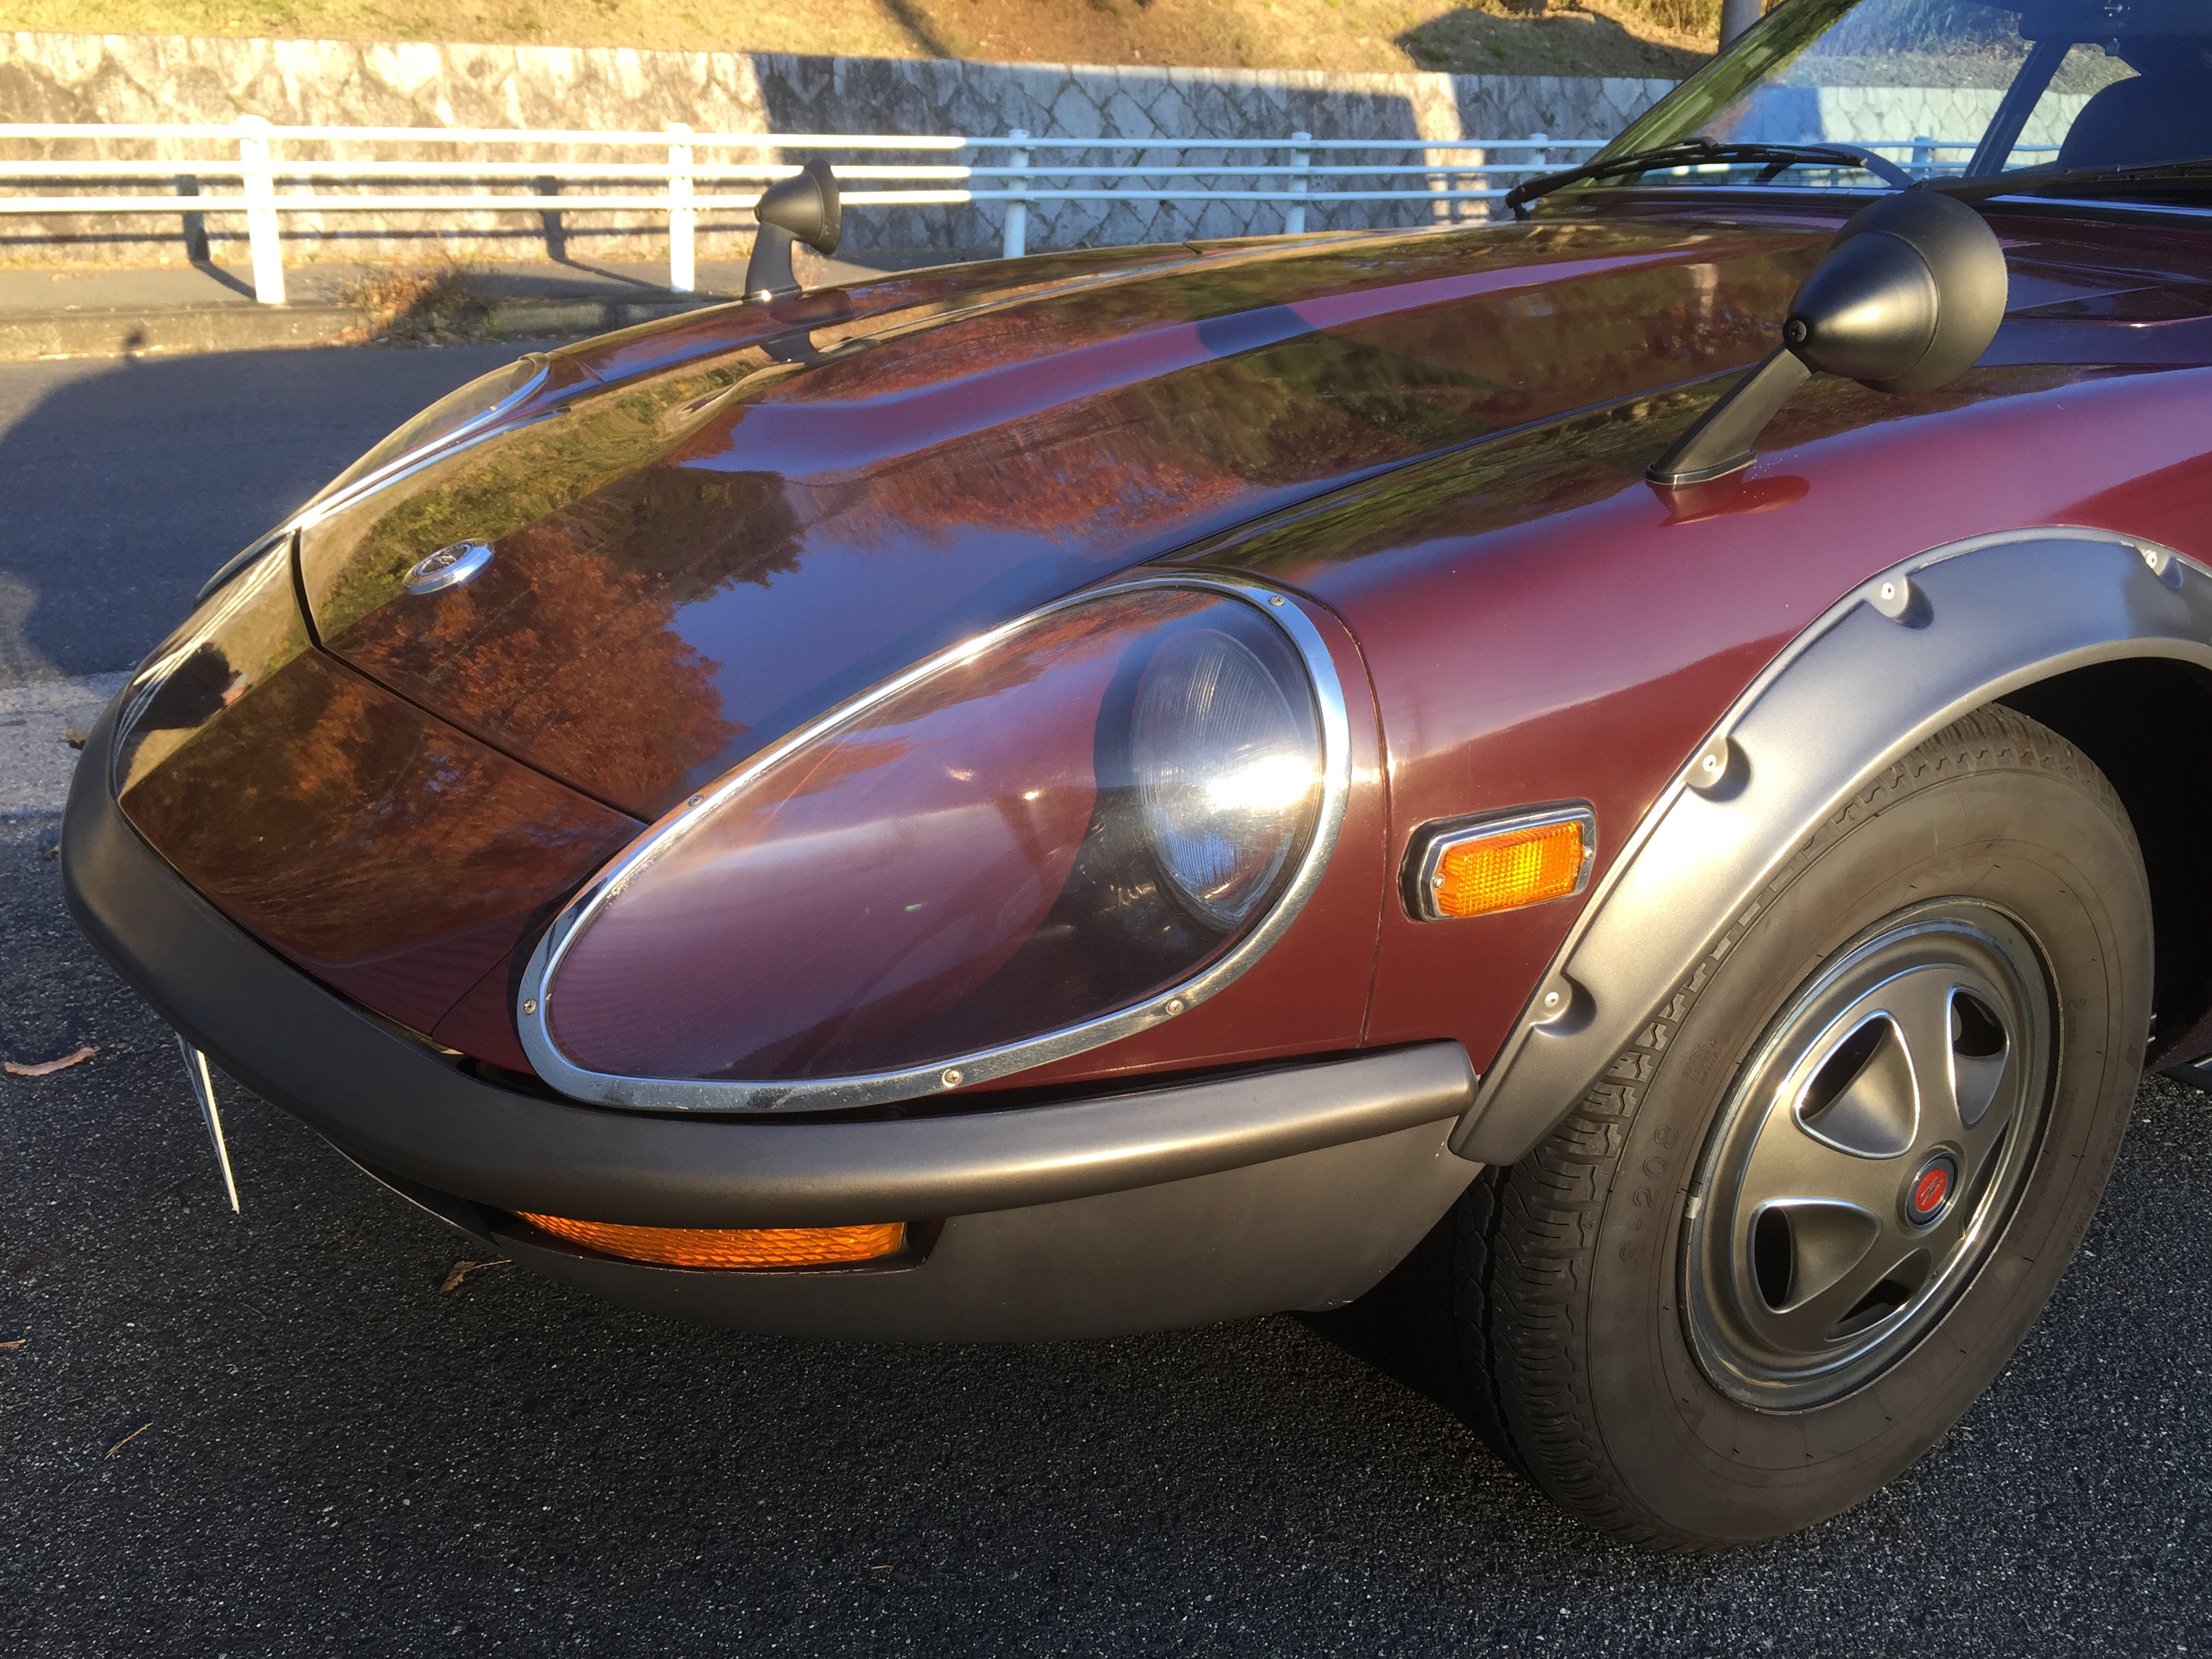
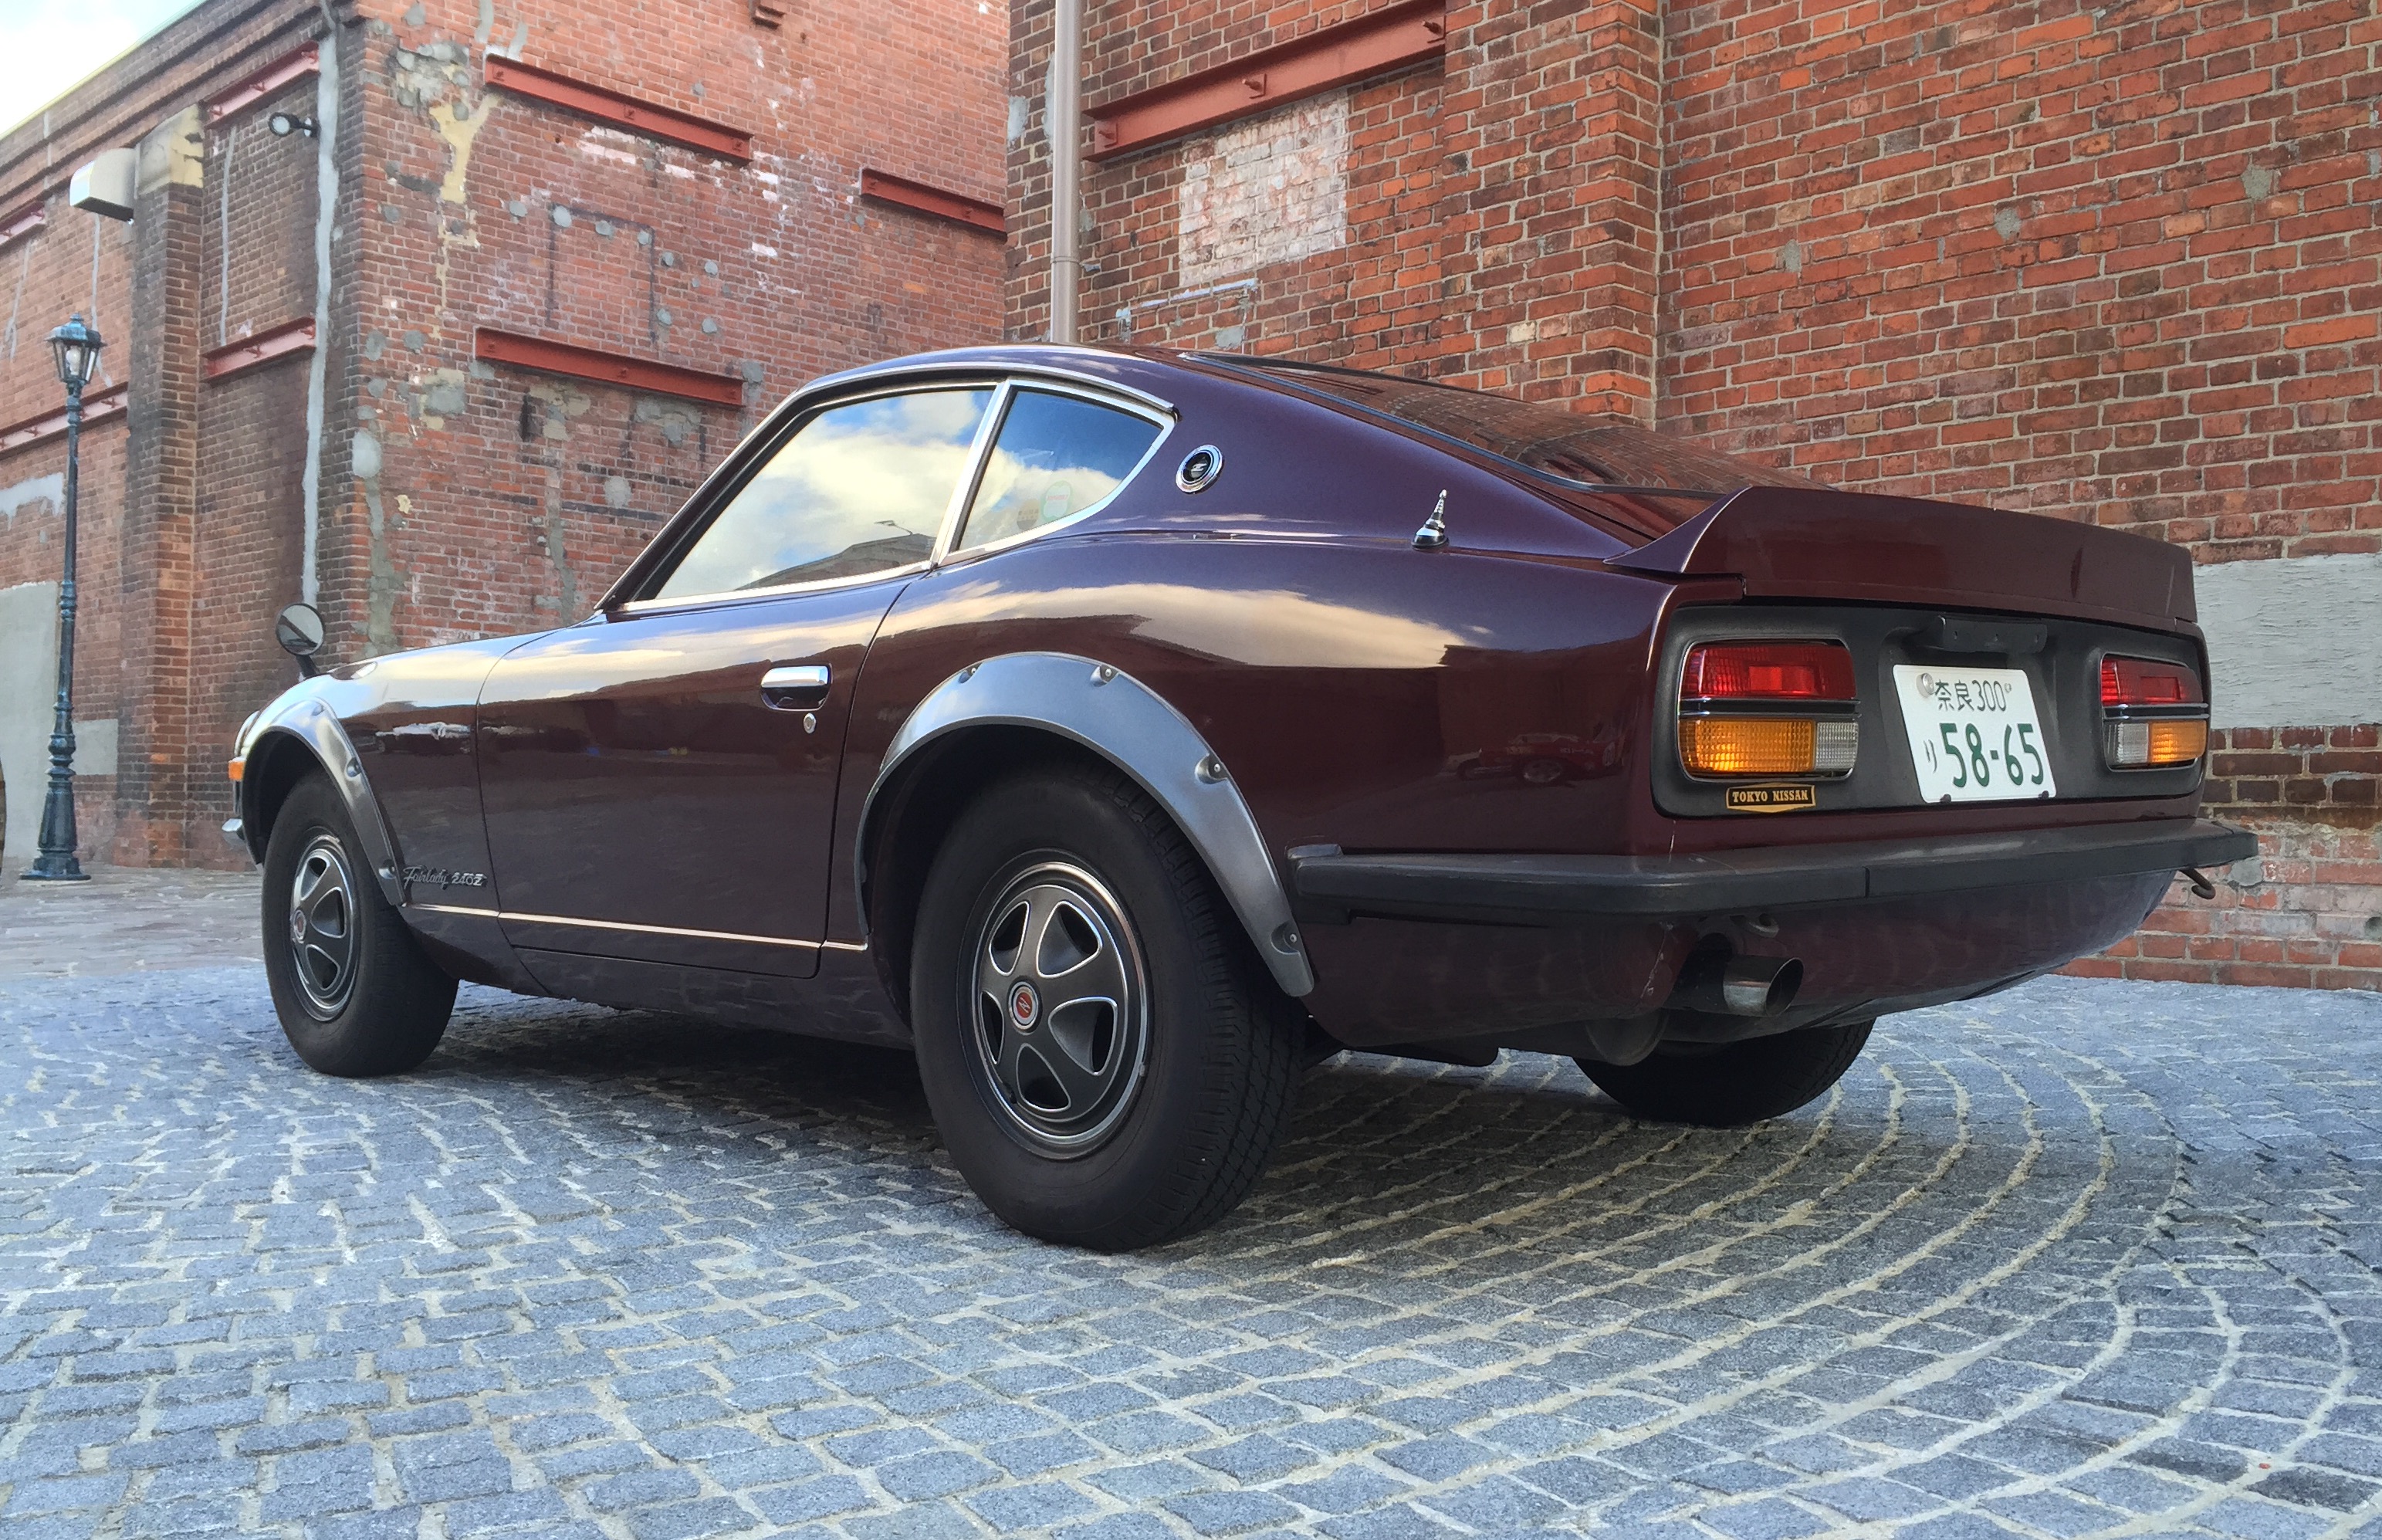
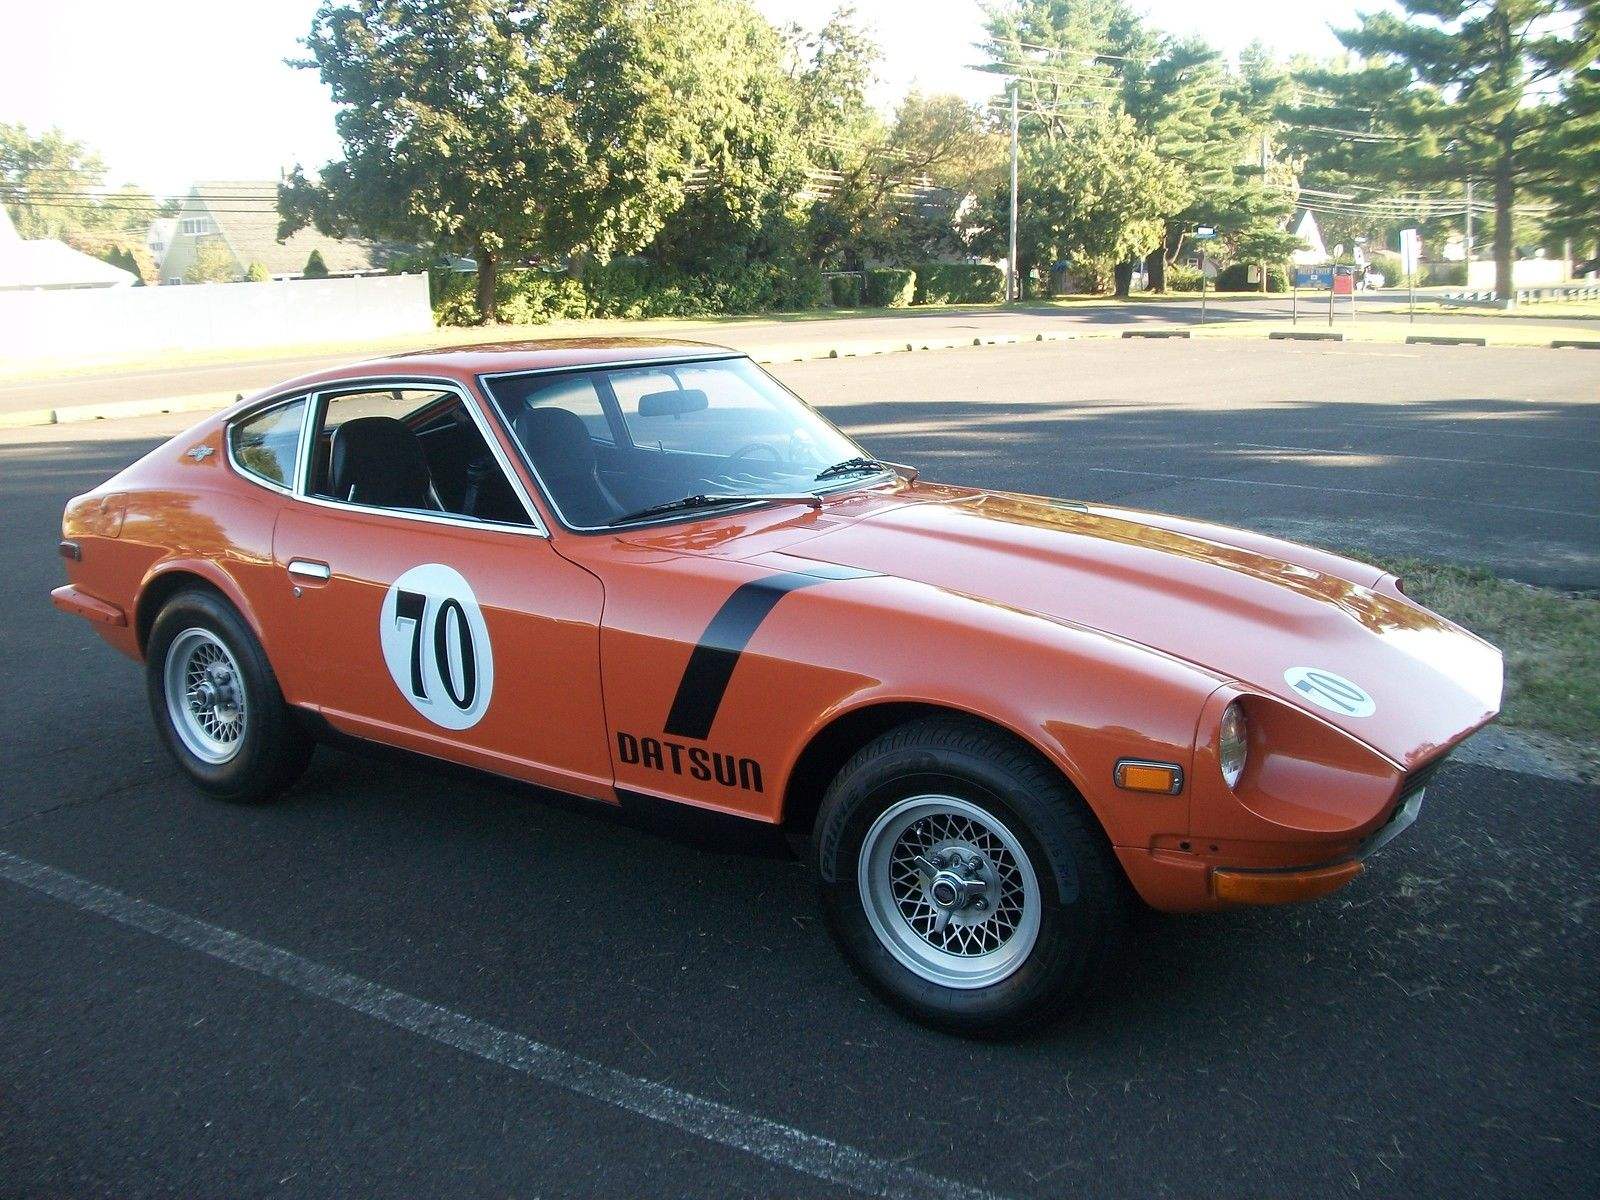
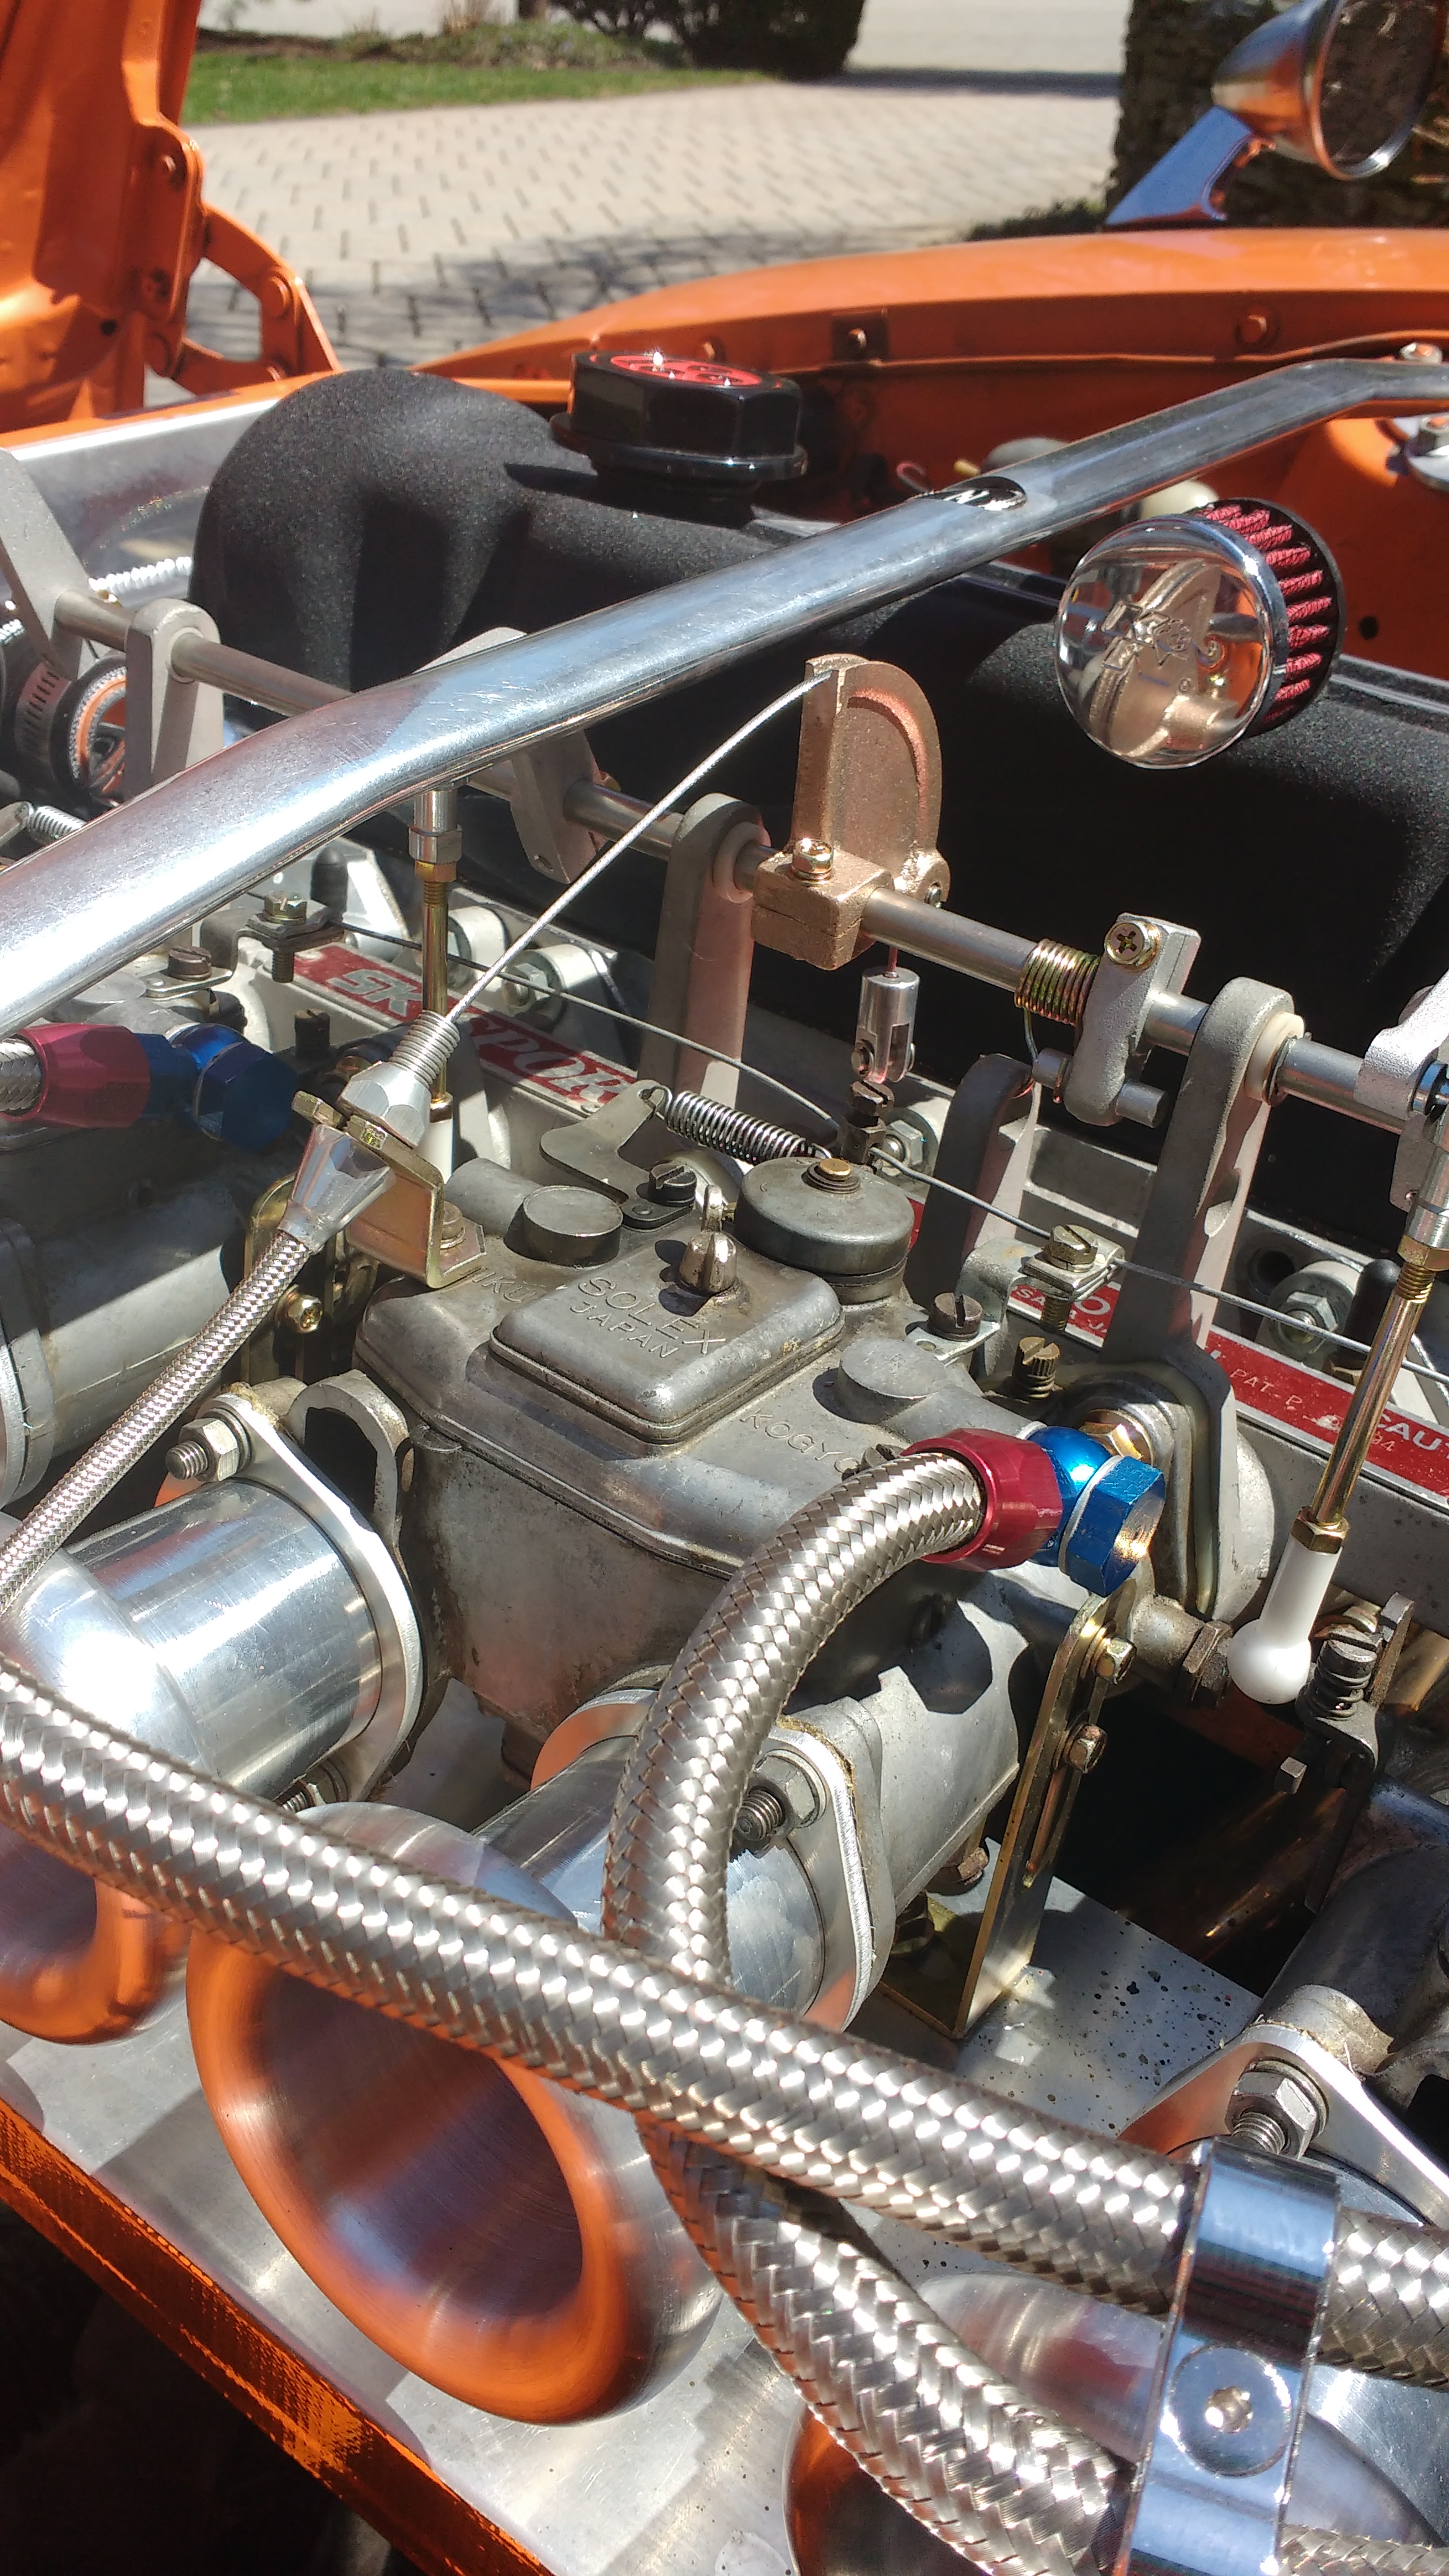
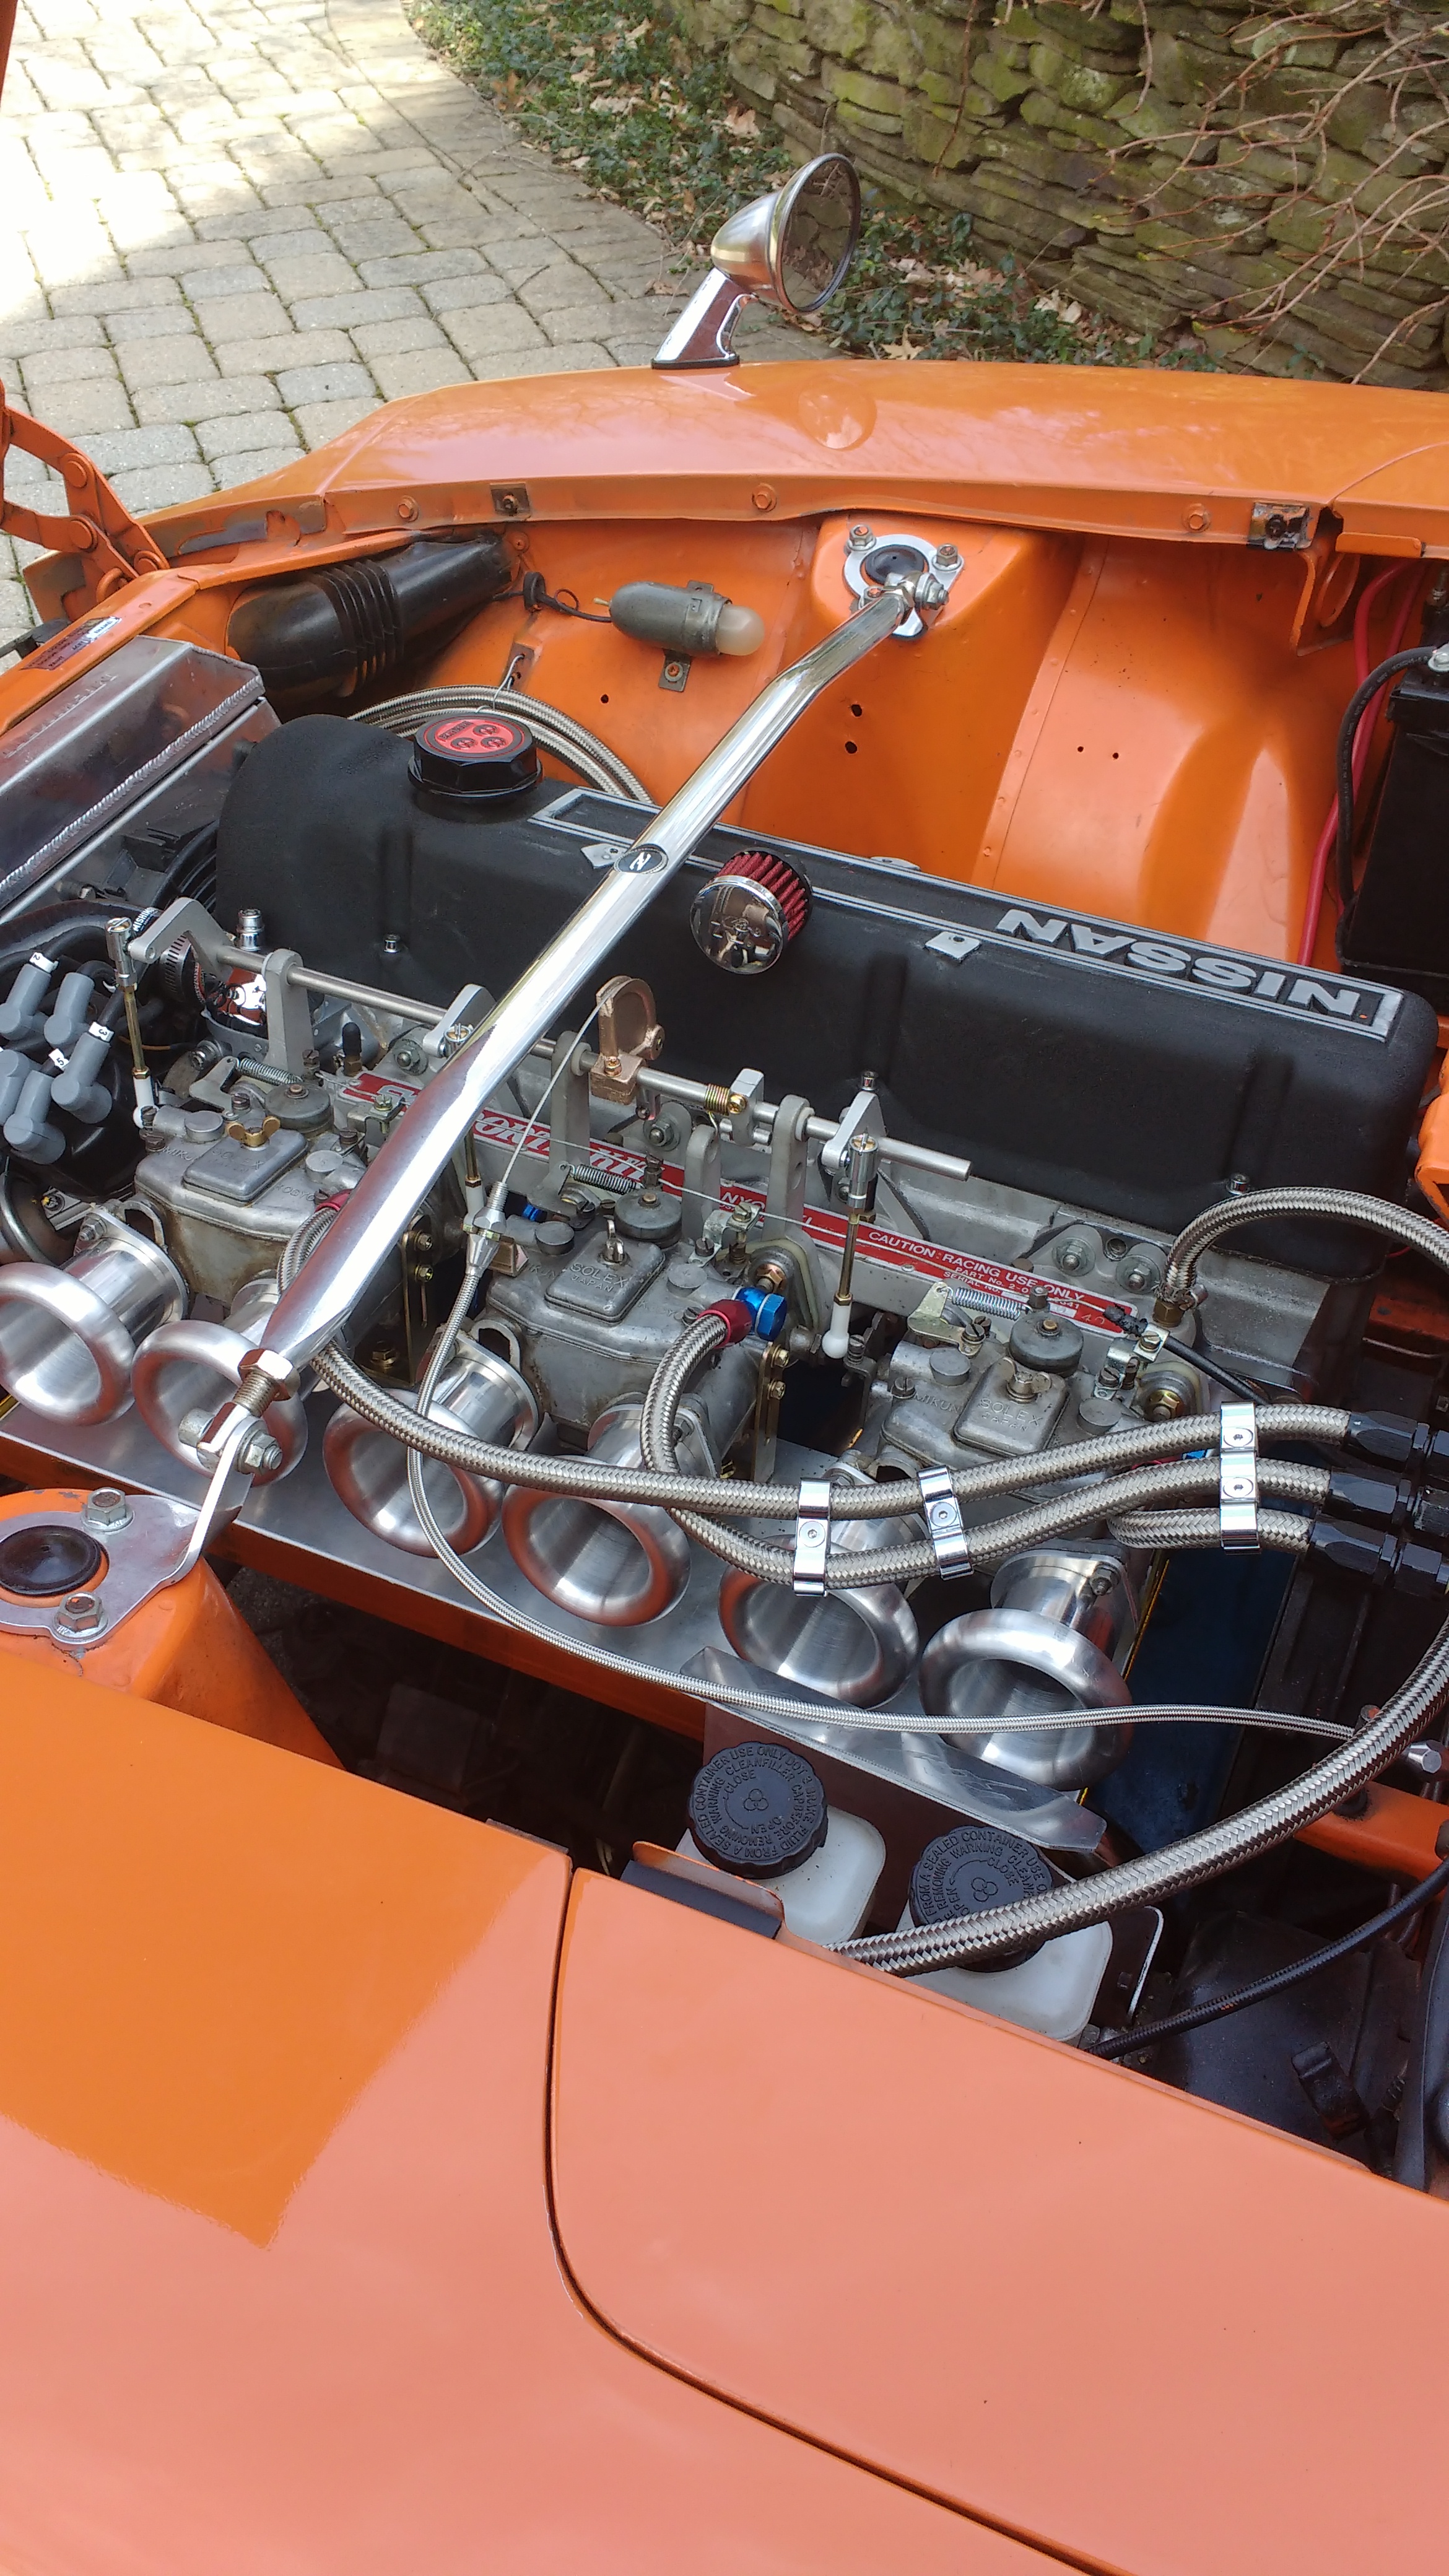
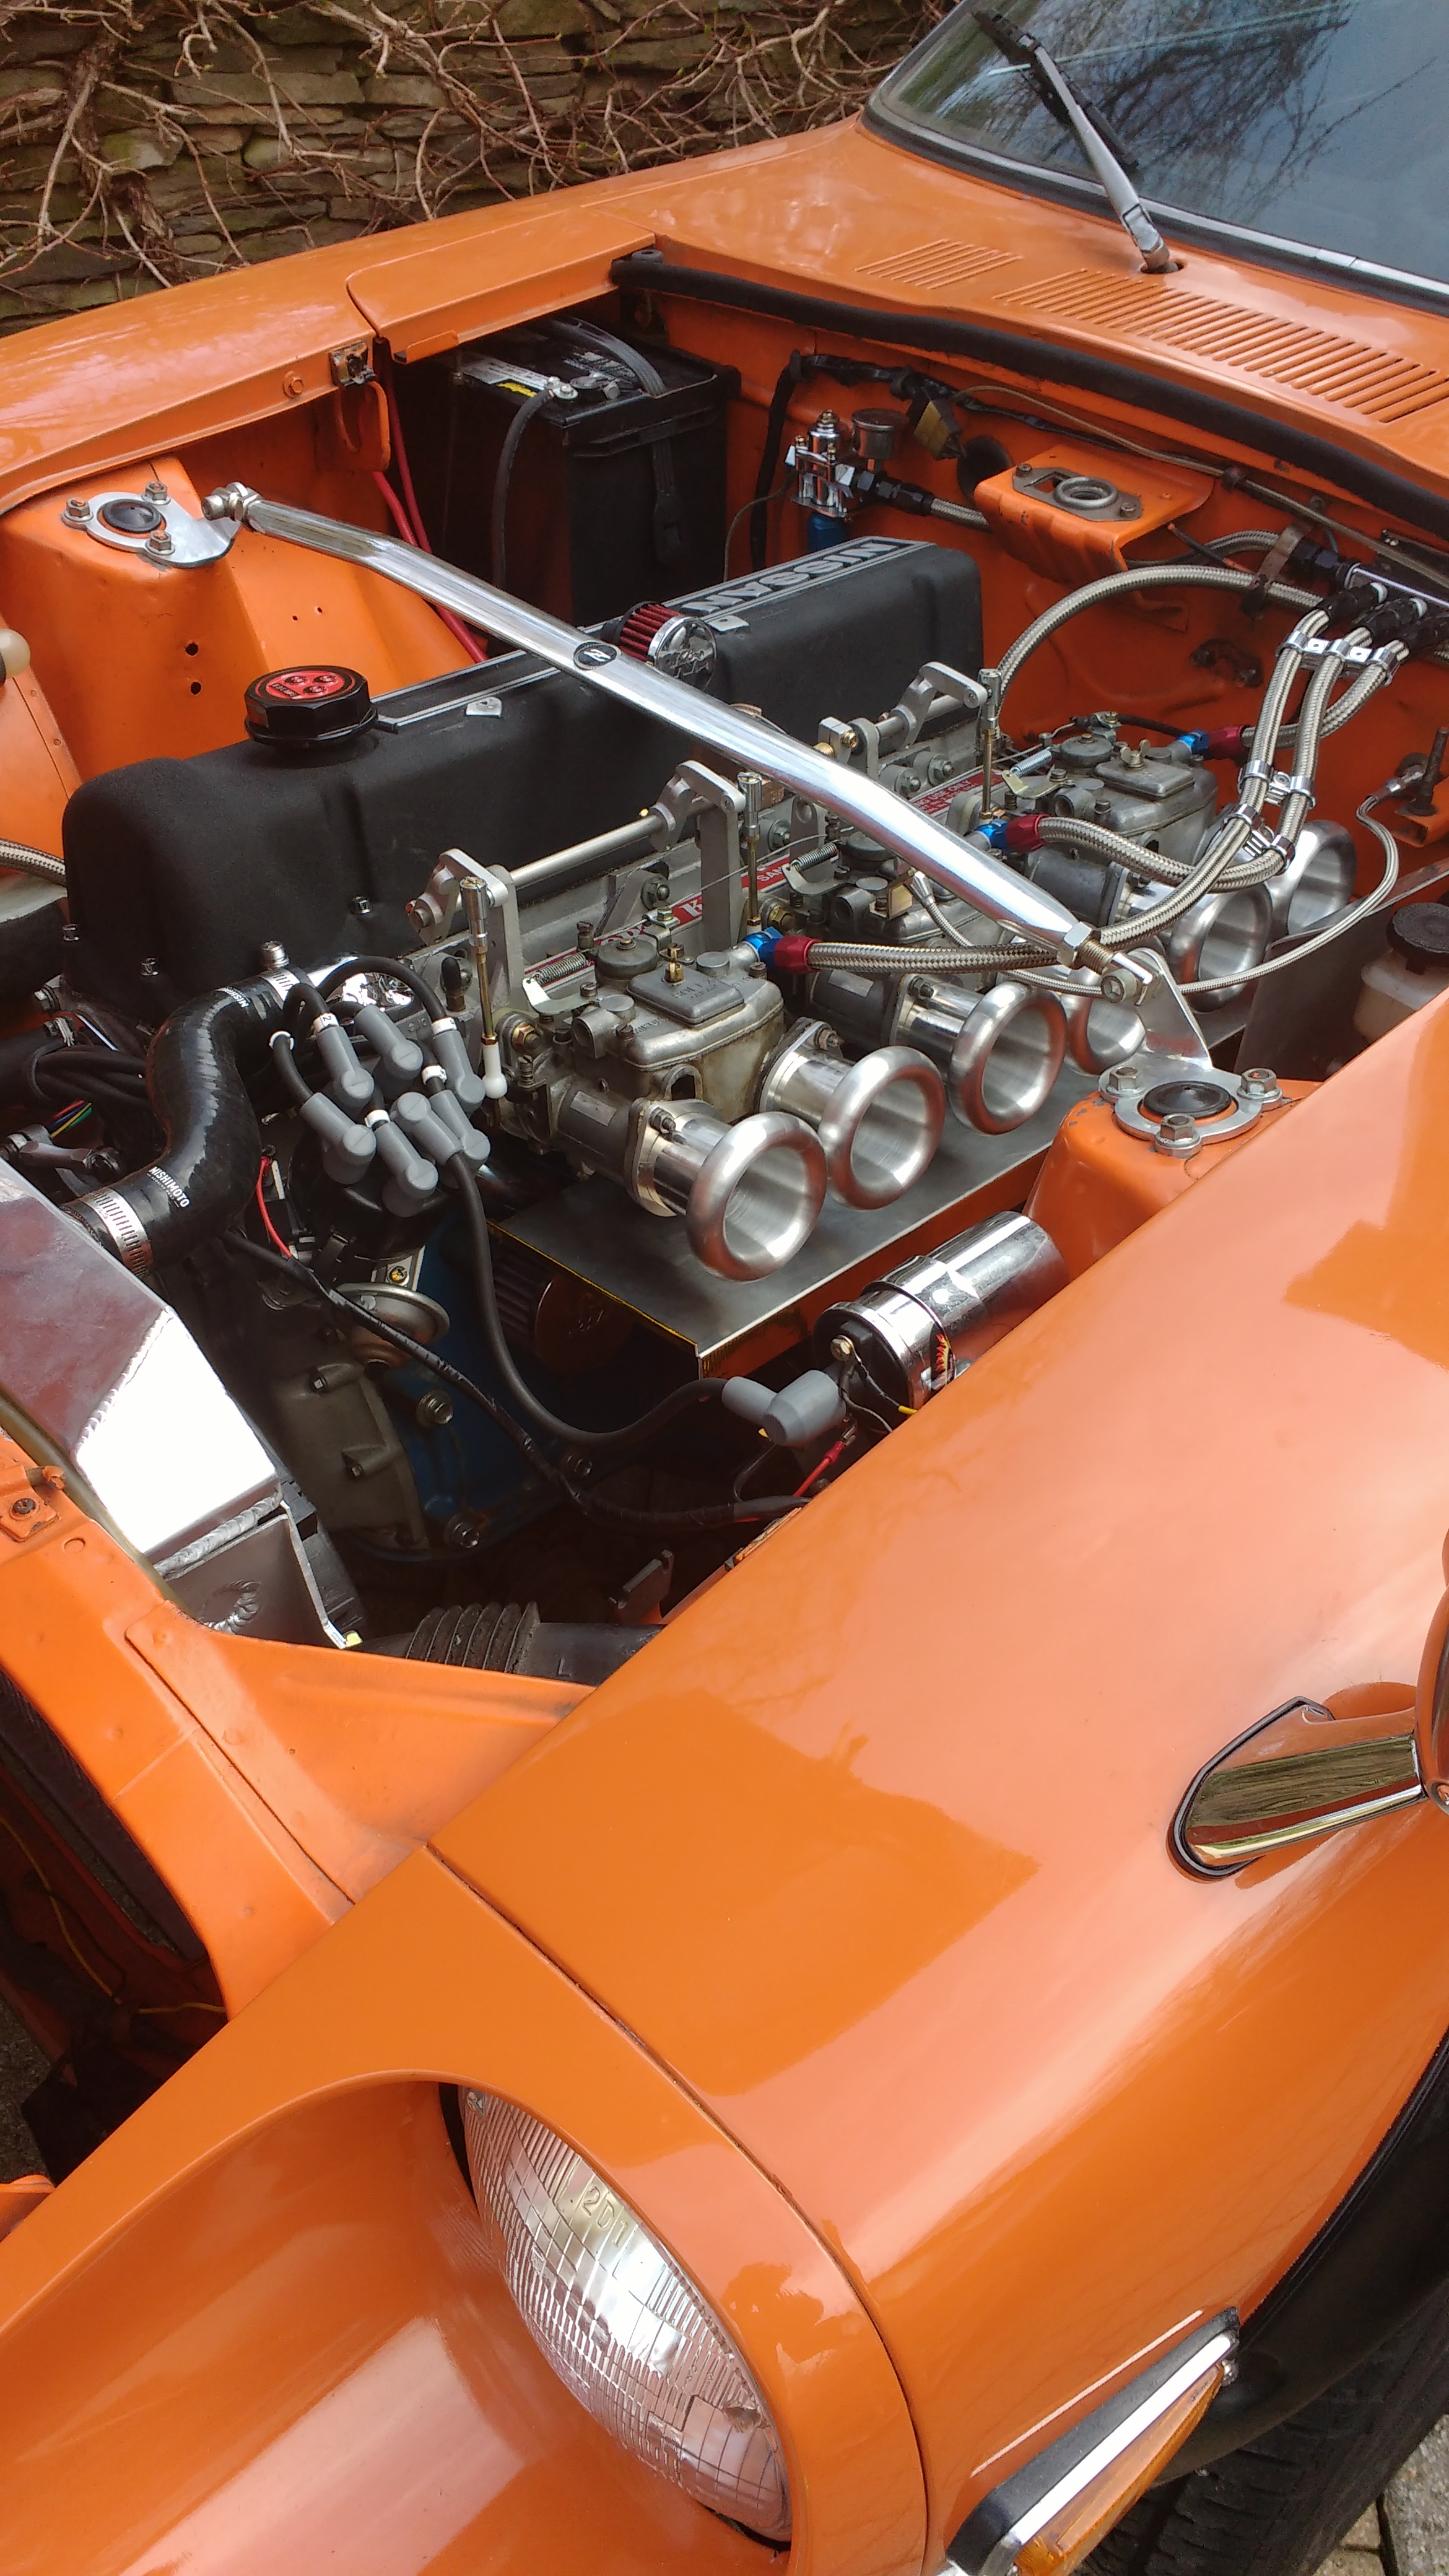
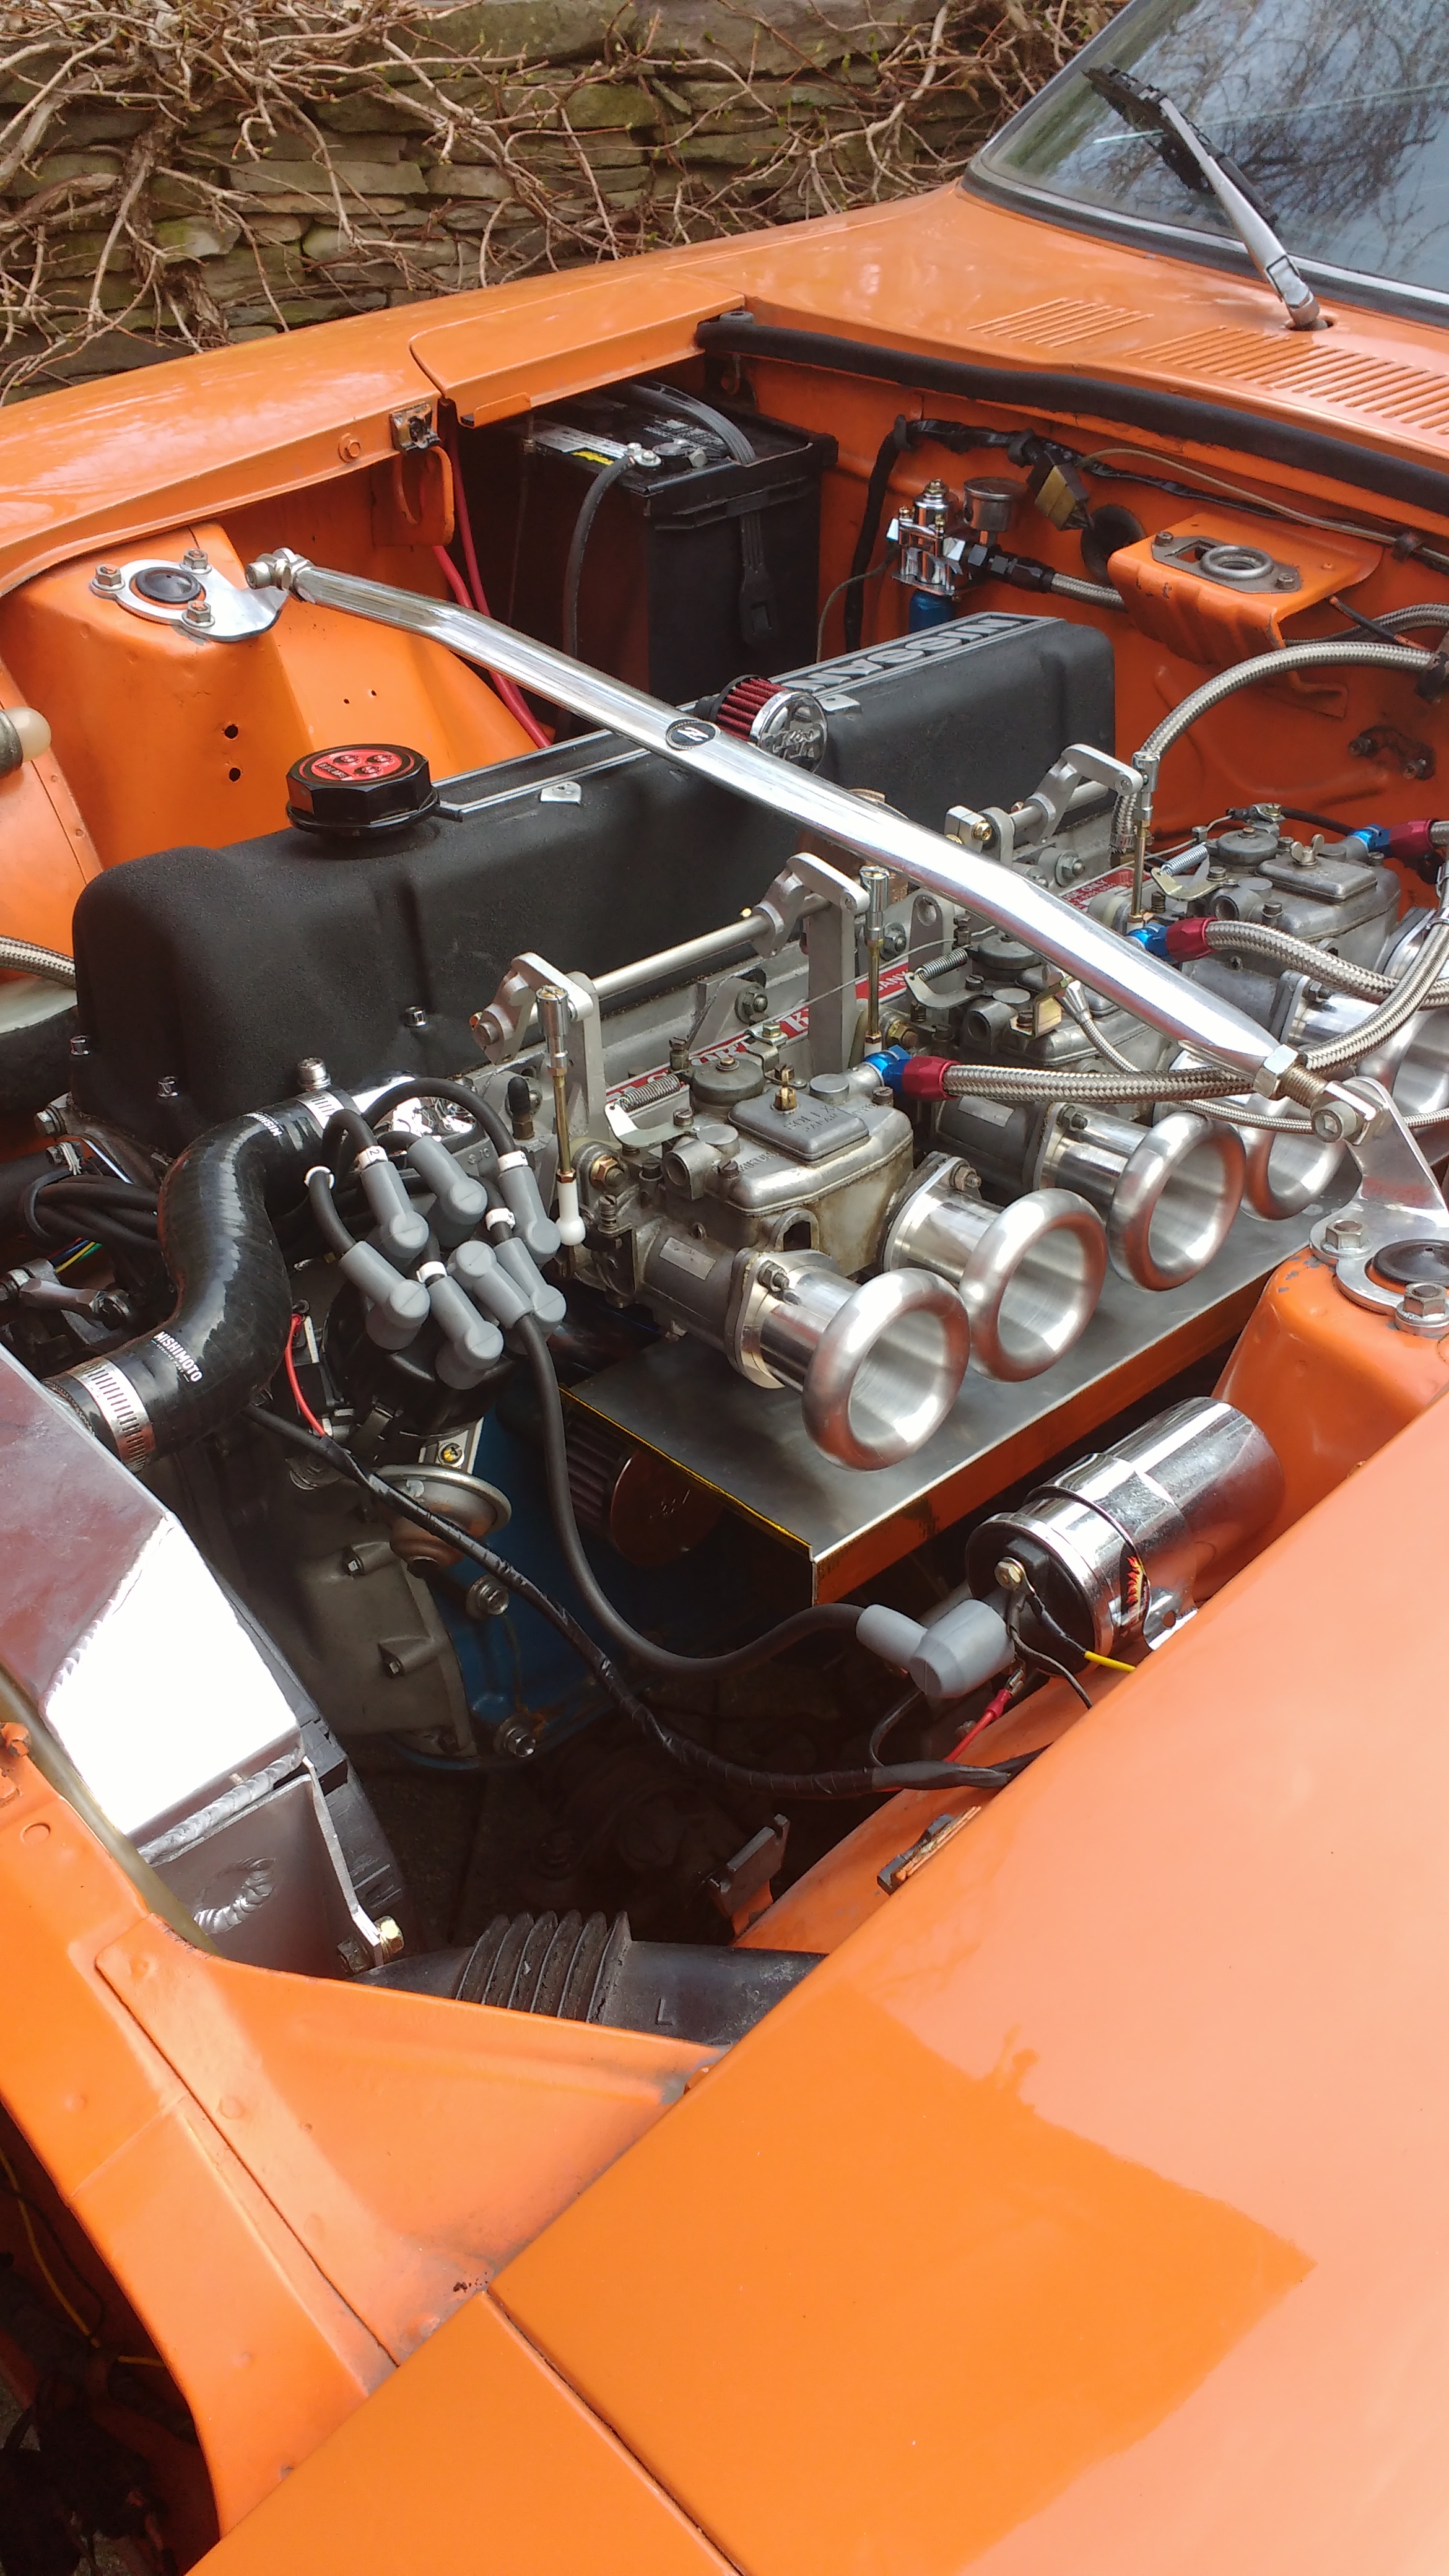
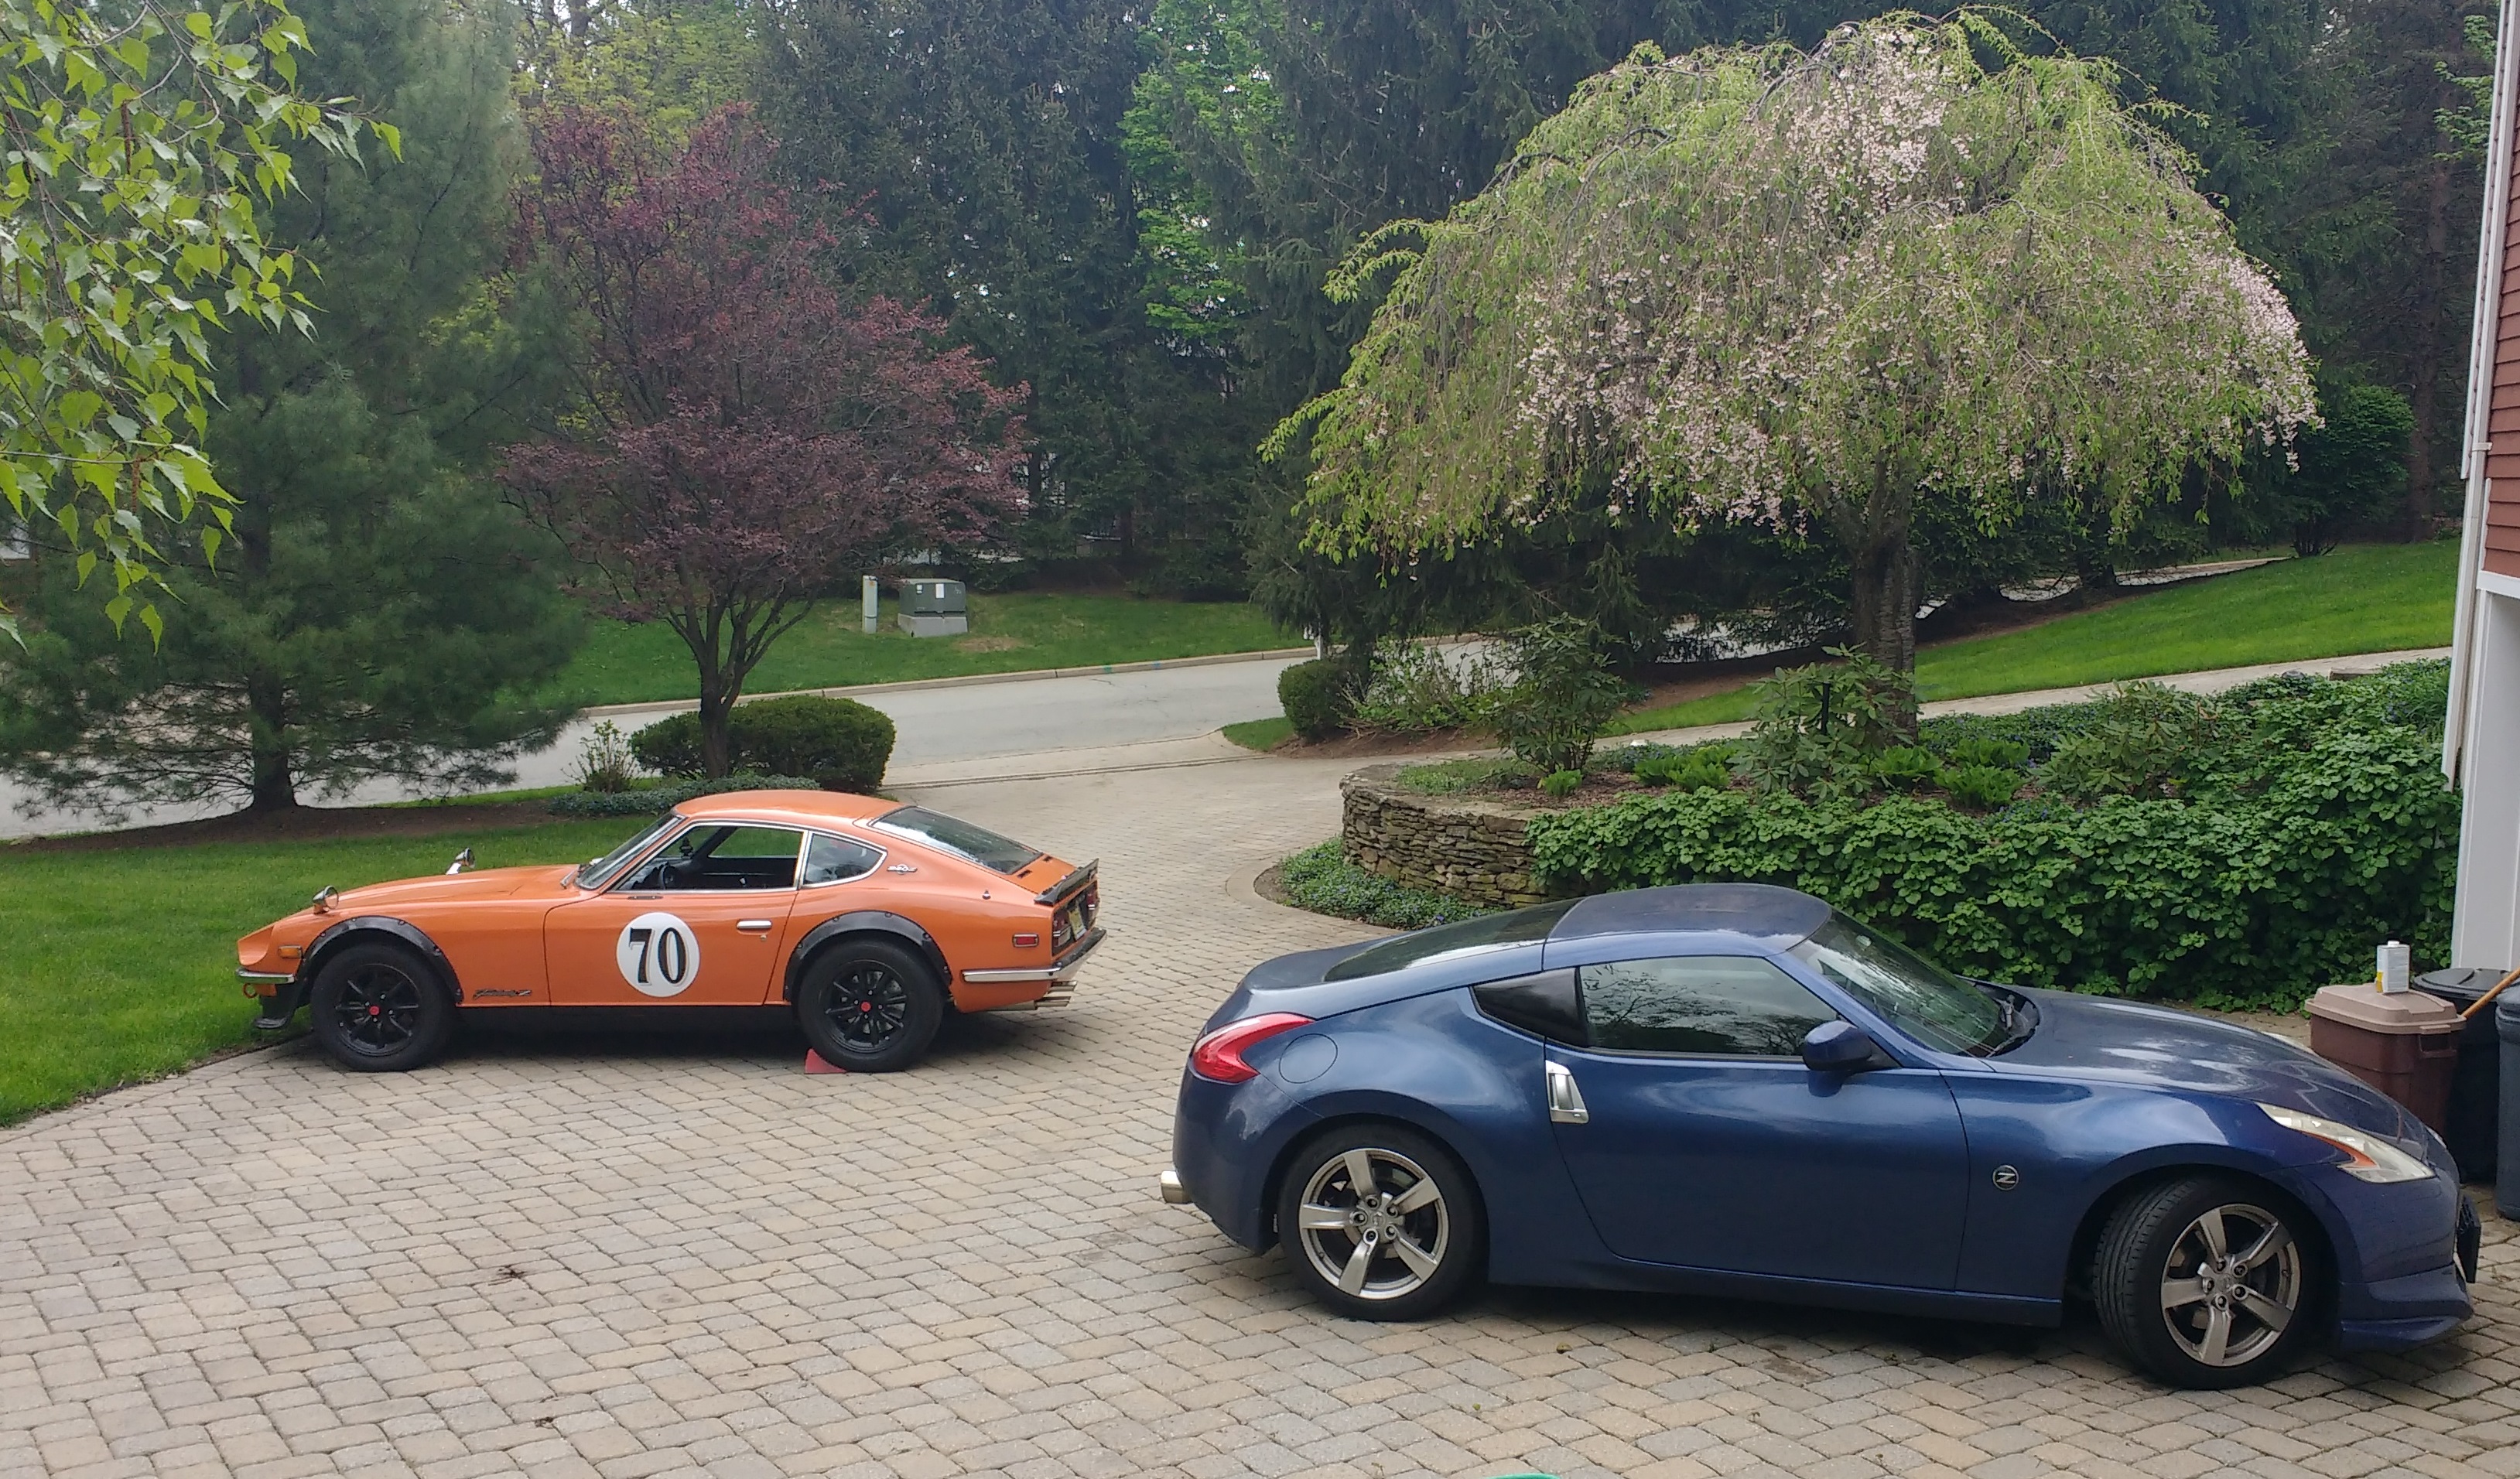
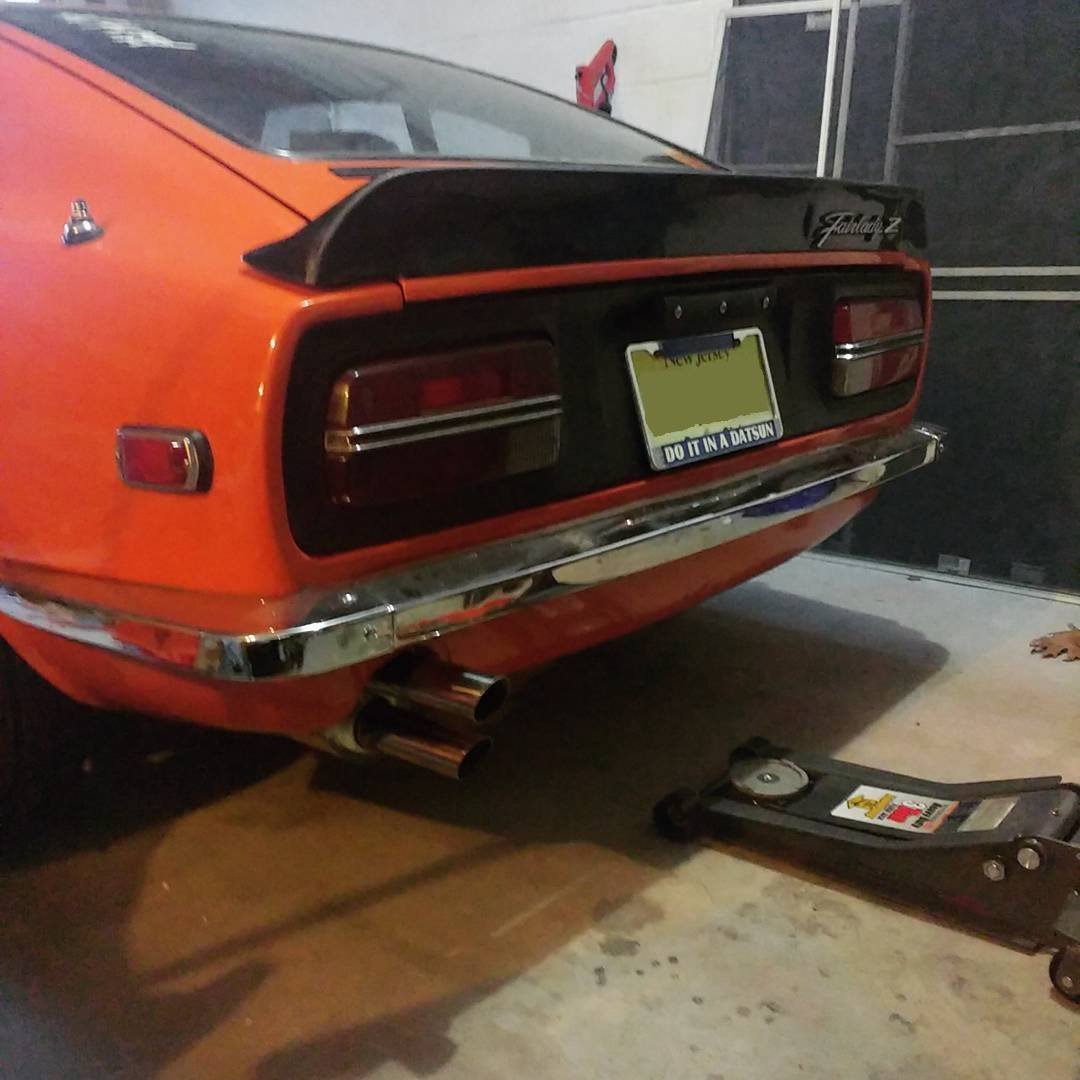
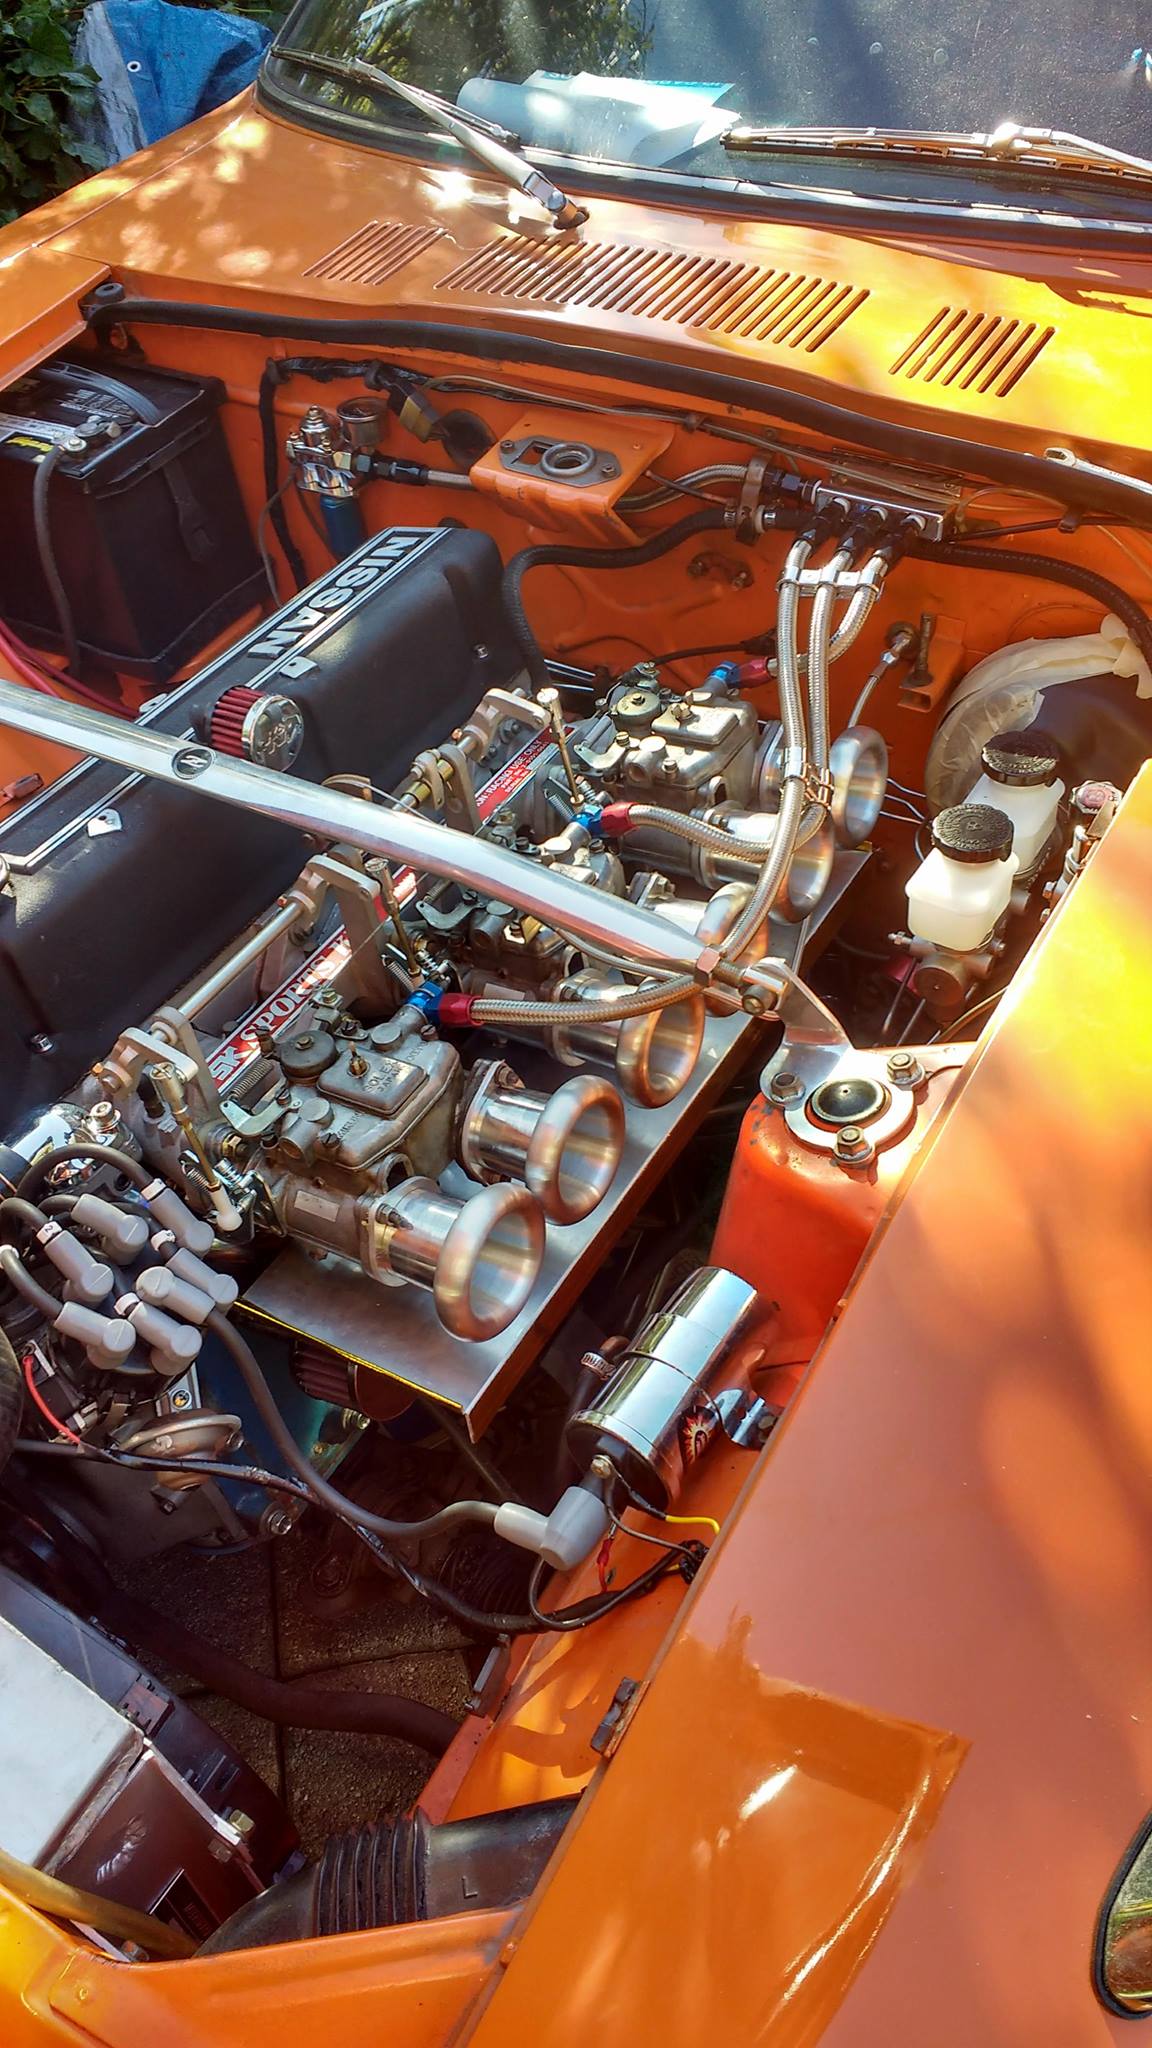
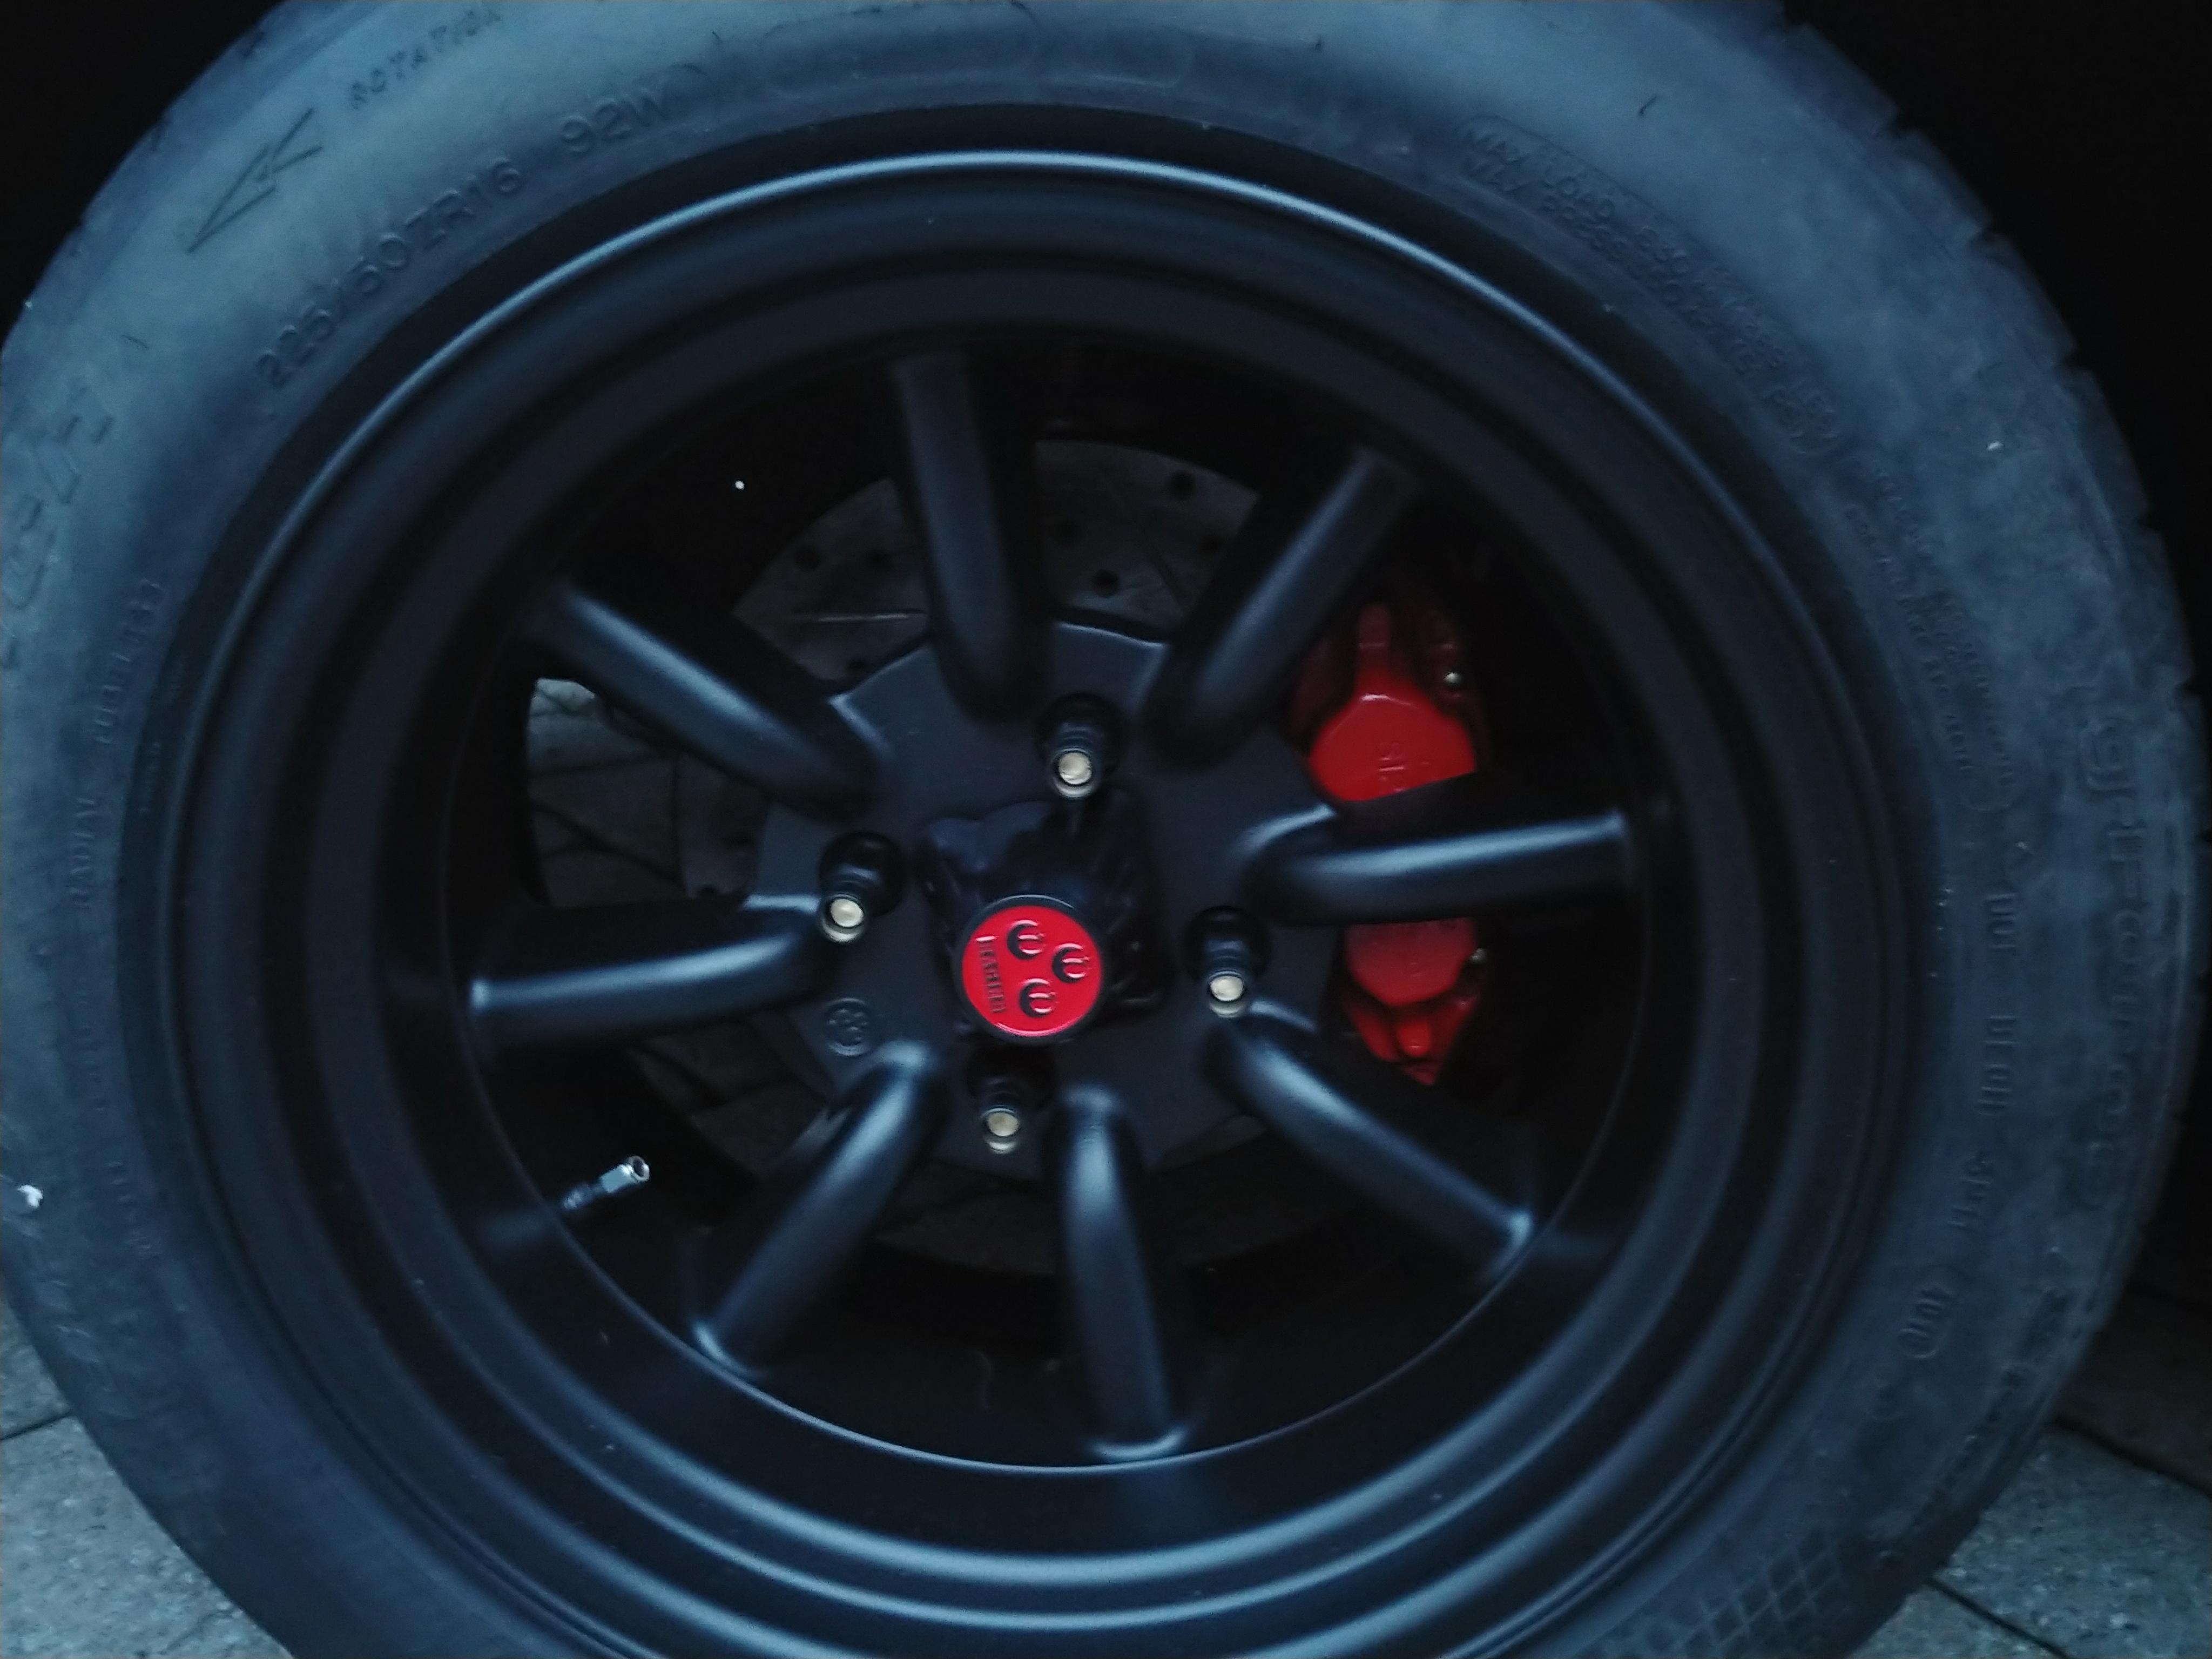
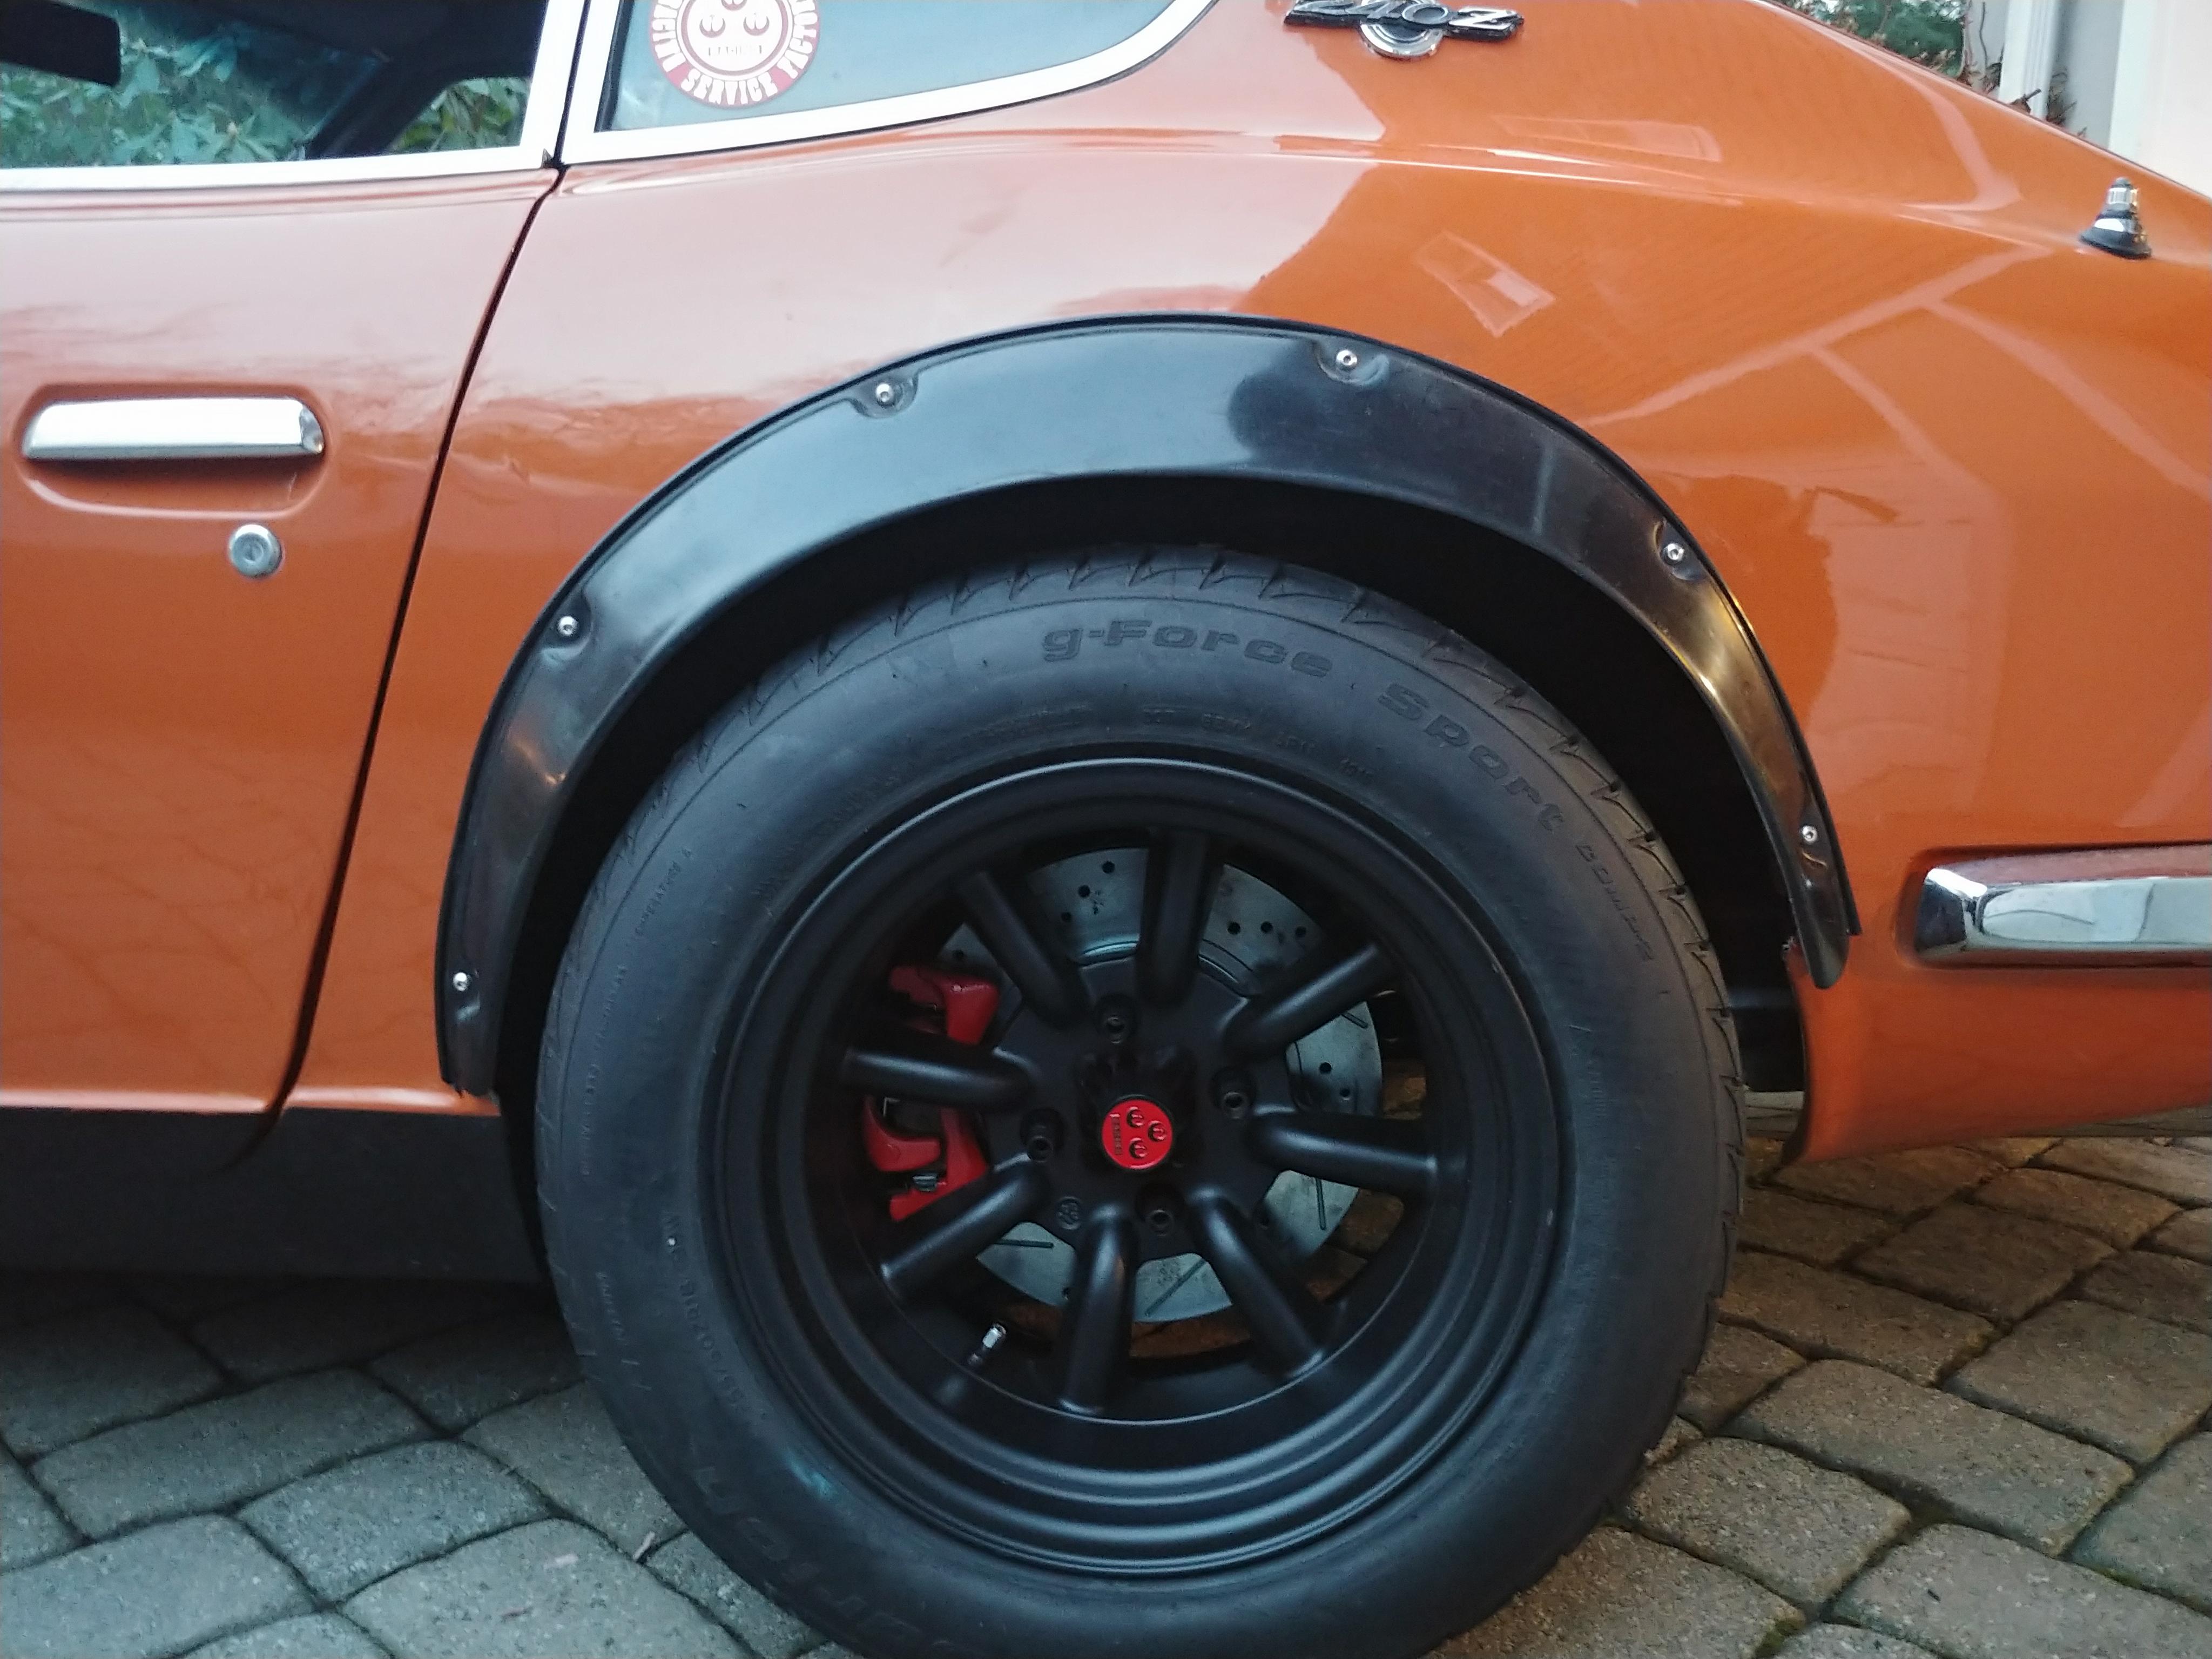
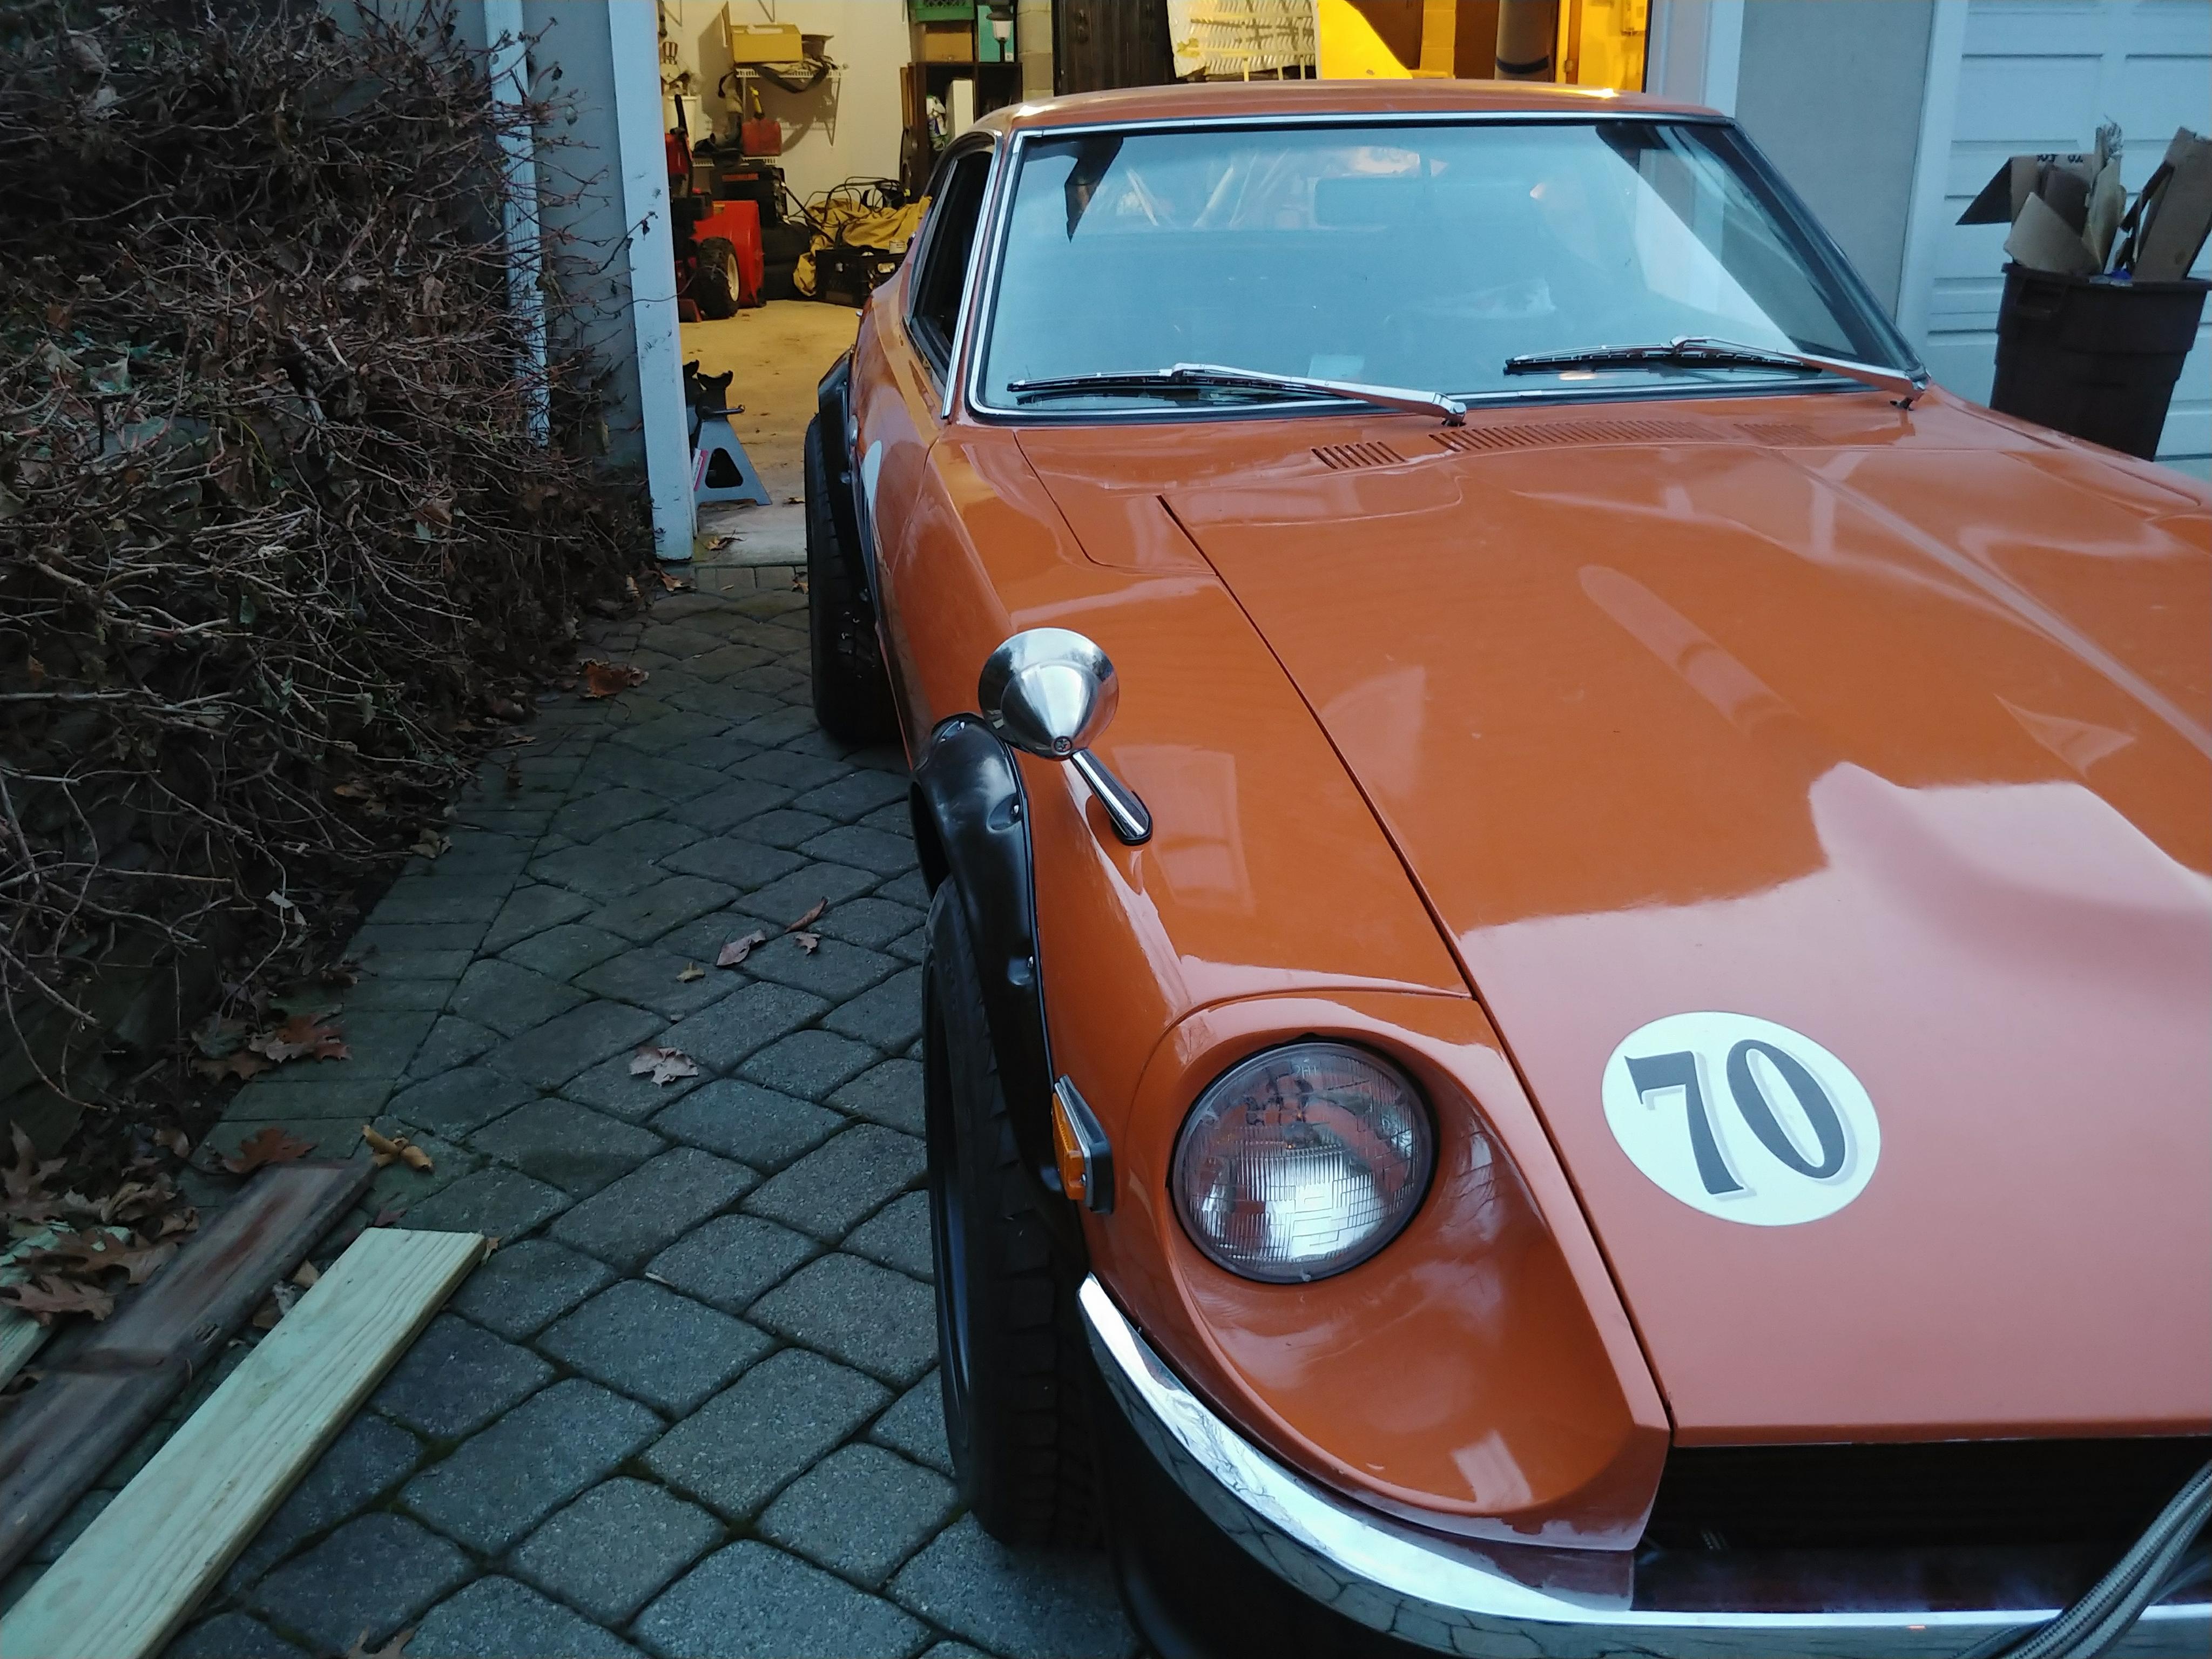
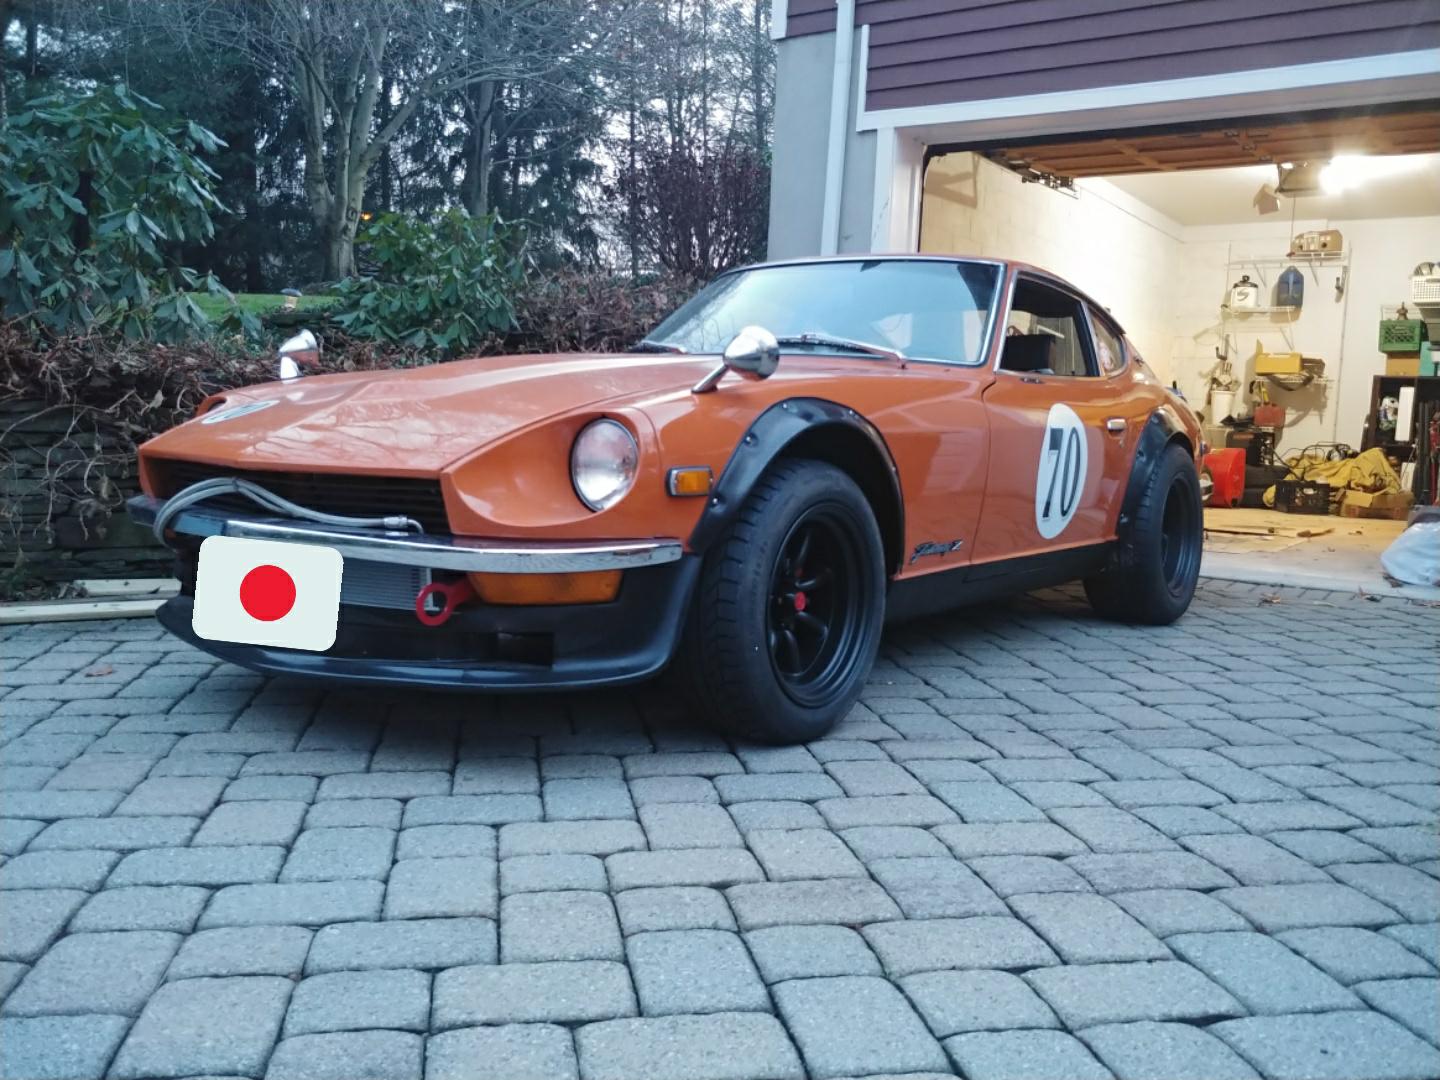
It's been a while since I've posted back on the forum but I wanted to check back in and show some progress of my 11/70 240z. I bought the car about 3 years ago and have done quite a bit of work on it since. I wanted to build a mostly period correct Japanese influenced race car for street use. It's in it's final stages now and I know it might not be some of the purists cup of tea but I know some of you may enjoy it and some of the rare bits and pieces I've compiled together. A lot of time, effort, money and blood and sweat has gone into it so far. This is how the car started, a mostly stock series 1 car with dealer option seat covers and wheels, blown out struts, unreliably dangerous brakes that probably hadn't been touched since 1970 and a tired L24. Still a beauty but needed quite a bit of work. Not a bad place to begin, but over the past 3 years I've slowly transformed it into what I thought the car should have been from the start. Not all of the pictures reflect the current status of the car but I'll post some more when I can. Interior is complete with Competition Bucket seats, T3 harness bar mount with a quick release extinguisher, Watanabe Falcon Steering wheel, Skyline shift knob, new door panels, Z embroidered carpet, rally clock, and some other bits and pieces including a radio delete panel with an AFR gauge cutoff switch and some switches. Also have a competition mirror in there and some other neat bits like a works bell QR. Exterior has gotten a refresh. I chose to keep the number rounds and get rid of the other vinyl that was on there. Straightened the black line along the door as well. Went with flares, a 432 spoiler, air dam and external oil cooler. Wheels are staggered 16x9.5 255/55/r16 rear and a 16x9 225/50/r16 on T3 coilover suspension. Brakes are totally redone with the silvermine stage 3 front and silvermine stage 4 rear (toyota 4 piston and mustang gt) with classictube stainless brake lines, 280z booster and wilwood 1" with wilwood proportioning valve. (ride height is a little high to help get a jack under the air dam. I also went with the zstory exhaust with the over under 432 style exhaust. Went with fender mirrors and note the sport corner sticker and other little bits and pieces! As for the engine, I swapped in a 3.1L stroker with some datsun competition mikuni phh44's. SK intake manifold with OER linkages, Zstory exhaust, Datsun spirit heat shield, JDM big Nissan Valve cover, mishimoto radiator and a bunch of other goodies both performance and dress up. Again, pictures are a little old but give you a good idea. Car's almost done and back on the road after quite a long time, but will get some better and more updated pictures when it is. Here's a side project of mine at the moment for "the next car": Competition 44's on a FET manifold paired with a Kakimoto 3100 cover and technical garage Ti stacks with some OER linkages.
-
Sold, thanks!
-
Holes are NOT welded shut. They're still shiny and I masked them off before painting to keep them open, so carbs are still an option! I was going to go with the retro cool Devil Z setup on my 3.1L stroker but after I started figuring out the prices of just about everything else I realized that it was out of my price range at the moment. Worse comes to worse, I'll sit on it and pick the rest of the pieces up over time. Bringing it back to life was a fun project in itself.
-
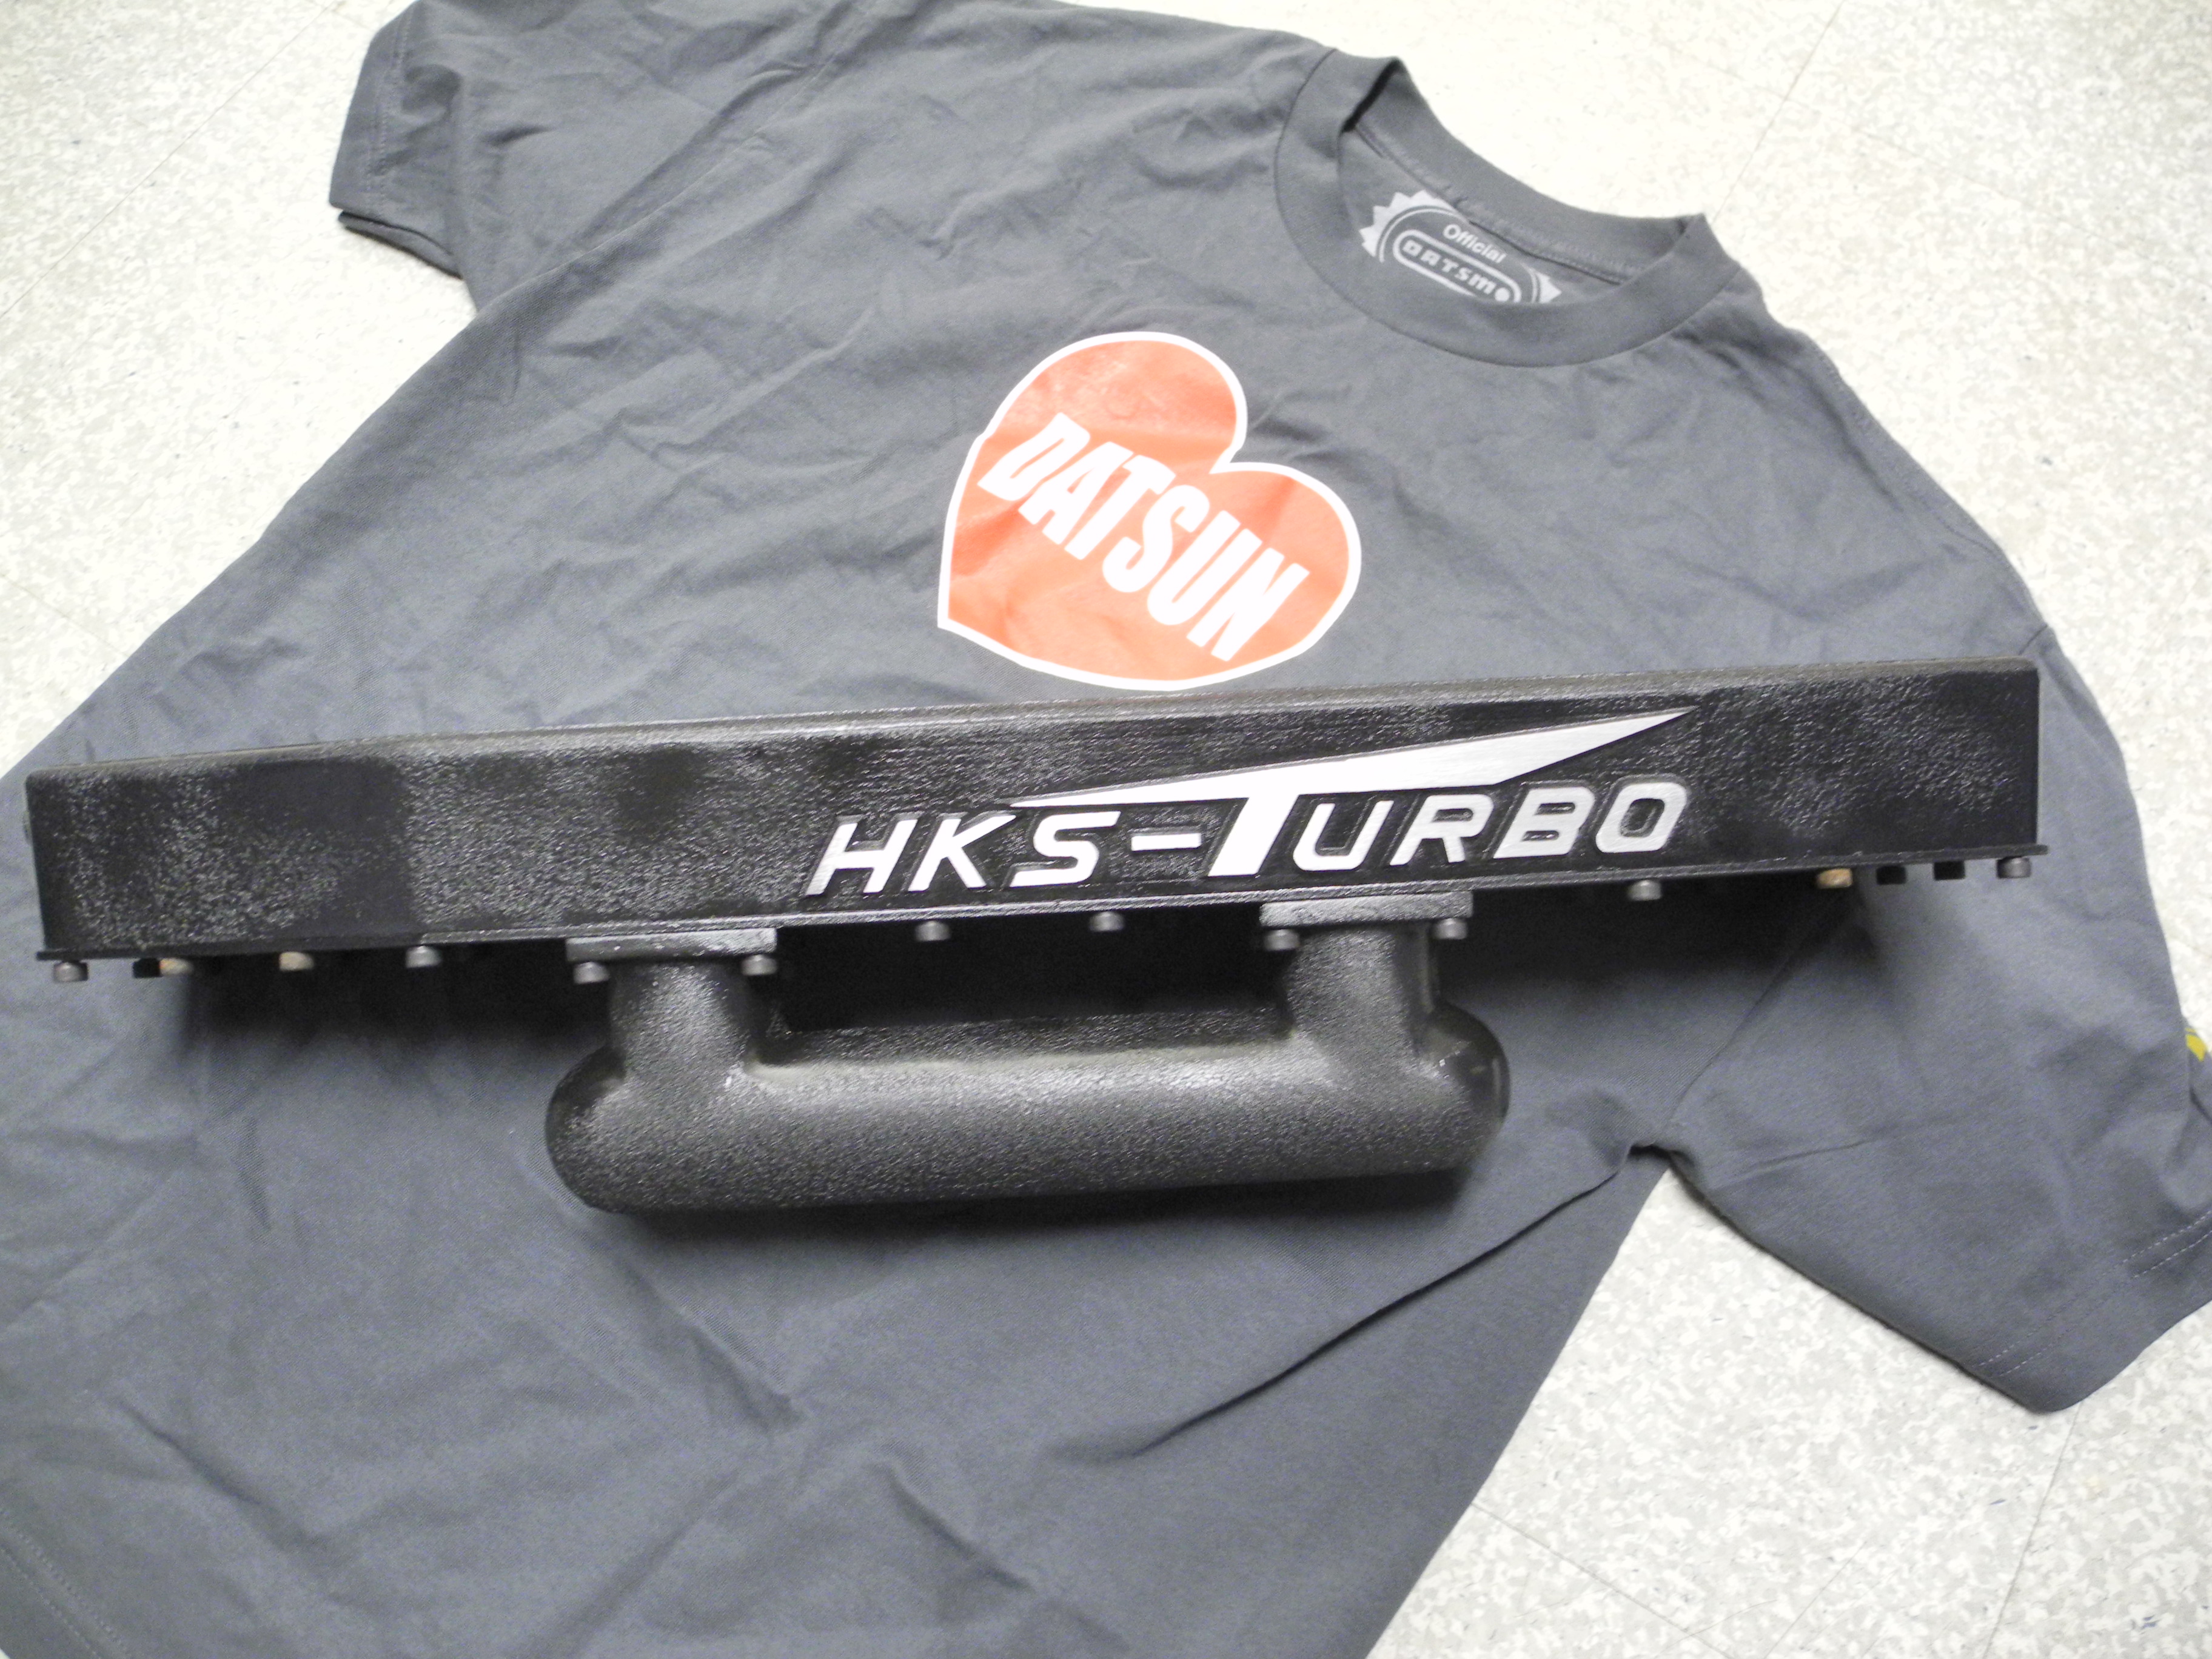
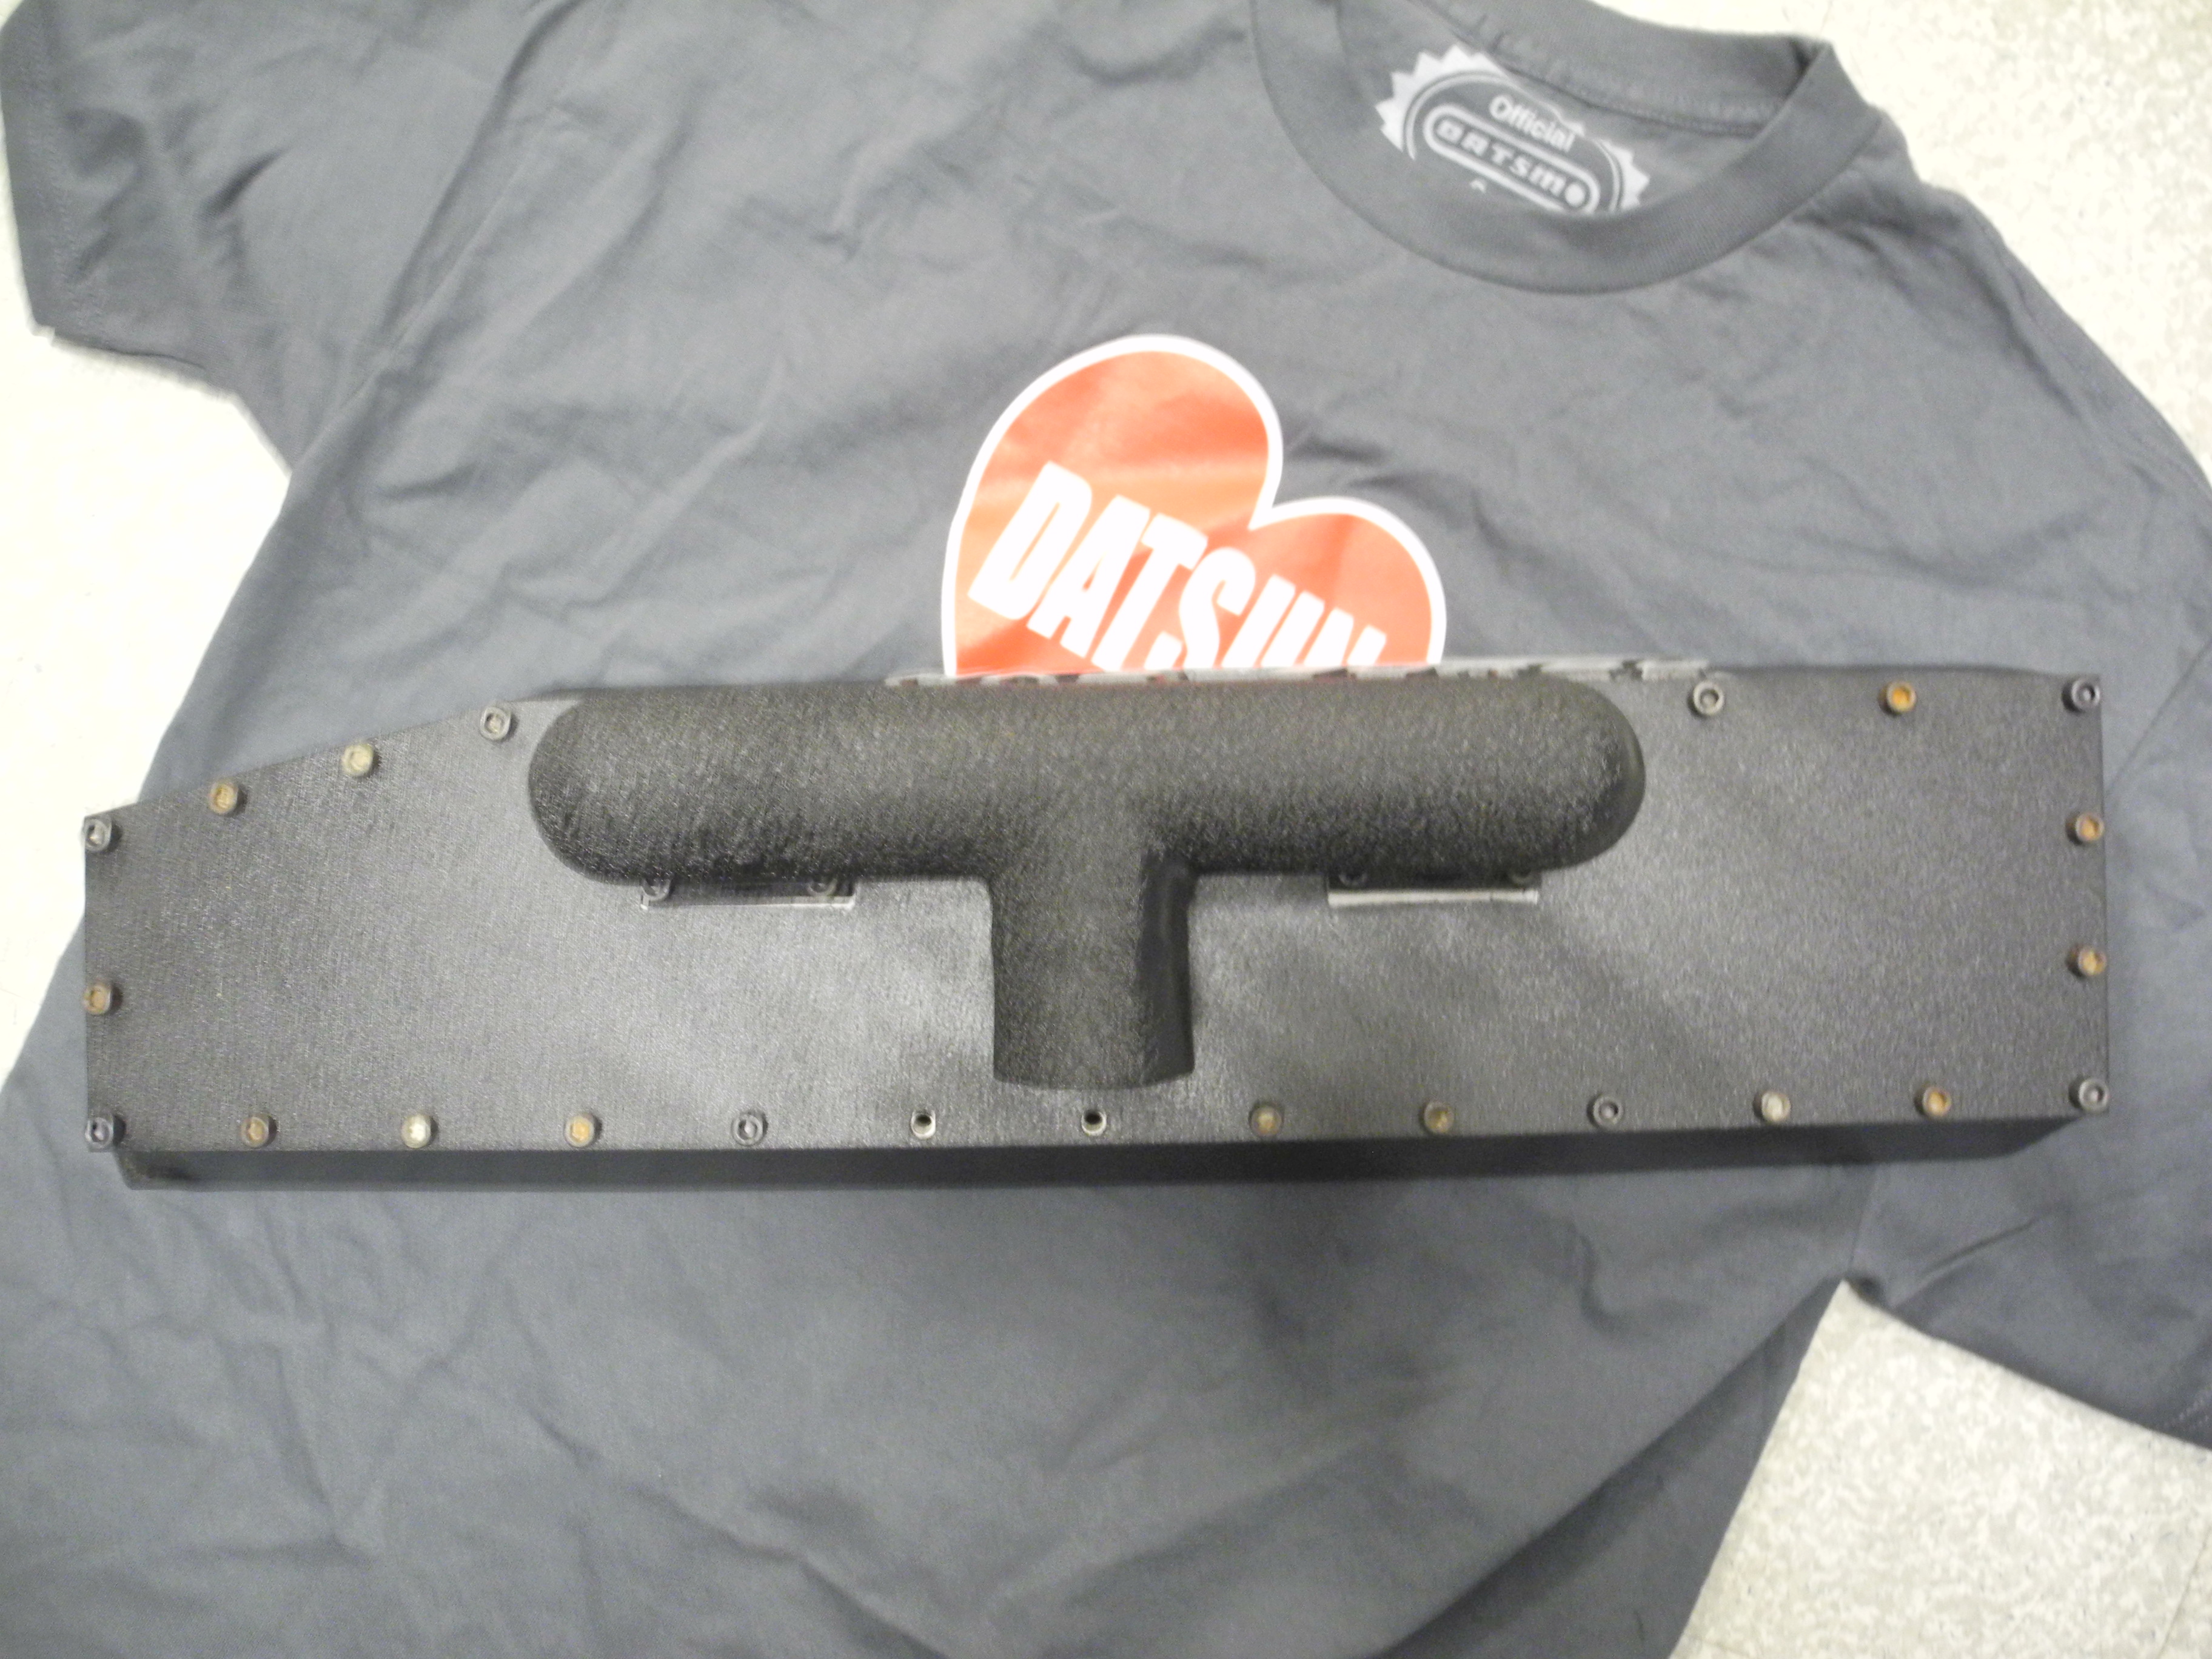
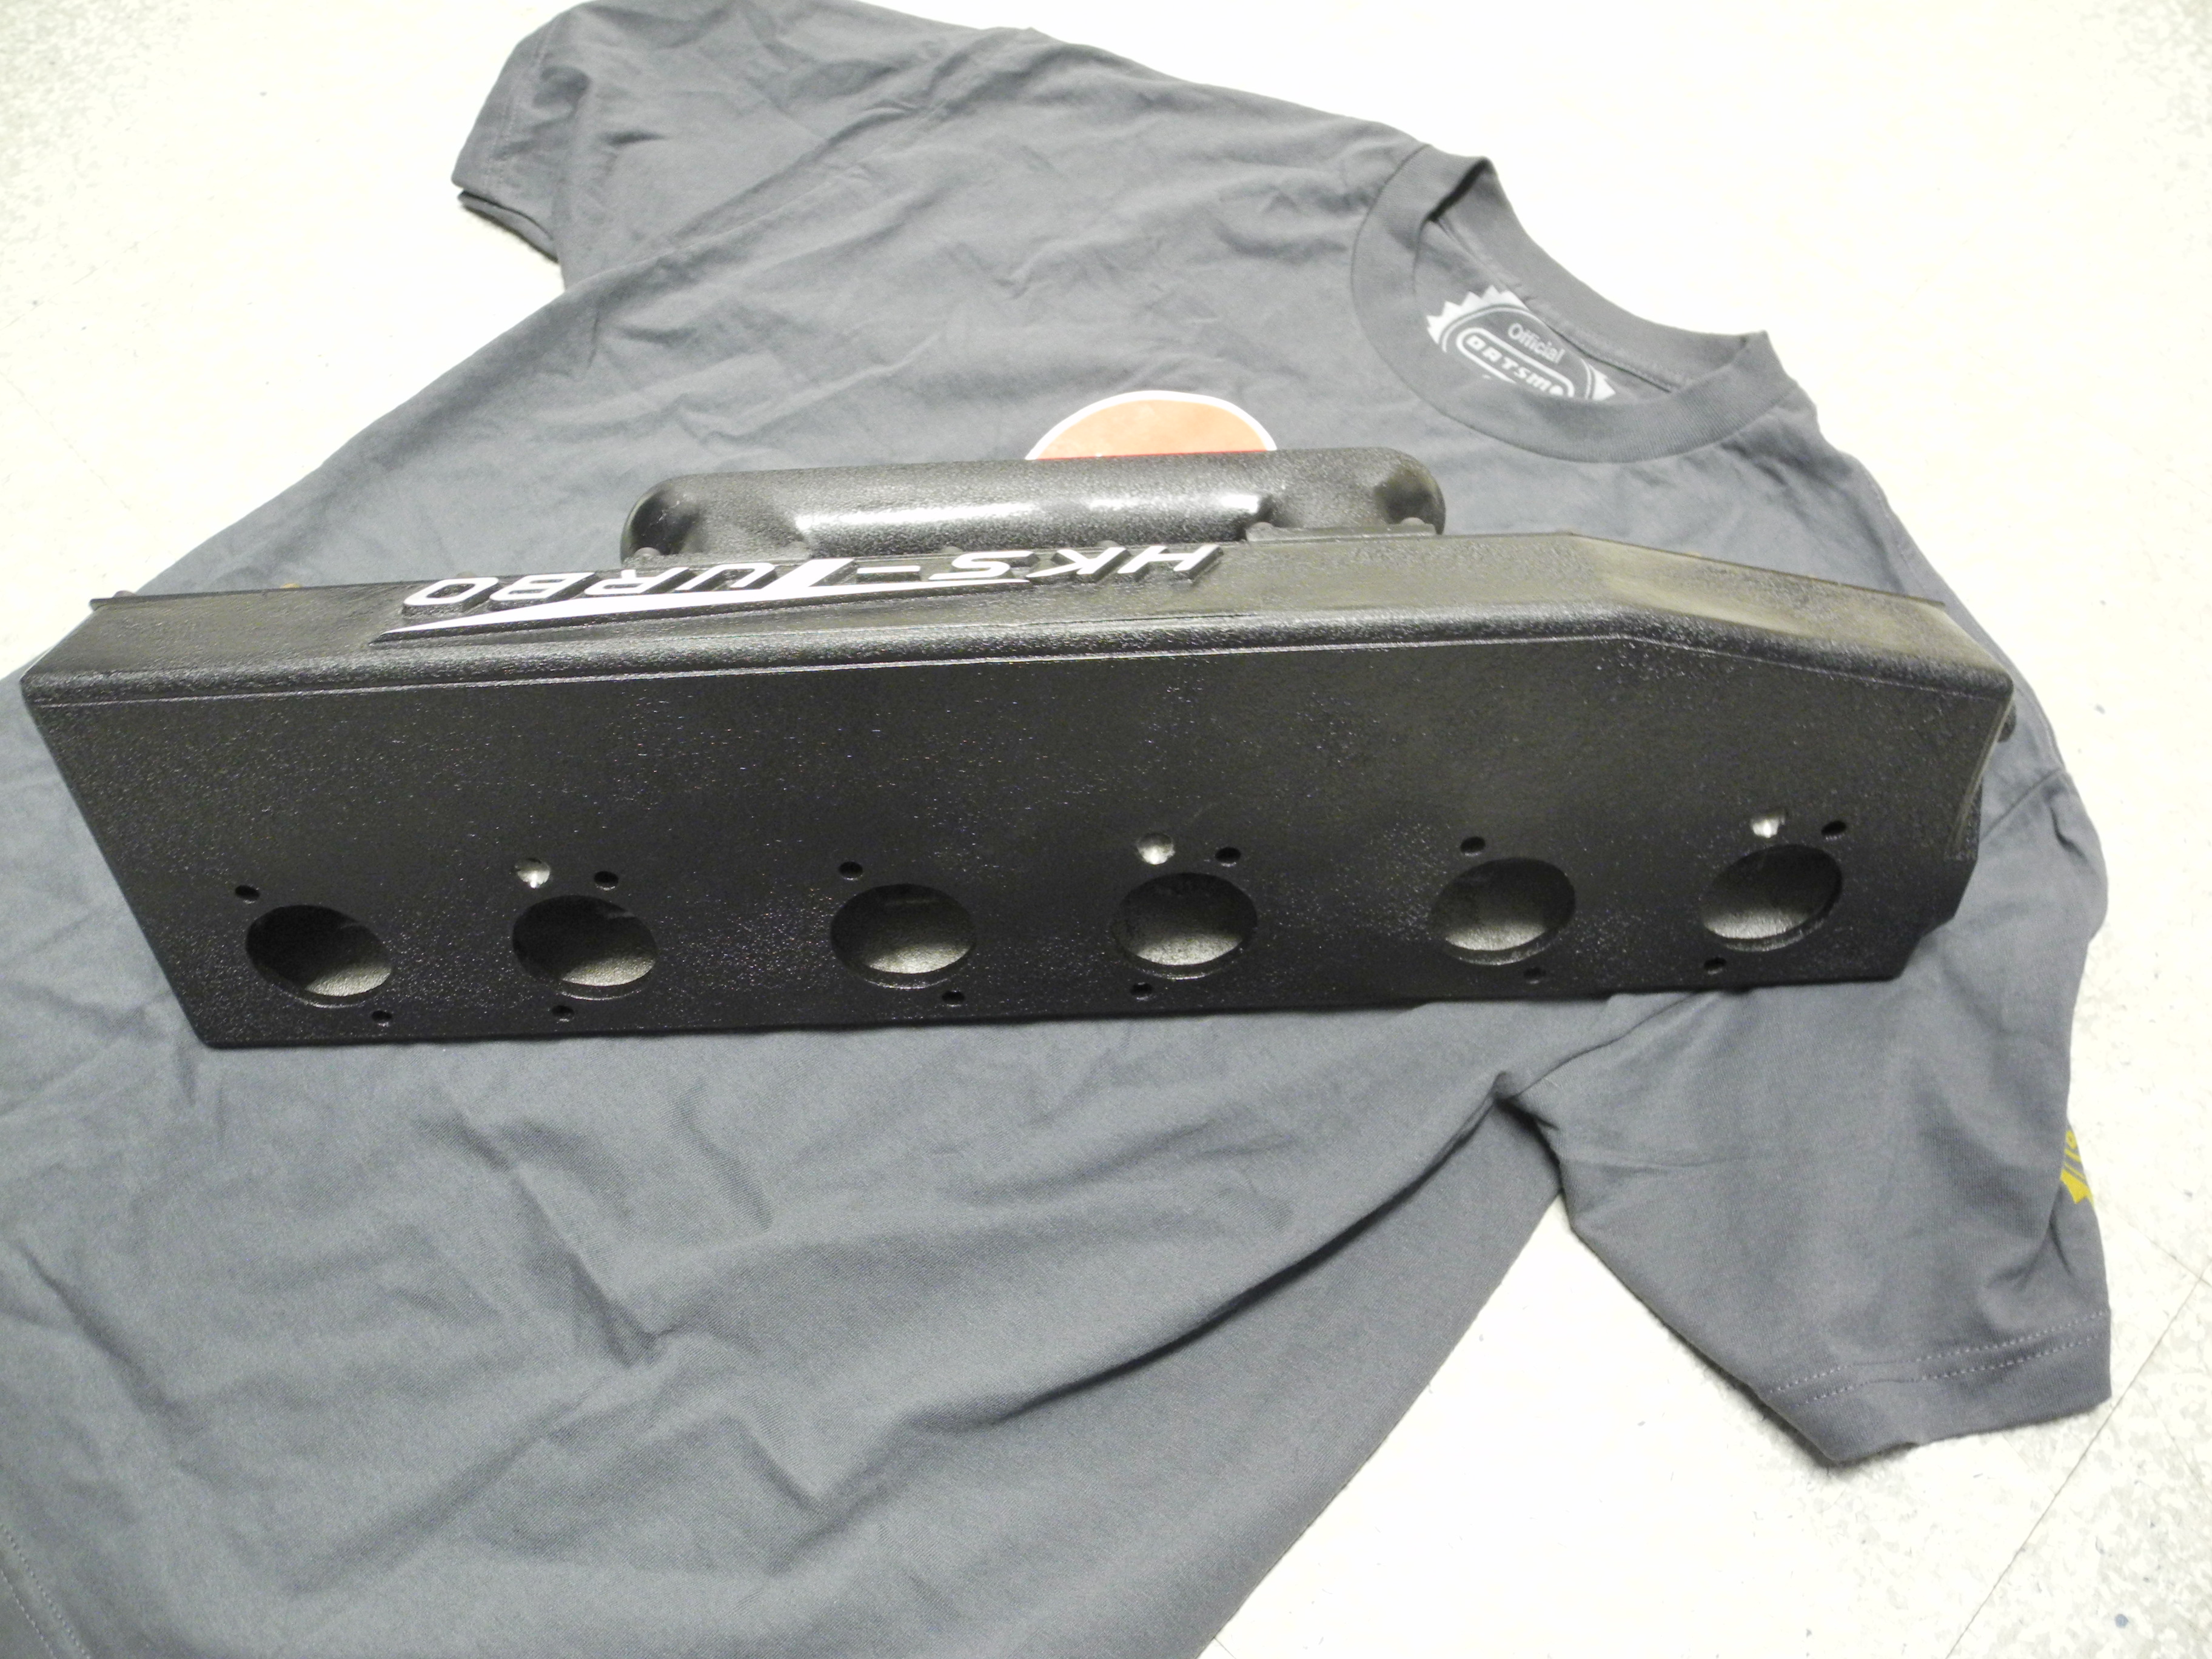
It's the early, type 1 surge tank, not an intake plenum! It's for ITBs or triple carbs/blowthrough turbo setup. There isn't much of a difference between the type 1 and type 2 as far as functionality goes. I've heard with triple mikuni carbs you're good for 10-15 pounds boost.
-
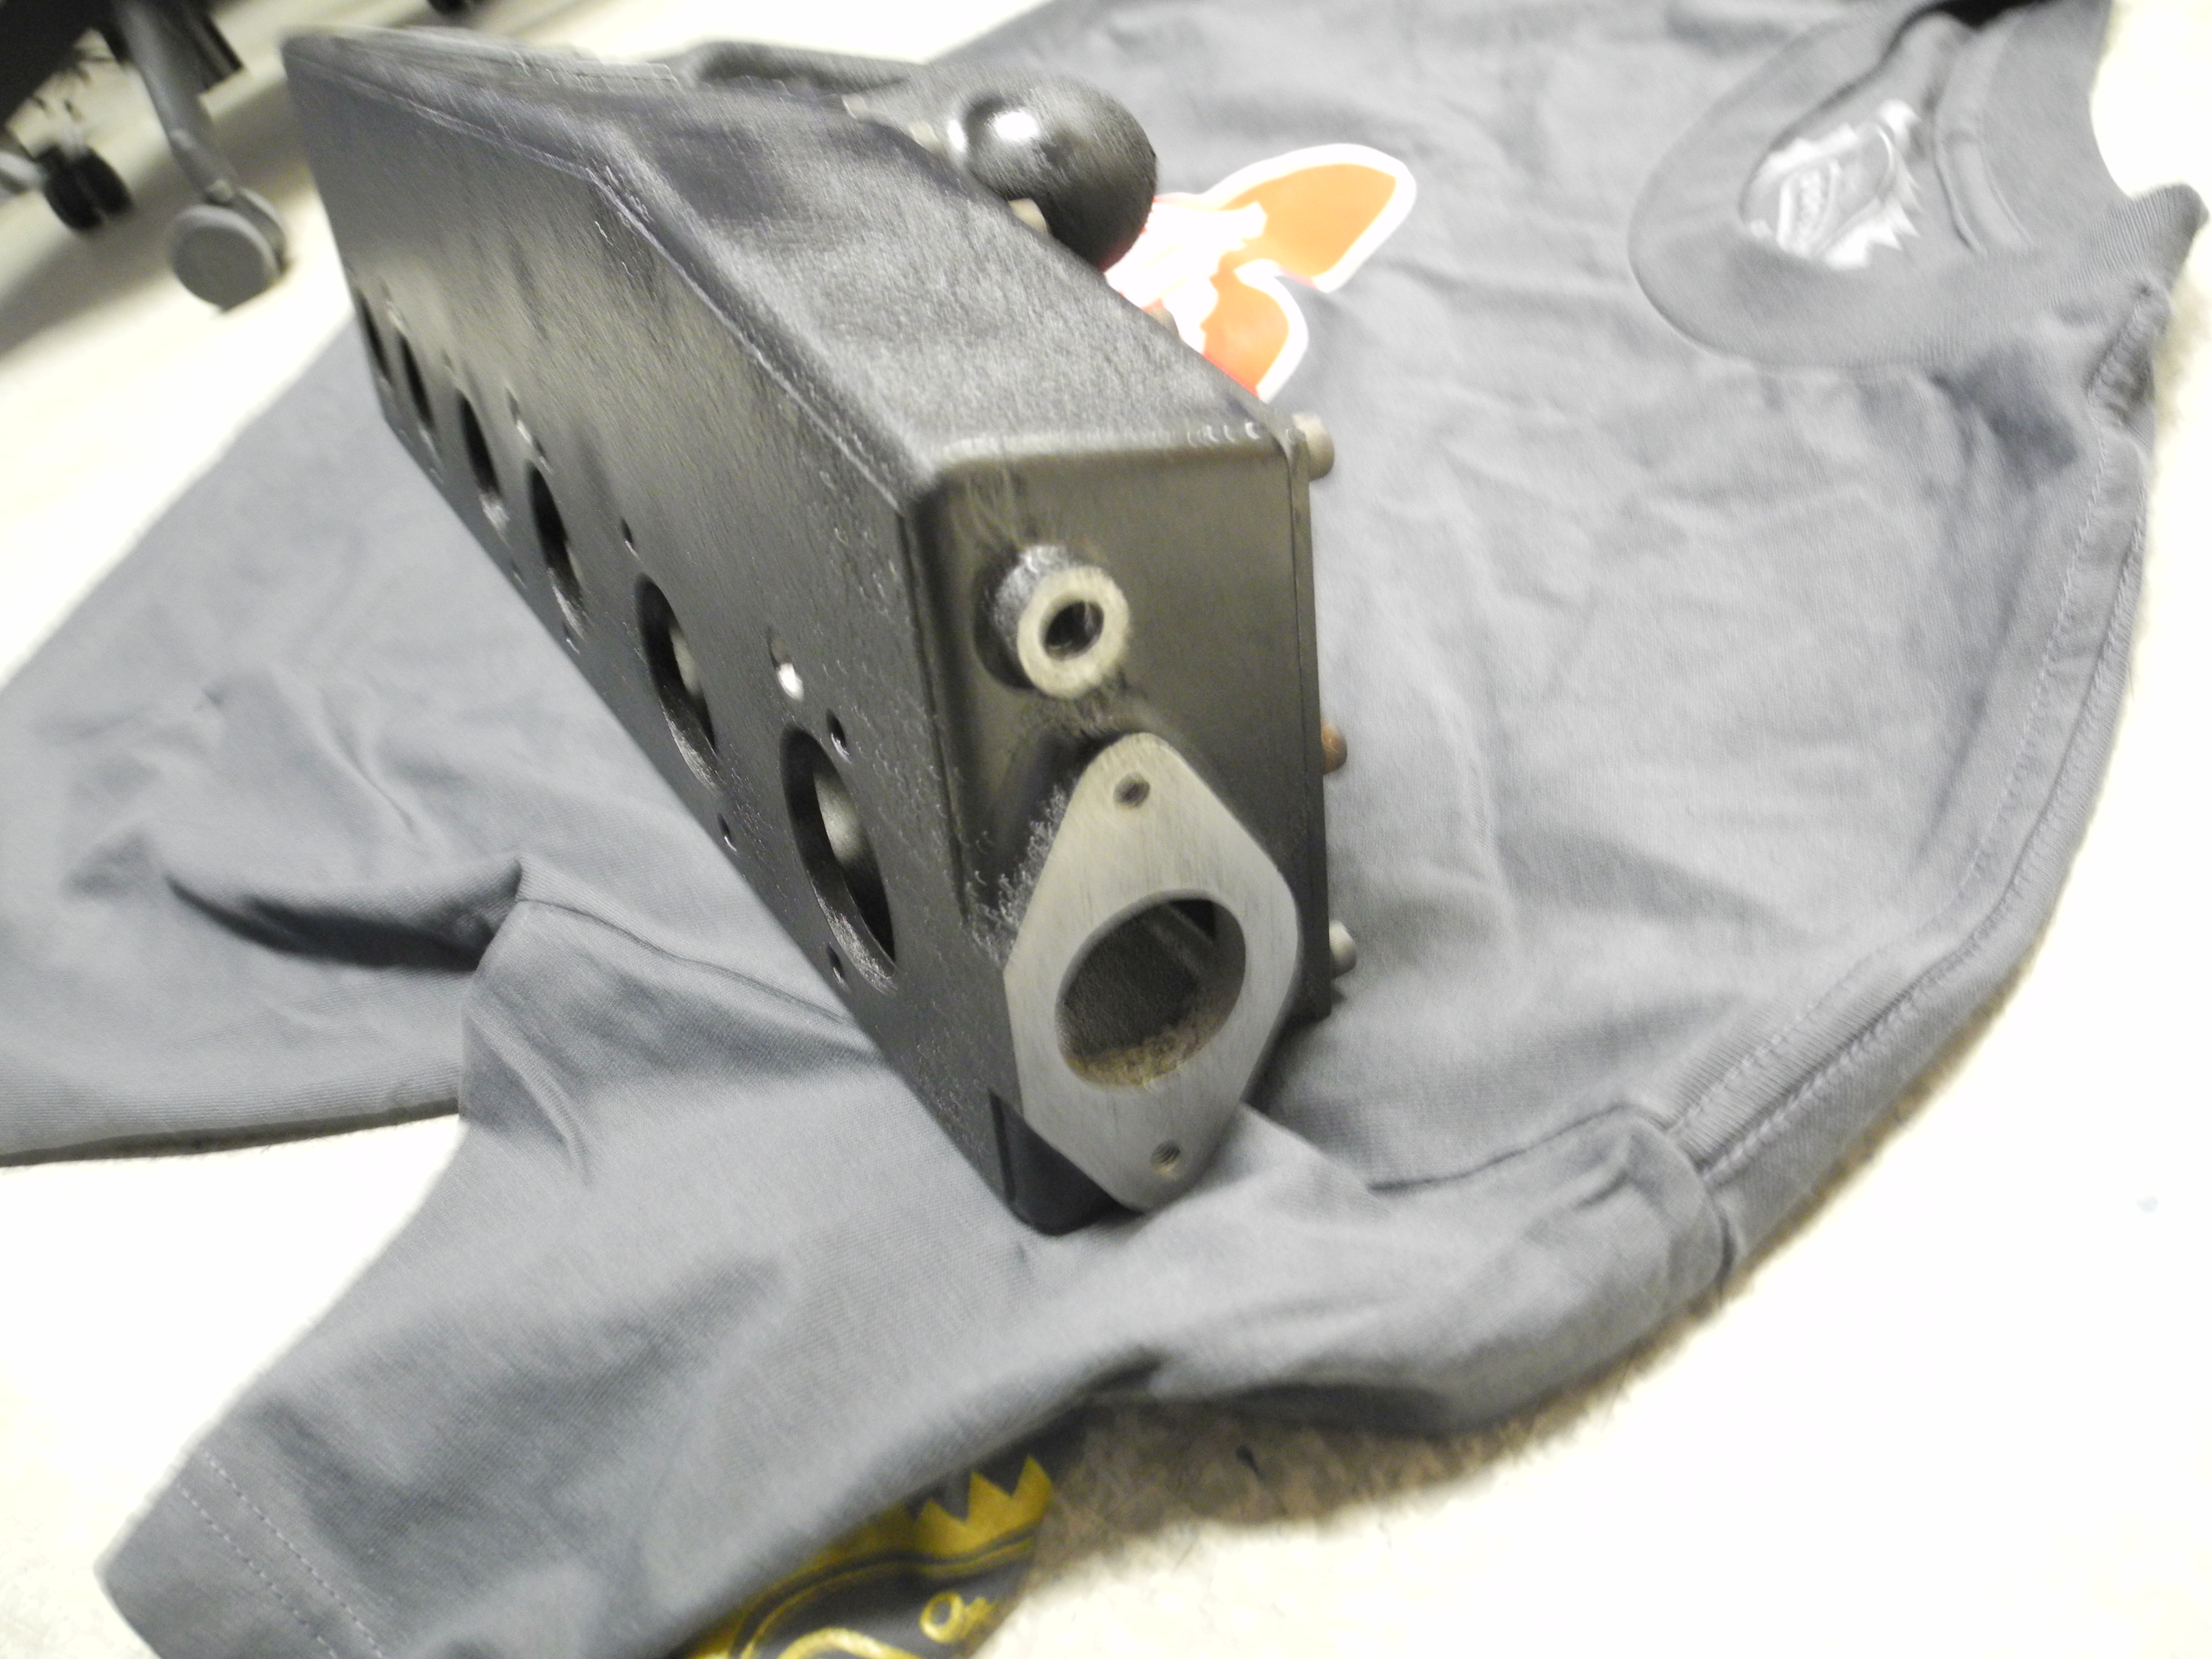
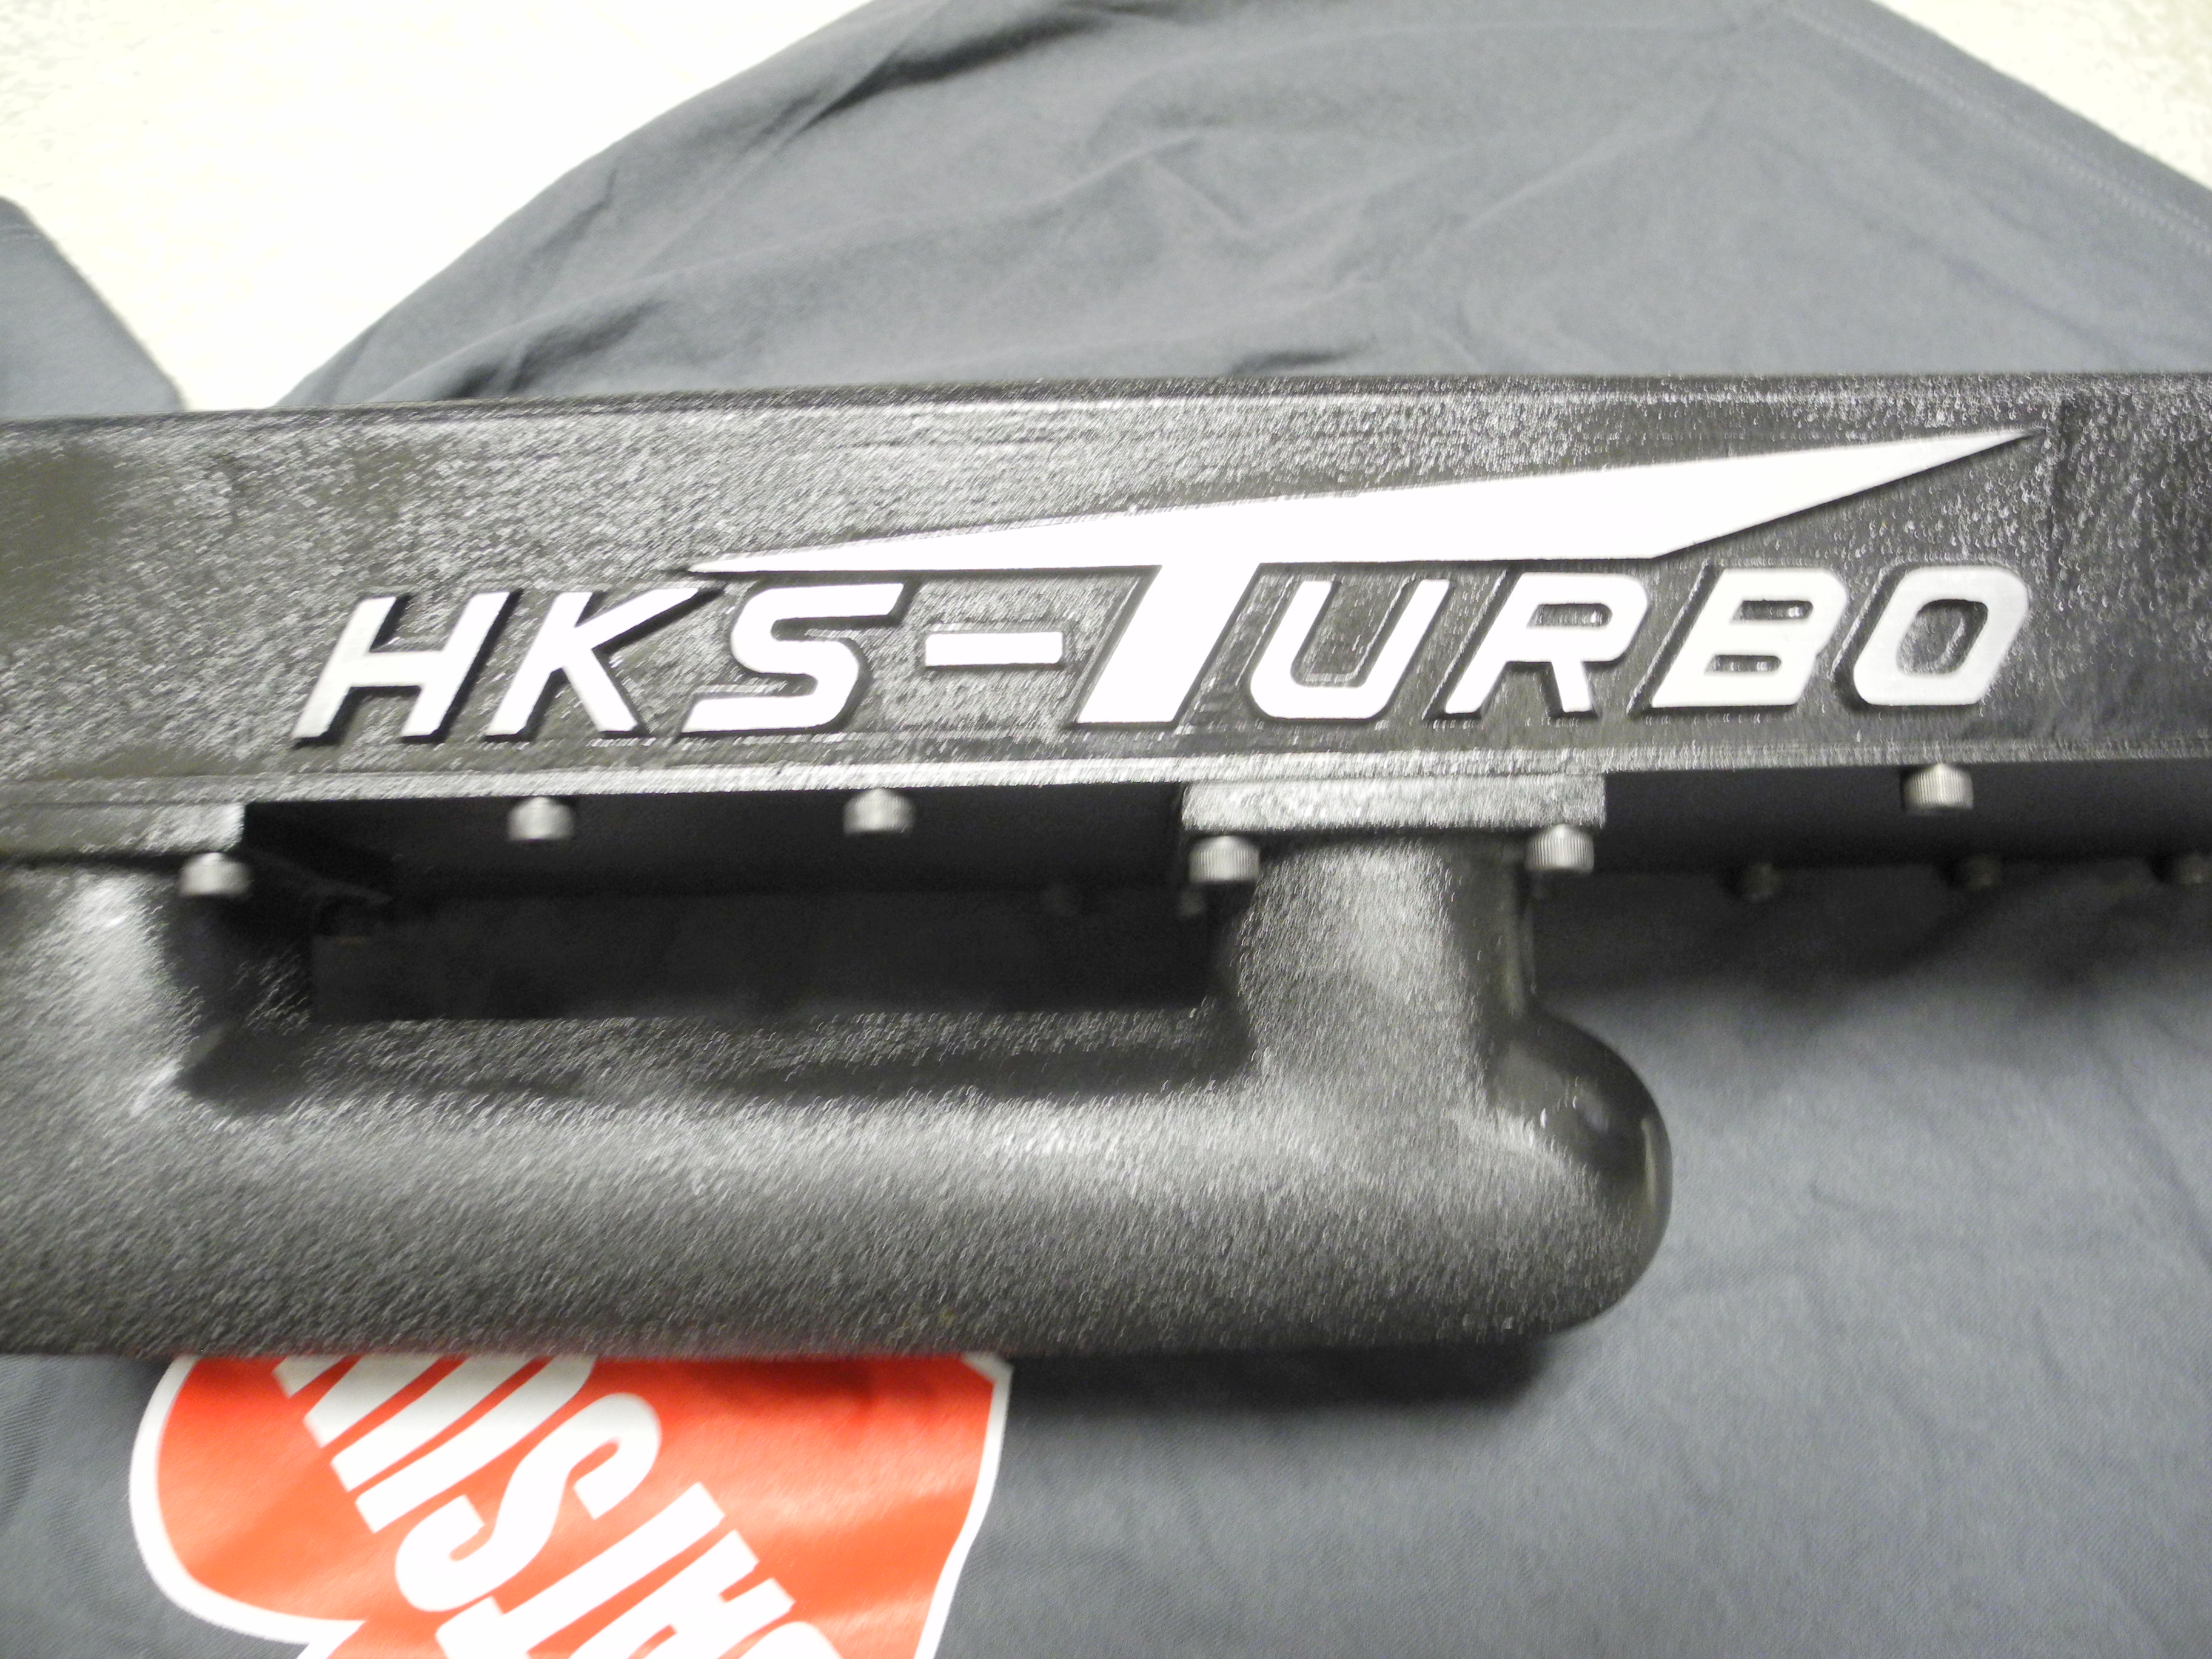
Hey everyone, I was thinking about going turbo with my Z but after sitting down and factoring in prices and what other things I want to do I've decided not to. I have a type 1 HKS Surge Tank which I recently painted wrinkle black. I masked off all the surfaces on the inner sides of the tank, back plate, and the piping and connecting area within and it's in fantastic shape. Could use another few coats to make it more wrinkled if desired, but I prefered a more subtle texturing with it. I put in a couple weeks worth of refinishing this and bringing it back to it's former glory and it's ready to go if you're thinking about going turbo! There are a mix of new and old bolts (have the other two as well as some extras and can provide part numbers if you want all new ones) Rare piece and the only thing I'm really looking for right now is a watanabe falcon steering wheel or even better: a glove box door signed by Mr. K if you have one you want to work out a trade with. Also looking for a set of long stalk fender mirrors! I'm looking to get $1600 $1500 out of it shipped CONUS OBO but willing to negotiate the other items into a deal.
-
Well I picked up some 1/8" thick ABS plastic with the same grainy pattern as the heater panel so we're off to a good start!
-
Sad to say I never had the pleasure of meeting him in person but he was more than helpful across the forum and took the time to answer some very straightforward questions when I was more green than I am now. Shame to lose a fellow Z enthusiast... RIP
-
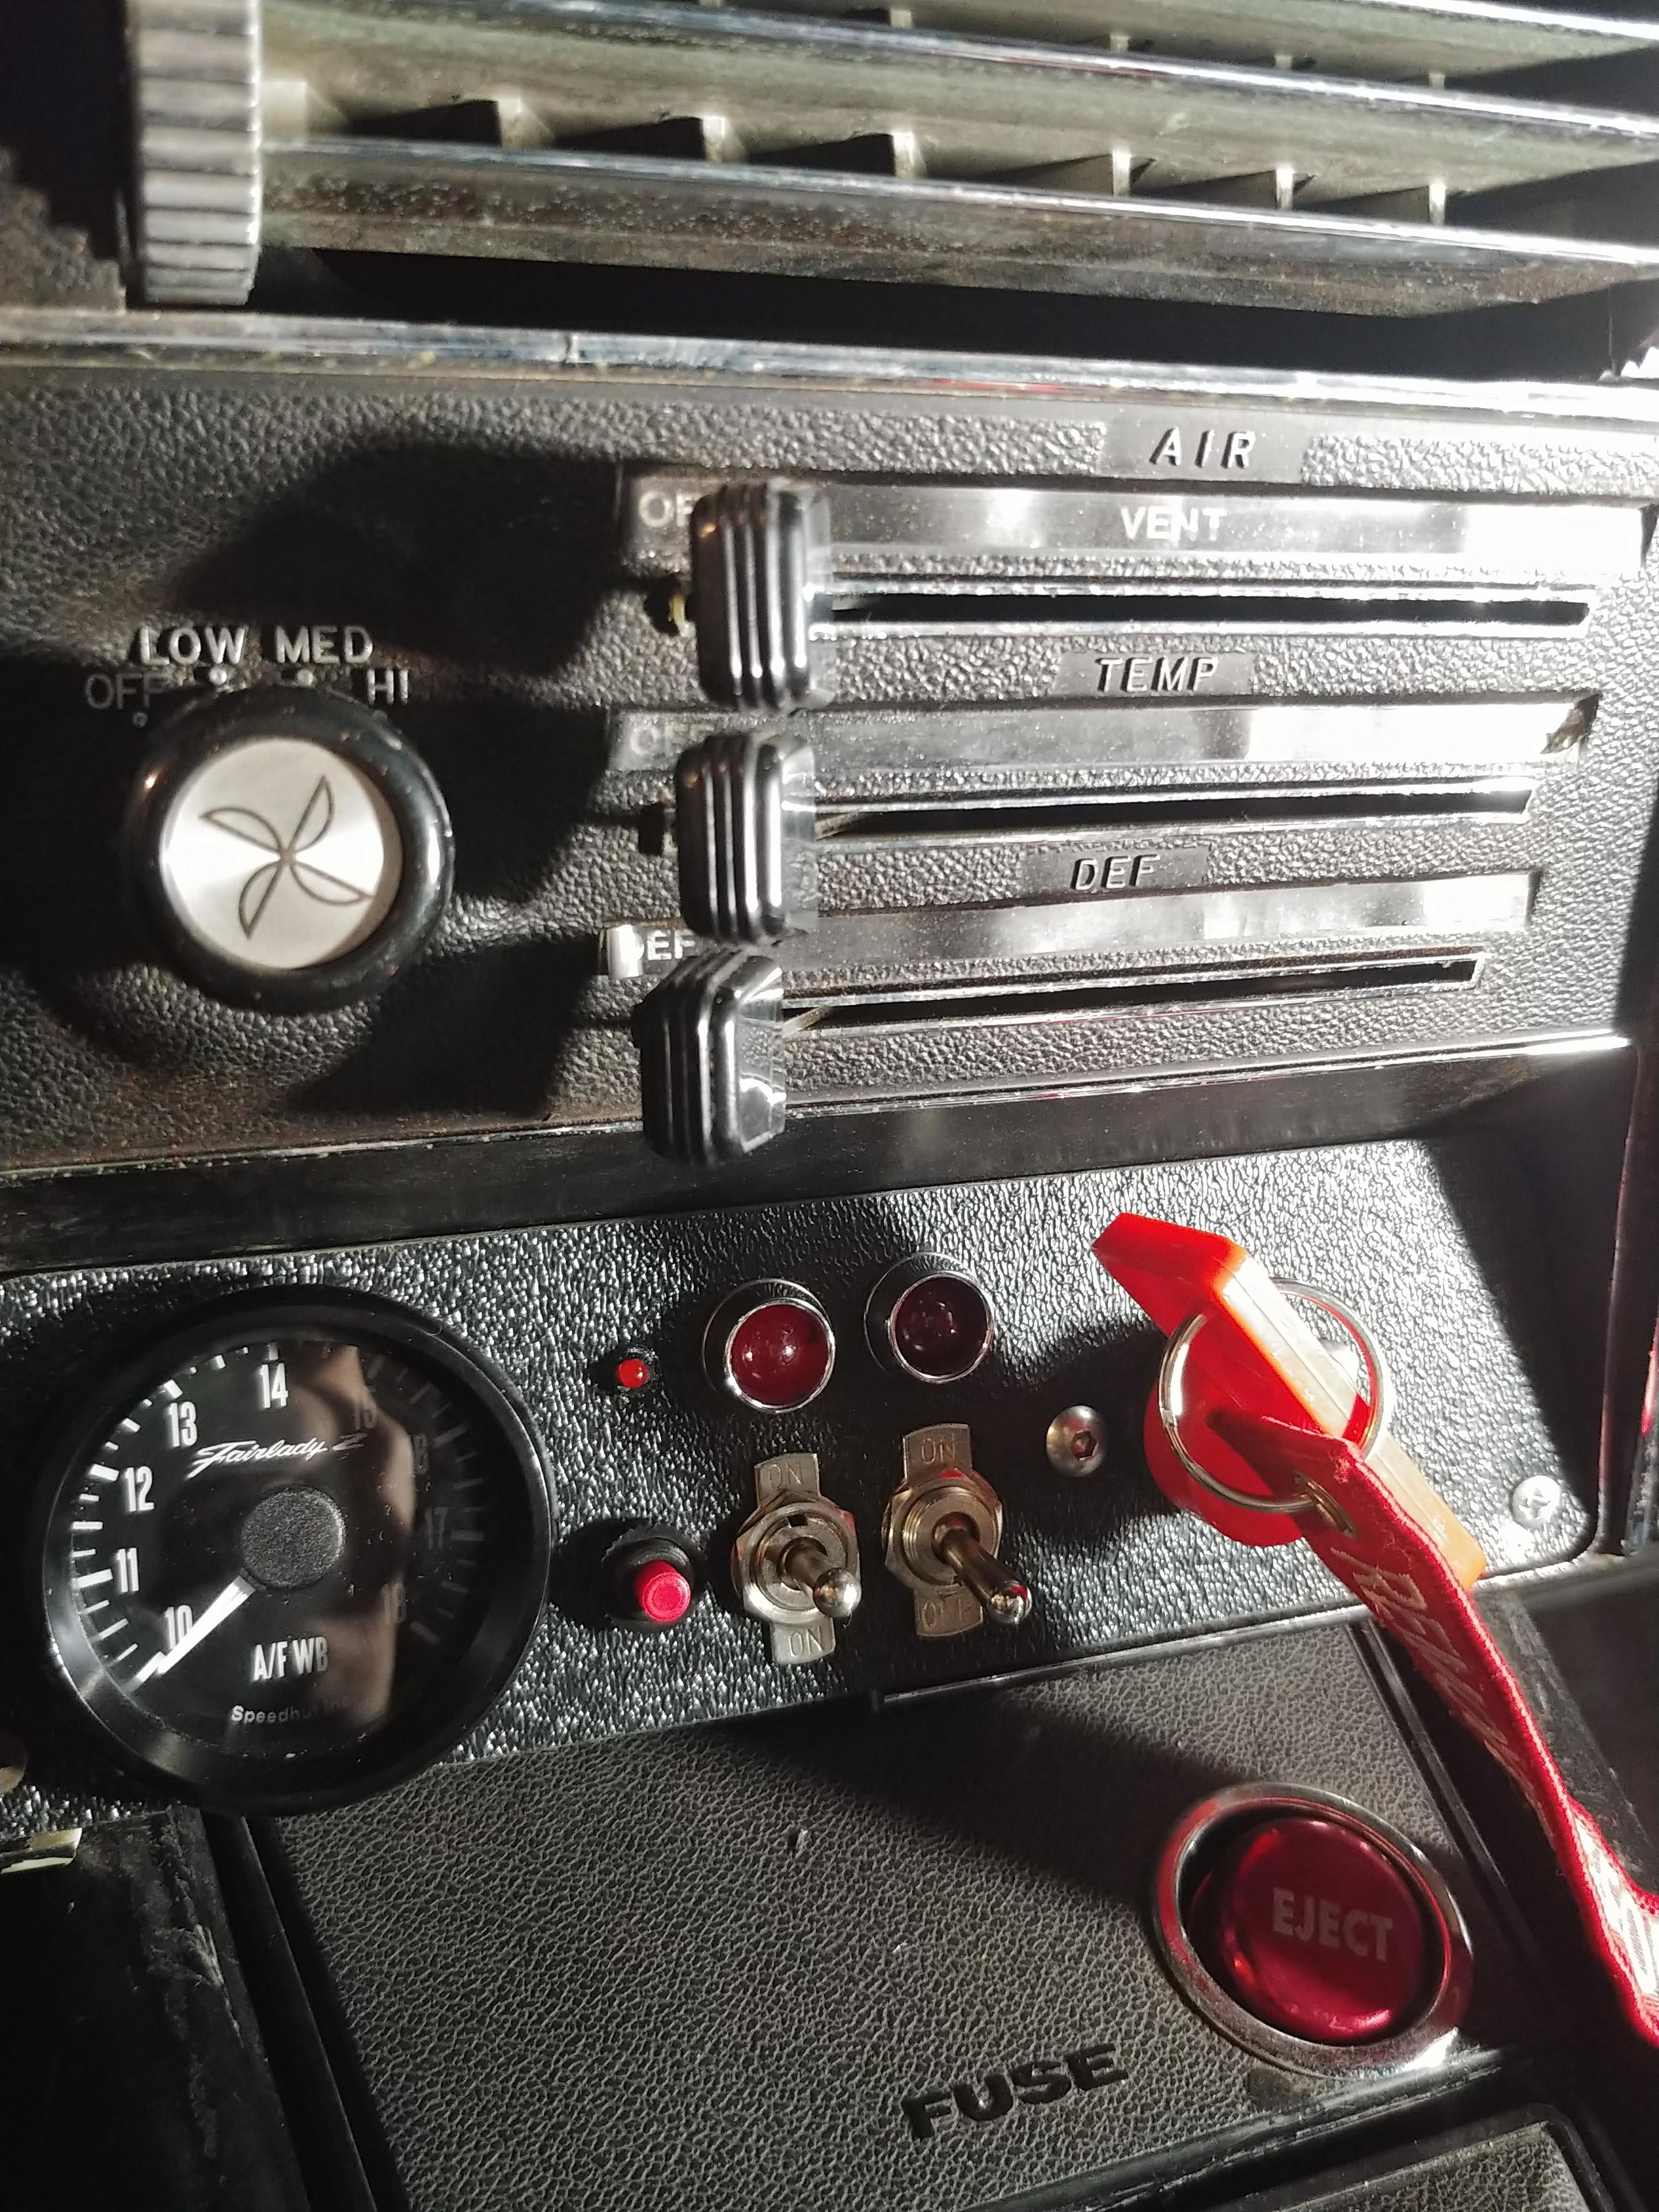
Thanks for the posts guys! Was starting to think I was out of luck with this. There's a few reasons I want a removable key: 1) Added security to prevent someone starting the car without the key to the battery in as well as a key to the ignition. 2) Car is still a work in progress and I always like to disconnect the battery when working on anything to prevent fire, zapping myself, blowing fuses, etc. 3) Regardless of how the car is, I always disconnect the battery when I'm not running it just in case... you never know when something might have a bad ground and spark. Adding a switch with a key lets me do this without popping the hood and removing the battery cable every time I run the car. 4) Prevent any potential battery drain when not running or if it's been sitting for a while (shouldn't be a problem, but I like to be safe) 5) I actually already have the switch with removable key that I got with some parts a while back and the idea has always appealed to me so I want to put it to use. If anything else, knowing that it takes an extra key to make the car run puts my mind at ease and won't have me worried that someone is going to steal it. Losing the key doesn't worry me too much. I could always hide an extra one away somewhere discretely in the car. It would be the same as worrying about losing my normal keys. The wire gauge was my main concern and if I should go about cutting power straight to the negative end of the battery like I originally intended to or if I should go about it another way. I was thinking that I would have to use the same gauge as the battery cable but thought I would ask anyway. The last thing I need is to start a fire or melt any wires.
-
It's funny how simple of a solution it is with these issues. The most difficult things seem to have the easiest solutions.
-
Hey everyone, I decided that popping the hood all the time to disconnect the battery was getting a bit old and I wanted to install a battery disconnect switch (one with the red removable key) and actually had one from a while ago. My question here is on how big the wire gauge needs to be (and still be safe), and how I should go about making or where I can but the wiring components necessary. I have a spot for it on the dash and thought I'd ask for some tips especially from the guys that have done this kind of thing before. Chris
-
Zed Head, hit the nail right on the head with it! Put the key in, turned it all the way over and then just simply took a pair of pliers and torqued the rod just a couple degrees further over. Works amazingly well now! Thanks a ton!


.jpg.029fe3d49558cc6f53b14482e50cc701.jpg)


.jpg.f432a478f1ec0fa199b7b69e52756c70.jpg)