zKars
 Supporter
-
Posts
3,664 -
Joined
-
Last visited
-
Days Won
102
About zKars
-
User Group:
Supporter
- Member ID: 11371
- Title: Rust Free'ish
- Content Count: 3,664
- Content Post Ratio: 0.57
- Reputation: 1,923
- Achievement Points: 23,592
- Member Of The Days Won: 102
- Joined: 07/28/2006
- Been With Us For: 6480 Days
- Last Activity:
- Currently: Viewing Topic: Center console repair 280z
- Age: 66
Clubs

12 Followers


zKars's Achievements
")


-
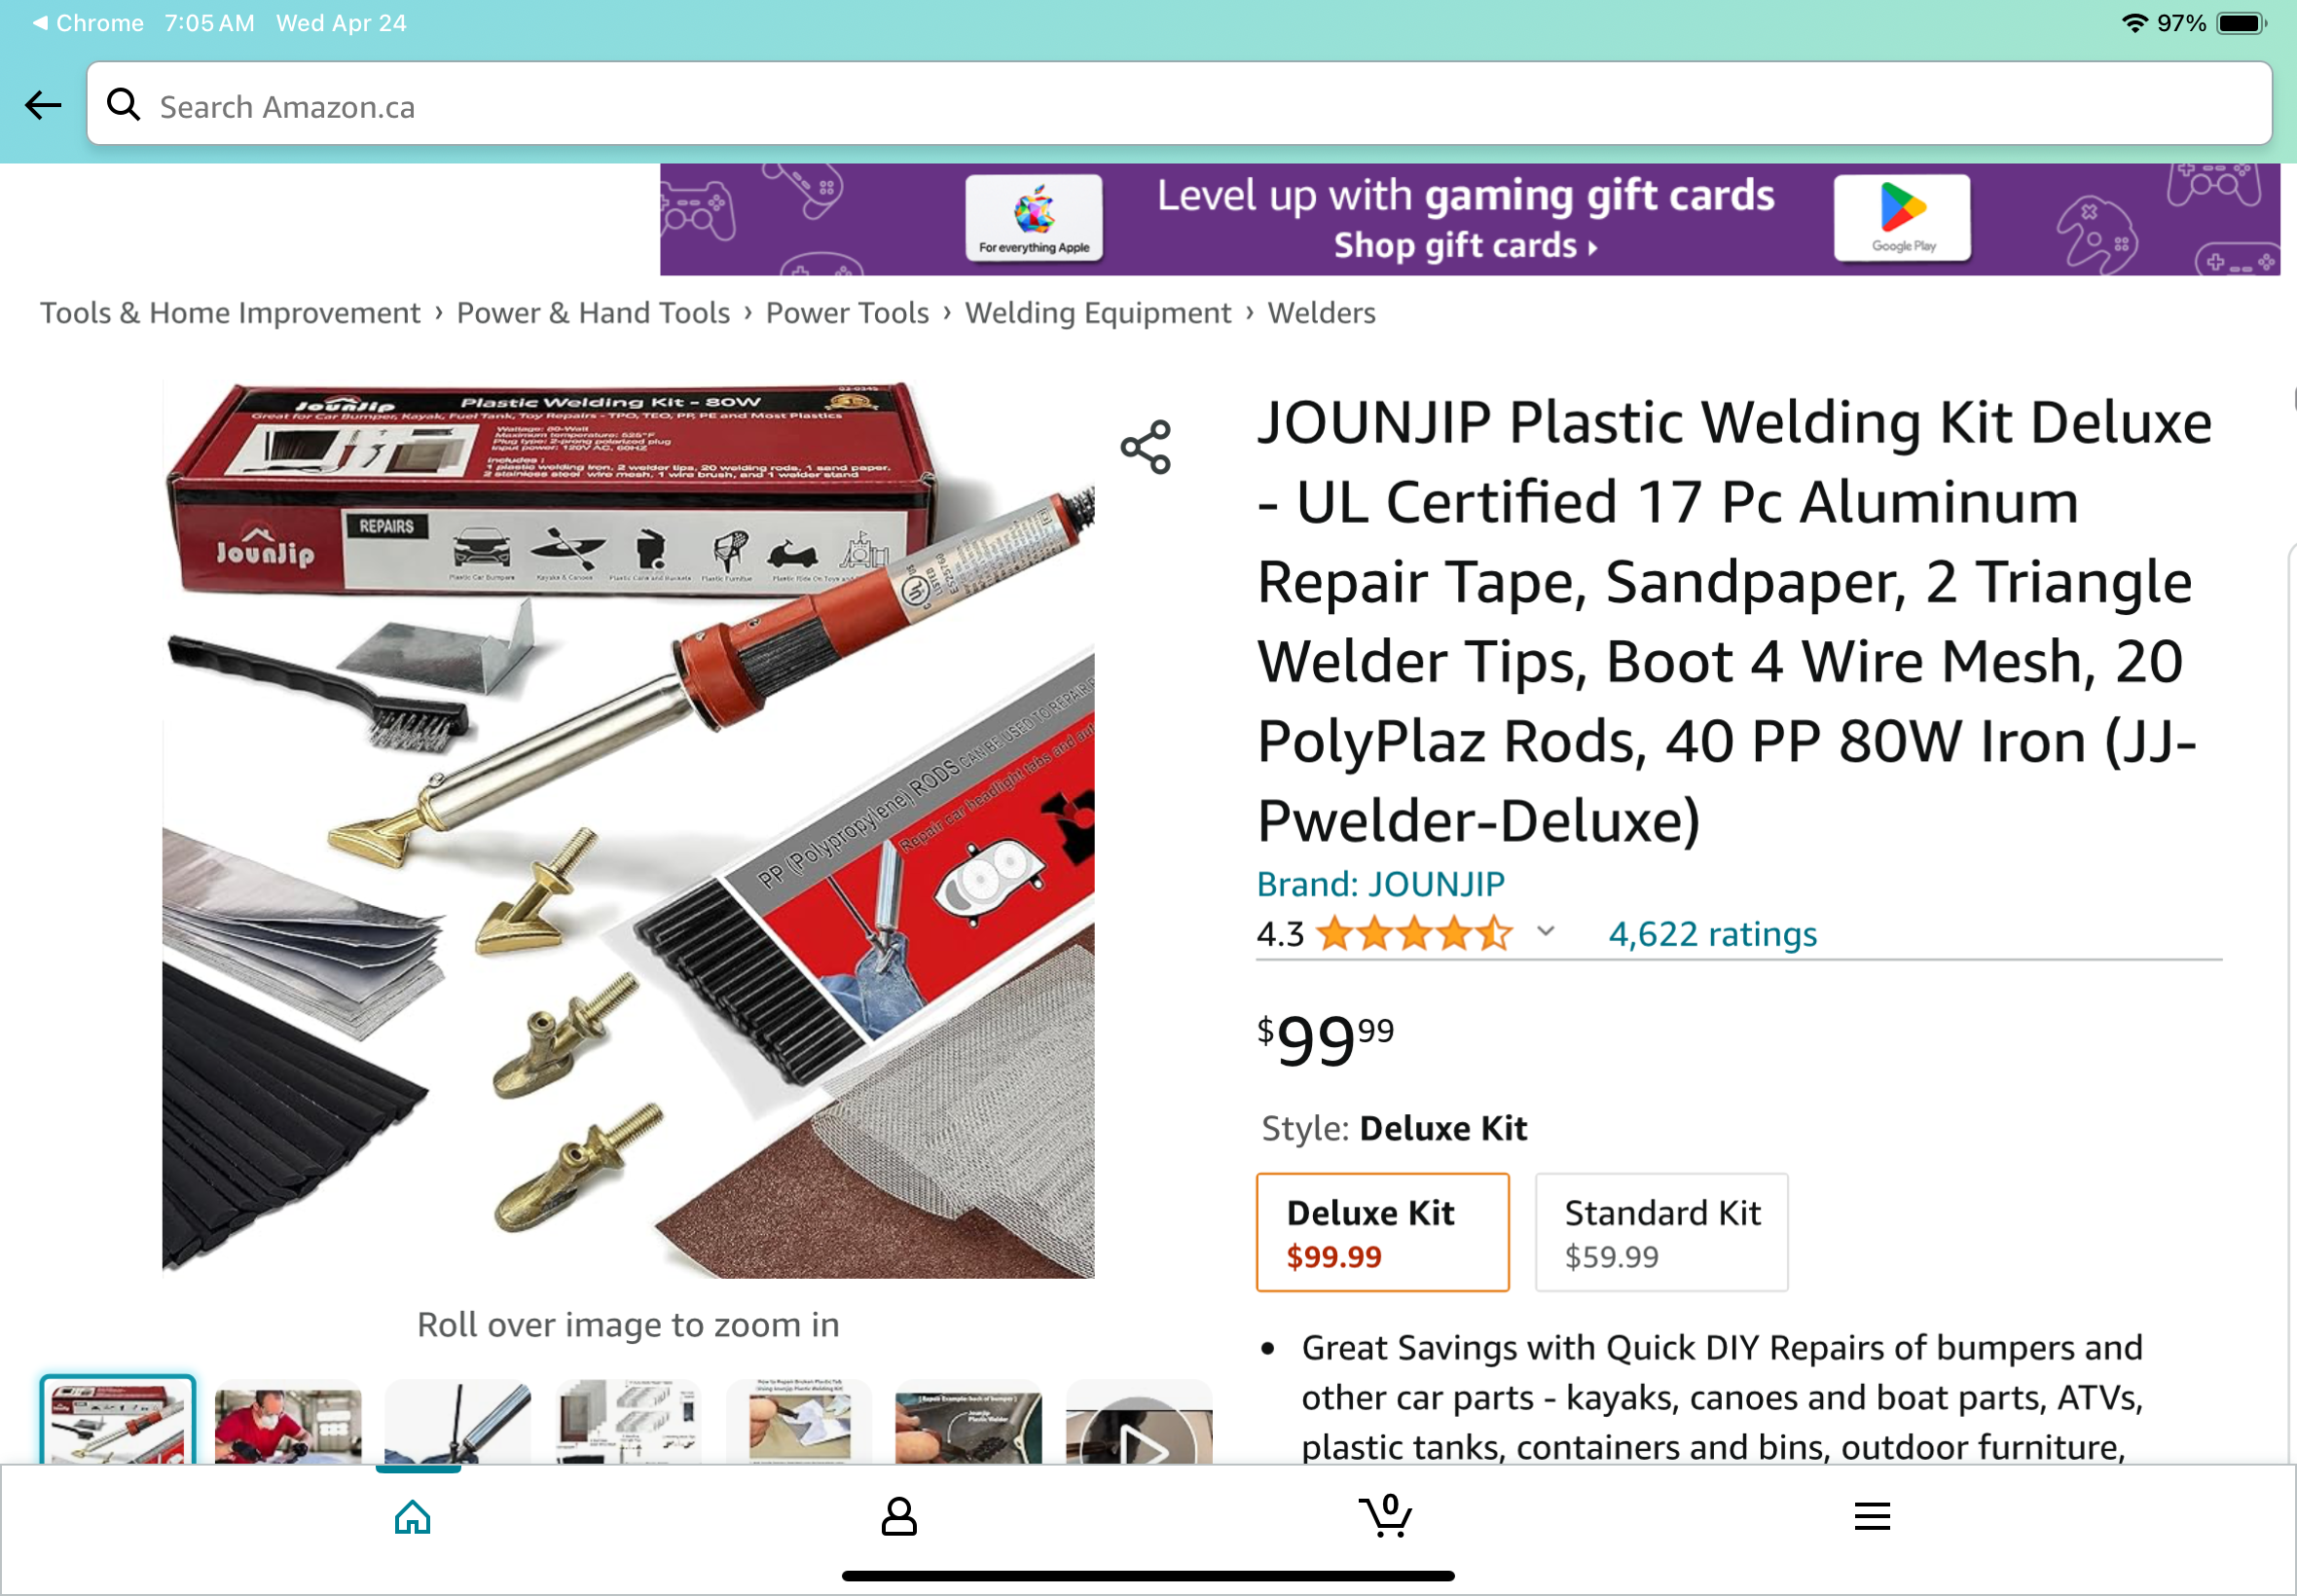
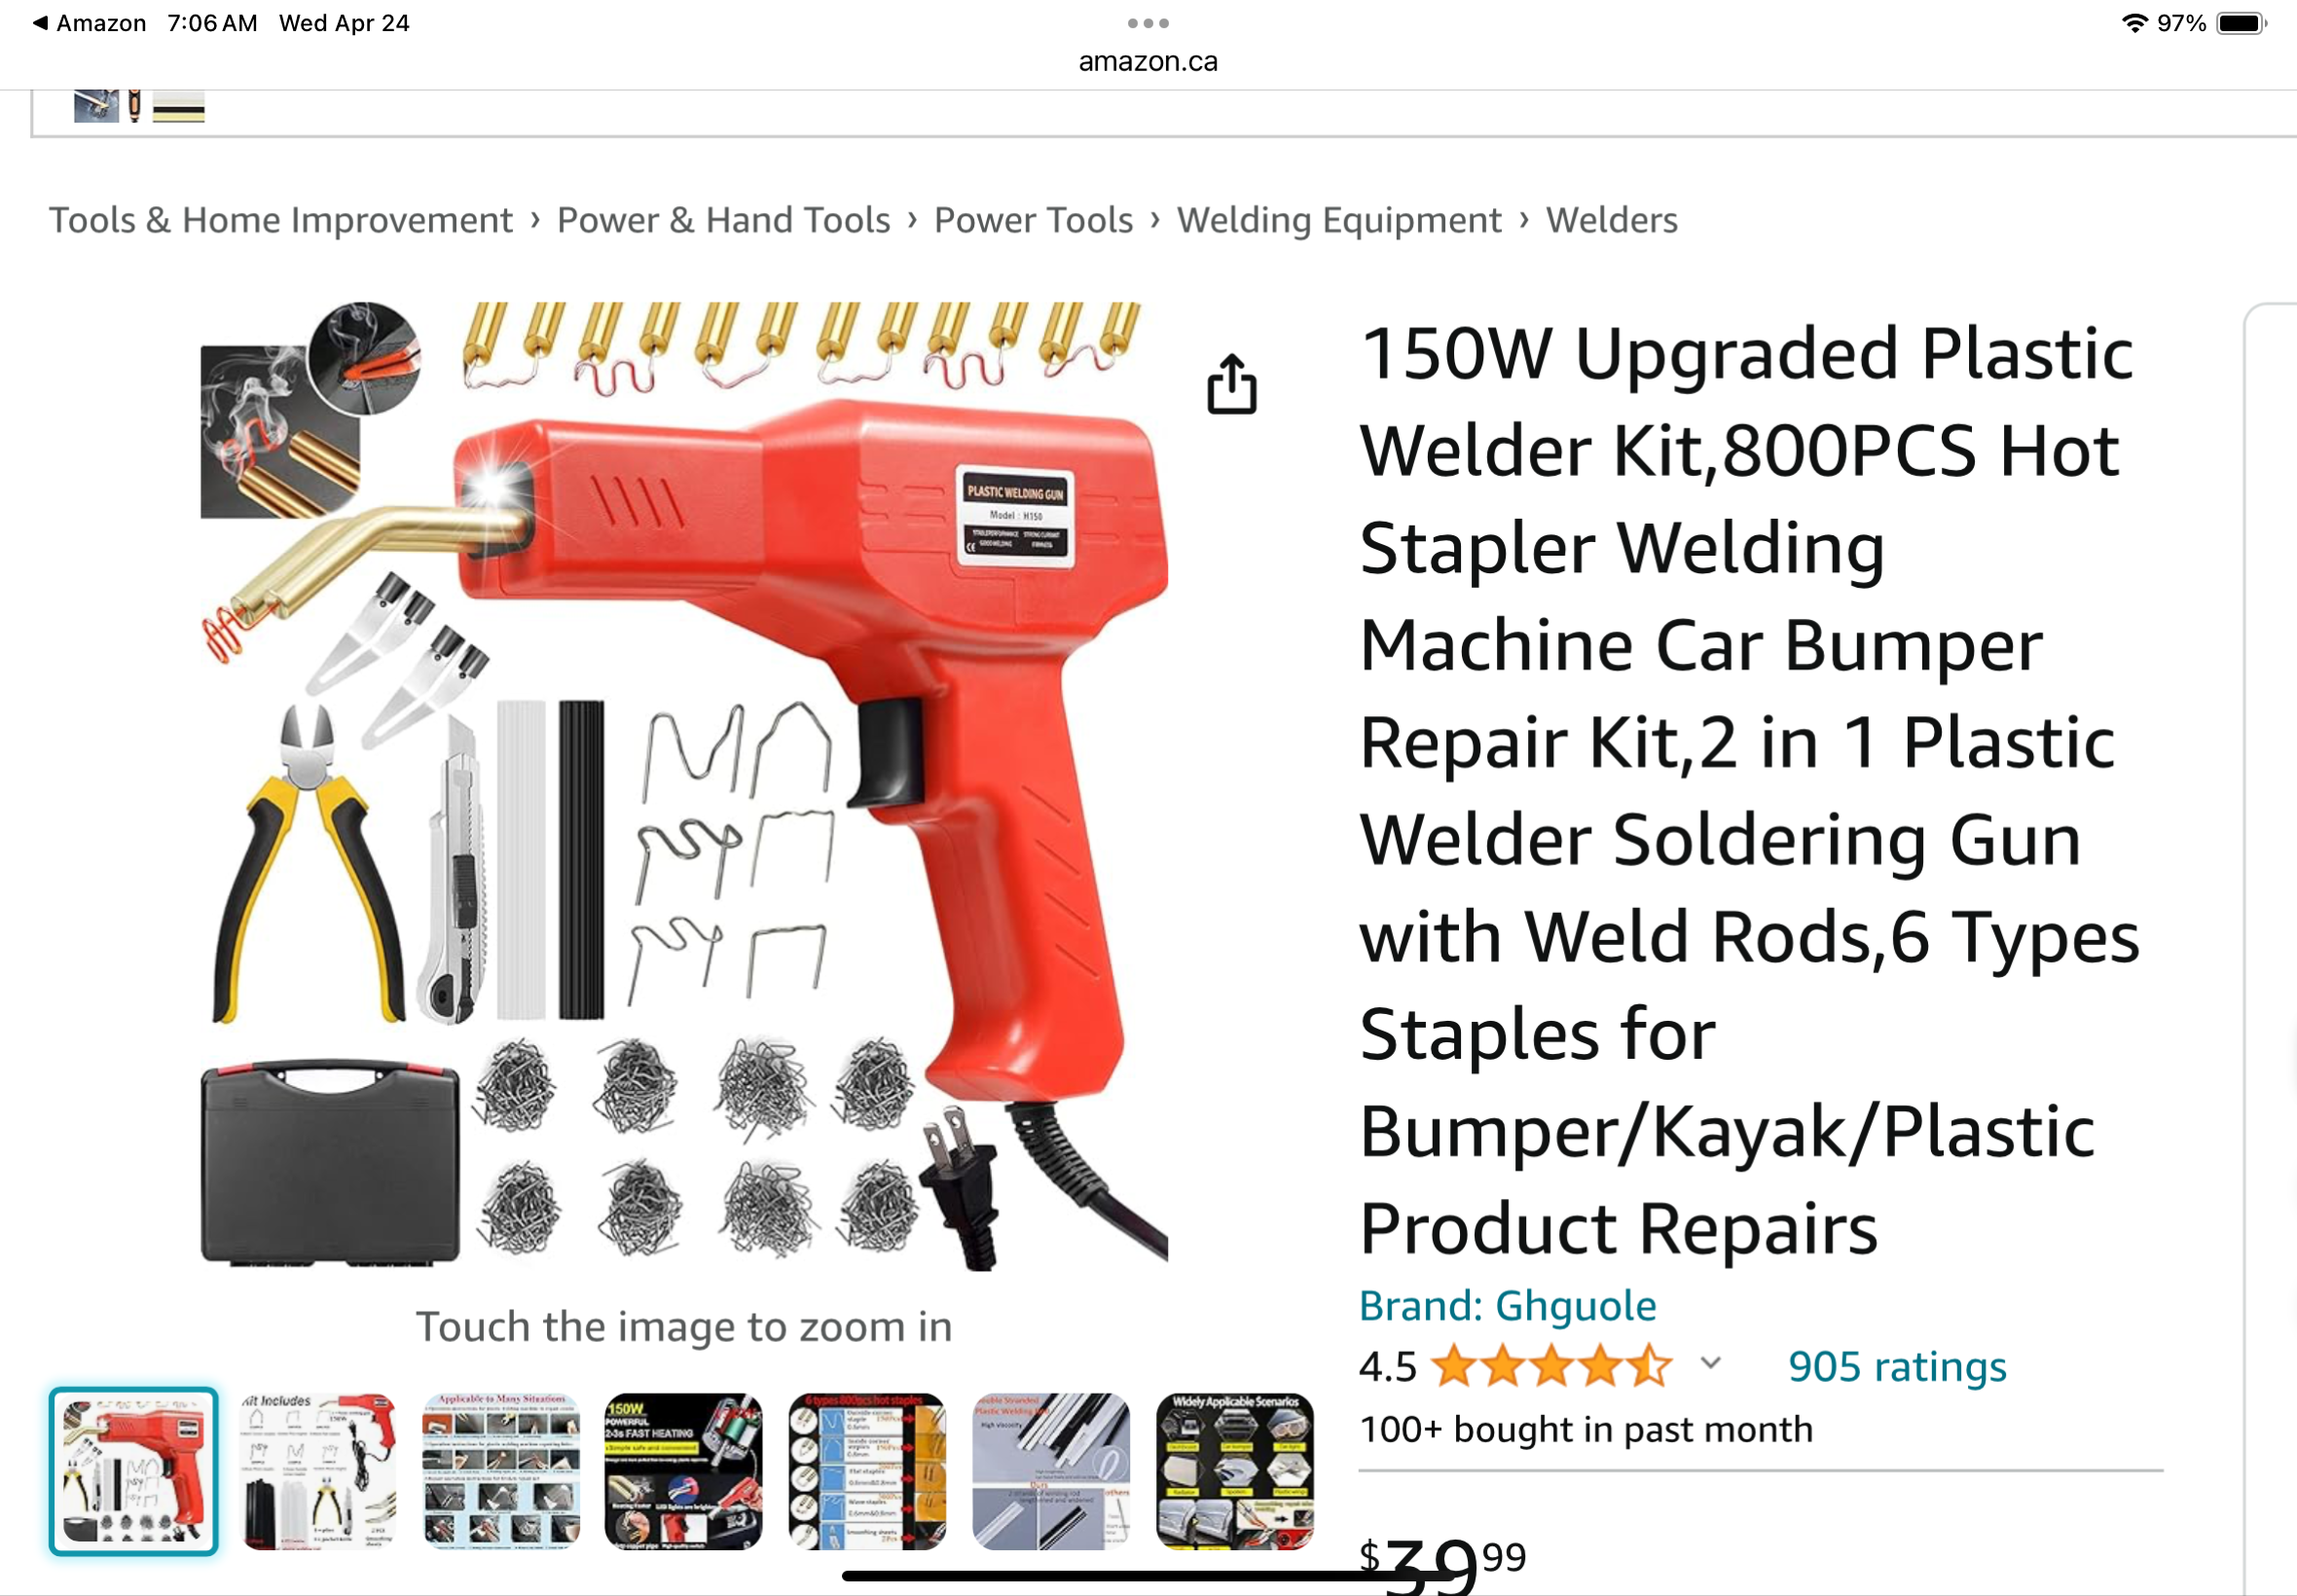
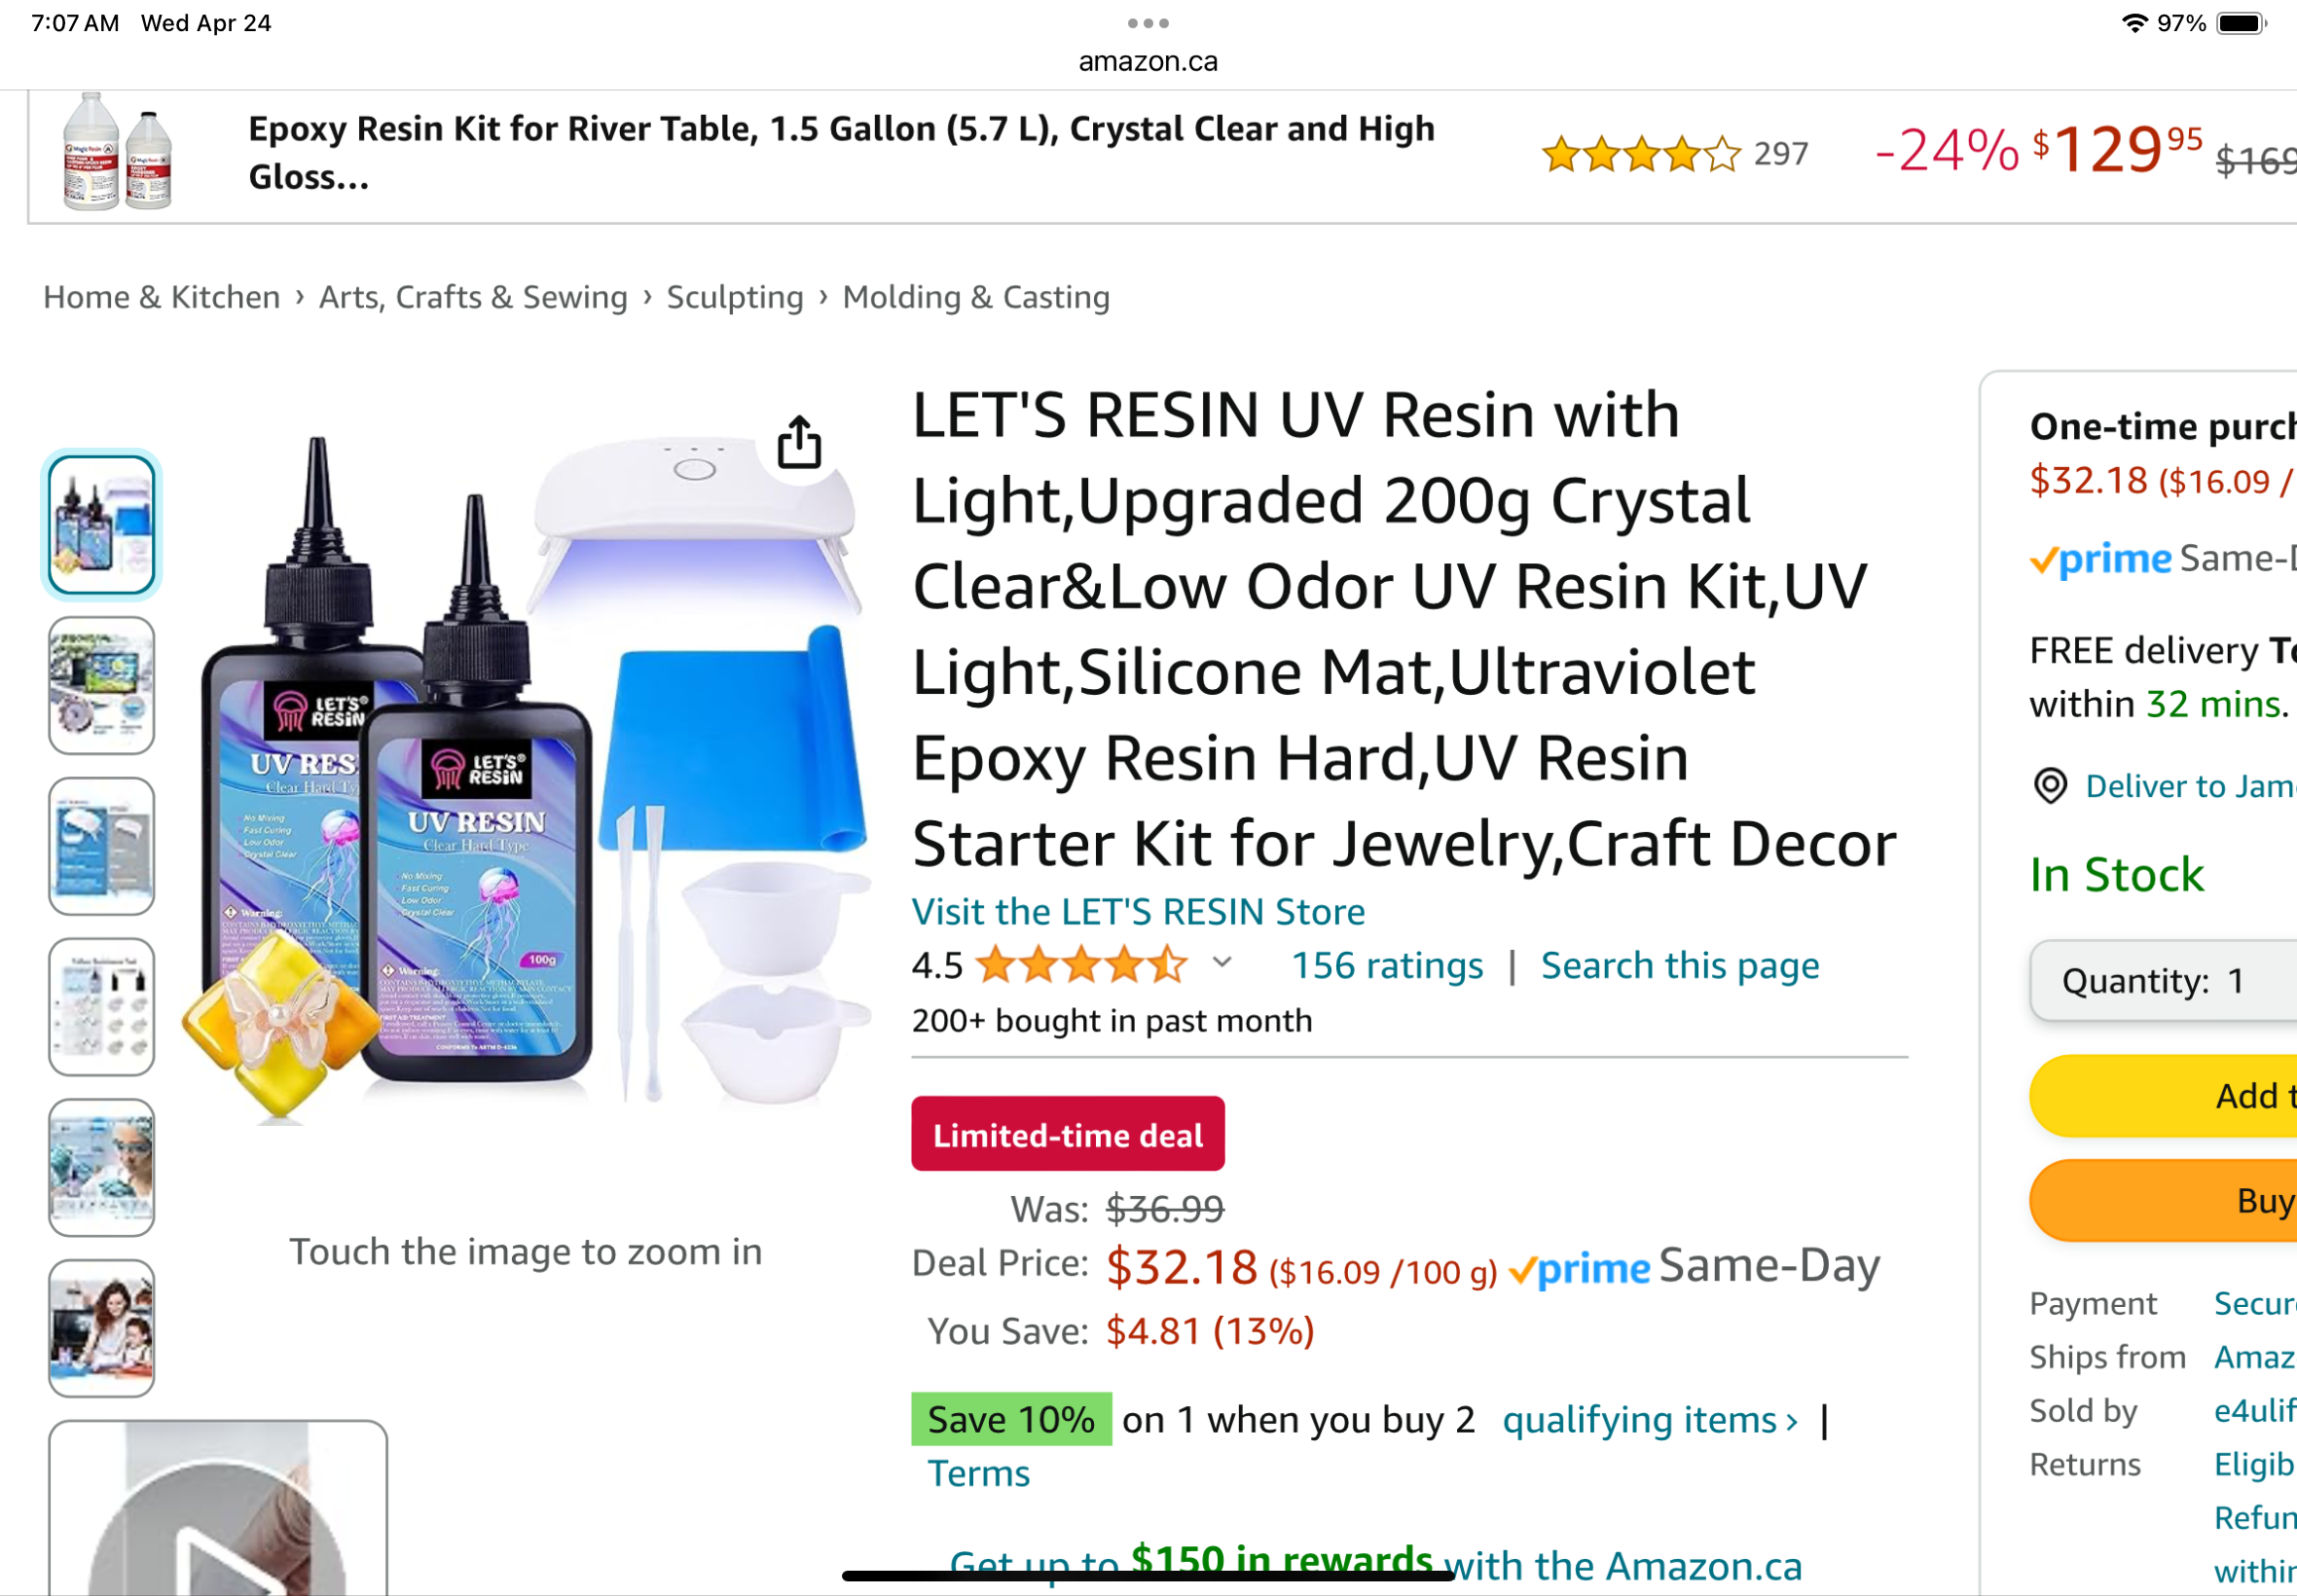
Plastic repair is one of those things I’ve been experimenting with frequently in the last year or so. The usual, interior plastic panels, consoles yes, broken eye glass frames, toy repair, you name it. These are my favorite findings and tools 1. Plastic welding. Basically a wide flat soldering iron with filler “wire” of various plastic species. Melt the substrate, add filler, smear it all over. 2. Wire staples in various shapes, that you heat up and press across a crack that melt then harden into the plastic thickness, binding the two sides together. 3. Build up missing areas with UV cure epoxy resin. This is my new favorite. Also makes a good glue for plastics. Used to buy in small expensive gluing kits (Goggle Bondic) but now UV cure resins are everywhere in the hobby world and are cheap.

-

No Brake Lights or Turn Signals. Where to look next?
zKars replied to kcpope's topic in Open Discussions
Turn signal light issues, especially those that exist while the hazards work just fine, are often the fault of the hazard switch. Remove it and clean its internal contacts and check for solder problems where the wires attach. Also make sure the battery is fully charged or the car is running, or attach a charger to the battery while you do testing. Low voltage often causes older flasher units to not want to do their job well or at all making diagnosis of related problems difficult. -
The two hole pump is for L16/18/20. Four banger. Great donor for internal parts. I once bought a Toyota fuel pump that was also an organ donor. I suspect that design was used on many Japanese cars in the day
-
It’s the black goo that that leaks out and spoils the weld when you’re installing over fender flairs and have cut out the wheel well lip, then weld the two layers back together, or try to at least. It’s a caulking, not a bonding agent. Maybe some fear of water getting in the air vent holes and getting down in that area.
-
Rostra seems to have the only commercial consumer cruise control system. Pic below of what I got recently from Amazon. Just need a speed digital signal. There is a couple of options, you can splice a “thing” (I’ll find a link eventually) into your speedo cable, or if you have a GPS speedo, then do away with the cable all together and use this. https://protunerz.com/collections/sensors/products/mechanical-to-electrical-vss-metric-with-connector Now the hot tip is as Duffy says, go Drive by Wire and let your aftermarket ECU handle the cruise control duties. And idle control, etc. Its just a big step. There are actuators for triple carbs or throttle bodies too. See what efihardware in Australia has. Cool stuff https://www.efihardware.com/products/c598/dbw-components I have seen a few folks working on nice solutions with 350Z throttle bodies and pedals, what are you doing Duffy?
-
Steve Nixon. https://www.240zrubberparts.com/category/all-products
-
Transmission Tail Shaft Break-out Repair ideas
zKars replied to zKars's topic in Engine & Drivetrain
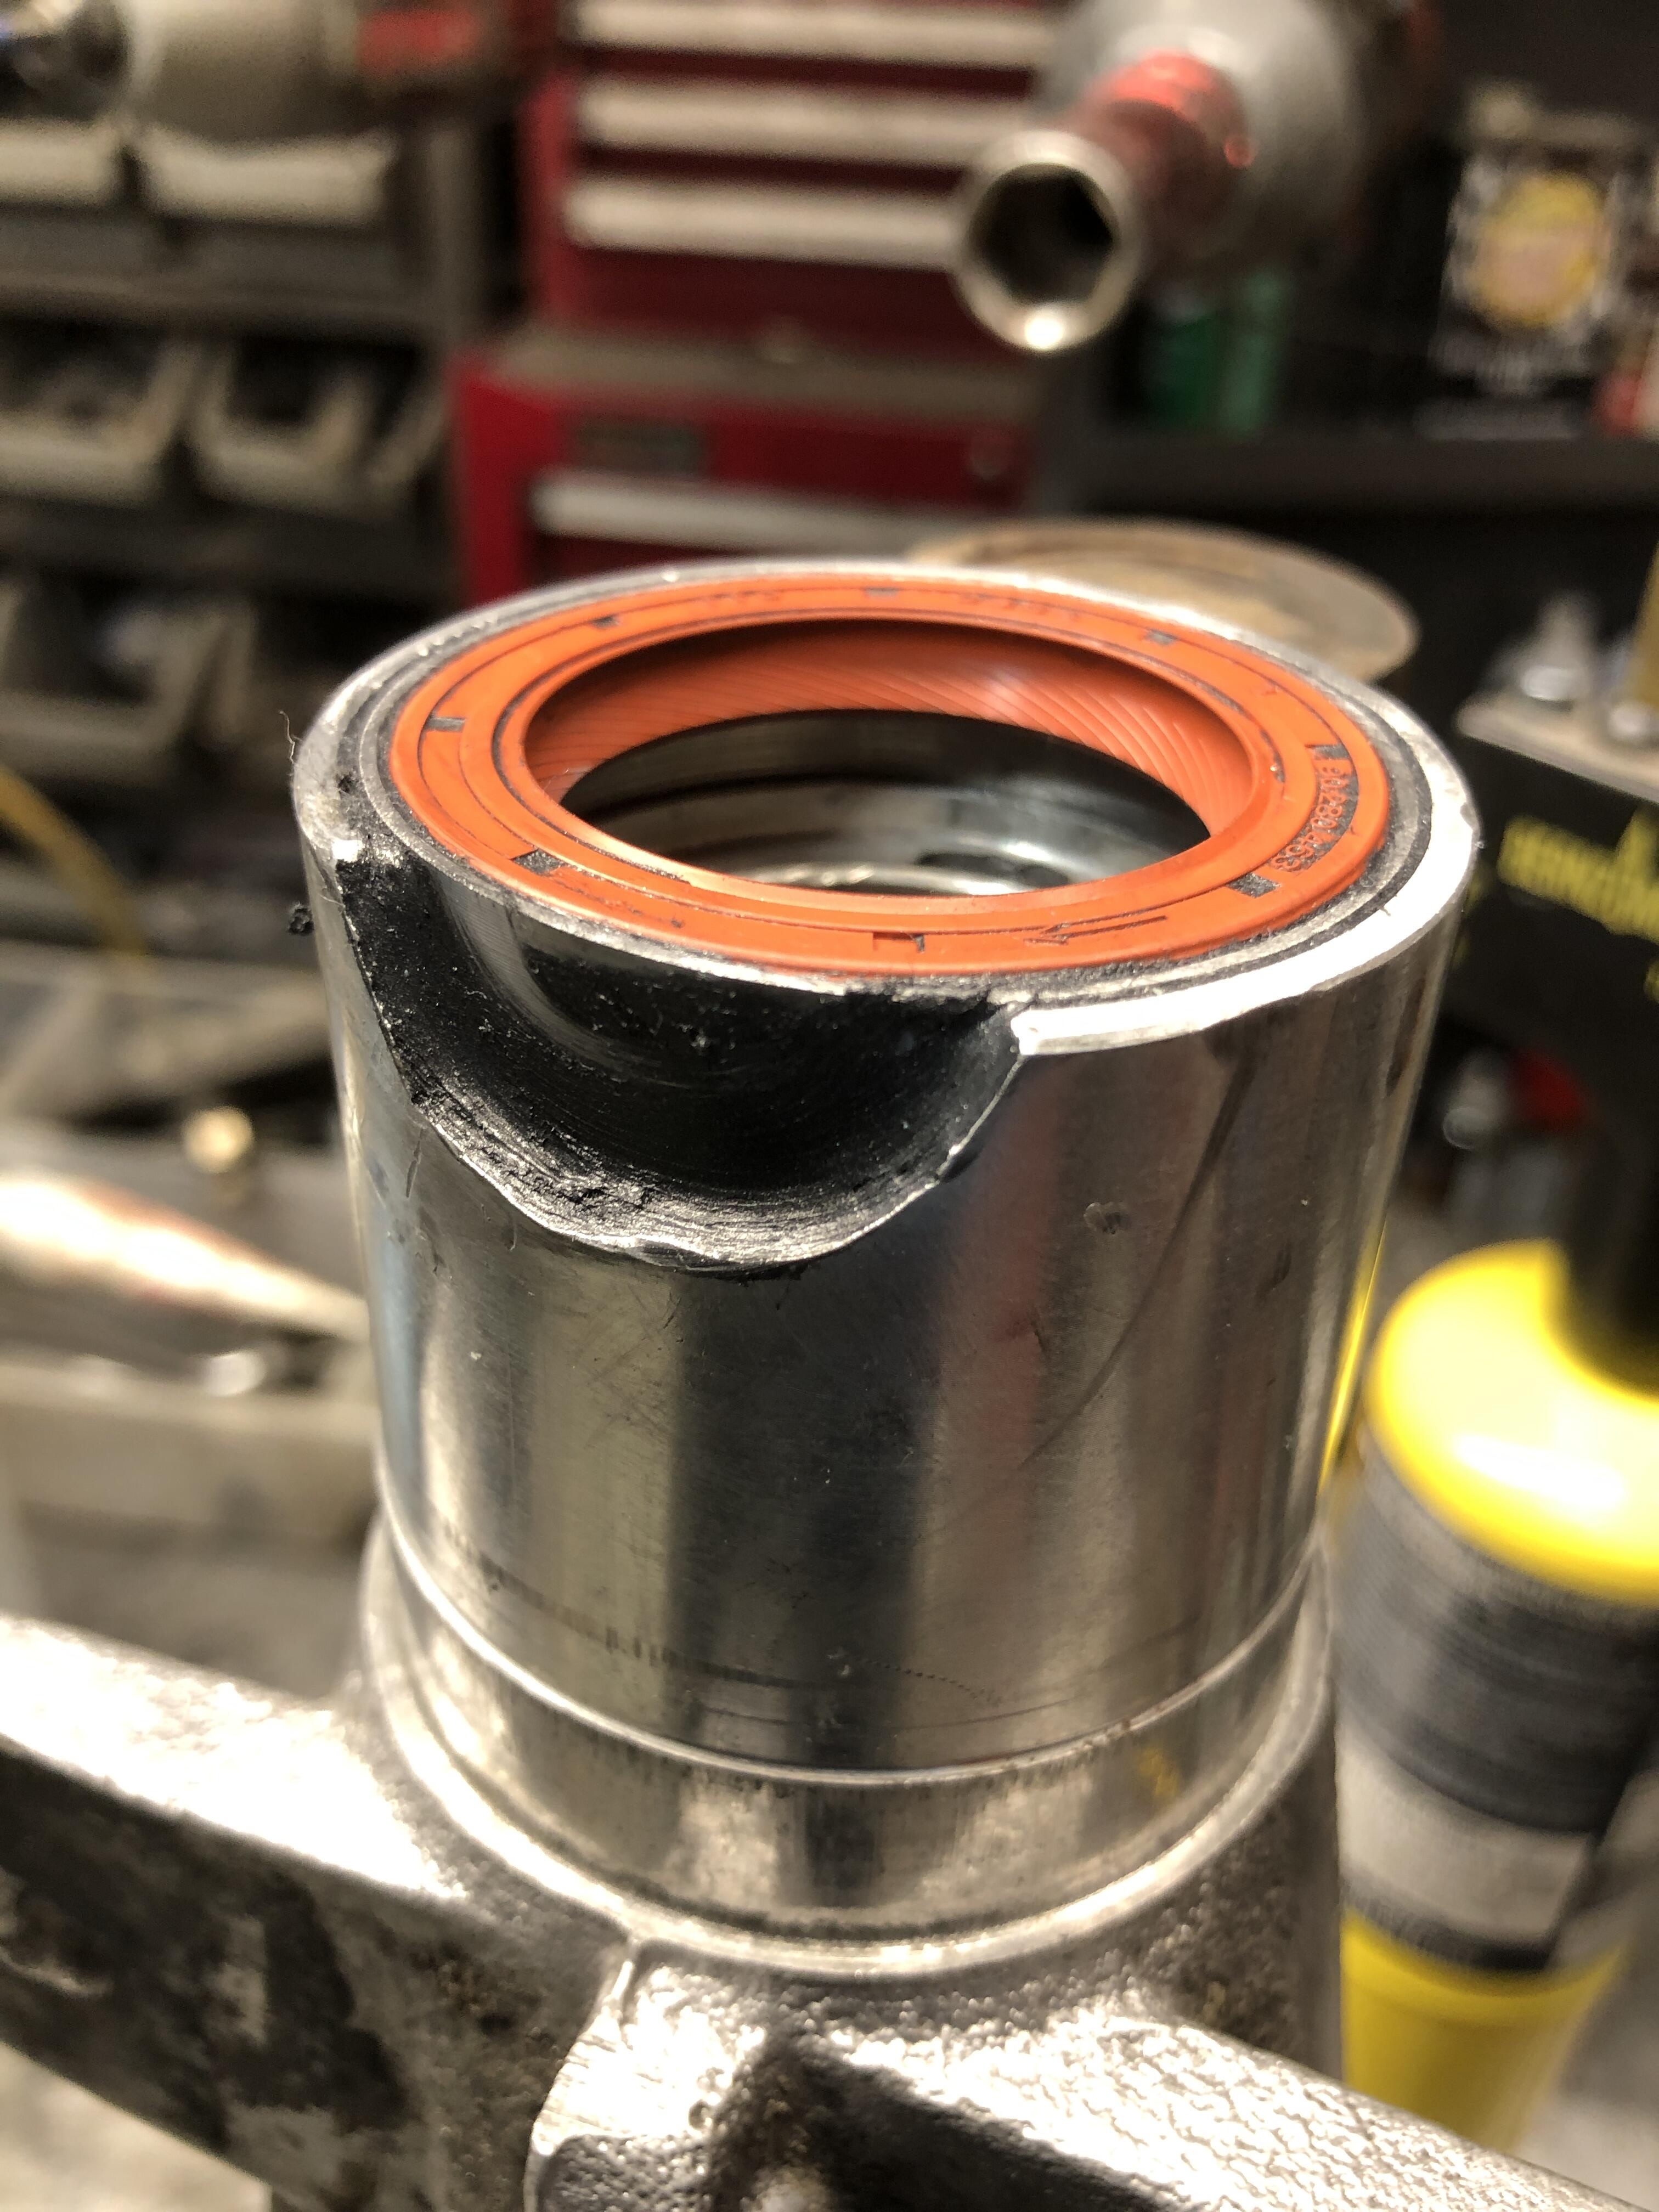
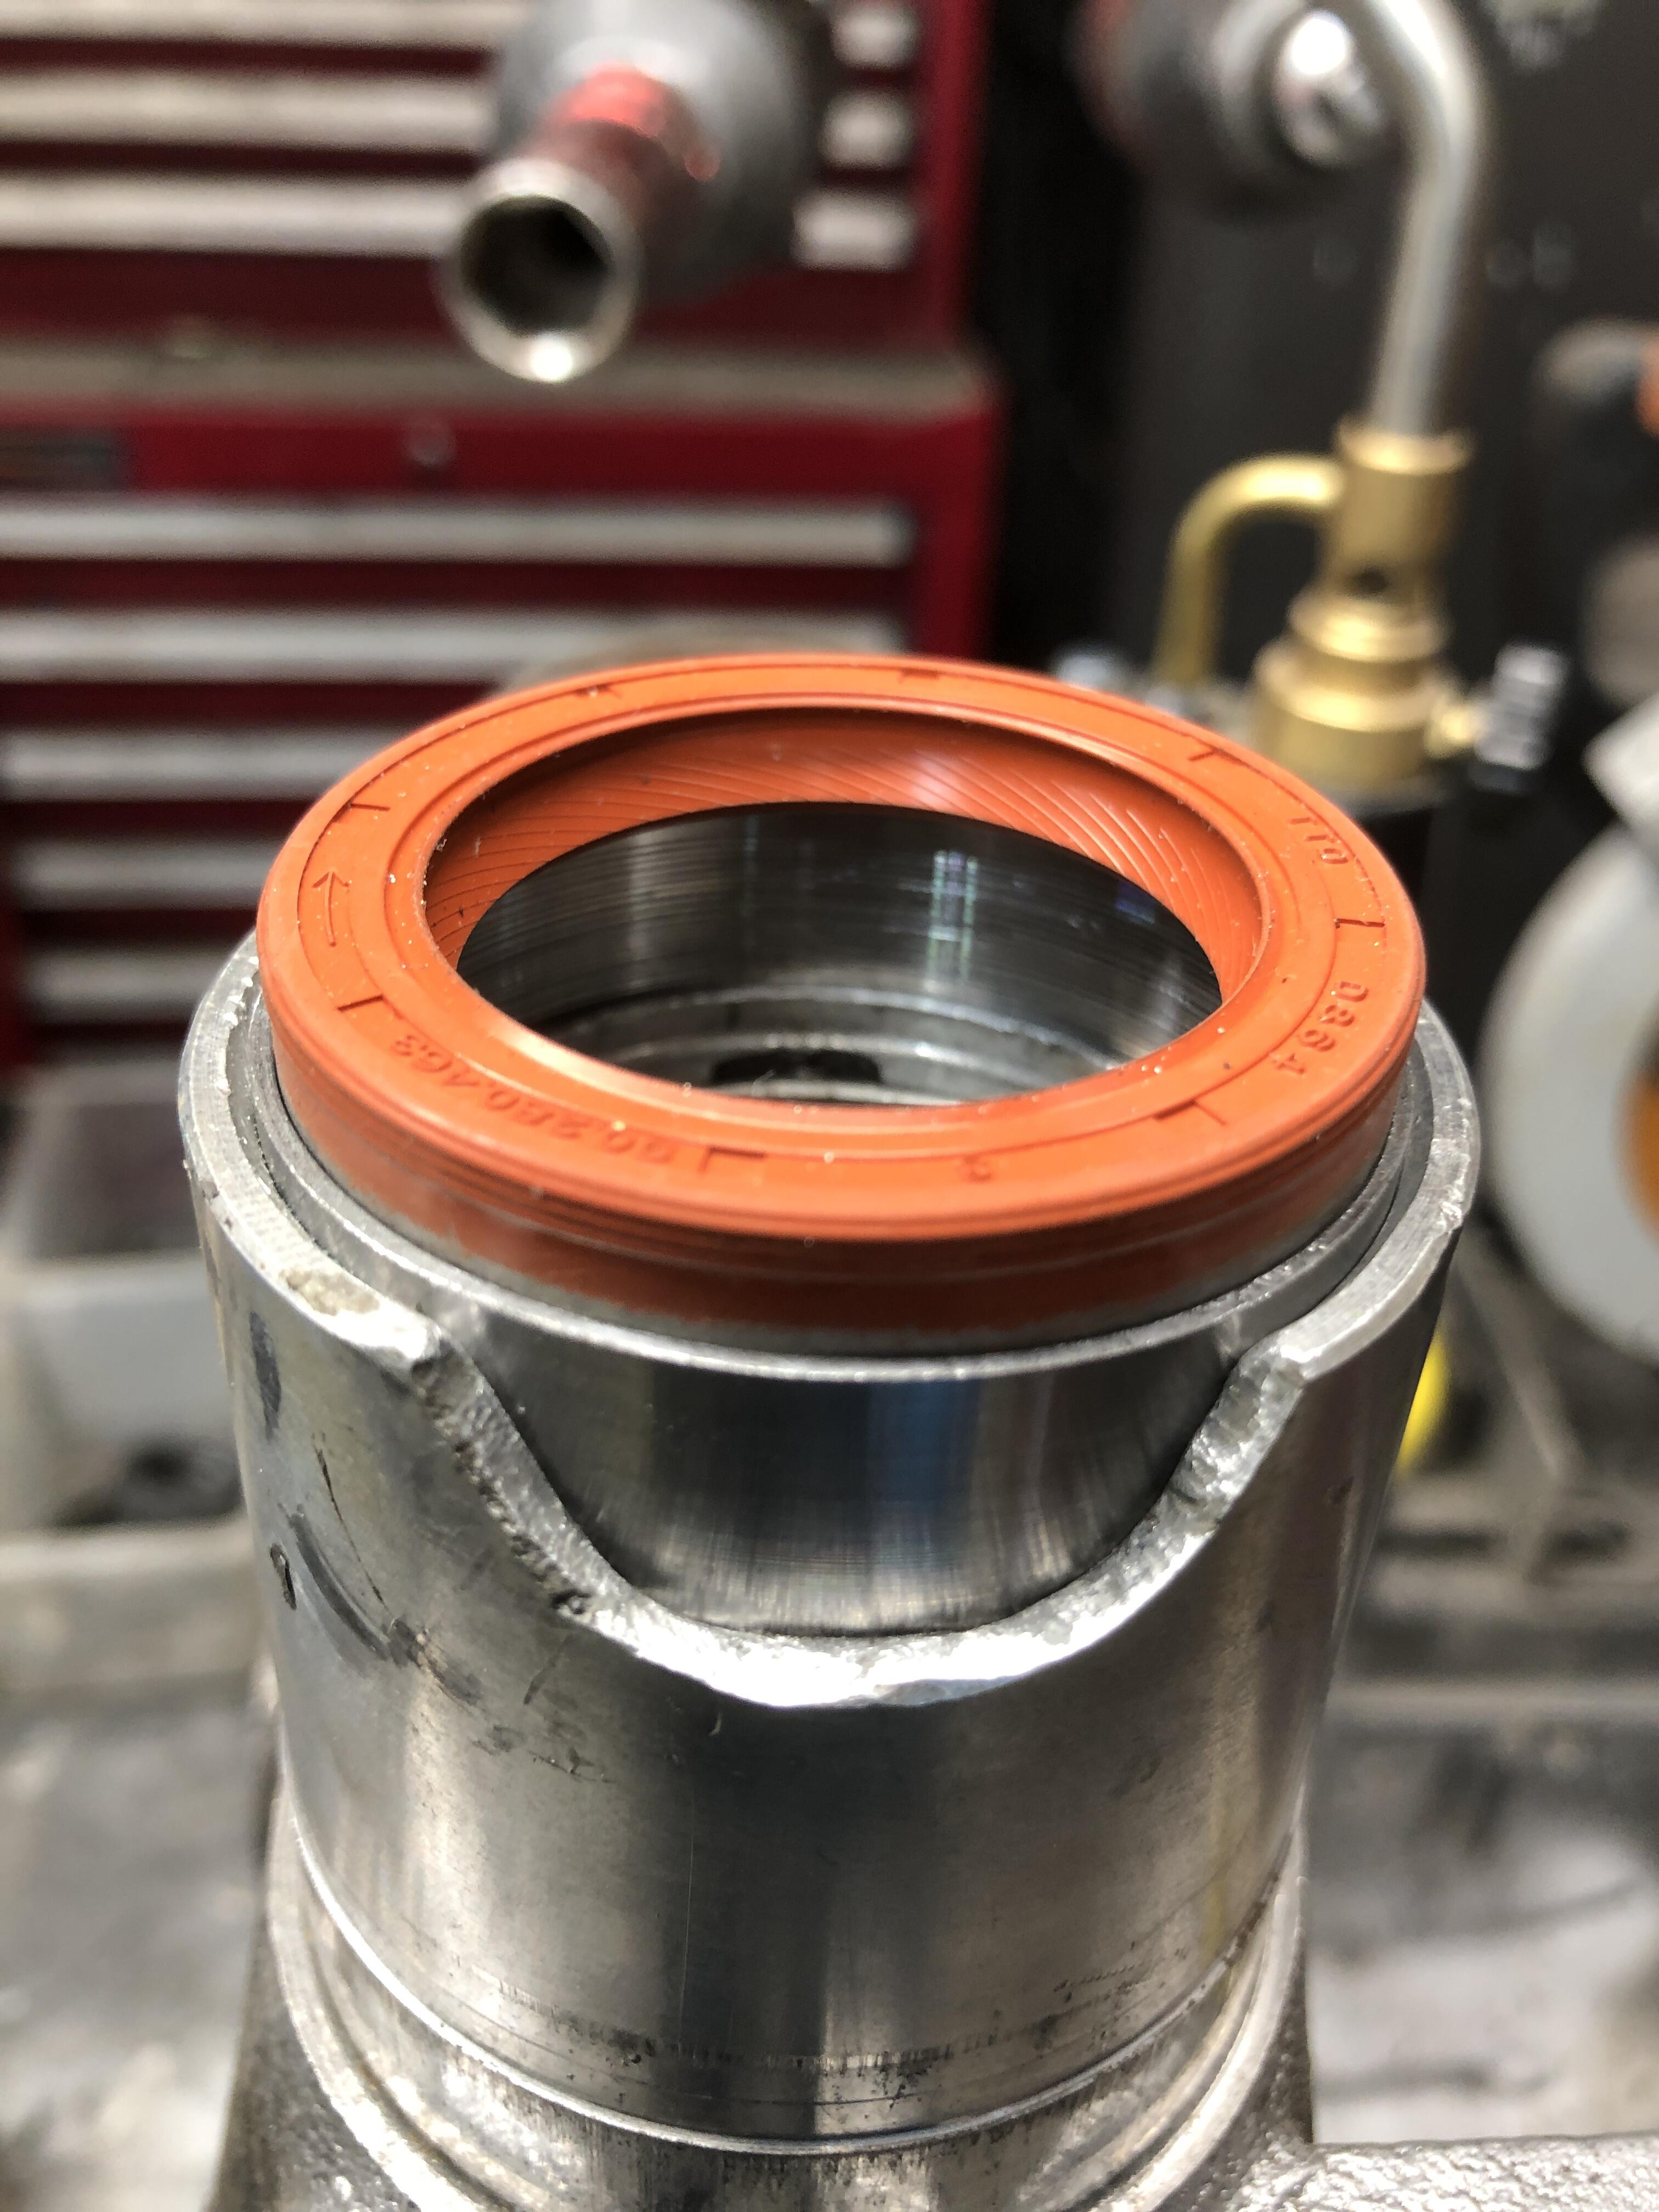
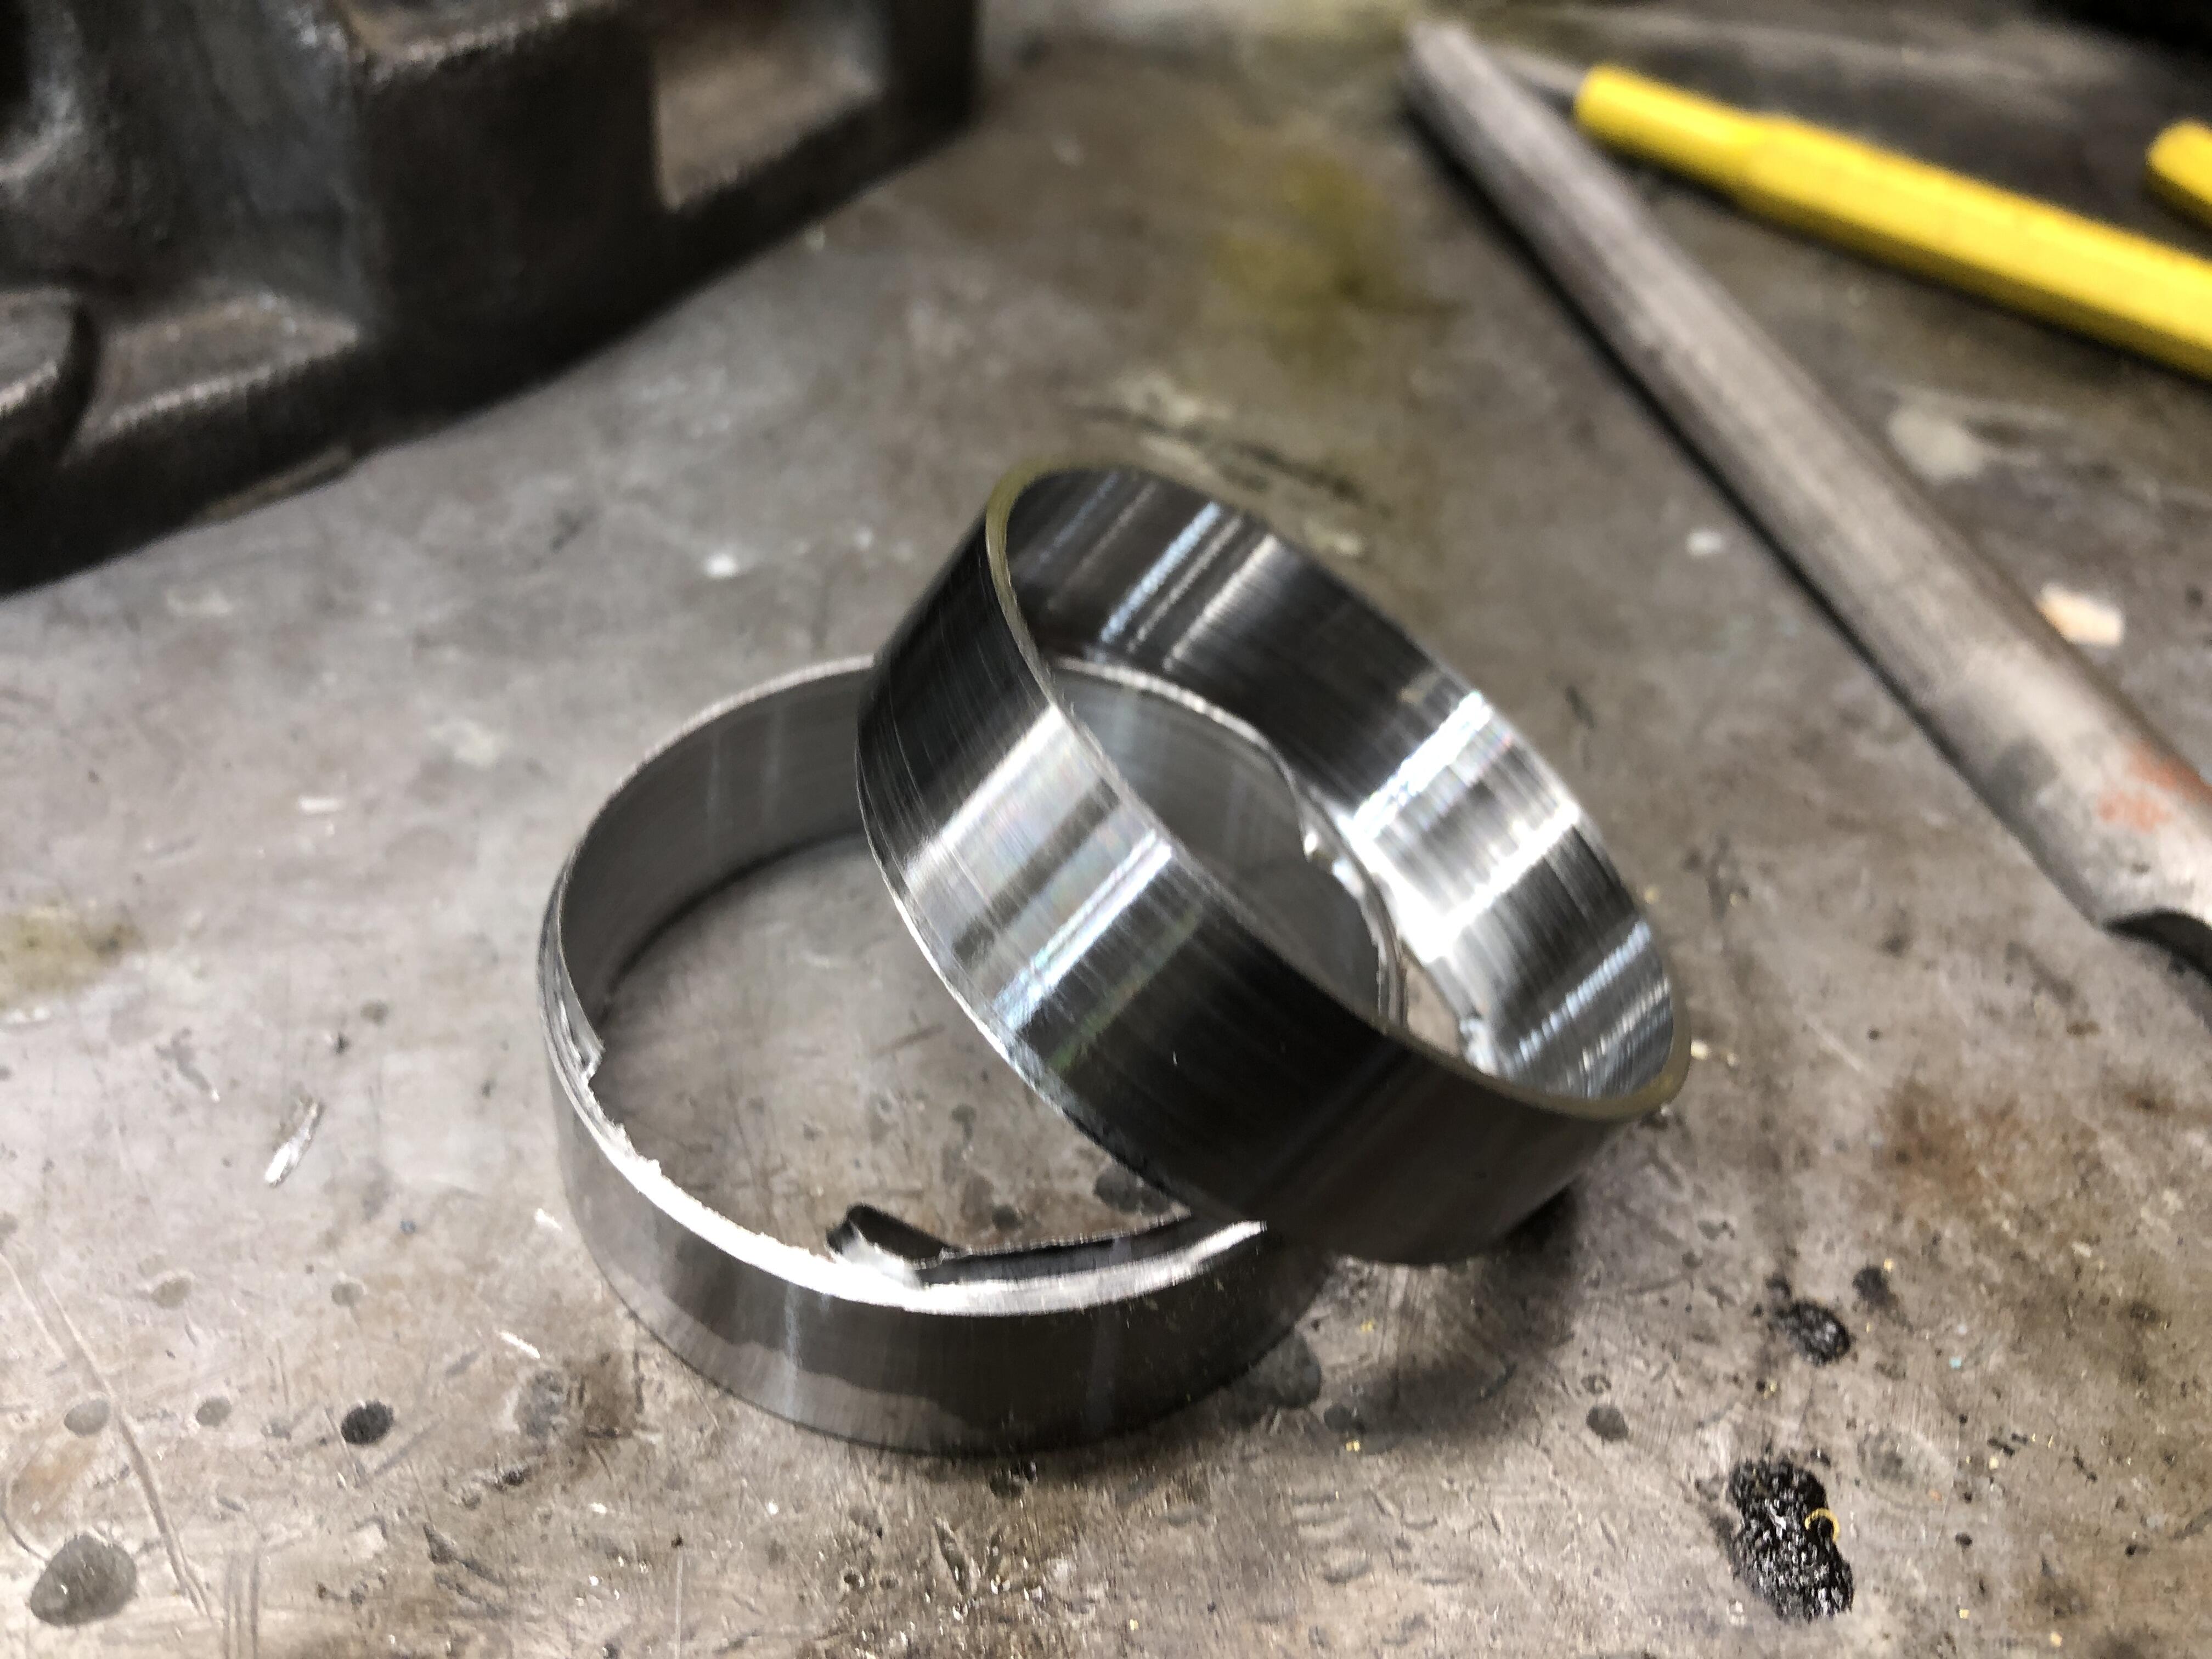
So, the repair is done. Made a filler spacer ring sleeve thingy, 50.1mm OD, 48 mm ID. 12.4mm high. Used convenient and most importantly cheap 2” (50.8mm) OD exhaust pipe as source material. Plenty of wall thickness. It’s about 46mm ID. Had that laying around. Bought the SKF equivalent seal to the Timkin quoted above. Warmed up the alloy housing a bit with the MAP torch. Tapped the sleeve home. Tad high, buzzed it flat to the housing. Sealant used (Right Stuff) to seal the area where the missing alloy sits next to the new sleeve. Also placed between the sleeve alloy housing.
-
Transmission Tail Shaft Break-out Repair ideas
zKars replied to zKars's topic in Engine & Drivetrain
yup.... have lathe will (not) travel..... -
Transmission Tail Shaft Break-out Repair ideas
zKars replied to zKars's topic in Engine & Drivetrain
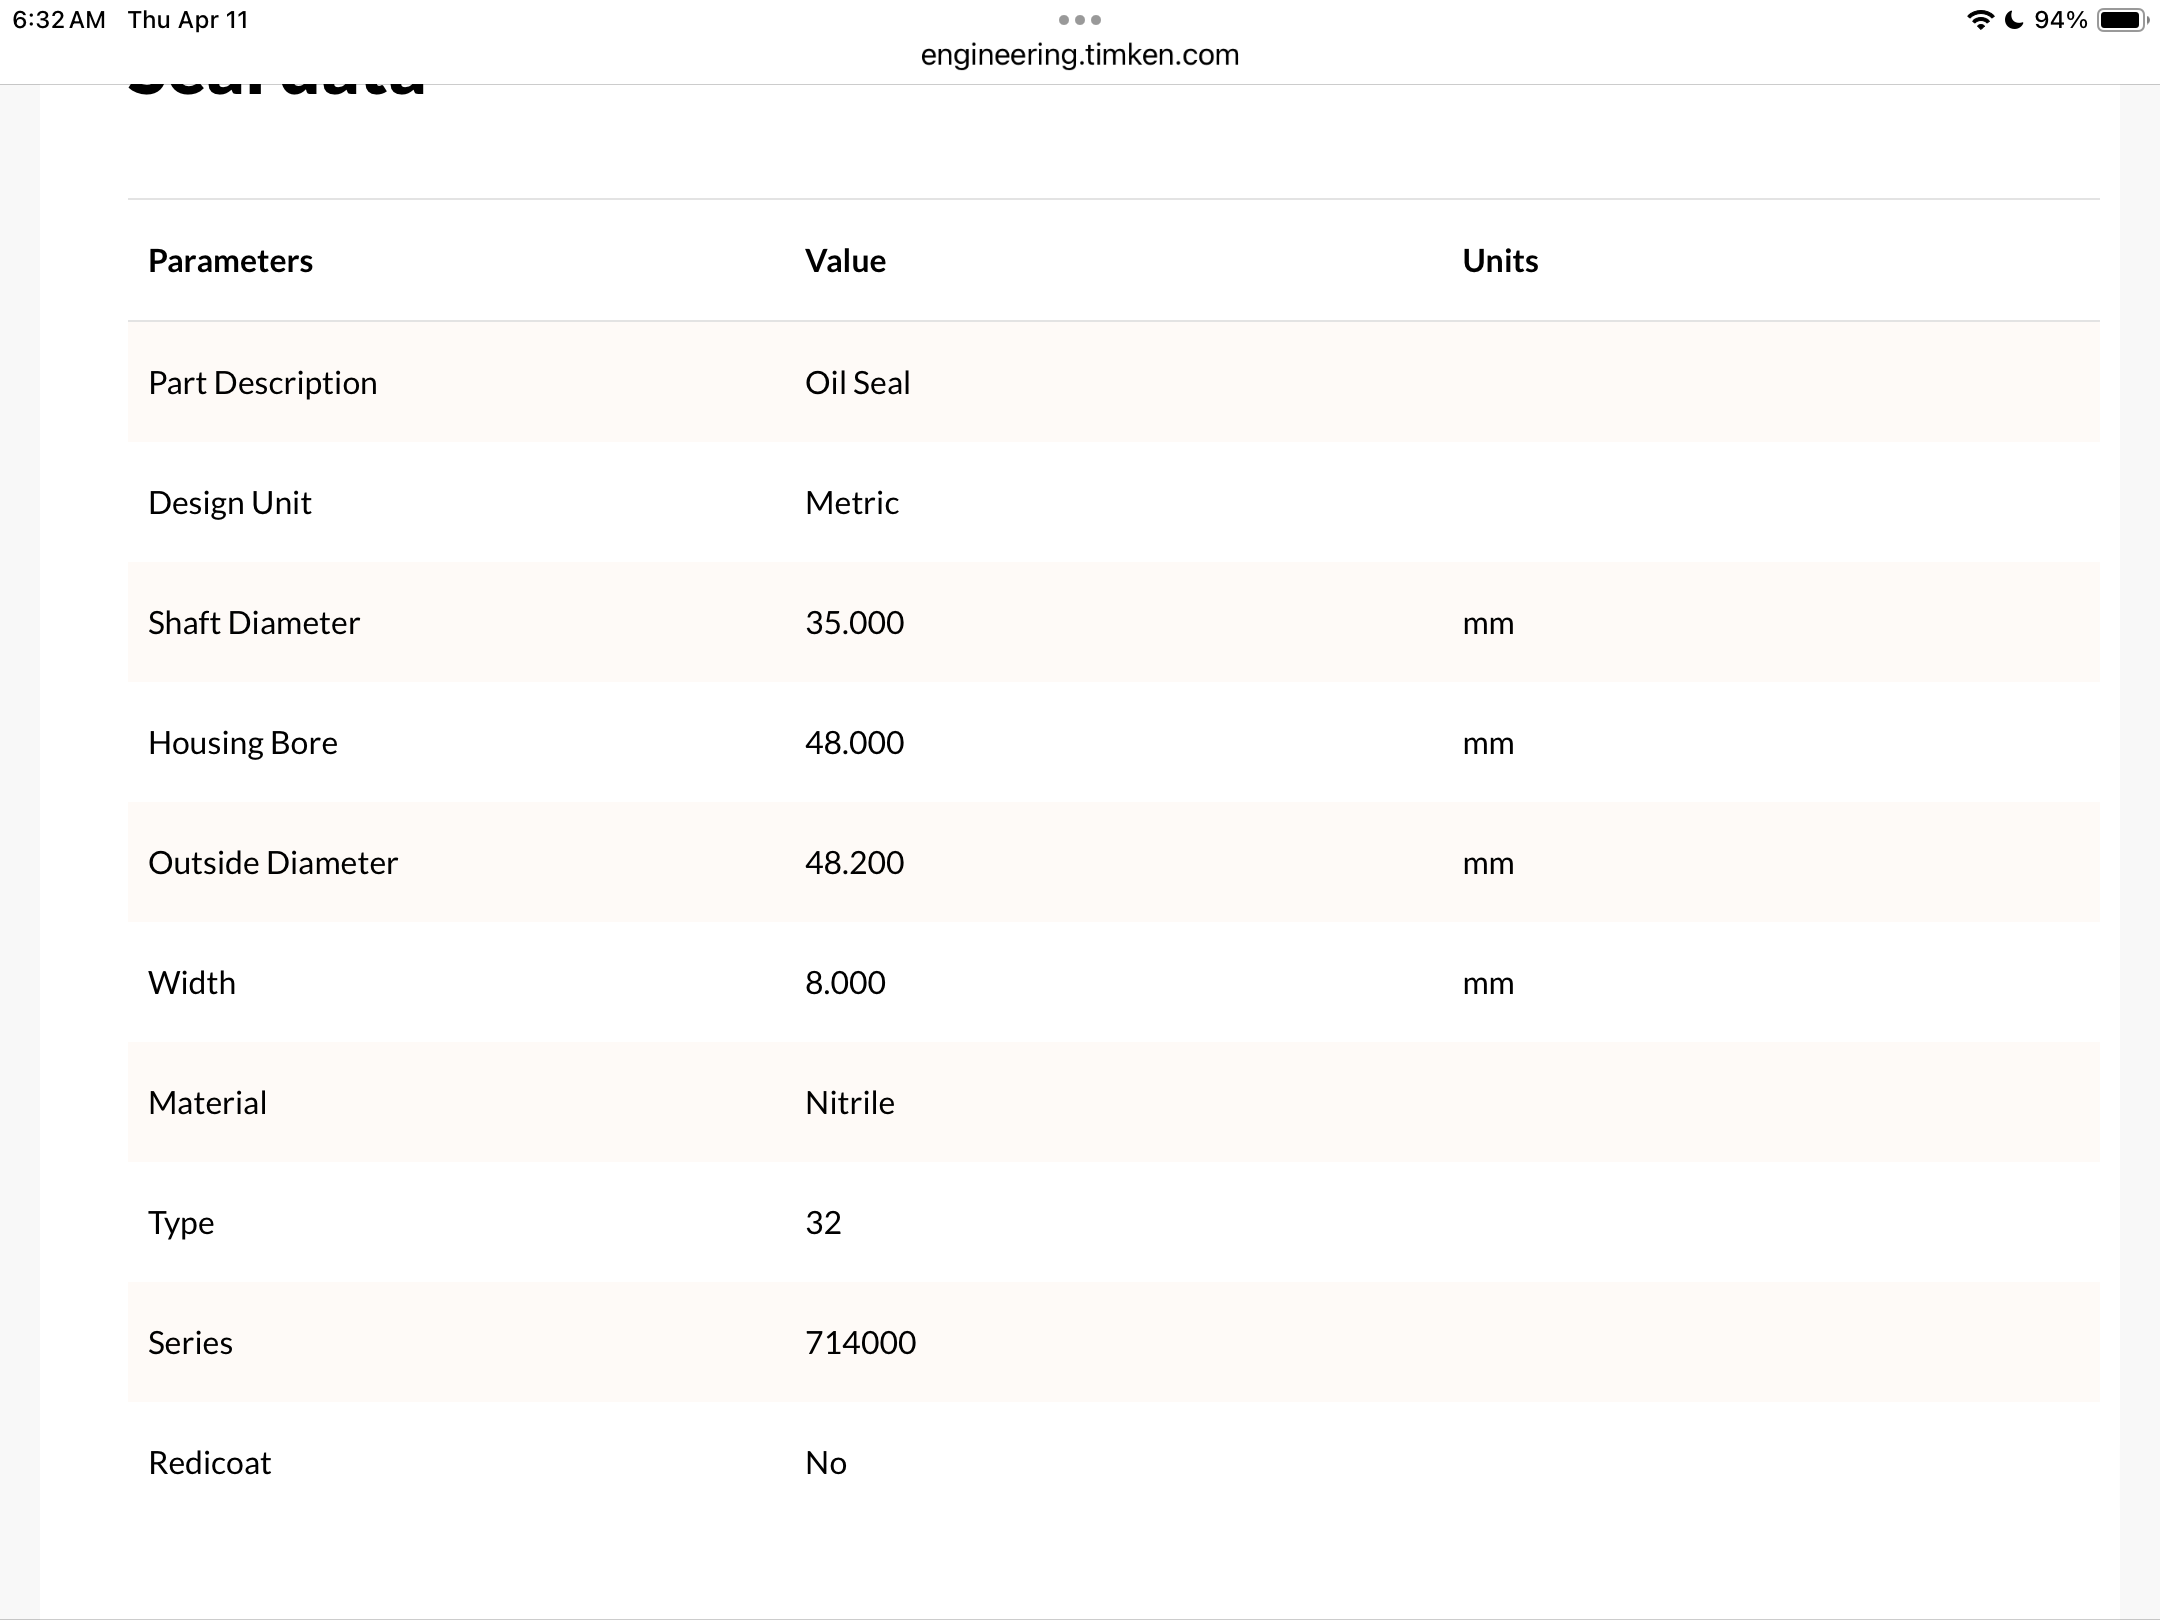
Very helpful thank you Zedhead. There are a couple that are 48 and 49 mm OD. Timken 714436 specs below. 48mm housing bore, 35mm shaft, 8mm thick. Perfect. Just have to make a 50.05 OD/48 ID ring to schlipp in there. I had this thought during the night (when my brain seems to do the best thinking) that i had previously tried a heat repair on another one of these and melted the surprisingly soft guide bushing just inside the housing. I think i shall not try that approach again.. So that leaves me some sort of sleeve repair and a smaller seal I think. Other than filling in that void with some other material like epoxy or UV cure Resin, and maybe an external band clamp aka hose clamp to retain it all.
-
Transmission Tail Shaft Break-out Repair ideas
zKars replied to zKars's topic in Engine & Drivetrain
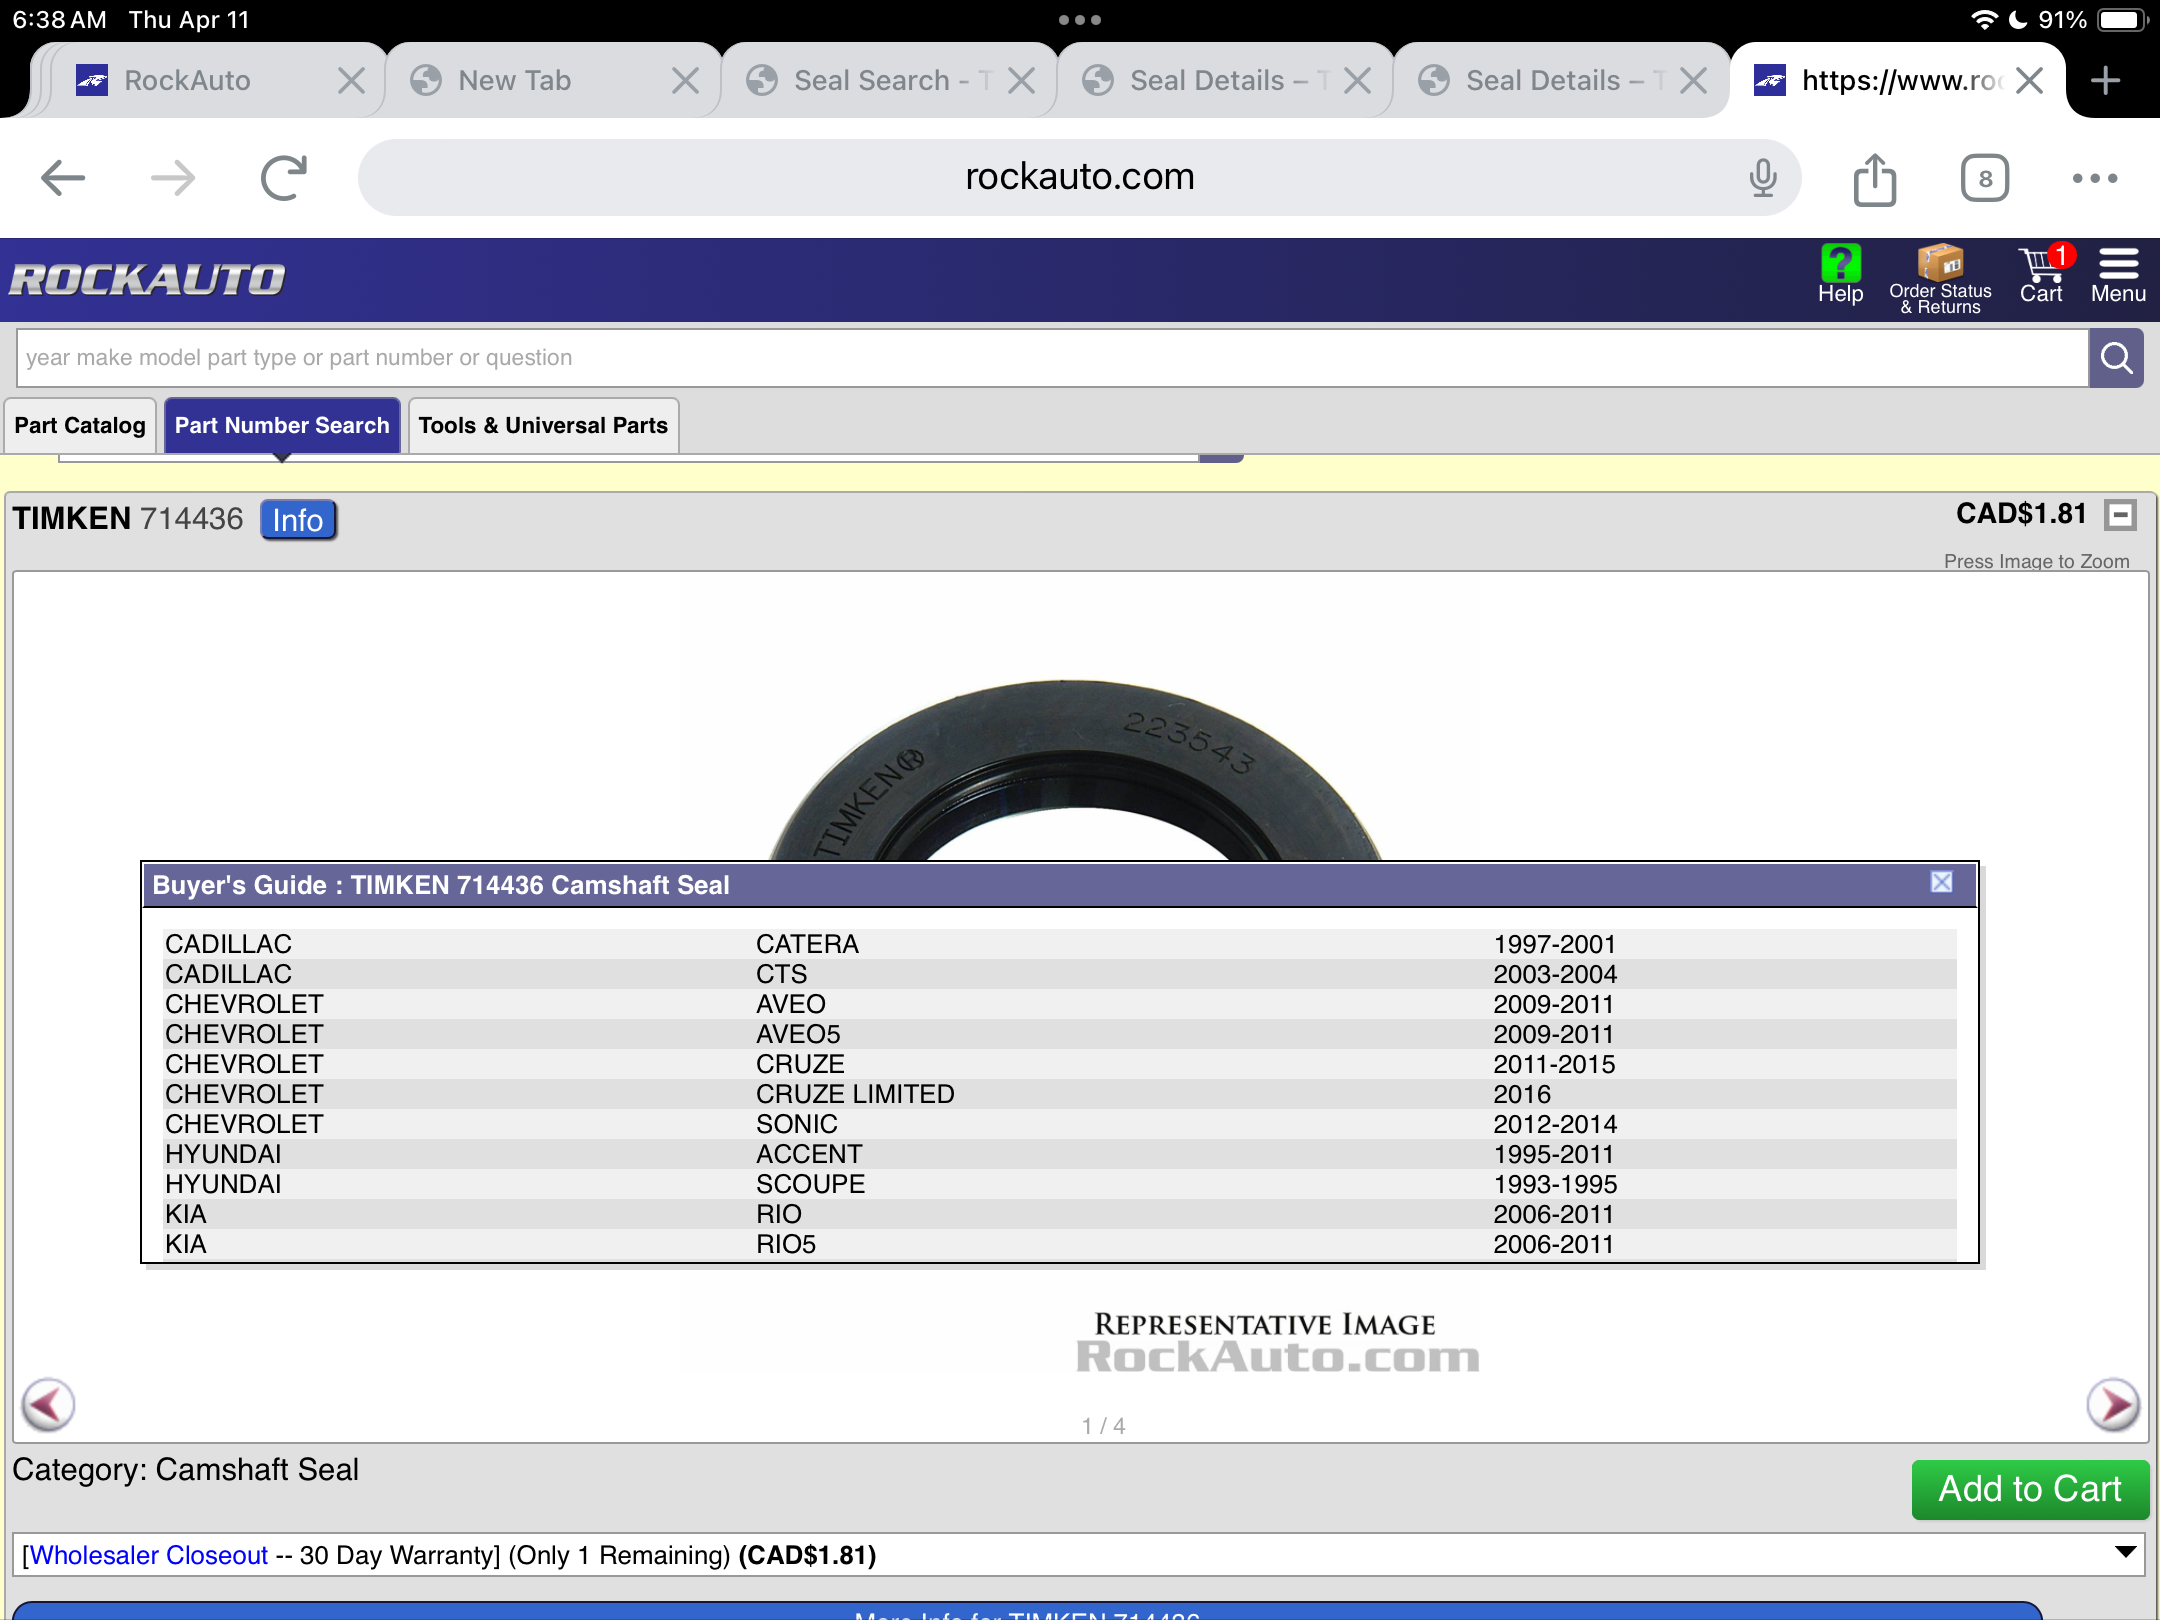
Here is one idea I started with tonight. Make a fitted backing plate of something my low temp alloy rod or TIG bead won’t stick to, then merrily go weld beads to build up the missing piece. Brass may not be the right material, sheel steel is likely better, but you get the idea. While doing this I dreamed up the liner with smaller seal idea above.
-
Transmission Tail Shaft Break-out Repair ideas
zKars replied to zKars's topic in Engine & Drivetrain
All interesting ideas. Perhaps if I can find a slightly smaller OD seal, I can just make a thin liner pipe to go inside the current ID (50mm) that brings it down to the size of said smaller OD seal. Kind of an inside out Speedy Sleeve! The stock seal fits our 35mm driveshaft sleeve and a 50mm tail housing ID. Like a Timken 710324. So maybe a make a 48 mm ID Start with a 2” OD aluminum pipe with 1/8 wall and turn the outside to 50.05m and the inside to 48 or whatever seal I find. ? Maybe Anyone know how to search a seal catalogue by OD/ID? -
I can strip them and let them sit on a salt water soaked rag for a couple of weeks if you want..... But that will be extra
-
Transmission Tail Shaft Break-out Repair ideas
zKars replied to zKars's topic in Engine & Drivetrain
While i do have a TIG welder and a mill, I “could” build up that area then mill that back to a nice circle on the ID. Trouble with TIG welding I find, is that unless you practice alot, (which I don’t) that the chances of making this worse before it gets better are pretty high. I was thinking take a piece of 1/8 aluminum plate, bending it in a nice matching curve, trim to fit that missing area, and then solder/braze it in place from the outside. I some of these fancy torch melt low temp aluminum brazing rods that I have used in the past. Then once it all setup, mill the ID to right size if its not super close to start with, then add a bit of goo on the new seal OD to fill in any imperfections and call it a day! What you-all think? -
Transmission Tail Shaft Break-out Repair ideas
zKars replied to zKars's topic in Engine & Drivetrain
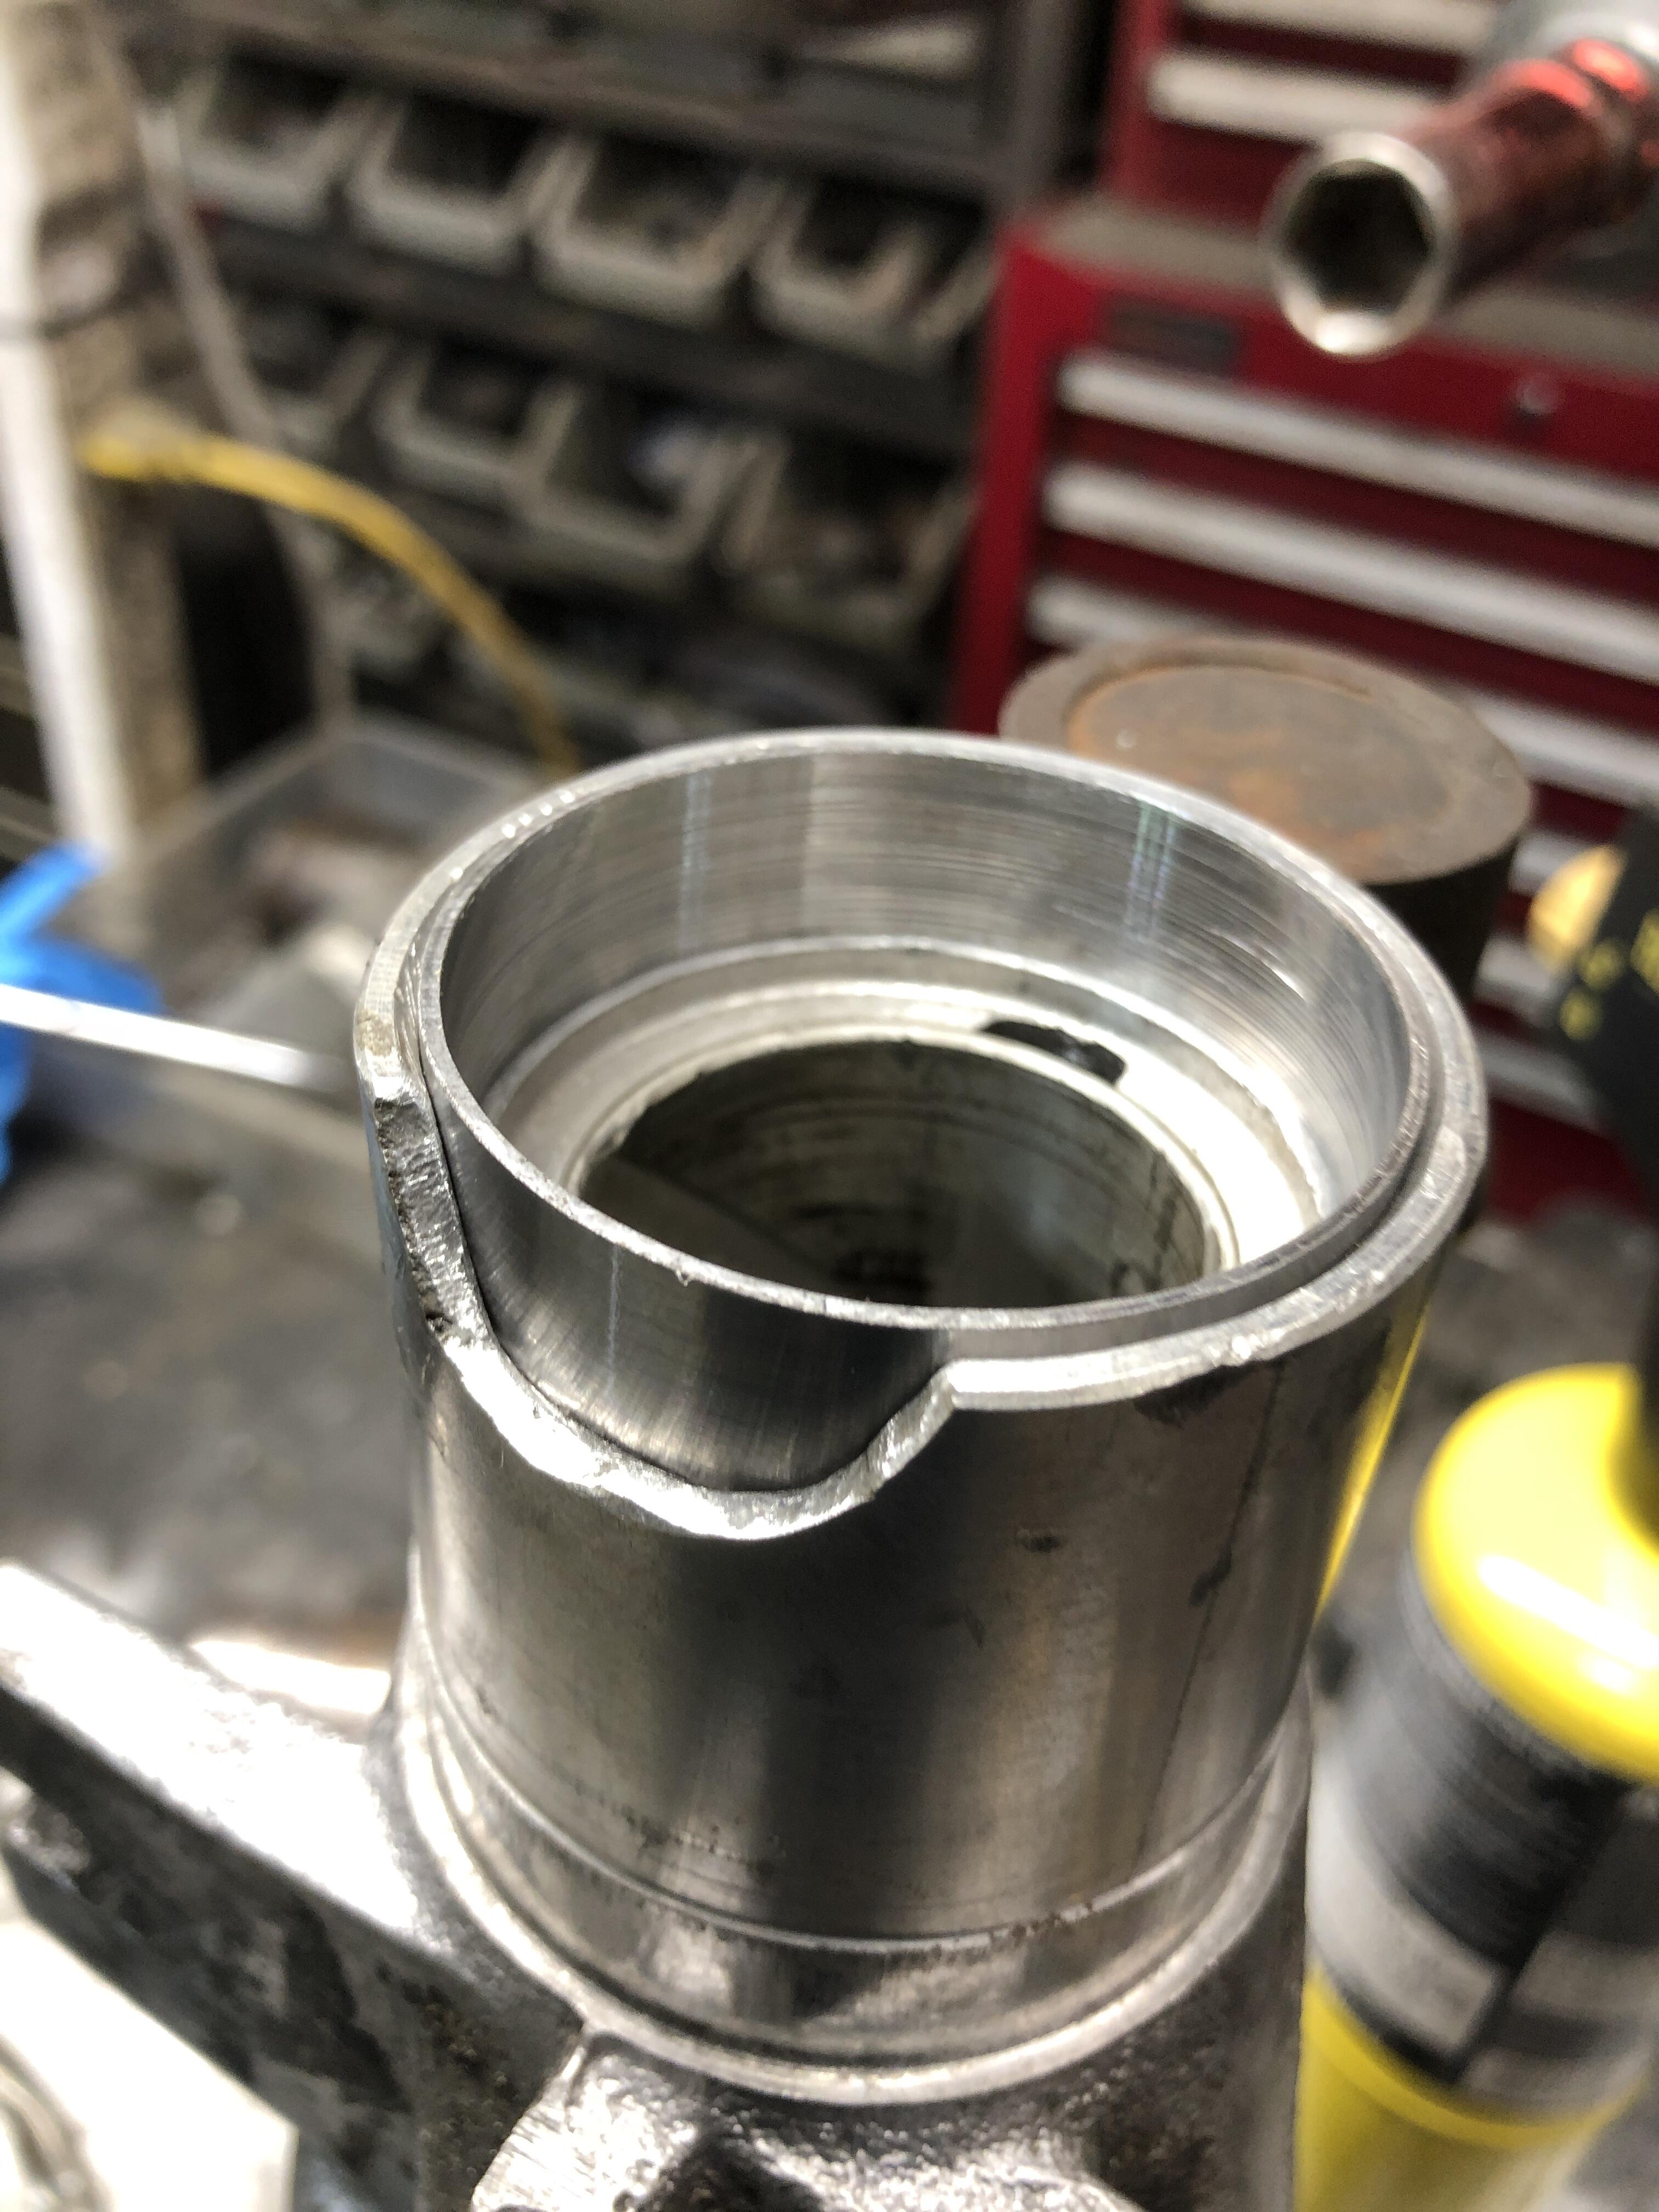
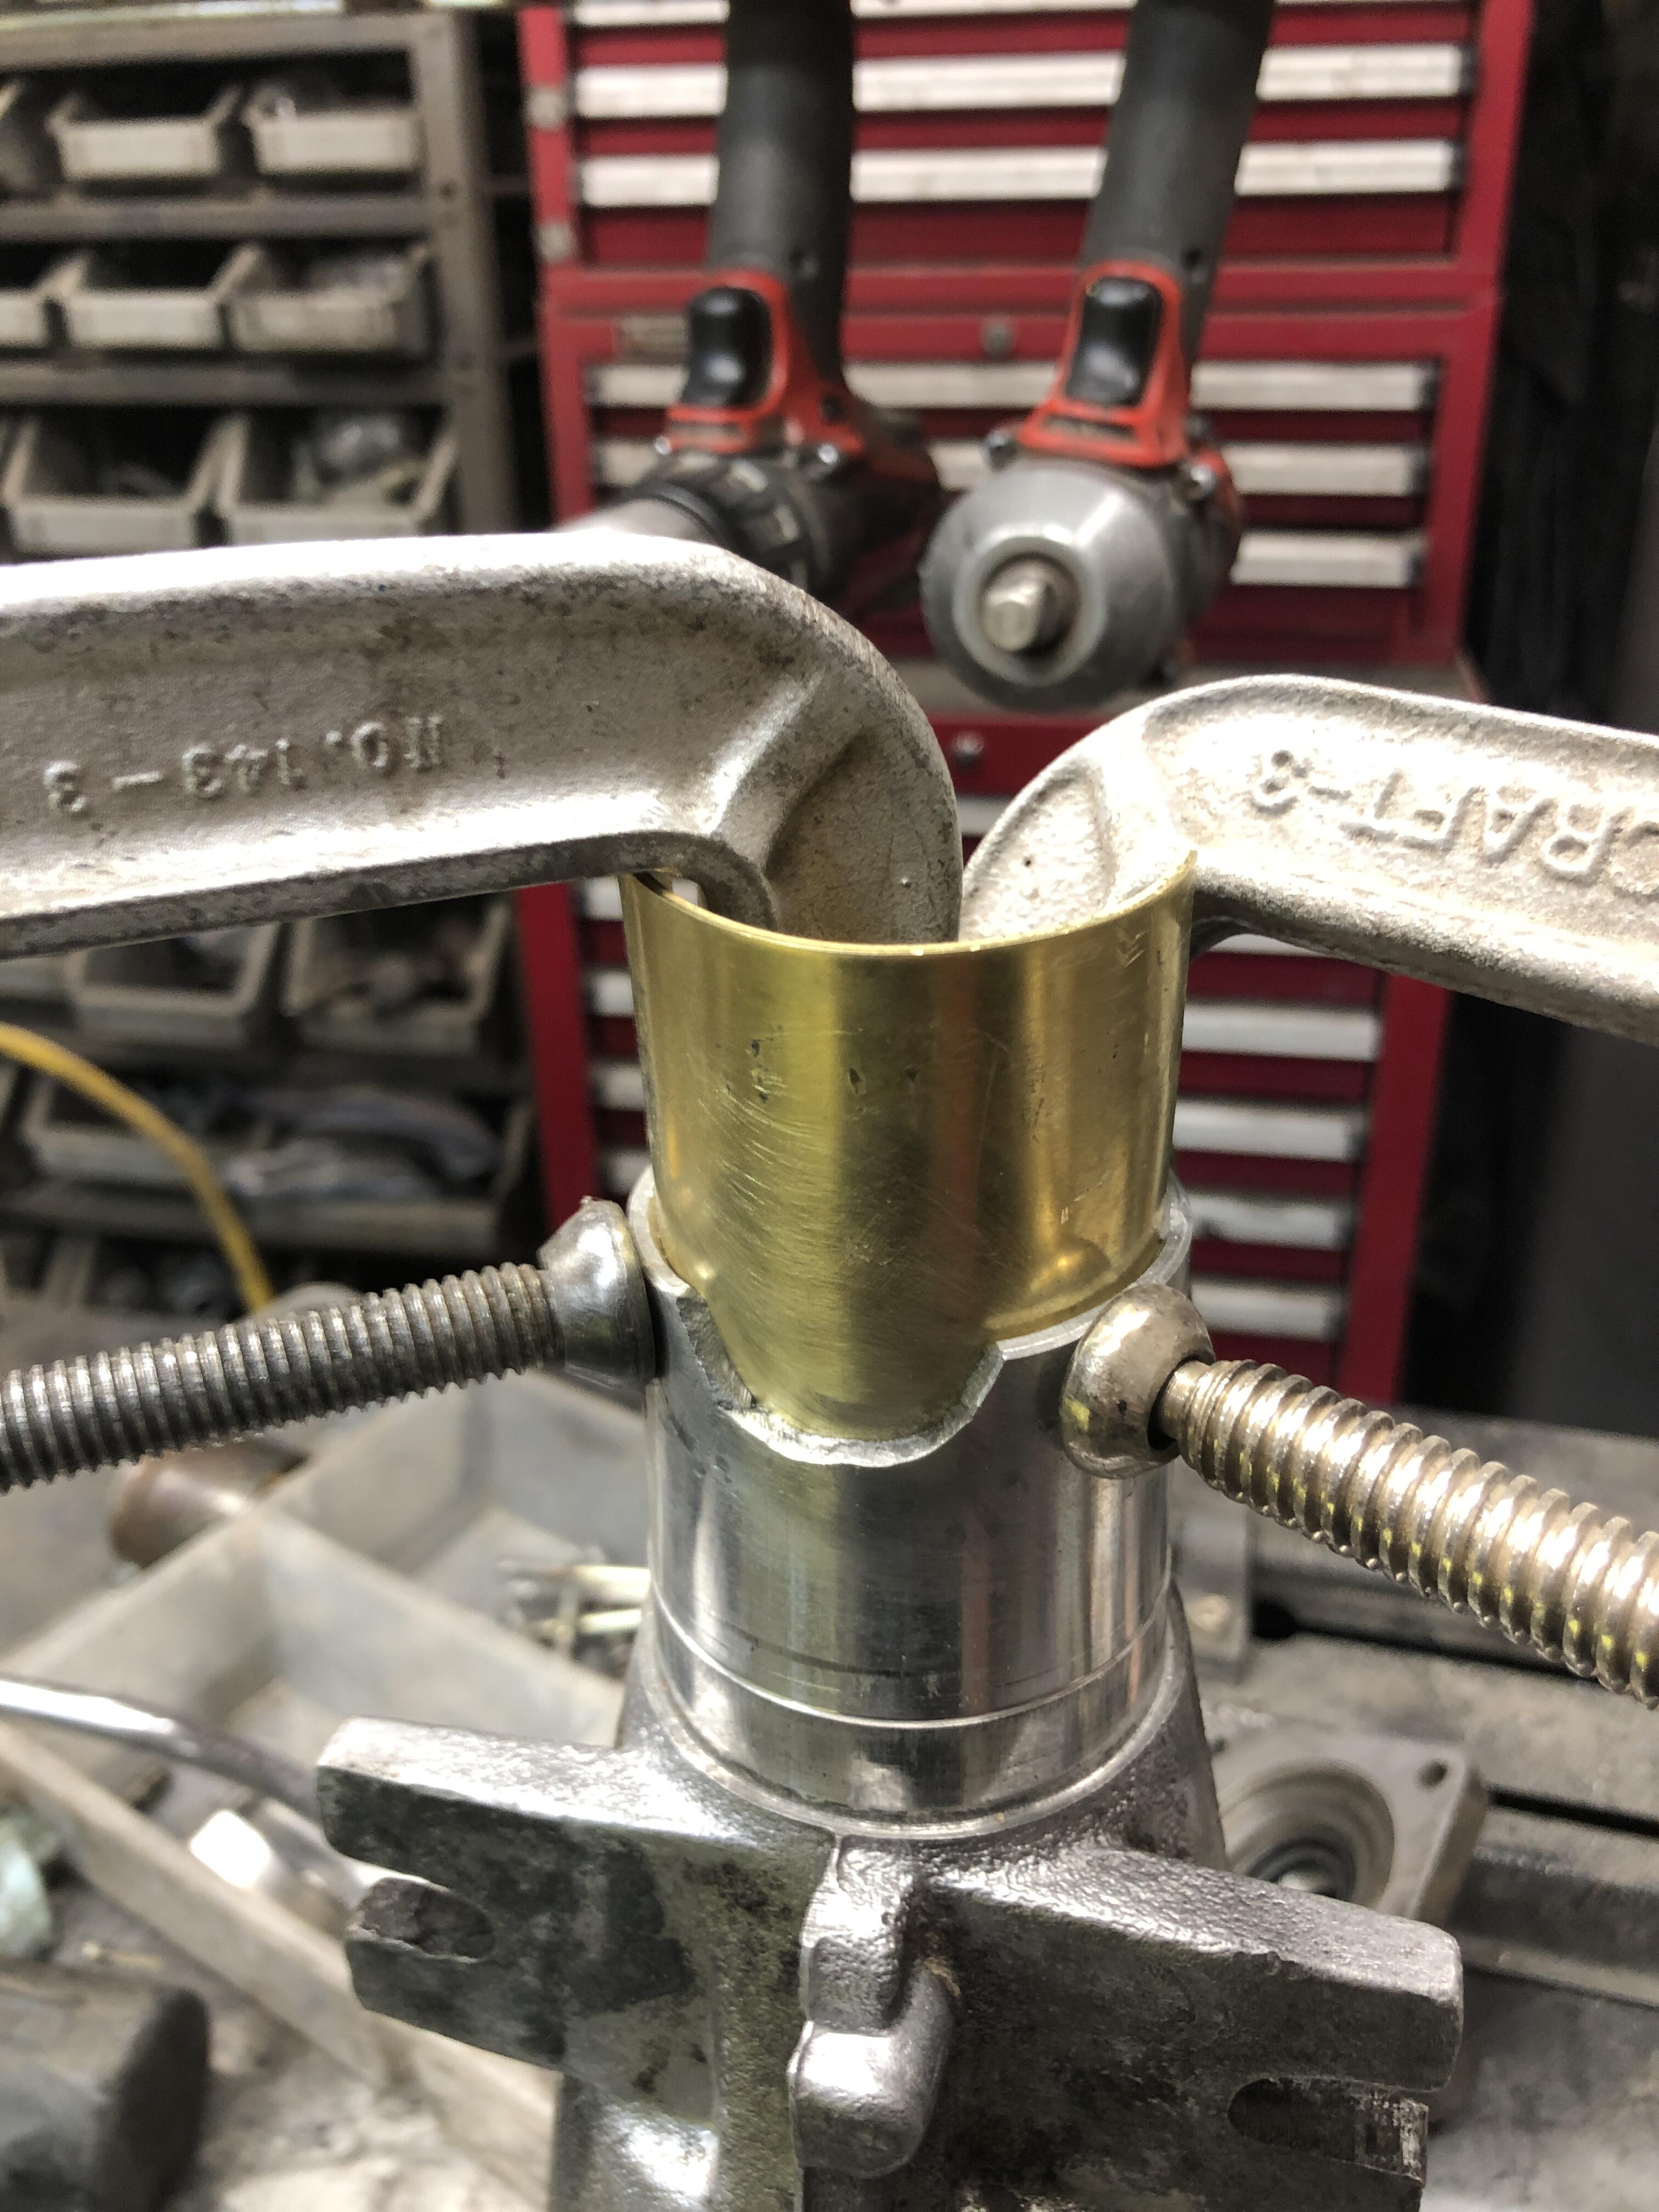
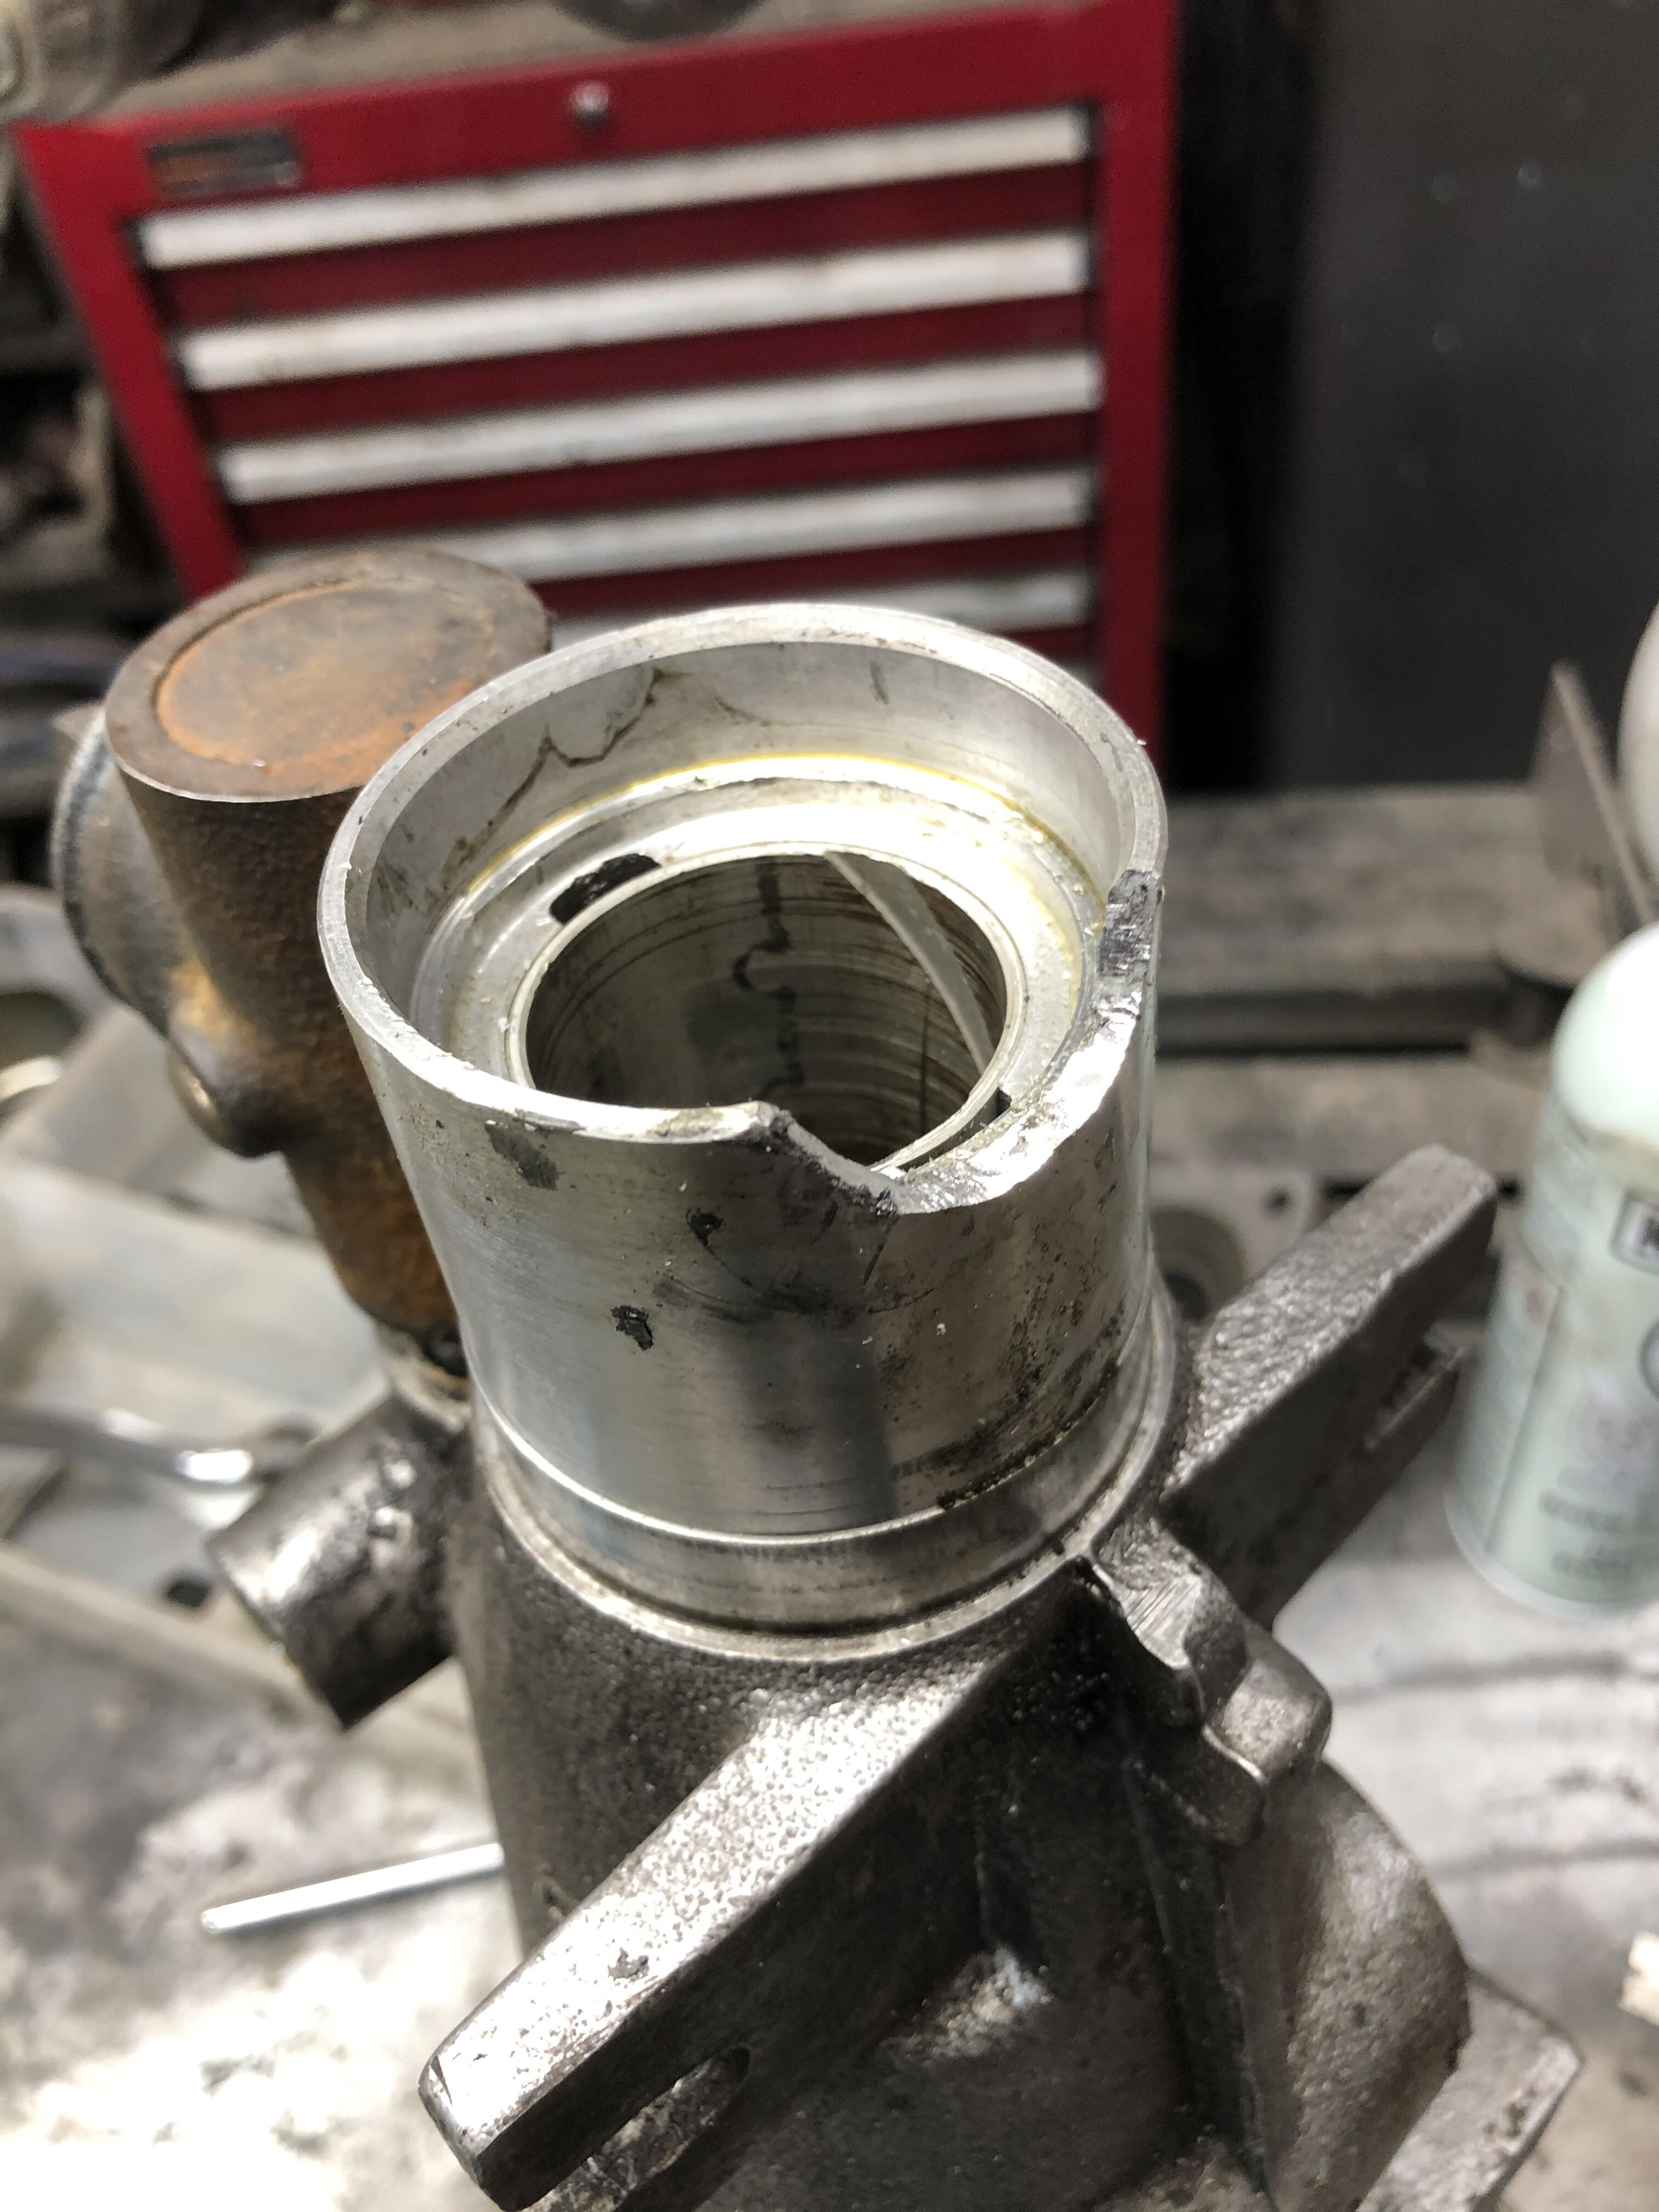
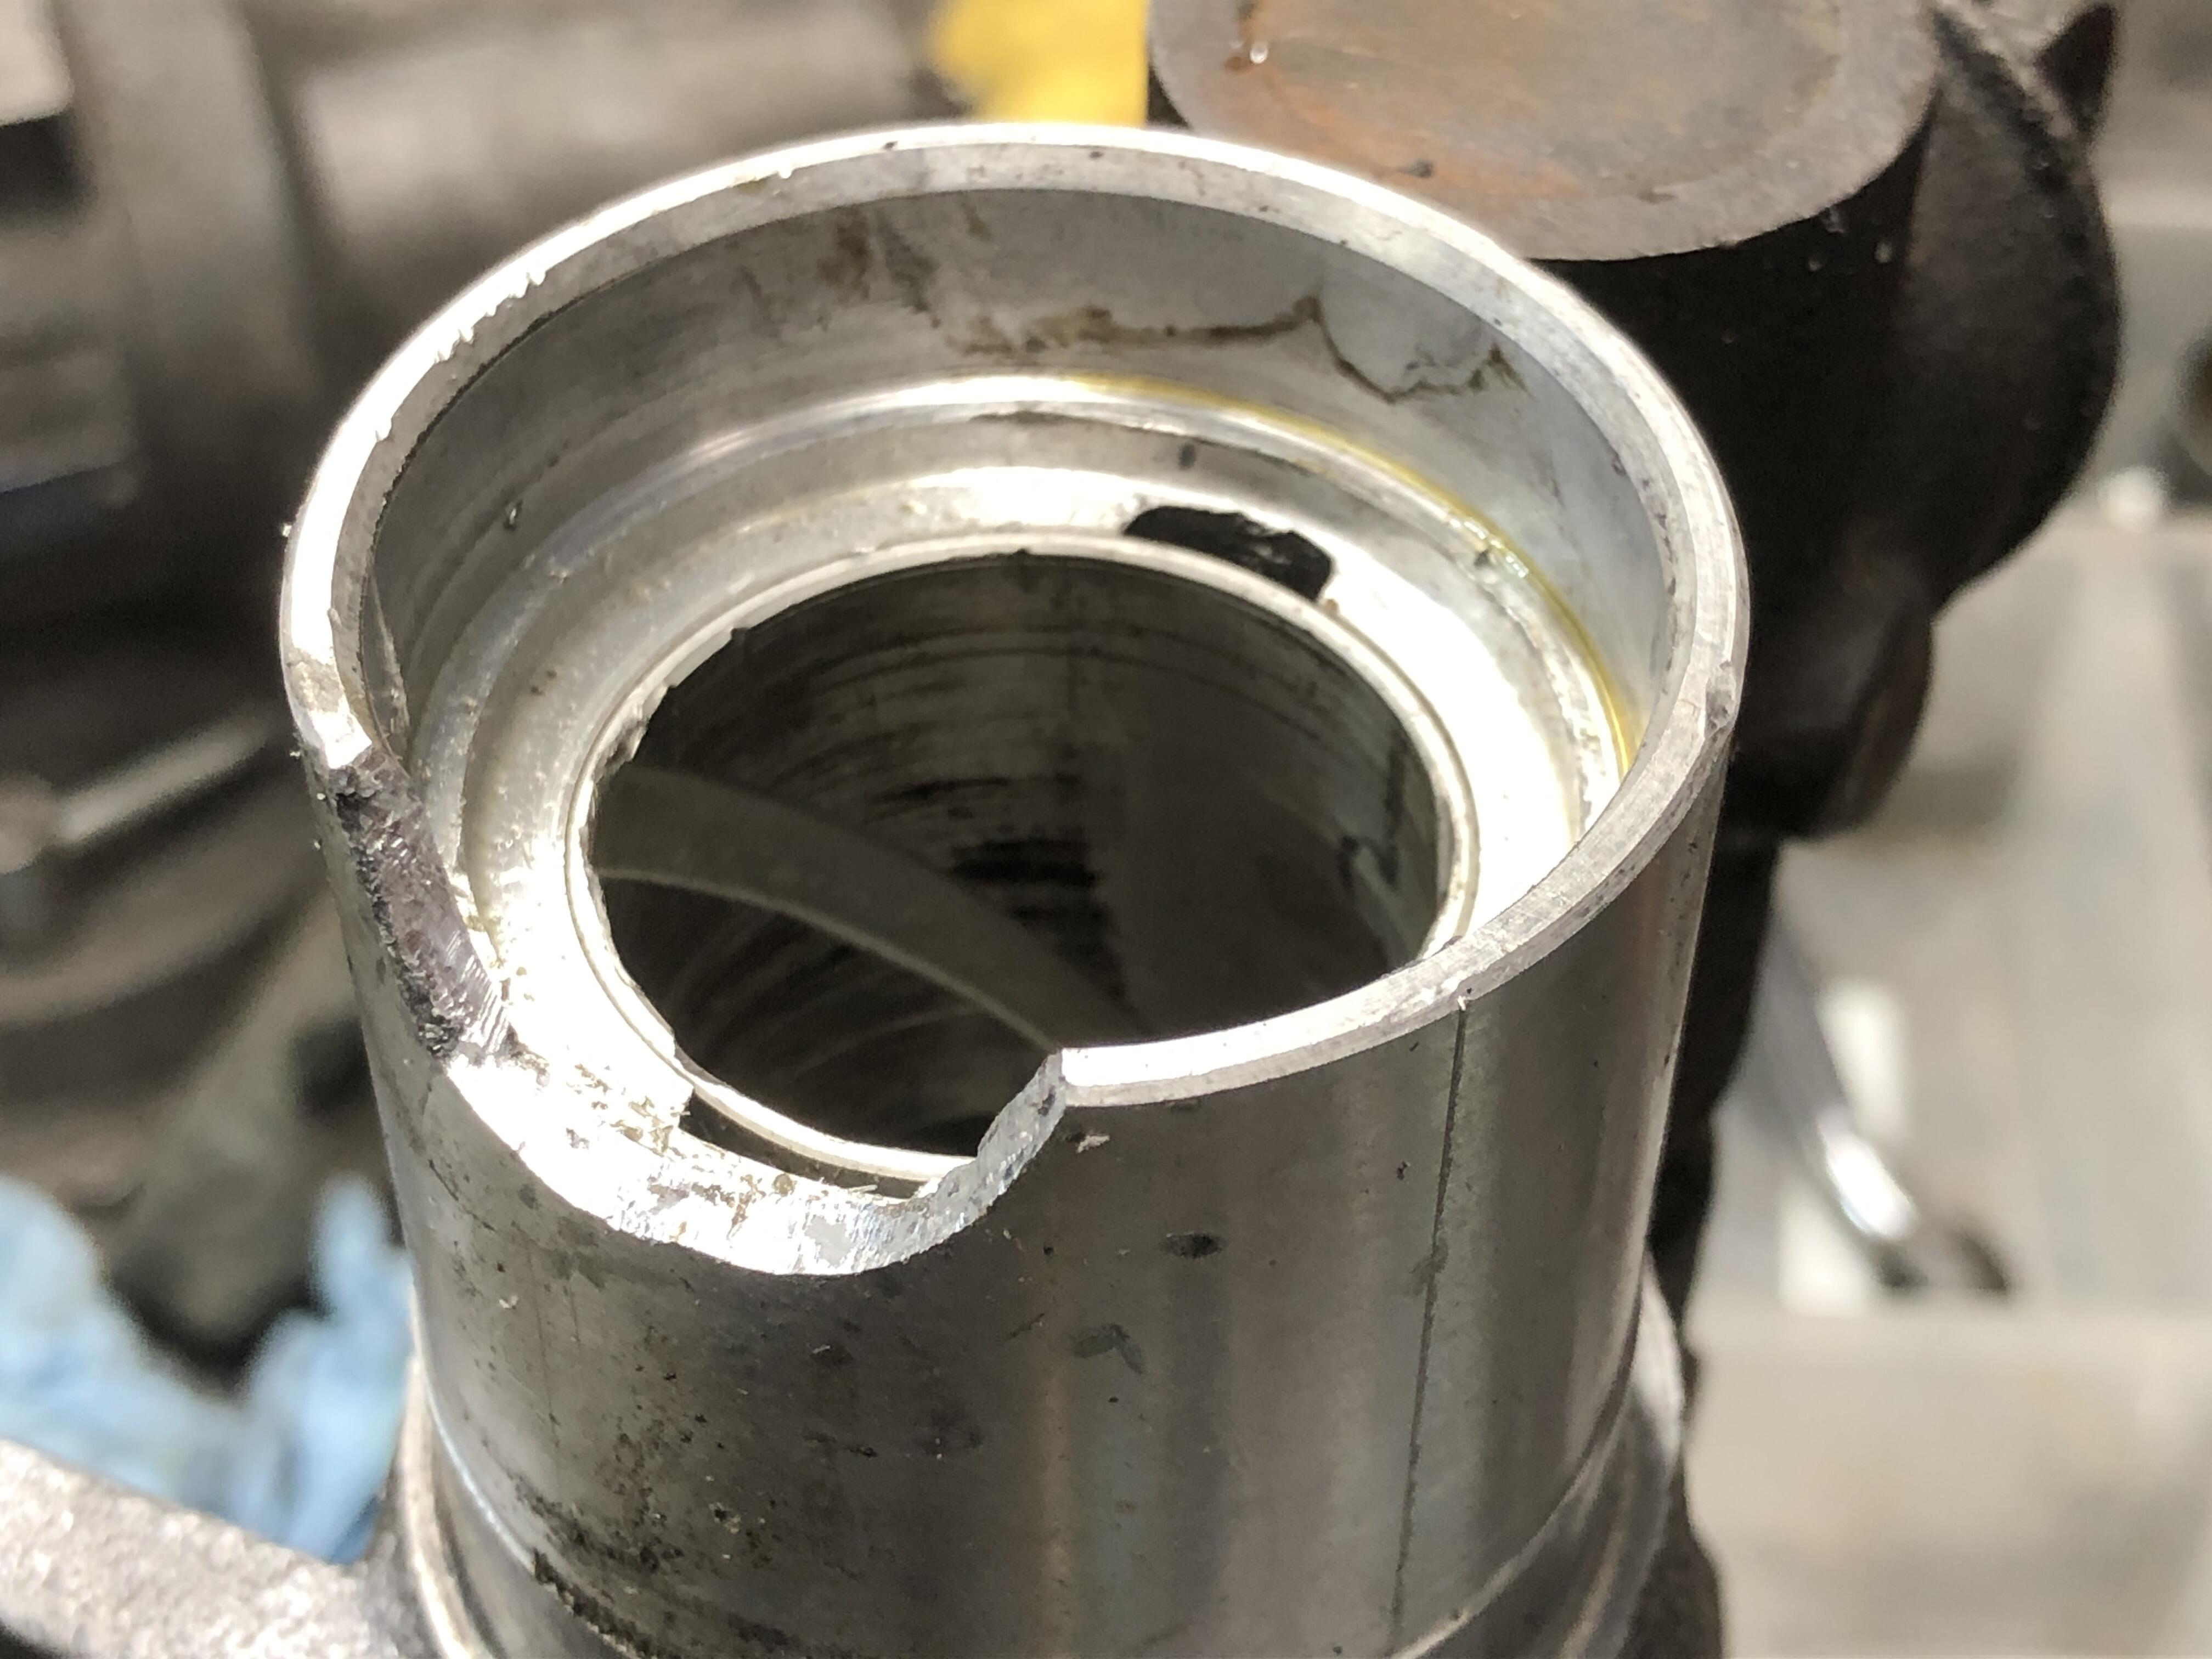
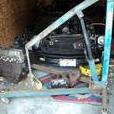
I ground out the edges of the broken area to freshen them for welding or glueing or something. The P0 had put a large blob of RTV or similar over that area, no idea if it leaked there or not. This trans was pulled from a 78 in a junk yard 15+ years ago. Internally it’s a thing of beauty. Not going to do much with it, but I have to do SOMETHING with this tail shaft. You can see in the first picture with the seal back in place, that just gooping it up with RTV/Right-Stuff “might work. There is enough of the circumference gone though that the seal might be pushed out-of-round enough to allow a leak. -
I have an early 5 speed here (77-79 “B” type 5 speed) that I’m rebuilding that has a busted out tail shaft casting where the output driveshaft seal goes. Was apparently dropped at some point in it’s life, the dust shield is clearly bent and re-shaped by a PO. I’mm looking for brilliant and inventive ways to fix this (I mean cheap…..)